

1⁄35Bronco's M1A1 155mm Howitzer built
5
Comments
snagging and desnagging
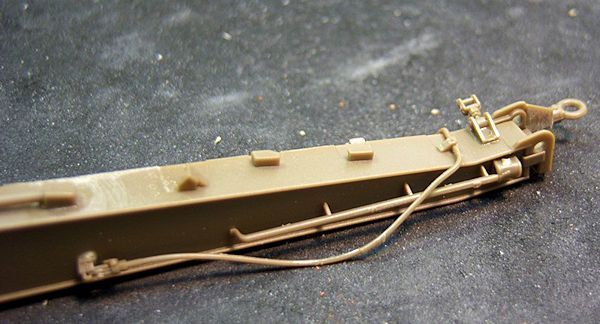
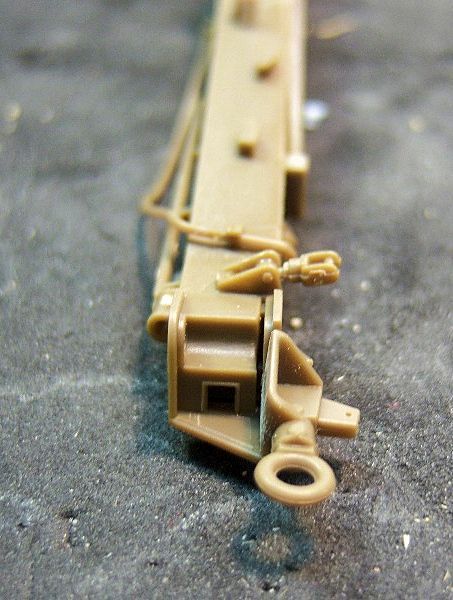
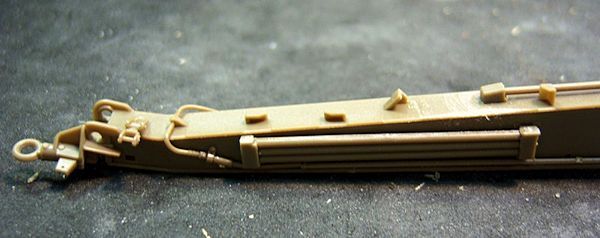
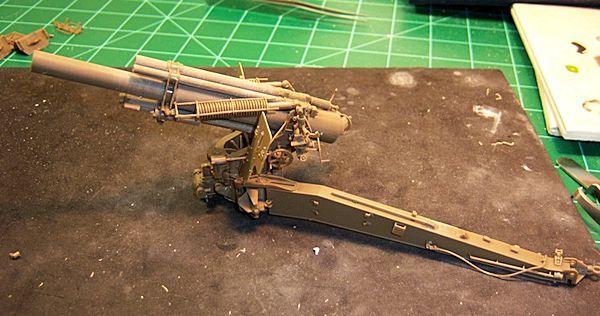
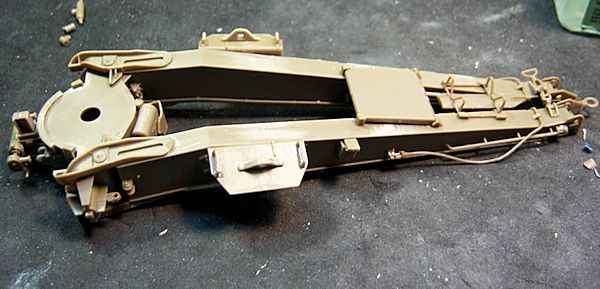
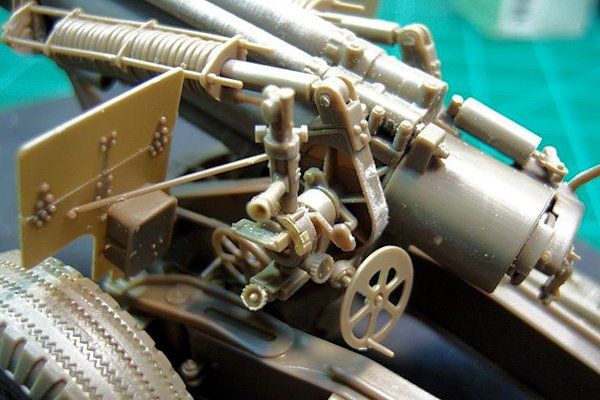
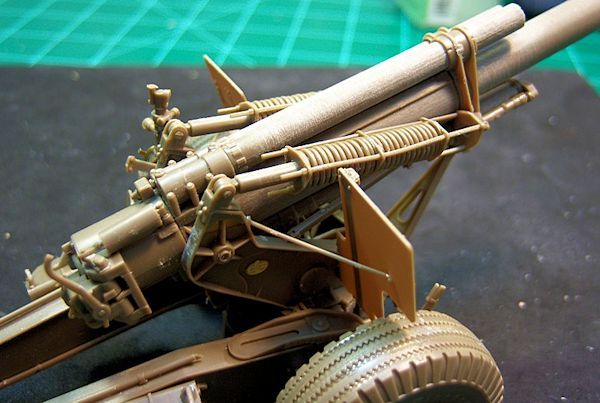
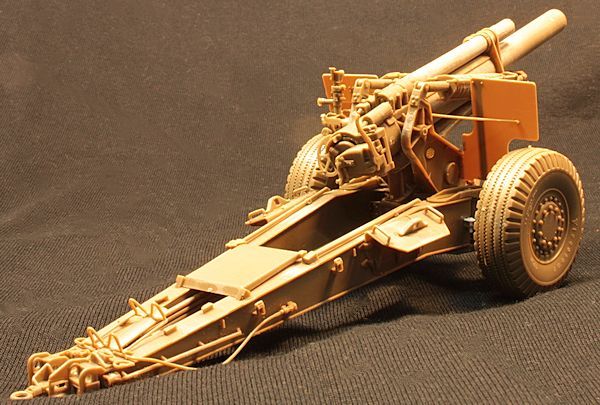
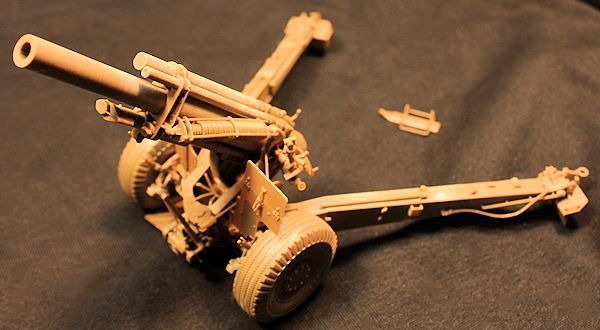
The assembly of the gun carriage at step 15 was a major headache: I inadvertently built it upside down. I tried to fix it the following day by cutting it apart, but it would have done more damage than good, so I worked around things. As it turned out, there are a couple of lifting eyes (?) that are on the bottom instead of the top, so I simply glued things where they were supposed to be and moved on. Unless you are well versed in this equipment youd be hard pressed to see the error. So, the lesson learned here is to look carefully at the instructions when assembling this stage. A lot of the handles are molded so thin that cleaning up the attachment points and mold seams would not go well if attempted before attaching them to the major parts. I therefore waited until everything had dried solidly, then went back with a sanding stick and the back of a #11 blade to carefully remove them. This method worked like a charm, as the glue points firmed the pieces up well enough and made sanding them considerably easier. Step 17 deals with assembly of the trails. There are some more of those fiddly, thin hoses and handles installed here. I used the same method of attaching then cleaning up and they came out looking great. I installed what I guess are pry bars too far down on the trails and had to remove them later and reinstall them further up. Not a huge issue and all worked out well in the end. I then lost a locking pin and a corresponding eye for it while building the right side trail, but I scratched one of each and was still able to build it so it moved.options
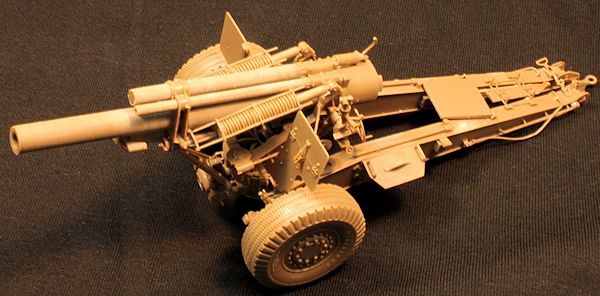
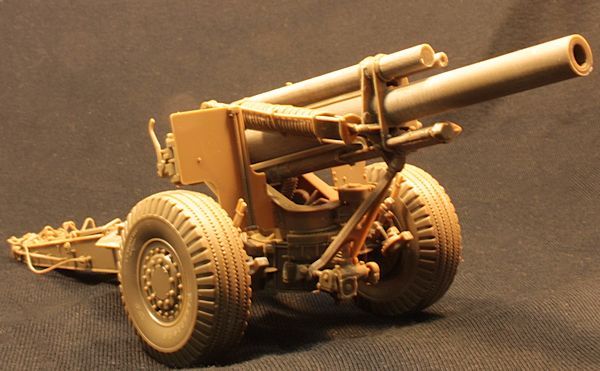
I decided to build my gun in the towed position, so installed all the spades and associated components as such. They all fitted into place extremely well, with no slop between them and their holders. In fact things fit so well, that later on I can display it in firing mode if I like. It was now time to deal with the seven piece wheels. I thought there may be a way to build these out of sequence, or backwards, and deliberately tried to do so, dry fitting them to see if it was possible. Nope. It didnt work, as the parts are keyed to fit into their corresponding pieces only in sequence. They look rather goofy while being assembled, but once completed they look amazing. The last few steps deal with adding the braking system to the wheels, then the wheels to the carriage. Other than that, the only other items to deal with are the ammunition rounds, powder bags and canisters that are also included, but I havent messed with these yet.conclusion
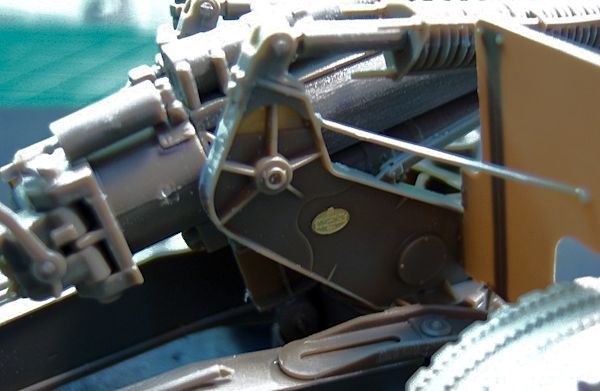
Overall this is an extremely well molded kit. There was one error I found in the instructions at step 9 where part D24 is mislabeled as D28. Overall, the instructions were fine, despite a couple of places where it wasnt too clear just how a part fits into or onto another. Test fitting helped solve the issues I encountered, so just take your time. As stated at the beginning, Im not a big fan of towed artillery, but this kit is exceptional and its really a nice addition to the ranks. Thanks to Bronco Models and Dragon USA for the review sample. Click here for Mike Del Vecchio's comprehensive in-box review of this kit.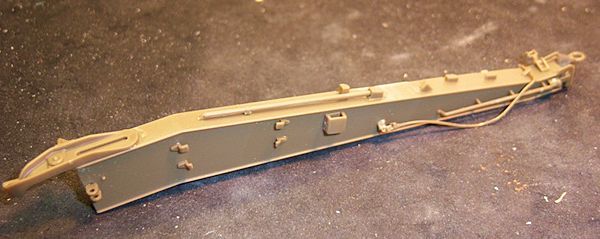


About the Author


FROM: CALIFORNIA, UNITED STATES
After a several year break from the hobby I have happily returned to it. Slowly, but surely getting my mojo back.
Comments
Thanks for that review, Matthew!
It was enough to make me order my issue!
I can't wait to be able to start it! IUt's definitely going to jump the cue!
Cheers,
Guido
JAN 17, 2012 - 05:57 AM
No problem Guido. It is a really nice kit. Just be sure to look over the instructions carefully in those few spots I stumbled on. "Q"
JAN 17, 2012 - 01:02 PM


This is a very nice build review Matthew. I feel much more comfortable handling the small kit parts after reading through this.
Cheers
JAN 31, 2012 - 04:36 AM
Copyright ©2021 by Matthew Quiroz. Images and/or videos also by copyright holder unless otherwise noted. The views and opinions expressed herein are solely the views and opinions of the authors and/or contributors to this Web site and do not necessarily represent the views and/or opinions of Armorama, KitMaker Network, or Silver Star Enterrpises. All rights reserved. Originally published on: 2012-01-15 00:00:00. Unique Reads: 19911

WEB HOSTING BY


Copyright ©2021 Armorama and Kitmaker Network, a subsidiary of Silver Star Enterprises
All Rights Reserved. Please read our Conditions of Use and Privacy Policy.
All Rights Reserved. Please read our Conditions of Use and Privacy Policy.