

1⁄35Building the Otter
3
Comments
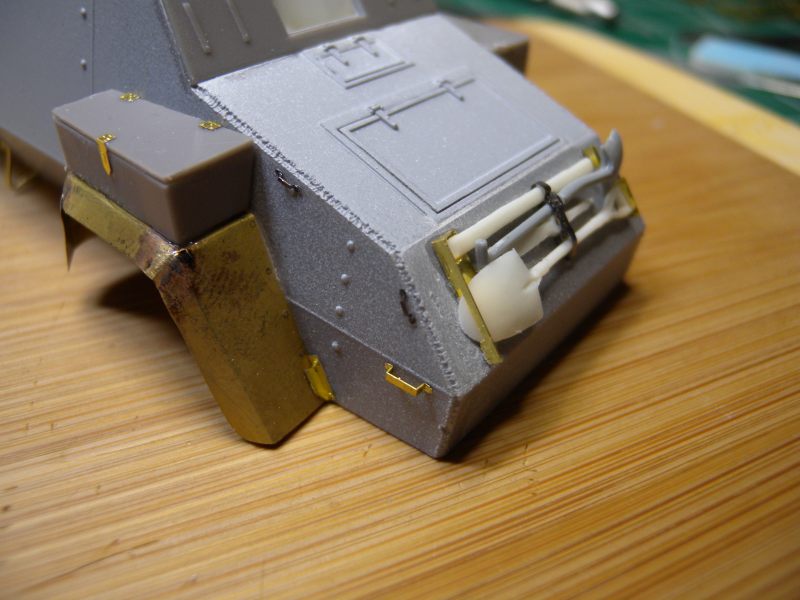
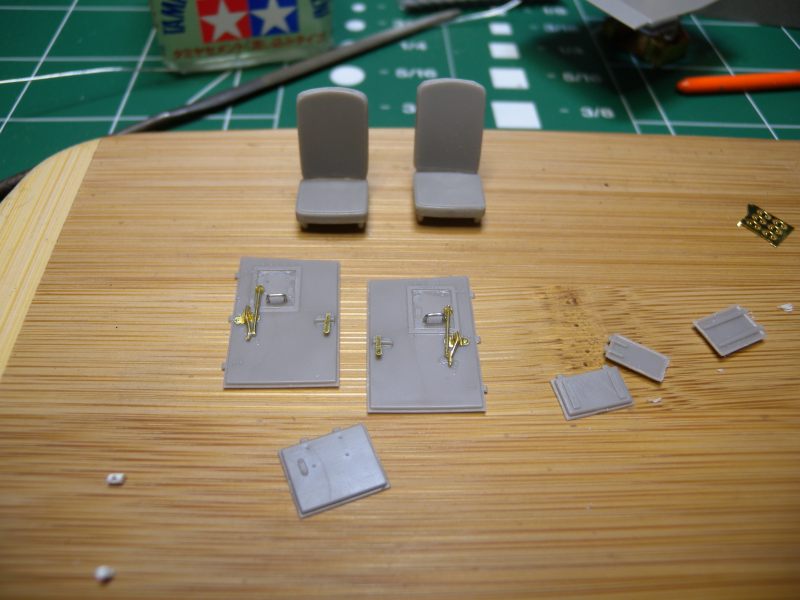
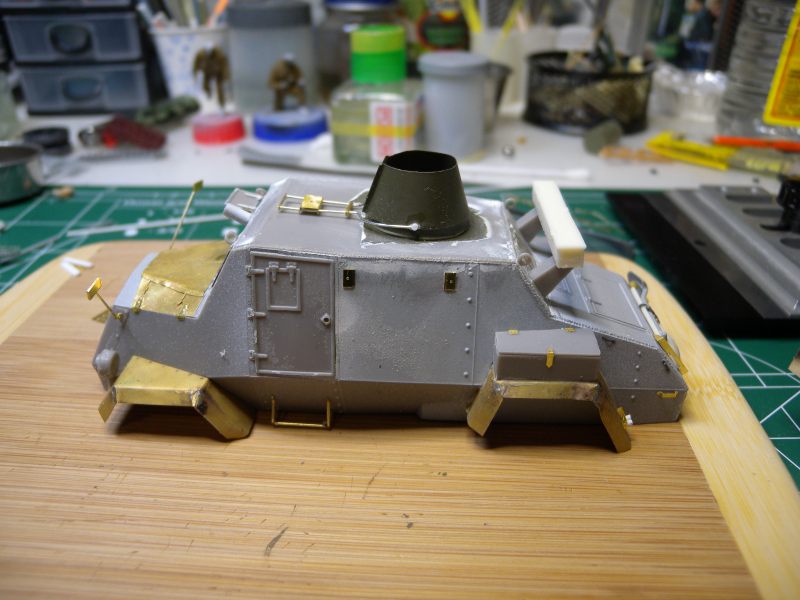
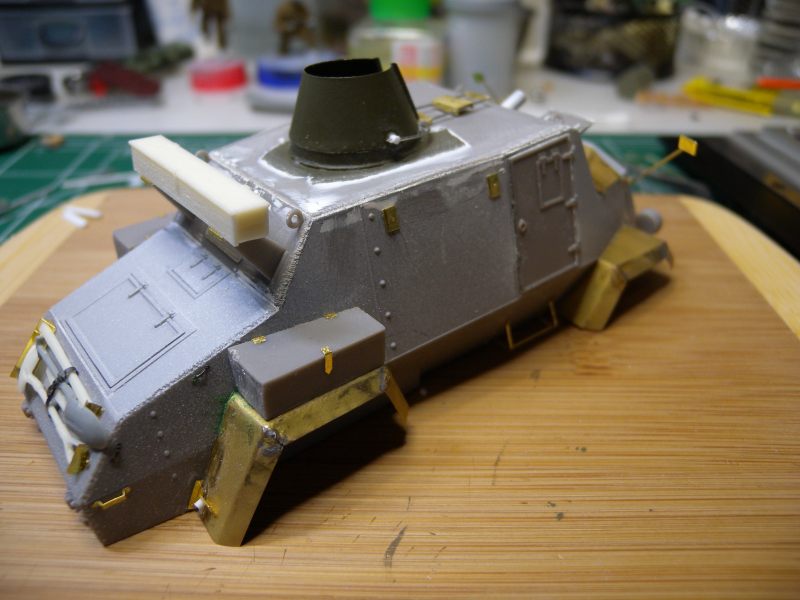
Leaving the top and upper rear plate off, I then tackled the interior. While the basic kit does come with the seat mounts and gear shifter cover in PE, support brackets are part of the LZ Models detail set. It should also be noted that the interior of the model is not complete, missing are the weapon rack, battery boxes, and stowage bins. If you are using the LZ Models detail set, I found it easier to mark the side walls for location, than glue these parts in. Once dry you can fit the upper parts, while dry fitting the roof to ensure proper fit.
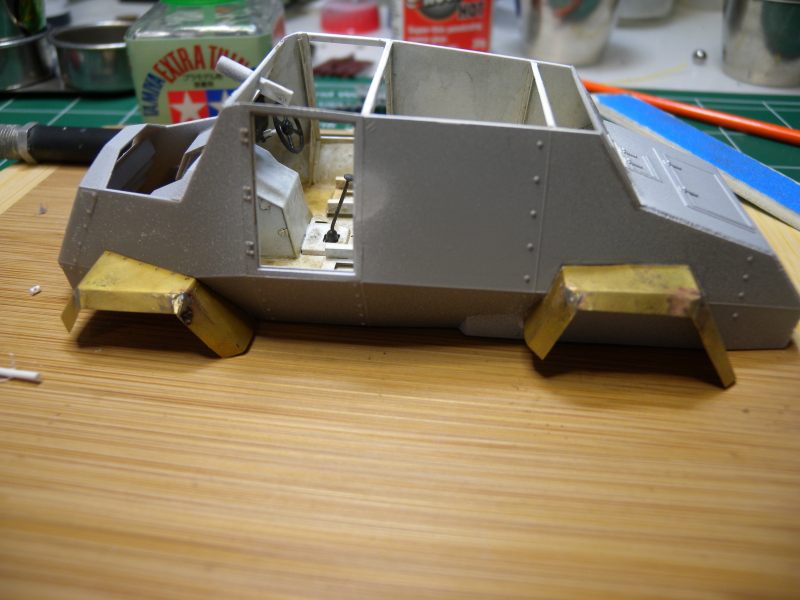
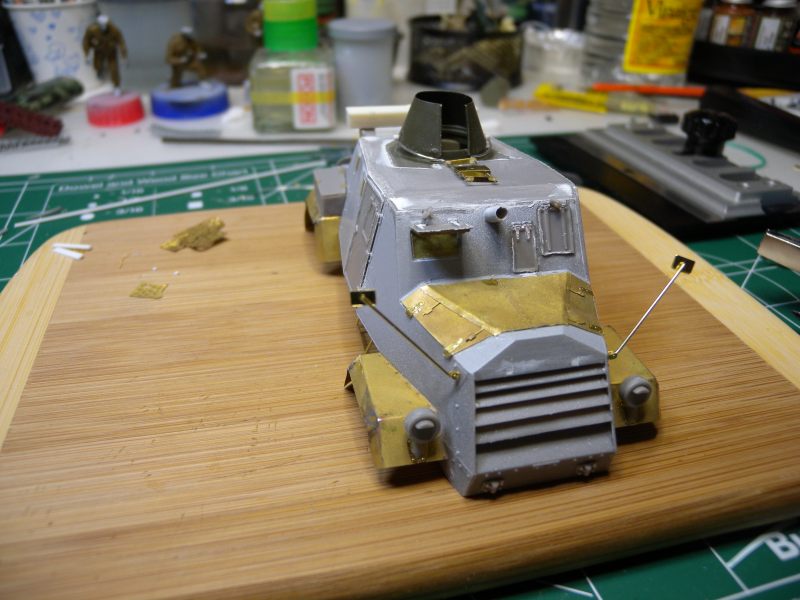
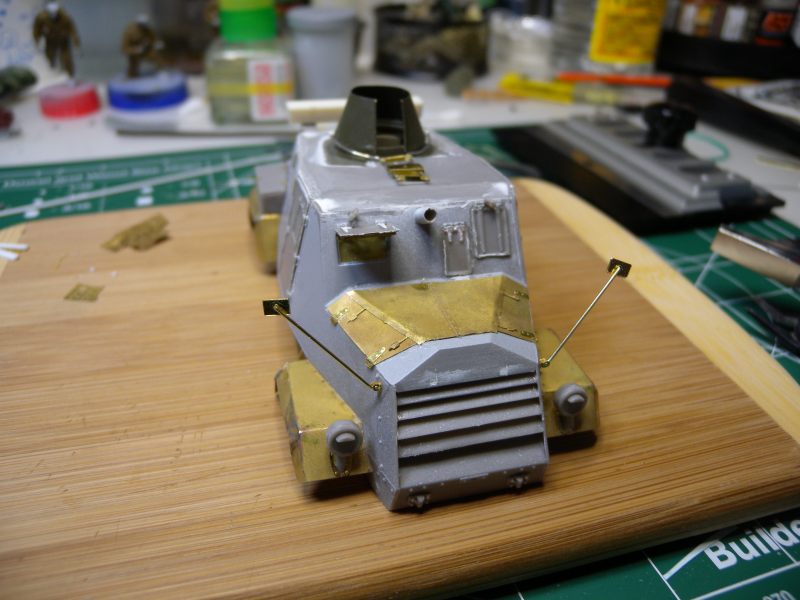
Aligning the front grills can be a daunting process, I am still up in the air about the best way to do it. For the Otter build I chose to attach the upper front hood part first, then attach the grill parts starting at the top. You will have watch the size of the grill parts as the four parts are actually two different lengths. Once they are sanded, and fit into place you can install the lower from hull part.
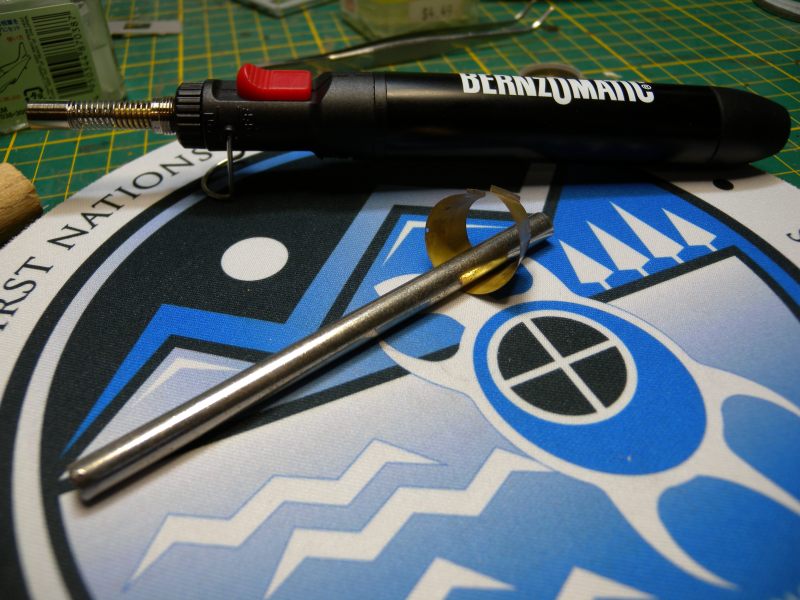
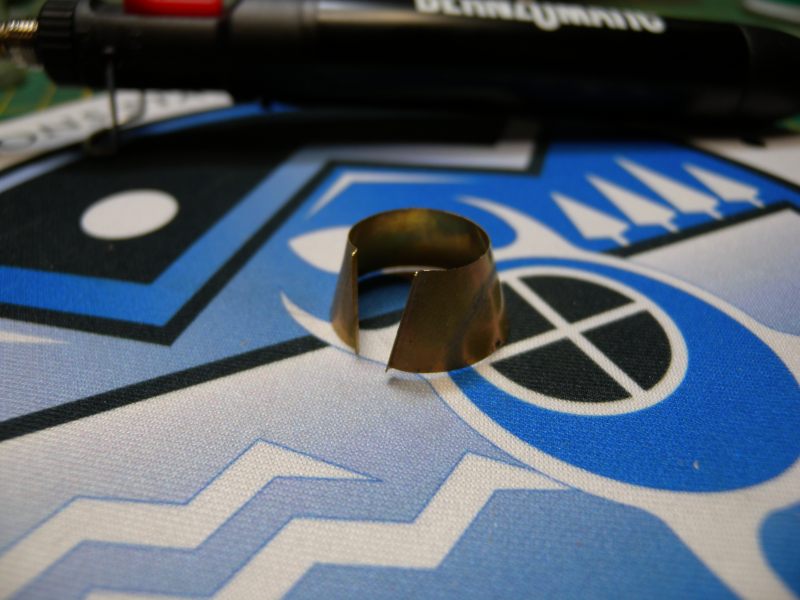
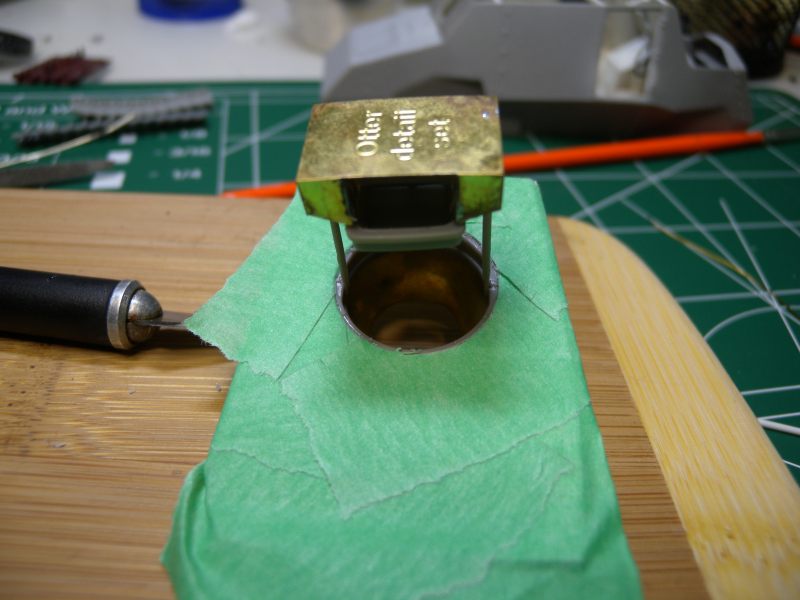
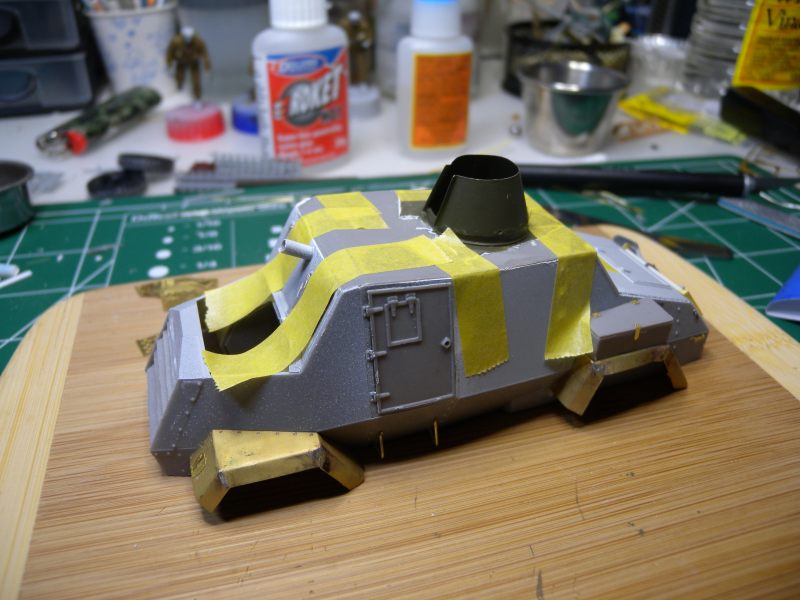
The top conical armor shield has been a bit of a discussion due to the fact it is photo-etched and has to be formed. This is not as daunting as it looks, just need a little planning, lighter or torch, a rod, and rubber matt. Holding the part with an insulated pair of needle nose pliers, I used my micro-torch to heat the piece of metal until it glowed red. After this has cooled, the metal will be a more pliable. Placing the part on a soft rubber mat, I used an spare mouse pad I had laying around, then starting in the middle, I started rolling the rods back and forth, this will cause the part to start to curve. I took my time to ensure I formed a good circle. Once I had the basic shape, I bend the flanges at the opening, and then mounted on the plastic round shield base with CA. Hey Presto, shield formed.
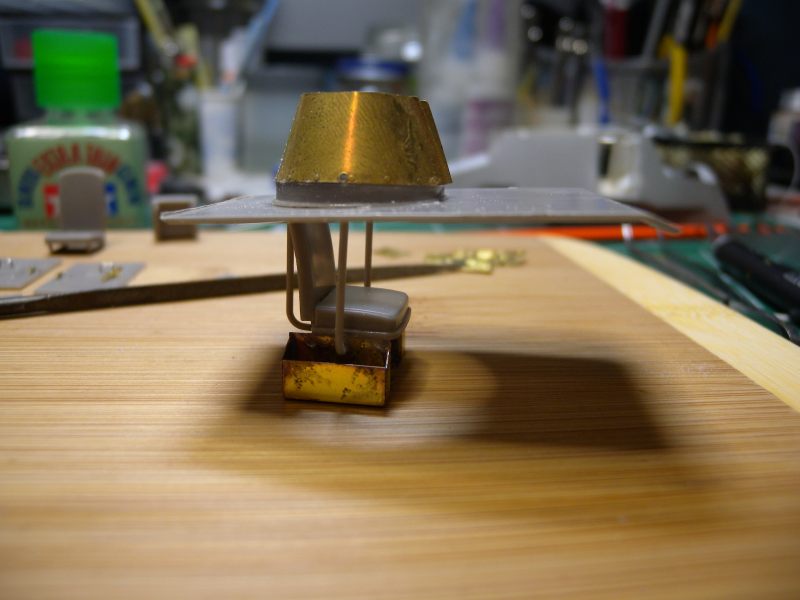
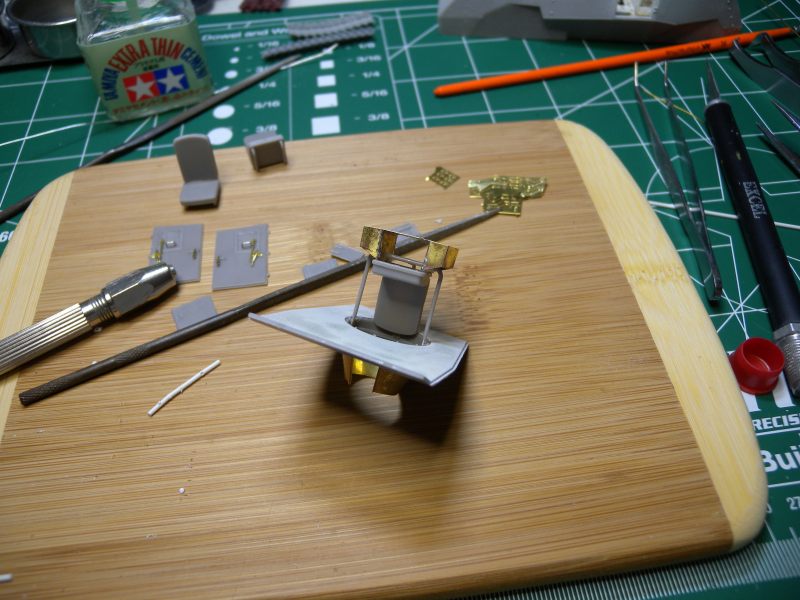
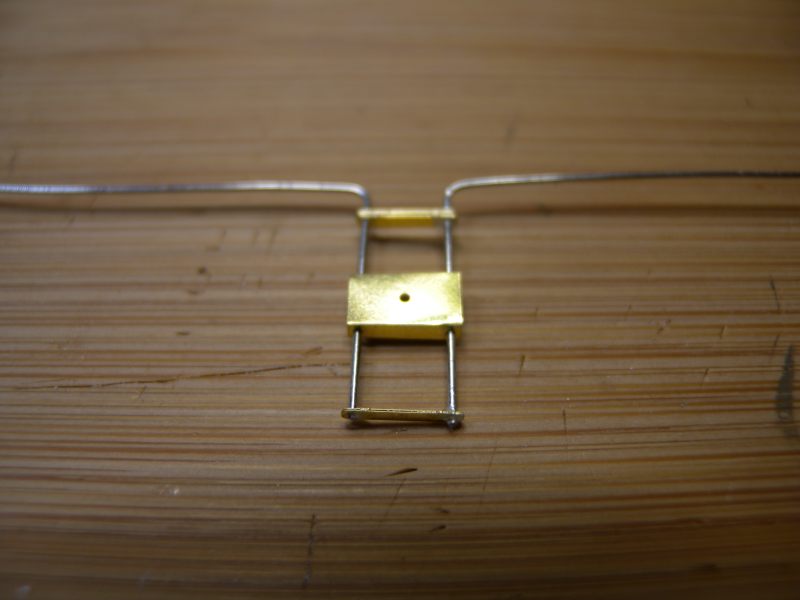
I then moved on to completing the bars and seat, again the PE detail ammunition bins are from the LZ Models detail set. If using this set, mount the bins after installing the shield and set assembly through the top, as the bins will not fit through the hole.

About the Author


FROM: ONTARIO, CANADA
I am an IT Consultant and father, with a passion for plastic models. I mostly prefer 1/35 Armor and 1/48 Aircraft. My main interests are anything Canadian, as well as WW2 German and British Armor and Aircraft. I have been building models since I was a young kid, got away from it for awhile, but r...
Comments

How do you know the website you used has the correct information re-markings for your vehicle and Mirror Models hasn't? Just wondering..
MAY 25, 2013 - 03:38 PM

The markings from Acorn Armour comes from a photo I have seen, that I spoke with the website author about. The vehicle would have the front markings as well, which were not provided in the Mirror Models kit, as the reference only shows the rear and side of the vehicle.
 Hope that helps.
Hope that helps.MAY 26, 2013 - 01:52 AM

Very well done, very nice kit...
Looks like winter is going to be fun,
thanks for this one,
H.
MAY 26, 2013 - 03:32 AM
Copyright ©2021 by Kevin Brant. Images and/or videos also by copyright holder unless otherwise noted. The views and opinions expressed herein are solely the views and opinions of the authors and/or contributors to this Web site and do not necessarily represent the views and/or opinions of Armorama, KitMaker Network, or Silver Star Enterrpises. All rights reserved. Originally published on: 2013-05-24 20:17:13. Unique Reads: 15690

WEB HOSTING BY


Copyright ©2021 Armorama and Kitmaker Network, a subsidiary of Silver Star Enterprises
All Rights Reserved. Please read our Conditions of Use and Privacy Policy.
All Rights Reserved. Please read our Conditions of Use and Privacy Policy.