

1⁄35 AUF 1 Build from the Box
...
Post a Comment
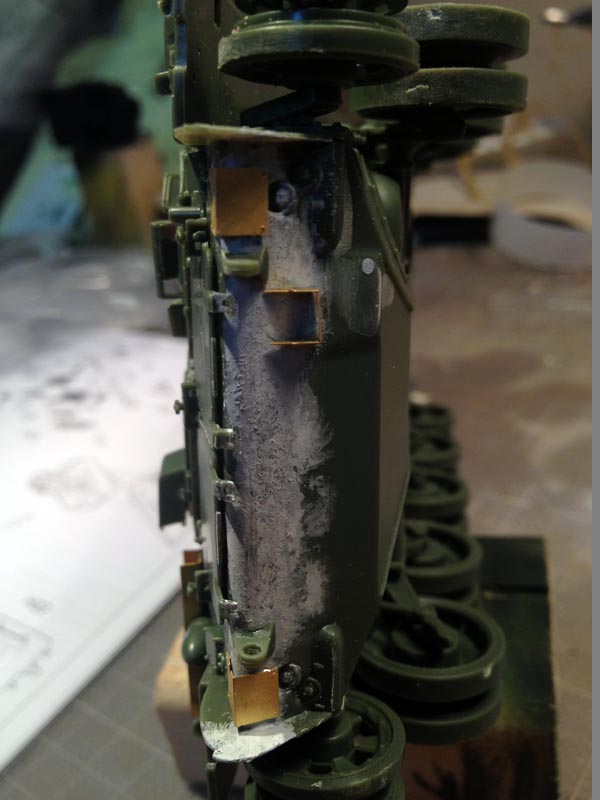
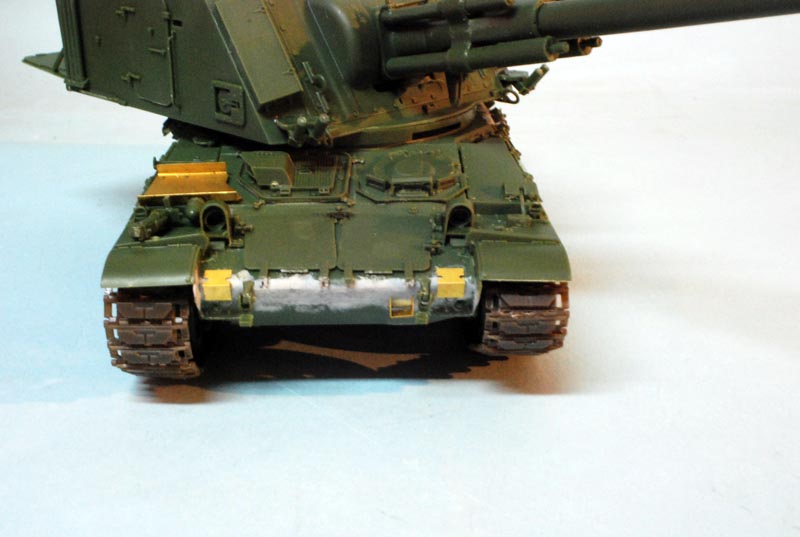
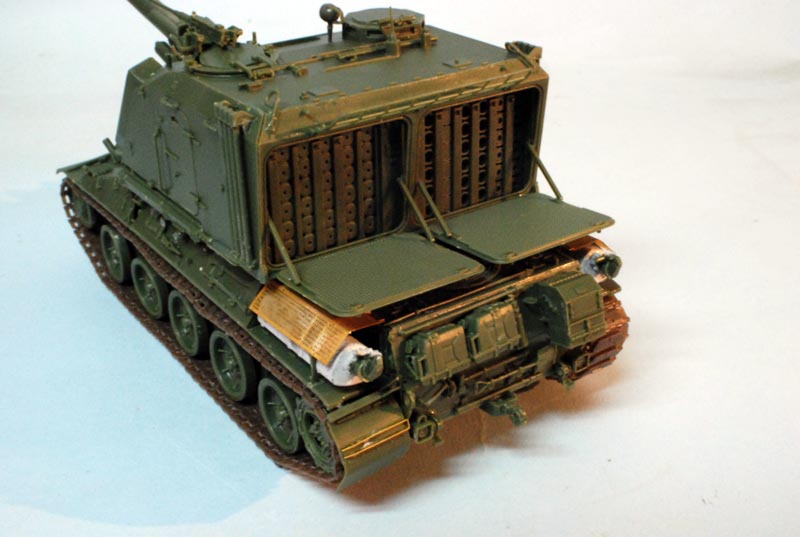
Step 11 & 12 cover the build of exhaust pipes as well as the rear jerry cans. This step is trouble free and you have the choice to depict the cover open or closed. I added extra detail with diluted Tamiya putty for the roughness of the surface.
Step 13 & 14 are dedicated to the attachment of all tools on the rear wall, nothing special to comment on here.
Step 15 is the finalizing step covering the attachment of tools on the rear panels. The exhaust pipes are covered by photo etched mesh. These pieces are folded using a jig provided by Meng. Nice addition.
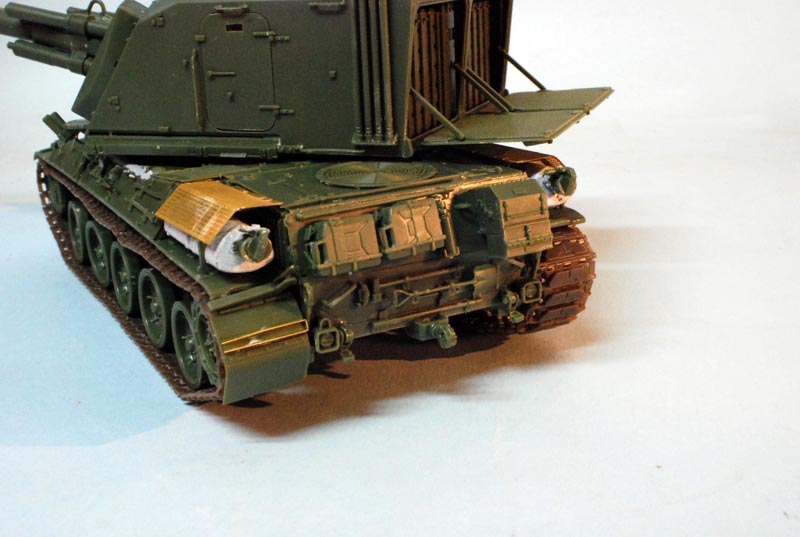
Step 16 - 19 is dedicated to detailing the front glacis with cover fenders. Again dont glue parts G23 + G24. Both tools boxes are nicely detailed and the engineering of these boxes is really smart. Their attachment to the front hull is flawless. The two front lights are glued onto the hull.
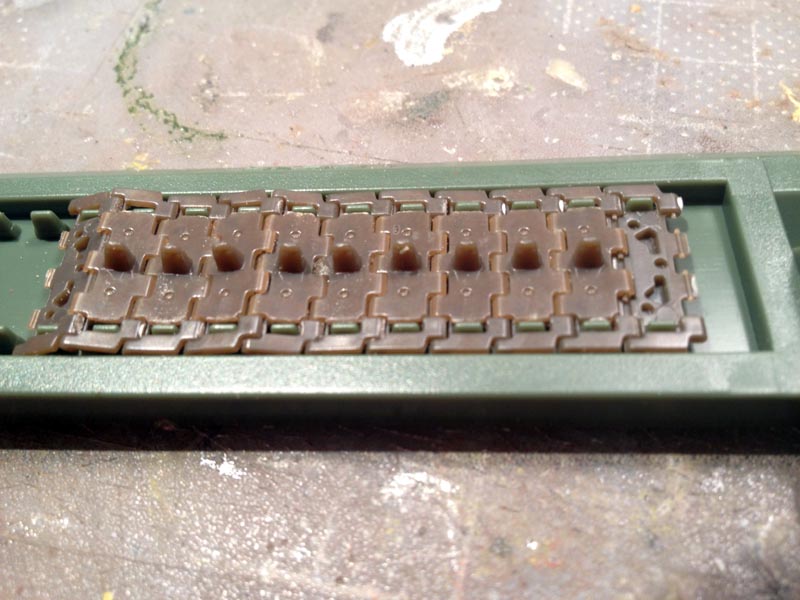
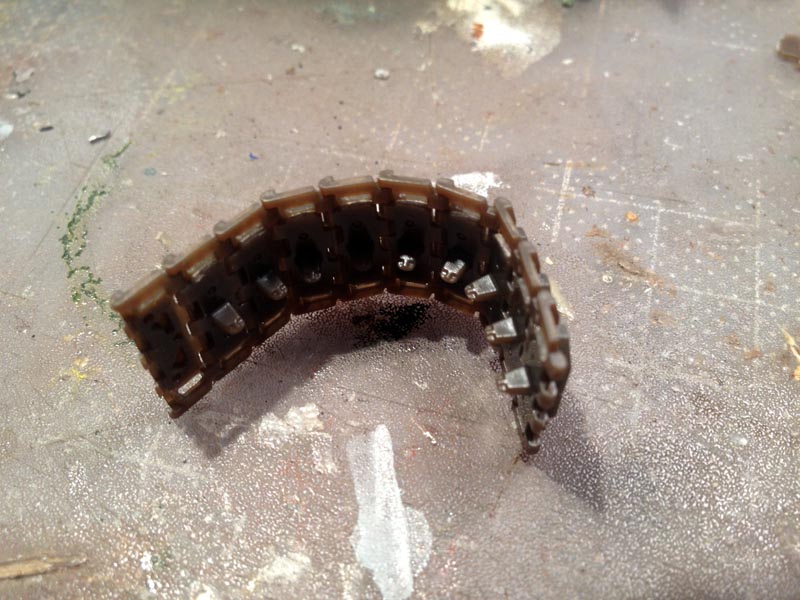
Step 20 & 21 are for the tracks with 80 links being required for each side. Each track link is composed of two pieces and a jig is proposed by Meng for the assembly. But to be honest a snap track would be better as assembly was a nightmare, the small pins used to secure each links are too small. So whatever technic you decide to use they keep breaking apart. You need almost to glue all links together.
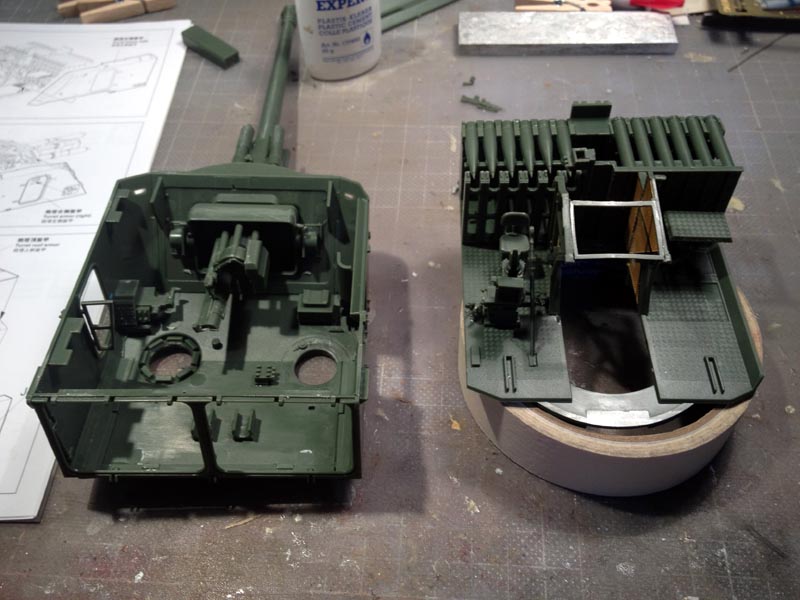
This concluded the build of the chassis now to the turret.
Step 22 is covers the gun mantlet inside and out. Four shock absorbers (H9+H10+H20+H19) are glued with the central piece H6, there are no pins inside parts of the shock absorbers so be careful of the alignment. The gun breech is rapidly built and the details are good, just a quite note on the painting step, you need to do it now since the access will be nearly impossible after.
Step 23 - 25 are the seats, floor, and breech protection fence assembly, just pay attention while gluing the photo etched part onto the support.
Step 26 is the gluing of the protection fences onto the turret floor as well as the aiming computer.
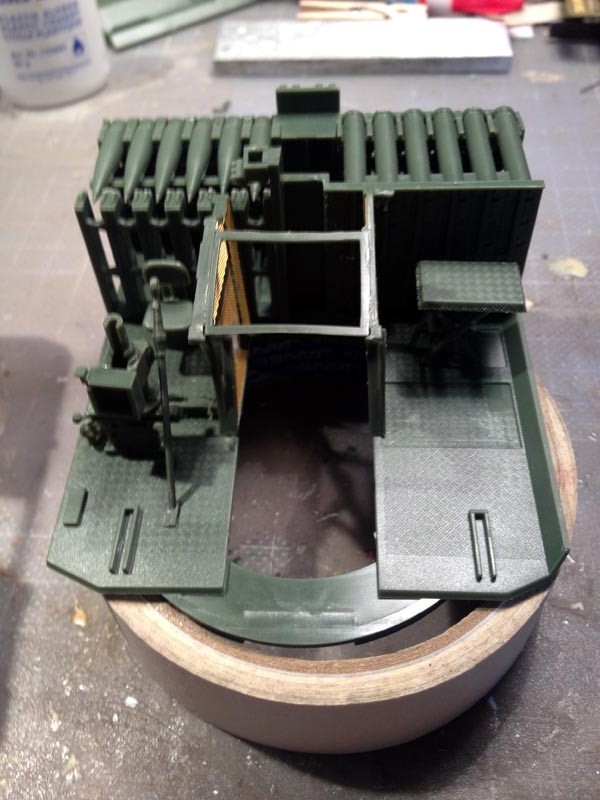
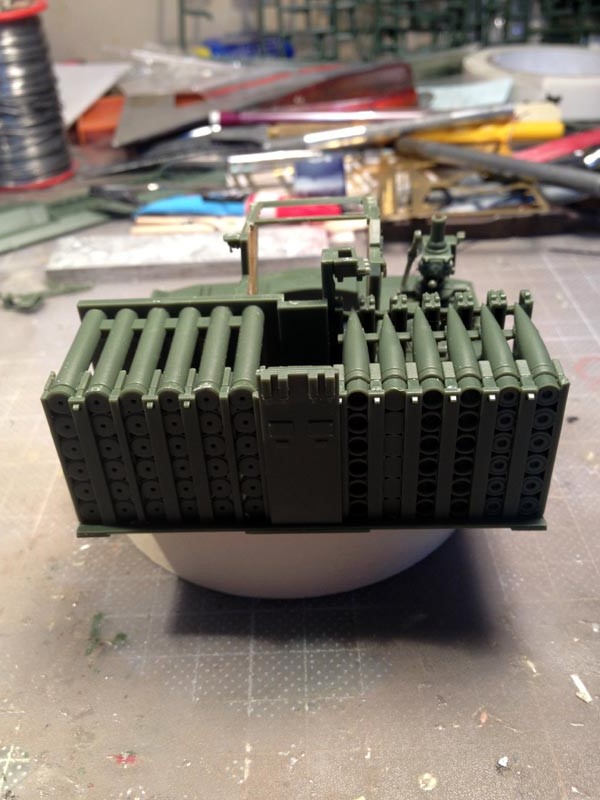
Step 27 & 28 is the construction of the ammunition rack. In order to ease the build and to save weight only the extremity and top part of the rack are depicted.
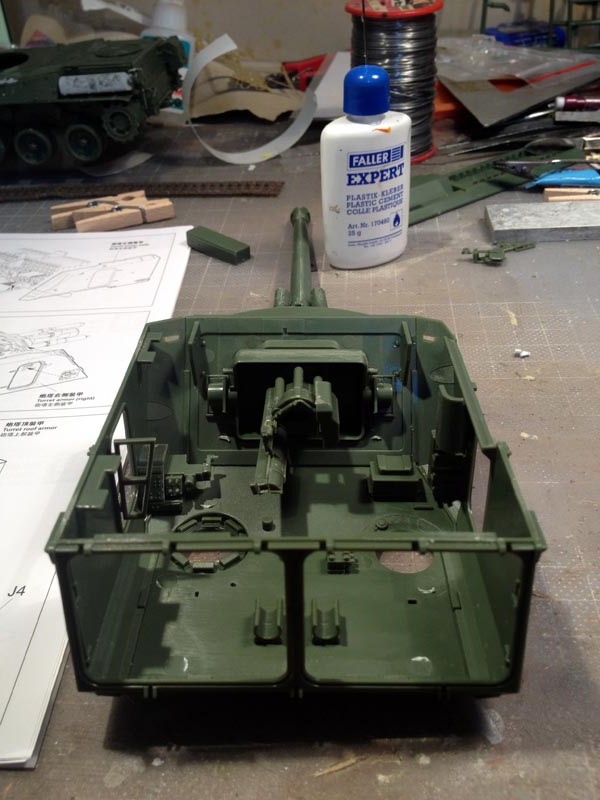
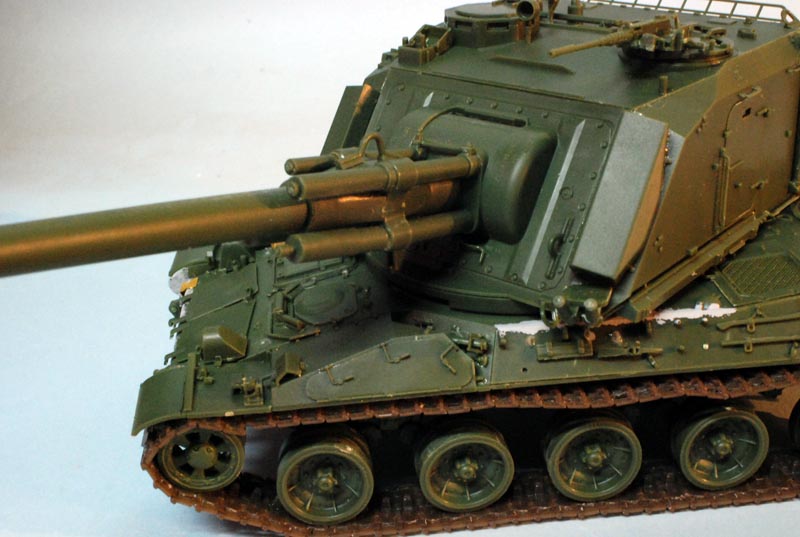
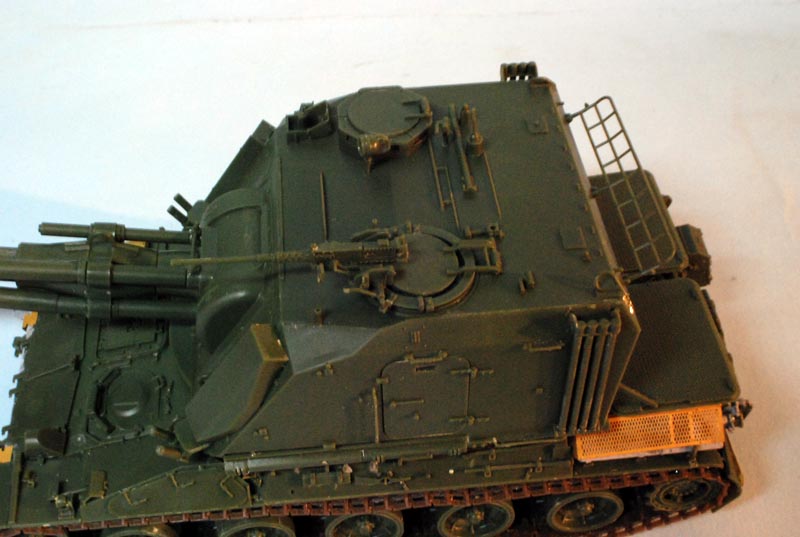
Step 29 - 32 are focused on the turret wall and top. I will recommend you glue parts J6 + J17 to part H1 and then to glue the gun mantlet onto H1. Dont glue them directly onto the floor, it will be impossible to do a proper paint job after.
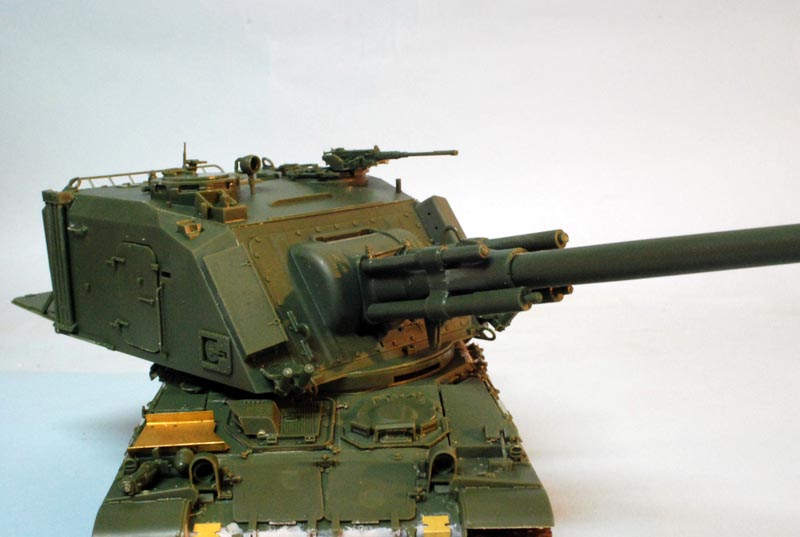
Step 33 - 37 cover the gluing of the turret details, mainly hatches, smoke dischargers and cleaning rods. You can leave all doors and hatches open. For the TC hatches to be shown open you need to glue the M2 in place. The machine gun has standard detail and a turned brass offering would have been better.
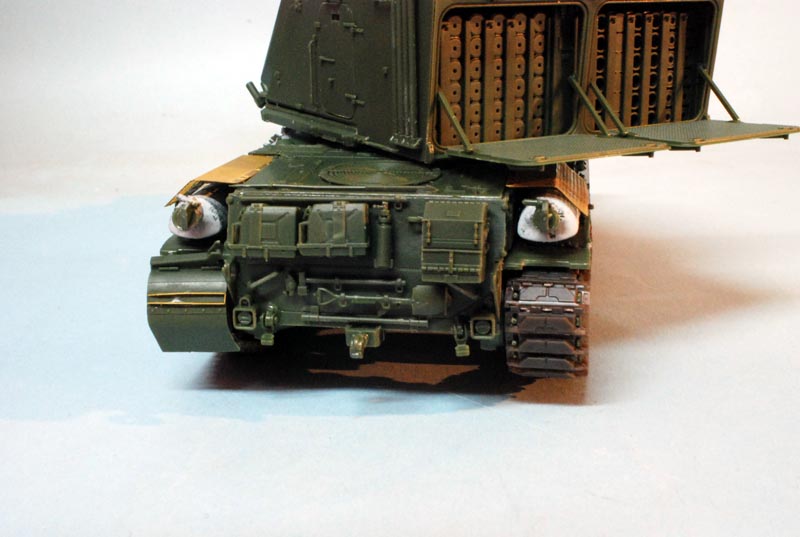
Step 38 covers the assembly of the rear ammo doors, again you have the choice to depict it open or closed. In my case, they are open.
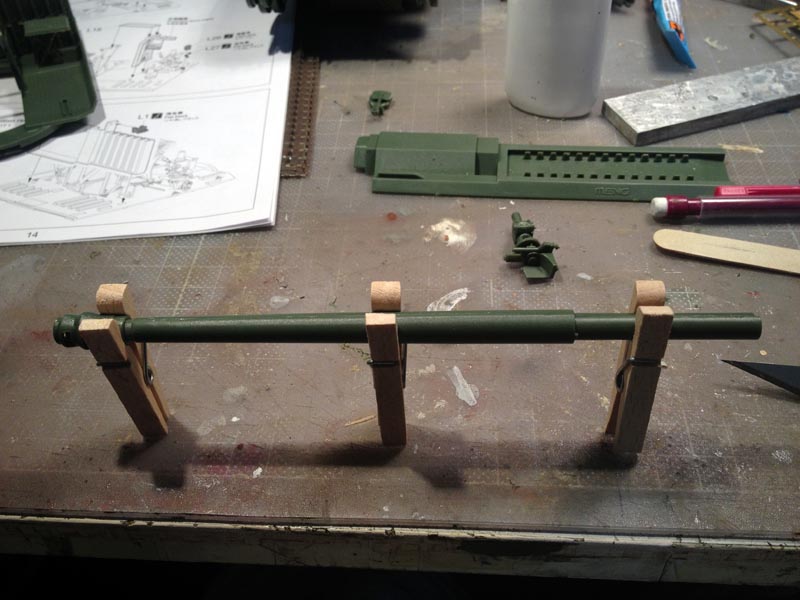
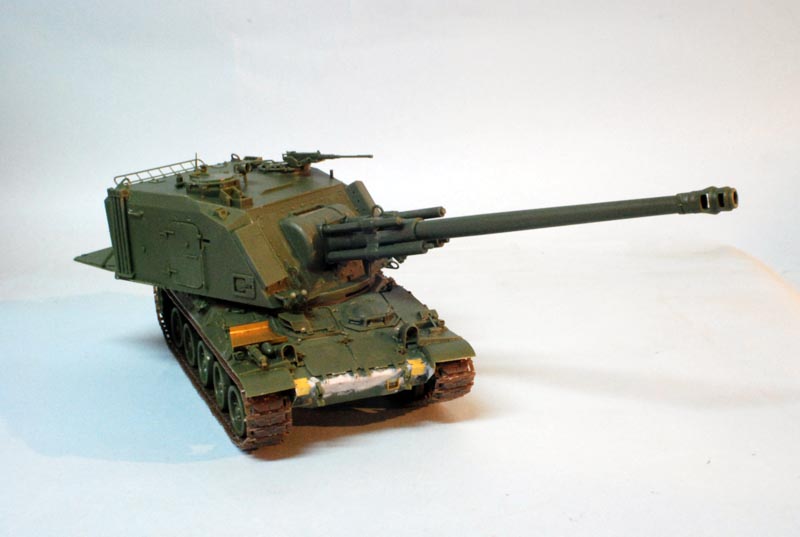
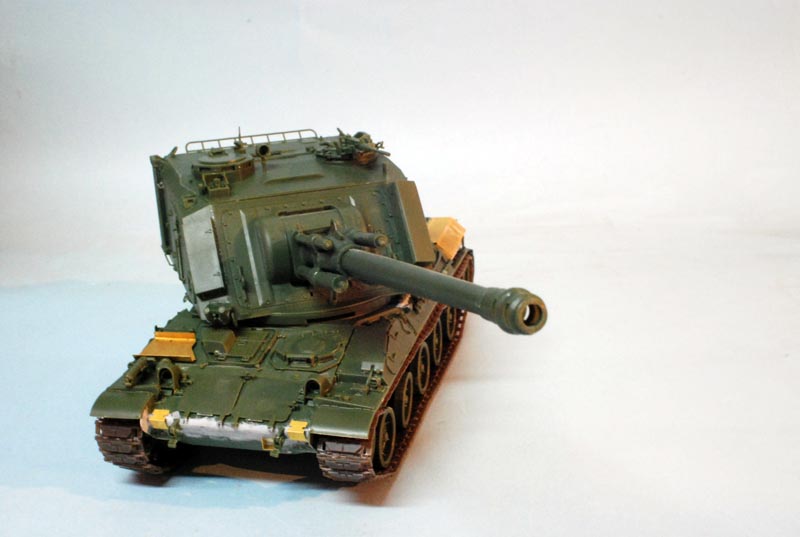
Step 39 is the assembly of the gun. The gun barrel is supplied in two halves and you need to take special care in order to blend the line and a metal barrel would have been better.
Conclusion
In my opinion Meng did a great job to release such unique subject and as a French modeler I was happy to work on it. But I have to stress two points: the tracks and gun does not make a kit for the beginner. The tracks were difficult to assemble and their mounting onto moveable wheels was not an easy process. The gun which is the focal point of the model clearly deserves a better rendition that the plastic build one. I am curious to see how free moving torsion bars survive after 2~3 year with the heavy turret on top of it. I will definitely recommend youto glue them if you are not displaying your model in diorama with uneven ground.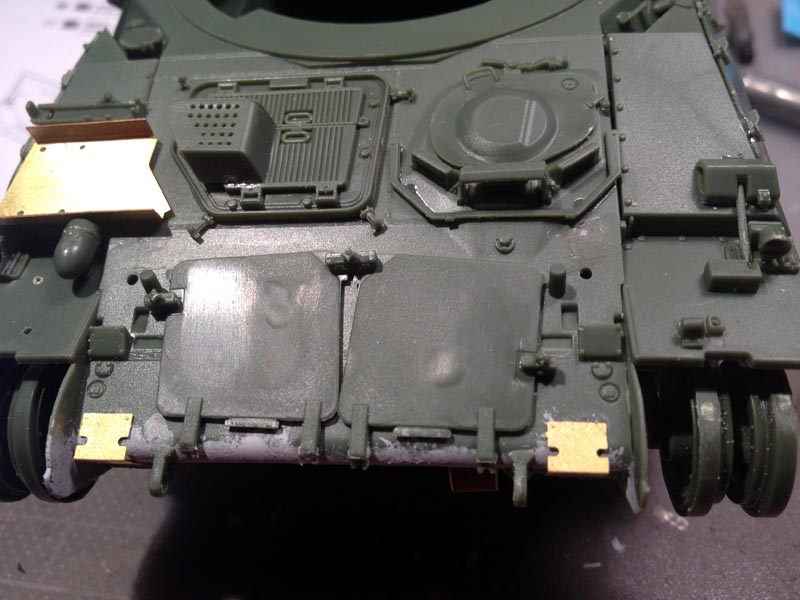


About the Author


FROM: PARIS, FRANCE
Back to Europe, I am living in Paris since december 2011 with my Wife. We have a nice 6 years old daughter, and a 3 years Baby boy. I am doing AFV modern era. I started when I was a teenager , back to business after 10 years of break due to Sport (Baseball, yes european plays baseball) and Unive...
Comments
Copyright ©2021 by Seb Viale. Images and/or videos also by copyright holder unless otherwise noted. The views and opinions expressed herein are solely the views and opinions of the authors and/or contributors to this Web site and do not necessarily represent the views and/or opinions of Armorama, KitMaker Network, or Silver Star Enterrpises. All rights reserved. Originally published on: 2013-07-07 15:41:51. Unique Reads: 13221

WEB HOSTING BY


Copyright ©2021 Armorama and Kitmaker Network, a subsidiary of Silver Star Enterprises
All Rights Reserved. Please read our Conditions of Use and Privacy Policy.
All Rights Reserved. Please read our Conditions of Use and Privacy Policy.