Quoted Text
Any word on AM hoops for the bed for those of us who can't bend 2 pcs of wire the same and tend to set fire to the workbench when attempting to solder ?
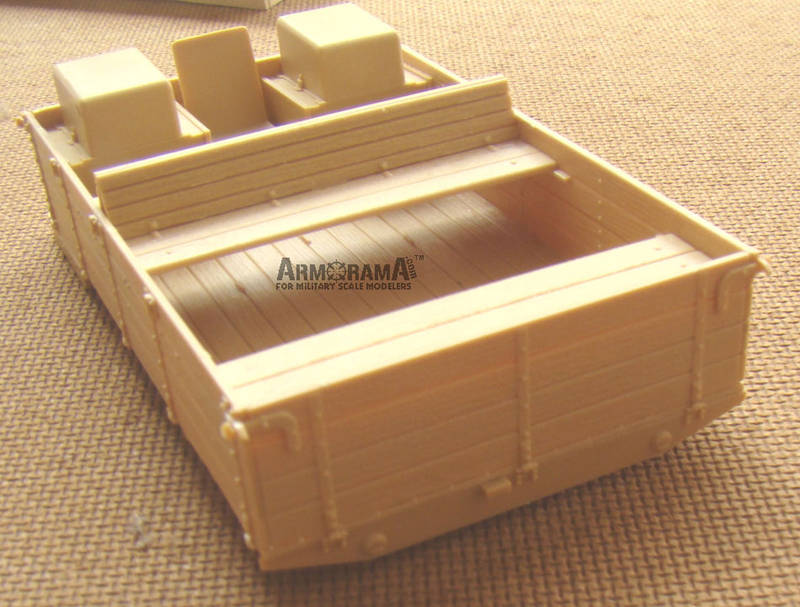
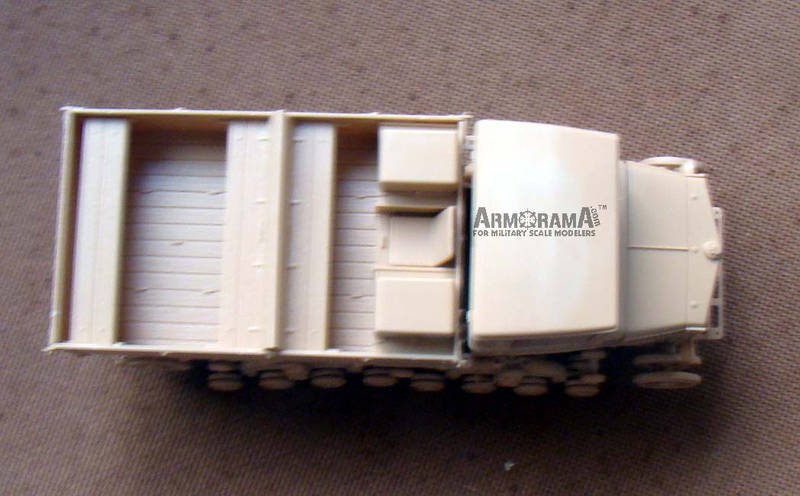
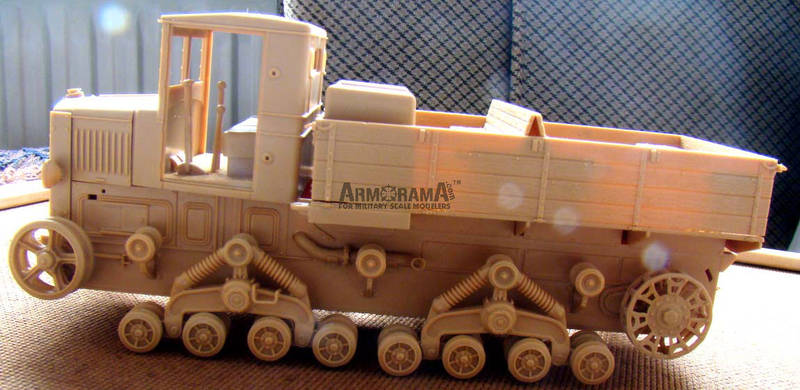
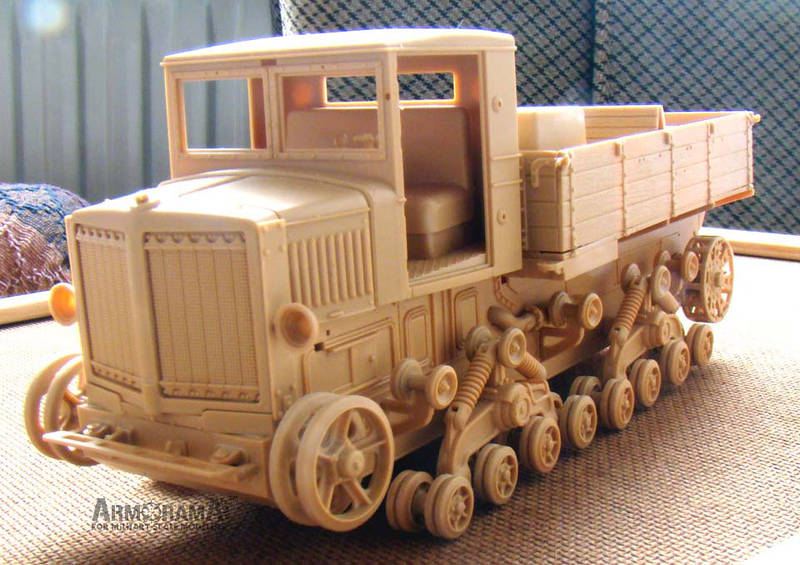
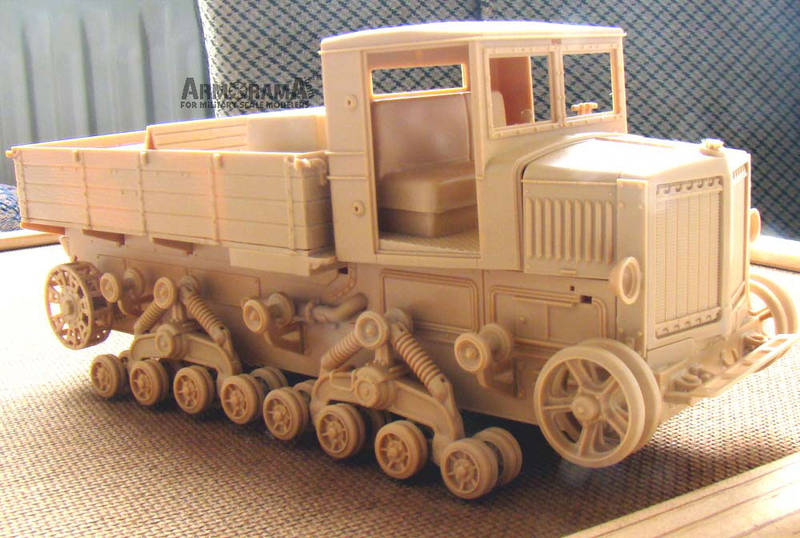
I'll hopefully be starting on them this week. The biggest help is the one-piece tilt. I'm going to be using it as a 'former' (from the inside) to get the correct curve on the hoops. It's simpler than other vehicles as the three attachment points are moulded onto the cargo bed side panels. Now, the most detailed photo I have, of the hoops, is of a German vehicle. Many of the photos show three things:
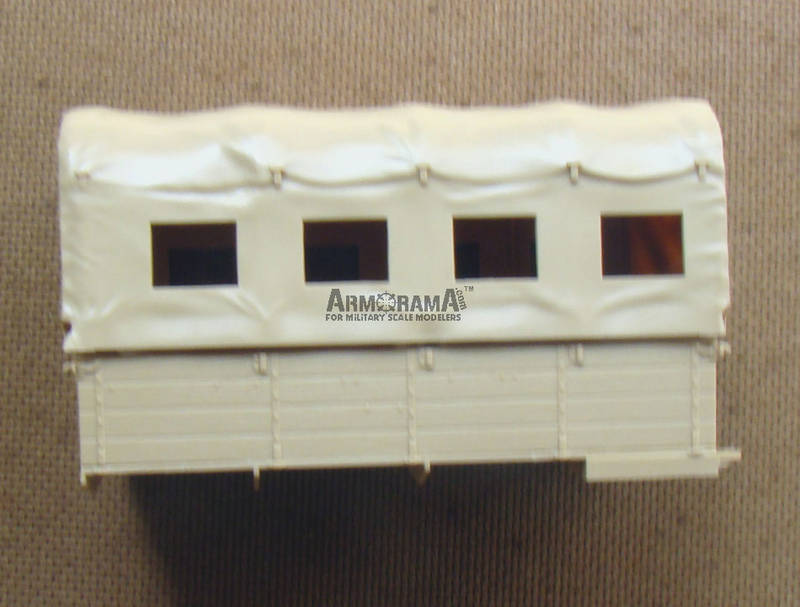
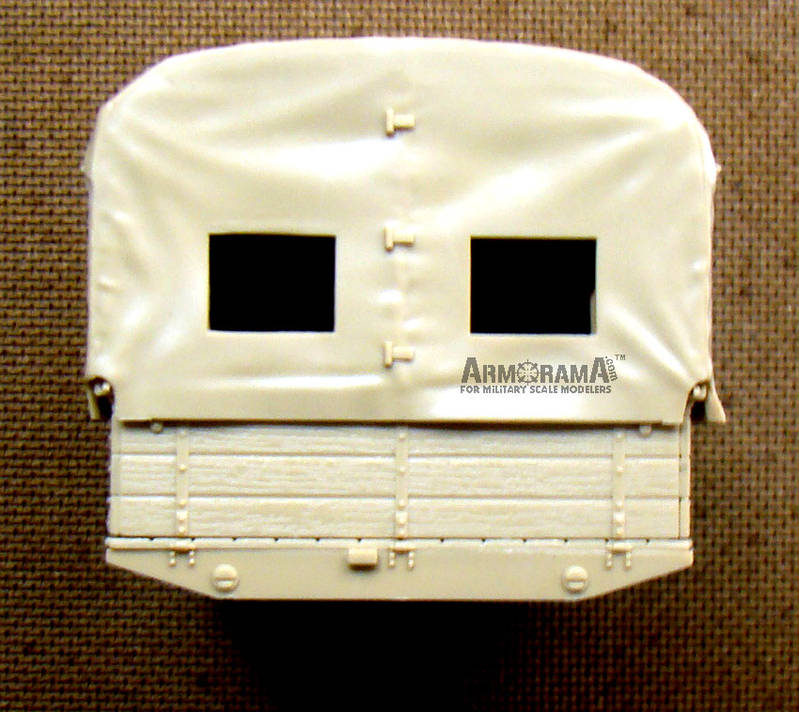
1) With the (canvas) Tilt fitted
2) With the hoops removed
3) In some of the German photos, the Tilt has been replaced with a rigid (plywood?) shelter-type structure which follows the same dimensions. This should be the easiest to model as, once again, the kit-supplied tilt will give the correct dimensions.
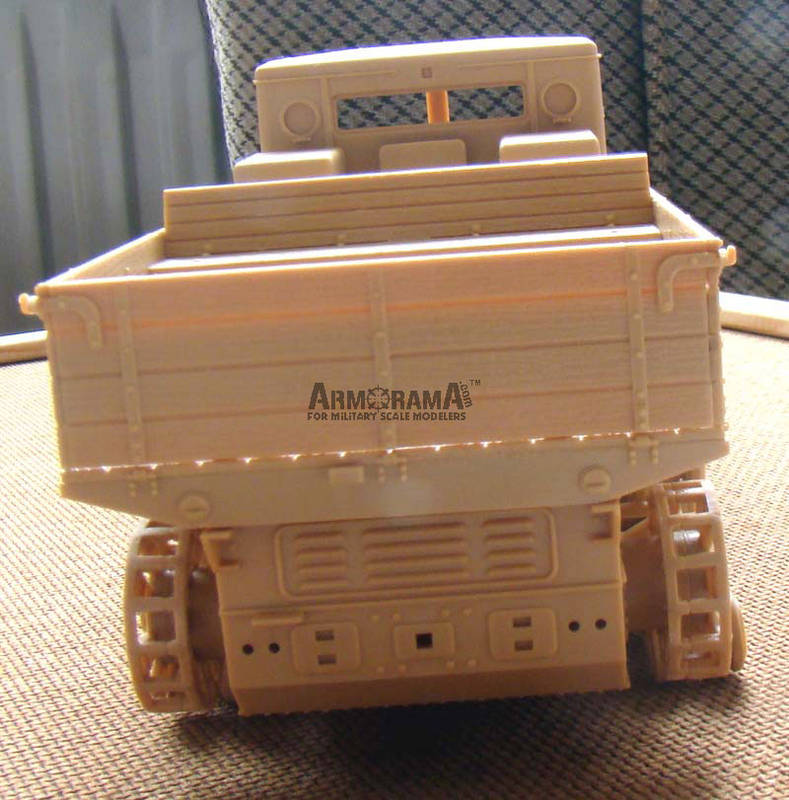
Another point, which is worth thinking about, is if the tilt is used, then i'd suggest replacing the kit-supplied clear plastic windows and replacing them with clear polythene. That's how they should look - the plastic parts look too much like glass.
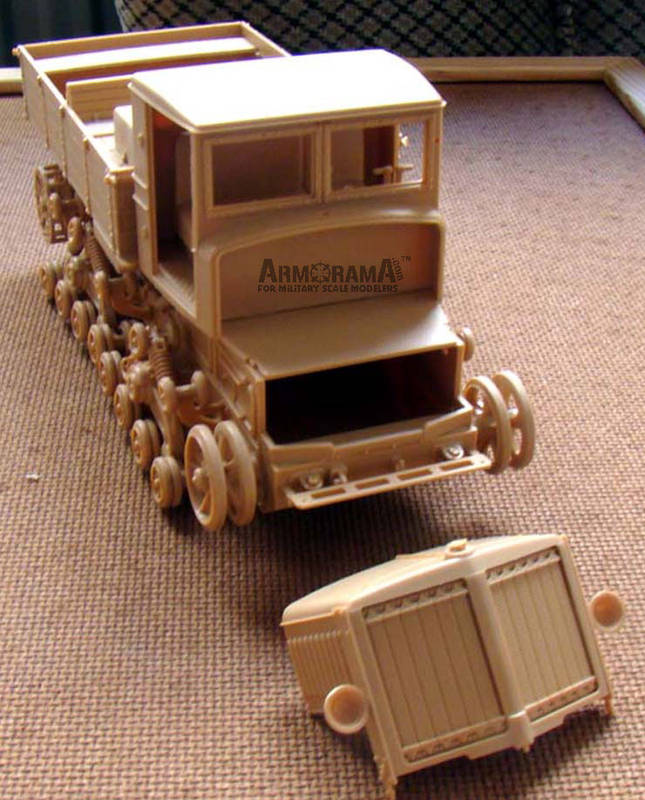
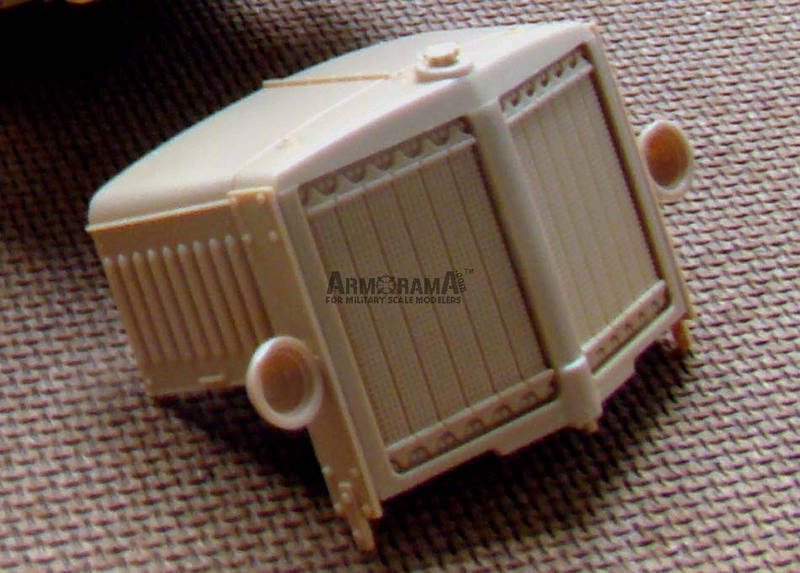
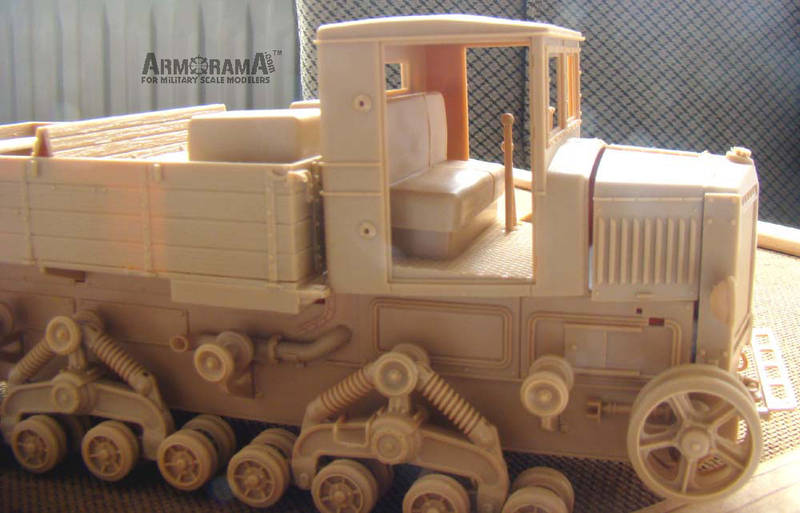
Thre are , as far as I know, no more detailed images of the cab interior.


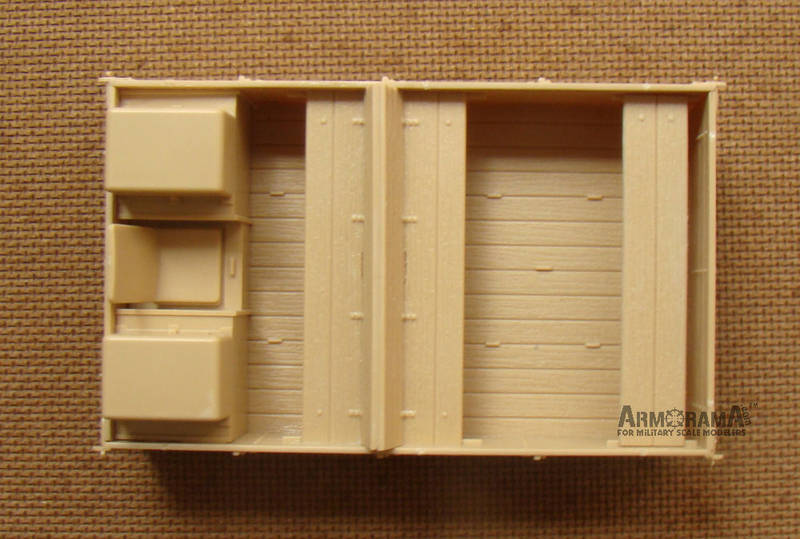
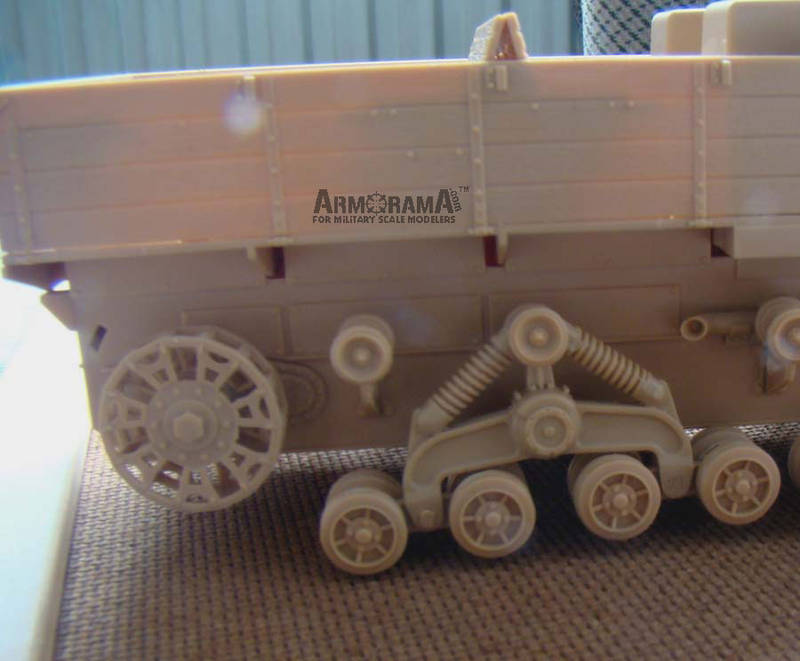
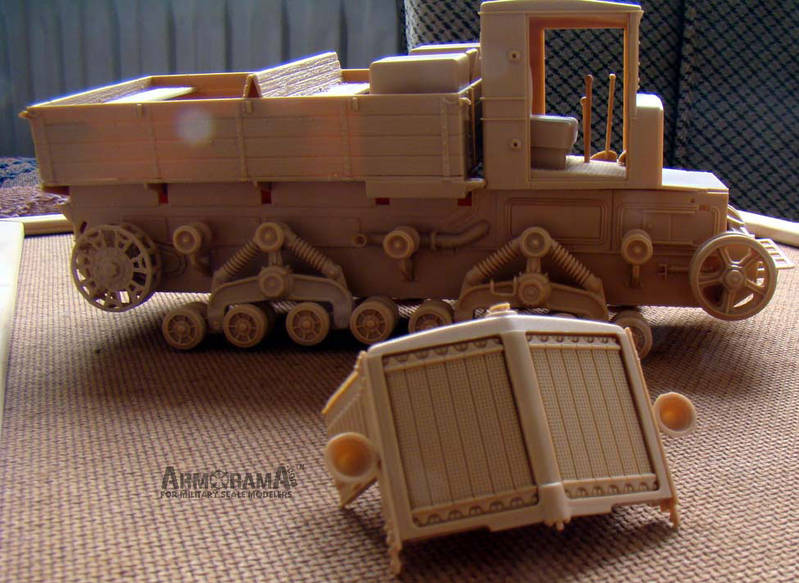
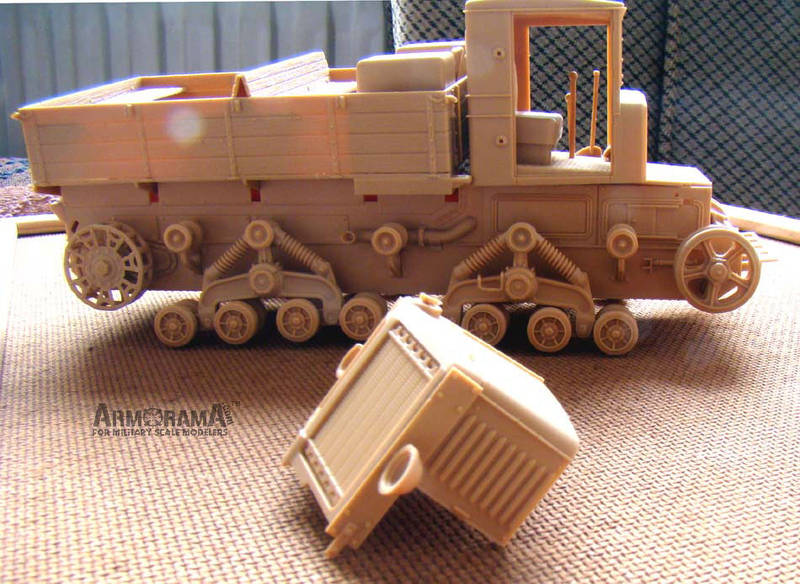
 ) is the 'graining' of the wood-effect. It SHOULD disappear after painting as I still feel it's TOO heavy.
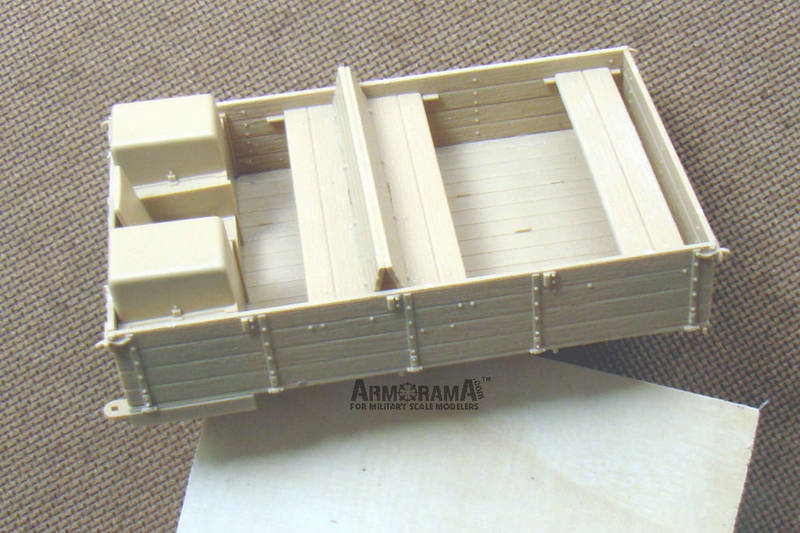