_GOTOBOTTOM
Яusso-Soviэt Forum
Russian or Soviet vehicles/armor modeling forum.
ChTZ S-65 Tractor
FAUST
#130
Visit this Community
Noord-Holland, Netherlands
Joined: June 07, 2002
KitMaker: 8,797 posts
Armorama: 4,190 posts
Posted: Sunday, April 15, 2012 - 03:53 AM UTC
Ola Guys

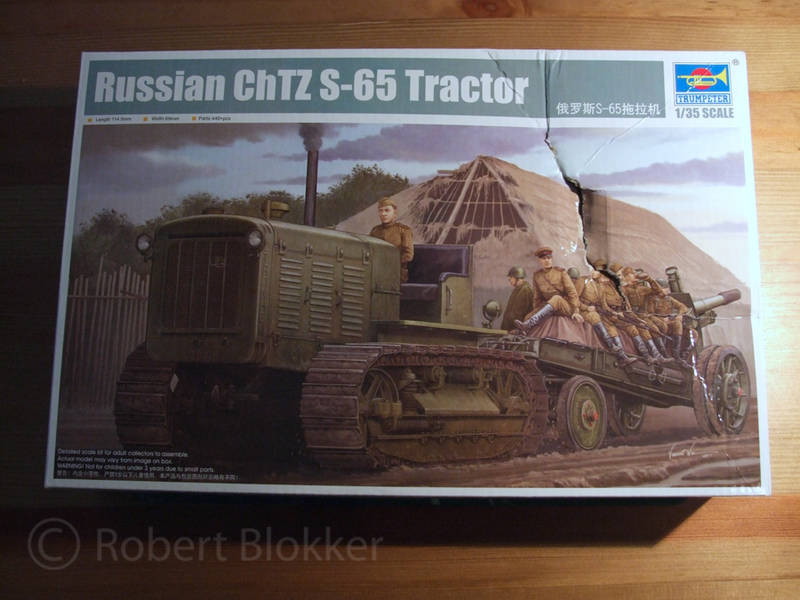
Recently I reviewed Trumpeters ChTZ S65 tractor. Review can be found here

Now of course as follow up here is the Built log which I can do since all my other projects are stalled for a multitude of reasons. So here goes. It actually is builtlog not only for the Trumpeter kit but also for LZ models engine and Radiator set.

This is the box, Battledamaged and all.

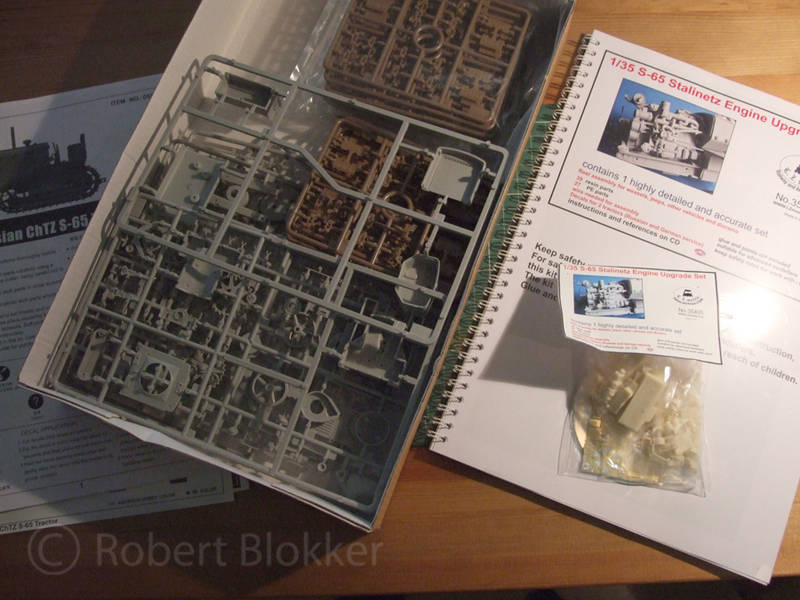
The Contents

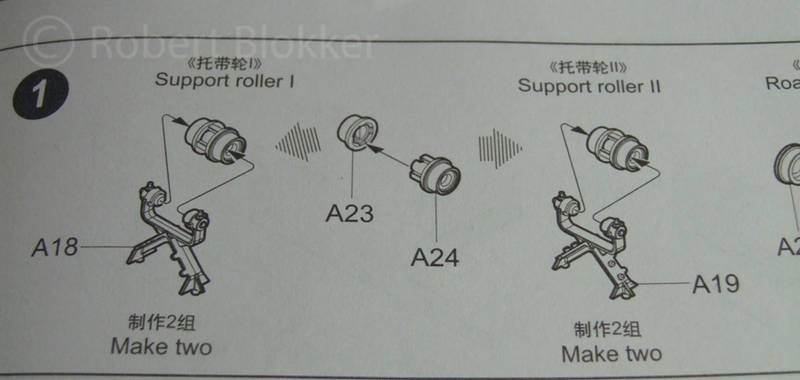
On to step 1. As you can see the holders for the guidewheels are not similar. One has little nubs on it the other hasn't. Each running gear needs one of both. Keep this in mind when you assemble them not to mix them up.
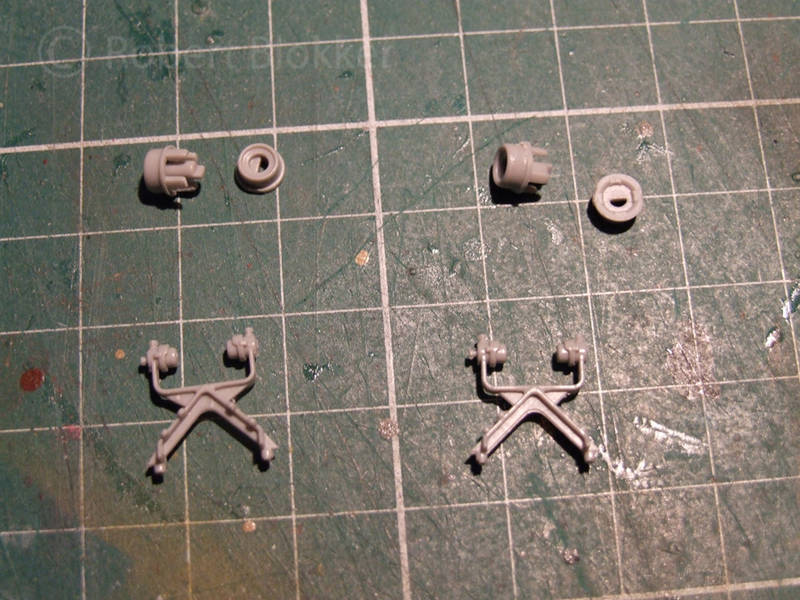
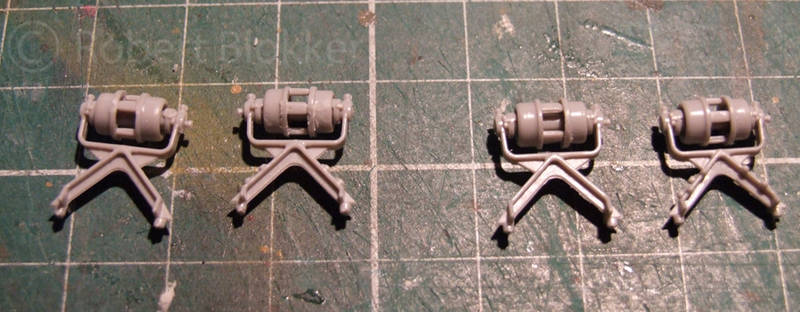

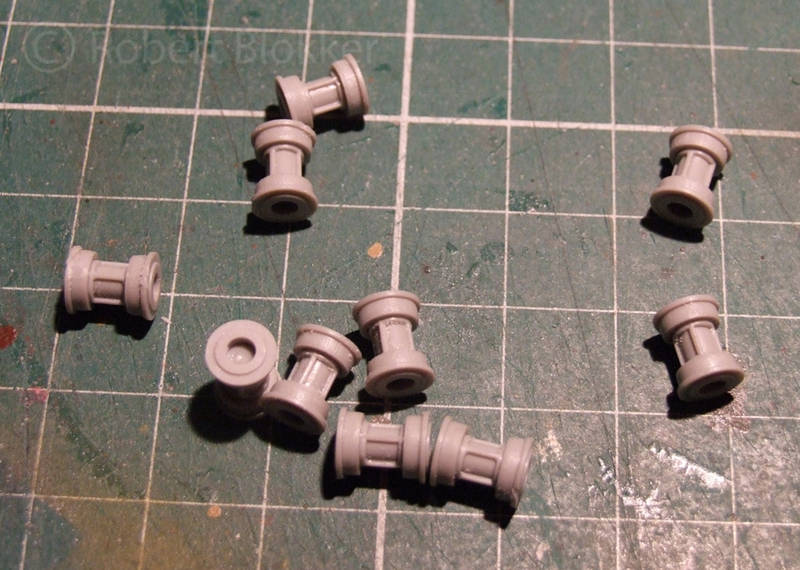
Further on in step 1 ten small wheels that go inside the running gear. I spend some time sanding all the parts clean before finding out they are not visible at all in the end so you could save yourself some time there
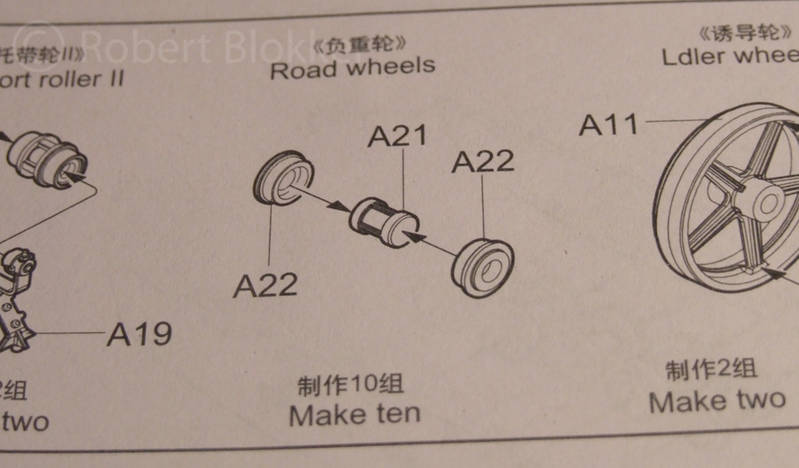


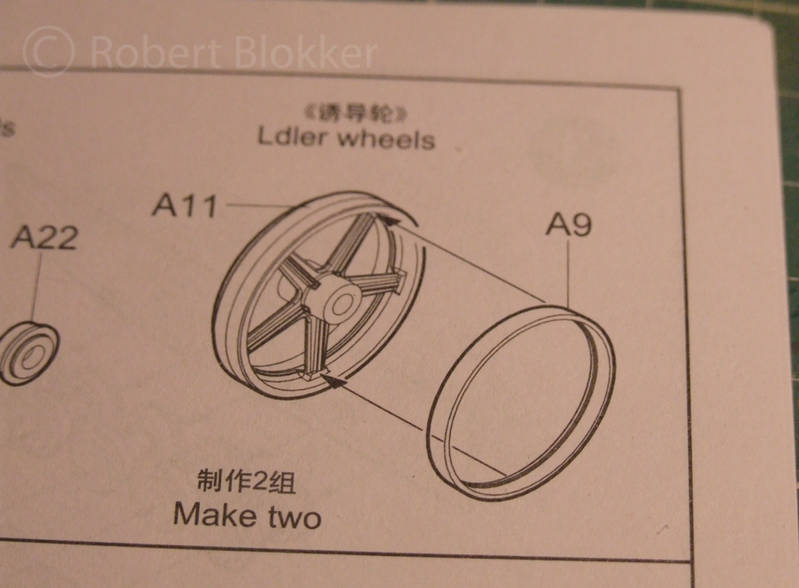
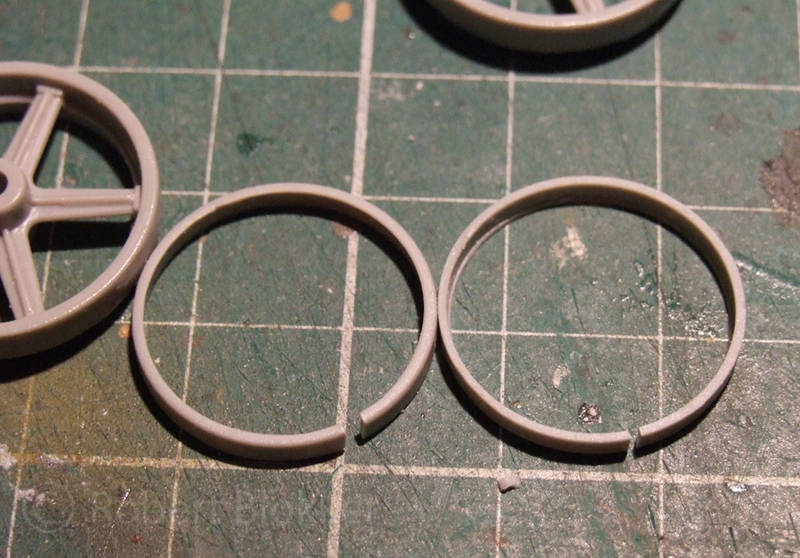
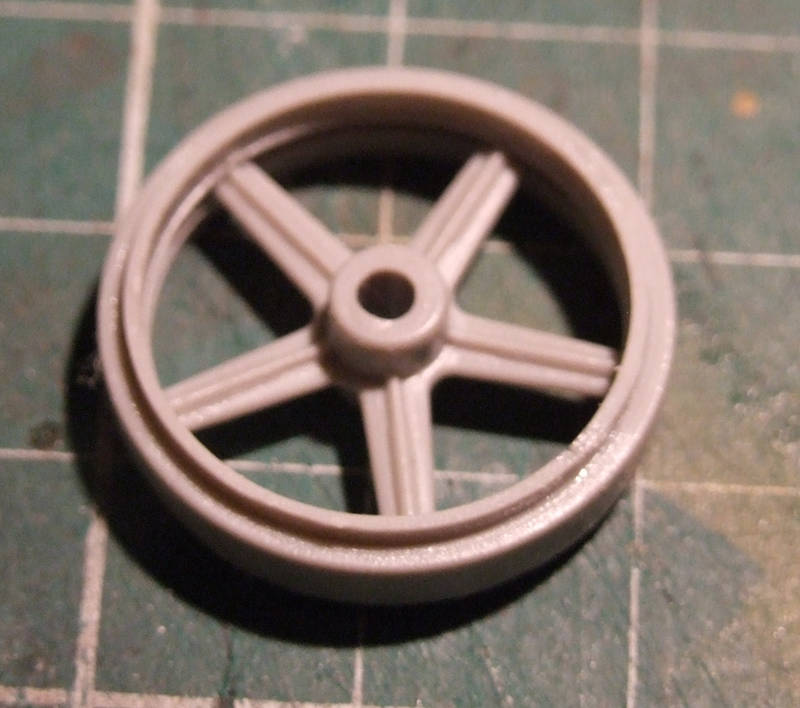
Last part of step 1. The Idler wheel (or Ldler as Trumpeter likes to call it) Install a ring on the inside of the Idler. Sounds easy enough except that it doesn't since the ring doesn't fit. It is too big. You probably can sand it so that it fits. I simply cut a millimeter out of it and glued it in. The point with the gap in it will be turned till it is hidden by the running gear. Easy peasy

Next up Step 2
In the following diagrams you can see how the ten roadwheels from step 1 are going to be hidden in the Running gear.
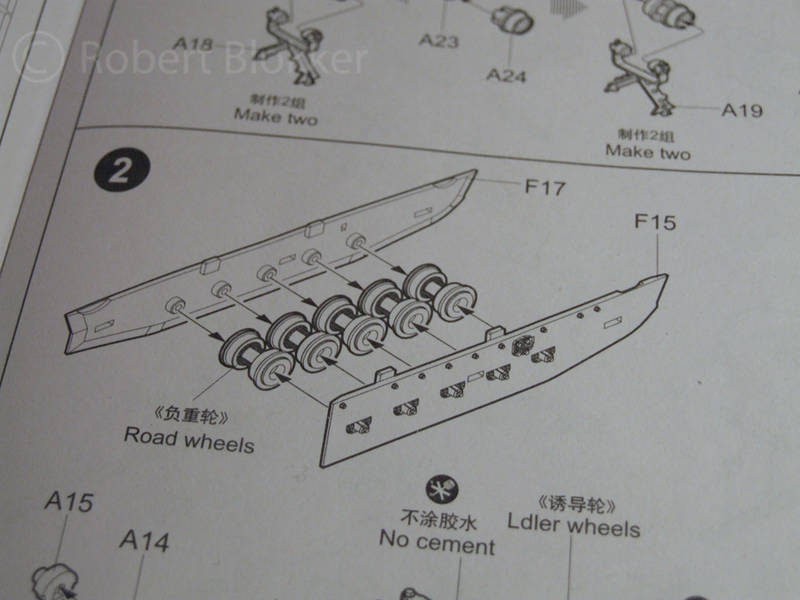
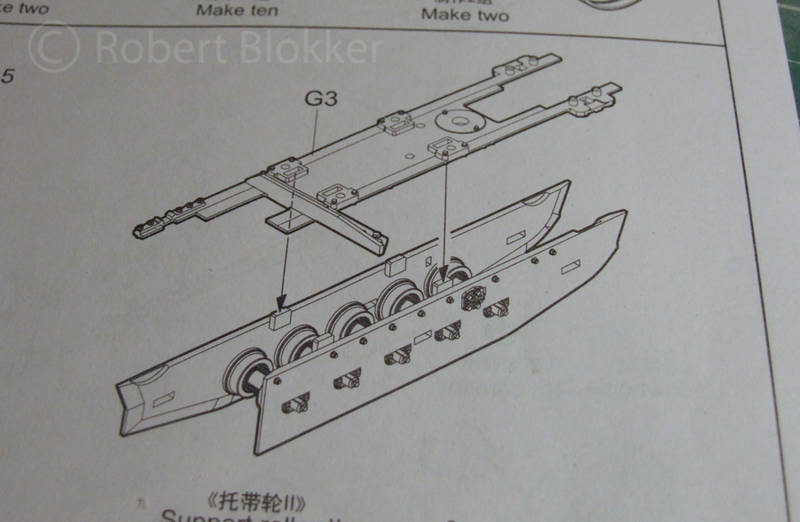
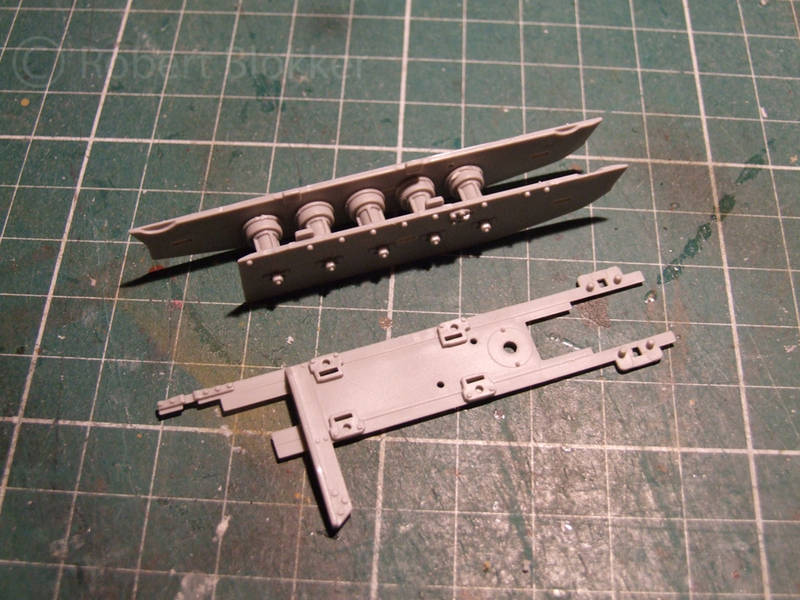

Then on to the axle holders for the Idler wheel. As you can see the Parts that go on the runninggear casing have two pushout marks right on top and in view. You can fill them I decided to scrape that layer off with a hobbyknife.
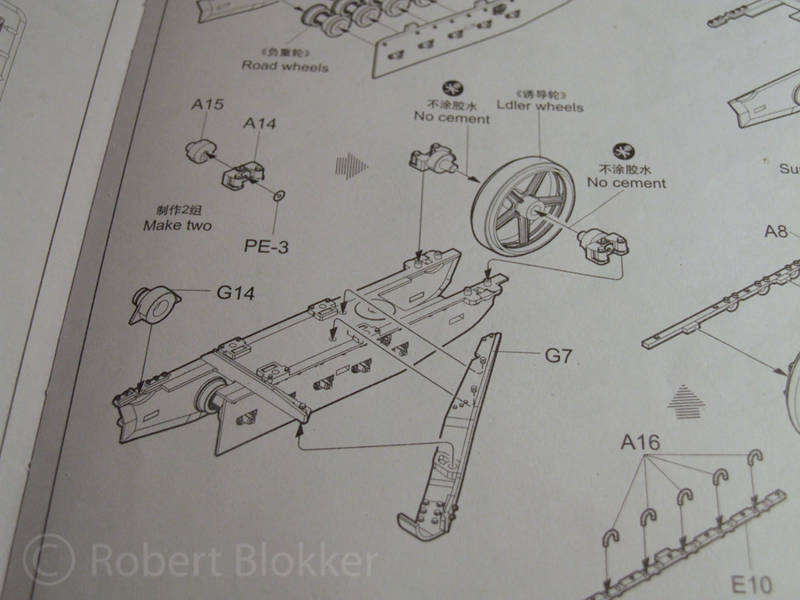
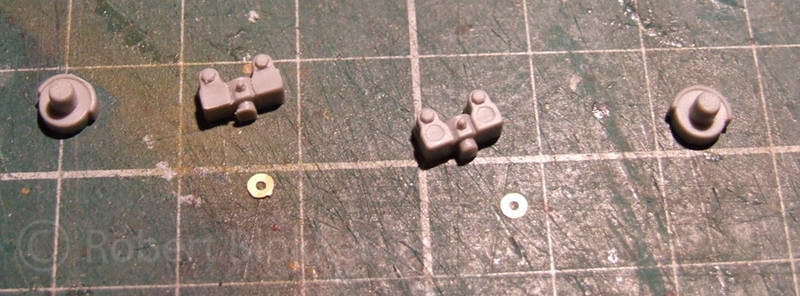
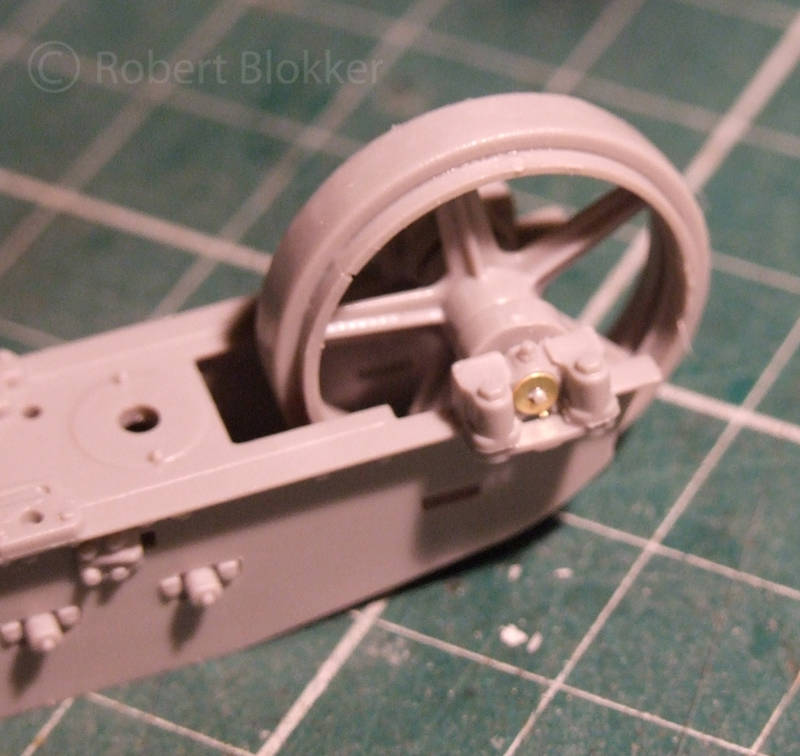

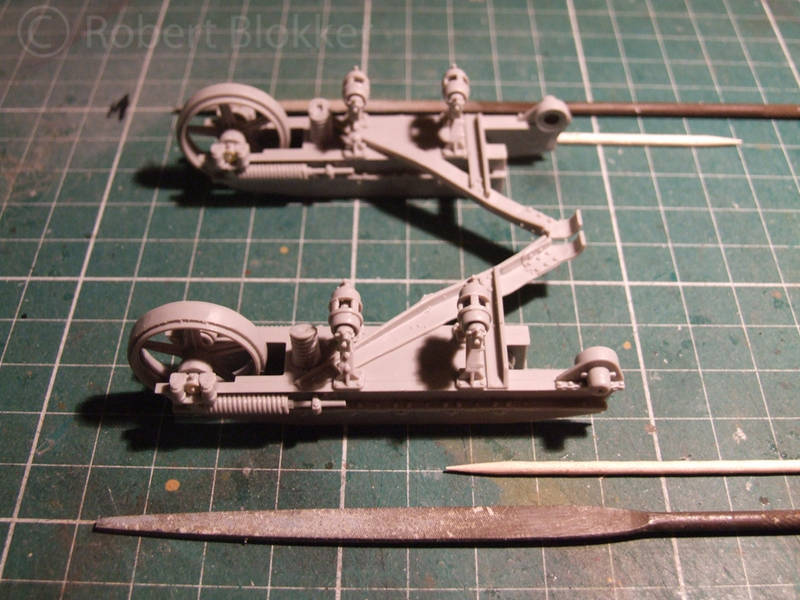
Also in step 2 you have to add some ridges with metal loops that go around the axles for the roadwheels. The short one on the inside of the runninggear does not fit that awefully well and I had to use some violence to get it in place. Which results in it not being completely straight. (will not be visible when the vehicle is finished. The long one on the outside no problemo. Also in this step you add the Guidewheels and a big coilspring. Check out the drawings well as it is cut at an angle on one side and it needs to be on the inside.
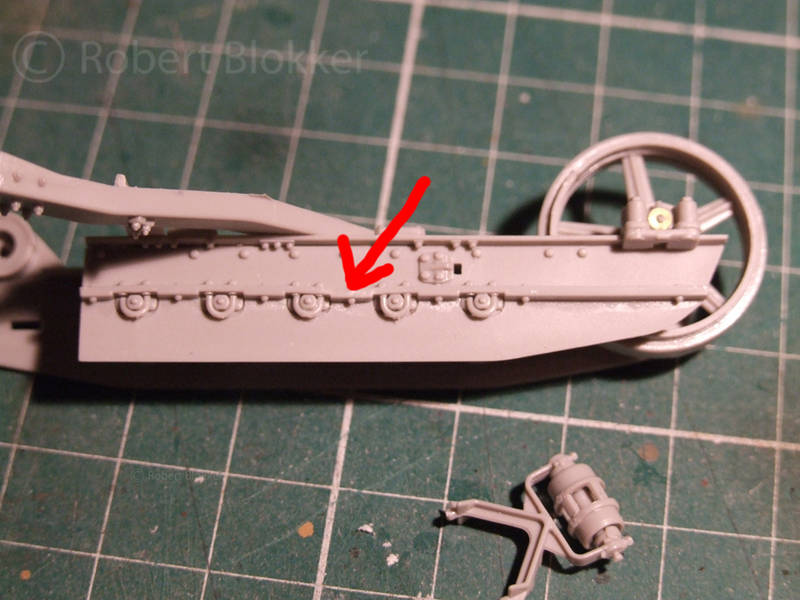
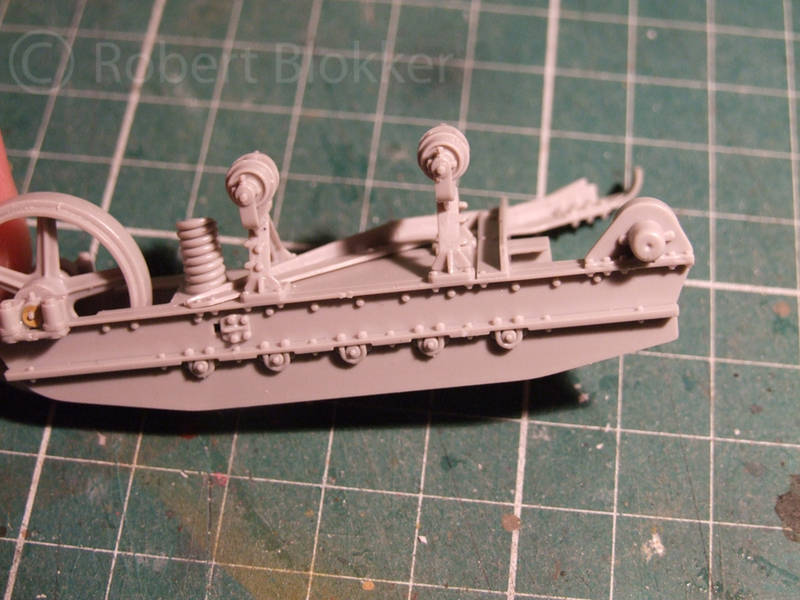

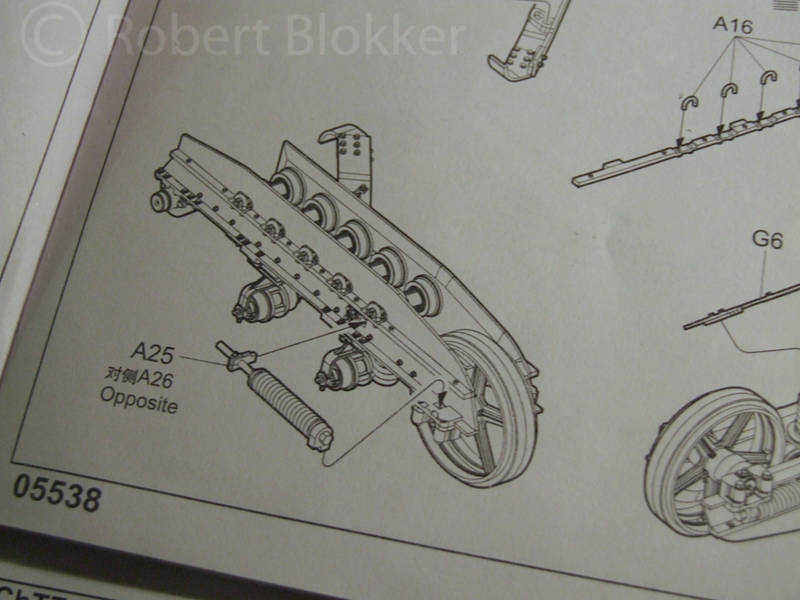
Last part of step 2 for my built is adding the adjusting springs for the Idler wheel. This is where the drawing can be a bit confusing as they turn the Runninggear upside down. You can only put the spring in one way.. the other side has it's own spring. But it takes a good look.
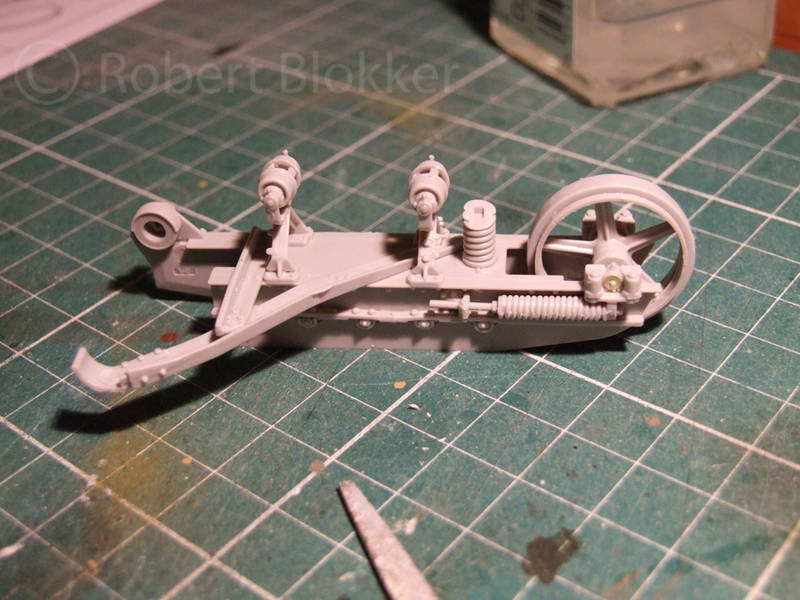
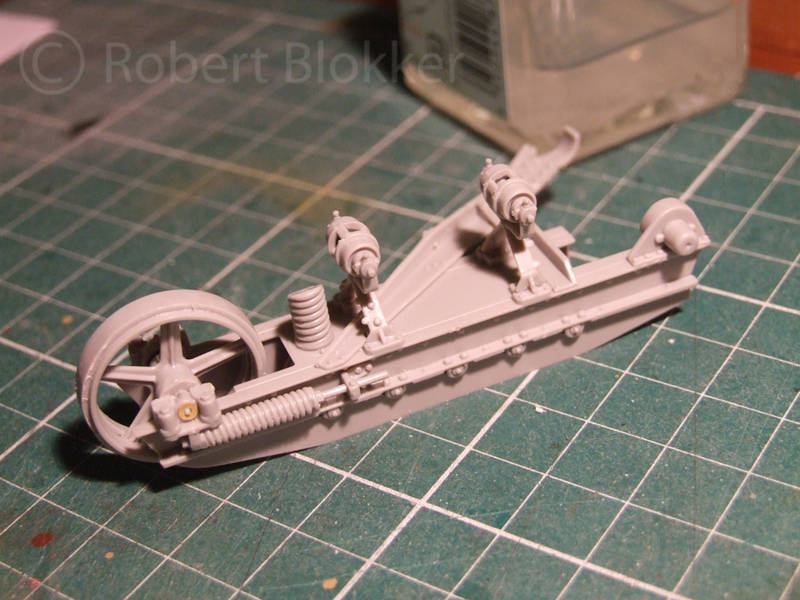

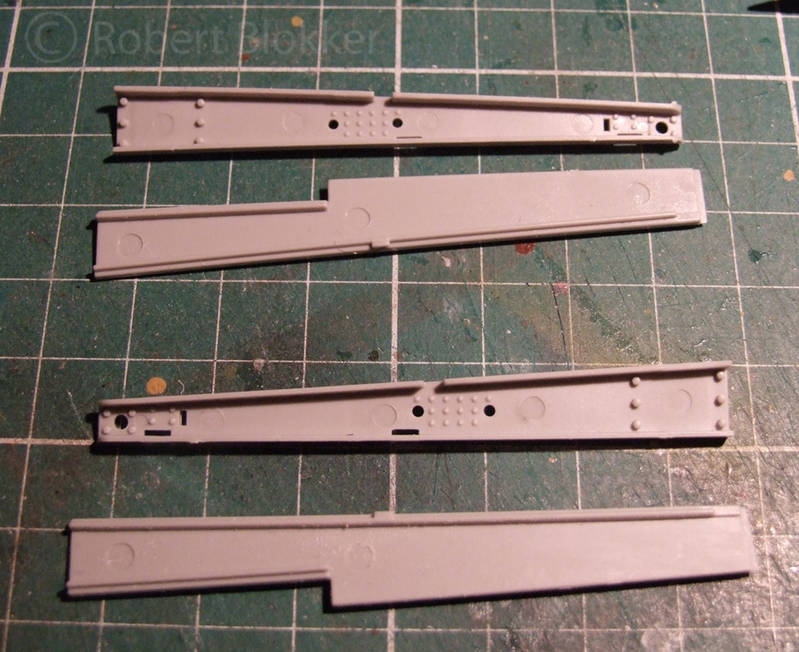
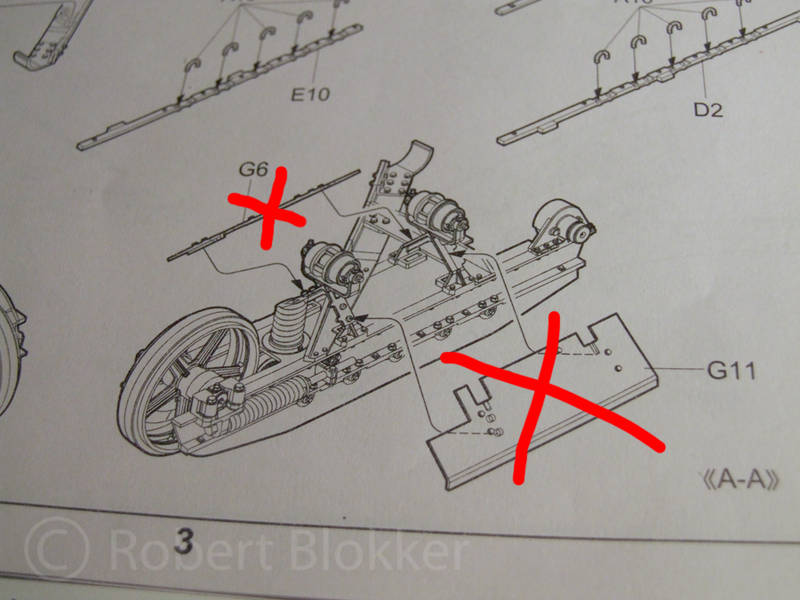
The following diagram shows the real last part of step 2 but the protection boards are not used as the LZ models Engine set comes with PE replacements for this. And here you also can see the reason why you have to keep an eye out which of the Guidewheels holders from step 1 goes where as you glue the protection boards on the one with the nubs.

Then on to step 3 which shows how to built the right side of the running gear but since it is a mirrored assembly from step 2 there is not much use in showing it.
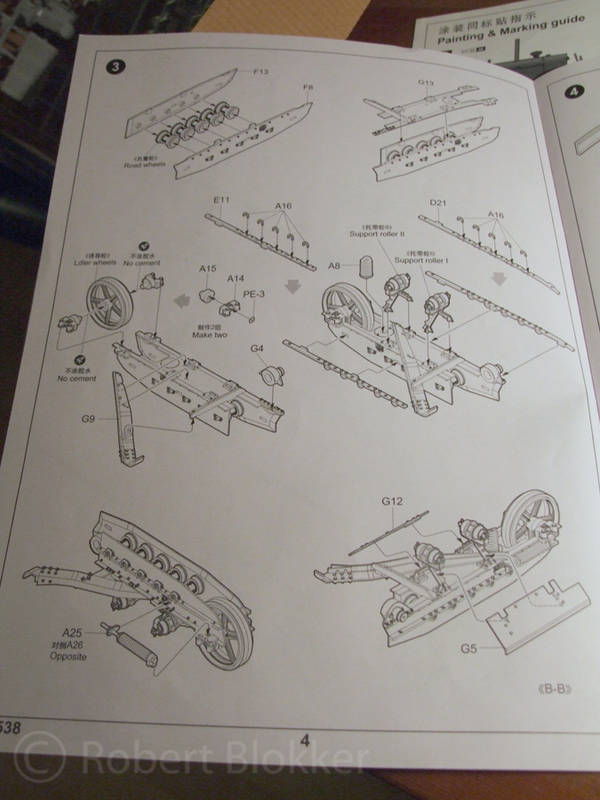

Next up. Dealing with the transmission and the start of the LZ models engine set.

With friendly greetz

Robert Blokker
thenorm
Visit this Community
New York, United States
Joined: July 13, 2010
KitMaker: 125 posts
Armorama: 102 posts
Posted: Sunday, April 15, 2012 - 01:53 PM UTC
looks good thus far! My barber's grandfather was a Russian artileryman in Ukraine during the war, I've thought of doing a dio involving a arty piece being towed before...
FAUST
#130
Visit this Community
Noord-Holland, Netherlands
Joined: June 07, 2002
KitMaker: 8,797 posts
Armorama: 4,190 posts
Posted: Monday, April 16, 2012 - 01:12 AM UTC
Ola Thenorm
Thanks for your reply.
It is a nice kit allthough I have seen some things that are not that brilliant in other people builds... Wondering if I will encounter the same problems.
That is actually quite cool that you have plans to do something like that. If time is the issue the Trumpeter box is quite a good kit as assembly is quick. You could have it built in a few evenings. Can't comment on how fast the gun should build up but if it is like the sFH18 that should also take you a few evenings.. 1,5 week with painting.. not too shabby for an original present.
FAUST
#130
Visit this Community
Noord-Holland, Netherlands
Joined: June 07, 2002
KitMaker: 8,797 posts
Armorama: 4,190 posts
Posted: Monday, April 16, 2012 - 09:50 AM UTC
Let's kick off another update from the battlescarred cutting mat. I went some steps further and took pics along the way.

I left with explaining that step 3 was a mirrored copy of step 2 and that there wa snot much use in showing it. Well here is what a cheap visual trick would look like when there would be a mirror placed against the left running gear. But... I did it the hard way and built the other runninggear part and created this pretty corny set up


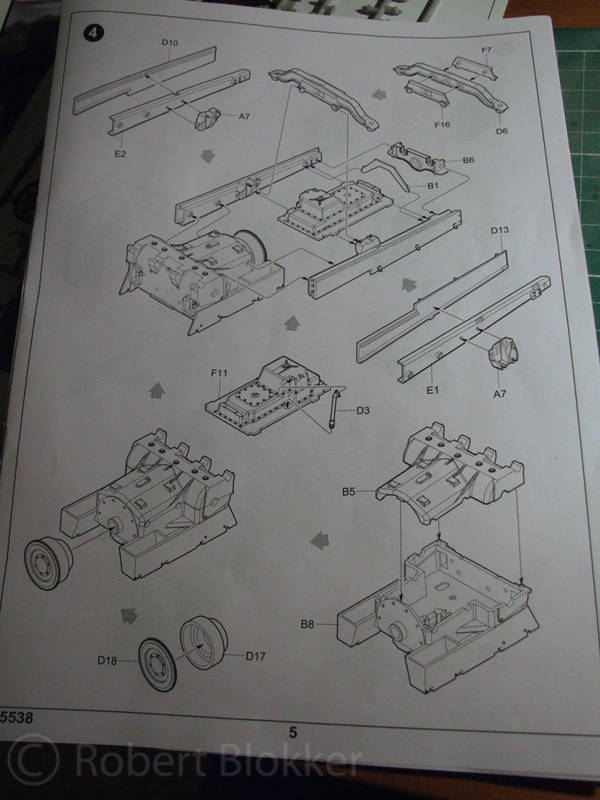
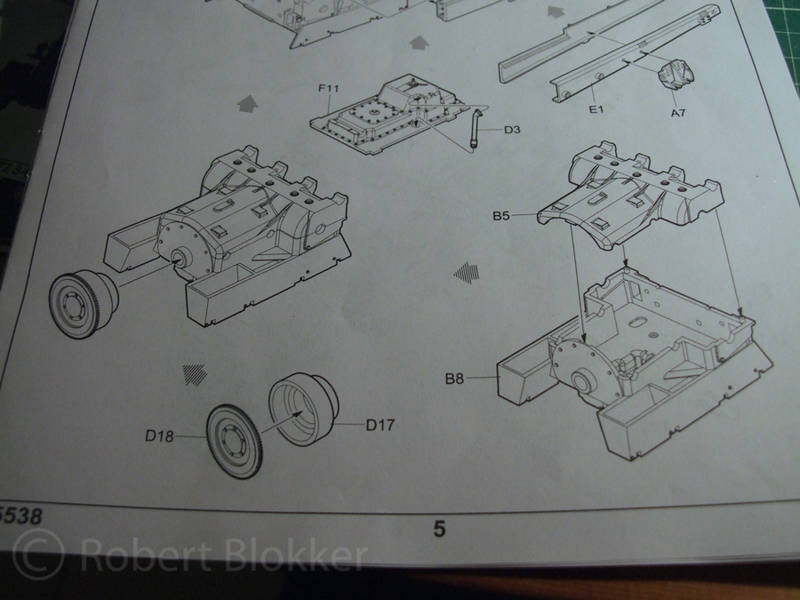
..... yeeah... On to step 4. Transmission housing and chassis built up.

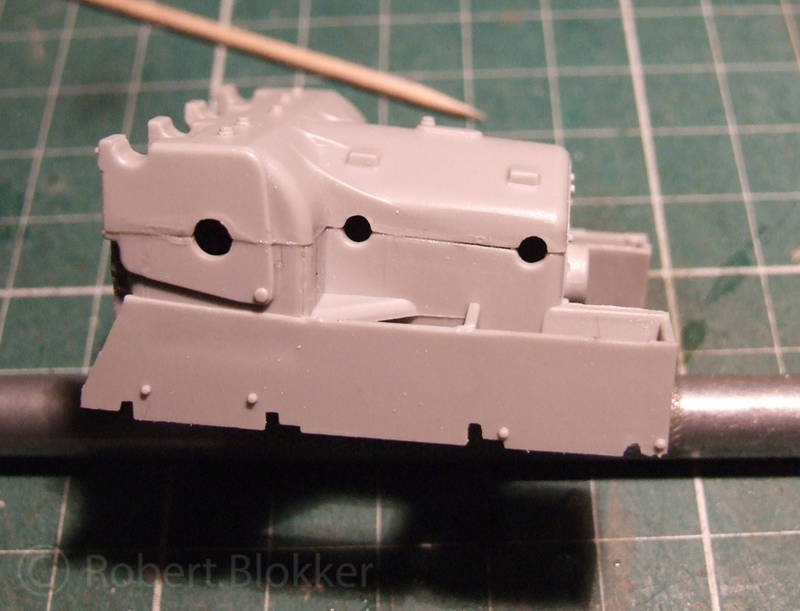
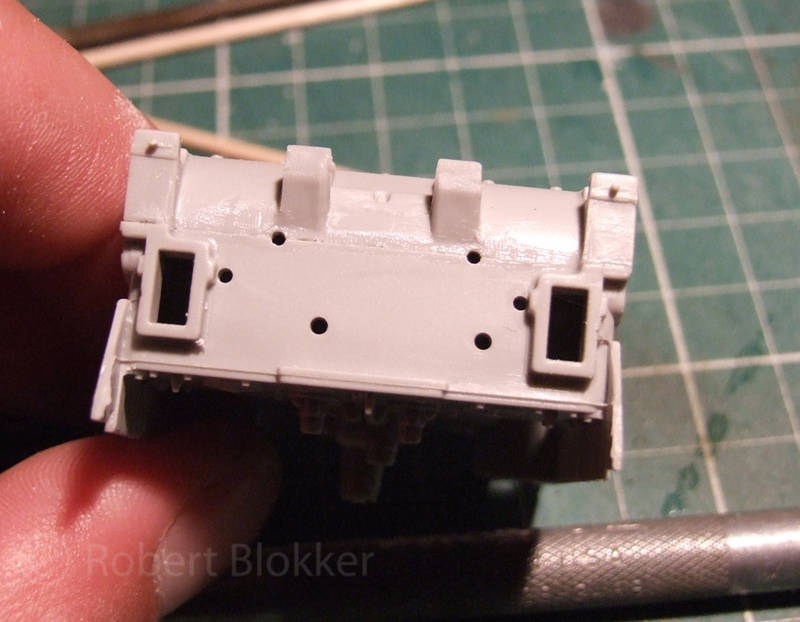
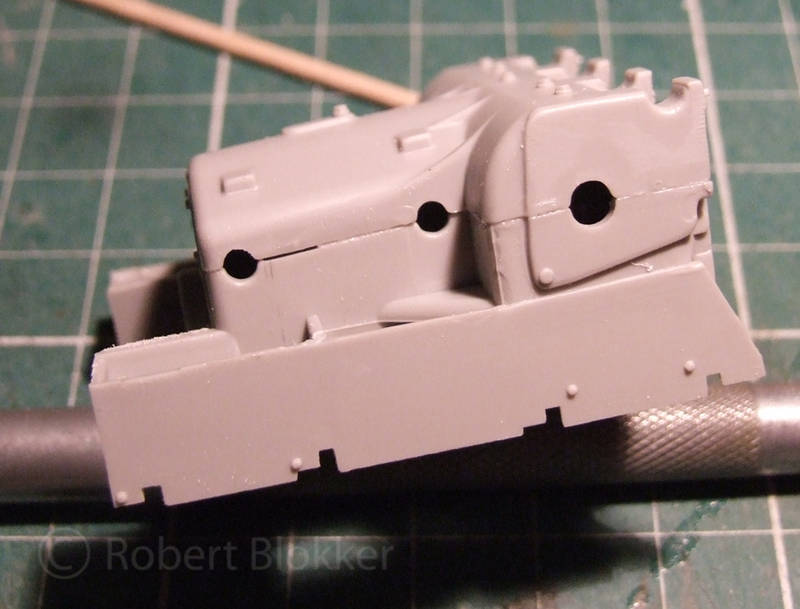
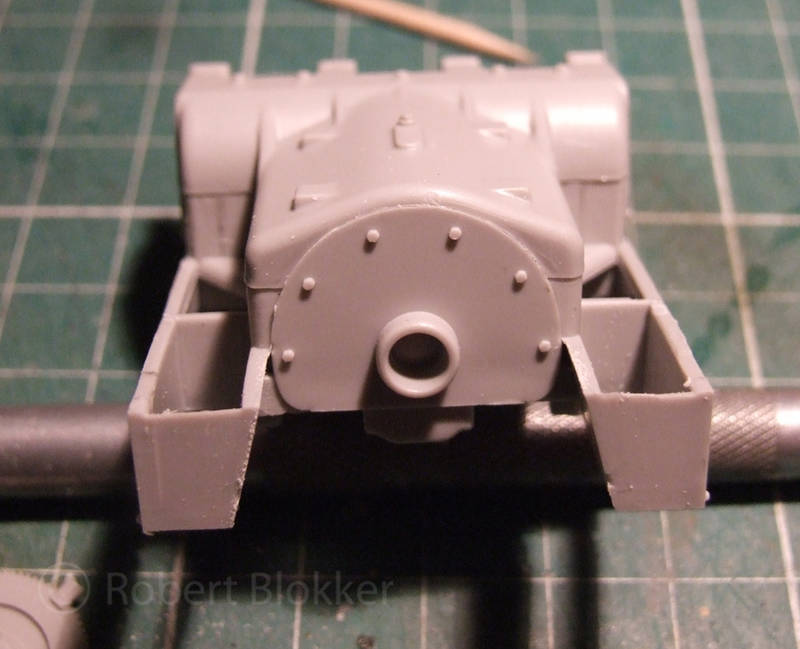
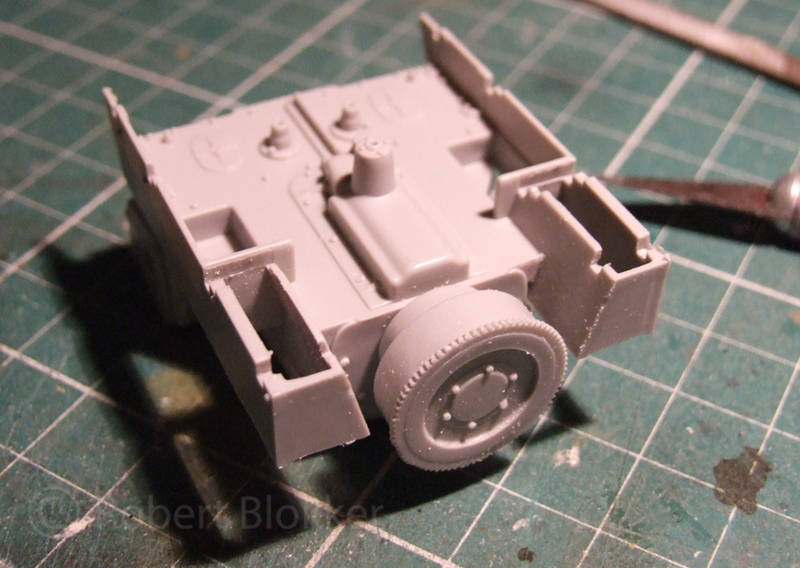
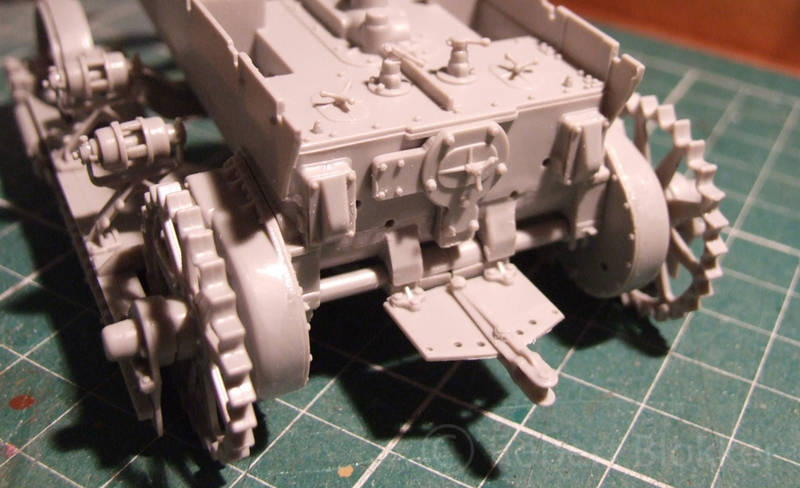
I have seen some terrible pictures from the transmission housing in other peoples builts and was hoping it wouldn't be that bad with my vehicle. Well it was not too bad... But not great either. The good news is that pretty much all the seams are not visible when the chassis and engine are built around it.


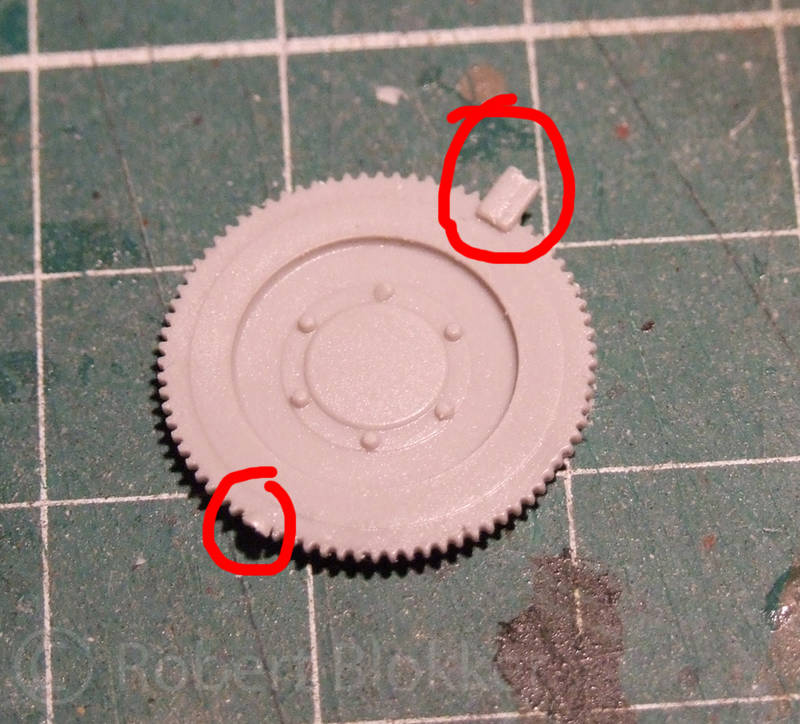
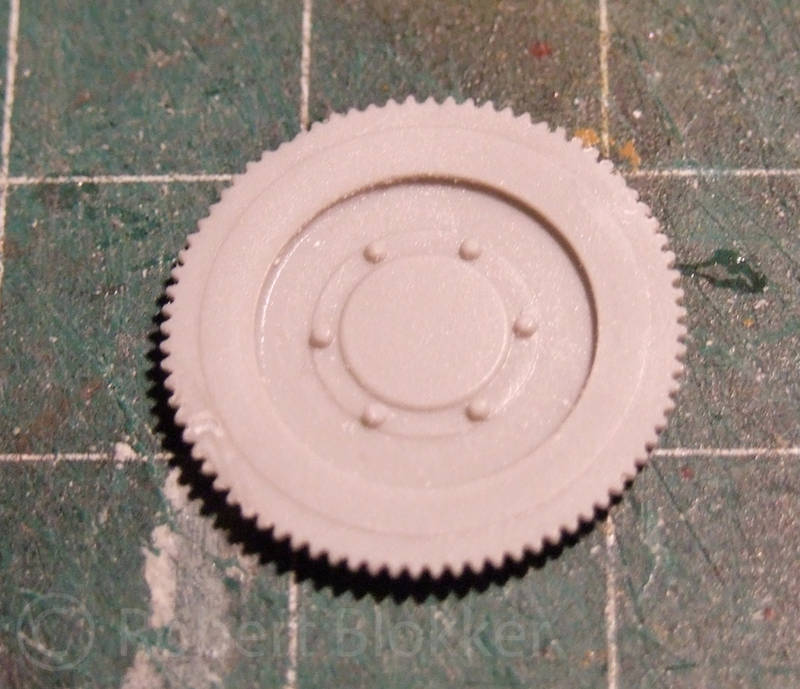
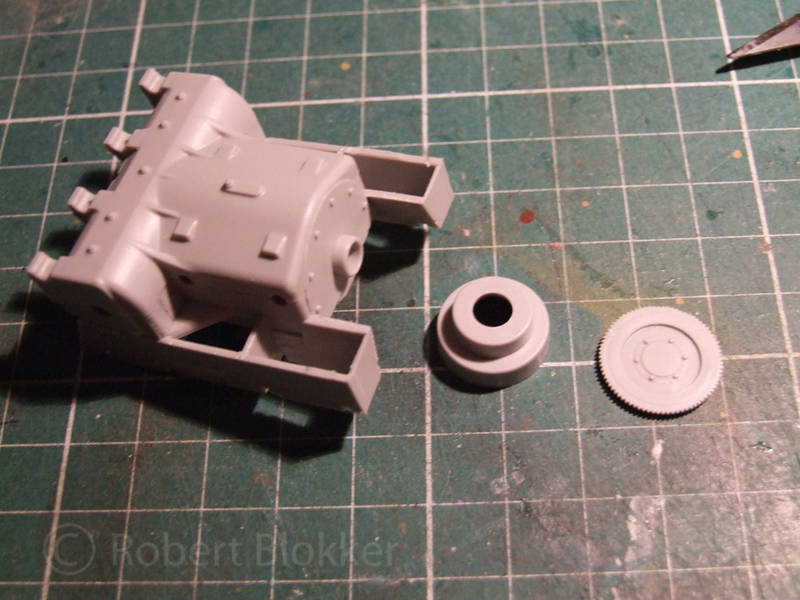
Another ugly piece that required some work was the gearwheel on the outside of the transmission trumpeter had it attached to the sprue with two big attachment points. In which you have to use some care when removing not to ruin the very fine teeth. Before :


And after some careful cosmetic surgery


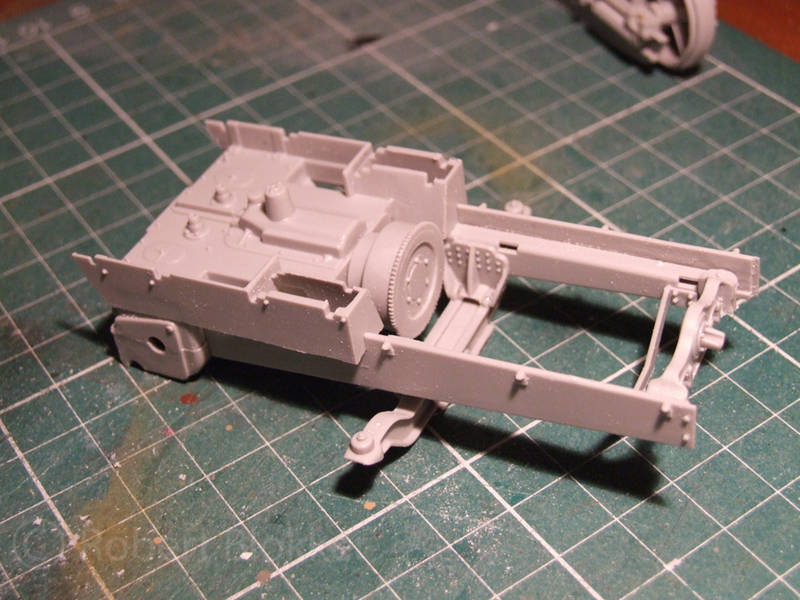
And everything assembled


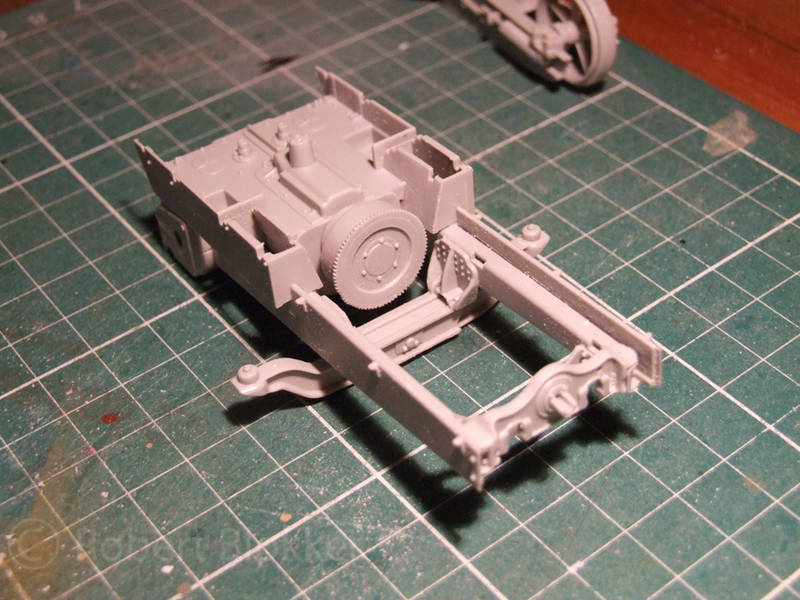
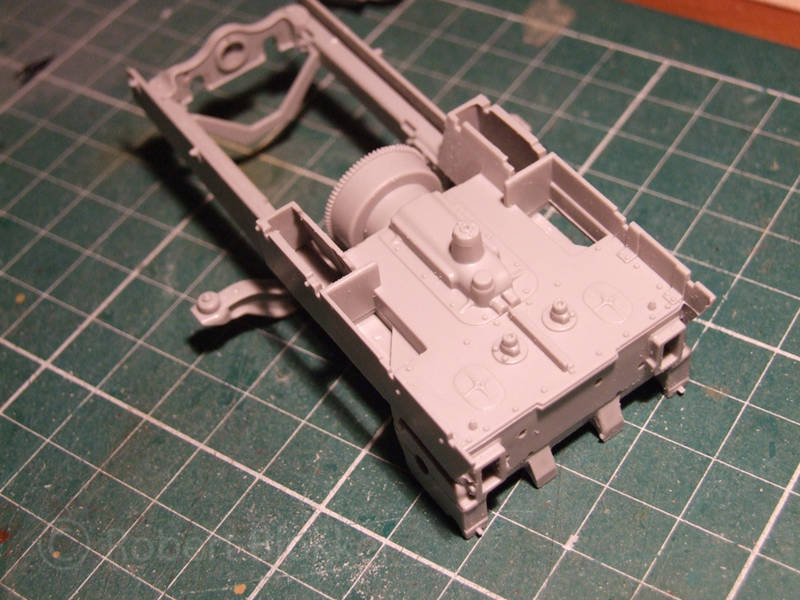
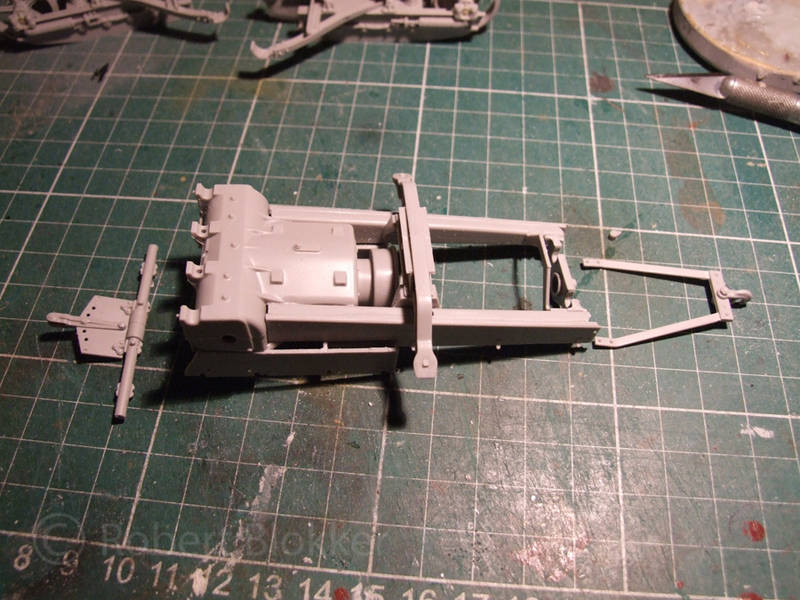
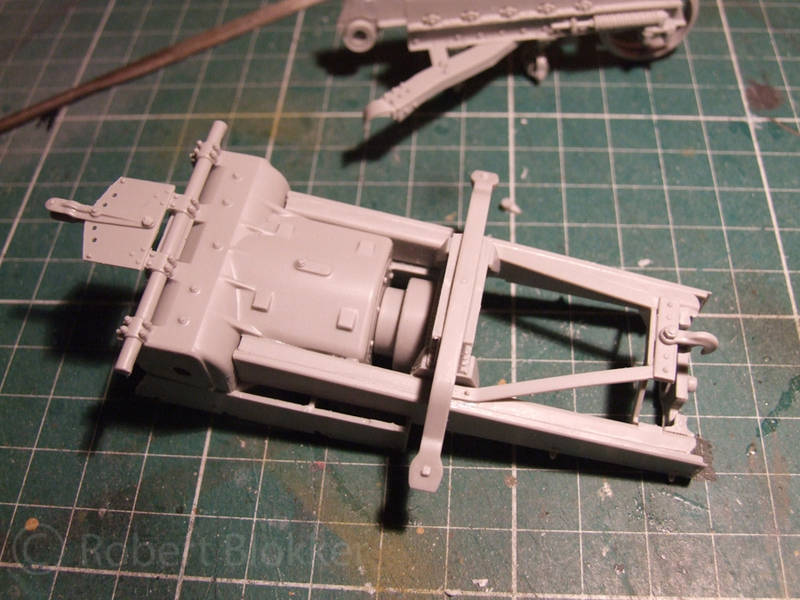
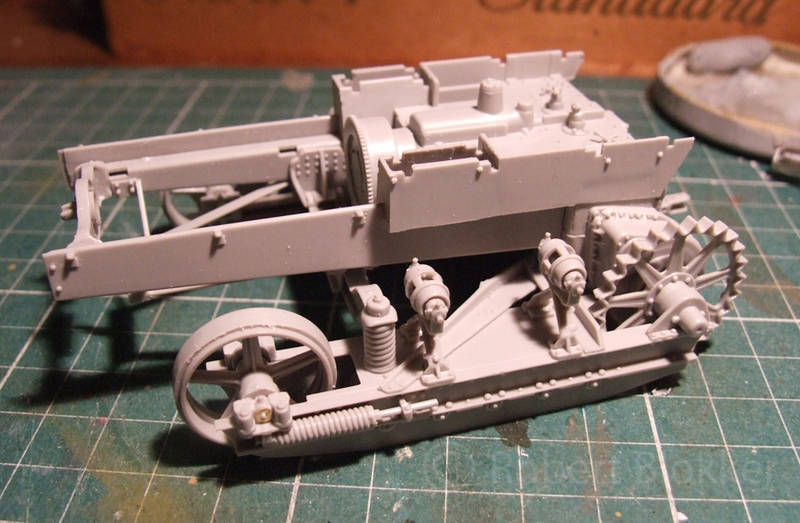
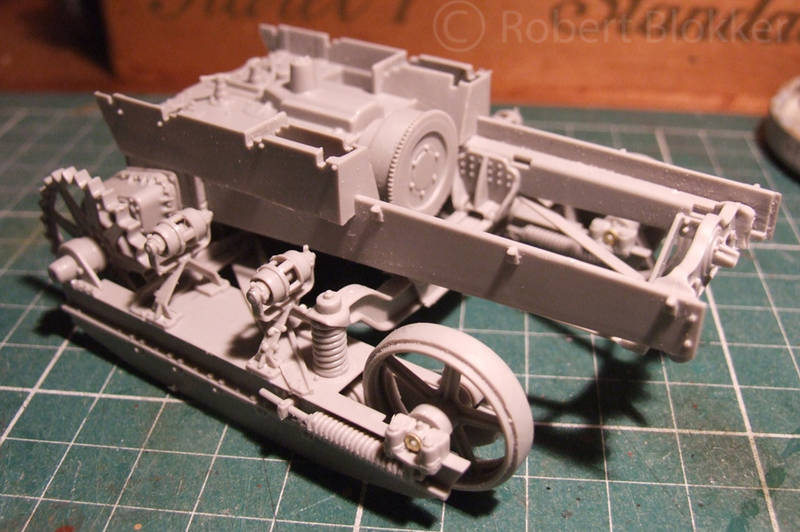
Then onto the rest of the chassis assembly


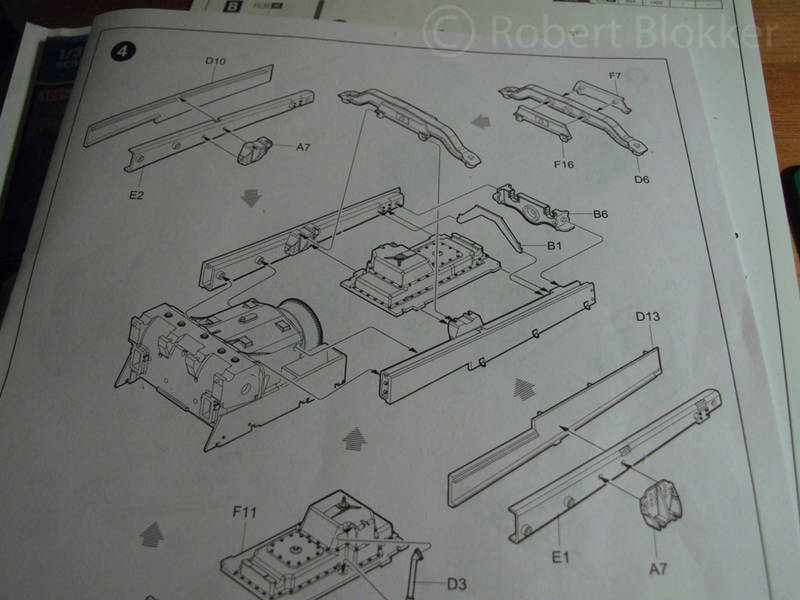
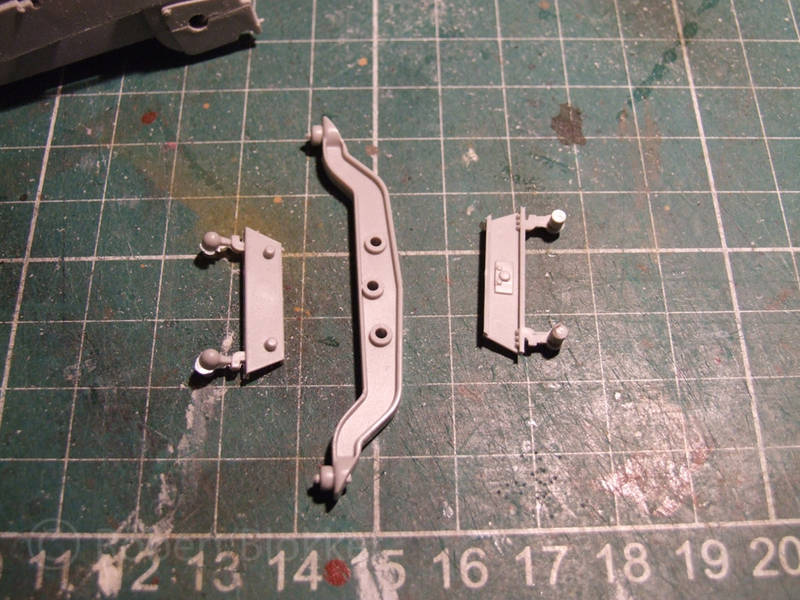
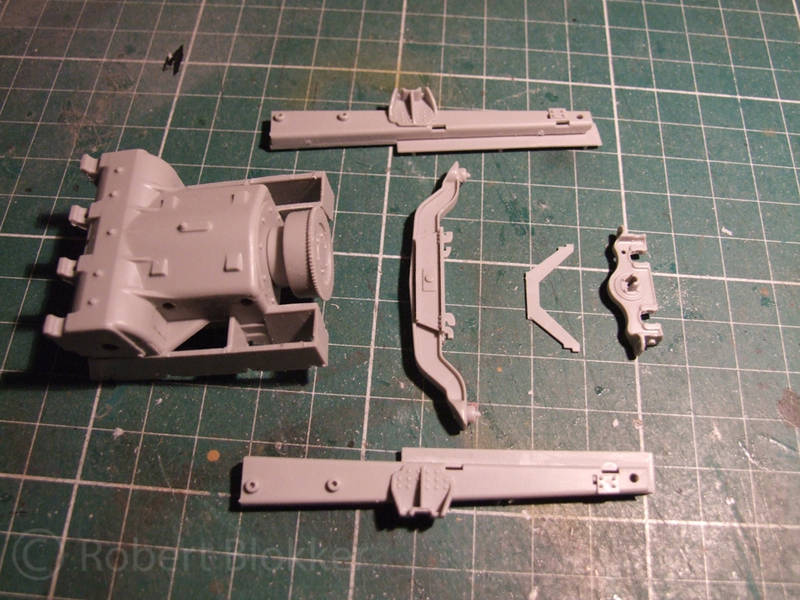
Trumpeter has done some curious things when it comes to adding details to some parts. A nice example are the really nice bolts that are visible on the parts E1 and E2 Which when assembled are on the inside of the Chassis beams and are absolutely not visible anymore. for that reason I did not bother with sanding the pushout marks.


Ok back to assembly. Chassis beams, Springbeam for the runninggear, And several other parts together make the chassis.


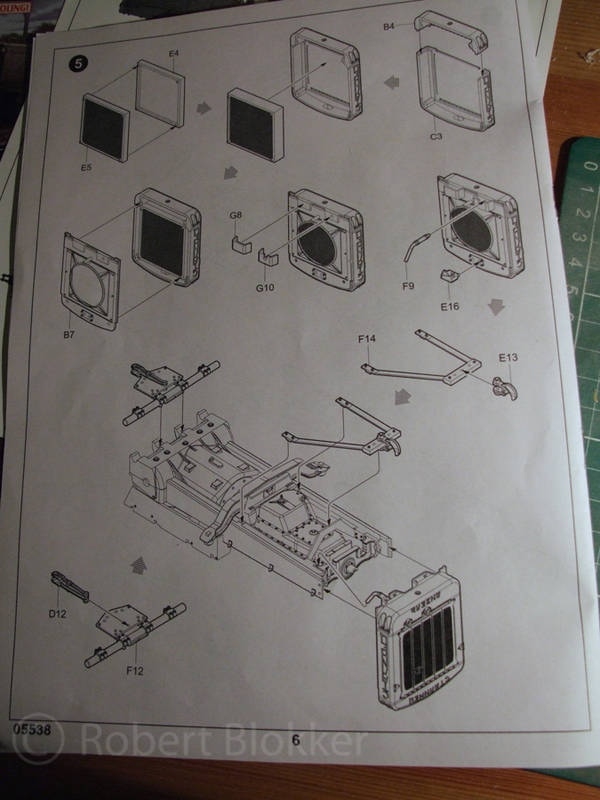
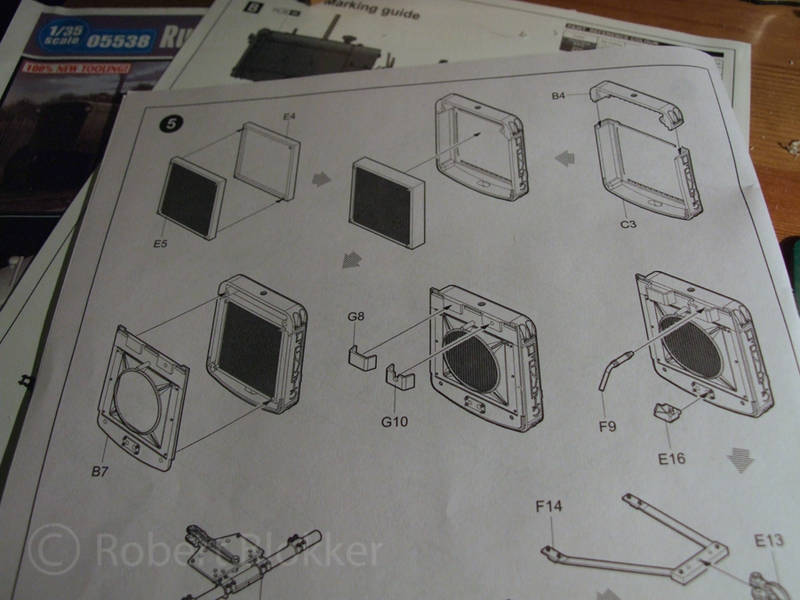
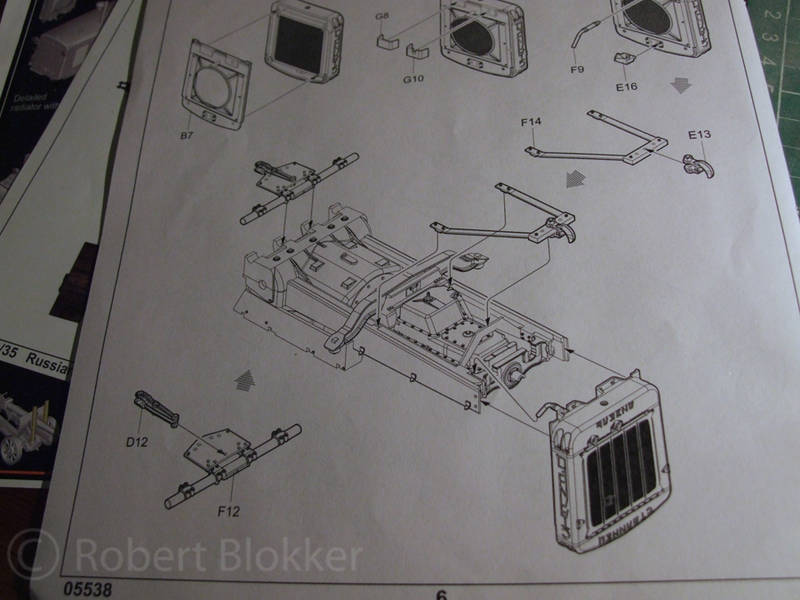
Step 5 Radiator and towhooks
I skip the top half of step 5 dealing with the radiator. A replacement for the radiator from LZ models is on it's way and I will add that to the vehicle.


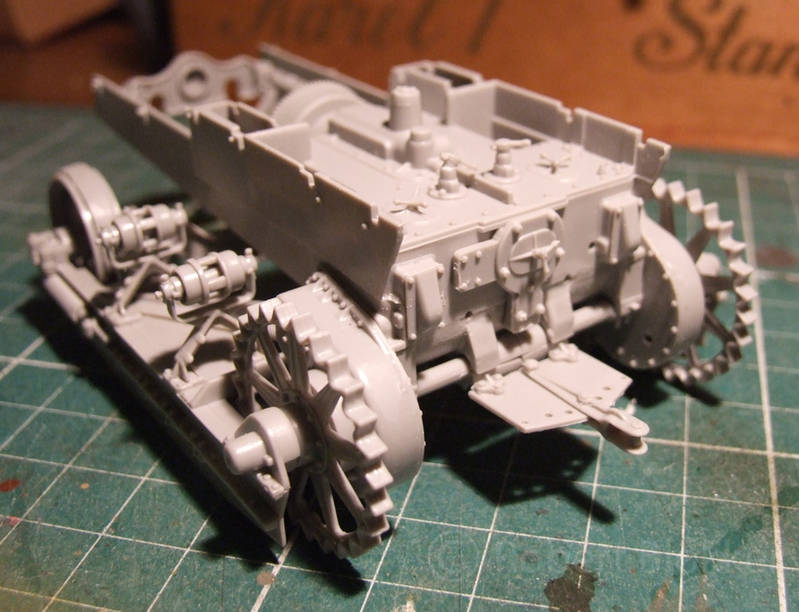
So on to the towhooks. The vehicle has two. One on the back and one on the front.... You'd never had guessed that. Assembly easy peasy and no problems at all.


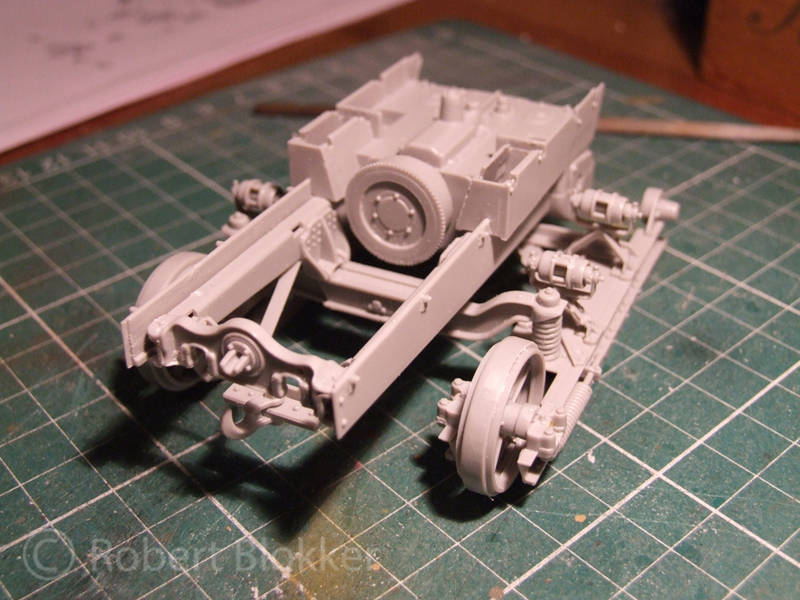
And this is where we're at now. Built so far is pretty nice. It is a kit that comes together quite well and the bad points are pretty much hidden away.


I said I was going to start on the LZ models engine as well but that has to wait a bit as I ran out of CA glue. Will get some tomorrow from the DIY shop. So I can start on that as well. Luckily I can continue with the rest of the vehicle without having problems installing the AM bits. So more to come.

With friendly greetz

Robert Blokker
firstcircle
Visit this Community
England - South East, United Kingdom
Joined: November 19, 2008
KitMaker: 2,249 posts
Armorama: 2,007 posts
Posted: Monday, April 16, 2012 - 10:37 AM UTC
Go Robert! I don't know how you make the time...but it's great that you do. This is a really great ugly vehicle, utterly functional, without even the grace of the ballistically shaped plates of a tank.
FAUST
#130
Visit this Community
Noord-Holland, Netherlands
Joined: June 07, 2002
KitMaker: 8,797 posts
Armorama: 4,190 posts
Posted: Tuesday, April 17, 2012 - 04:15 AM UTC
Ola Matthew
Time is not that much of an issue yet... so far I am a couple of hours into the built. The vehicle probably would have been finished if I had not made pictures between all the steps. But I agree it is a nice vehicle. Purely functional and no cosmetics. But what I like is that it is not a big vehicle. All in all it is around 10 cm's long. So that rates as a Small Giant in my book.
FAUST
#130
Visit this Community
Noord-Holland, Netherlands
Joined: June 07, 2002
KitMaker: 8,797 posts
Armorama: 4,190 posts
Posted: Wednesday, April 18, 2012 - 09:40 AM UTC
Ola Guys

More photographic evidence from the crime scene.

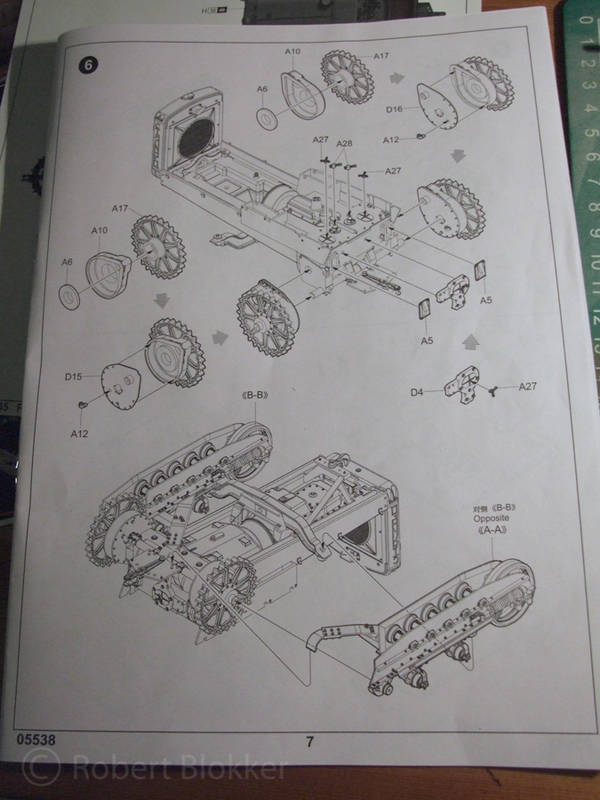
Starting with step 6
Sprocket set up and transmission details.


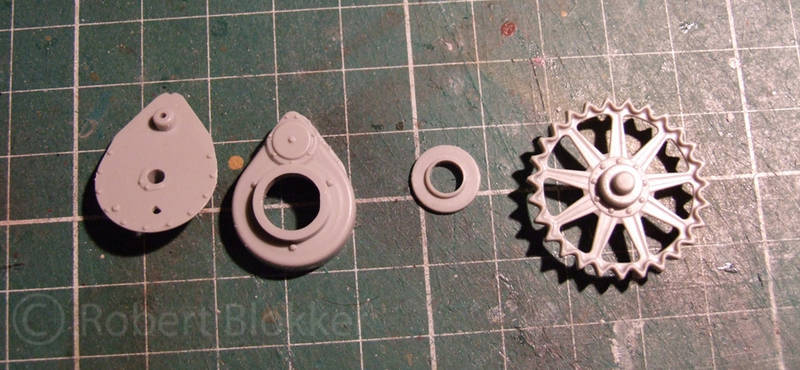
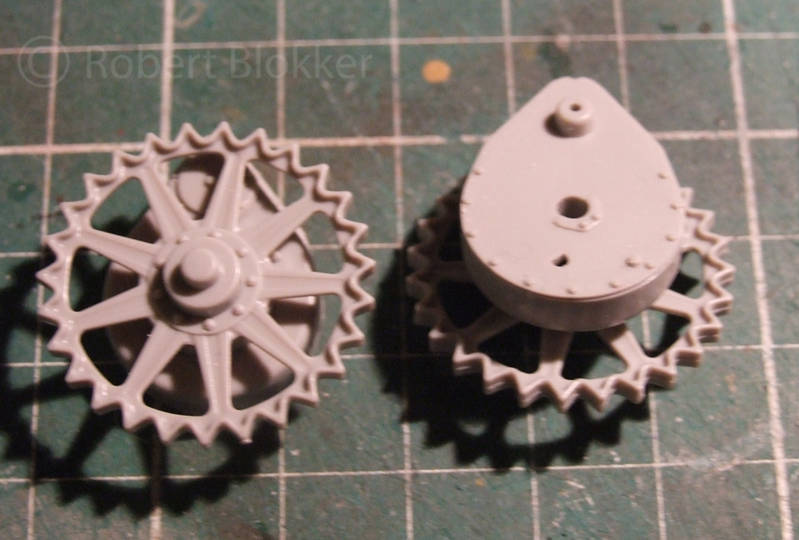
Now here are the parts for the Sprocket set up. I did some measuring and found out that the drum that probably holds some chain transmission to the Sprockets axle is the same size as that of a BT3 Universal 2 tractor that I have planned as well for this diorama. Which is good news as it saves me a lot of scratchbuilding so another S-65 is on my to buy list.


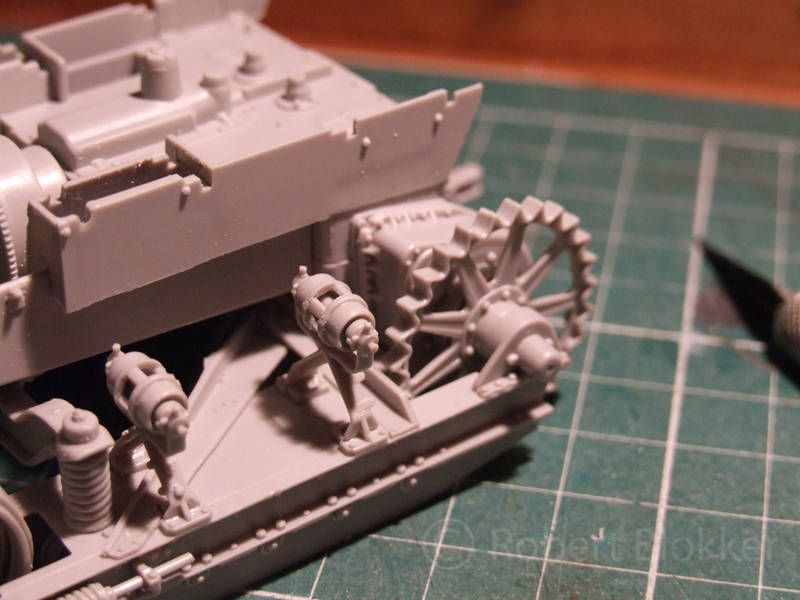
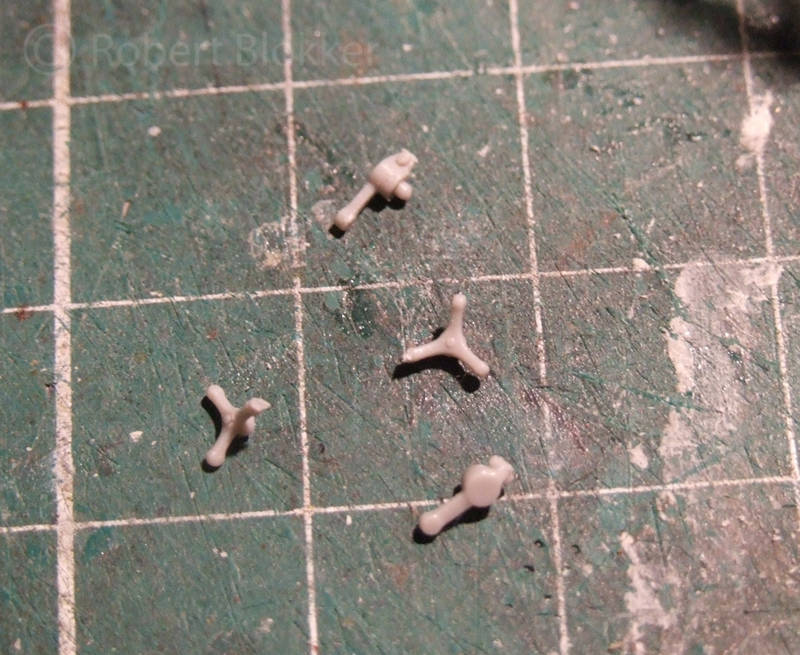
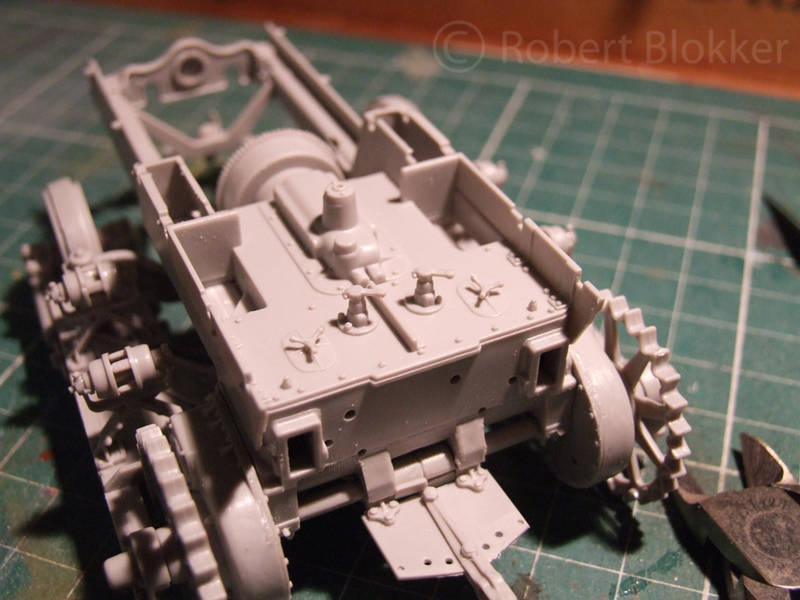
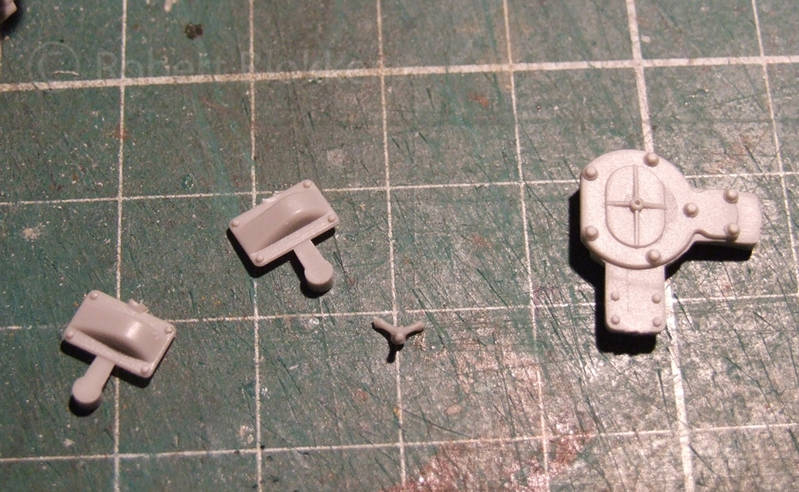
Then there are some small detail parts for on top of the transmission. Which are nice but pretty much invisible with the floor of the drivers area on top of it.


And some stuff for on the back of the transmission


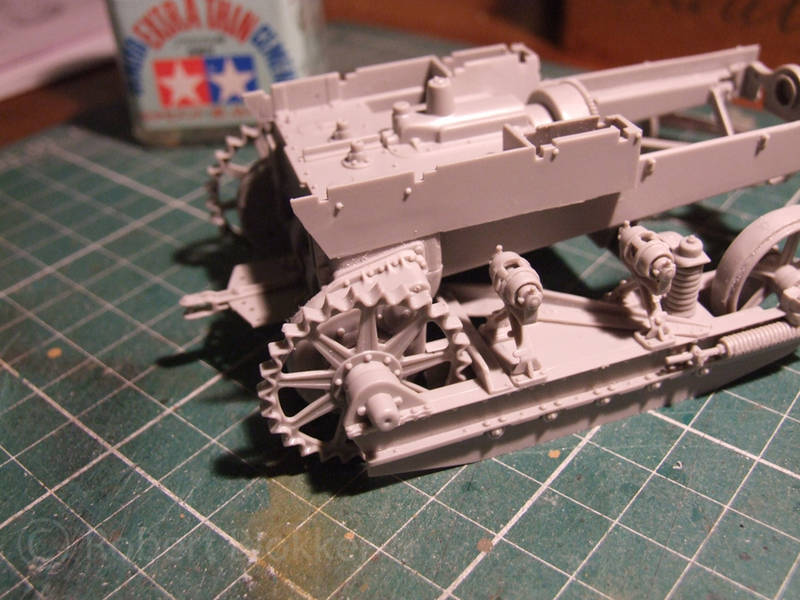
A bit of overview of the built so far


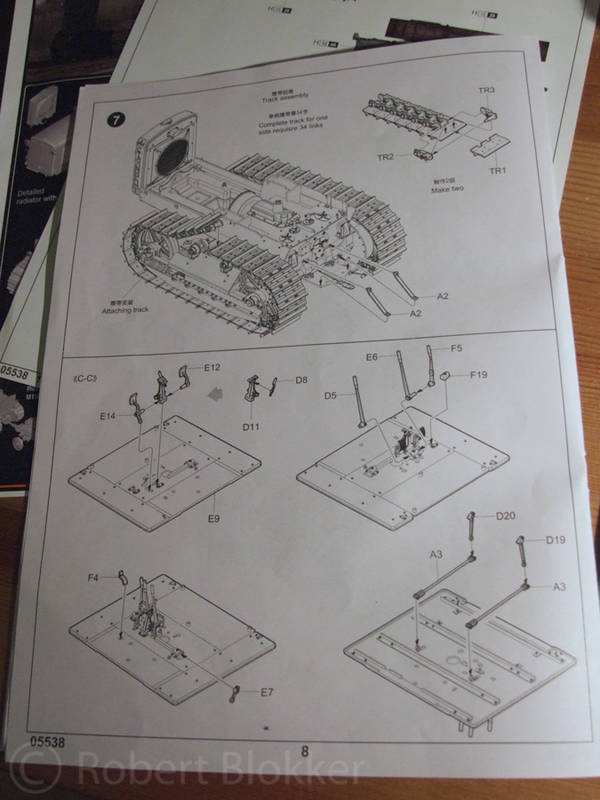
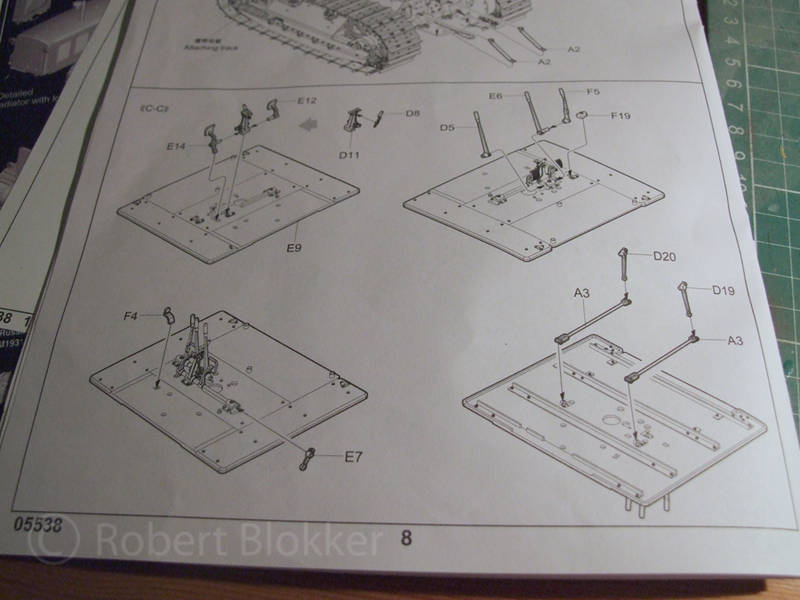
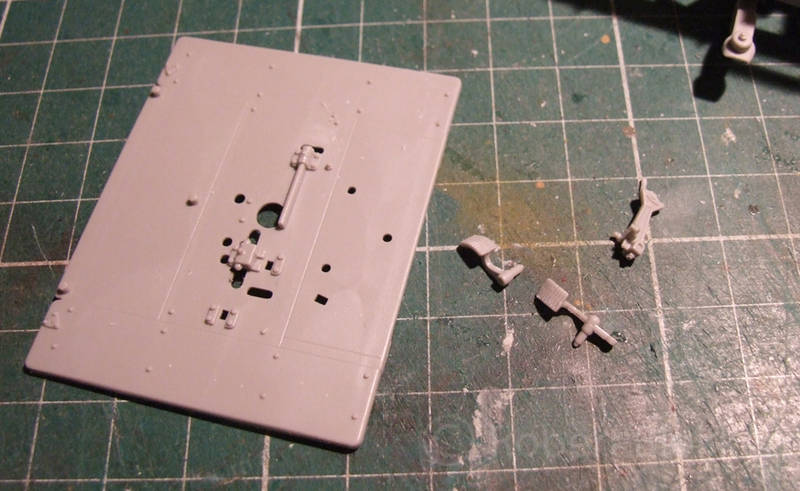
Next up drivers area floor. Starting off with some small parts for gear change and the gas and brake pedal. There are more parts to be added here as you can see in the diagram but it was near bed time so that will be for the next installment.


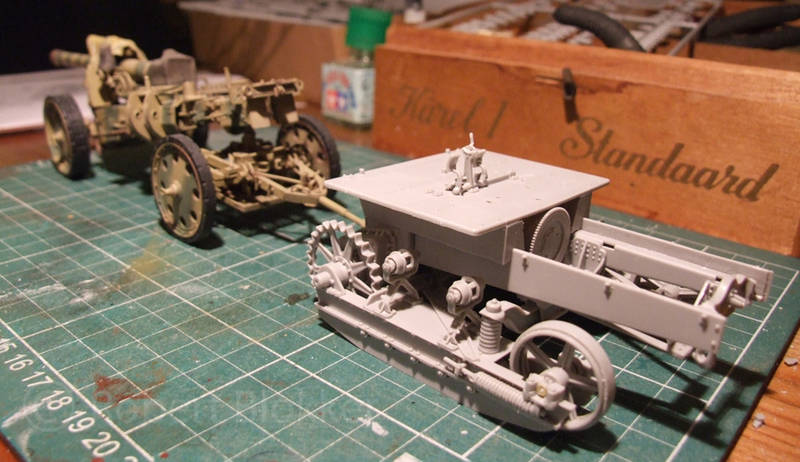
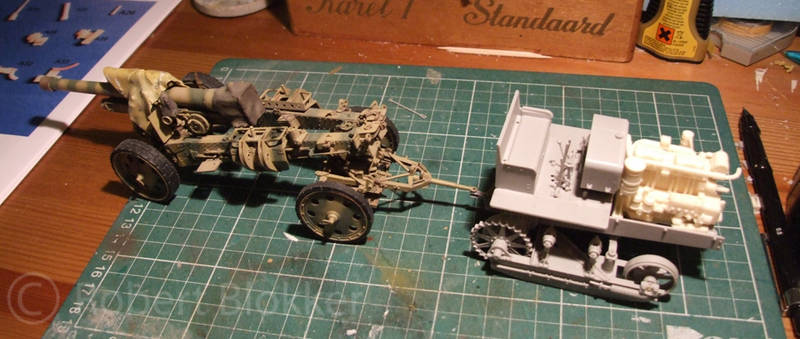
And last but not least the load the vehicle will be towing. Got my Trumpeter sFH18 from my parents house and will finish it. It only needs a bit of weathering. It looks completely ridiculous with the little tractor dwarfed by the massive gun but I like that.


I also got the Precision models Ammo set. The Bt3 Universal 2 tractor I'm planning to scratch will be towing an ammo trailer.

Still got no CA glue so The engine will be started in one of the coming updates.

With friendly greetz

Robert
FAUST
#130
Visit this Community
Noord-Holland, Netherlands
Joined: June 07, 2002
KitMaker: 8,797 posts
Armorama: 4,190 posts
Posted: Thursday, April 19, 2012 - 09:48 AM UTC
500+ views for a monologue. Pretty nice.

Oh well on we go.
Another installment from the battered cutting mat.

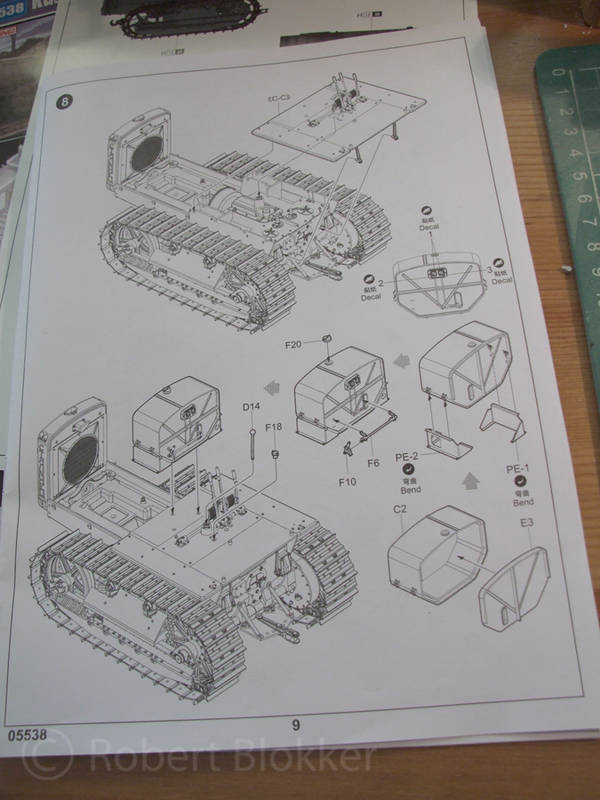
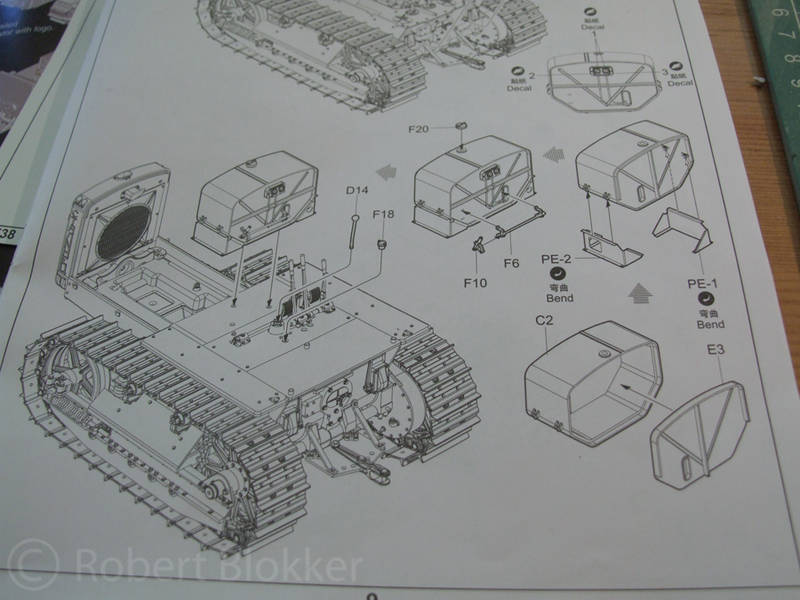
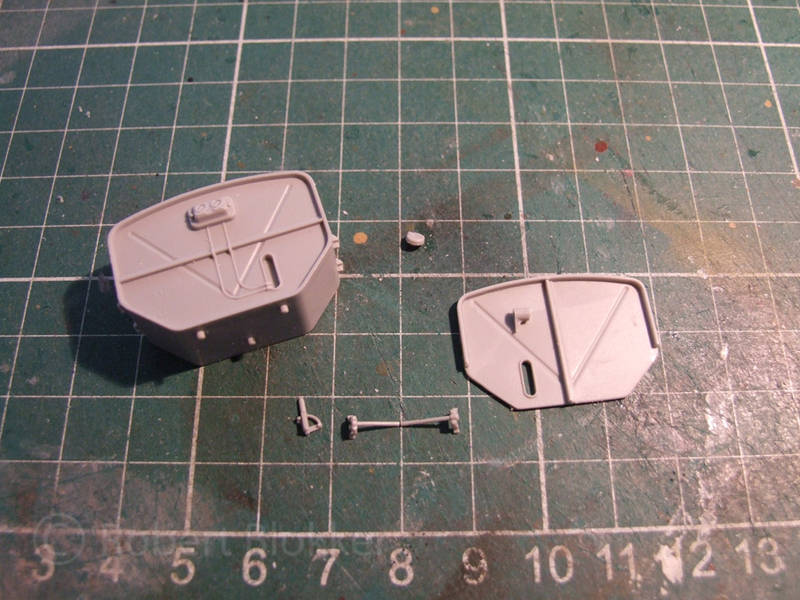
On with step 8. I'm nearing the end of the plastic works. The tracks I keep for last. Now these last styrene steps are a bit unorderly photographed in the sense that I forgot to take a few.


The reason was that I really wanted to get started on the engine. Because I bought this today

Pretty boring I know. But it meant I could start with the first resin bits.

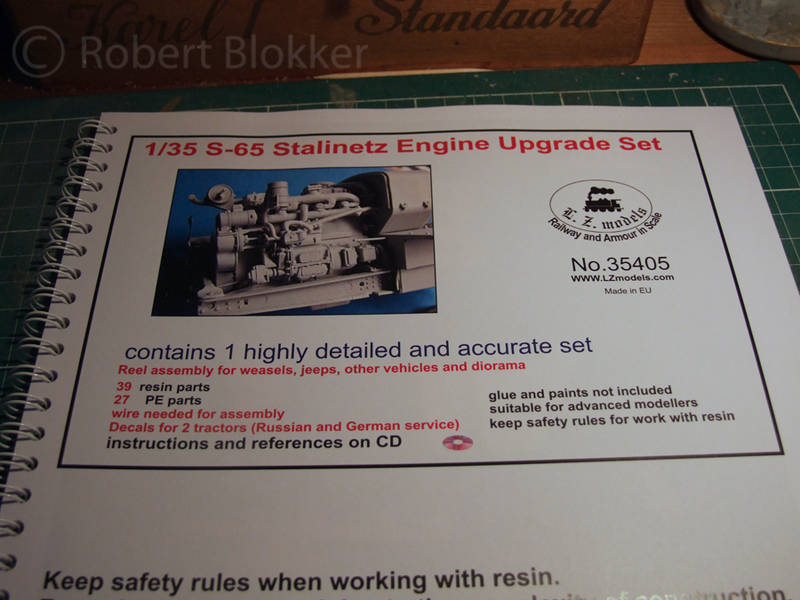
Voila the LZ models Engine set.


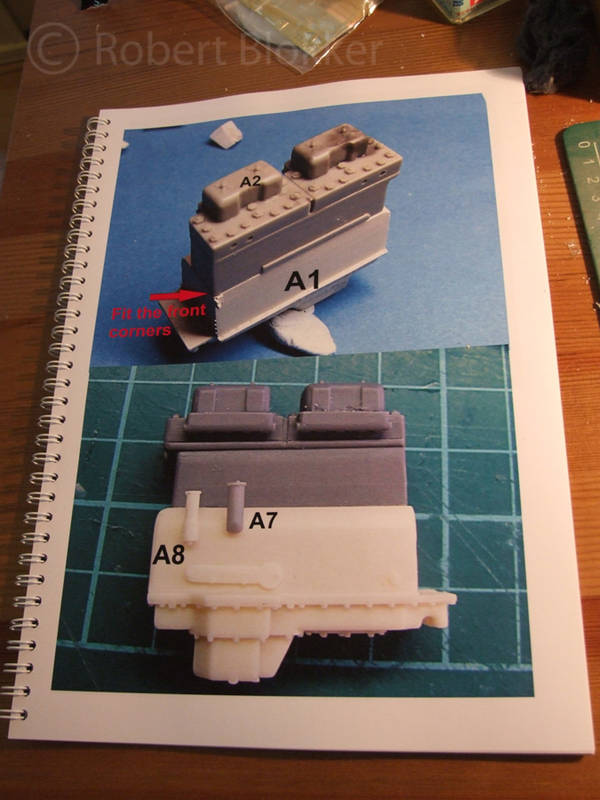
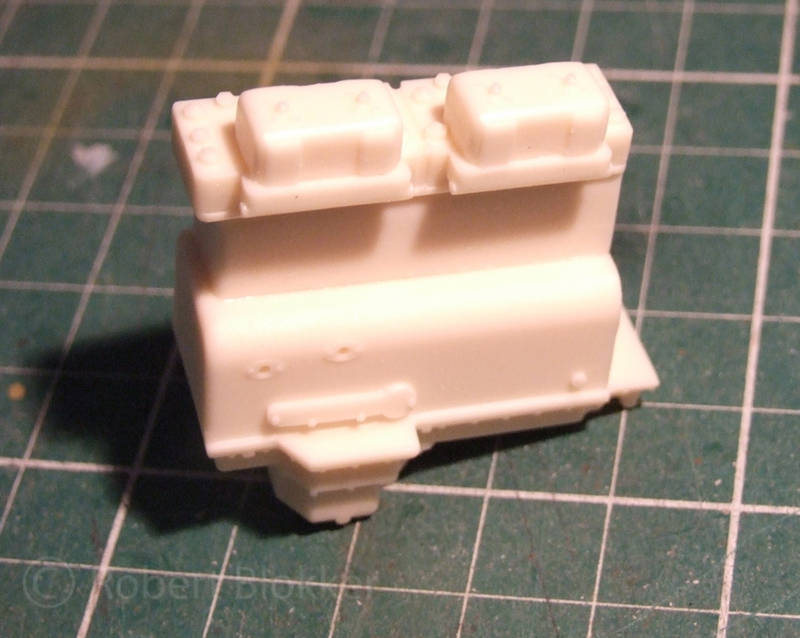
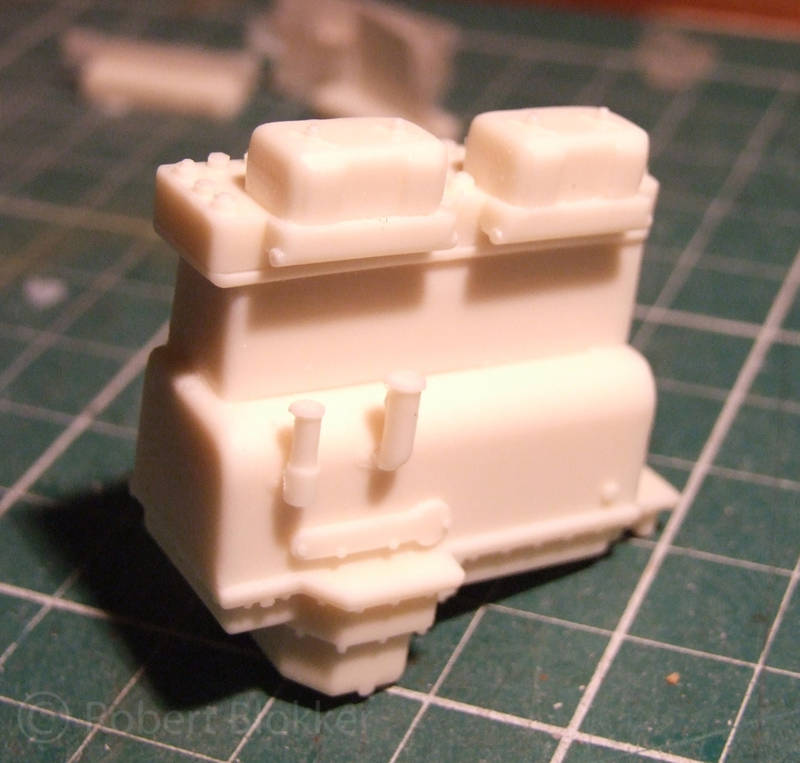
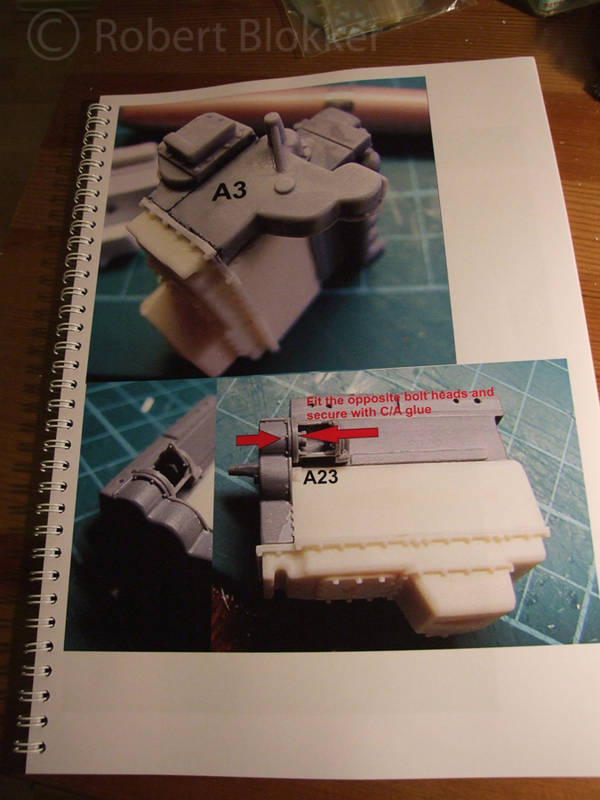
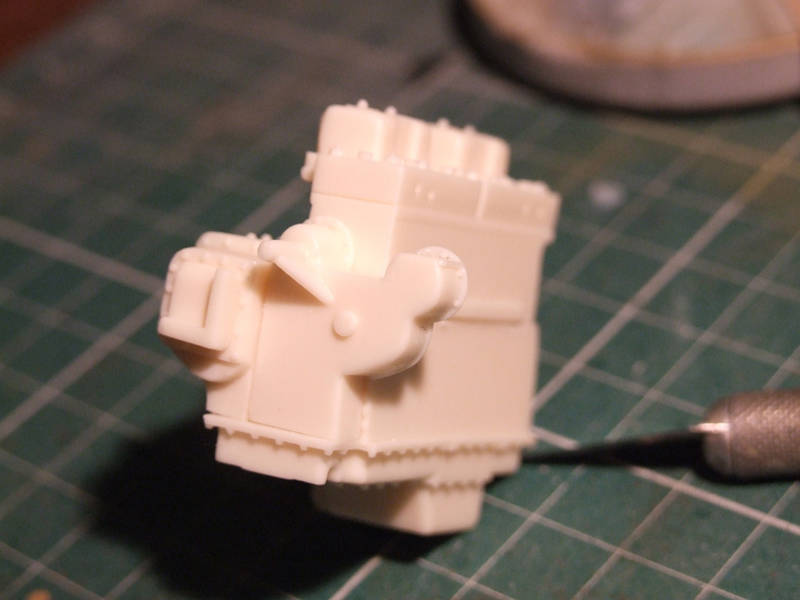
Step 1 assembling the main bulk of the engine.


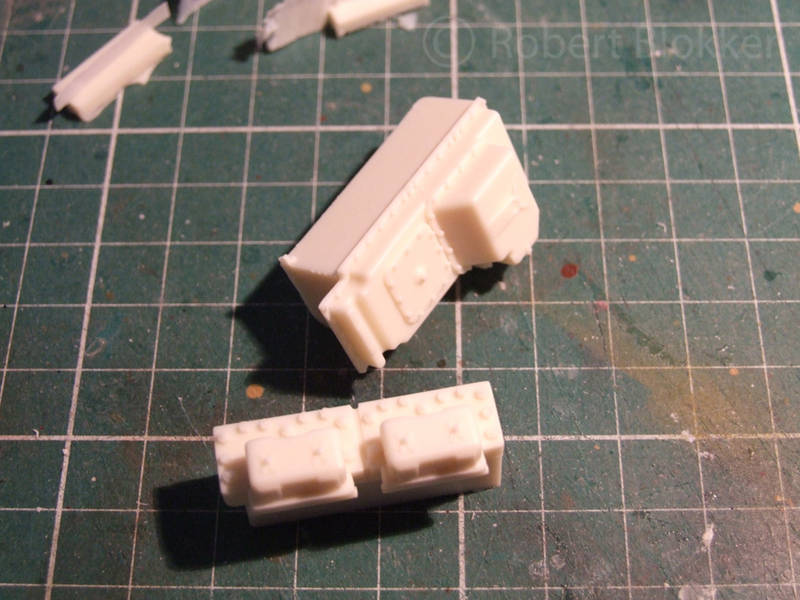
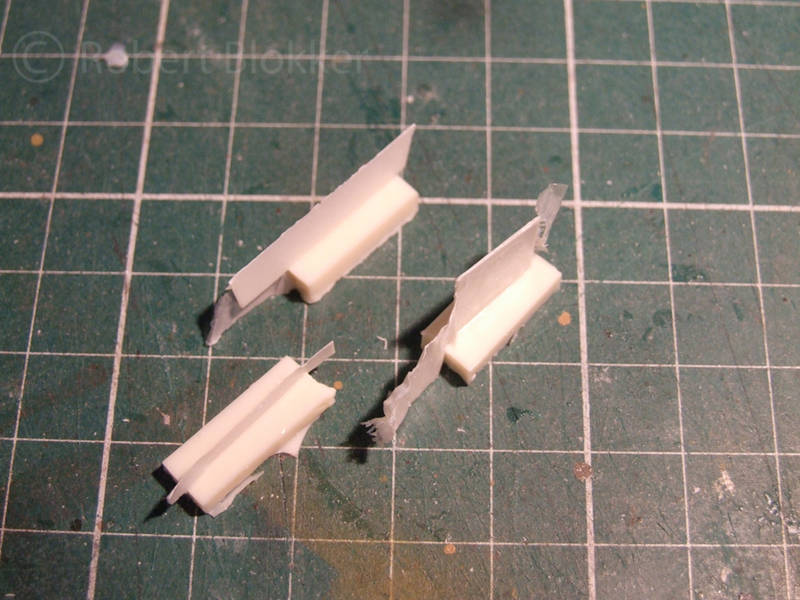
When I reviewed the sethere I mentioned the really neat casting blocks well here is a pic that shows what is attached to the parts. Very very thin slivers of resin. Very very easy to clean.


And then following the steps adding bits and bobs to the engine


So that is it for now. Next update finishing the engine, Tracks. Adding a drivers cabin from a Merc L3000. The Radiator.
FAUST
#130
Visit this Community
Noord-Holland, Netherlands
Joined: June 07, 2002
KitMaker: 8,797 posts
Armorama: 4,190 posts
Posted: Sunday, April 22, 2012 - 08:30 AM UTC
Ola Silent followers. Booked some more progress.

So again some pics from my workshop (dinertable)
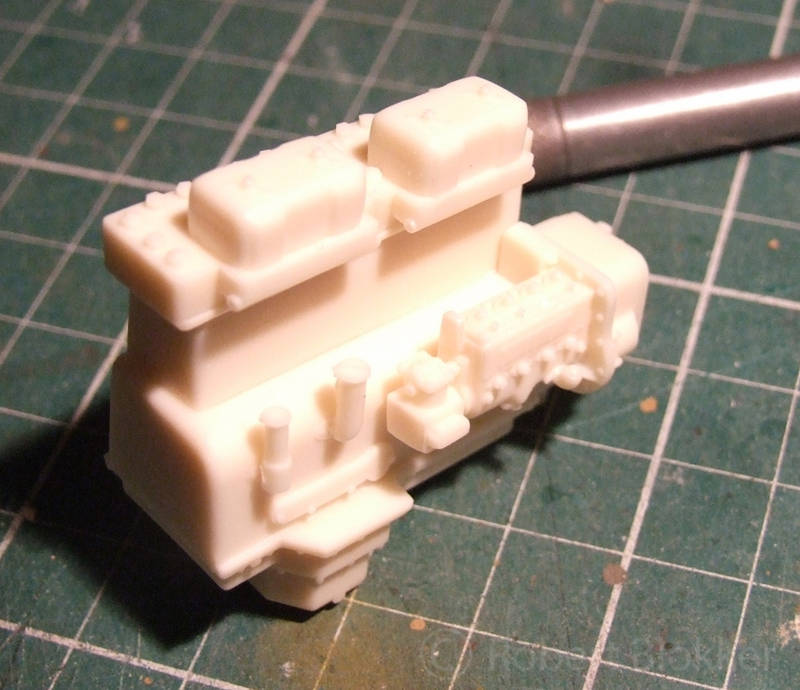
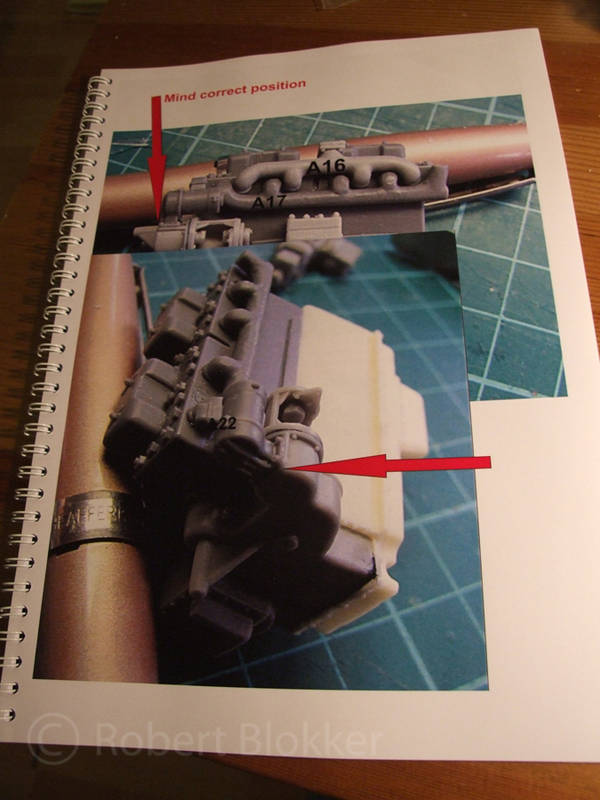
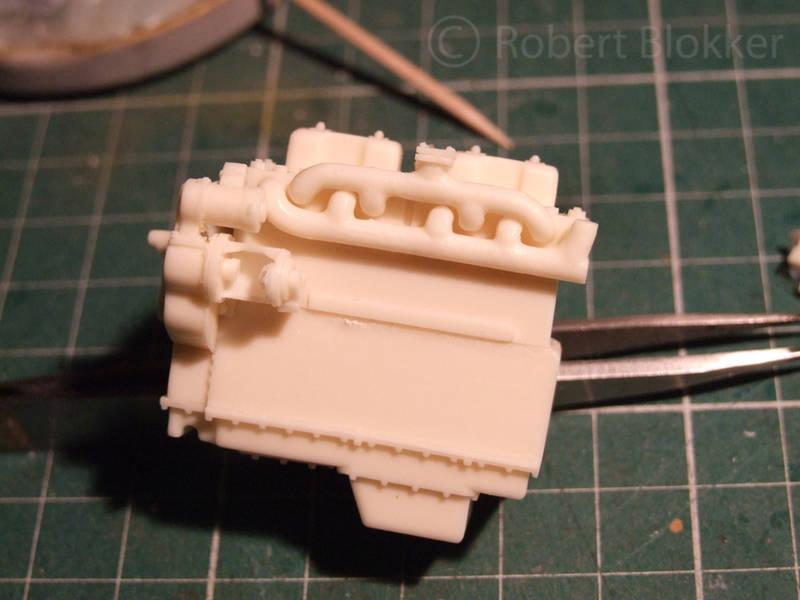
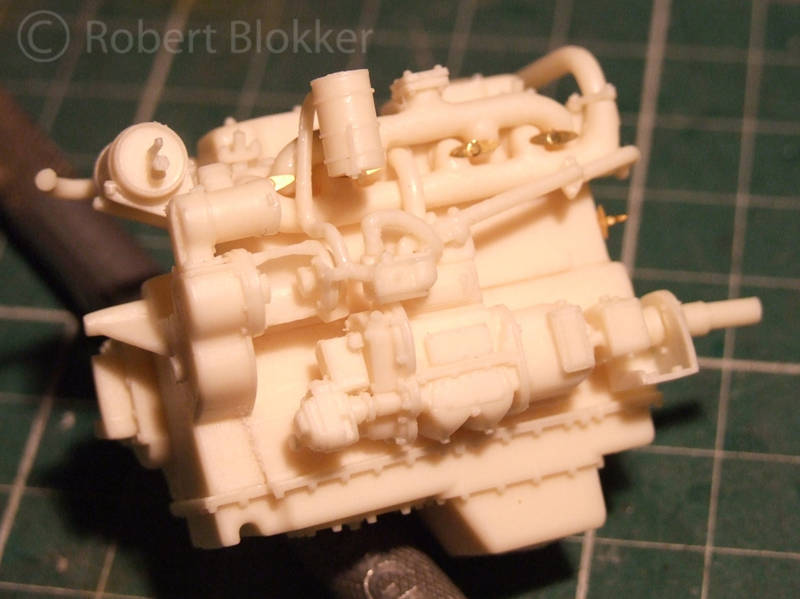
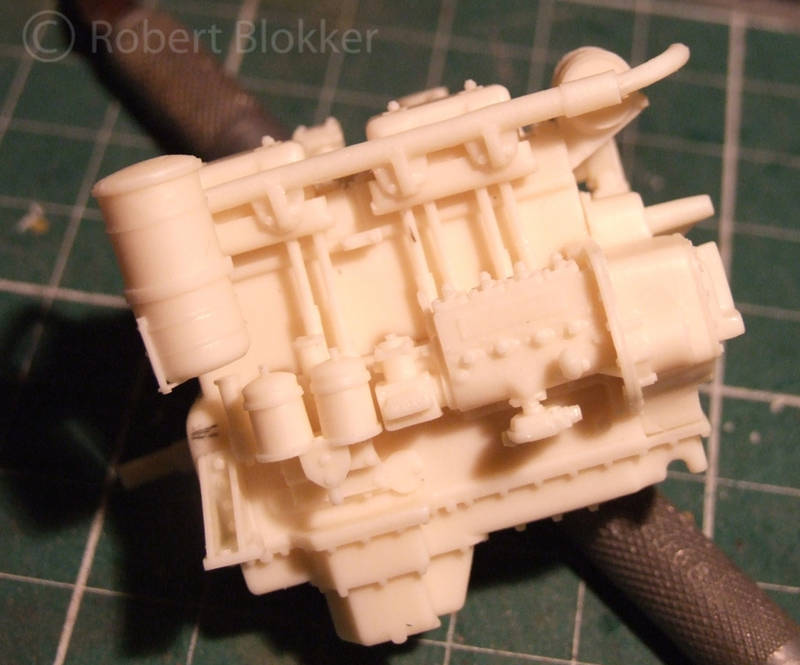
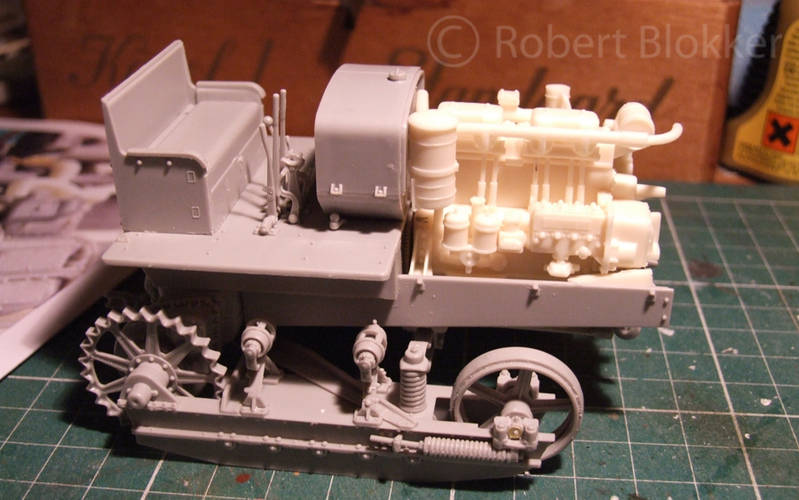
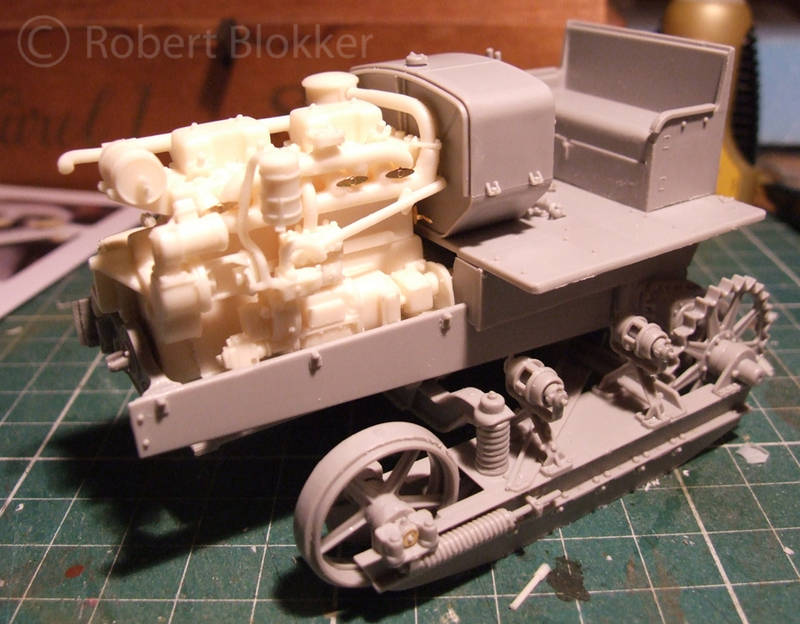
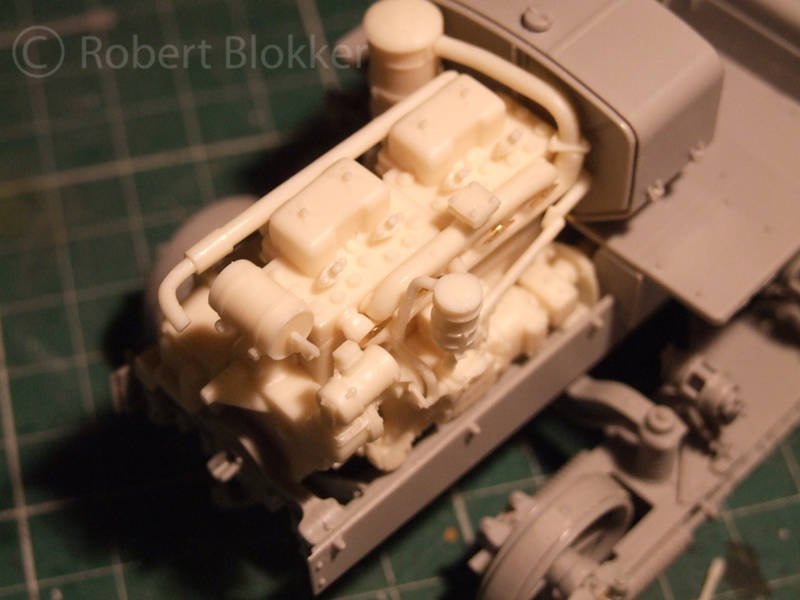
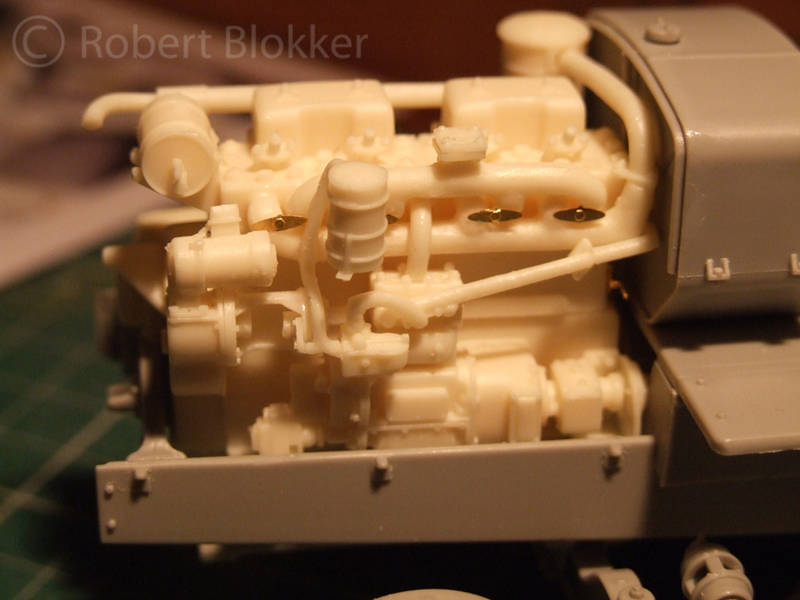
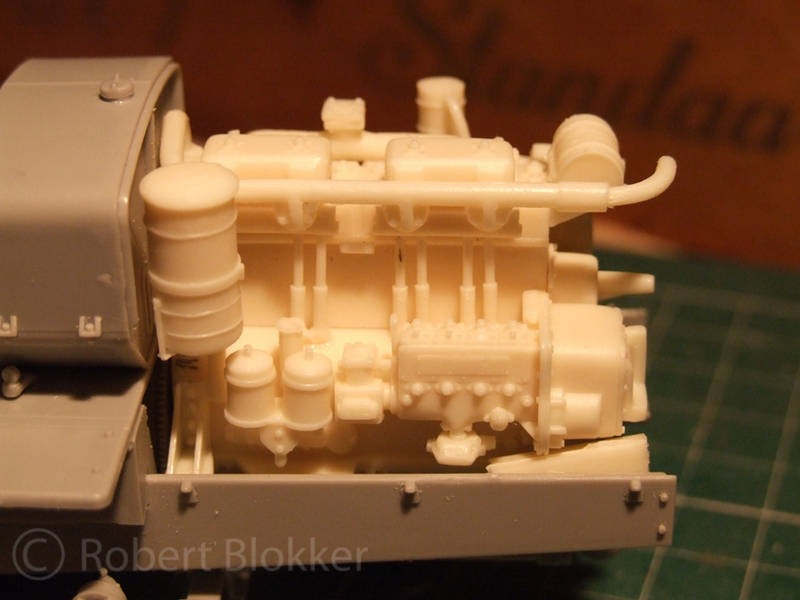
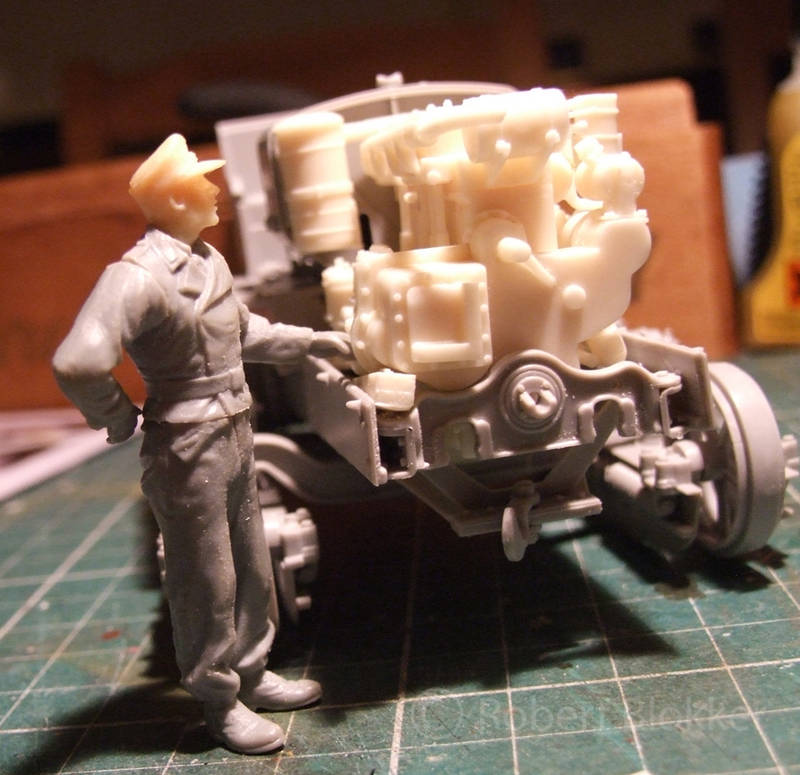
I was actually building and progress was good and then I realised I completely forgot to make pics so I missed some steps. But I pretty much finished the engine bar some small detail parts and the plumbing, some of which is going to be installed when I have the radiator.

Well here are the pics of the engine


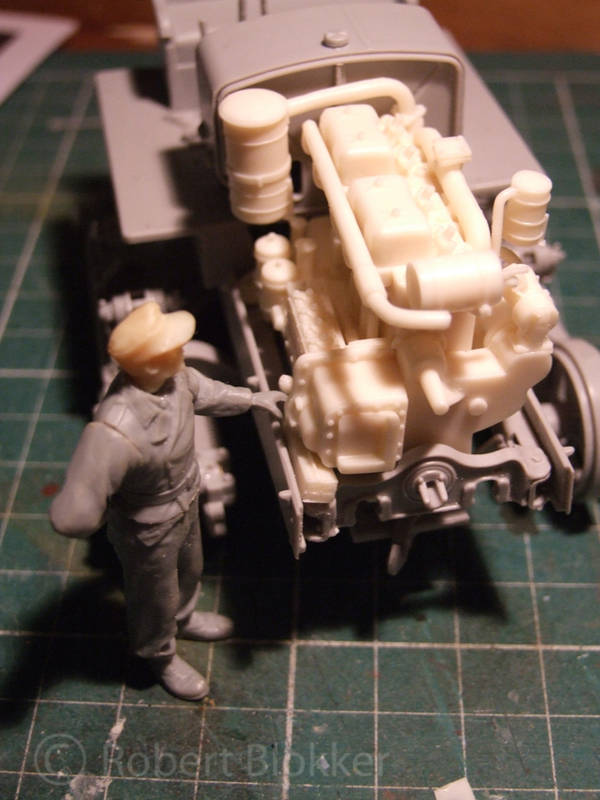
And here it is installed in the vehicle.


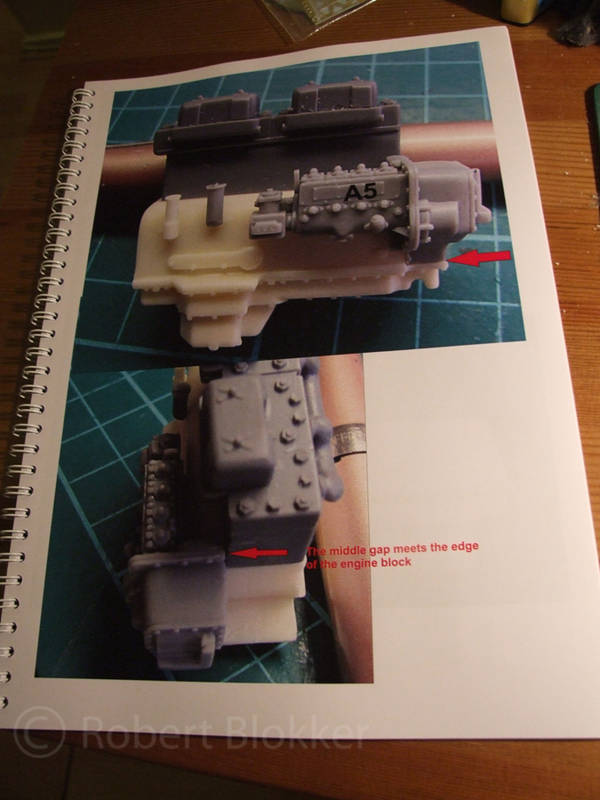
The engine set pretty much falls together itself. It builts supereasy. And the fit is perfect. Make your life easy and fit the kitparts D10 and D13 visible in step 4 after you have aligned the engine mounts to the engine. So start with the bare chassis beams and fit the plates to it later. From experience I now know aligning the Engine mounts would be much easier.


I also put a figure next to it to give an idea of the size of the vehicle and especially the engine... as it really is a ridiculously large engine


And the funny thing is that with the engine in place it suddenly looks less ridiculous with the sFH18 behind it. The huge bulk of the engine in the front of the machine balances things out neatly.


Ok that's it for now. Next up will be the tracks and the radiator which should be there somewhere in the beginning of coming week. And also somewhere at the end of next week I should be the proud owner of a new H&S Evolution Airbrush so painting should also not be too far away.

Every feedback is welcome. Silence is ok as well.

With friendly greetz

Robert Blokker
shopkin4
Visit this Community
Illinois, United States
Joined: March 29, 2009
KitMaker: 1,135 posts
Armorama: 1,030 posts
Posted: Sunday, April 22, 2012 - 11:34 AM UTC
This is amazing. I've got the engine as well and can't wait to build this kit.
FAUST
#130
Visit this Community
Noord-Holland, Netherlands
Joined: June 07, 2002
KitMaker: 8,797 posts
Armorama: 4,190 posts
Posted: Monday, April 23, 2012 - 01:29 AM UTC
Ola Sean

Thanks for your reply. The kit is nice and the Engine is a beauty. It falls together brilliantly. Do you have the engine set with the radiator or without? I received the radiator today and also that is a brilliant thing. Can't wait to install it on the kit.
firstcircle
Visit this Community
England - South East, United Kingdom
Joined: November 19, 2008
KitMaker: 2,249 posts
Armorama: 2,007 posts
Posted: Monday, April 23, 2012 - 02:07 AM UTC
Rob, looks great with the engine and gun. Love the driver's sofa! Slightly disappointed not to see a Soviet Driver and gun, but hey ho. Looking forward to that engine with paint.. .
FAUST
#130
Visit this Community
Noord-Holland, Netherlands
Joined: June 07, 2002
KitMaker: 8,797 posts
Armorama: 4,190 posts
Posted: Monday, April 23, 2012 - 04:12 AM UTC
Ola Matthew

Thanks for the comments. Well I at first planned to buy one of the big Russian Howitzers But that meant everything would become very green. And I like a diversity in color.
I still had the sFH18 standing waiting for a tractor and thought the S-65 to be a cool vehicle to pull it.
Plus I found 2 really cool pictures of a S-65 with a makeshift drivers cabin from a Merc L3000 or L4500 which was pretty beat up. So it will be a green vehicle with a Grey or sandyellow cabin.
I' also planning to scratch built a BT3 agricultural tractor which will be green and red and it will be towing an Ex Luftwaffe trailer in 3 tone camo. Yes I like colors.
panamadan
Visit this Community
Minnesota, United States
Joined: July 20, 2004
KitMaker: 1,513 posts
Armorama: 1,449 posts
Posted: Monday, April 23, 2012 - 05:28 AM UTC
Rob,
Looks great!You are right about the engine looking not so large when in it's compartment. It does look a great resin set!
Dan
FAUST
#130
Visit this Community
Noord-Holland, Netherlands
Joined: June 07, 2002
KitMaker: 8,797 posts
Armorama: 4,190 posts
Posted: Monday, April 23, 2012 - 08:02 AM UTC
Ola Dan

Thanks for the reply. It is getting shape nicely. Today I testfitted the New radiator which looks stunning. Need to make photographs for a review of that. And I started on the tracks. Quite a lot of work with each link consisting of 3 parts but they are workable and look the part on the vehicle.
Plasticbattle
#003
Visit this Community
Donegal, Ireland
Joined: May 14, 2002
KitMaker: 9,763 posts
Armorama: 7,444 posts
Posted: Monday, April 23, 2012 - 08:21 AM UTC
Good looking build so far Robert. I wnat this model as well. Will be following.
FAUST
#130
Visit this Community
Noord-Holland, Netherlands
Joined: June 07, 2002
KitMaker: 8,797 posts
Armorama: 4,190 posts
Posted: Monday, April 23, 2012 - 09:42 AM UTC
@ Frank thanks for the kind words.
It is an amazing kit OOTB and I'm pretty sure you can work your magic on it. Couple it with the engine and the new radiator and you'll bring it to a whole new level.
TacFireGuru
Visit this Community
Colorado, United States
Joined: December 25, 2004
KitMaker: 3,770 posts
Armorama: 2,263 posts
Posted: Monday, April 23, 2012 - 03:32 PM UTC
Very nice Mr. B. Excellent presentation as always. Both the engine and tractor are on my wish list with this blog fav'd.

Always, always enjoy the detailed builds here.

Mike
KoSprueOne
Visit this Community
Myanmar
Joined: March 05, 2004
KitMaker: 4,011 posts
Armorama: 1,498 posts
Posted: Monday, April 23, 2012 - 04:06 PM UTC
Thanks for the heads up on the parts clean up and strange anomalies in the iSheets.
I have this kit but haven't started it yet.
I don't have the engine kit but maybe purchasing one after seeing it here.
Very well detailed


MrRoo
Visit this Community
Queensland, Australia
Joined: October 07, 2002
KitMaker: 3,856 posts
Armorama: 2,984 posts
Posted: Monday, April 23, 2012 - 08:48 PM UTC
Robert that looks fantastic. Your workmanship has not deminished over time either.

Cheers
Cliff
FAUST
#130
Visit this Community
Noord-Holland, Netherlands
Joined: June 07, 2002
KitMaker: 8,797 posts
Armorama: 4,190 posts
Posted: Tuesday, April 24, 2012 - 05:32 AM UTC
@ Mike.
Thanks for your reply.
The Trumpeter kit is a joy to built. Everything falls together perfectly and it is well engineered. The only pitty is the lack of the engine.. But that means you can have the joy of building the LZ models engine which is a kit on it';s own. Looking forward to your efforts if you decide to buy this kit.

@ KoSprueOne
Yes there are a few bits in the Instructions that need some highlighting but I think I covered everything. It is a fun kit. Regardless if you buy an engine set I'm sure you will make something nice out of it.

@ Cliff
Thanks mister from Gympie for the compliments. Keep in mind the kits were already great enough that my shoddy workmanship could not diminish it
FAUST
#130
Visit this Community
Noord-Holland, Netherlands
Joined: June 07, 2002
KitMaker: 8,797 posts
Armorama: 4,190 posts
Posted: Monday, April 30, 2012 - 03:59 AM UTC
Ola Guys

Little update. I found some pictures of S65 tractors with drivers cabins from trucks on top of the drivers platform of the tractor and thought that to be pretty cool.
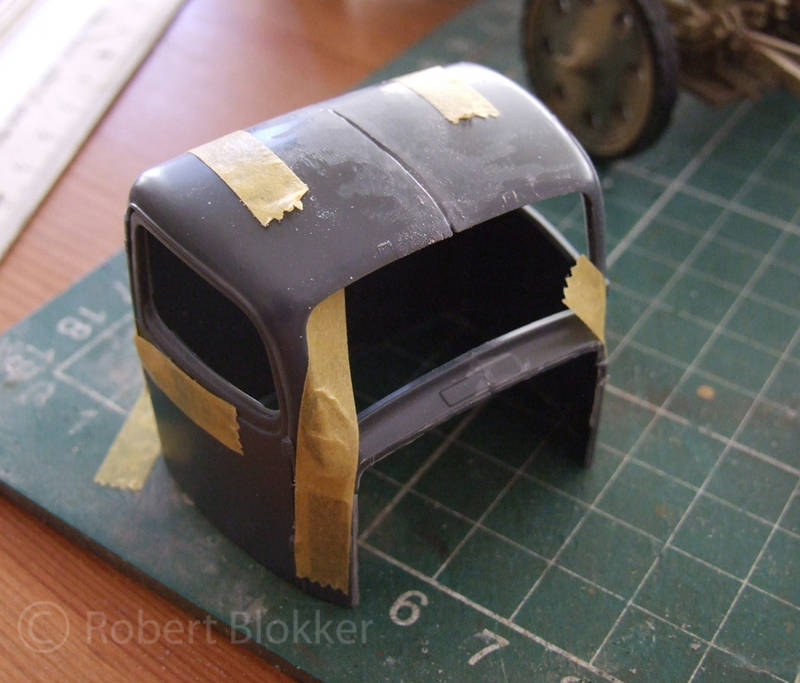
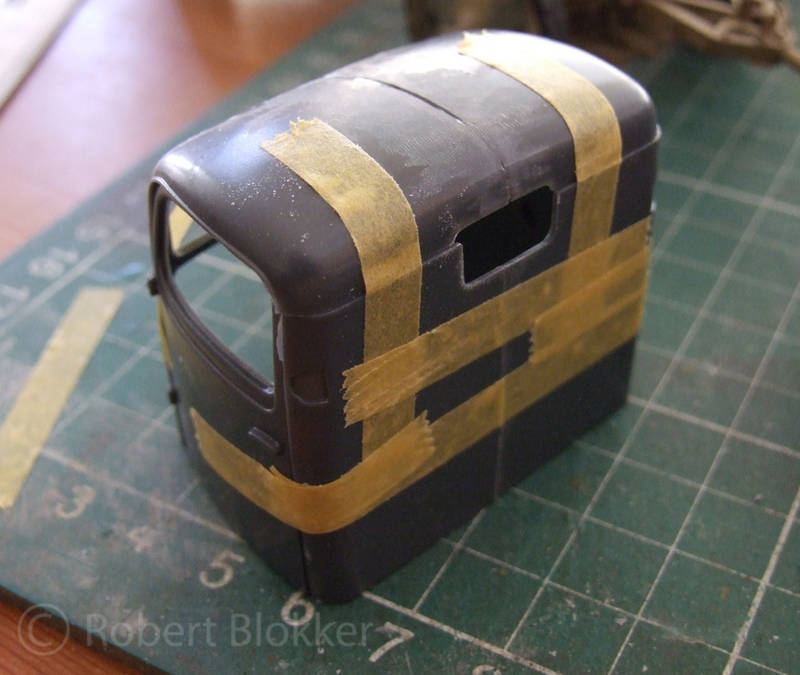
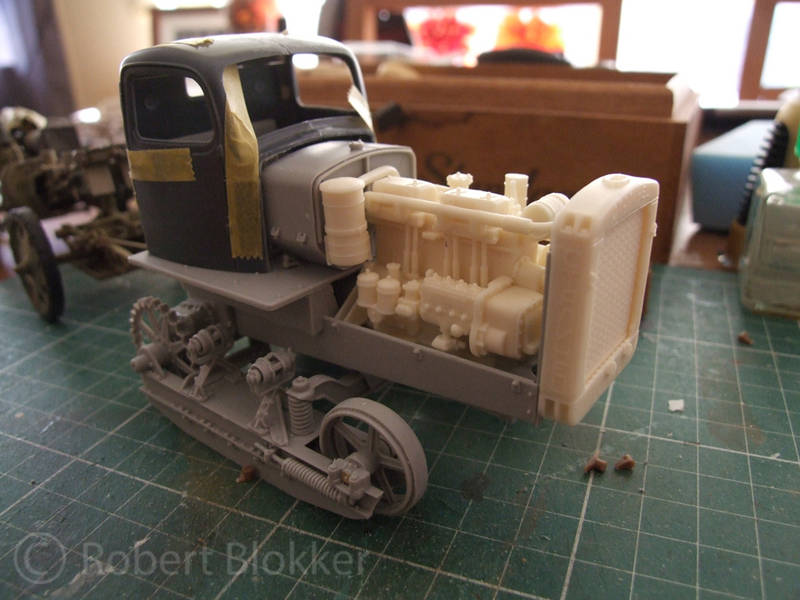
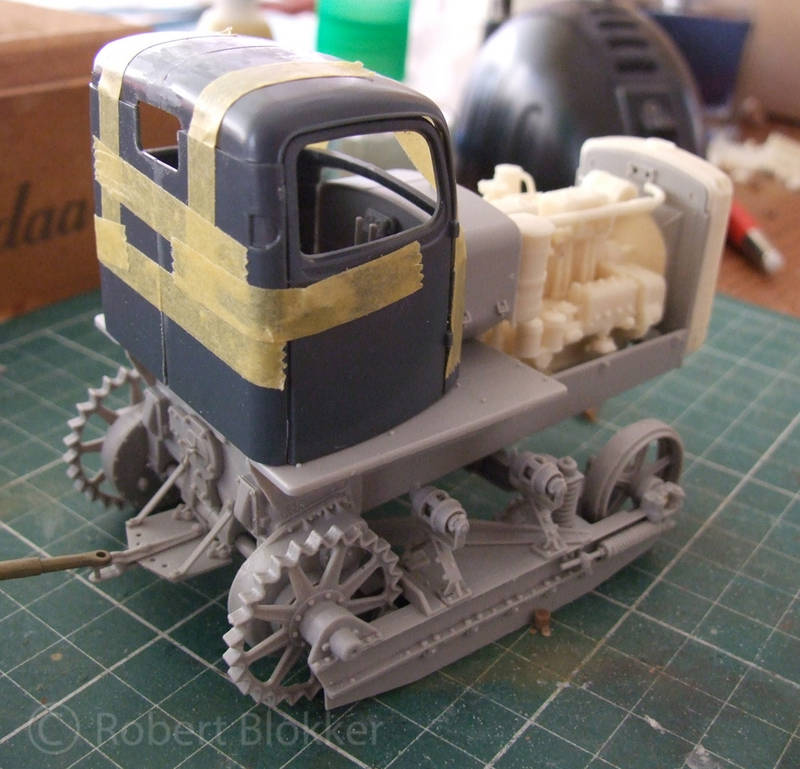
So I bought an Italeri Merc L3000 and assembled the cabin with tape only to find out it was too wide. Probably those cabins from the pictures were of 1,5 to 2 ton trucks. That said... I did some measuring and drawing and cut out 4mm over the length of the cabin and made it narrower this way. I still need to fill the cut and do some additional detailing. But it already starts to look pretty cool.

The cabin with the 4mm cut out of it and glued together


And how it looks on the tractor


No on to clean up, filling and detailing. Almost finished 1 run of tracks. So slowly but surely it nears the painting stage.
exer
Visit this Community
Dublin, Ireland
Joined: November 27, 2004
KitMaker: 6,048 posts
Armorama: 4,619 posts
Posted: Monday, April 30, 2012 - 04:41 AM UTC
Looks great with the truck cab Robert
FAUST
#130
Visit this Community
Noord-Holland, Netherlands
Joined: June 07, 2002
KitMaker: 8,797 posts
Armorama: 4,190 posts
Posted: Monday, April 30, 2012 - 06:52 AM UTC
Ola Pat

Thanks for the compliments. I too think it looks cool with the cab on it.. When I saw it first in wartime pictures there was just no question about it that I was going to built it.
caryl576
Visit this Community
United Kingdom
Joined: April 23, 2011
KitMaker: 173 posts
Armorama: 165 posts
Posted: Monday, April 30, 2012 - 07:46 AM UTC
really cool stuff, love that engine
 _GOTOTOP