_GOTOBOTTOM
Armor/AFV
For discussions on tanks, artillery, jeeps, etc.
Takom Mk.I Male Build Log
Dangeroo
#023
Visit this Community
Zurich, Switzerland
Joined: March 13, 2009
KitMaker: 2,058 posts
Armorama: 1,656 posts
Posted: Monday, January 04, 2016 - 12:26 AM UTC
Hi all,

After the first look review , here's the first installment of my build log to see how it all goes together.

The instructions start with the main hull (crew/enging compartment) which is made up of 6 main components plus the driver's compartment (which, as discussed in the thread of the female Mk.I review , is too narrow when compared to the real thing, but I'll live with it).

While at first look it seems liket the different flat components will be hard to correctly lign up in the right angles, this actually works out pretty well due to the alignment slots molded into the parts. I recommend to set it onto its side on a flat surface to dry:


Then you add some of the detail, like hatch and what I presume to be ventilators where you use the first PE parts.


Dangeroo
#023
Visit this Community
Zurich, Switzerland
Joined: March 13, 2009
KitMaker: 2,058 posts
Armorama: 1,656 posts
Posted: Monday, January 04, 2016 - 12:50 AM UTC
Next you move on to the sponsons, suspension and track assembly.

After adding some of the interior life of the sponsons...


...you start on the wheels... and this is definitely the most tedious part of the kit. I can confidently say that without having finished it... Per side there are 11 larger type A wheels and 16 type B wheels, which each are made up of 3 parts...


It took me some 2-3 hours per side to finish the wheels, though I did watch some good movies during that time (mainly Twelve O'Clock High and a Japanese film on Yamamoto, both highly recommended! completely ...sorry... )

So this is the workbench setup I recommend:


Adding the outside armor plate then is a bit tricky, but it works well with a little care.


Now for the tracks, this is actually a pleasent job as mentioned in the review. A quick pas with the file on the mold attachment and then you simply stick them together and within 15-20 mins. you have a complete 90 part track.


In my case the idler wheel seems to be a bit too far out. While this is good for track tension, it does not look right. Fortunately there are slots for two different positions and it is easy to slightly force the two side apart and slip the idler back to the second hole.

That's it so far. Currently working on the left side sponson and watching Defiance

Stay tuned...

BTW, I will be building the Somme version with the steering wheels.

Cheers!
Stefan
PRH001
Visit this Community
New Mexico, United States
Joined: June 16, 2014
KitMaker: 681 posts
Armorama: 603 posts
Posted: Monday, January 04, 2016 - 02:45 AM UTC
Looks good. I've been assembling the sponsons for the female version of the Mk 1 this weekend myself. I'm looking forward to seeing your finished piece.

Paul H
Dangeroo
#023
Visit this Community
Zurich, Switzerland
Joined: March 13, 2009
KitMaker: 2,058 posts
Armorama: 1,656 posts
Posted: Friday, January 15, 2016 - 05:32 PM UTC
Hi Paul, thanks for looking in. Read your review of the female, good review! I was a bit astonished to hear of your problems with the tracks. It may be that the sprue attachment point will be visible slightly in the end, but since the tracks will be dirtied up anyway, I don't think it will show up in the end.

In the meantime I made some progress not only on the build but also on my knowledge of the vehicle. I got myself a copy of Osprey's book on the Mk. I. Of course now I know that what I thought were ventilators were in fact the exhausts. Now that I know the engine of these beasts was in fact in the middle (not the back as I assumed for some reason), this makes perfect sense. Ans of course there were no ventilators in these things, which was one of the major gripes the crews had. In any case, it's an interesting read on these first battles of the tank and also includes illustrations of marking options contained in the kit, in particular the palestine version witht the wagon.

Back to the uild, I started with the sponsons, which - no surprise there - are exactly mirrored on either side with the guns being the same. The guns are nicely detailed, as are the inside of the sponsons, including an ammo rack but no ammo. However, since the rest of the tank is empty (anyone for tennis?), this doesn't really make a difference, so I basically slapped the gun assemblies togehter quickly.


You then move onto the sponsons which - like the female version reveiewed here - are made up (not unlike the original) from individual plates. As with the female you need to take care to carefully align these parts as otherwise you will get into trouble. Just like me... I did have a slight misalignment with the front plate which I'm now trying to cure wiht some putty. Stay tuned for that...


Currently I'm working on the tail section (in particular steering wheel) but nothing really to show yet. After that we're already in the final assembly stage, fit everything together like a 90° inverted sandwich with the sponsons being the bread...

Cheers!
Stefan
TAFFY3
Visit this Community
New York, United States
Joined: January 21, 2008
KitMaker: 2,531 posts
Armorama: 859 posts
Posted: Saturday, January 16, 2016 - 12:23 AM UTC
Then you add some of the detail, like hatch and what I presume to be ventilators where you use the first PE parts. [Quoted]

I'd say they are the exhaust stacks, same location as on the Mk.IV tank.


Great build, wish the kit came with a full interior though. Al
HermannB
Visit this Community
Bayern, Germany
Joined: October 14, 2008
KitMaker: 4,099 posts
Armorama: 4,067 posts
Posted: Saturday, January 16, 2016 - 12:49 AM UTC
MR Modellbau is working on an update set for the Mark 1.
https://www.facebook.com/MRModellbau
TAFFY3
Visit this Community
New York, United States
Joined: January 21, 2008
KitMaker: 2,531 posts
Armorama: 859 posts
Posted: Saturday, January 16, 2016 - 02:22 AM UTC

Quoted Text

MR Modellbau is working on an update set for the Mark 1.
https://www.facebook.com/MRModellbau


Good news, and another reason to pick up this kit. No, no, must resist. Al
Dangeroo
#023
Visit this Community
Zurich, Switzerland
Joined: March 13, 2009
KitMaker: 2,058 posts
Armorama: 1,656 posts
Posted: Friday, January 22, 2016 - 12:24 AM UTC
Al, definitely exhaust.

Hermann, thanks that does seem to solve the problem nicely.

I continued steadily with my build and am now in the final assembly stage.

Sanded out the misaligned edges and I think it turned out ok. The sponson now looks like this inside and out:


Then you assemble the steering wheel attachment. My recommendation here is clearly not to do it in one go but give it time to cure before attaching the armor panels. Don't ask me how I know...


next up is the steering wheel assembly itself which is made up of three major parts and some smaler fittings, plus what seem to be a spring assembly.


One of the very few parts with pin marks, but these are easily remedied:


And thats what it all basically boils down to: 6 components for final assembly.


Now I've started assembly but I'm taking this very slowly and carefully. First one track assembly to the hull and let it dry. Then the other, etc. Stay tuned, should be ready for priming soon.

In the meantime I was thinking about a smal dio or more of a vignette to present it. Maybe a few shell holes and an infantryman to run next to it. Any good sources for WWI british Infantry?

Cheers!
Stefan
Dangeroo
#023
Visit this Community
Zurich, Switzerland
Joined: March 13, 2009
KitMaker: 2,058 posts
Armorama: 1,656 posts
Posted: Thursday, January 28, 2016 - 12:50 AM UTC
Final assembly done. I suggest to really take this slowly to make sure everything aligns correctly and is dry before adding the next component.


Here are some comparison photos to show you the size of this beast; with a Char B1 bis:


With a Stuart:


And a British Officer (this one was scientifically measured to exact average british offeicer height on 27 July 1944).


Next up will be my usual black primer/pre-shade. I'll be trying something new to me, the premium primer of Vallejo. Stay tuned...

Cheers!
Stefan
CMOT
Staff MemberEditor-in-Chief
ARMORAMA
Visit this Community
England - South West, United Kingdom
Joined: May 14, 2006
KitMaker: 10,954 posts
Armorama: 8,571 posts
Posted: Thursday, January 28, 2016 - 12:58 AM UTC
I will admit I am a little confused as to why so much effort is put into the sponson detail, when if they are off of the model there is no detail inside the hull. That said I do like the effort you have put in to this build thus far.
firstcircle
Visit this Community
England - South East, United Kingdom
Joined: November 19, 2008
KitMaker: 2,249 posts
Armorama: 2,007 posts
Posted: Thursday, January 28, 2016 - 06:25 PM UTC
Stefan, this looks great. I must admit that since I built my Airfix Mk I before this slew of 1/35 scale WWI kits came out, I hadn't really kept up with all the details of those new releases. I am slightly stunned to see exactly the same issue over the cab width that Airfix had in their kit from the 1960s.

I think the way the idler was bringing the track forward of the apex of the front track "horn" may not have been too bad in fact, as that is how the tensioning was achieved and you can see photos of the tanks with their tracks well forward of that point.
Looking forward to your painting though - the early ones have the best paint schemes!
CMOT
Staff MemberEditor-in-Chief
ARMORAMA
Visit this Community
England - South West, United Kingdom
Joined: May 14, 2006
KitMaker: 10,954 posts
Armorama: 8,571 posts
Posted: Thursday, January 28, 2016 - 08:26 PM UTC
Could it be possible that not all of these tanks were the same and so it is correct for some?
Mech
Visit this Community
Ontario, Canada
Joined: July 20, 2002
KitMaker: 281 posts
Armorama: 226 posts
Posted: Friday, January 29, 2016 - 07:22 PM UTC
Hi Stefan

I like your build review and it makes me want to buy the kit but with the Canadian dollar declining against the US dollar by 42% this past year it makes it very expensive right now to buy any kits.

Are you going to build and install the two beam hoists and the dolly. I would like to see it if it is all possible.

Cheers,

Ralph
Dangeroo
#023
Visit this Community
Zurich, Switzerland
Joined: March 13, 2009
KitMaker: 2,058 posts
Armorama: 1,656 posts
Posted: Friday, February 12, 2016 - 01:01 AM UTC
Matthew, Darren, I haven't seen any photos that would conform to this driver's compartment, but then there are few head on shots. Since the Prototype was basically a little Willie with new track sponsons, and littel Willie's hull is overall the same width, I would say there is no mistaking here. But I've been known to be wrong...


Ralph, I wasn't planning on building the hoits and wagon, but if that would help I could always just build them without painting. This is an official build review after all...

So I started painting first with a coat of black primer/Pre-shade as always:


Then I started thinking about the camo scheme and decided to go for C19, HMLS Clan Leslie. However, the first thing I noted is that the scheme in the instruction is the museum applied and not the original (though there is a very tiny glimpse of how the original would have been). The second thing I noted is that C19 actually had a grenade screen when it went into action. That of course is not included in the kit... So I decided to try my hand at this scheme anyway (just because I like the challenge) and skip the screen and make it a "before the battle" model where the screen hat not yet been fitted.

The plan is to apply all 5 main colors (dark green, dark brown, orange brown, grey and sand) by airbrush, masking each one as I go with silly putty (or whatever it is) and finally using the technique I had used on my Char B1bis for the black with a pen. So let's go. Green:


Green (some Tamiya mixture) with silly putty:


Brown (also Tamiya):


More sillyness and orange-brown (an old jar of Revell paint I had standing around, never used, and needed a big sip of thinner to revive which almost made it overflow and cause a mess but that fortunately I could avoid happening so everyone lived happily ever after):


And then the silly putty ran out and I had a hard time getting more but finally got more and so this is where we stand right now:


Phew... Next up: Grey. Hopefully tomorrow and then sand on Sunday. And the big moment of unmasking where we know if everything is salvageable or going down the drain... stay tuned...

Dangeroo
#023
Visit this Community
Zurich, Switzerland
Joined: March 13, 2009
KitMaker: 2,058 posts
Armorama: 1,656 posts
Posted: Tuesday, March 01, 2016 - 12:57 AM UTC
Skiing vacation came in between, but here's the result after adding sand...


...and the moment of truth, taking away the goo...


Next up, black and detail painting.

Cheers!
Stefan
TAFFY3
Visit this Community
New York, United States
Joined: January 21, 2008
KitMaker: 2,531 posts
Armorama: 859 posts
Posted: Tuesday, March 01, 2016 - 03:28 AM UTC
looking real good, Stefan. Al
Dangeroo
#023
Visit this Community
Zurich, Switzerland
Joined: March 13, 2009
KitMaker: 2,058 posts
Armorama: 1,656 posts
Posted: Thursday, April 07, 2016 - 12:42 AM UTC
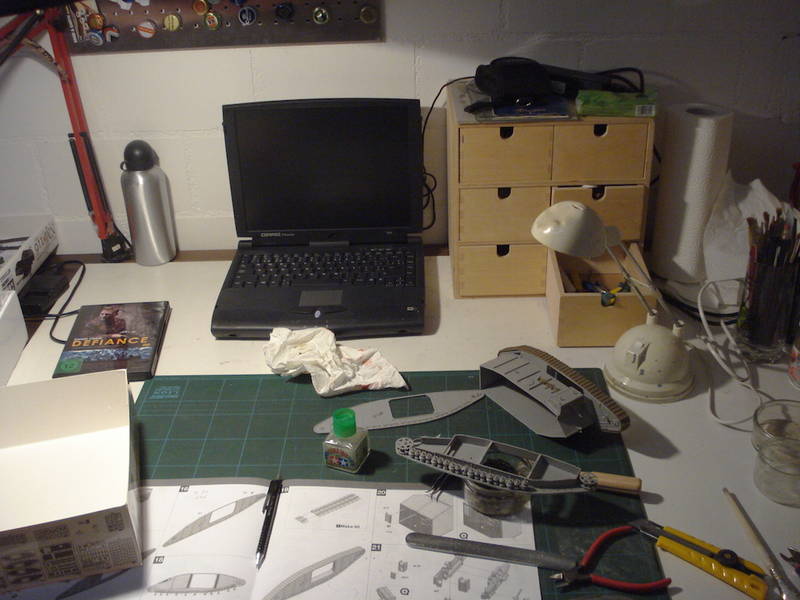
I confess to being a bad boy and not updating my build log regularly.

But it looks like I'm done for now.

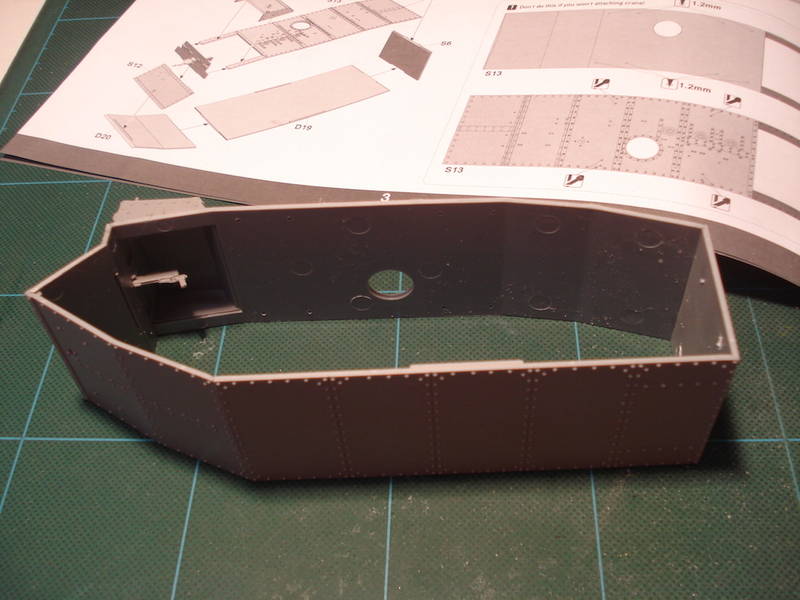
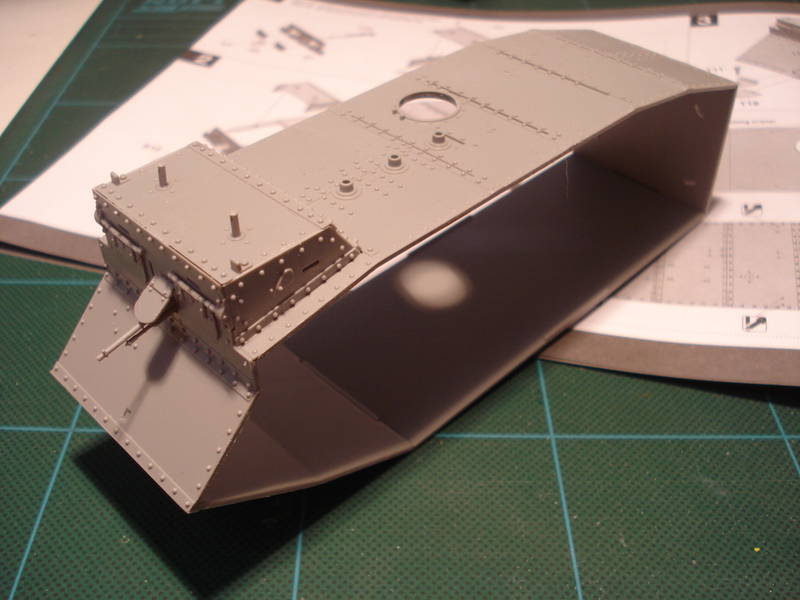
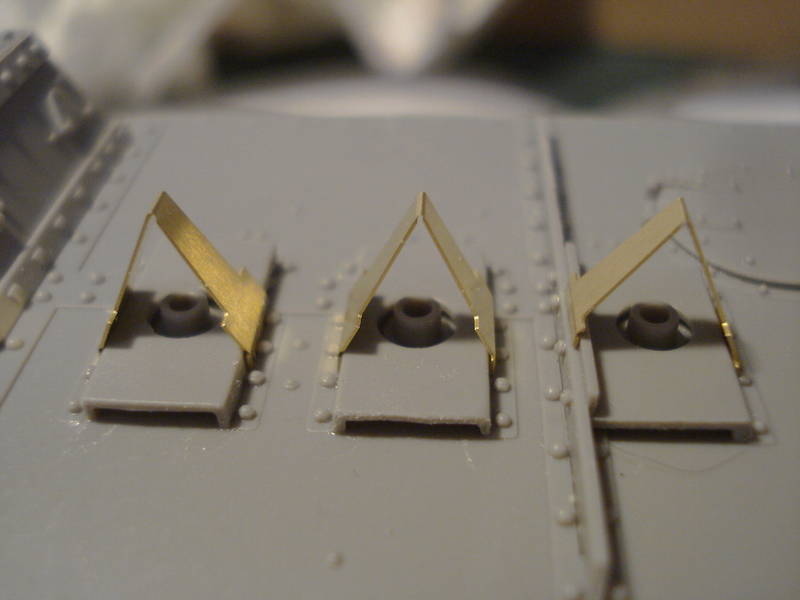
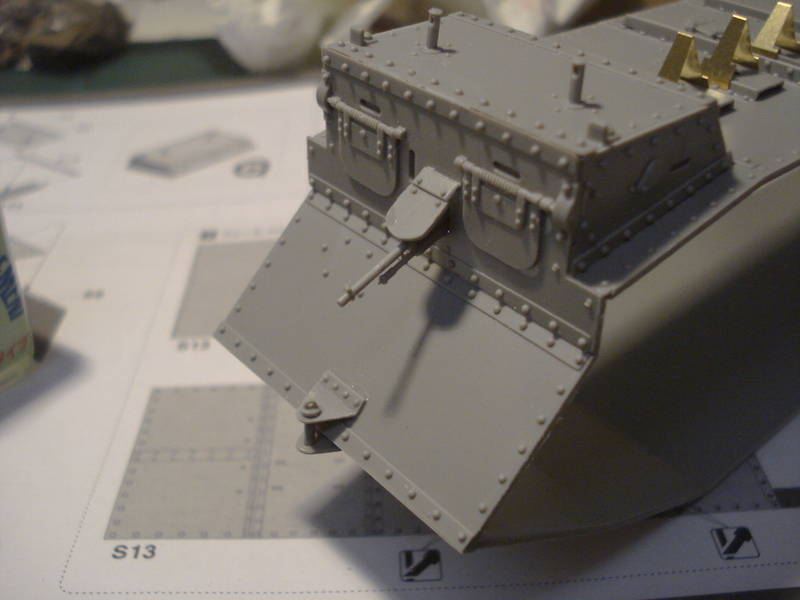
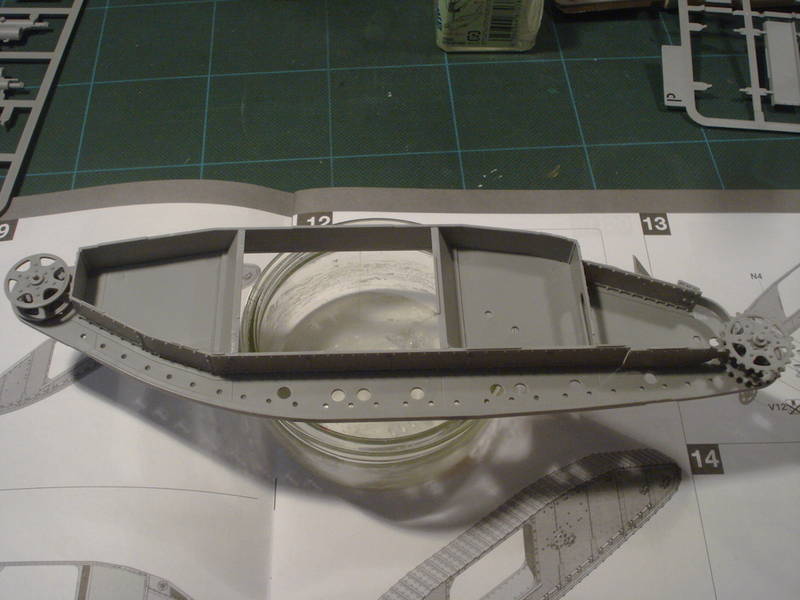
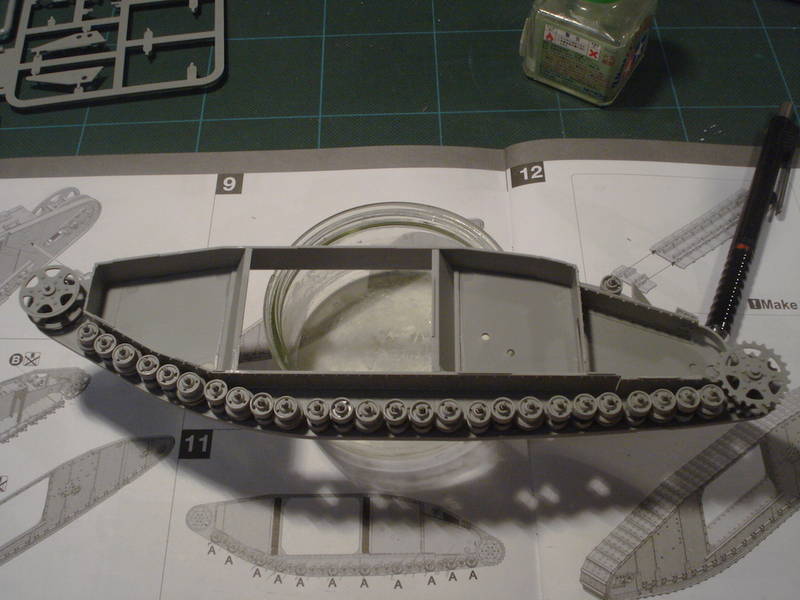
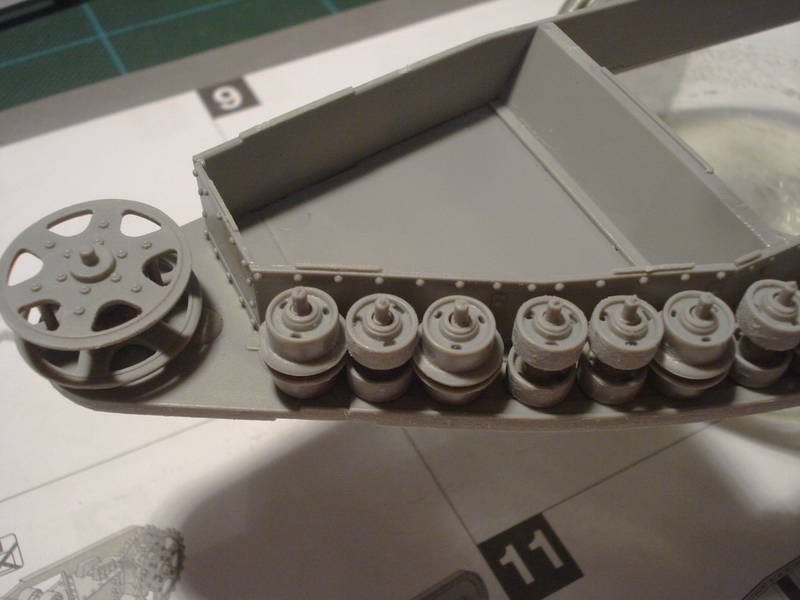
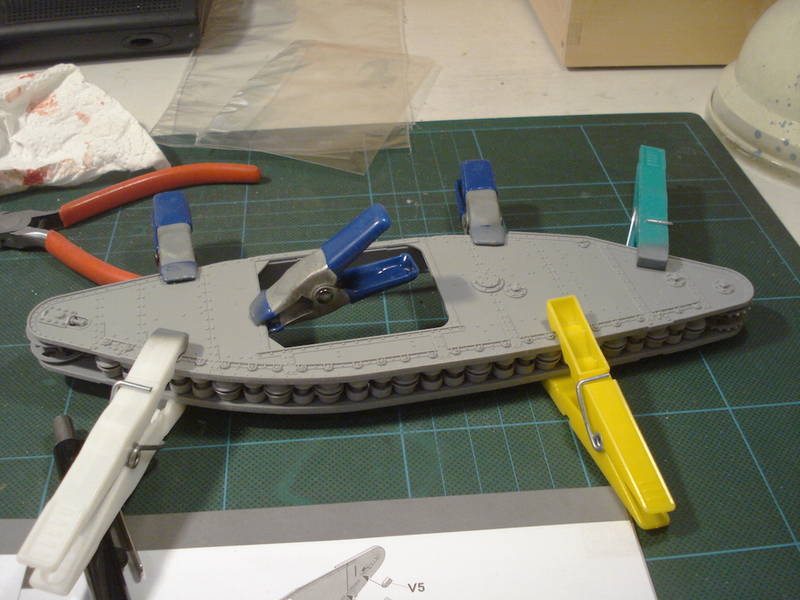
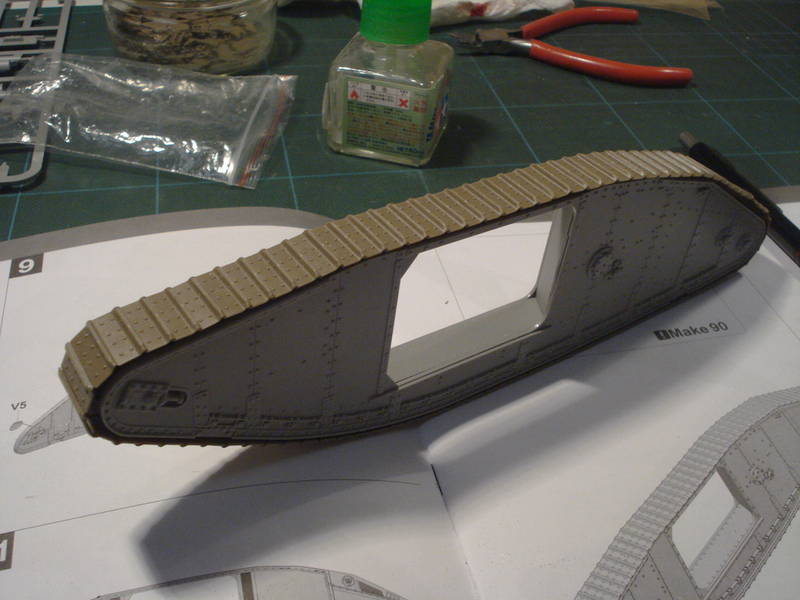
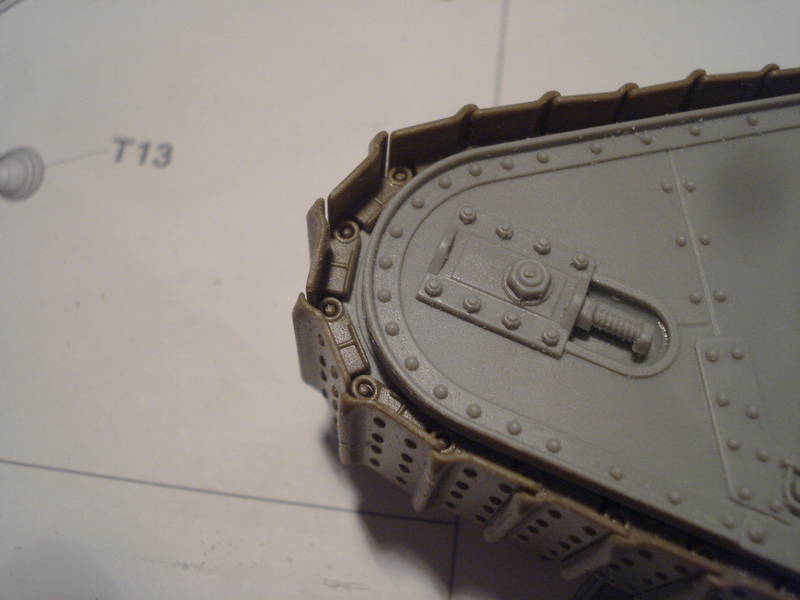
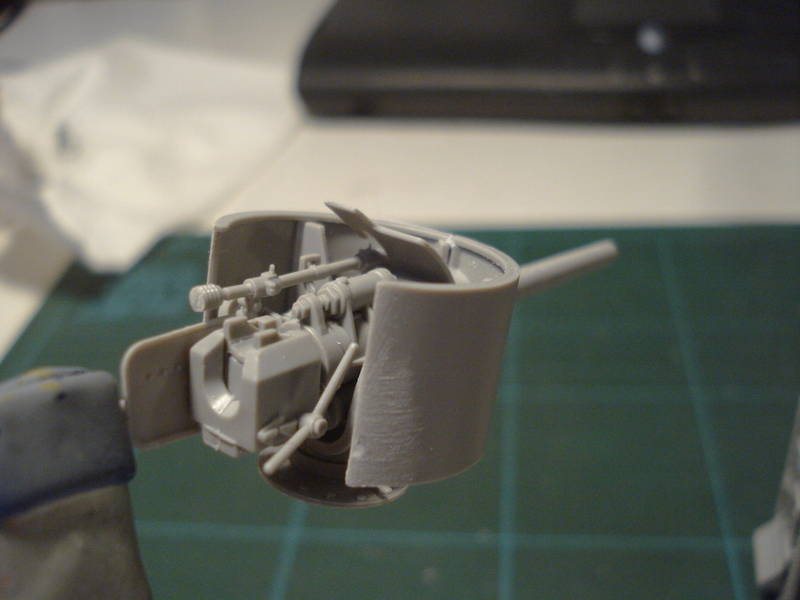
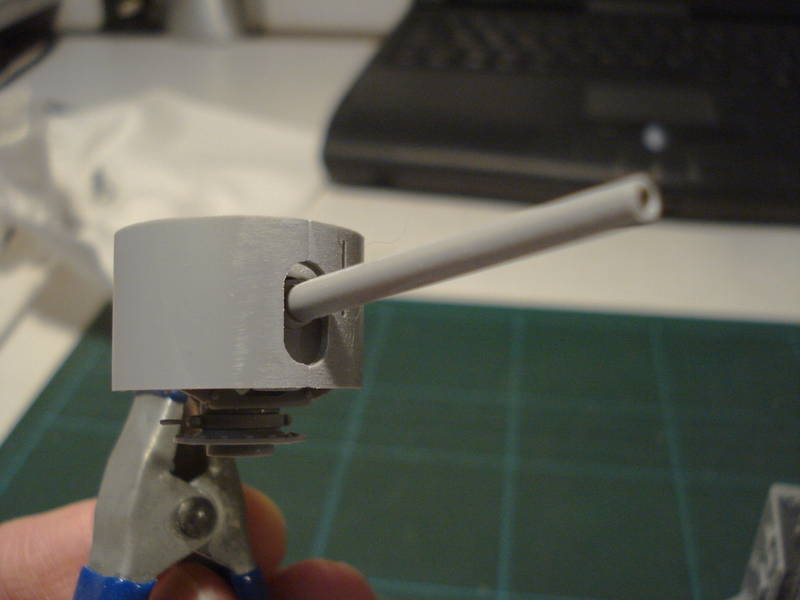
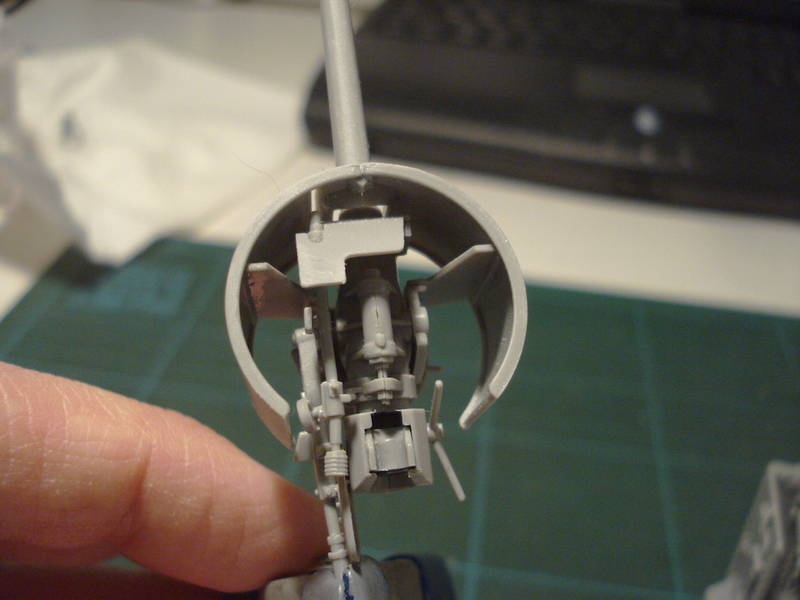
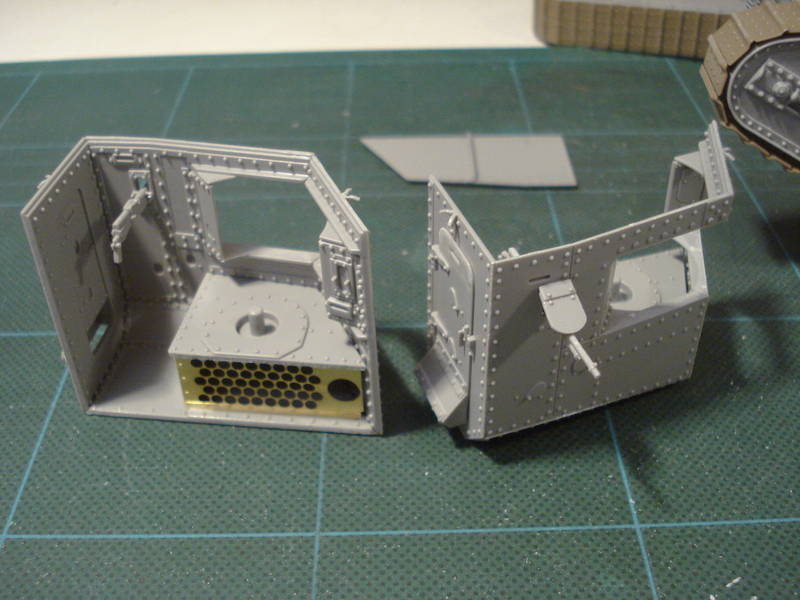
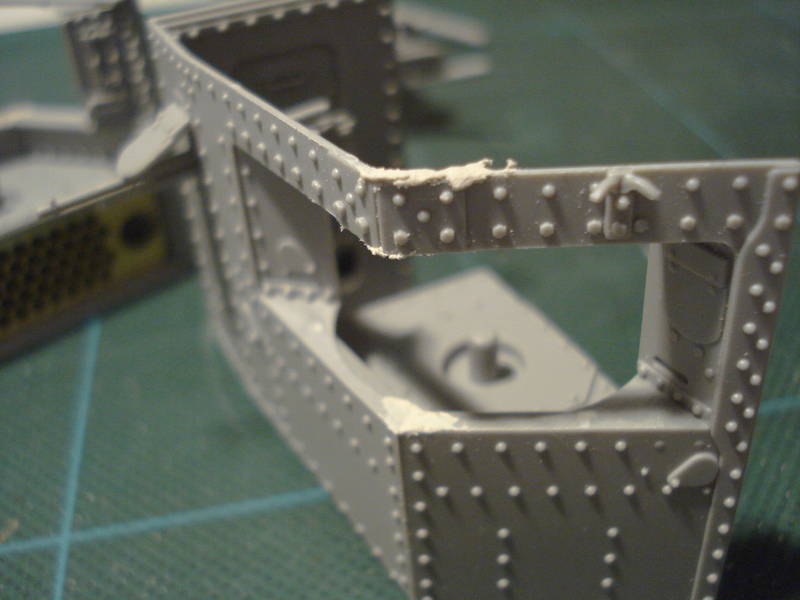
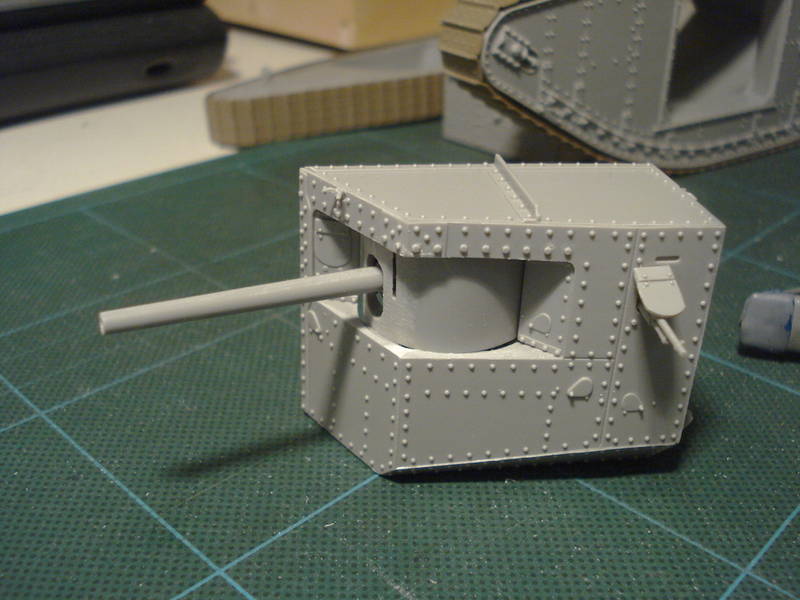
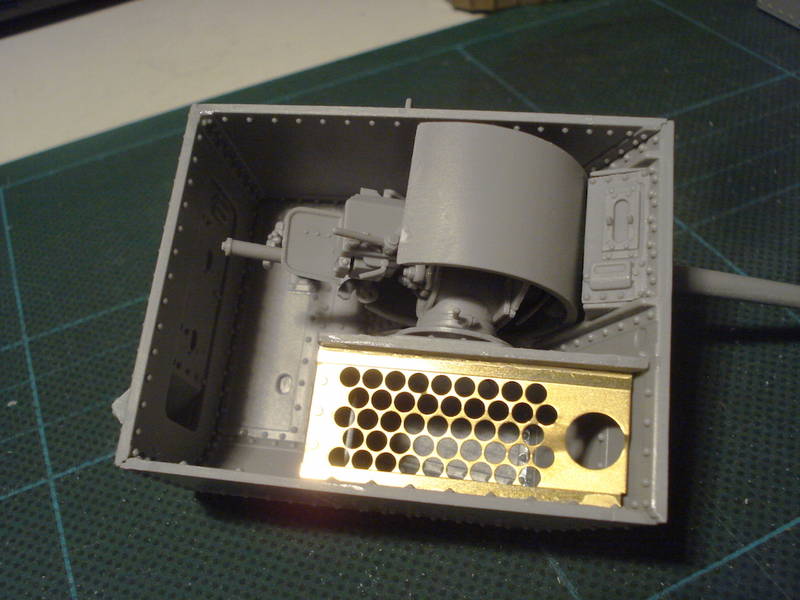
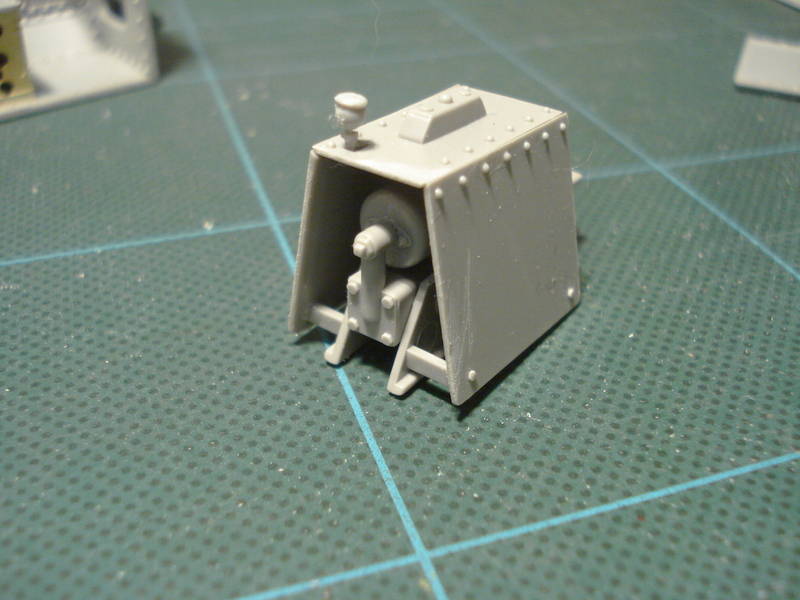
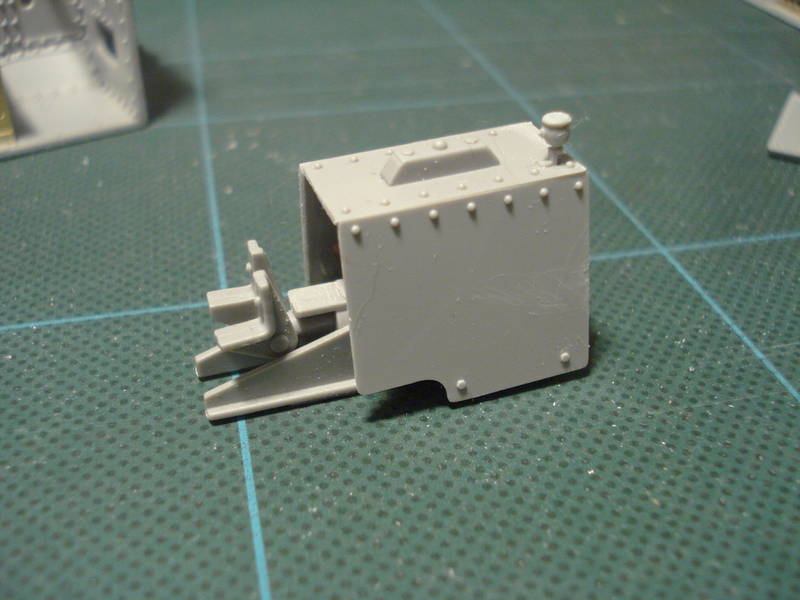
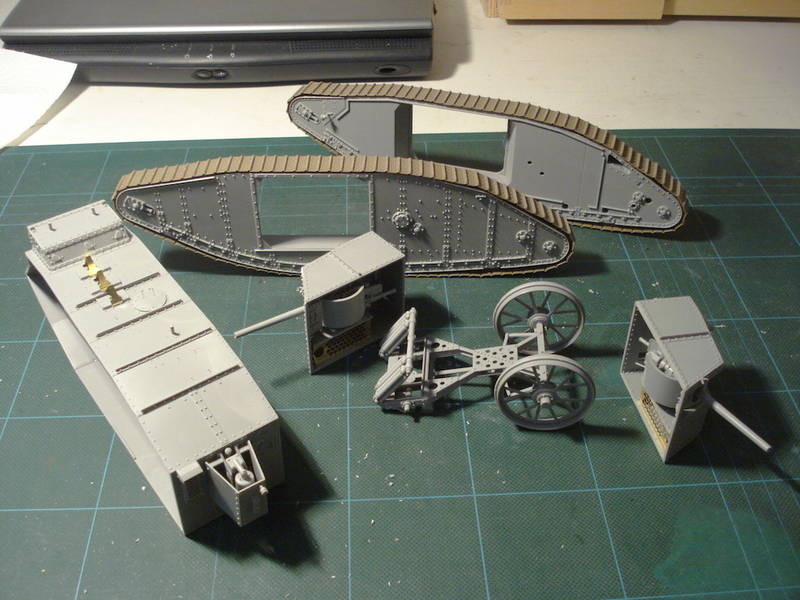
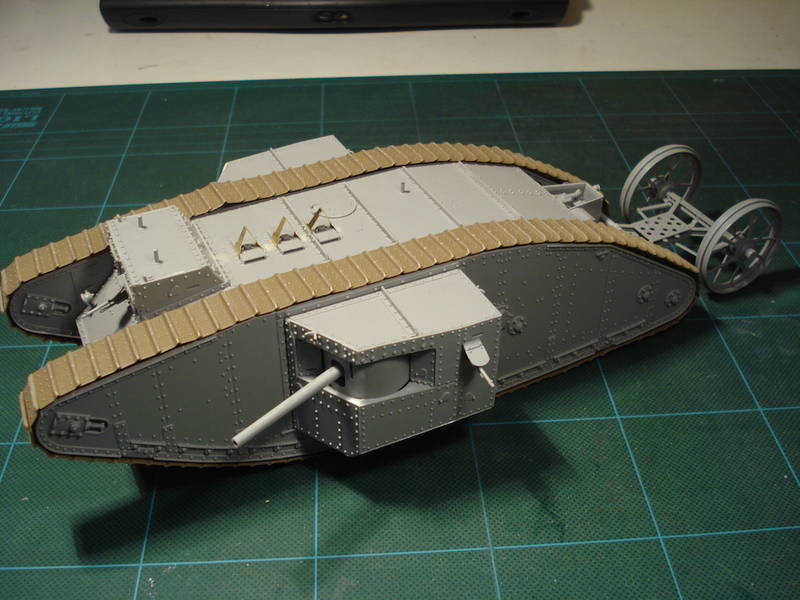
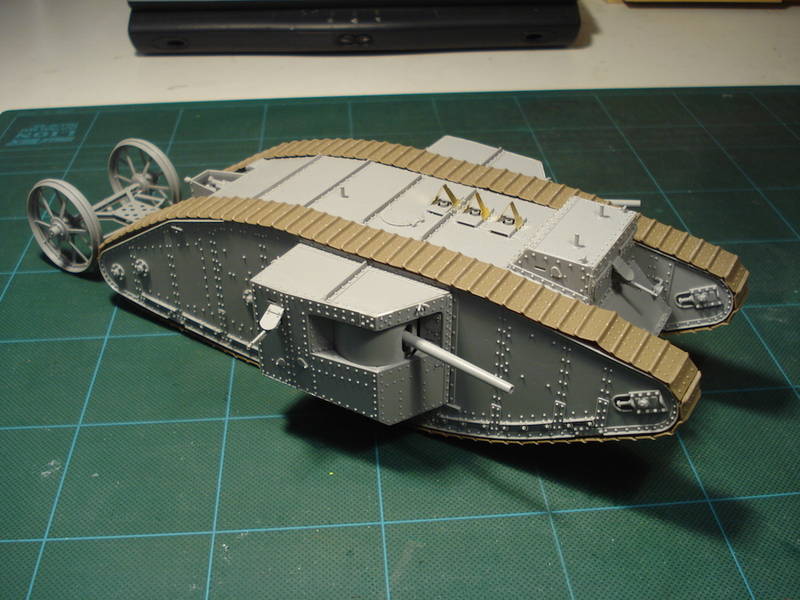
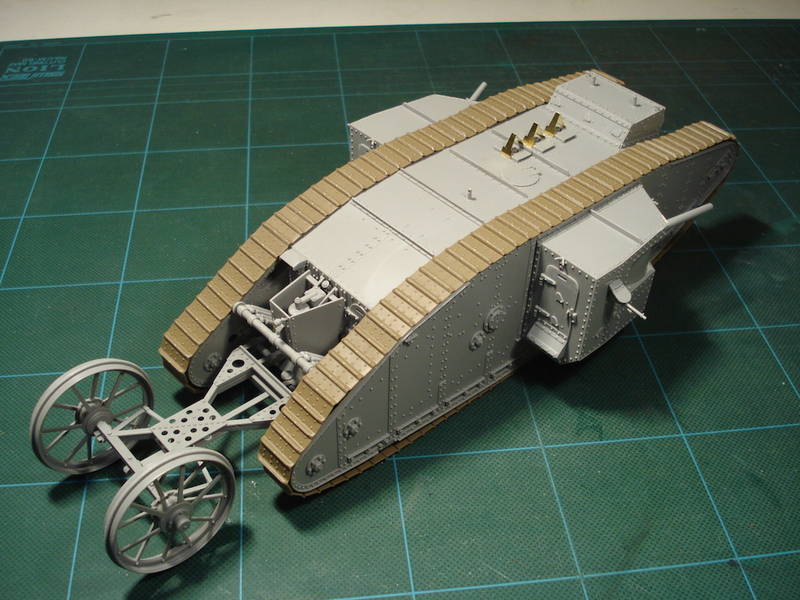
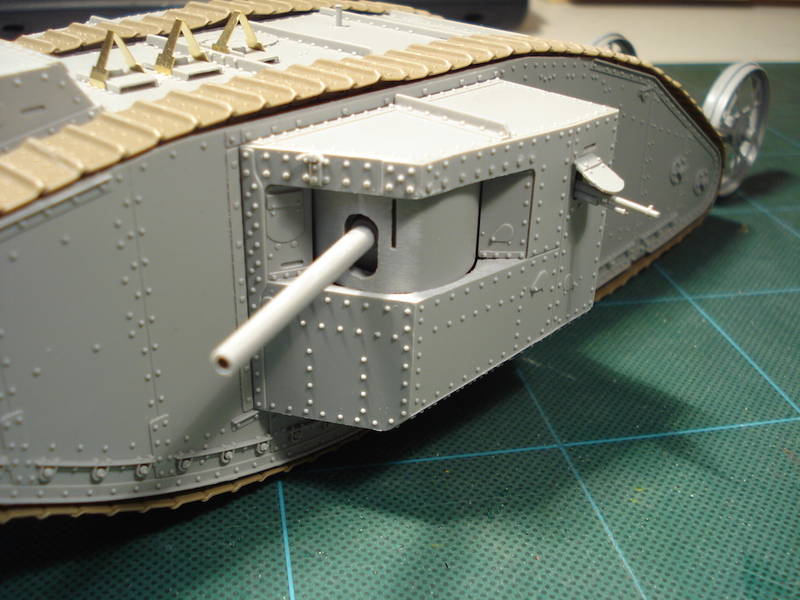
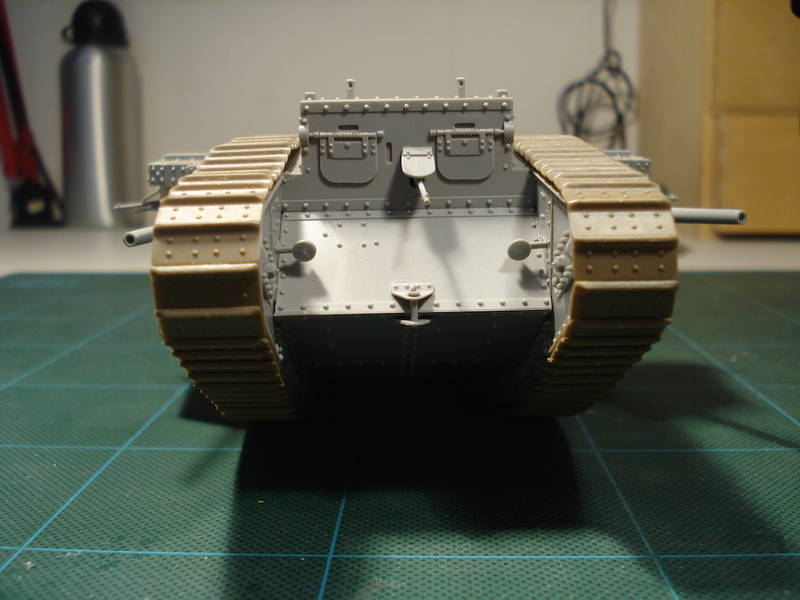
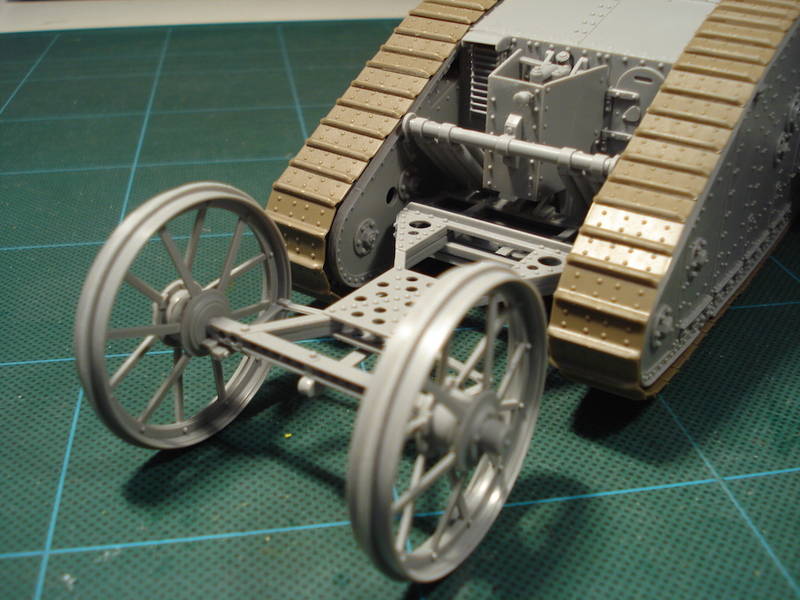
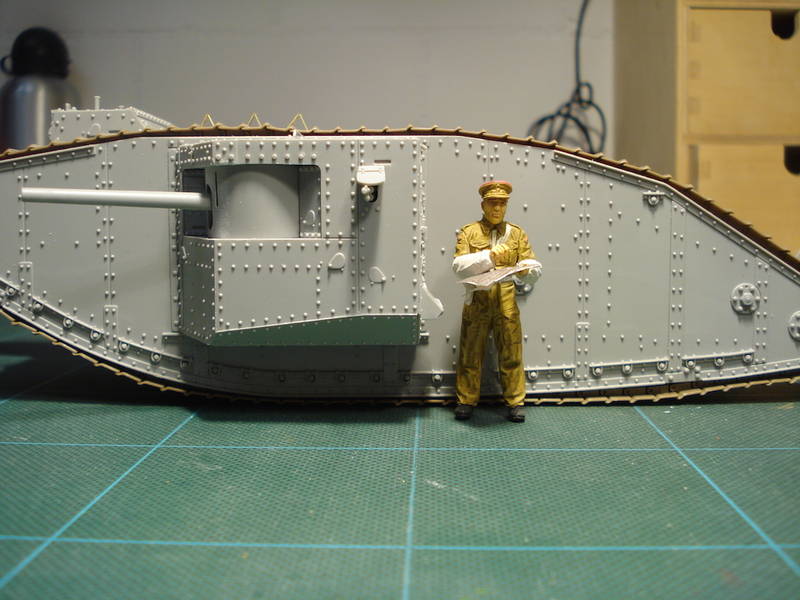
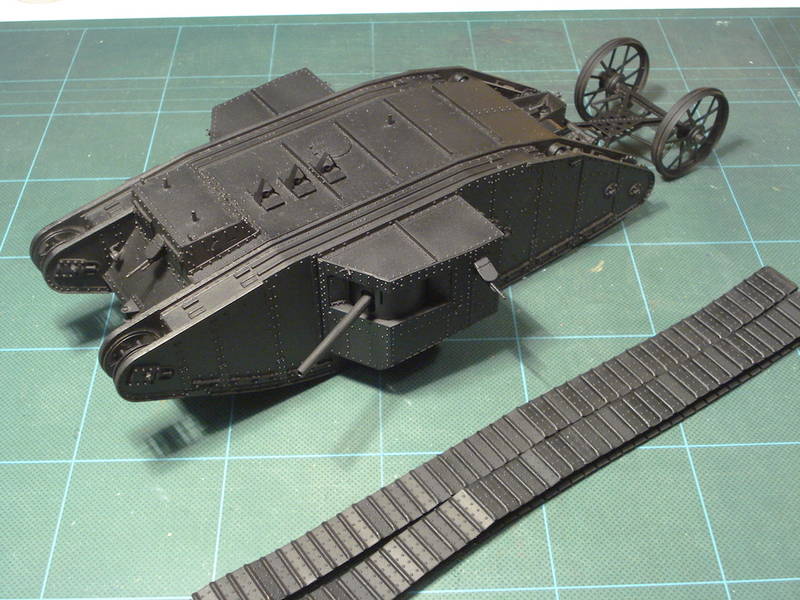
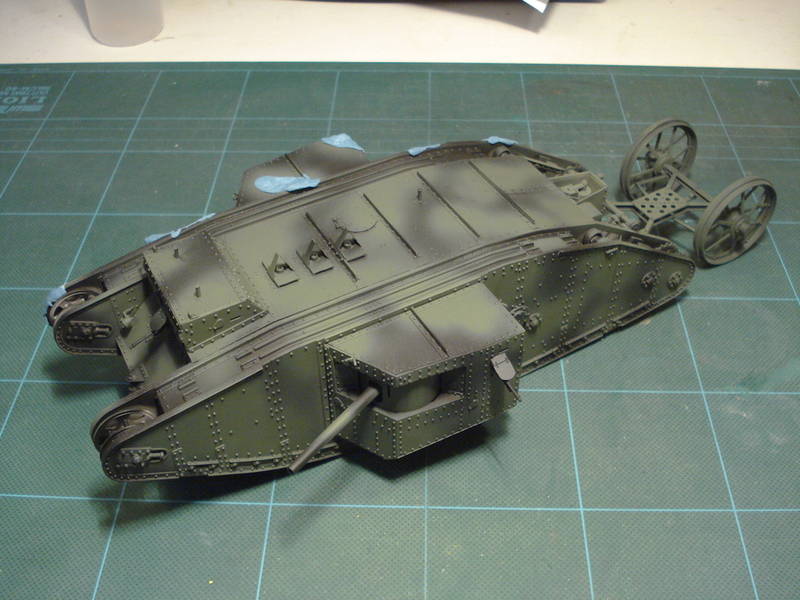
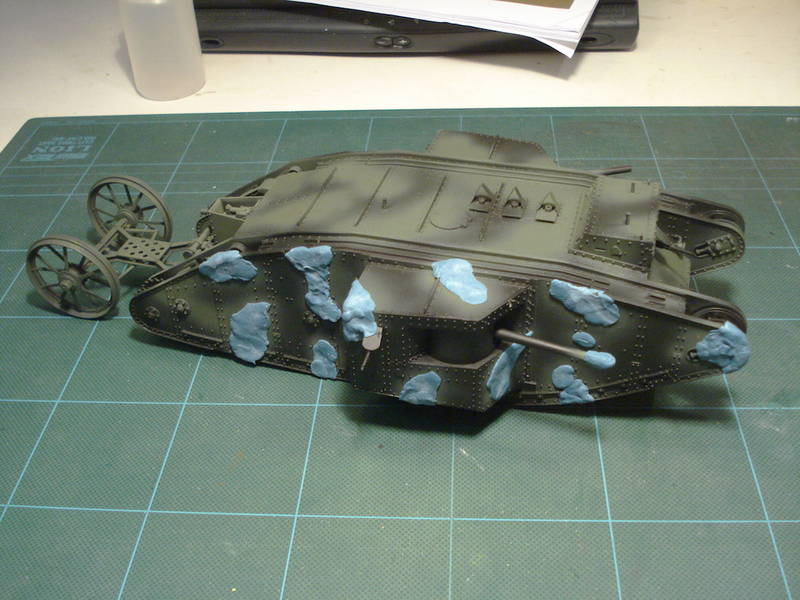
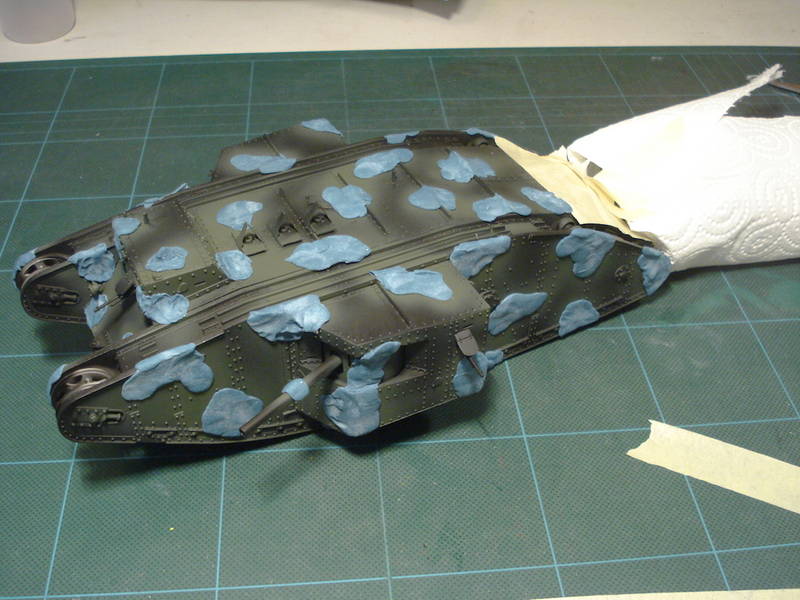
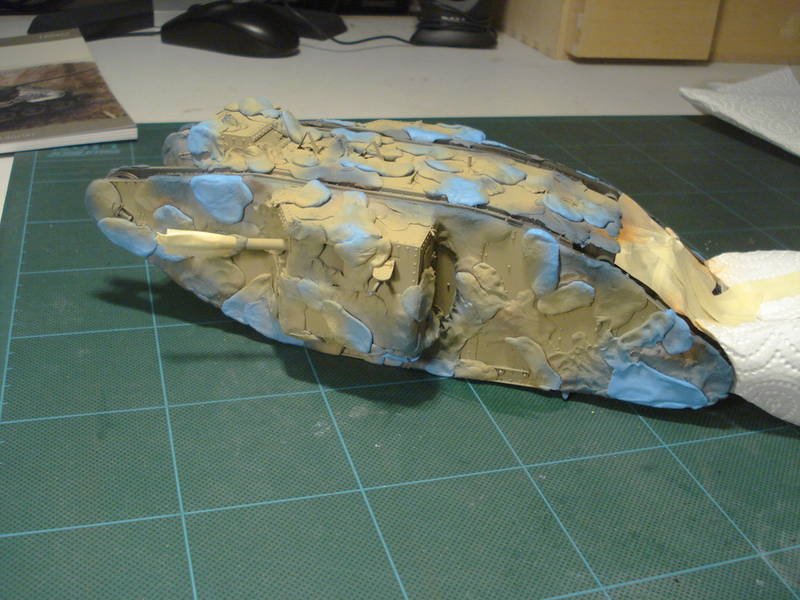
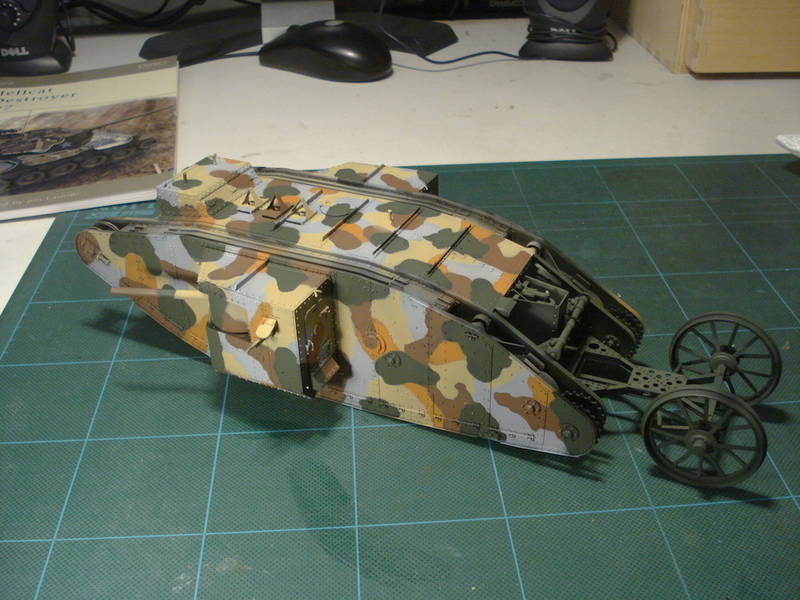
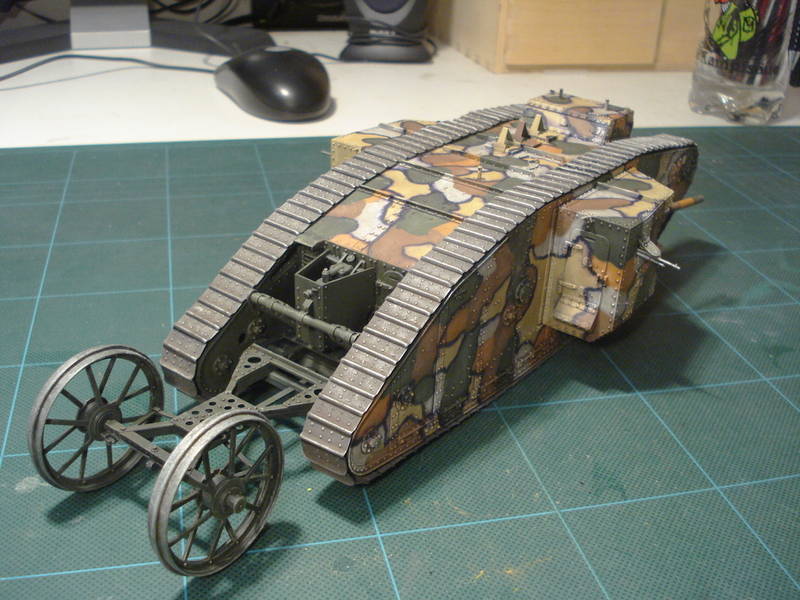
Here's the last progress after the last update:

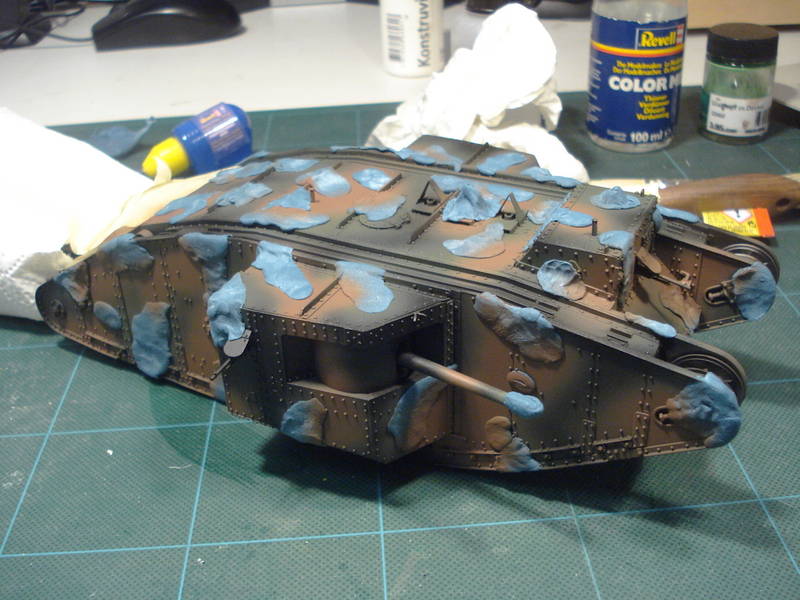
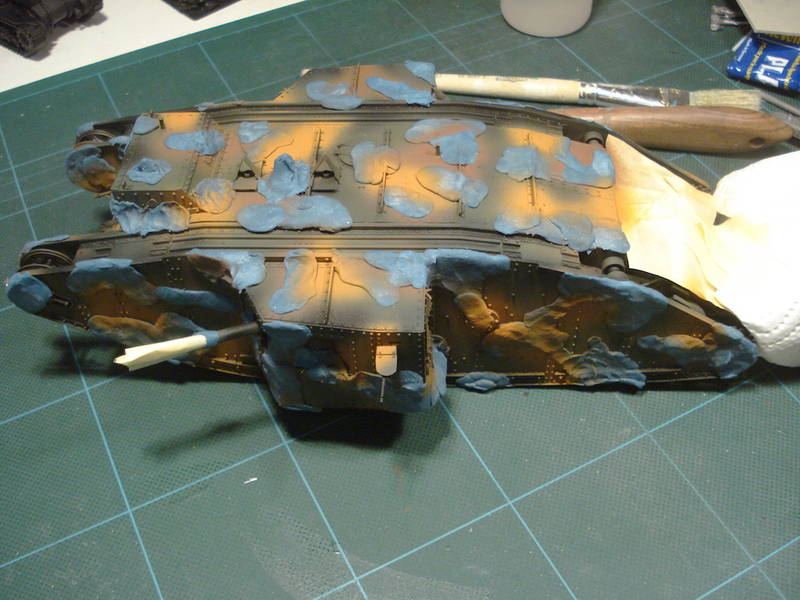
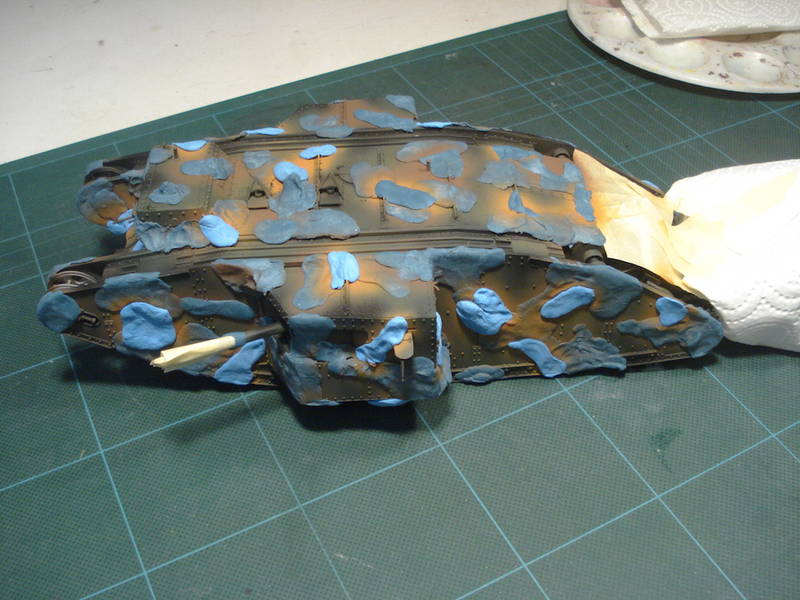
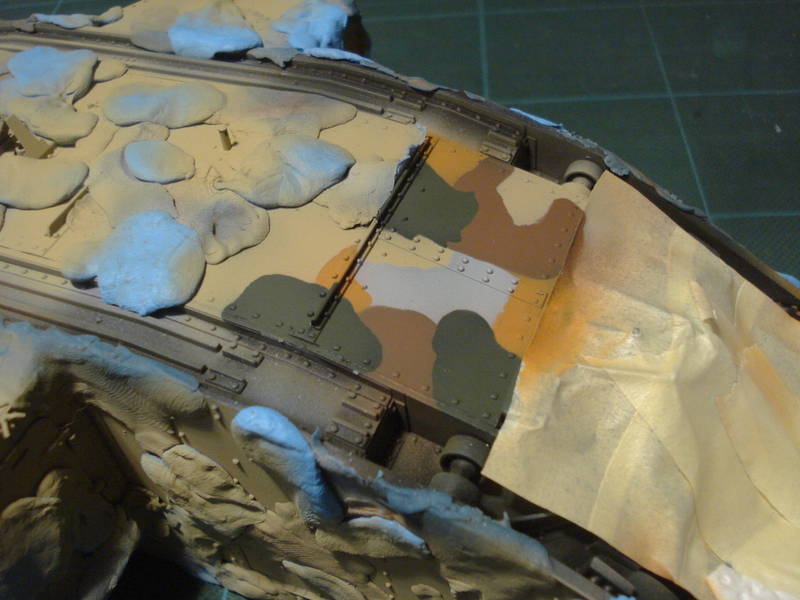
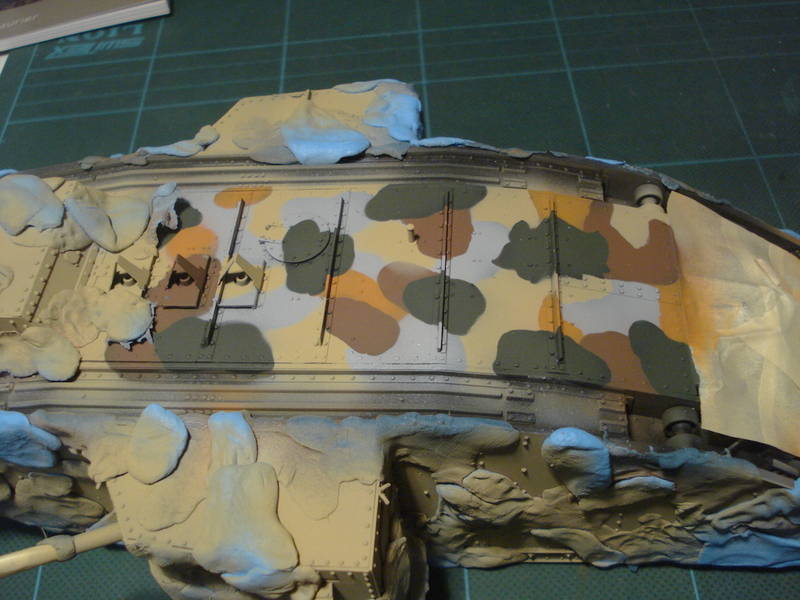
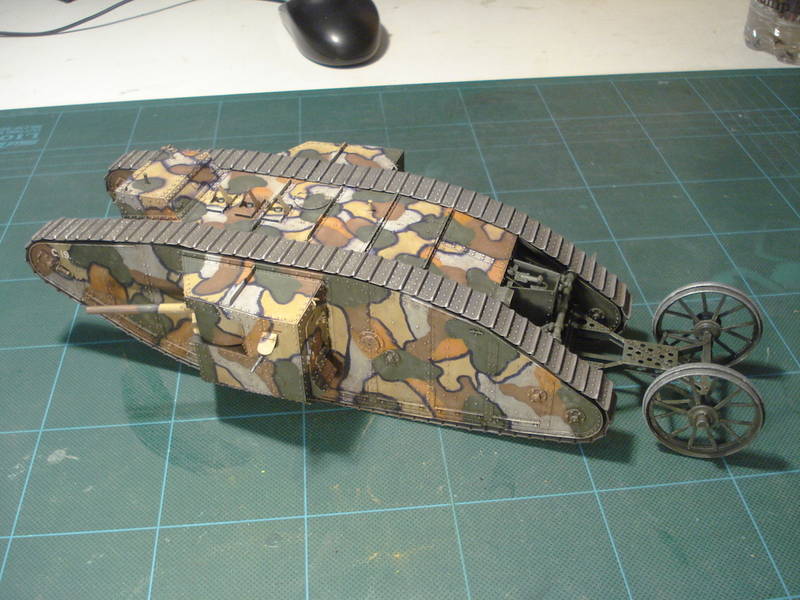
Added the black stripes in between some of the color blobs with a permanent marker. Then I put on a first wash but unfortunately the thinner didn't go well with the black paint. But I thought it wasn't too bad and I think it's not too obvious at the end.


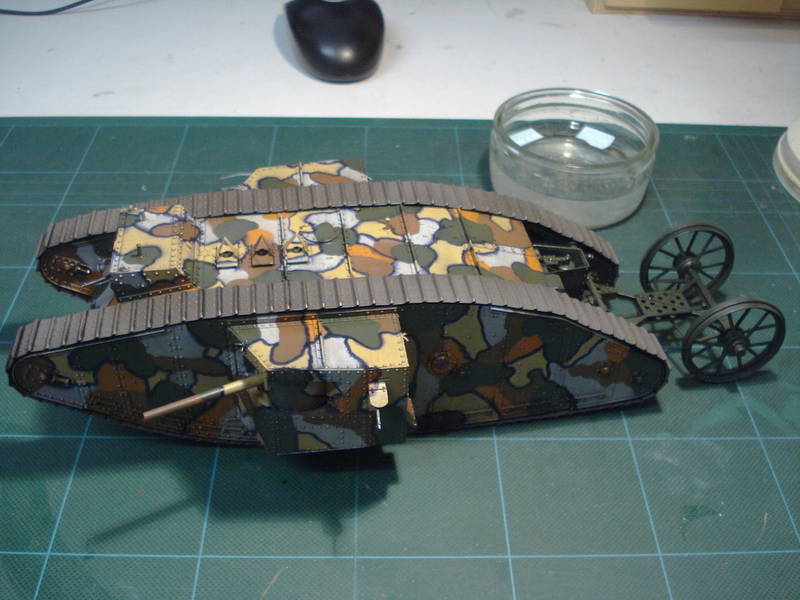
Then a coat of future to prepare for the declas and seal everything off.


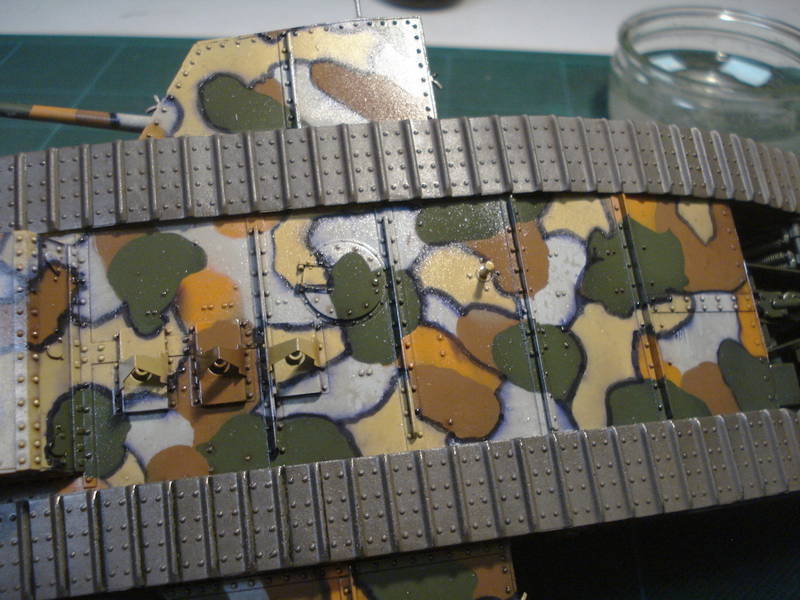
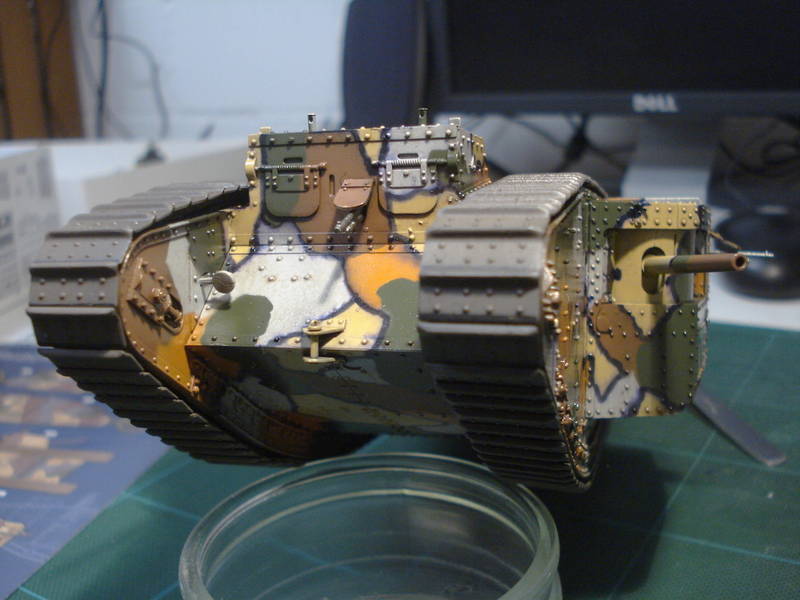
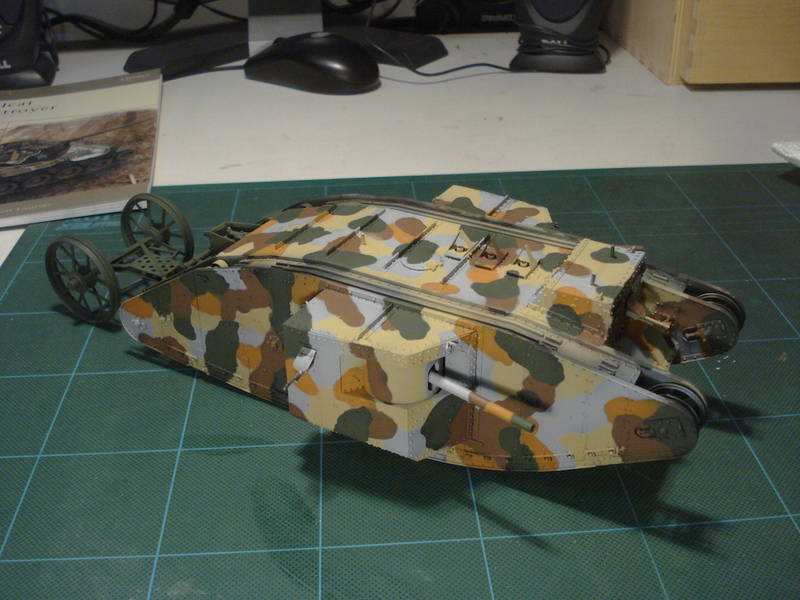
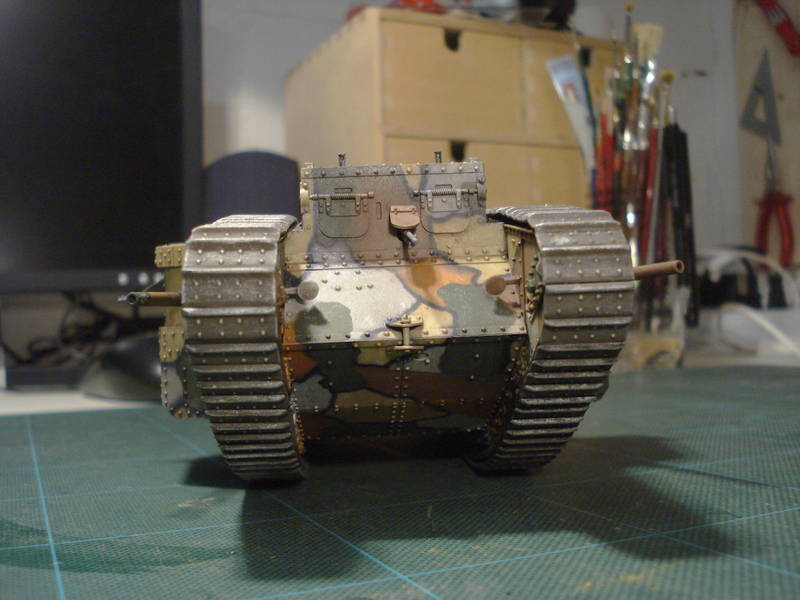
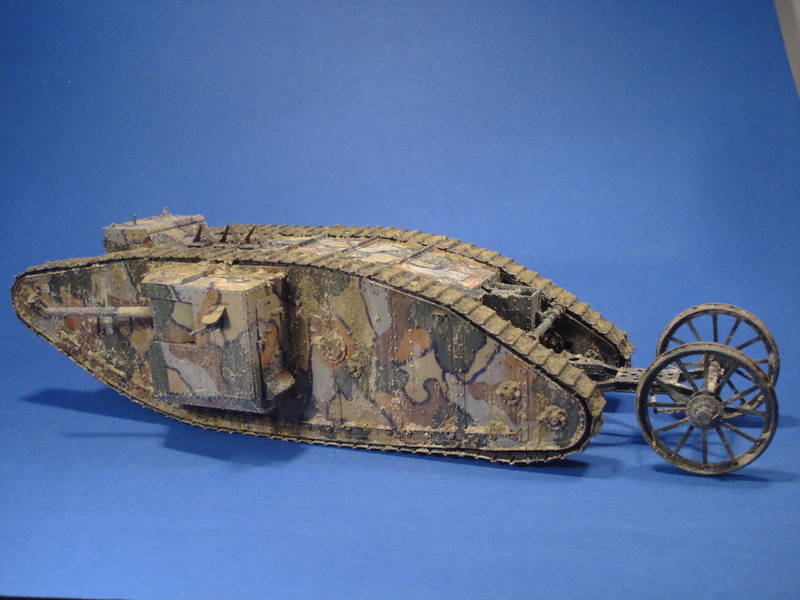
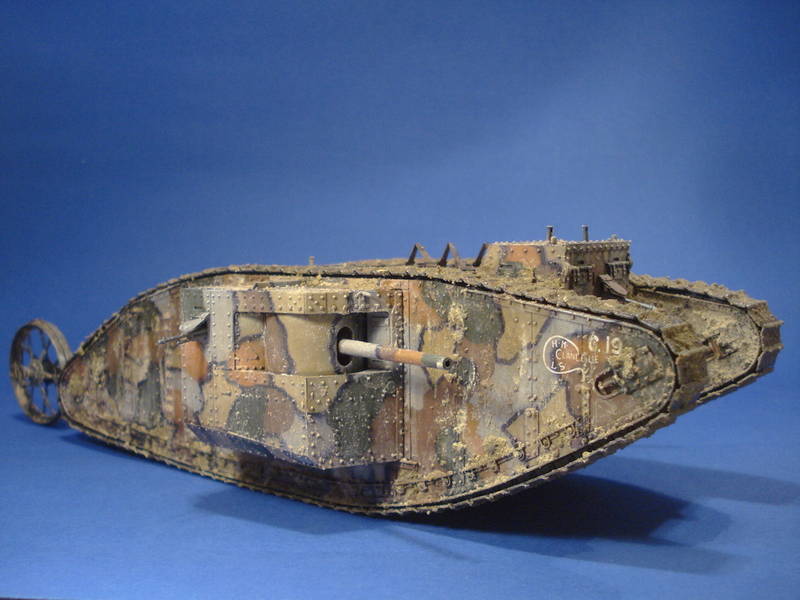
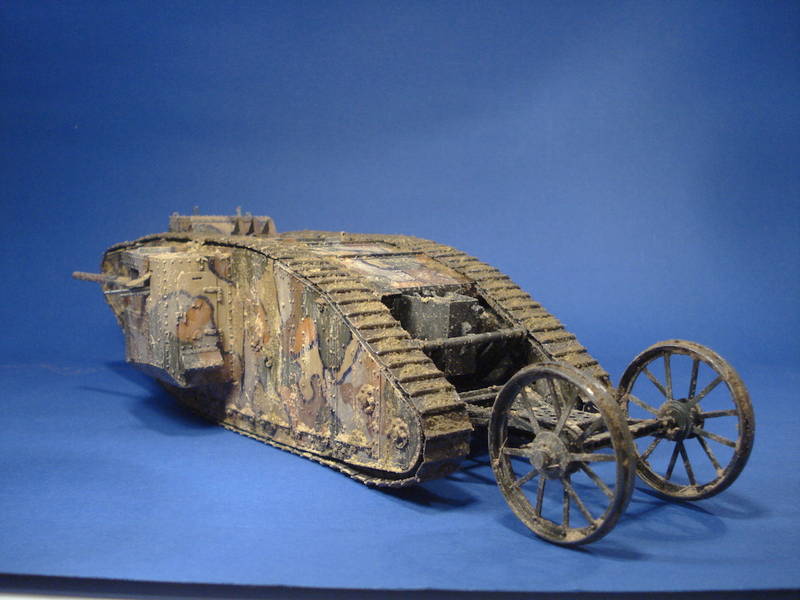
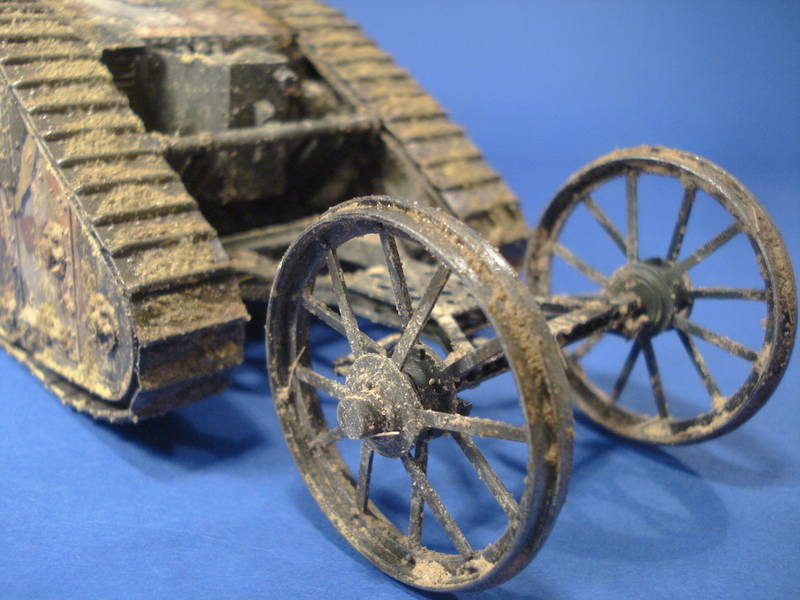
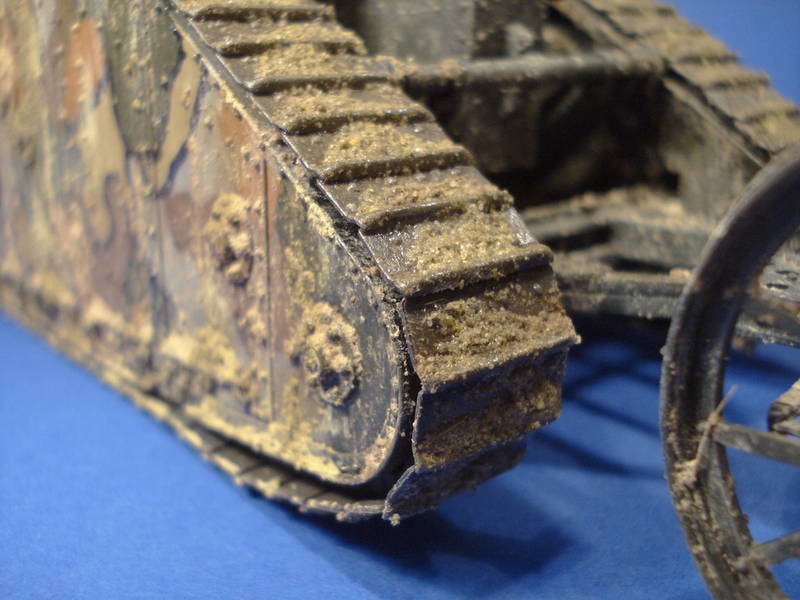
After decals and flat varnish I gave each color an individual drybrush with the respective lightened color. Tracks were painted wiht Humbrol Chocolate Brown and drybrushed with bare metal color.


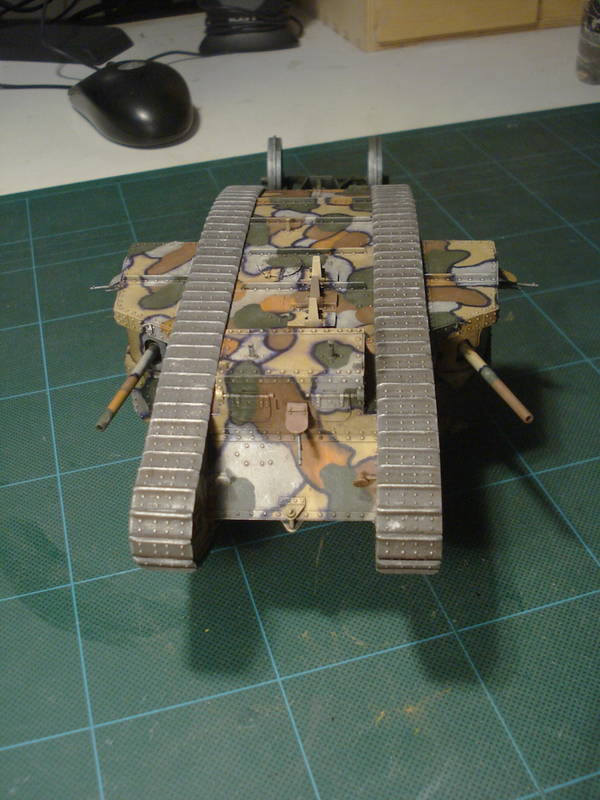
Then I added the dirt, which I make up from what Wikipedia translates as wheatpaste, a powedery substance you add water to and when it dries it gives structure. Added soe bird sand and pigments for color, as well as some static grass.

Originally I wanted to make a realtively light dirt around the tracks, but I wasn't satisfied with the first loo, especially as it looked very dried and I wanted to give it a shiny wet look. So I added another layer and finally had to go over it with pure model master gloss...

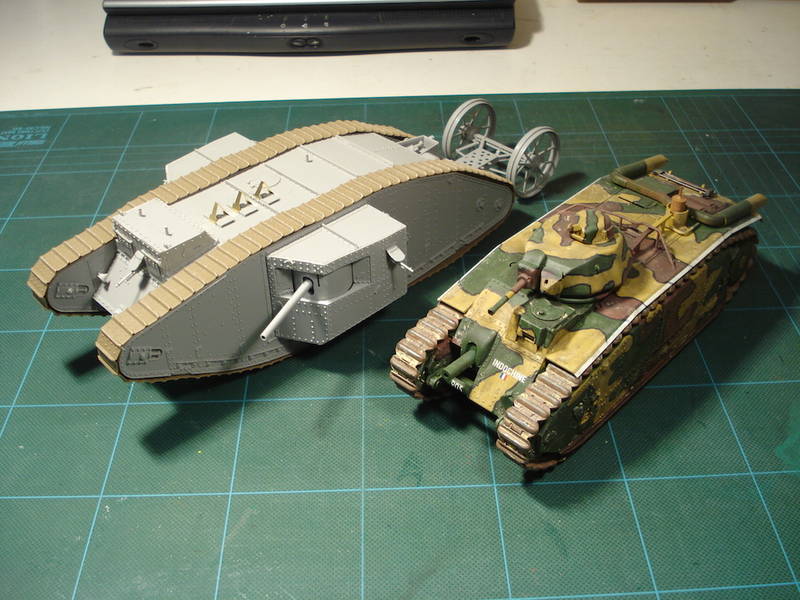
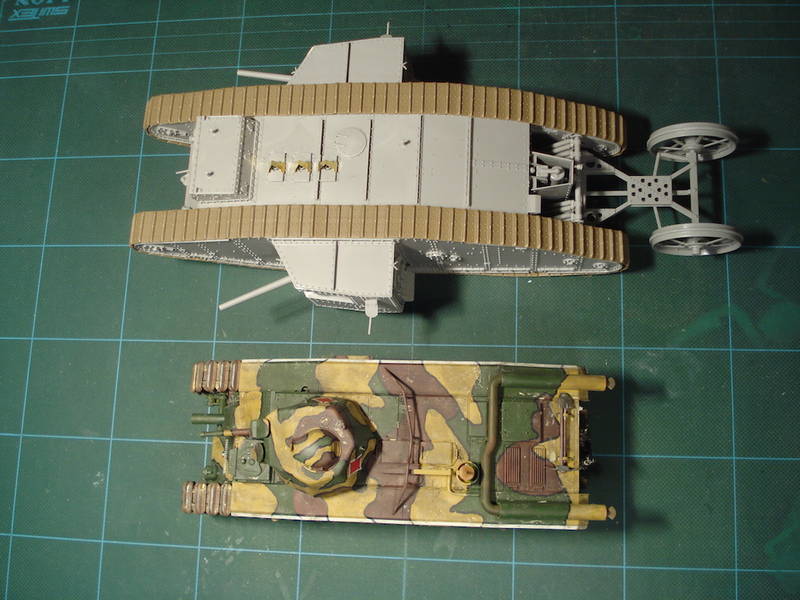
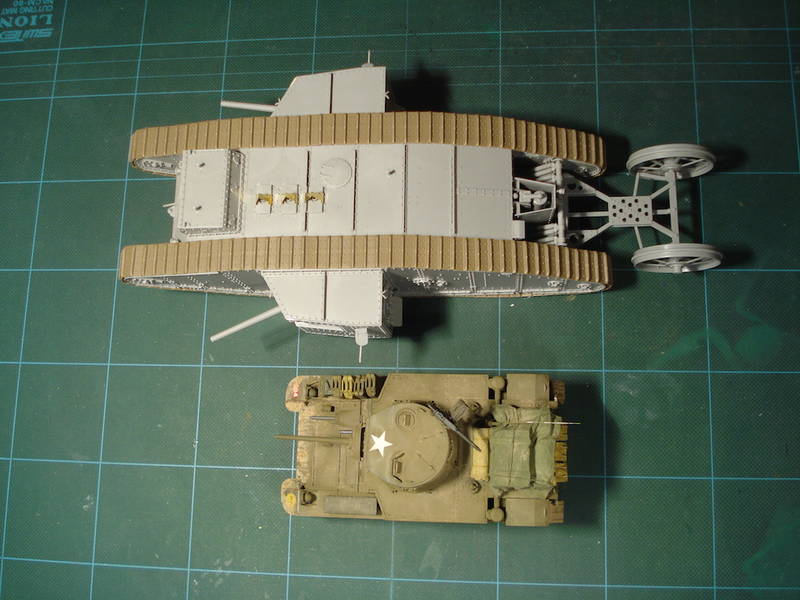
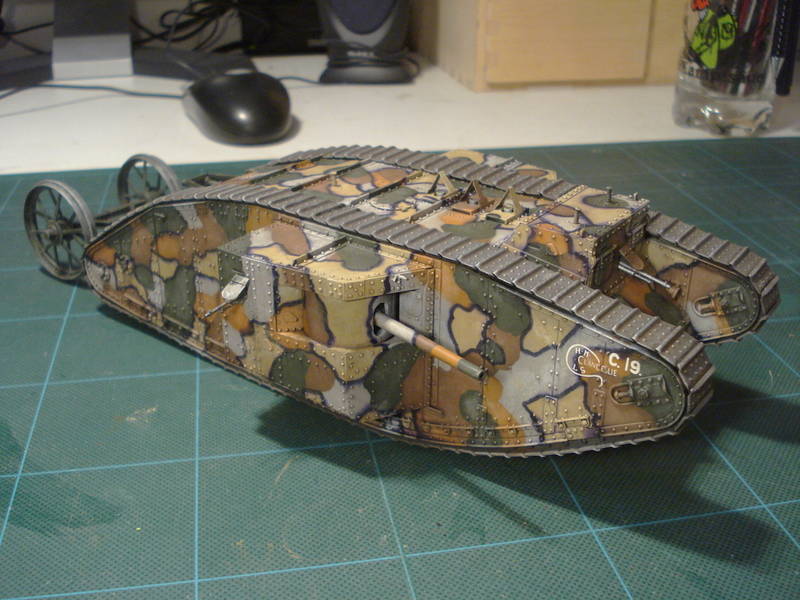
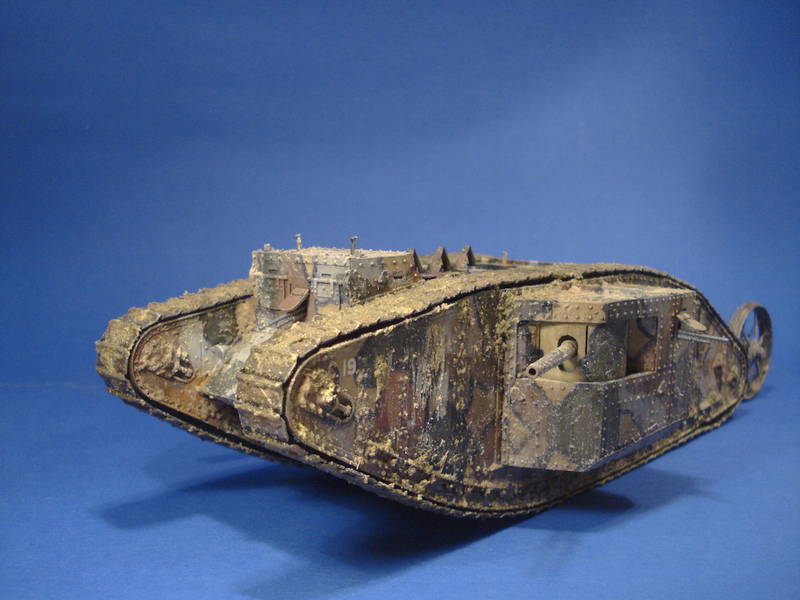
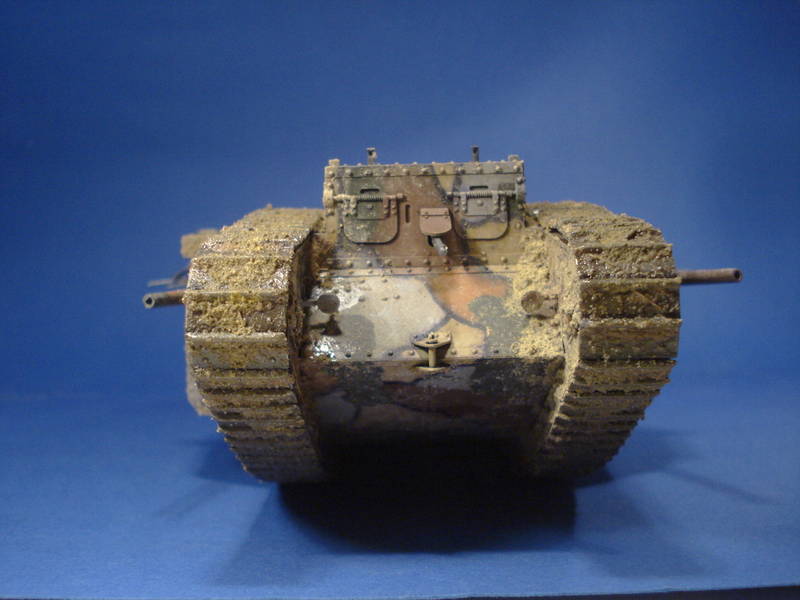
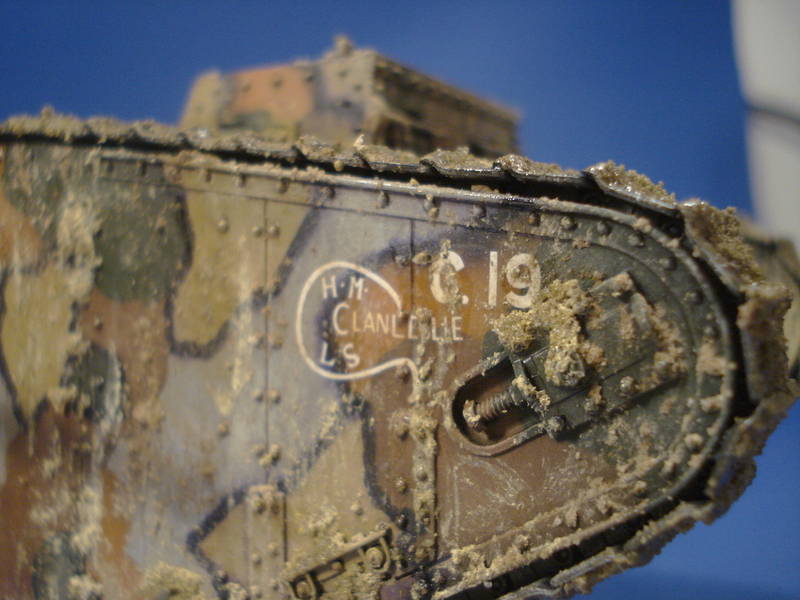
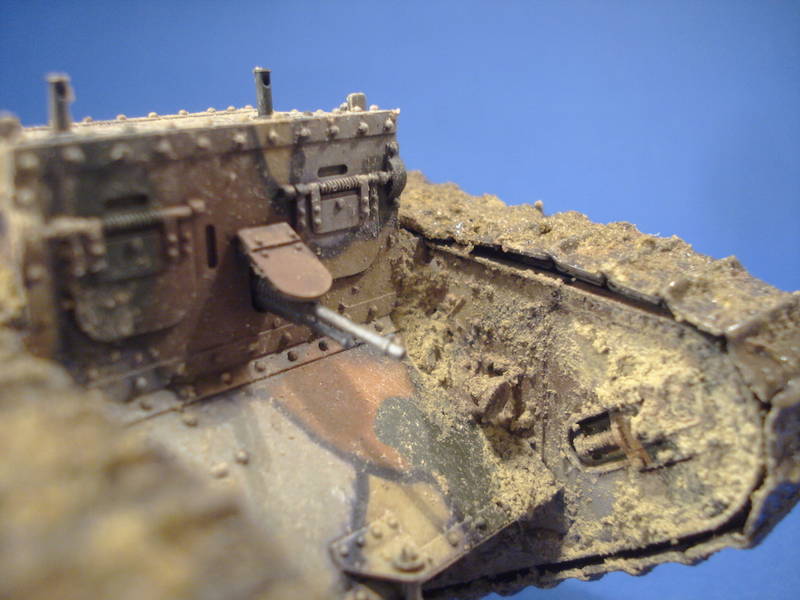
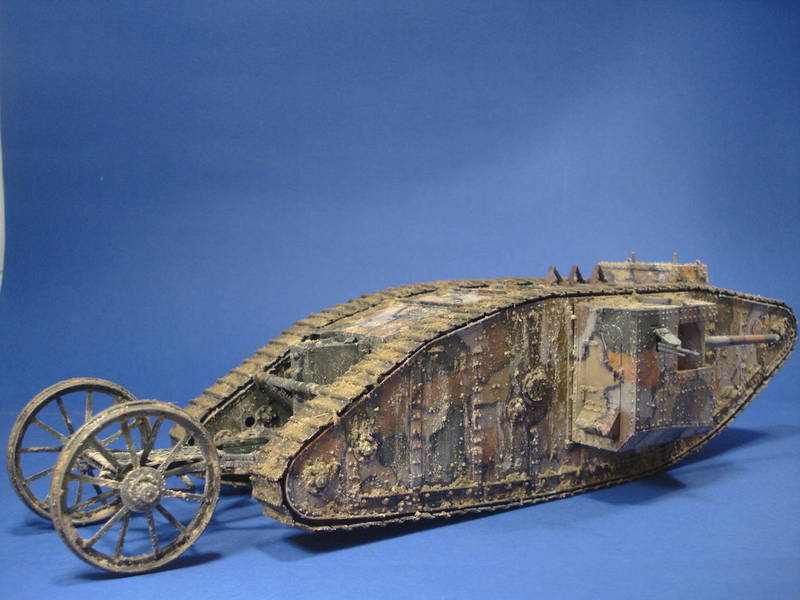
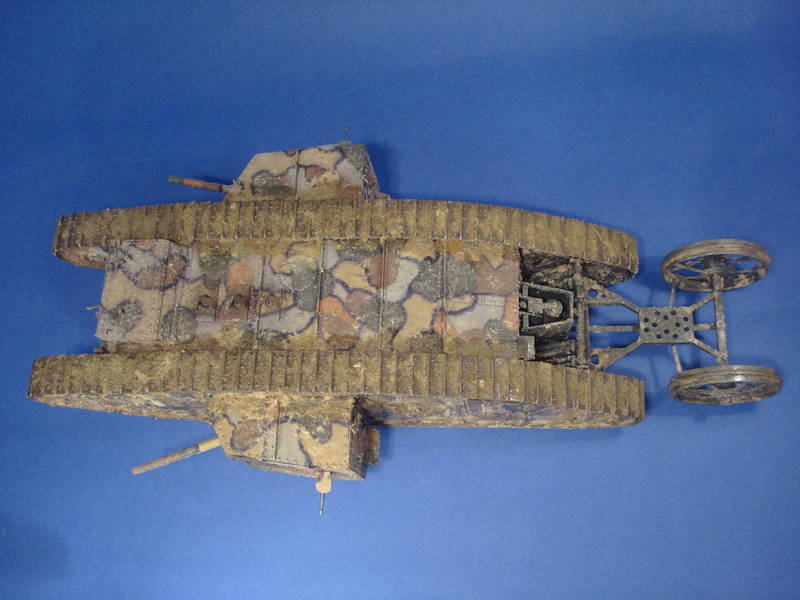
And here's what I call the final result:


So, final word on the kit?

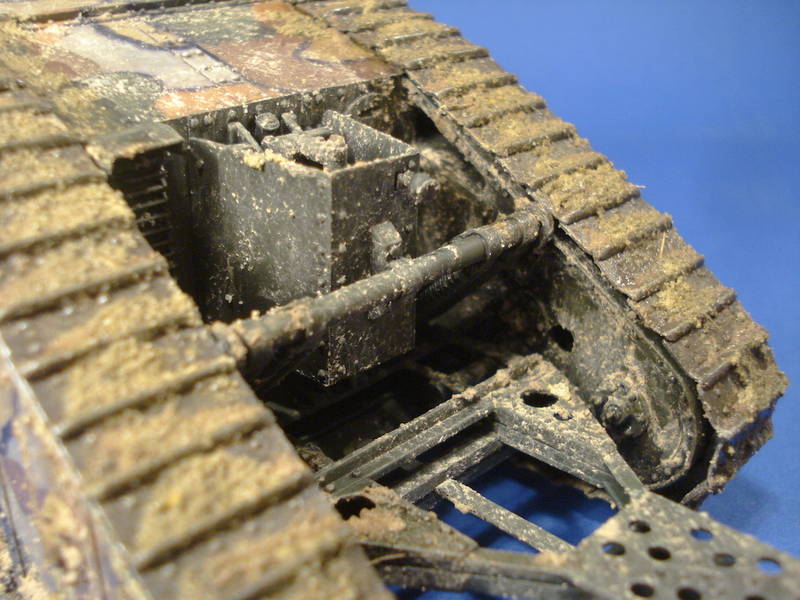
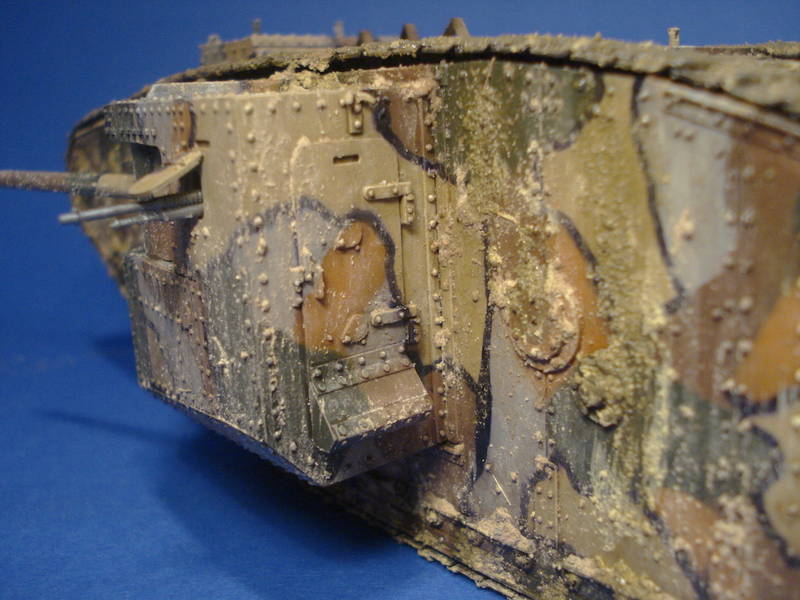
It certainly is a gem to build and if you don't mind the inaccuracy around the driver's compartment it's a great kit. However, I am a bit puzzled by the choice of options in the kit. The addition of the flatbed trailer is a nice touch, but without a full interior a waste of plastic in my opinion. Also, the MkI seems to have been used on the western front with the grenade screen only, so it's a pity that this wasn't included, especially since it is available in the female kit. One may argue that there is no marking option for the western front but only for a museum vehicle (for which the side drawings are), but I find that a rather strange argument.

So, all in all, I would give it an 80%. On the negative side are the driver's compartment, the missing grenade screen and the strange choice of marking options. On the positive I would list the magnificient engineering, buildability and the tracks. I cerainly had fun wiht this one!

Cheers!
Stefan
bprice1974
#436
Visit this Community
Pennsylvania, United States
Joined: August 10, 2014
KitMaker: 196 posts
Armorama: 182 posts
Posted: Thursday, April 07, 2016 - 02:00 AM UTC
Very nice work, I have enjoyed watching this build and thank you for sharing it with us. Are you still considering doing a diorama base for this beast?
Monte
Visit this Community
Rhode Island, United States
Joined: December 08, 2002
KitMaker: 833 posts
Armorama: 601 posts
Posted: Thursday, April 07, 2016 - 02:22 AM UTC
Great work Stefhan. I like your technique for laying down the multiple colors. I recently finished Takom's Skoda with a similar paint scheme and ended up hand painting each color. Had I bothered to think about it this would have been easier for me.

Oh well....
Dangeroo
#023
Visit this Community
Zurich, Switzerland
Joined: March 13, 2009
KitMaker: 2,058 posts
Armorama: 1,656 posts
Posted: Thursday, April 07, 2016 - 11:33 PM UTC
Thanks guys!

Brenton, don't know yet about the Dio. I haven't found the right figures yet (looking for something more in action) and there's also the room in the display case issue...

Monte, glad I was of help! It's my standard way of doing camo schemes.
 _GOTOTOP