_GOTOBOTTOM
Constructive Feedback
For in-progress or completed build photos. Give and get contructive feedback!
In progress: Takom Mark 1 Female
henrikpalmberg
Visit this Community
Alvsborgs, Sweden
Joined: September 03, 2018
KitMaker: 31 posts
Armorama: 29 posts
Posted: Sunday, February 24, 2019 - 09:48 PM UTC
Hello fellow model enthusiasts.

This will be the log following my build of the Takom Mark 1 Female. When I did some research for this build I found out that they had gotten the drivers cab aka the dog house wrong. Its way to small so I decided to get the MR Modellbau conversion in resin.
[
The first steps of the assembly and everything went together well. I decided to drill out the head lights and Im gonna try to scratch some lenses later.

The side profiles that houses all the small wheels went together well. As much as I love the WW1 tanks its so boring to assembly the wheels.

The MR Modellbau conversion came with a set of four machine guns and they're molded pretty nice. Two of the pistol grips had broken off in transport, but I didn't care about that since they wouldn't be seen anyway.

Next up I worked on the sponsons for the machine gun. This part of the assembly requires a bit of caution. It was a bit tricky aligning all the parts of the sponsons and a bit of filler was required.

Then it was time for the dog house. It required a bit of work to make it fit the kit and unfortunately it had some bad air bubbles on the back that needed filling. Some of the rivets where damaged as well so I sanded them all down and replaced them with the spare rivets that came in with the Takom kit.

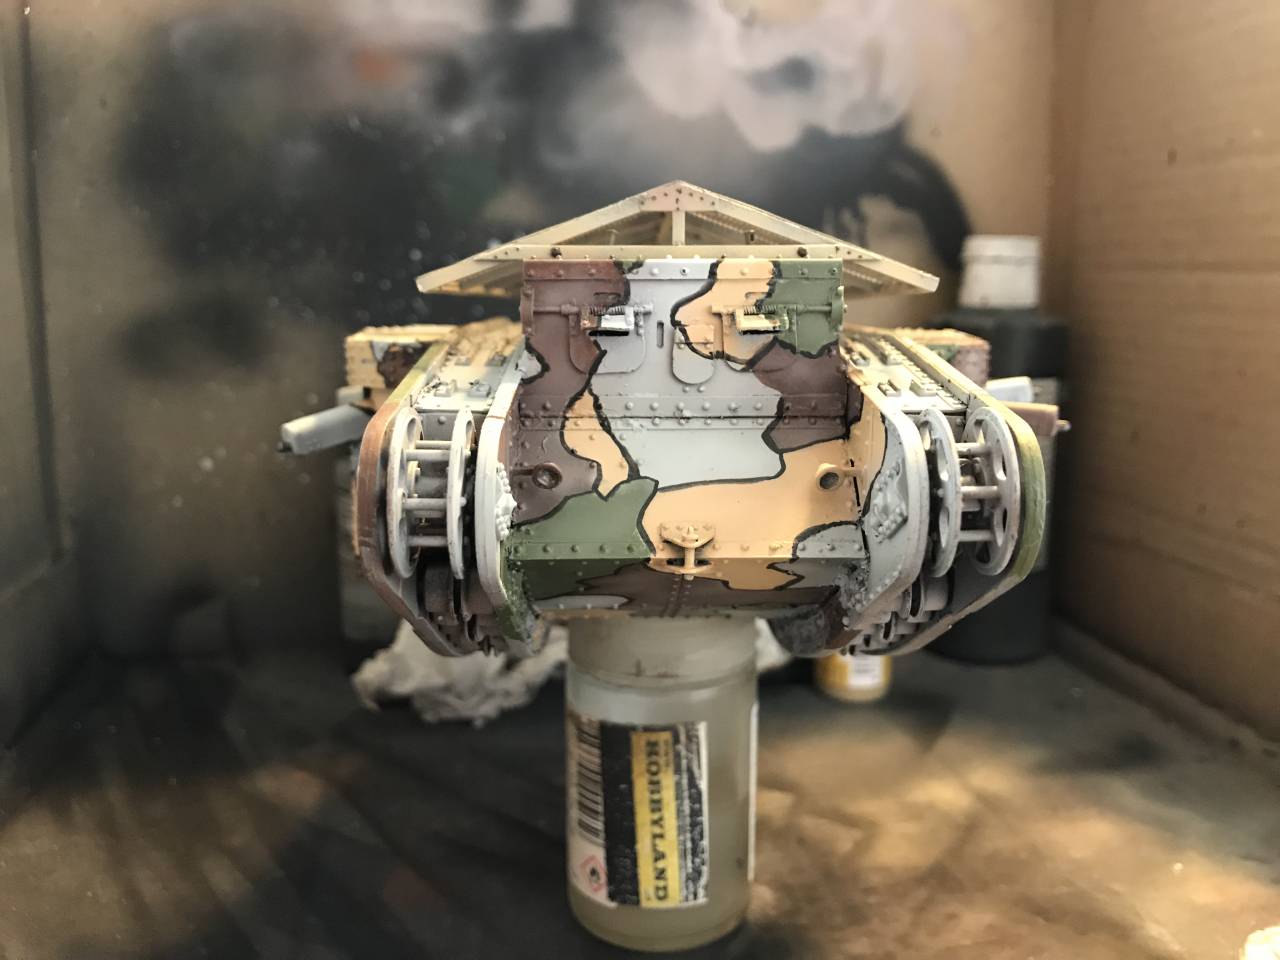
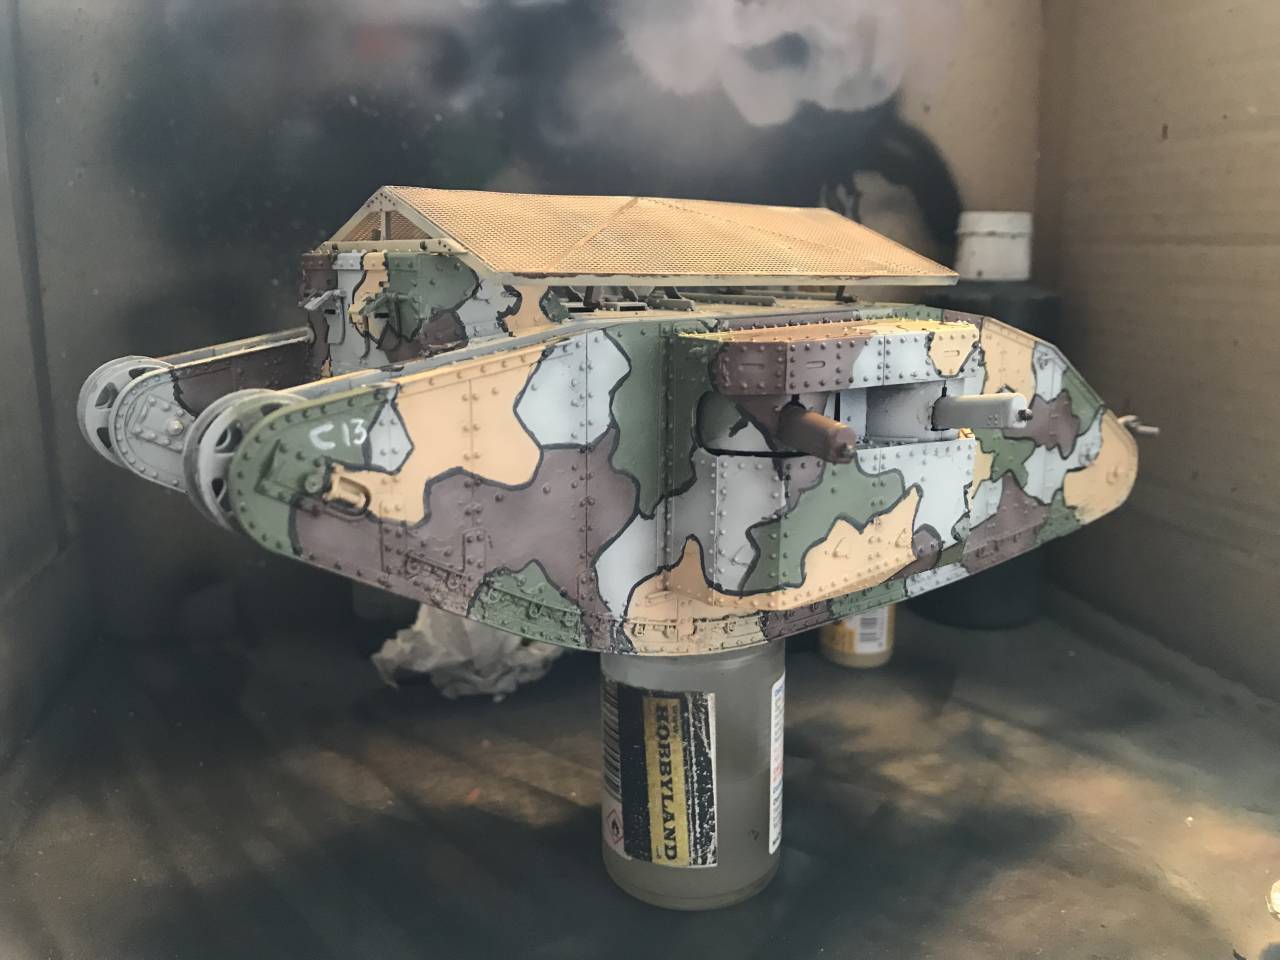
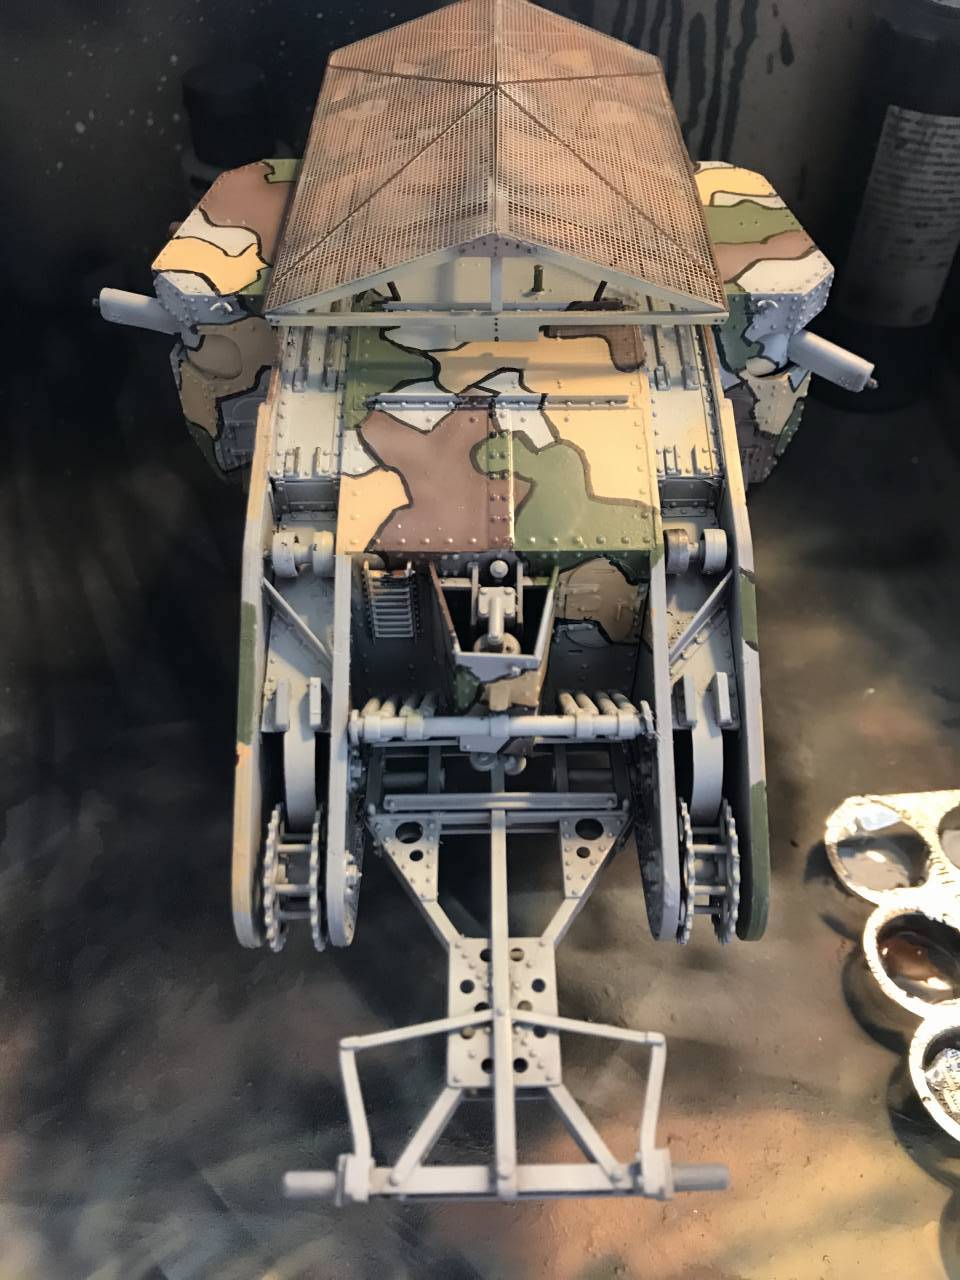
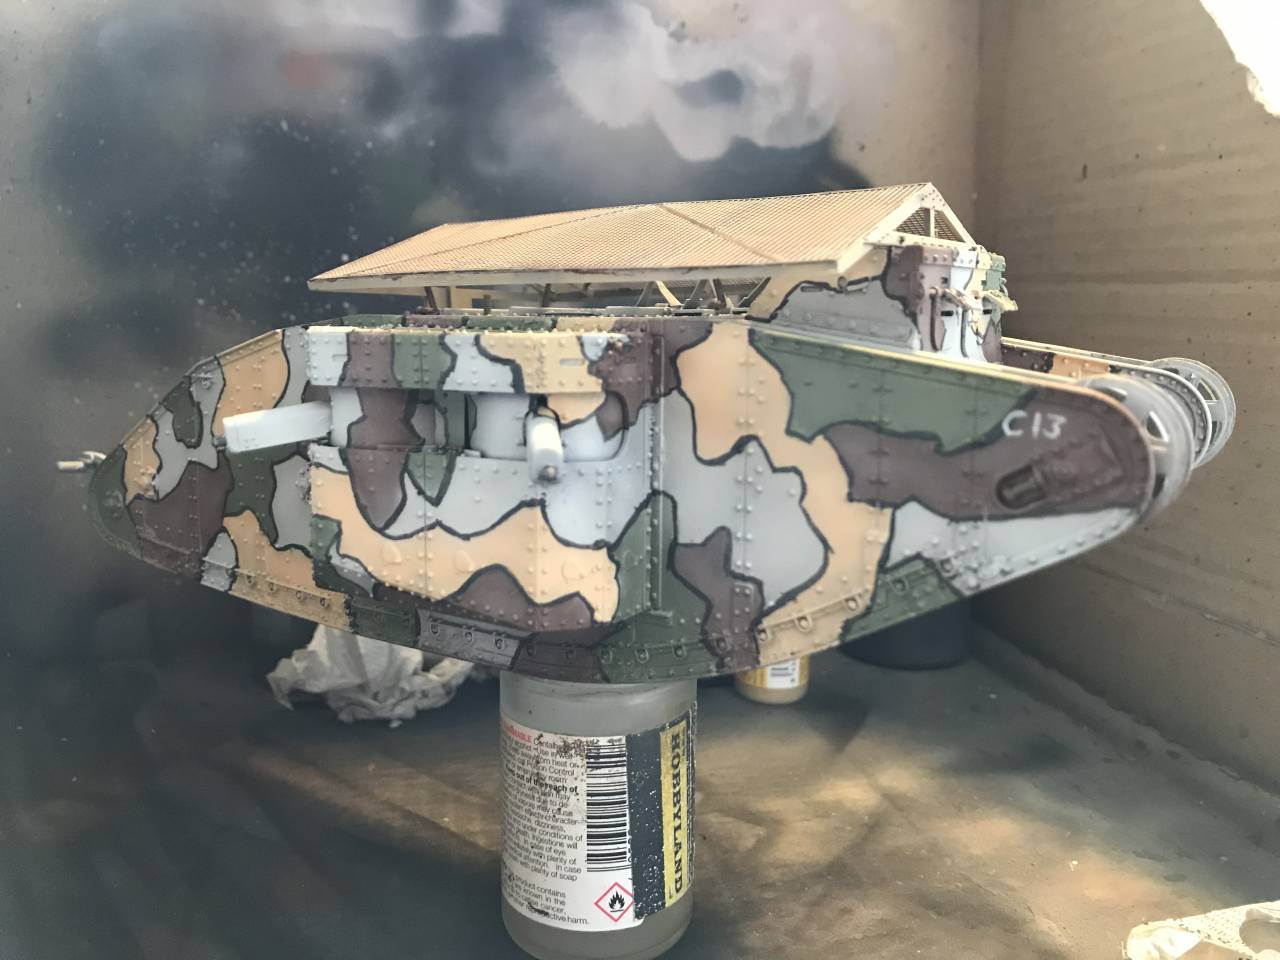
The complete tank with the mesh screen fitted. I read on some sites that the screens are too small, but I think they look ok. They're really nicely etched!

This is where I am now. Im gonna shoot the primer later and then its off to the fun part, painting the camo and weathering!

Thanks for having a look and please leave a comment!
// Henrik
henrikpalmberg
Visit this Community
Alvsborgs, Sweden
Joined: September 03, 2018
KitMaker: 31 posts
Armorama: 29 posts
Posted: Tuesday, February 26, 2019 - 06:45 AM UTC
I've been really productive painting the last couple of days since I've had some time off from work.

I started by giving the model a couple of coats of the Vallejo primer and some pre shading using Tamiya Hull read for a base.

After that I went on to the first layer of color. For this project I wanted to try something new so I tried the Ammo by Mig acrylics. I think they're quite nice to use! Any way, I shot a couple of light coats ans highlighted the panels but I didn't care about getting it too even because of the later stages of painting the camouflage.

Next I started to map out the layout of the camouflage pattern. I chose to paint it by hand rather than going through the process of masking. I followed the instructions for the "We're all in it" tank with some artistic license.

And this is where I am now. I tweaked the camouflage a little bit here and there but I'm quite happy with the outcome.


Now to shoot a couple of layers of pledge and then on to weathering!

Thanks for having a look and your comments!
// Henrik
henrikpalmberg
Visit this Community
Alvsborgs, Sweden
Joined: September 03, 2018
KitMaker: 31 posts
Armorama: 29 posts
Posted: Wednesday, June 26, 2019 - 07:19 AM UTC
So, I wasnt completly content with how my my Mk. 1 turned out, so I decided to strip off the paint and start over.

This is where I am with it now. The tank has been painted with Ammo by Mig acrylics. I hand painted the camouflage and then filled the blotches with some lightened color to give it some life. The camouflage scheme and number is somewhat made up (call it artistic license), but heavily based on period photos. I saw in a video made by the Bovington tank museum that only the C company had the mesh roof.


And now to the fun part, weathering!
Hope you will like it
// Henrik
ChurchSTSV
Visit this Community
Arizona, United States
Joined: September 20, 2017
KitMaker: 350 posts
Armorama: 19 posts
Posted: Wednesday, June 26, 2019 - 08:46 AM UTC
Shame no one has replied, so I will!!

Looks top notch! Excellent work you have shown especially with the repaint. Can't wait to see more progress!
henrikpalmberg
Visit this Community
Alvsborgs, Sweden
Joined: September 03, 2018
KitMaker: 31 posts
Armorama: 29 posts
Posted: Wednesday, June 26, 2019 - 09:05 AM UTC
Thank you so much for your very kind words!
bprice1974
#436
Visit this Community
Pennsylvania, United States
Joined: August 10, 2014
KitMaker: 196 posts
Armorama: 182 posts
Posted: Thursday, June 27, 2019 - 06:02 AM UTC
Looking good I have one of these to build and this gives me some inspiration. How are you breaking up the camo with a paint or a black magic marker?
henrikpalmberg
Visit this Community
Alvsborgs, Sweden
Joined: September 03, 2018
KitMaker: 31 posts
Armorama: 29 posts
Posted: Thursday, June 27, 2019 - 06:58 AM UTC

Quoted Text

Looking good I have one of these to build and this gives me some inspiration. How are you breaking up the camo with a paint or a black magic marker?


I used black paint and a steady hand.
TAFFY3
Visit this Community
New York, United States
Joined: January 21, 2008
KitMaker: 2,531 posts
Armorama: 859 posts
Posted: Thursday, June 27, 2019 - 08:03 AM UTC
I decided to drill out the head lights and Im gonna try to scratch some lenses later. [quoted]

What works for me is after I drill out the light, I paint the inside silver, then use a drop of 5-Minute Epoxy to simulate the lenses. Just make sure there are no bubbles present when mixing the epoxy. I've found that the epoxy won't shrink or discolor over time. Al
yeahwiggie
Visit this Community
Dalarnas, Sweden
Joined: March 24, 2006
KitMaker: 2,093 posts
Armorama: 1,359 posts
Posted: Thursday, June 27, 2019 - 03:35 PM UTC
Tjena Henrik!
Interesting and colourful subject you chose. Don't know much WW1-stuff myself, but the camouflagepattern sure is lively.
And I do not recall ever having seen such an iconic WW1 tank with all those extras.
One learns something new everyday!
 _GOTOTOP