_GOTOBOTTOM
AFV Painting & Weathering
Answers to questions about the right paint scheme or tips for the right effect.
Micro Sol attacking Future Clearcoat
Neo
Visit this Community
North Carolina, United States
Joined: January 20, 2005
KitMaker: 916 posts
Armorama: 758 posts
Posted: Friday, December 27, 2019 - 02:35 PM UTC
While this actual application is an Aircraft, I think it generically apples to all models.

I applied Future as a base for my decals (stock from kit).
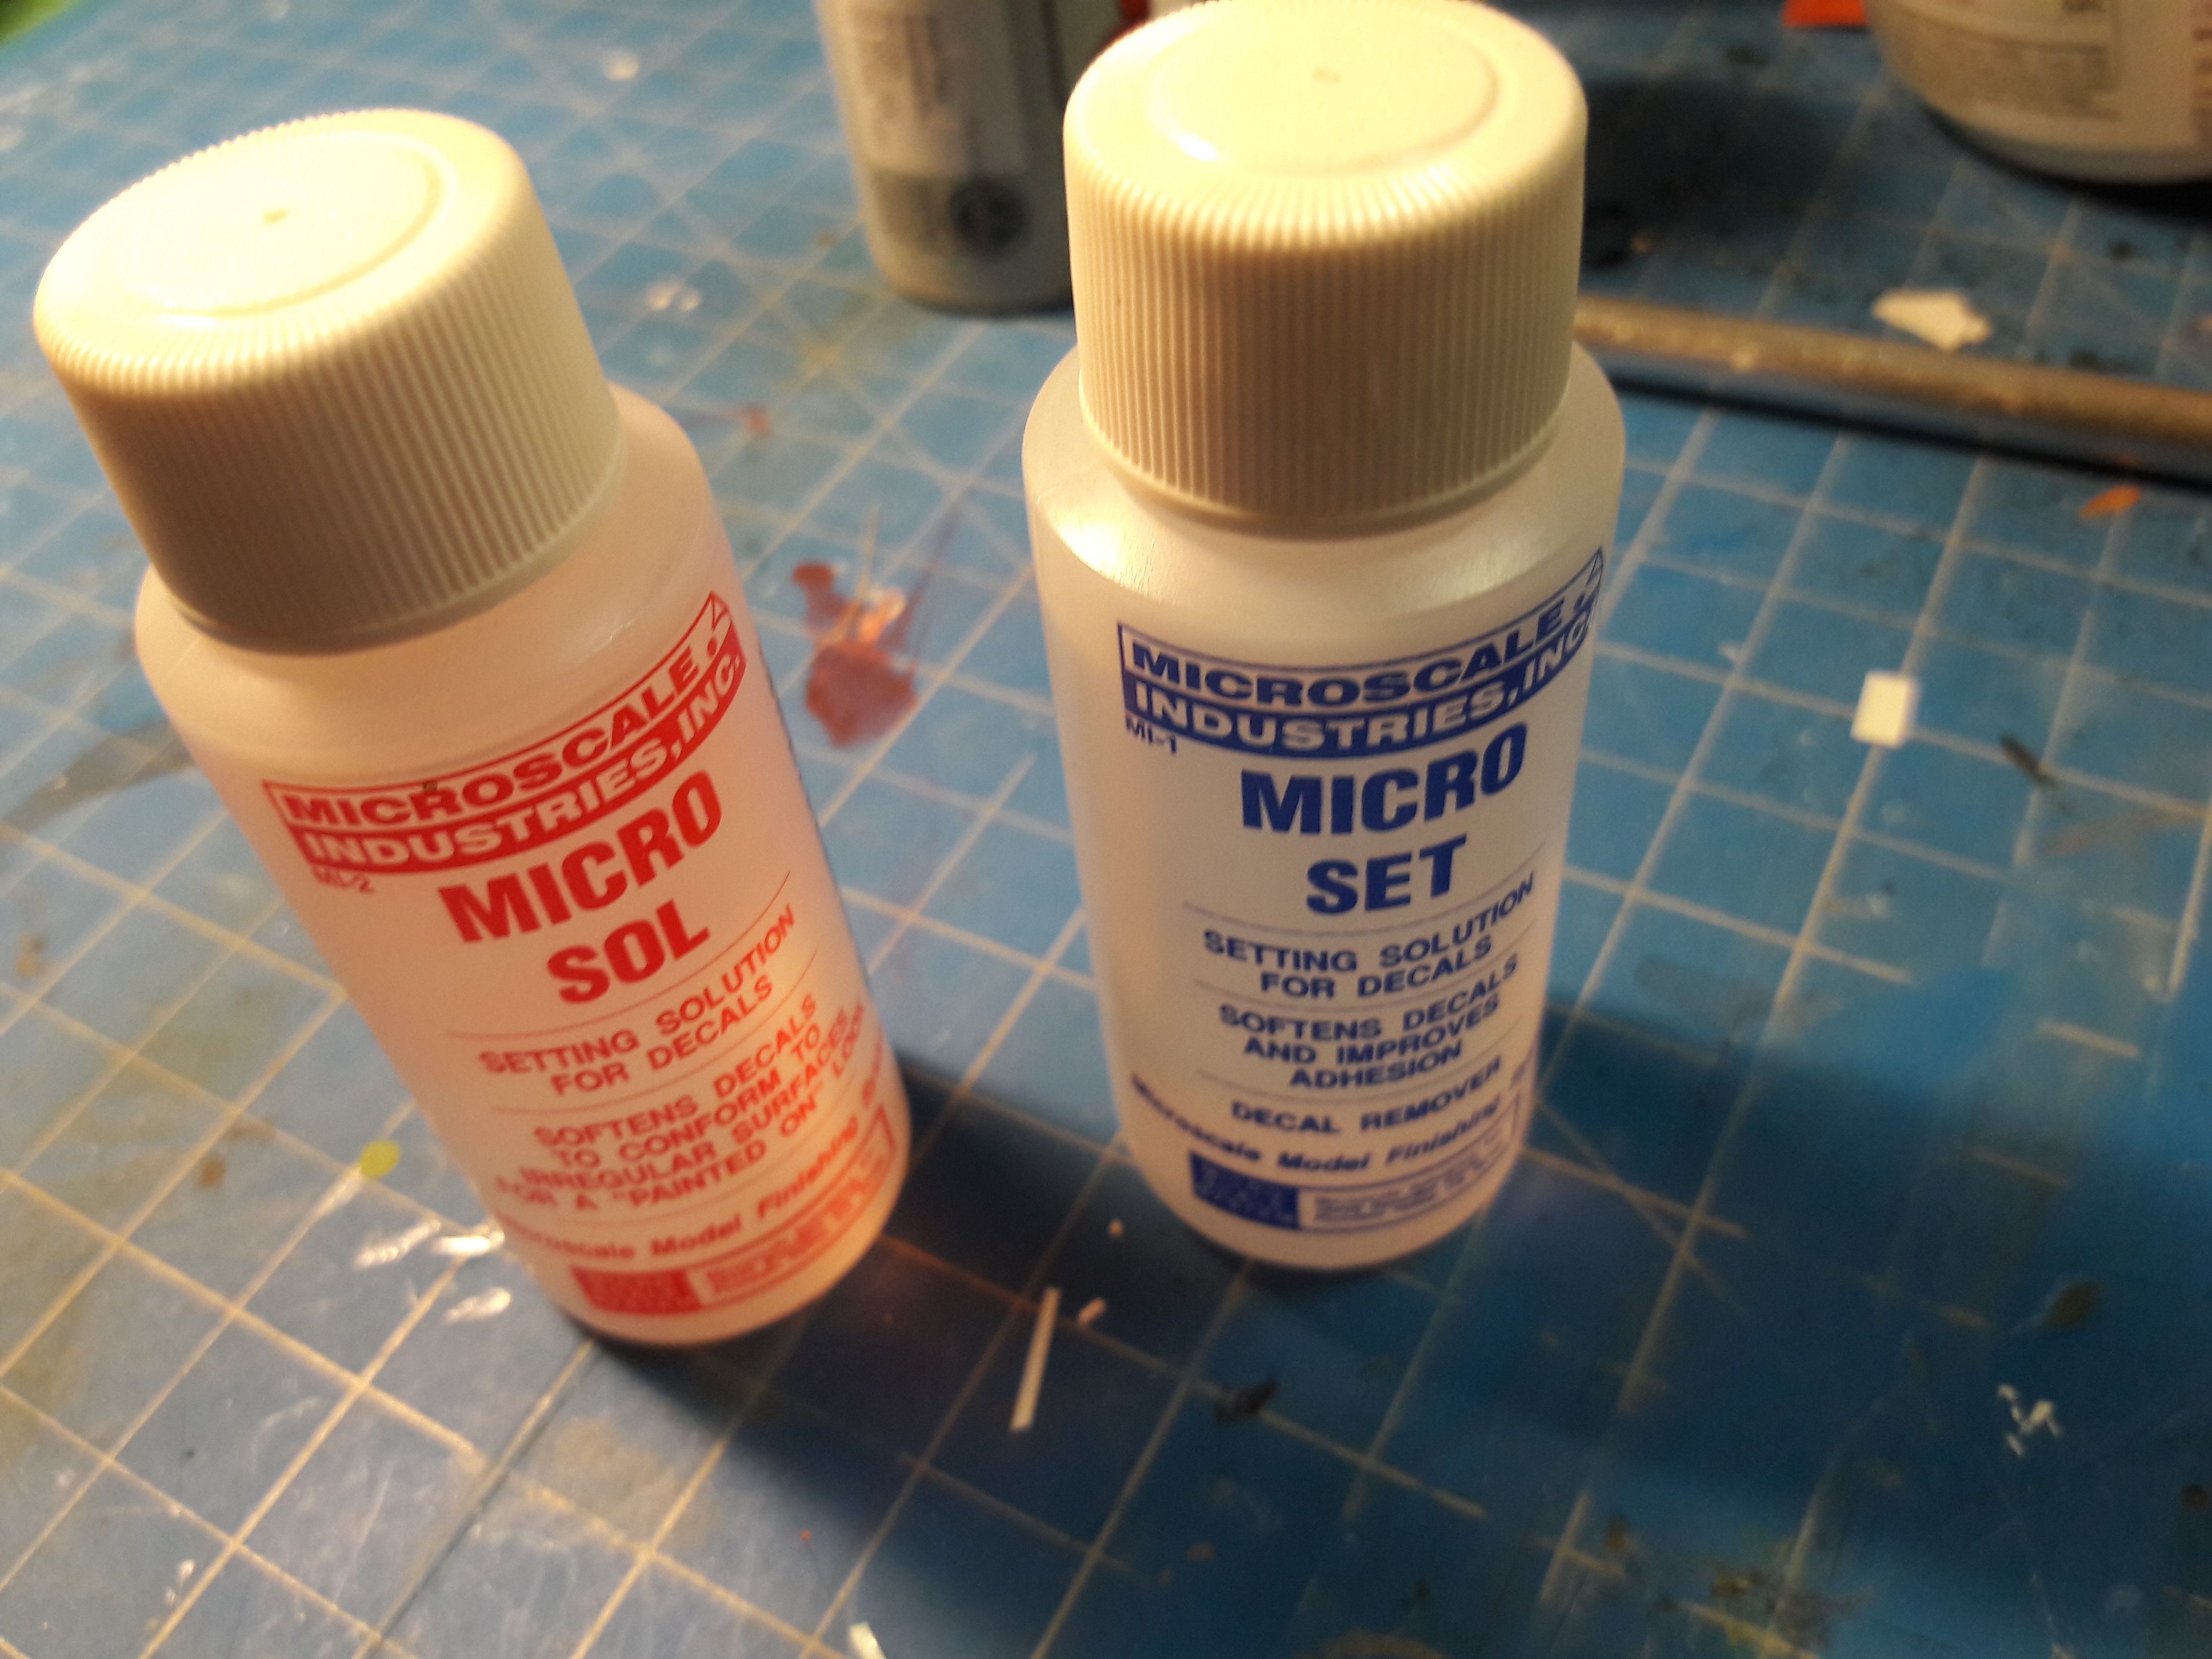
They were not laying down so I used some Micro Set softening fluid. Didn't really help so I went with the Micro Sol with I have used before (it seems stronger).
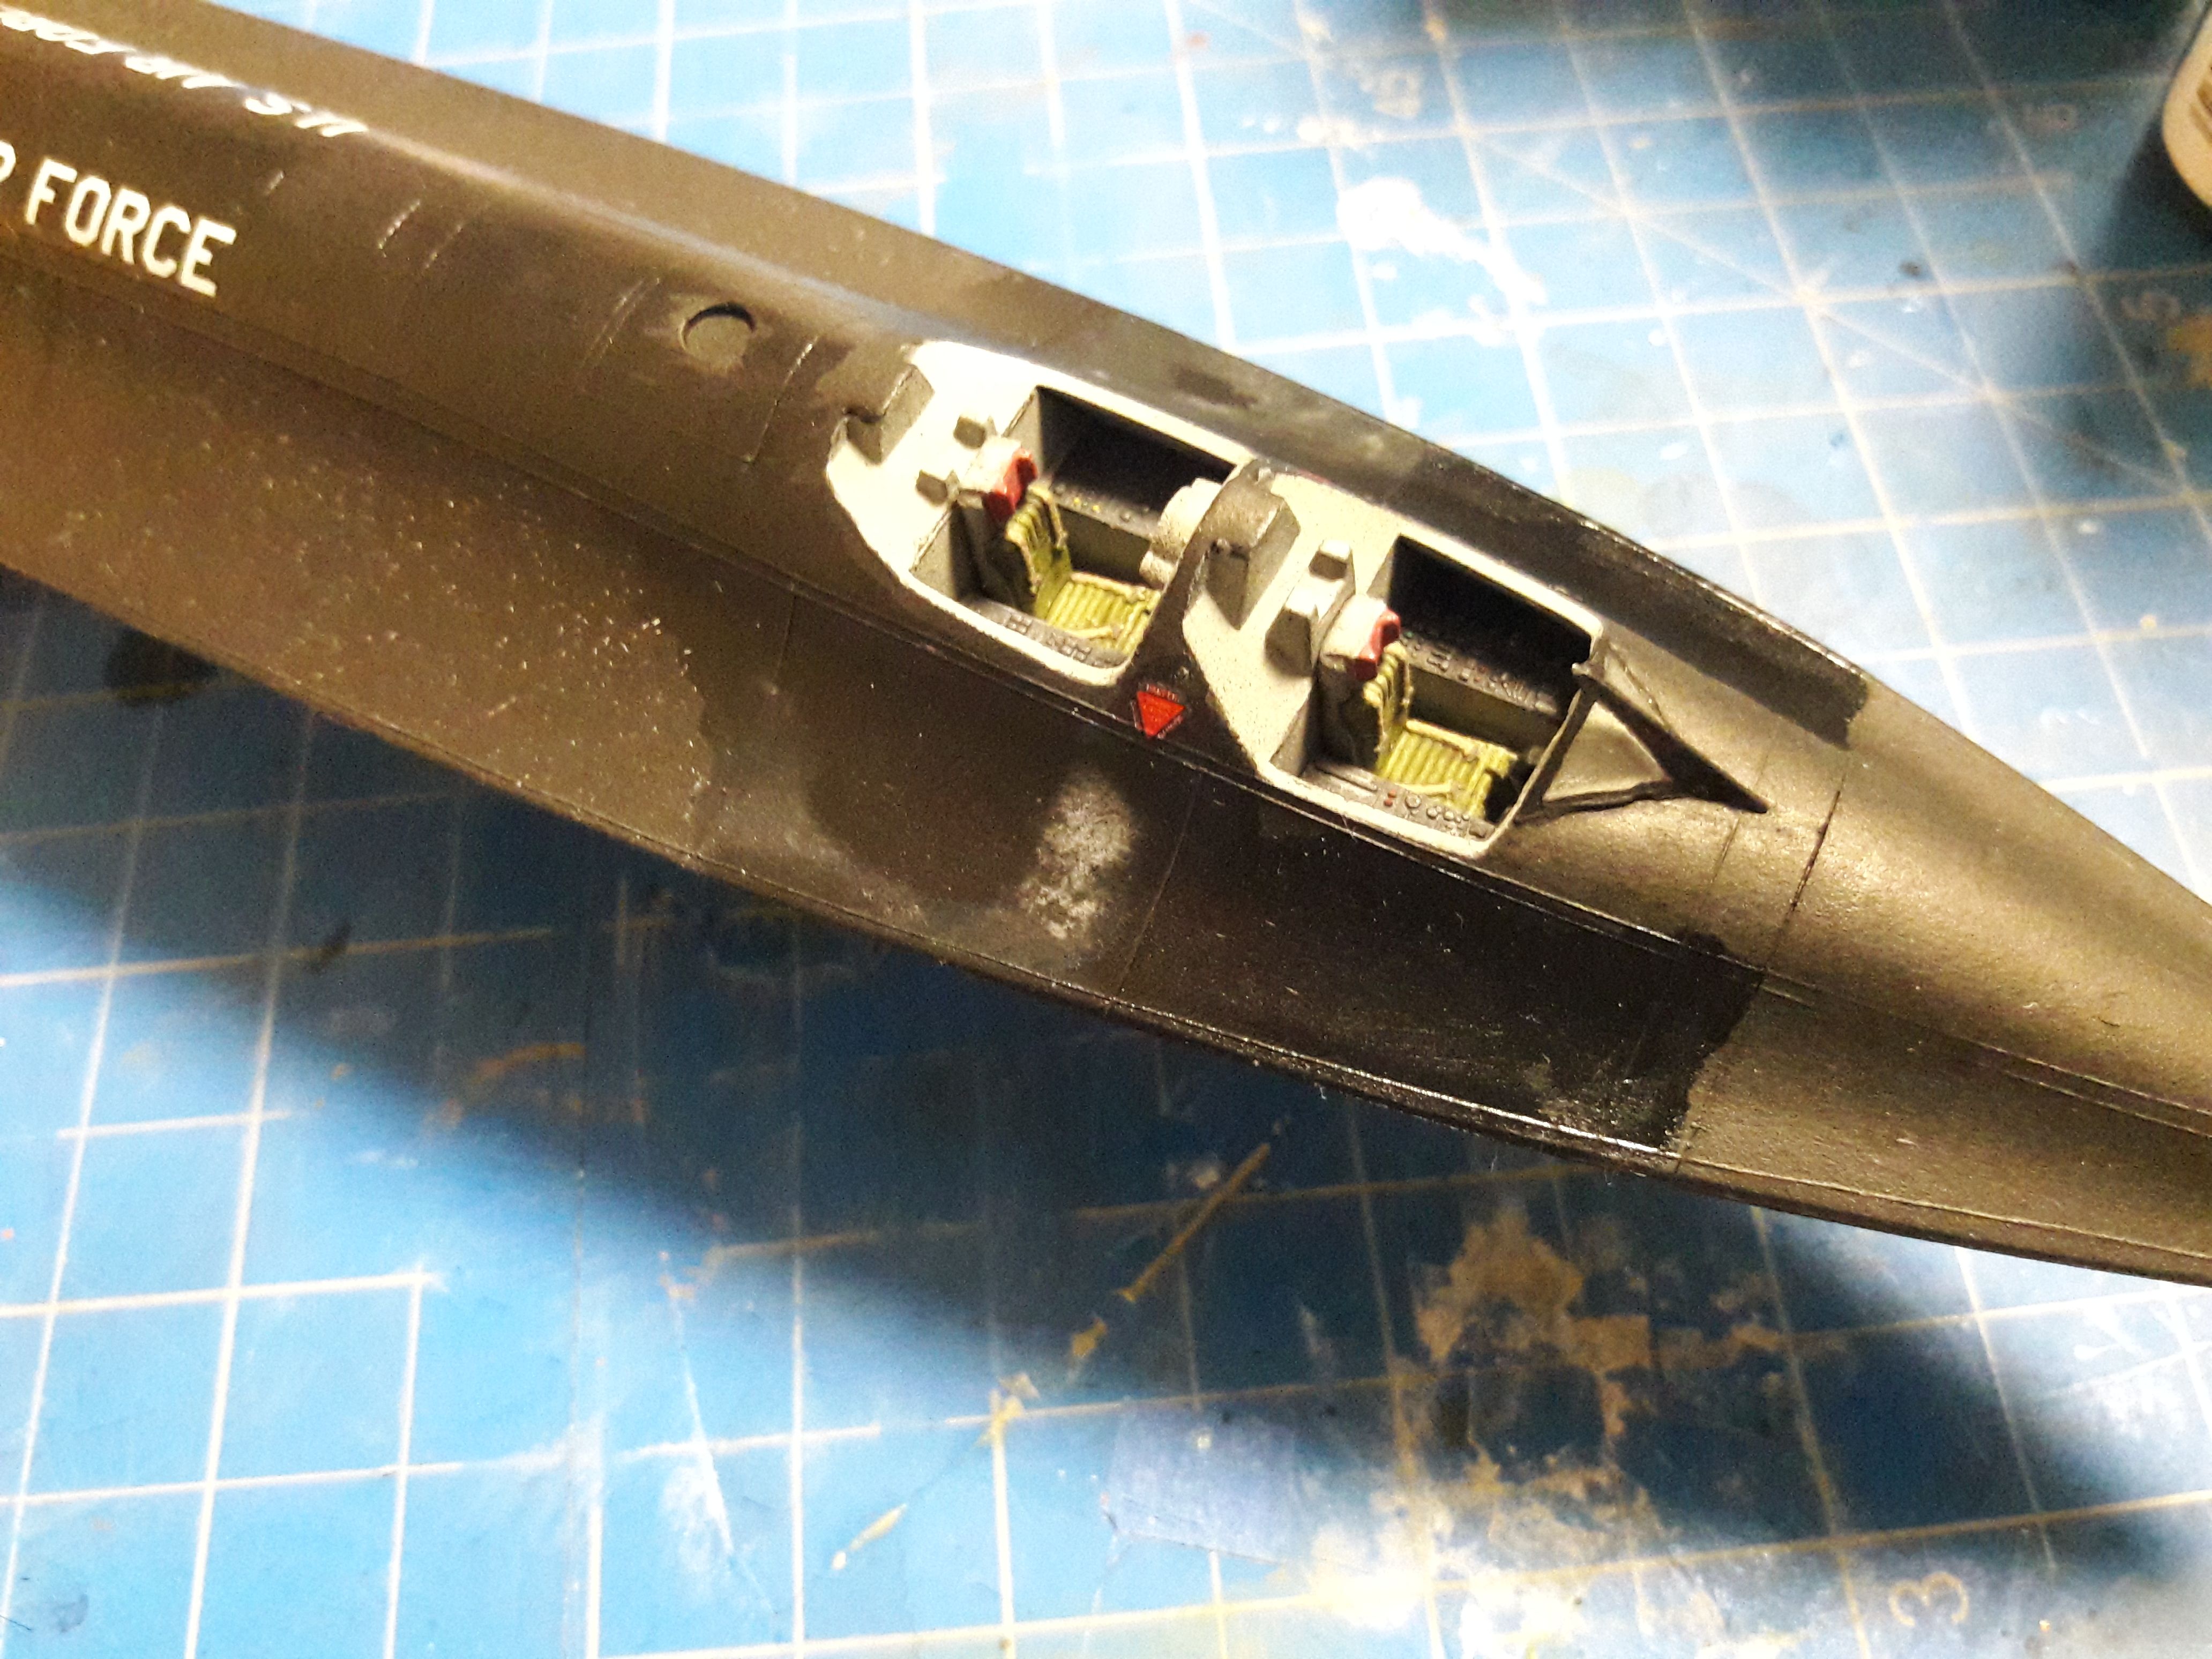
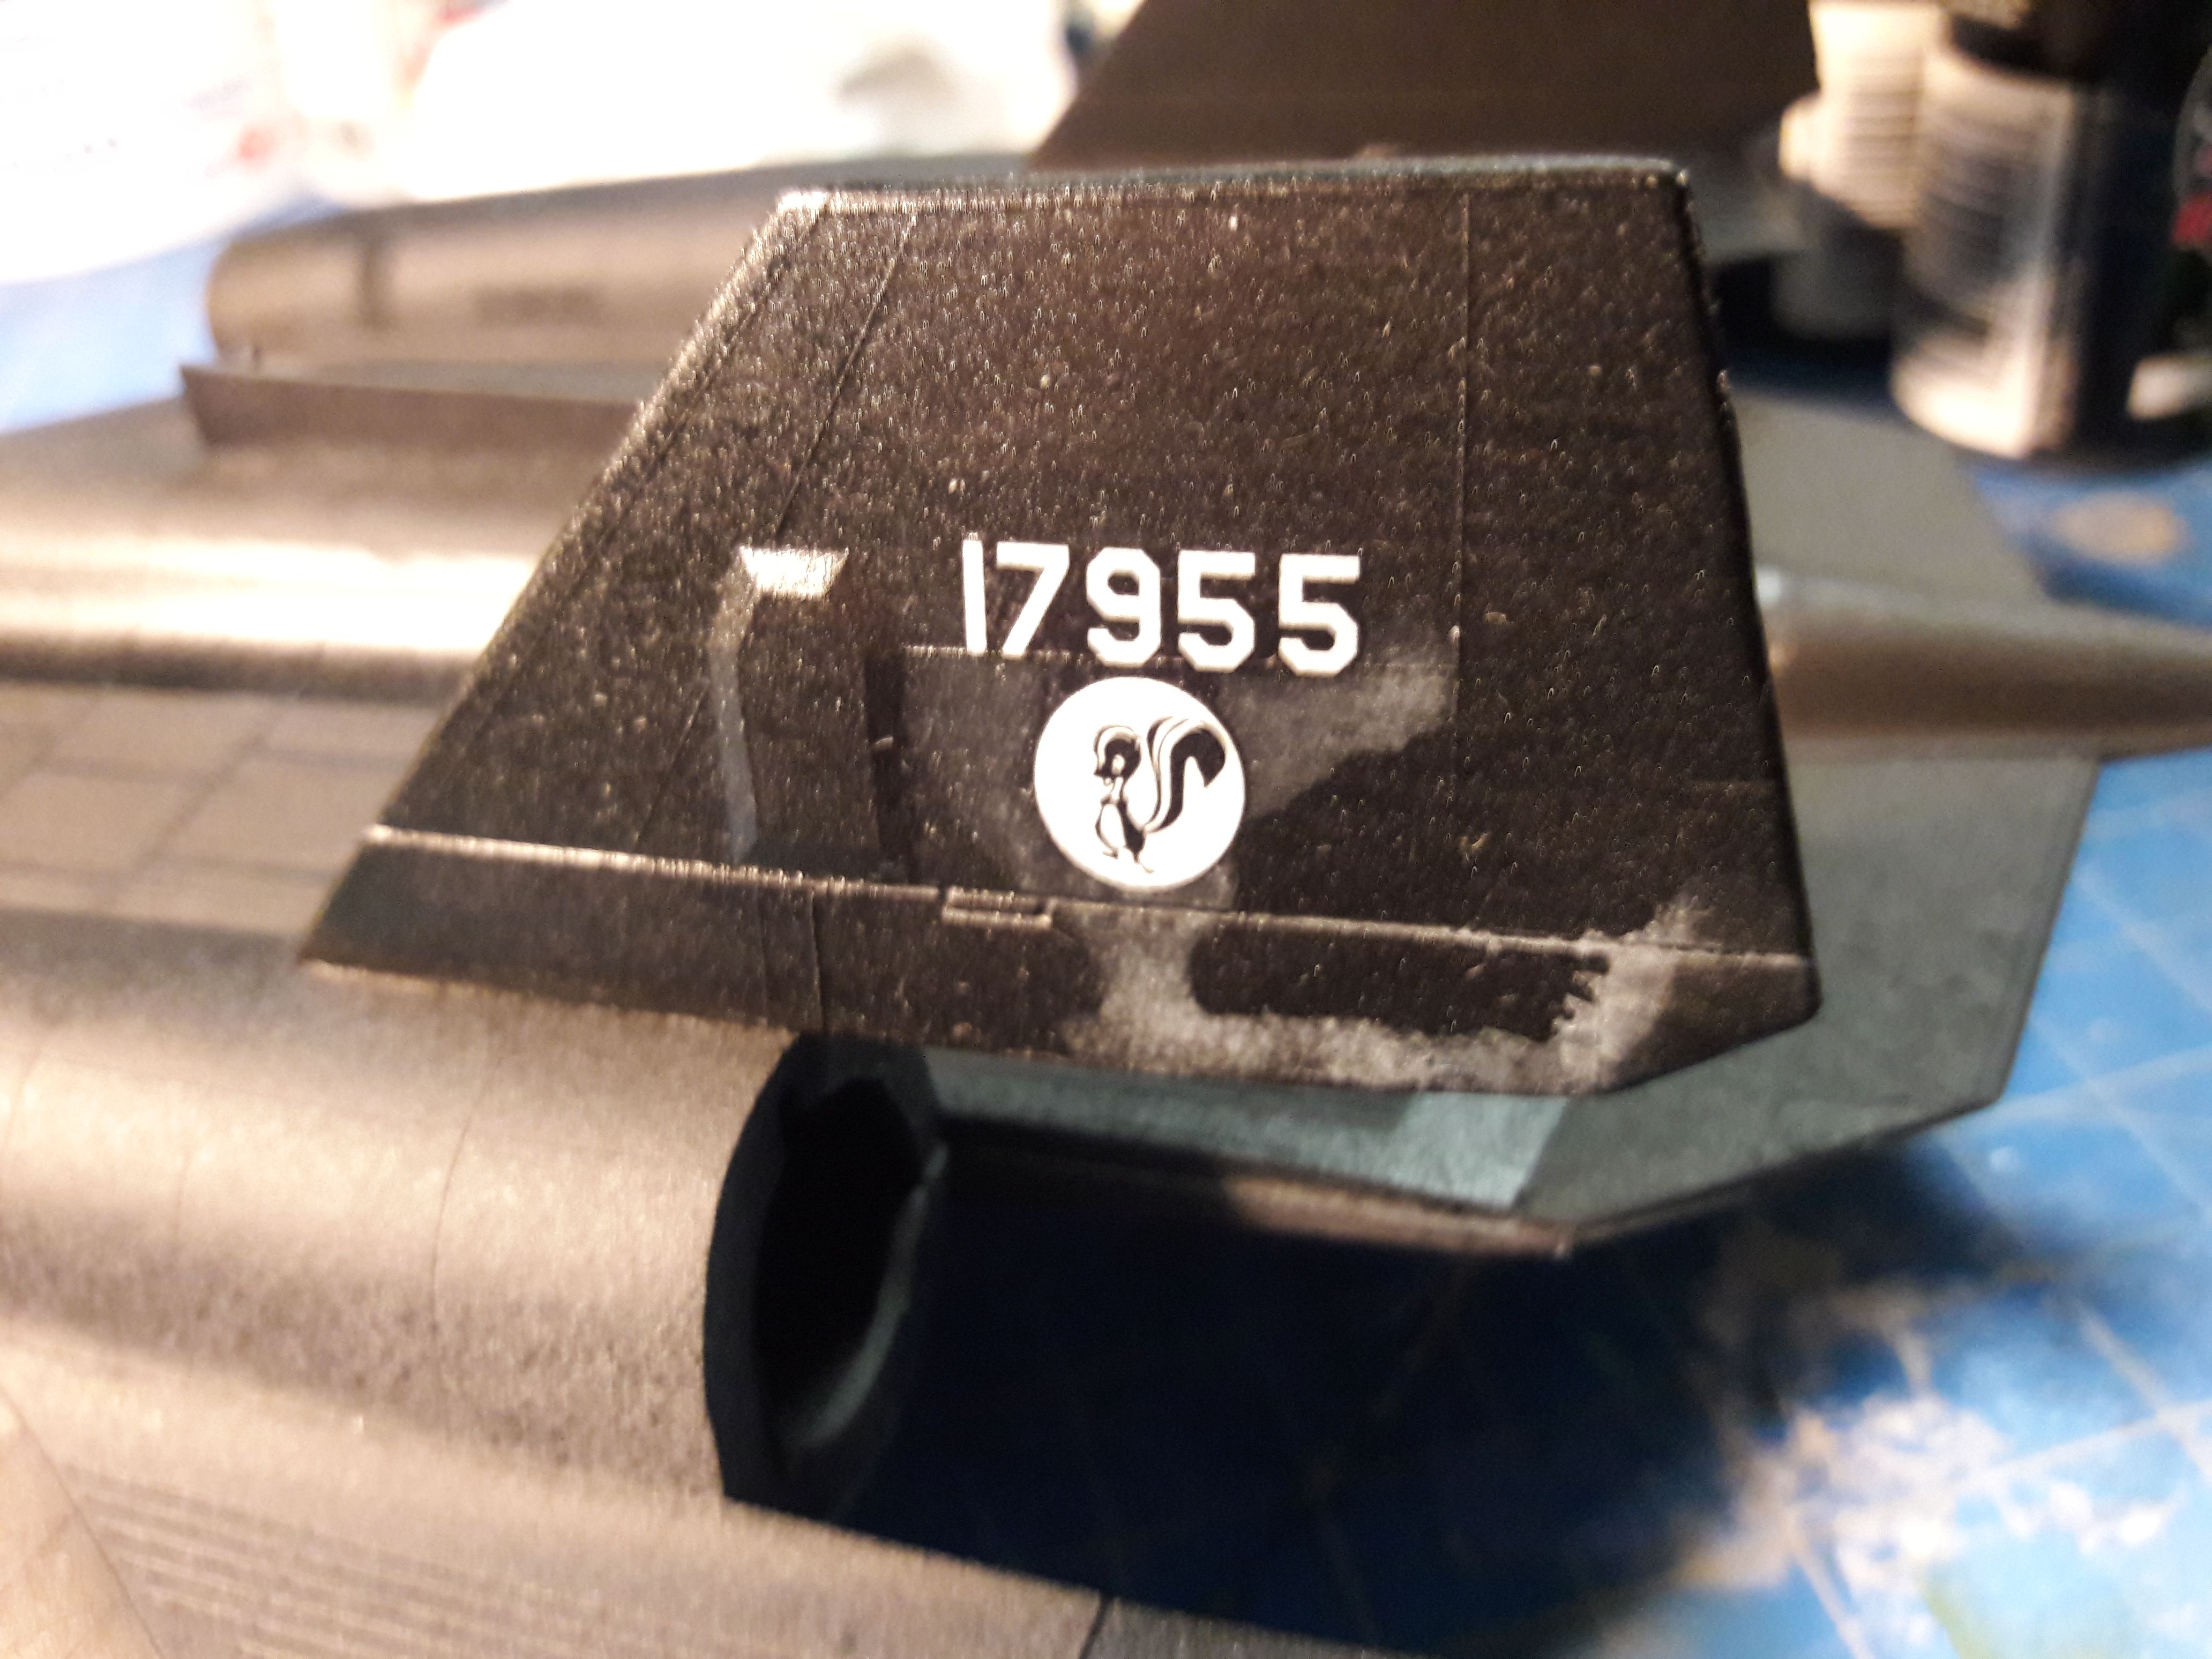
The Micro Sol started to haze the Future with a white stain that will not rub off. Think I will have to dry brush the stain out...

Any one with thoughts, ideas, experience with this?


Halbcl2
Visit this Community
Manitoba, Canada
Joined: September 10, 2006
KitMaker: 127 posts
Armorama: 106 posts
Posted: Friday, December 27, 2019 - 02:49 PM UTC
Another coat of the Future should eliminate it . . . and seal the decals.
GazzaS
#424
Visit this Community
Queensland, Australia
Joined: April 23, 2015
KitMaker: 4,648 posts
Armorama: 2,248 posts
Posted: Friday, December 27, 2019 - 03:40 PM UTC
Use your decal softener to wipe away the white residue. This same things happens when I use Mr. Mark Setter which is a decal glue. I just hit the white residue with a few brush strokes of Mr. Mark Setter (a decal softener).
165thspc
#521
Visit this Community
Kentucky, United States
Joined: April 13, 2011
KitMaker: 9,465 posts
Armorama: 8,695 posts
Posted: Saturday, December 28, 2019 - 05:08 AM UTC
If you use Future you don't need the "high-tech" solv-set products.

Brush on the Future, place the wet decal, allow the decal to settle onto the surface then later go back with another brushed on top coat of more Future to entomb the decal. Allow this all to dry completely then finish with a coating of either flat, semi-gloss, or gloss clear spray. (I use Tamiya Flat Clear in a rattle can - it works perfectly!)

And before anyone starts to flame me for recommending this process - it was taught to me by an extremely long time (read old and experienced) professional modeler and antique china restoration specialist** and I have many, many models in armor, aircraft and model railroading where I have used this technique very successfully!

** He used to work for the restoration people who currently sponsor "Antiques Roadshow."
Lakota
#123
Visit this Community
New Mexico, United States
Joined: November 17, 2008
KitMaker: 1,202 posts
Armorama: 635 posts
Posted: Saturday, December 28, 2019 - 06:22 AM UTC
Michael,
Thanks for the tip. I will try it next time I use Future as a gloss coat. Please clarify something for me, I think it's obvious but I want to be sure. The first coat of Future is allowed to dry completely before putting the wet decal on it? Or are you suggesting putting the wet decal onto wet Future?
I've tried brush painting Future over dried decals before; works great.
Thanks again, take care,
Don "Lakota"
russamotto
Visit this Community
Utah, United States
Joined: December 14, 2007
KitMaker: 3,389 posts
Armorama: 2,054 posts
Posted: Saturday, December 28, 2019 - 06:31 AM UTC
Will the future coat allow the decal to settle into surface details?
CMOT
Staff MemberEditor-in-Chief
ARMORAMA
Visit this Community
England - South West, United Kingdom
Joined: May 14, 2006
KitMaker: 10,954 posts
Armorama: 8,571 posts
Posted: Saturday, December 28, 2019 - 07:16 AM UTC

Quoted Text

If you use Future you don't need the "high-tech" solv-set products.

Brush on the Future, place the wet decal, allow the decal to settle onto the surface then later go back with another brushed on top coat of more Future to entomb the decal. Allow this all to dry completely then finish with a coating of either flat, semi-gloss, or gloss clear spray. (I use Tamiya Flat Clear in a rattle can - it works perfectly!)

And before anyone starts to flame me for recommending this process - it was taught to me by an extremely long time (read old and experienced) professional modeler and antique china restoration specialist** and I have many, many models in armor, aircraft and model railroading where I have used this technique very successfully!

** He used to work for the restoration people who currently sponsor "Antiques Roadshow."


I suspect this process will work depending on the finish to which the decal is being applied.
Neo
Visit this Community
North Carolina, United States
Joined: January 20, 2005
KitMaker: 916 posts
Armorama: 758 posts
Posted: Saturday, December 28, 2019 - 09:50 AM UTC
Tom and Gary,
As you guys were first I tried both suggestions and both worked.
Thanks !


Michael,
I'm going to try your suggestion next time I'm setting decals.
I have same question as Don also.
Wet of Dry Future ?
Garrand
Visit this Community
Pennsylvania, United States
Joined: October 27, 2009
KitMaker: 195 posts
Armorama: 194 posts
Posted: Thursday, February 13, 2020 - 06:08 AM UTC
I had this happen before. I think it might have to do with the Future not being fully cured before the decals are applied. I've started allowing my models to sit for a while to fully cure before applying decals over Future. As an aside, I didn't do this for a Leopard A4 where I used AK Real Colors Gelboliv. I didn't let the Future set for too long (1 day IIRC), & not only did the Microsol penetrate the Future, but it dissolved the AK paints as well! I have 2 projects I glosscoated last night, that I won't touch until at least Saturday before decalling, maybe even waiting till Sunday...

Damon.
165thspc
#521
Visit this Community
Kentucky, United States
Joined: April 13, 2011
KitMaker: 9,465 posts
Armorama: 8,695 posts
Posted: Wednesday, February 19, 2020 - 07:20 PM UTC
Sorry Don & Tom I just now saw your additional question.

I brush a wet coat of Future on the model area to be decaled and immediately apply the wet decal. I might then blot around the edges of the decal to help remove the excess fluid and help the decal settle.

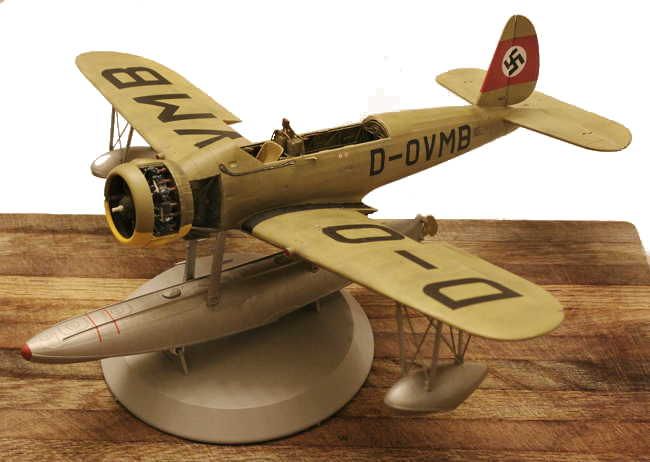
Please Note: You must brace the model so the surface being decaled is as level as possible. While doing the large wing lettering on the Arado I just had the model on its' stand as in the photo below. I came back few minutes later and one of the large letters had slid down the slope of the wing. Fortunately I was able to wet it some more and get the decal back in place before it set!

After the decal has had time to settle (or even once the decal has dried totally) I then put a topcoat of more Future over the decal to totally entomb it in the Future. This is normally enough to totally hid the edge of the decal film after a spray topcoat is applied.

Once dry I go over the model with the Matte Clear to level out the shine caused by the Future.


p.s. I show all these examples because on another site I got flamed badly for being "old fashioned" in this process. To me it's whatever works!


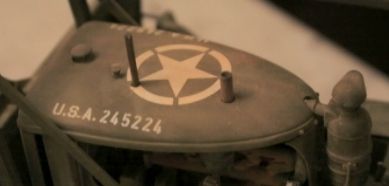
Here is the hood of a White 666 using the Future process:
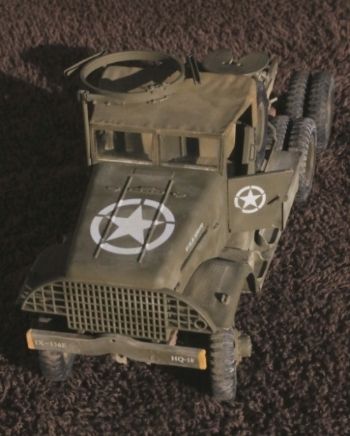

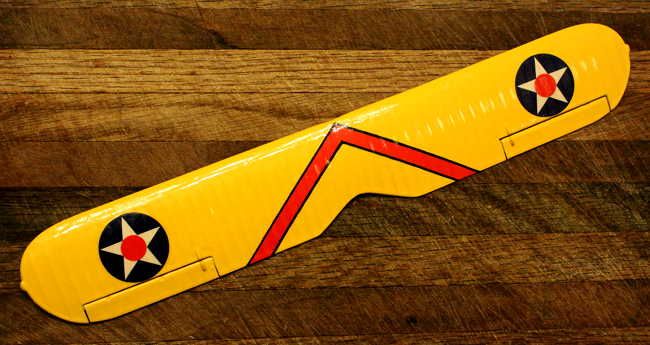
And an F3-F top wing with Future but ending up with a Gloss Clear topcoat:

Caterpillar D7 Dozer:

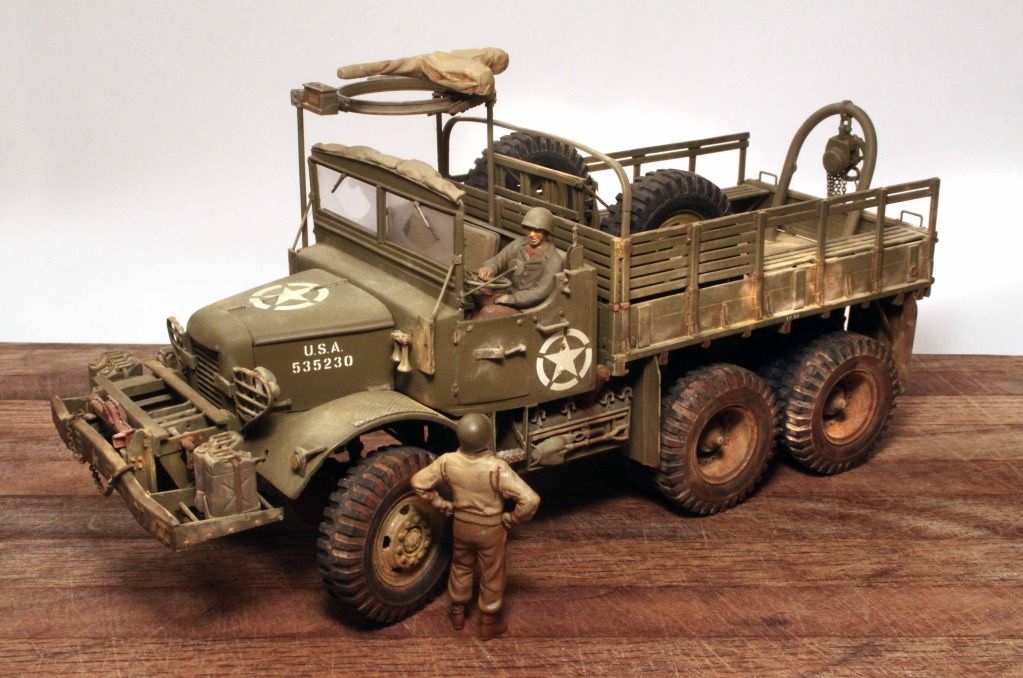
Home grown Mack NO using the Future plus Matte Clear (Tamiya TS-80) topcoat:

Arado 196B (WIP) - Future plus Matte Clear Tamiya rattle can spray topcoat:

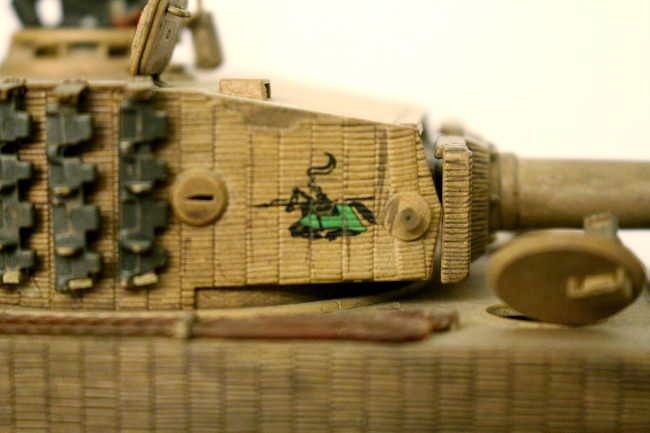
Tiger I with zimmerit. Jousting knight decal: Future + Decal + Future + Allow to Dry + Matte Spray + dark brown wash + pastels:
 _GOTOTOP