Introduction
This is only my second Russian/Soviet armor project and my first experience with what
Trumpeter has to offer, you can see Matt Flegals in-box review here:
Trumpeter JS-4 in-Box Review
I built this pretty much OOB to see how well everything fit together and came away quite impressed with the overall quality of the kit. Heres how it went together...
Lower Hull & Running Gear
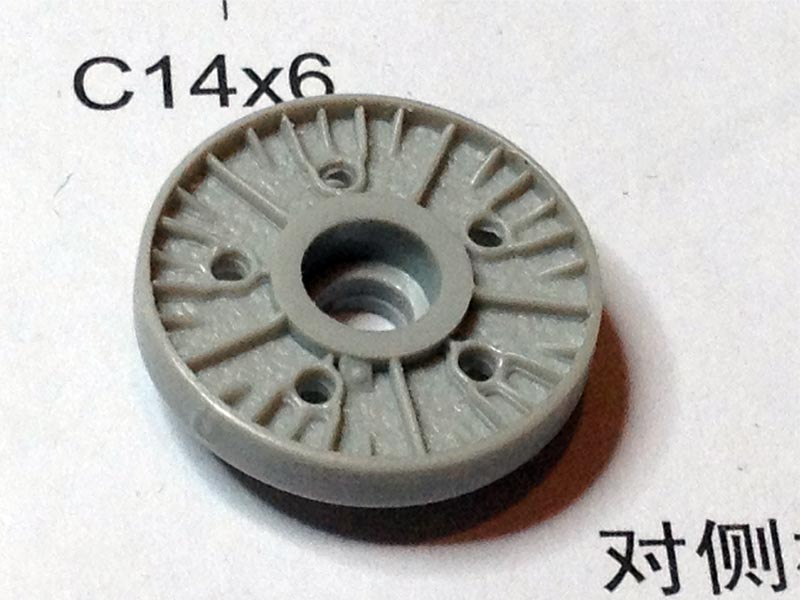
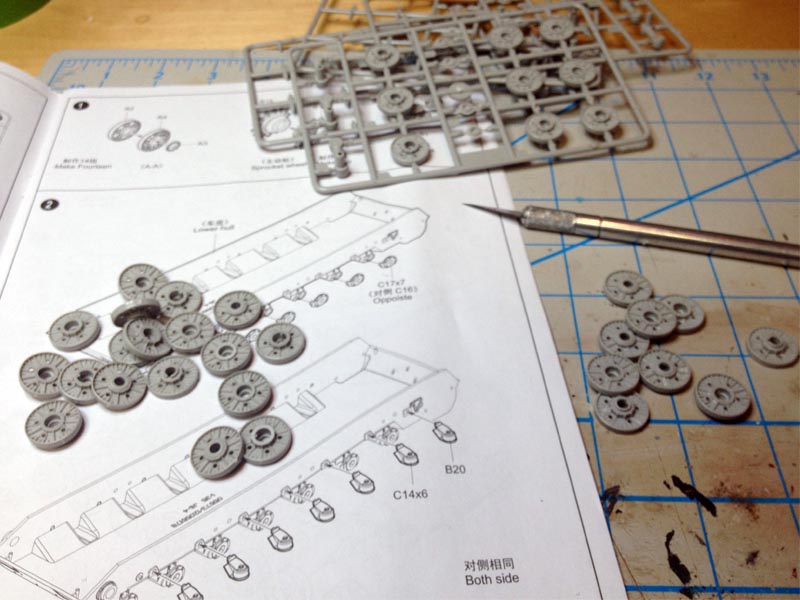
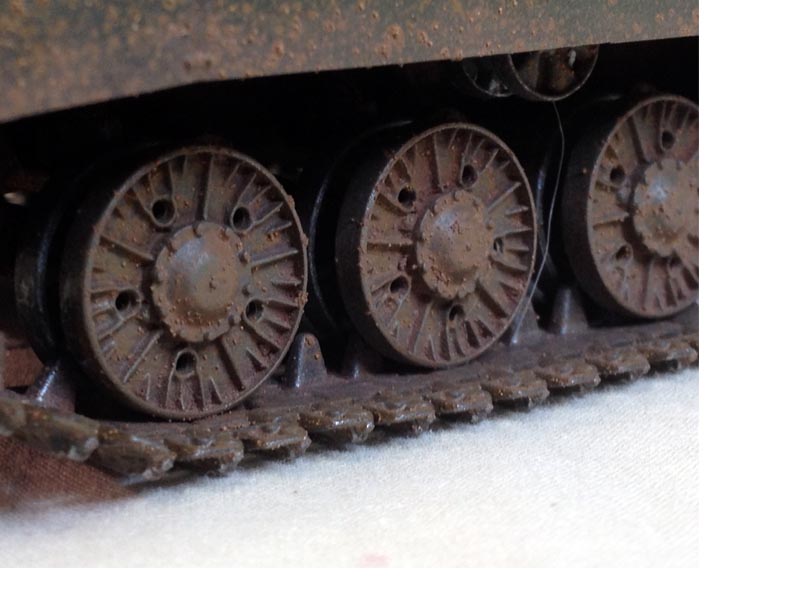
The build begins with the clean up and assembly of the road wheels, sprockets, idlers and return rollers. The road wheels have a nicely well defined casting texture on their faces, and
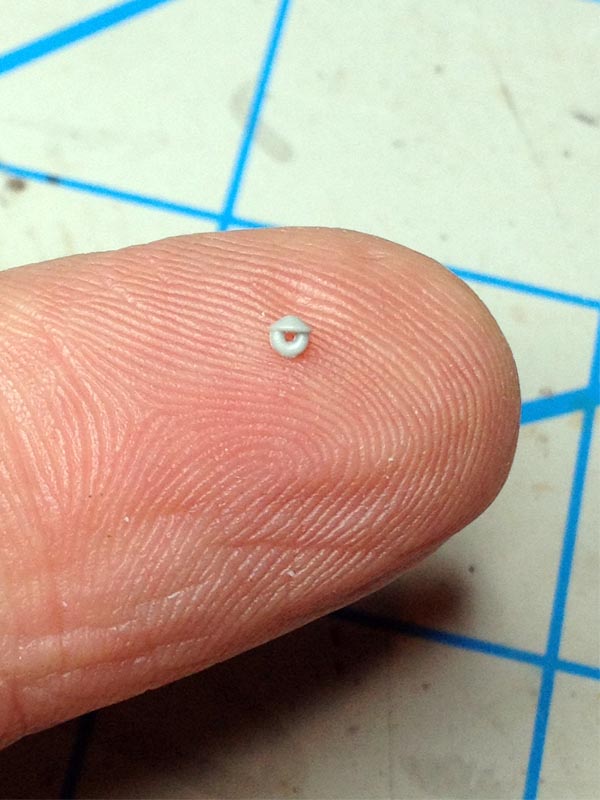
Trumpeter even took the time to include the grease nipples. There is the usual mold seam around the wheels to clean up, and I found an area of flash to be cleaned up on the inside of each inner road wheel. It probably wouldnt even be seen on the completed model but does highlight a small flaw in the master mold as it carries over to pretty much every single inner wheel on each sprue. The instructions also say to build fourteen pairs of road wheels. Do this, and you will be two short as the idlers are the same assembly as the road wheels and are not called out on their own, so build two extra right away. The return rollers each have a small hole in the center which I first assumed to be a sink mark, but upon checking my reference photos found they were on the actual return rollers as well. In true scale the holes would be smaller, but there are casting limitations and they should tighten up after primer and paint. If you are so inclined, I suppose you could fill them and use a very fine piece of wire to make the holes appear more to scale.
All the suspension and wheels fit together nice and snug with very little slop, especially on the keyed pieces, although there is enough wiggle room on the suspension arms to give a slightly articulated look to the suspension for a rough ground diorama. The lower hull itself is a single piece mold and is delightfully clean, well detailed and free of flashing, sink holes and ejector pin marks.
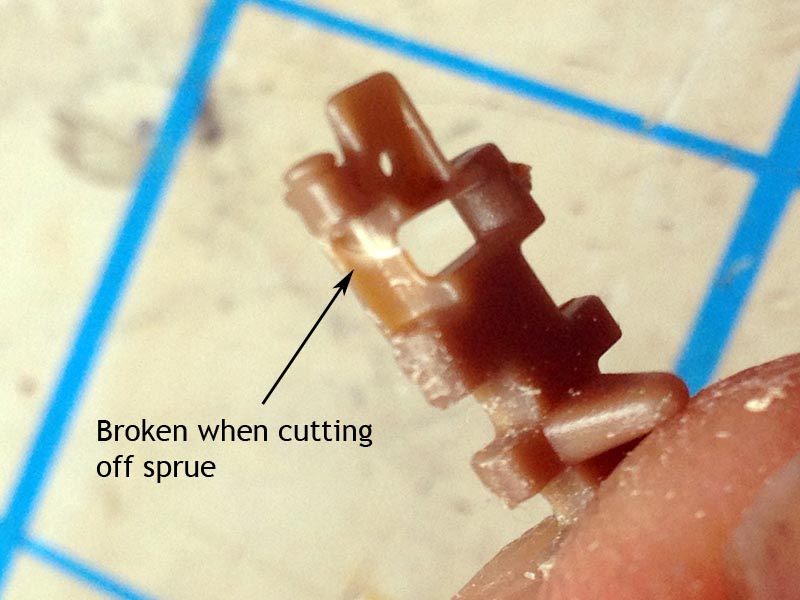
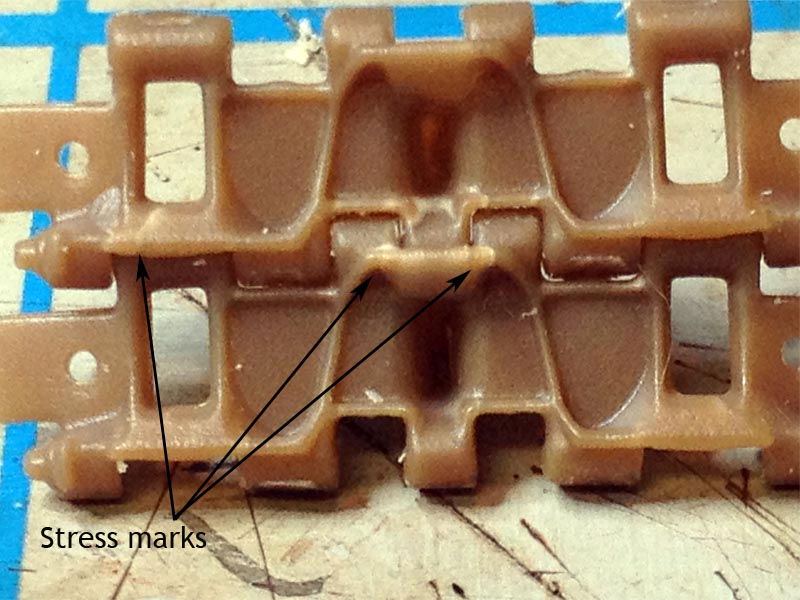
The track links are individually cast and come on ten sprues in a light brown shade, and in a slightly softer plastic than the rest of the kit. The links are specific to each side of the tank, so dont go and merrily cut them all off and put in a big pile in preparation for cleanup and assembly! A lot of care has to be taken in removing these links from the sprues and cleaning them up for assembly. It is a tedious job but necessary due to the softness of the plastic and the way the tracks go together. Even with what I thought were a pretty good pair of side cutters I still managed to break some of the paper-thin sections of the track hinges, nothing terminal but annoying nonetheless. The sprue attachment points have to be sanded down and shaped carefully for the tracks to fit together properly, if you havent cleaned everything up just right and force the links together you will see a lot of stress marks on the plastic as I did on my first few links. Nothing that cant be covered by paint but signs you could do more damage if you are not careful. The key is care and patience, that and a quality pair of side cutters!
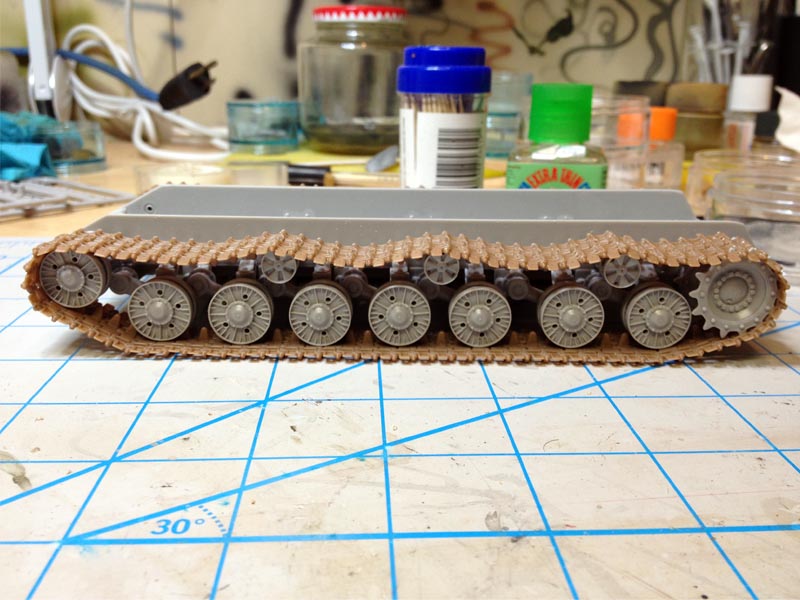
Once the links are cleaned up I put the tracks together. The instructions call for 85 per side, but I found 85 and 83 gave the same amount of sag per side, go figure. The thing is, it will all pretty much be covered up by the side skirts anyway...oh well,
I know its there!
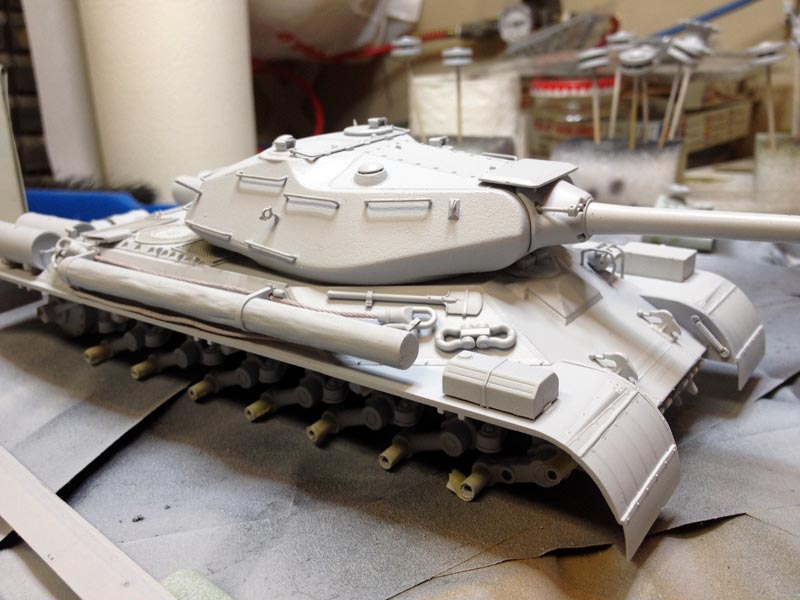
Upper Hull
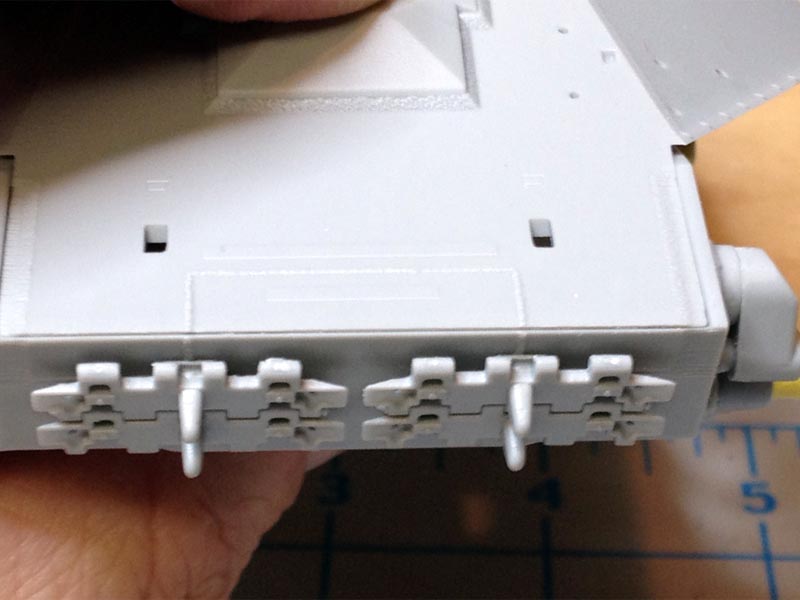
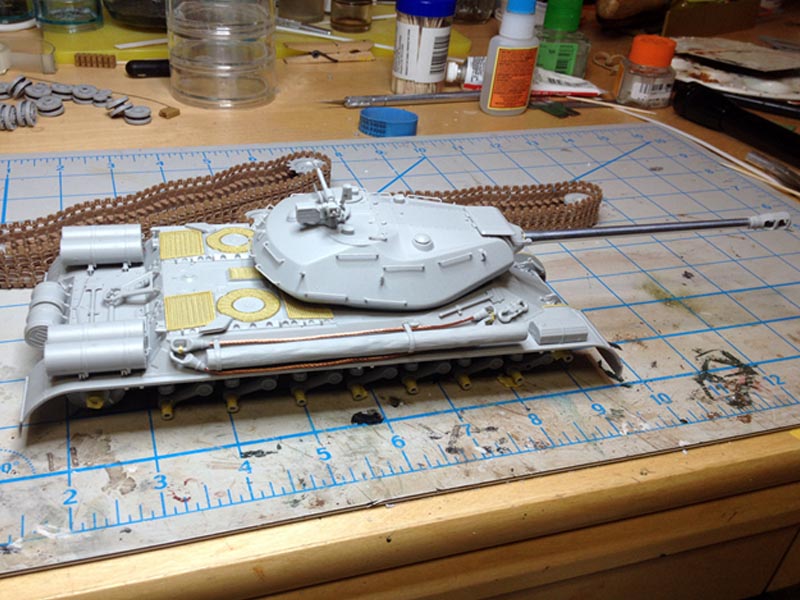
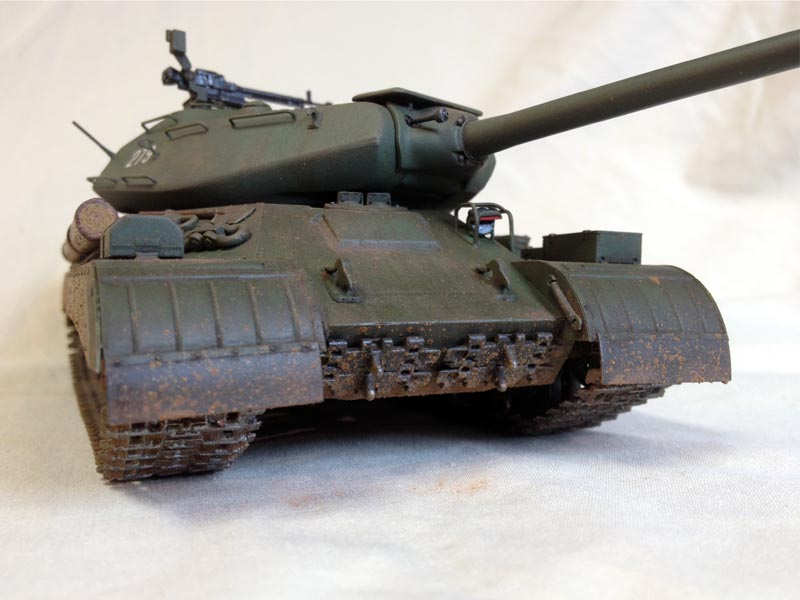
With the tracks complete and all the suspension dry fitted, it is on to the upper hull. It fits on to the lower hull via locating pins front and rear and is quite a good fit, with only some very minor putty work required. The fenders slot in between the upper and lower hull after this, again fit is very good, they pretty much snap into place, and with a little bit of extra-thin cement sucked into the joint, there is absolutely no gap to be seen between the hull and fenders.
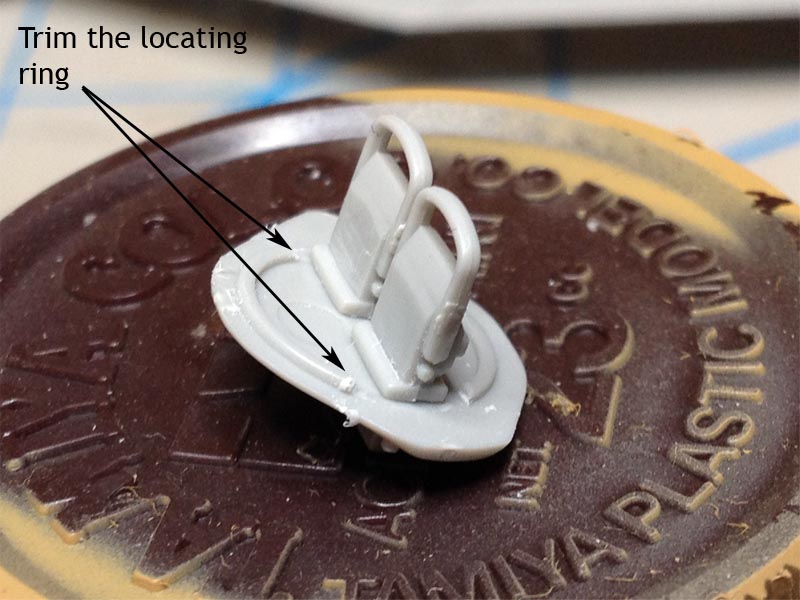
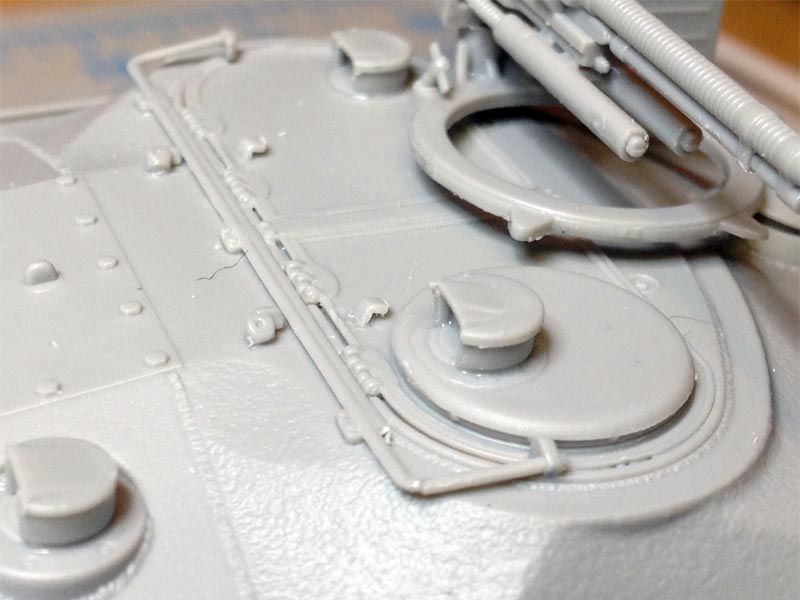
The driver hatch needs a little bit of love before the periscopes will fit properly. Both of the holes are not properly shaped and need to be cleaned out. I am not sure if this was just some excessive flash or a molding flaw. Also, I found the locating ring on the inside of the hatch interferes with the periscopes seating properly in the holes, so I cut a bit of it away and viola! Perfecto.
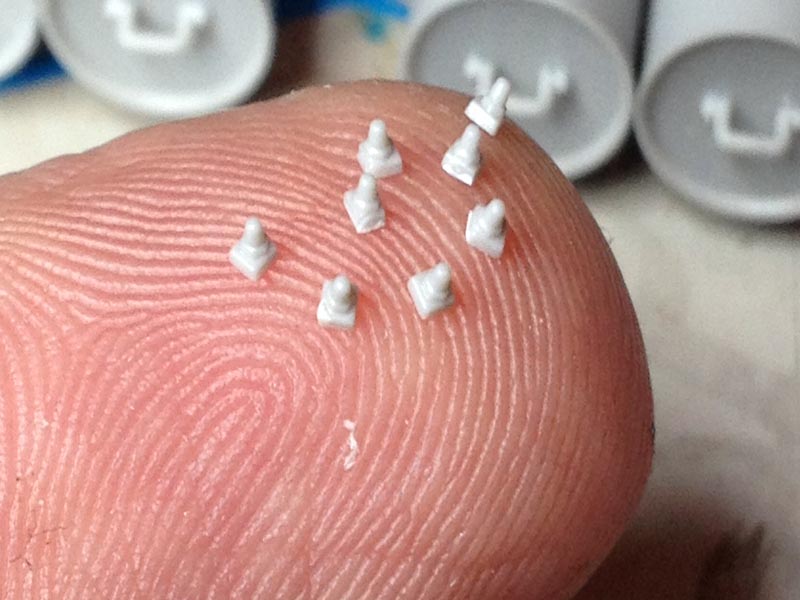
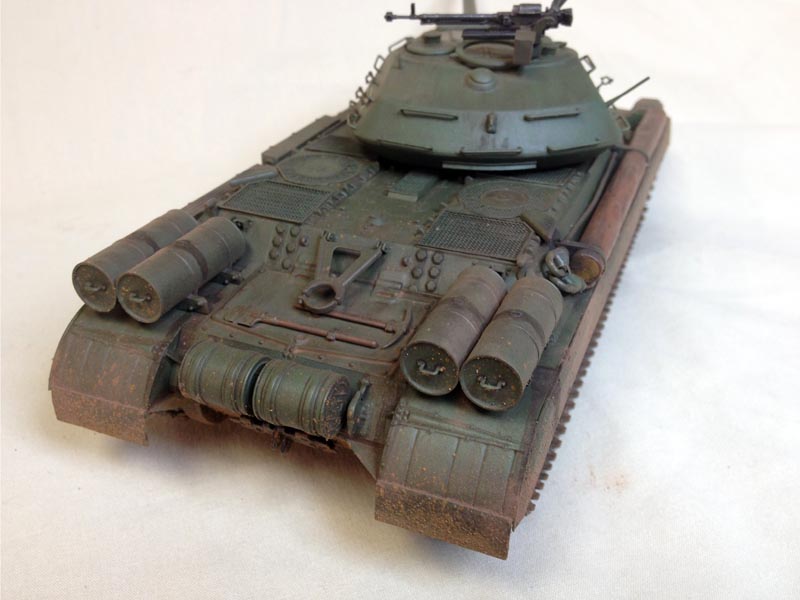
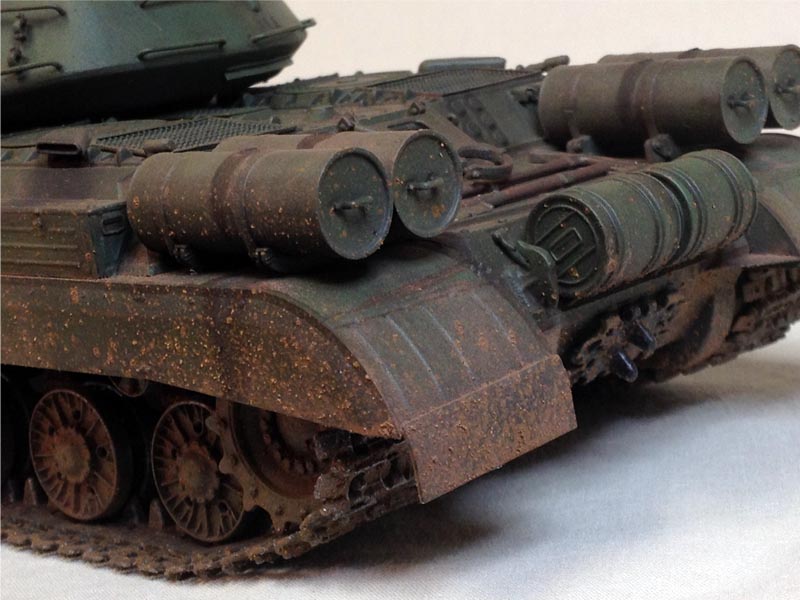
The rear hull goes together well, but the welds on the tow hooks need some extra detail which I supplied by scribing with my hobby knife. Two options for the travel rest are provided and with care it will remain movable if that is what you want. There are a lot of very small, fiddly pieces to be added on the rear of the hull, if you are not careful the carpet monster will be well fed indeed. The fuel drums that sit on the rear deck have a lot of small fiddly bits, each one has eight tiny pieces on the bottom where they wont even rally be seen, representing the nuts that tie the hold-down straps on. It almost seems that even though
Trumpeter could have used fewer parts, they decided to break things up into a number of smaller parts just because we can. The added detail is debatable, but at least everything fits together nicely. Well see how well I got rid of the seam lines on the fuel tanks when it comes to painting. The detail on the straps is a bit soft and easily obliterated, so some scratch built straps out of spare PE would do well here.
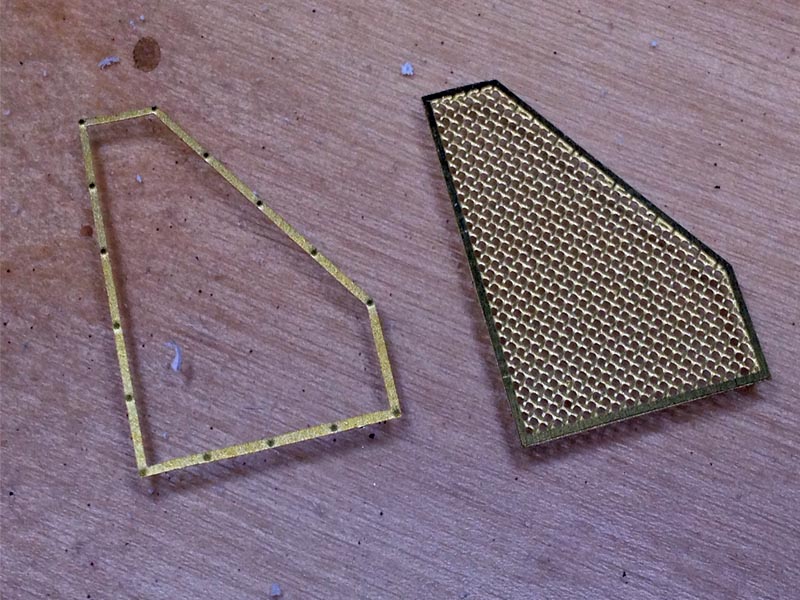
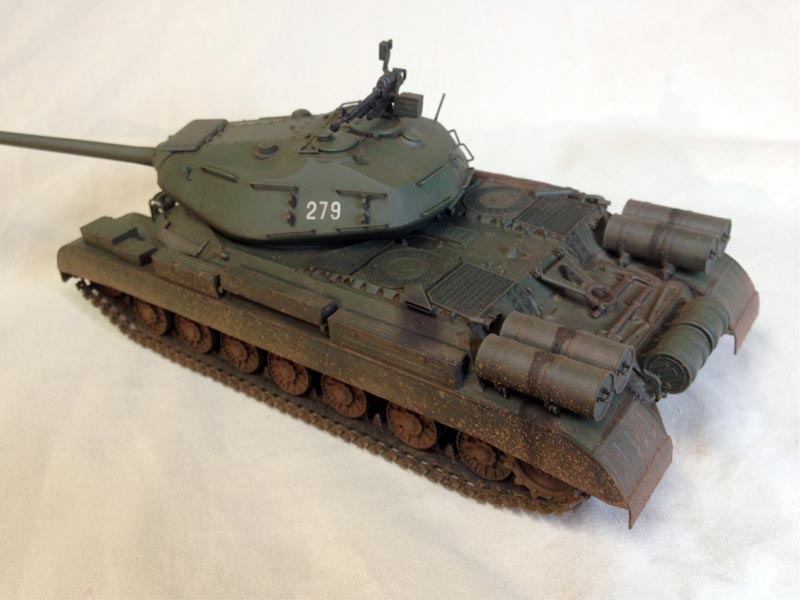
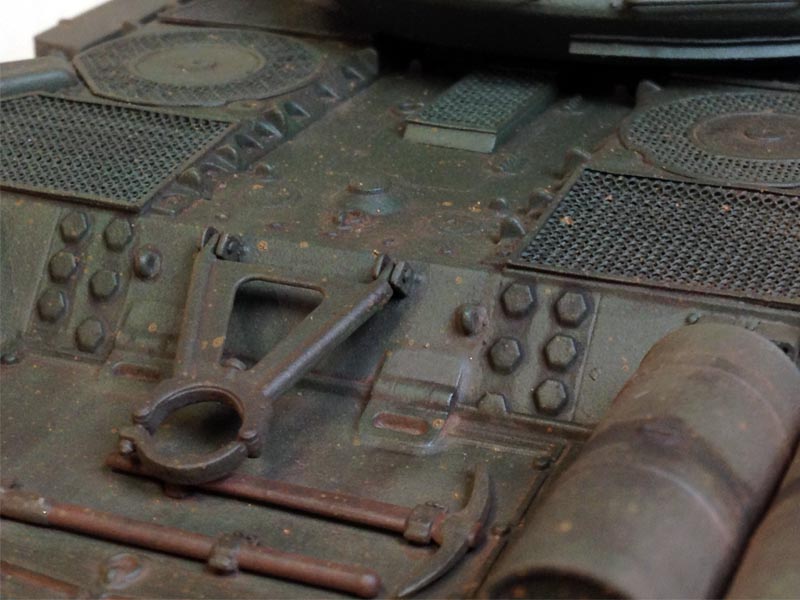
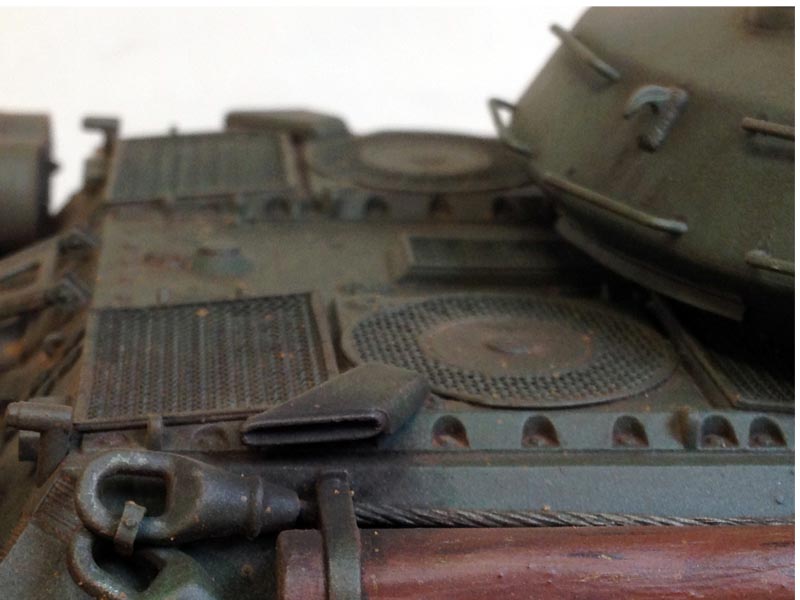
The PE grills for the engine deck are beautifully done with an excellent representation of the wire mesh used in the real thing. They come is two pieces, the main mesh grill, and a frame that sits on top of the grill. The PE is easy to cut with very minimal attachment points, and the whole PE sheet comes with protective plastic sheets on both sides for protection a nice touch with the added benefit of keeping the parts from flying off when you cut them. That said, be very careful with the frames as they are very fragile and easily bent, especially when peeling the plastic sheet off. Once the frames are attached to the grills they add some very nice detail to the engine deck.
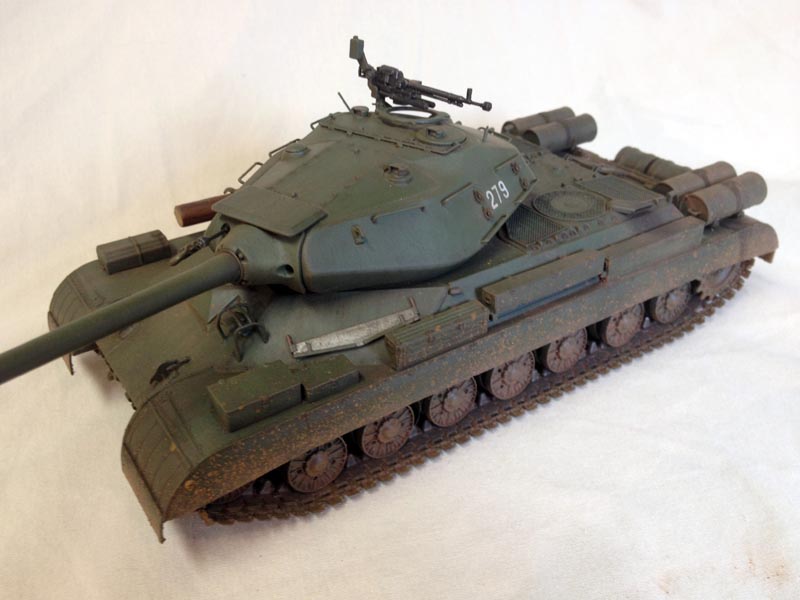
Various tools, boxes, lights, hooks and other sundry items are also attached to the hull at this point as well. The tow ropes are a very nice copper rope that does a good job of representing the real thing. The only problem is that there are no locating marks for the tow ropes, and they are only held on by two small PE brackets, so care and good judgement has to be used. You have to fit the unditching log over these as well, so I found it useful to install one end of the ropes, install the log, and then finish off the other end of the ropes in order to make sure everything ended up where it should. The detail on the log itself is very soft, so I roughed up the surface to give it a more natural look, and again, the straps can easily disappear if you are not careful. Those more talented than I could probably add a better texture using putty.
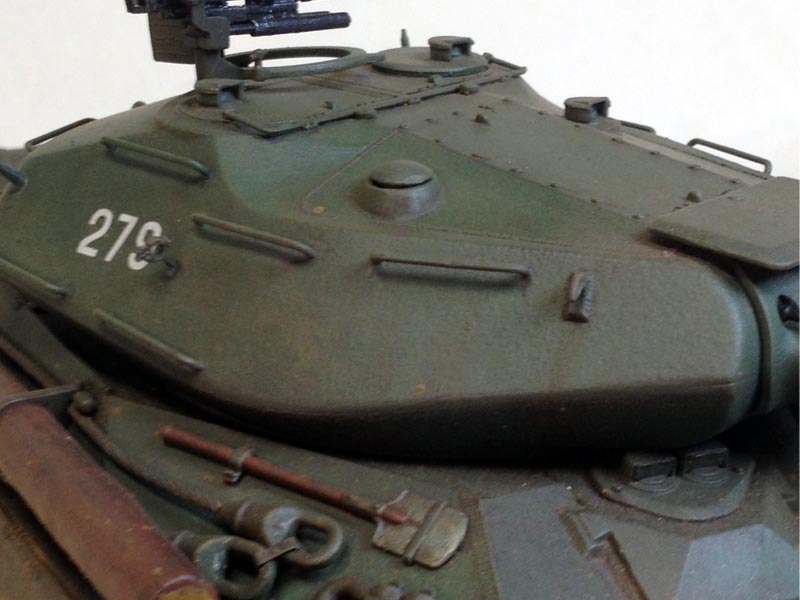
Turret
The turret comes together very nicely as well, with very good fit between the upper and lower parts and only minimal scraping/filling needed. Again there is some gratuitous detail provided that will never be seen if the model is built according to the instructions; ie. All hatches closed. This includes the periscopes, of which only the very top portions are seen, the handles on the inside of the hatches (why add these when nothing else is detailed?) and the turret ventilation fans they are completely covered. As it is I had to add some shims so that the ventilation covers did not become glued to the turret itself. I know it is a bit odd to complain about
too much detail, but if
Trumpeter is going to go through the trouble of providing it, it should at least be visible.
As with the rest of the model there is very little in the way of flash or seam lines, although the fifteen grab handles located around the turret are a bit of a pain to clean up. As Matt mentioned in his review the casting detail on the turret is a bit soft, and some will be inclined to use some Mr. Surfacer or equivalent to rough it up a bit, but be careful! The locating marks for the handles are very shallow and can easily be covered up, and do not hold the handles in place so if you have big hands like me there is a frustrating amount of repositioning required to get them in the proper place and they are easily damaged.
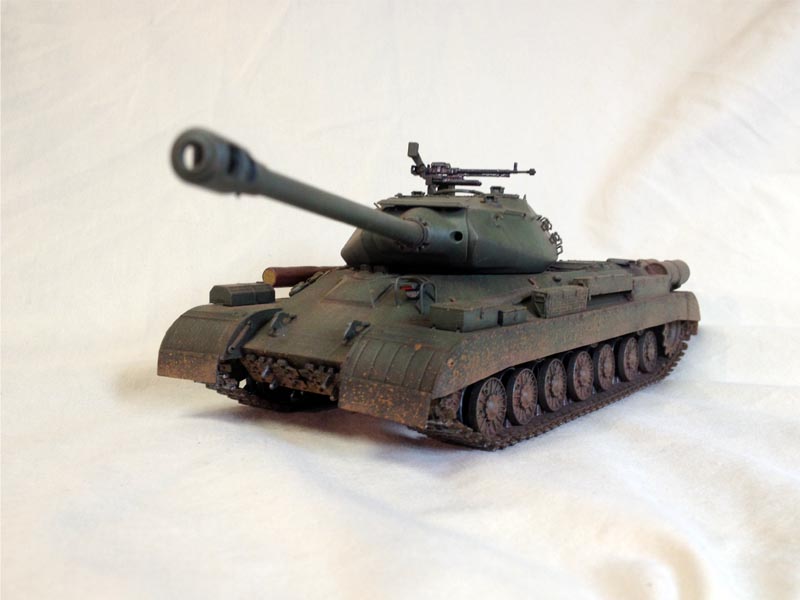
Trumpeter provides a metal barrel with the kit which is very nice, but the weight of the barrel means you may have to glue part E24 in place to keep the barrel up a bit, or find another way to add some friction here to prevent the barrel from drooping and making your model look like a knocked out tank.
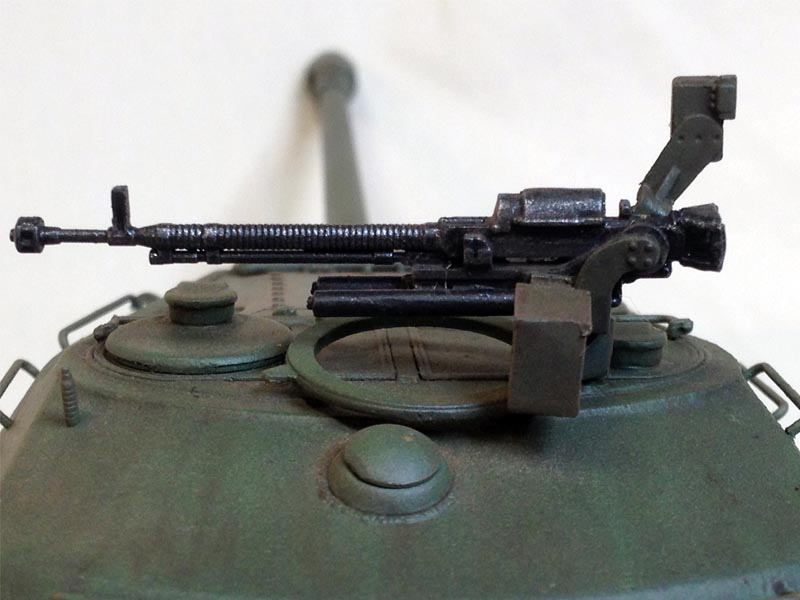
The DShK machine gun comes on its own small sprue and is nicely detailed, the only real problem I had was with drilling out the muzzle, it is very small and requires a very steady hand and sharp, fine drill bit, and I managed to break off the end of the barrel in the process, so proceed with caution!
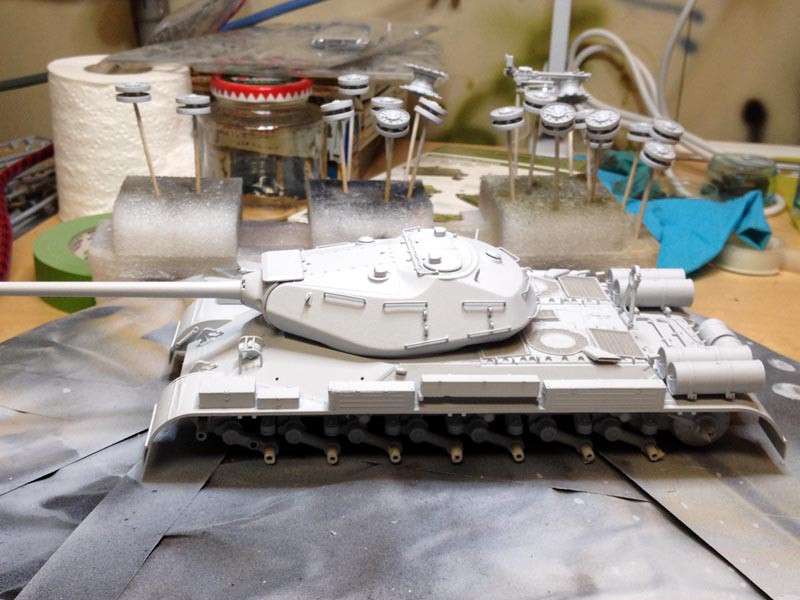
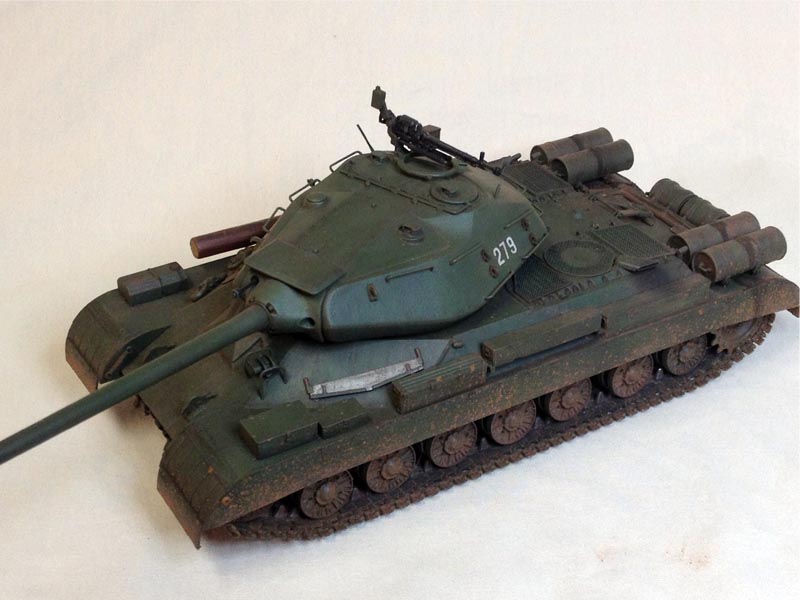
Painting
I primed the model with Vallejo Grey Surface Primer and the tracks with their Black surface Primer. After cleaning up what errors I could, this was followed up with Vallejo AFV Painting System Russian Green 4BO for the overall colour. This is a modulated painting method that uses five colours and a varnish:
- #609 Russian Green (Primer)
- #018 Camouflage Black Green
- #017 Russian Green
- #223 Green
- #255 Light Green
- #522 Satin Varnish
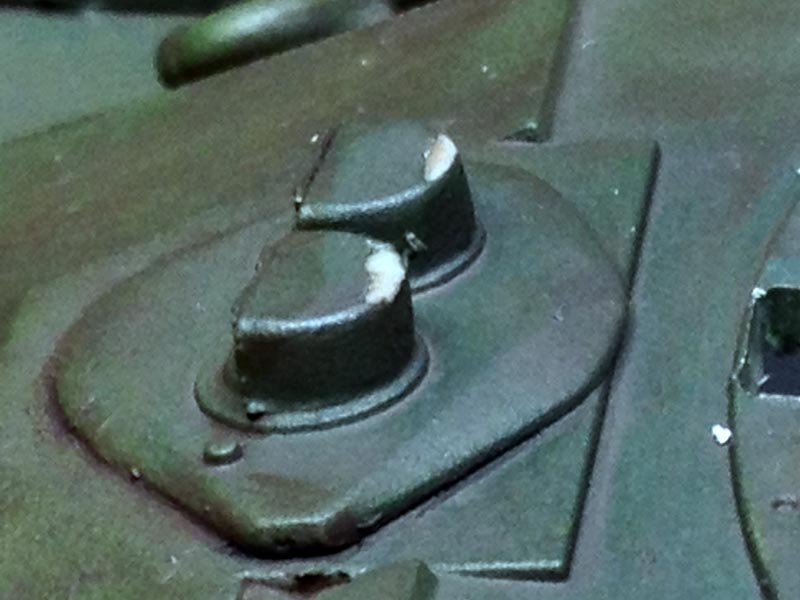
The expletive count rose dramatically during the painting as no matter how careful I tried to be, the grab handles on the turret breaking off with distressing frequency. This was followed up with a dot filter (my first try), various washes and pigments. Once all painted I did notice one small issue the bottom of the mantlet rubs against the top of the drivers periscope covers, taking the paint right off, so you may way to sand these down a bit for clearance.
The Verdict
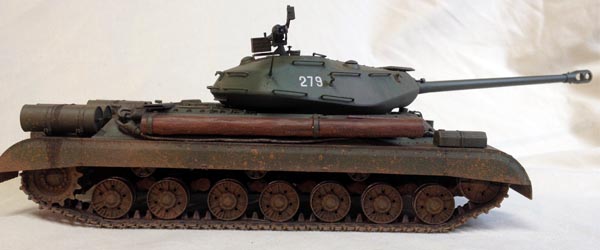
Overall I was quite impressed by
Trumpeters JS-4, both in the level of detail and the general detail provided. Not being a rivet counter I found it to be quite accurate compared to the available walkaround photos. As mentioned, sometimes the detail did seem to go beyond what is required or can be appreciated, and in some other areas it falls a little bit short, but nothing that some small modifications or the Voyager photoetch kit cant rectify.


Comments