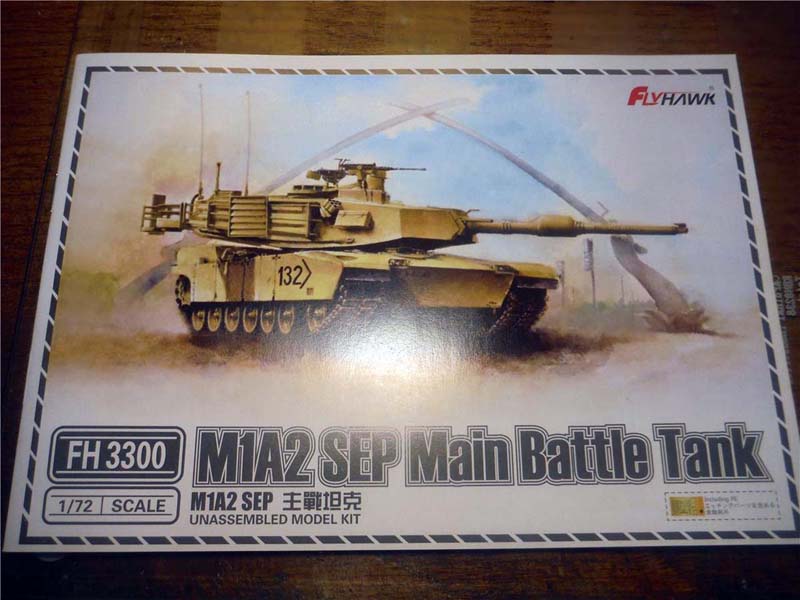
Lately we have seen several offerings of the US Abrams Main Battle Tank in 1/35th scale. Well, the 1/72nd scale world hasn't been left out. For a while, the only offerings of the Abrams in 1/72nd was from Revell of Germany, Dragon, and Trumpeter. With these kits, we had to deal with soft or missing details, over scaled parts, and hatches that were molded closed. These were just a few of these kits short comings. Small new companies have stepped out on a limb to give us fresh new kits. These kits included multi-media and slide molded parts. Options to build several versions in one box are also included. Flyhawk Models is one of these companies that has just released a great little kit of the US Army's M1A2 SEP Main Battle Tank.
Contents
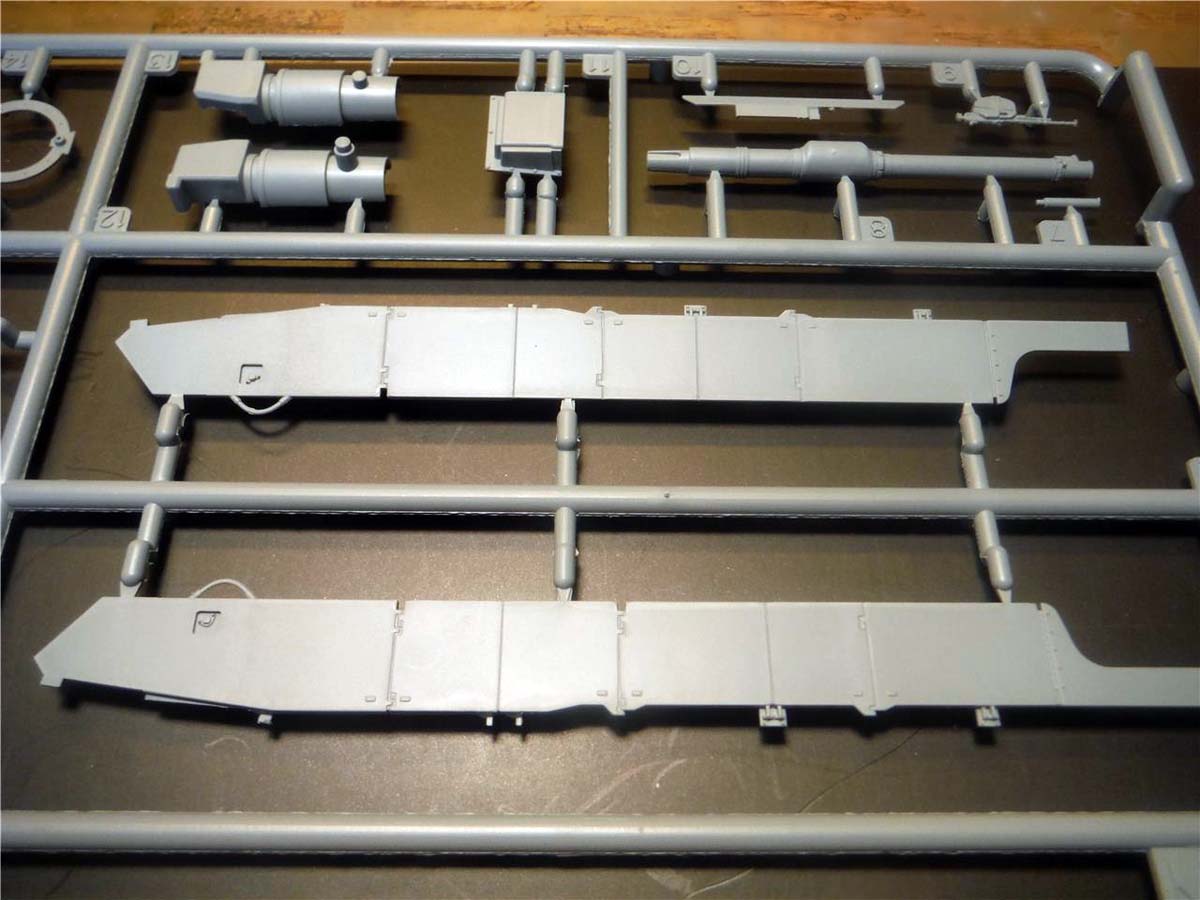
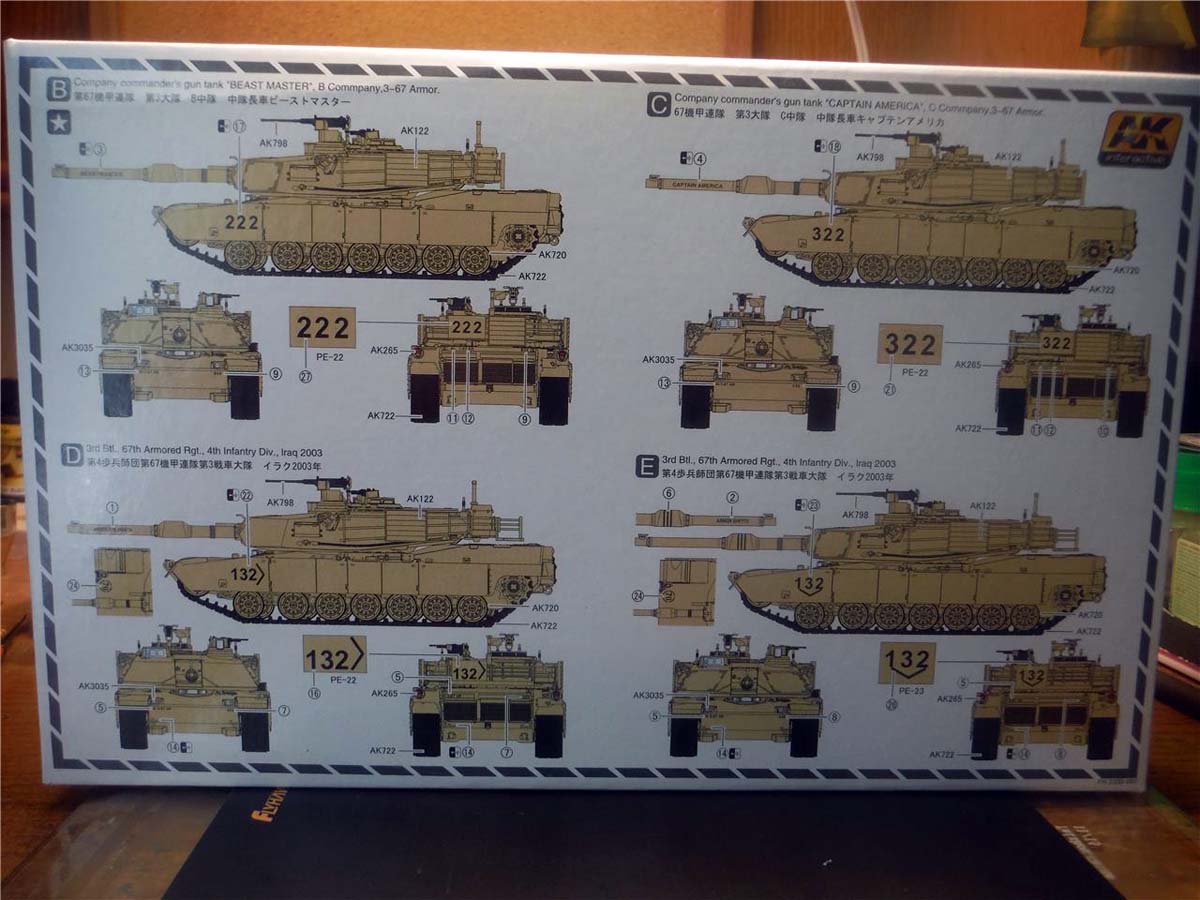
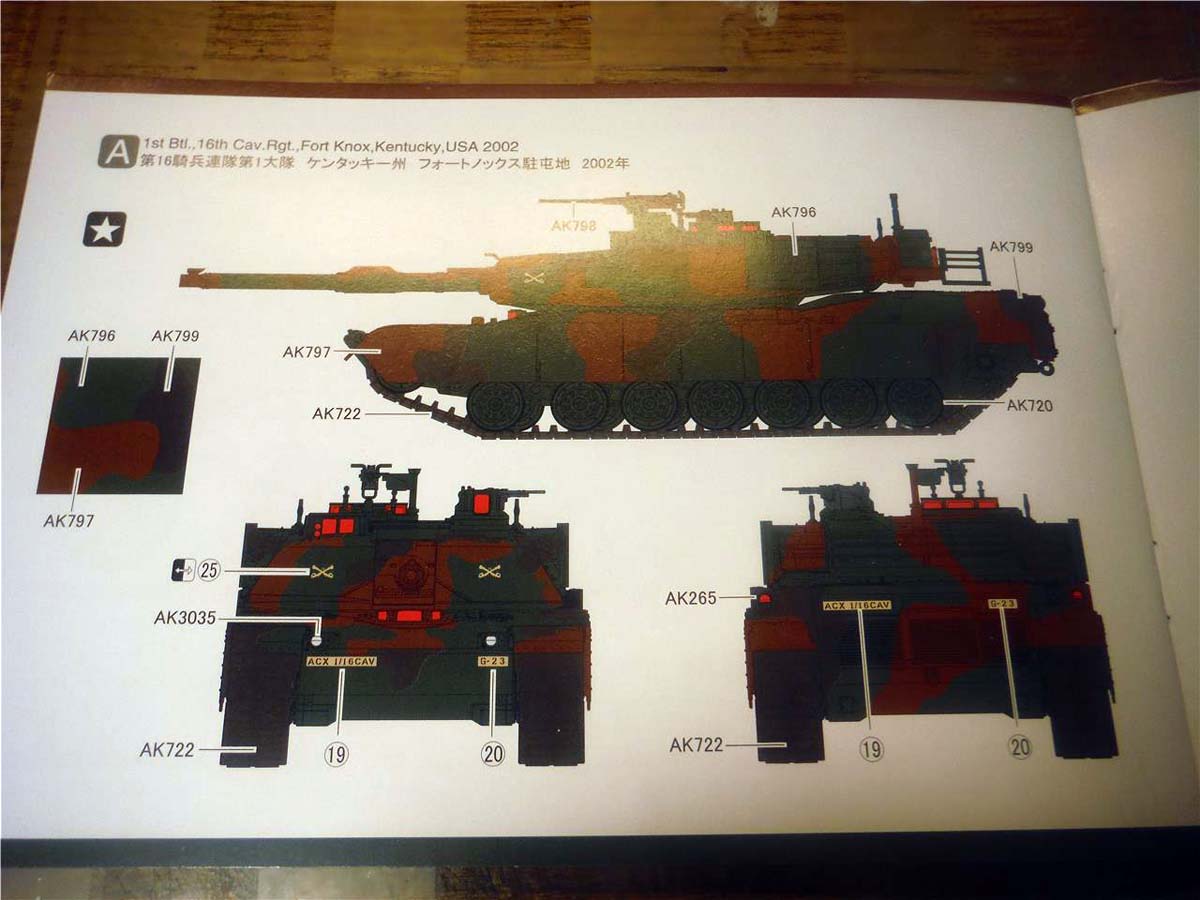
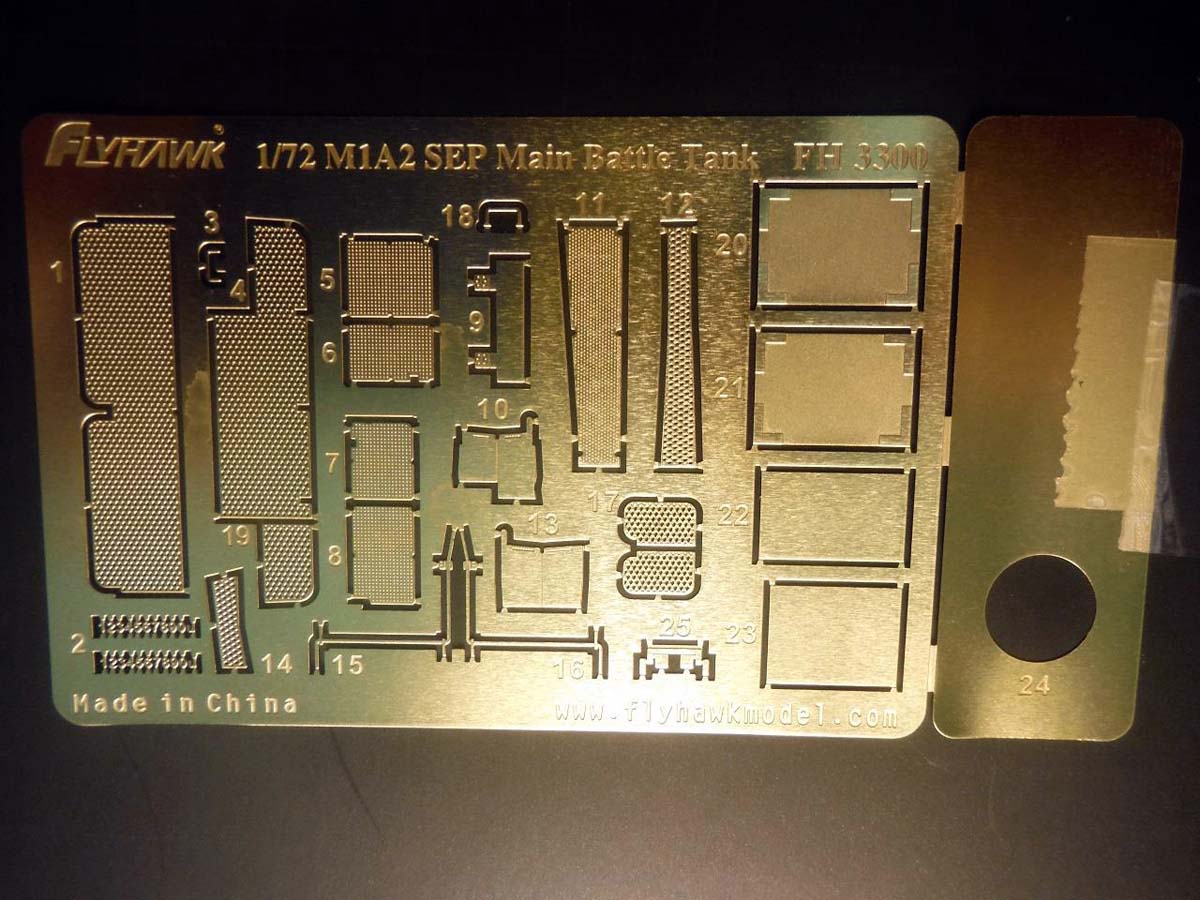
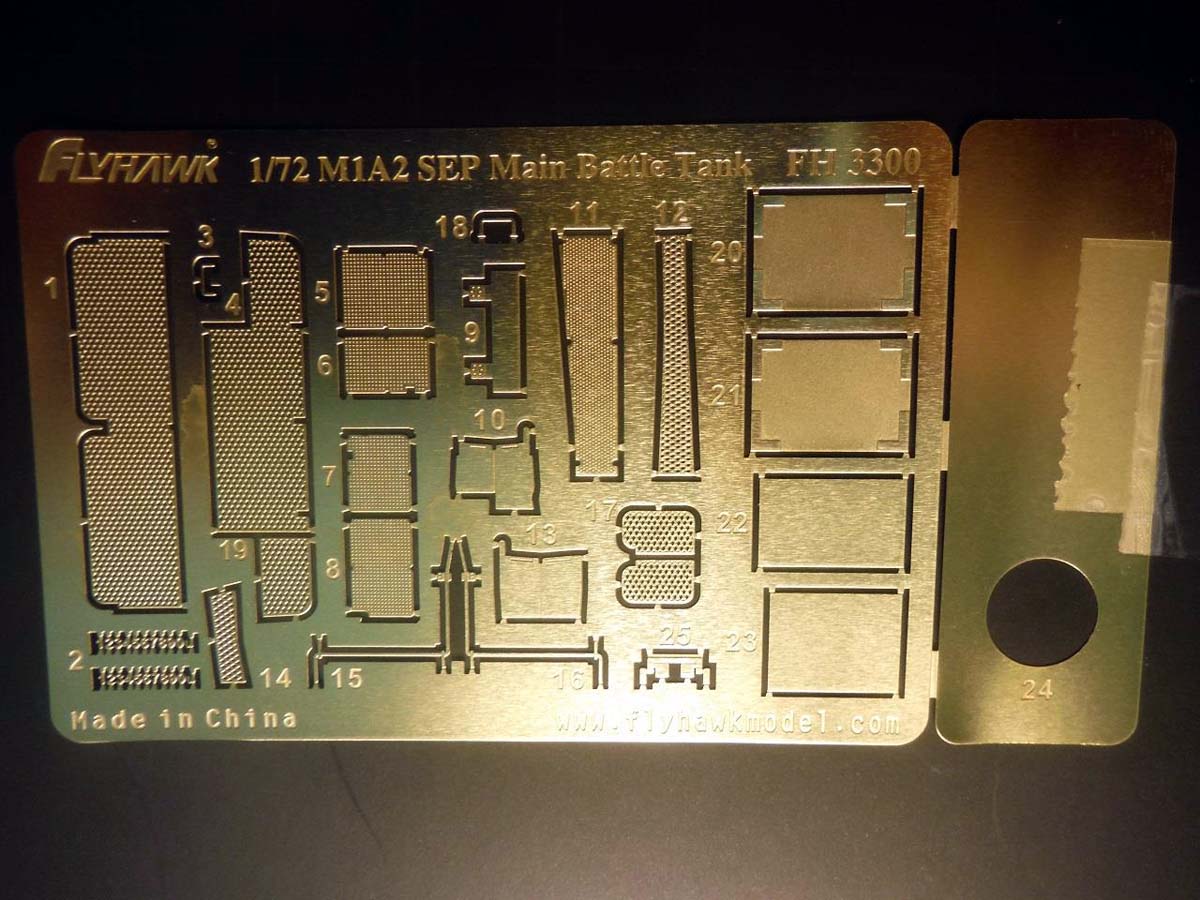
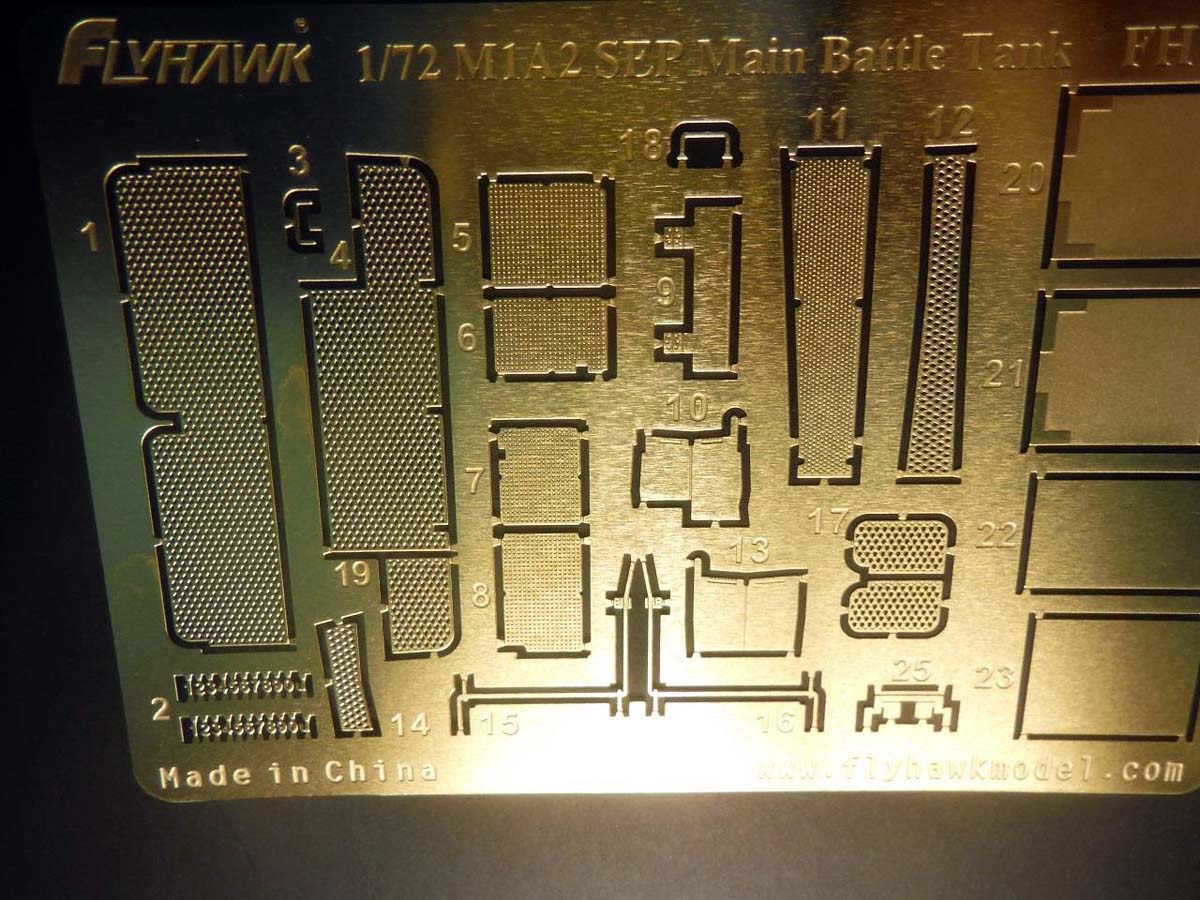
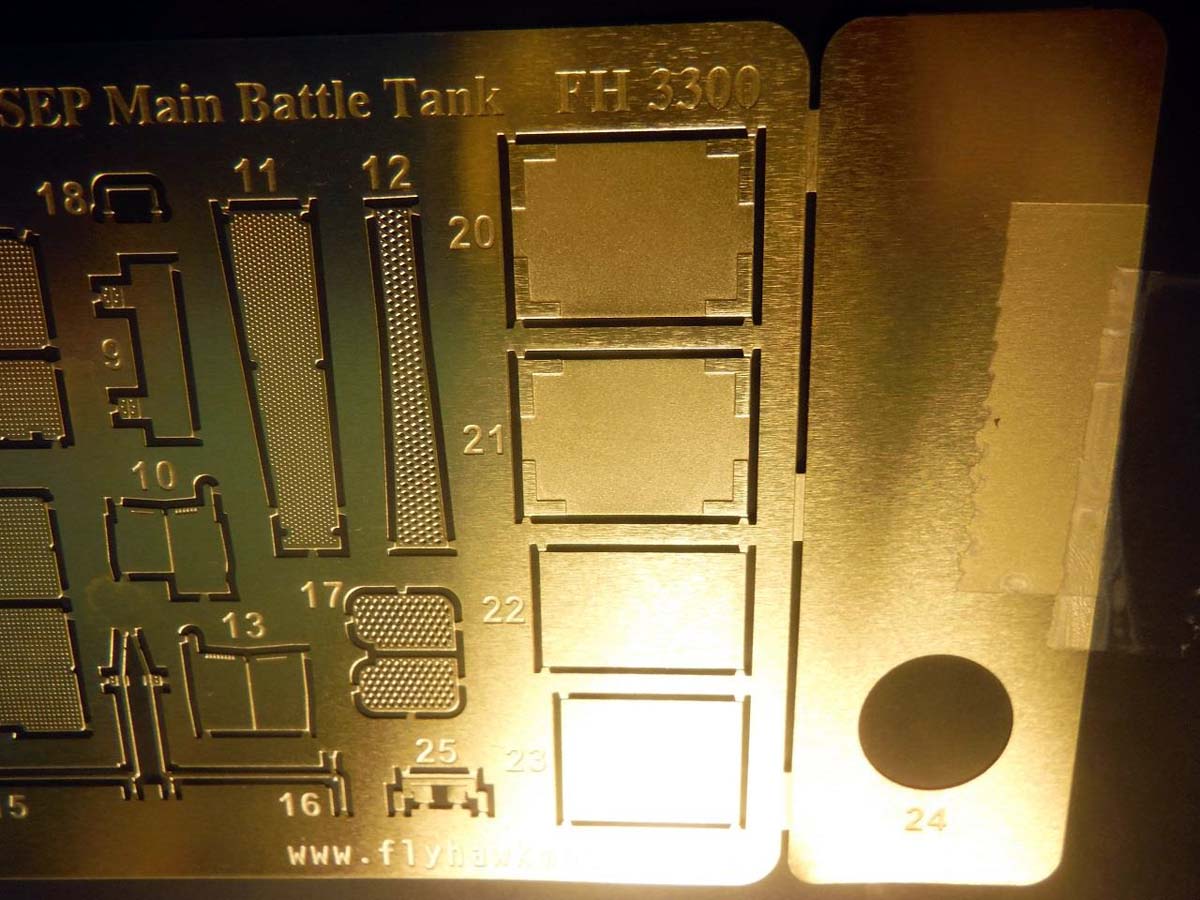
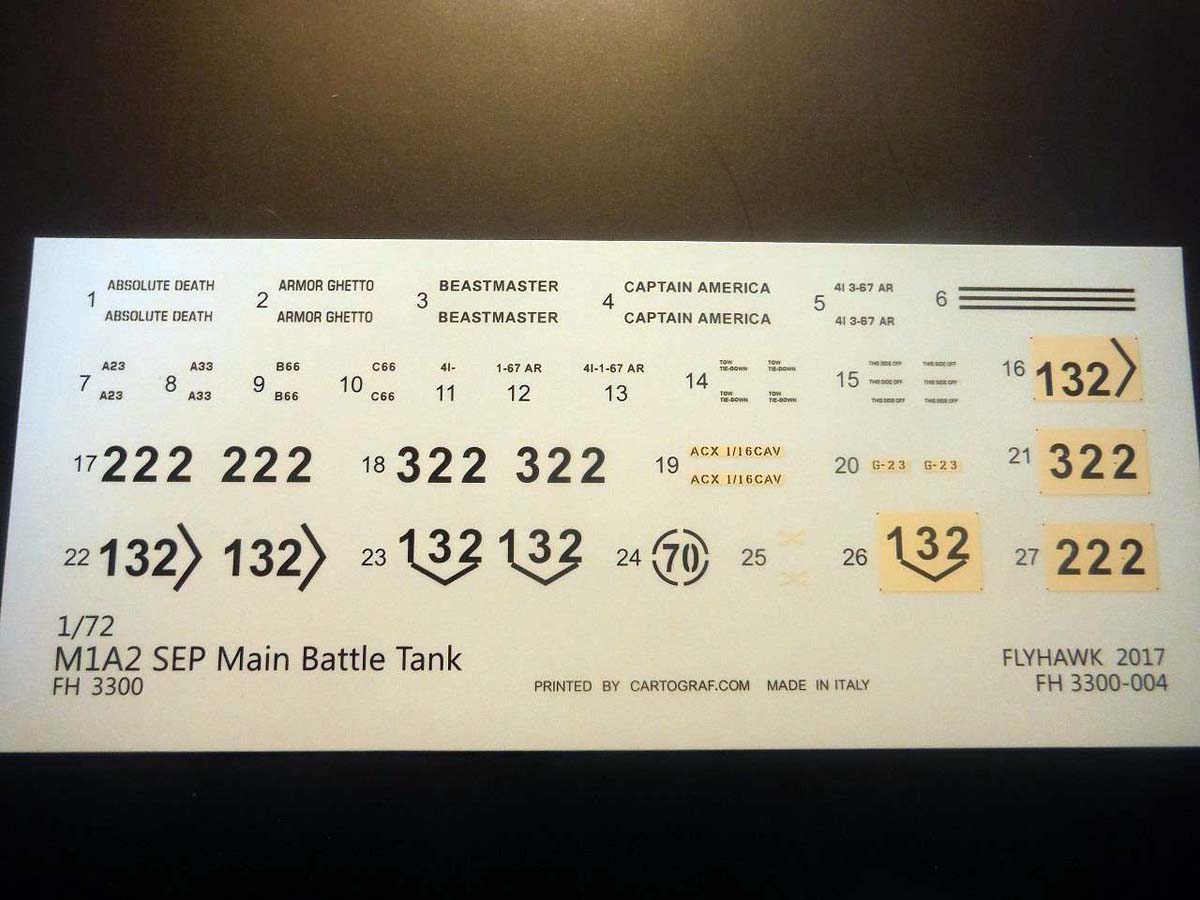
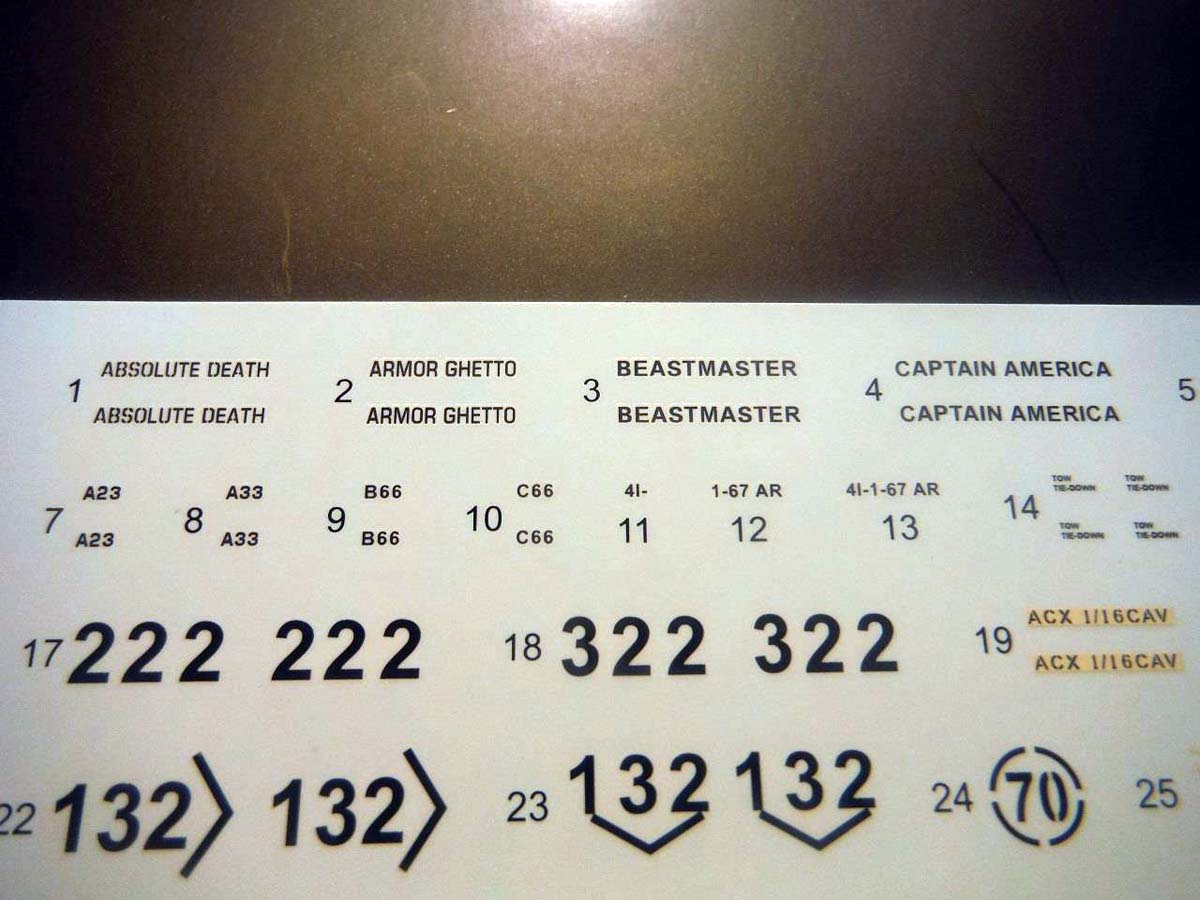
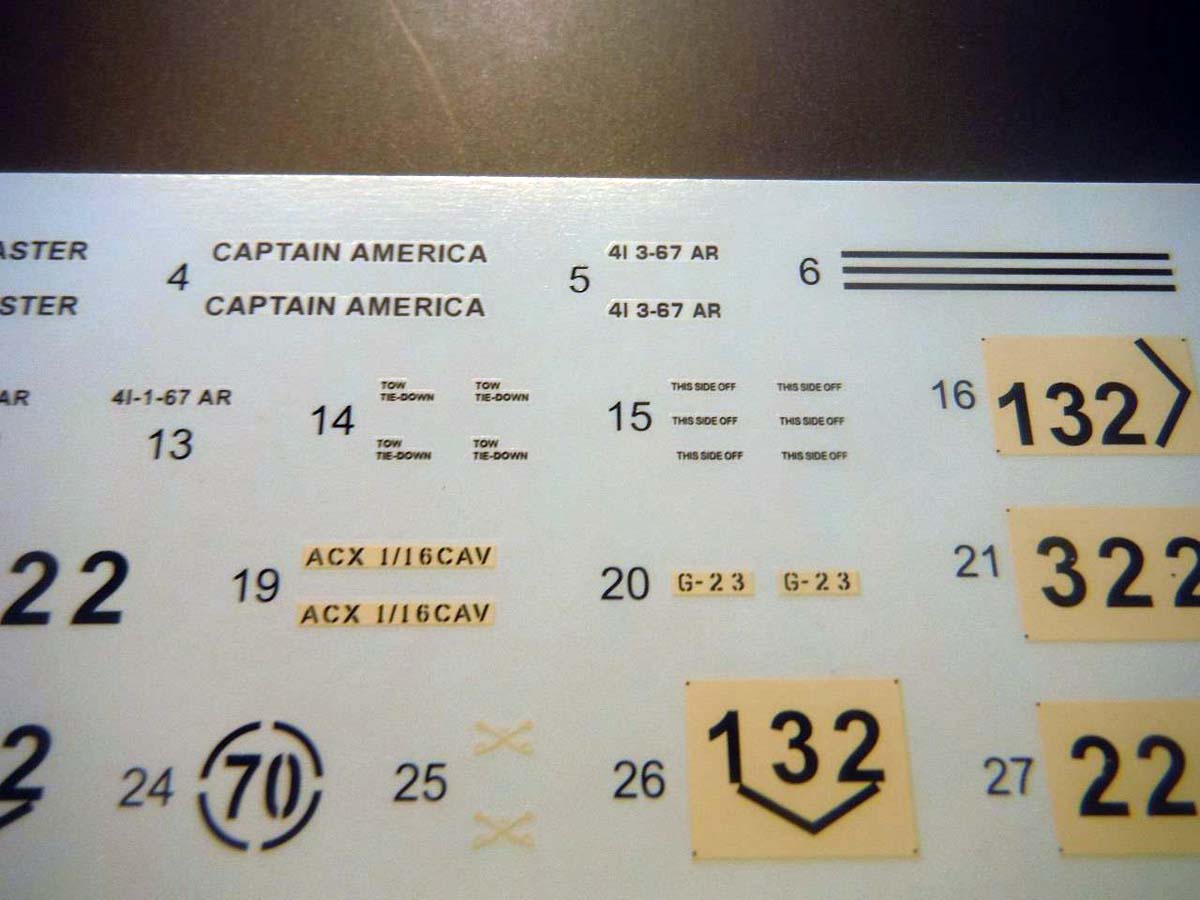
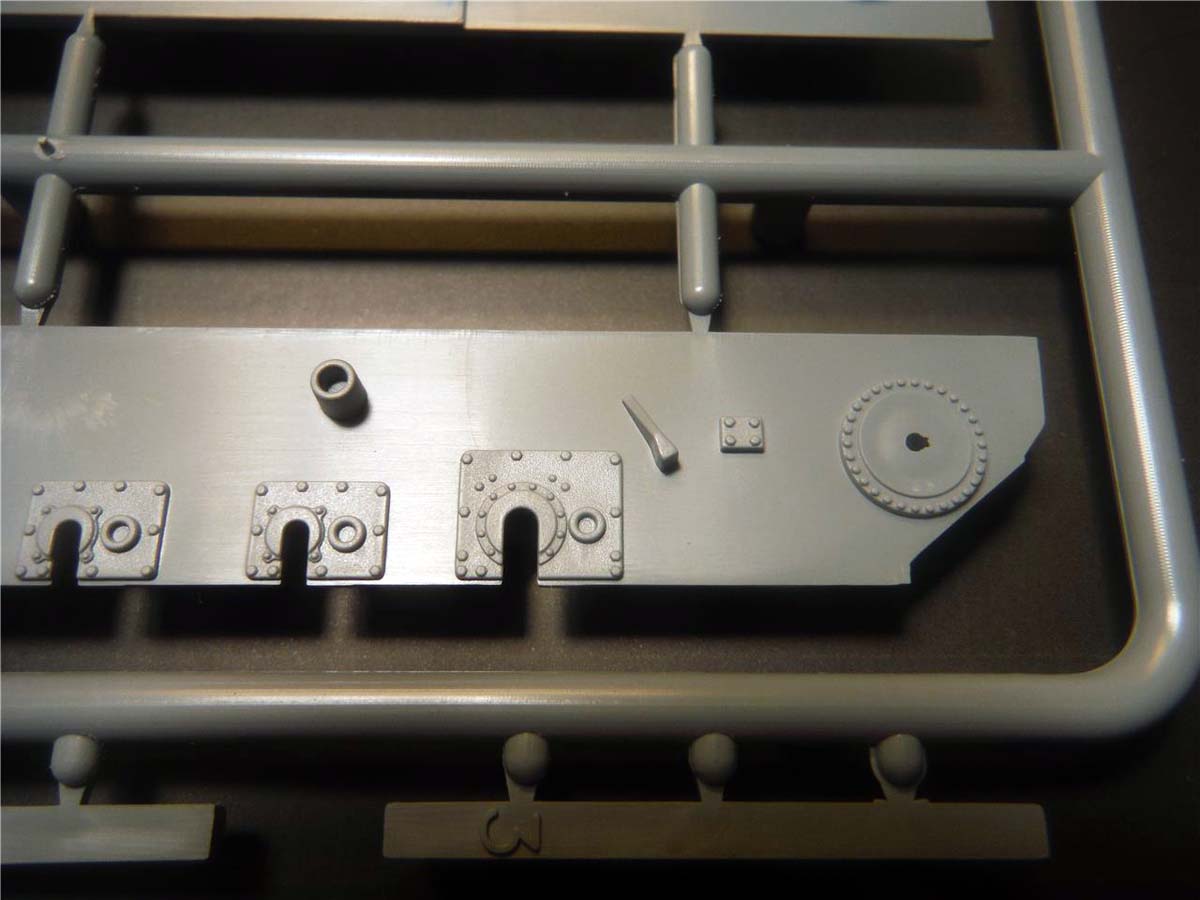
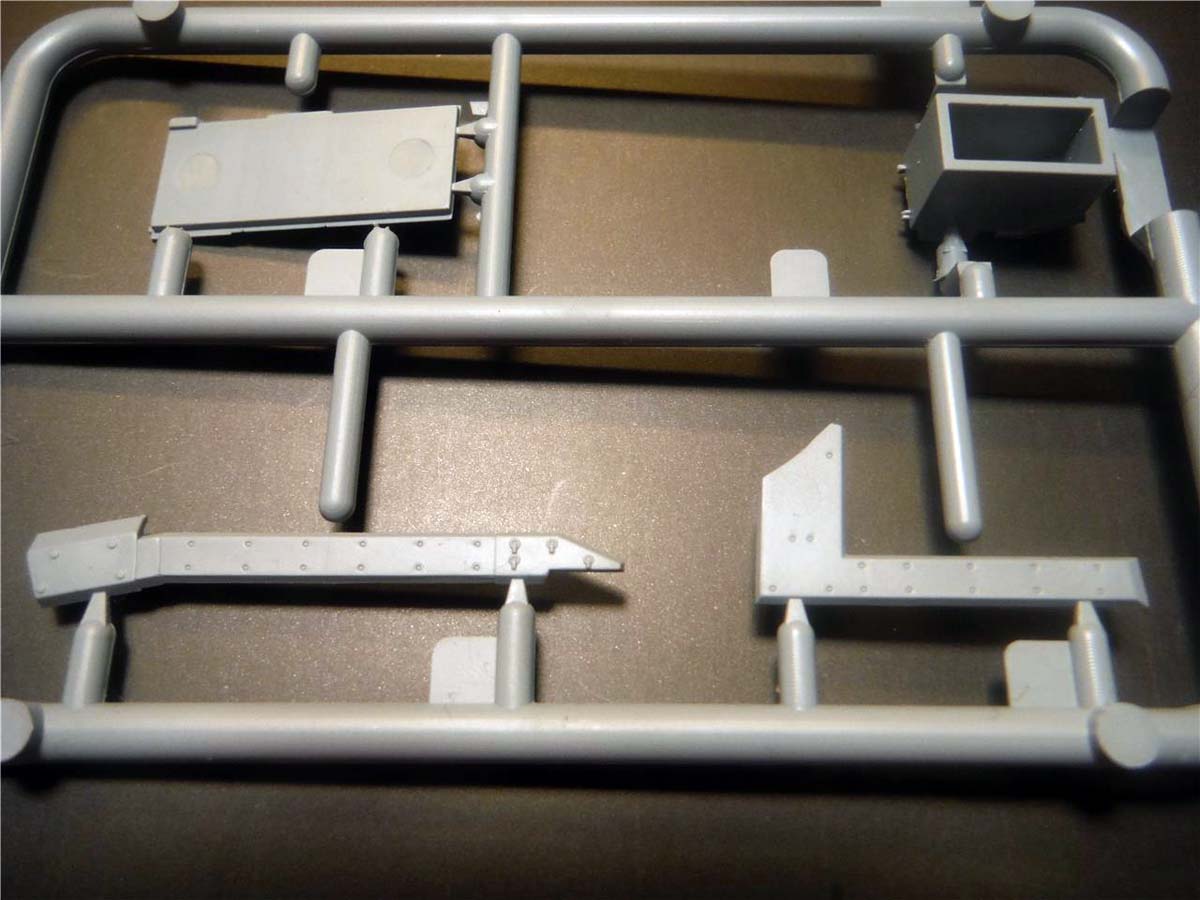
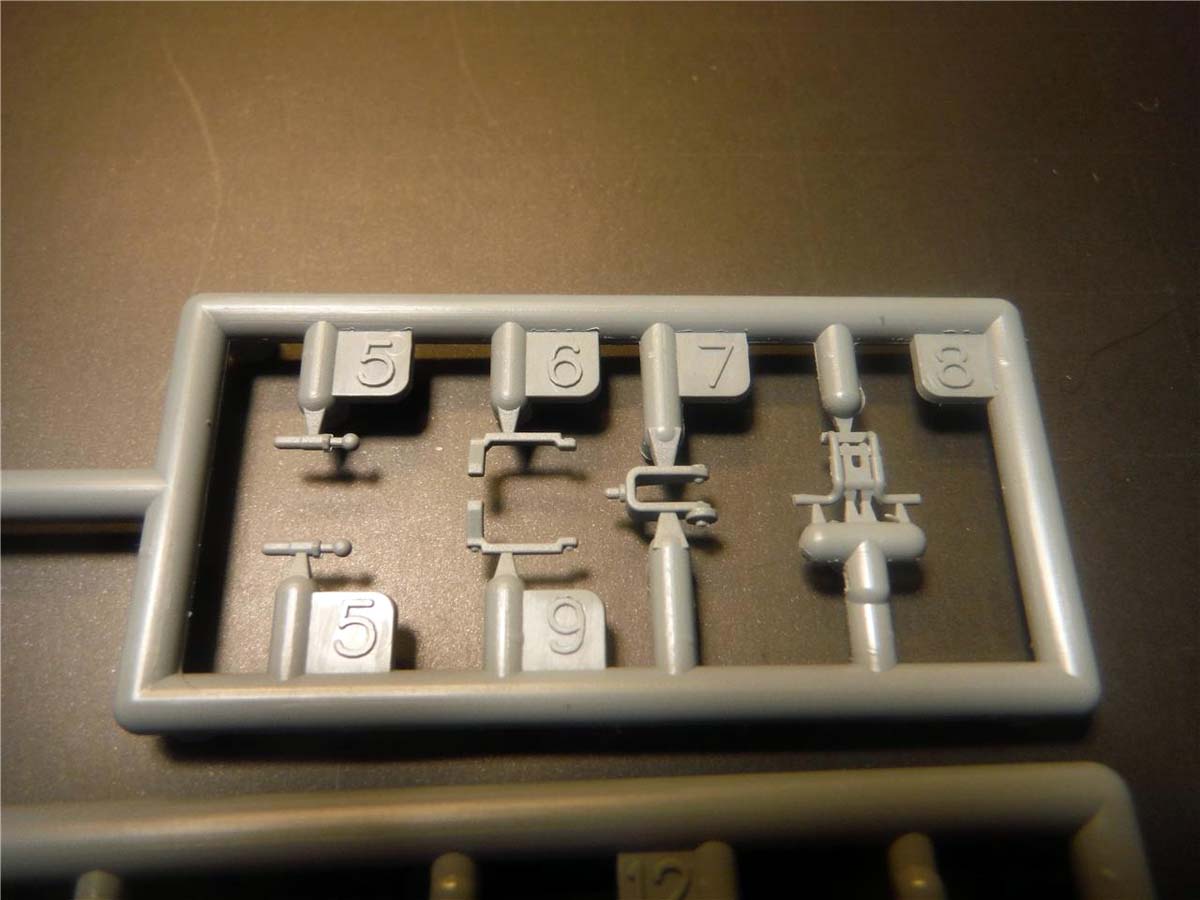
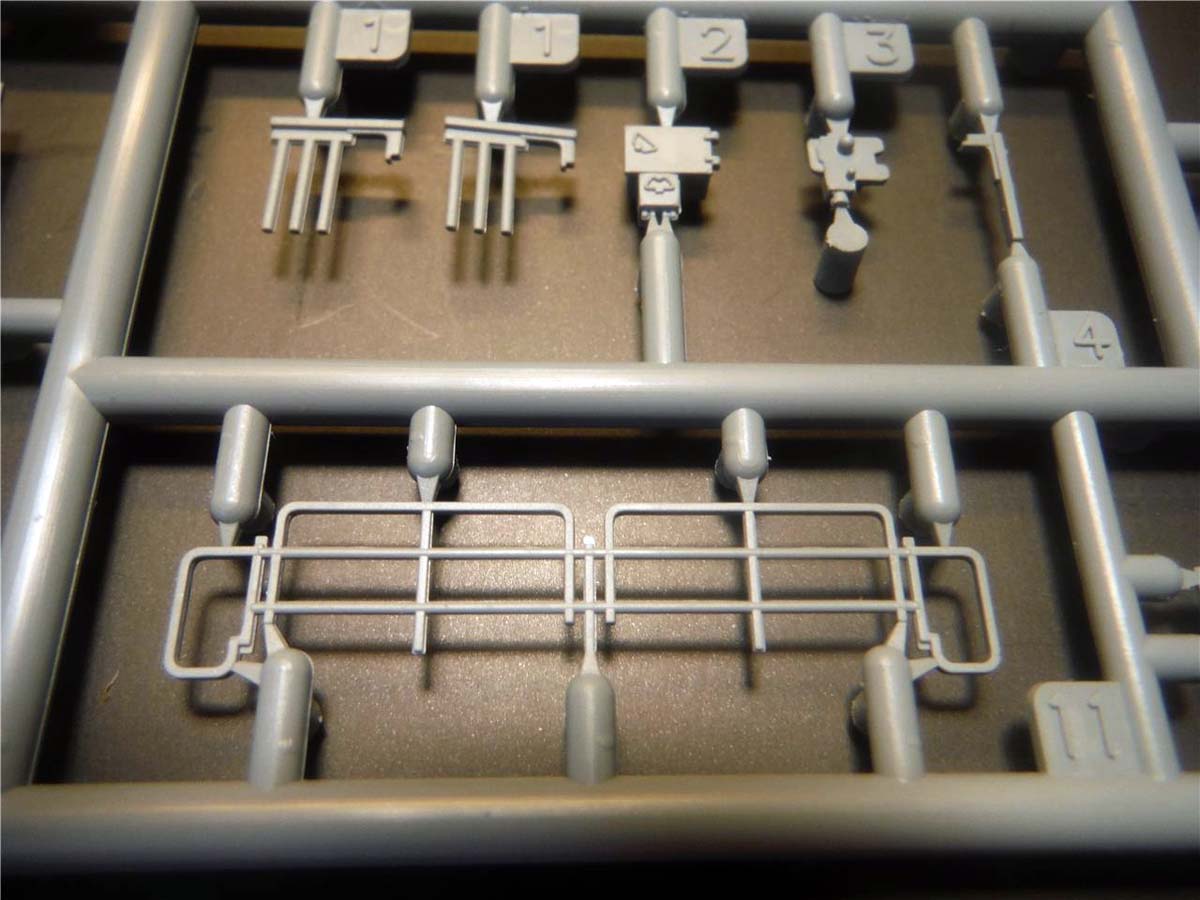
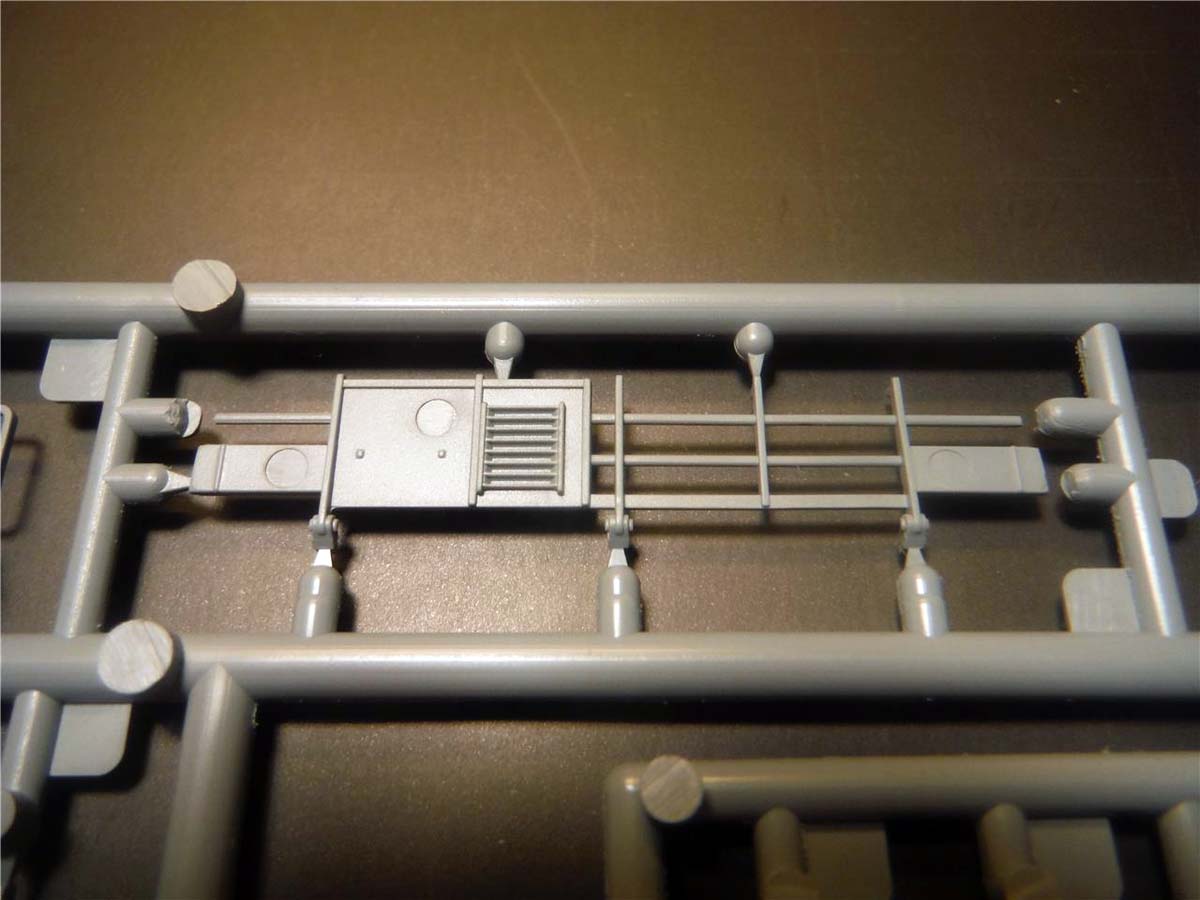
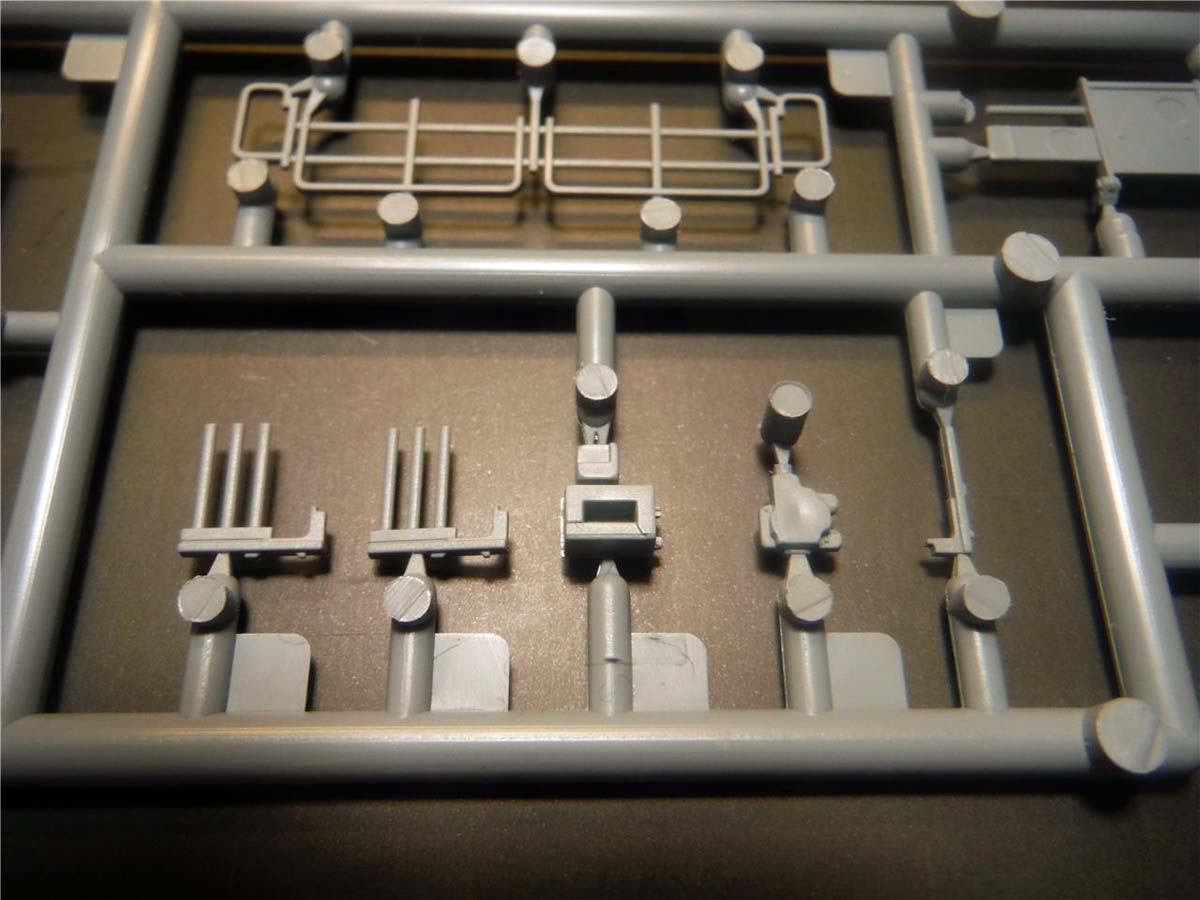
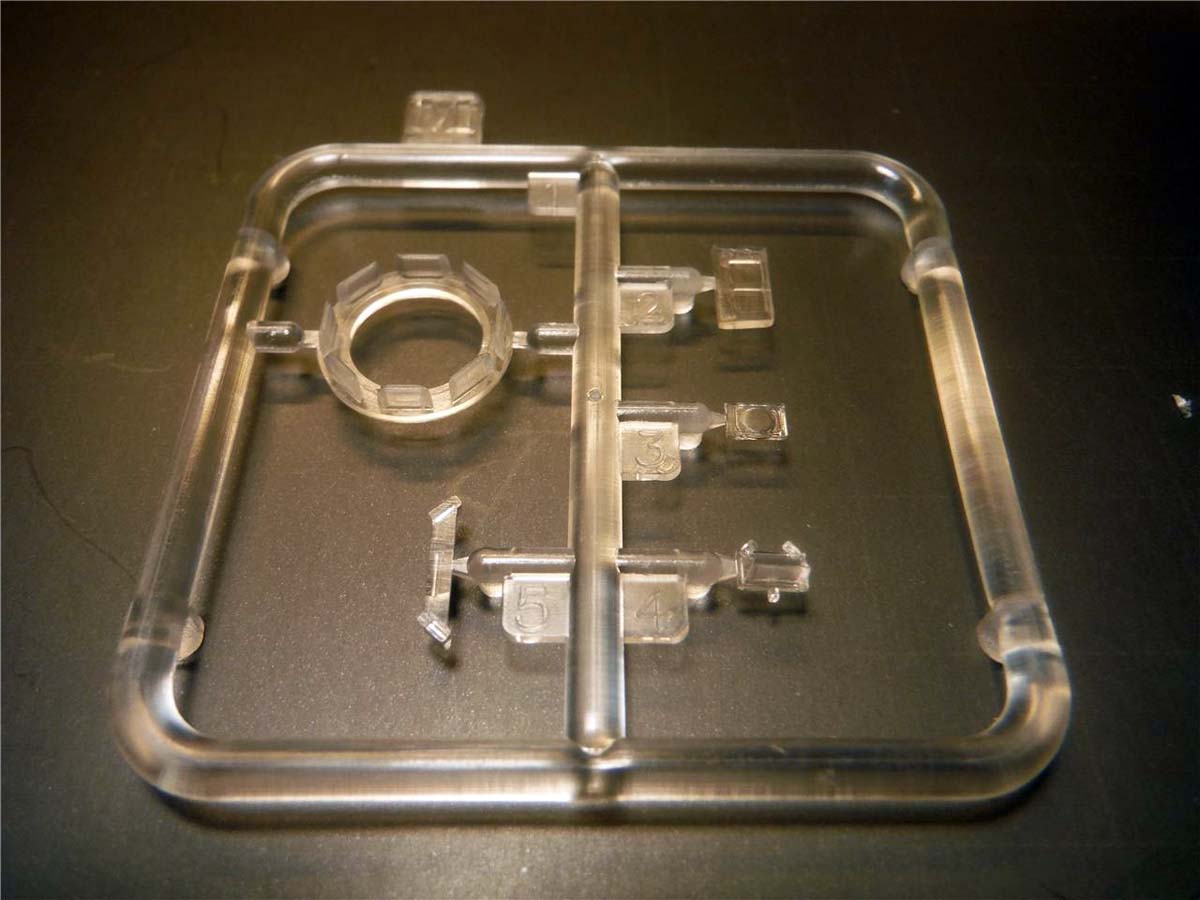
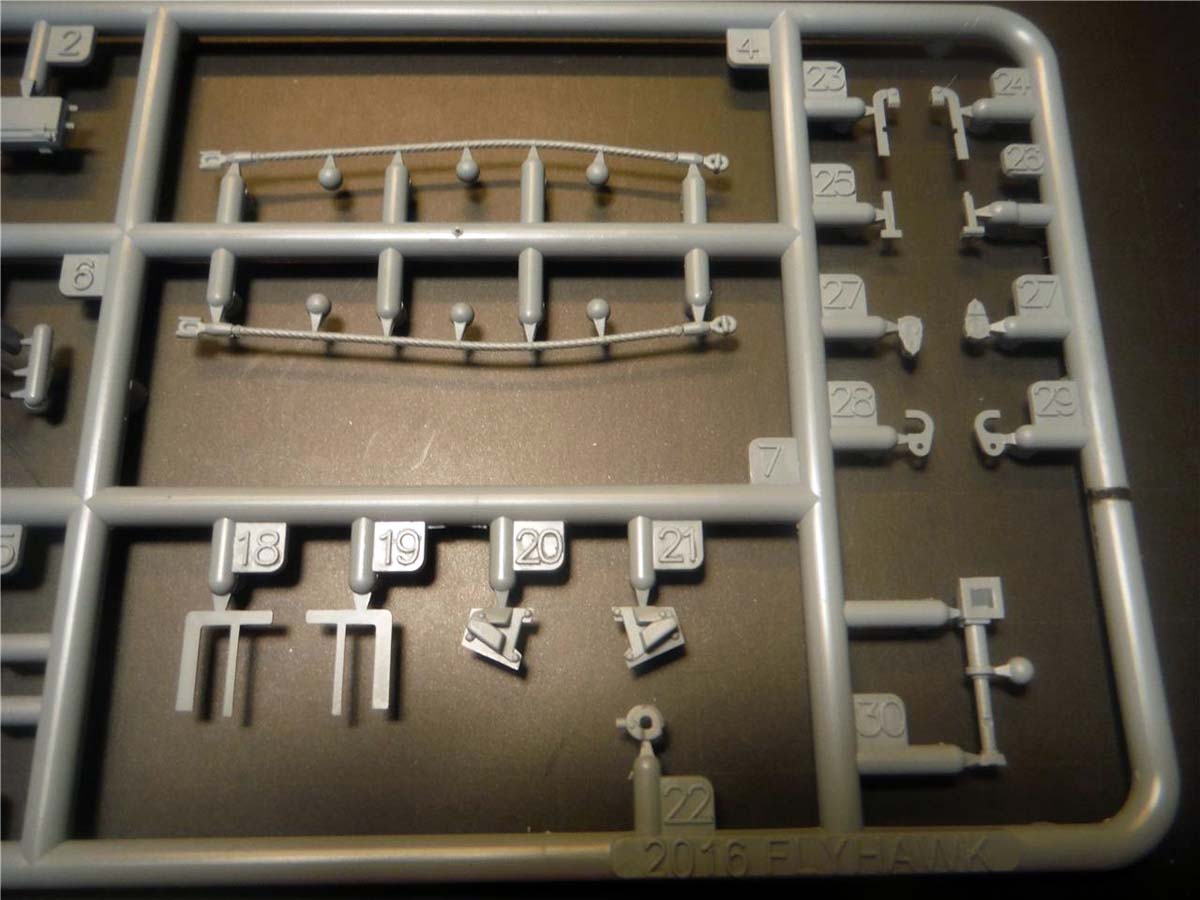
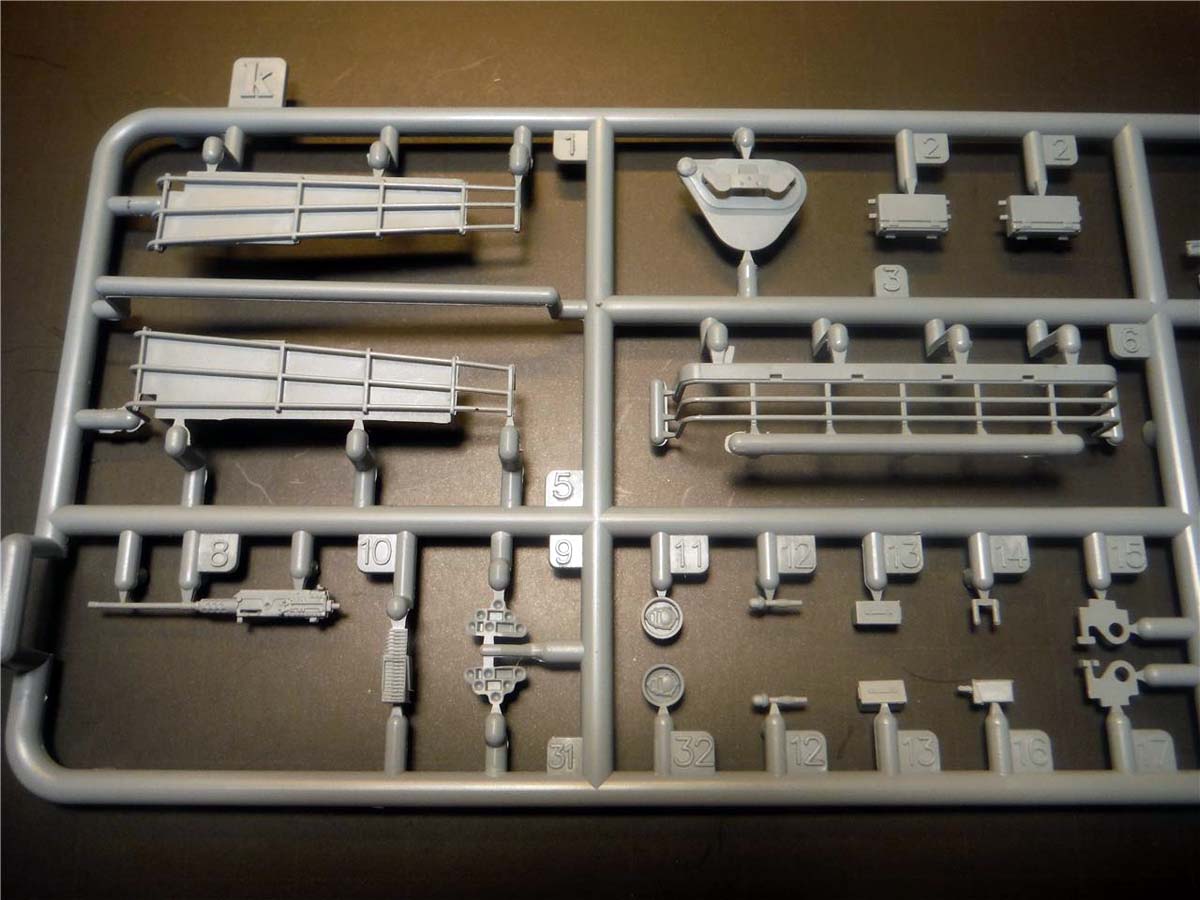
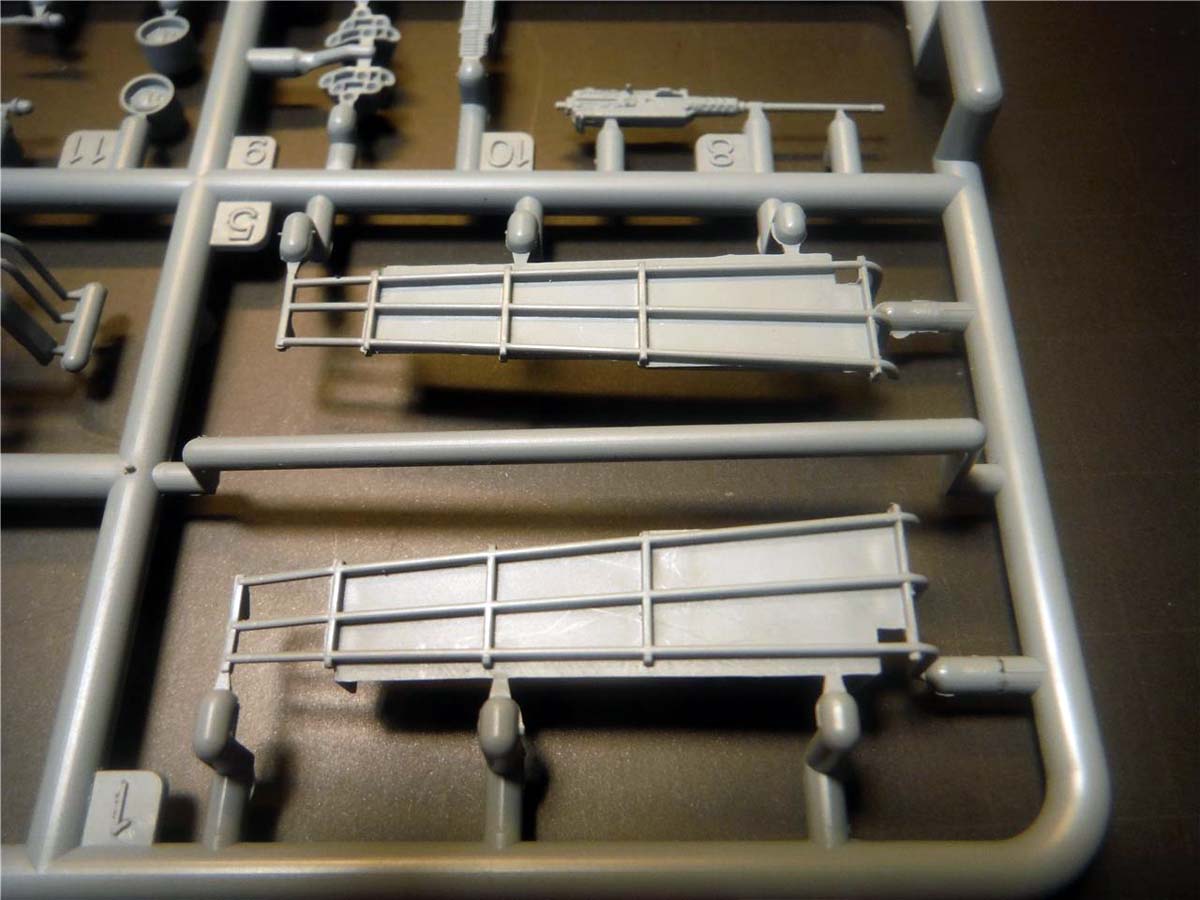
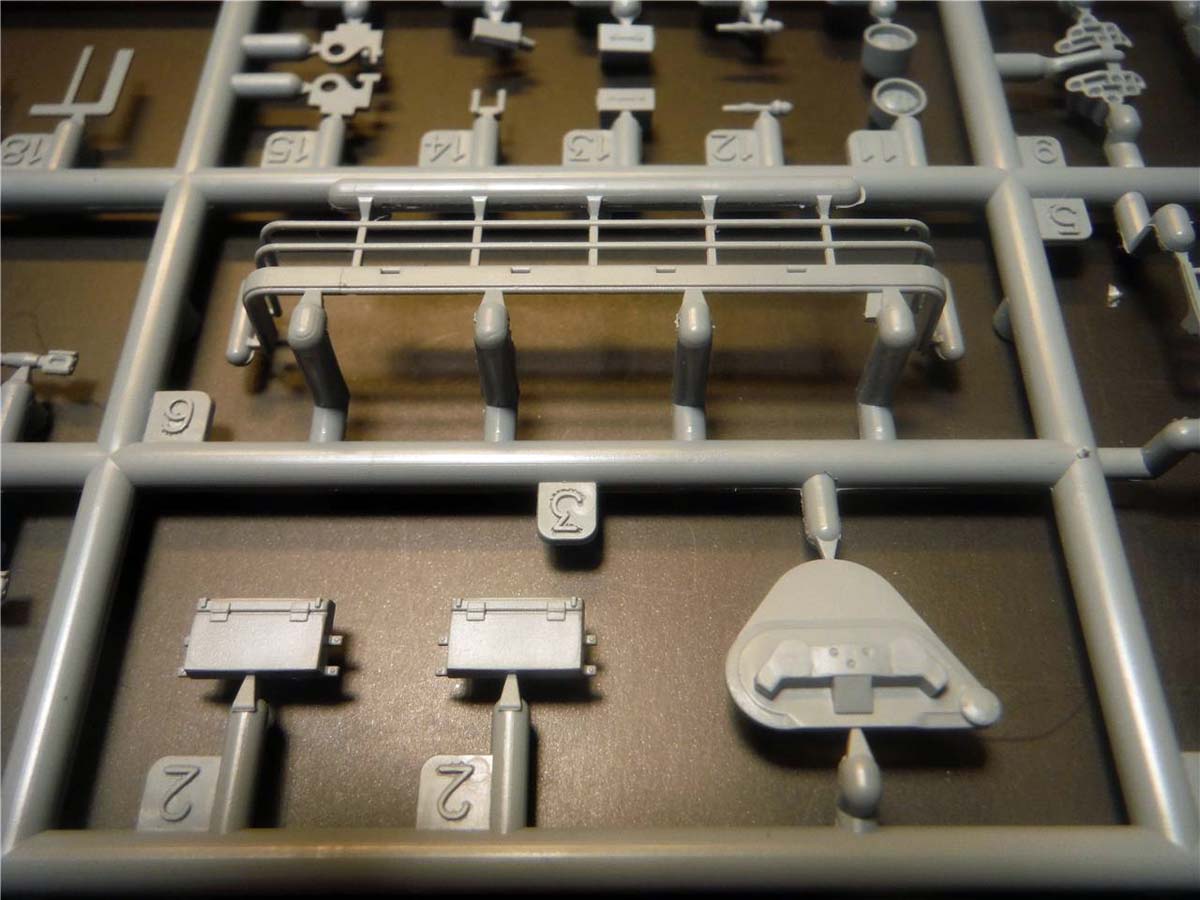
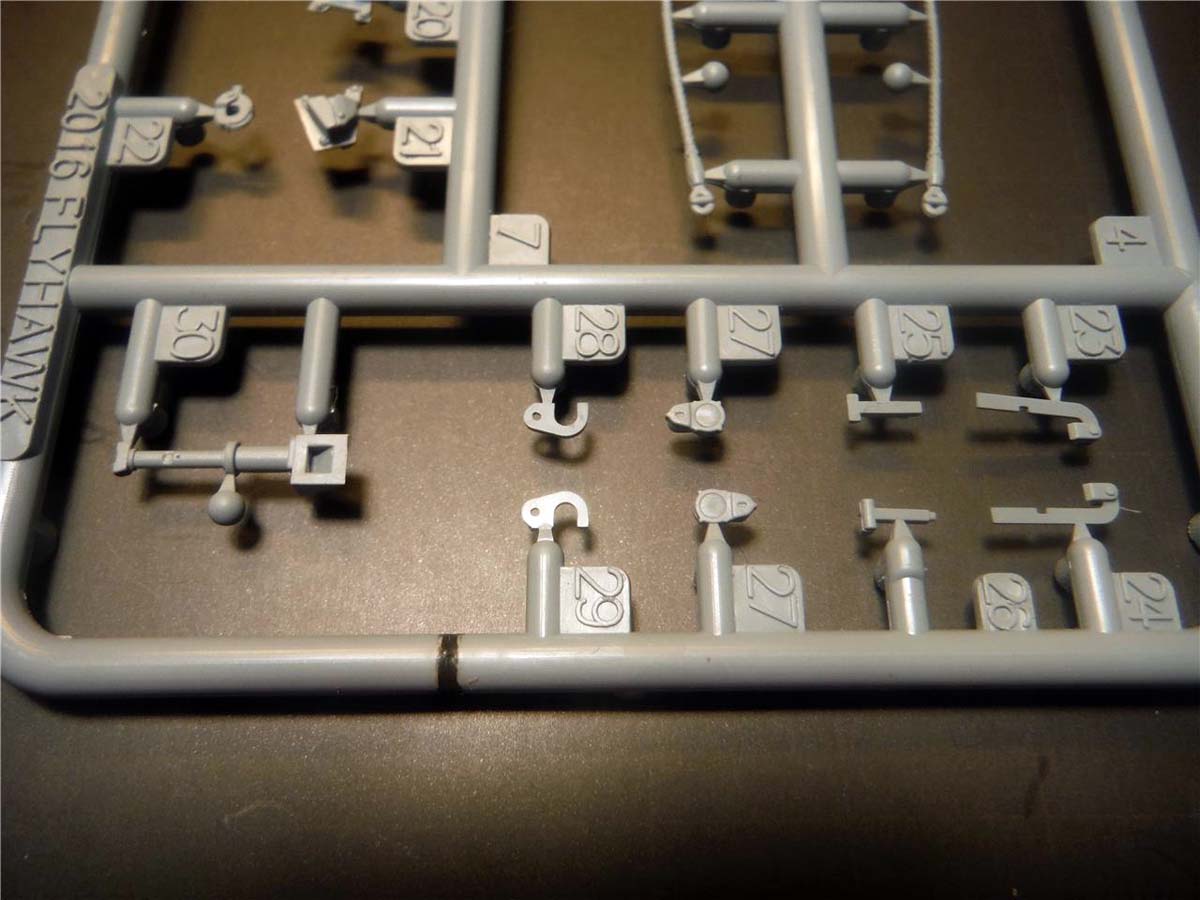
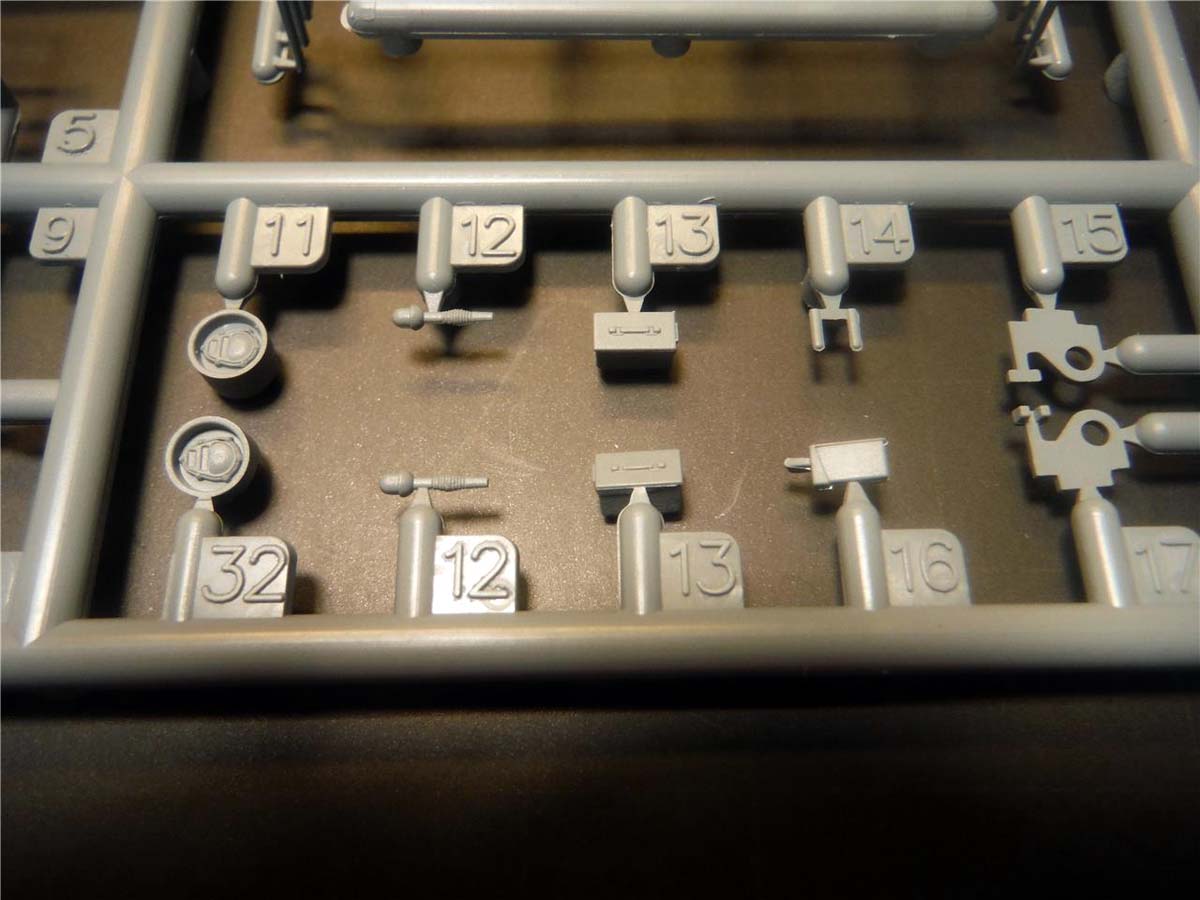
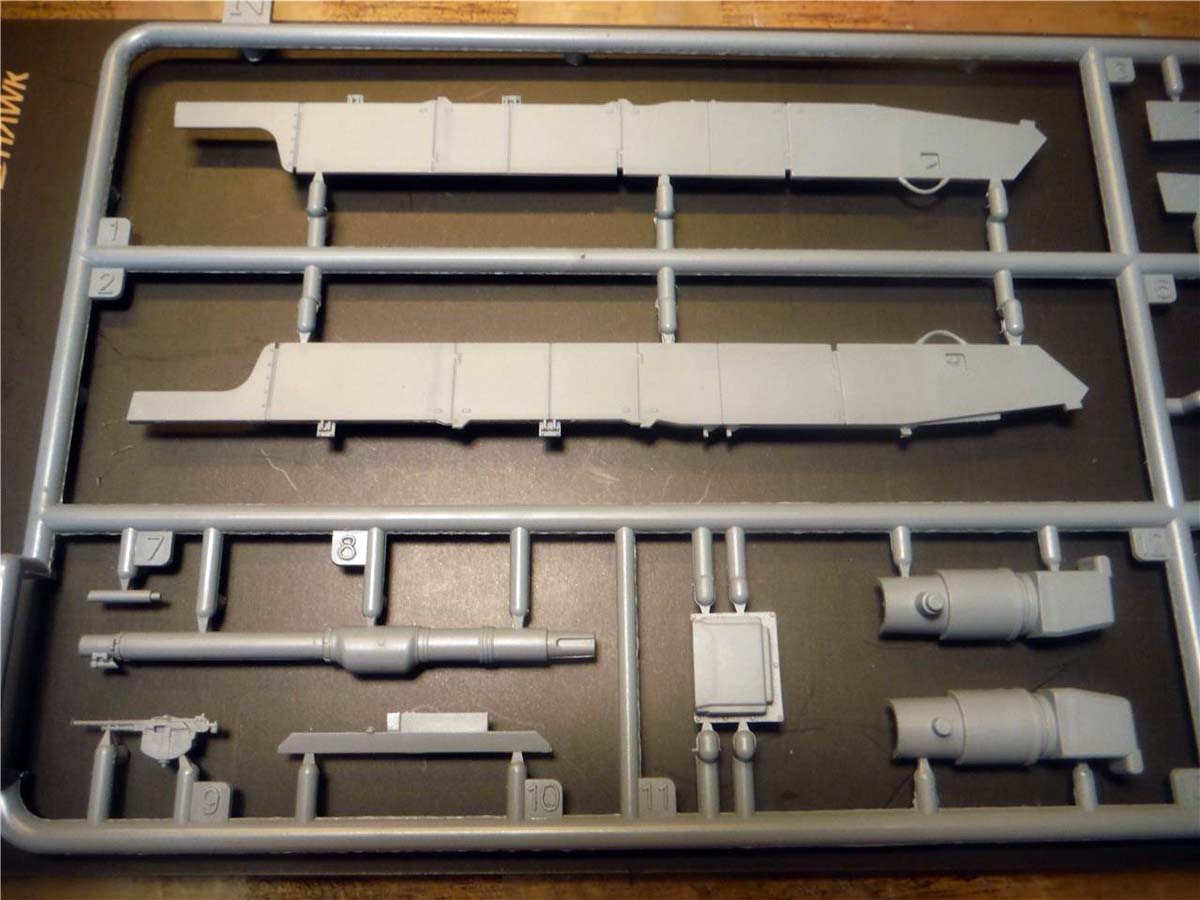
Multimedia kits seem to be the norm now and this kit is no exception. Plastic along with photo etch is included. When I opened the box, I noticed that the parts where packaged nicely and parts/sprues where held together with small black rubber bands. The photo etch was taped to a nice stiff black advertisement card, which I used during the build to work on since I could see the part and photo etch better. A template for the road wheels is included with the photo etch. A total of 8 sprues molded in gray plastic are in the box one of which was the clear parts. Two B sprues and one C sprue were all together. Upper and lower hull and turret and two pre-molded tracks which consist of two parts each are in the box also. Be careful, because the gun mantlet is loose in one of the bags (I almost lost it). Five vehicle options are provided on the Cartograf decal sheet. Four tan vehicles and one NATO camo vehicle is included on the sheet. The instruction booklet is very well laid out and I found no mistakes with the part numbering during the build. Color coding the parts in the instructions was a nice touch. AK Interactive paints are listed at the end of the instruction booklet with the color guide on the 2nd to last page and the desert sand color and decal guide on the back of the box.
The Build
Total build time took 5 days with one of those day doing the actual build and the others on painting and adding the crew and gear. Upon inspecting all the parts, I found little to no flash. Light seems needed to be sanded such as the one on the main gun barrel.
STEP 1
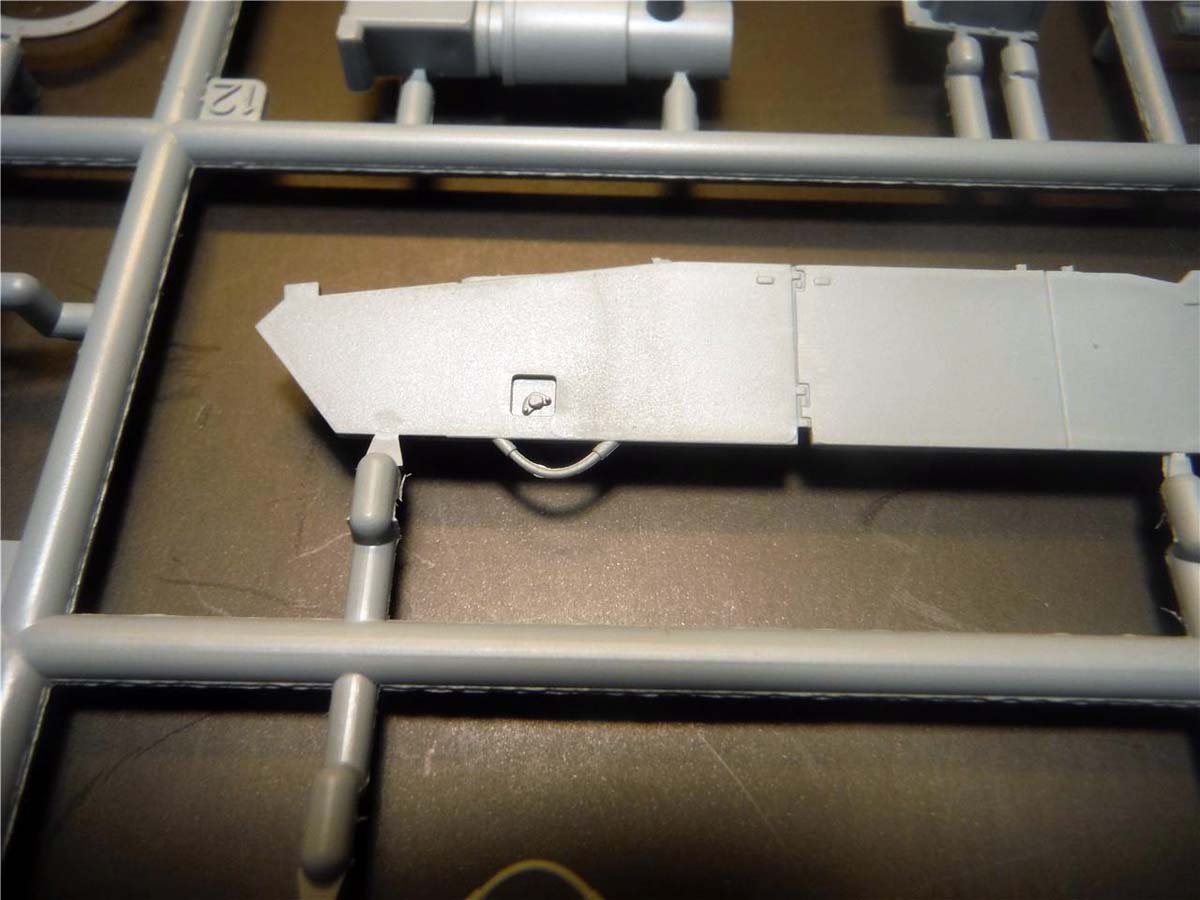
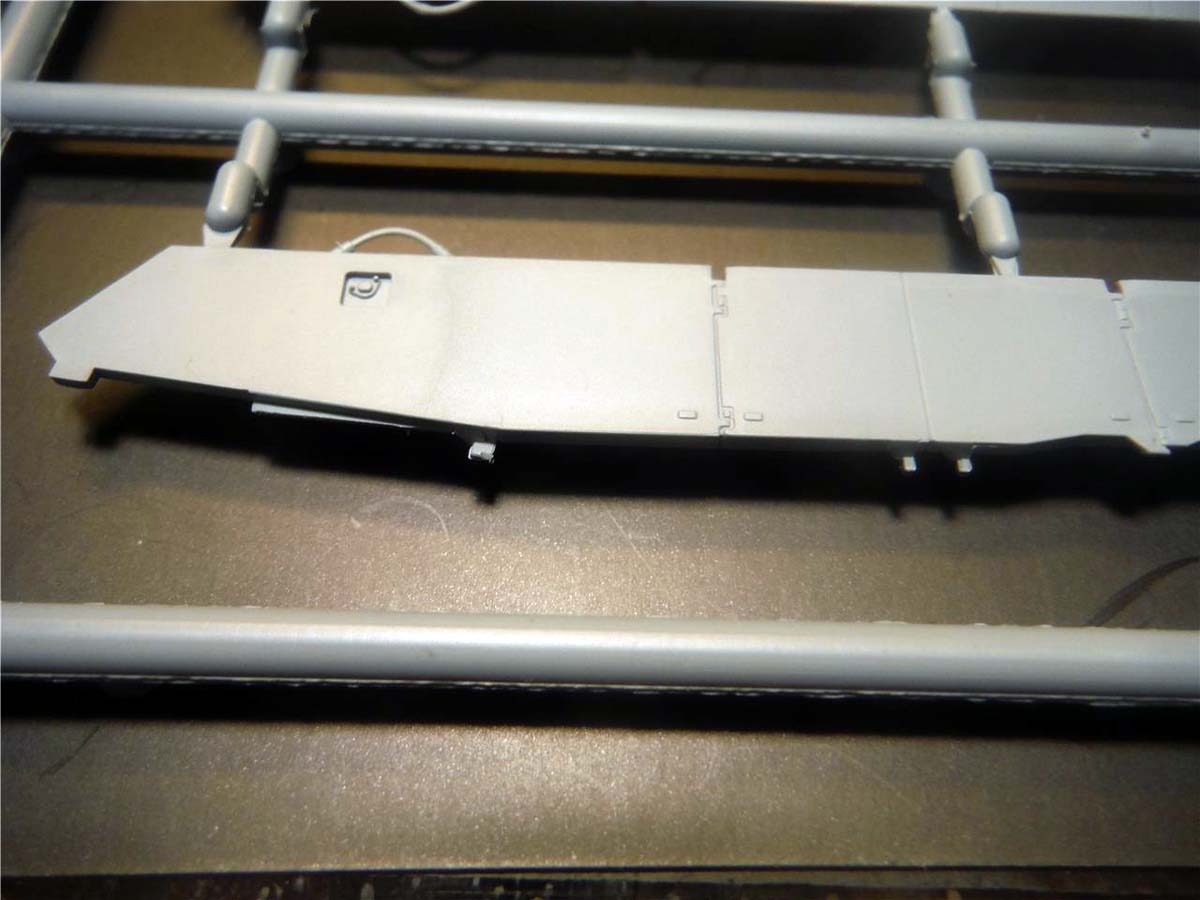
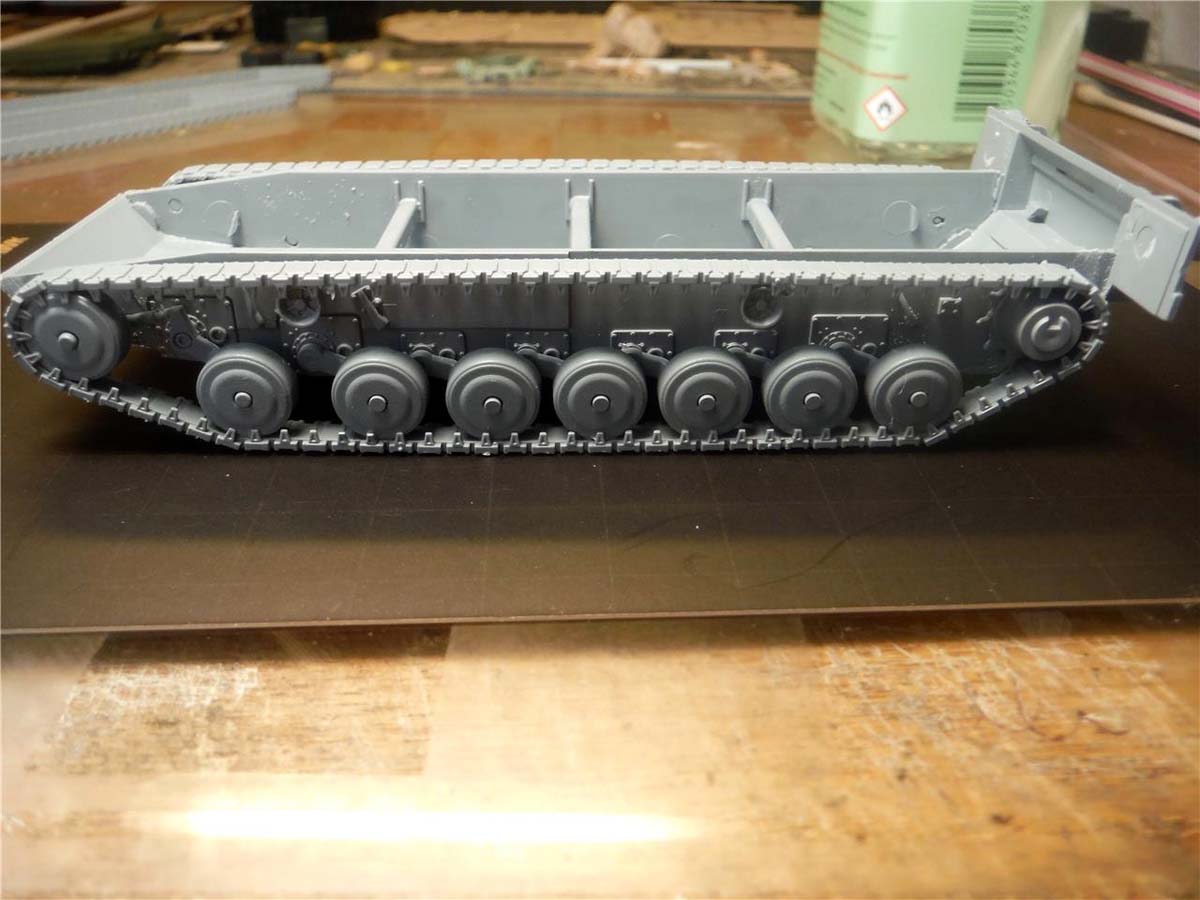
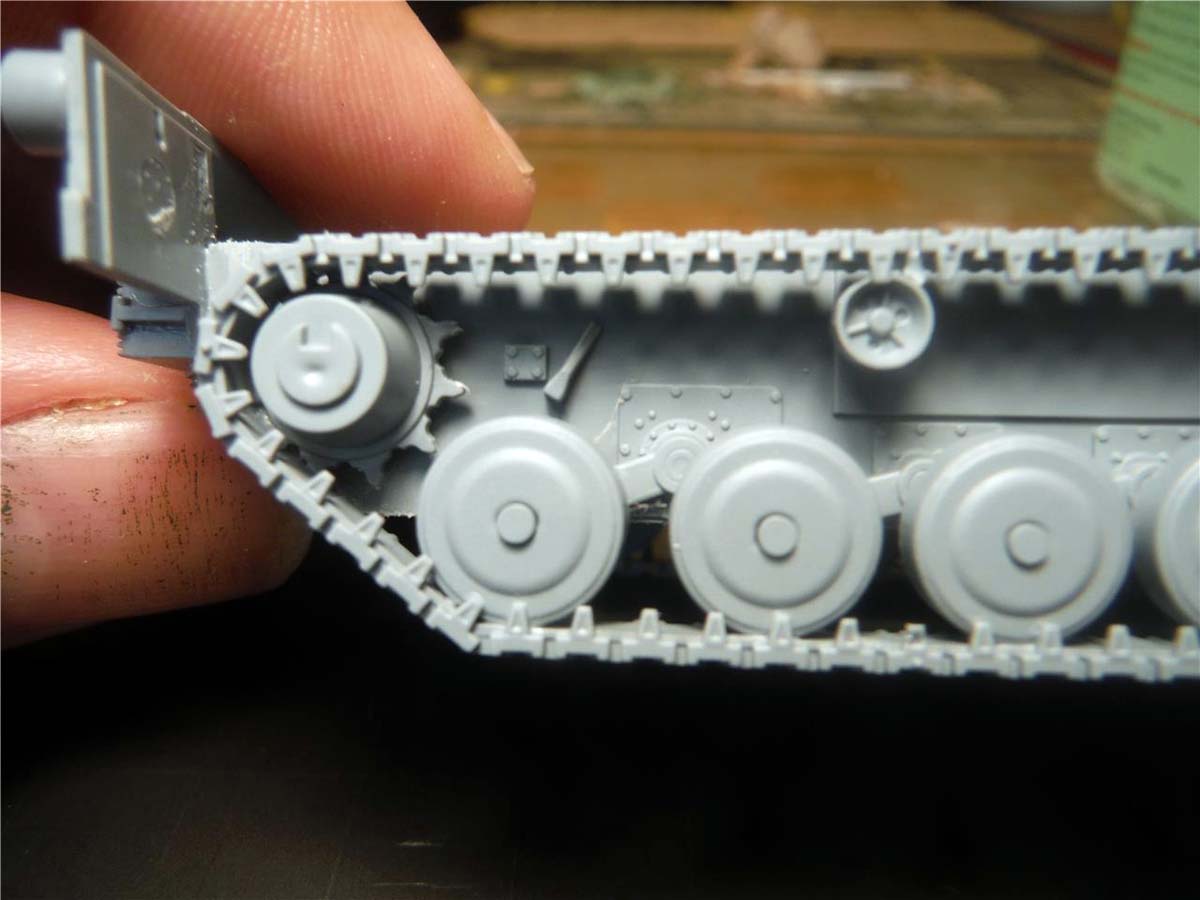
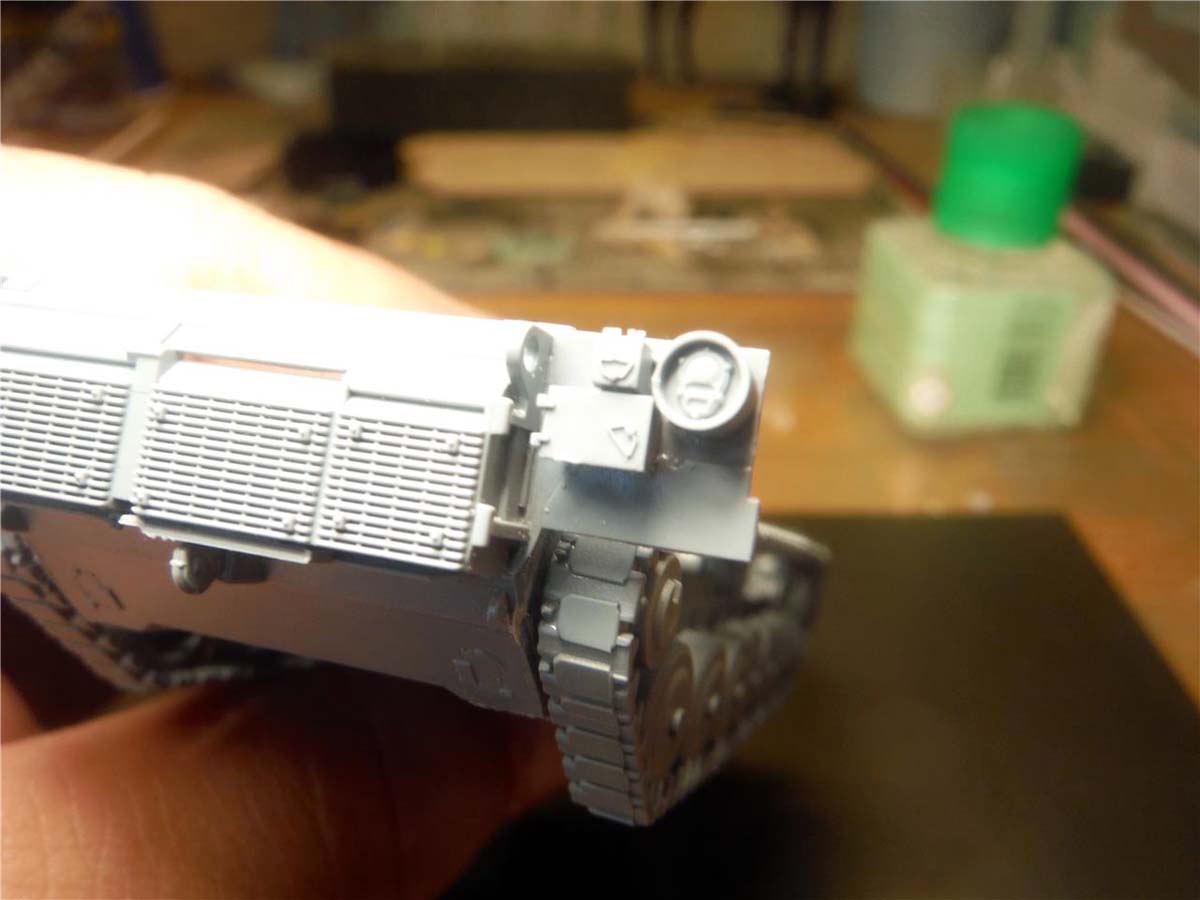
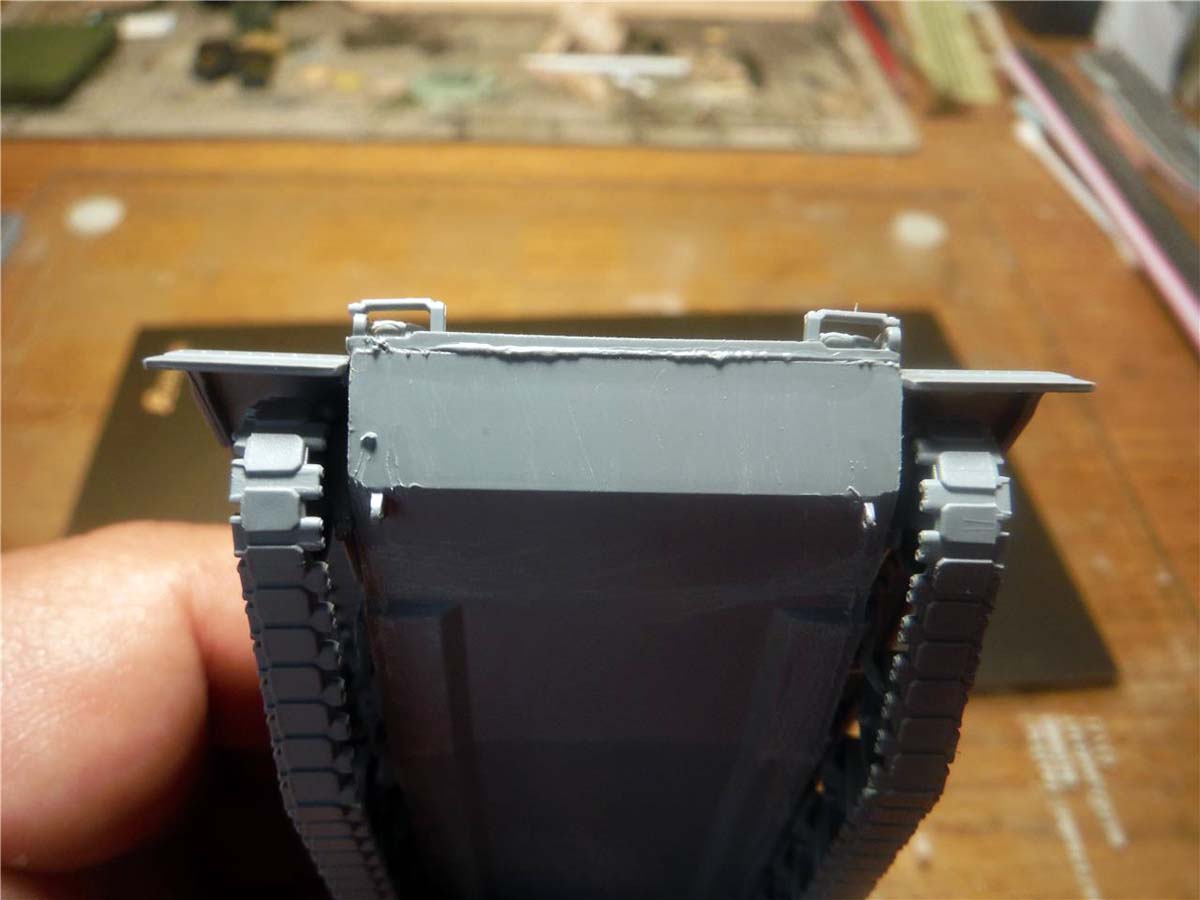
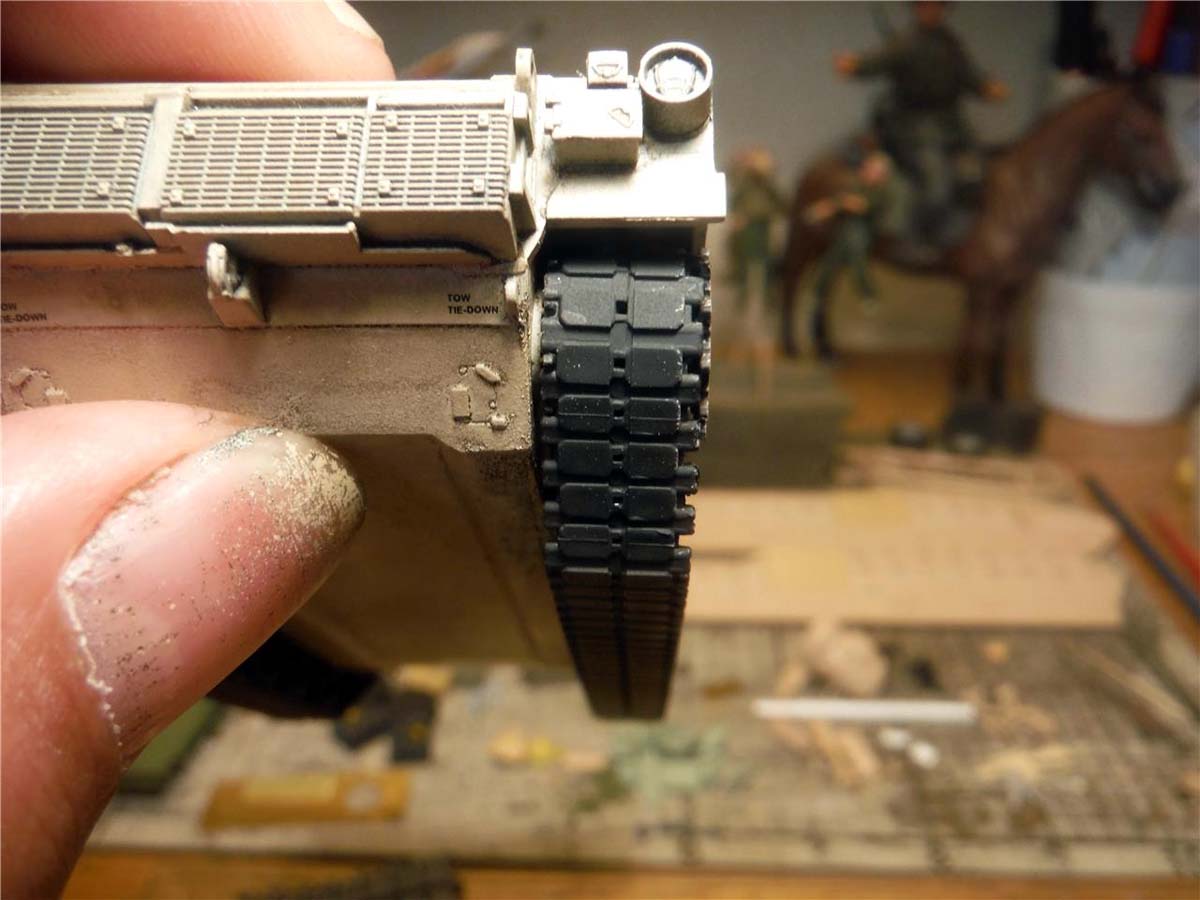
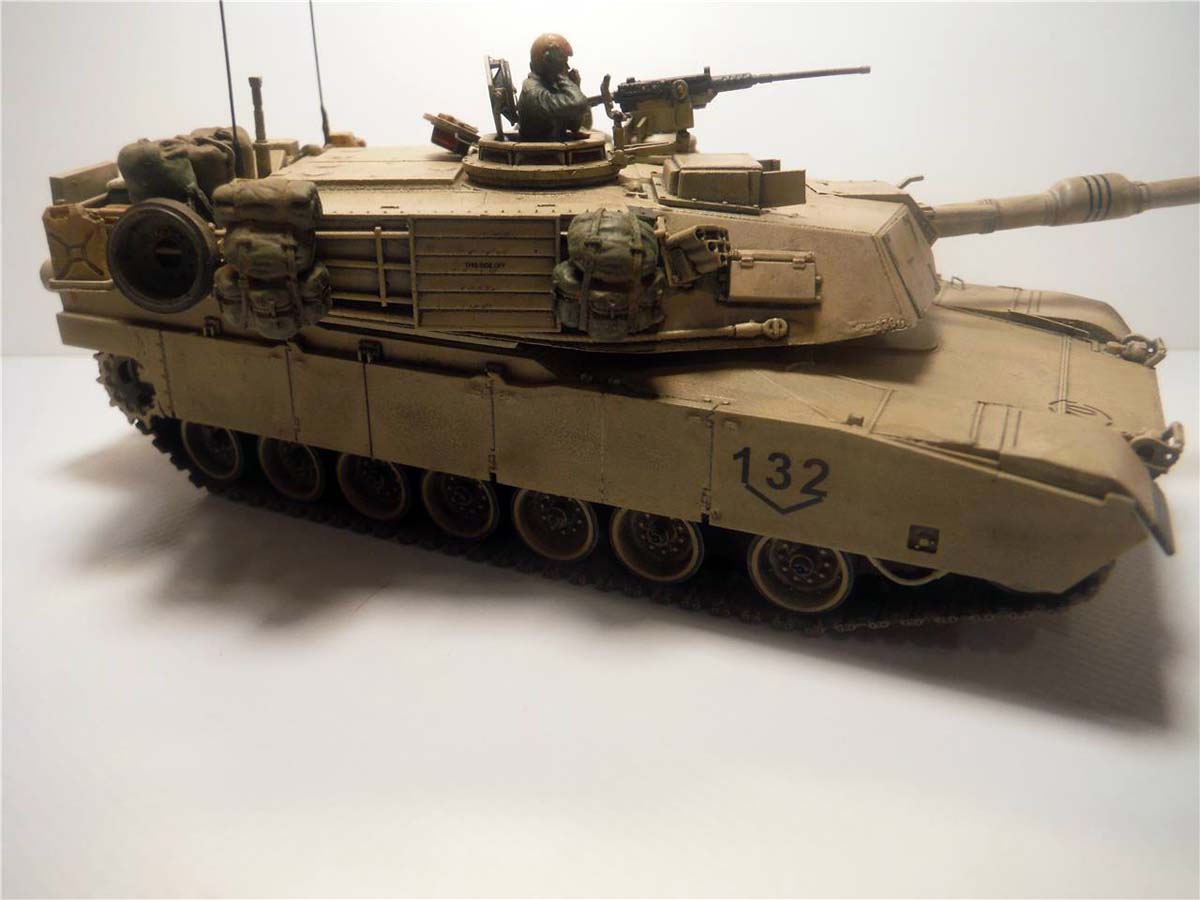
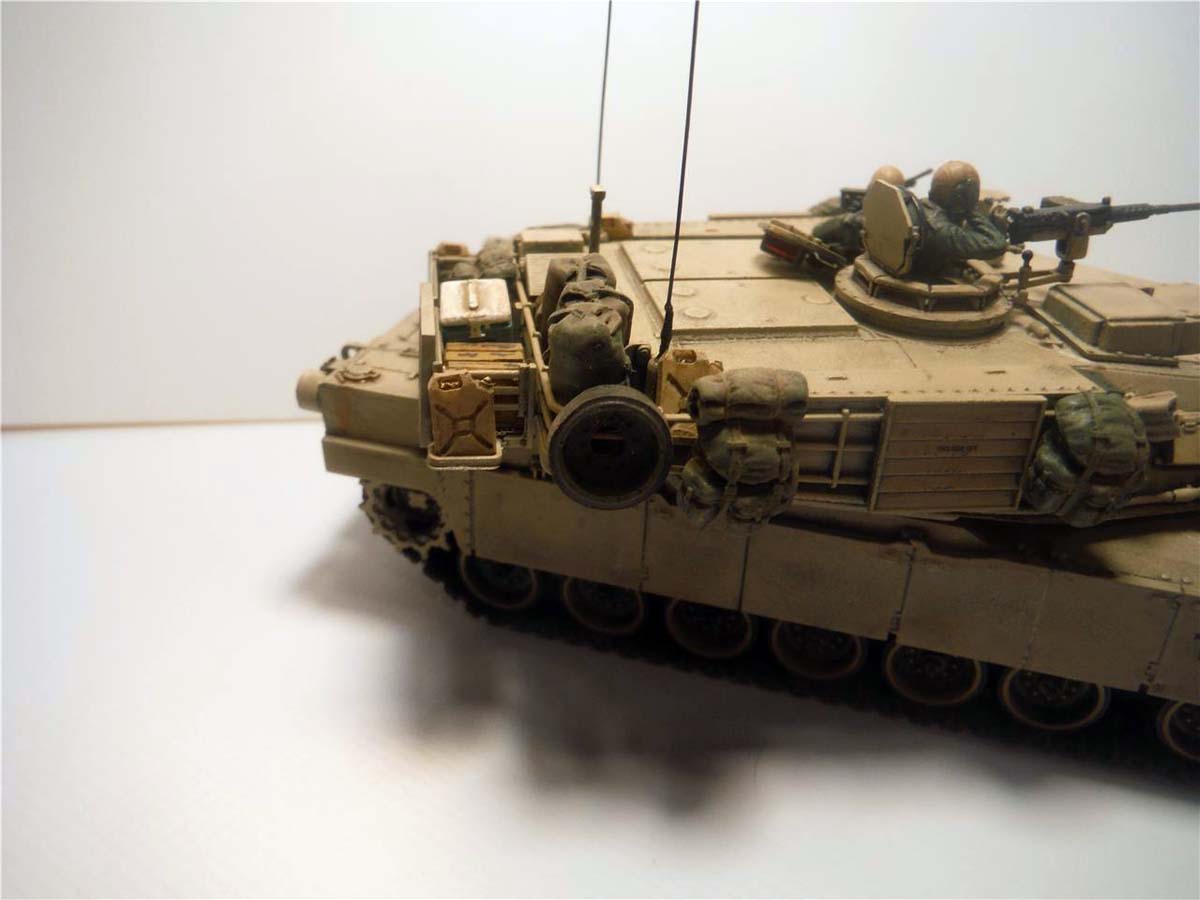
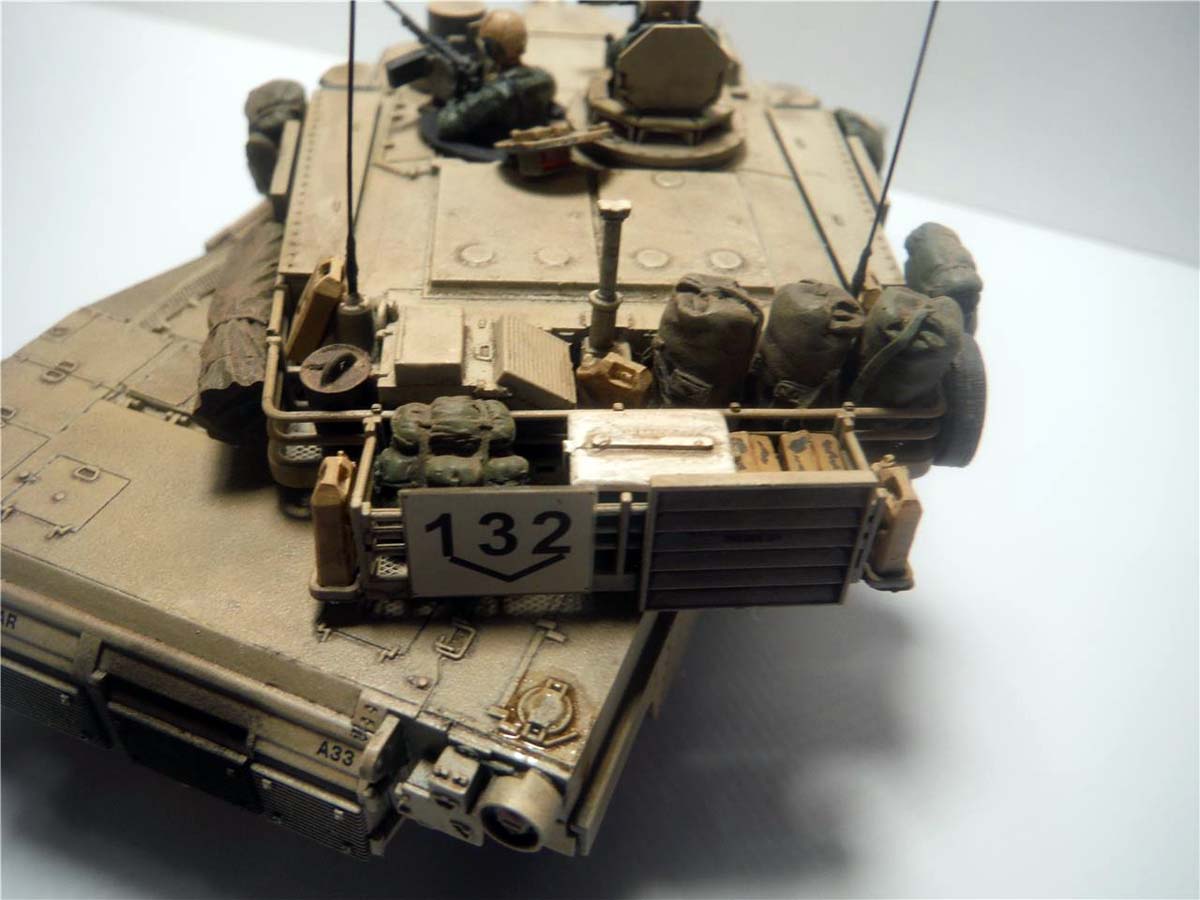
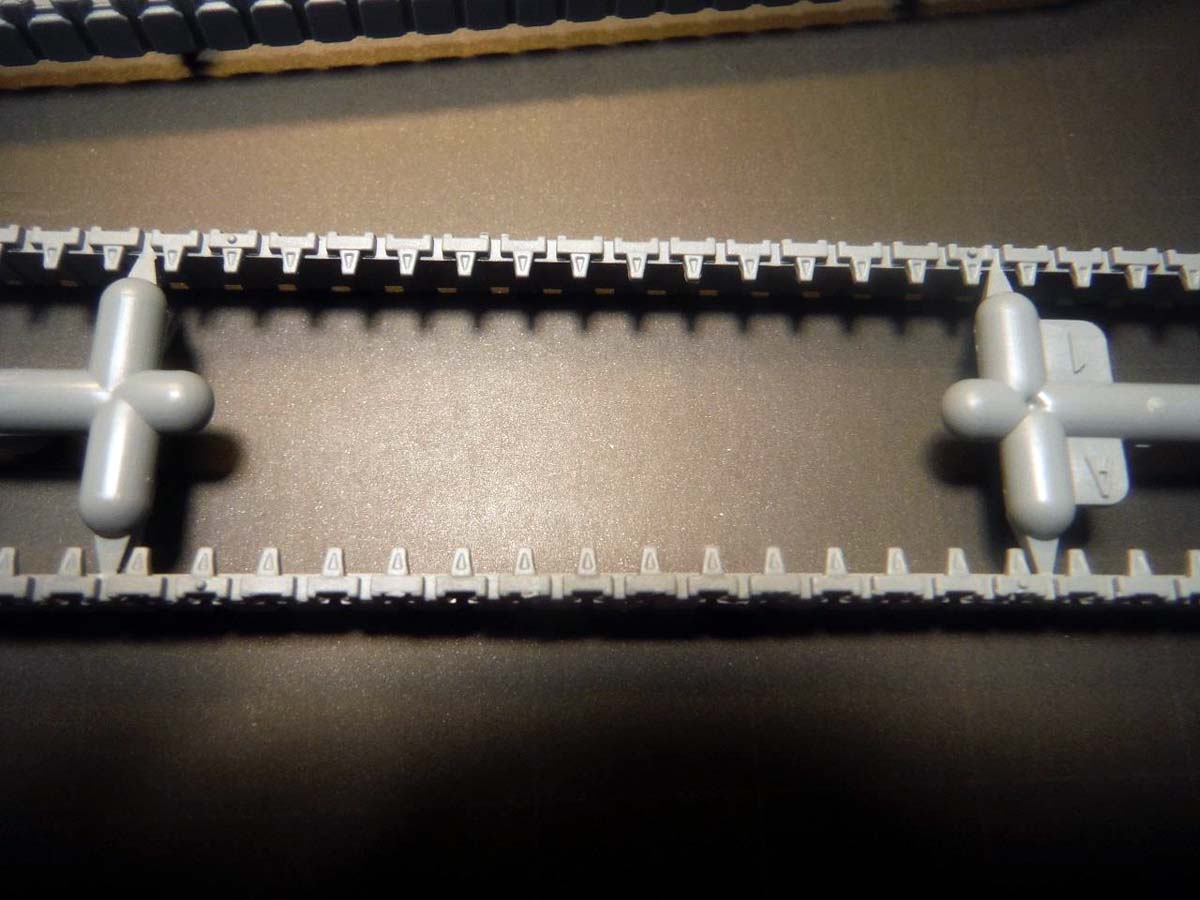
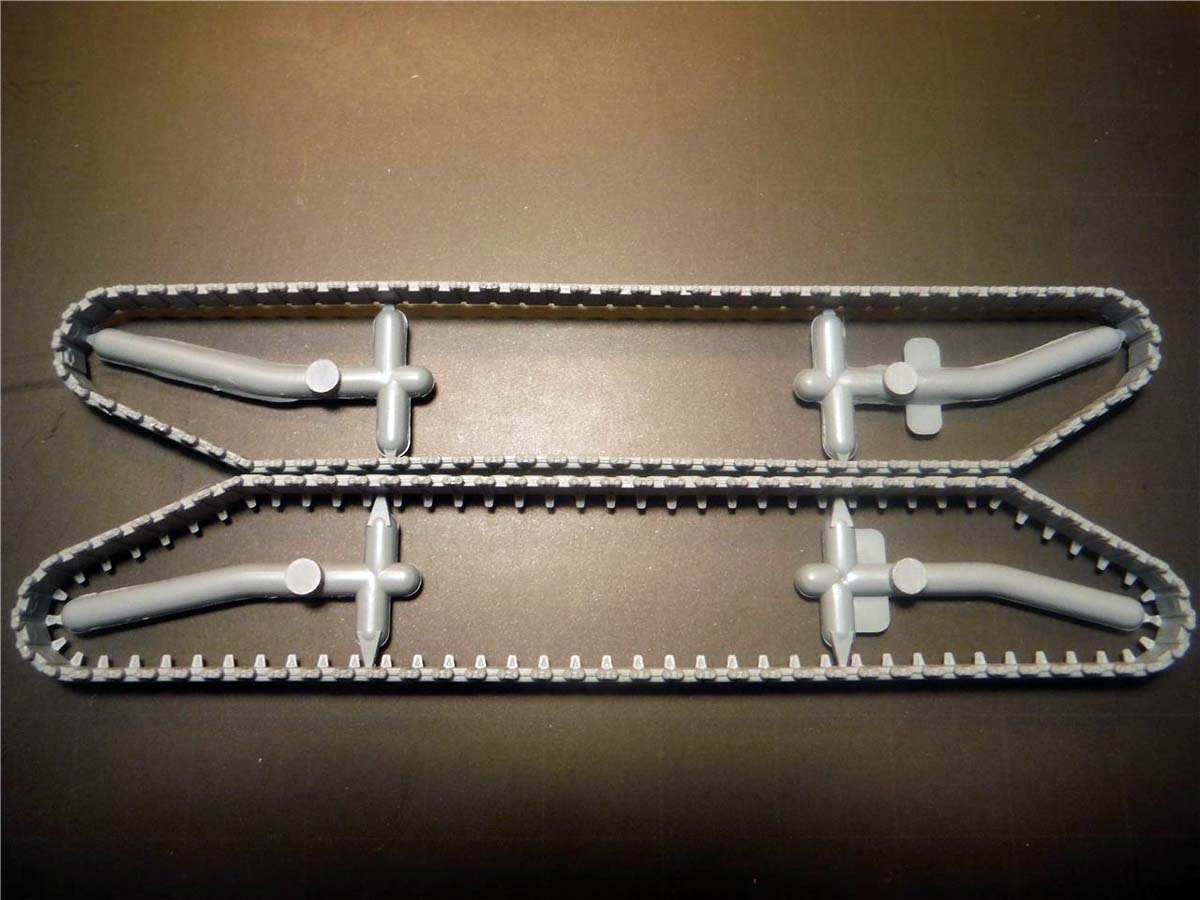
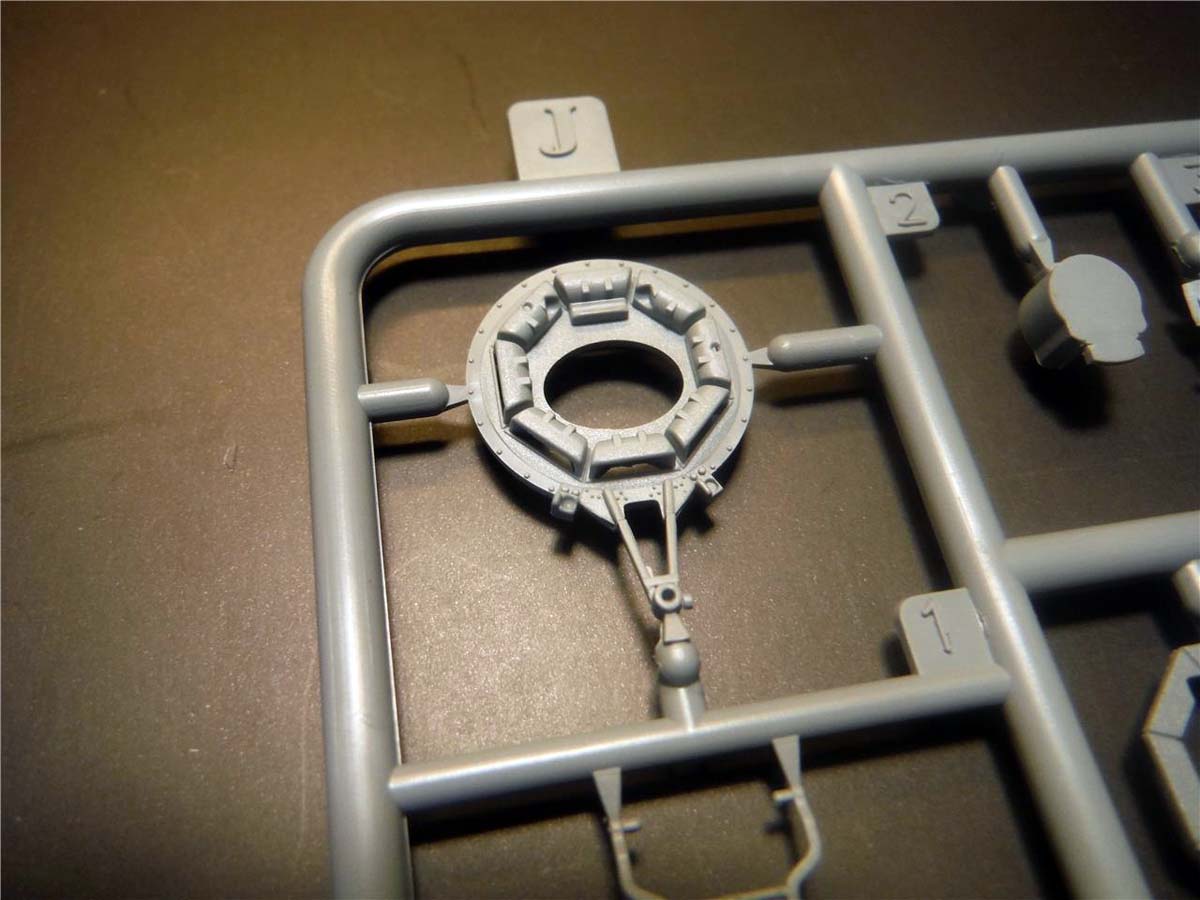
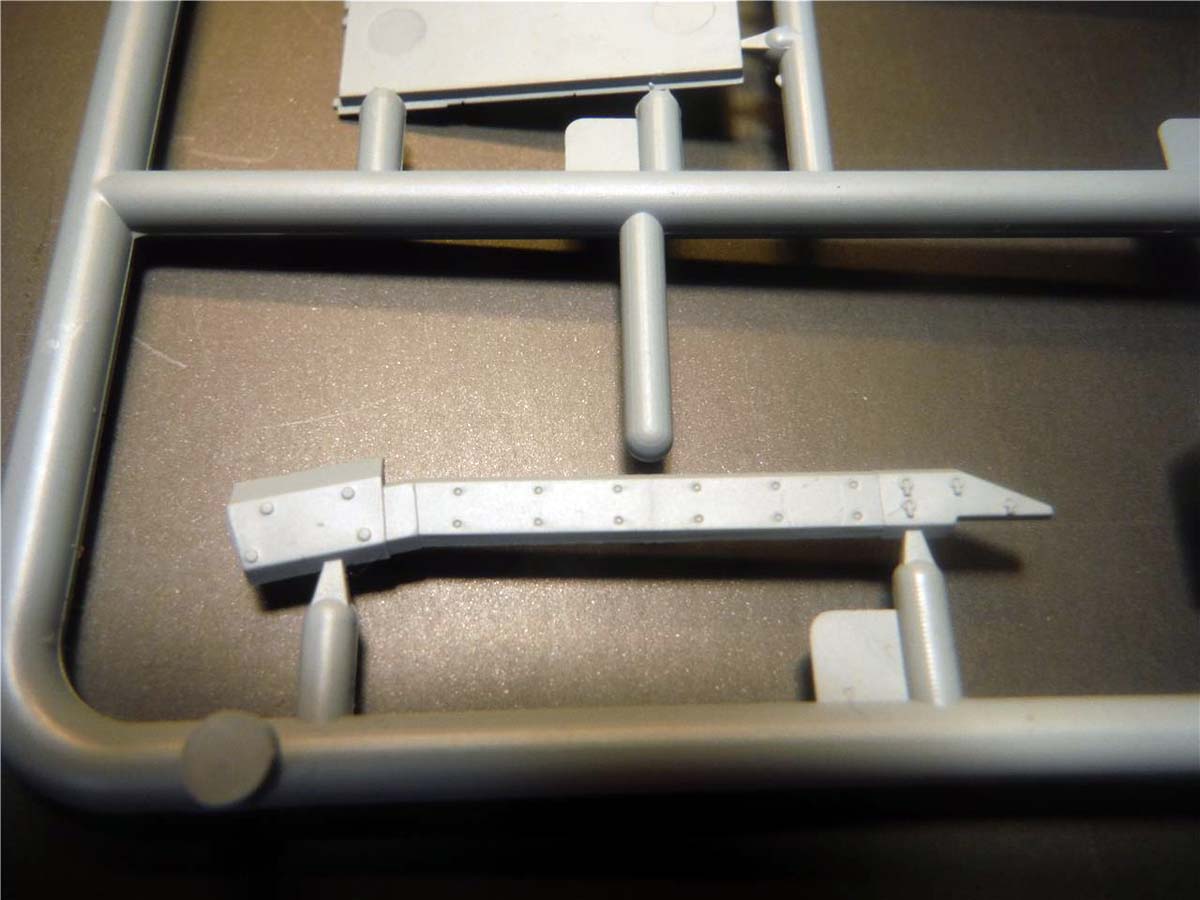
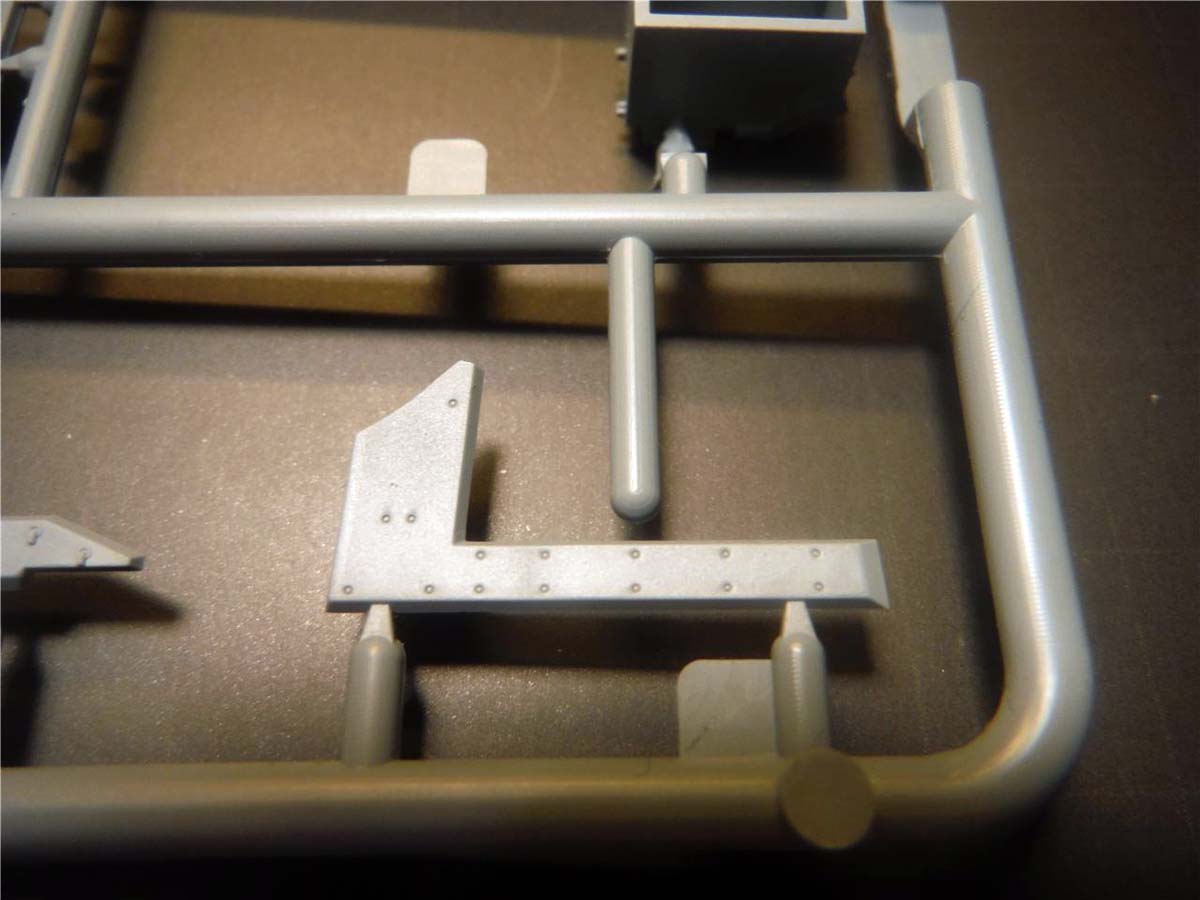
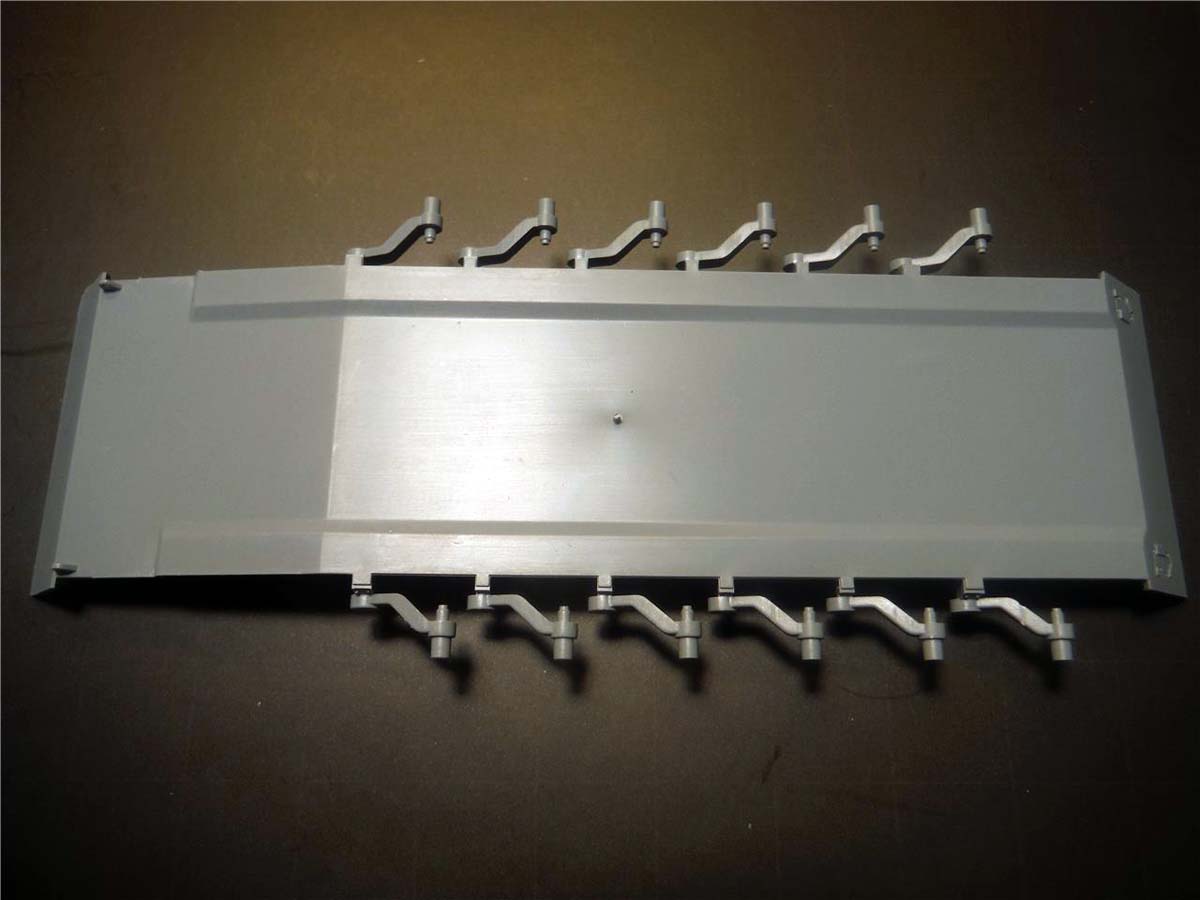
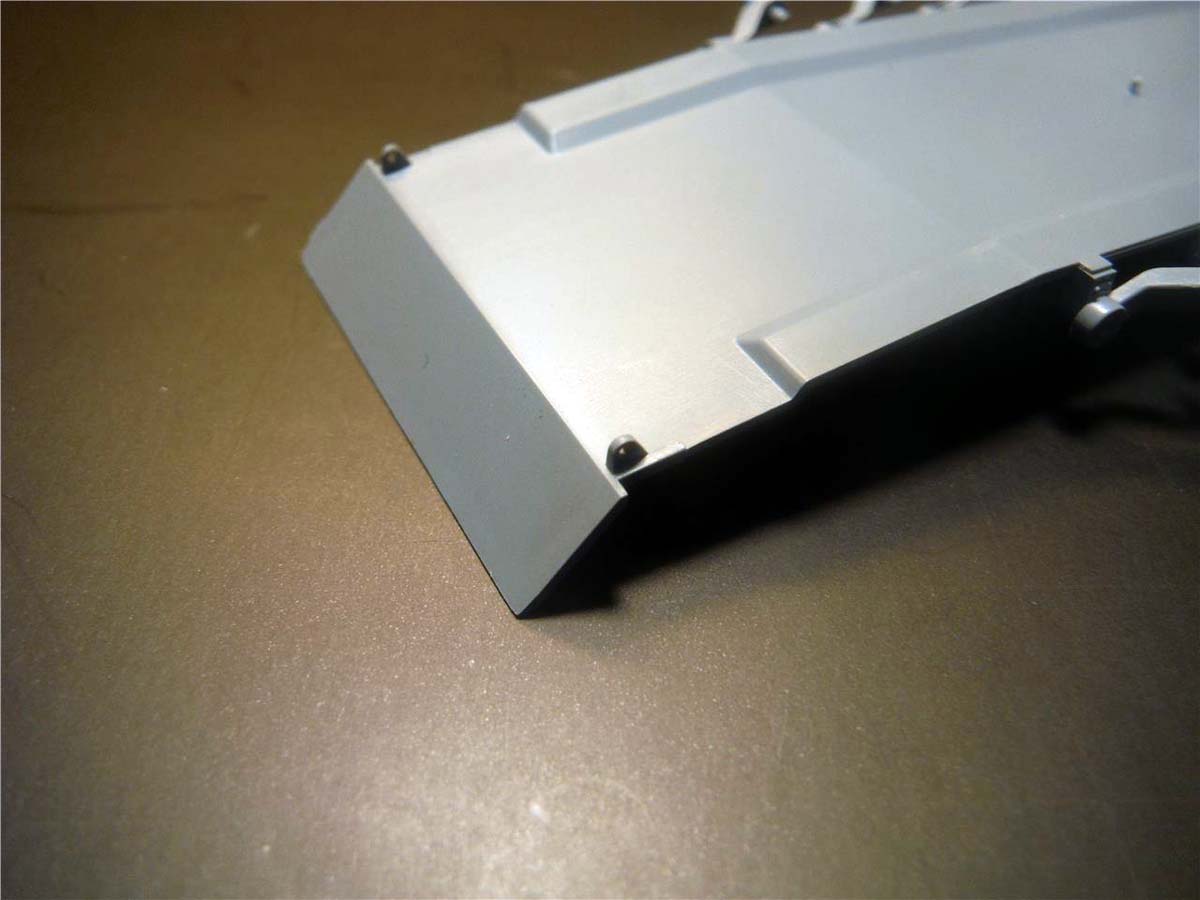
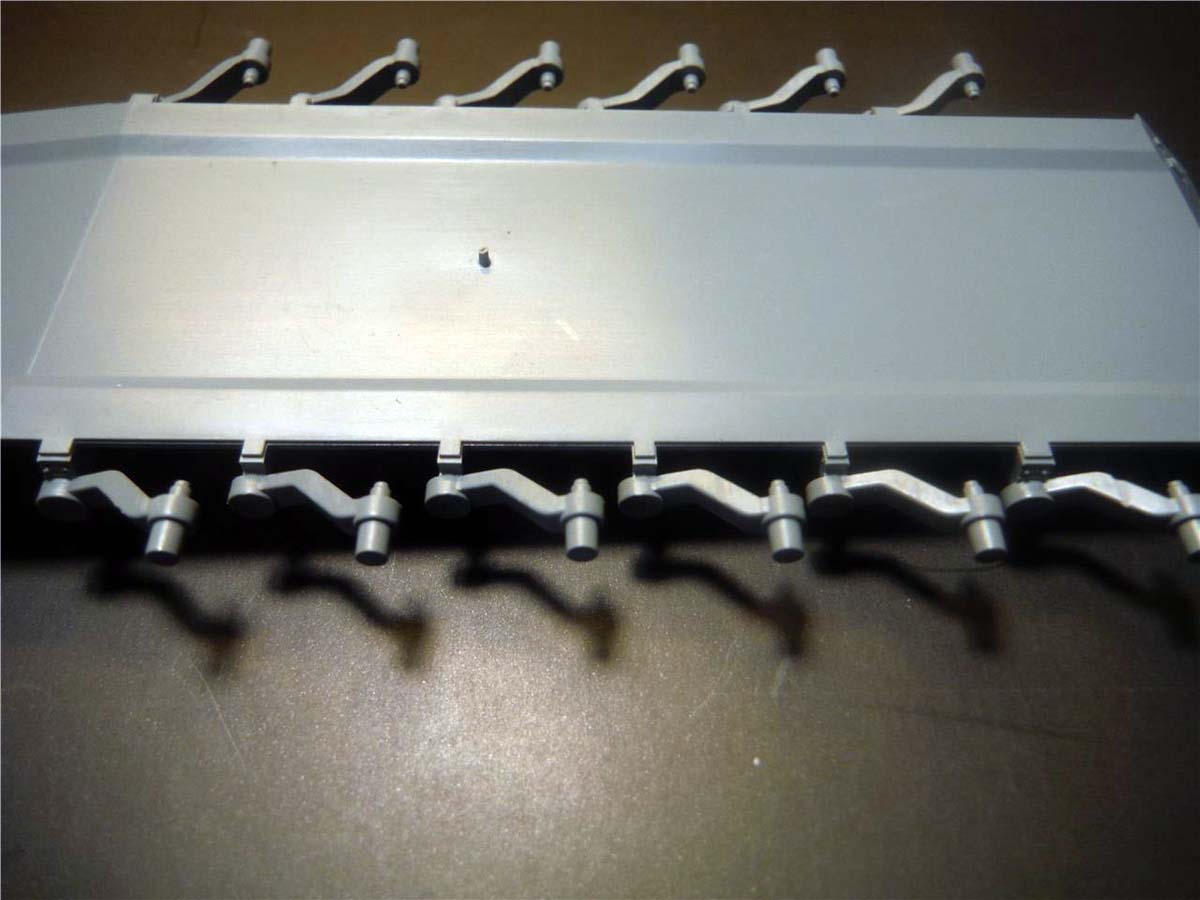
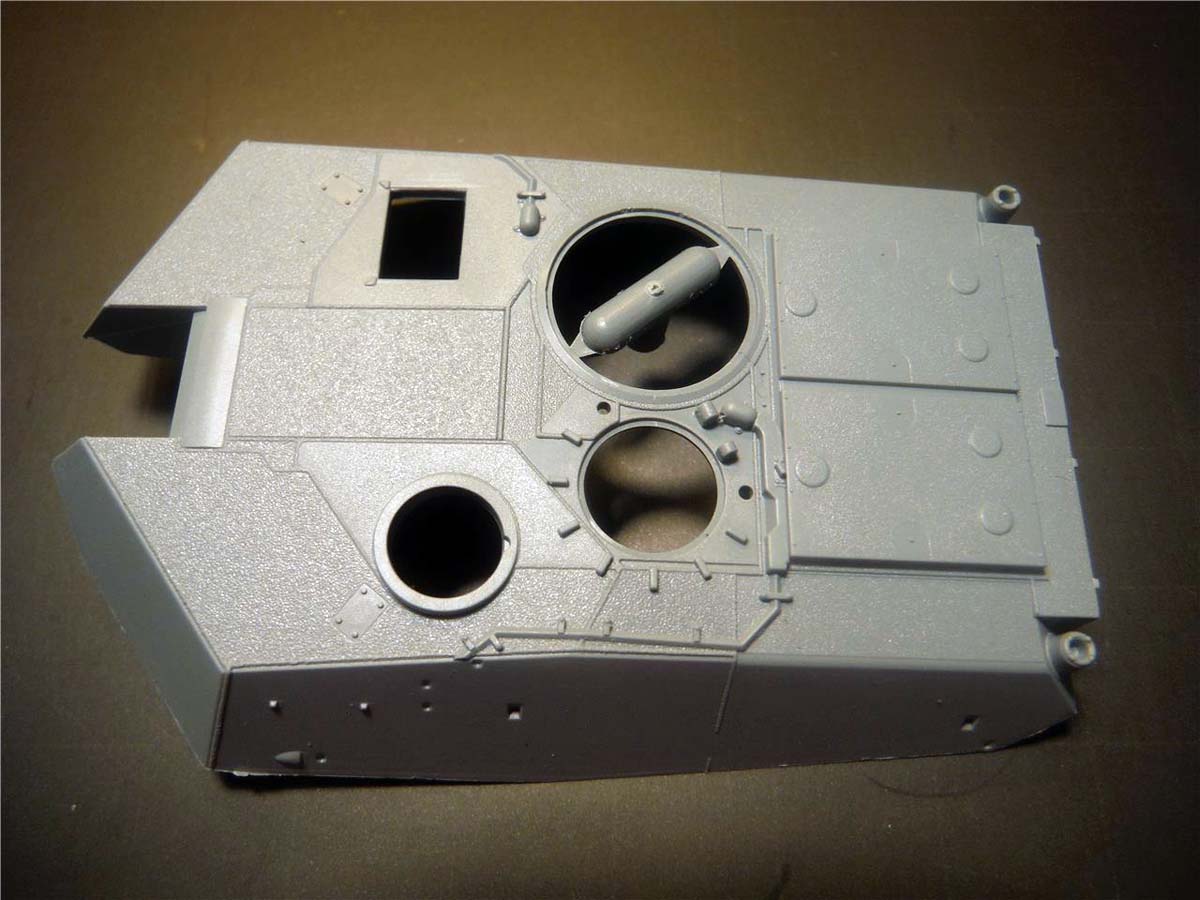
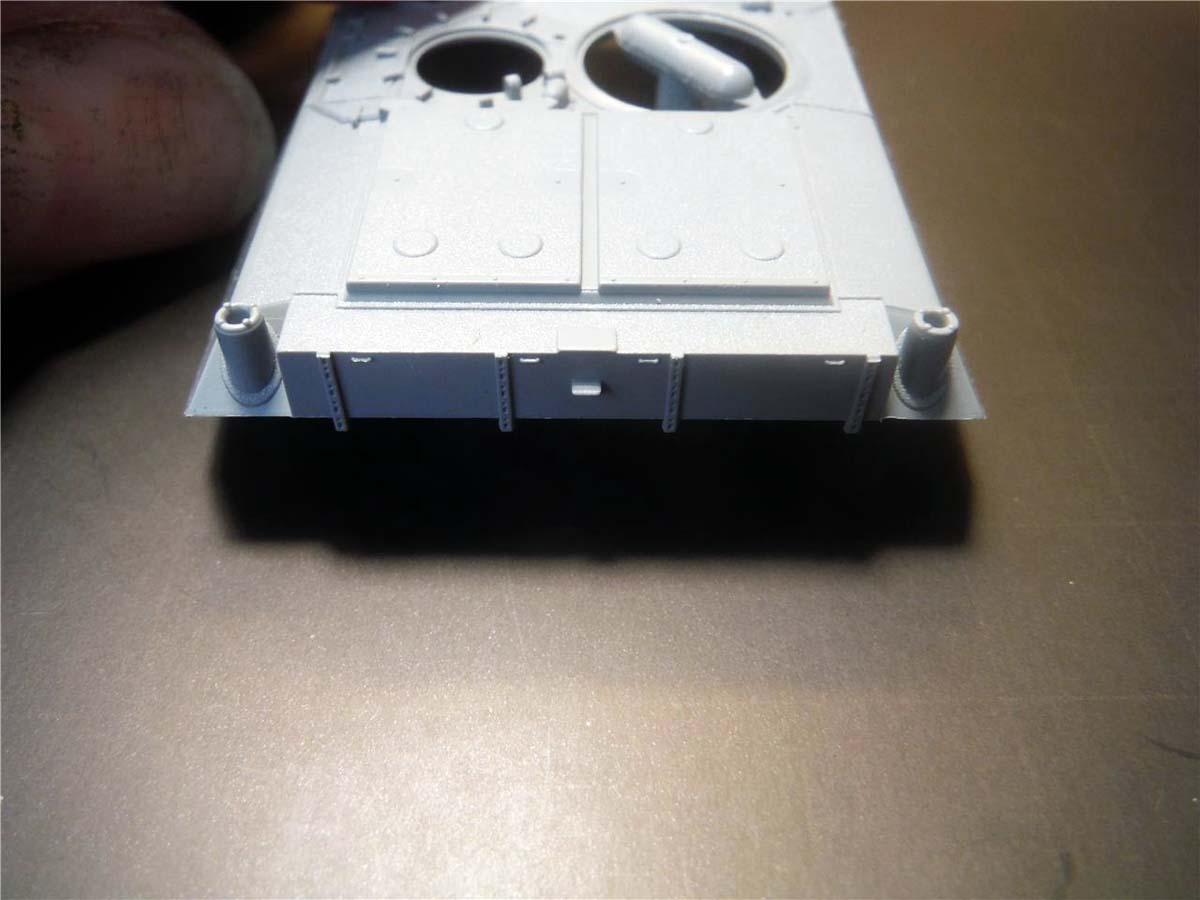
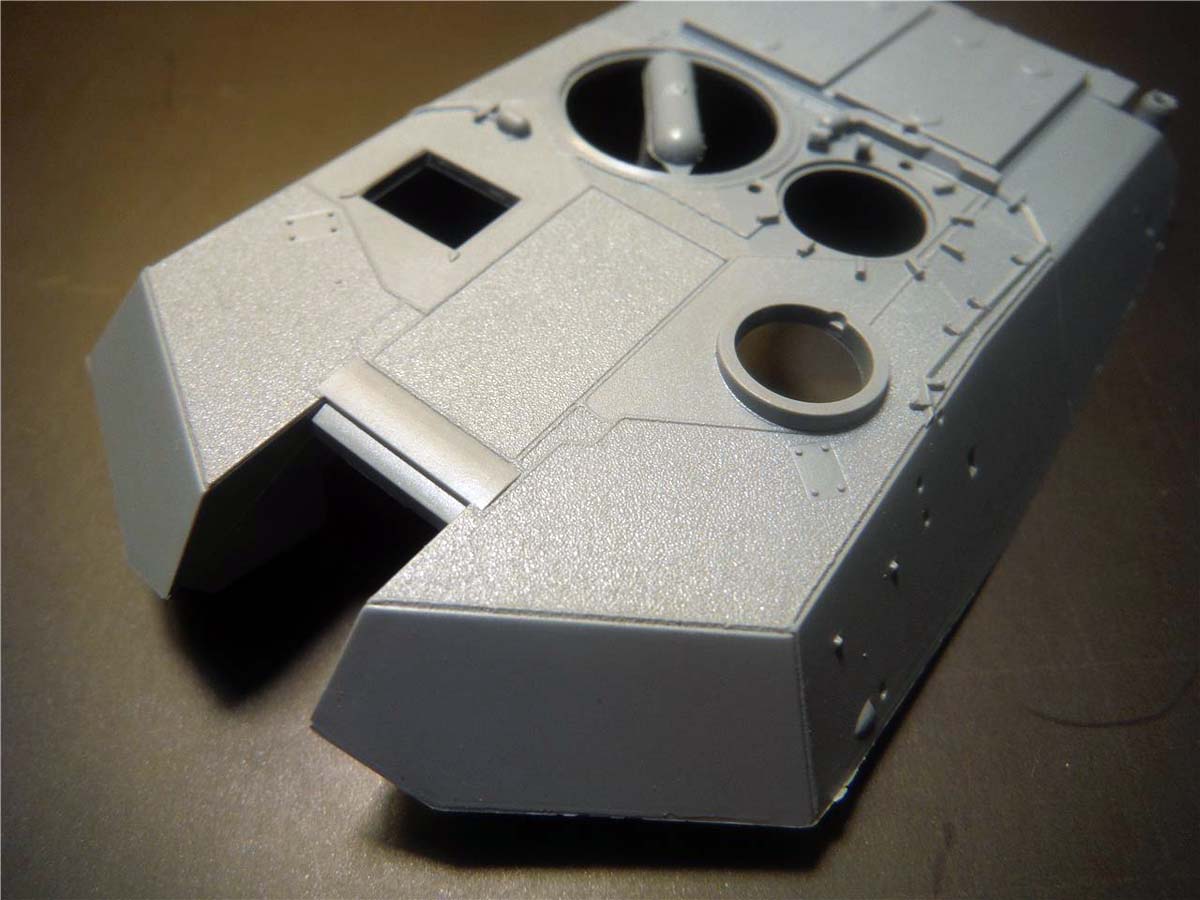
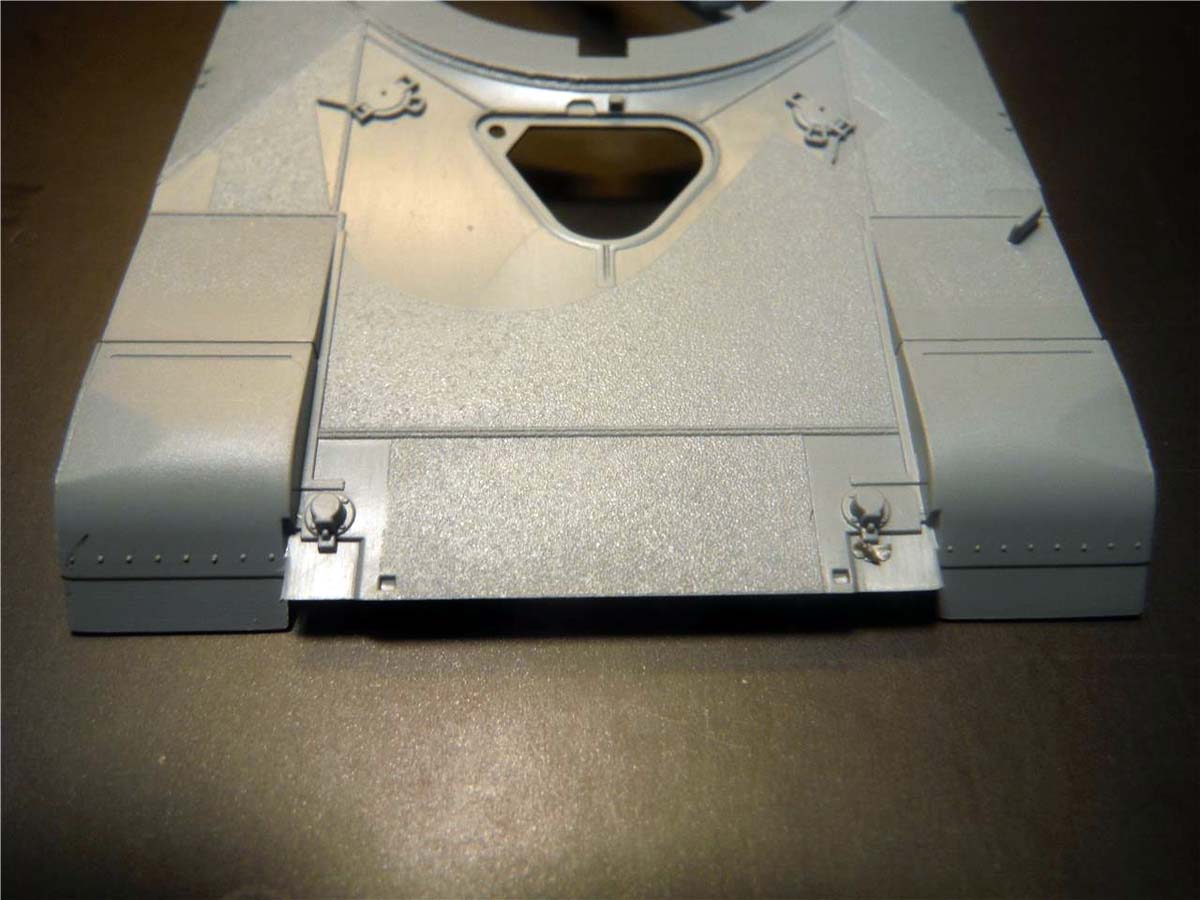
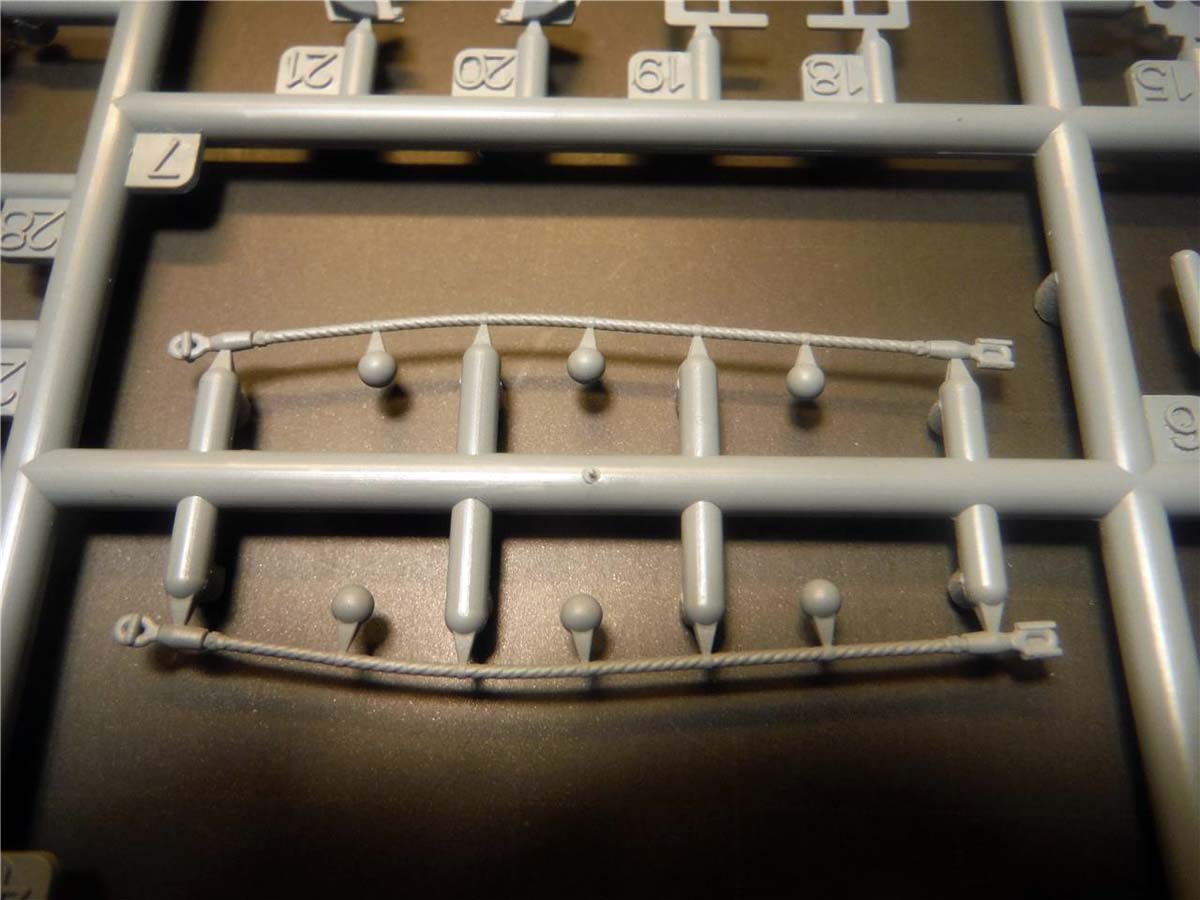
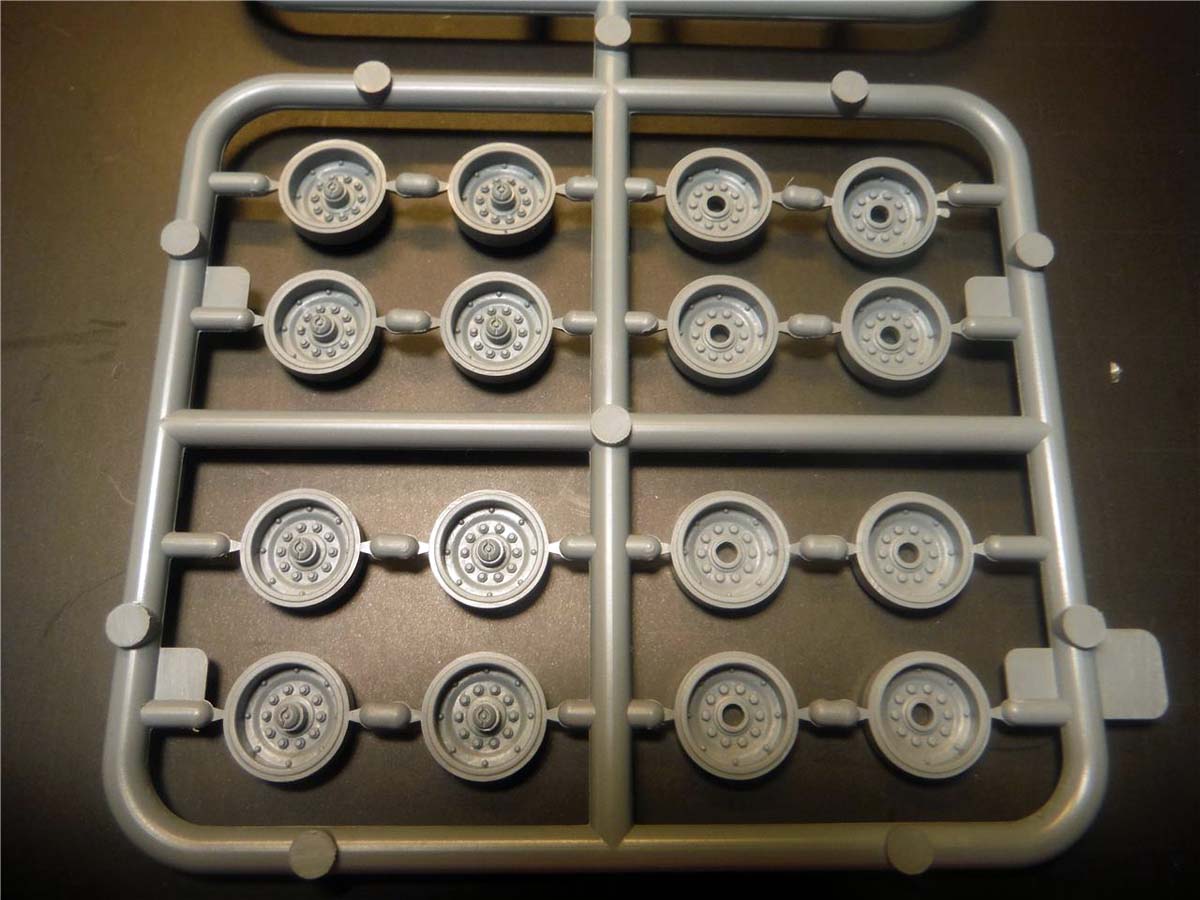
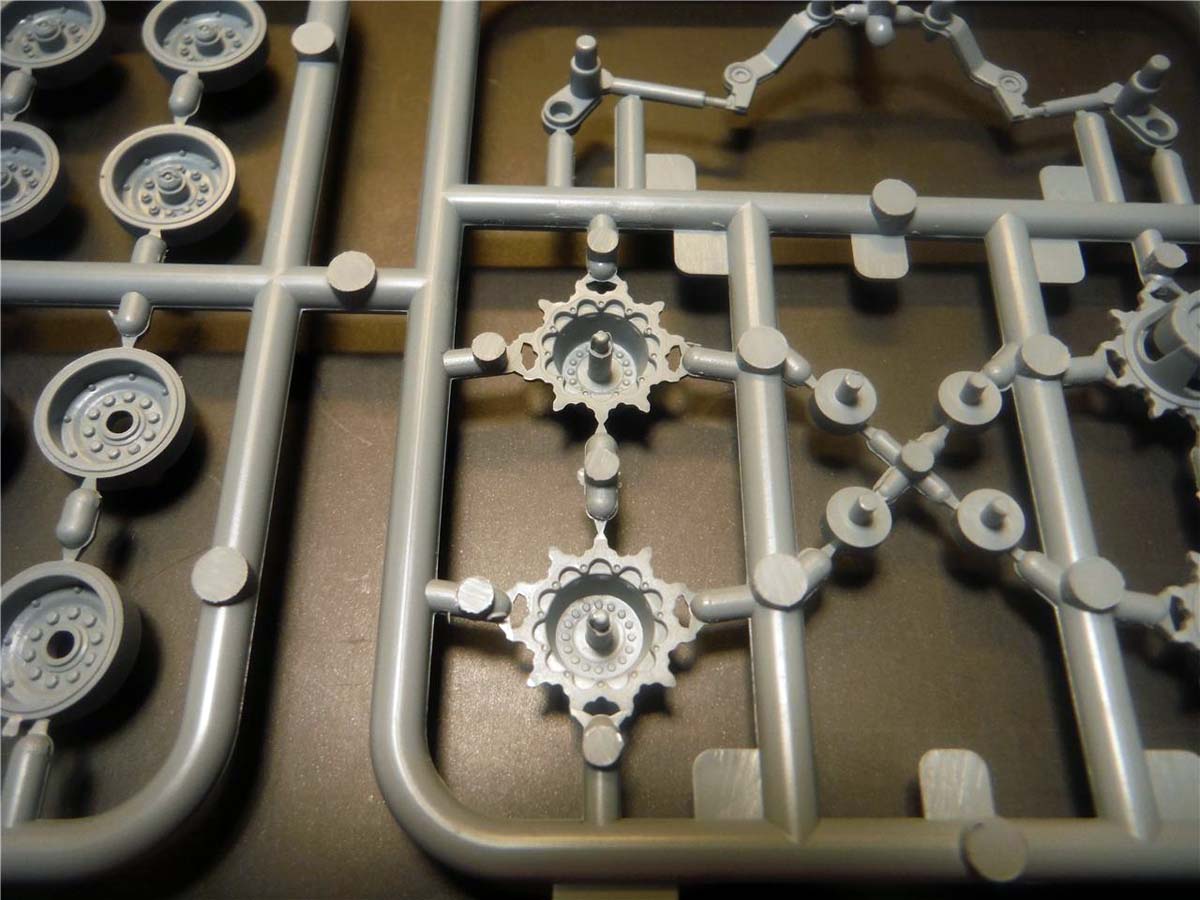
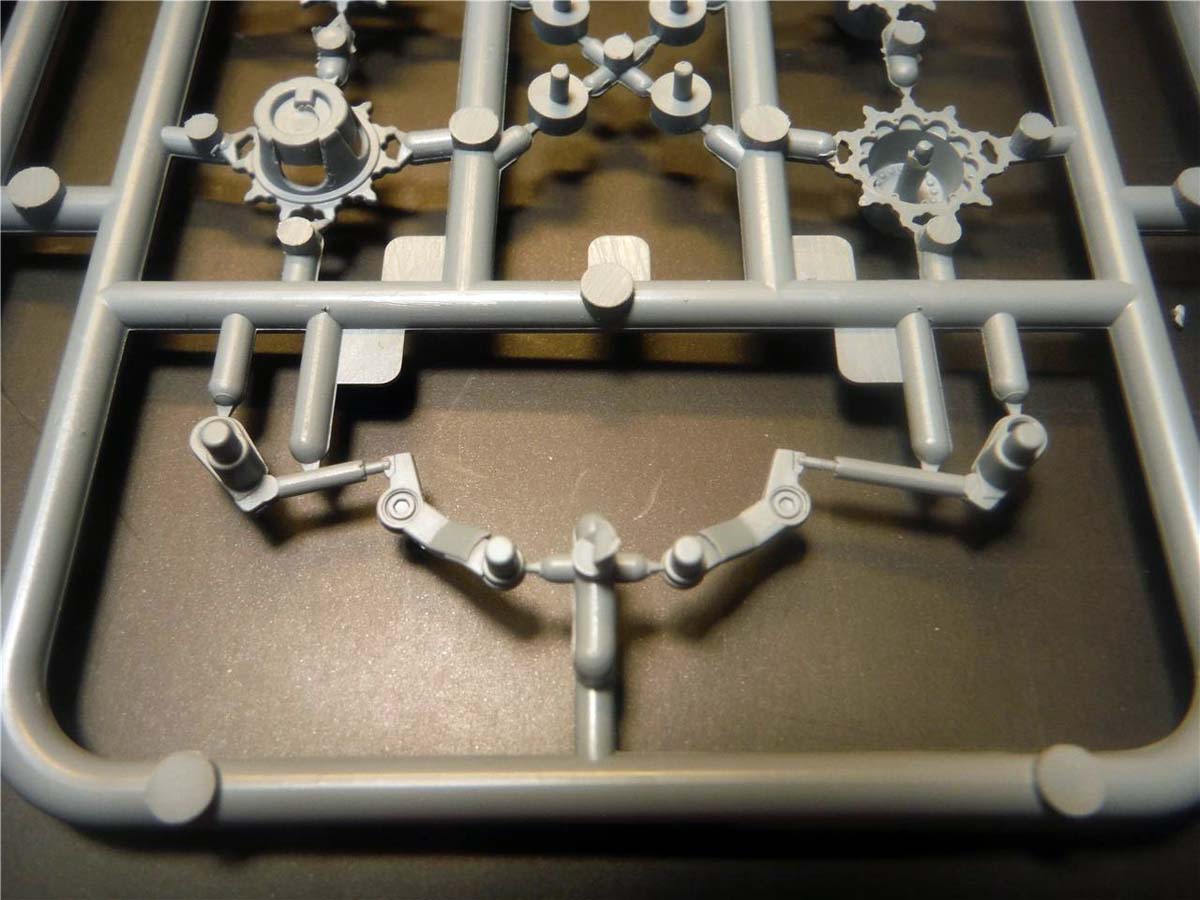
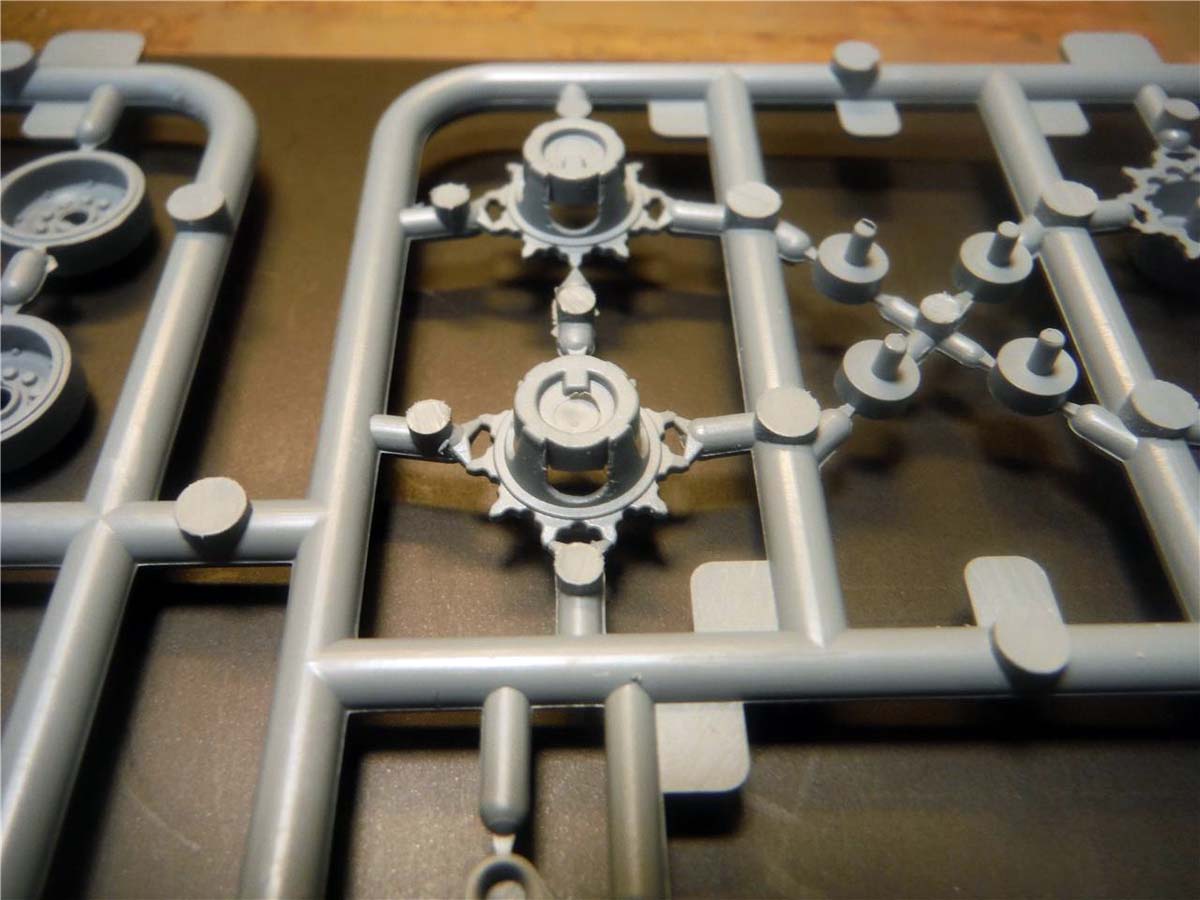
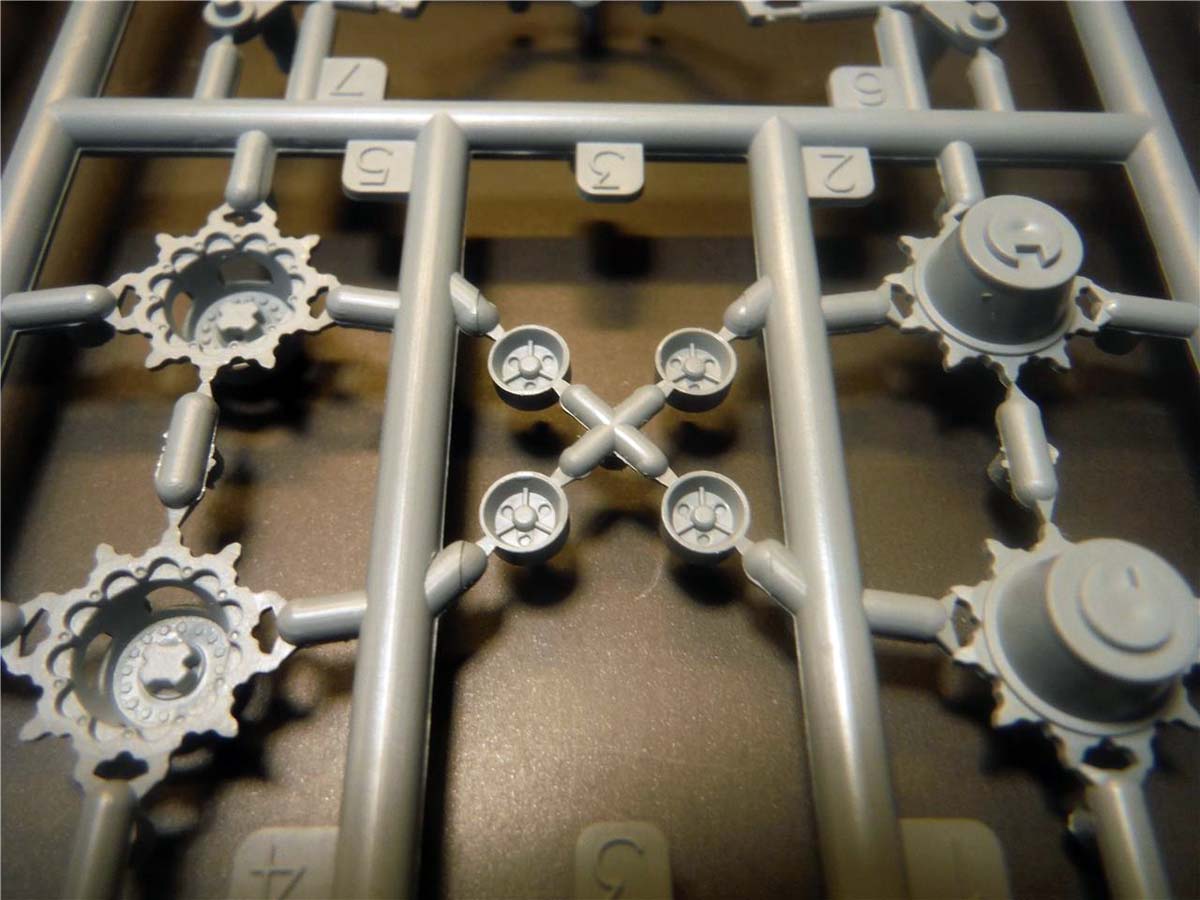
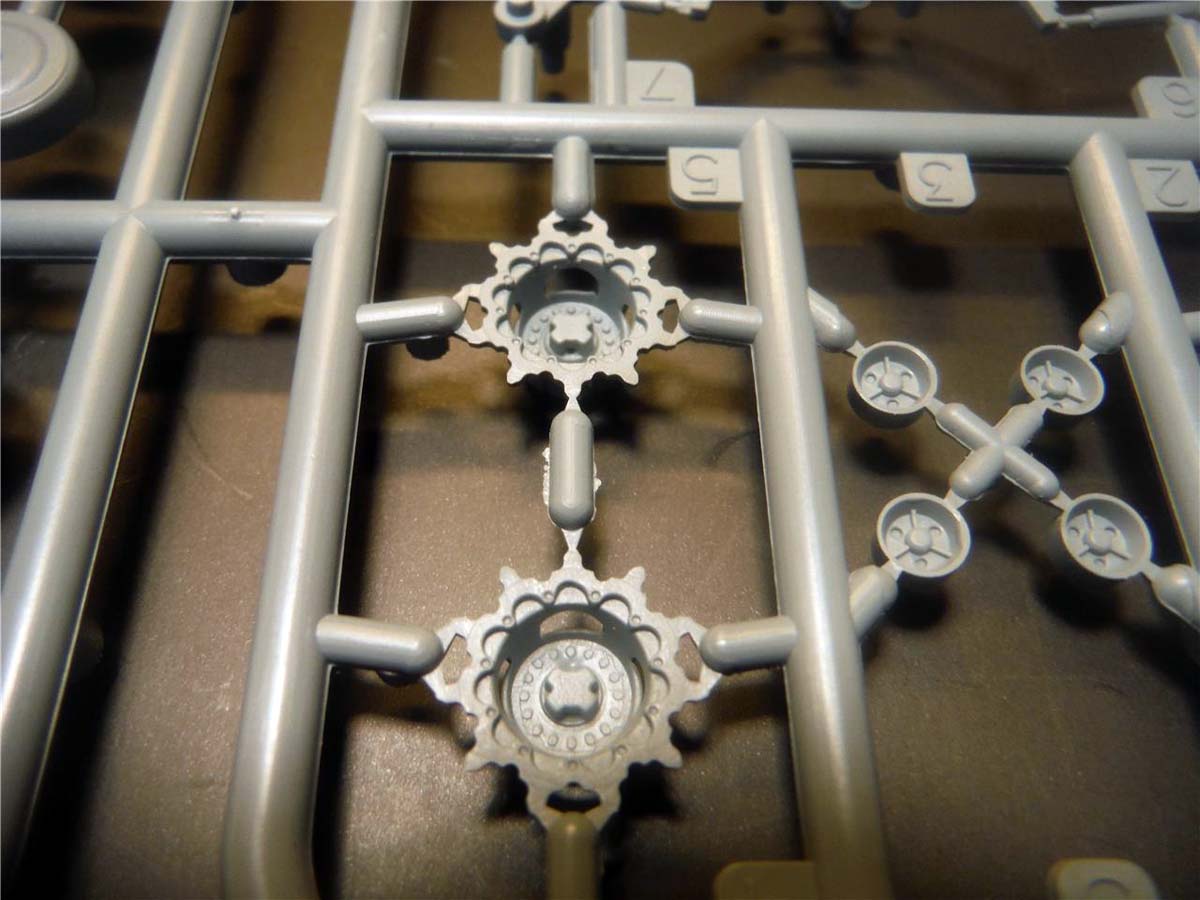
Step 1 is the lower hull, rear, road wheel and tracks. Fit of the rear and sides to bottom hull was good and tight. Very little putty and sanding was needed. The braces, Part E3x3 was a great addition. They provided a good solid hull bottom. Now here is where the first "not so bad" critique comes in, the tracks, road wheels, and drive sprocket. Although the construction design of the tracks, detail on the road wheels and lightning holes included in the drive sprockets, the tracks themselves to me lack enough detail or the detail was too soft. I would have preferred "rubber band" type tracks. One suggestion here is to not glue B1x16 to road arms and inner part of drive sprocket, Part C1/2. Place road wheels onto road arms and inner drive sprocket to locating hole and then glue inner tracks, Part A1/4 to road wheels and sprocket. Also leave off outer road wheels, Part B2x16 till later. Once the glue is dry between road wheels, sprocket and track, the hole assemble can be removed for easier painting. Another note here, the front towing shackle points had pre-drilled holes, but the rear weren't. No big deal, just drill out the rear. But there were no towing shackles provided.
STEP 2
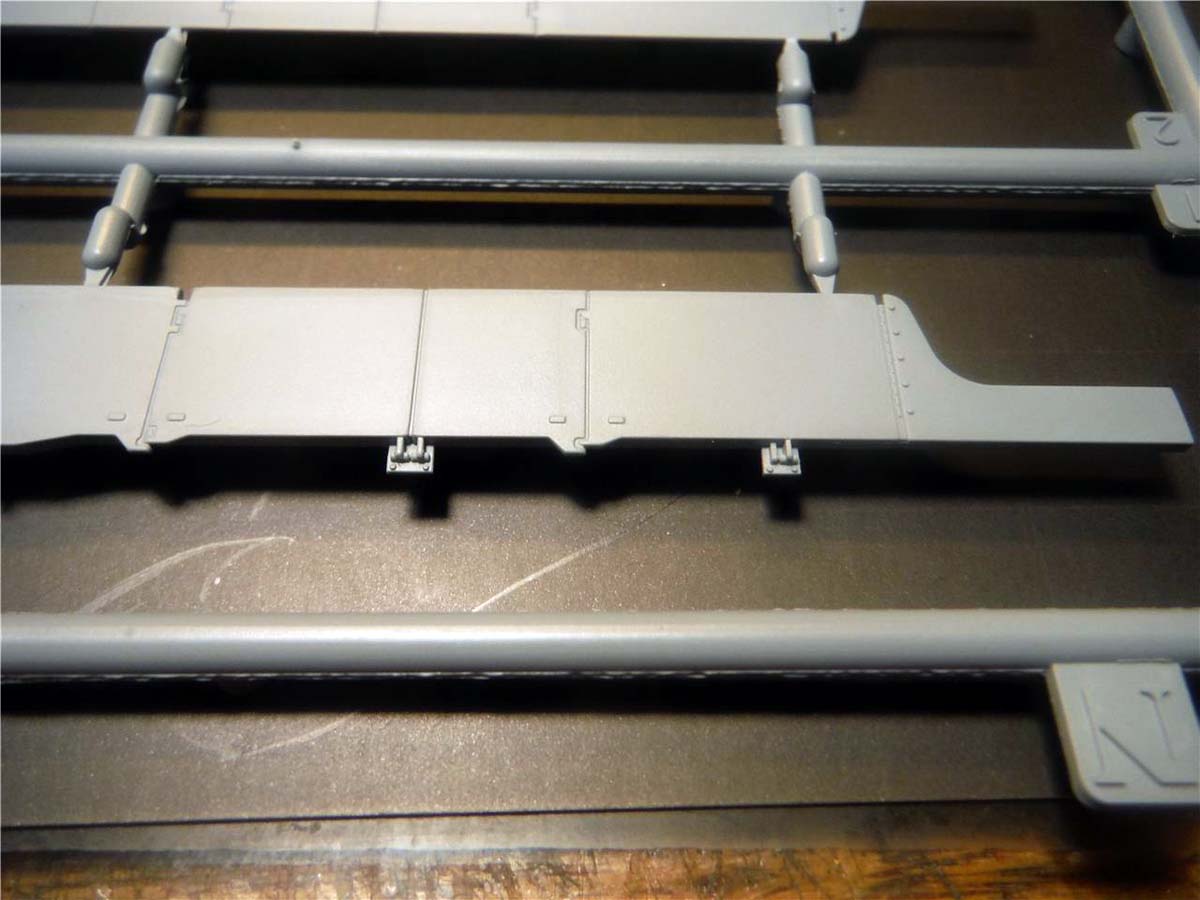
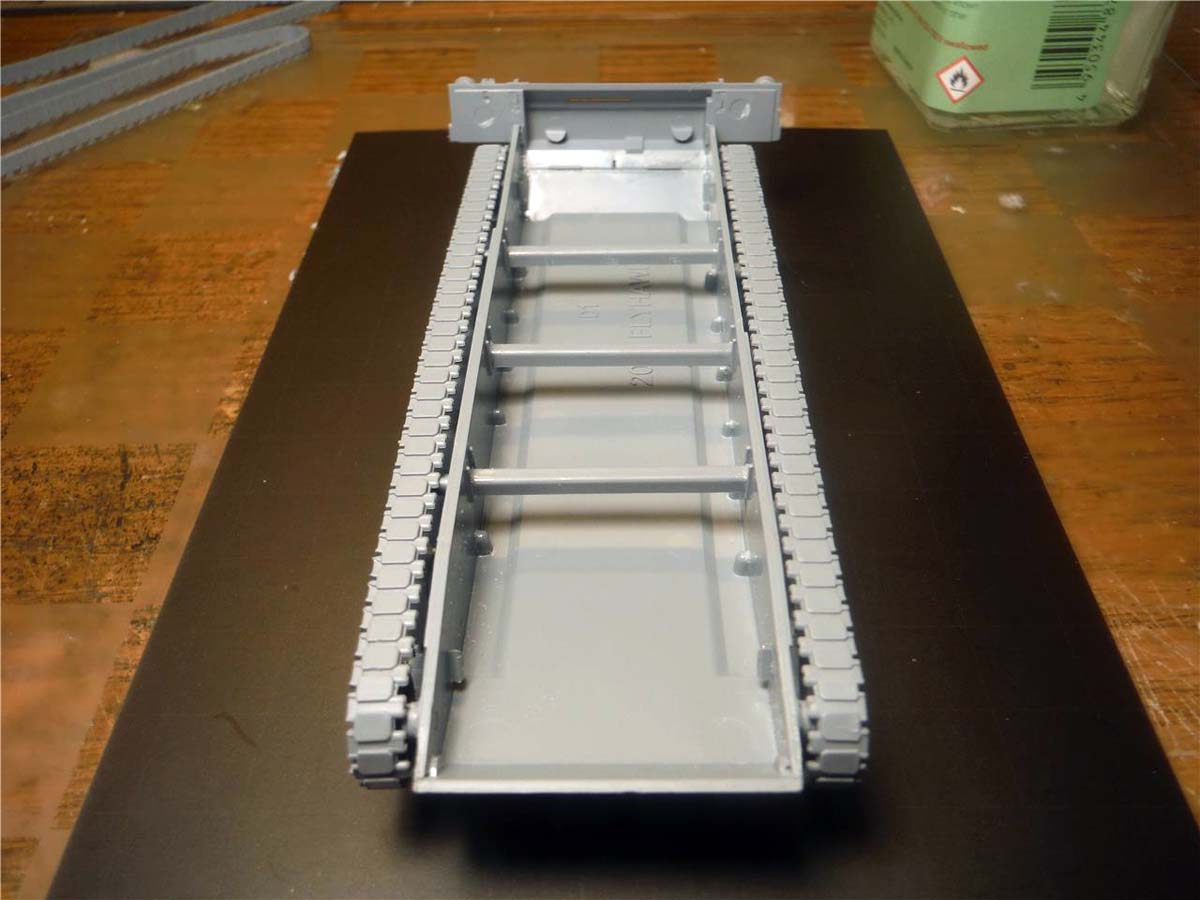
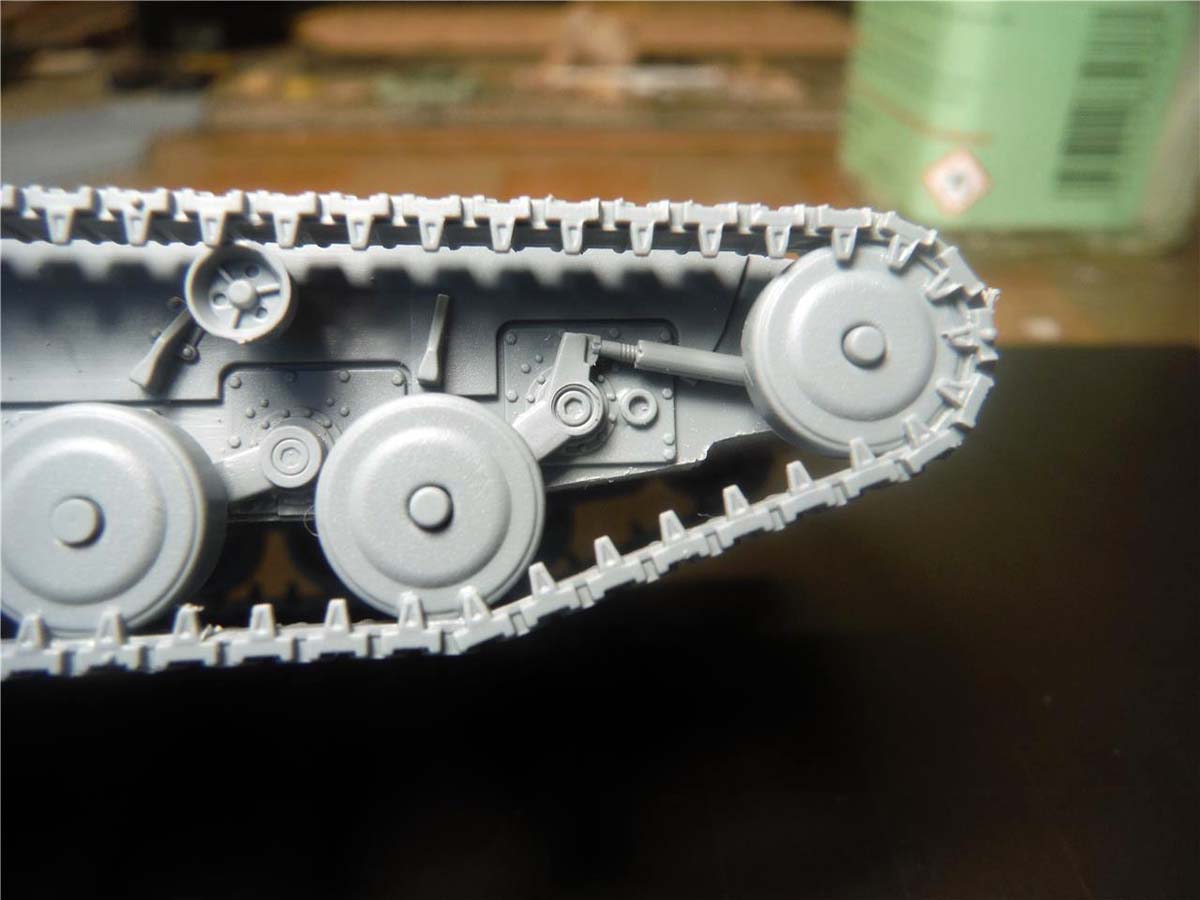
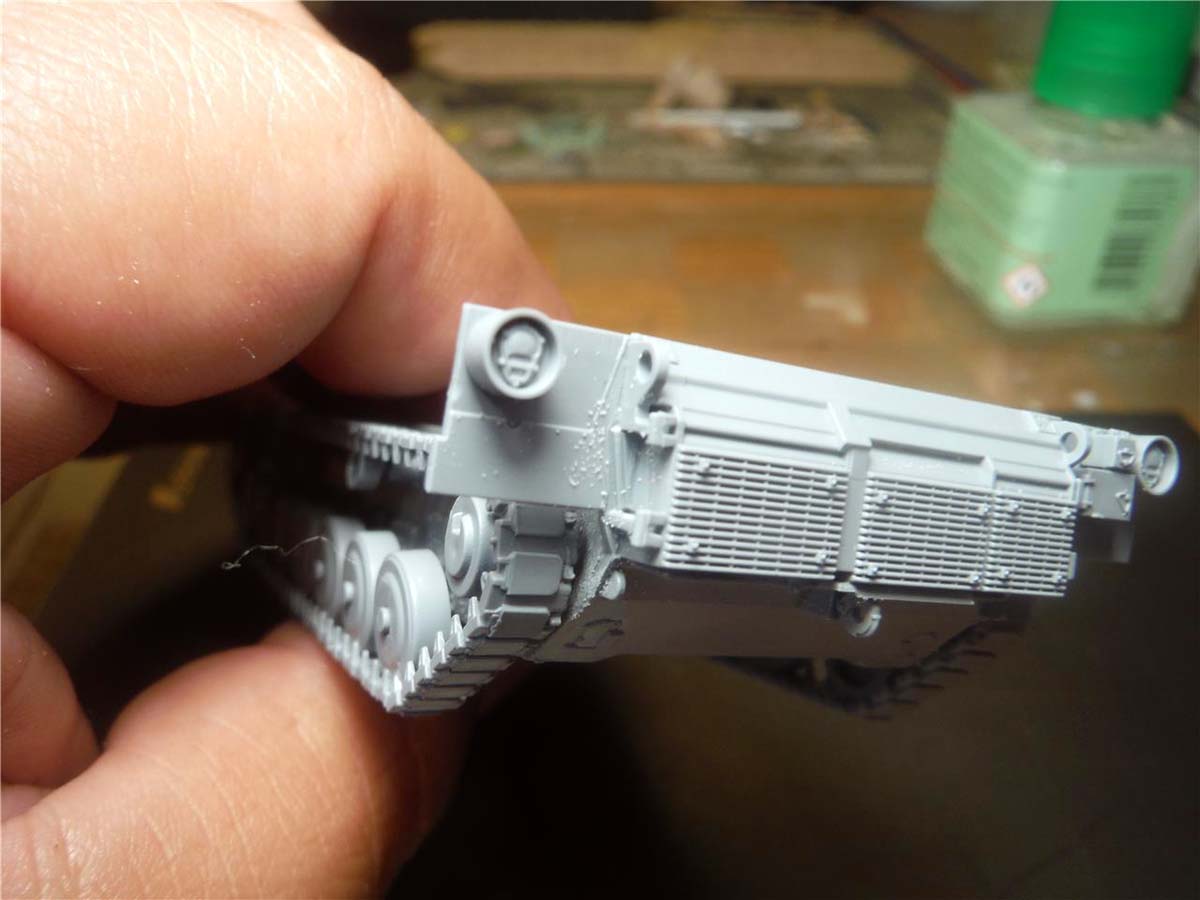
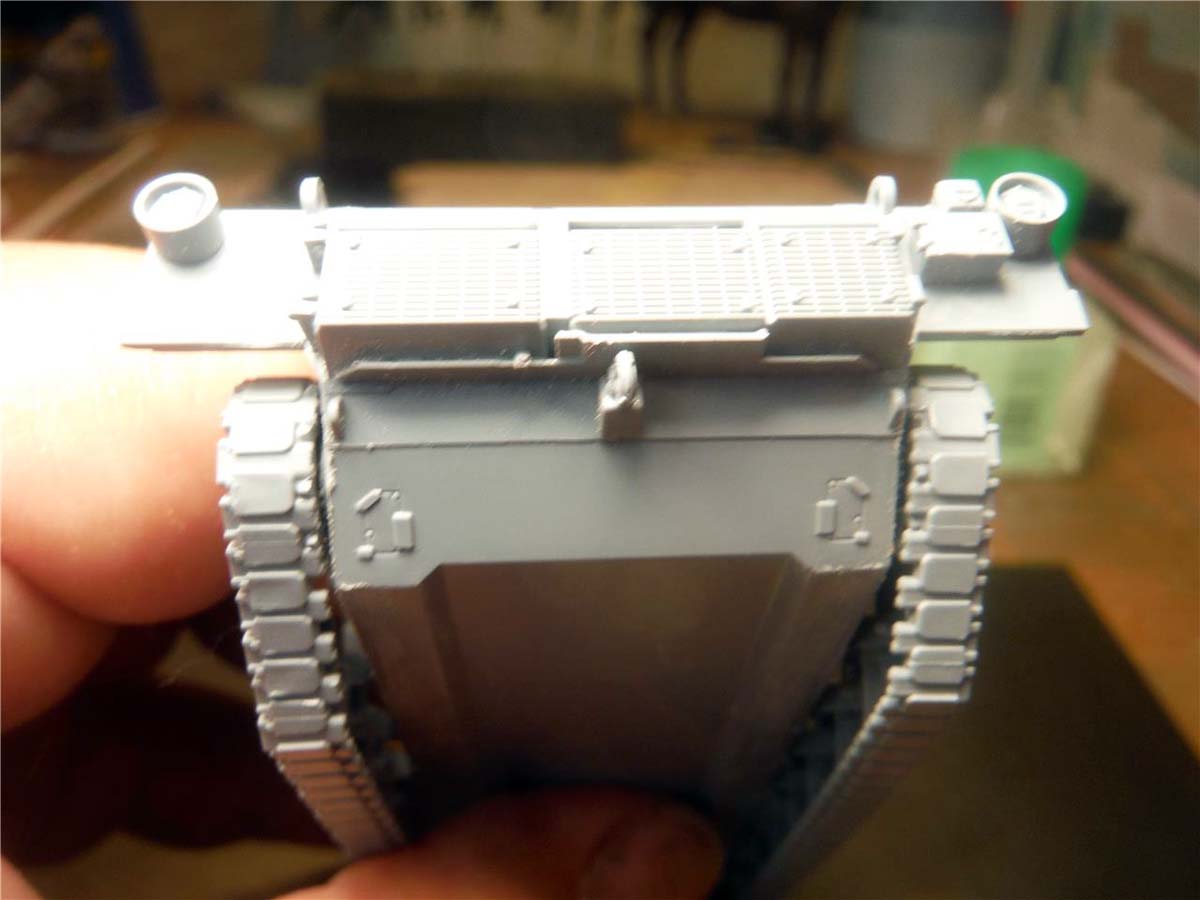
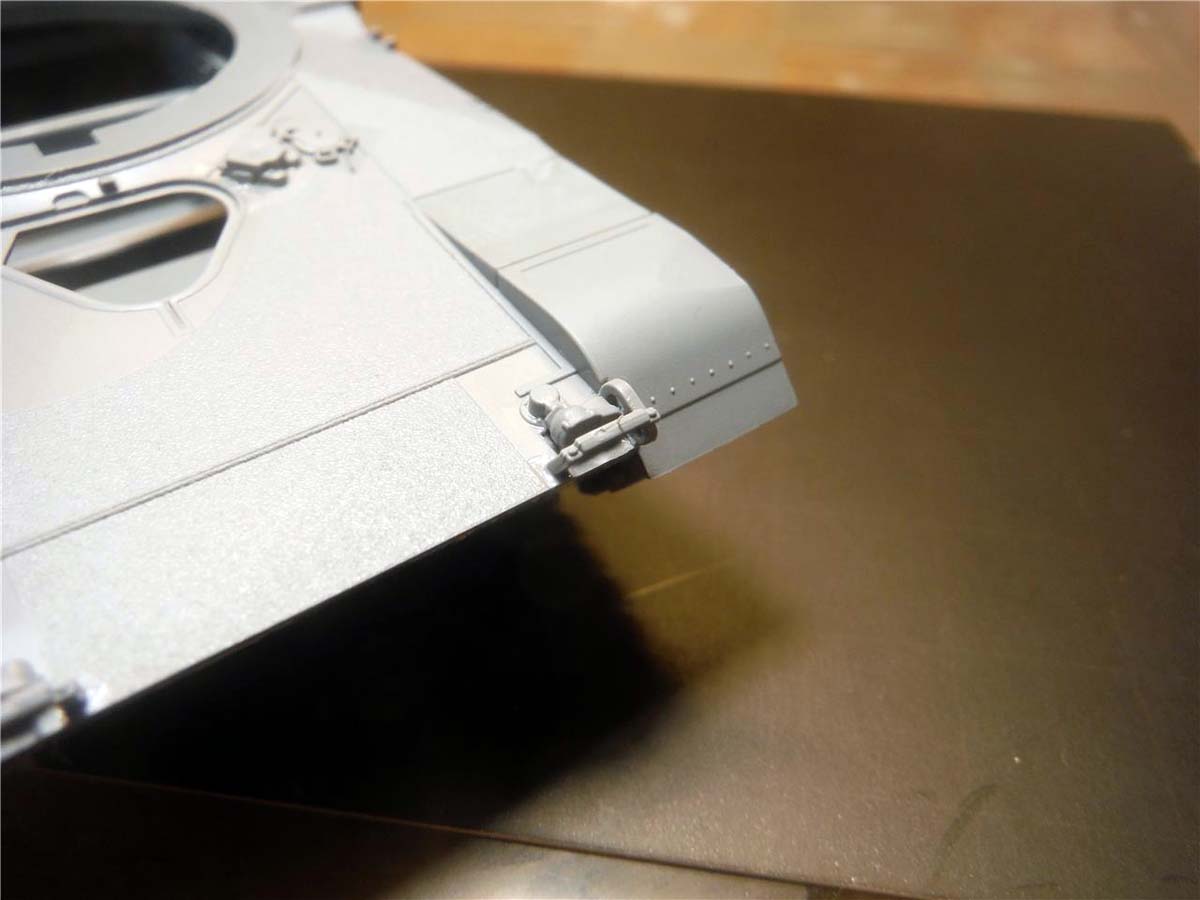
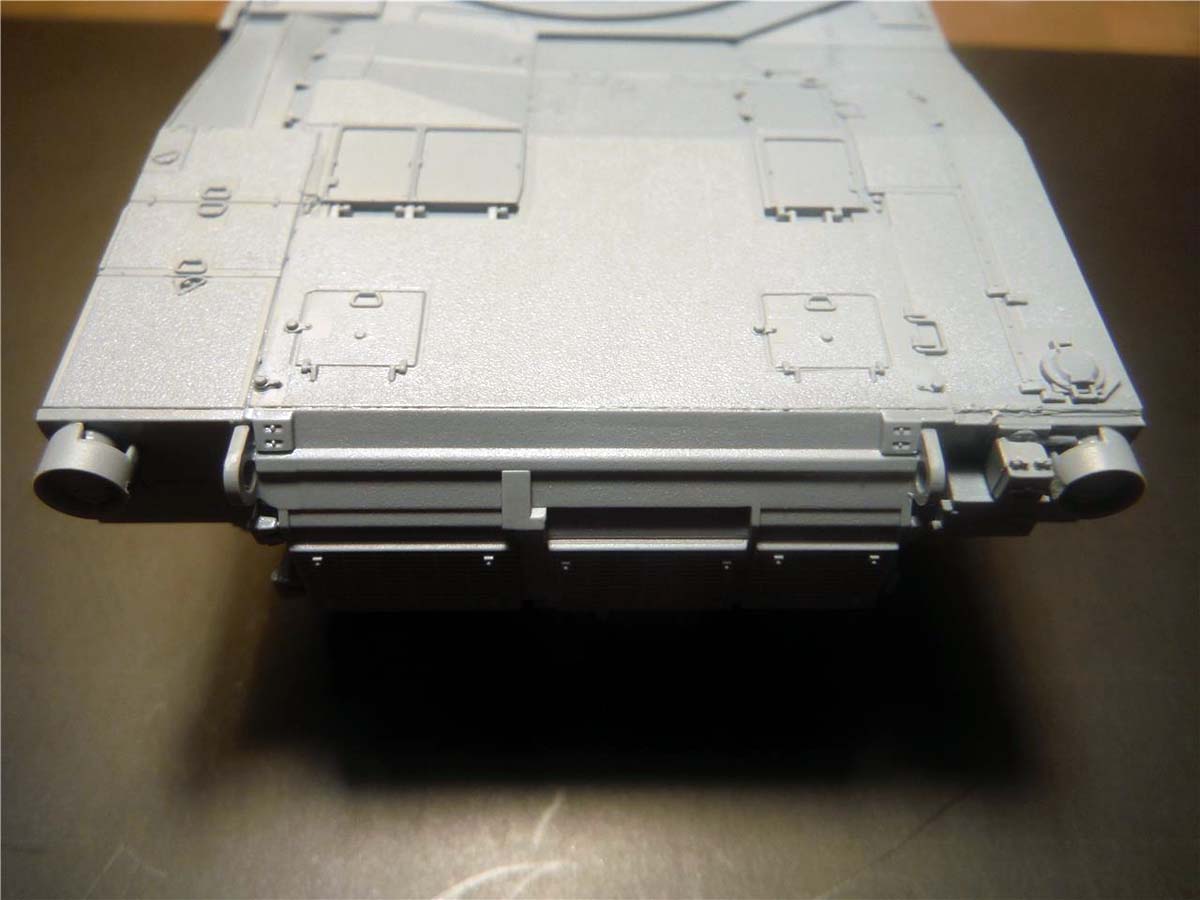
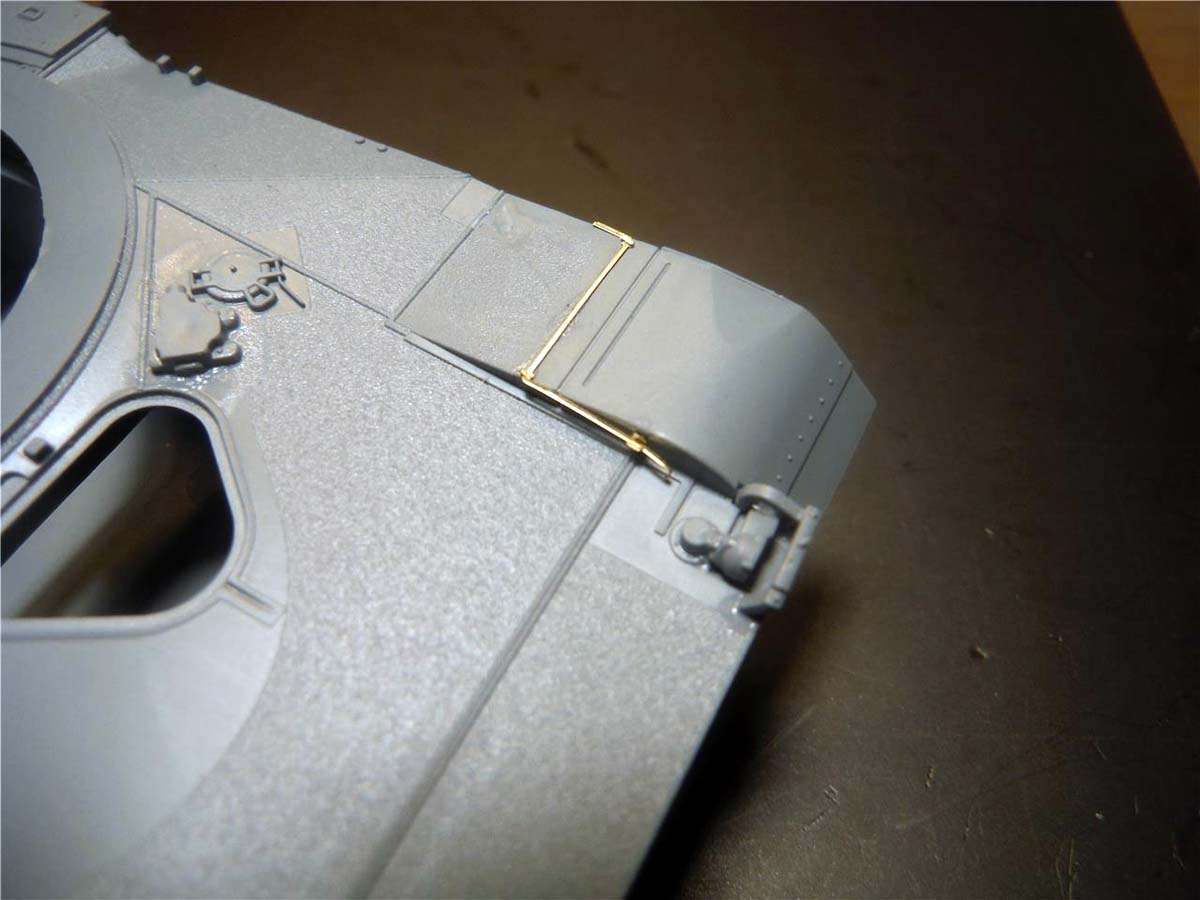
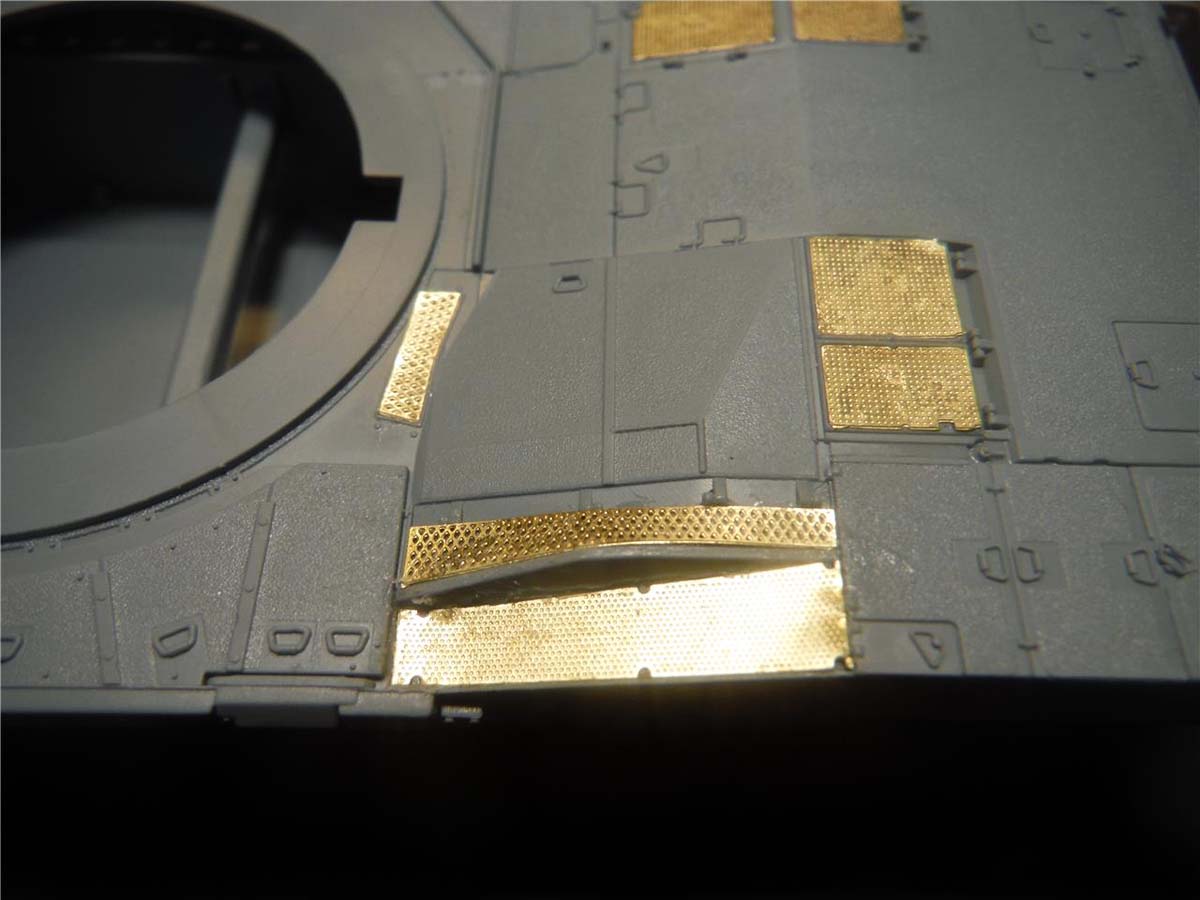
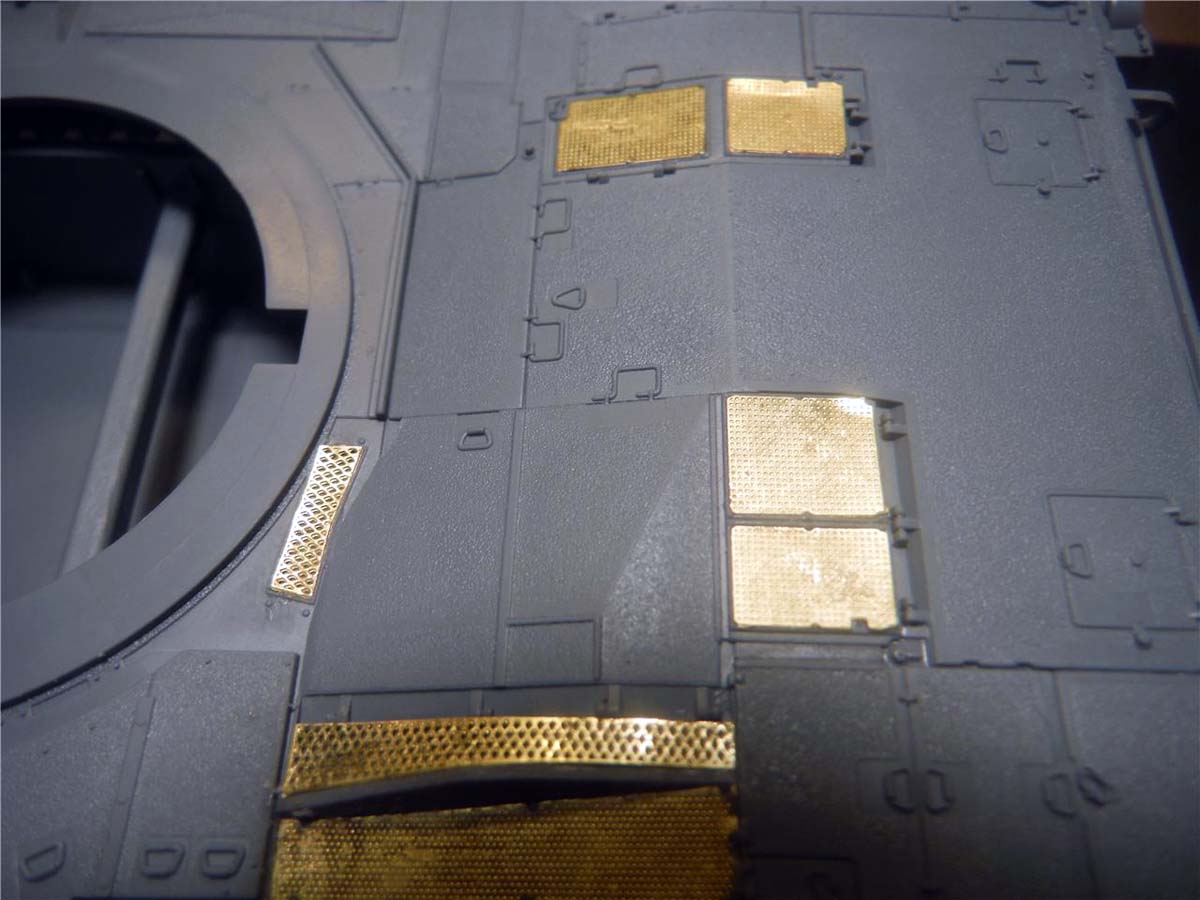
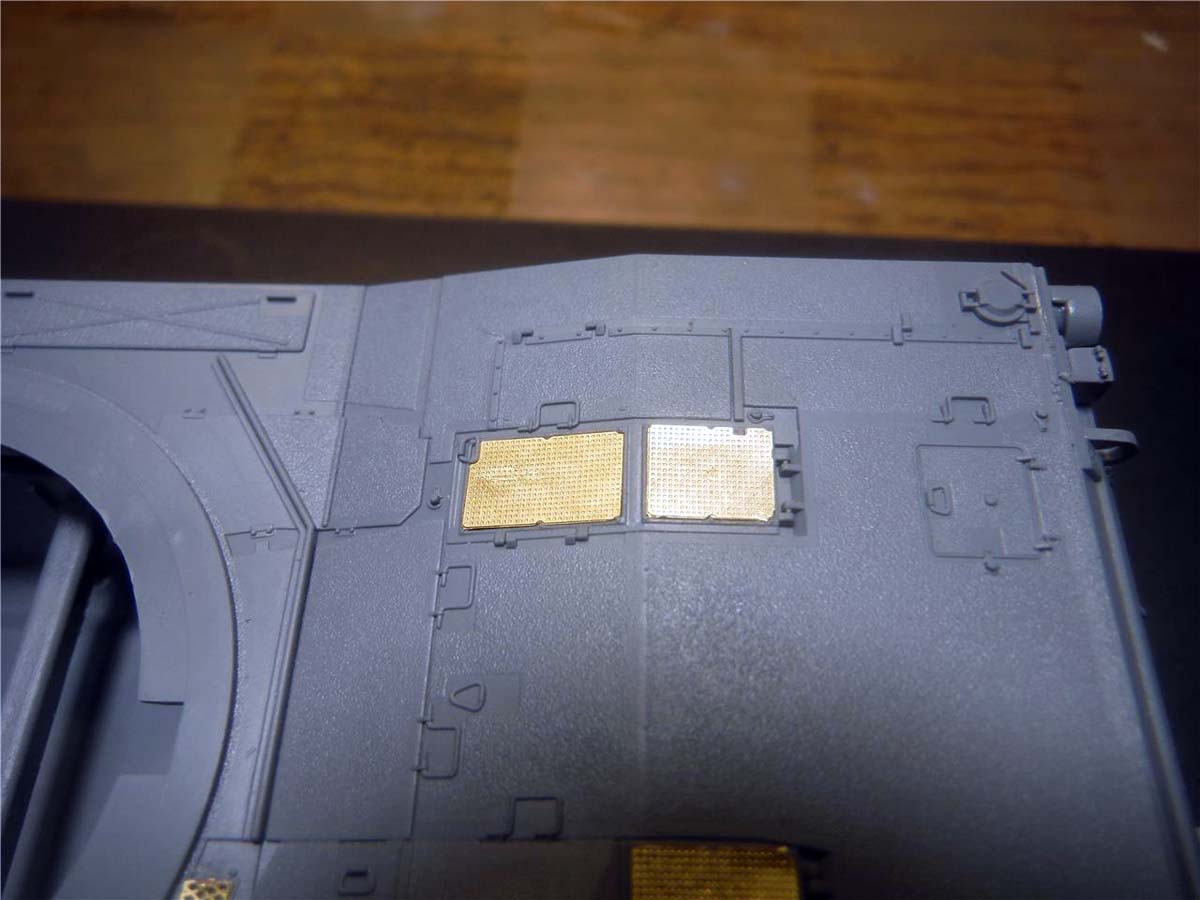
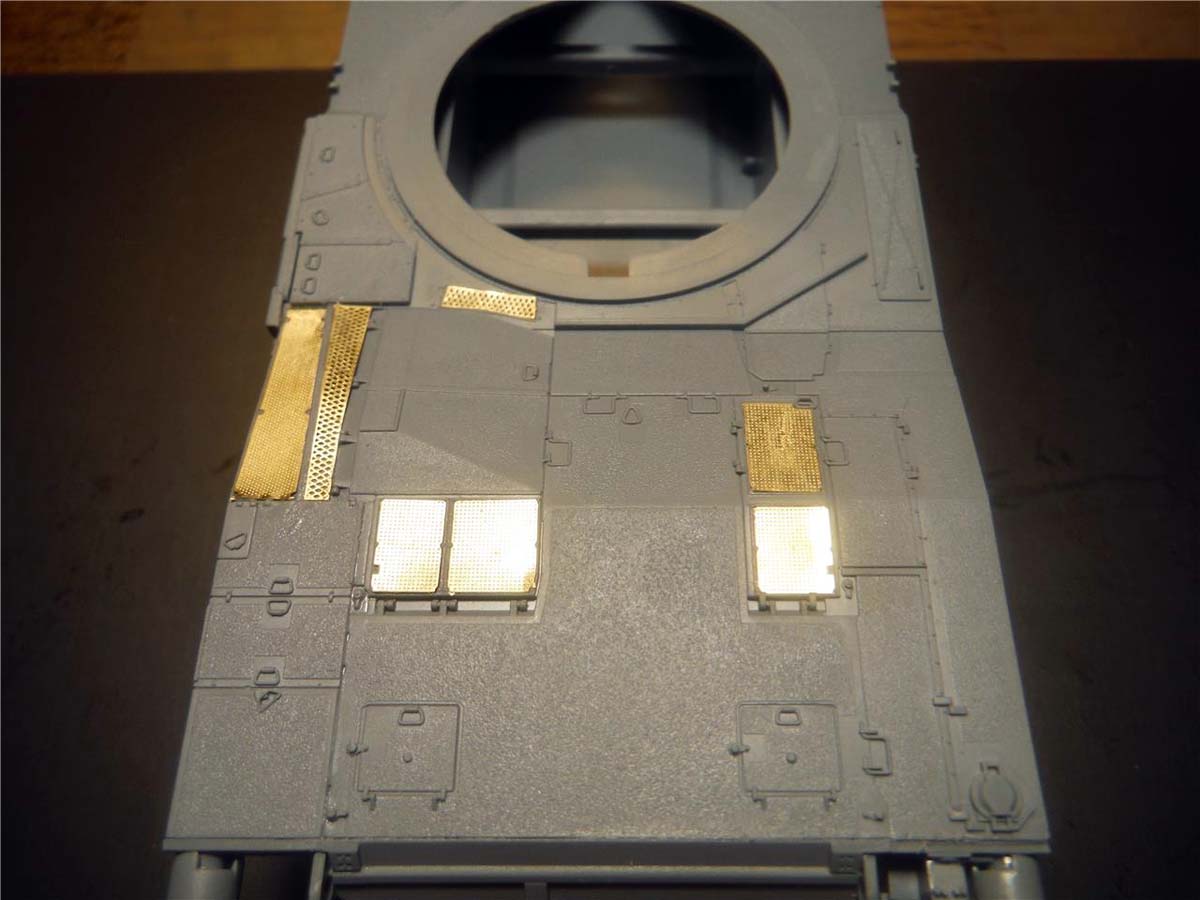
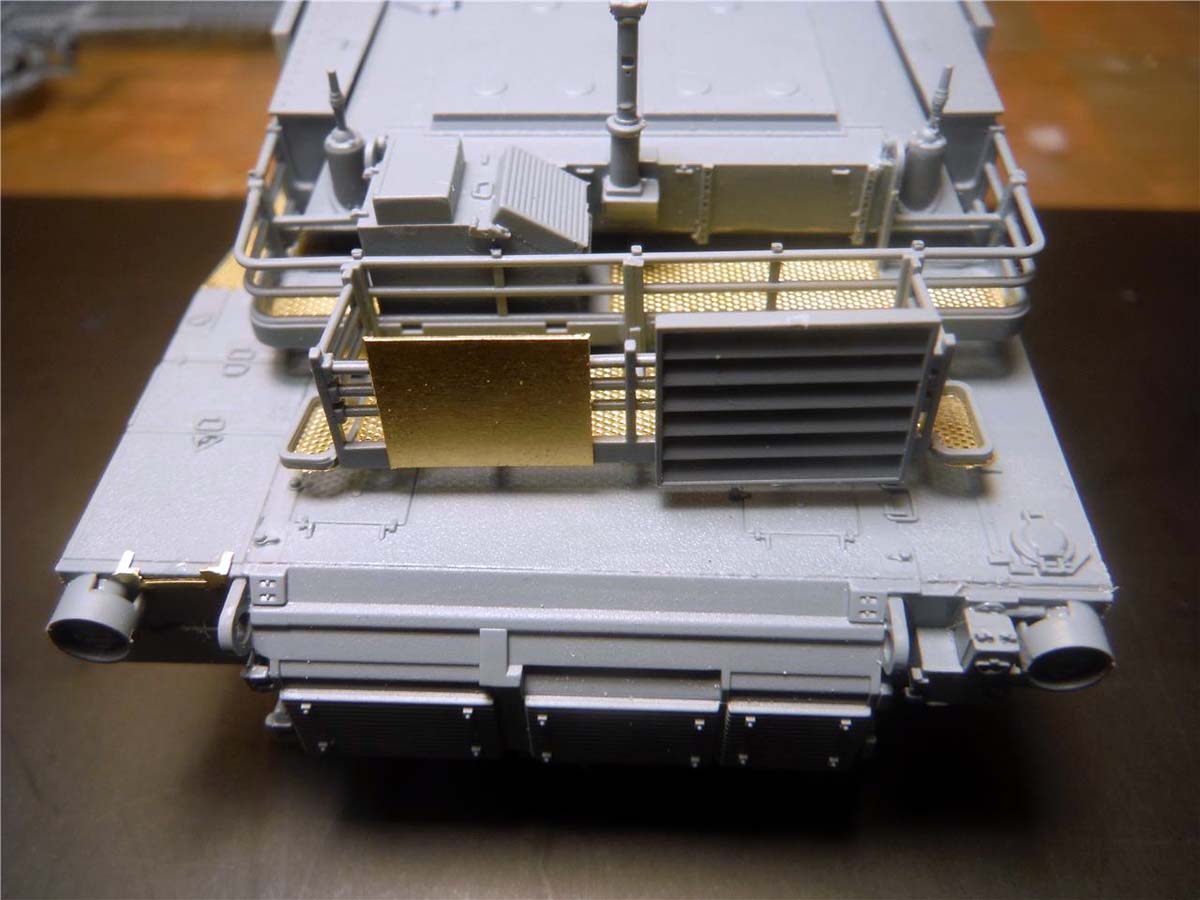
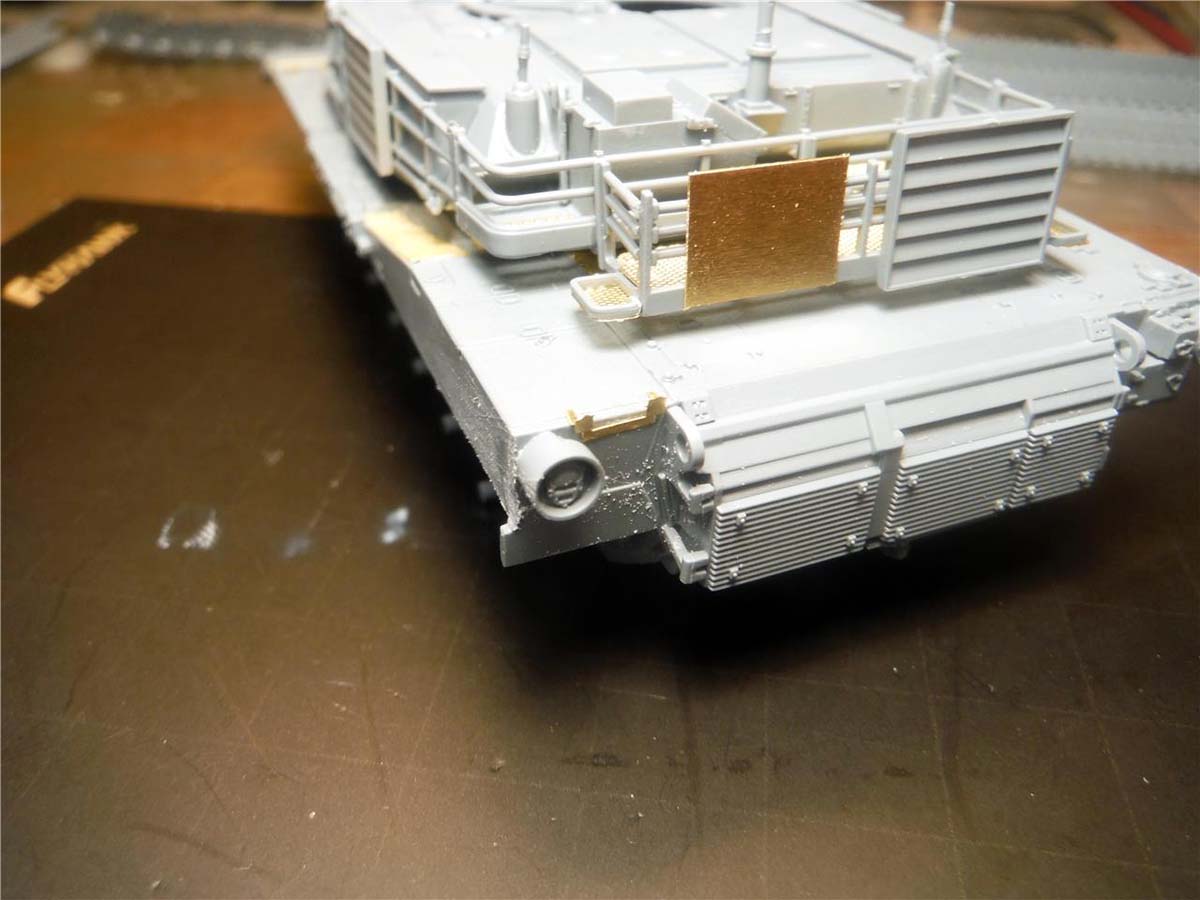
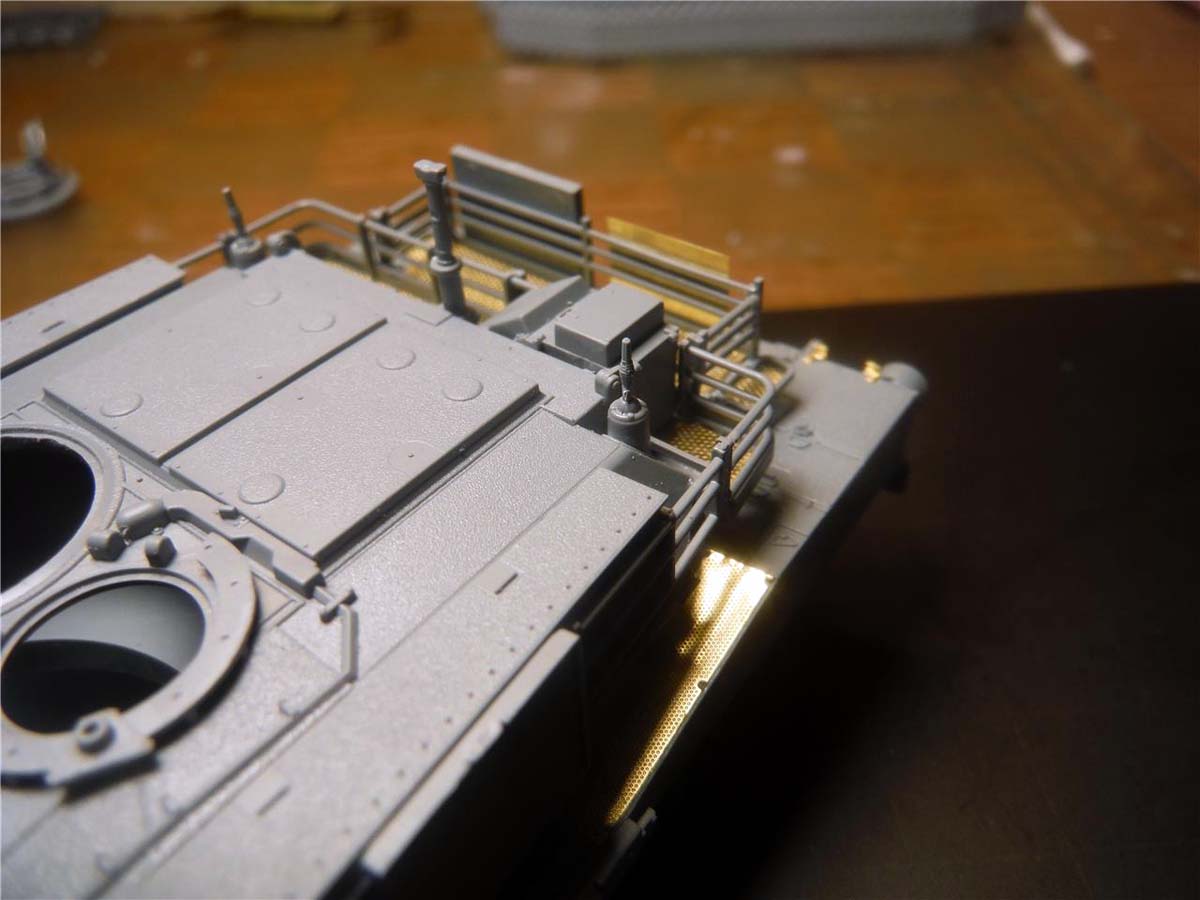
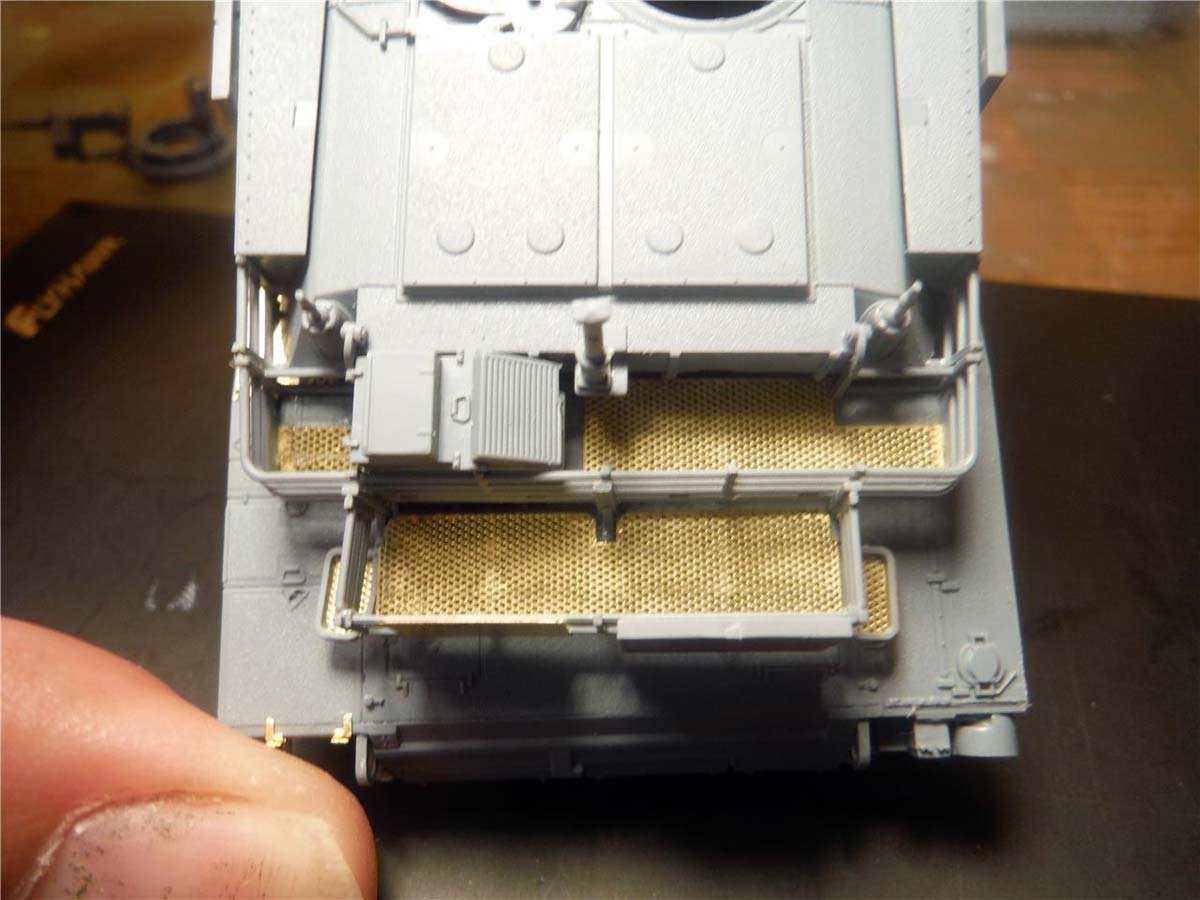
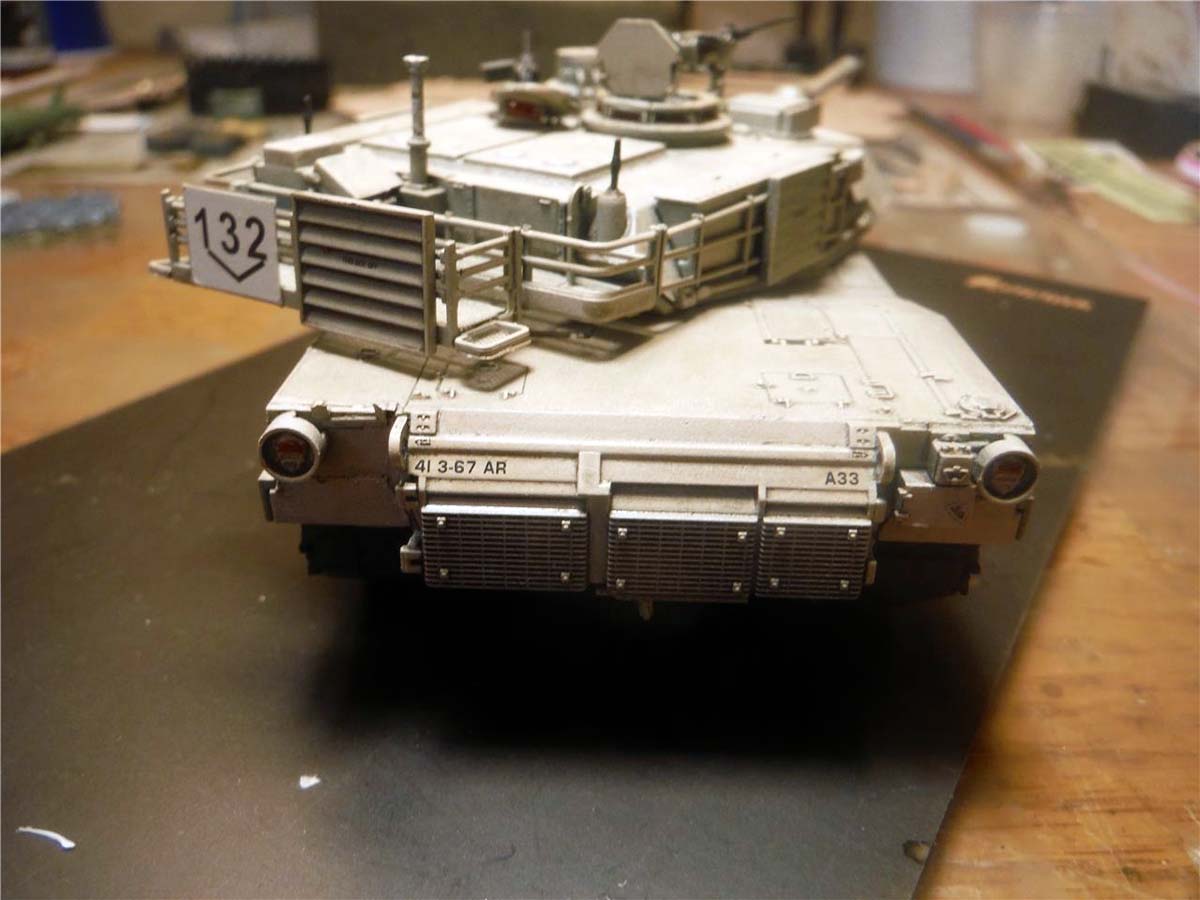
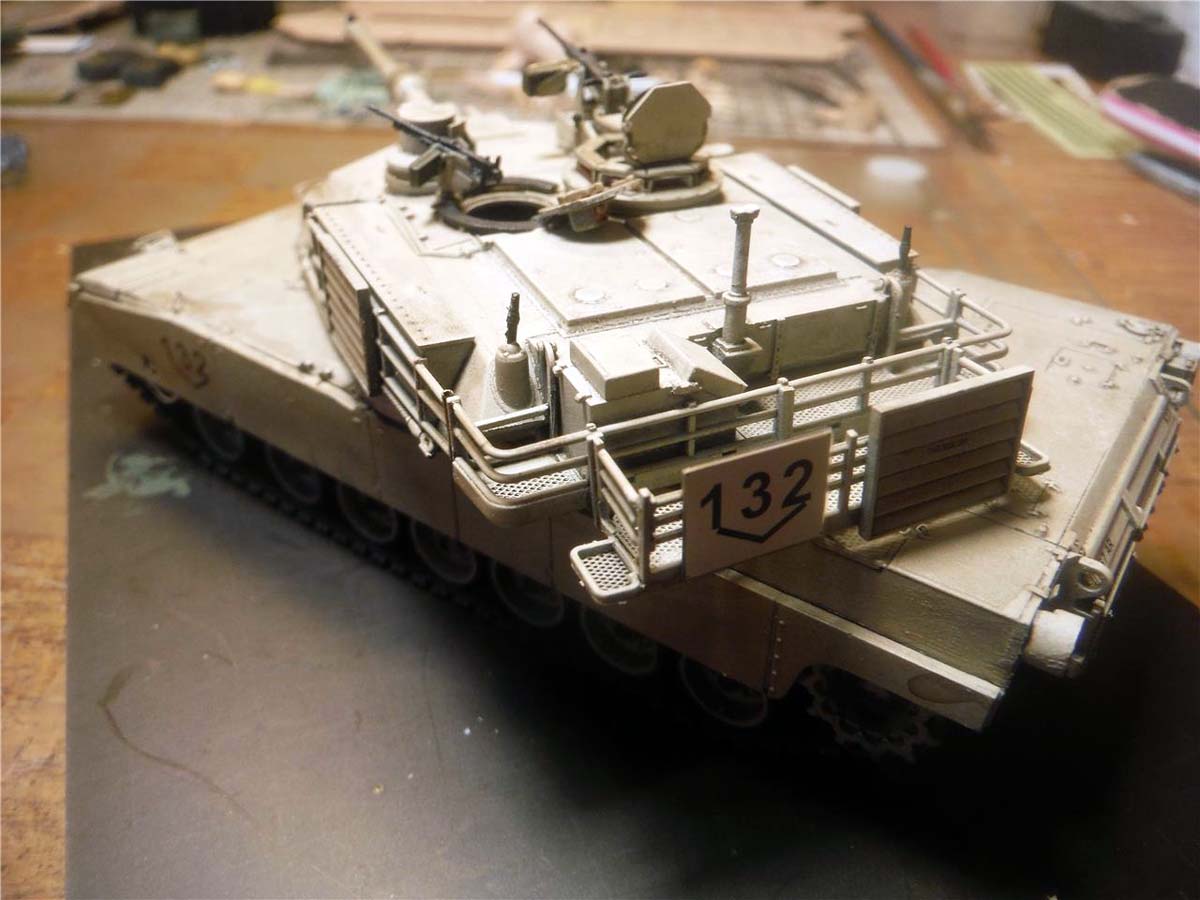
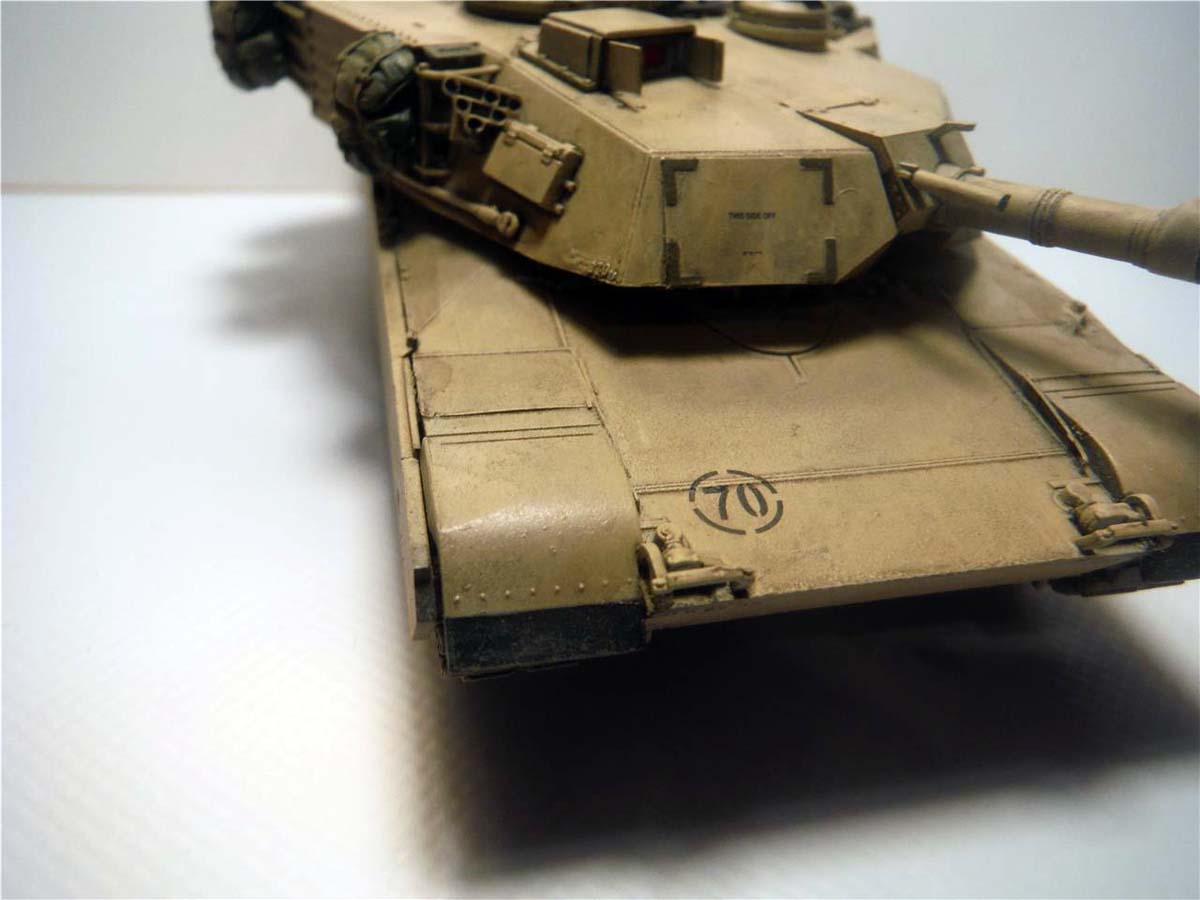
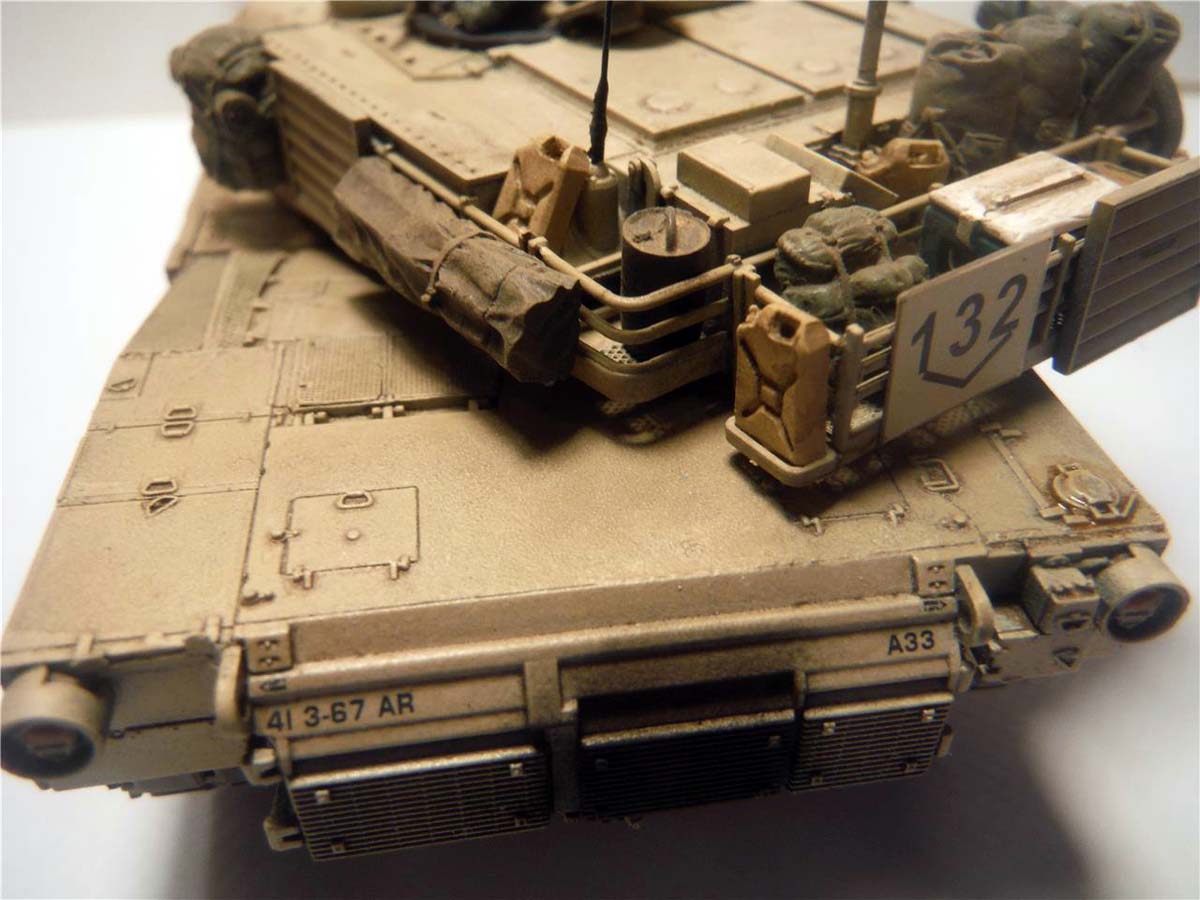
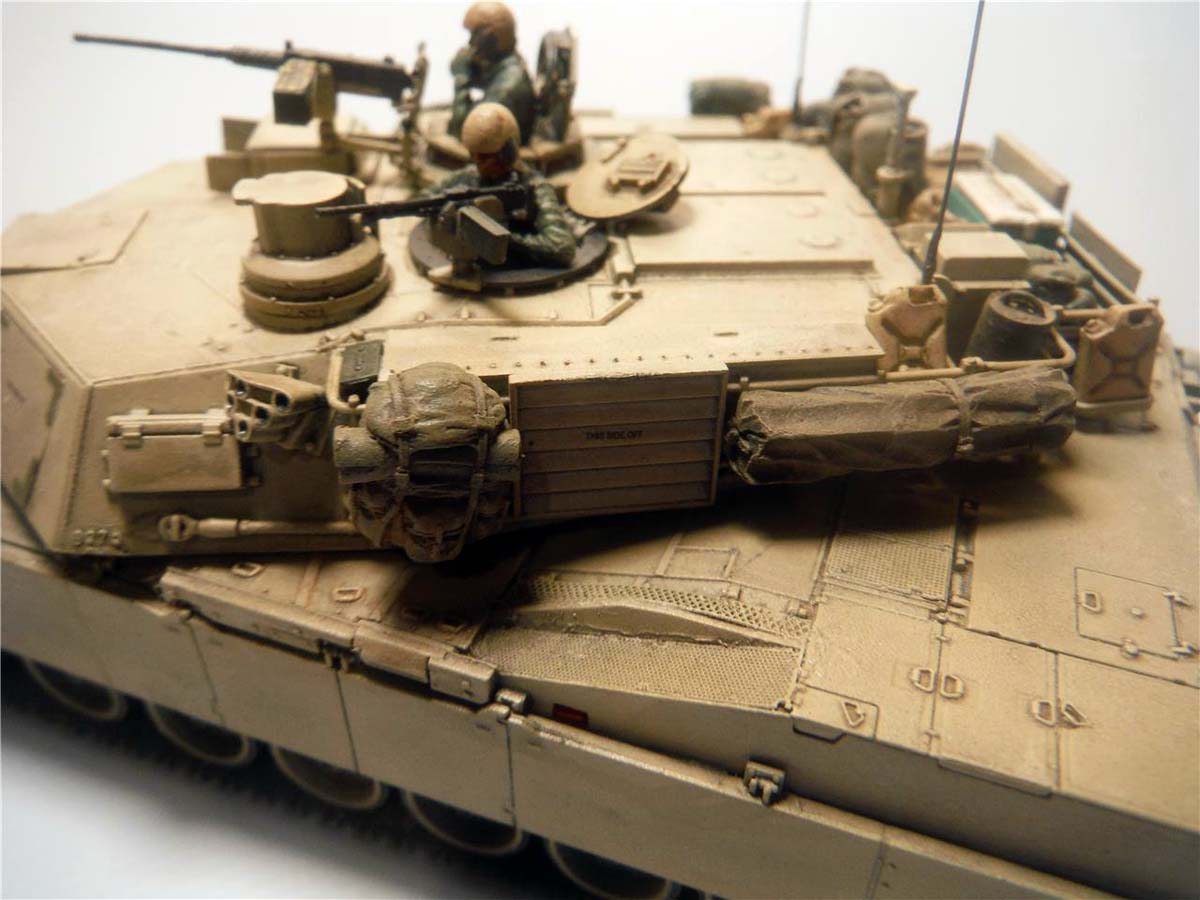
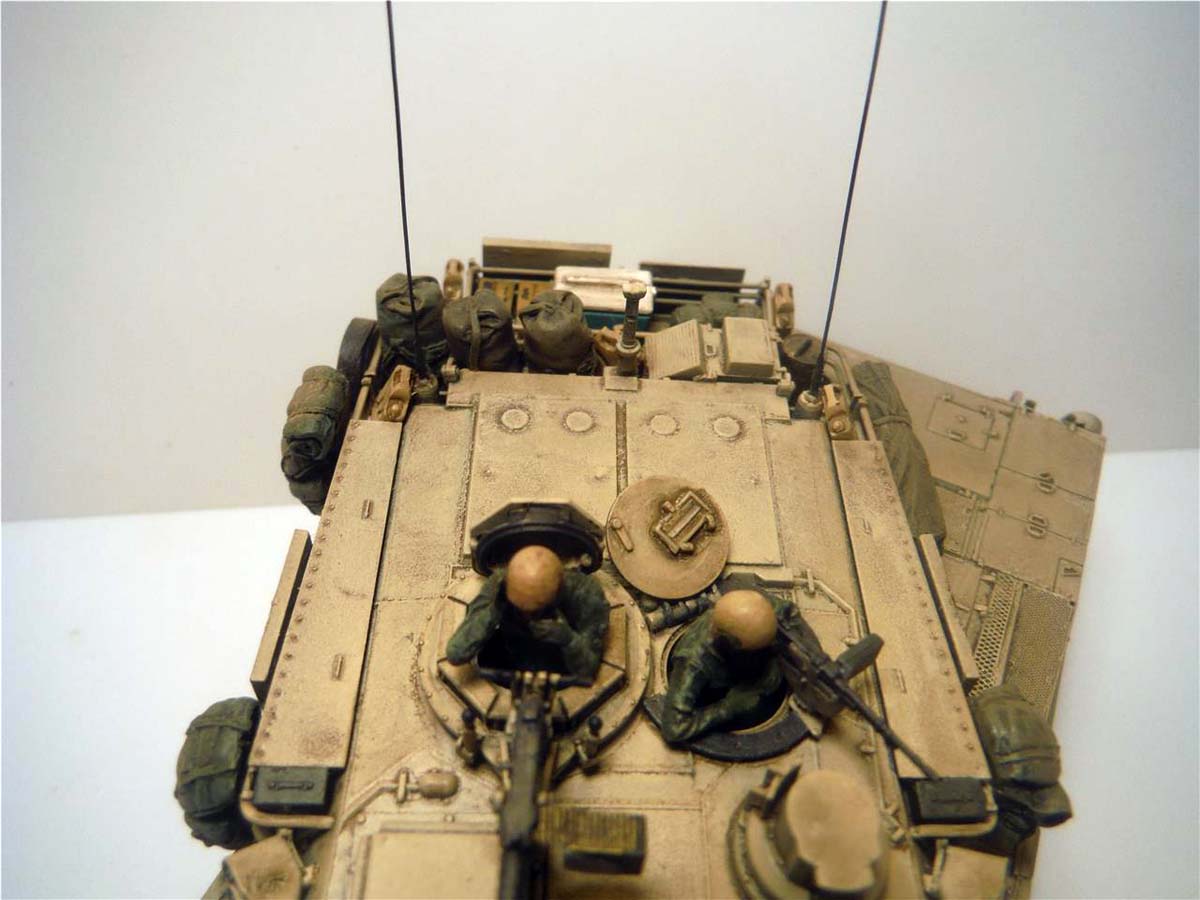
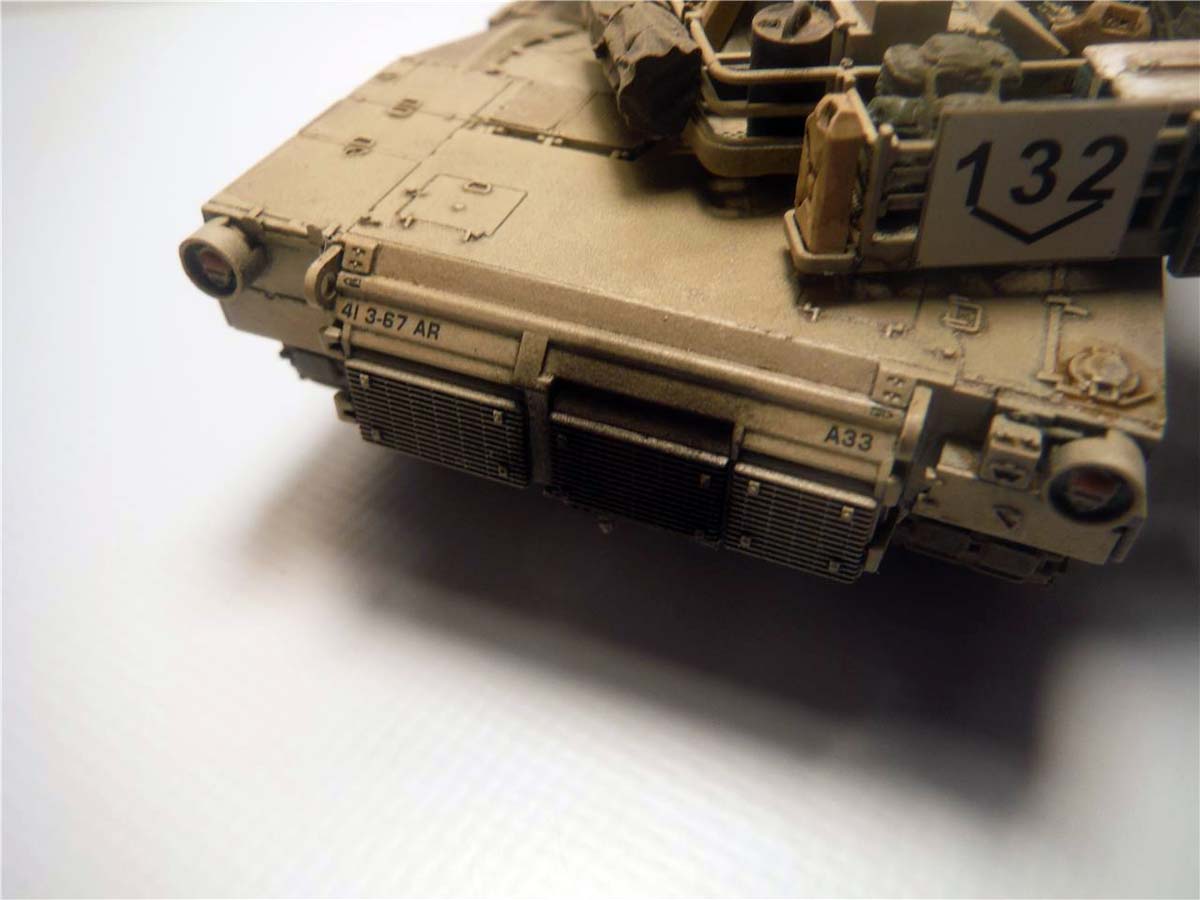
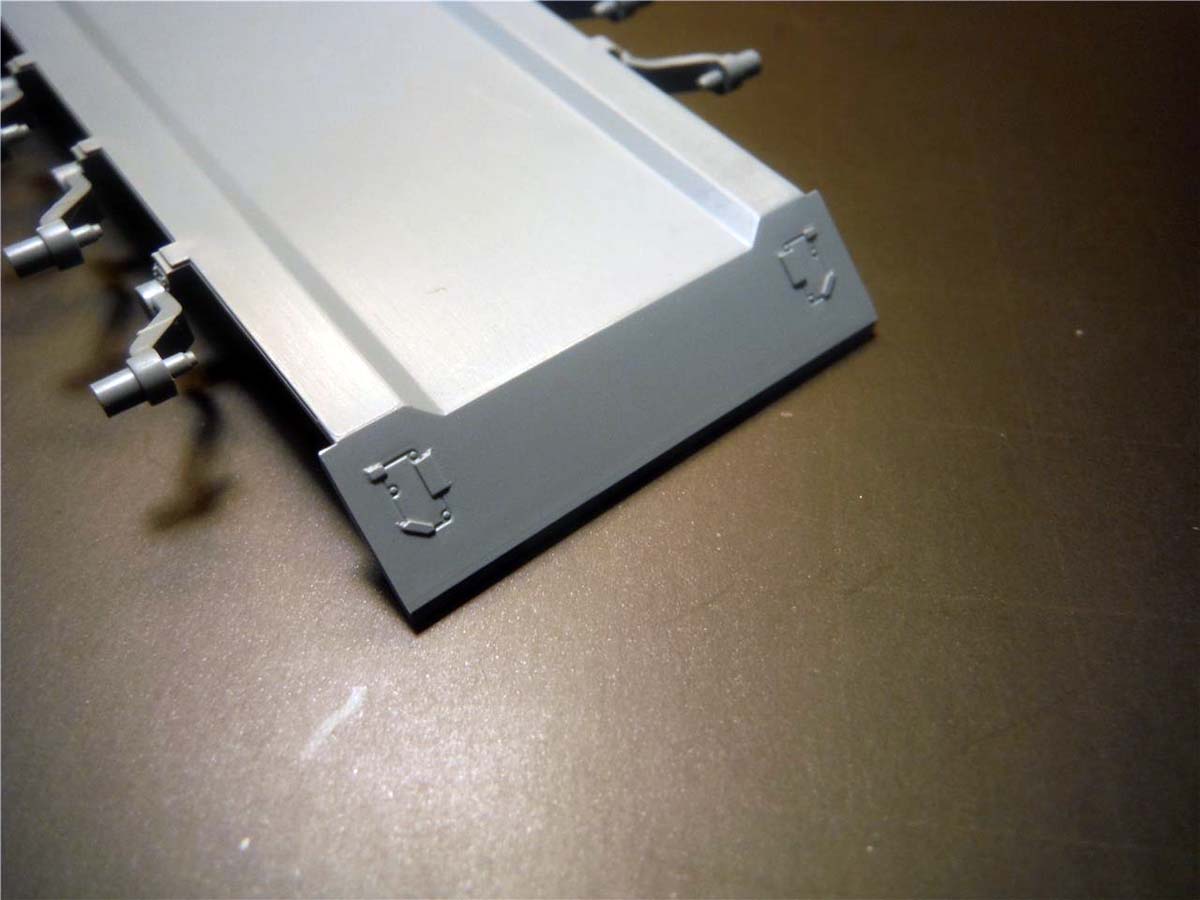
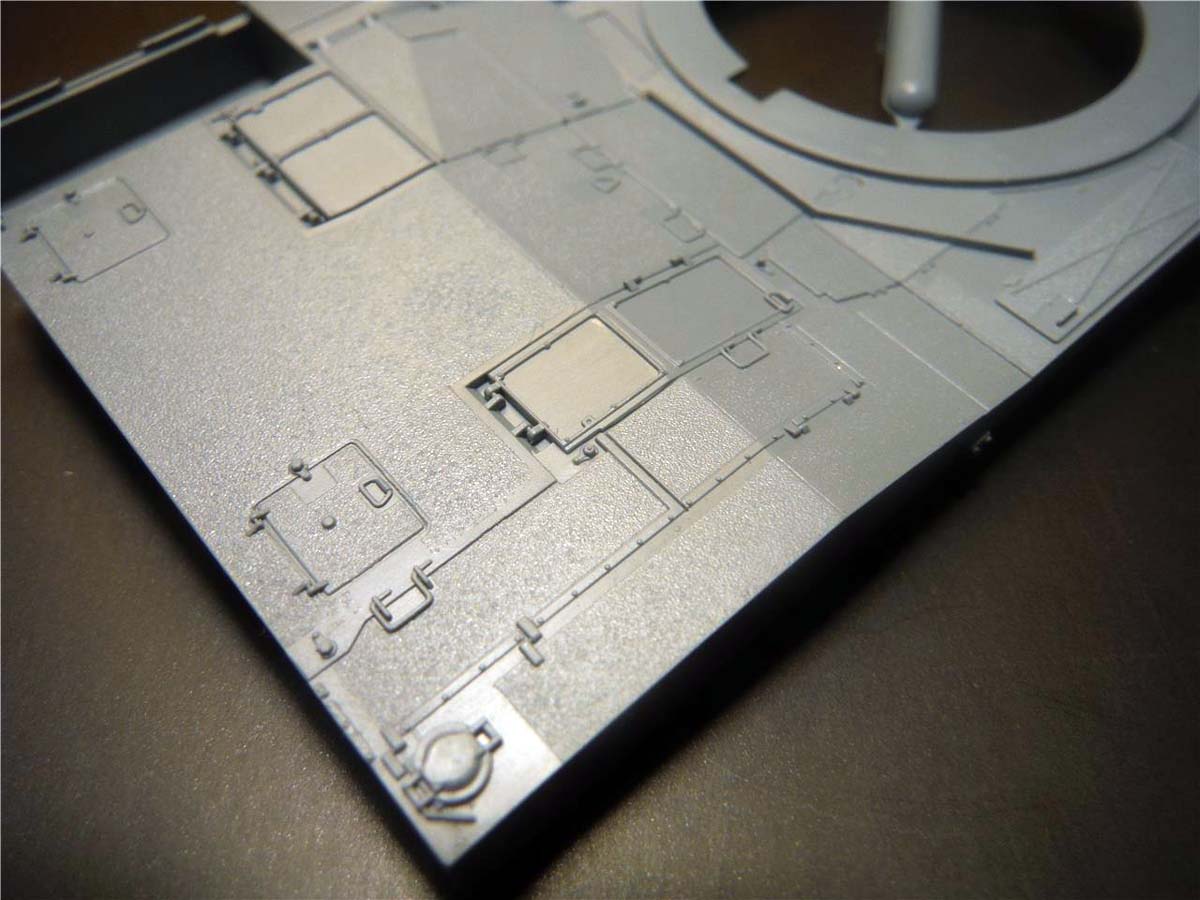
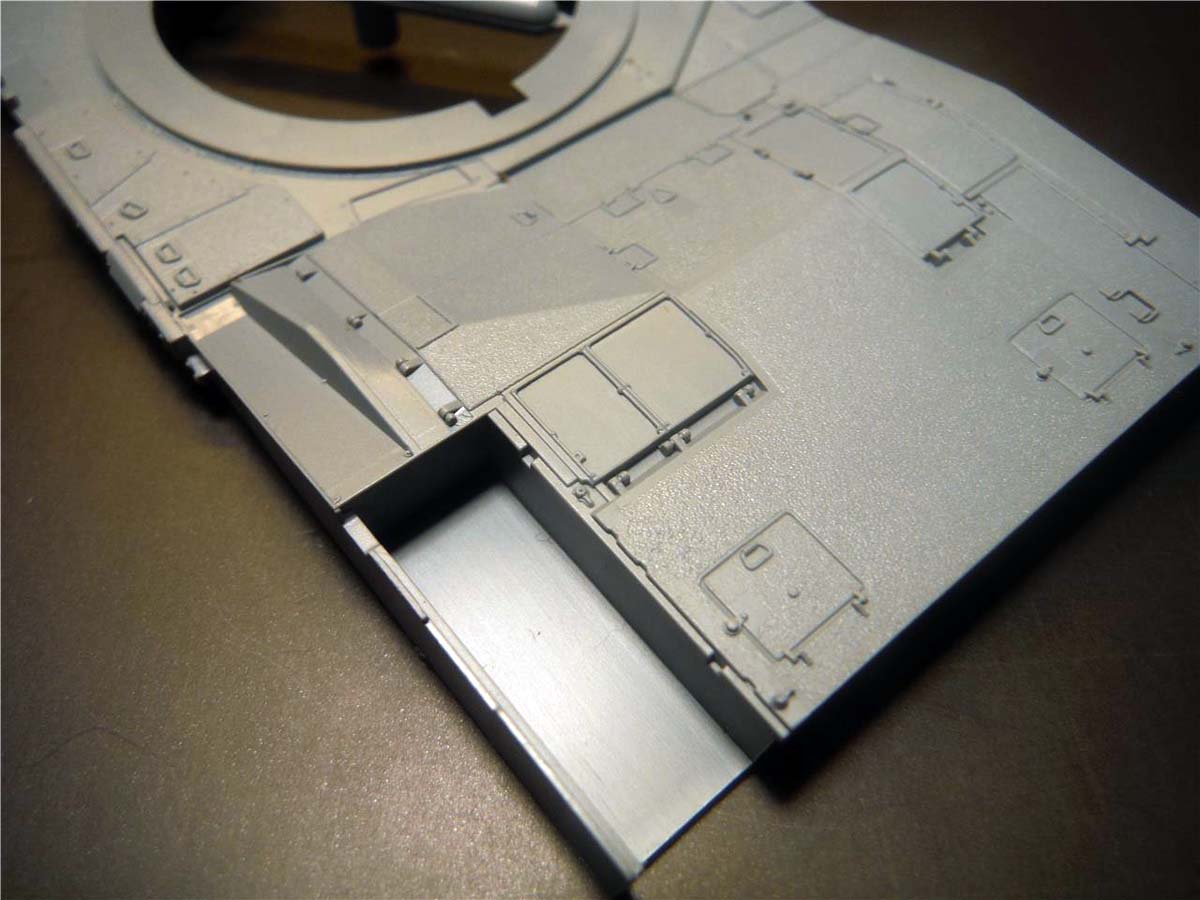
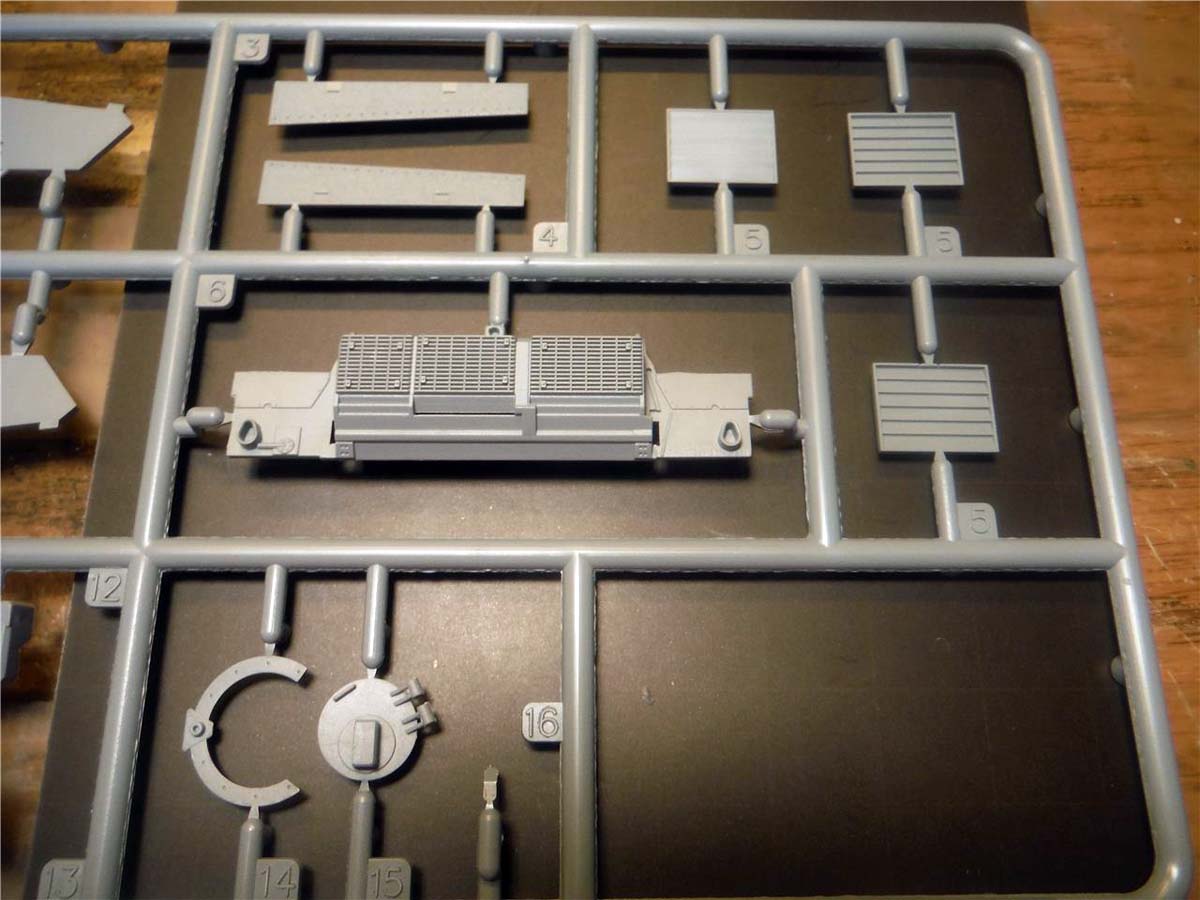
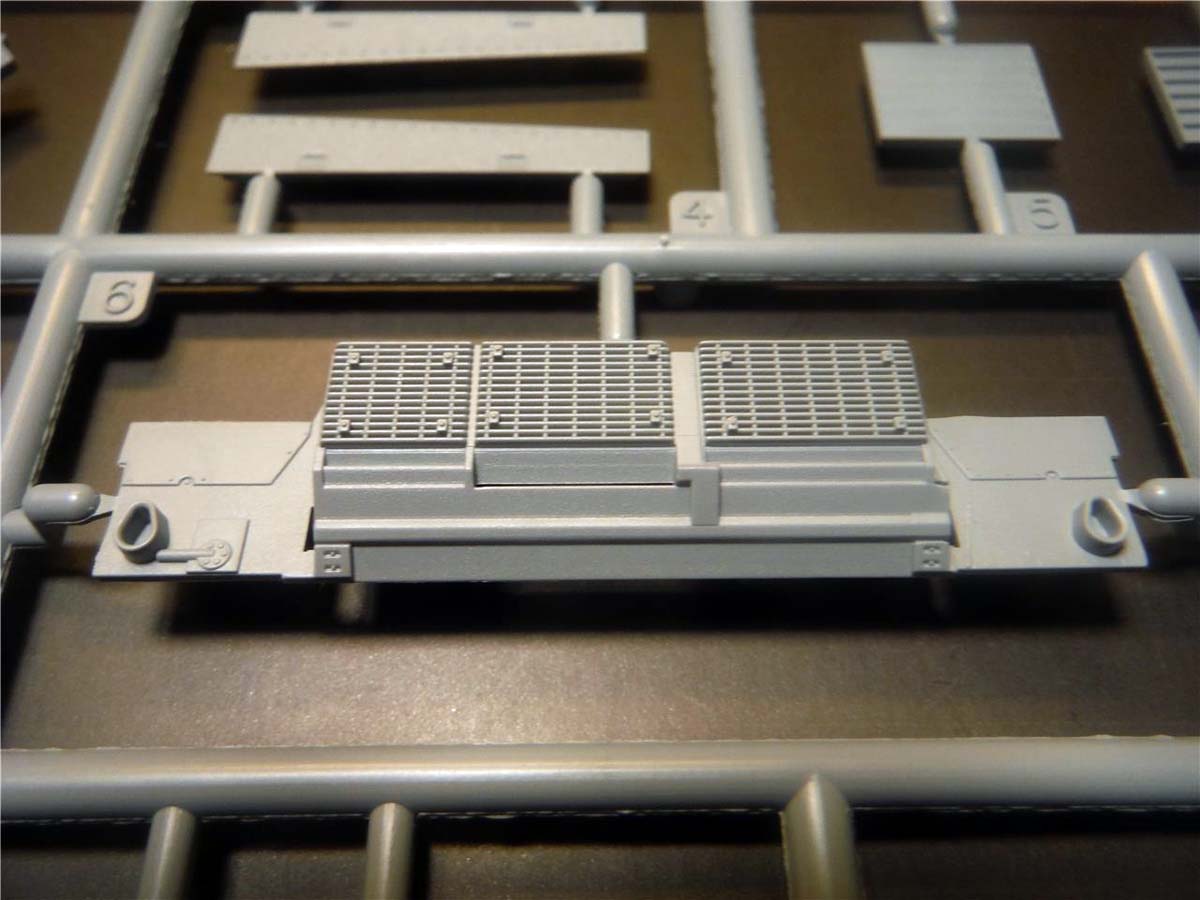
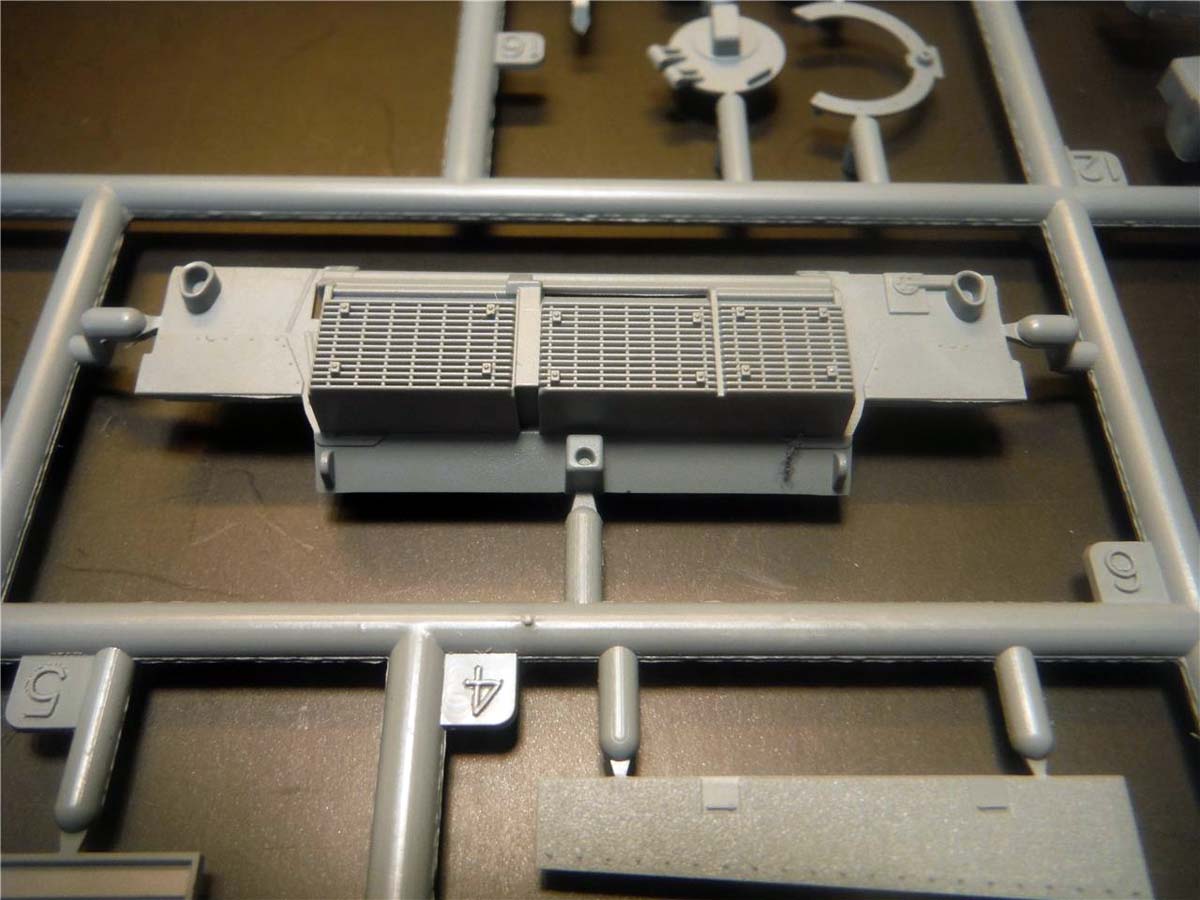
Step 2 consist of adding the outside part of the tracks, top of hull, head lights, skirts, and photo etch. Anti-slip coating is well represented on the top of the hull. Completion of the tracks was done separately from the hull. First, I glued the outer half of the track, Part A3/2 to the inner part of the track. Then I painted the tracks and road wheel black. And after painting the outer drive sprocket, Part C4/5 and inside of the outer road wheel the hull color, I then glued them to their appropriate spots. There are two seams that need to be puttied and sanded on the left and right rear sides where the upper hull meets the rear. Also, the weld bead that is on the front of the hull is not present but can easily be added with putty or small diameter plastic rod softened with liquid cement. The side skirts can be left off till after you install the track assembly and painting is done. The photo etch is really nice in this kit, very easy to work with. All 7 screens are provided for the rear engine deck. Photo etch is also provided for the retaining bar that hold down the front fenders and the grab handle on the left side. I would leave of the grab handle, Part PE18 till right before painting so that way you don't knock it off and loose it while handling. Another "not so bad" critique is that the drivers hatch I missing that lip you see on all A2's. The missing lip doesn't take away from the overall build and can easily be added with plastic stock, but for someone who knows it' supposed to be there, it's noticeable.
STEP 3
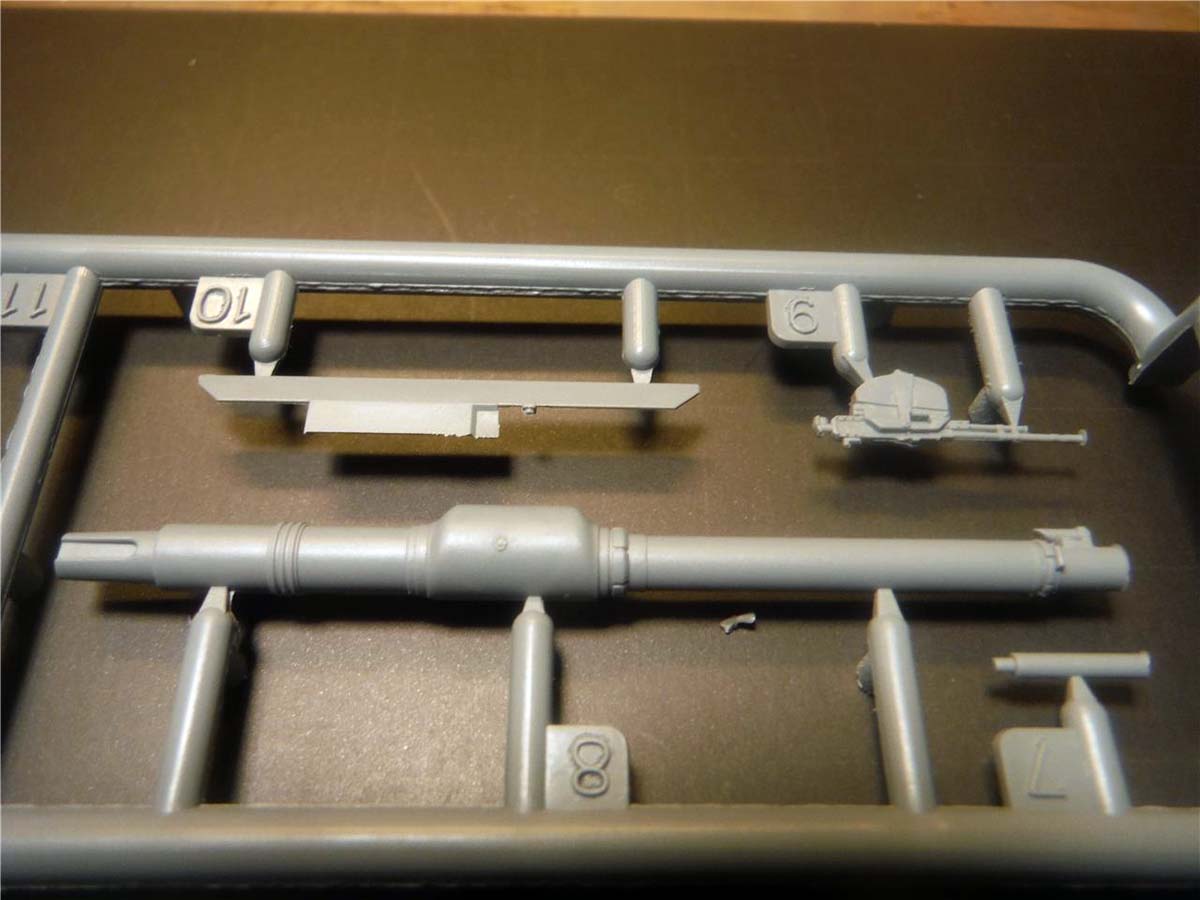
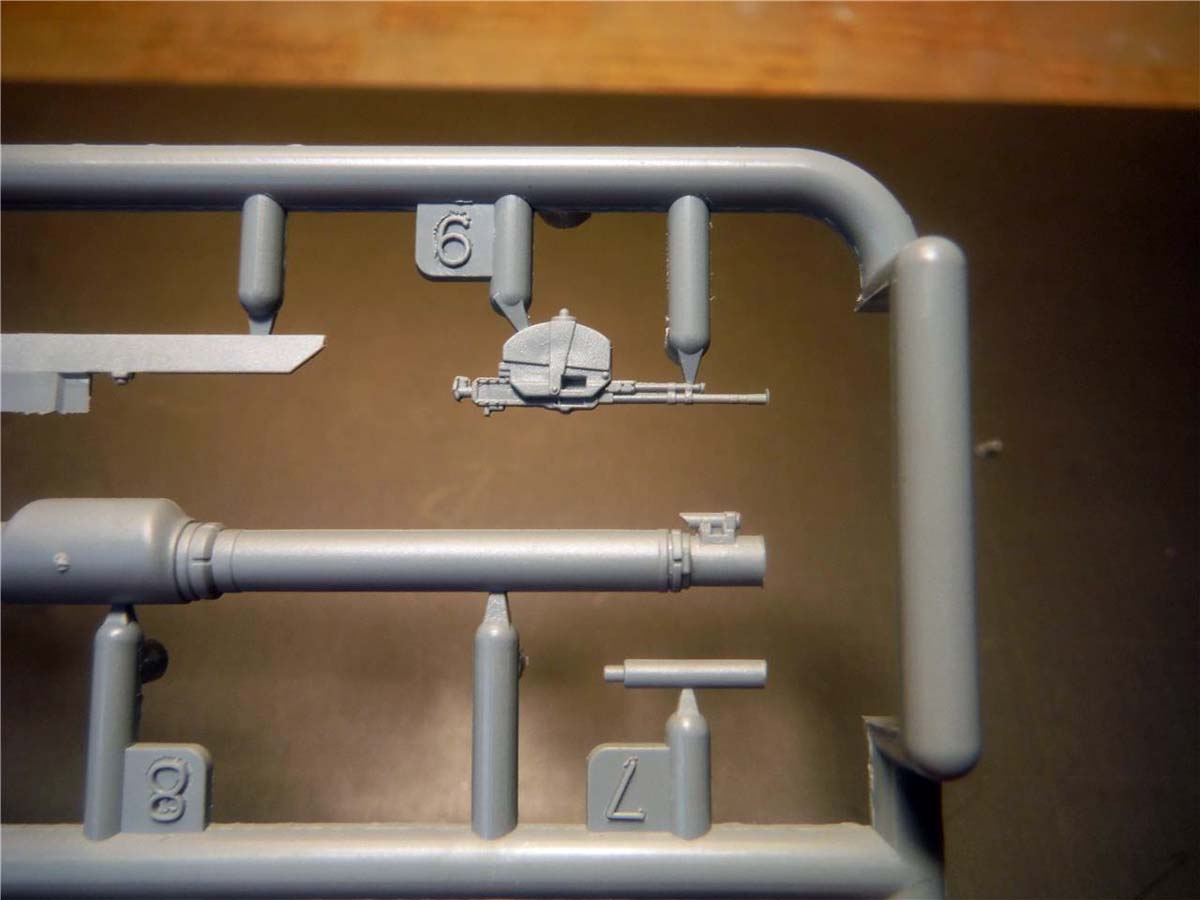
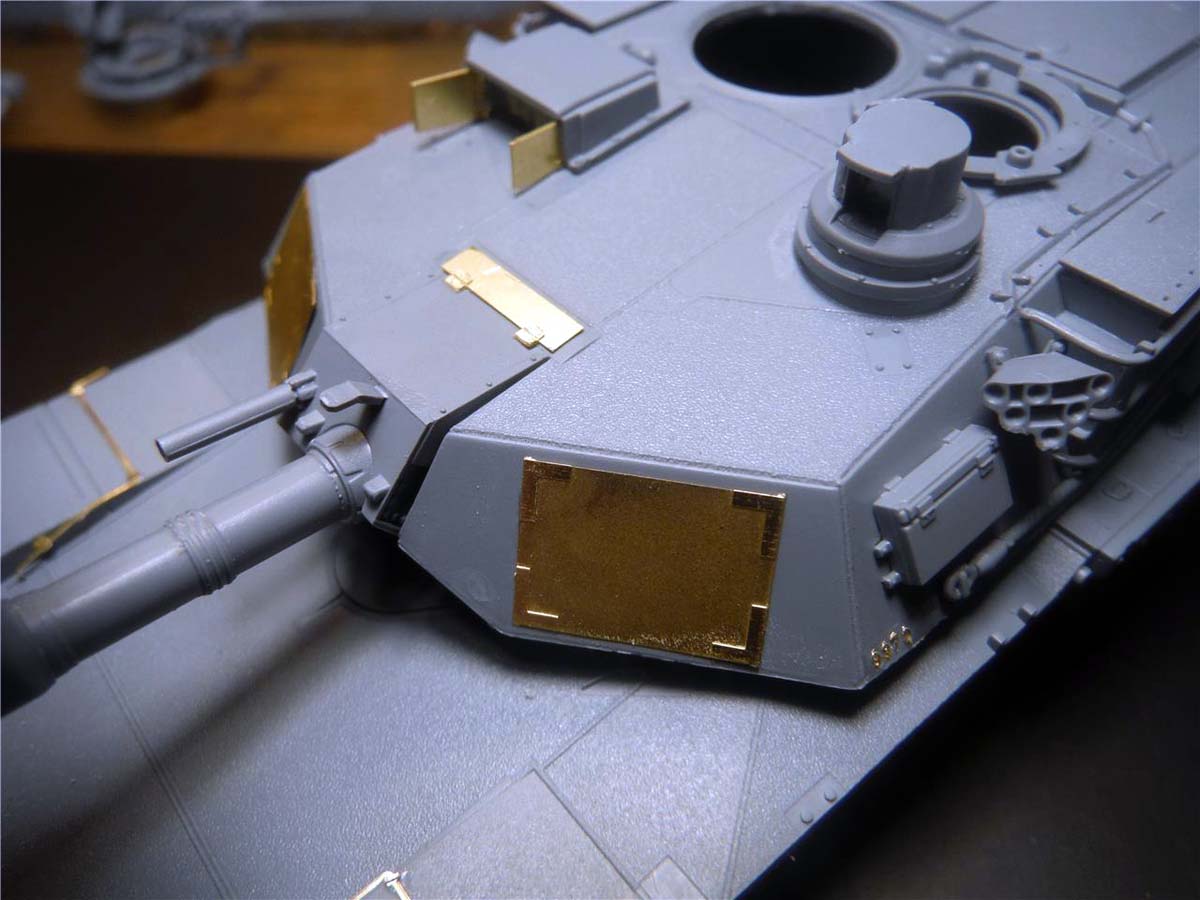
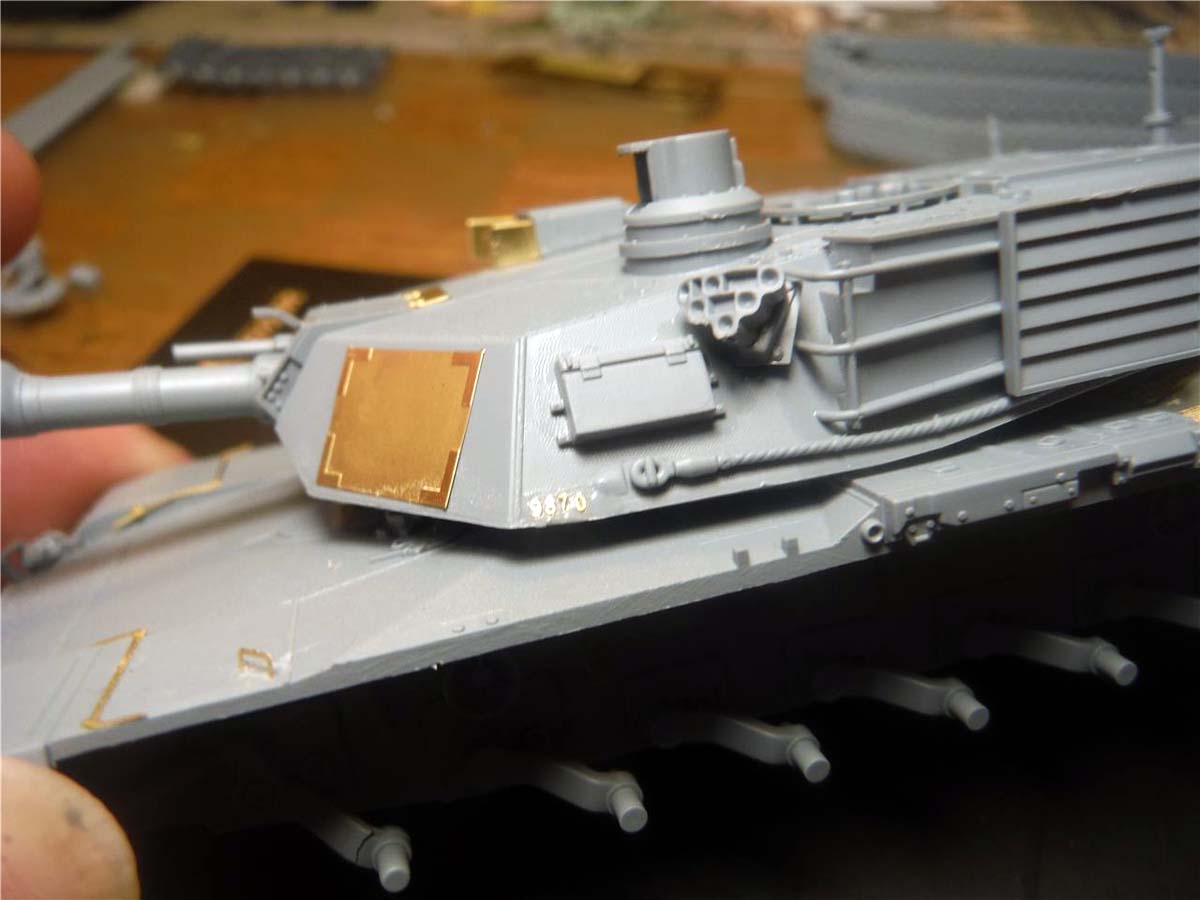
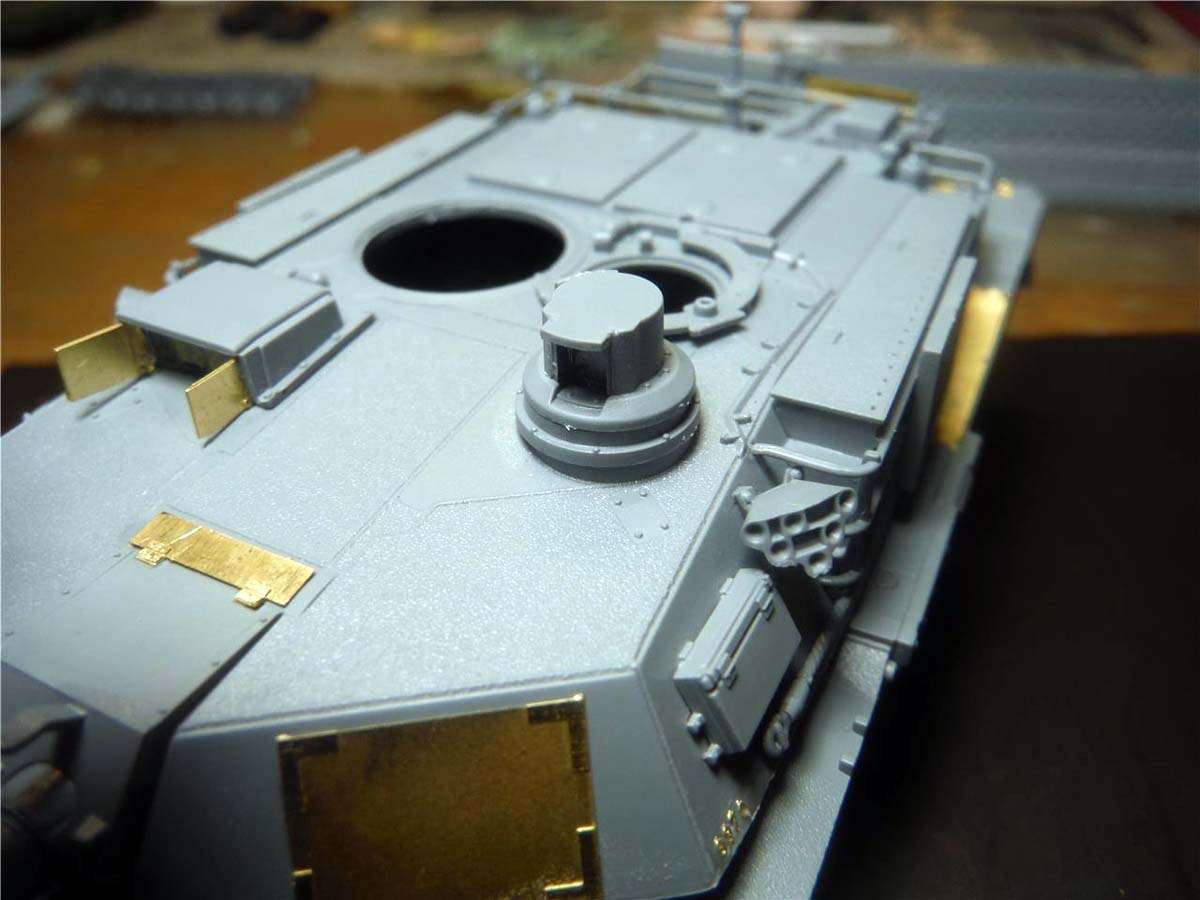
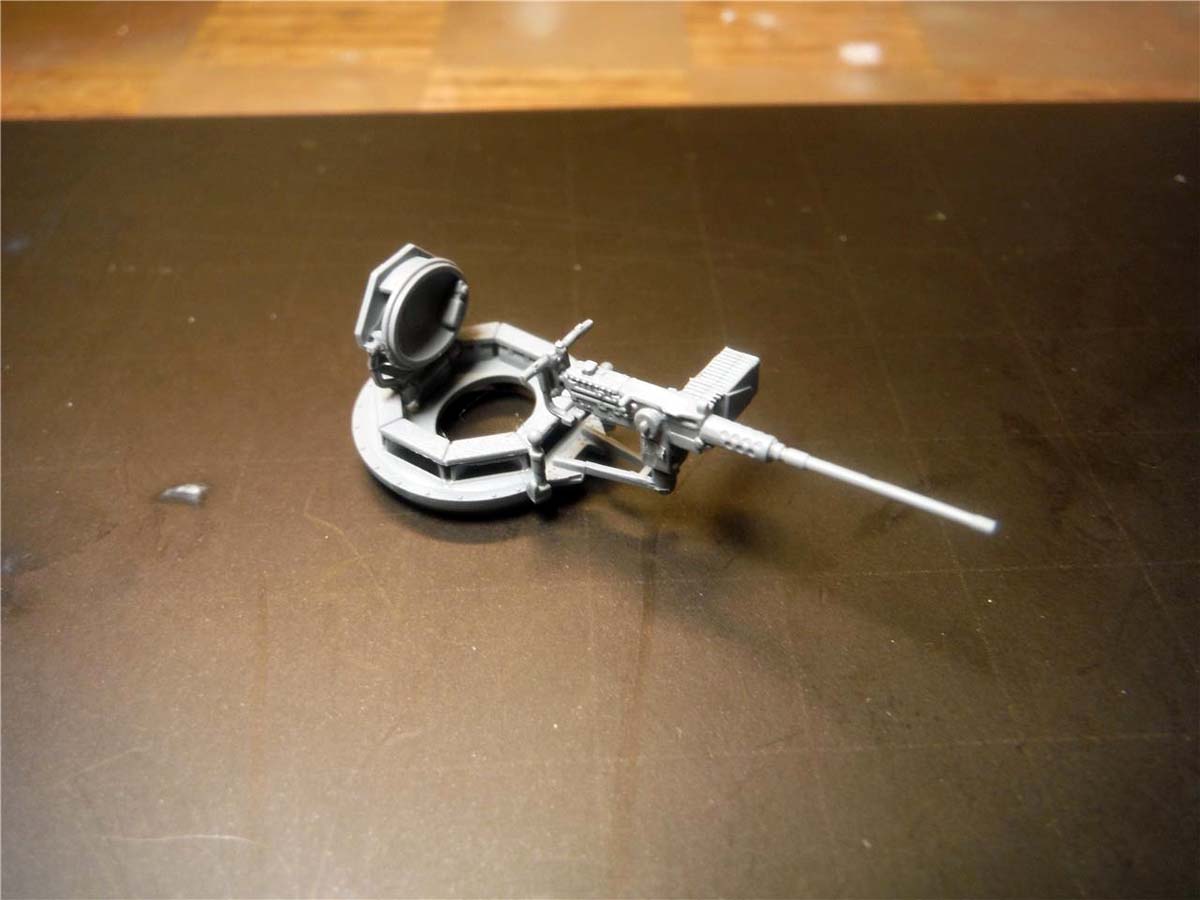
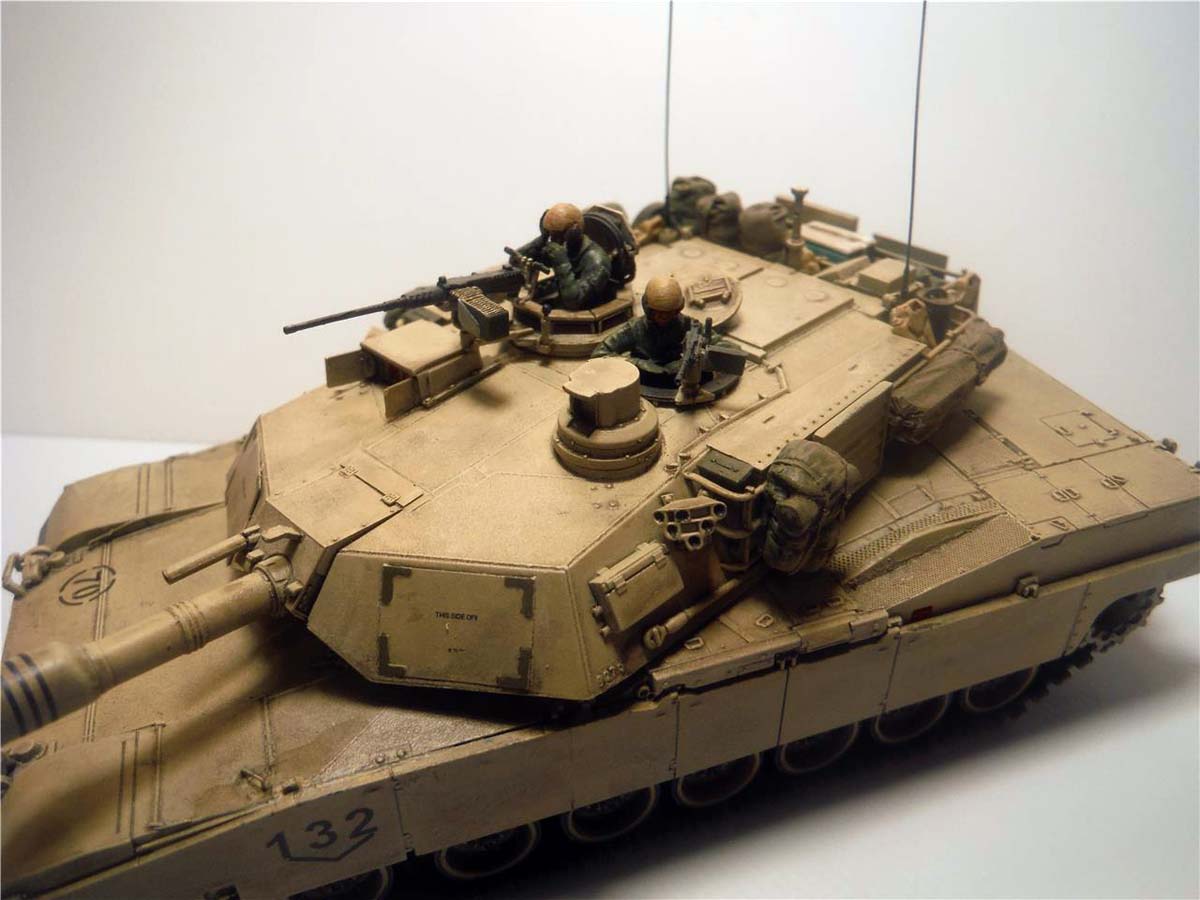
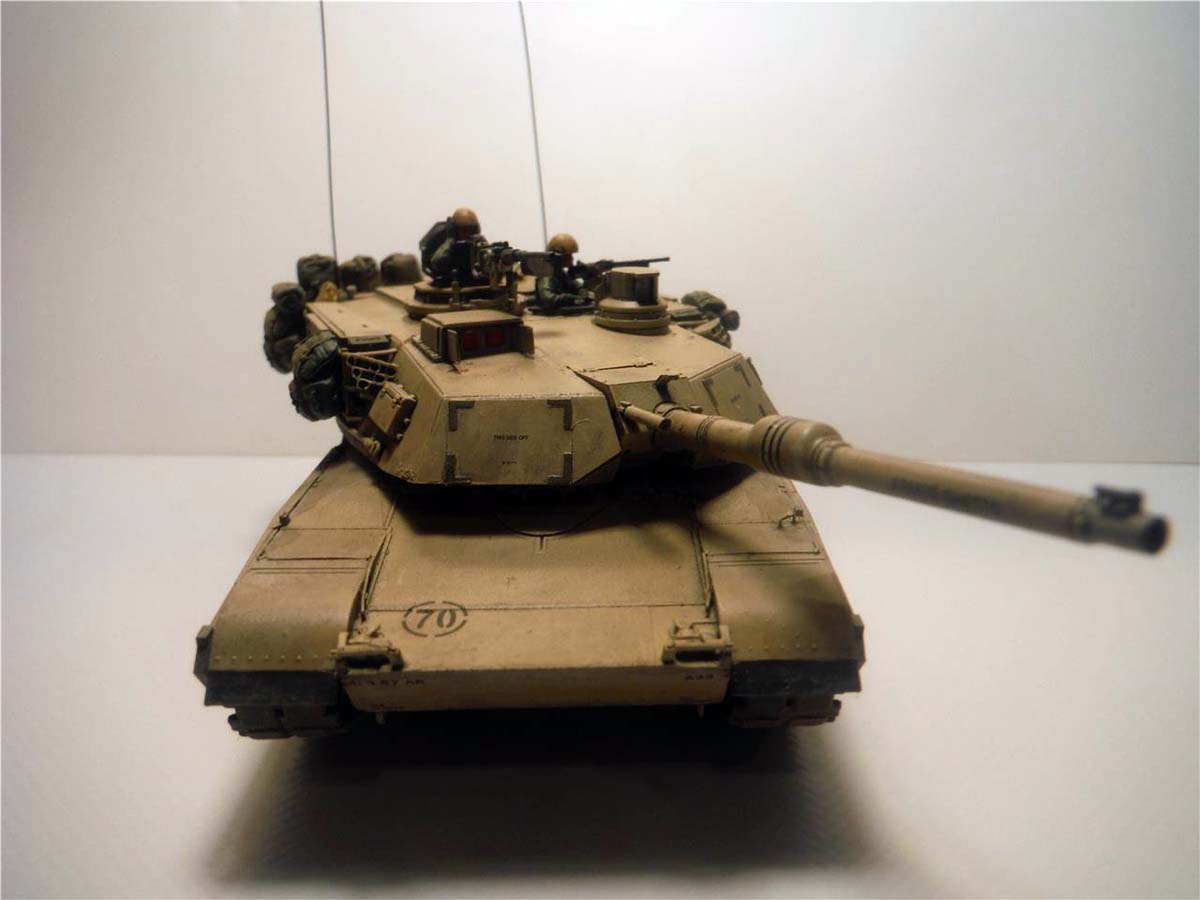
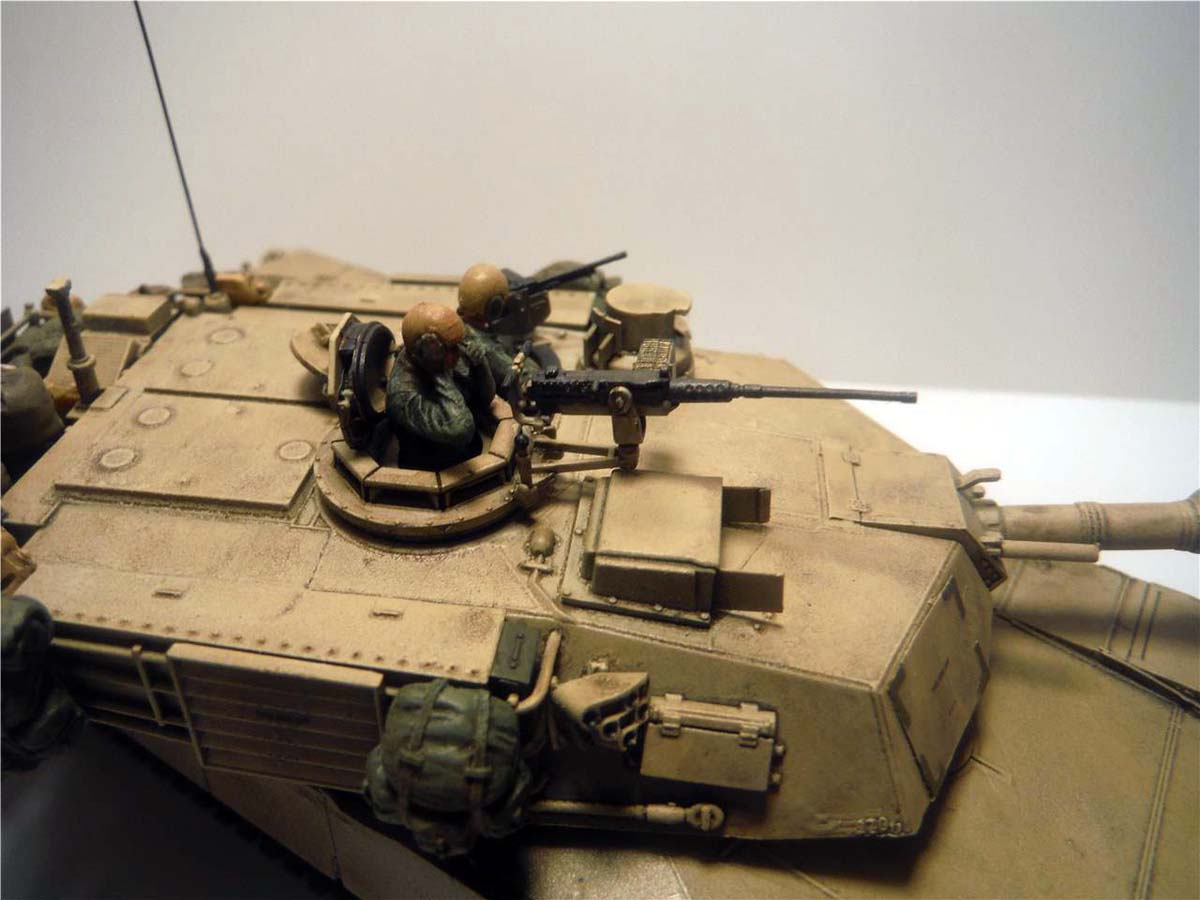
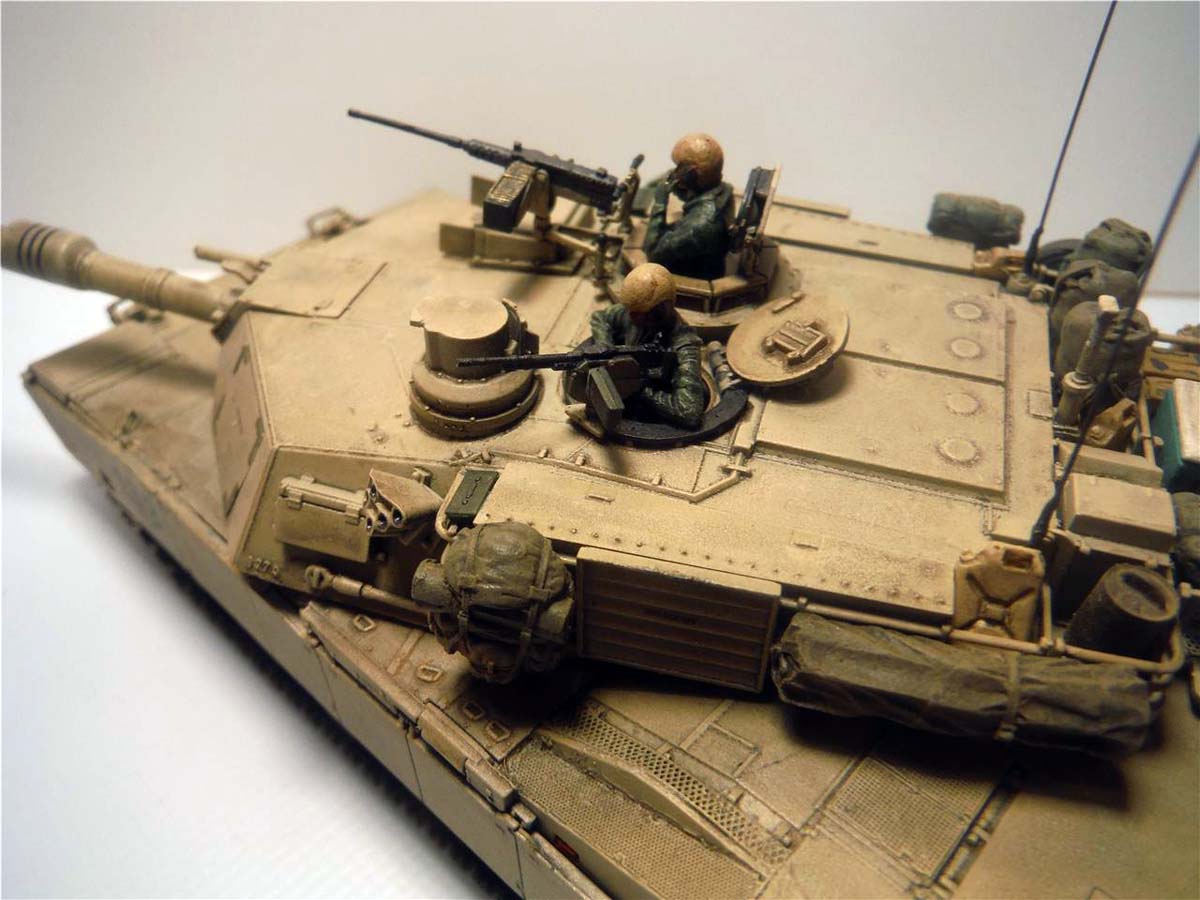
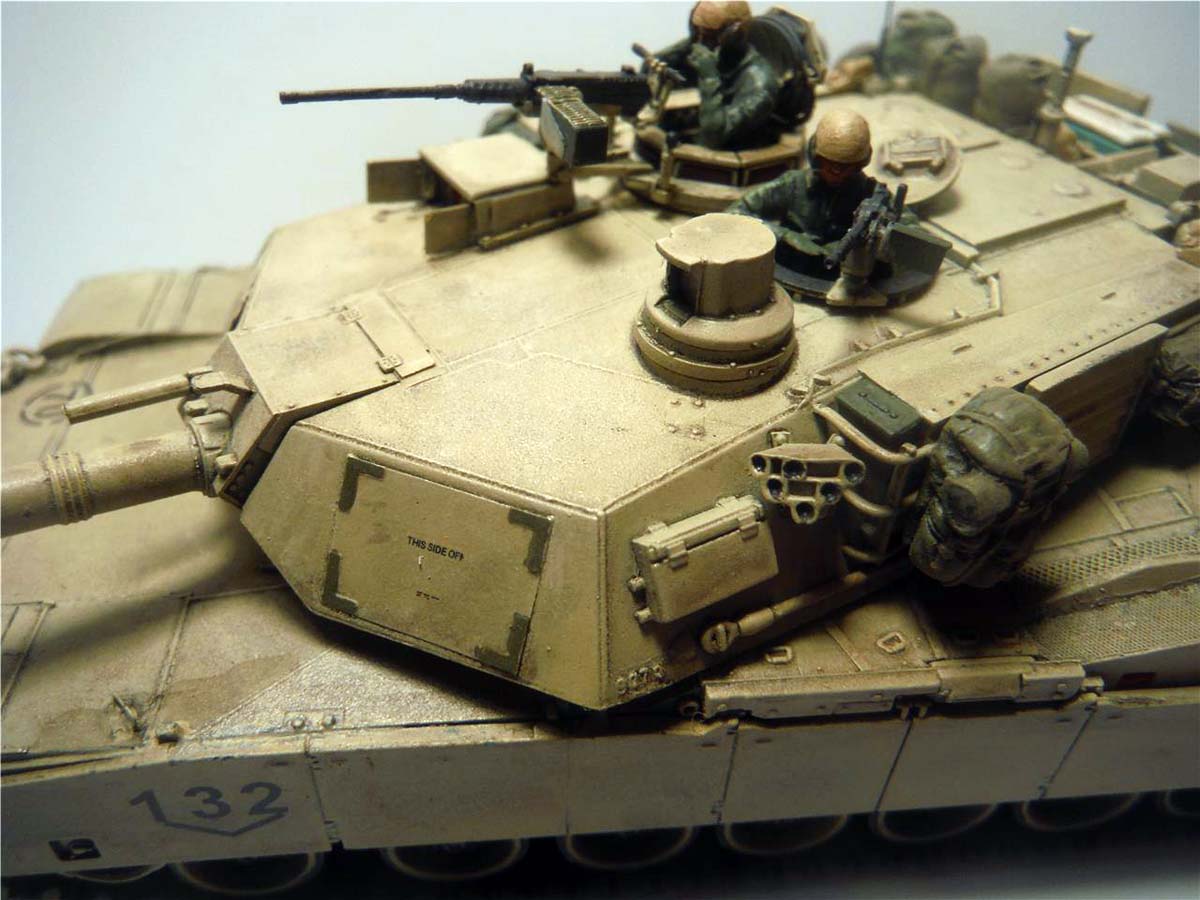
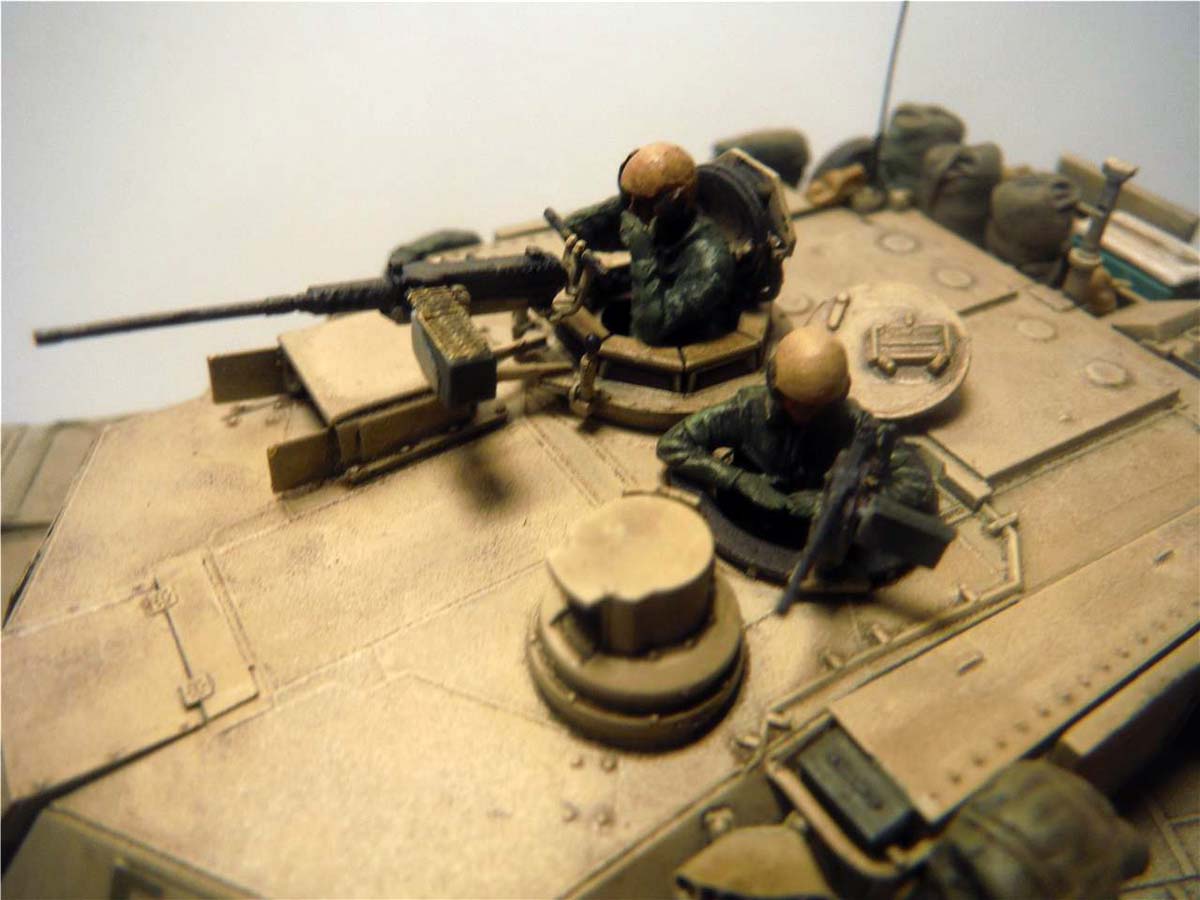
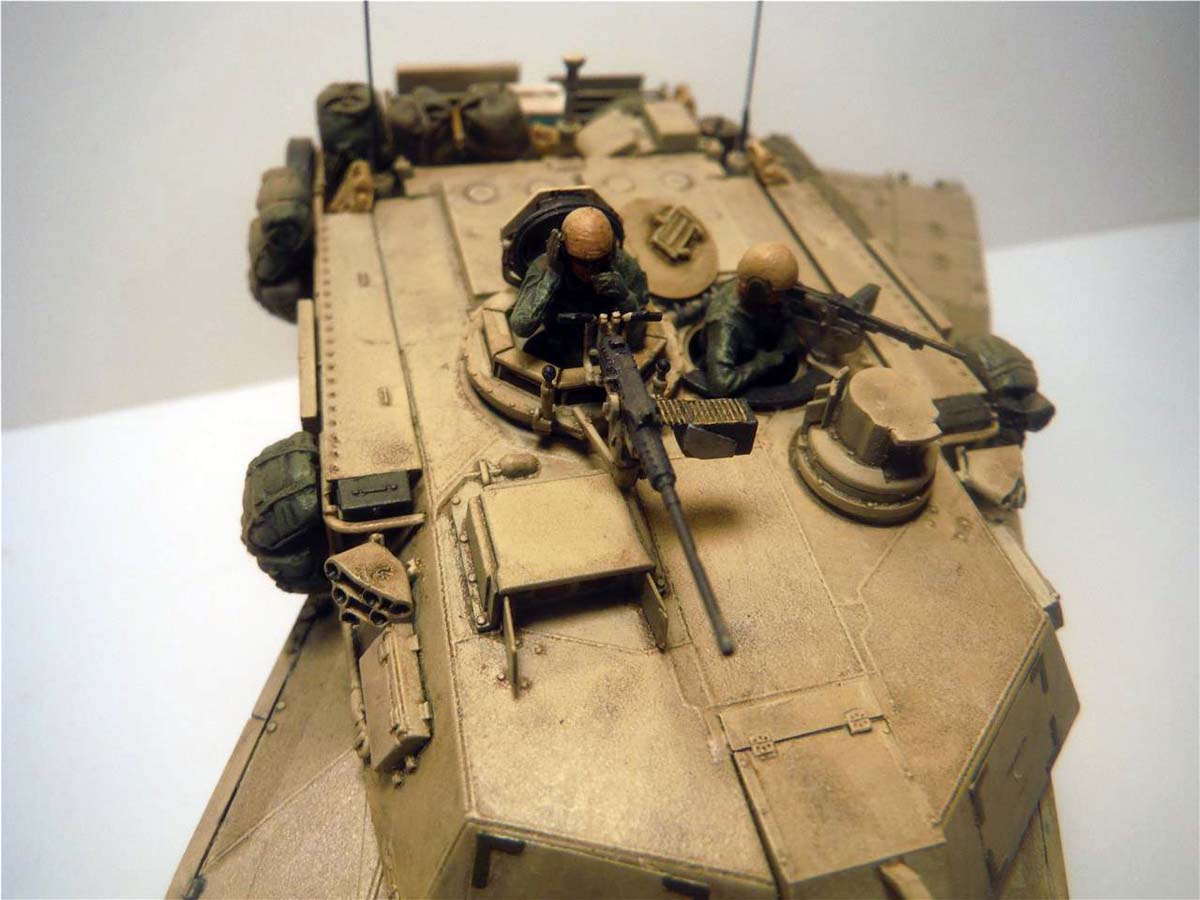
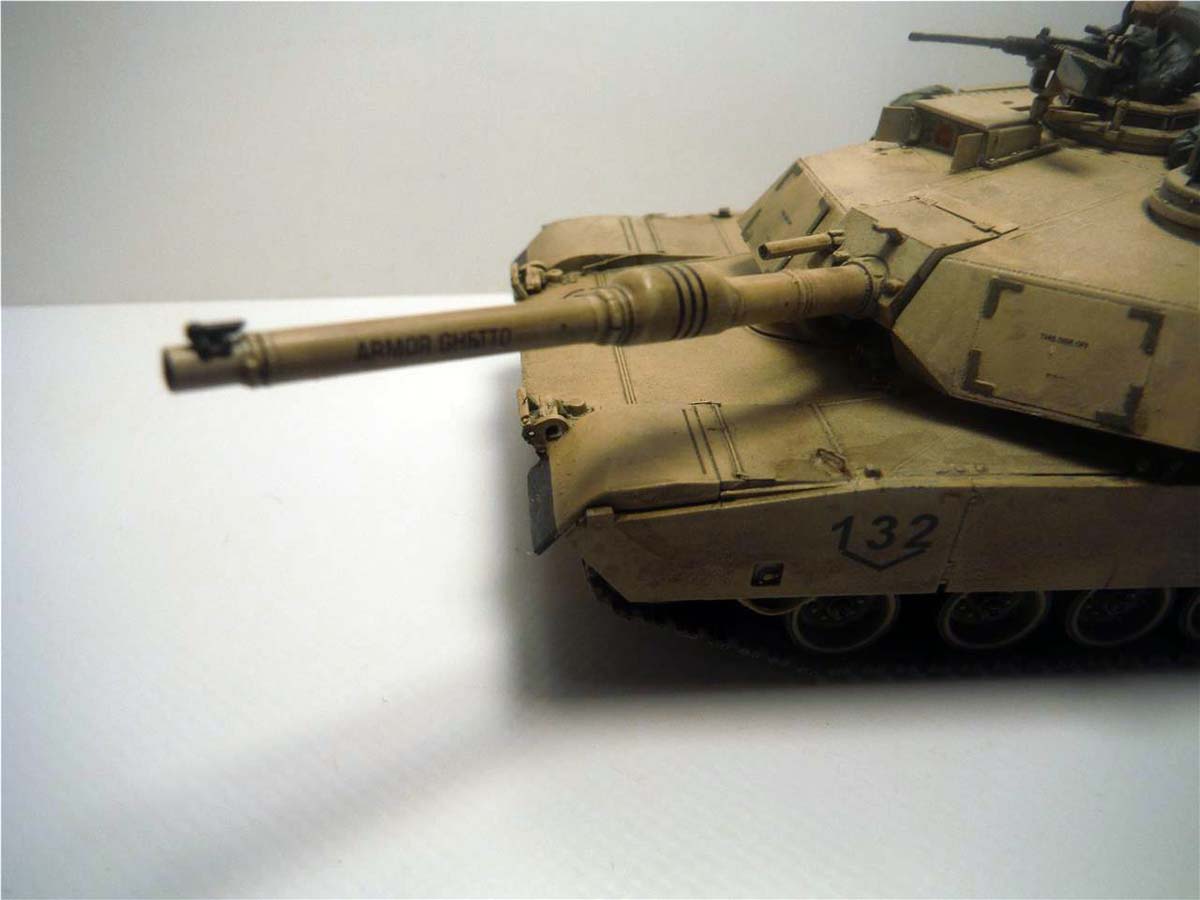
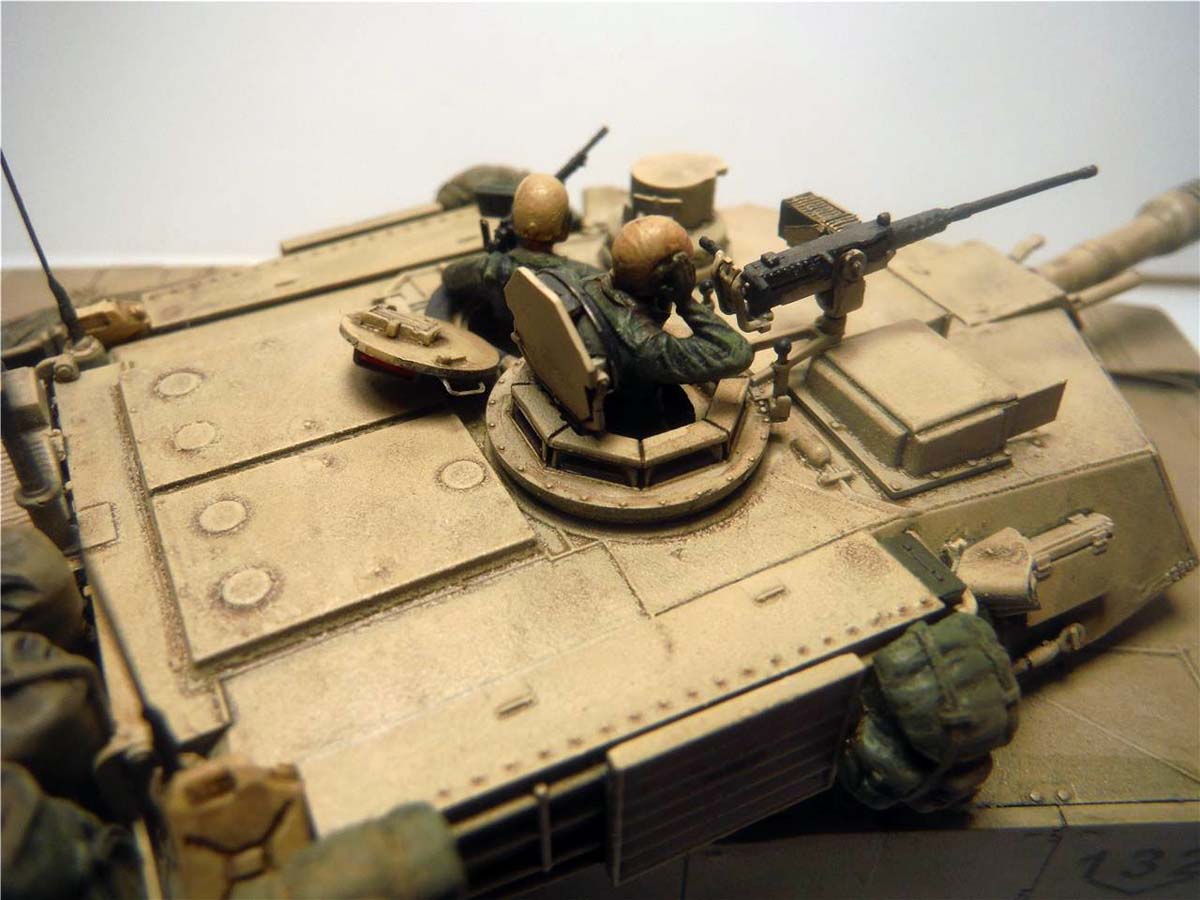
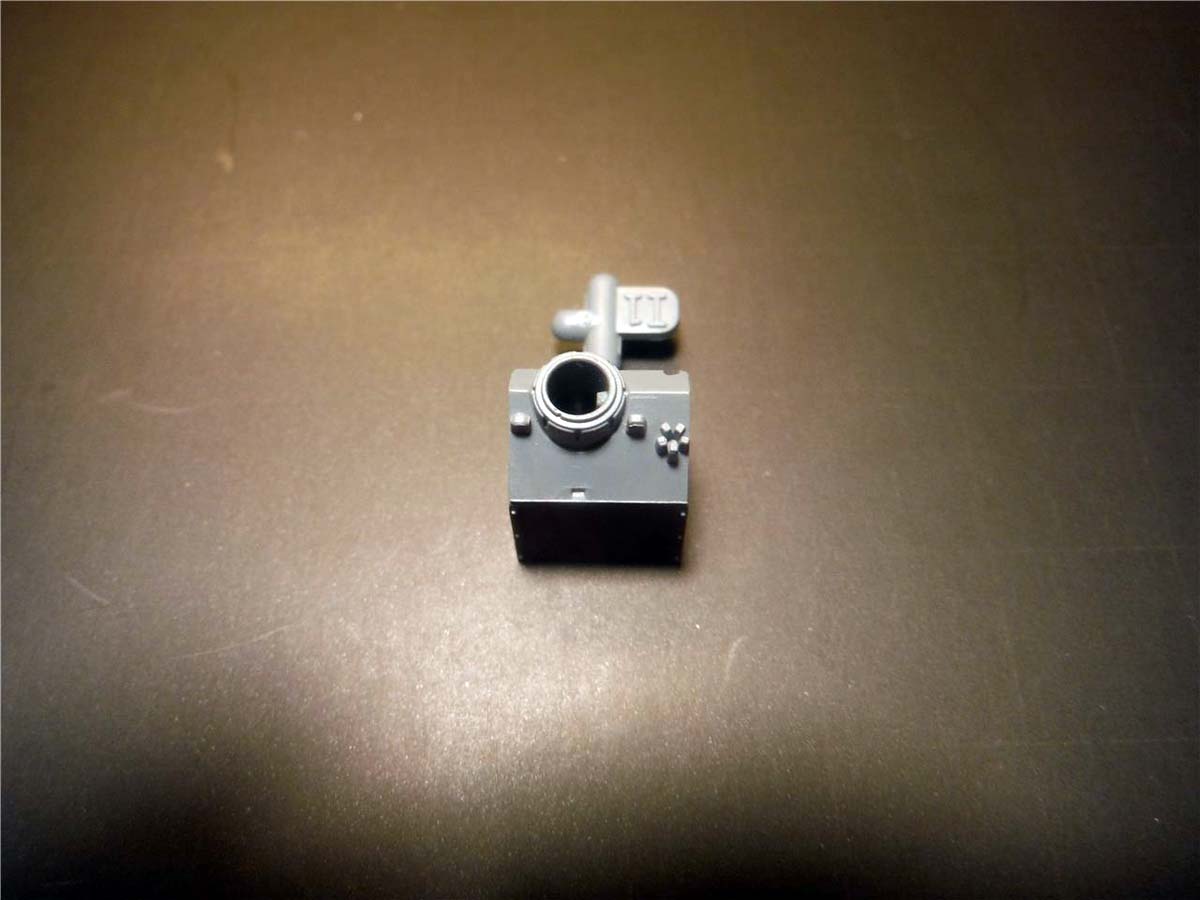
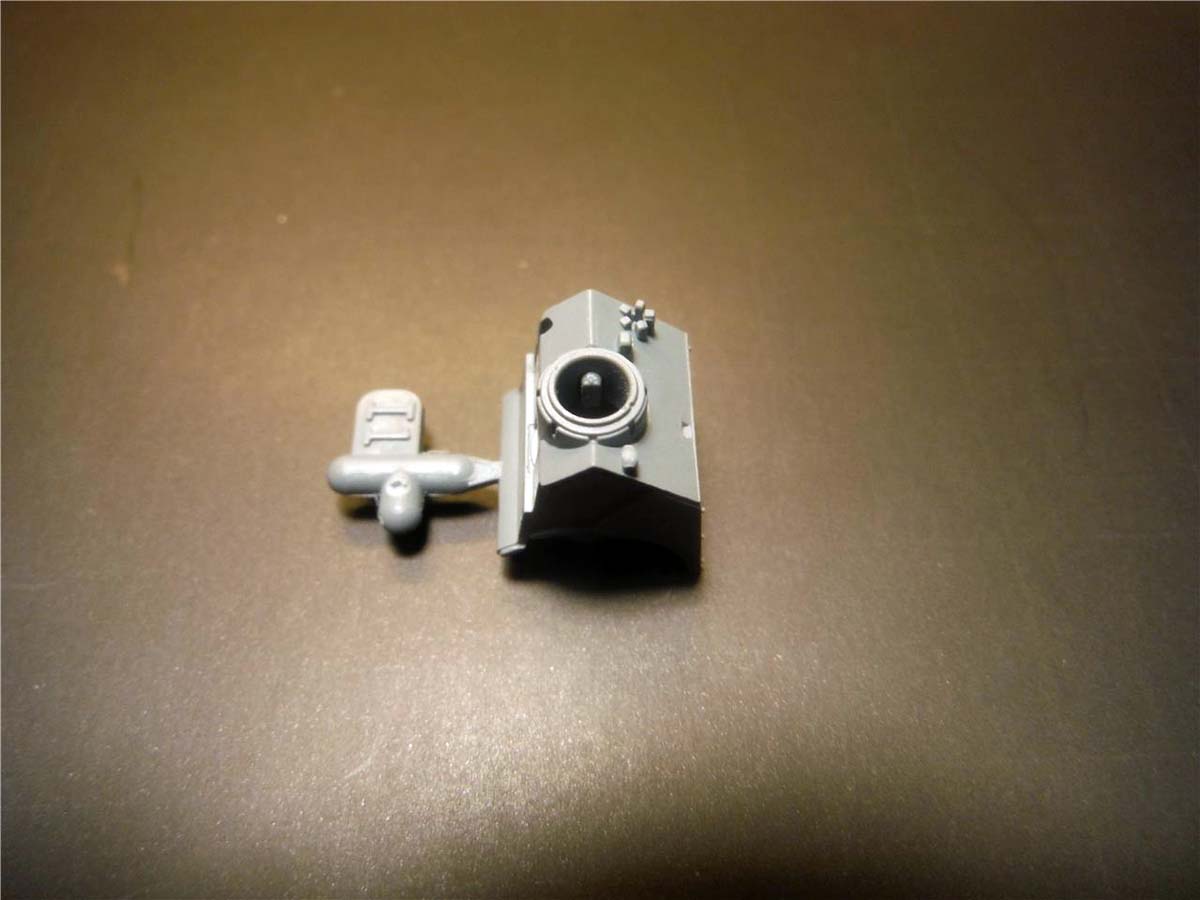
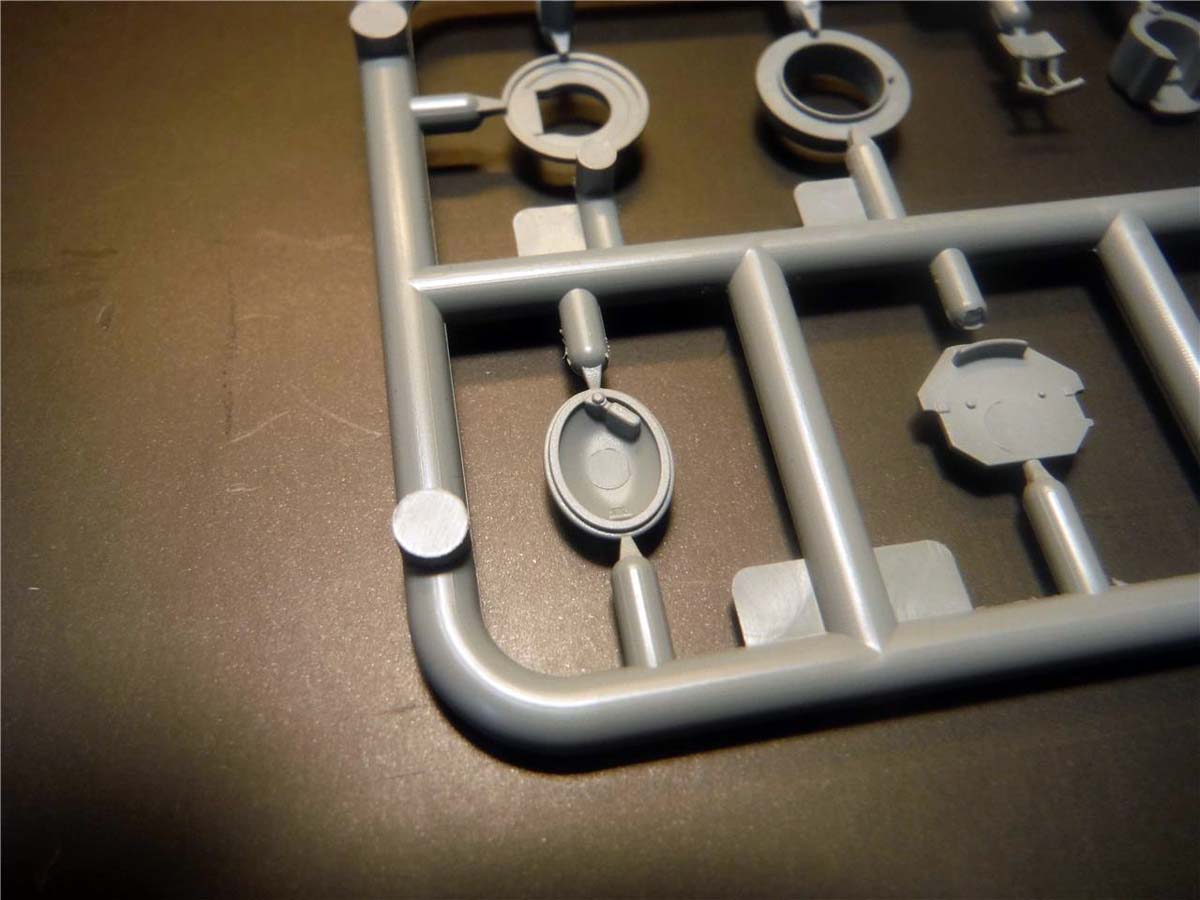
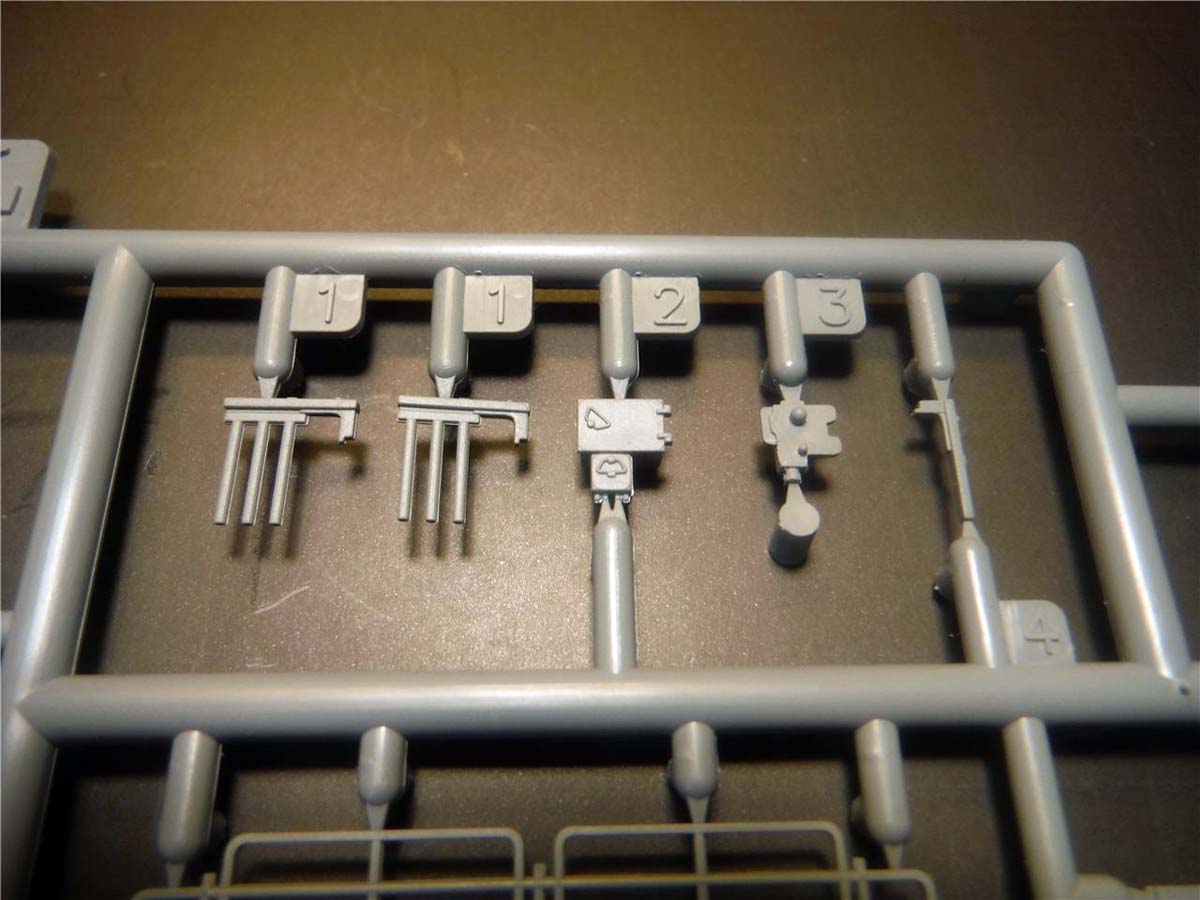
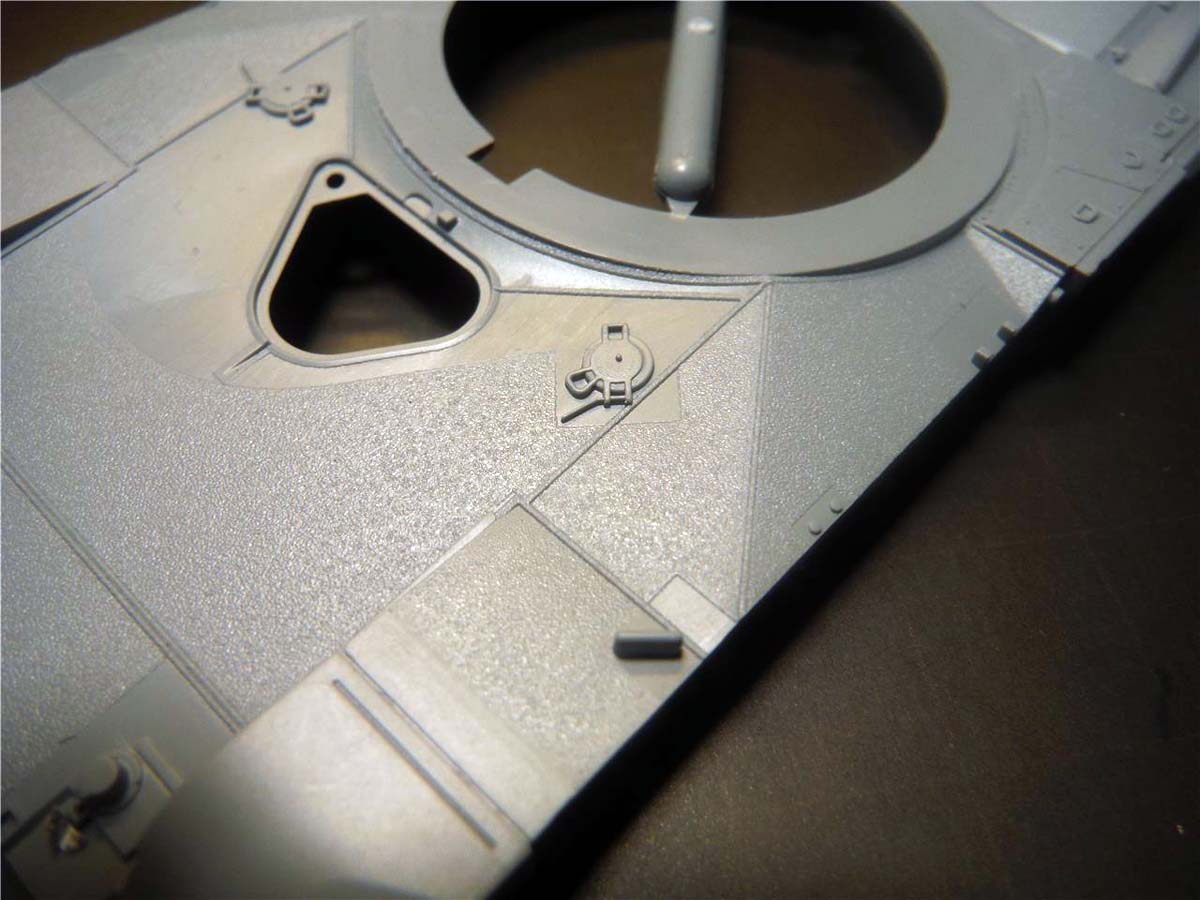
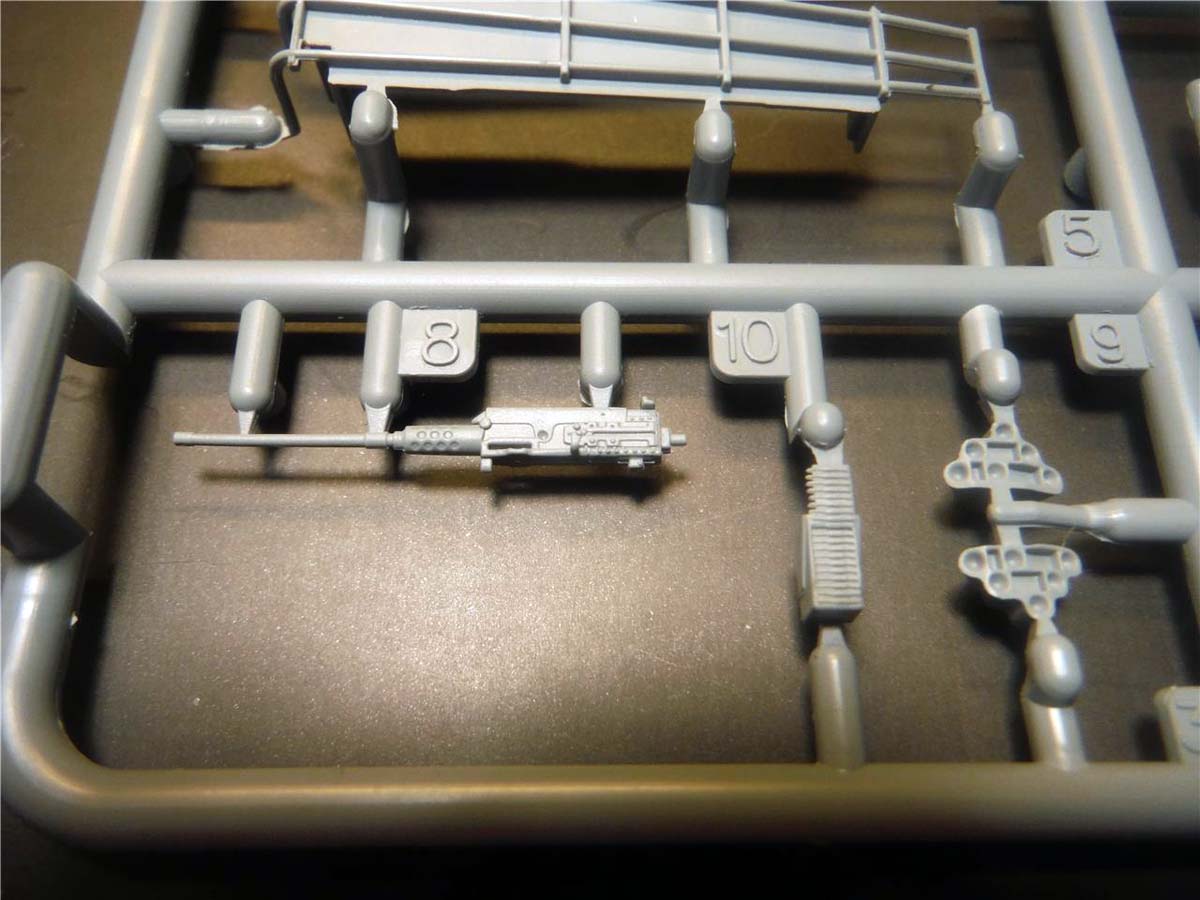
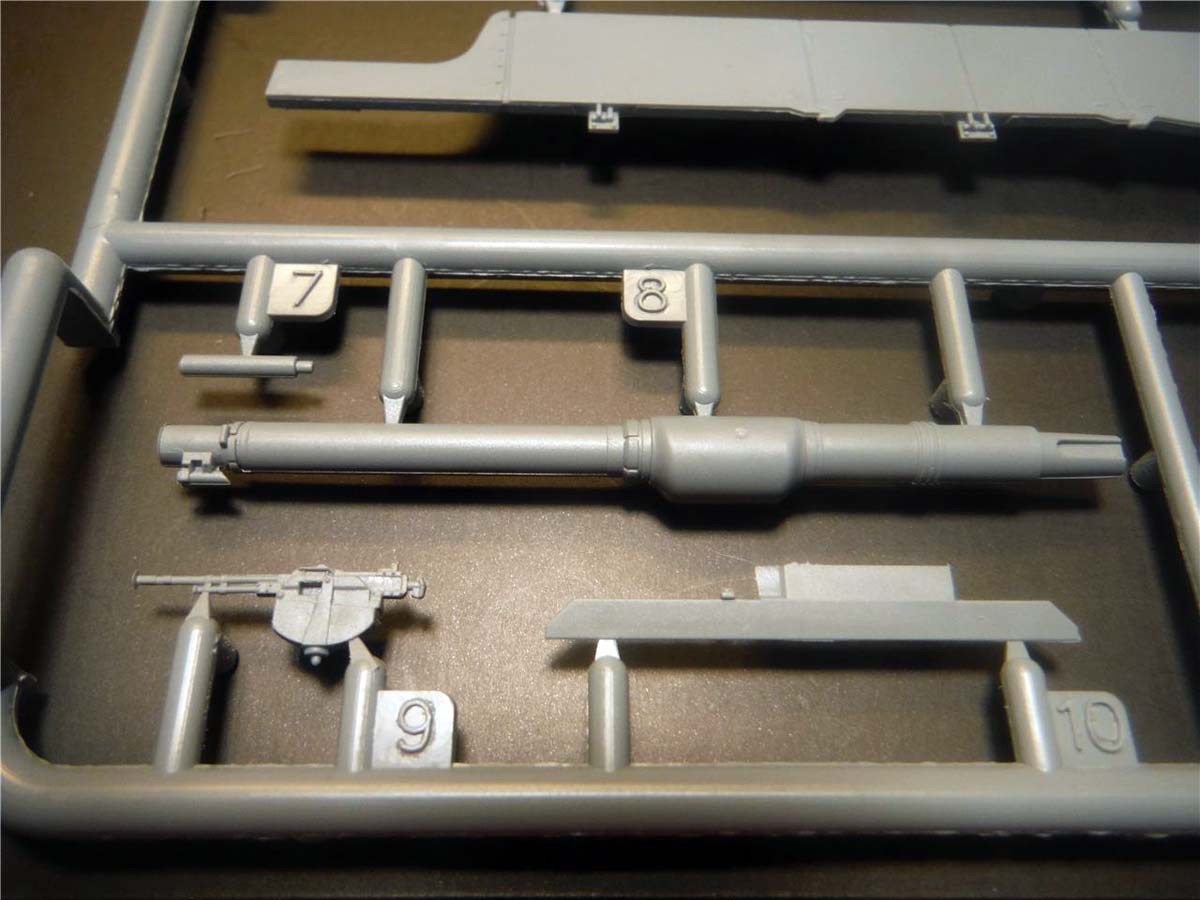
Step 3 is the TC's weapon station, main 120mm main gun, and gluing the upper and lower turret together. Again, the anti-slip coating is well represented here. Smoke grenade launchers and boxes, tow cables, CITV, and gunners sight is also attached during this step. All are very well detailed. The main gun is one piece and is slide molded. A very faint seam can be seen and needs to be sanded on both the top and bottom of barrel. The coax tube even has the groove molded inside of it. Now here is one of the things that blew my mind, the .50 cal on the TC's weapon station, IT IS SLIDE MOLDED and very well detailed for such a small scale. The periscopes are molded separate in clear plastic and in one piece. It was left off till the station was painted. The periscopes were painted clear red and the fit was perfect. There were no issues, concerns or critiques for this step, but just be careful with the small parts of the weapon station.
STEP 4
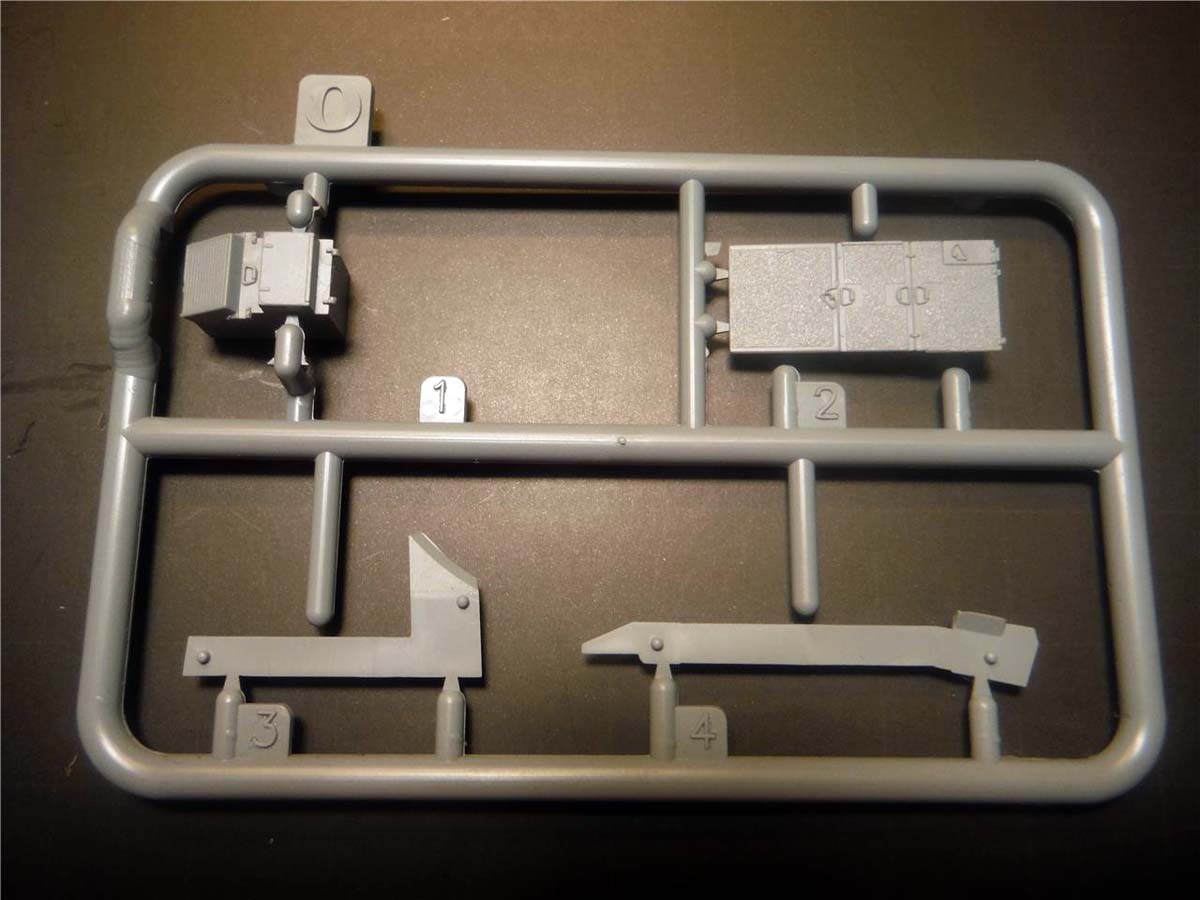
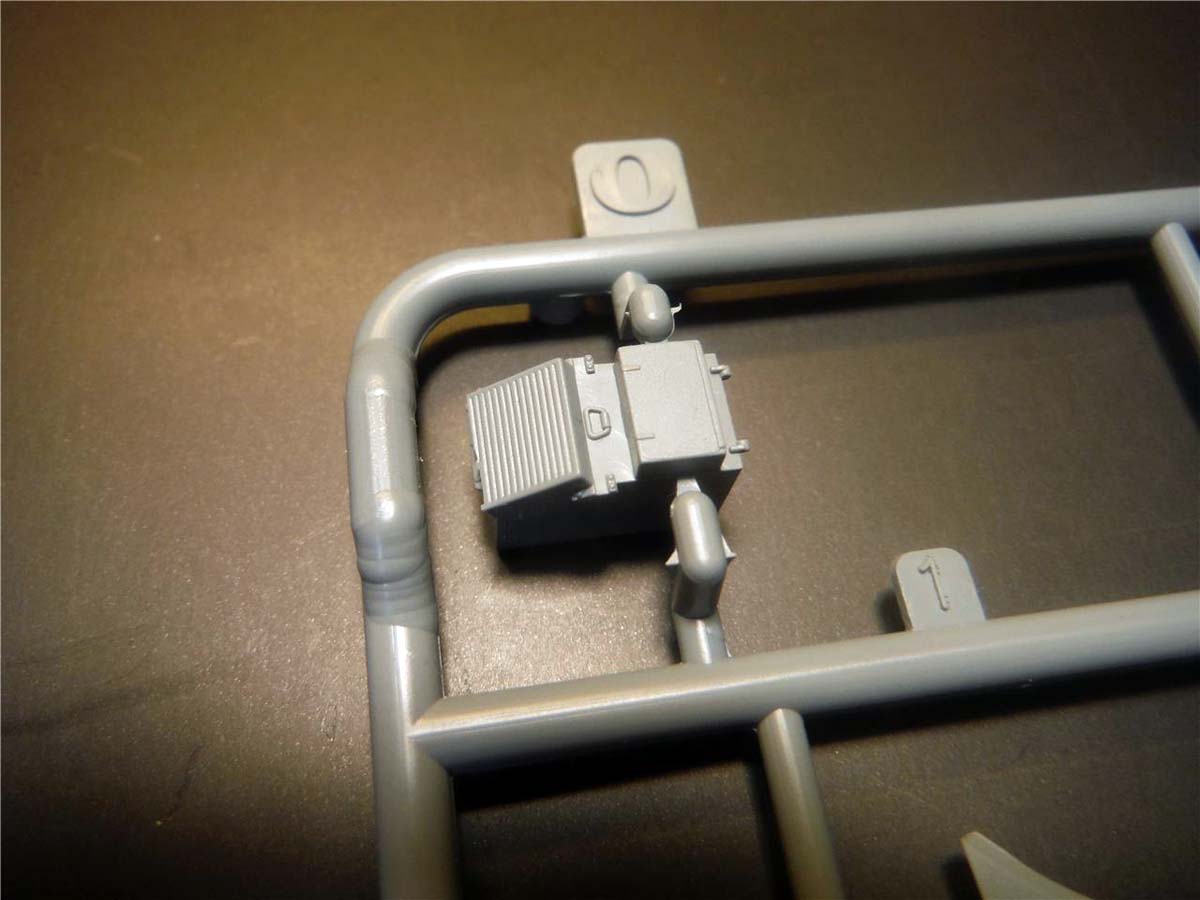
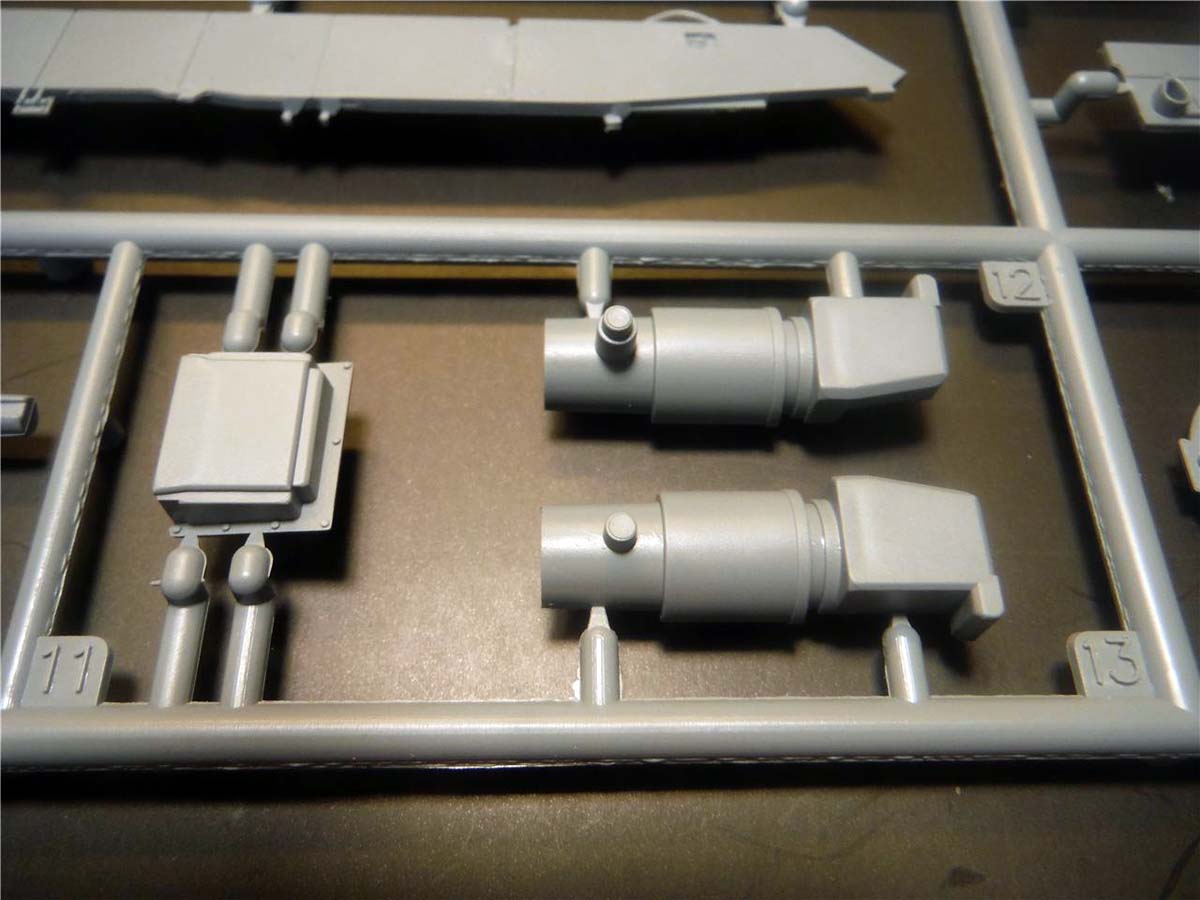
Step 4 is construction of the left and right turret storage bins, bustle rack, and extended bustle rack. Very straight forward construction and the only thing here I noted is that Part PE17 should be glued to the bottom of the frame and not the top. Other than that, care needs to be taken when assembling the bustle rack and extended bustle rack, they are very fragile.
STEP 5
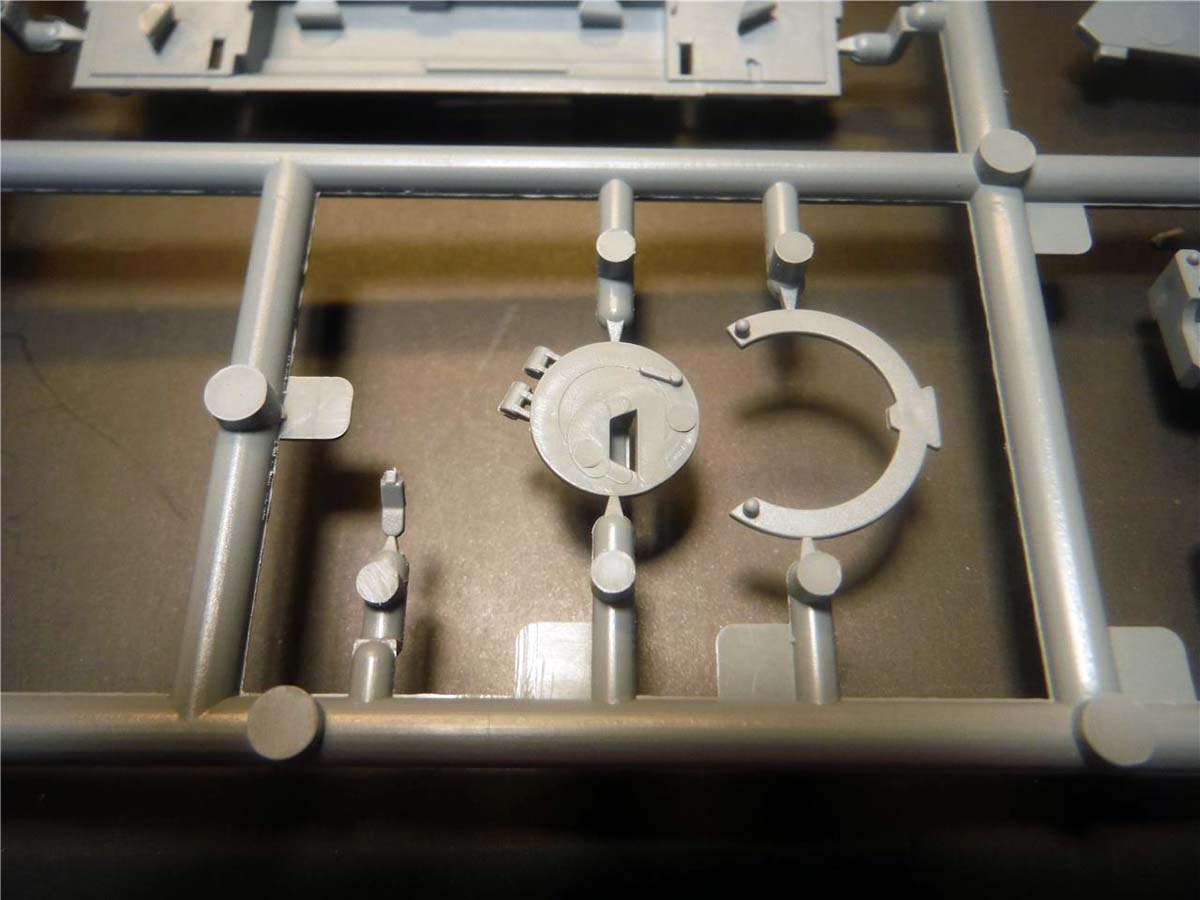
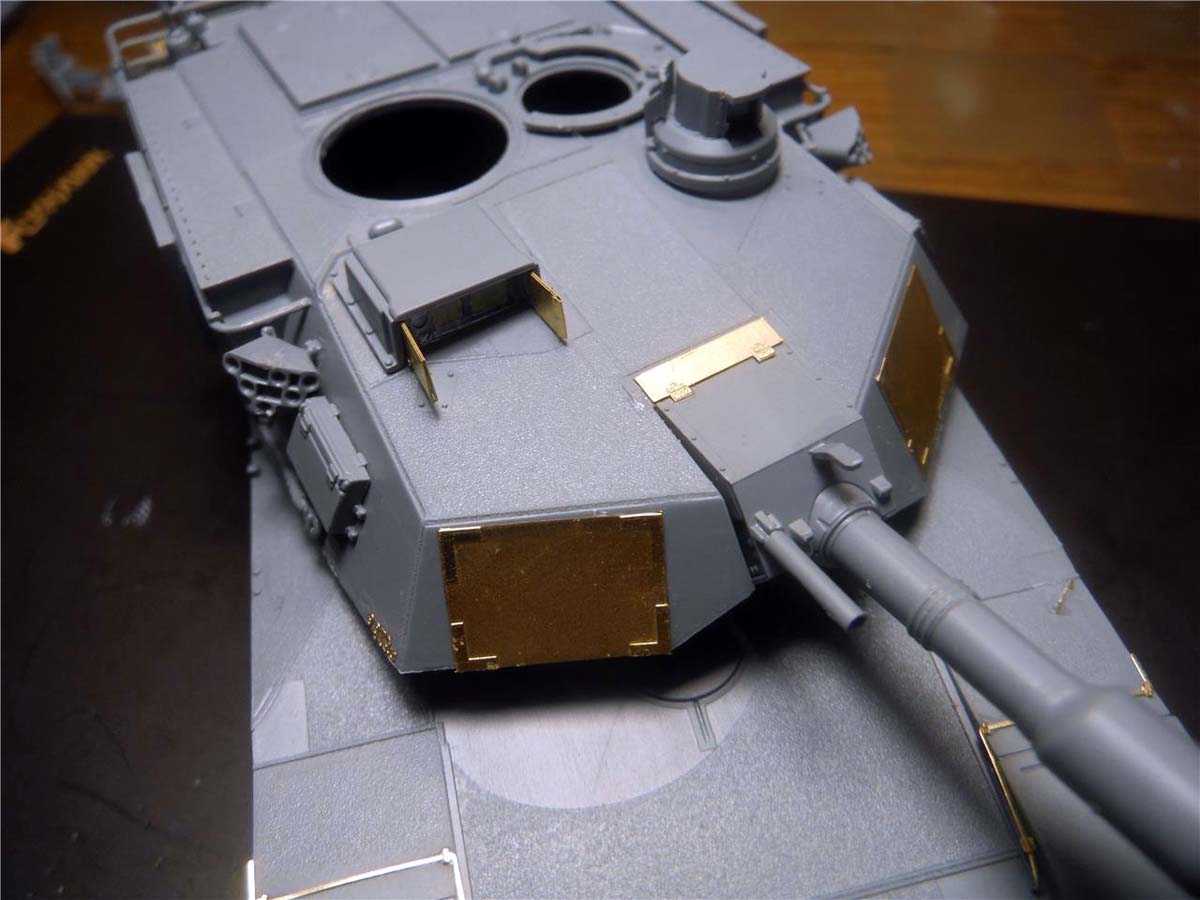
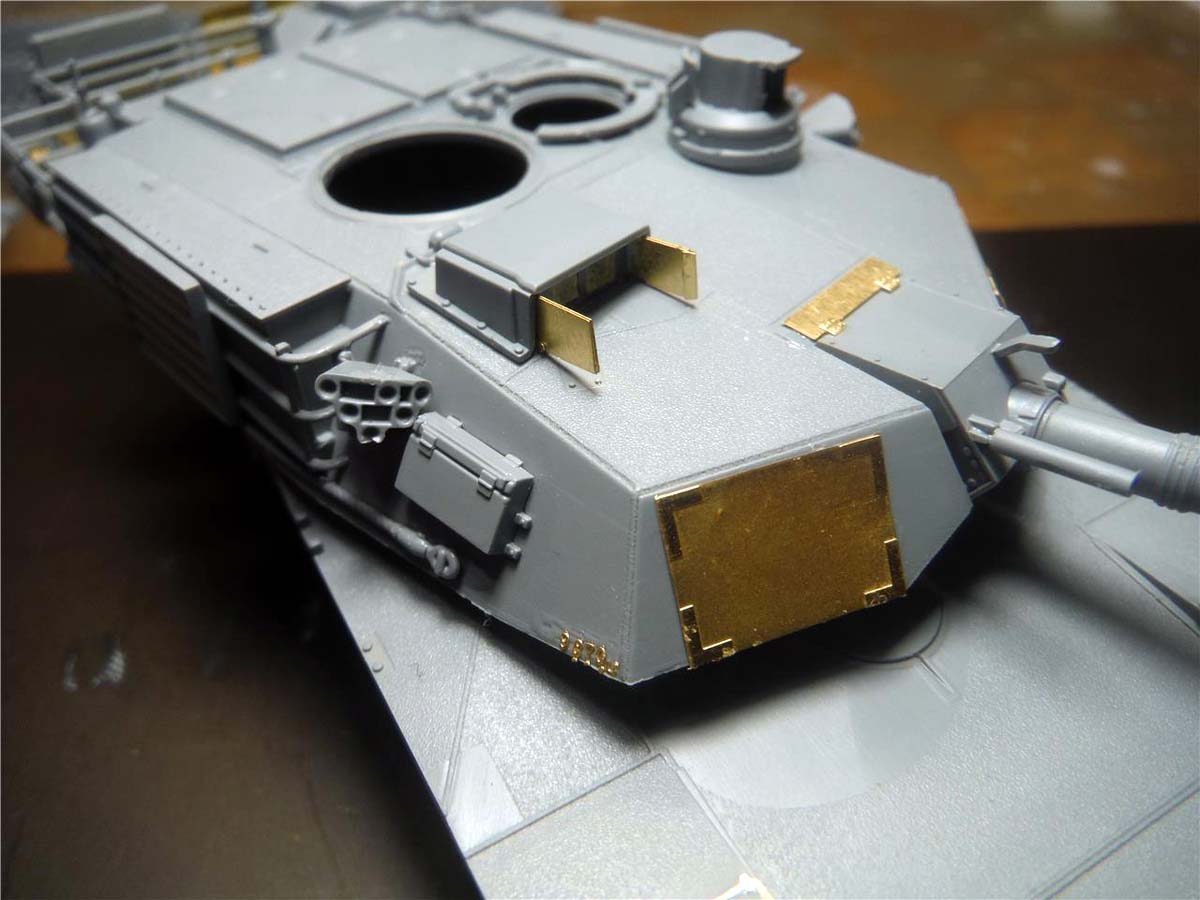
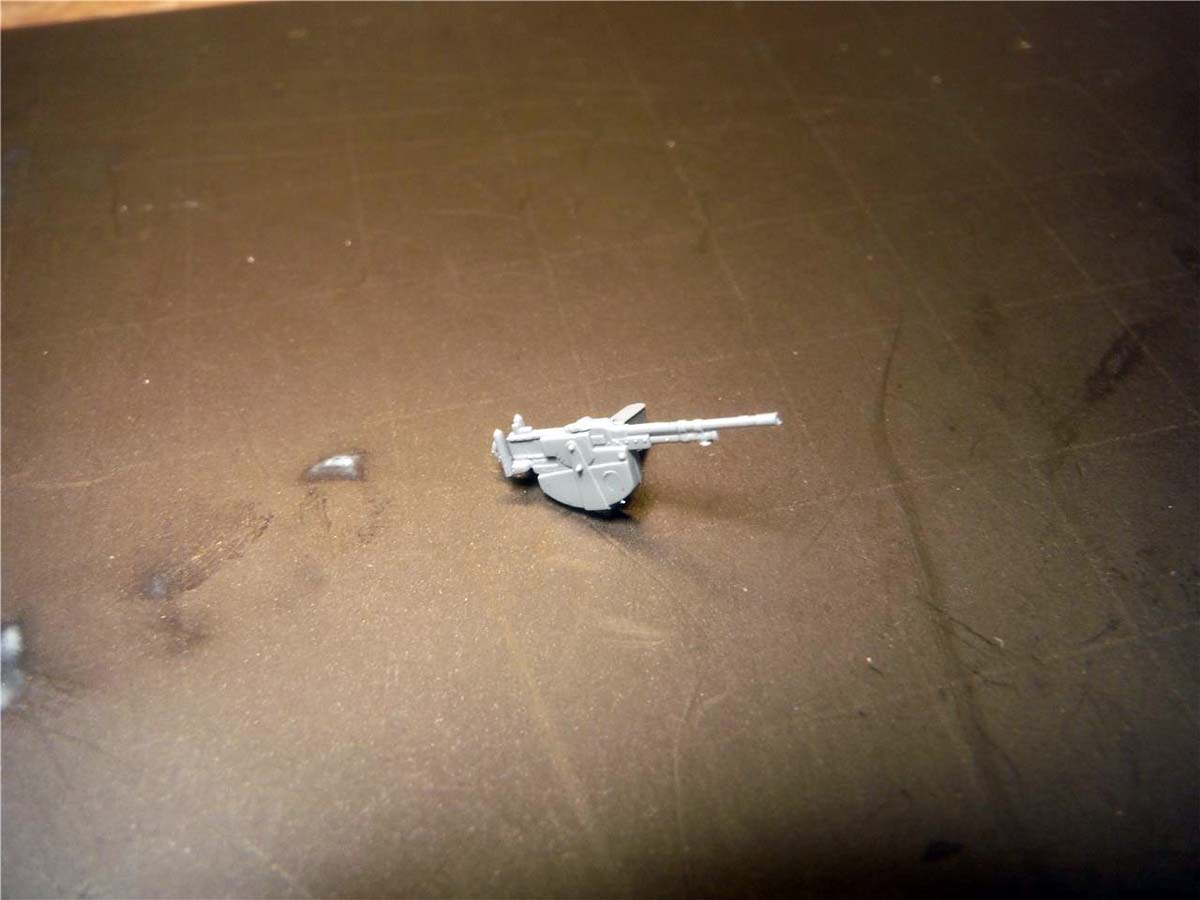
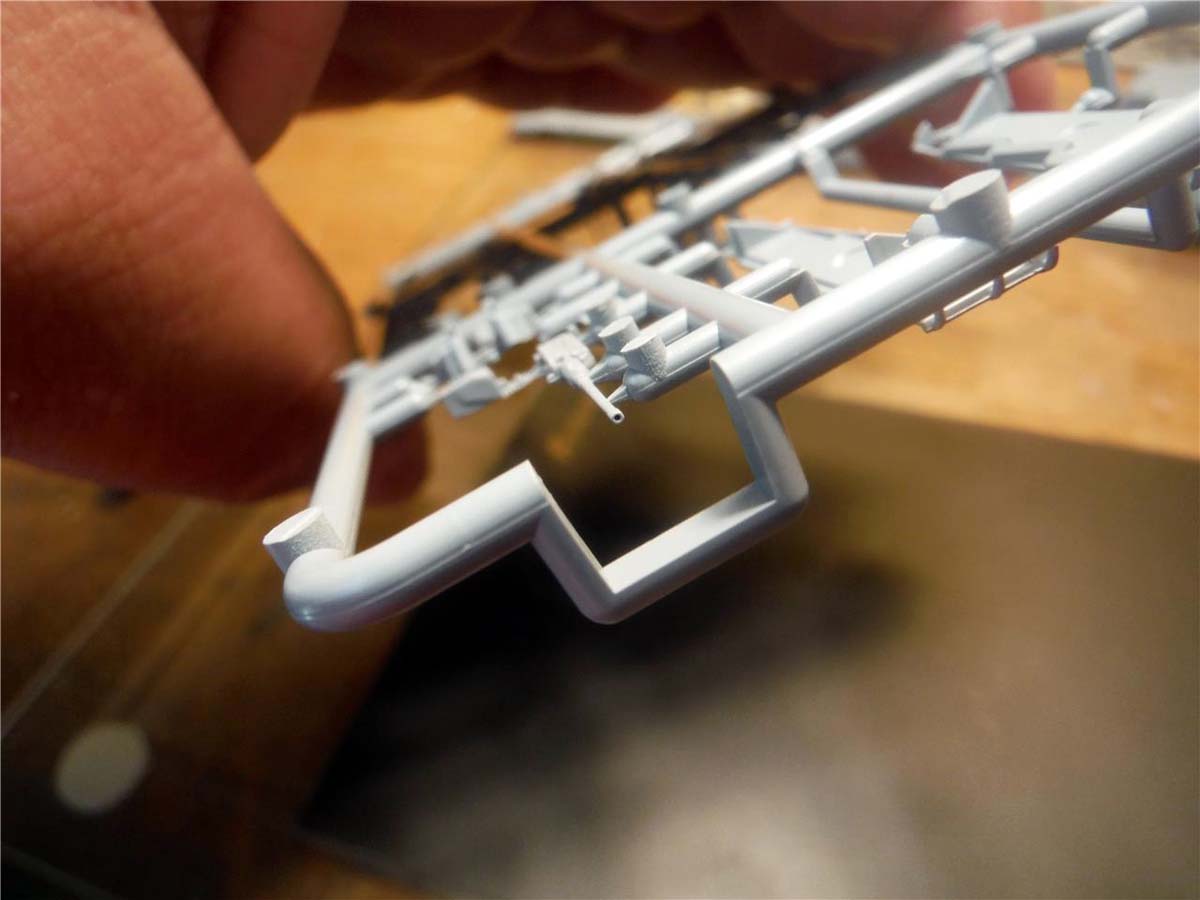
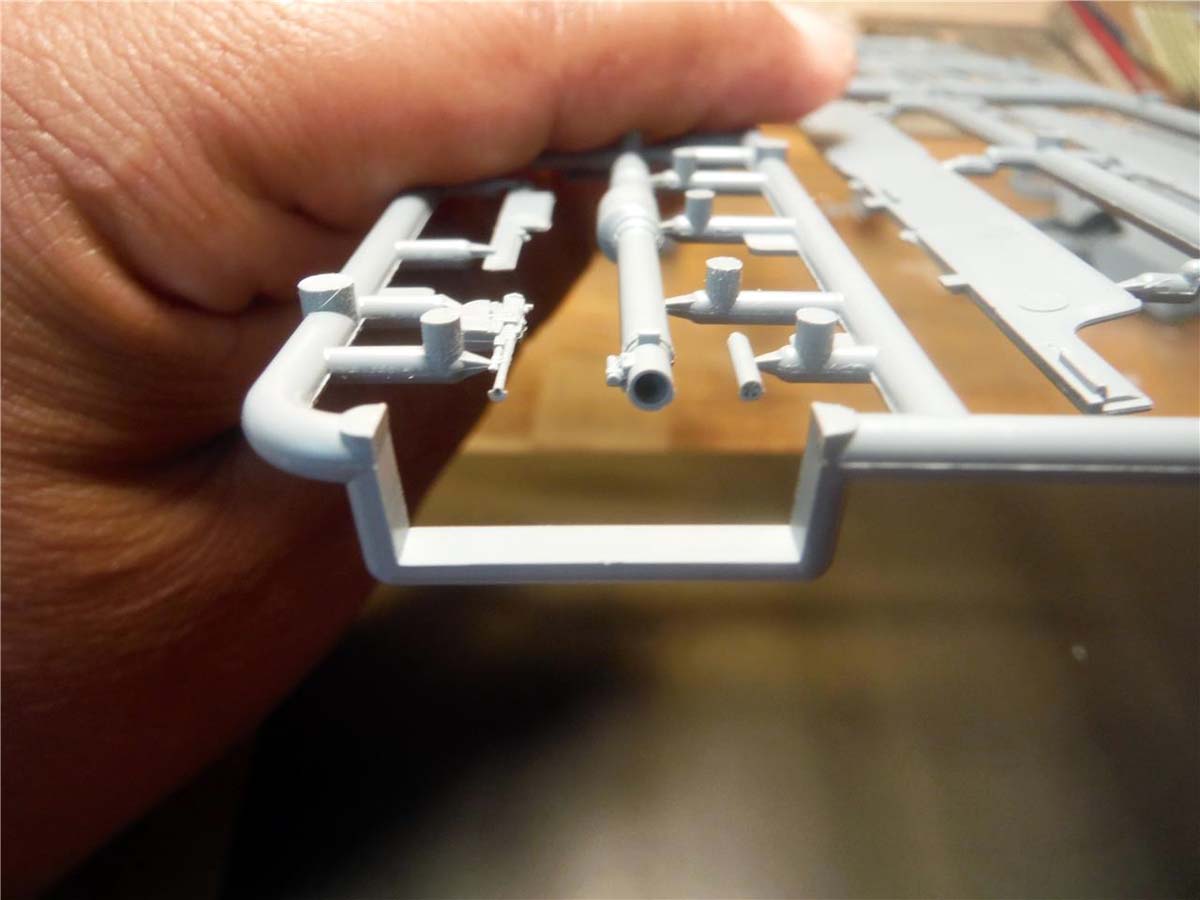
Step 5 is the loaders weapon station and hatch, also attaching the side storage bins, bustle rack and extended bustle rack to turret along with the AC unit conduits on the bottom of the turret. The antennas and wind sensor is also attached during this step. WOW FACTOR AGAIN! The 7.62 MG is also slide molded, but is very fragile. Care is to be taken so that you don't snap the barrel. The loader hatch was also missing the lip around it but again, can easily be corrected with plastic stock. Leave off the grab handle, Part PE3, till right before painting so you don't knock it off and loose it. Be careful with the antennas and wind sensor as they can be broken easily as I did with the wind sensor. Luckily the wind sensor didnt break all the way through and was fixed with a little liquid cement. Very thin round plastic stock was used for the antenna's.
STEP 6
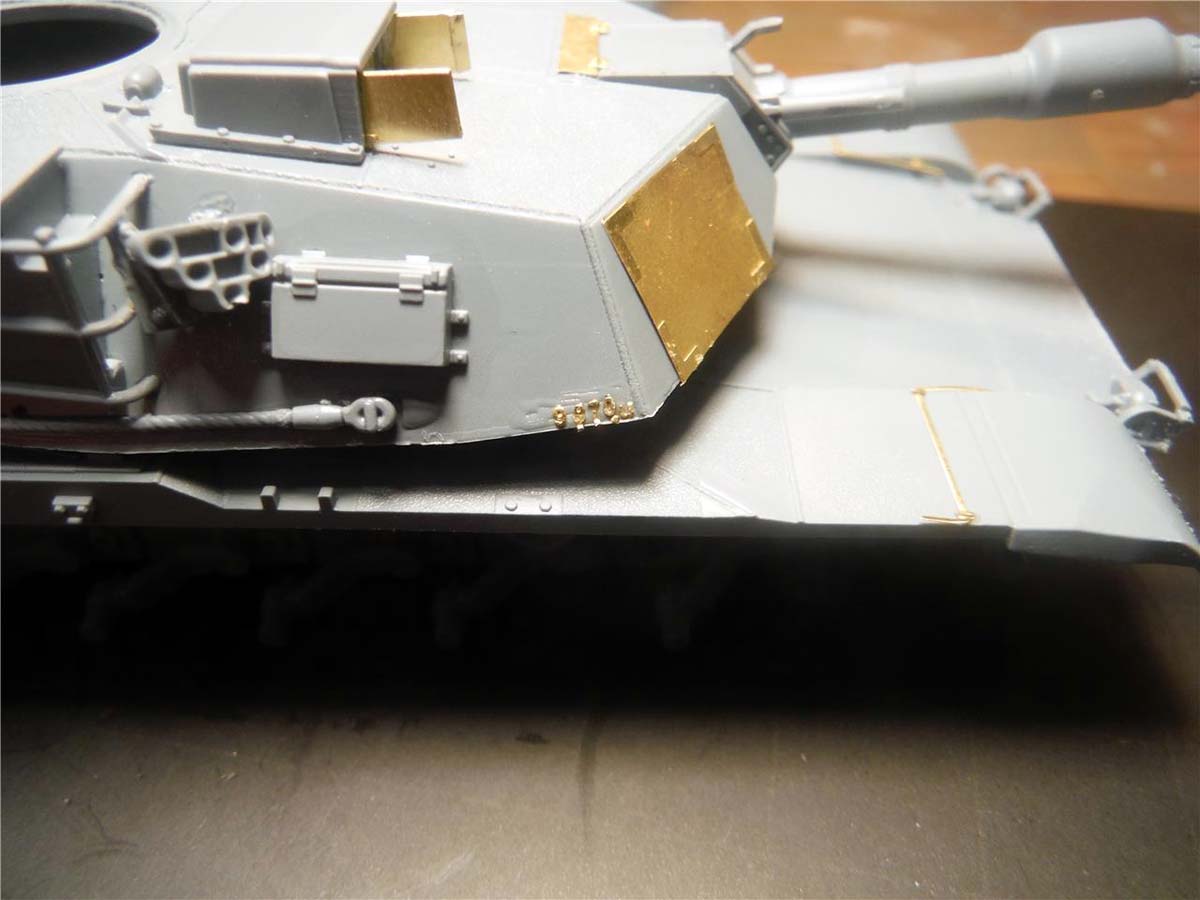
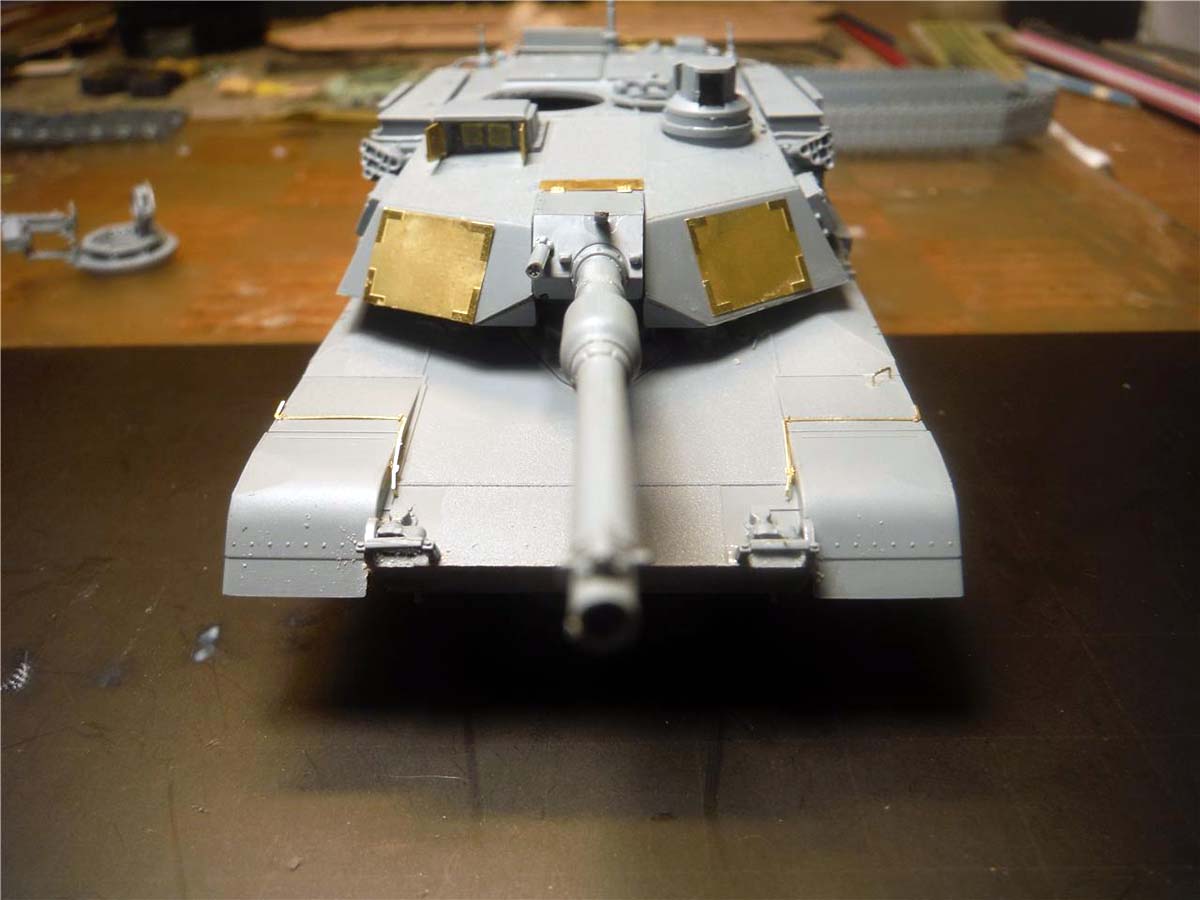
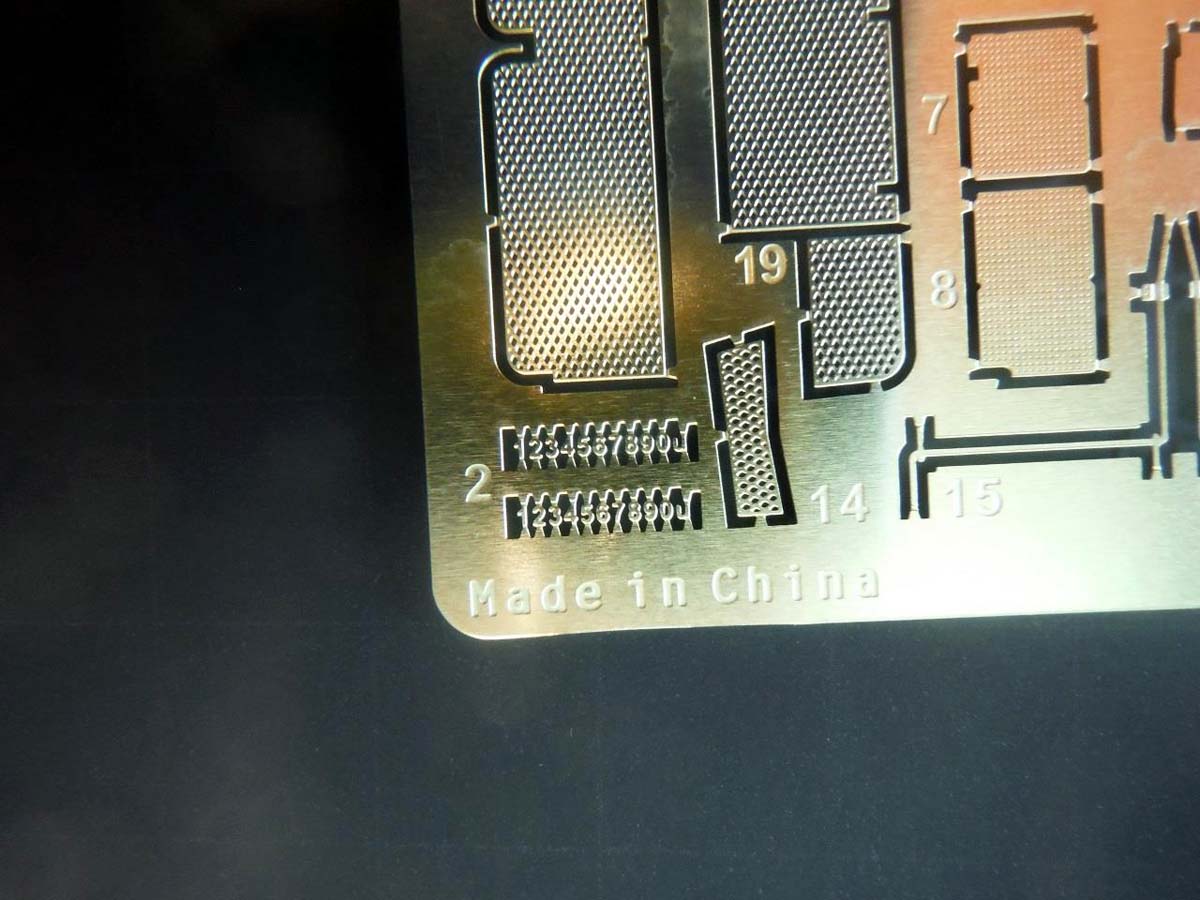
Last and final step has you attaching the photo etch doors on the gunners sight, CIP panels to the front of the turret and small bracket to the left rear of the hull. Again, the photo etch was very easy to work with and had no problem with any of the bends. Last and final WOW FACTOR! Two sets of small 1/72nd scale photo etch numbers and "u" are provided for the turret ID number located to the front left and right side of the turret. Any number will do, as long as you add the "u" to the end and the number is four digits long. I wish Flyhawk would have added a couple of more sets of numbers and "u's" because I lost a couple of numbers and one of the "u's" because they are so tiny.
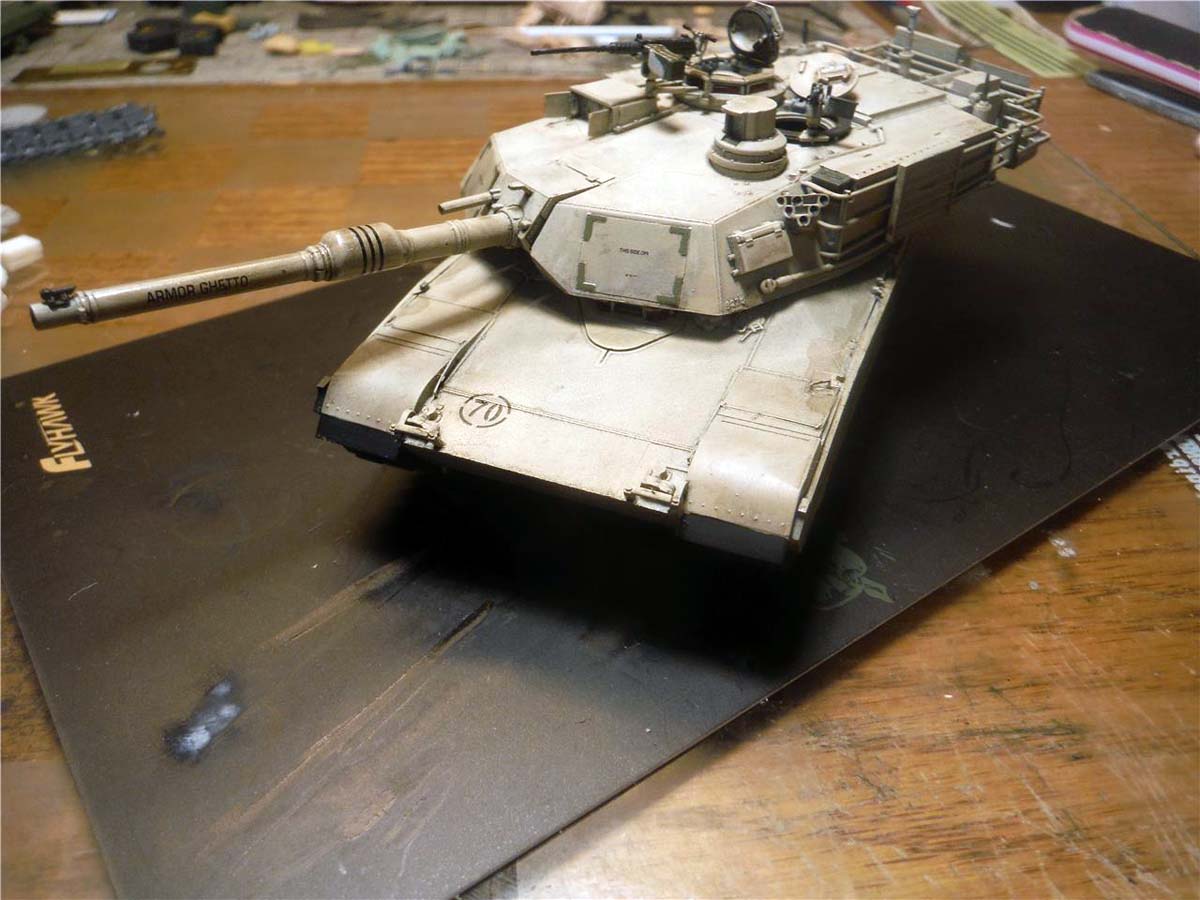
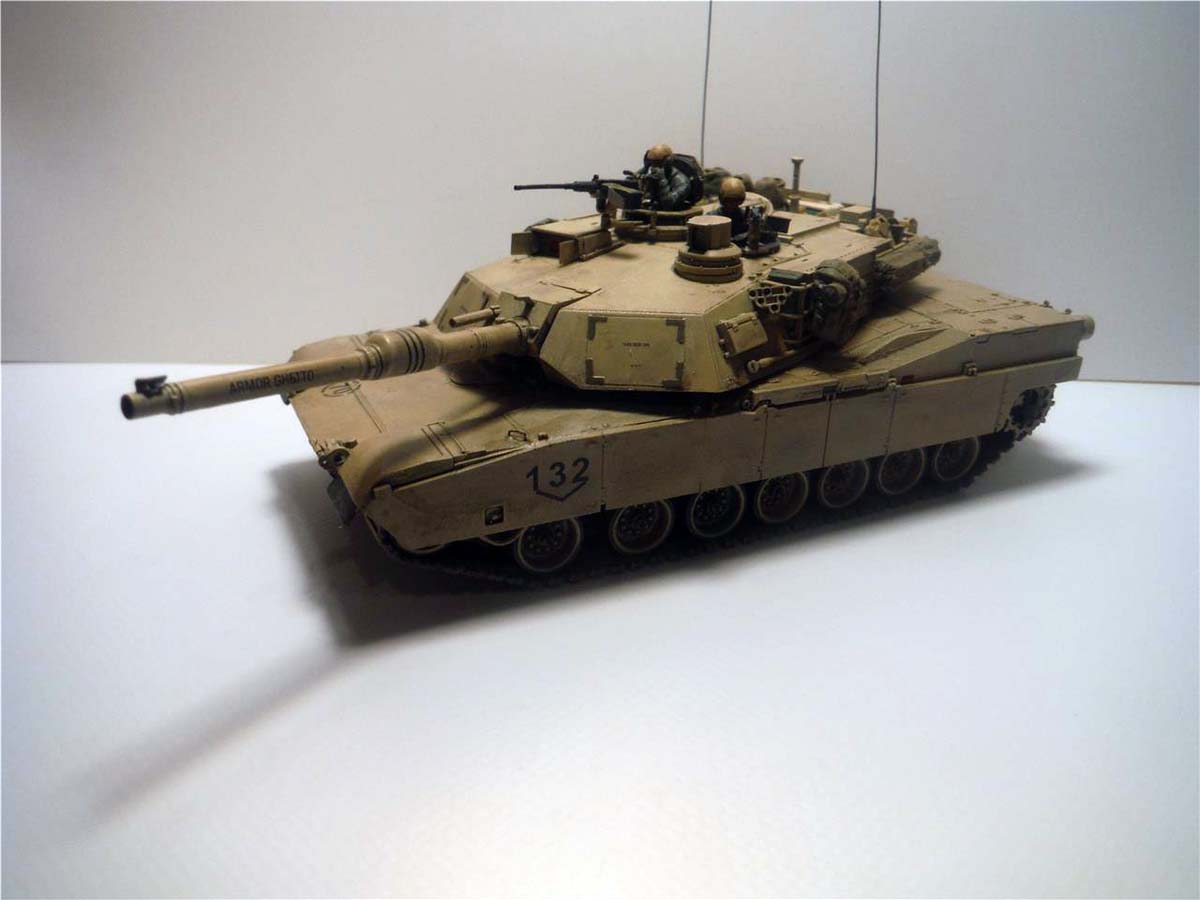
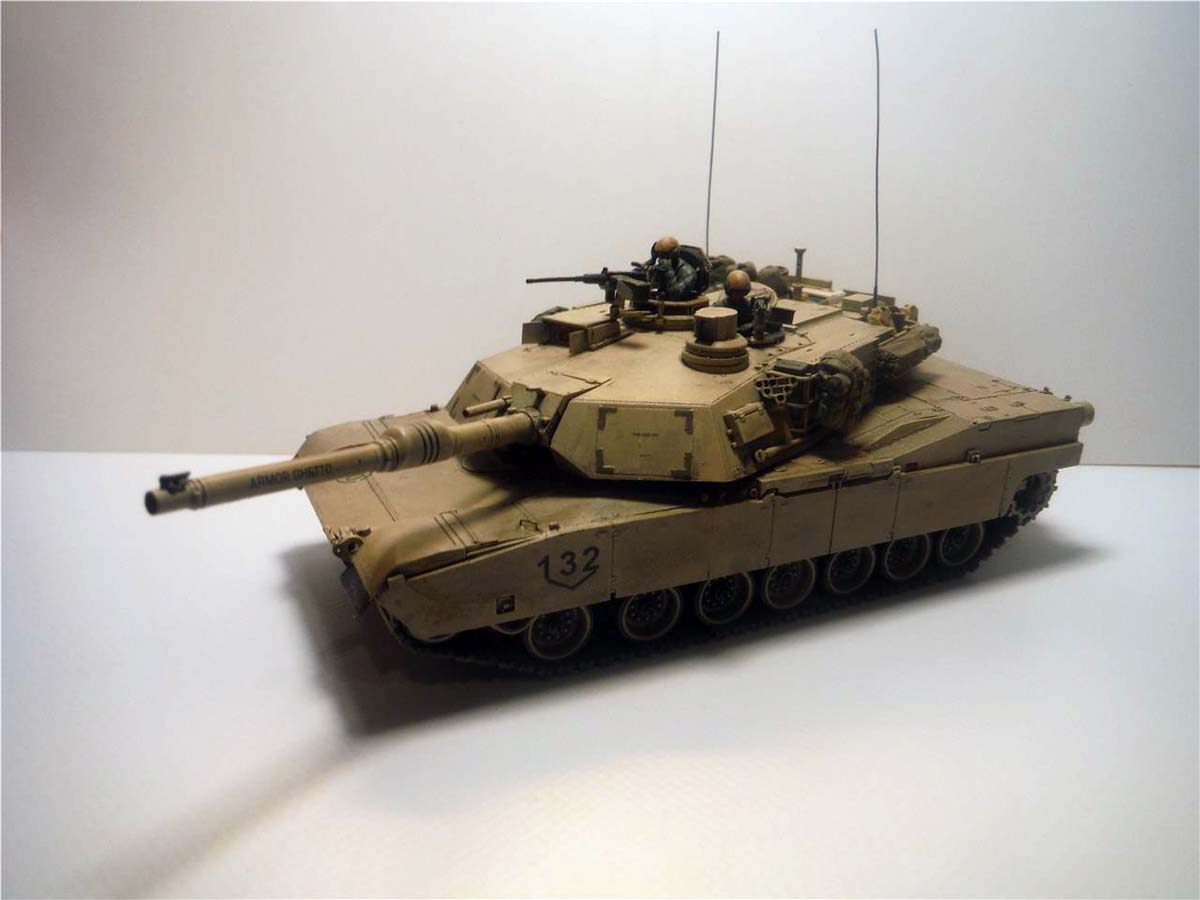
Painting, Crew and Gear
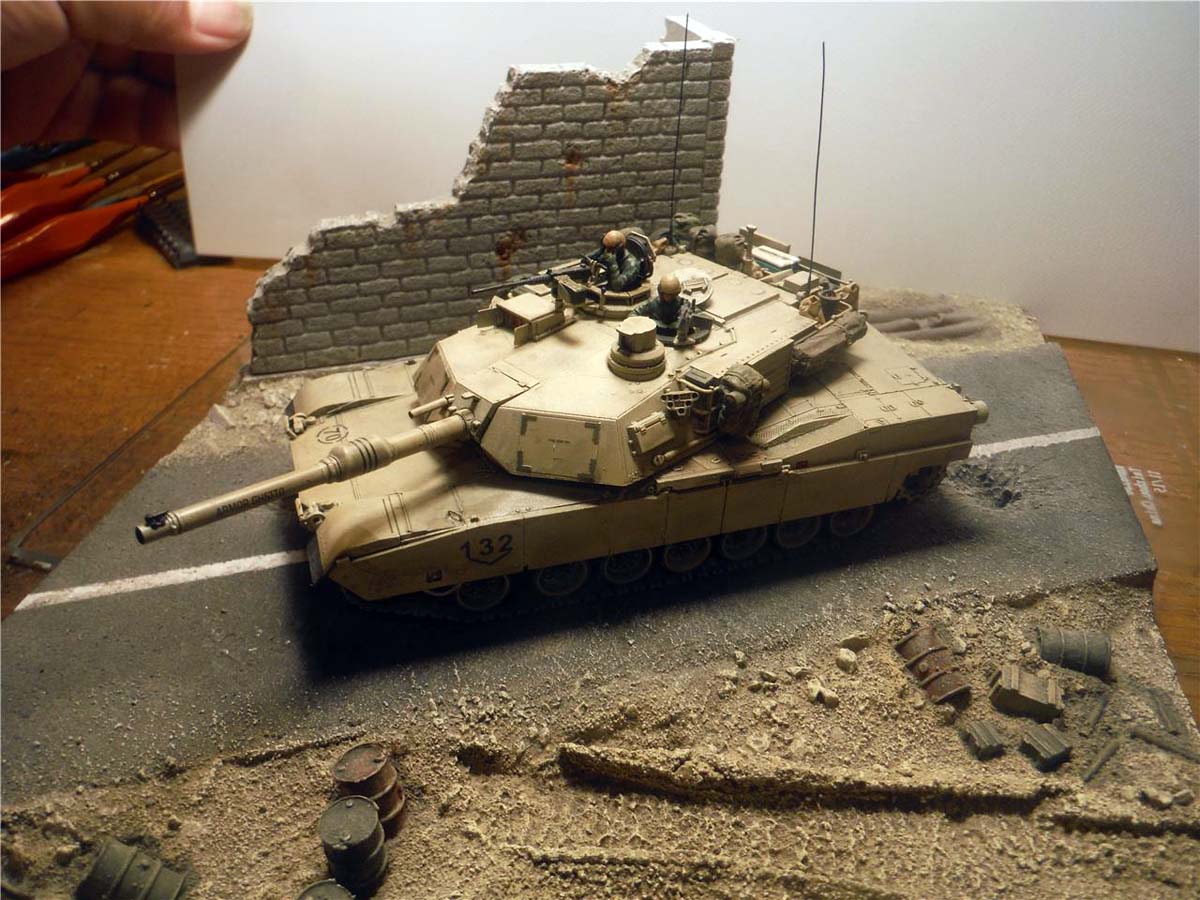
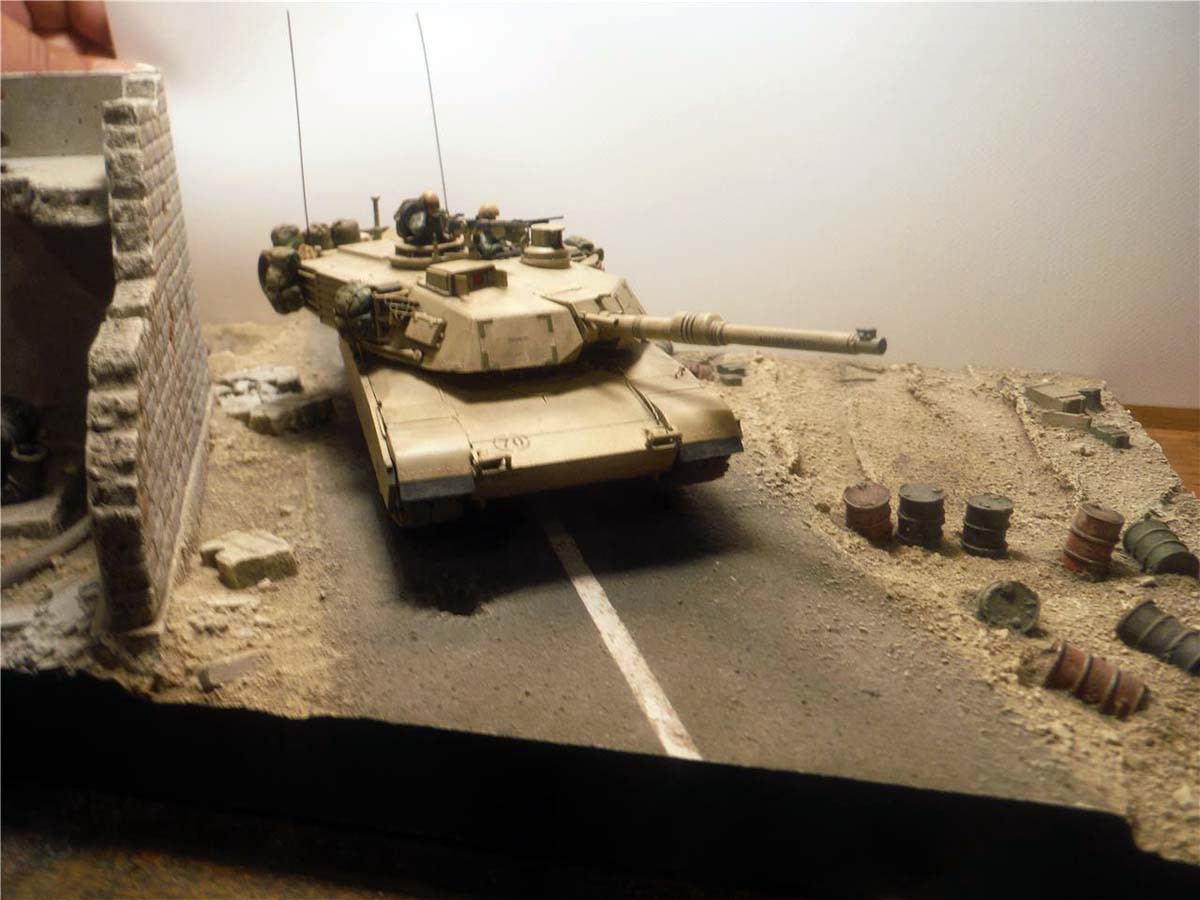
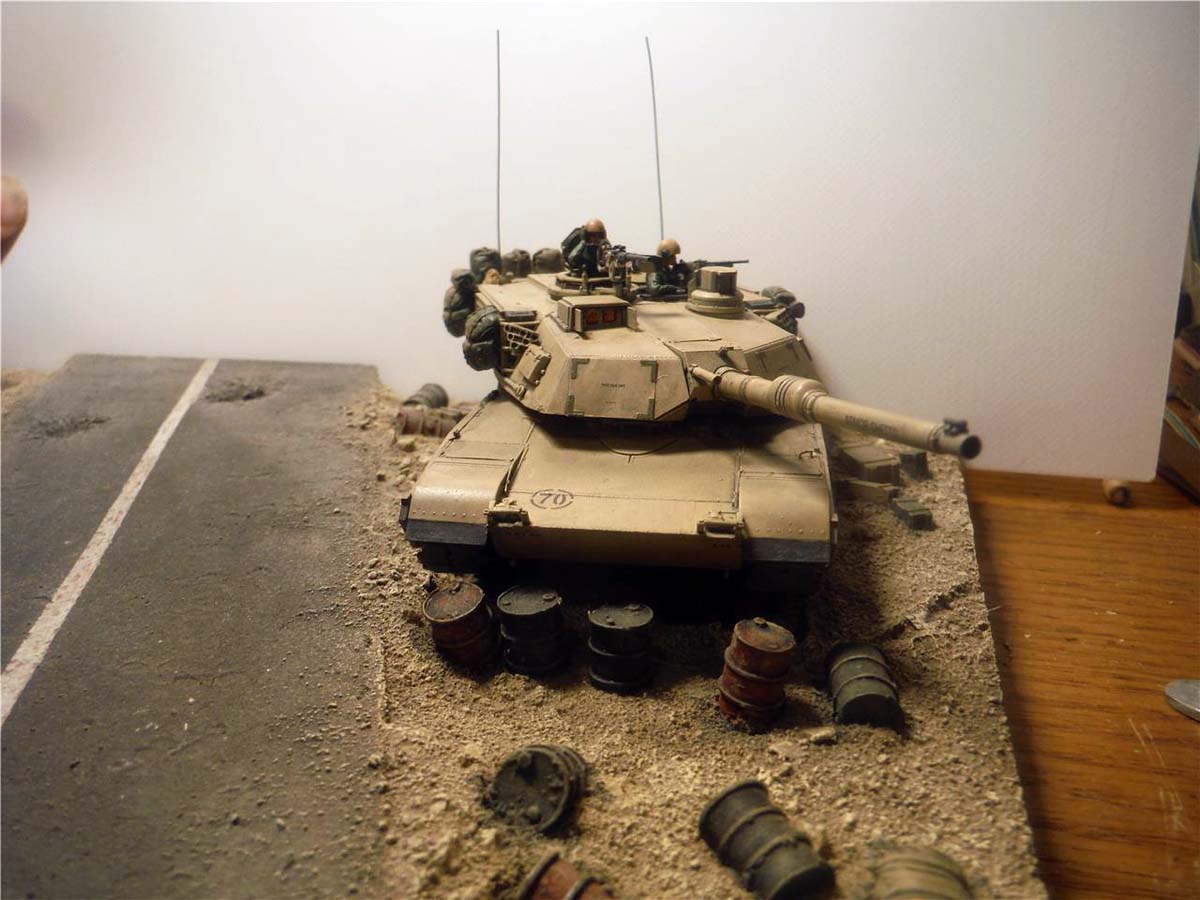
I didn't use the AK Interactive paints that were suggested in the paint list because I normally use Tamiya and Vallejo paints. Because this is a build review first before a build feature of the model very little gear was placed on it. The gear is out dated for the vehicle and came from CMK and Legend Productions. The figures came from Preisers US Army Tank Crew. Again, more emphasize was on the model then the crew and gear.
Conclusion
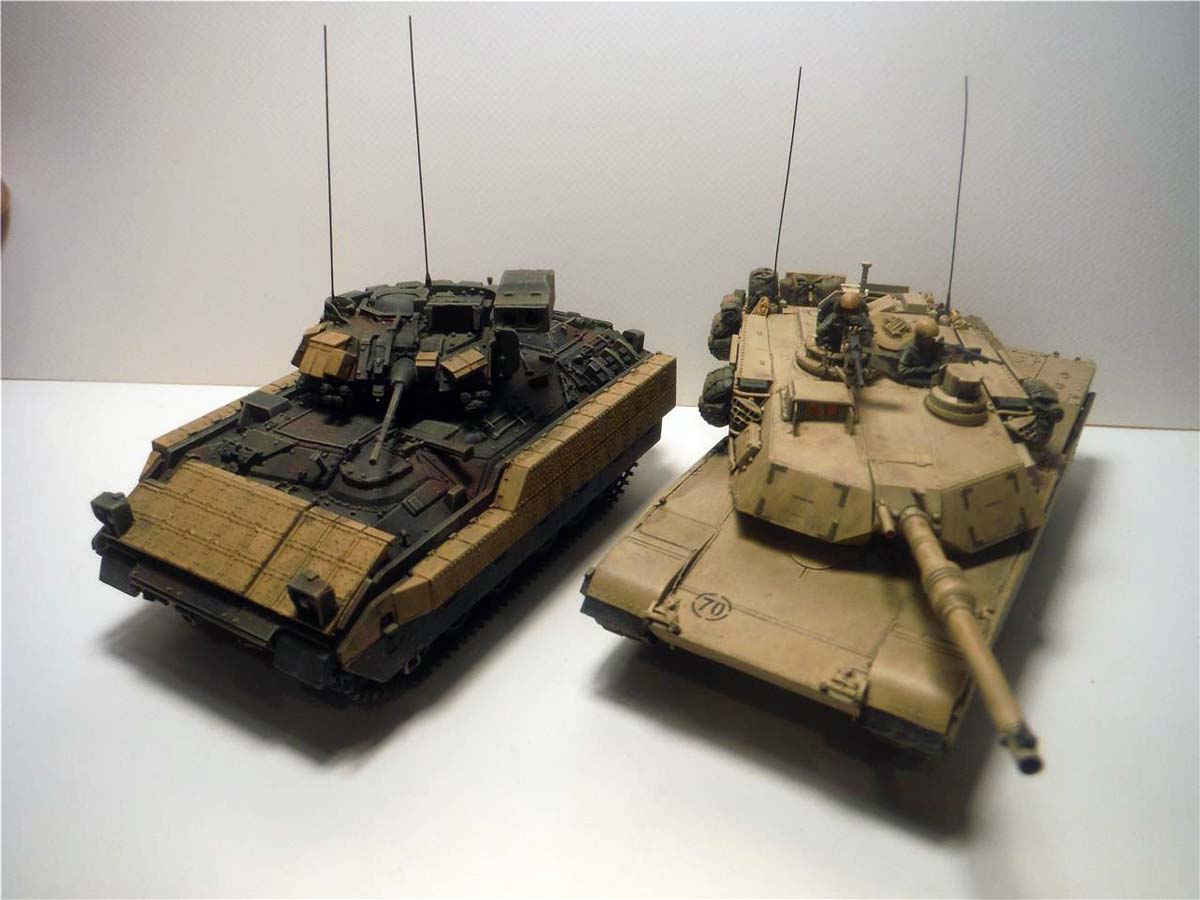
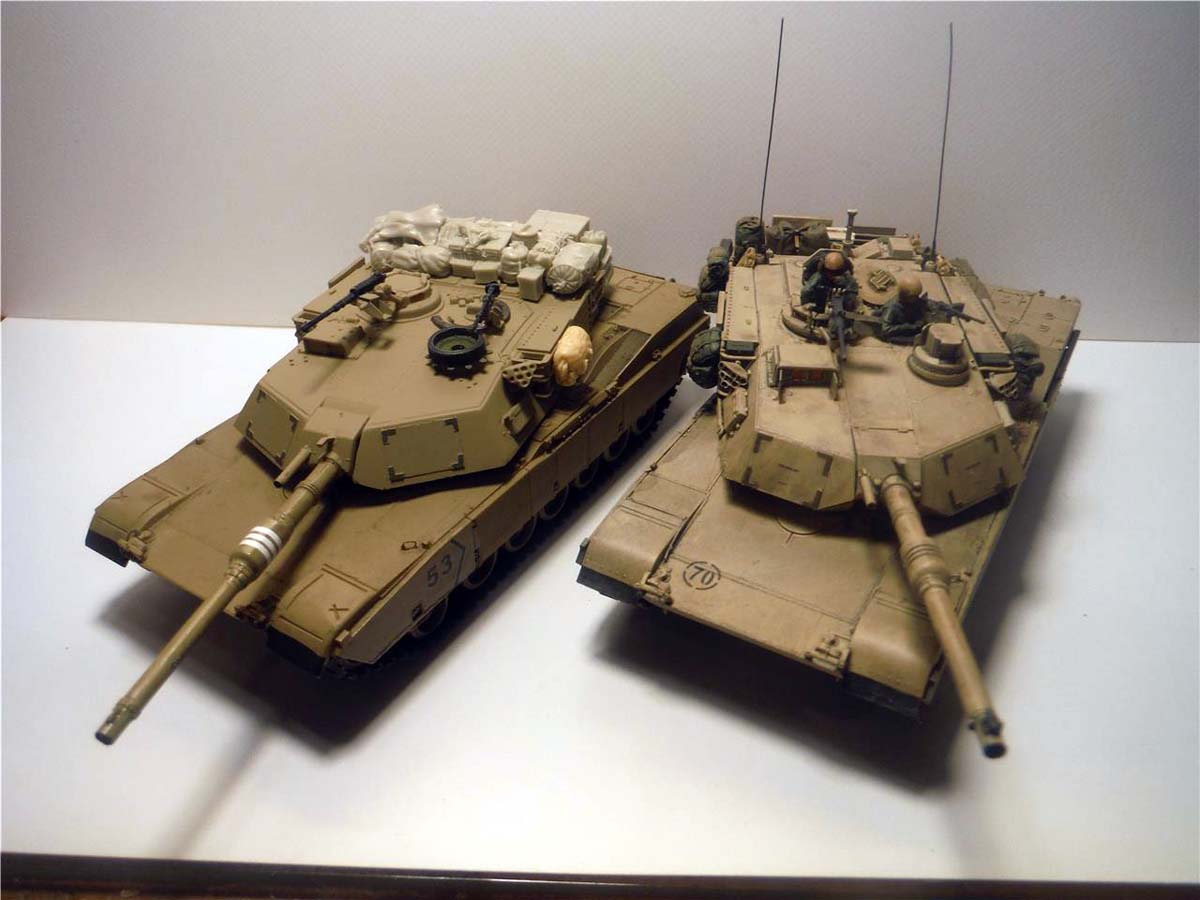
There is really nothing bad I can say about this kit other than the little critiques I made while building and the suggestion about adding rubber band tracks. One last suggestion would be maybe re-doing this kit into a 2 and 1 to include parts for the option of an A1 version, unless you guys already have an A1 in the works along with TUSK versions as well. Compared to what has been available, this Abrams kit is light years away from the other company's offerings (a picture has been provided of the Flyhawk Abrams next to one of those other companies Abrams). Easily a two to three build with good instructions and parts lay out and recommended for any type of modeler from beginner to expert.
SUMMARY
Pete Becerra reviews and builds the 1/72nd scale US Army's M1A2 SEP Main Battle Tank from Flyhawk Model.
Our Thanks to Flyhawk Model! This item was provided by them for the purpose of having it reviewed on this KitMaker Network site. If you would like your kit, book, or product reviewed, please contact us.
About Pete Becerra (Epi) FROM: TEXAS, UNITED STATES
I am 48 years of age. I have been modeling since I was around 8 years old. As you can see from my signature, I am retired from the US Army and Texas Army National Guard. I served 6 years in active duty from 1989 to 1995 and in 1998 I joined the Texas Army National Guard and been serving up unt...
Very interesting and informative review of this kit. Having reviewed and built Flyhawk's FT-17 I had high hopes for this kit when its release was announced. I am very pleased to see from your review and build that my hopes were met and then some. I truly appreciate the volume of images you made for this review as nothing can tell as much as the "proverbial Picture". I must say though that I personally would have been interested to see the instructions and a few more build shots of the suspension in progress. Thanks Pete to you for all your effort to put this review together and to those who had a part in it's publishing.
Cheers,
Jan
This is a really informative review, and pretty much shows all that is great and the few blemishes with this new kit.
IMH, this is THE best M1A2 Abrams kit in 1/72 scale, bar none. Flyhawk needs to also release a M1A1 and possibly a M1, too.
Thank you, Pete for doing the review.
Now I just gotta get me one for myself, without paying for more than the DML 1/35 M1A1 AIM kit I got a few years ago!


Comments