Publishers Note: Please be aware this is a rare 'test shot' from Tamiya. As such there are a few minor production issues usually not found in their final product, most notably on this one being the melded area of plastic on one of the lower tracks. As this flaw wouldn't show up on the final product we opted to let Jon build up this early kit preview.
The Kit
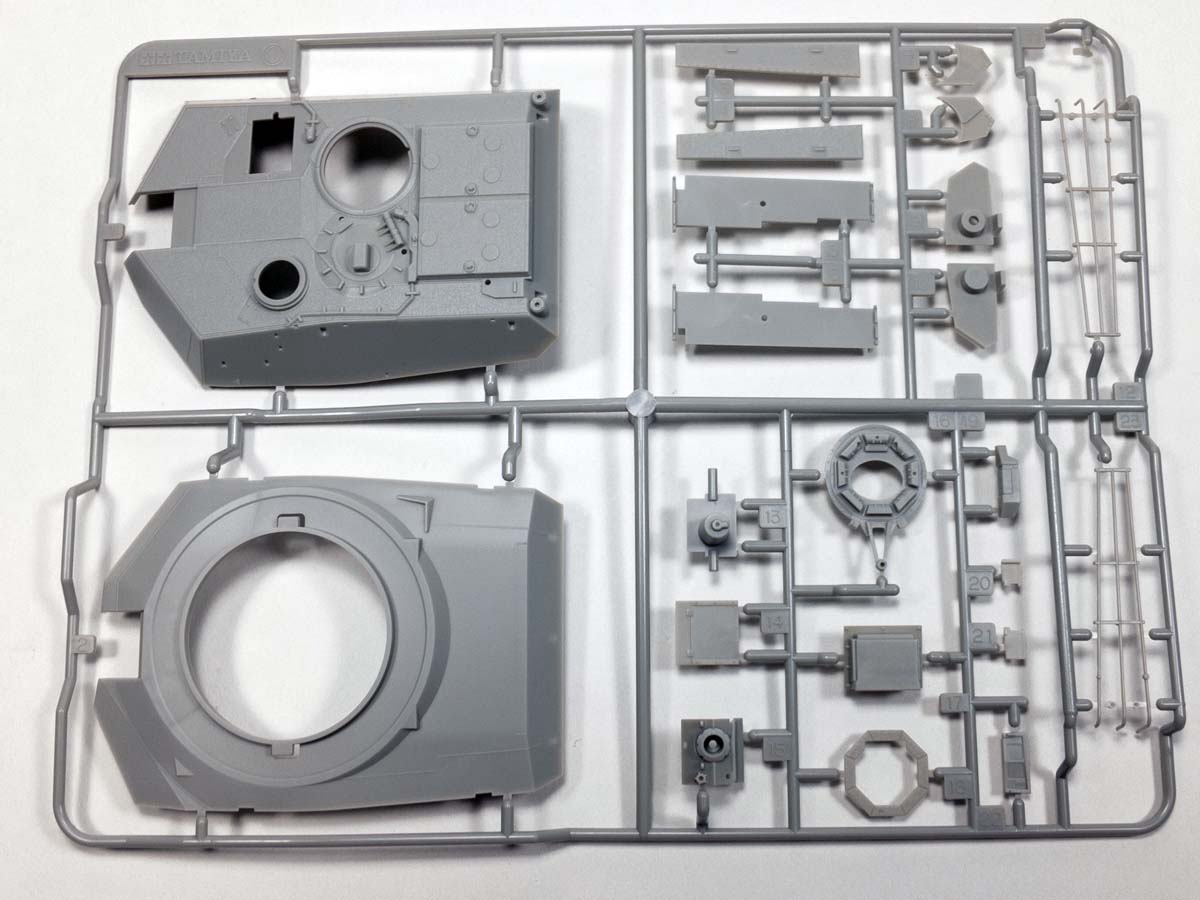
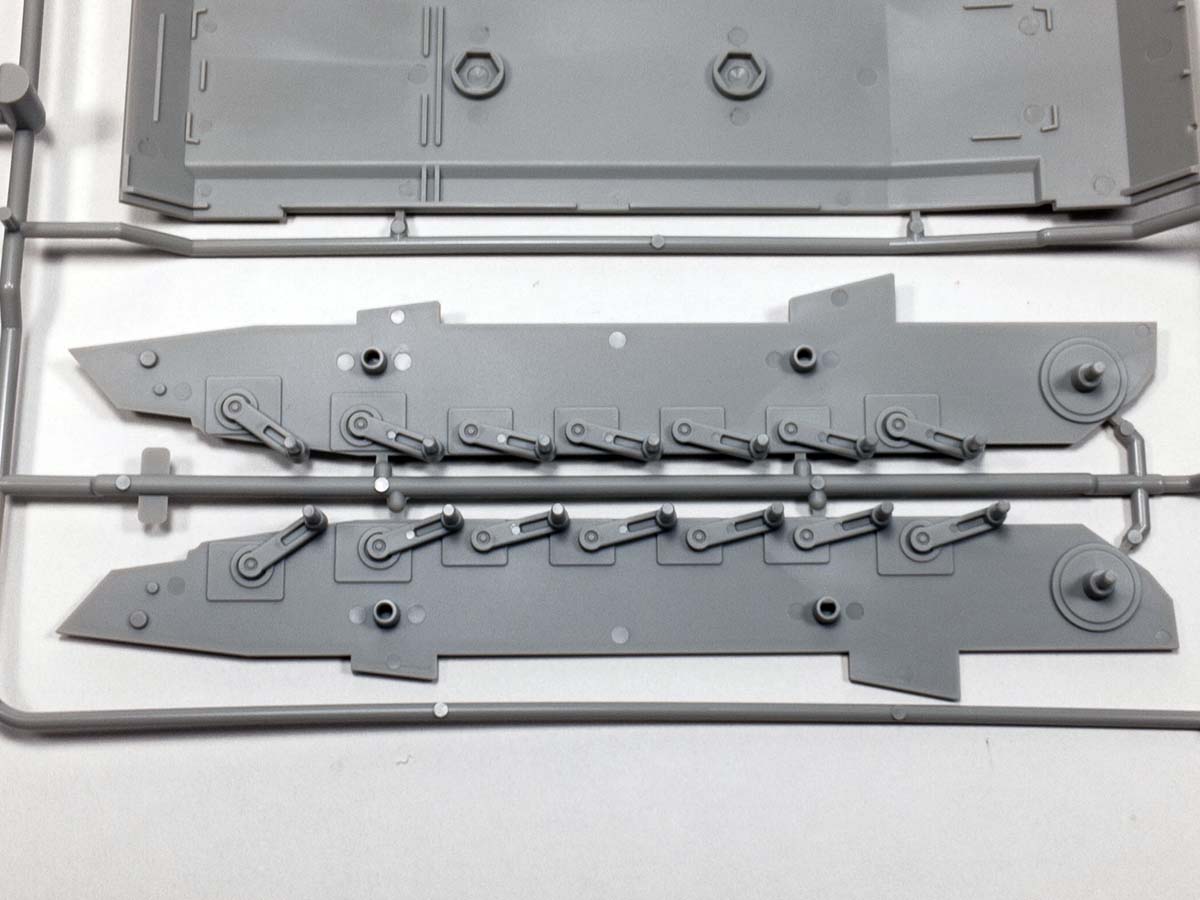
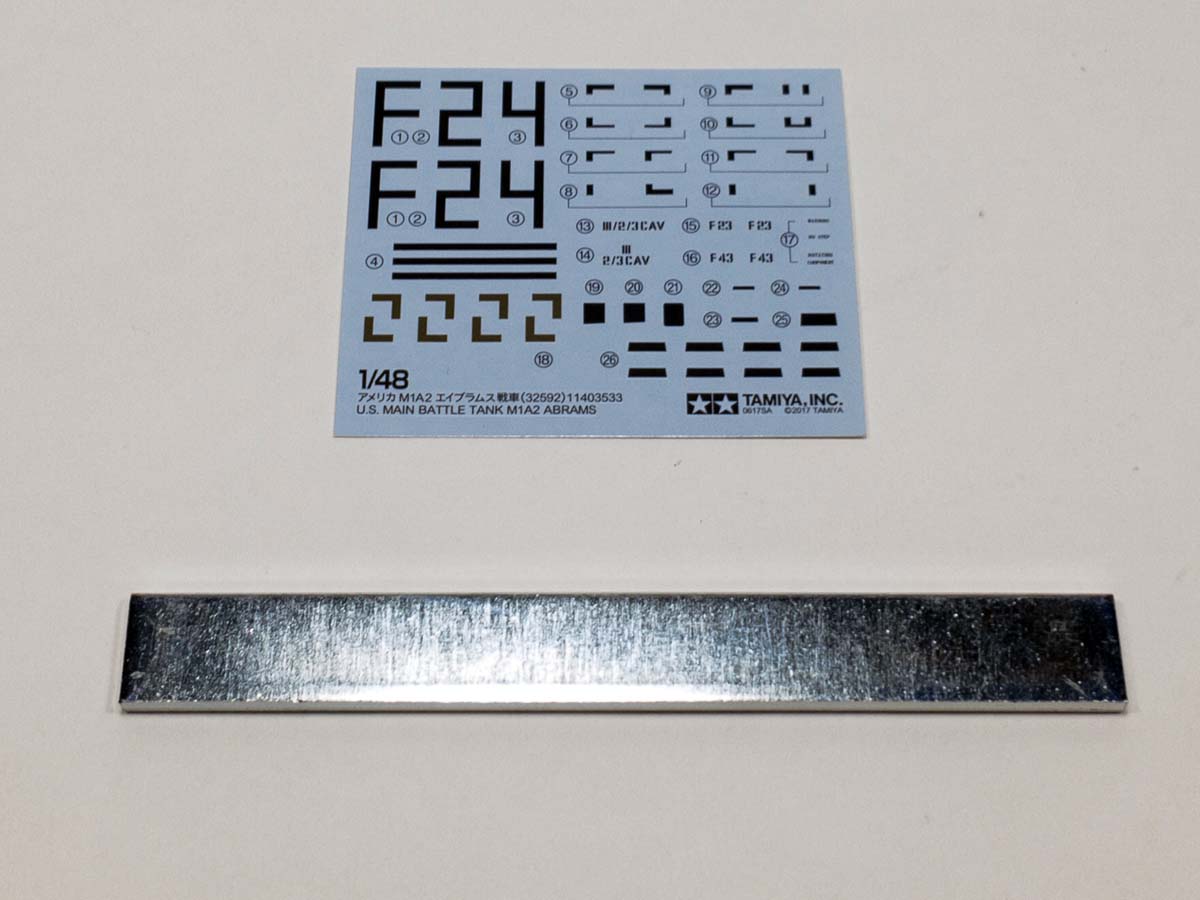
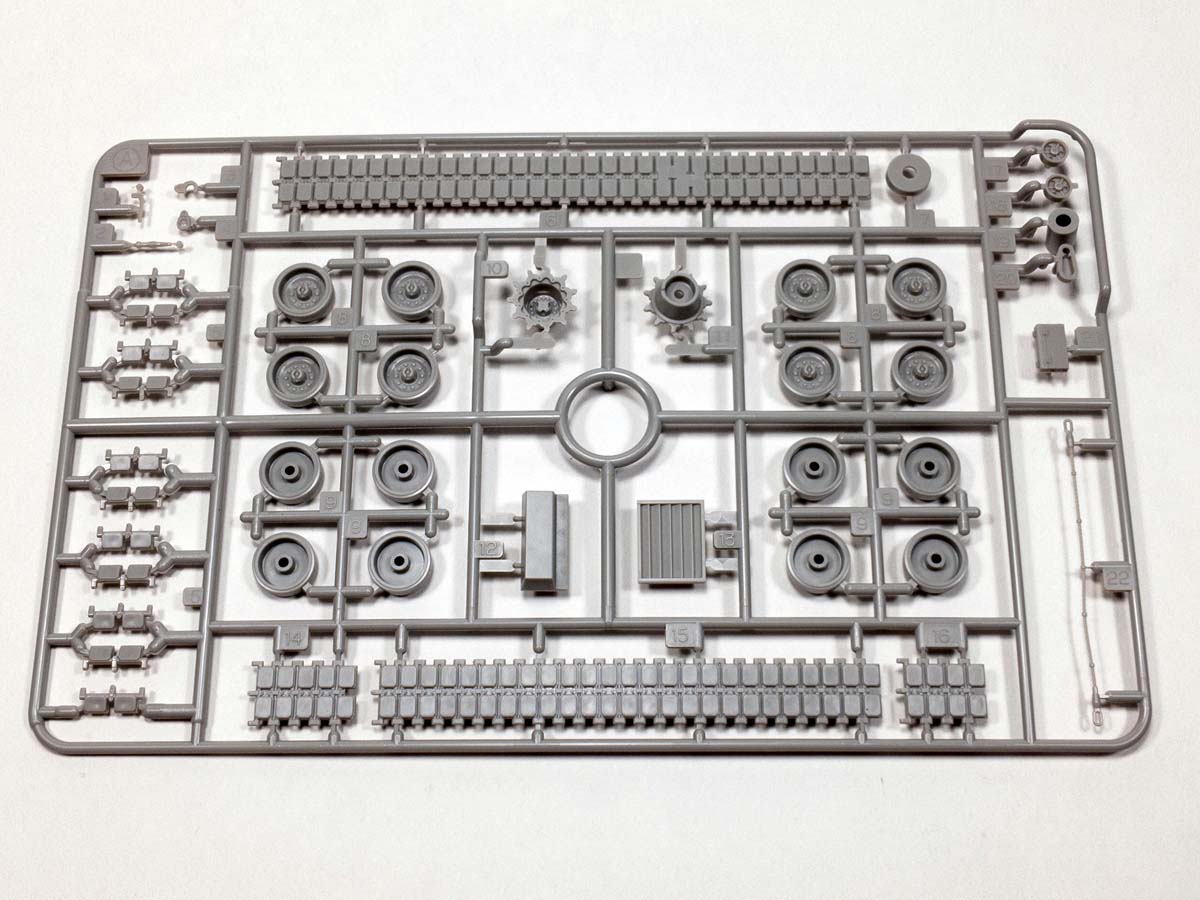
The kit comes nicely packaged in the same quality we can expect from Tamiya. The box contains seven individually wrapped sprues, decals, and a metal weight. The lower hull is molded as a floor plate with separate sides. Suspension arms are molded in along with the side pieces, making it hard anyone who wishes to articulate the suspension. The kit utilizes link and length style tracks, a standard for Tamiya 1/48th scale armor. No photo etch or clear parts are provided.
Overall molding is done exceptionally well with no flash and minimal mold seam lines. Some components are molded in place, and some have been simplified (grab handles). None of which takes away from the overall quality and detail of the kit. One addition to this kit as opposed to Tamiyas 1/35 offering is the no-slip textured horizontal surfaces on the hull and turret. I was quite surprised when I opened the box and saw the inclusion of the textured surfaces, a welcome addition.
The instructions are Tamiyas usual clear and easy to follow. Pay attention to the order in which the tracks are assembled. The instructions call for a certain assembly order. One half figure is included. Markings for two vehicles in Iraq (2003 time frame) are also included.
The Build
Assembly starts with the lower hull. There are a number of ejector pin marks on the outside of the hull. Dont waste your time filling and sanded them as they won't be visible once the side skirts are on. Since the suspension arms are molded in place there isn't a lot to assemble and the hull builds up quickly. Here is where you will glue down the included metal weight. I assume to make the model feel a little more significant. Seems gimmicky to me but I went ahead and used epoxy to secure it in place. At least if a strong breeze picks up the kit won't go flying off the table.
The road wheels go together well with no major issues. There is a small seam line that runs down the middle of each wheel. Most likely won't be visible once painted/weathered but my OCD kicked in once again and I sanded them down.
Once you complete the road wheels the instructions have you assemble the tracks. Normally I like to paint and weather the tracks separately and then install them towards the end of my builds. But with the way this kit goes together that wasn't an option. The tracks are perhaps my biggest complaint of this otherwise outstanding kit. The detail is very impressive, however there isn't much mating surface between the links. This leaves you with very fragile track assembly no matter how much glue you apply. I had the tracks fall apart on me multiple times during assembly, painting, and weathering despite my best efforts to tiptoe around them.
The rest of the hull goes together quickly and without issue. I don't think I even had to touch the filler on the hull.
One interesting thing Tamiya did is to include coloring for the periscope lenses on the decal sheet with callouts in the instructions for them as you come across the various lenses. But dont get your hopes up as they are just black rectangles for the corresponding lens. I chose not to use them as I felt I could do a better job with paint.
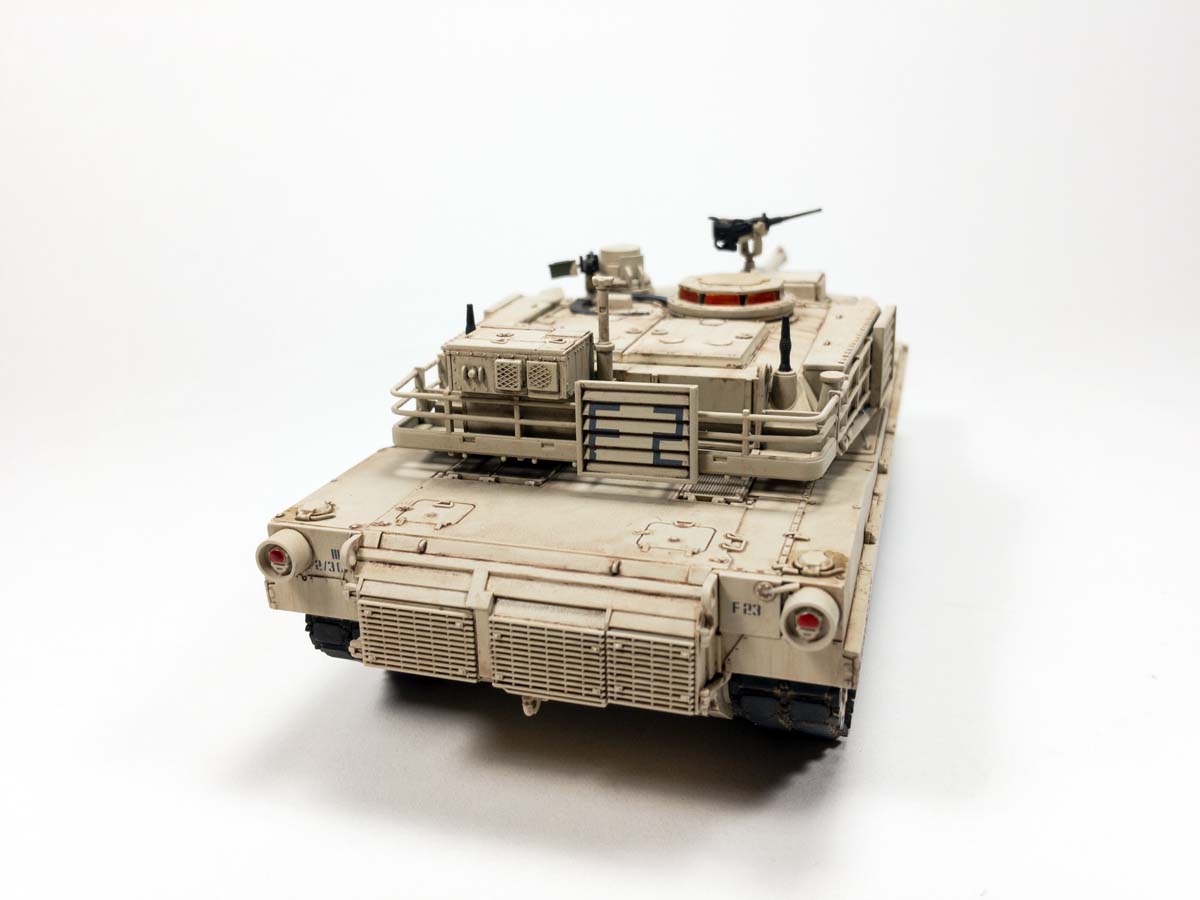
Assembly of the turret goes quickly and easily. The barrel is molded as one piece but the fume extractor is molded in two pieces that sandwich around the barrel. I had a small seam line where the two halves join but some Mr. Surfacer 500 and some sandpaper took care of it. Parts C5 and C6 have a ejector pin mark on the inside mating surface that will need to be taken care of for a flush fit. Be careful removing the tow cables from the sprue. They are finely molded and break easily.
Painting and Weathering
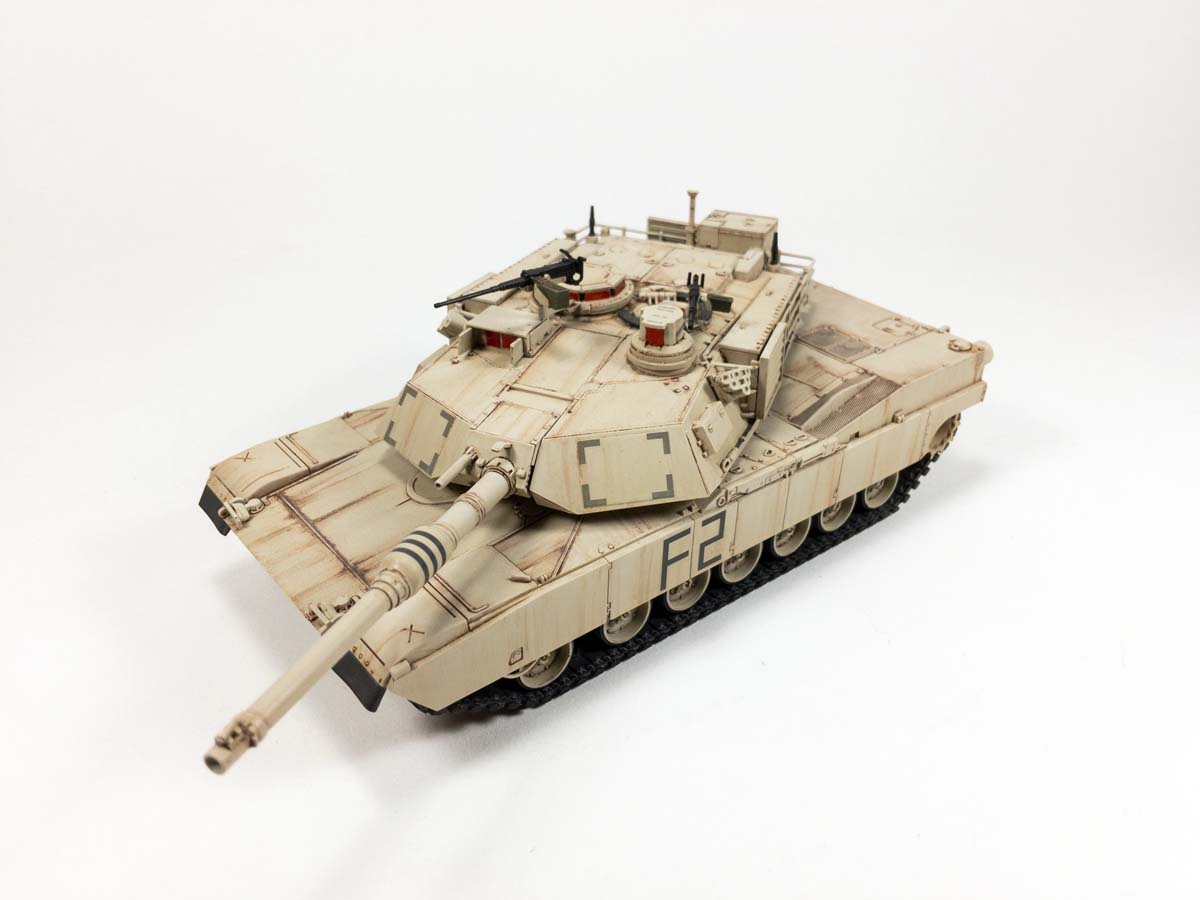
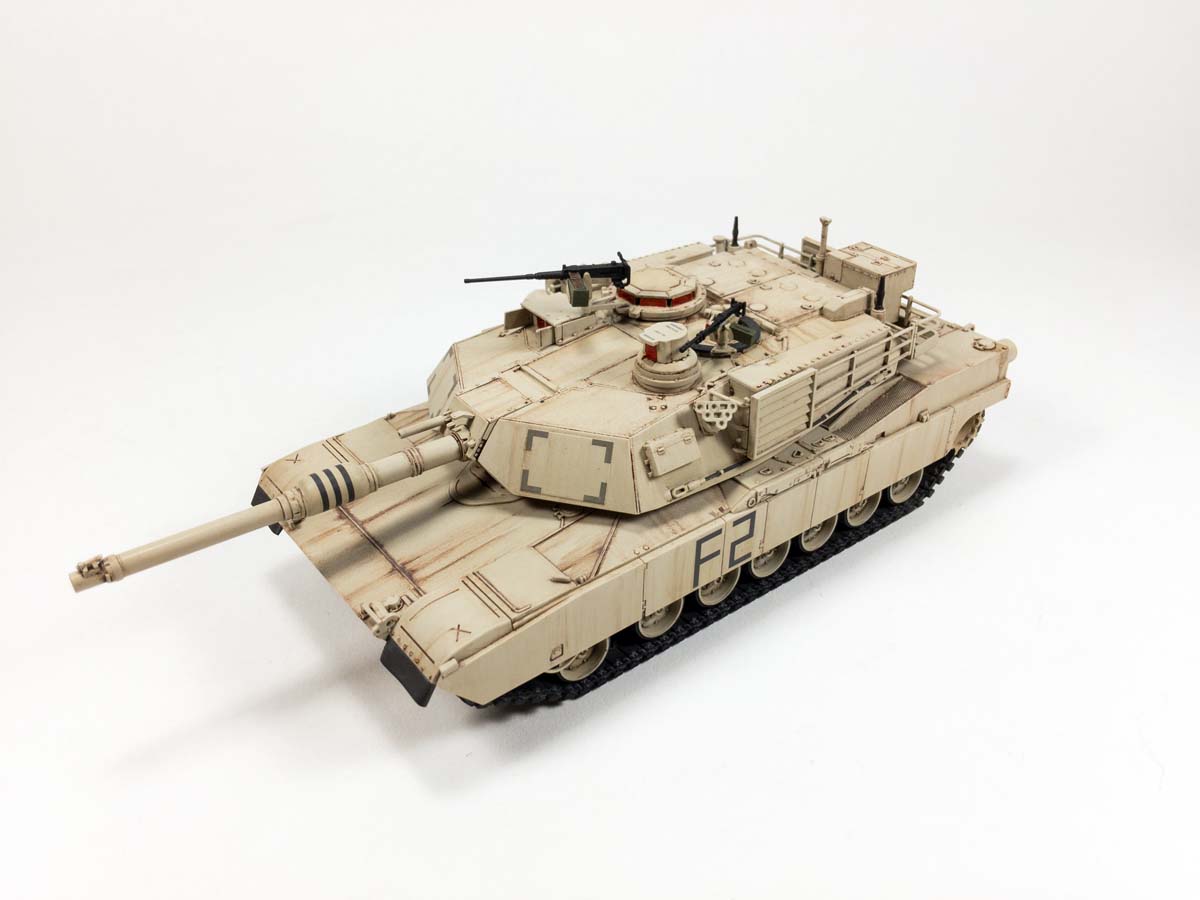
Desert finishes are fairly new to me so I was eager to start the painting phase. For this build, I chose to depict vehicle F 2 the 3rd Armored Cavalry Regiment during April 2003 in Iraq.
After priming the model I airbrushed flat black into the low spots to try and create some shadows. Vallejo Model Air Sand (Ivory) was used as a basecoat. Once this was dry, I added about 20% white to the basecoat and went back and highlighted the center of some of the panels to help break up the monotony of a desert finish.
Those familiar with Tamiya decals know they can be a hassle to snuggle down because of the thick carrier film. I used Alclad aqua gloss clear as well as Micro Sol/Set (and a little Solvaset on one stubborn decal) and the decals went down smoothly.
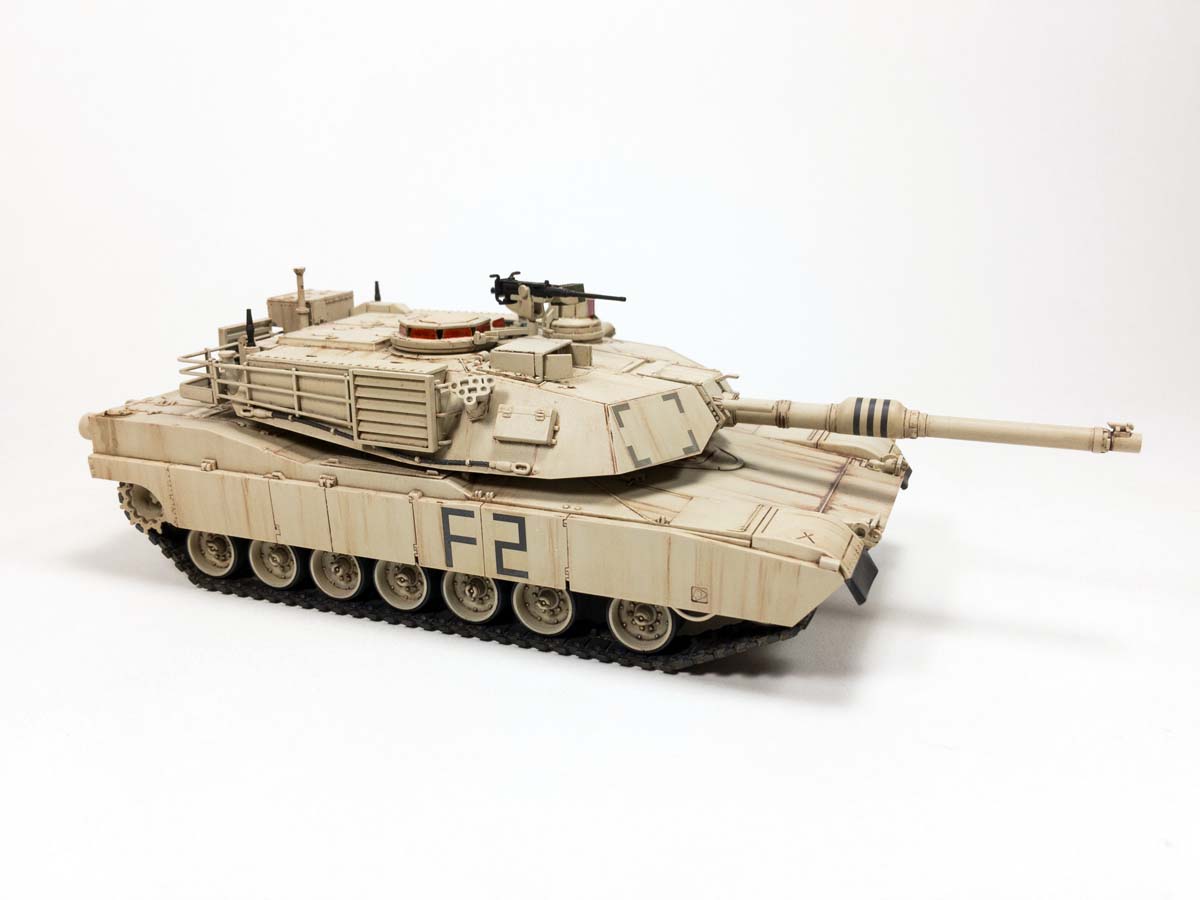
After letting everything dry overnight I then made a filter from AK interactive OIF/OEF wash. This helped tone down and blend the highlight colors together. I made sure to get it into the nooks and crannies as well as create some subtle streaking. Once this had dried I added a pin wash using raw umber. Raw umber was also used to create the heavier streaking on the hull and turret.
SUMMARY
Highs: Great detail. Ease of assembly. Non slip texture a bonusLows: Tracks, fragile when assembled. Verdict: Another great release from Tamiya.
Our Thanks to Tamiya USA! This item was provided by them for the purpose of having it reviewed on this KitMaker Network site. If you would like your kit, book, or product reviewed, please contact us.
Nice job on the build, it looks like a good choice for a quick project. One thing to be aware of, though I may be wrong , is that with the bustle mounted APU this limits it out of the box to the original production M1A2 ( non SEP ) and unsuitable for, say, an OIF vehicle.
Sean
Nice job Jon! Had the opportunity to see this one up close and personal last night; it looks great. Just might make me break down and build another 48th scale kit!


Comments