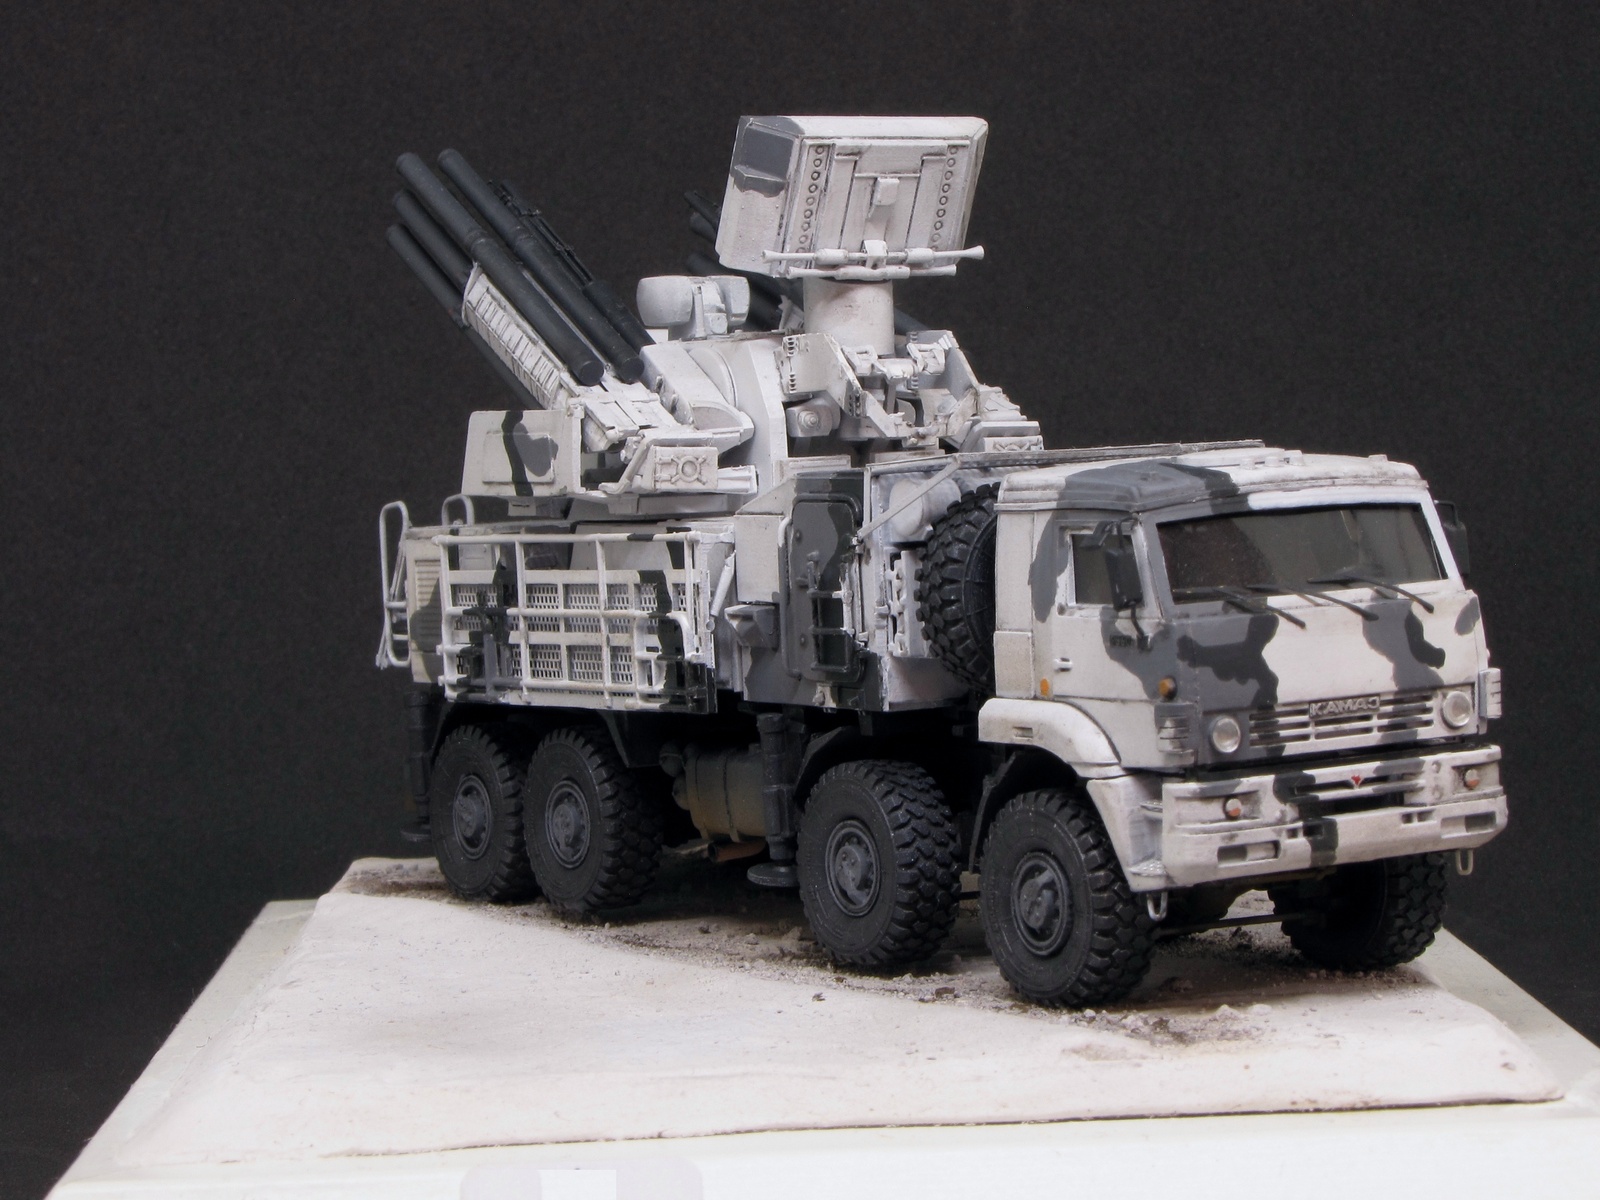
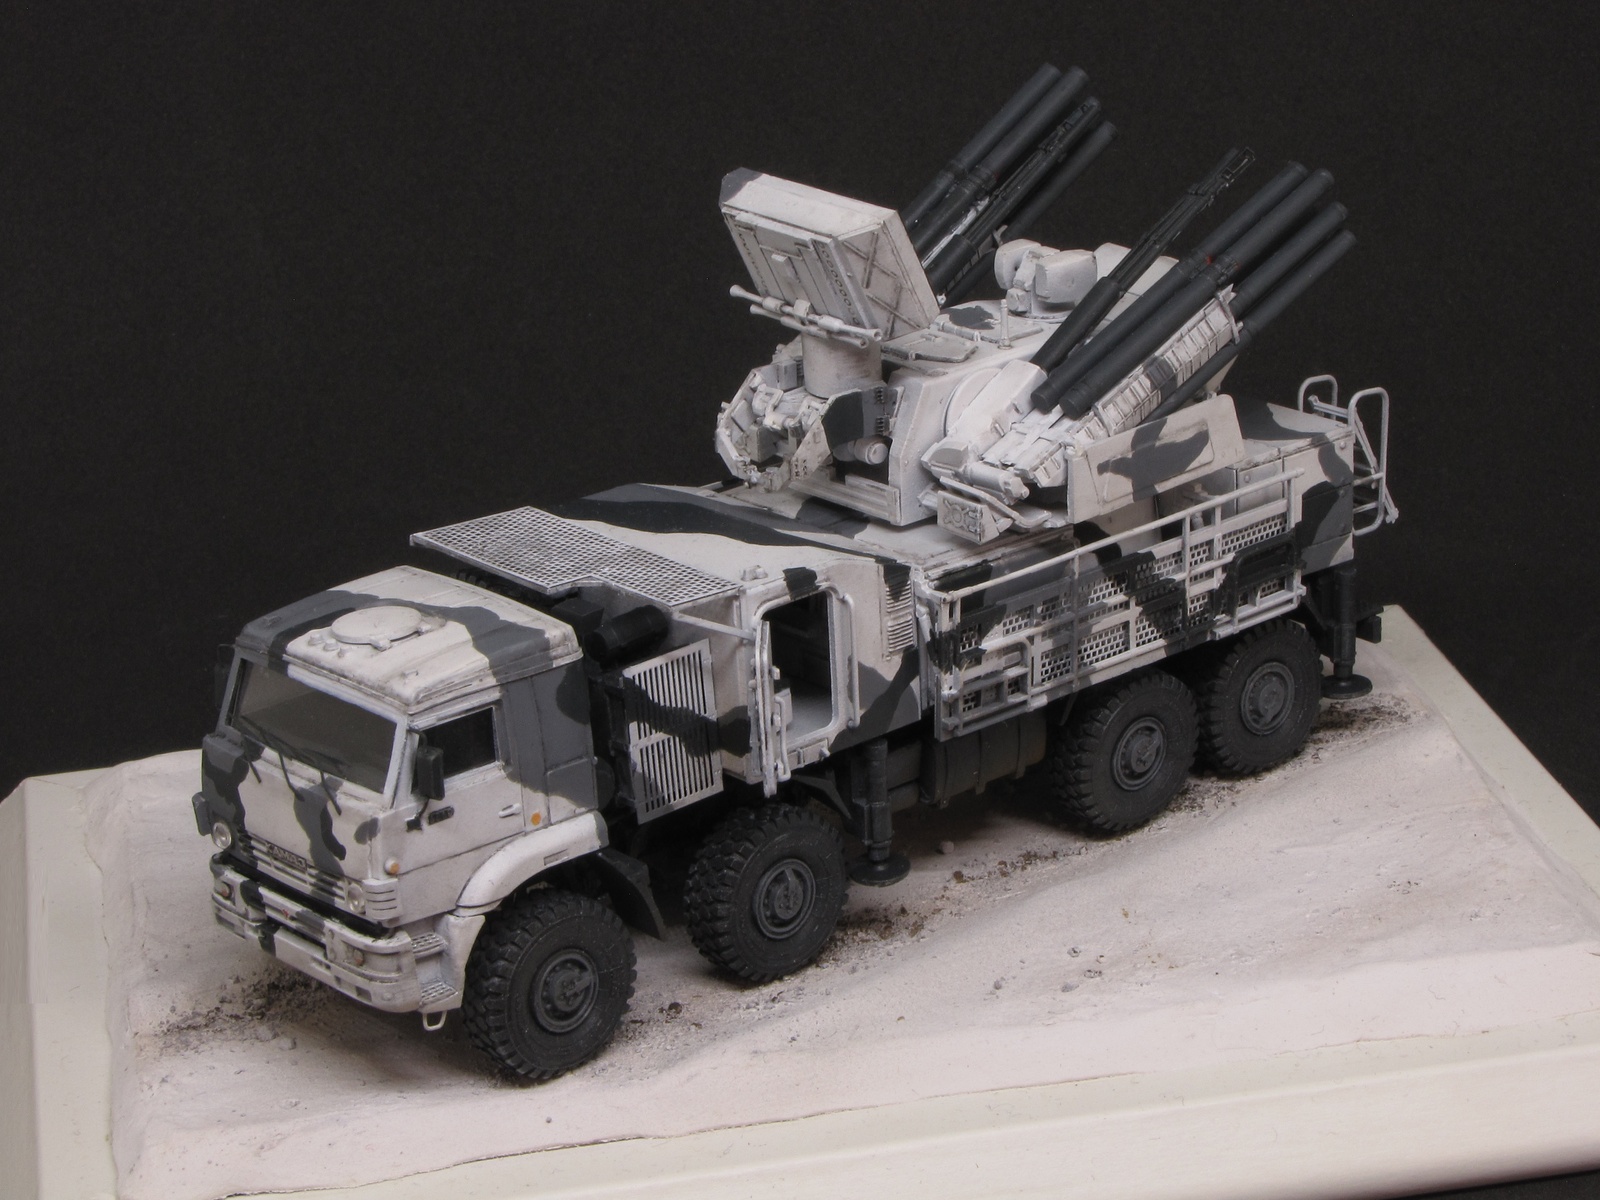
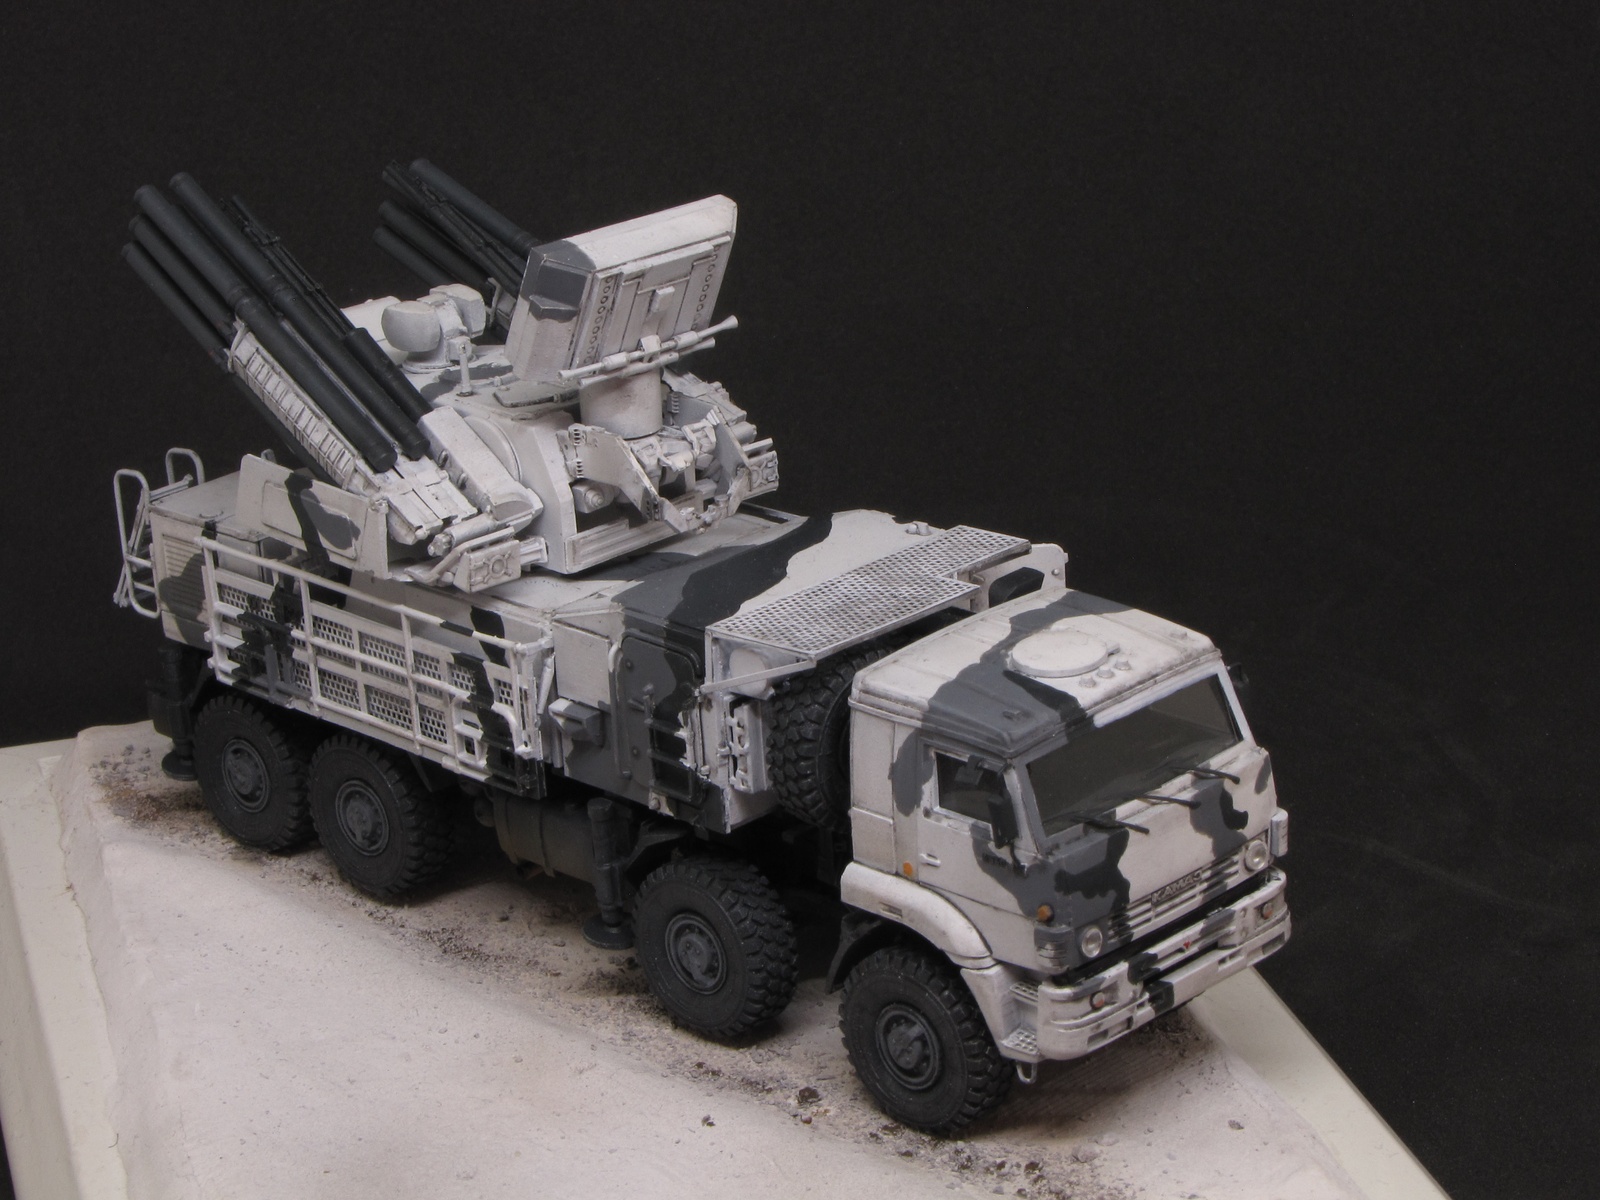
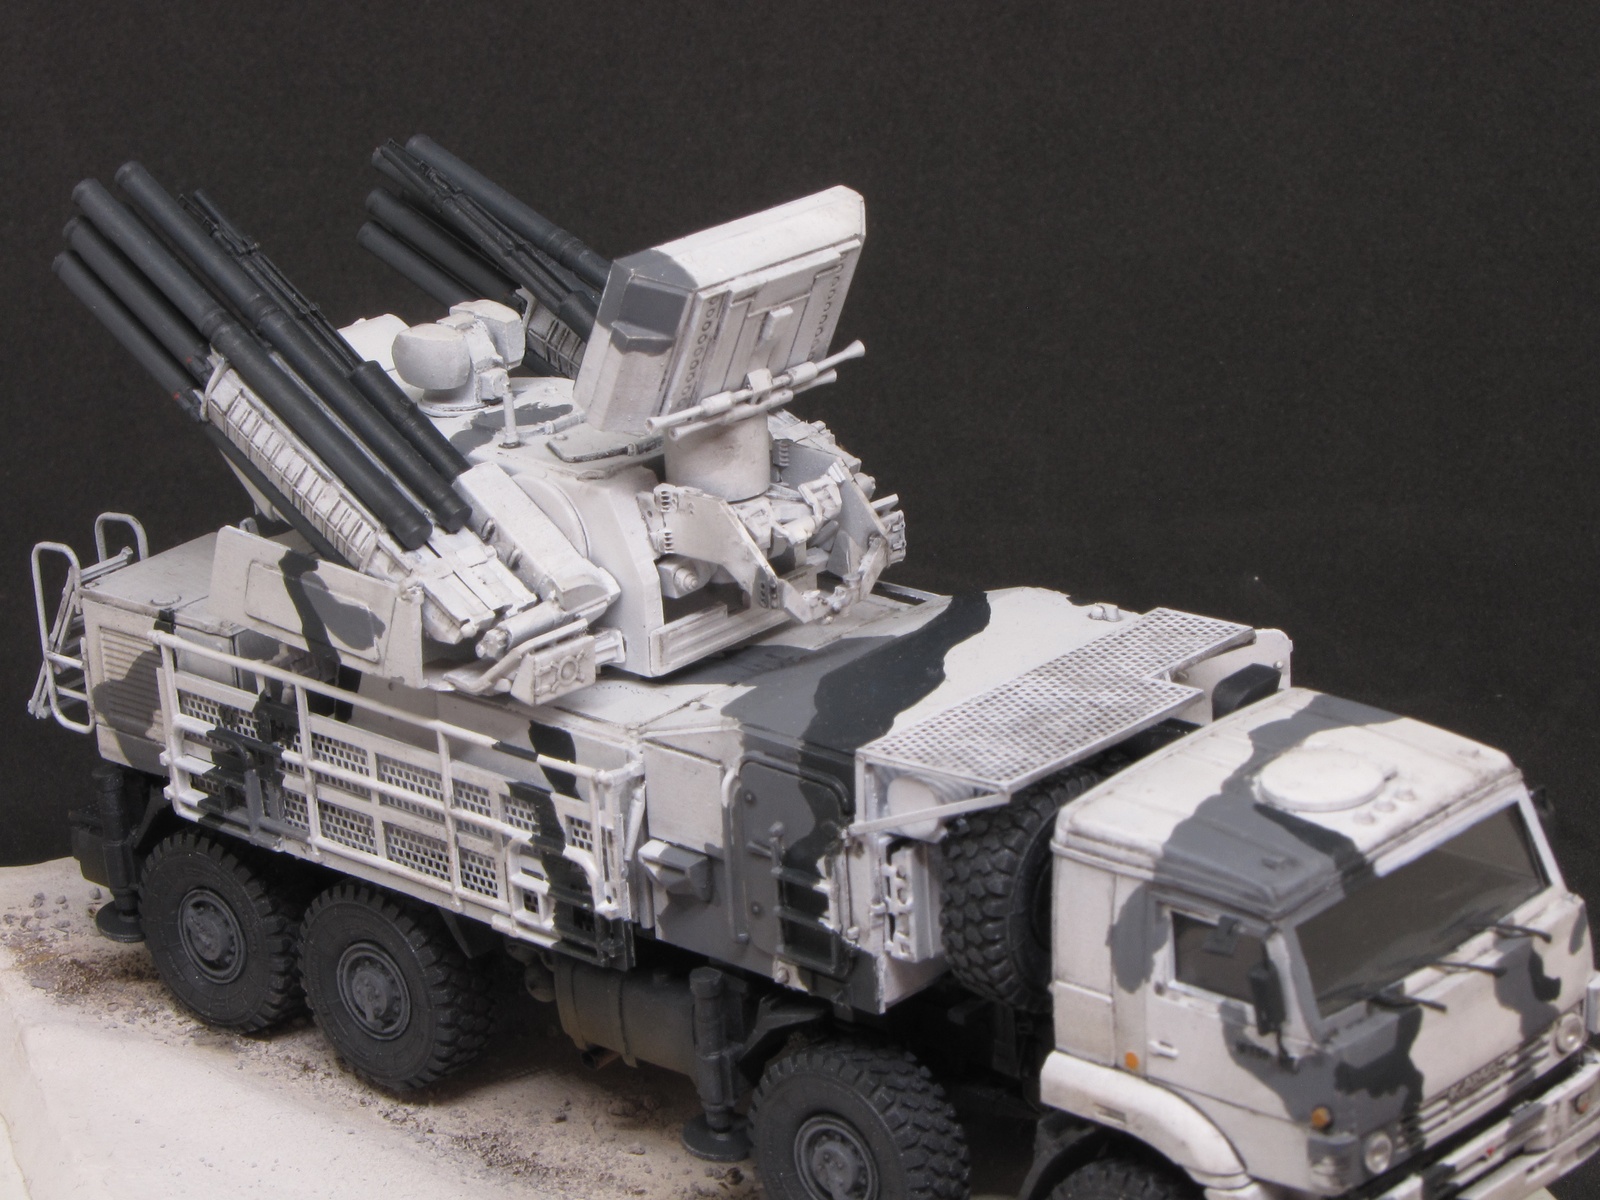
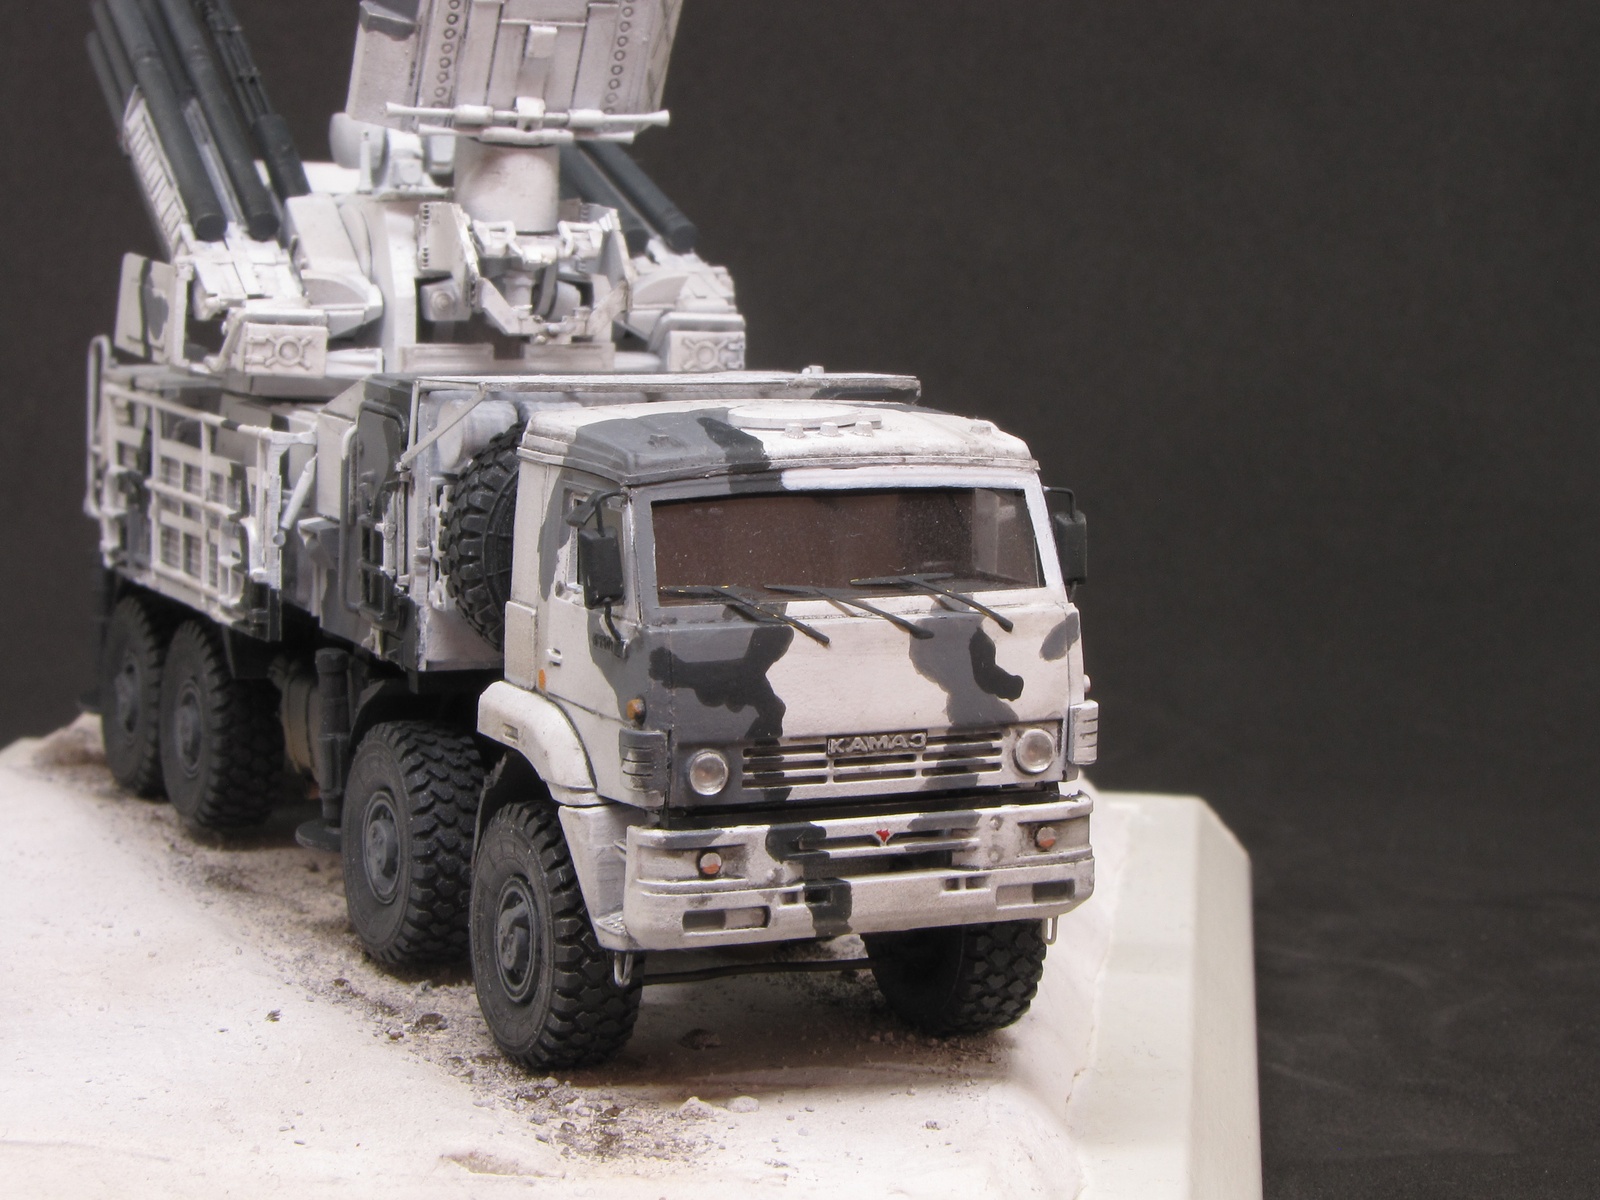
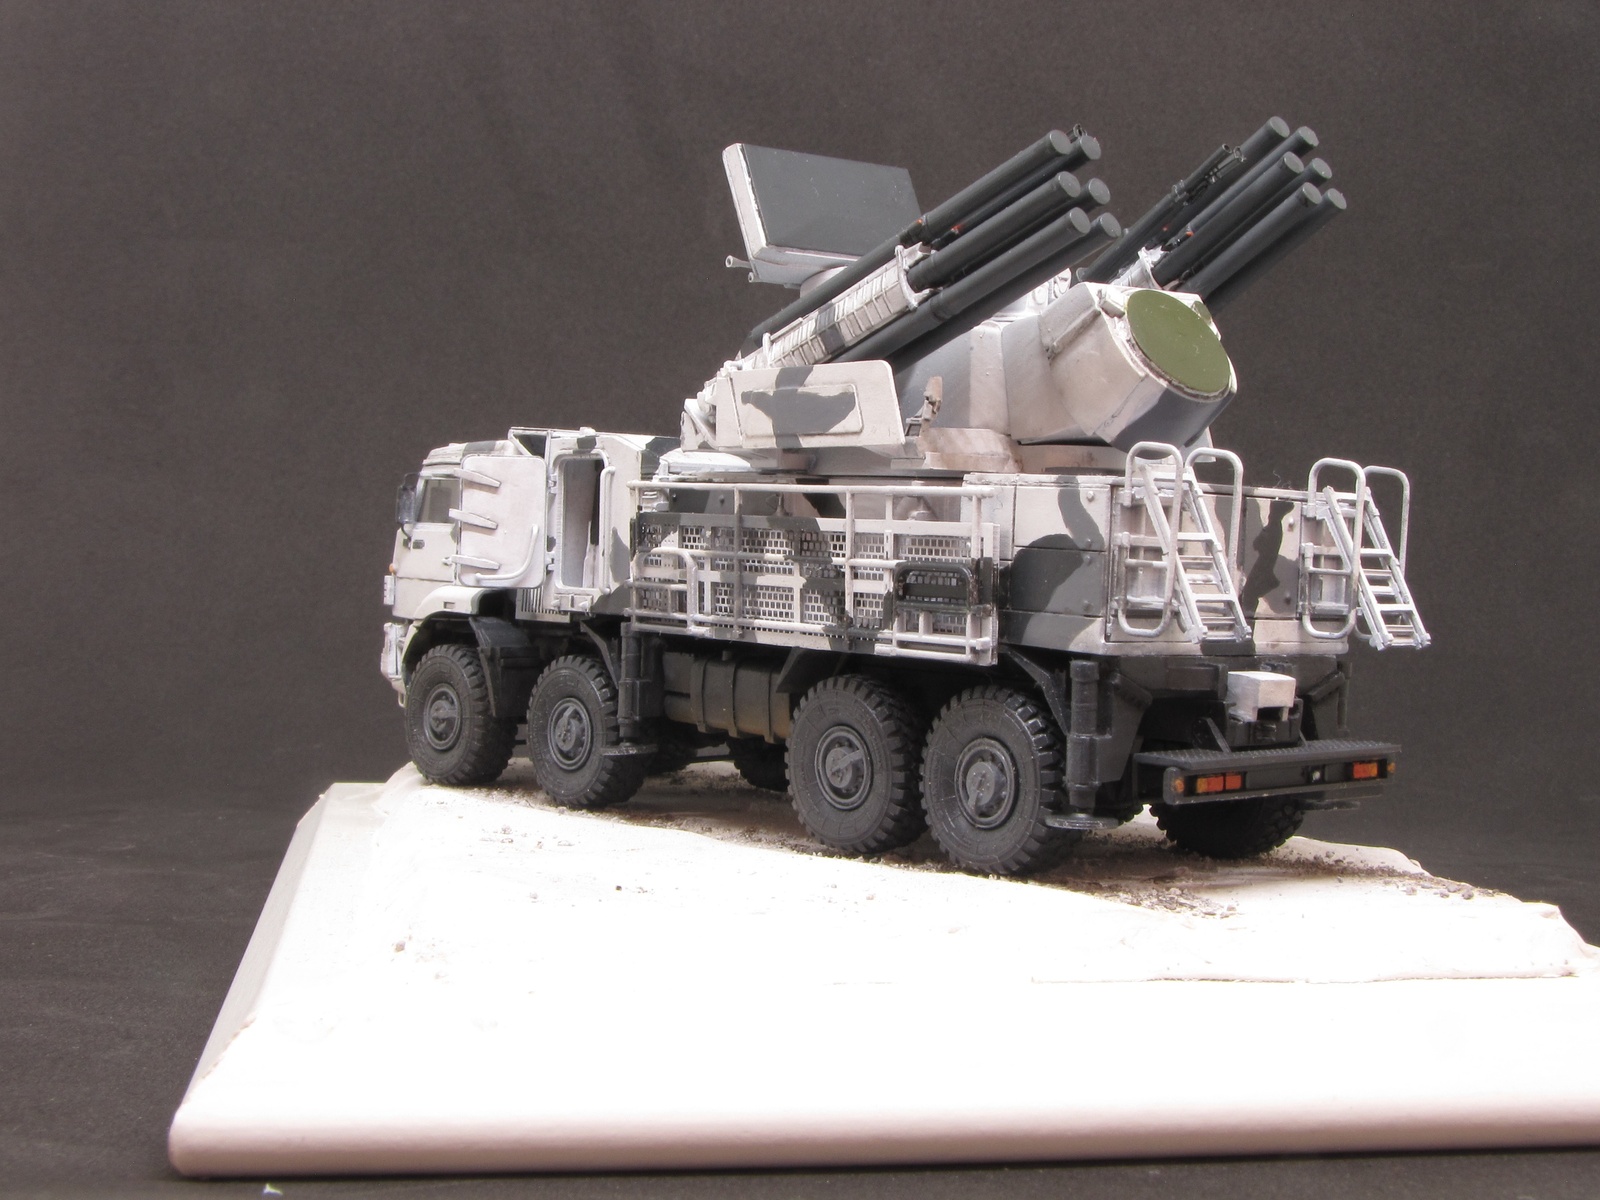
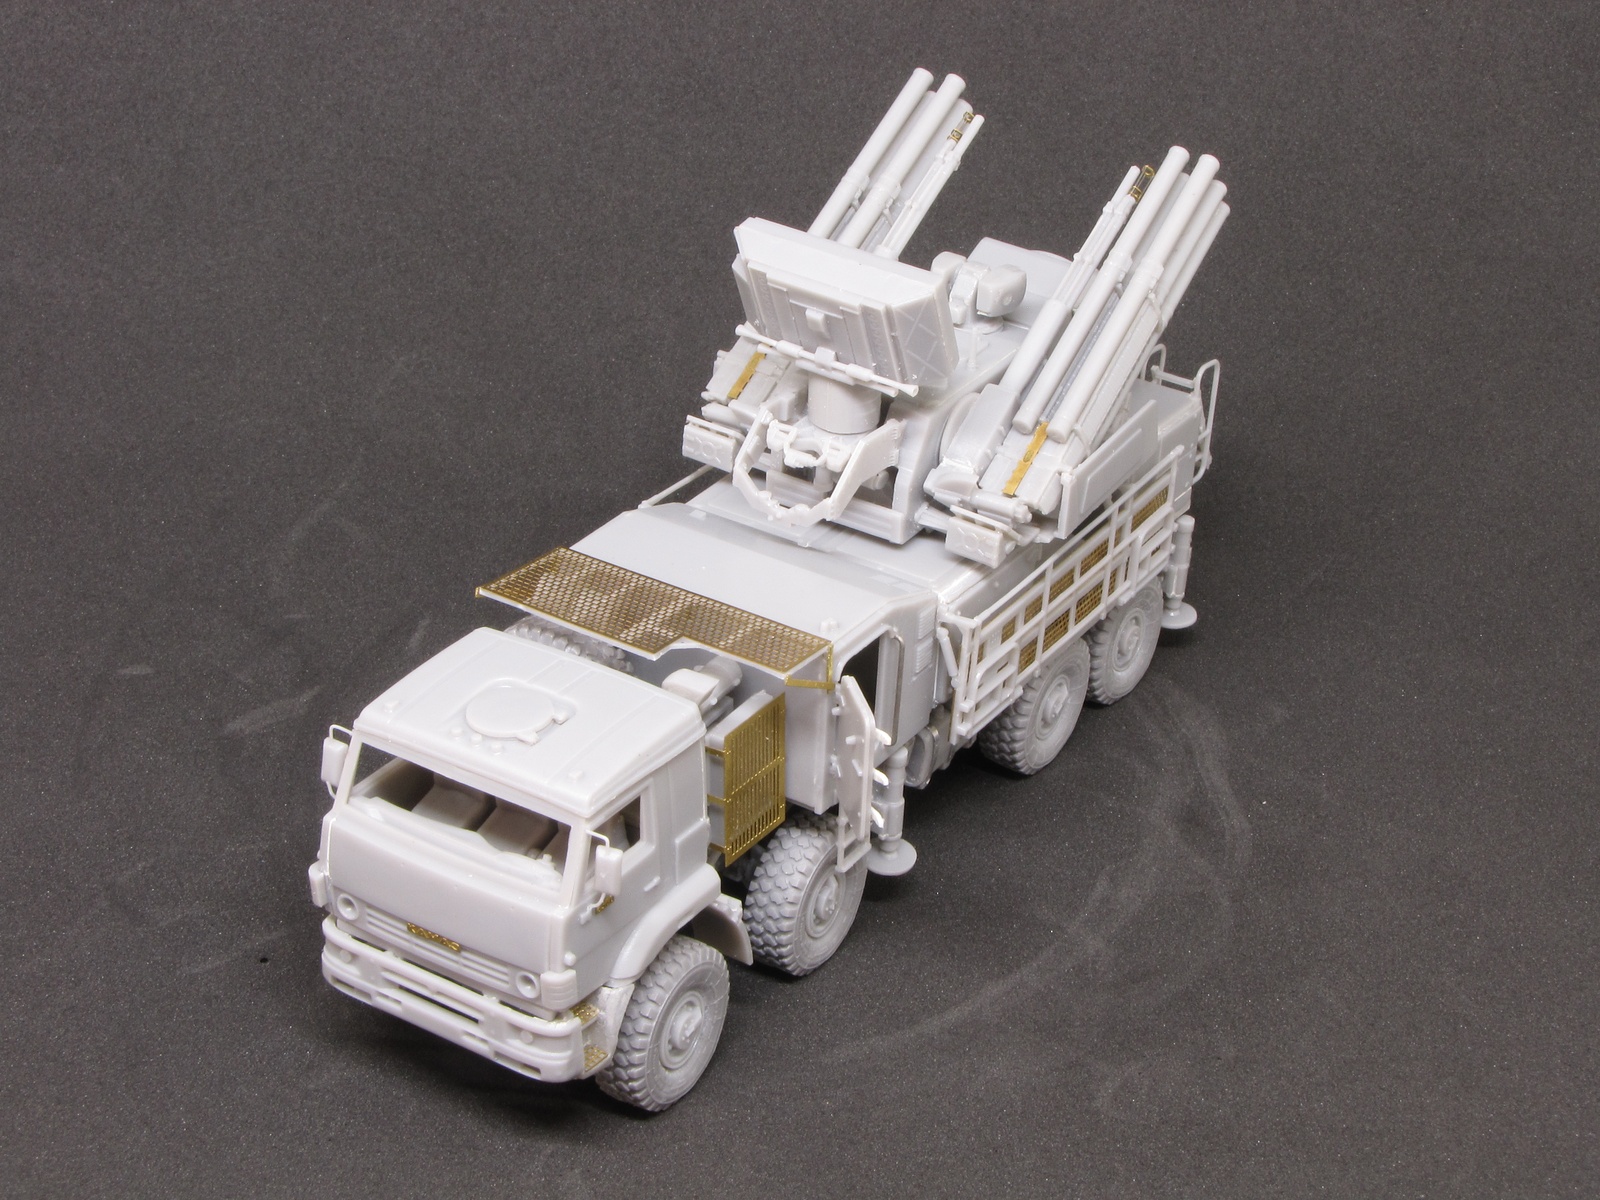
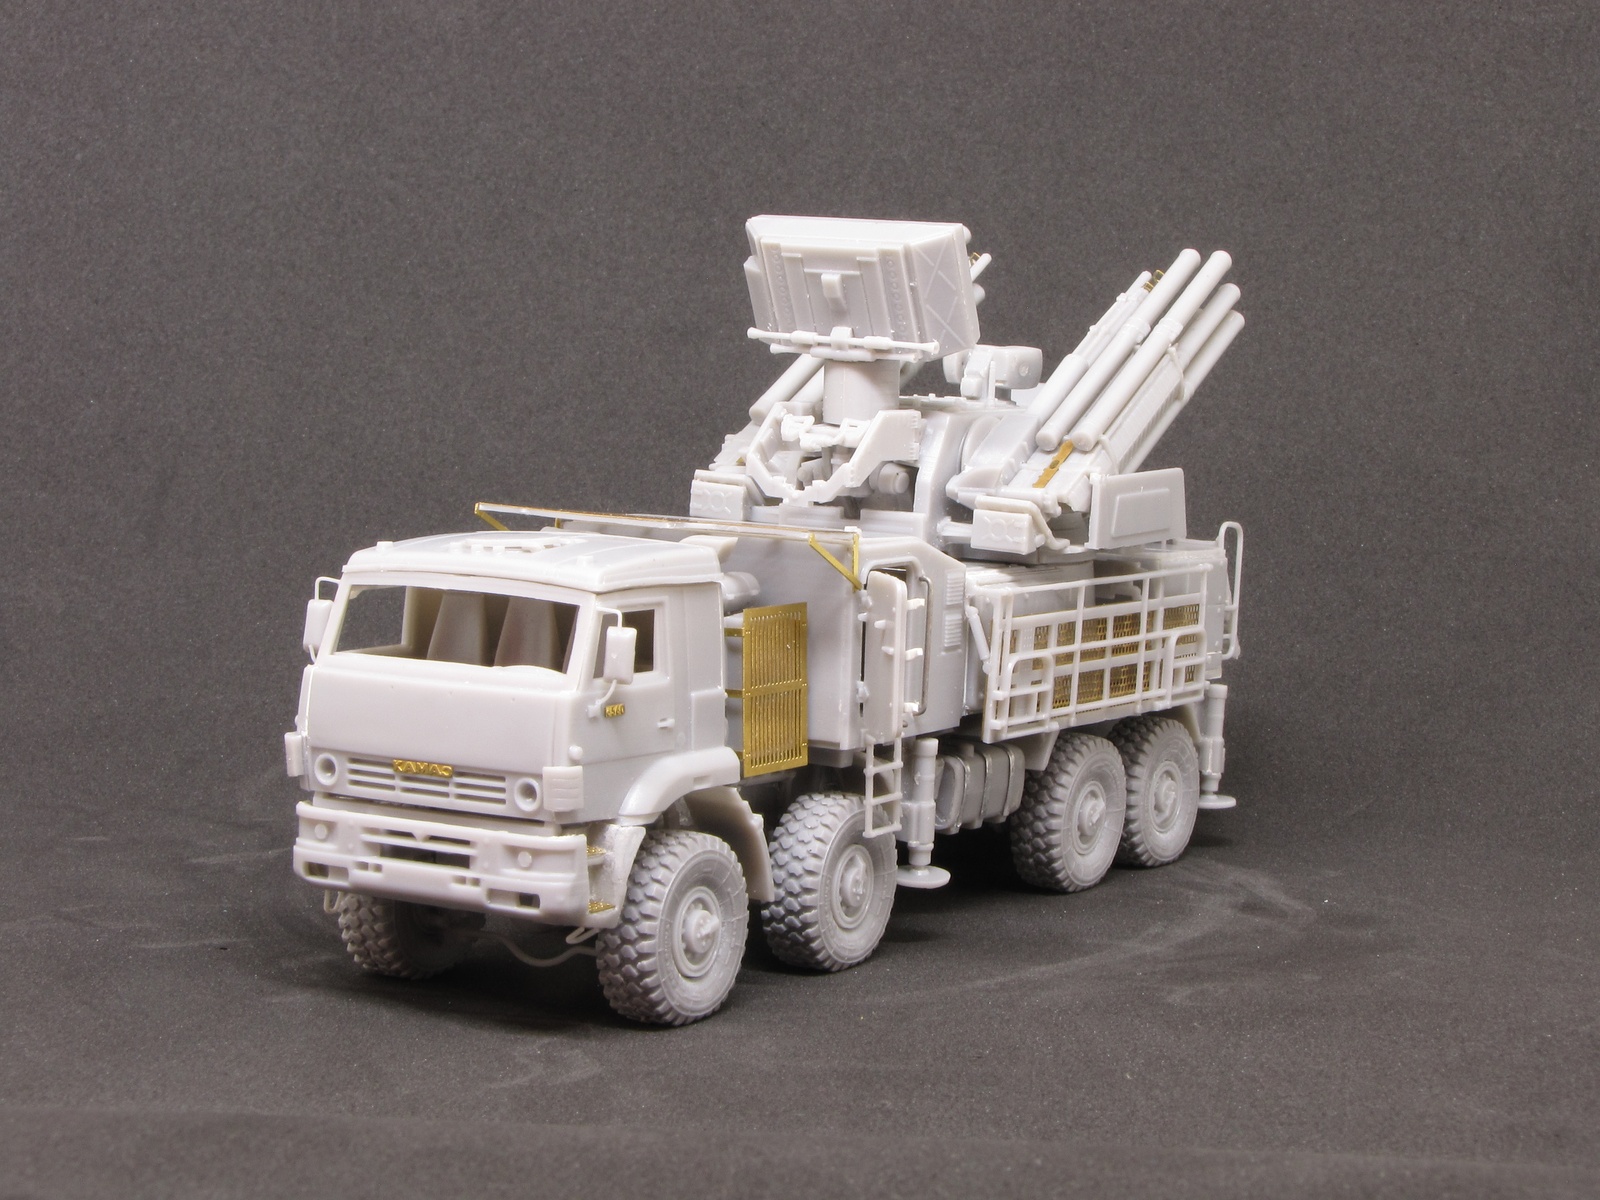
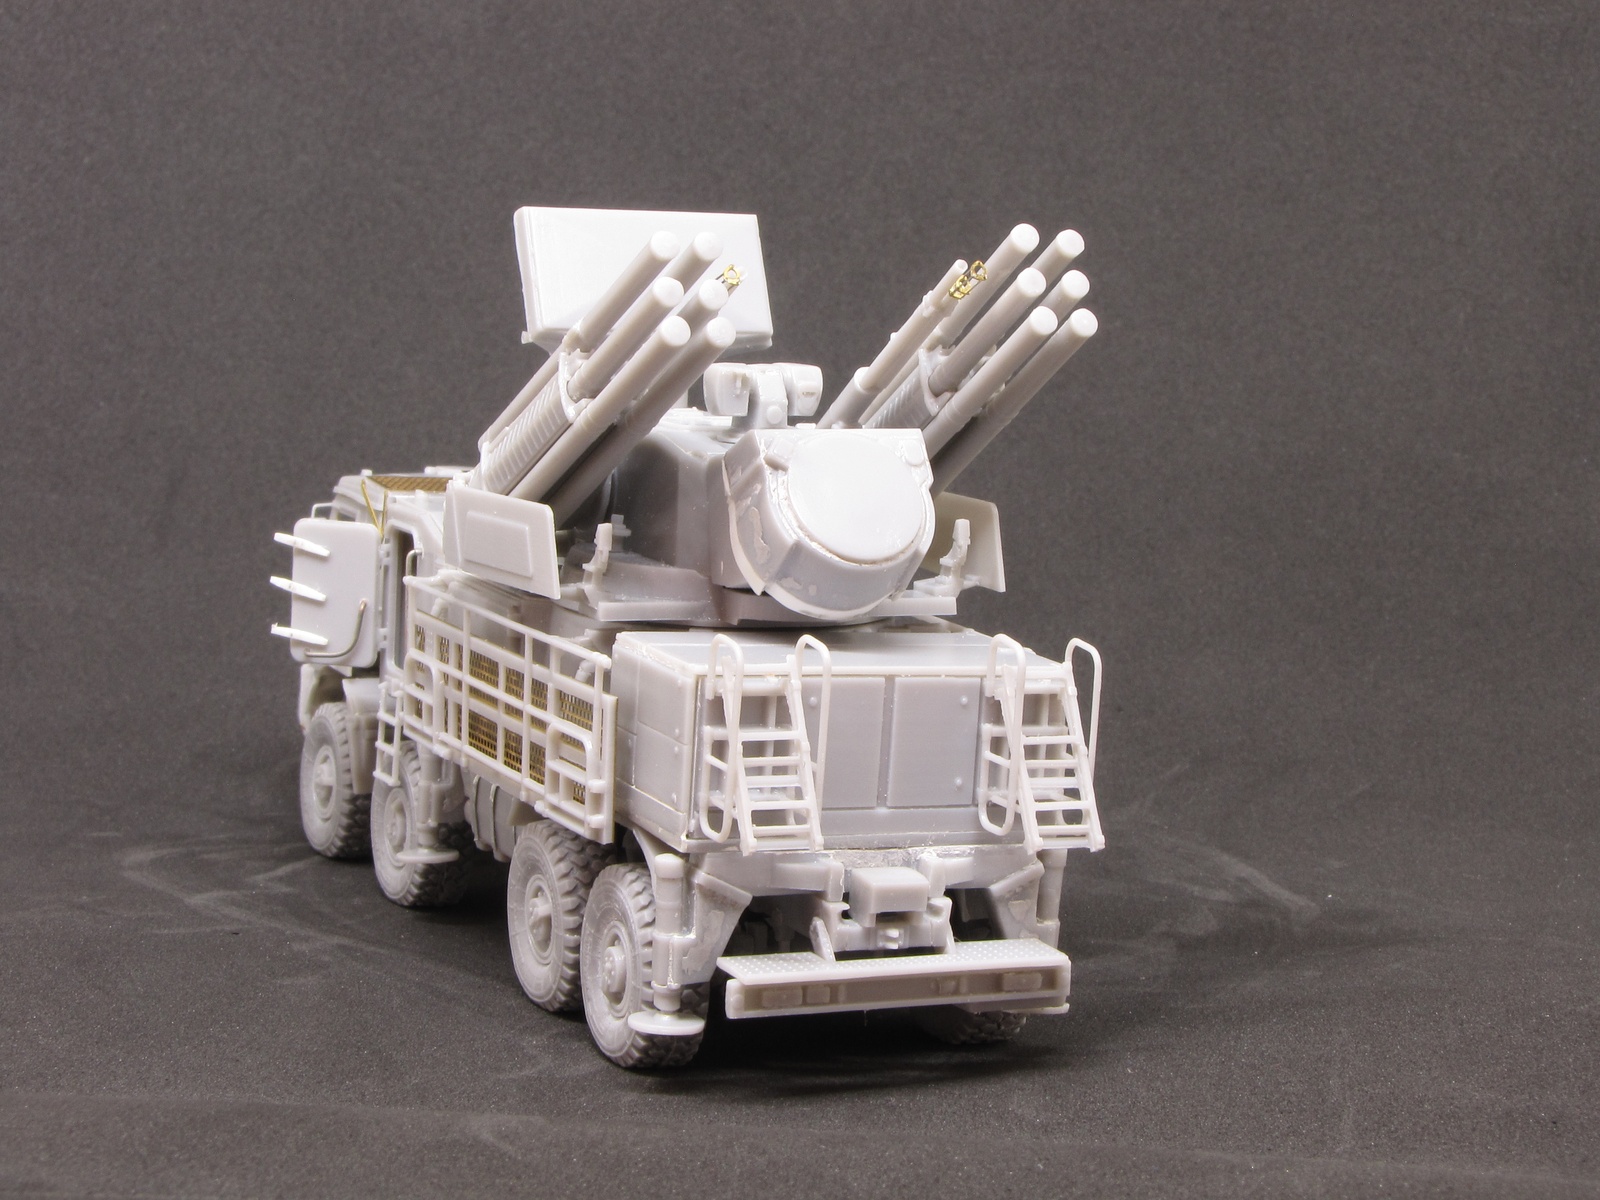
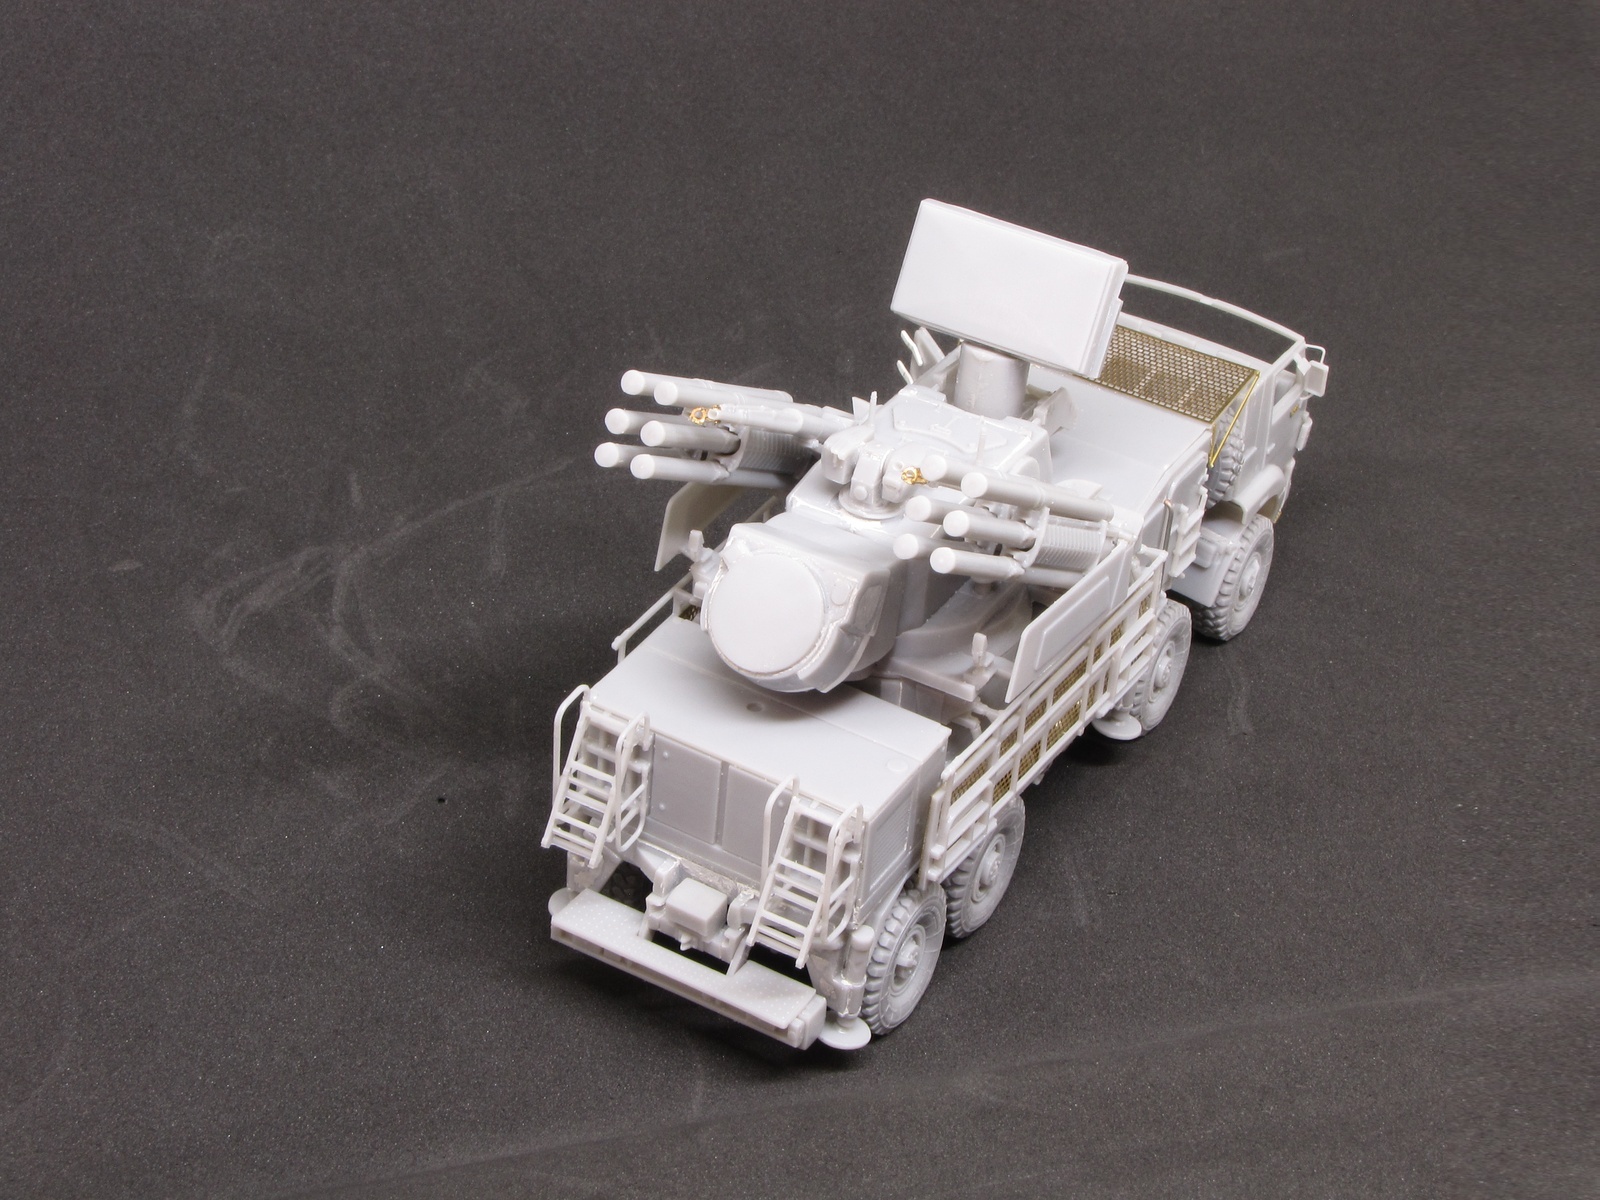
The Pantsir S1 is a Russian anti-aircraft system intended to provide short/medium range protection. It is armed with two 2A38M 30mm guns and twelve 57E6 or 57E6-E two-stage solid fuel, radio-command-guided, missiles in sealed ready-to-launch containers.
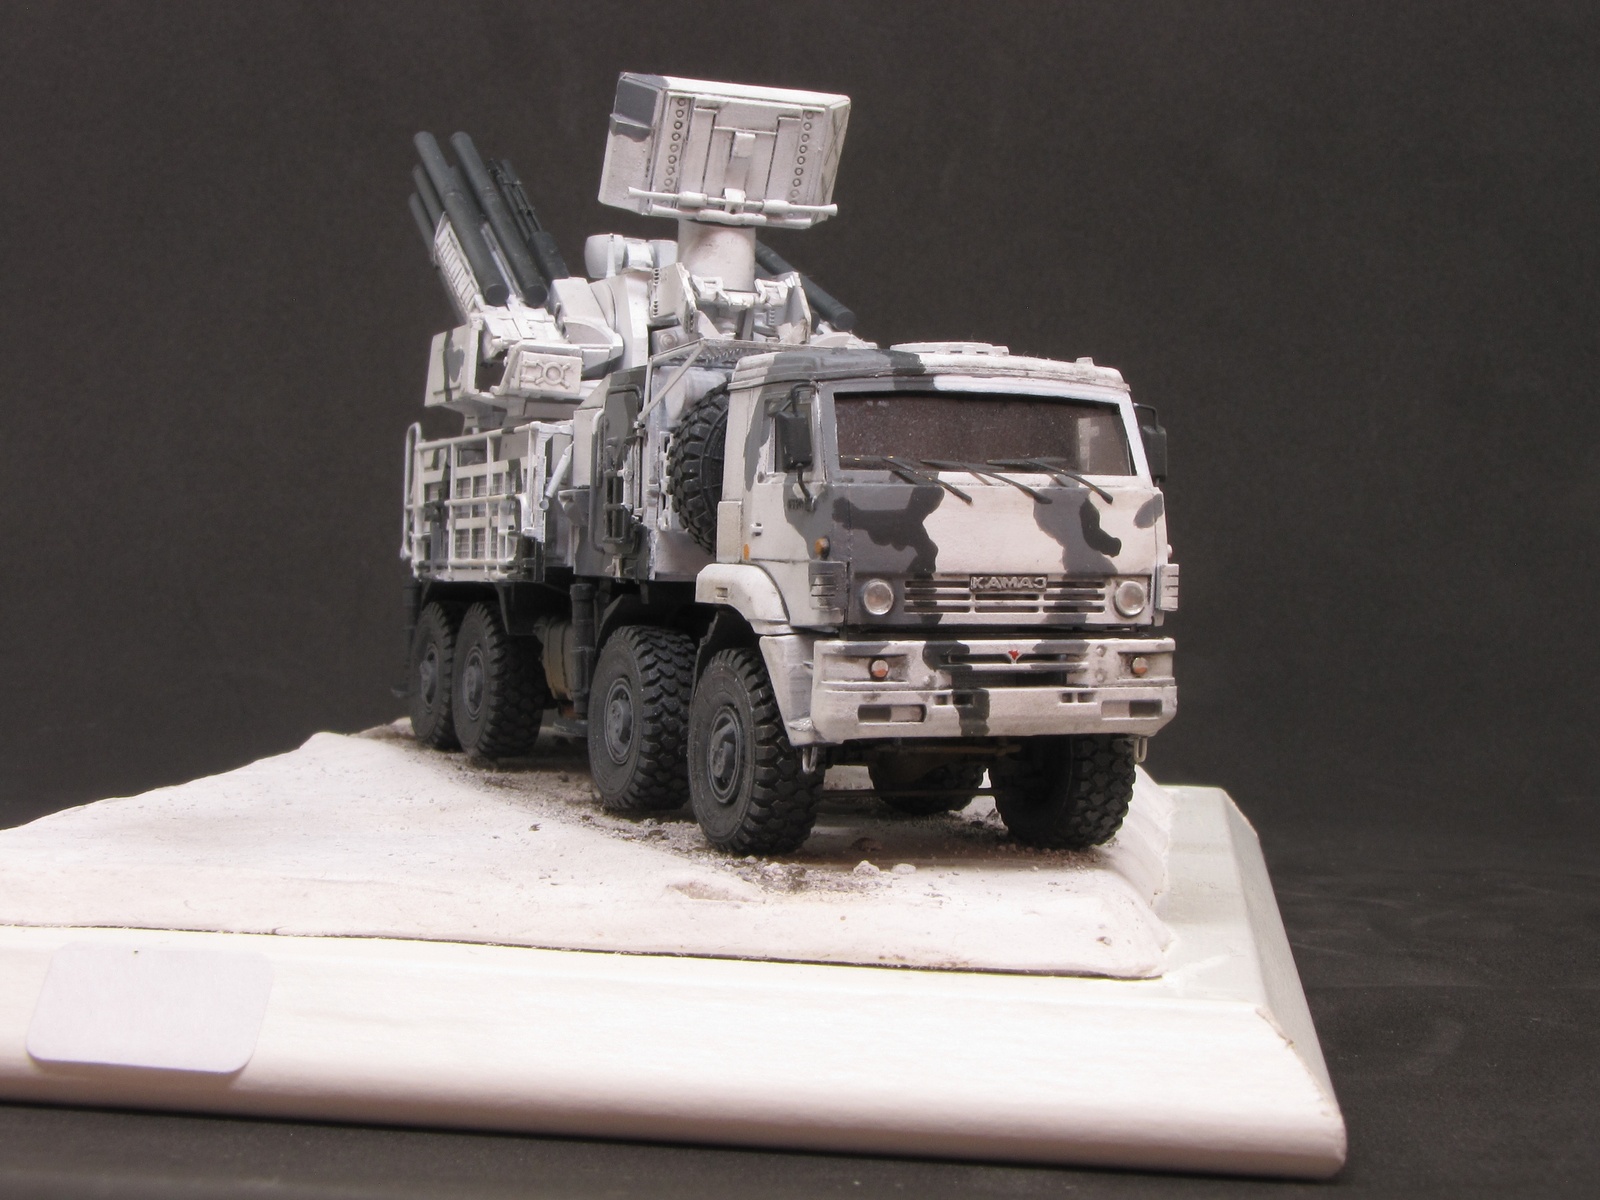
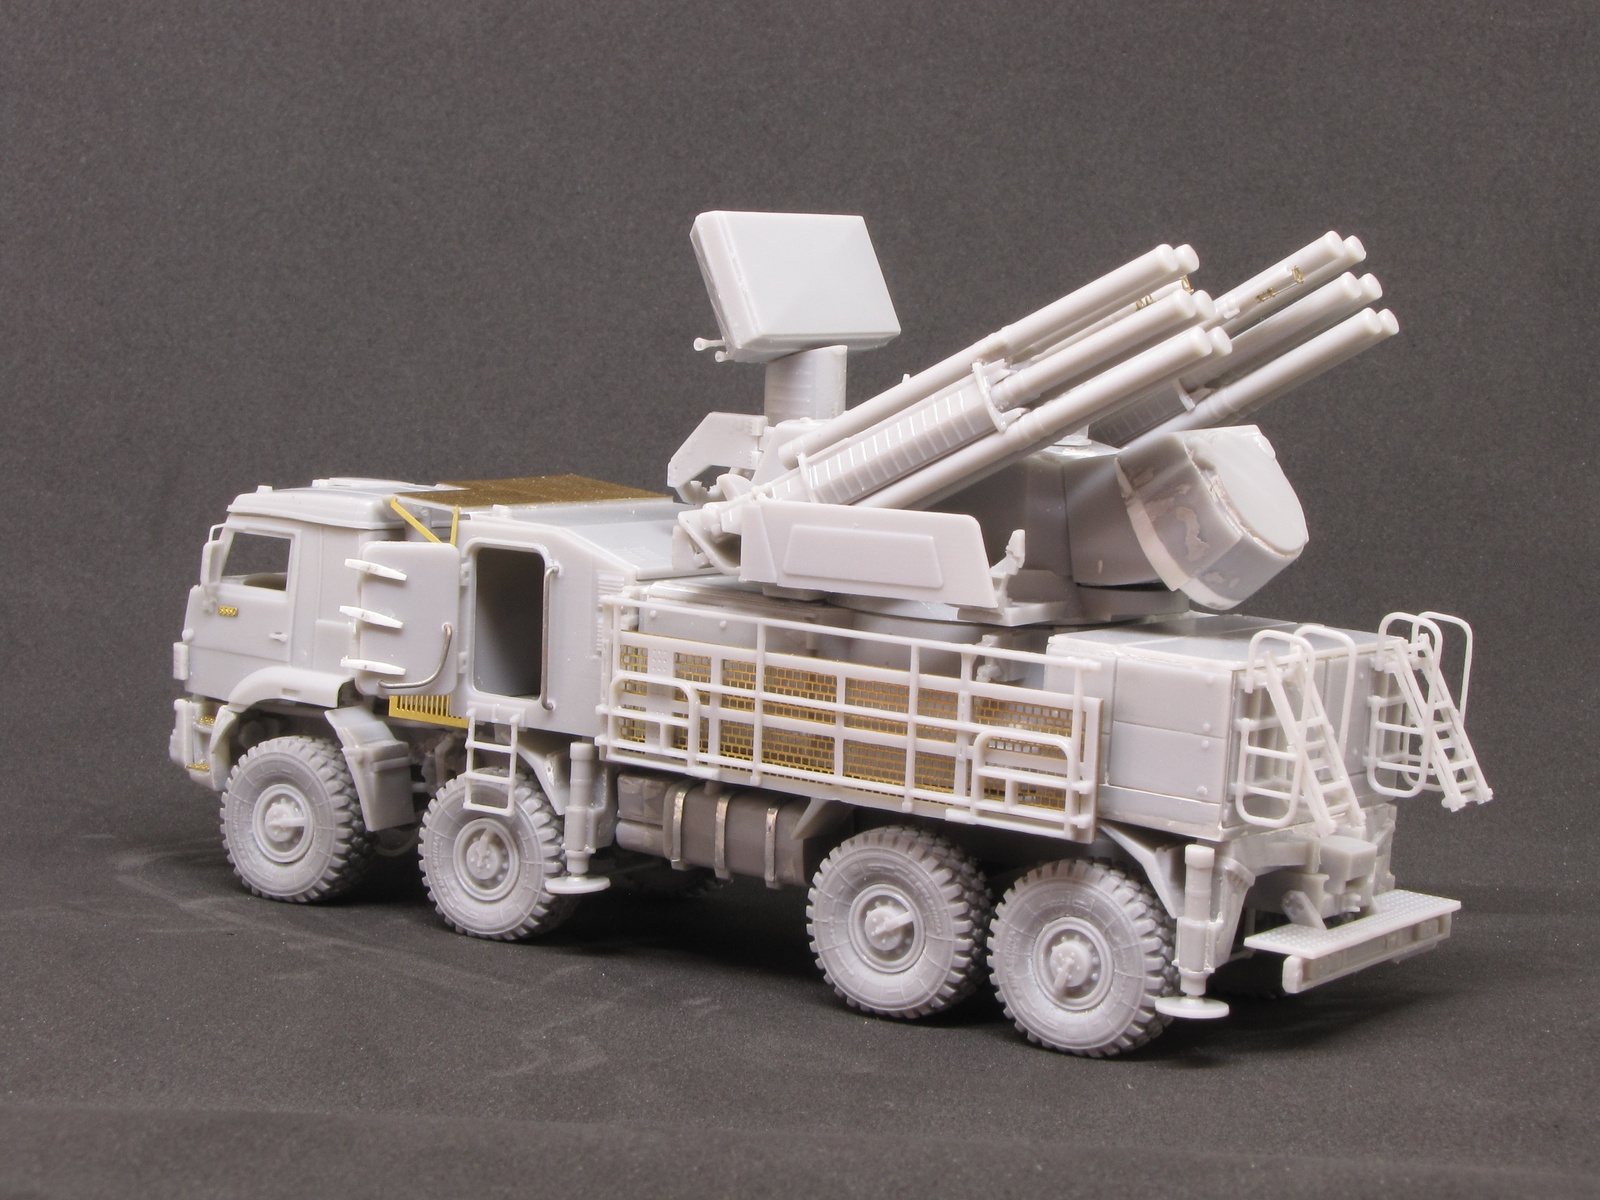
The system counts with a target acquisition radar with 360º coverage, plus a target tracking radar and an Autonomous Optoelectronic System.
The Pantsir can engage different threats like aircraft, UAVs, helicopters or missiles, and it has already proven its value in the Middle East.
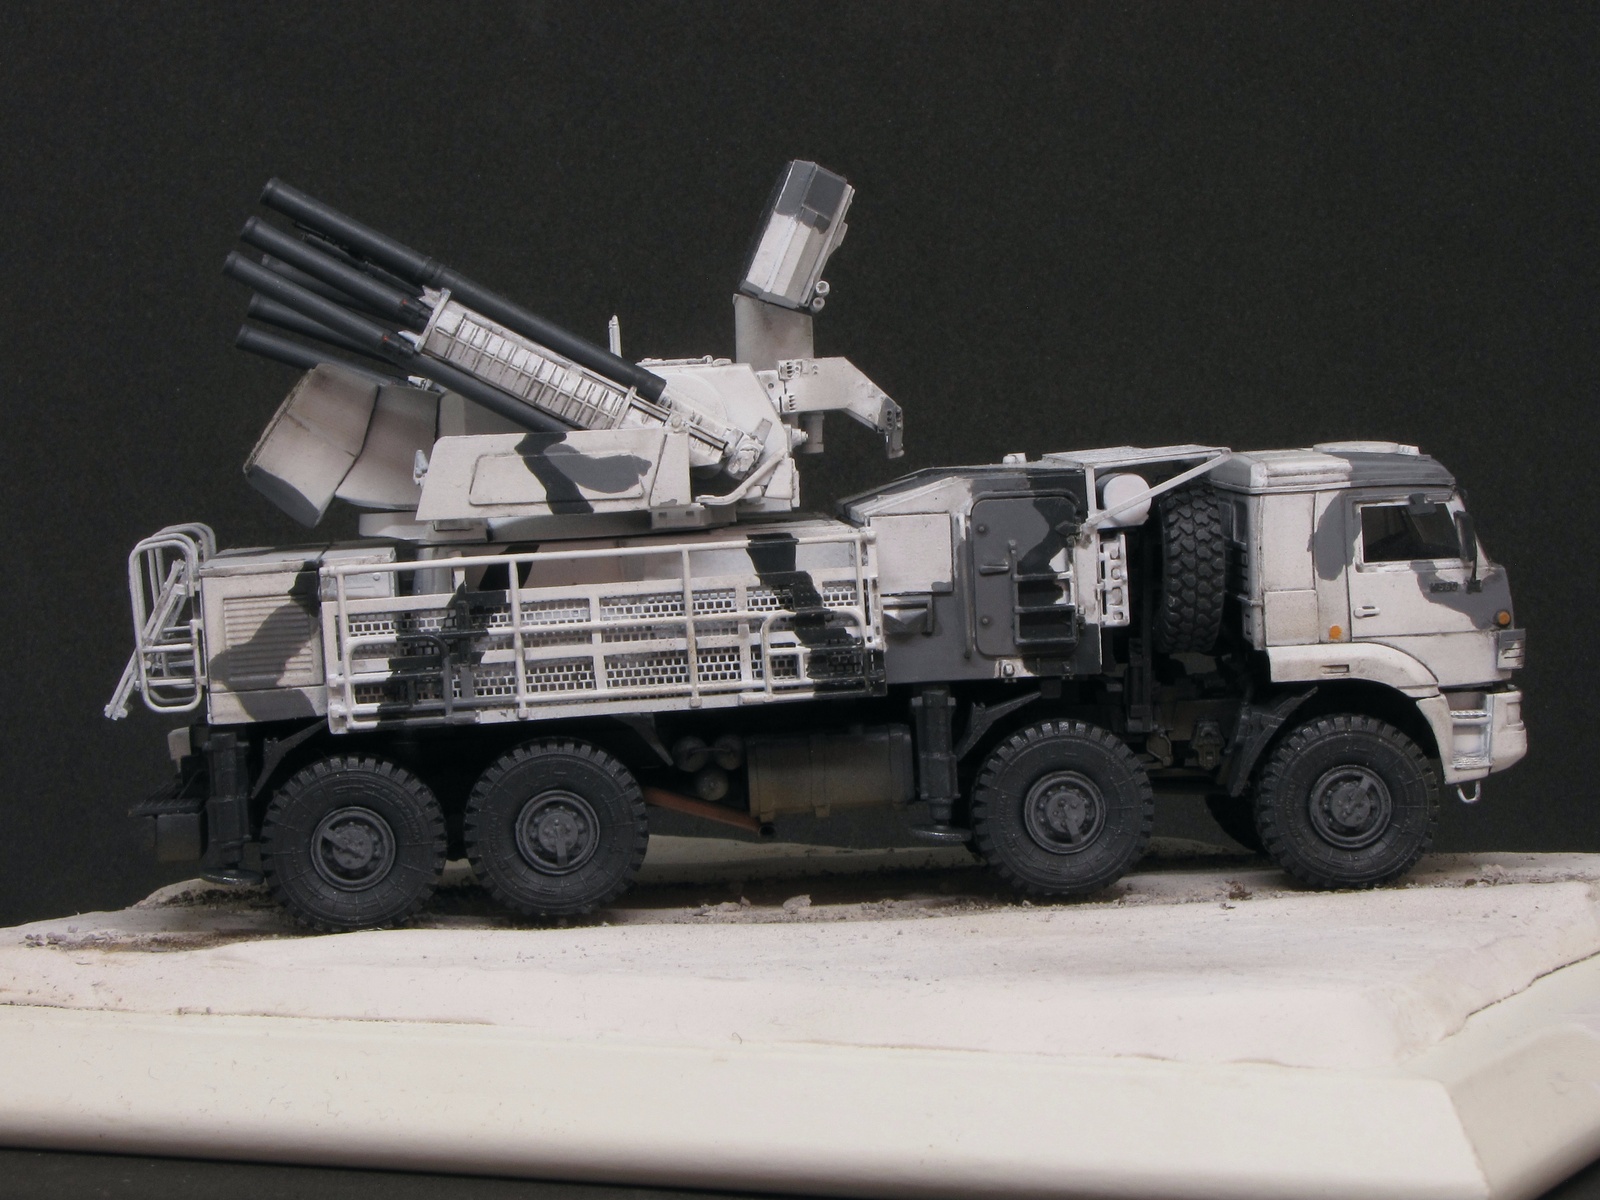
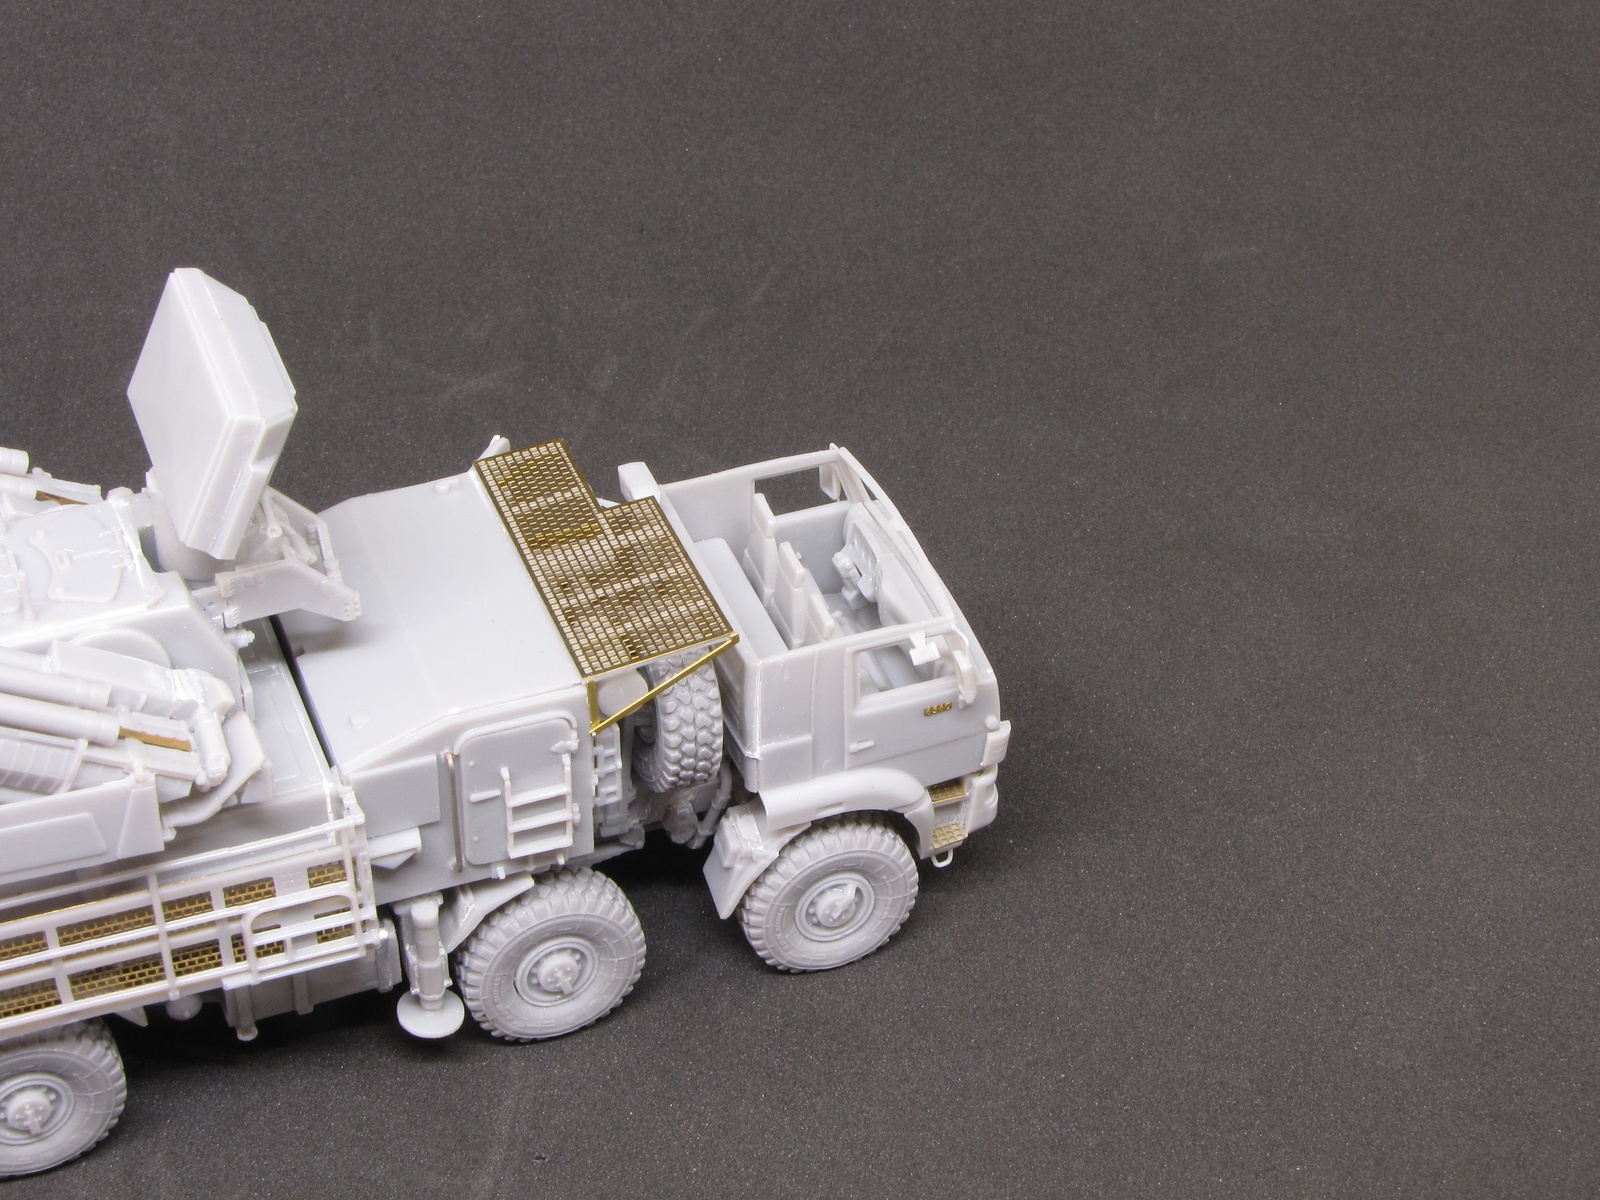
The truck carrying the system is an 8x8 Kamaz 6560, a heavy-duty military truck with a maximum payload capacity of up to 20.000 kg.
While looking for references I have found that there are several minor variants of the vehicle, with different ladders on the rear, power generation units, control room doors and other minor details. So for a particular vehicle, it would be good to study the photos and change whatever is needed on the model.
First impression
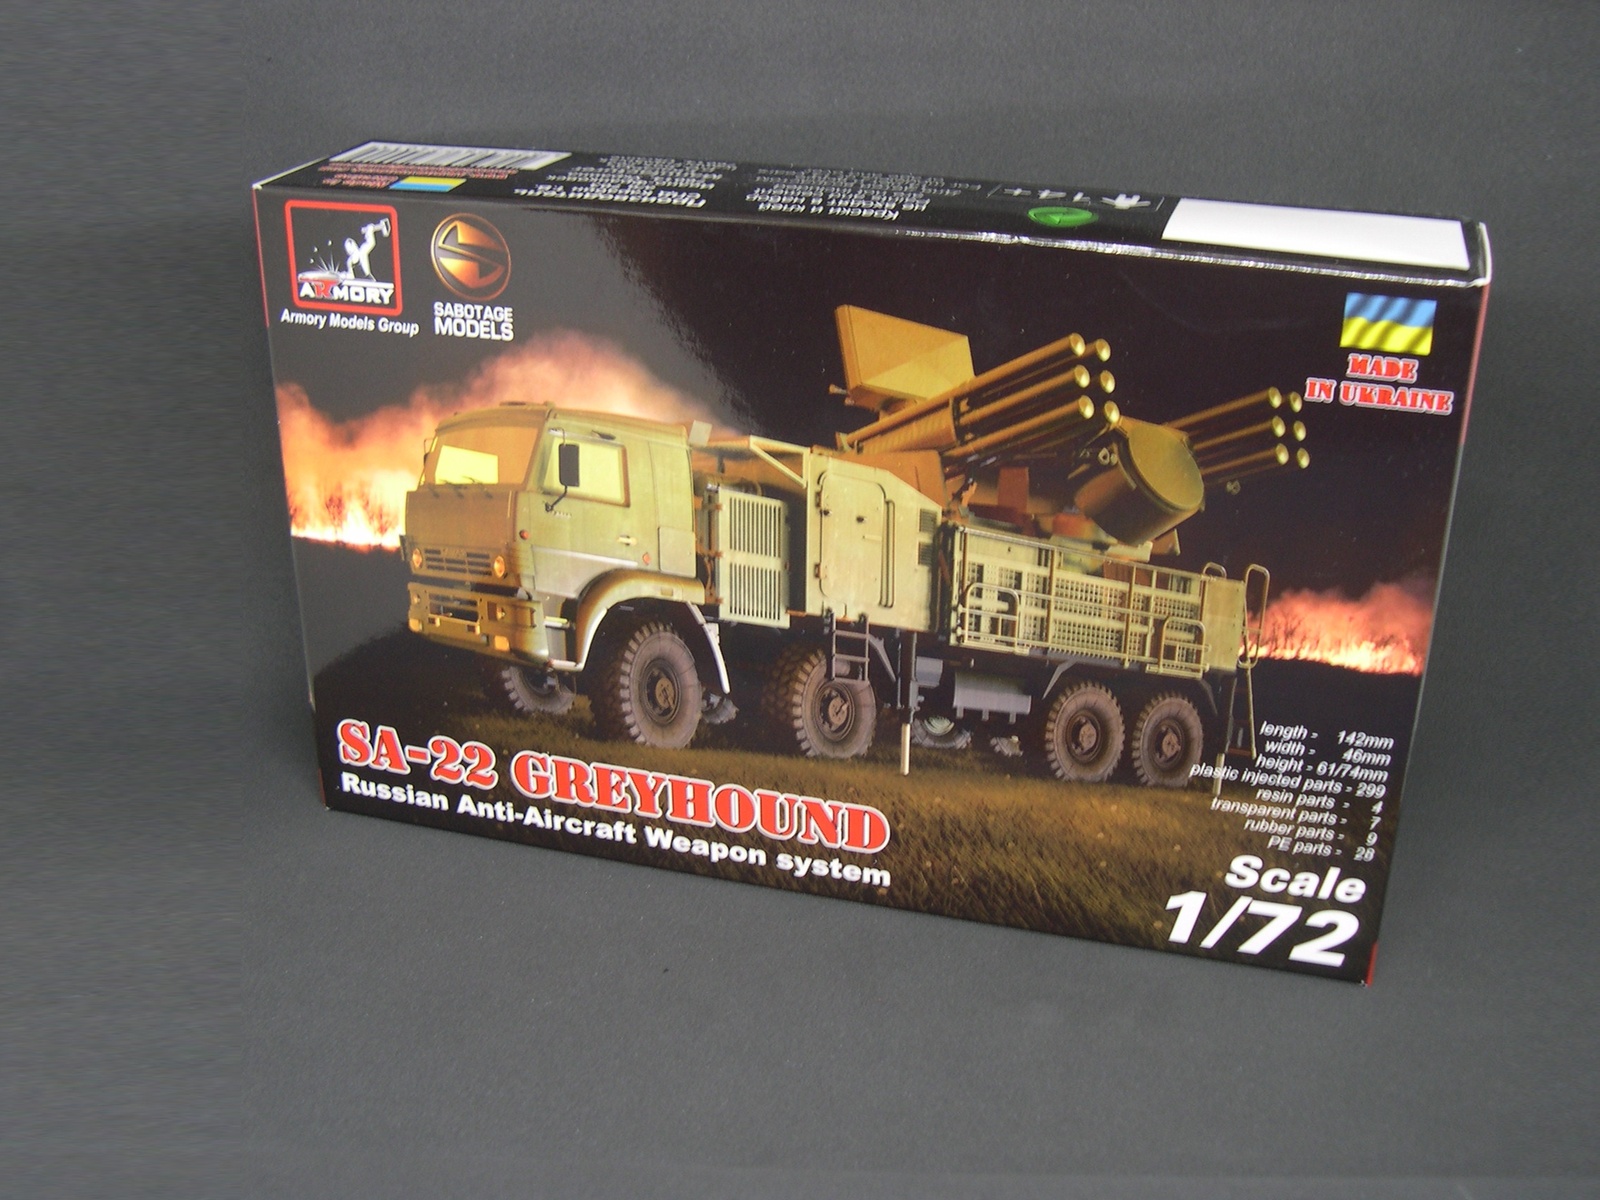
The kit comes in a nicely printed box with side opening flap. Inside, there is a folded instruction booklet with twelve A4 size pages and a zip bag with the sprues. This is a good thing since in case any part is broken from the sprue or cut by mistake it can remain there.
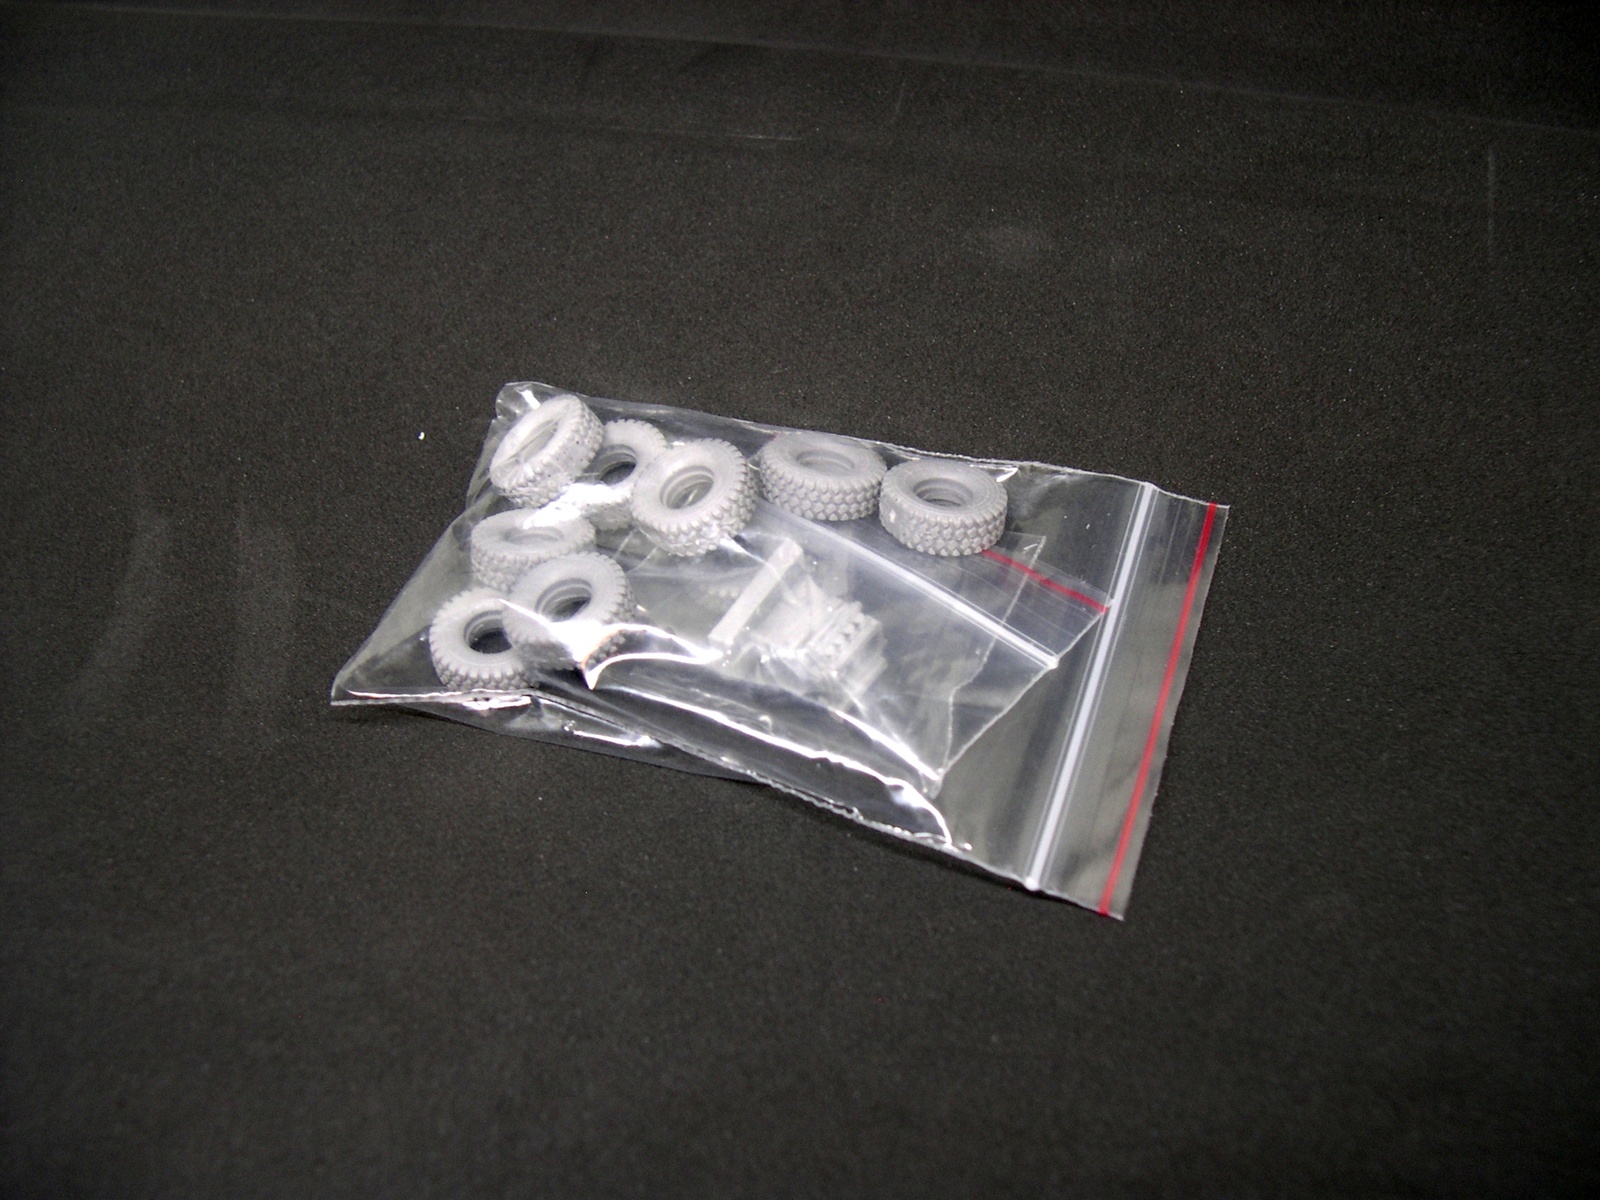
It has two more zip bags inside, one with a cardboard piece and the photoetch frets, decals and transparent parts (an acetate sheet, in fact), and another one with the resin sagged wheels and engine.
There are seven plastic sprues for a total of 299 parts, which considering the scale and lack of tracks is a more than decent part count. Keep in mind also the total length of the finished kit is almost 15cm. It is worth to note that the parts are not numbered on the sprues, and must be located using a "map" on the instruction booklet. It is not the easiest way but not a big trouble either.
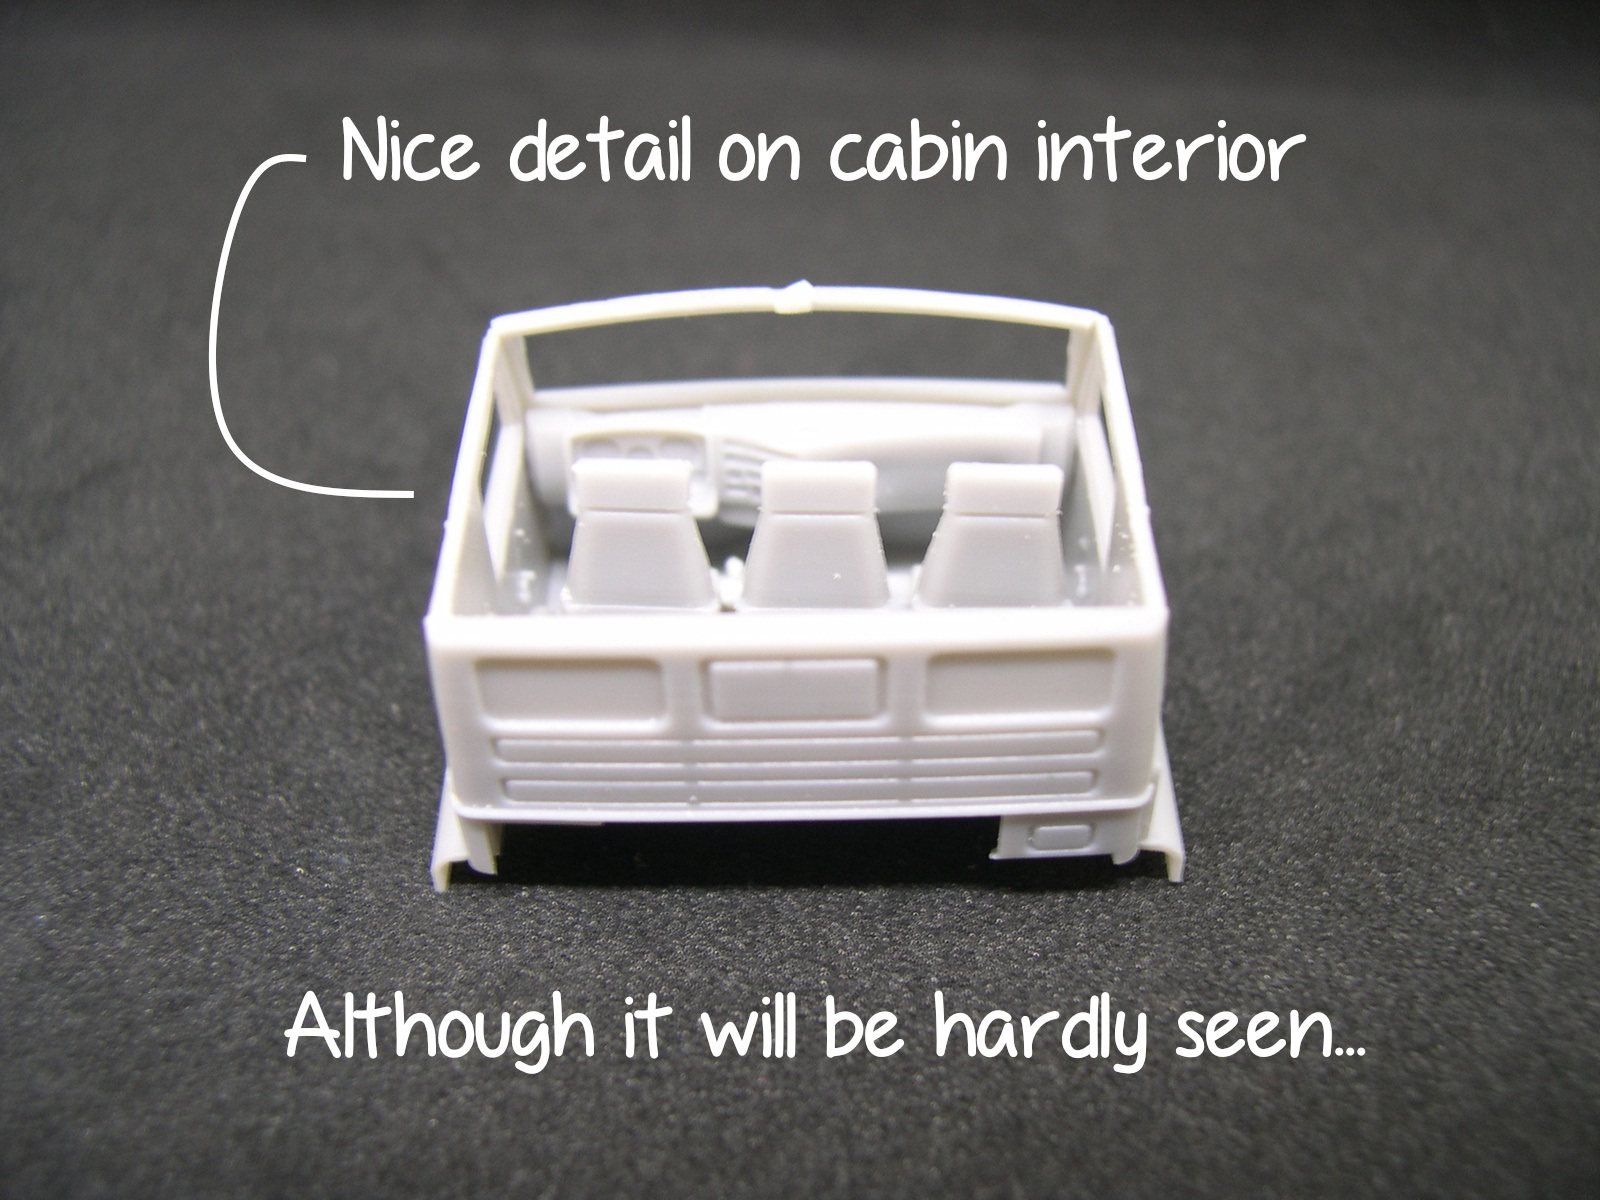
Parts are not specially small, but have good detail even in zones that will be hidden when finished.
The instructions use drawings for part placement and are reasonably clear, although some doubts arise during the building.
There are 49 steps, some small with 4-5 parts while others involve a higher number of parts.
The instructions have no paint directions at all, while this is not a problem for the exterior, as a quick Google search reveals several options, it is more challenging for the interior and the chassis.
The kit
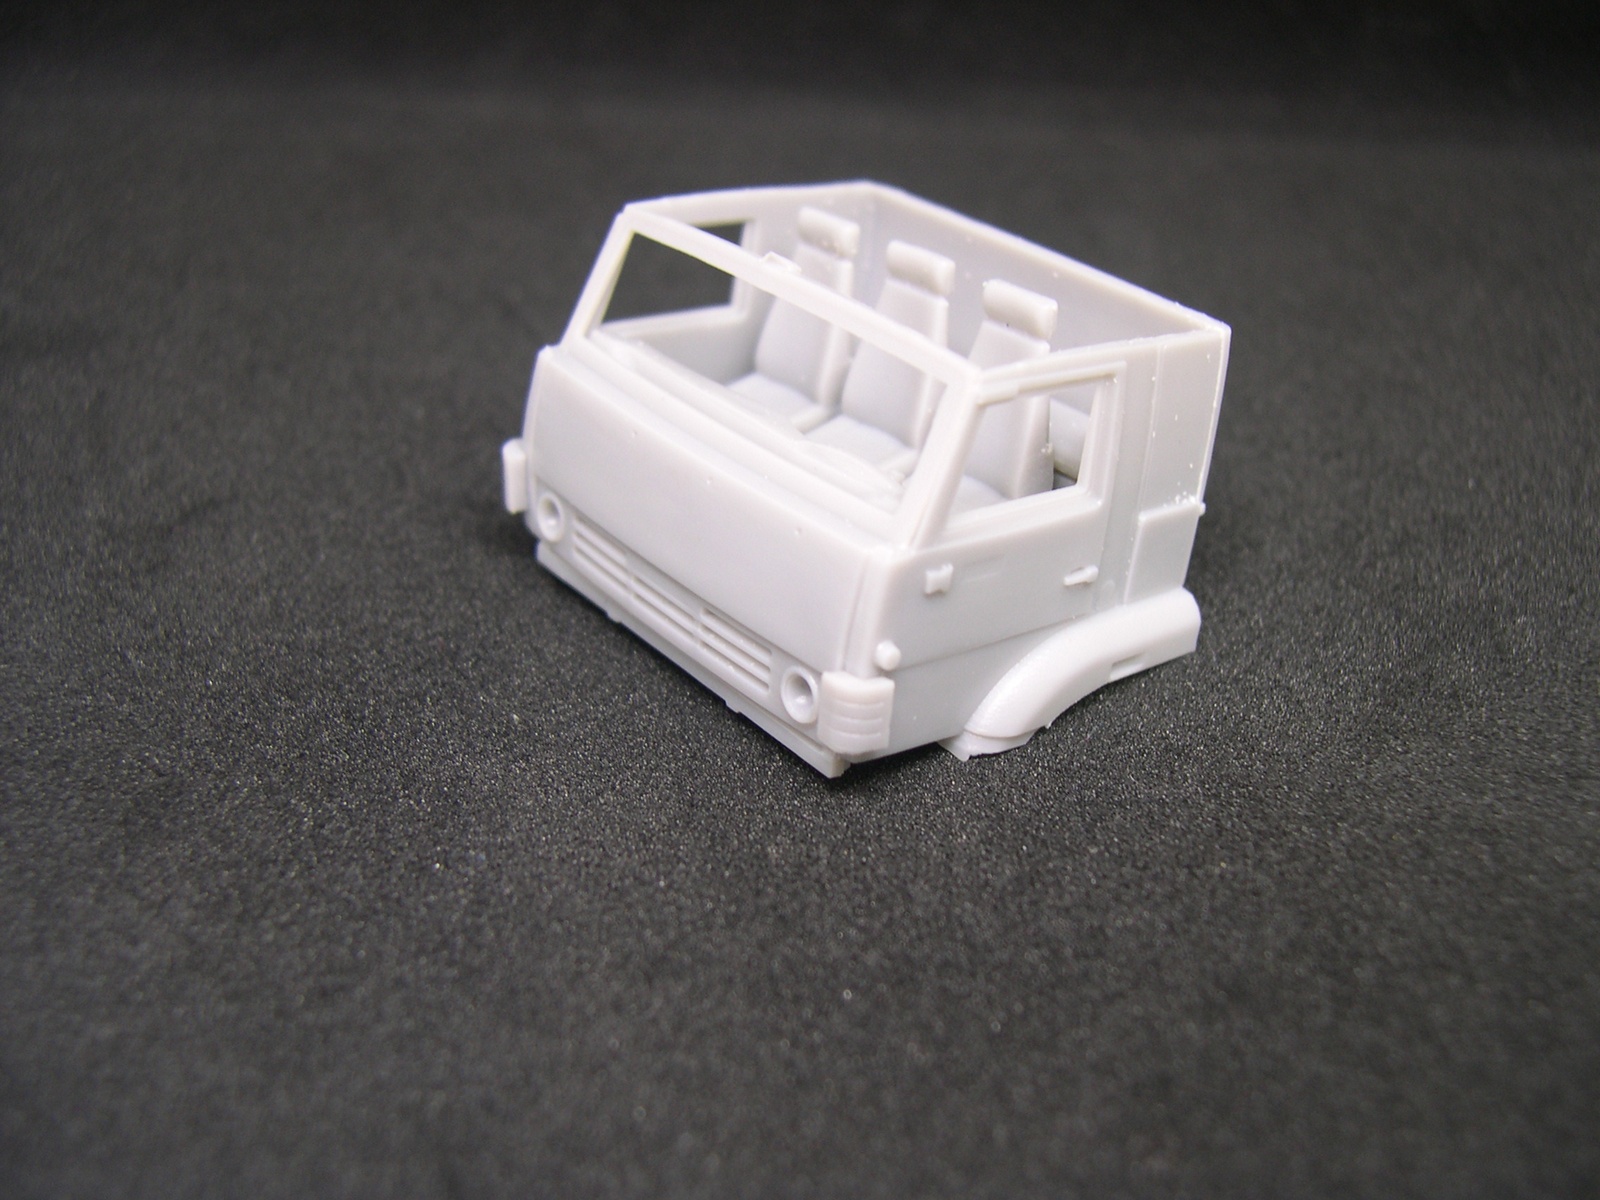
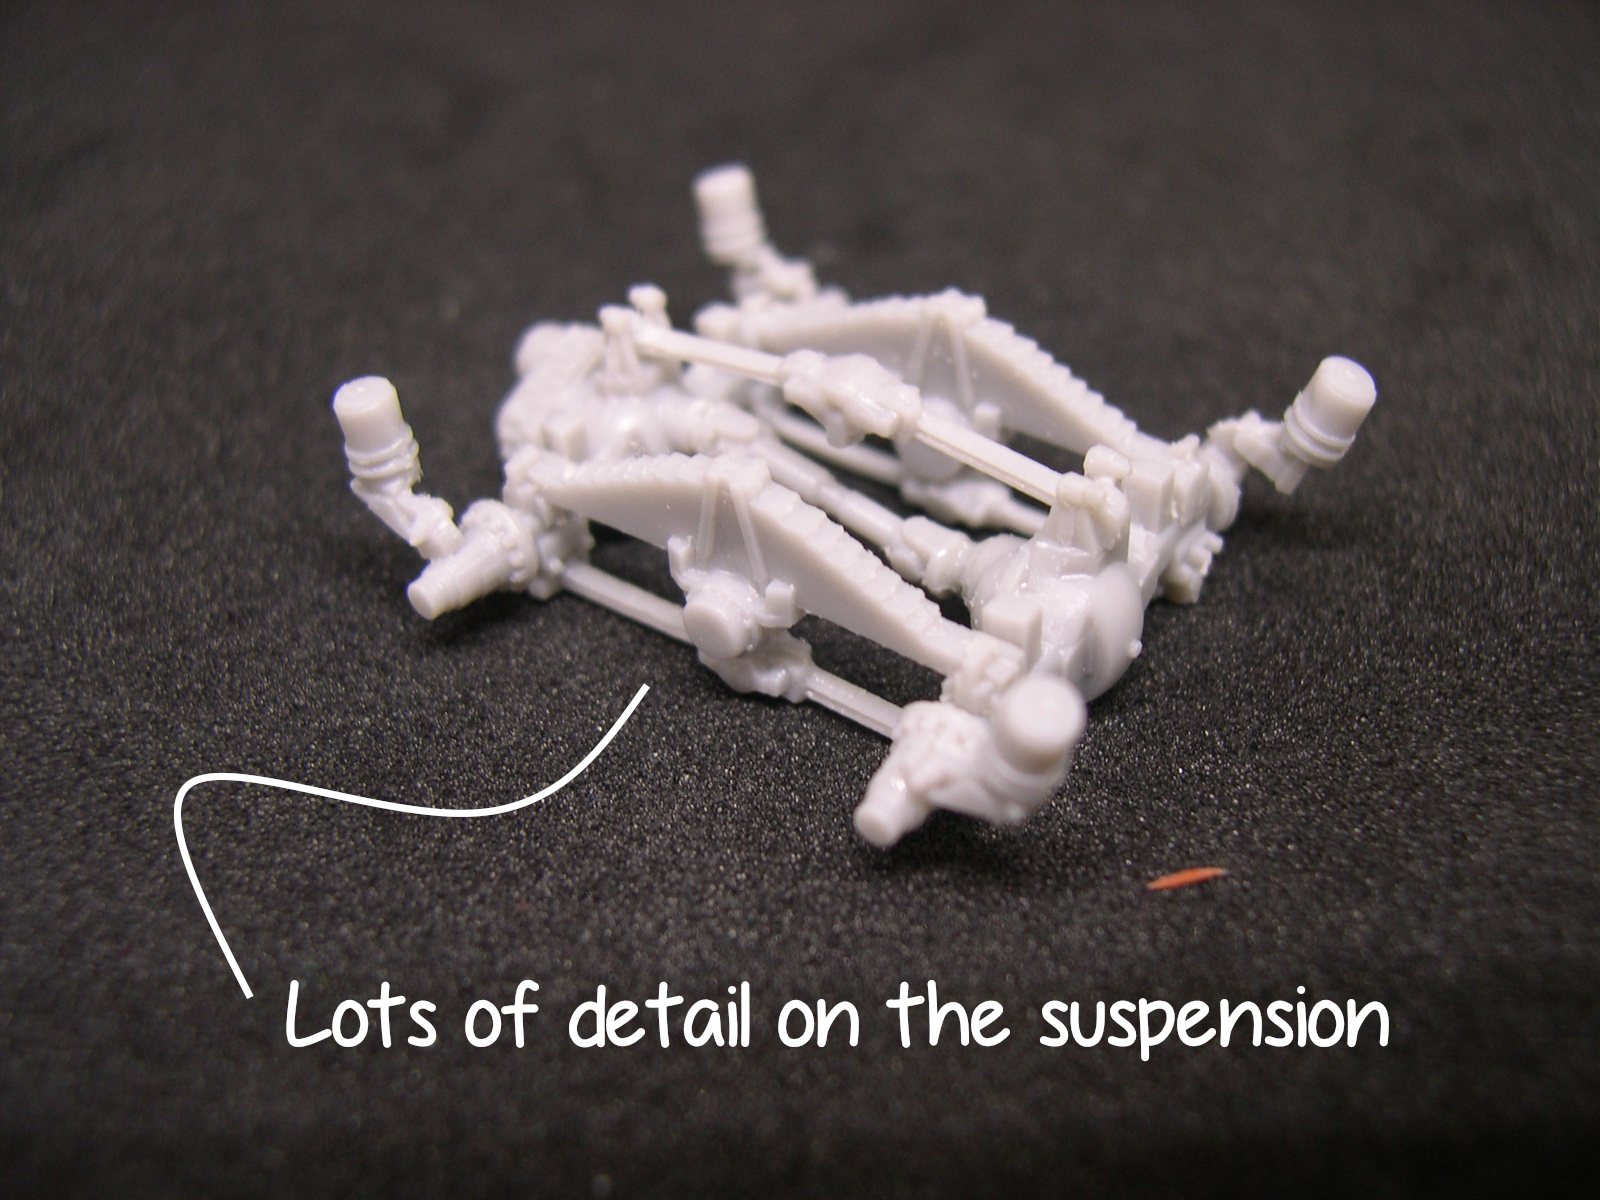
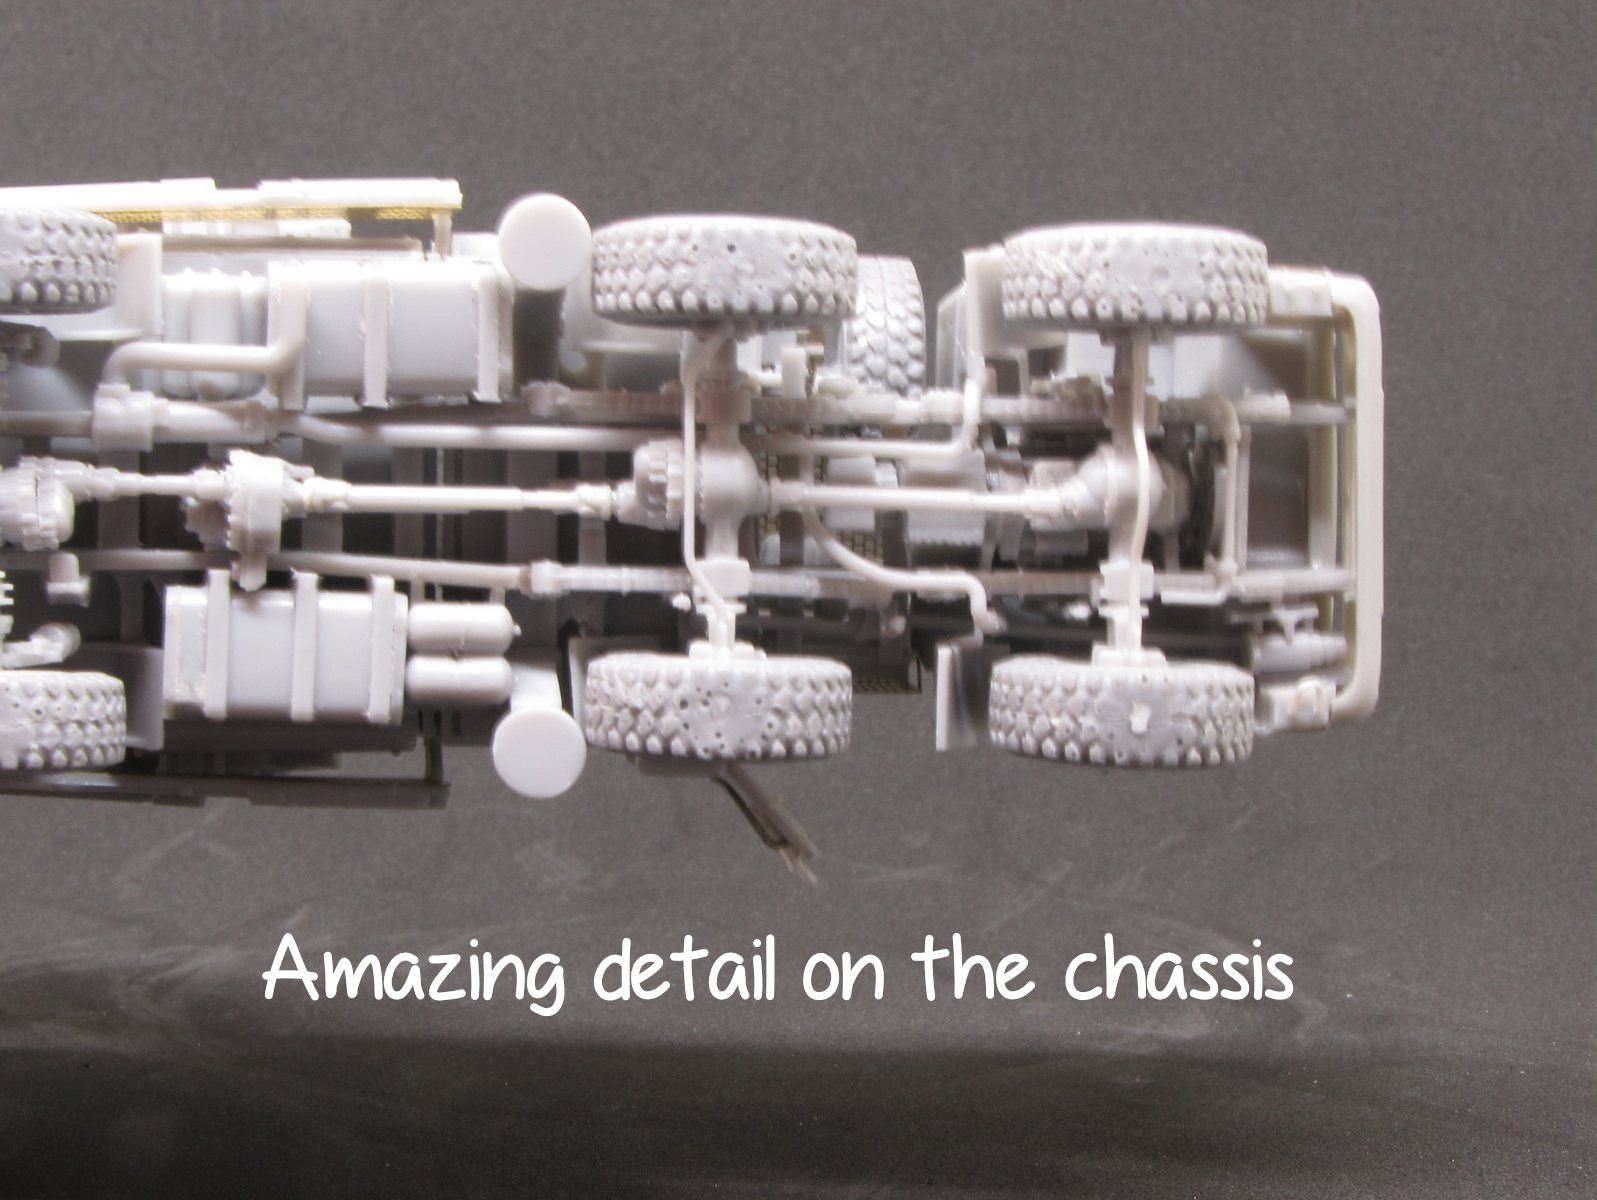
A good part of the interior is included, no matter it can be seen or not. So apart from the cabin and its bed behind the seats, all the suspension, transmission and engine are there. So as the control room with seats and screens.
There are almost no missing details and the parts look detailed and in scale. It is clear that there is a competent research behind this kit.
On the other hand, the moulding is not up to the quality of the design: there are problems with the alignment of mould halves, resulting in flash and most of the parts having seams or, even worse, strong misalignments. The plastic did not reach the whole room for some large parts, that must be filled.
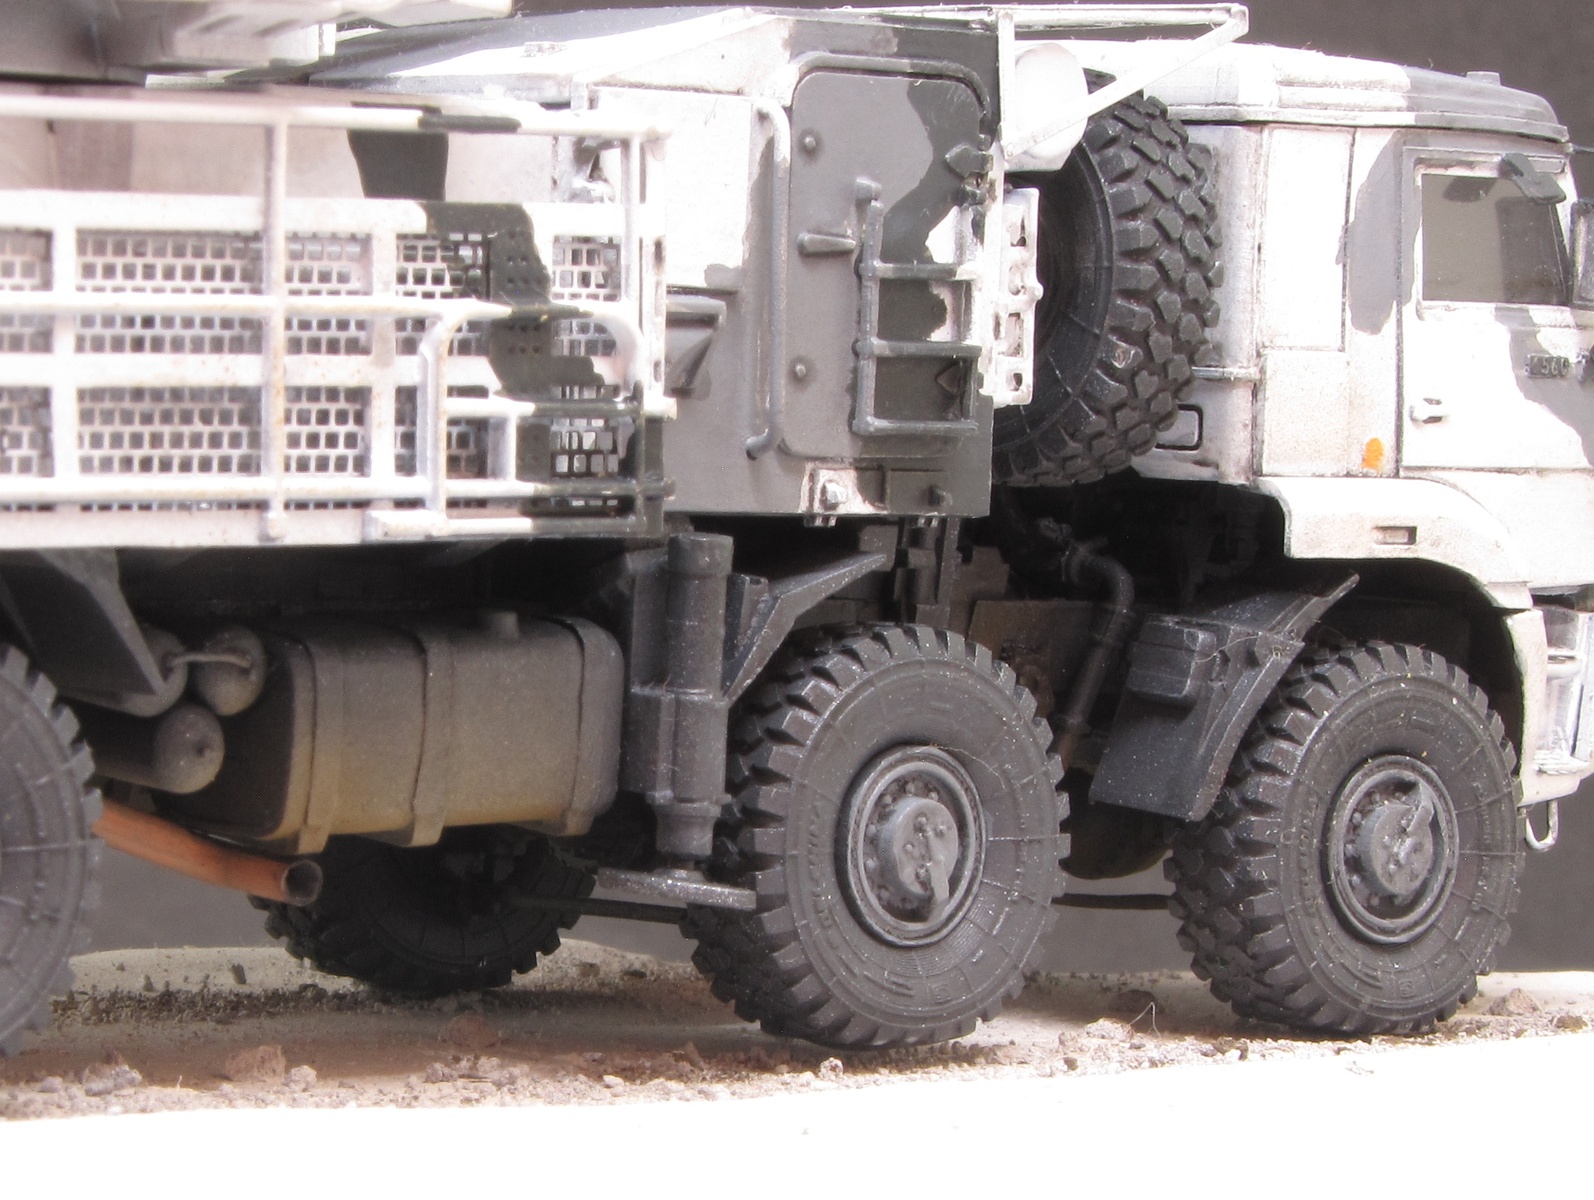
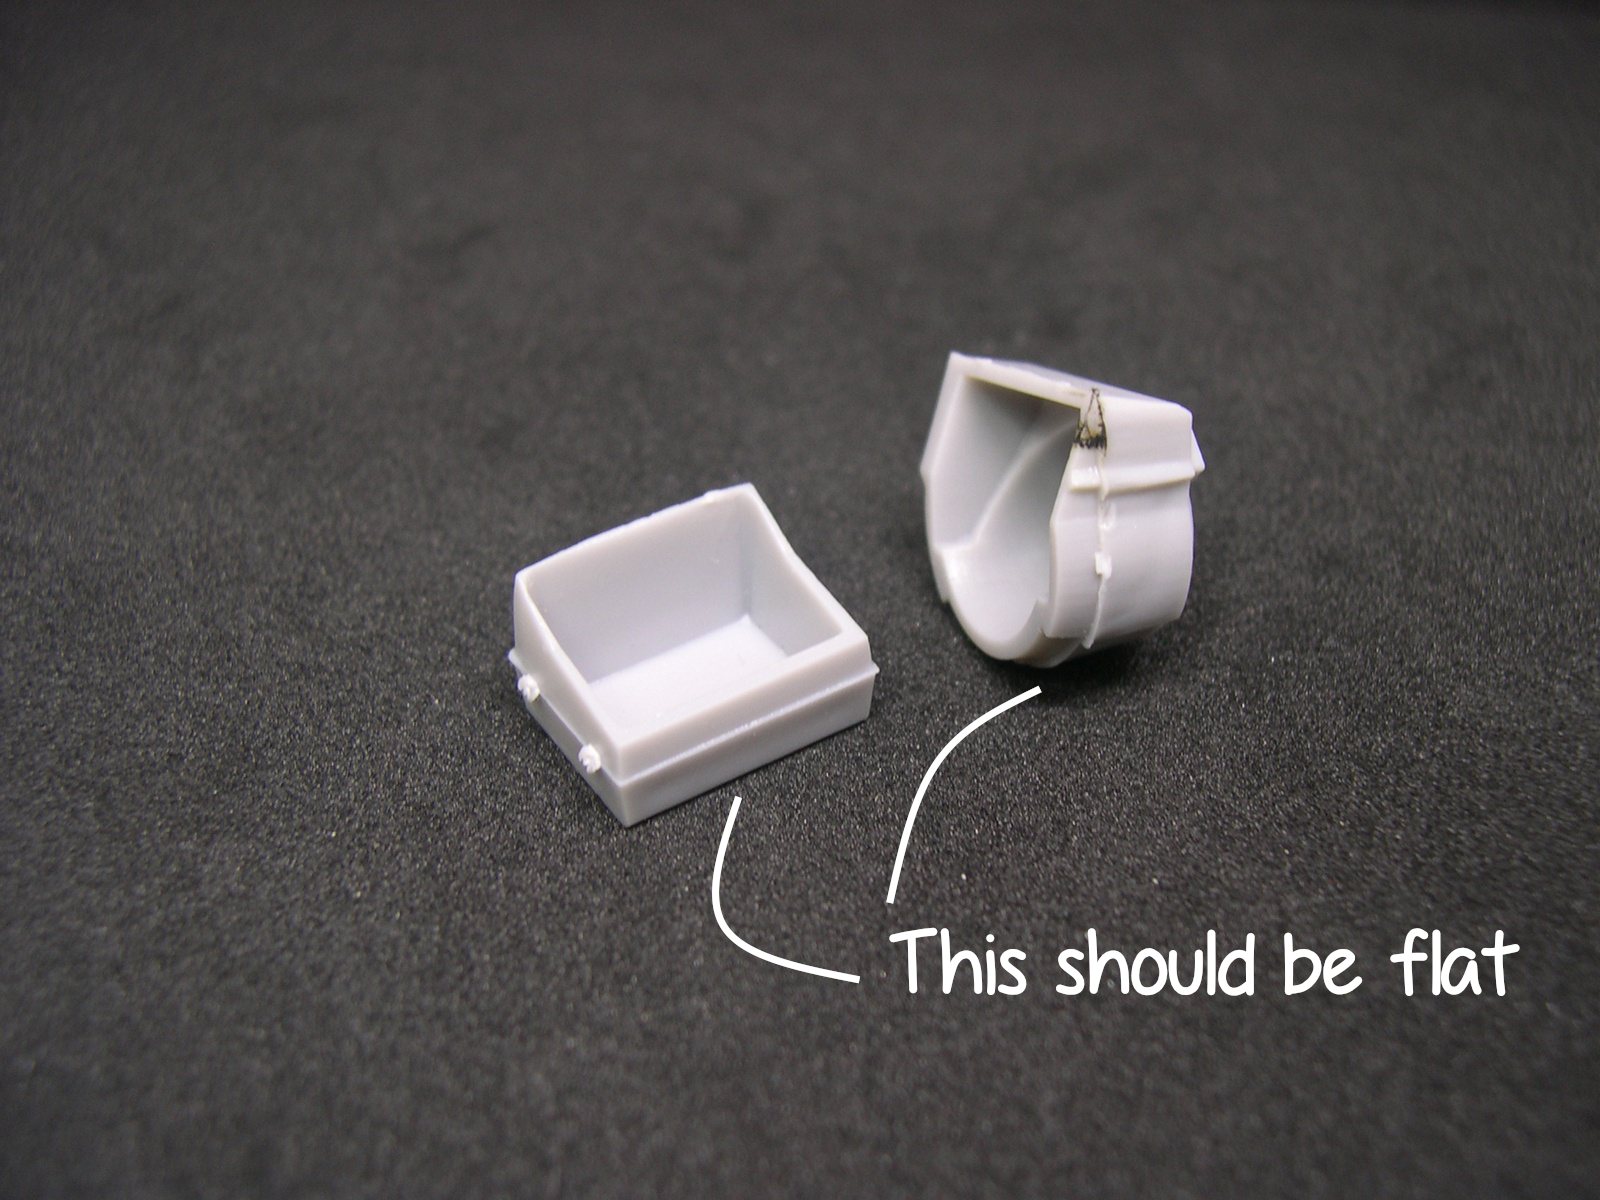
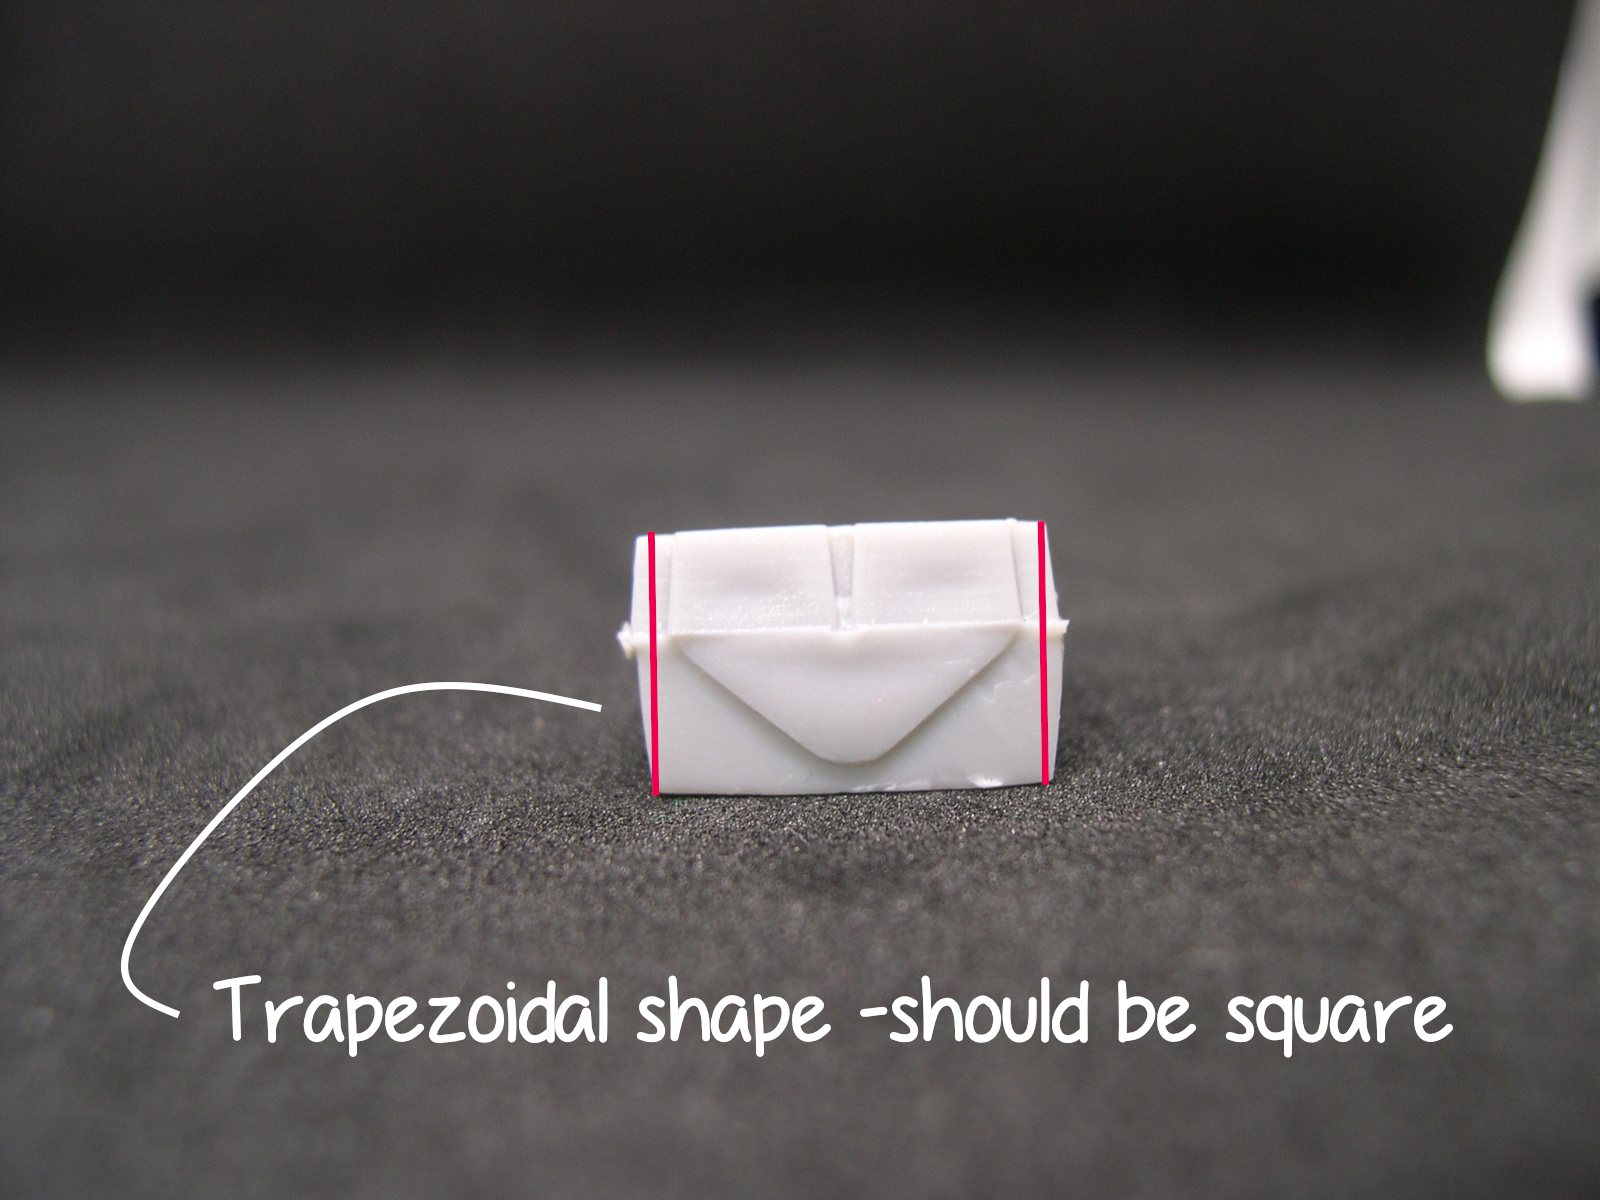
Also some parts like the fuel tanks should be straight but have a trapezoidal shape and have to be corrected.
Finally, all the locating lugs that should help to position parts are oversized. It is much easier to simply shave them off and freely glue the parts.
But there are also positive features on the moulding. The detail is fine, even for thin parts and in general the fit is quite good. Oddly, I needed more filler for the sinks than for gaps between parts.
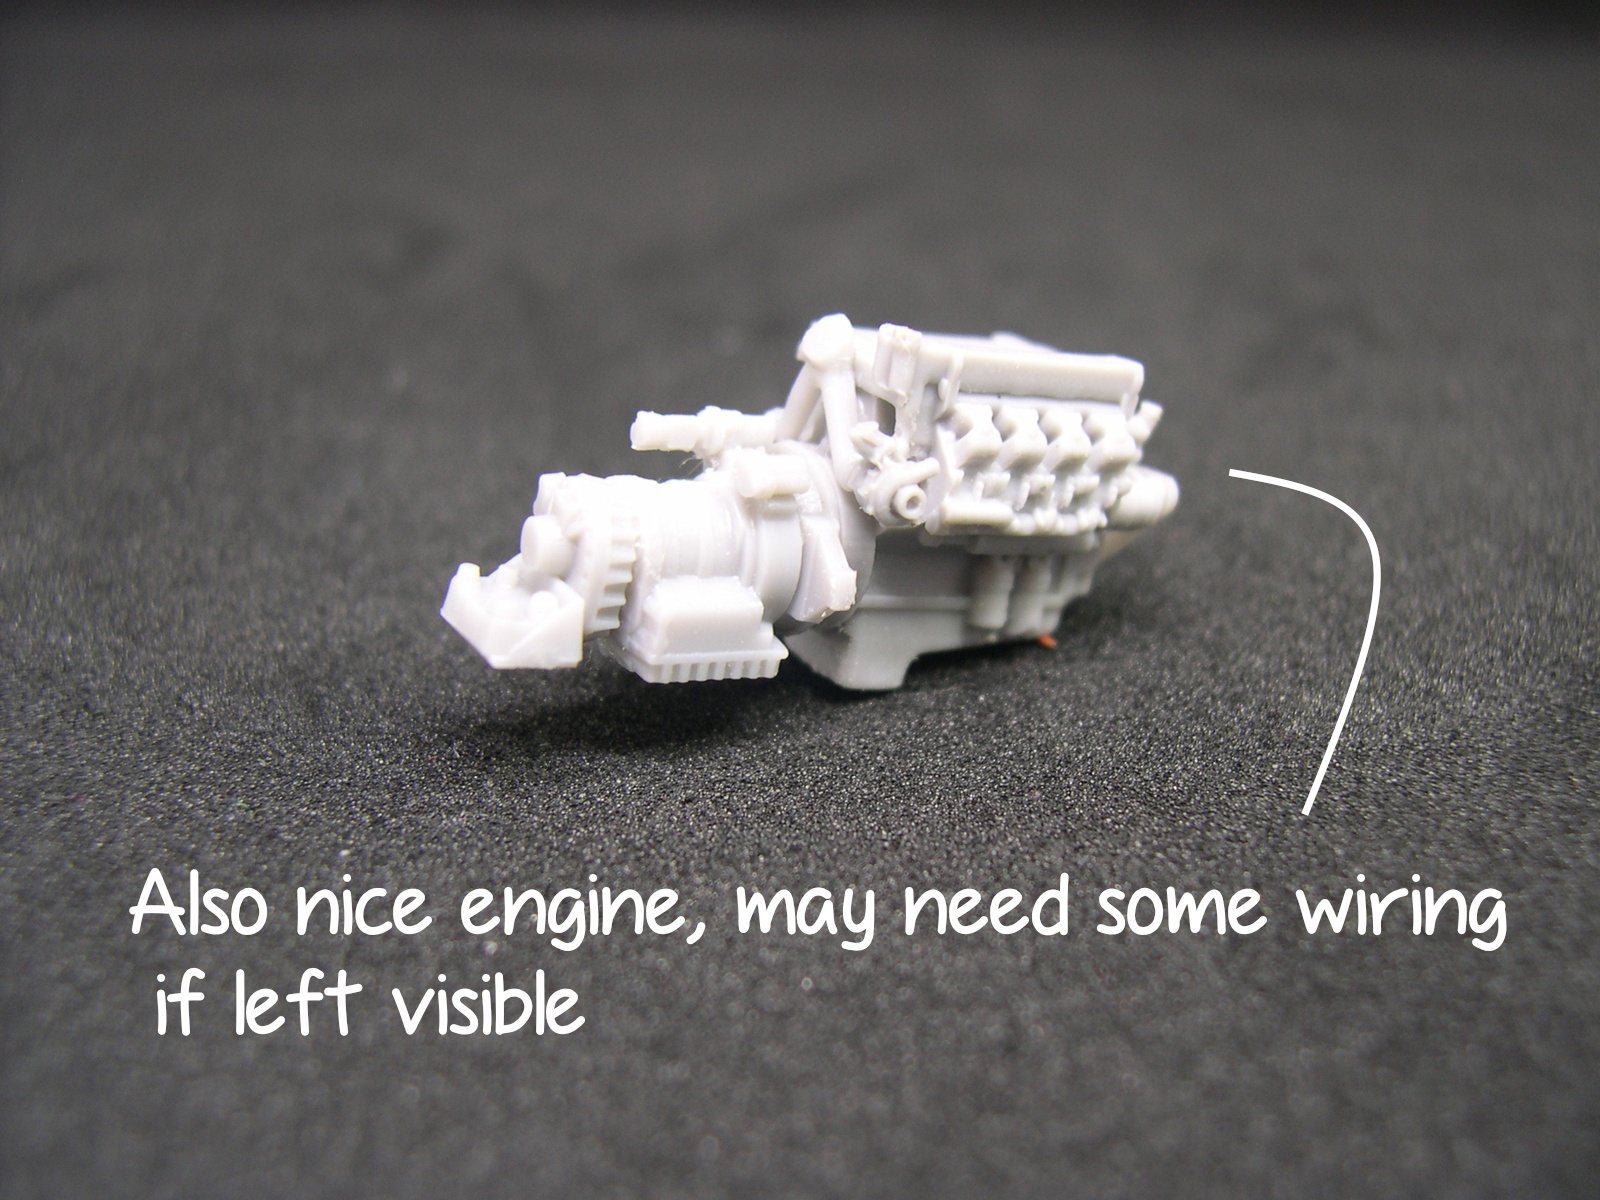
The resin engine has a very good detail, without bubbles. Same for the wheels, with sagged effect, and nicely reproduced thread.
As for the photoetch, it is thin and well defined, matching the plastic parts perfectly except for one part (more on this later). There are two options for the sidewalks, roof and steps.
The vehicle has a lot of elements tightly positioned, and slightly displacing one may cause others not to fit later, so it is important to check twice all surrounding parts/subassemblies before gluing. And in any case, restrain the use of glue to the minimum -I found myself having to remove some parts to re-position them because of this.
Building
I will just mention here the issues I faced when building this model, as I see no need to explain each step. If you have the kit you can follow the instructions, there is no point in replicating them here.
The cabin goes together easily after removing the side lugs. Part A16 leans against the engine, with the legs pointing to the sides (where resin parts R2 and R3 will be attached ).
B5 and B6 will support the cabin so it is important to ensure they are aligned correctly in all axis.
The rear suspension supports B28 and B29 where too close when I tried to added the subassembly 8, so you may want to have it ready before gluing these two parts.
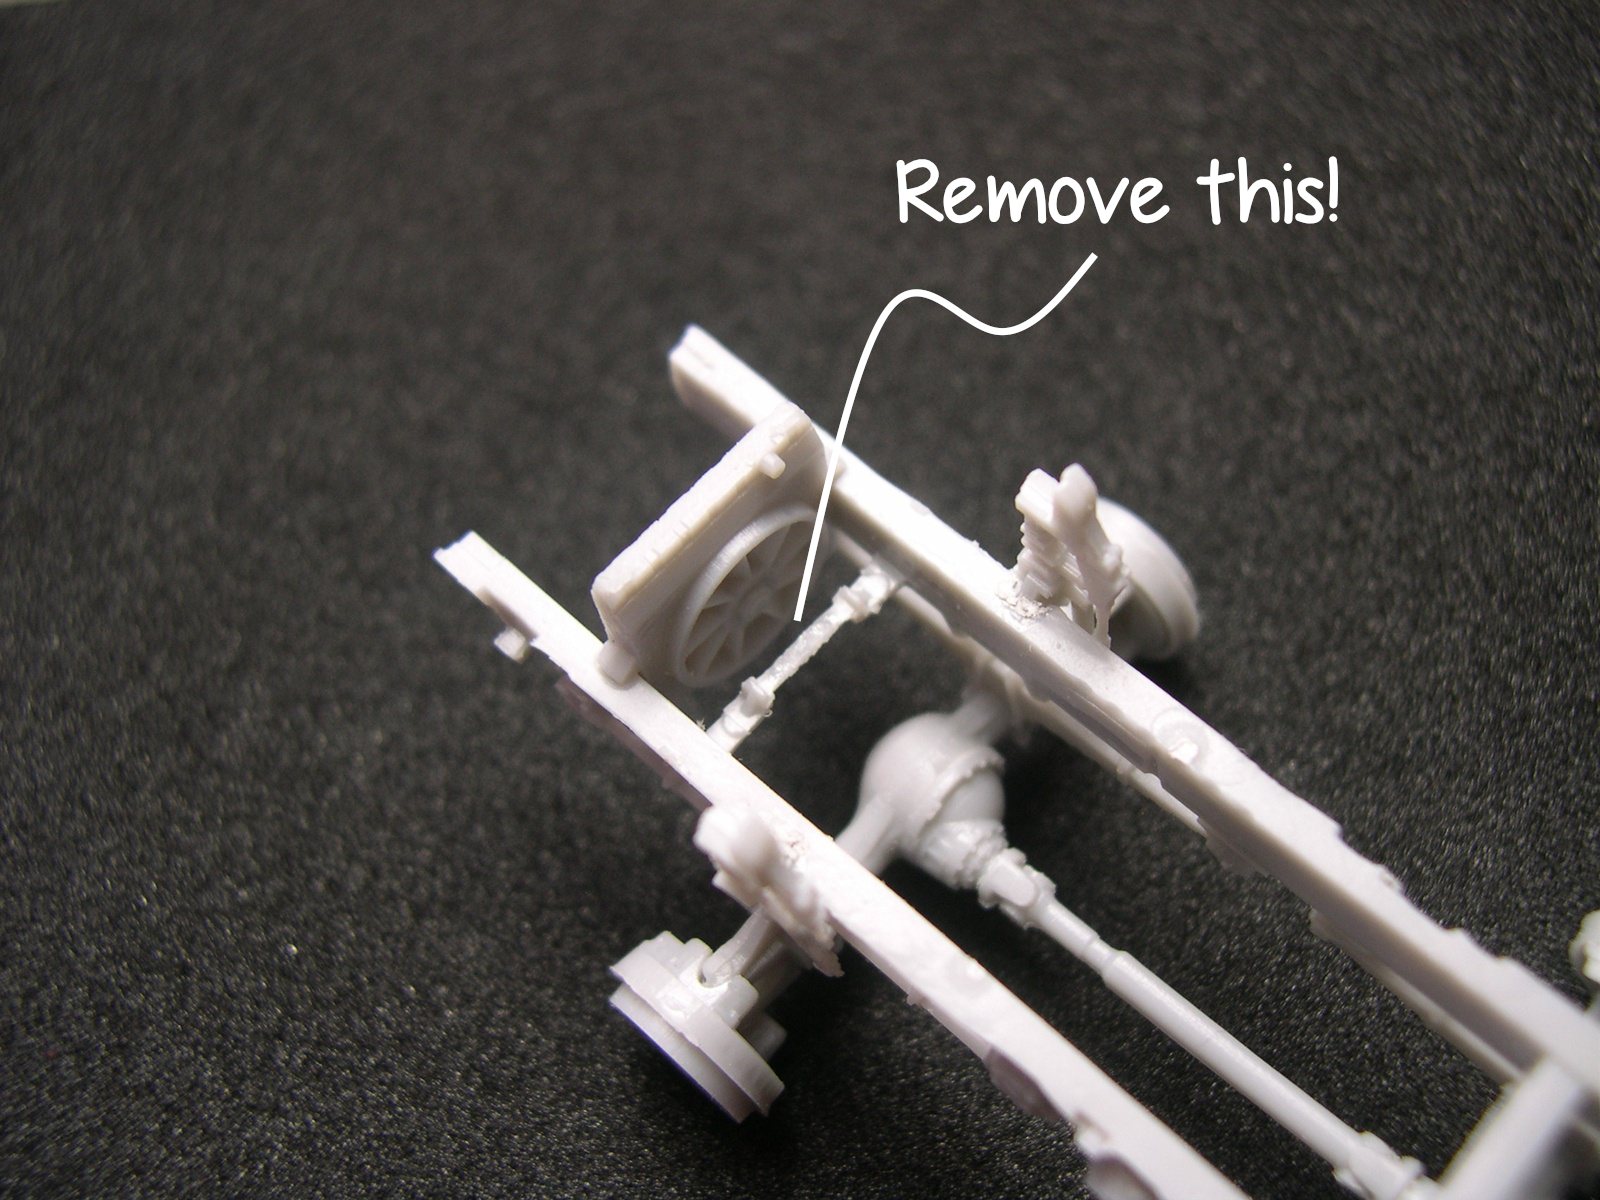
To install the engine you have to remove a reinforcing strap between the chassis sides.
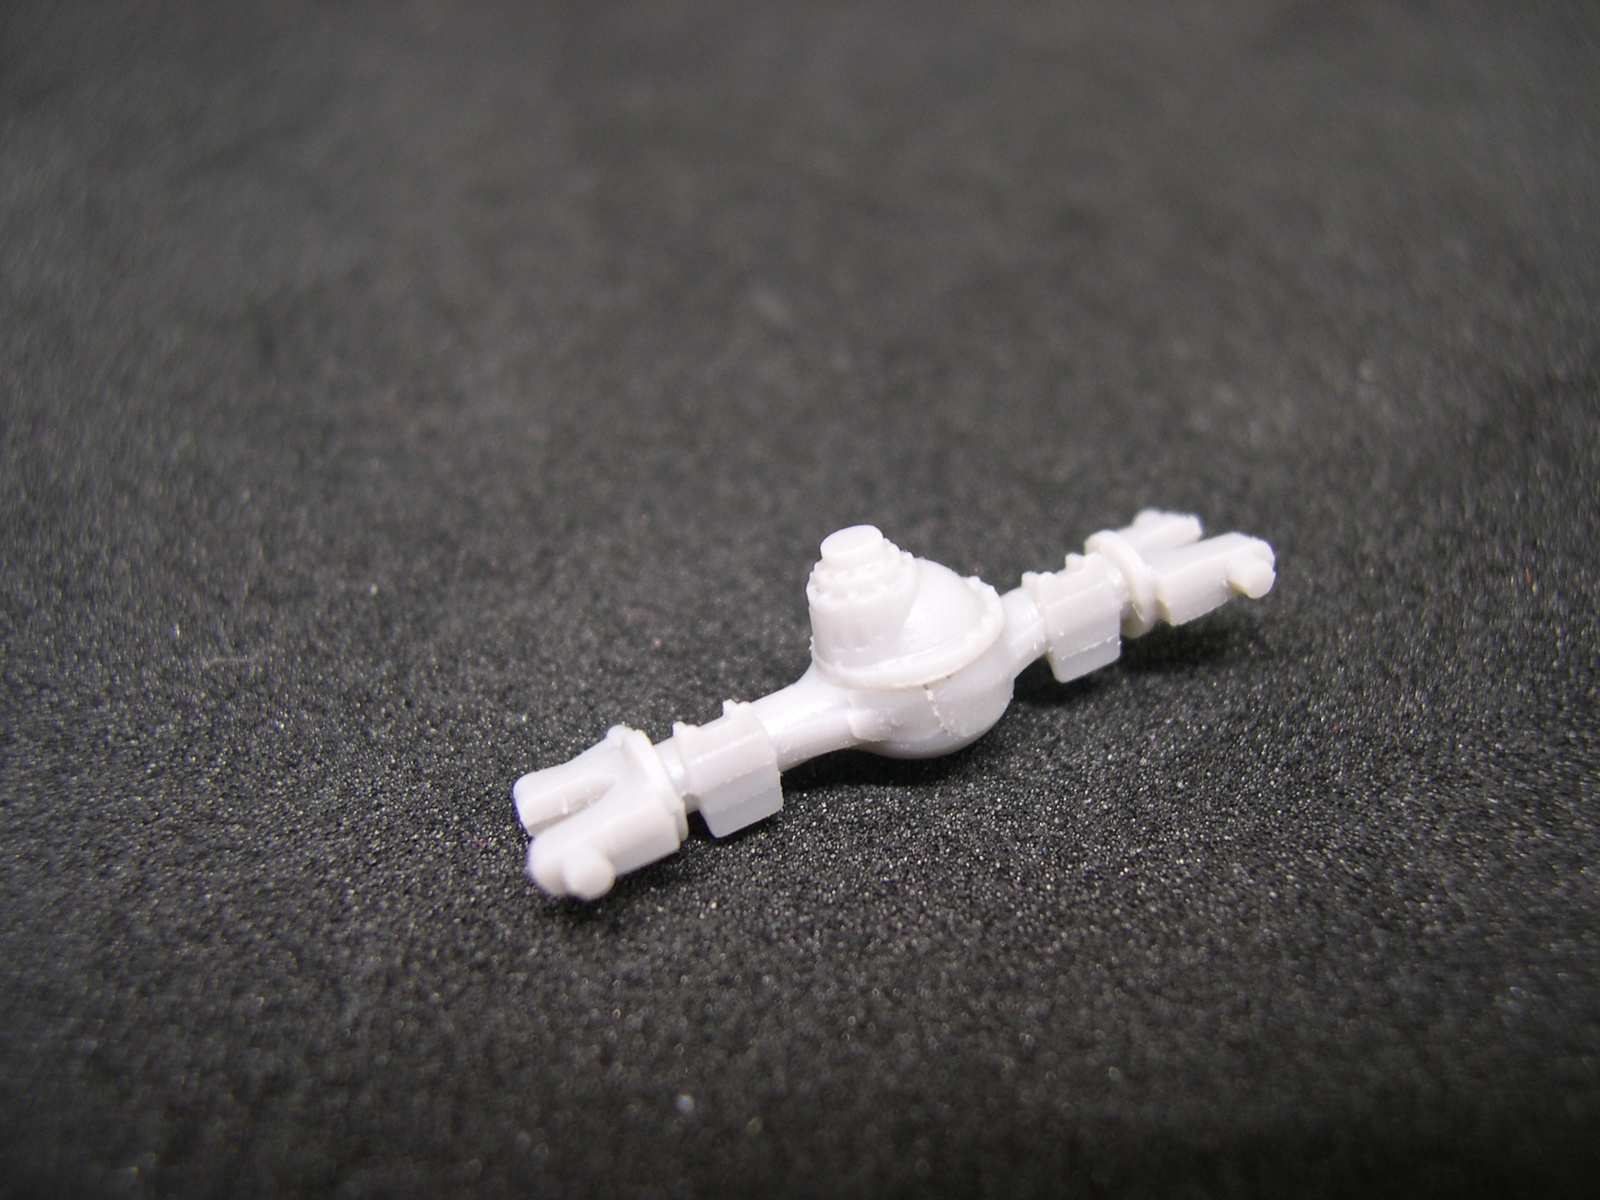
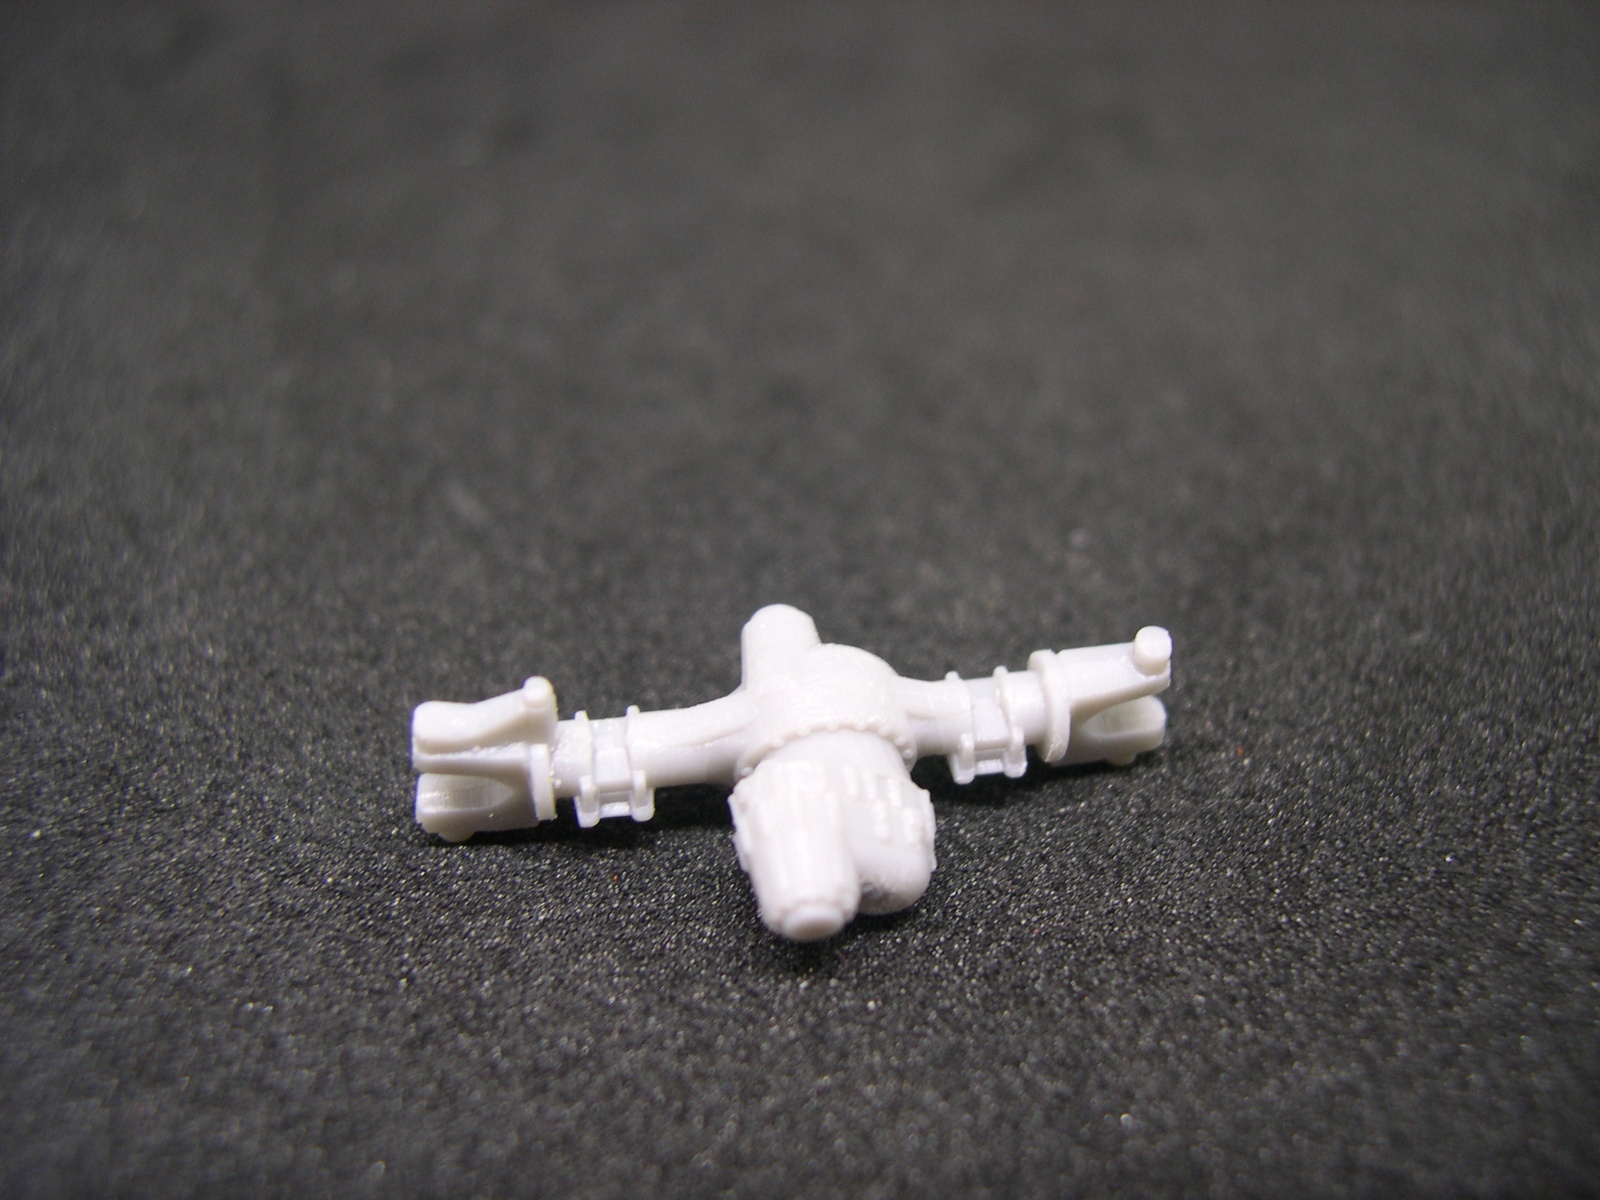
I had some issues aso with the transmission shafts B32, B33 and B1, which required some shortening and
lenghtening...
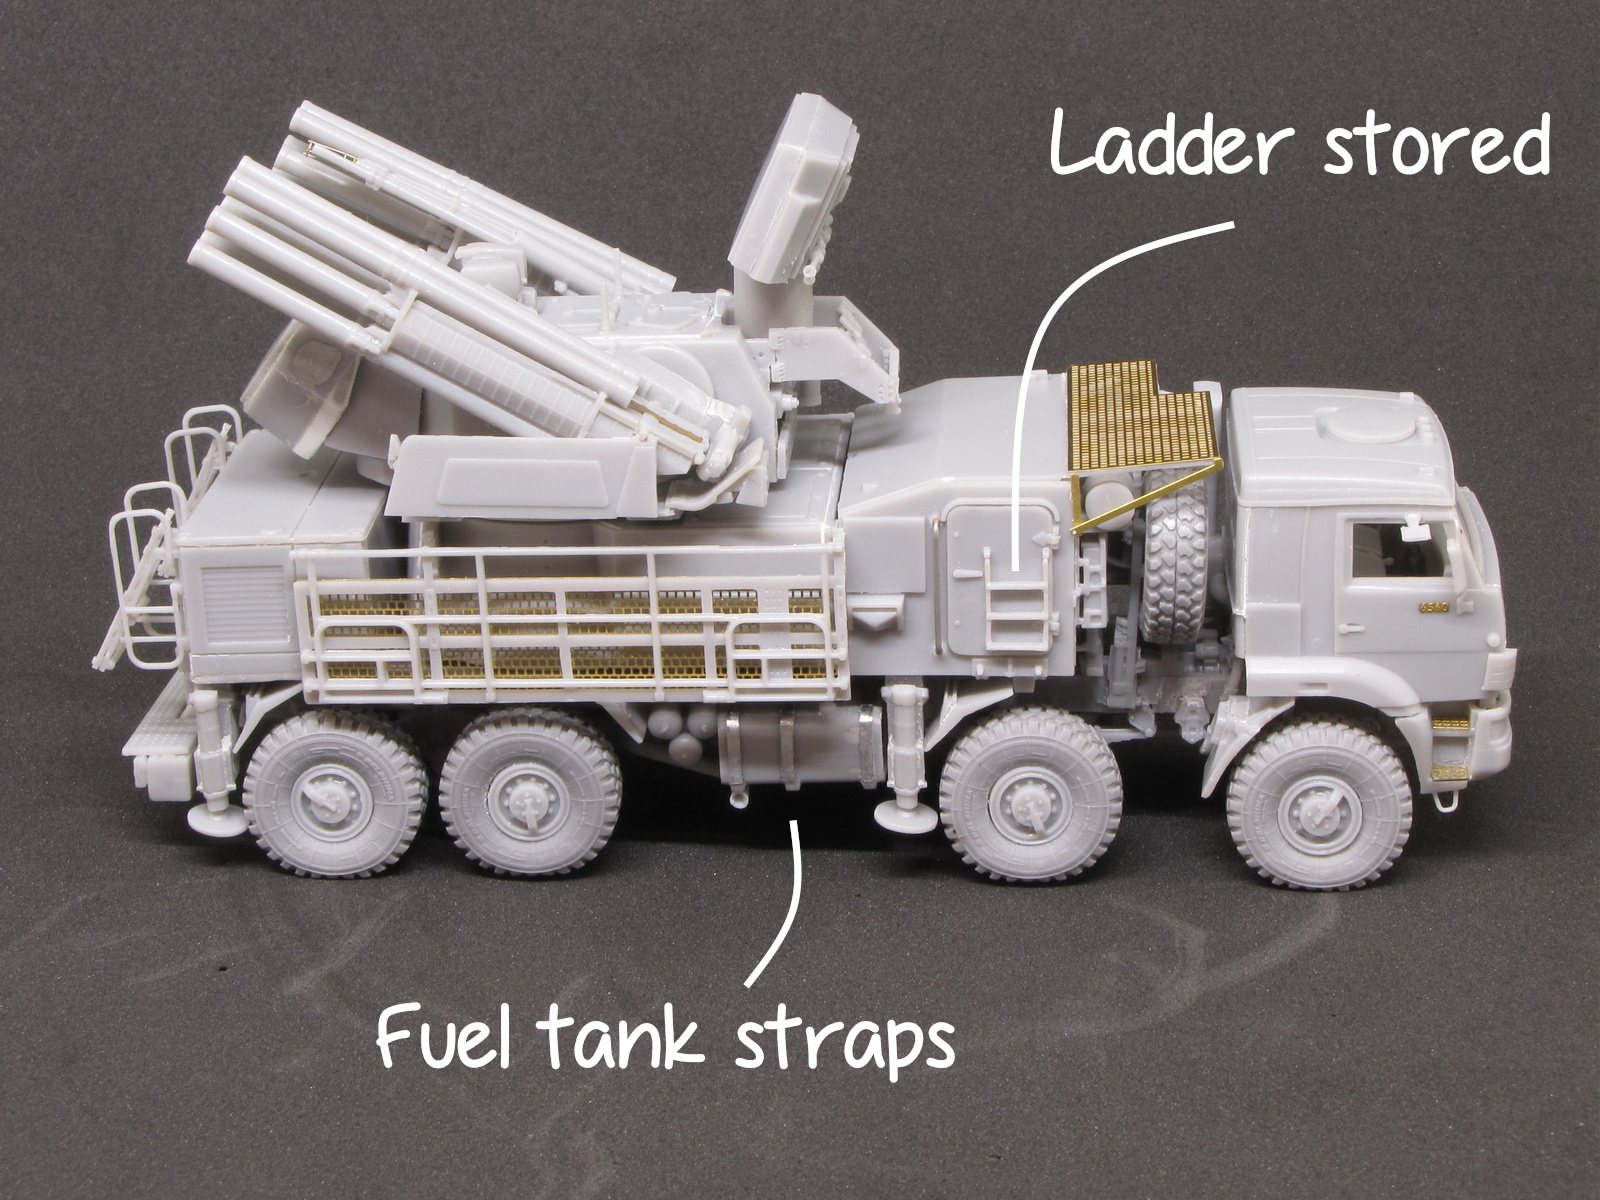
The rest of the elements of the chassis go fine, other than adding the straps to the fuel tanks. At this point I added also the rims and tires. Despite a lot of checking and adjusting, I have to confess I could not get them to touch the ground all eight.
When assembling the bumper on step 24, check that the width matches the cabin.
The control cabin needed some trimming for the computer wall to fit. And take care also of the floor, there is only one correct way to put it -check the size of the holes under it.
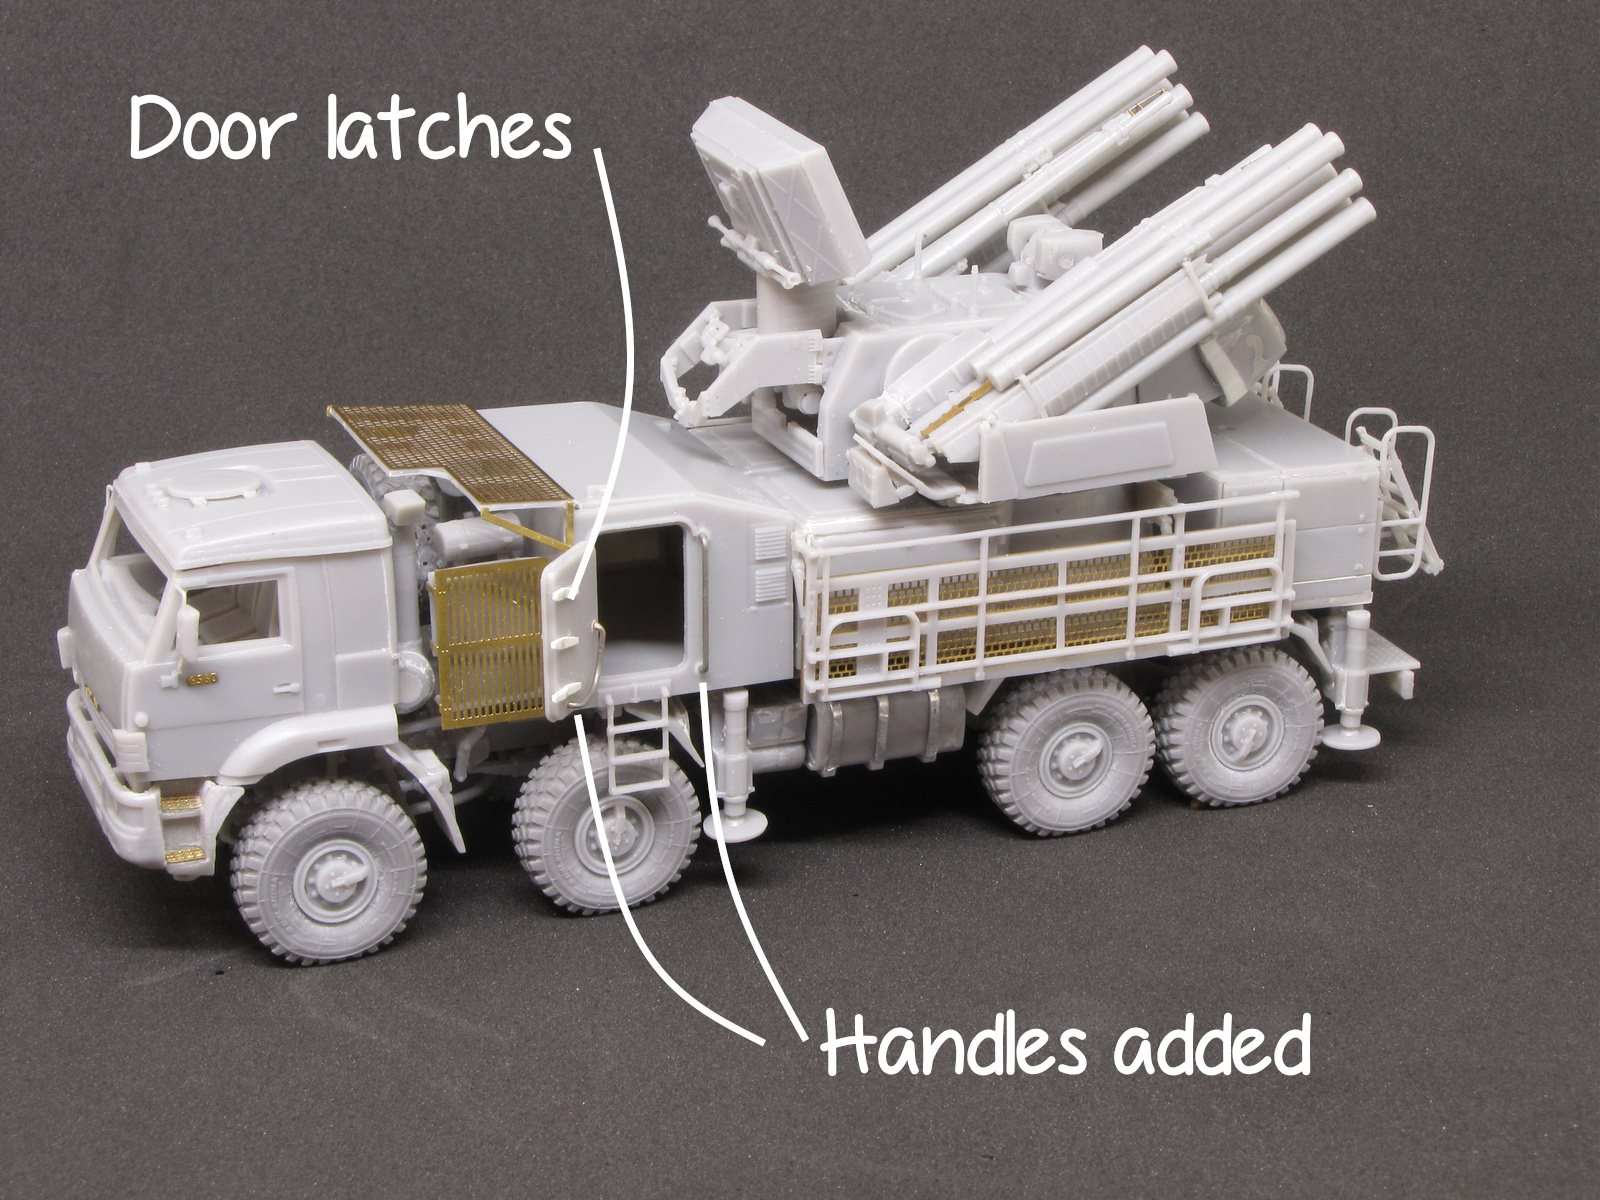
The ladders must be stored, as they are the lower half of the full one -the other half slips under the floor below the door. If the door is open, the large latches should be added. Depending on the model, there are two or three.
The roof reinforcements in photoetch are way longer. It is curious how all the rest of the photoetch parts fit perfectly while 10, 11 and 12 are so grossly wrong. I cut the longitudinal arm, adjusted its length and glued it to the vertical strip.
The base of the turret has no special issues, and the photoetch sidewalks fit nicely on their plastic frames. You have even two options to choose from.
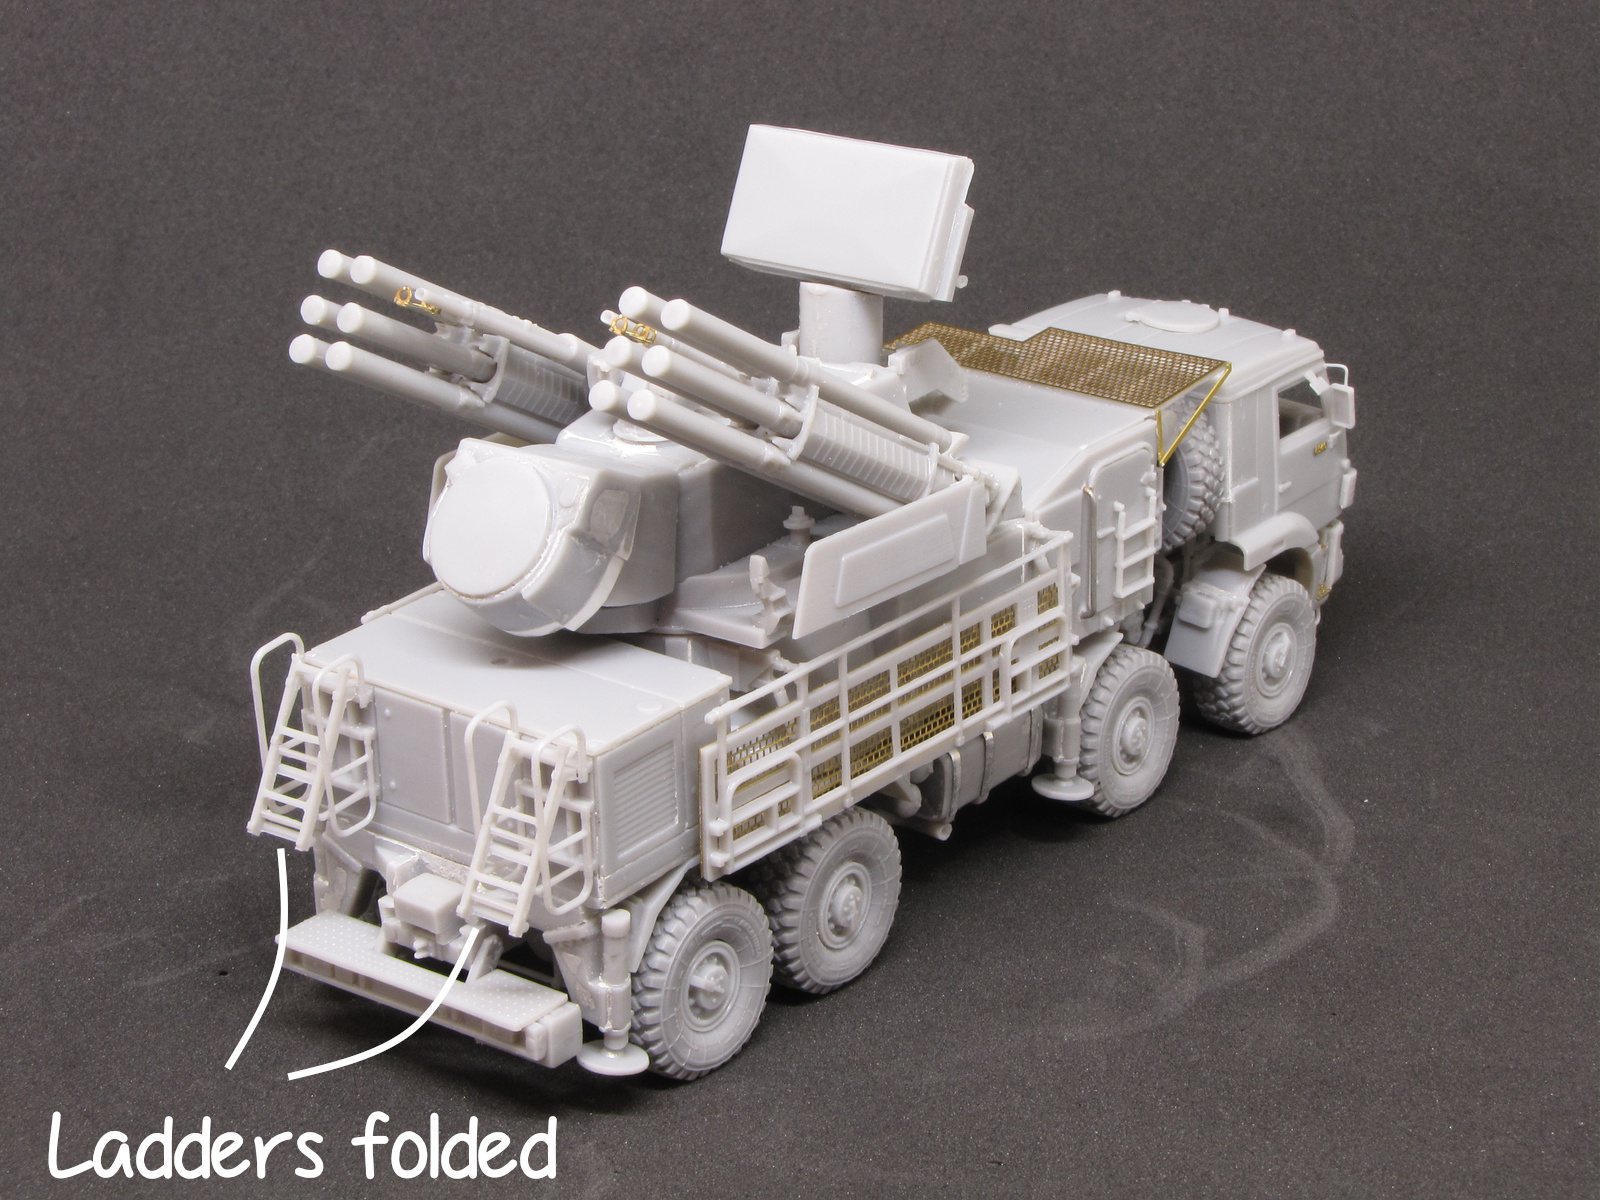
As for the power generator on the back, I could not mount it as per the instructions and ended with a gap on the sides. Maybe it was my fault. The ladders are usually carried folded, and note that there are at least two variants for this in the real vehicles.
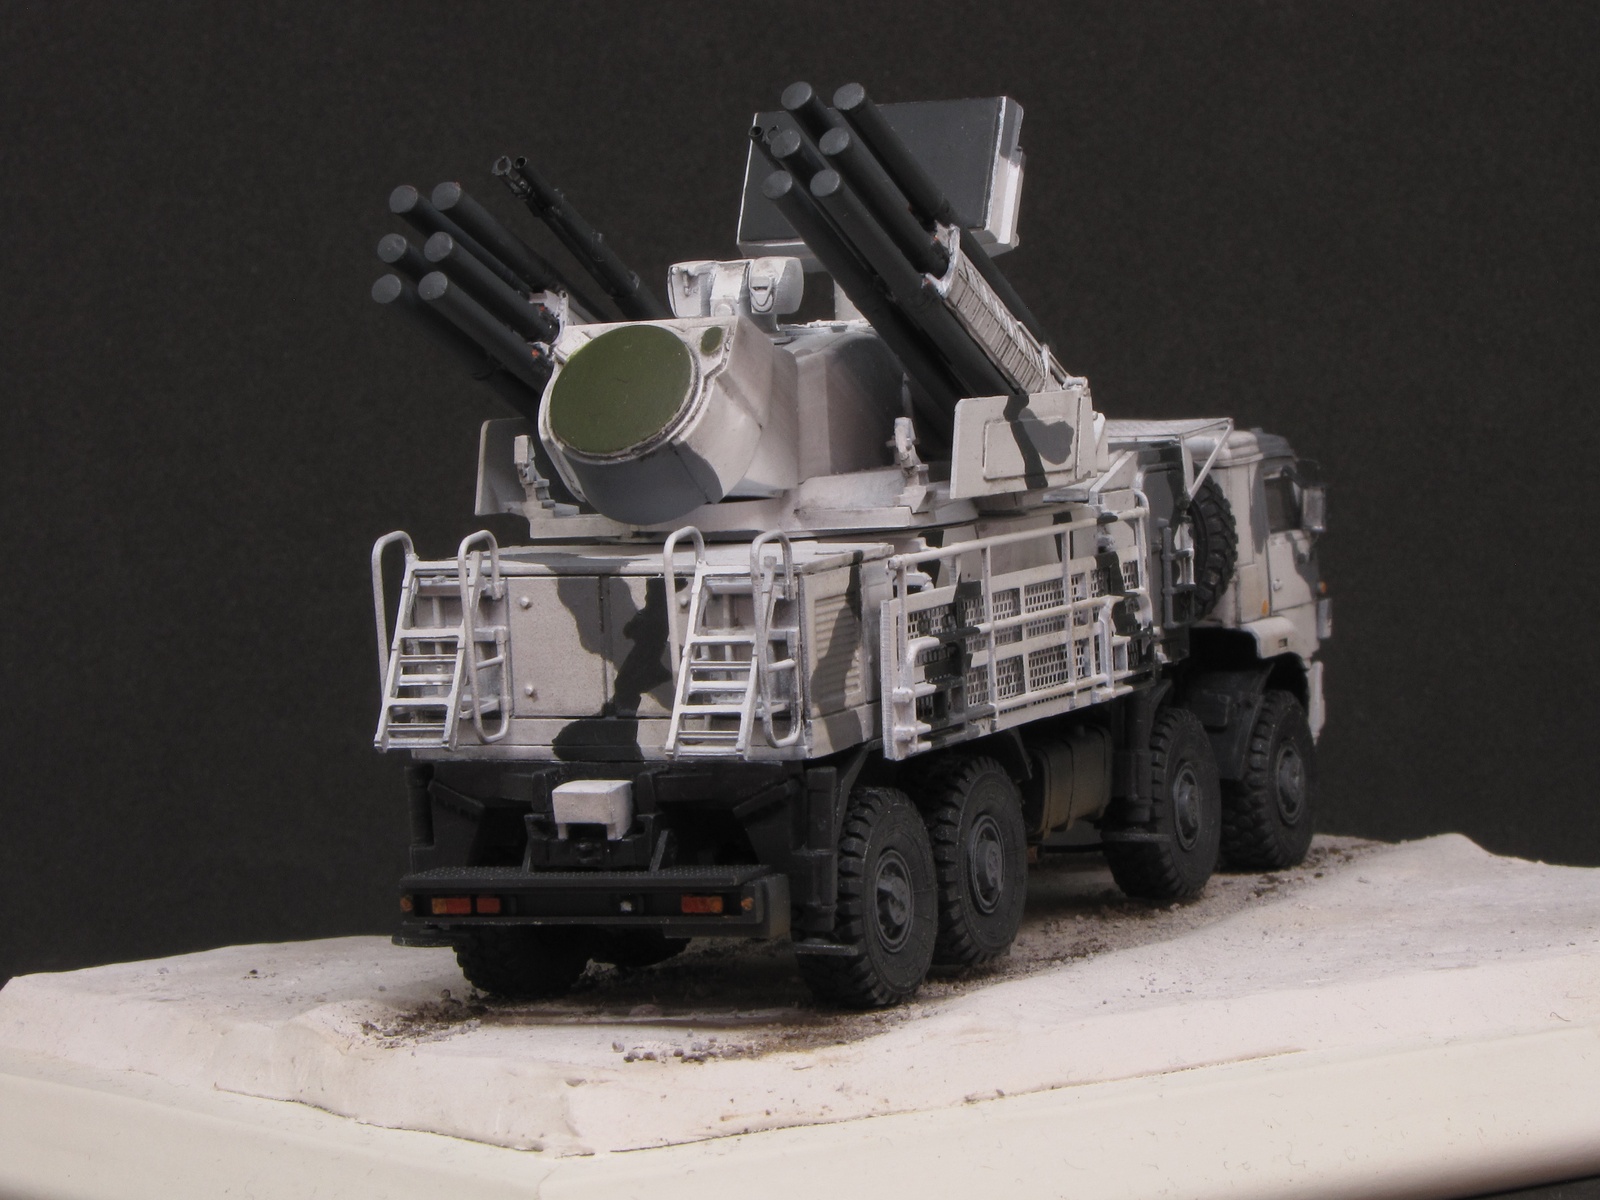
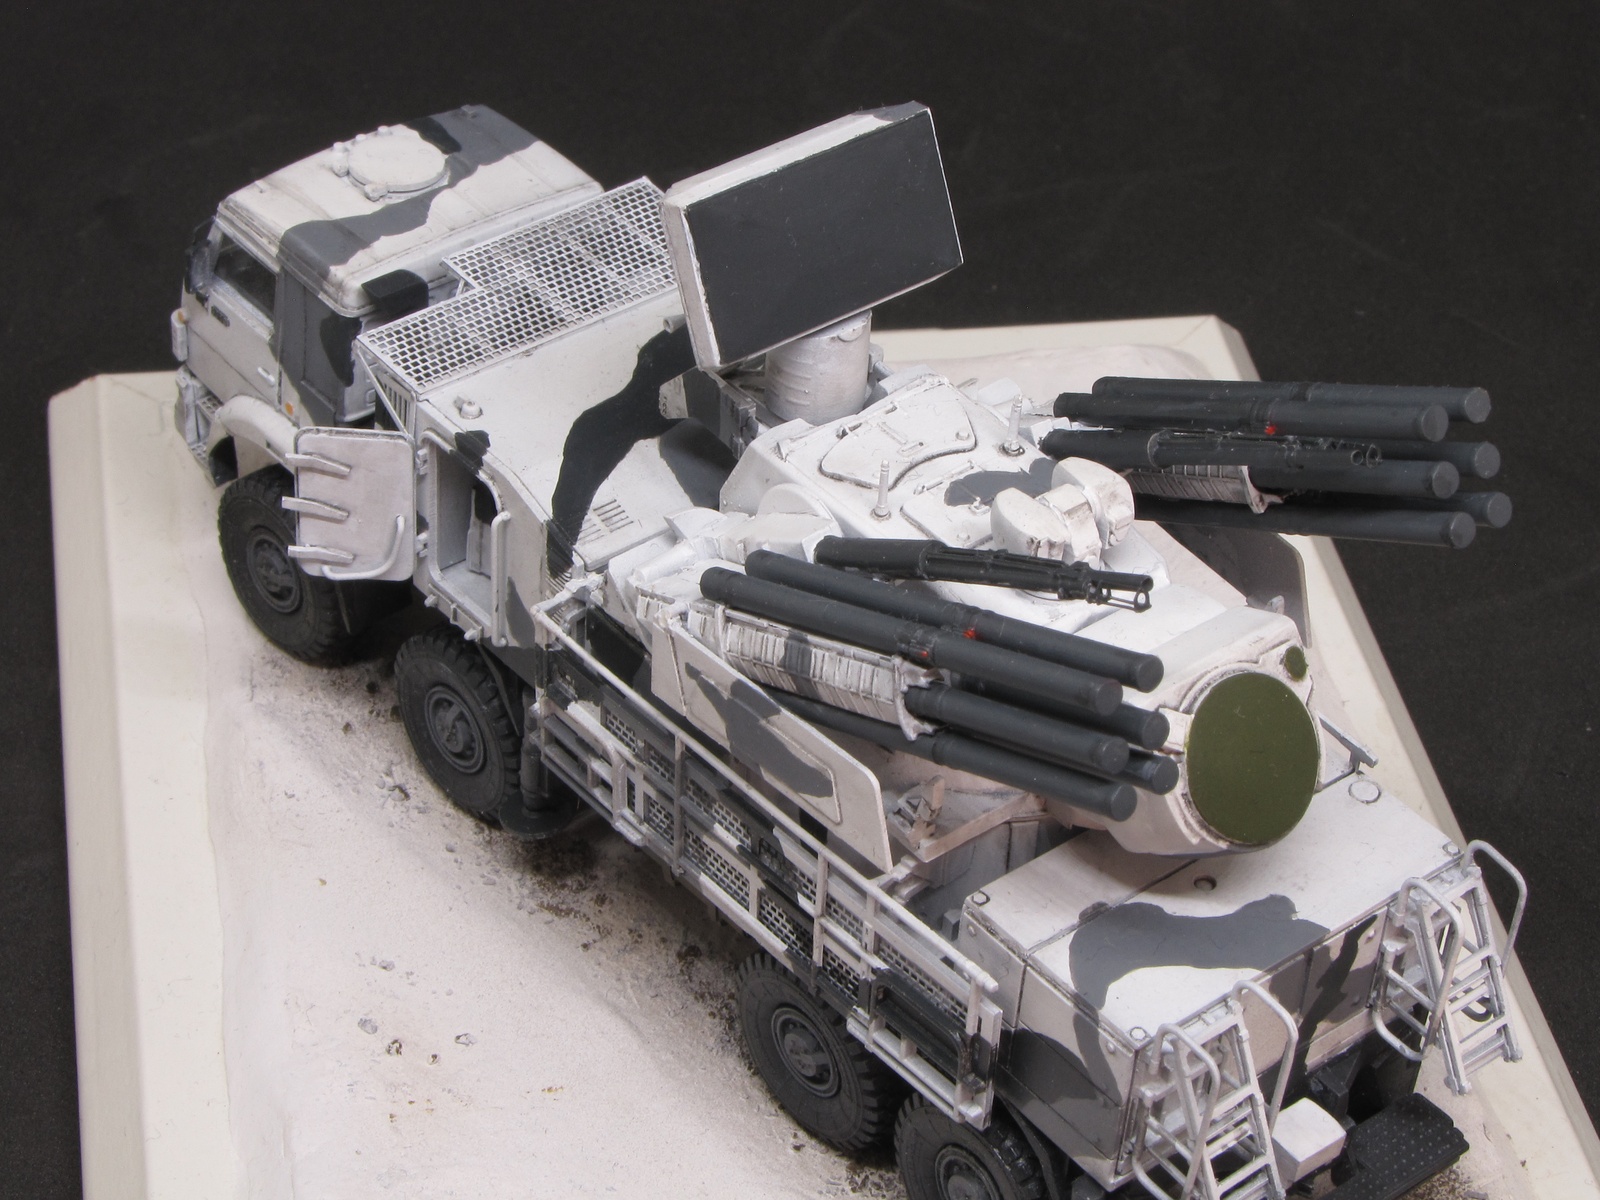
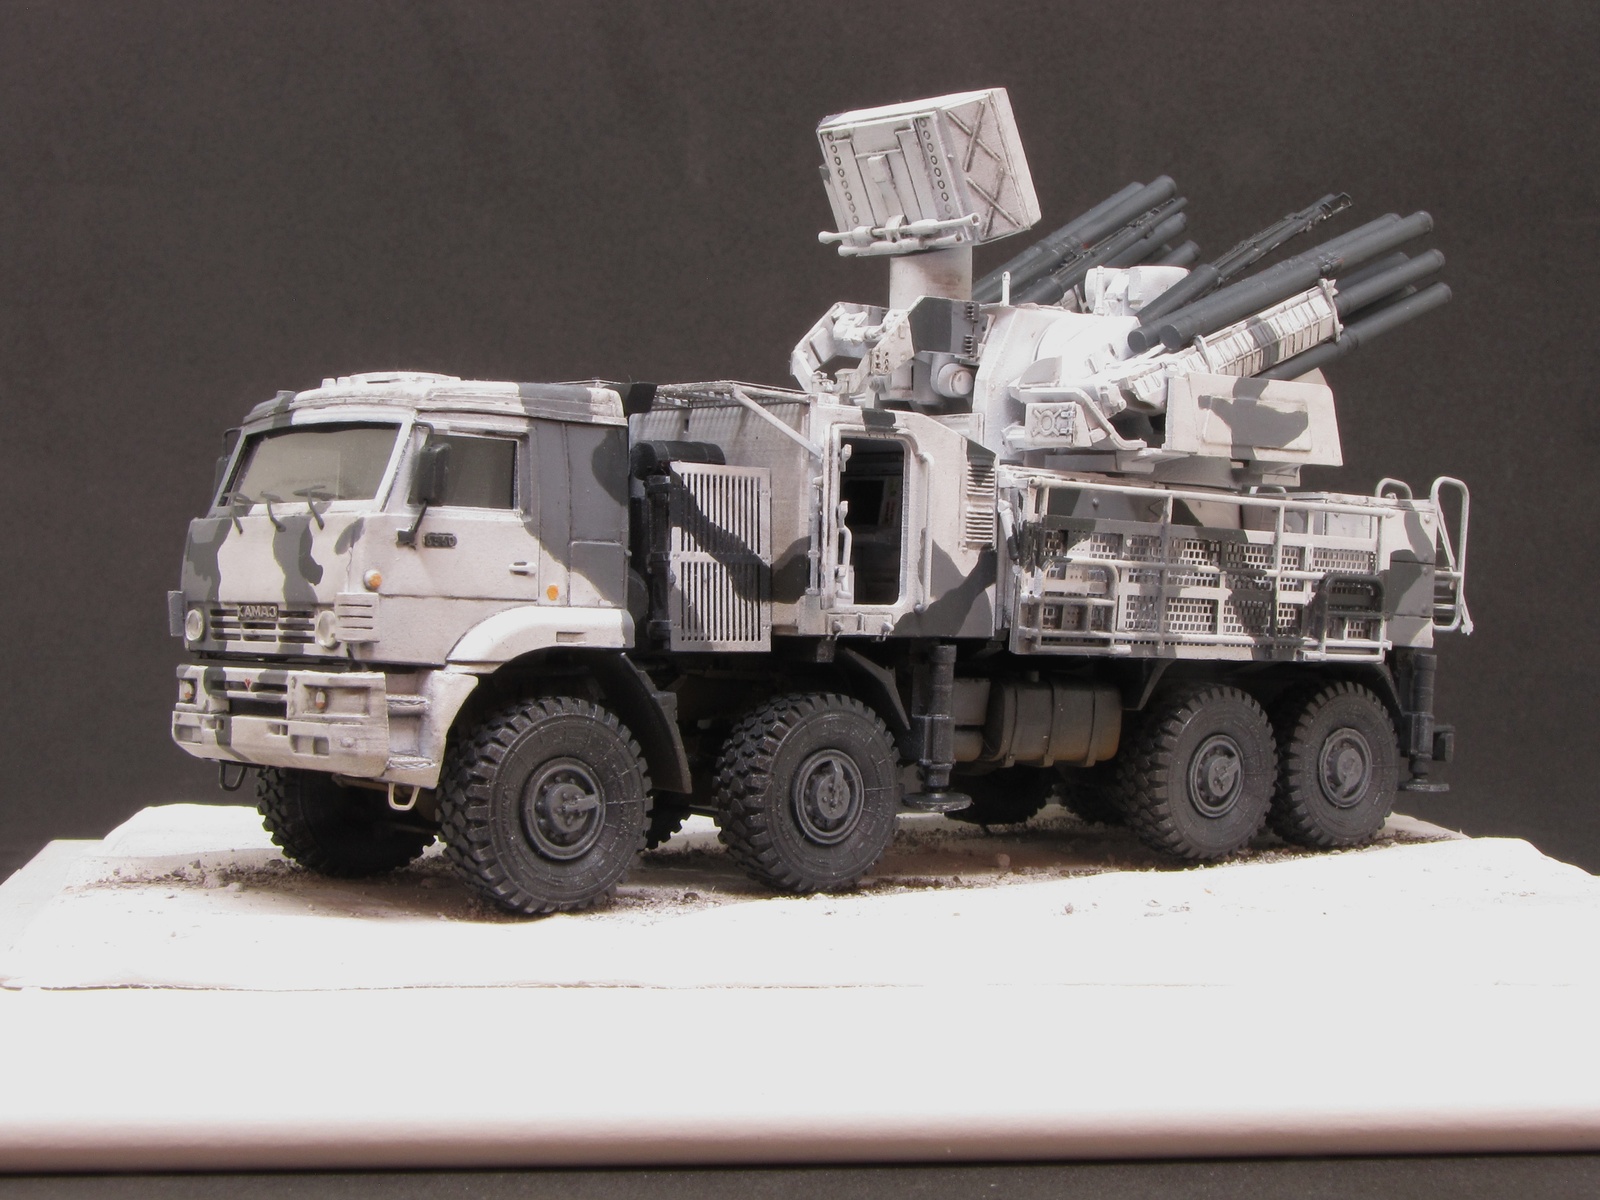
The turret is probably the part with worst fit of all the model, having to trim the roof and fill gaps on it and between turret sides. The radar sides and camera set needed also some filler to get their sides flat.
Part G9 should have its ends hollow. Also parts G25 for the gun barrels should be hollow. The photoetch gun muzzle needs patience... The wire needed is really thin and getting everything aligned takes work and time.
The rocket containers have a moulding seam all along that has to be removed carefully. You will have to pay attention to leave them parallel and evenly spaced, which is harder than it sounds -at least I could not make it perfect.
For the final assembly, the structure that carries all the equipment (E19) should not fall at the edge of the chassis, but slightly behind it. I moved it and later found it was not a good idea because the space for the fuel tank and compressed air tanks is very tight. It would have been better to shave the part one or two mm.
Also the spare wheel goes attached to part A14, which is not very clear on the instructions.
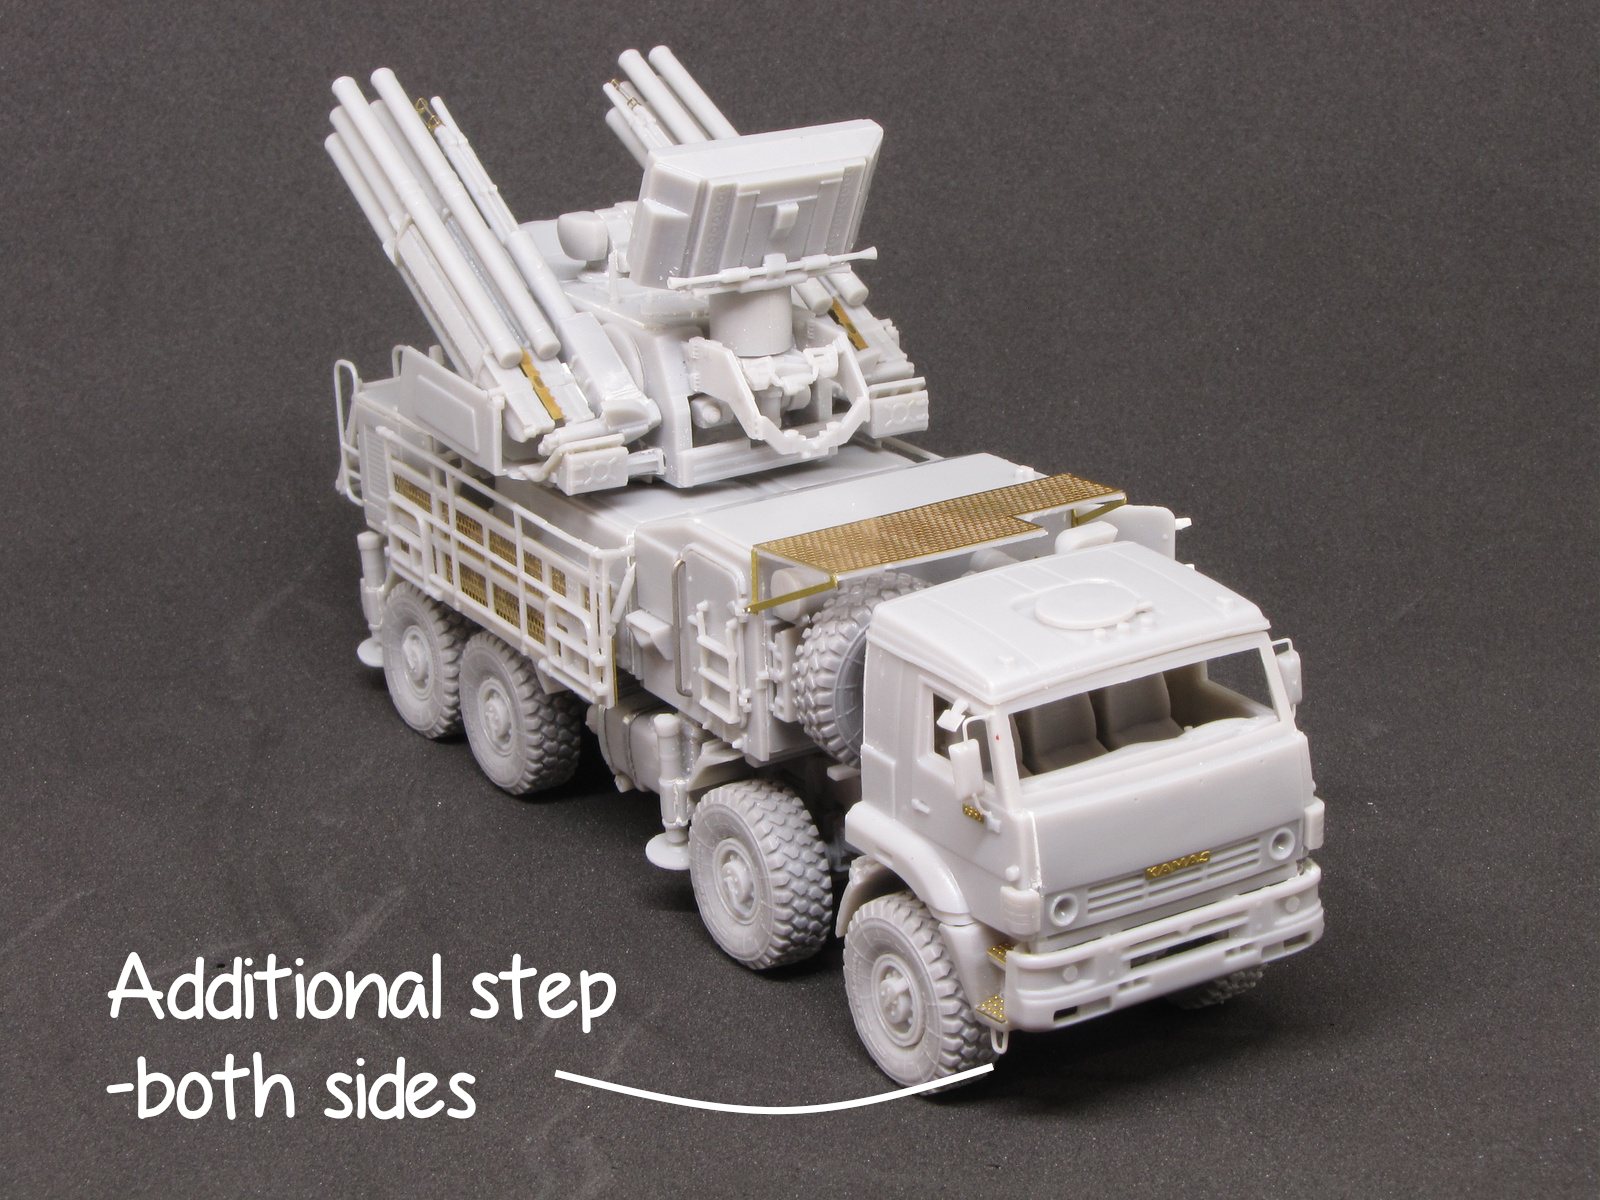
You may want to add a step from wire to enter the cabin on each side and the two antennae.
I left the windshield for the end, after the basic painting was done, to avoid masking. It comes as an acetate sheet to be cut. Despite it needs some trimming, it was quite easy to work with it.
Conclusion
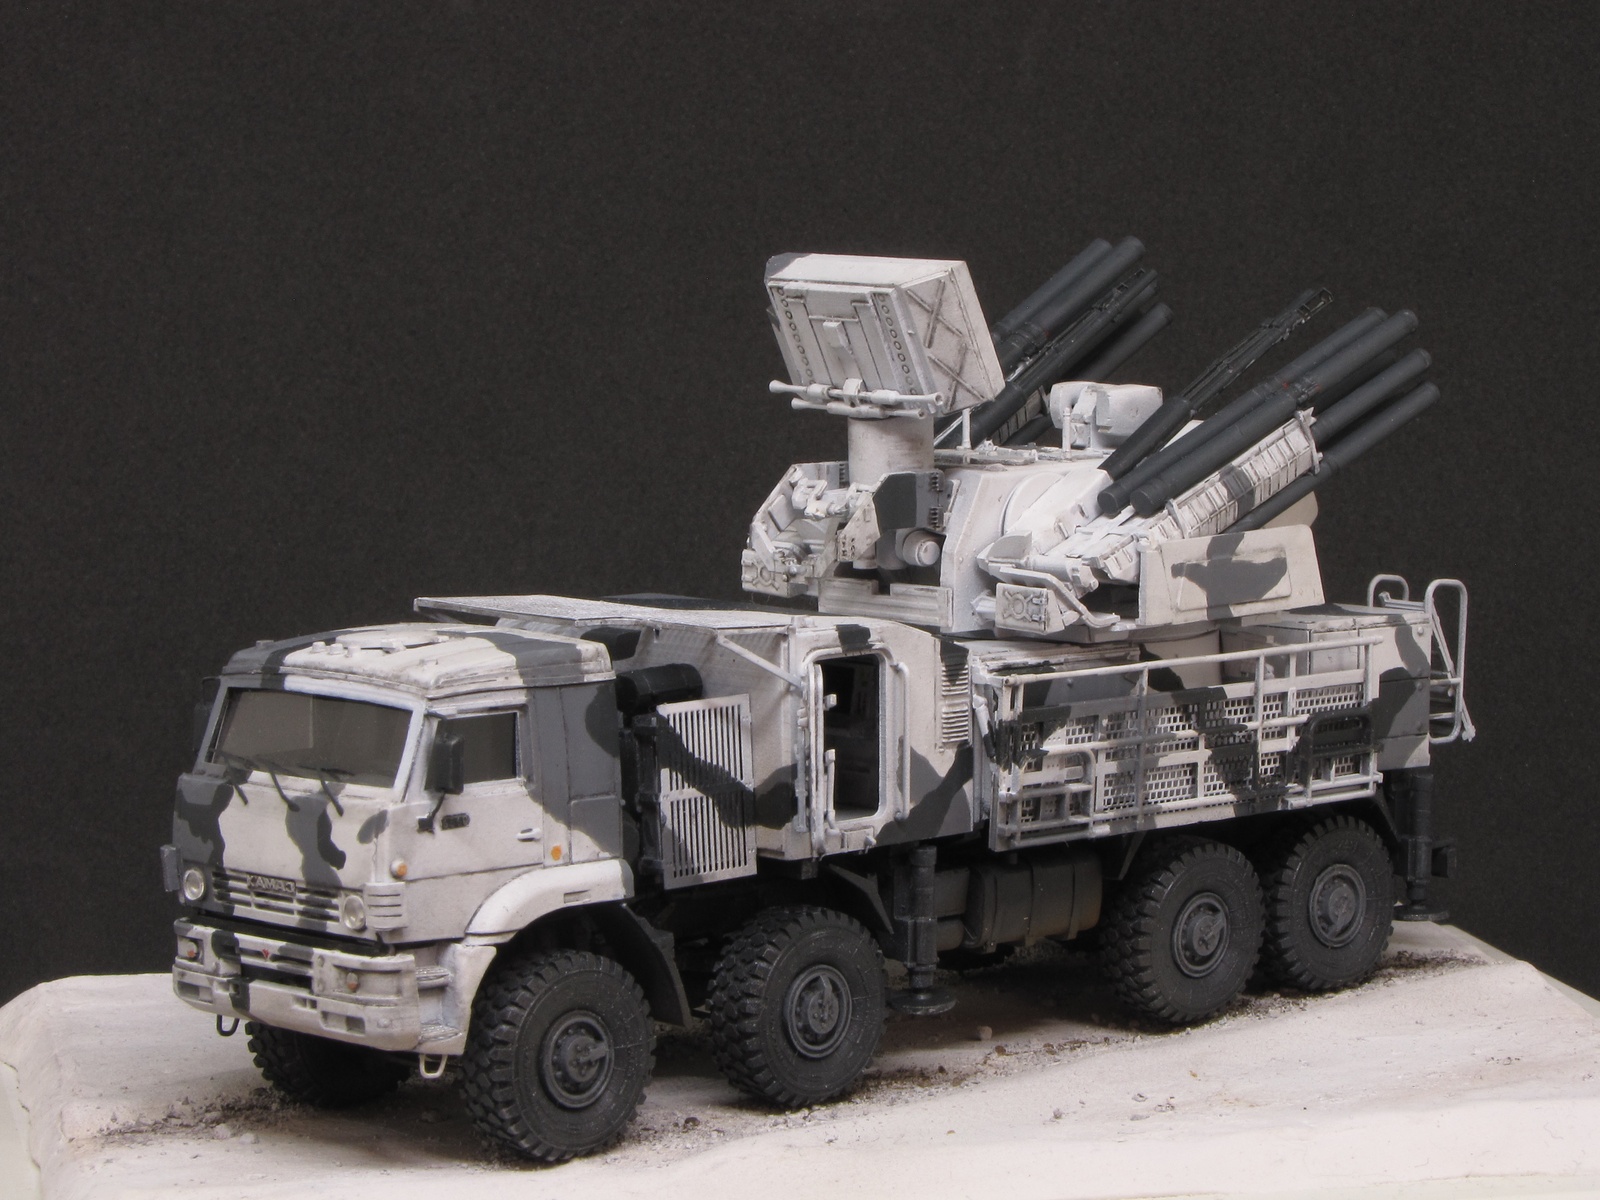
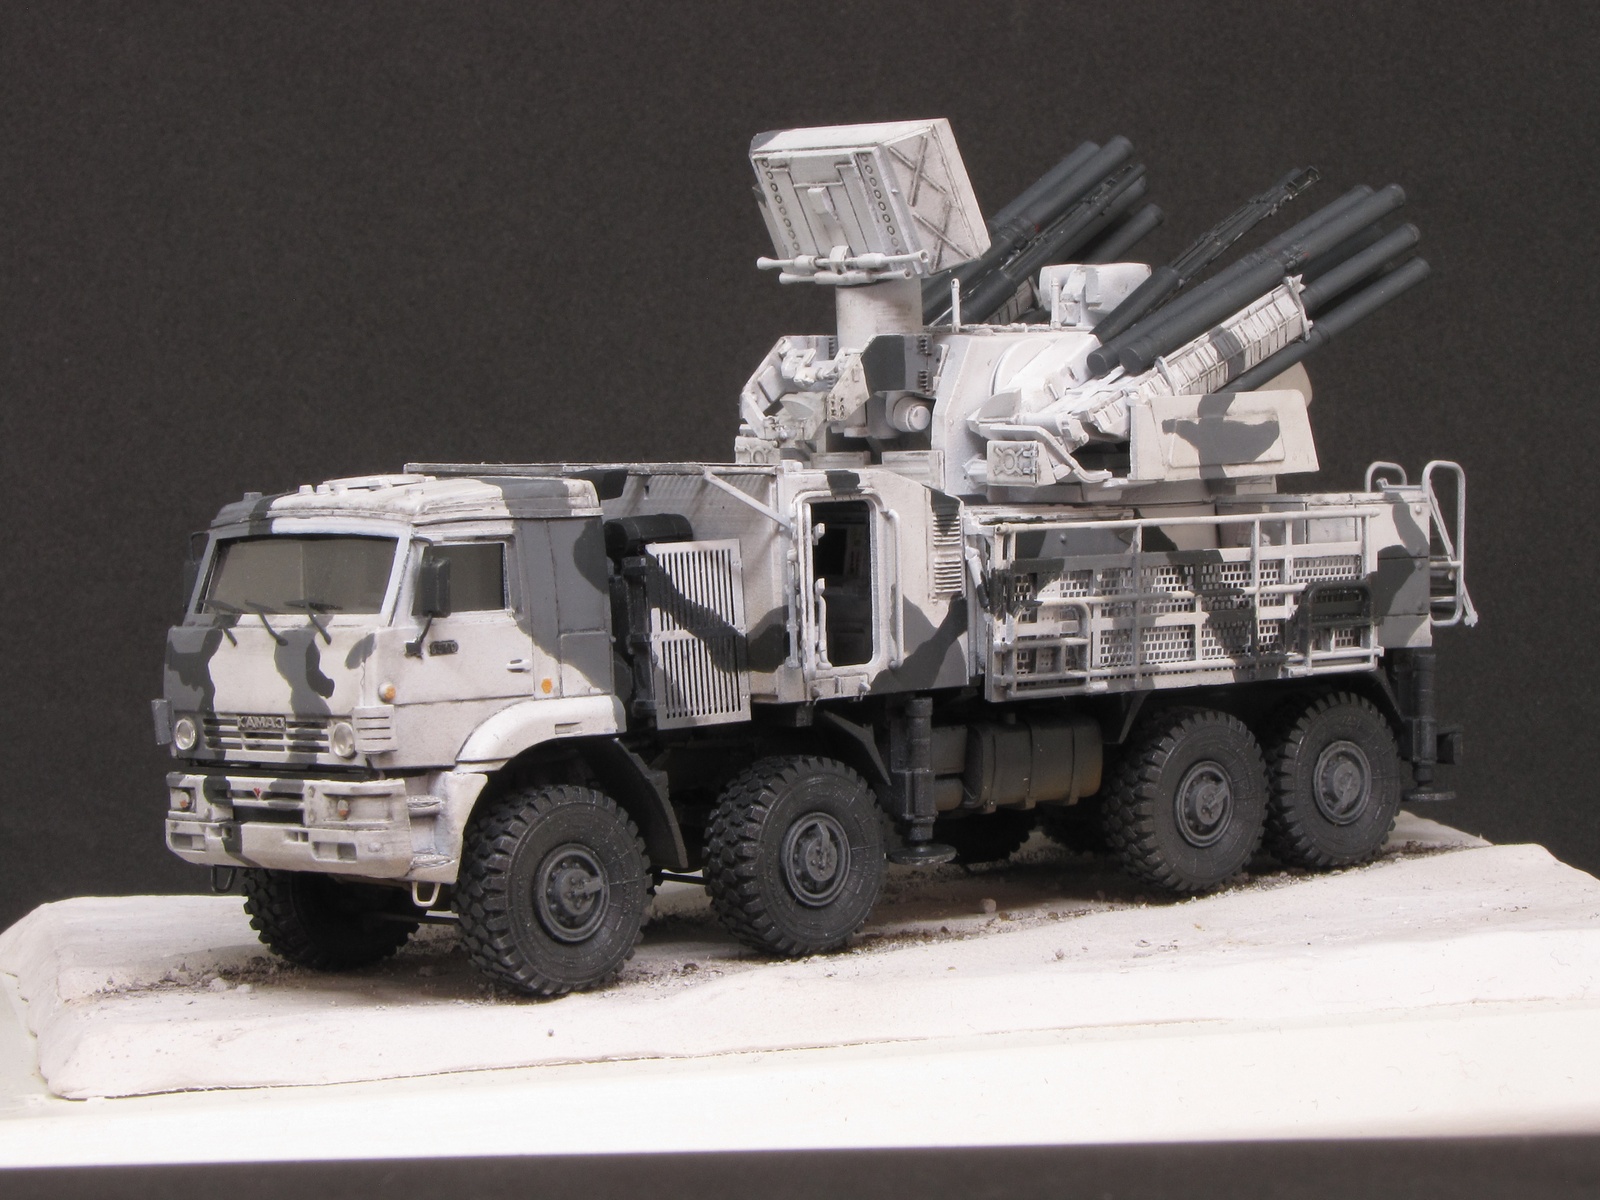
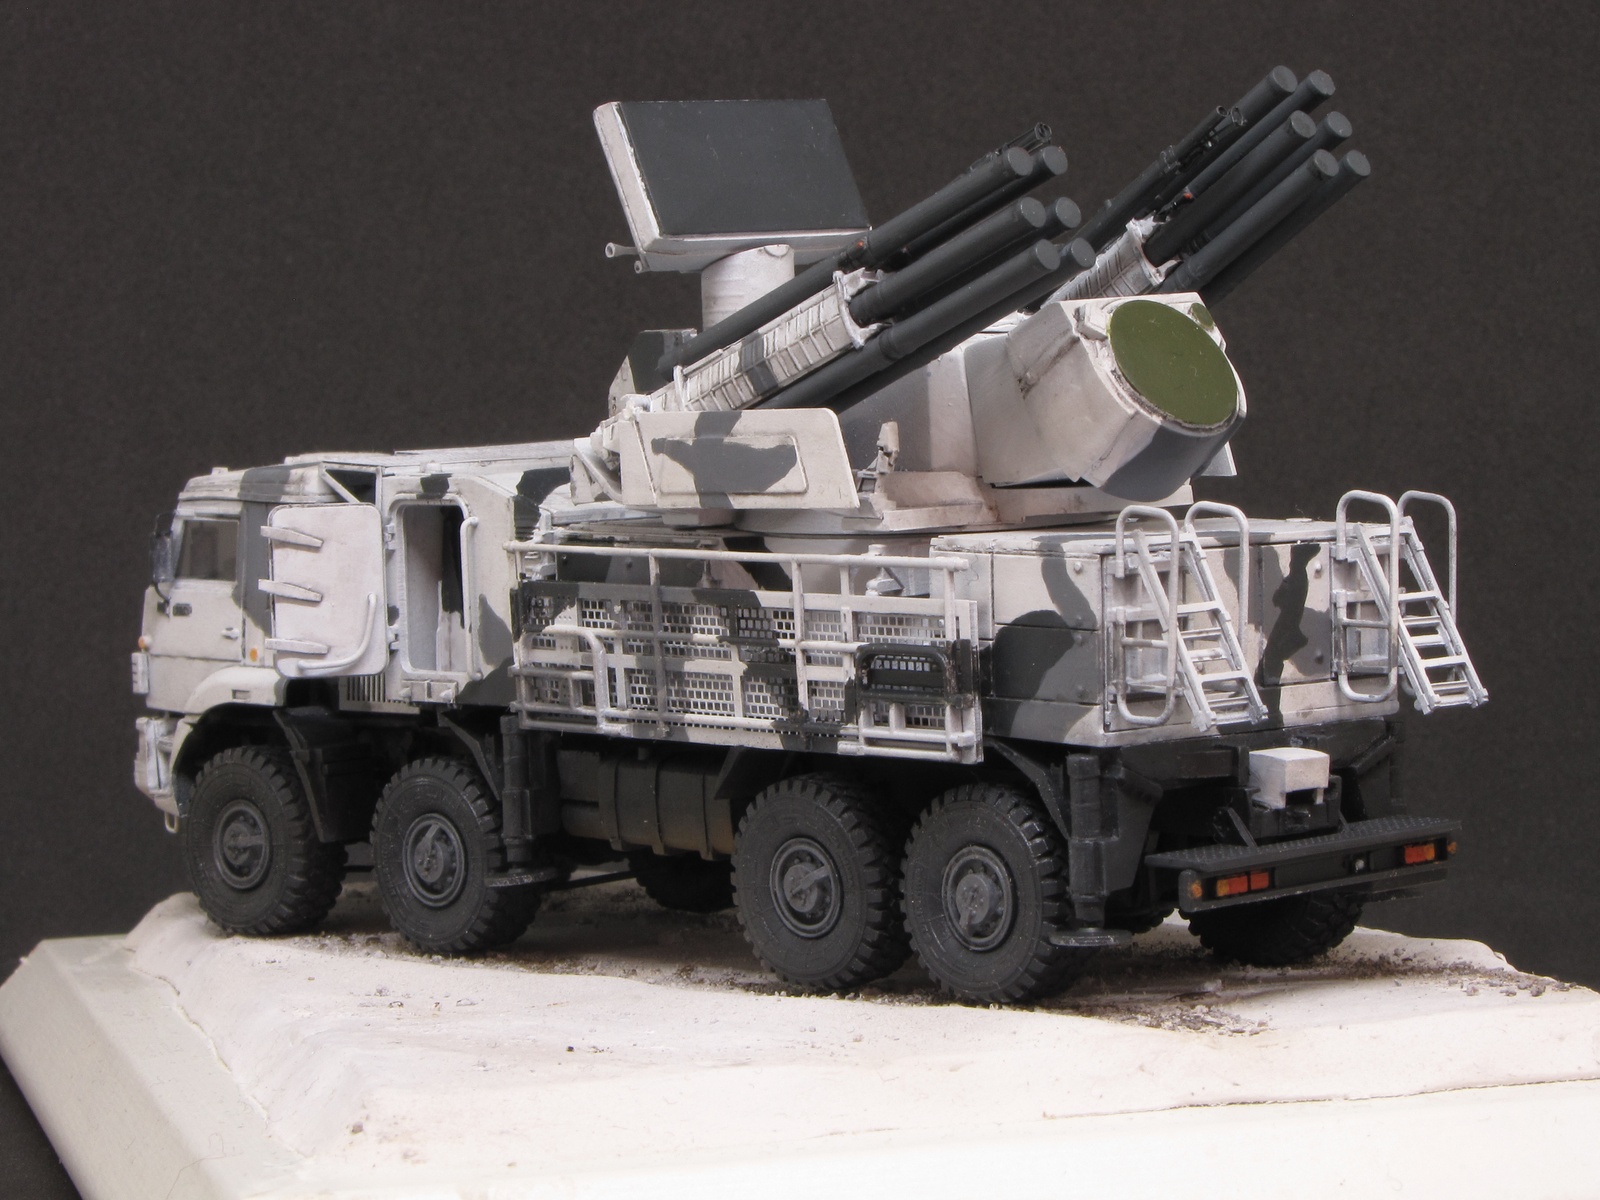
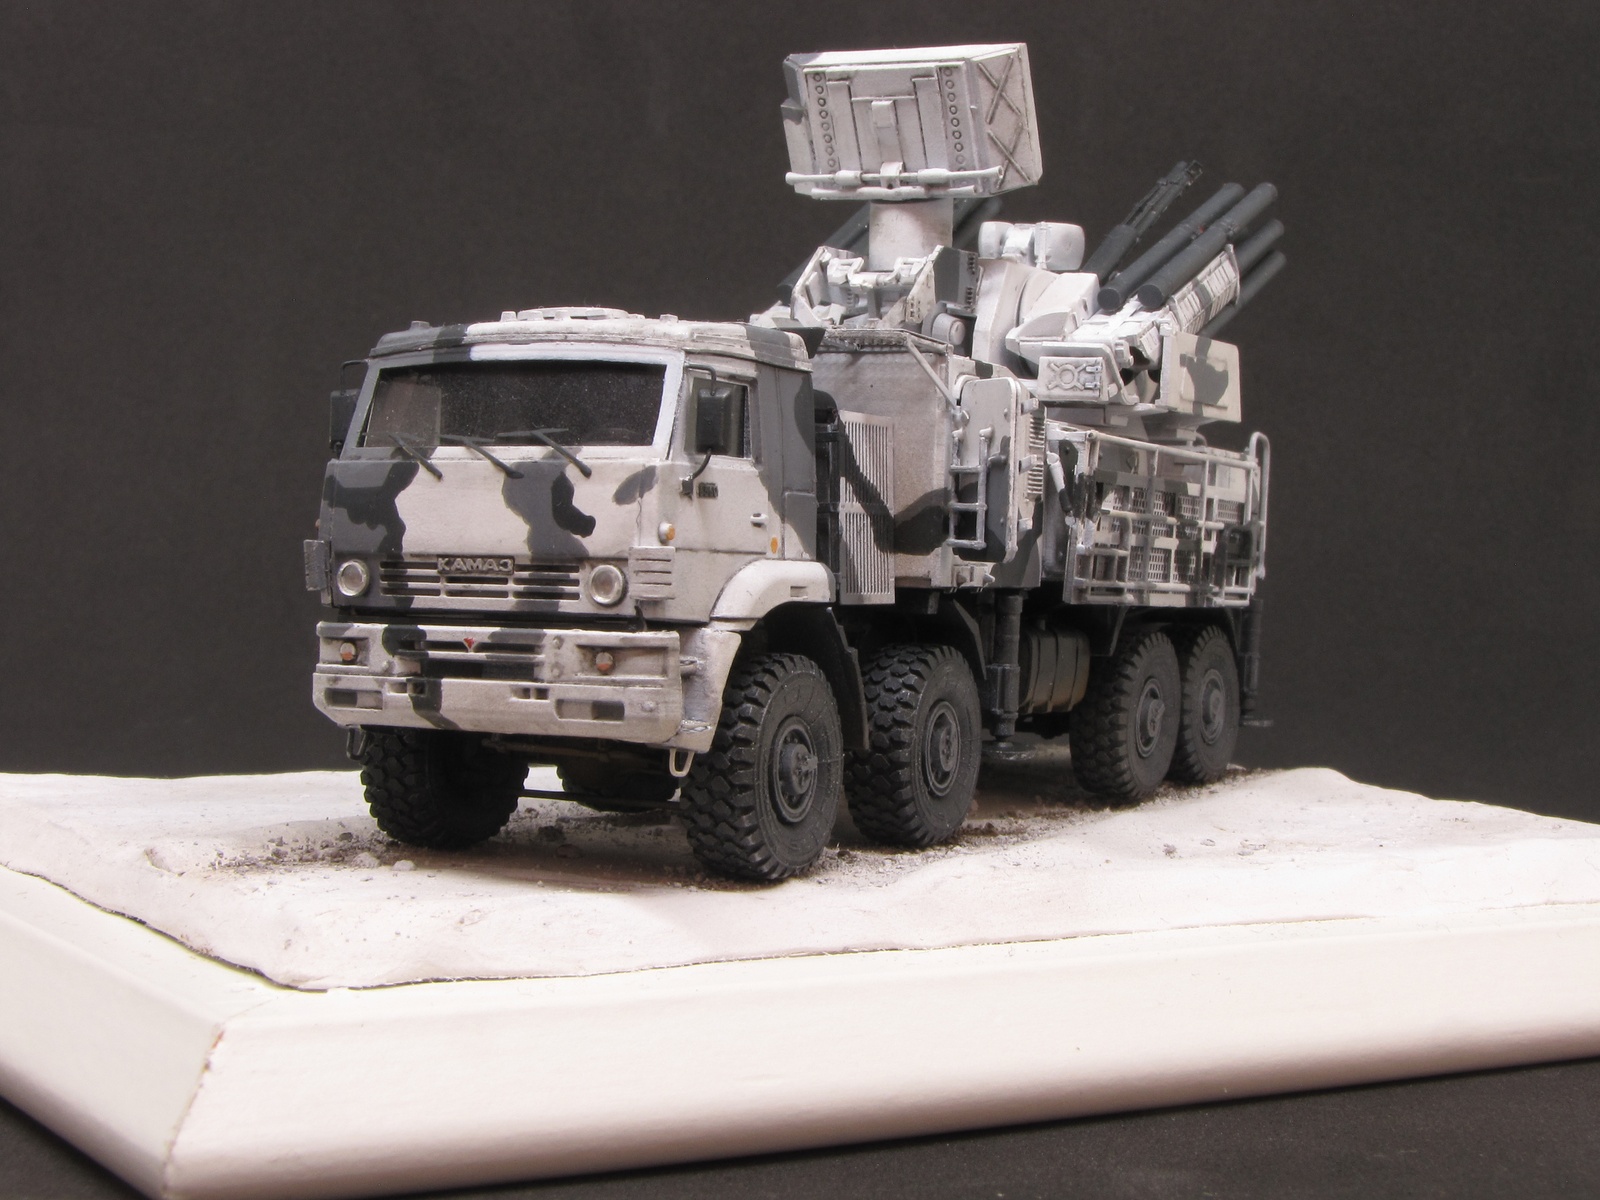
I have found it to be a very nice model, well detailed and researched, with photoetch grids, engine, transmission and sagged wheels that really looks like the real one.
However it is not a model for beginners. Many parts require cleaning or filling, several others must be built with wire and you have to be careful to keep everything in place and aligned.
At the end, the time and work invested in the model are definitively worth.
SUMMARY
Highs: Resin and photoetch parts. Good fit in general. Nice detail on pats.Lows: Moulding issues with misalignment of halves, lugs oversized.Verdict: A very good kit that although requires some work, results in a great looking model
Our Thanks to Armory Models Group! This item was provided by them for the purpose of having it reviewed on this KitMaker Network site. If you would like your kit, book, or product reviewed, please contact us.
About Carlos Martin (varanusk) FROM: SANTA CRUZ DE TENERIFE, SPAIN / ESPAñA
My main interest is German vehicles and guns, and I like spending time researching the vehicle and the options for the camo once I have chosen a subject. Sometimes I go for specific and rare vehicles, of which only two or three photos are known so it takes me a lot of time to figure how everything w...
Carlos, thank you for this review, and well done on putting the model together, right through to the end, it's great to see full on build reviews, and a lot of parts and quite complex painting must have kept you busy.
Anyone who experiences difficulty in getting to the finishing line with their kits might like the motivation provided by having to do the build in relatively good time for an Armorama review!
Hi,
Thanks for your comments, it took some work indeed but yes, the commitment to make a review pushes you to finish it
I forgot to add that there are two excellent walkarounds that helped me a lot (the second is a slightly different variant but useful anyway):
LINKLINK


Comments