Introduction
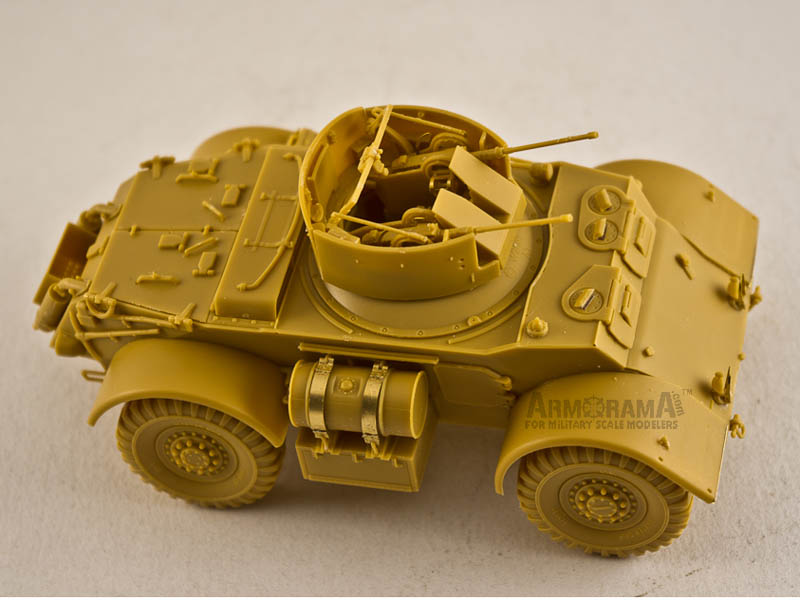
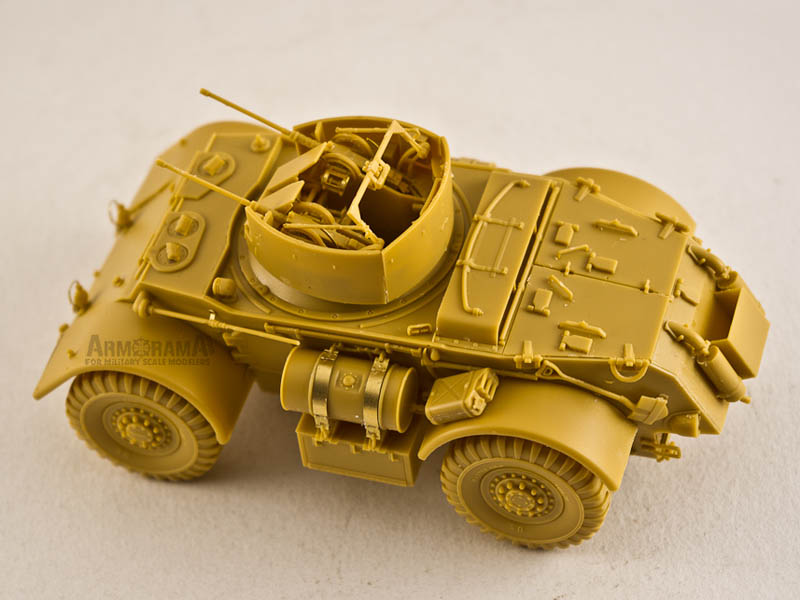
Following the release of their 1/48 Staghound Mk. III Bronco models gives us another version Staghound T17E2 AA, which was designed to be a mobile anti-aircraft vehicle. Due to total Allied superiority on the Western front the vehicles were often used to support the infantry against soft ground targets. The Staghound AA had two M2 cal.50 MGs and required a crew of three. The compartments were reorganized due to the new turret basket, and relocation of the radio set meant the bow-mounted Browning MG was removed.
contents
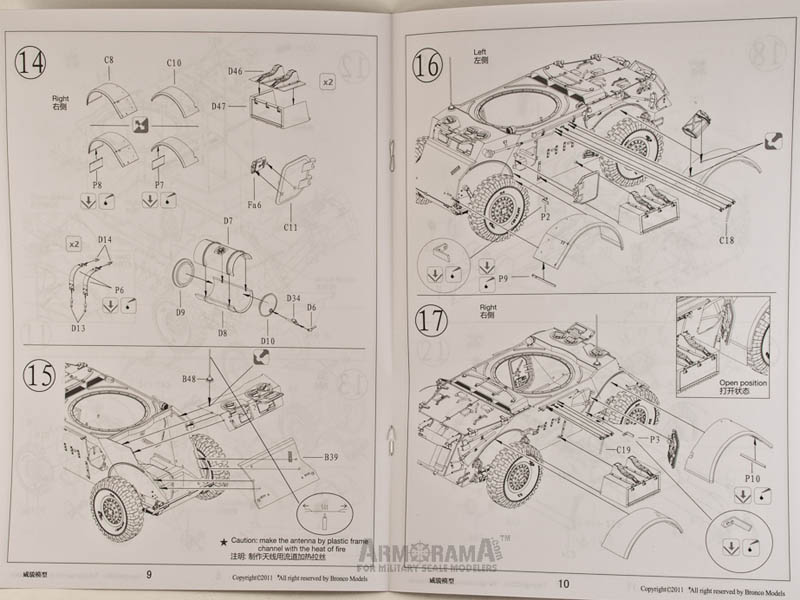
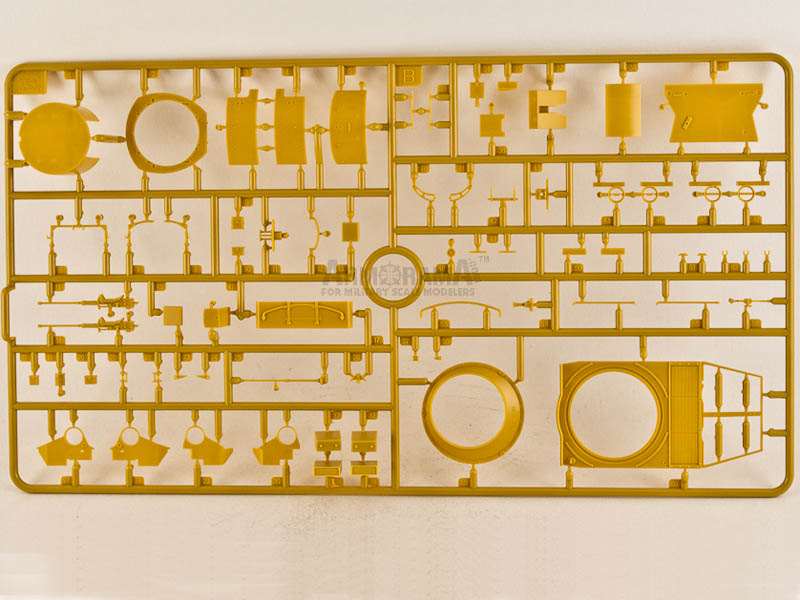
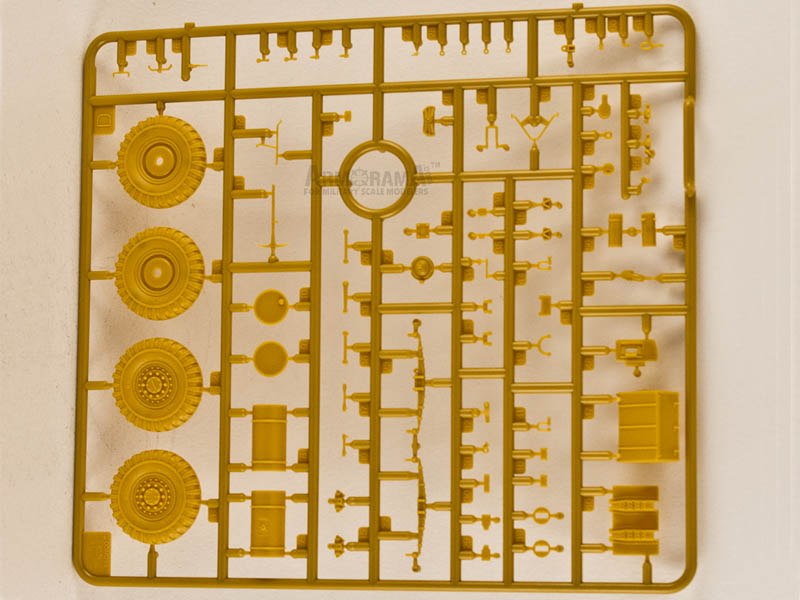
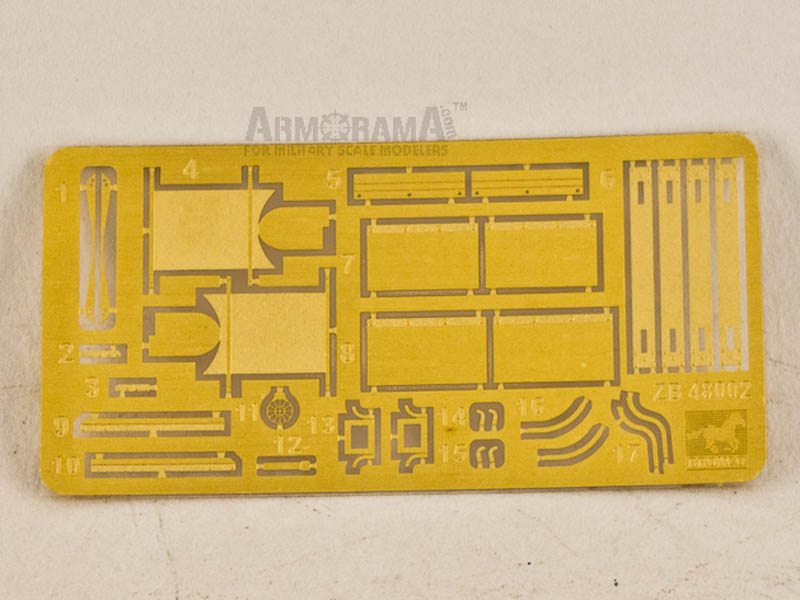
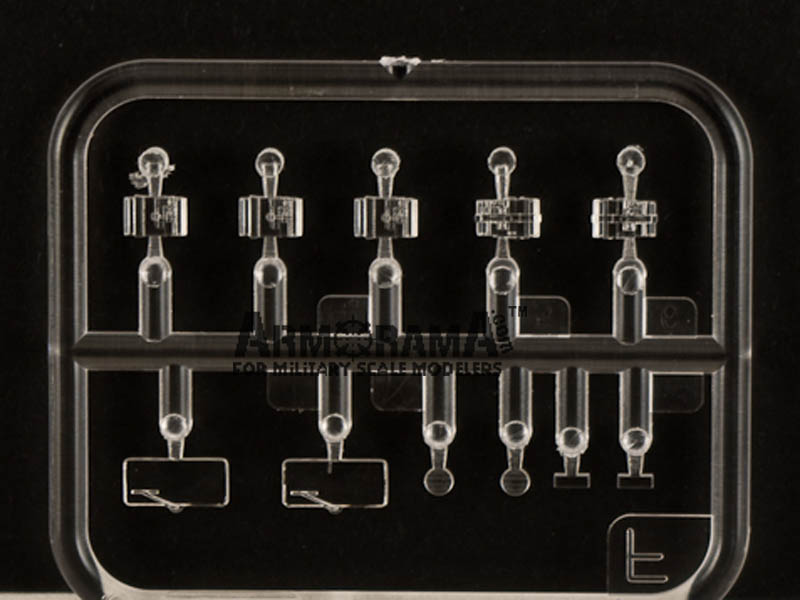
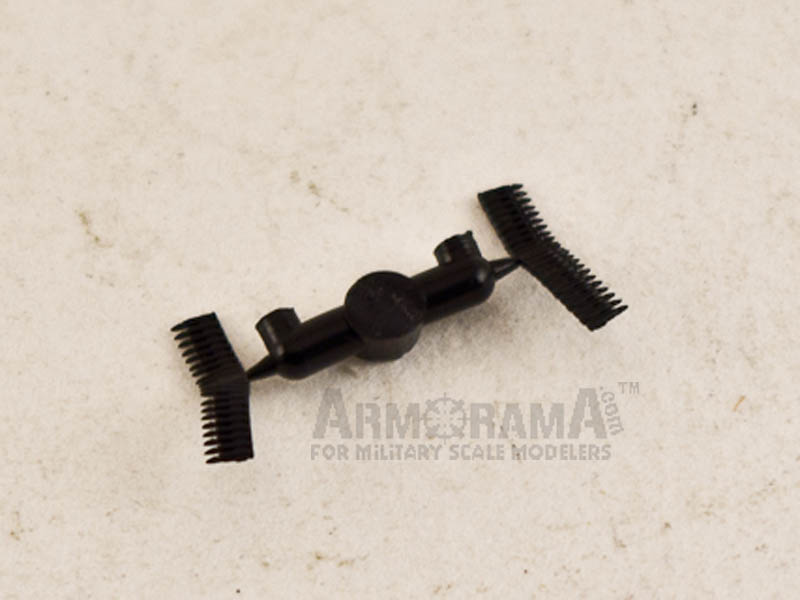
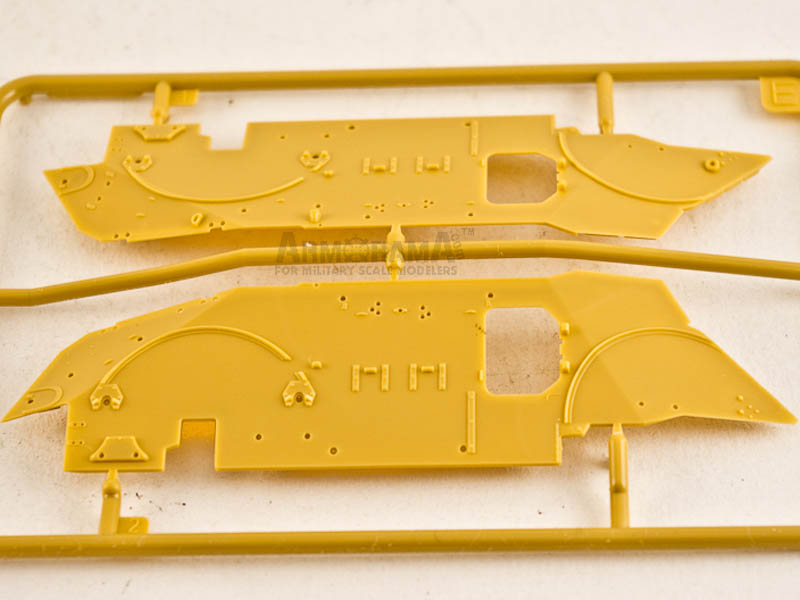
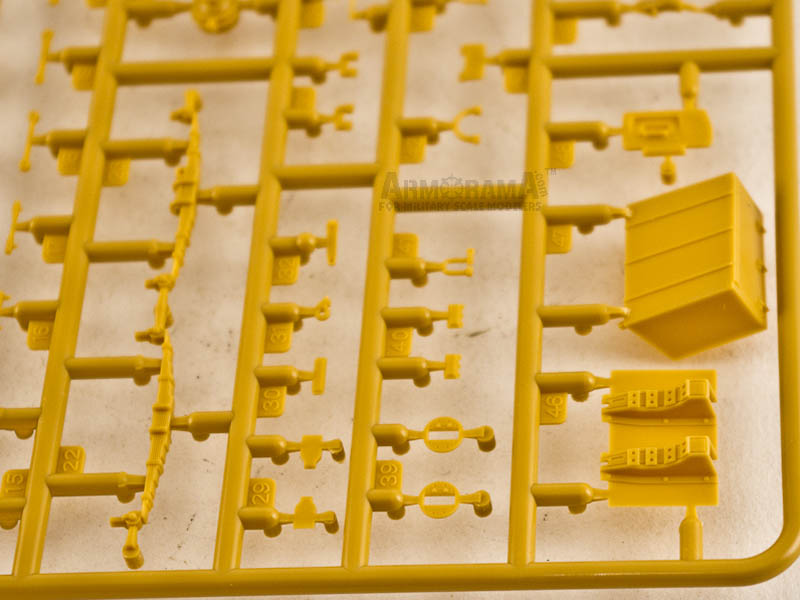
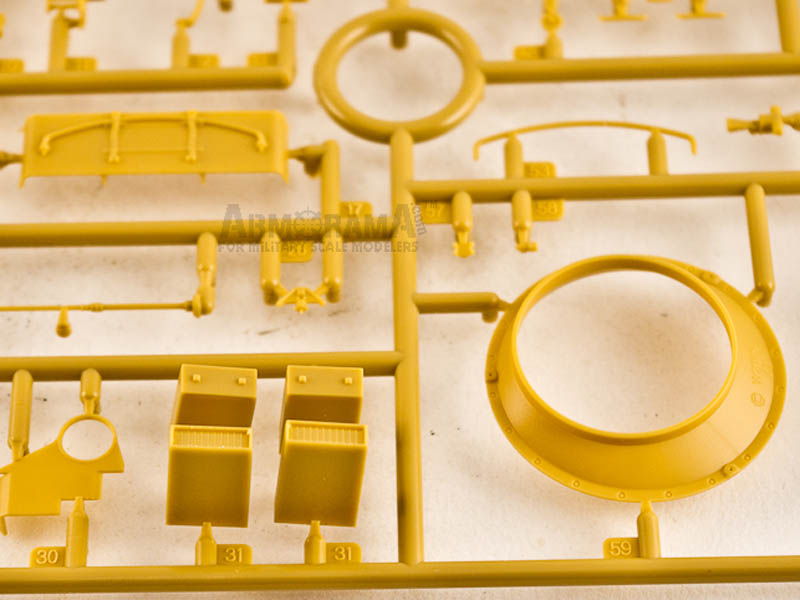
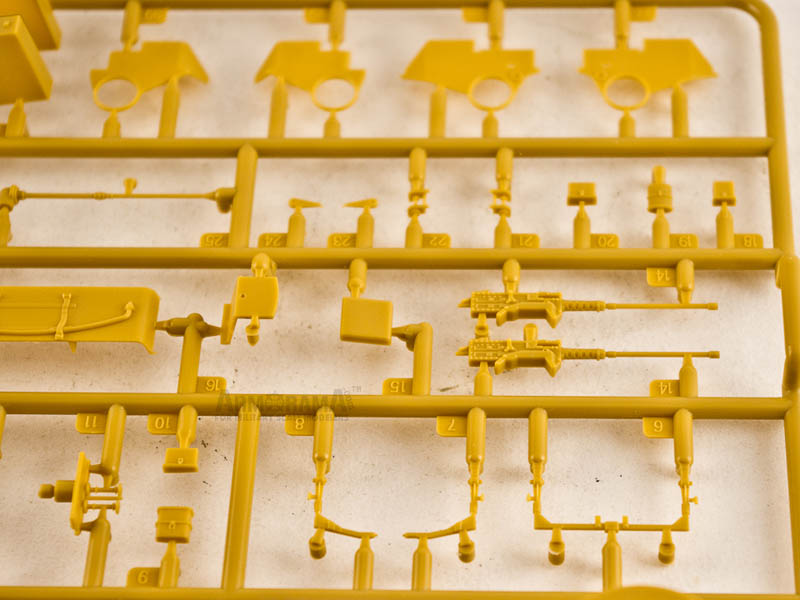
The kit comes in a cardboard box with artwork on top and some information on the sides. Inside there are five tan styrene sprues, one clear sprue, one PE fret, a decal sheet, vinyl ammo belts and a piece of twine. Comparing them to previous release, the two sprues are new and the PE fret is different. The black and white instruction manual contains a brief annotation in English, German and Chinese; color chart for Humbrol, Tamiya, and Mr. Hobby paints; parts layout; assembly instructions; and paint guide.
The moulding is comparable to Broncos recent 1/35 releases and the parts on the sprues have crisp detail and no flash, so minimal clean up is required.
review
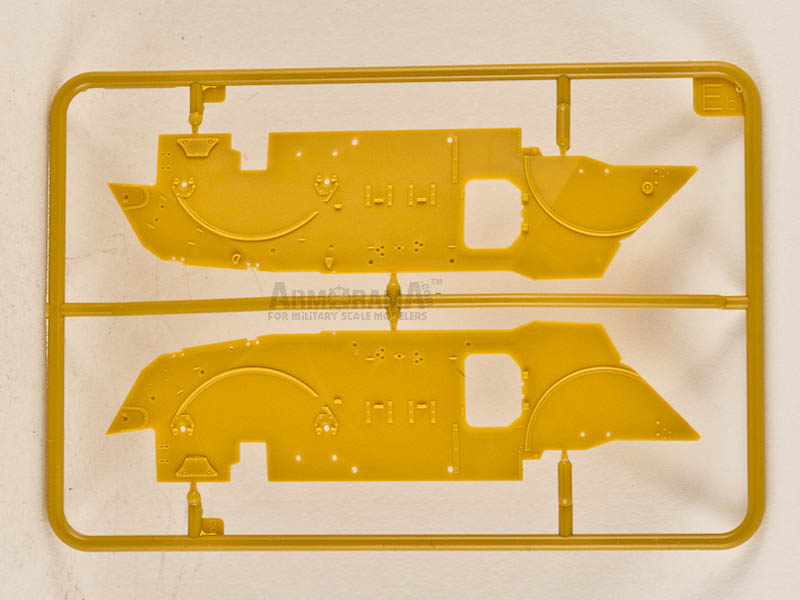
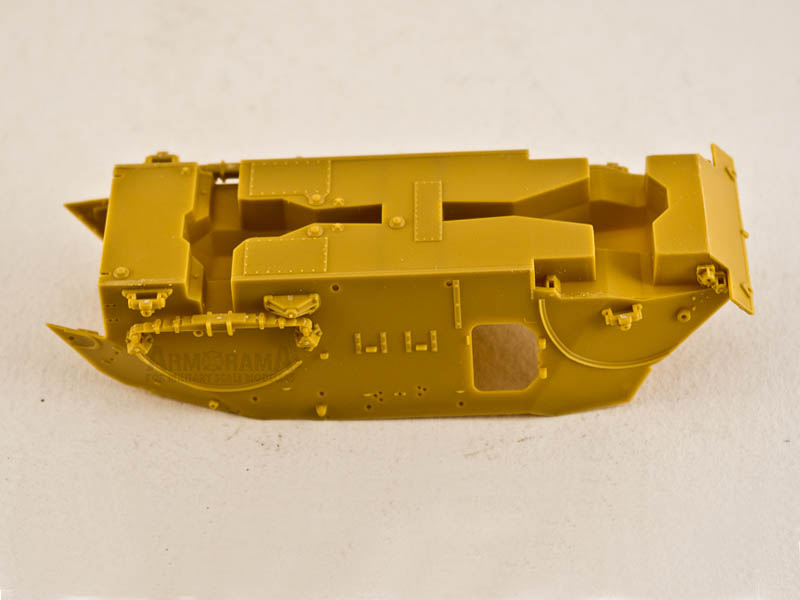
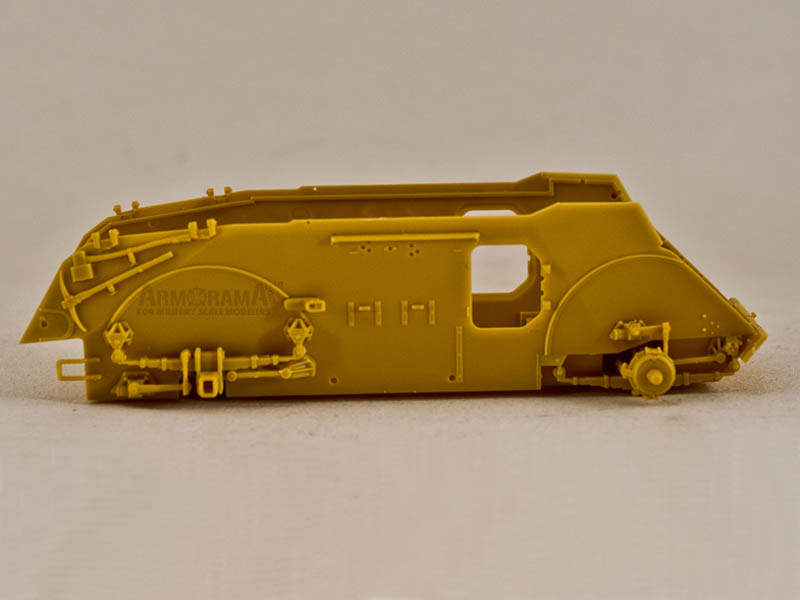
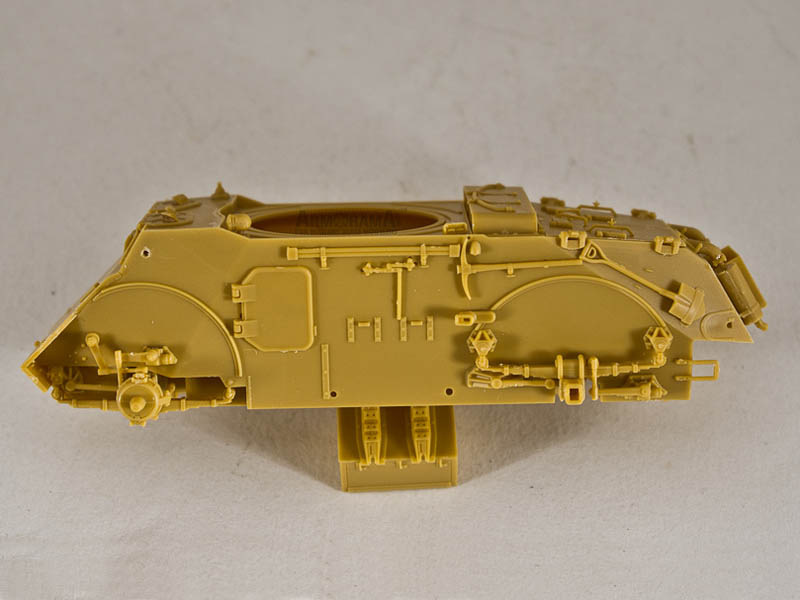
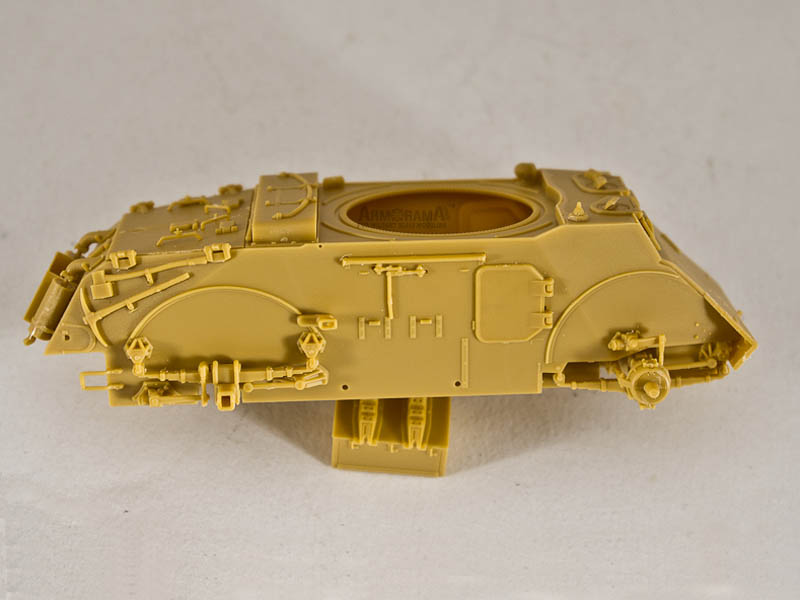
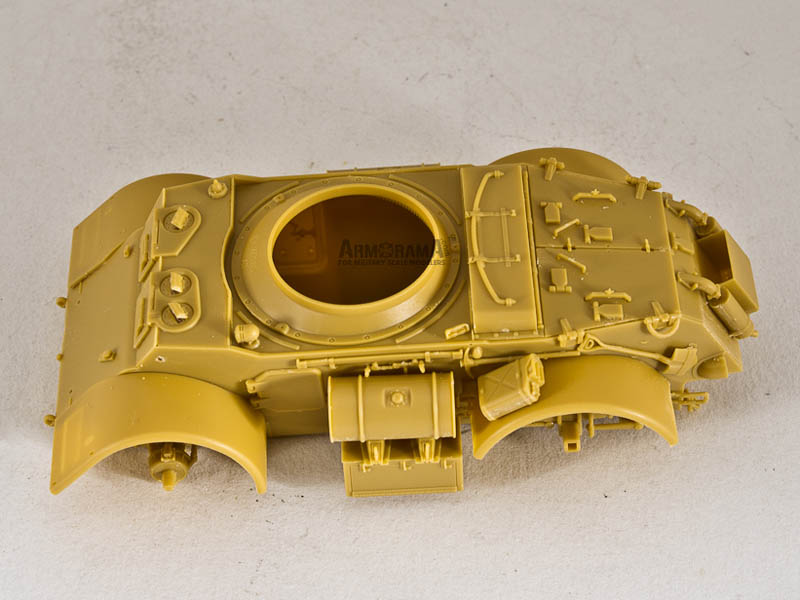
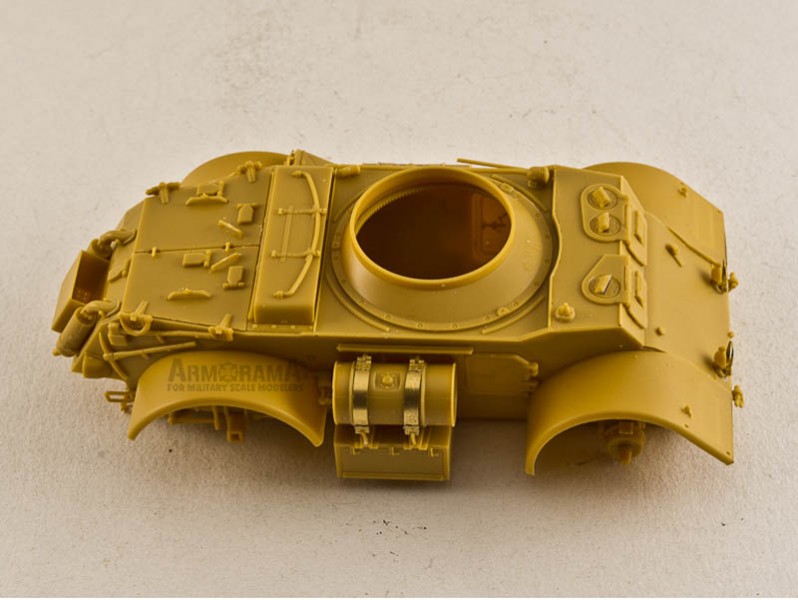
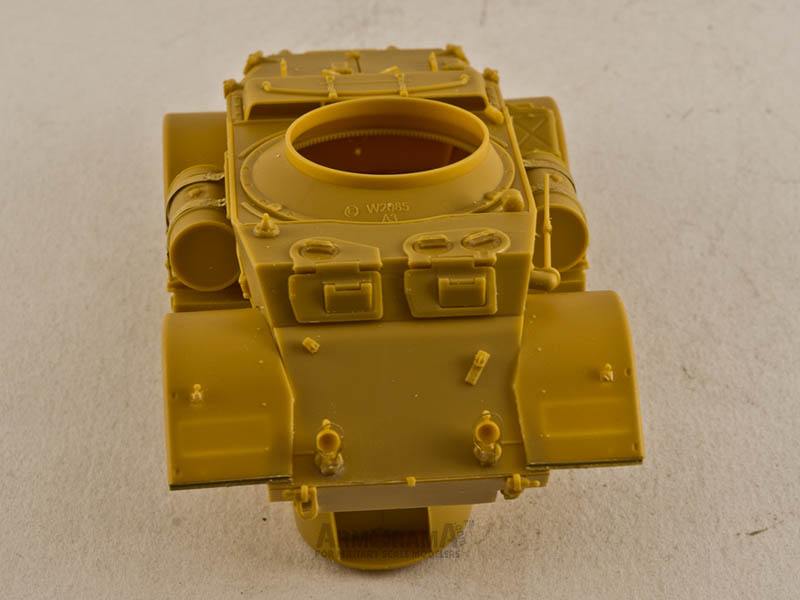
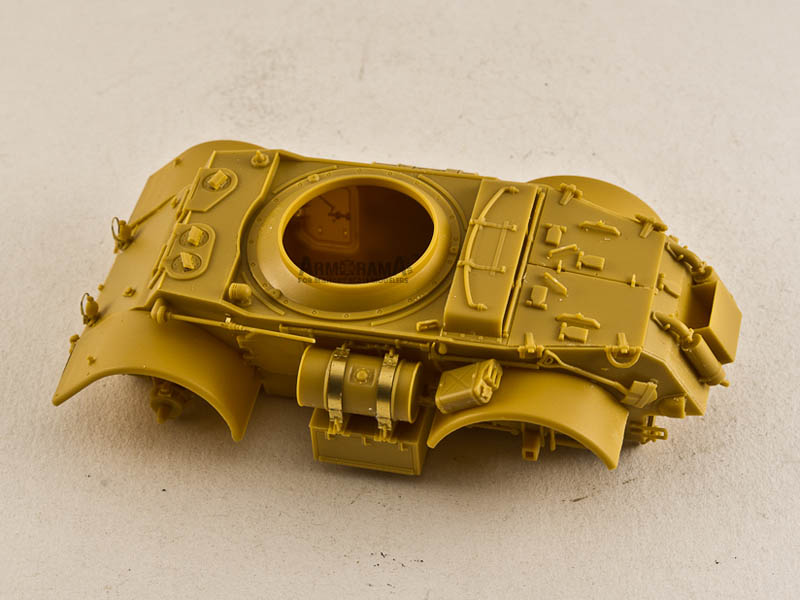
The hull consists of nine parts and has excellent detail on all surfaces, except the interior. Should there be any AM interior later there is excellent detail on the inner sides of hatches and engine access doors and there is a possibility to glue them open or closed. The fit of the parts is excellent - location points are present and almost no putty required. The hull sides, front armor plate and the hulls top plate are new parts comparied to Mk.III kit. The dimensions of the hull correspond to plans in the book Armored Car, A History of American Wheeled Combat Vehicles by R.P Hunnicutt.
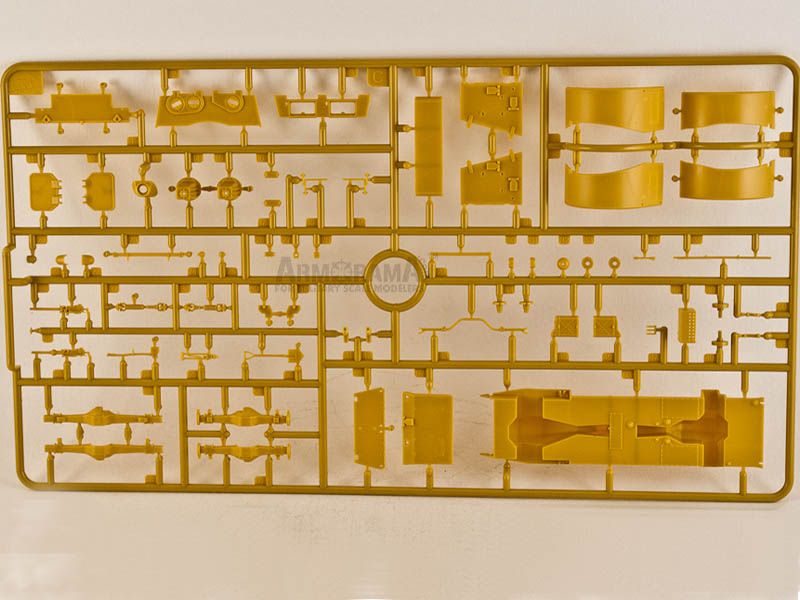
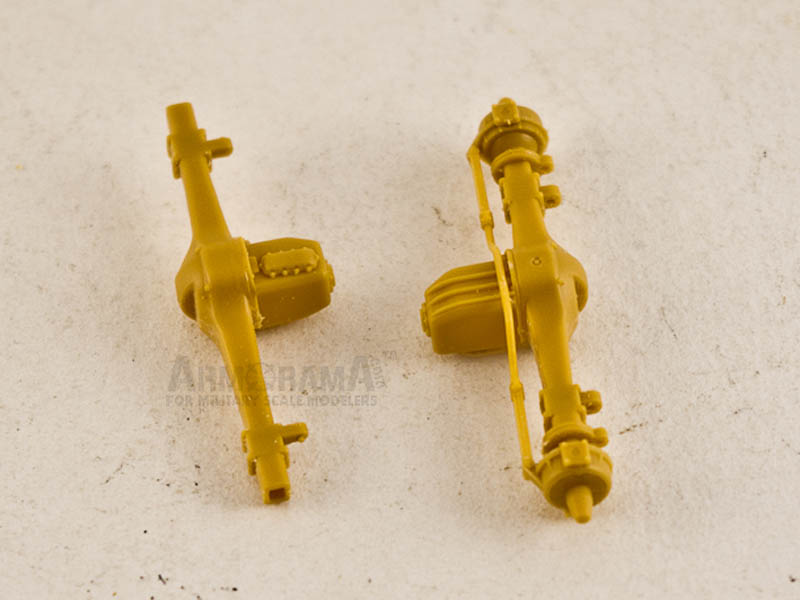
The suspension is nicely detailed and features axles, steering linkage, suspension mountings, and suspension springs. Some of the parts are really small and tiny, so sharp sprue cutters and precision tweezers are a must for the assembly.
Each of the four large wheels consists of two parts and there are three locating pins inside to ensure the proper tire pattern. If you want to replace the wheels, the chained version is available from
Black Dog. I recommend gluing the wheels instead of making them rotatable for better stability.
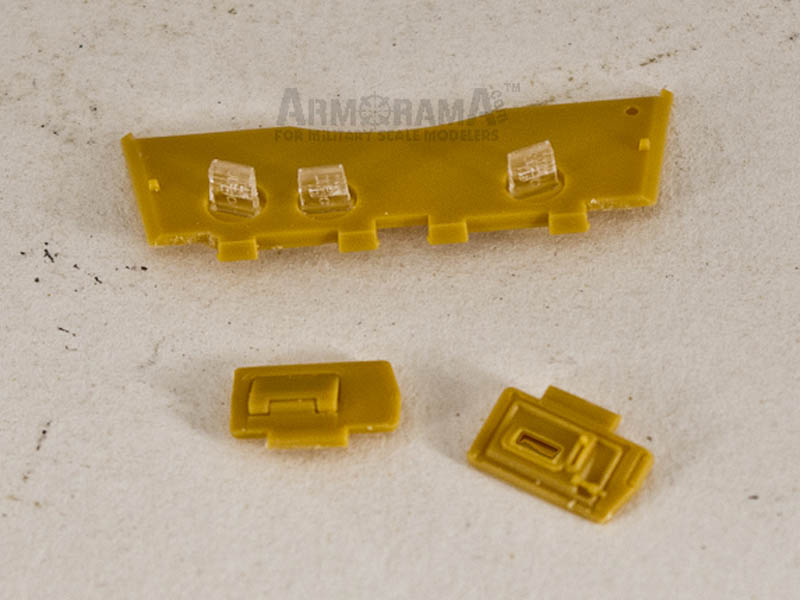
The exhaust mufflers consist of several parts and have PE covers as an option. The driver's compartment roof has separate visor ports and periscopes as clear parts, and these can be also showed open or closed.
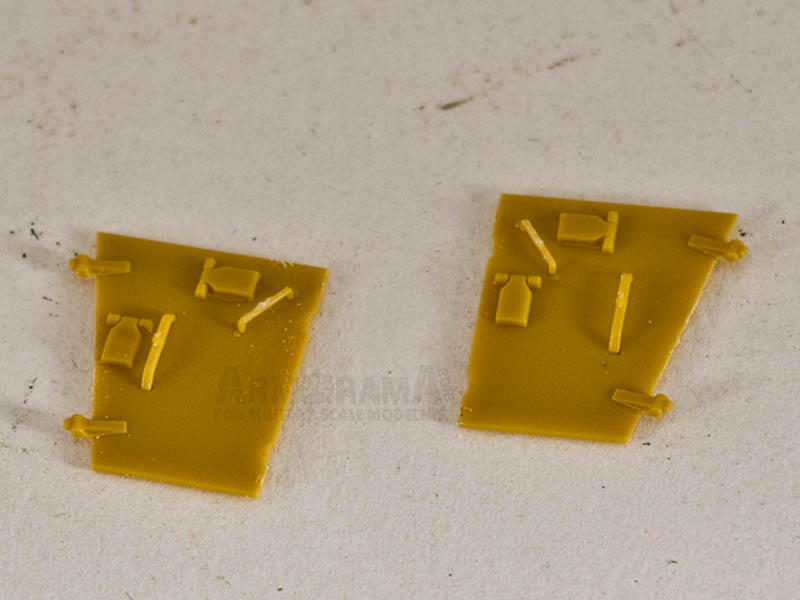
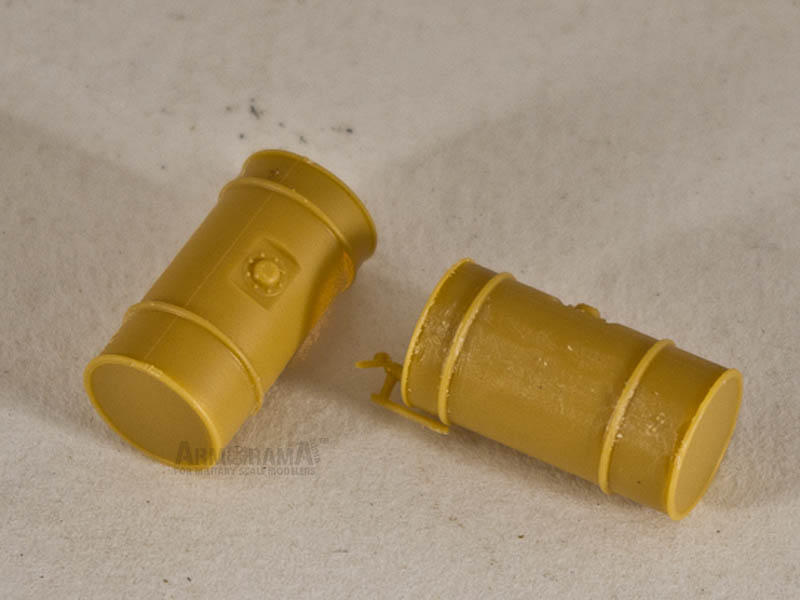
Four fenders come as separate parts and have optional PE mud flaps. Other details included are: jerry can, OVM tools, head and tail lights, towing eyes. The headlights have PE guards and there is a plastic part that should be used to bend them into proper shape. Be sure not to glue the Browning MG tripod on the side of the hull since this is appropriate only for non-AA staghounds.
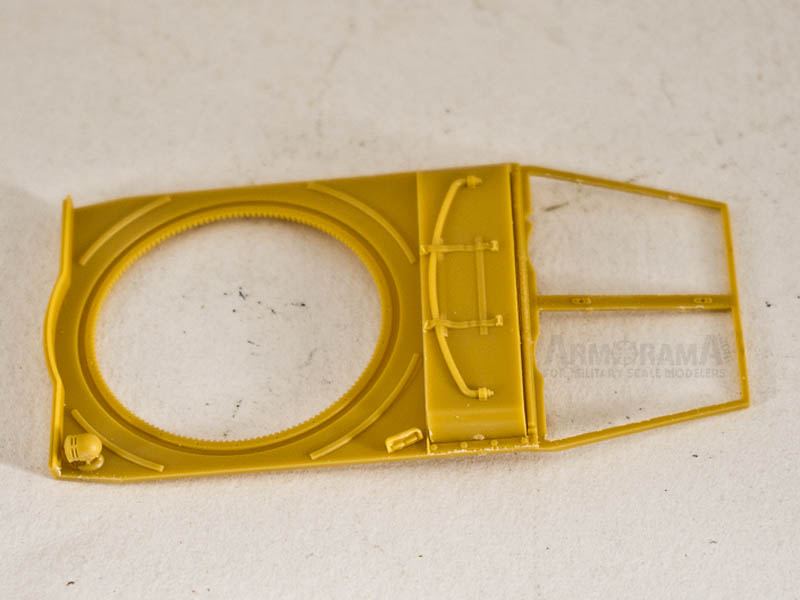
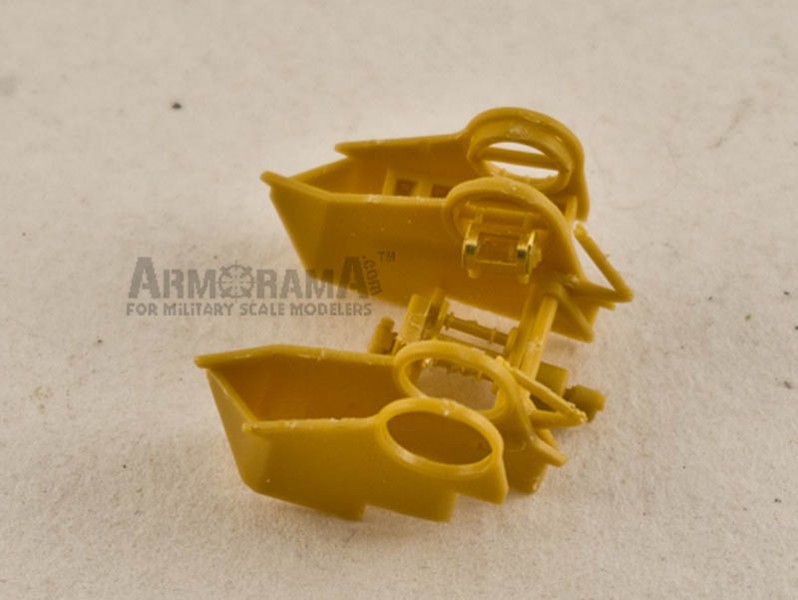
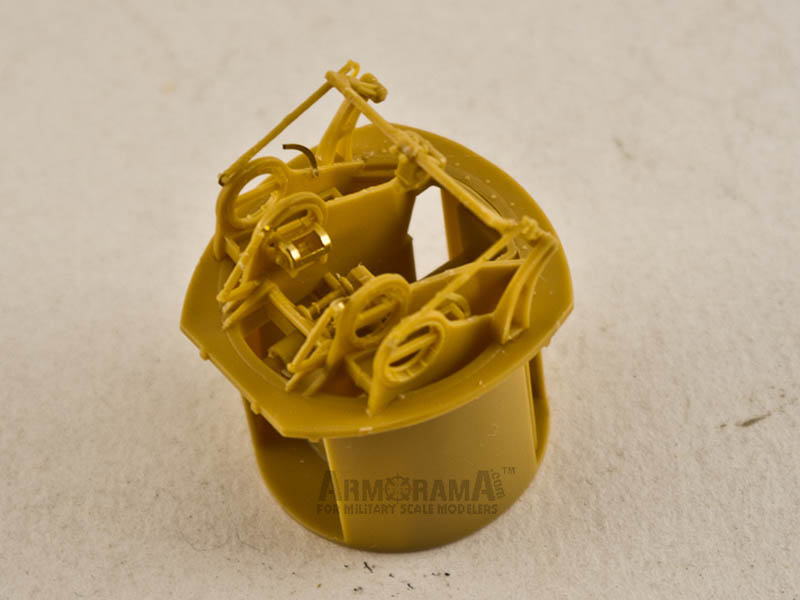
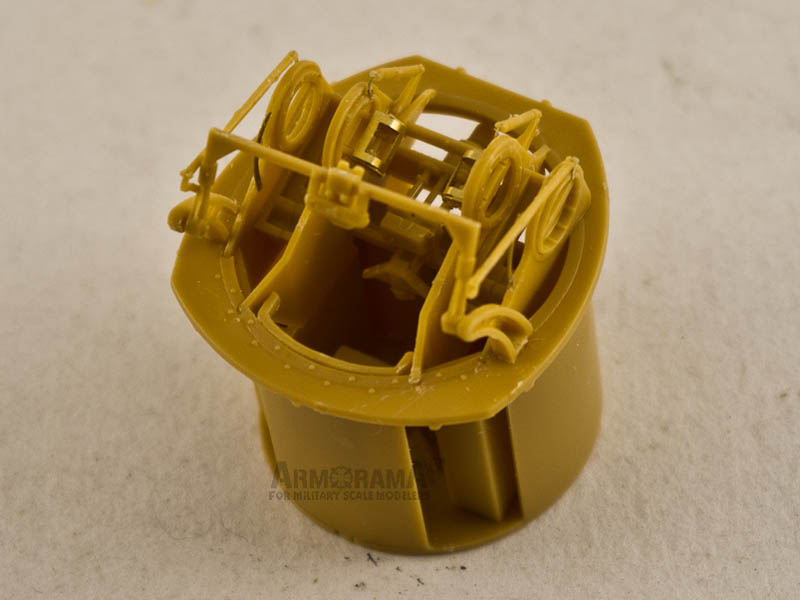
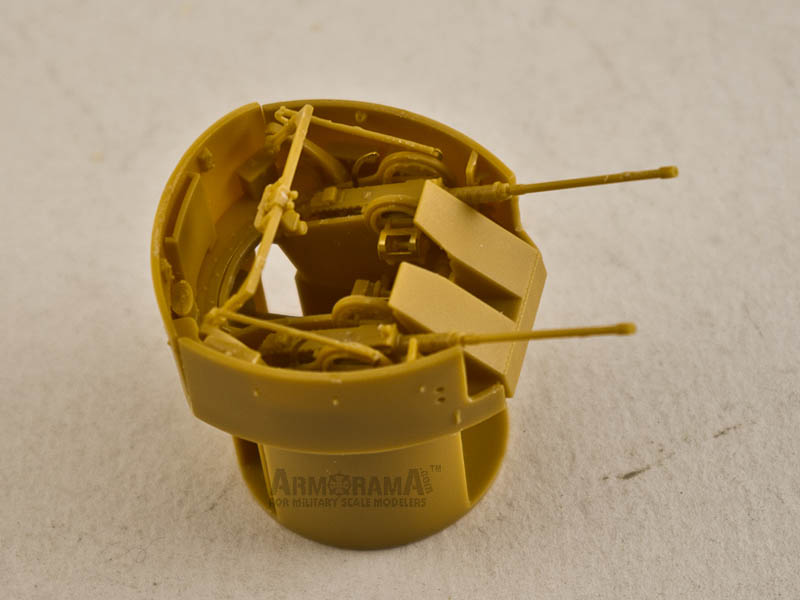
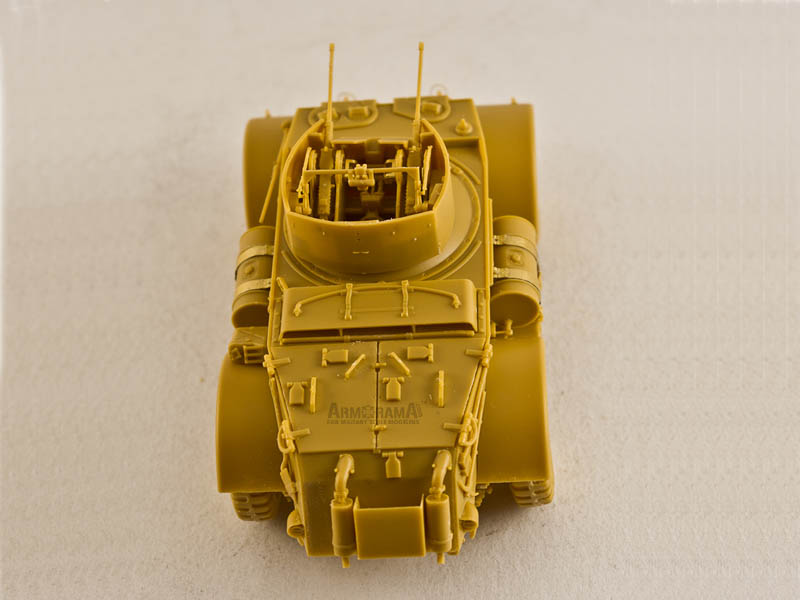
The new smaller turret ring is provided and has excellent detail with casting numbers. The turret itself is build up of multiple parts and has an incredible level of detail for 1/48 scale. The M2 cal.50 has OK detail for the scale, but metal barrels from
RB Model have far better detail as well as separate cooling jackets. The MGs are glued into gun cradles which are inserted between two cradle bearings. The vinyl ammo belts can be glued at this stage or later. The assembly of the bearings themselves is complicated since you need to align them properly. To do so I dry fitted them into lower turret ring and glued only when I could align other parts. After that I joined the bearings with their connecting parts in the middle as well as with front support parts. Some PE details are included here and you should be very careful when working with them. Surprisingly, the guns are supposed to elevate but I simply glued the cradles at the desired level.
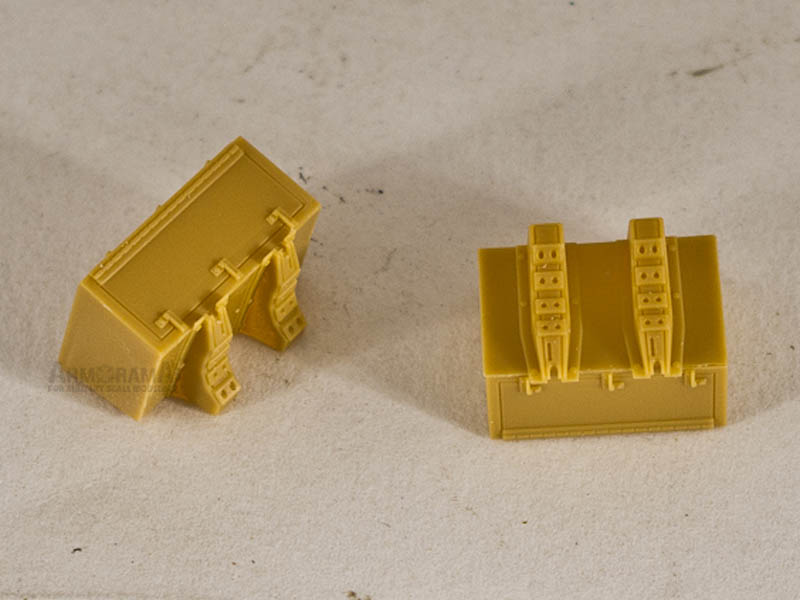
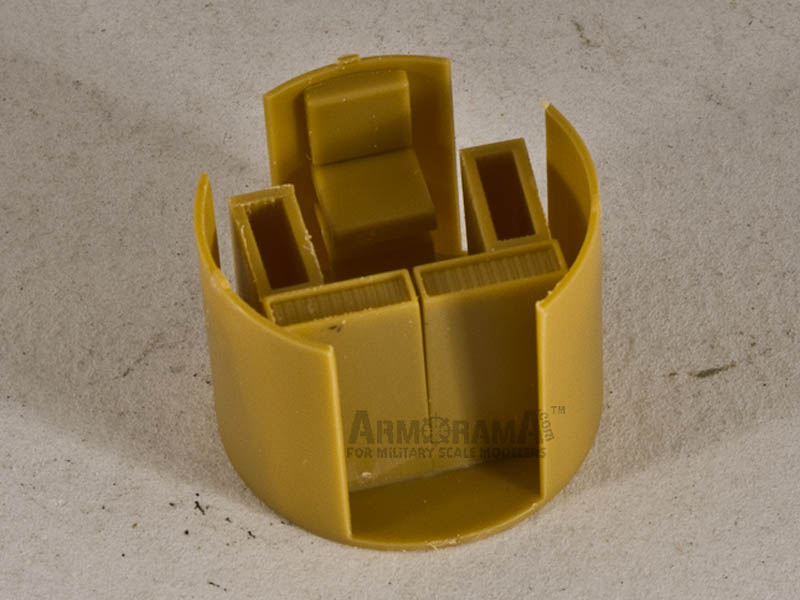
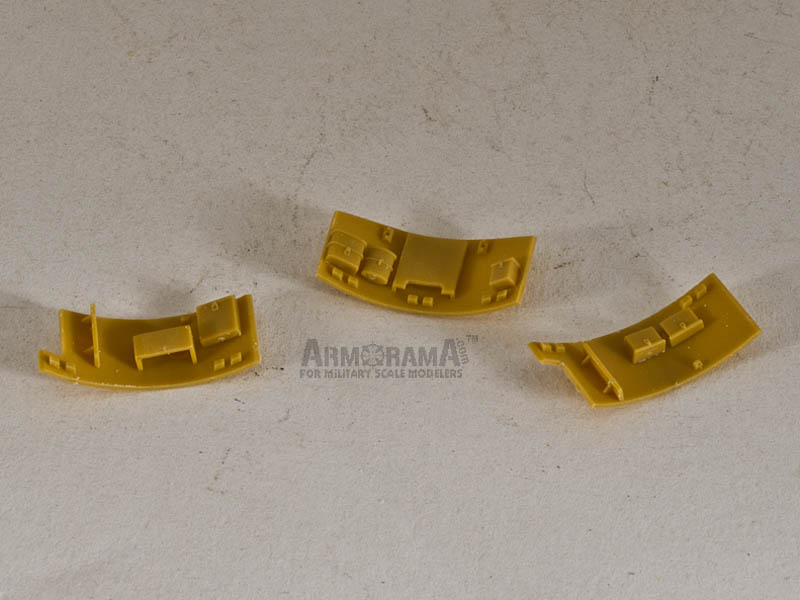
For the sight you have two variants an early version that builds up from four plastic parts plus a PE sight and a late version that has three parts only. I couldnt find any early sights on the reference images so the late version is the most appropriate for that model. The assembled sight is fixed with connecting rods to gun cradles and placed between the mounting brackets on the turret ring. Next comes the assembly of three armor plates and an armor shield in the front. The turret basket is also present and consists of the gunners seat, basket floor, ammo bins and side walls.
Once you are through all the build steps according to the instructions you might wish to add weld seams to the model since it is completely missing them. Just check the walkaround from the Jacques Littlefield Collection.
painting and markings
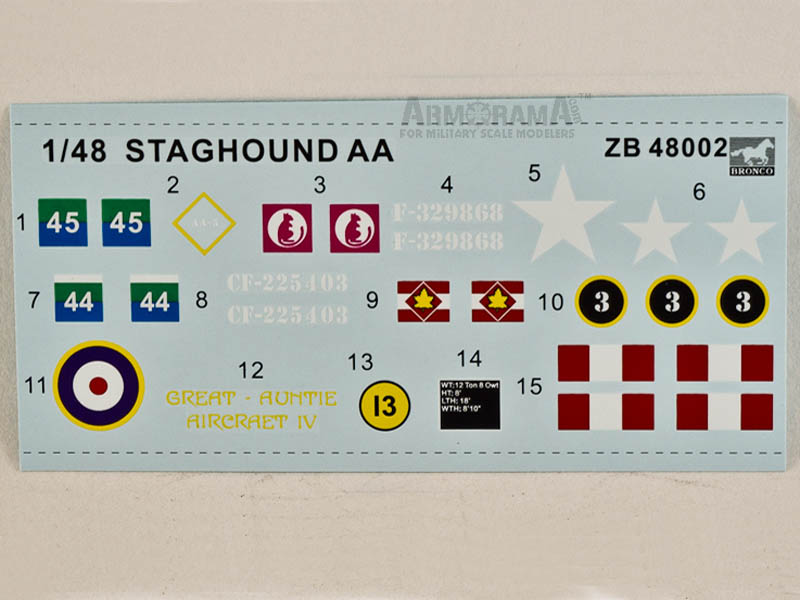
Two options are available Royal Canadian Dragoons, Italy 1944 and 11th Hussars, Normandy 1944. Both variants have British olive drab no. 15 overall.
Conclusion
With the help of Bronco I discovered 1/48 scale models and I hope the others will do that too. Dont be afraid of the complicated turret assembly - once you manage it you will be proud of yourself! For sure the addition of metal barrels and some stowage will make this model stand out in your collection.
Whats next Bronco? Hows about an M24 in 1/48?
References
R.P. Hunnicutt,
Armored Car, A History of American Wheeled Combat Vehicles (this book has 1/48 drawings of the Staghound)
Armorama walkarounds
one and
two
Jacques Littlefield Collection
walkaround
Armorama 1/48 Bronco Mk. III feature
article


Comments