Thank you all for comments!
Quoted Text
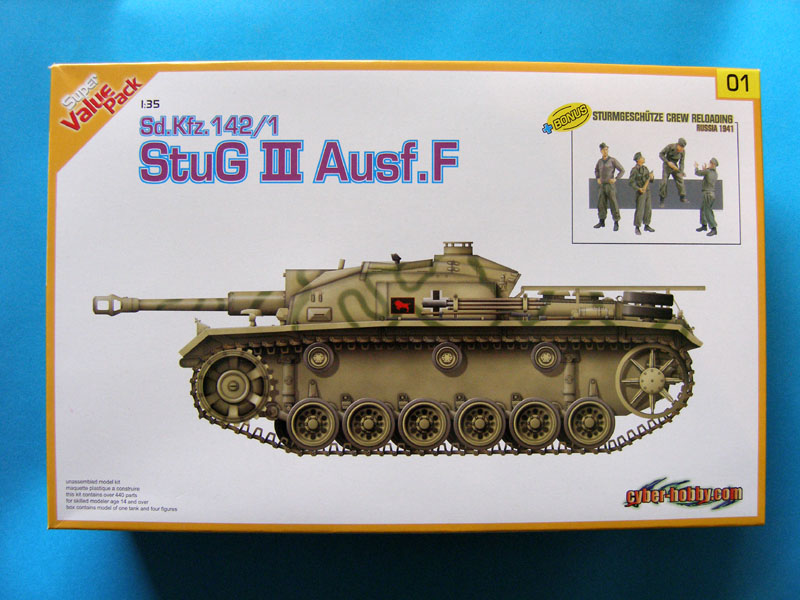
Nice review, Andrzej! How is the road wheels detailing? They seem a bit soft to me.
And the Dunkelgelb paint scheme for 1942 got me to scratching my head....
Wheels are bit soft, but not enough to be fun-killers, i.e. old Tamiya StuG had worse in my feeling. They may be more difficult to paint though...
Concerning '42 Dunkelgelb painting - I was surprised as well but I dug around and this is what I've found (from Panzewaffe.pl - my translation):
"It is common knowlage that Dunkelgelb base paint was introduced by Heeres Mitelungen No 181 instruction but in reality first Dunkelgelb factory-painted vehicles appeared at least in Spring of 1942. This instruction (dated 18 February 1943) introduced new camo scheme of green or brown stripes, dots and spots".
I do believe that before this instruction some vehicles prooved this camo to be working good, so it may be possible to have '42 vehicle in this painting as well.
Once again - thanks for comments!
A.