Dioramas: Buildings & Ruins
Ruined buildings and city scenes.
Hosted by Darren Baker
Sunday Service Canceled!
ahandykindaguy
Visit this Community
Alberta, Canada
Joined: August 20, 2008
KitMaker: 1,295 posts
Armorama: 1,191 posts
Posted: Tuesday, December 27, 2011 - 08:45 AM UTC
Thanks Vladimir, I have been around churches all my adult life, and have helped in the construction of a few too so I guess it was just a natural choice for me. I wanted also to use the 3 dimensions to good use and to have a tall structure such as a bell tower in the " background" to the action was one way to accomplish this. I will be posting more images, but right now am concentrating on the diorama's progress...

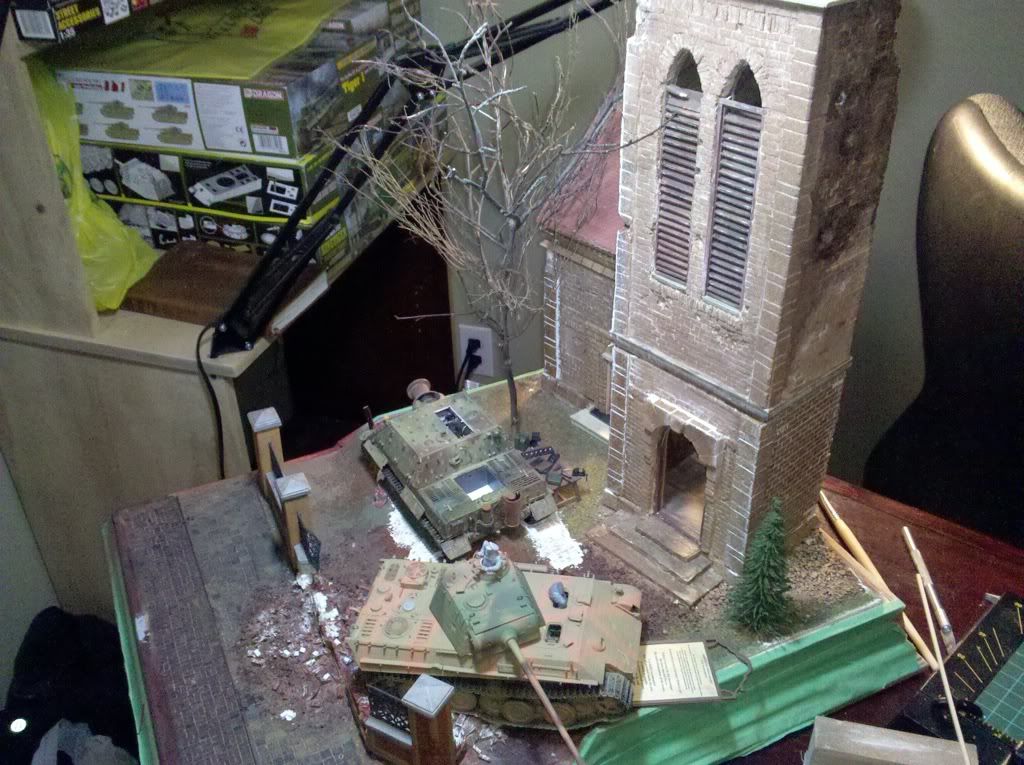
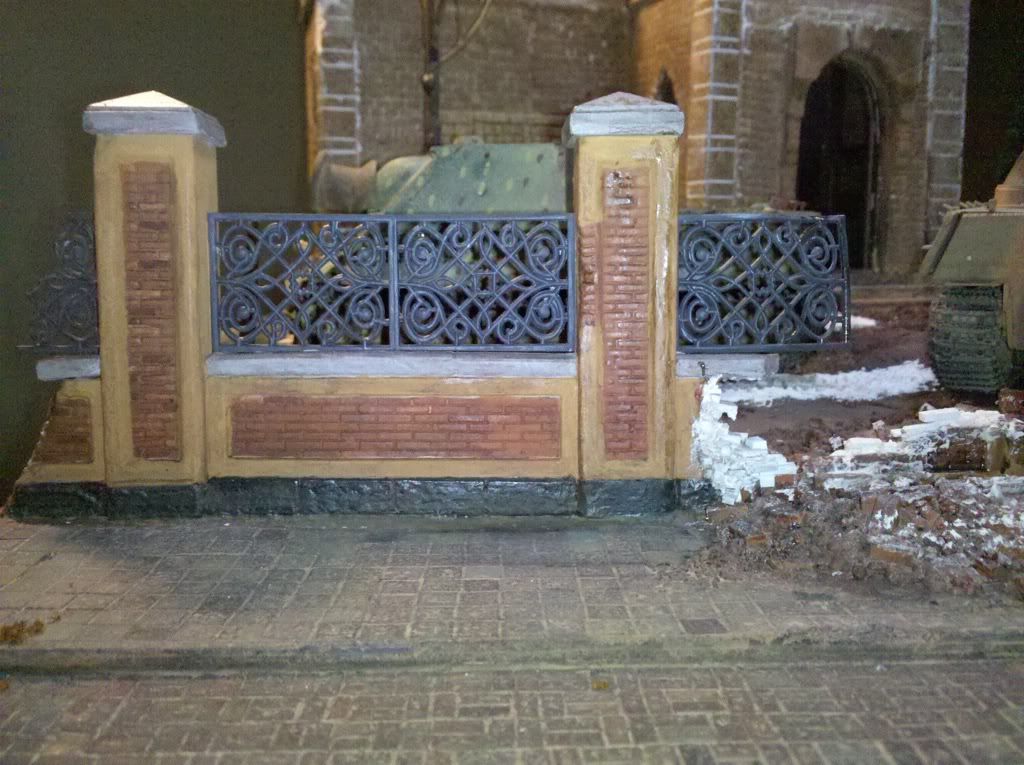
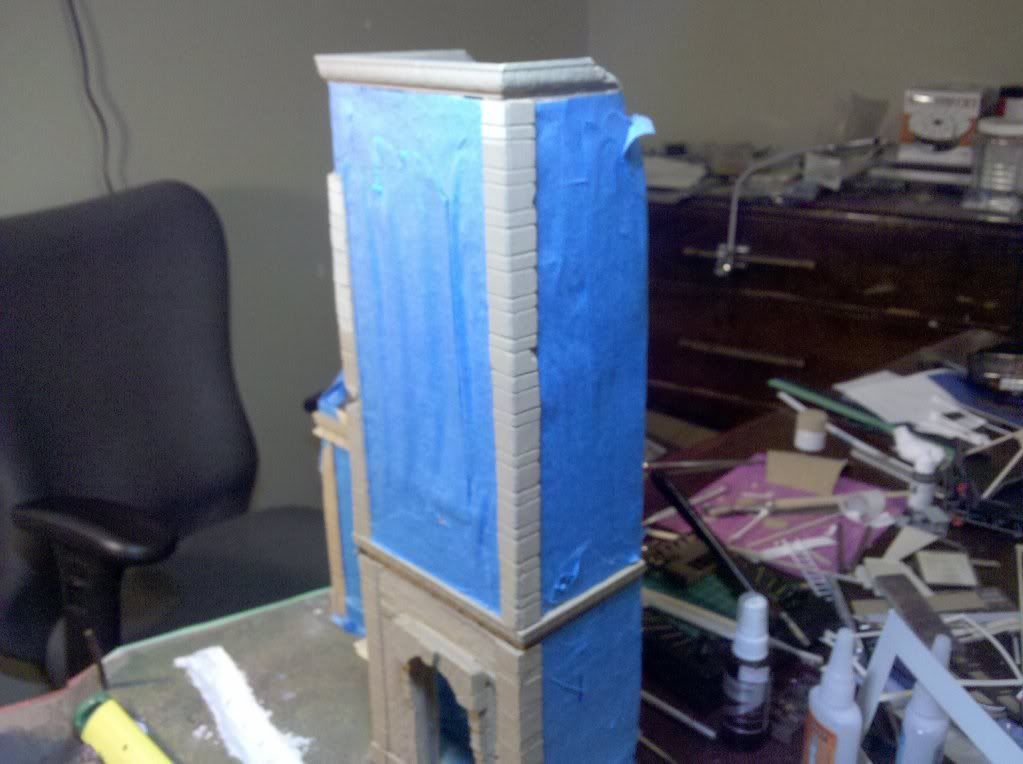
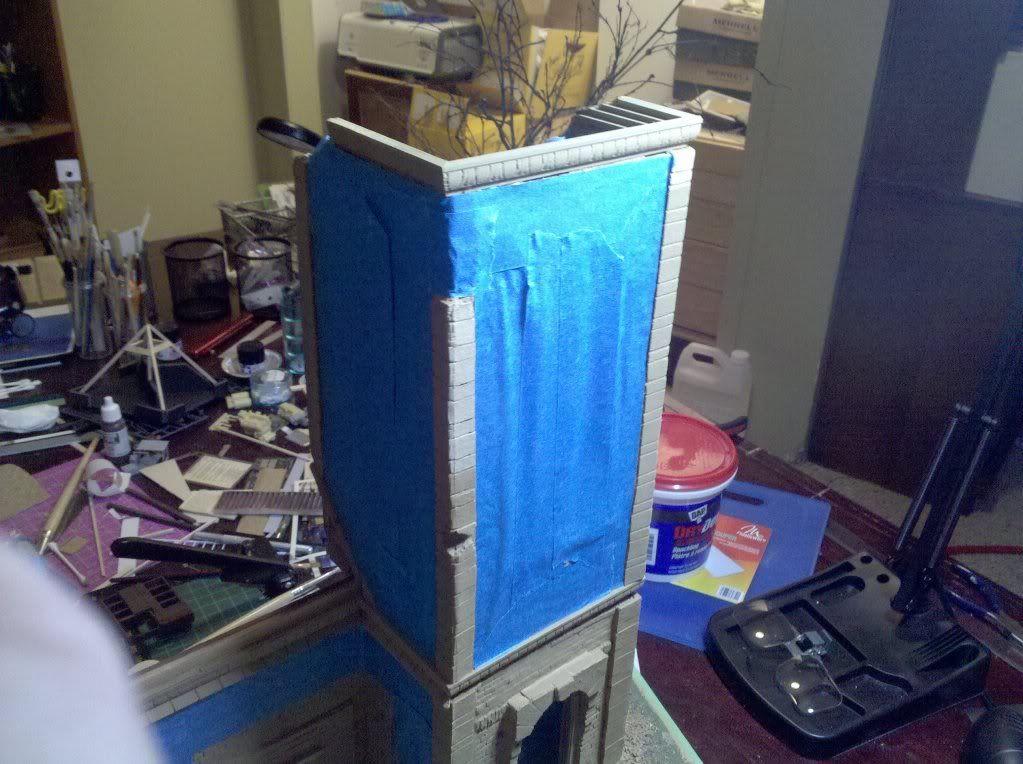
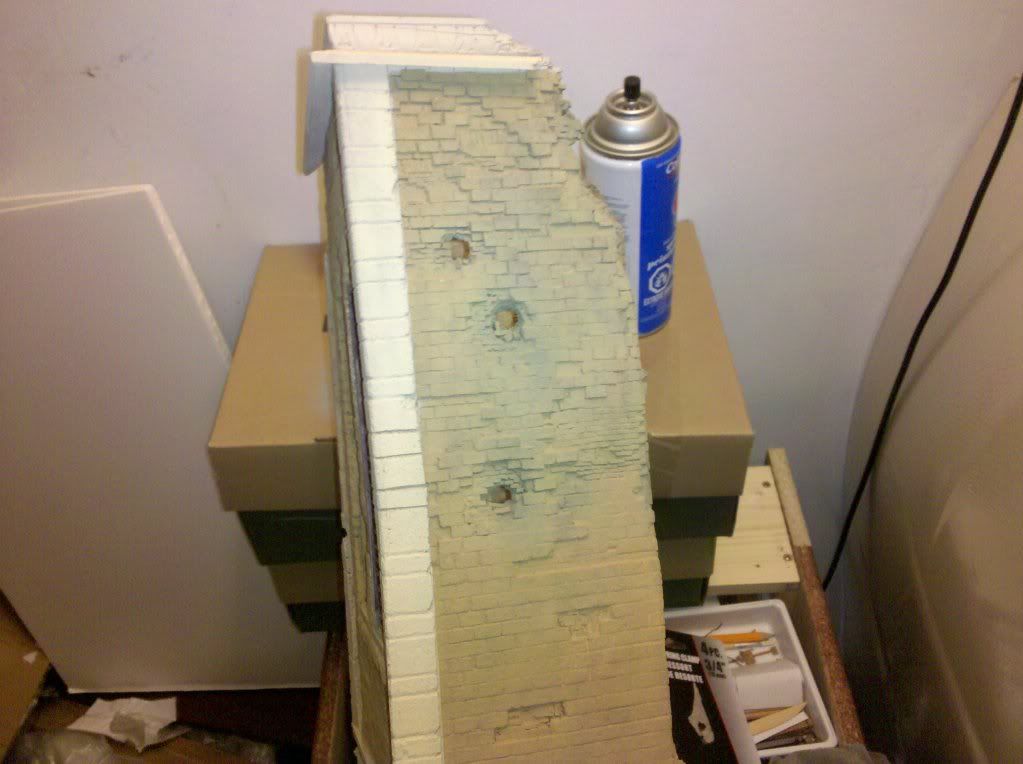
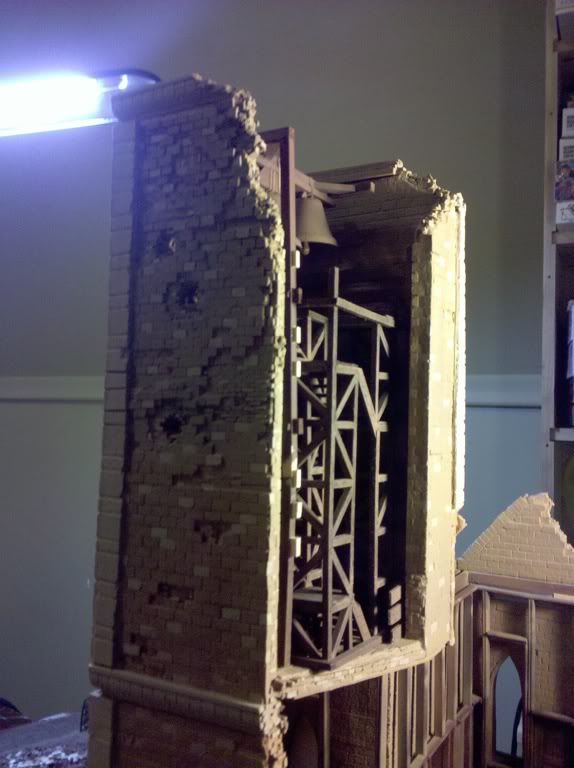
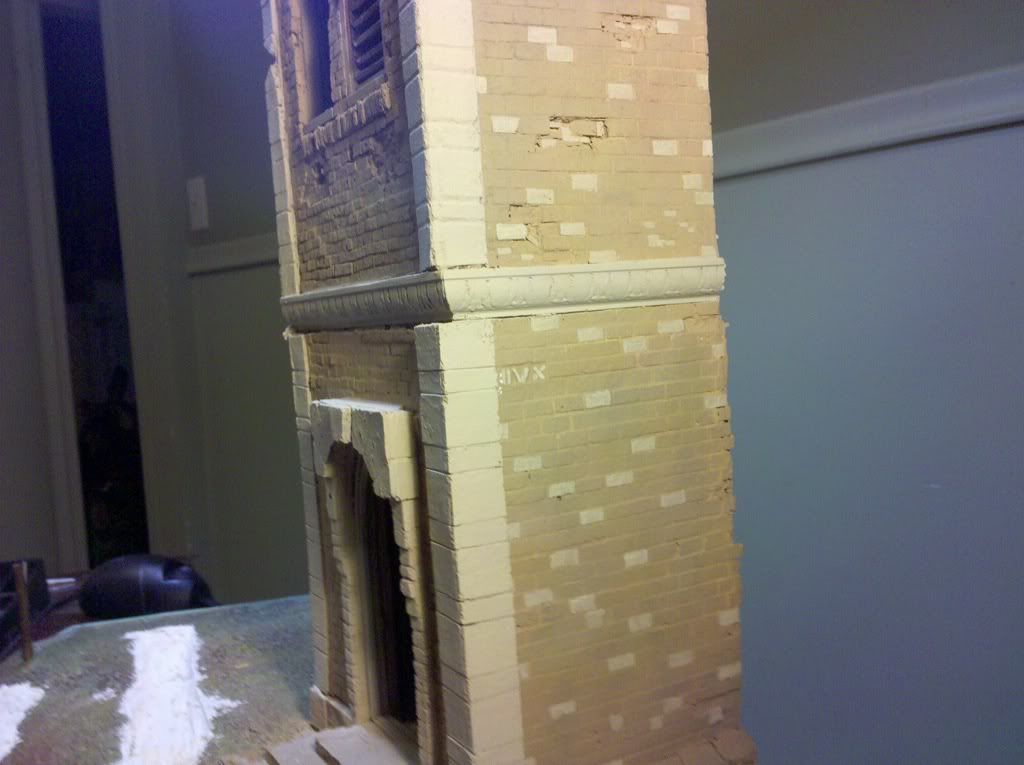
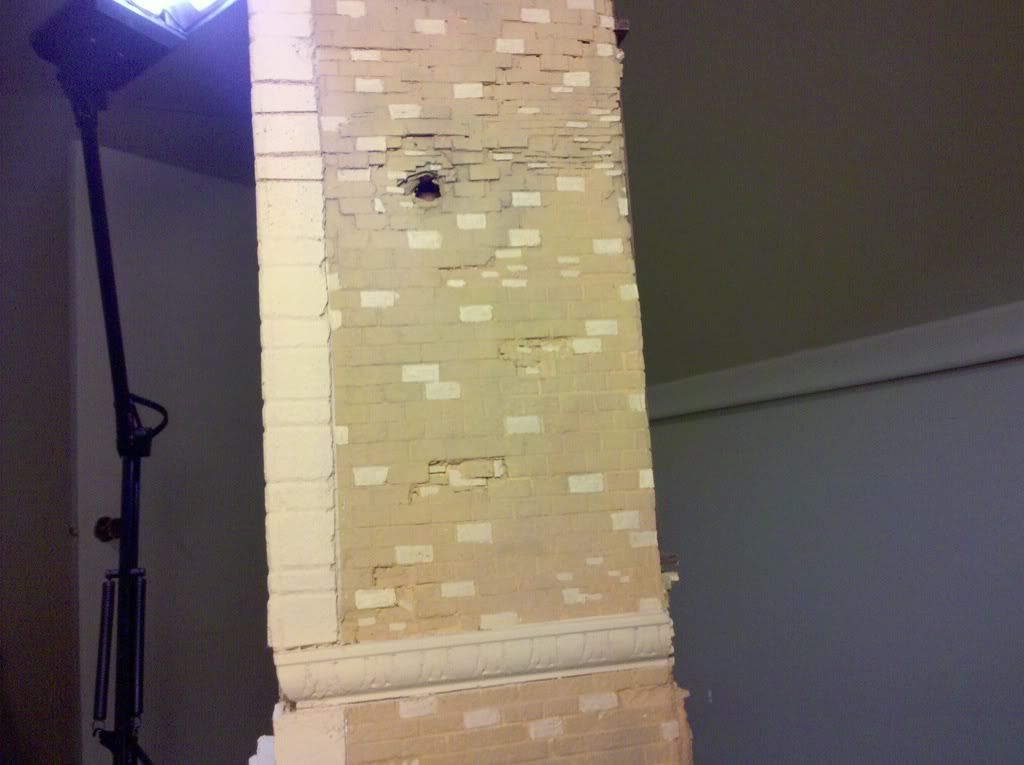
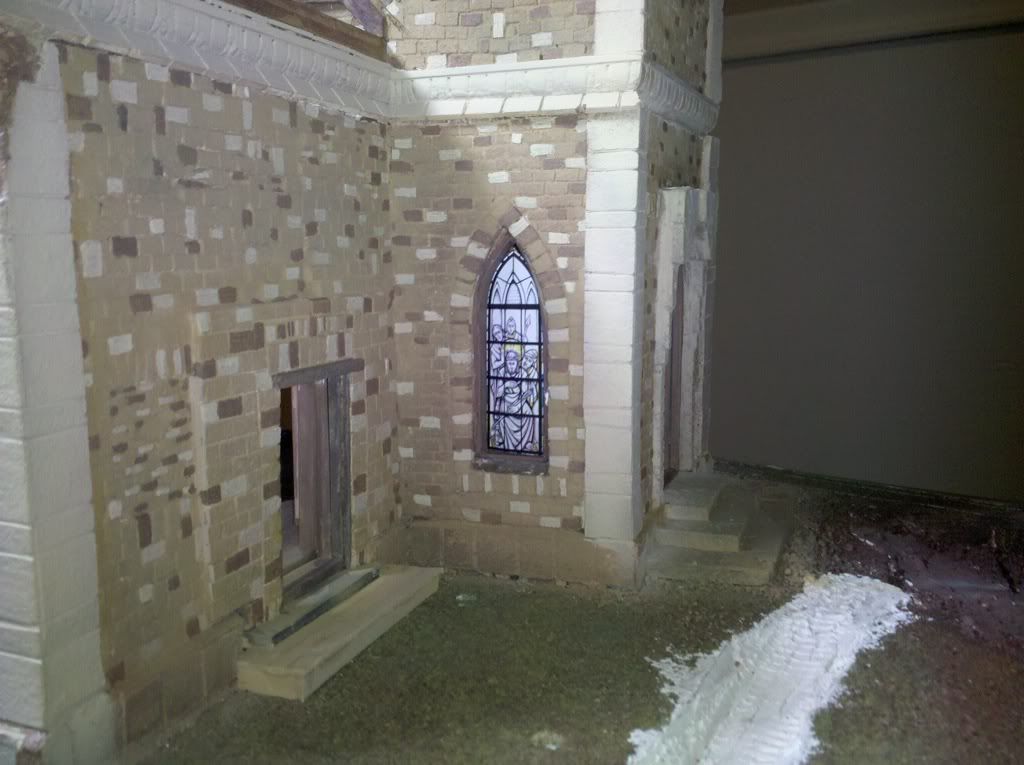
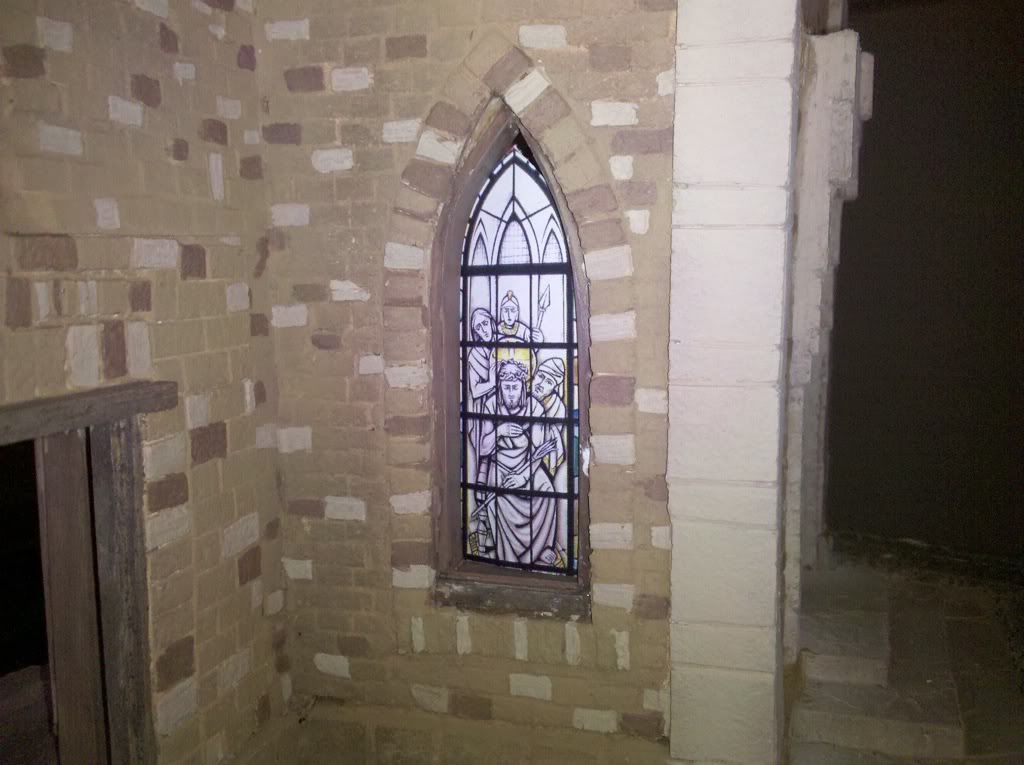
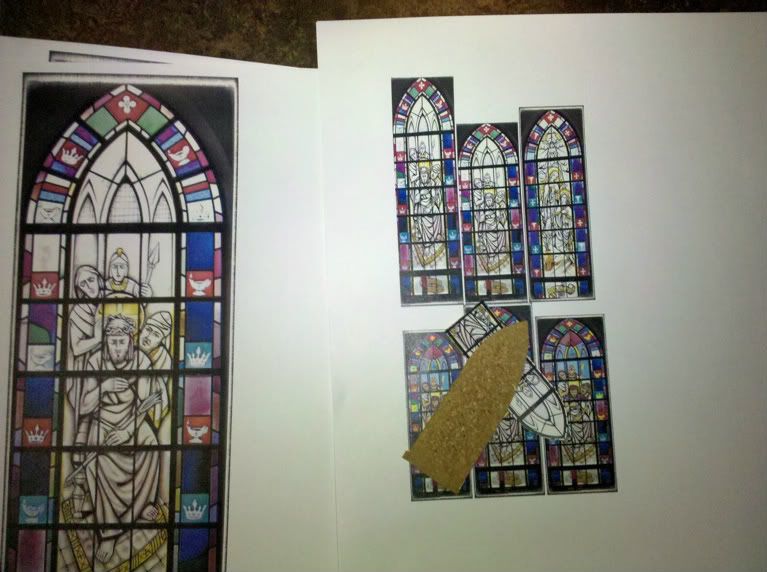
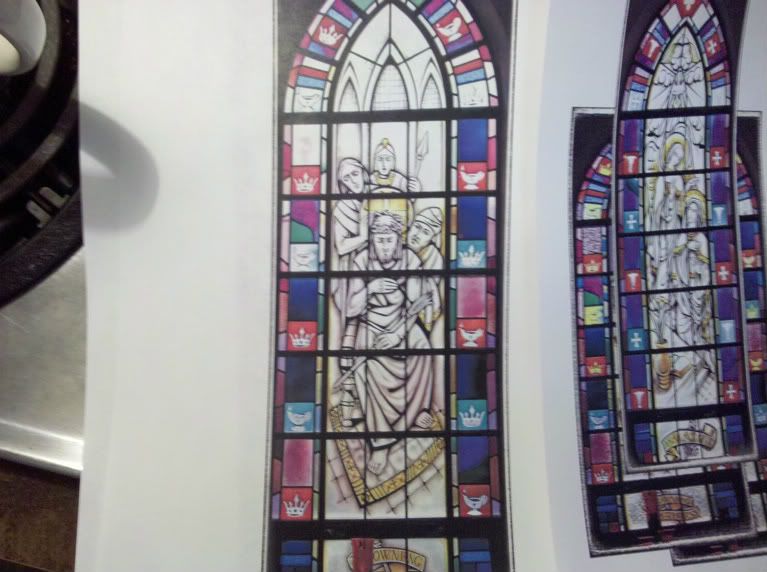
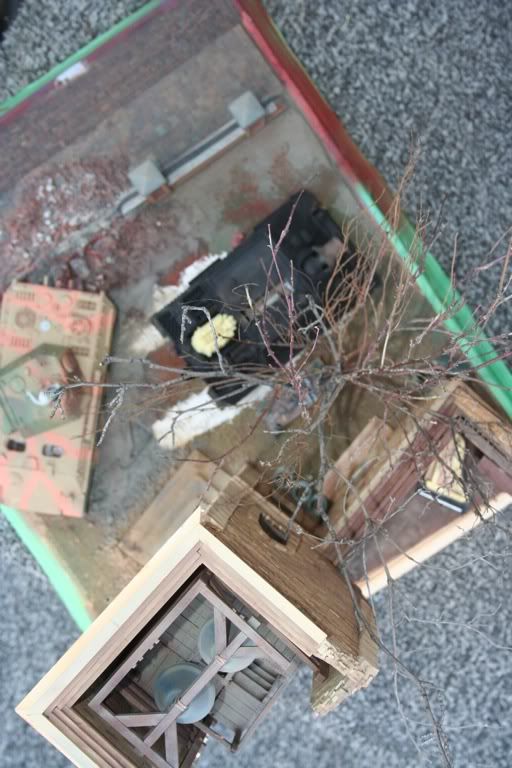
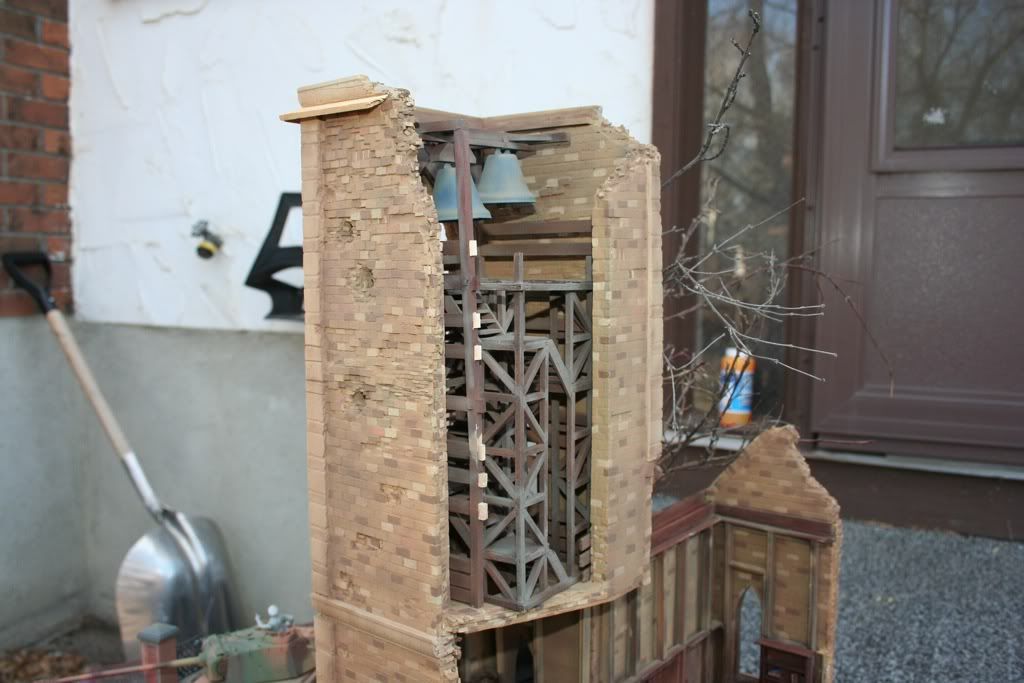
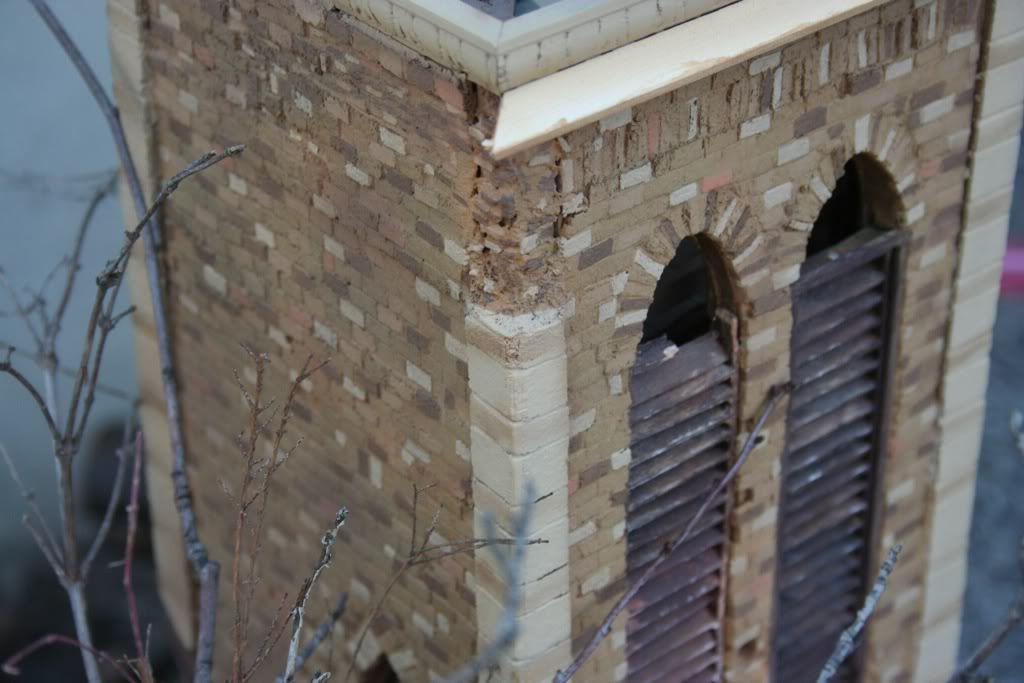
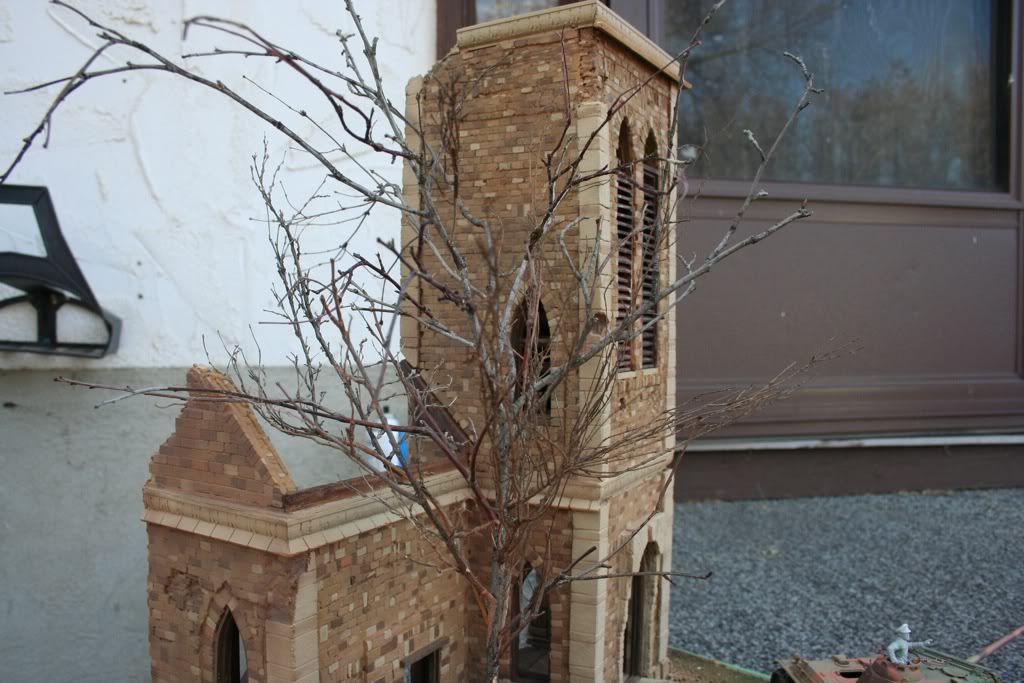
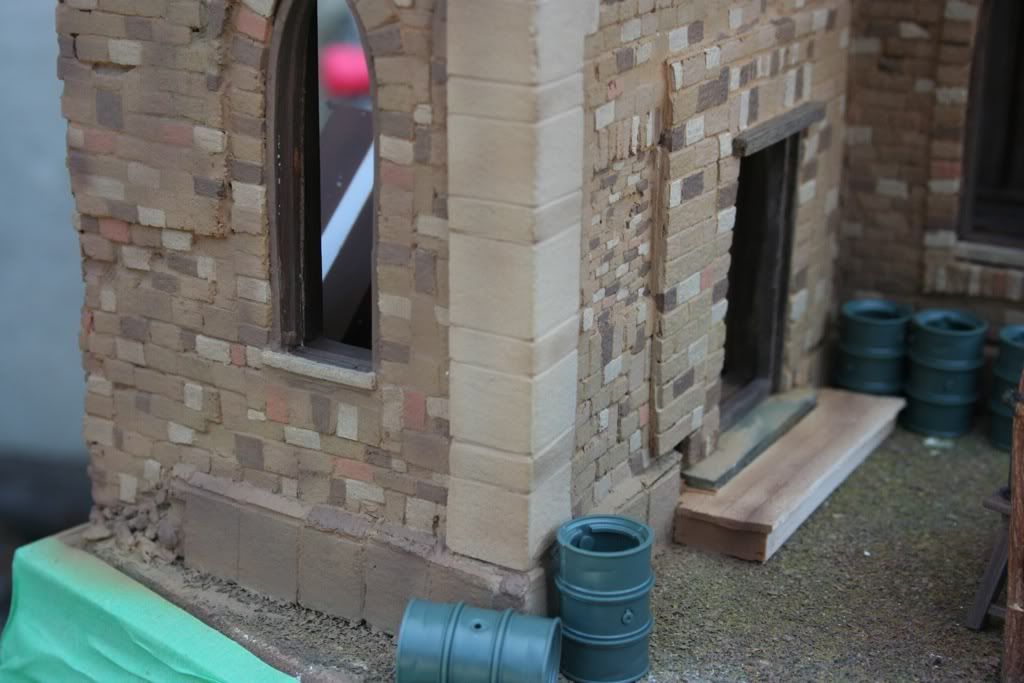
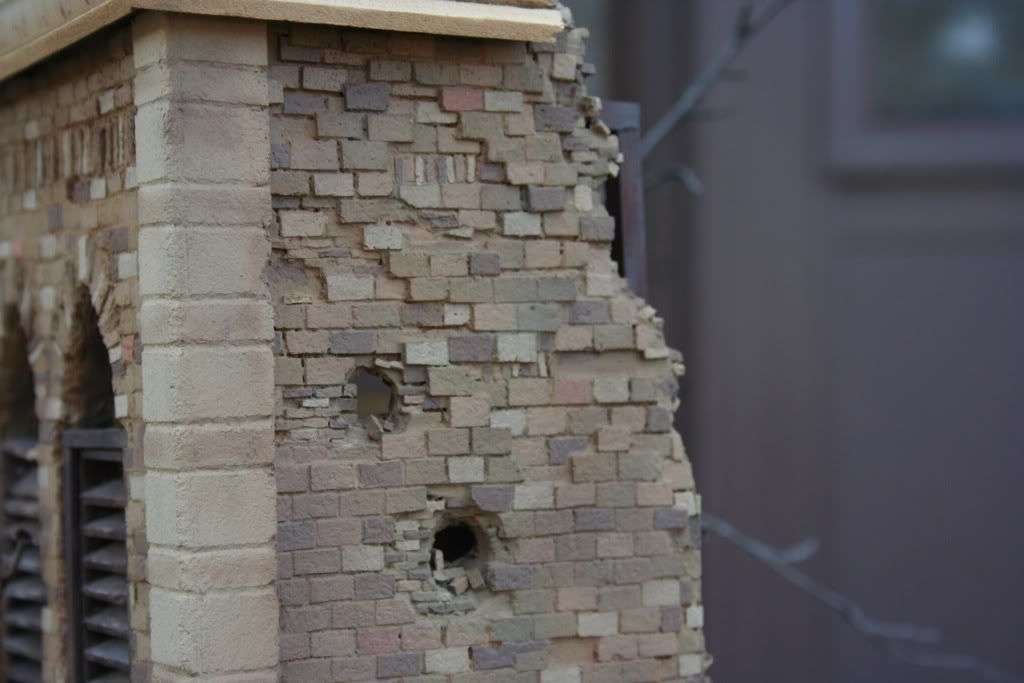
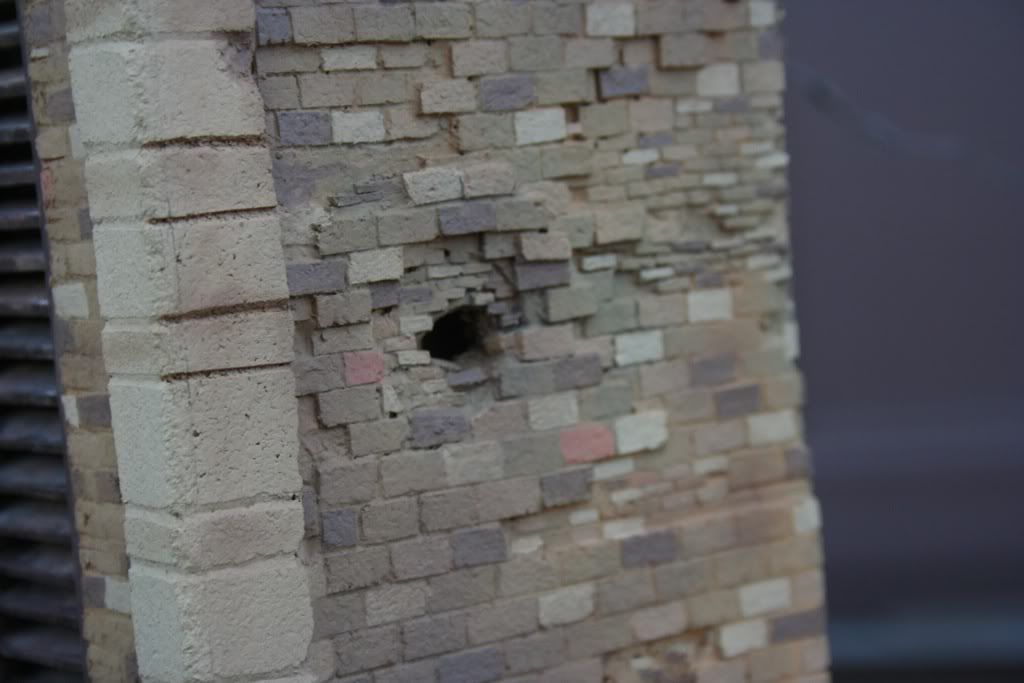
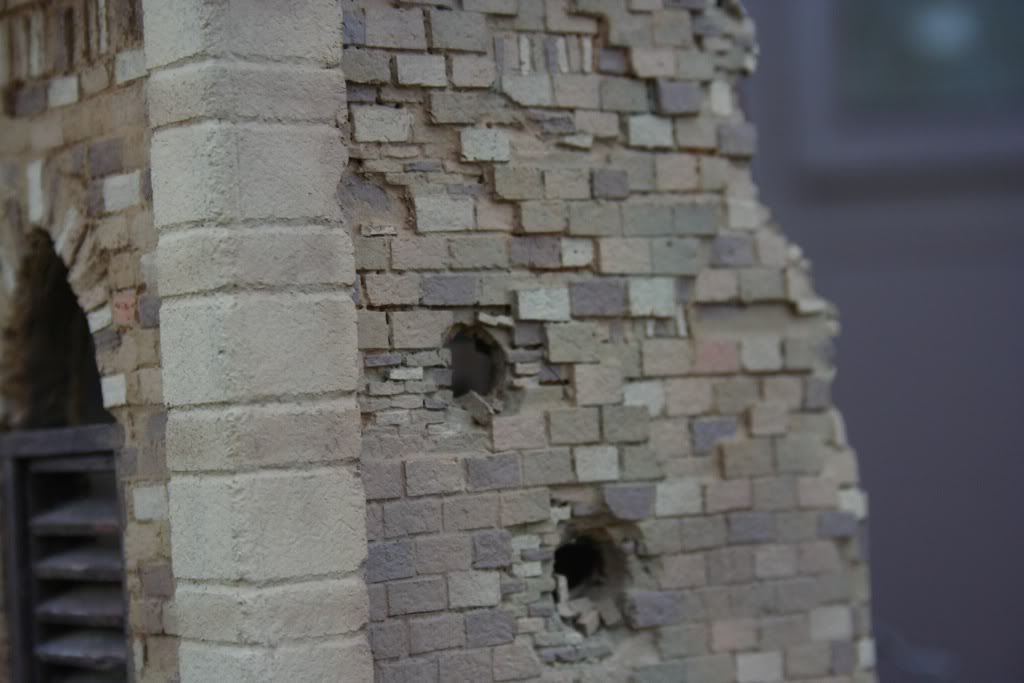
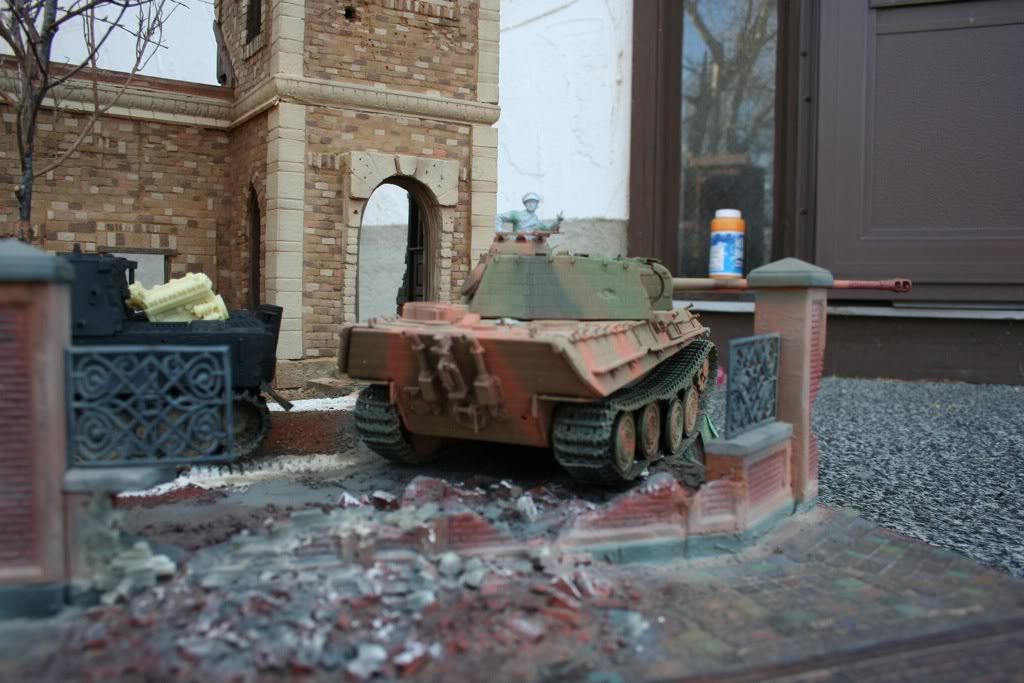
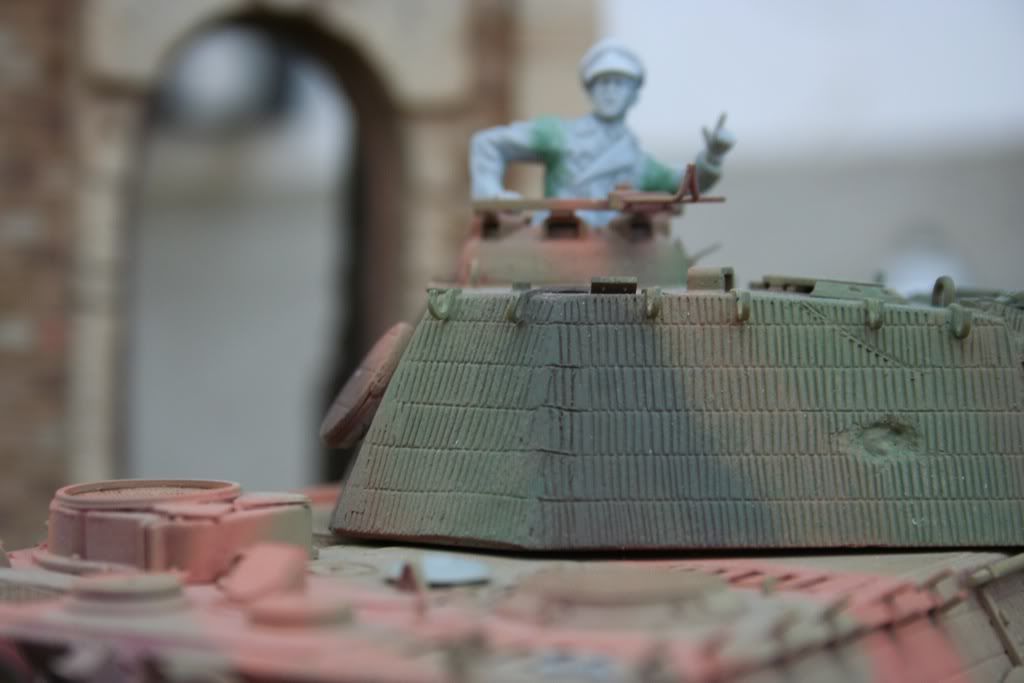
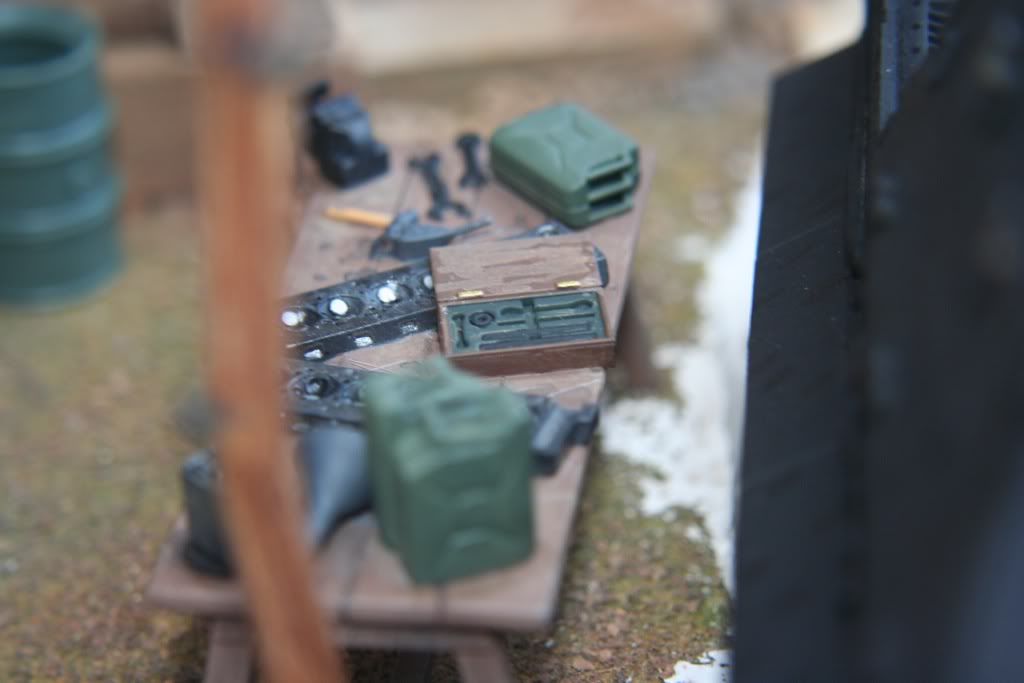
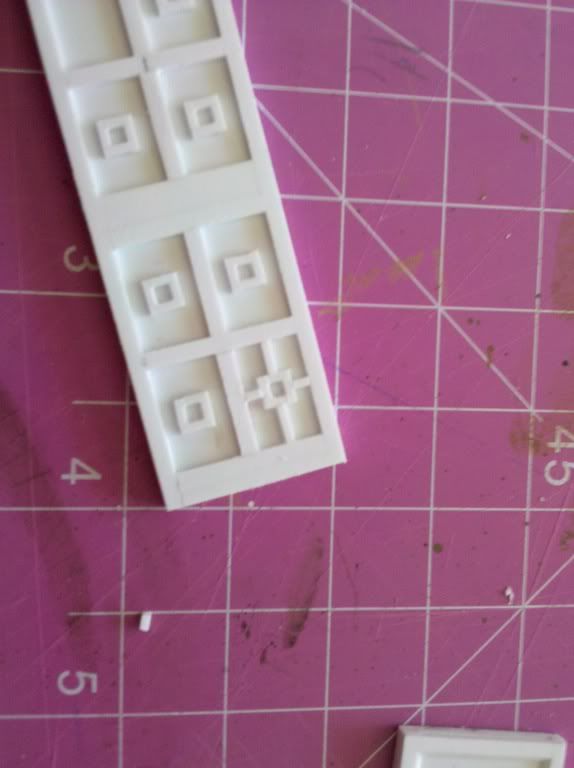
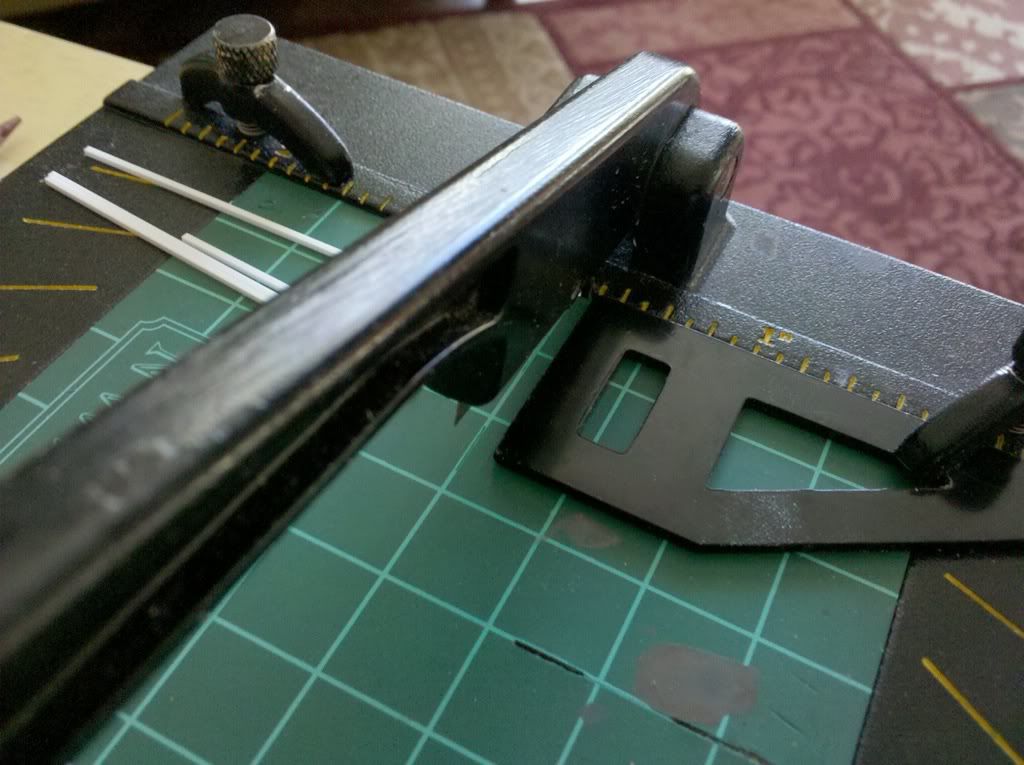
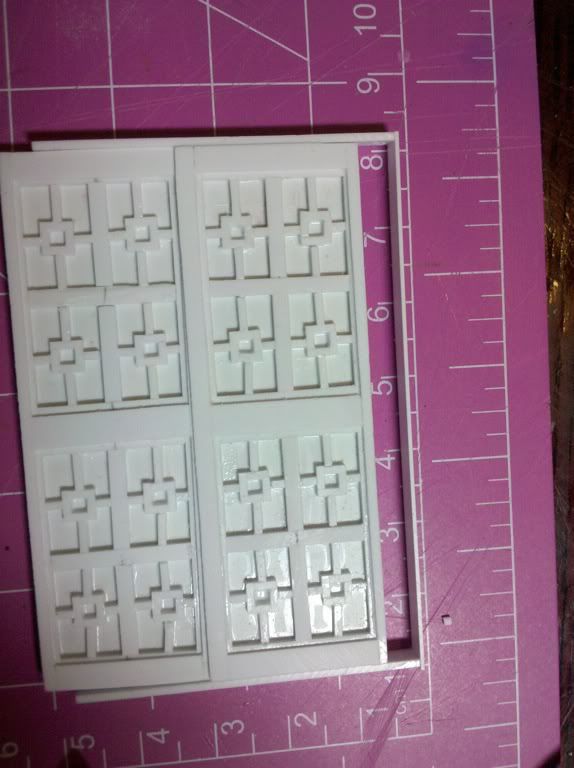
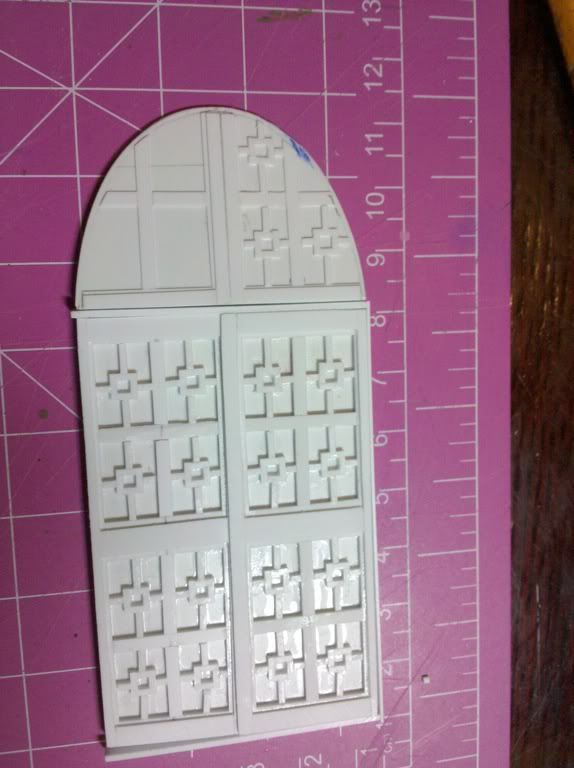
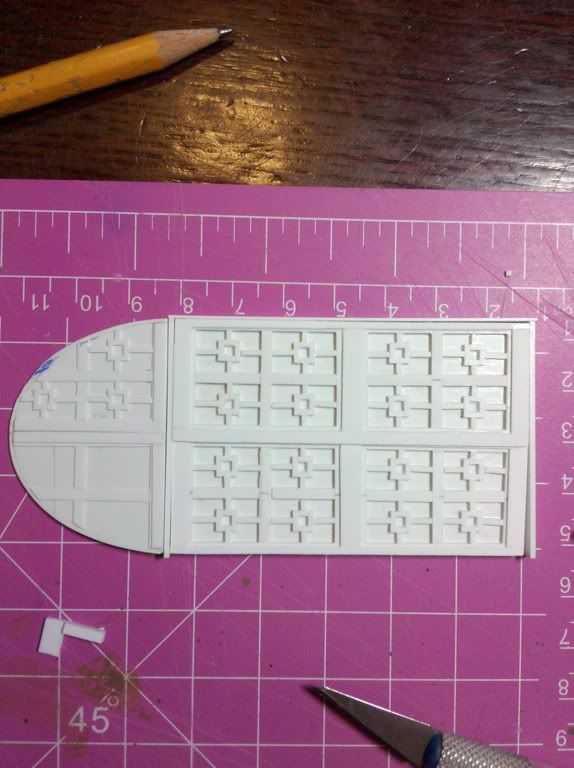
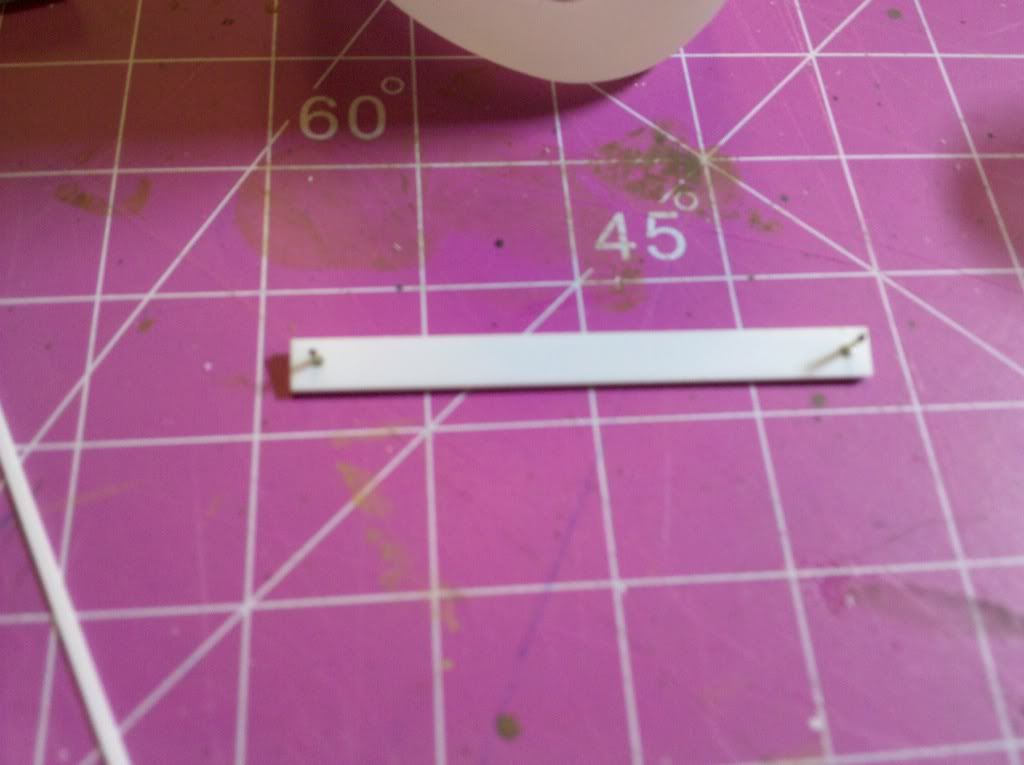
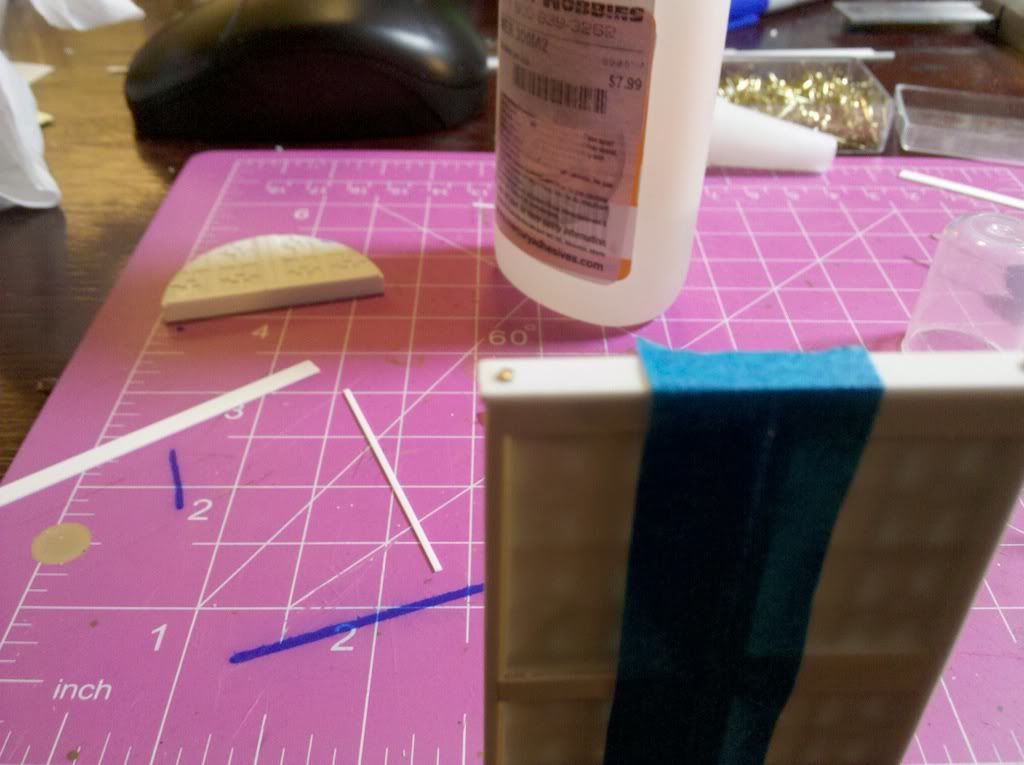
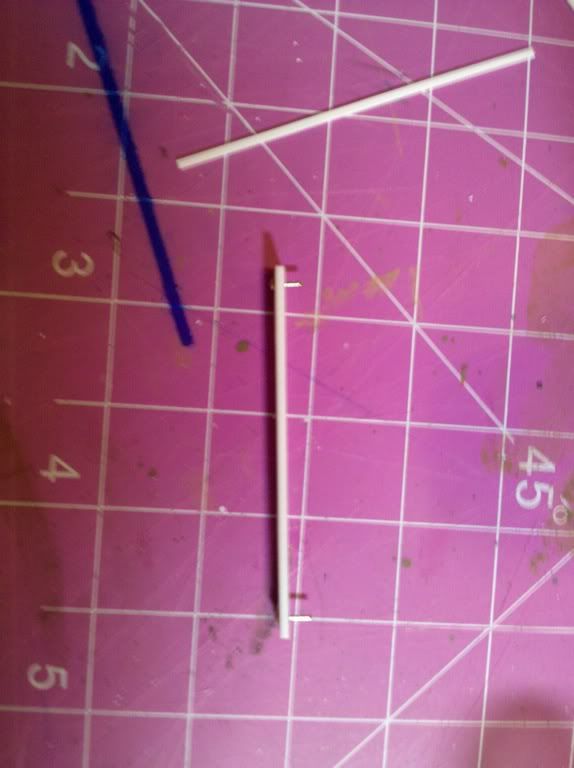
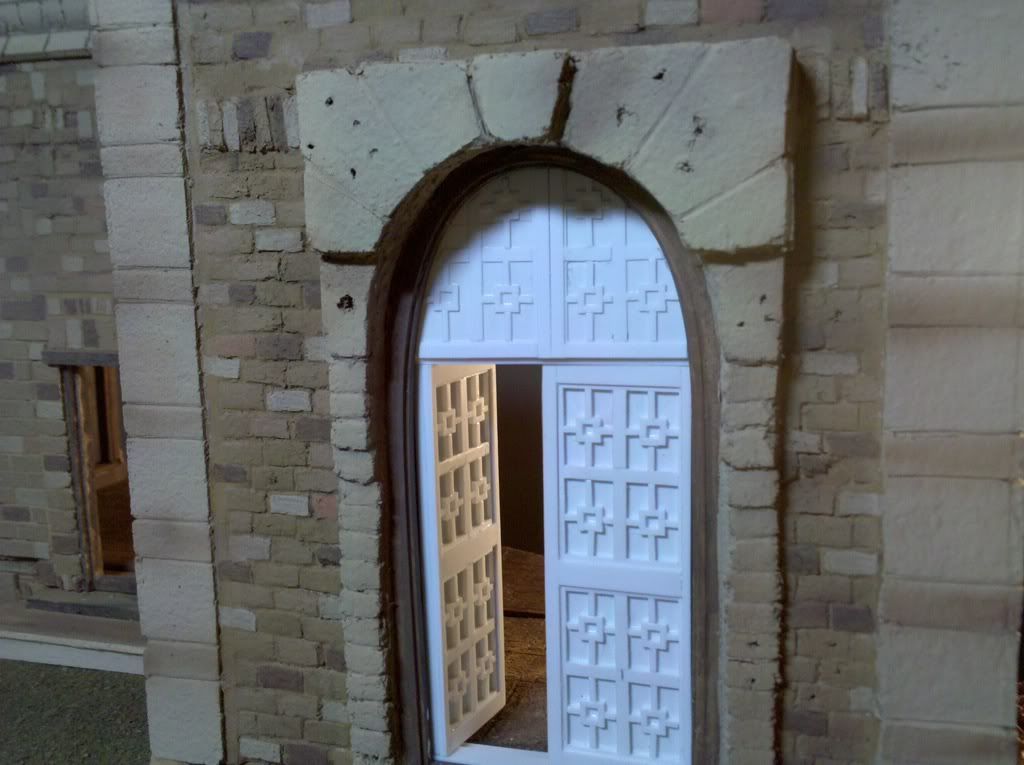
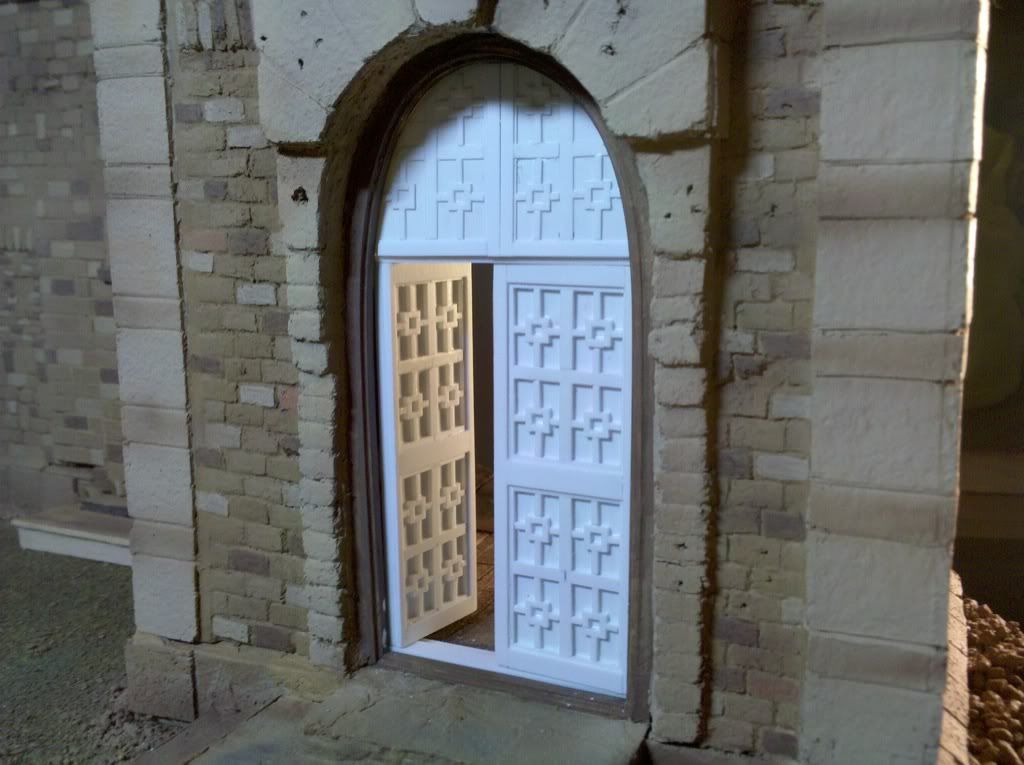
Anyone who may be interested I have posted all the pictures of the build so far to my photobucket page, here is the link: over 500 images, some good some not so good, but photography is another talent that I do not have a complete handle on yet...
http://s1210.photobucket.com/albums/cc419/ahandykindaguy/
roudeleiw
Visit this Community
Luxembourg
Joined: January 19, 2004
KitMaker: 2,406 posts
Armorama: 2,224 posts
Posted: Tuesday, December 27, 2011 - 07:13 PM UTC
Very well done Dave, thanks for all the pictures and WIP photos. Some great detail shots among them.
You did an excellent job doing a clean work with all those wooden parts. That is not easy!
Hey, you're stealing phase will soon be over and your build will be a model for others!

Claude
BLACKWATER
Visit this Community
Yunnan, China / 简体
Joined: August 05, 2010
KitMaker: 449 posts
Armorama: 441 posts
Posted: Wednesday, December 28, 2011 - 12:16 AM UTC
Hi Dave
For the building structure you must be an expert, thanks to share.

Cheer
WJ
ahandykindaguy
Visit this Community
Alberta, Canada
Joined: August 20, 2008
KitMaker: 1,295 posts
Armorama: 1,191 posts
Posted: Wednesday, December 28, 2011 - 04:10 AM UTC
Thanks Claude for your kind words. The only problem with that assumption is that there are way too many good ideas to " steal" here on this site, so I doubt I will ever stop!

However I would be very flattered if some of my ideas or techniques made their way onto someone else's work. That is a big part of forums like this isn't it, the sharing of knowledge and experiences makes all of us better, even if we never try to incorporate things we see, we have seen them and benefit from the seeing.

I am thinking about my tree alot lately. Have you ever heard or know of anyone who has tried to use real twigs and branches to simulate a tree in this scale. My main fear is that the branches may not hold up to the ravages of time and the forces inflicted upon them during moves to and from my house to any shows I may enter.

Do you think it would be possible to spray a heavy coat of polyurethane or similar product on it without breaking he finer detailed branches off?

Thanks WJ. I have indeed had some experience building & renovating homes... but while it has helped me it certainly isn't a necessity what with the amount of information on the WWW. For the roof trusses I was able to find on the web a document that I used as a template for them. I didn't even have to adjust the size of the blueprint! it was just a matter of laying my wood pieces down on the printed page and marking them for size a& shape.

It was a classic example of the " stealing " process Claude & I have discussed. You too can achieve a high level of detail in a relatively short time if you simply imitate what you see others do.

My one word of advise here though and I have said it several times in this post is to make plans for everything and try to work that plan through to the completion. you will have fewer headaches if you are aware of the issues you may encounter, before they present themselves.

But enjoy the process no matter what. I said right from the start of this project that the techniques and skill improvement was my ultimate goal and the end result would be an indicator of my learning curve. From the sounds of the comments I have received so far I must be on the right track.

Thanks again guys. i am going to go build for awhile now before the 3 of us go swimming at the rec. centre.
ahandykindaguy
Visit this Community
Alberta, Canada
Joined: August 20, 2008
KitMaker: 1,295 posts
Armorama: 1,191 posts
Posted: Wednesday, December 28, 2011 - 07:16 AM UTC
here are a couple more for the viewing of the overall layout.

roudeleiw
Visit this Community
Luxembourg
Joined: January 19, 2004
KitMaker: 2,406 posts
Armorama: 2,224 posts
Posted: Wednesday, December 28, 2011 - 06:35 PM UTC

Quoted Text

I am thinking about my tree alot lately. Have you ever heard or know of anyone who has tried to use real twigs and branches to simulate a tree in this scale. My main fear is that the branches may not hold up to the ravages of time and the forces inflicted upon them during moves to and from my house to any shows I may enter.


Yes, i have , take a look at my weeping willow (around 50 cm high)


or the birch tree

smaller, but will be placed on the corner .

It depends a bit on the roots. I do not treat them at all. The willow is getting manipulated on every expo because it is so big i transport him separately. I pinned every twig and they are so long and bendable , everything is fine (until now).

On the other side I made one tree with branches from a pine tree i found on the island of Madeira. I took him away already and will replace him during the next weeks and months. The twigs are so crisp that they did indeed brake one after the other. It depends on the roots.

I think the long stuff you used should be good.

Claude
ahandykindaguy
Visit this Community
Alberta, Canada
Joined: August 20, 2008
KitMaker: 1,295 posts
Armorama: 1,191 posts
Posted: Thursday, December 29, 2011 - 03:54 AM UTC
Thanks Claude, I will continue on with my tree this way then and hope for the best. In the mean time I will investigate the roots of the trees that blew down in the common area behind my house. It came down a few weeks ago in a windstorm. Our normal daily wind is 15- 20 kph, but lately we have been getting winds in excess of 100km/hour. That day the sustained winds reached gale force with gusts at 140 kph.

Do you hang them upside down to dry out, do you cut them from the very end of a long tap root, do you coat them with anything? Are there certain types of trees that make better scale ones?

thanks for the encouragements again Claude.

Dave.
roudeleiw
Visit this Community
Luxembourg
Joined: January 19, 2004
KitMaker: 2,406 posts
Armorama: 2,224 posts
Posted: Thursday, December 29, 2011 - 04:08 AM UTC
I think i answered most questions a few days ago here on the board
discussion

I do not treat my roots with anything. I do not hang them either.
Either they have the shape or not. Sometimes you can bend them a bit (even break them a bit and put some reinforcement glue on the break point)

"Ca passe ou ca casse " would the french say

Claude

ahandykindaguy
Visit this Community
Alberta, Canada
Joined: August 20, 2008
KitMaker: 1,295 posts
Armorama: 1,191 posts
Posted: Thursday, December 29, 2011 - 04:16 AM UTC
Have you ever tried to steam the stiffer ones to reshape them? I am thinking I may try this out. Most of my branches I am taking segments from a wicker broom but they are quite rigid and unforgiving when I try to bend them.

how do you pin them Claude. I have tried to drill into the main " trunk " and have only had limited success.

Thanks for the link, I will try to steal what I can from it.... Happy New Year in advance in case we don't talk again before it arrives.

Dave
ahandykindaguy
Visit this Community
Alberta, Canada
Joined: August 20, 2008
KitMaker: 1,295 posts
Armorama: 1,191 posts
Posted: Thursday, December 29, 2011 - 12:24 PM UTC
Well I took the plunge this afternoon & laid down some paint with my Iwata Revolution CR. I have to say it scares the crap out of me to use mostly because the last airbrush I used my dad purchased in like 1976 or 77, a badger siphon feed single action beast that one can still purchase for around 25 dollars.

this dual action gravity fed revolution is way over my pay grade at this present moment, but I will get the hang of it eventually.

I guy has to just throw caution to the wind once in awhile and just do it!

I spayed the bricks with a light shade of tan/ dirt color to make the grout lines sufficiently light. Then I masked it all off and sprayed the corners and cornices a very light tan color to accent the bricks I will now hand paint in several shades of the original dusty tannish brown color. here are some pics:


after removing the tape I was pleasantly grateful of the outcome...


ahandykindaguy
Visit this Community
Alberta, Canada
Joined: August 20, 2008
KitMaker: 1,295 posts
Armorama: 1,191 posts
Posted: Thursday, December 29, 2011 - 05:58 PM UTC
So after I posted these last few shots I was down in my office painting some of the individual bricks on the church after supper. My wife has been looking for a memory box we have from when our daughter was born last year, but we had not seen it since our spring move. Well she calls me from another room in the basement to tell me she has found a box of my model paints and low and behold she has found nothing less than my dad's old badger airbrush I was talking about in my last post.

Here it is in all its " glory". Thanks sweetness!


and a couple of the first highlight color on the bricks. I think I will also do a darker color, but probably only a flat brownish one. I think I want to keep the variance rather subtle, except where the shells have penetrated the sides.


BTW, I have a new level of respect for those of you who have built larger scale dioramas such as this one who have taken the time to paint each brick separately. I know that the result will be worth it in the end, but my ADHD really struggles with this process! I'm not exactly sure, but even a modest estimate of the number of bricks I have on this church is still in the several hundred perhaps thousands. I will most probably paint upwards of 2/3rd of them, and that doesn't include the street or sidewalk!

You guys know who you are, my hat is tipped to your dedication and skill!


Completely off topic, but it is my thread so I guess if anyone can I should be able to go on a tangent for just a minute... here is a photo I took this fall, which would make a great subject for someone who is into scale trucks or scratchbuilding:


here is the view from my other office most mornings during the golf season:


and my staff hard at work on the par 5 twelfth hole.


and 2 more of my jobsite. Don't be jealous gents, it's not all fun & games trying to keep grass green in +35 degrees Celsius and higher temps... but it does beat working for a living!

roudeleiw
Visit this Community
Luxembourg
Joined: January 19, 2004
KitMaker: 2,406 posts
Armorama: 2,224 posts
Posted: Thursday, December 29, 2011 - 07:20 PM UTC

Quoted Text

Have you ever tried to steam the stiffer ones to reshape them? I am thinking I may try this out. Most of my branches I am taking segments from a wicker broom but they are quite rigid and unforgiving when I try to bend them.


No, i did not yet try that. I stock so much roots and twigs that i am looking around until i find the desired one.

Quoted Text


how do you pin them Claude. I have tried to drill into the main " trunk " and have only had limited success.


You must pin the other side, the branch and twig. That means going down to 0.2 mm drills. It mostly works , you must have patience. If it does not work, the best way is to stick the twig (we are not talkuing branches as the are always big enough to pin) in a hole you drilled in the branch and superglue it. As is said, that's for the sub 0.3 mm stuff, all the rest shuld be possible to pin.
[/quote]

Claude

Wishing a Happy New Year to everyone!
ahandykindaguy
Visit this Community
Alberta, Canada
Joined: August 20, 2008
KitMaker: 1,295 posts
Armorama: 1,191 posts
Posted: Friday, December 30, 2011 - 03:18 AM UTC
Thanks again for your insights Claude. I am focused on the build, I can see the end coming down the way. Enjoy the rest of 2011!

Dave
ahandykindaguy
Visit this Community
Alberta, Canada
Joined: August 20, 2008
KitMaker: 1,295 posts
Armorama: 1,191 posts
Posted: Sunday, January 01, 2012 - 06:32 PM UTC
Hope everyone has enjoyed the last few days, and that santa was good to them, if you believe in santa of course. Here are a couple of pics of my attempts to remedy my small problem of stained glass windows?


My biggest problem is going to get enough of an image formatted to fit into the irregular shape of the 2 windows and still have a decent edge. my windows are not quite 100 % truly symmetrical

my other smallish problem is this image isn't colored. everyone knows that stained glass is stained... nothing a little photoshop cant fix.
LiberationofCaen
Visit this Community
England - East Anglia, United Kingdom
Joined: December 30, 2011
KitMaker: 8 posts
Armorama: 8 posts
Posted: Sunday, January 01, 2012 - 10:40 PM UTC
The construction and detail on that church tower is amazing!
ahandykindaguy
Visit this Community
Alberta, Canada
Joined: August 20, 2008
KitMaker: 1,295 posts
Armorama: 1,191 posts
Posted: Monday, January 02, 2012 - 03:26 AM UTC
Thanks JC. I am afraid however that by the time everything is finally finished that much of that detail will be hard to see because of the lack of light in what is really just the back of the diorama... I have plans to mount several soldiers back in the rear, but due to space and sight lines I fear that much of it will be hard for most people to see.

Oh well, I guess. At least I will know it is there

so here is the process I am using to make the stained glass windows...

I started with a stock image I found off google.


Then I opened it up in photoshop after I resized it to fit my rough opening, but I didn't change the file size as I do not want to lose any image quality.


Then I stared to "paint" the glass panels using the highlight and fill functions. some colors are faded to roughly 50% opacity, others are not.


when I am satisfied with the end result I will print them out on a transparency and cut them to the right size. For this I just open up a word document and attach the image file so I can resize it with the ruler function of word.

hope it comes off as I plan....

I thought I had rotated these images, sorry to make you crank your head to see straight.
ahandykindaguy
Visit this Community
Alberta, Canada
Joined: August 20, 2008
KitMaker: 1,295 posts
Armorama: 1,191 posts
Posted: Wednesday, January 04, 2012 - 12:57 PM UTC
So I am a little under the weather, but have managed to carry my diorama outside today to take a few pictures in the outdoor light of a very windy Southern Alberta balmy plus 14 C midwinter's day!

here are a couple of them. I have done some painting, and shading of certain things, trying to get the hang of my Iwata. I have found that certain paints don't do well with some thinners, and that pressure is quite important to manage as well... but I am learning.


Nothing is glued down yet, soon but not yet. I re primed the Sturmtiger as I didn't like the look of the camouflage and think now that I am a little more used to my AB I can do a better job this time. I have tried some color modification techniques on the church, and the top concrete on the wall


I have also done some shading on the brickwork.


I am going to repaint the Panther too.


Well that's all for now. Hopefully I can get back to building soon. Took all those pictures, the when I took it back downstairs I realized I had forgotten to put the roof back on it. Ces't la vie....
ahandykindaguy
Visit this Community
Alberta, Canada
Joined: August 20, 2008
KitMaker: 1,295 posts
Armorama: 1,191 posts
Posted: Friday, January 13, 2012 - 09:45 AM UTC
so I am feeling a little better today, me & the little one caught pneumonia over the holidays but are on the path to recovery. Thank God for strong antibiotics. was looking at my doors the other day and made the discovery that if I wanted to have them open as I had planned, that they would not clear the inner brickwork properly. So again I set about the task of rebuilding. Please tell me we all do this at least as much as I do.... please?

here are some updated photos I just took of the new doors and the solution I came up with to make them not only appear open but functional too.

here are some views of the old doors, made out of plastic & wood. I liked the look of the big solid wood door with the upper detail of following the curvature of the doorway. Unfortunately they would not open properly...


So I went about trying to fix them but could not manage to clear the edge of the brickwork inside the doorway. Not wanting to cut them just in case I started to make new ones...

I started by drawing a template of the doorway.


Then I cut stock to build the new doors, one at a time so as not to get ahead of myself. I did some research on the web for door images and began.


My first effort was less that appealing so I took another mulligan.

I did some more research and decided on this pattern, intricate but doable I believe.


I made a simple jig out of plastic to help keep everything in line...


and viola..

so just a few more panels on this side of the first door, and then the other door and then I will decide if I want to carry out this effort on the inside as well?


Alot of very small pieces, but relatively easy with a good cutter, patience & liquid cement applied with a tiny brush and a delicate hand. Did I mention I have been working on this door for a couple hours? Time for a Kit-Kat break.
ahandykindaguy
Visit this Community
Alberta, Canada
Joined: August 20, 2008
KitMaker: 1,295 posts
Armorama: 1,191 posts
Posted: Saturday, January 14, 2012 - 07:45 AM UTC
Well here is a shot of the just completed doors. I still have the doorjamb and the upper portion of the frame to detail, so that it will still look like a large rounded edge doorway when the doors are closed.
ahandykindaguy
Visit this Community
Alberta, Canada
Joined: August 20, 2008
KitMaker: 1,295 posts
Armorama: 1,191 posts
Posted: Saturday, January 14, 2012 - 09:02 AM UTC
here is the doorway almost done! the upper portion will secure the doors & the jamb in the correct position when the sub assembly is placed in the opening of the church entrance.


ahandykindaguy
Visit this Community
Alberta, Canada
Joined: August 20, 2008
KitMaker: 1,295 posts
Armorama: 1,191 posts
Posted: Saturday, January 14, 2012 - 03:47 PM UTC
Absolutely the last update for today... I really wanted to finish the doors & test fit them into the opening. Because the doorway is not 100% square I really had to test fit & double check many times during this part of the build. I am quite happy with the whole thing at this moment so I am going to go watch a movie with my wife.

Here are some of the pictures...


I dug out a spot for the pins to sit flat below the threshold.


And here is the result of this labor of love, Maybe I will paint them tomorrow.


Hope you guys have enjoyed the progress, I know I have! have a good day eh!
seamen
Joined: April 29, 2007
KitMaker: 34 posts
Armorama: 33 posts
Posted: Saturday, January 14, 2012 - 09:59 PM UTC
Dave,

This is an excellent scratchbuild history. I like it too much.

Ali
ahandykindaguy
Visit this Community
Alberta, Canada
Joined: August 20, 2008
KitMaker: 1,295 posts
Armorama: 1,191 posts
Posted: Sunday, January 15, 2012 - 04:19 AM UTC
Thanks Ali, it is without a doubt for me the most enjoyable part of modeling. That said I do look forward to starting the figures that will go with the kits and all this scratched detail. I think about them constantly.
ahandykindaguy
Visit this Community
Alberta, Canada
Joined: August 20, 2008
KitMaker: 1,295 posts
Armorama: 1,191 posts
Posted: Monday, January 16, 2012 - 10:56 AM UTC
Hey Stan, I just realized you were asking about the spruce tree, not the big deciduous one. That is a Hecki tree I found in a model railroad shop in Edmonton. Just about the perfect scale for small little ornamental trees along a boulevard or the side of a walkway.
stansmith
Visit this Community
England - North West, United Kingdom
Joined: July 18, 2010
KitMaker: 611 posts
Armorama: 584 posts
Posted: Tuesday, January 17, 2012 - 03:45 AM UTC
thanks dave