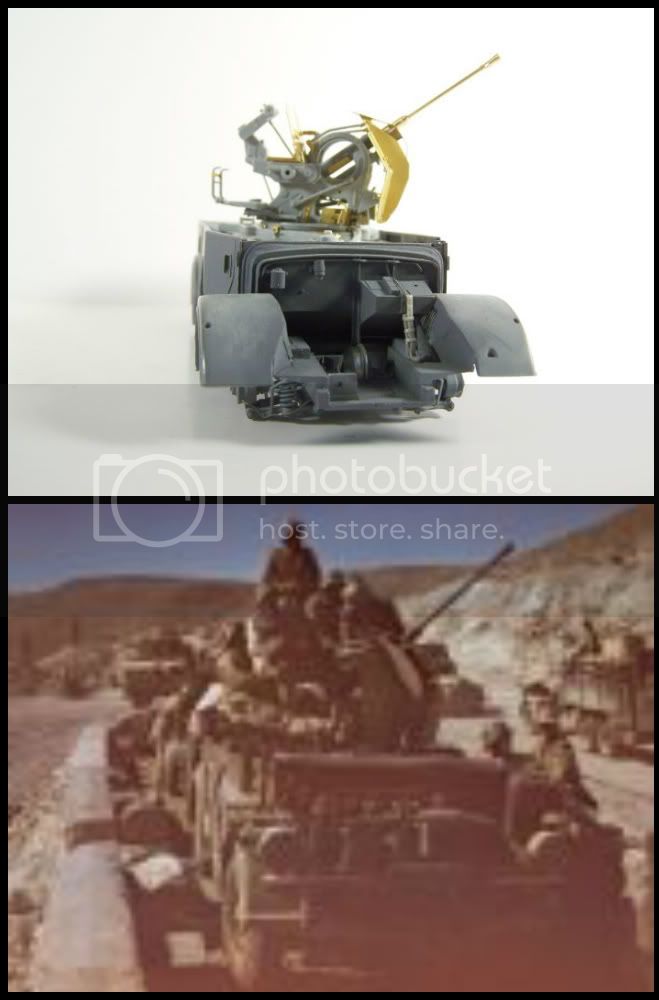
I am very impressed with your build. looks like a fun challenge. I gotta say you knocked it out of the park with your radiator and distributer. im takeing notes on all your stuff
 ...if you dont mind!
  thanks for shareing your project with us.
Gary


 ...if you dont mind! thanks for shareing your project with us.

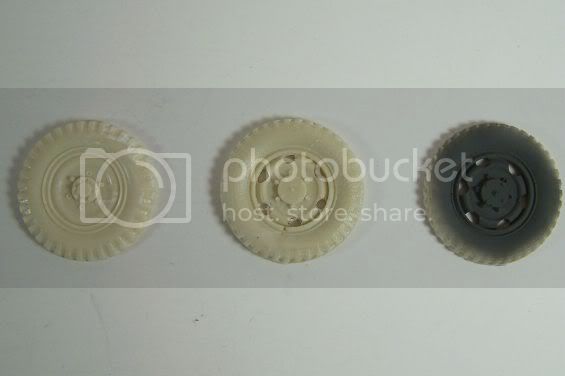
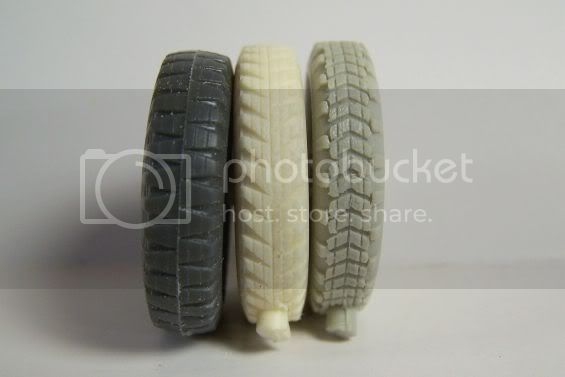
 Well that is some of the thinking going on around here right now. Think, think, think...


PS-- do you do brain surgery in your spare time?
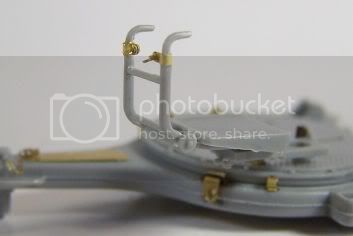
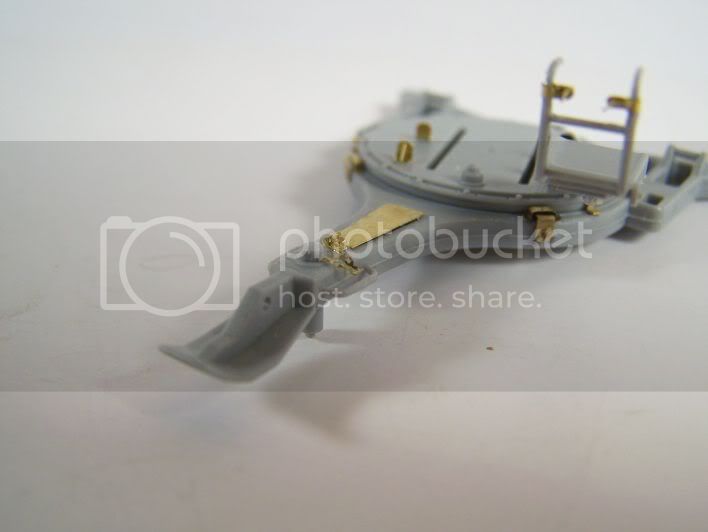
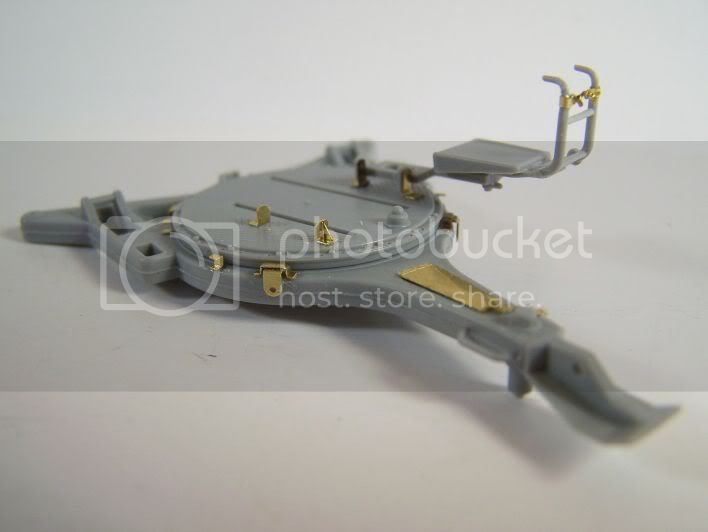
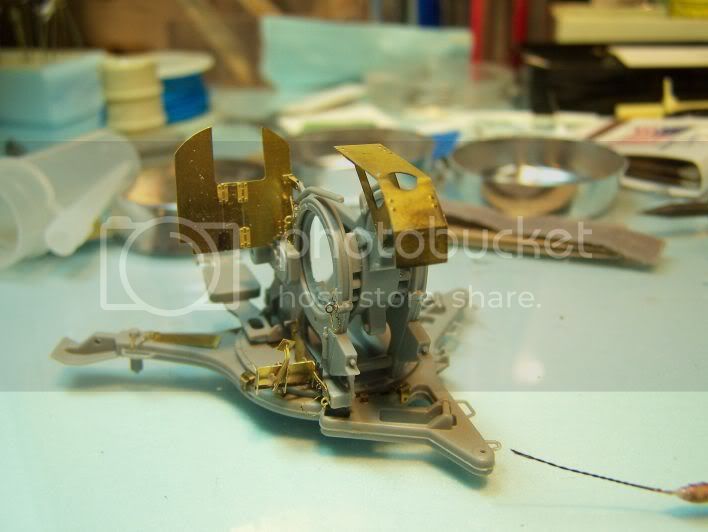
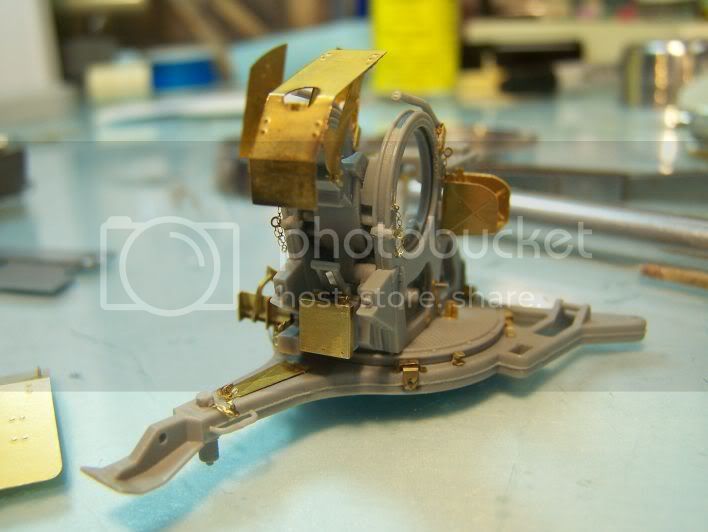
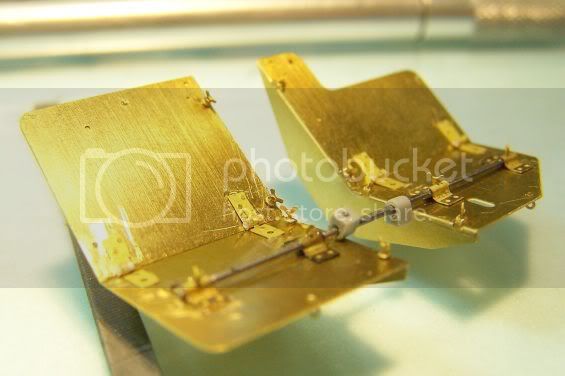
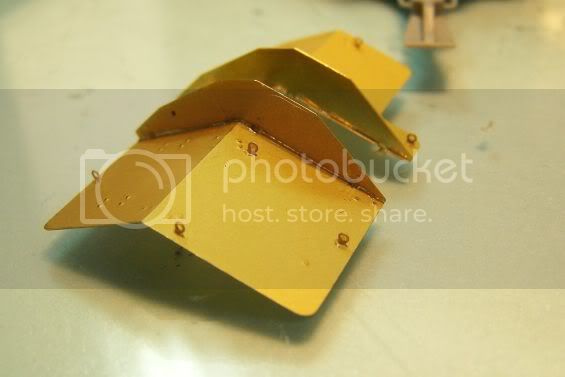
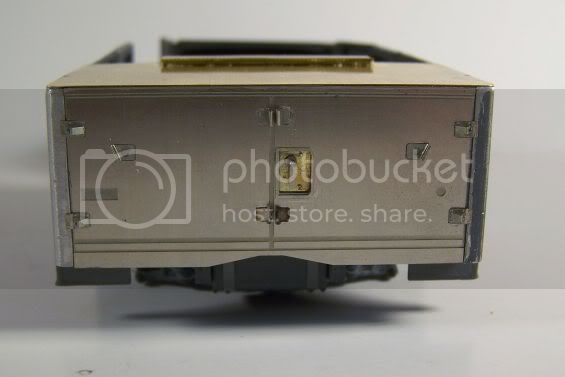
Nice job on the platform Jonathon. The supports look very convincing, as well as difficult to get alligned properly?


 |