

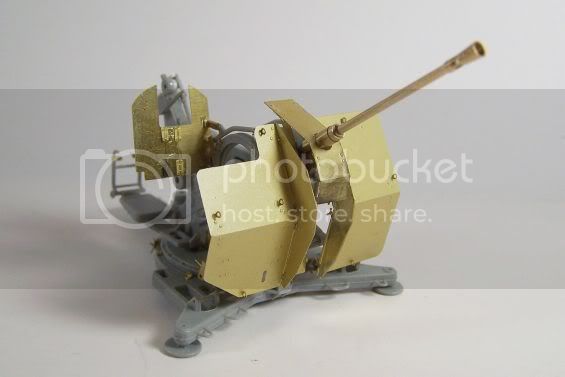
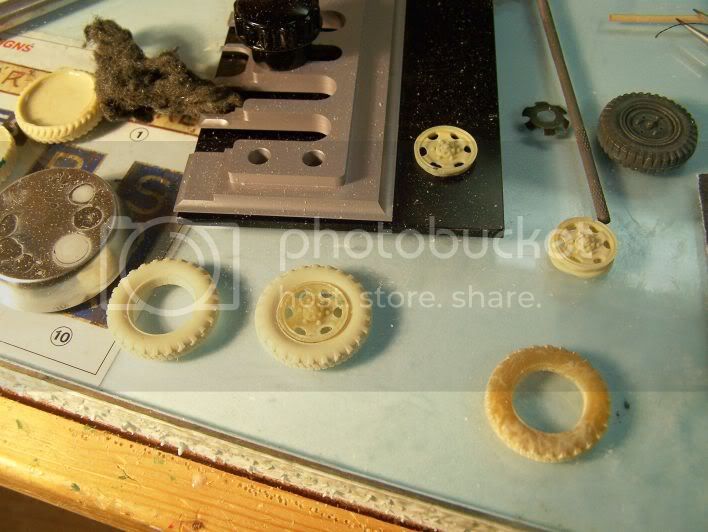
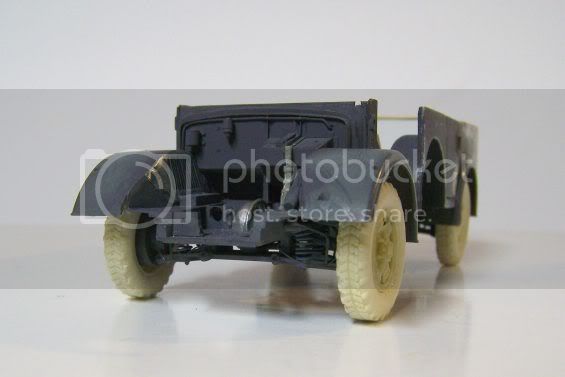
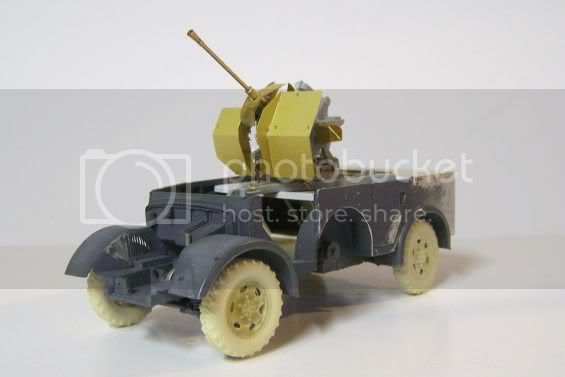
Not to detract from the wheel project that I am working on, but I realized that I really didn't have good shots of the gun itself...
So...
That is all... gotta go... for now...


 )
)


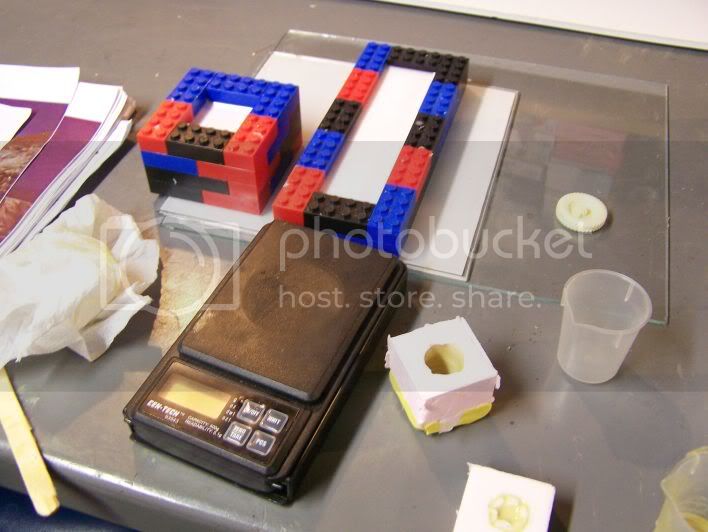
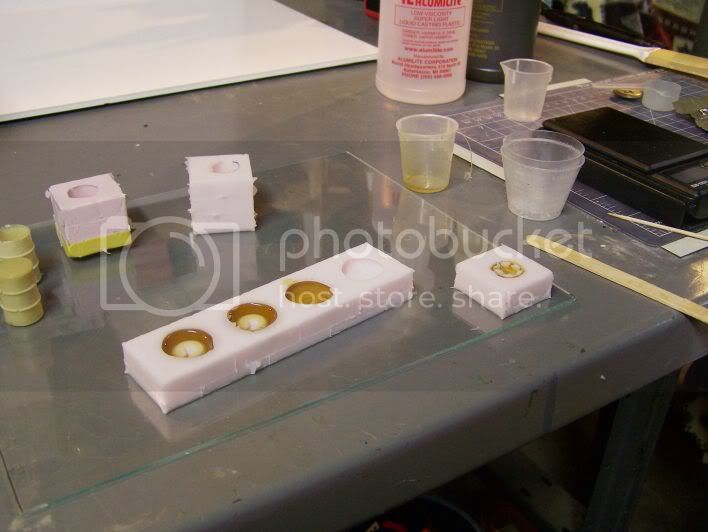
Wich resin do you use to cast?


That resin set really leaves a lot up to the building.
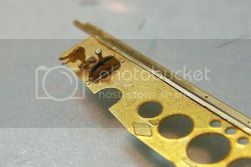
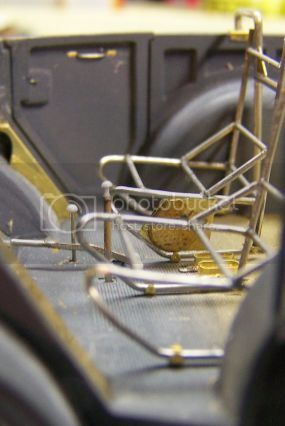
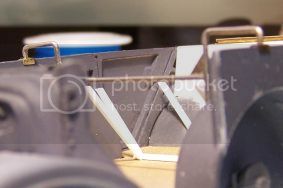
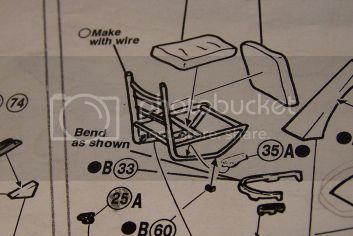
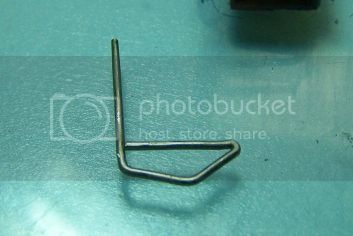
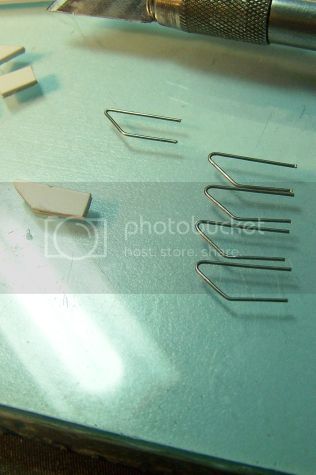
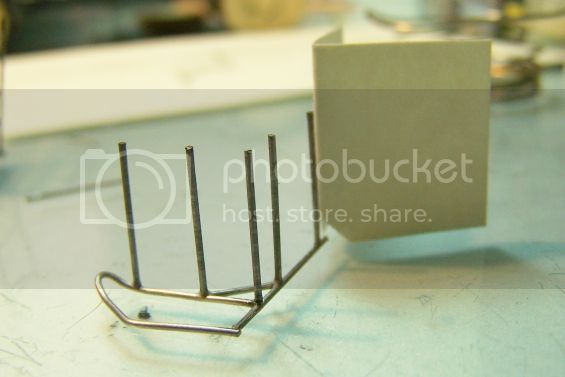
Incredible work Jonathan! What have you used for the form? (rifle holders)
Phil.
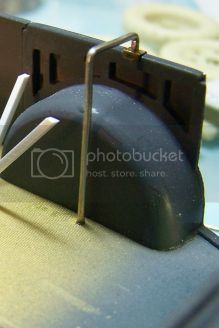
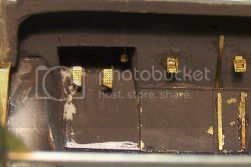
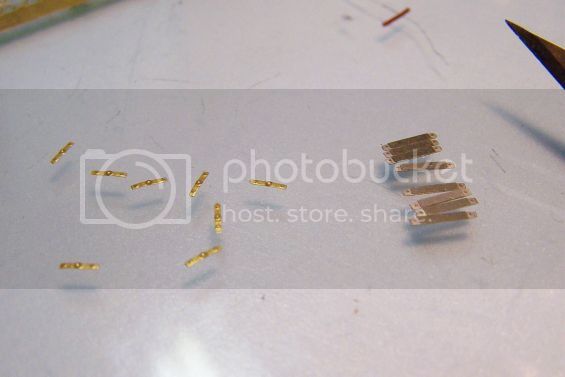
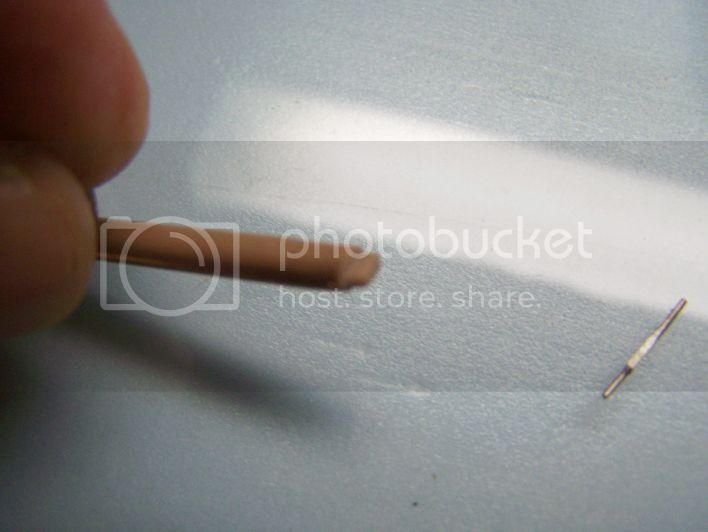
Good progress. I have worked with several pe sets and found the only problem is stretching plastic rod to fit hinges. The devil is in the details. Your work has inspired me. I am planning on adding a 2.5cm flak to Tamiya's old sdkfz 251/1. This kit lacks a lot of interior detail, so I will button up the top and have the gun slightly inset.
 |


