_GOTOBOTTOM
Armor/AFV: Axis - WWII
Armor and ground forces of the Axis forces during World War II.
Hosted by Darren Baker
Bronco Marder II D2
c5flies
Visit this Community
California, United States
Joined: October 21, 2007
KitMaker: 3,684 posts
Armorama: 2,938 posts
Posted: Friday, February 08, 2013 - 10:23 AM UTC
2012 was not a good modeling year for me, I started a lot and finished zero. This year can only be better

While I was pawing through the contents of this kit for the review (click here) I knew this was one that I'd really like to see get completed...so here goes.


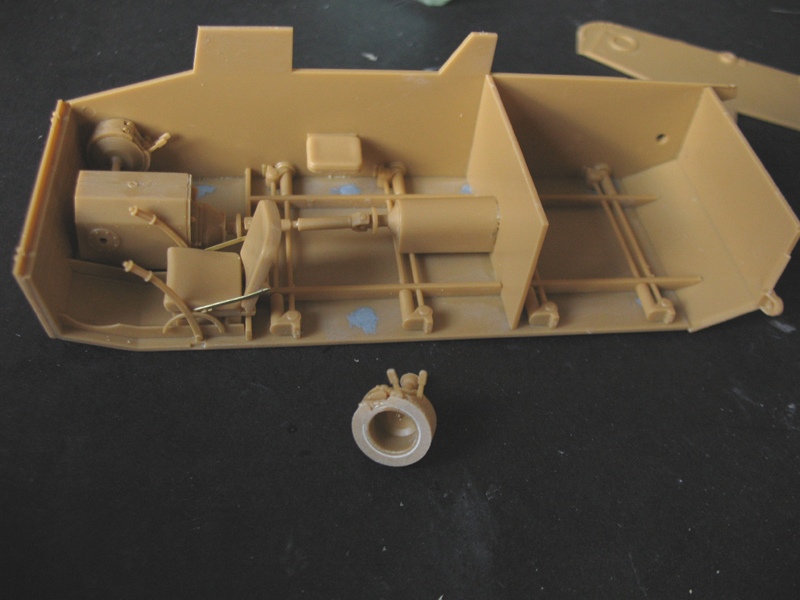
The first 3 steps work on the driver's area and getting the lower hull together. There are some ejector marks on the hull bottom, and although I doubt much will be seen I filled them in anyway. The front plate has triangular slots/tabs, so make sure this is positioned correctly. For me this meant sliding it up all the way.


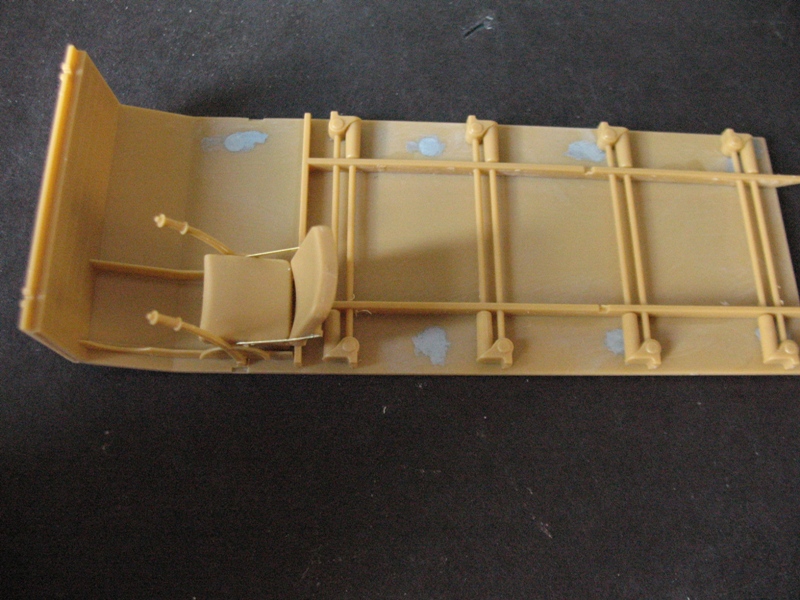
The driveshaft (J6) is a snug friction fit, so best to keep it unglued to help position everything later on when installing it to the lower hull.


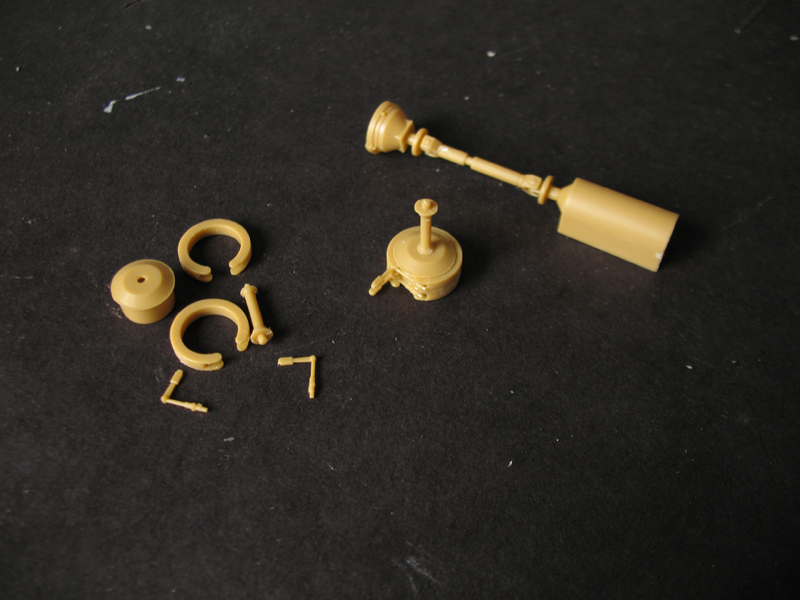
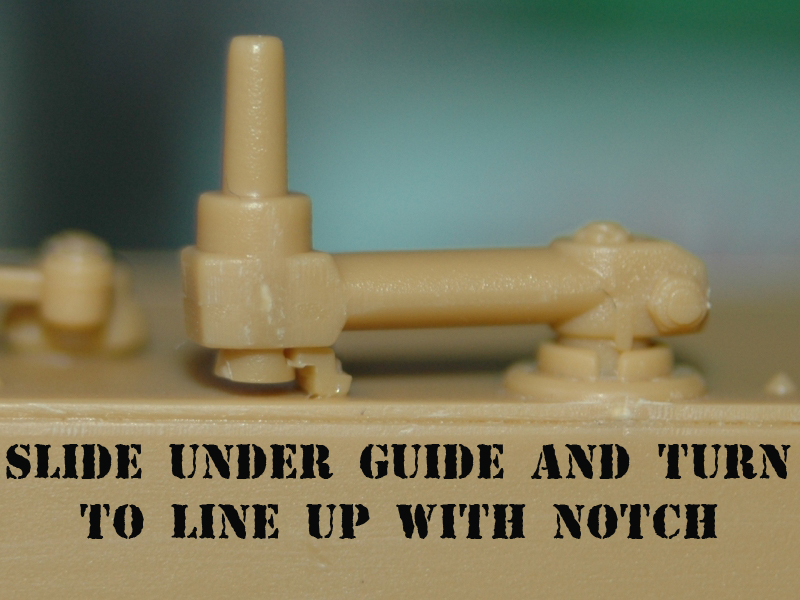
One nice thing about Bronco kits is with all the separate parts you can customize how you want to set them up. Be careful here since the levers can be placed upside down if you're not paying attention


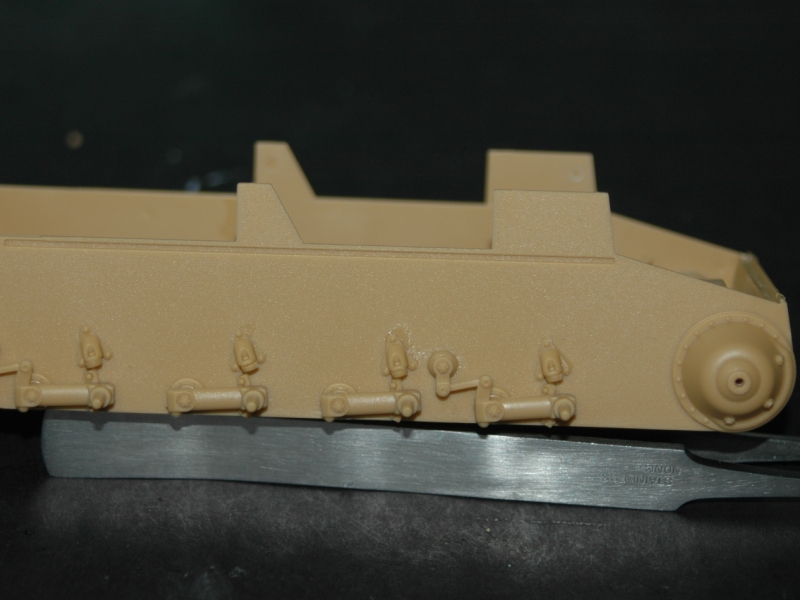
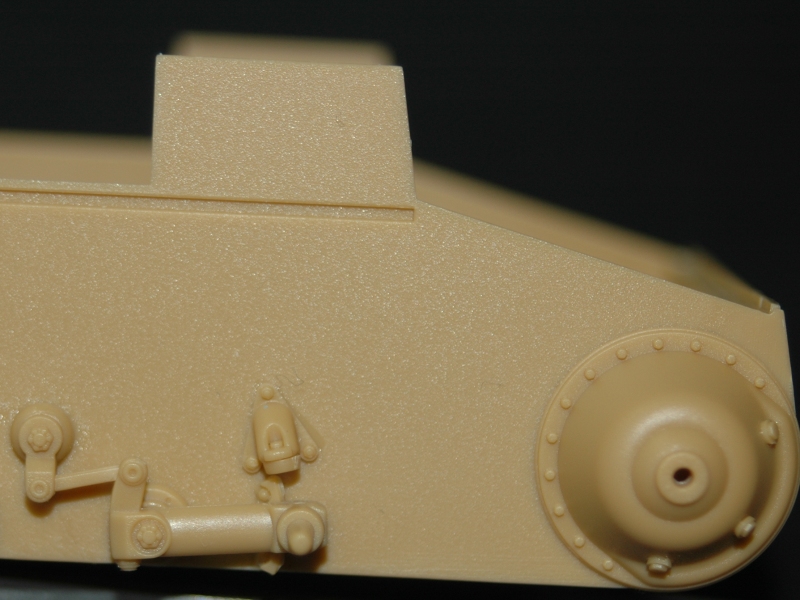
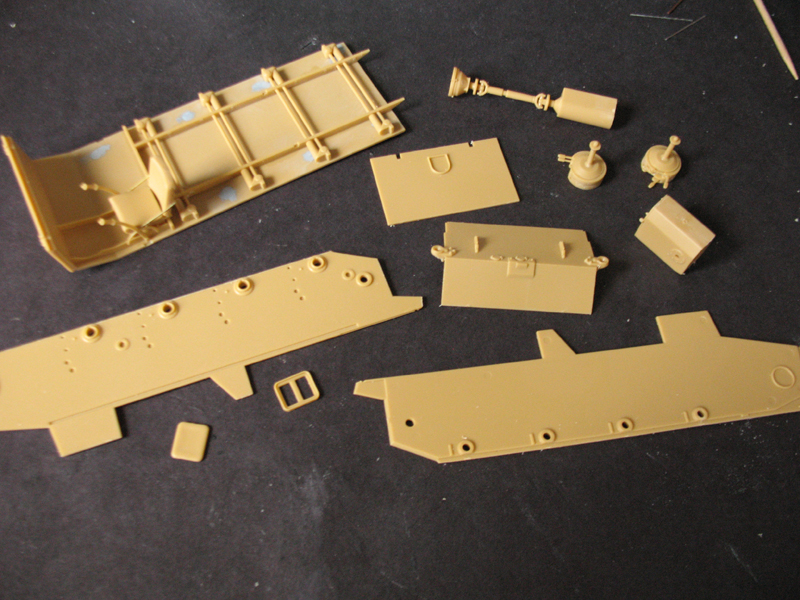
With everything all set it's time to assemble the lower hull. I added one side, the firewall and rear plate first. Dry fit the drive assembly to make sure the other hull side will fit properly...mine needed a bit of sanding on the brakes(?).


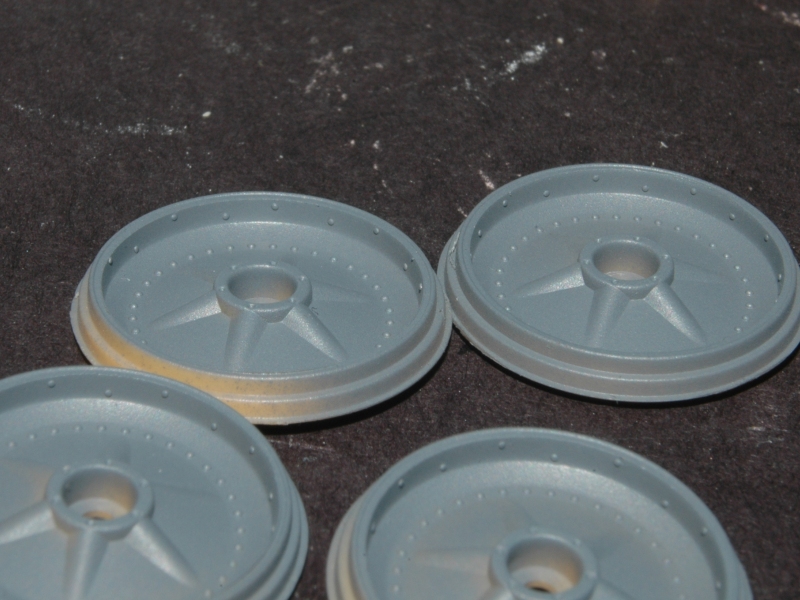
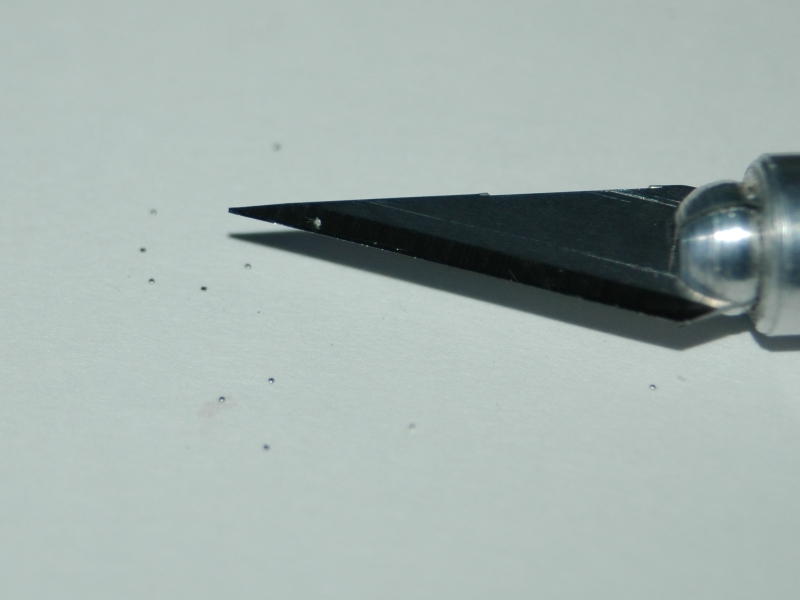
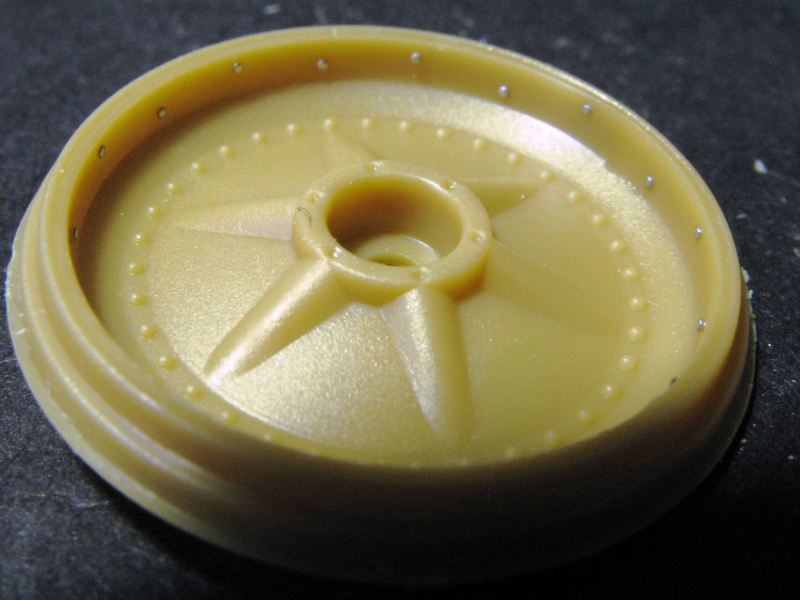
While I was waiting for the hull to dry I figured I'd start on adding the rivets to the wheels that I had mentioned in the review. Using the Nutter from The Small Shop (I love this tool!) I went about punching out the 0.25mm rivets, 18 per wheel. I believe there are also 4 larger rivets, but I need to find a better picture to see if I'll add those. Since I'm only partially anal, I'm only doing the outer wheels. Yeah, these things are small.


More to come later...
Bizarre
Visit this Community
Akershus, Norway
Joined: July 20, 2010
KitMaker: 1,709 posts
Armorama: 1,581 posts
Posted: Friday, February 08, 2013 - 10:34 AM UTC
wow, James, these rivets suck.... it was smart to fill the ejector marks on the floor as those that are in the radio man area would be seen from the top of the model.
c5flies
Visit this Community
California, United States
Joined: October 21, 2007
KitMaker: 3,684 posts
Armorama: 2,938 posts
Posted: Friday, February 08, 2013 - 11:00 AM UTC
You don't like my rivets Roman? Yeah, the four pin marks behind the firewall didn't need to be filled, but you're right about the radio operators area.
CMOT
Staff MemberEditor-in-Chief
ARMORAMA
Visit this Community
England - South West, United Kingdom
Joined: May 14, 2006
KitMaker: 10,954 posts
Armorama: 8,571 posts
Posted: Friday, February 08, 2013 - 12:58 PM UTC
I can see this is going to be a promising build james. I don't think I would have the patience to add all those rivets.
FAUST
#130
Visit this Community
Noord-Holland, Netherlands
Joined: June 07, 2002
KitMaker: 8,797 posts
Armorama: 4,190 posts
Posted: Friday, February 08, 2013 - 01:22 PM UTC
You can never go wrong with an open topped vehicle. And you are off to a great start. This is actually one of my favorite Marders so I'm going to sit back and enjoy.
johhar
Visit this Community
Alabama, United States
Joined: September 22, 2008
KitMaker: 476 posts
Armorama: 447 posts
Posted: Friday, February 08, 2013 - 01:24 PM UTC
I've been watching this kit with interest and am glad to see a build. This way I'll be warned about any surprises. The tracks may be a deal-breaker so I'll be interested in your blood pressure level as you tackle those. Question about the rivets; what guidance is there to their location on the rims?
Thanks,
Jon
Tiger_213
Visit this Community
California, United States
Joined: August 10, 2012
KitMaker: 1,510 posts
Armorama: 1,443 posts
Posted: Friday, February 08, 2013 - 01:29 PM UTC
Will be watching for sure.
c5flies
Visit this Community
California, United States
Joined: October 21, 2007
KitMaker: 3,684 posts
Armorama: 2,938 posts
Posted: Friday, February 08, 2013 - 01:33 PM UTC
Thanks guys. Darren, thanks again for the opportunity to build this kit! The rivets actually go on pretty easy...I just need to remember to breathe as I tend to hold my breath while moving them in position


Quoted Text

The tracks may be a deal-breaker so I'll be interested in your blood pressure level as you tackle those. Question about the rivets; what guidance is there to their location on the rims?
Thanks,
Jon


Jon, a quick build of 10 links and I found these tracks non-stressful. We'll see how they go later in the build. There is a slight seam on the pin end, otherwise they are very clean.

The rivets line up with the ones on the face of the rim, every other one and staggered.
russamotto
Visit this Community
Utah, United States
Joined: December 14, 2007
KitMaker: 3,389 posts
Armorama: 2,054 posts
Posted: Friday, February 08, 2013 - 03:00 PM UTC
You are off to a very good start. It looks like the interior fits nicely with the hull sides in place. I keep looking at this kit and thinking how much trouble I would be in if I got it.
Bizarre
Visit this Community
Akershus, Norway
Joined: July 20, 2010
KitMaker: 1,709 posts
Armorama: 1,581 posts
Posted: Saturday, February 09, 2013 - 03:34 AM UTC

Quoted Text

You don't like my rivets Roman?


no, of course I like them. Sorry for confusion. I meant that adding these rivets sucks, the process.
c5flies
Visit this Community
California, United States
Joined: October 21, 2007
KitMaker: 3,684 posts
Armorama: 2,938 posts
Posted: Saturday, February 09, 2013 - 06:40 AM UTC
In trouble with the wife, Russ?

That's good to hear Roman, it's depressing when my modeling sucks

A little more progress last night getting the suspension done.


Each wheel station is made up of 5 parts. Cut off a piece of the mounting lugs at least 3.1mm so they don't bottom out and stick out too far...I cut mine a bit more.The instructions don't show it too clearly, but part B39 needs to slide under B36, something you'll find out with the first one you do


The swingarms on stations 2 & 3 can easily be made positionable by removing the small tab, stations 1 & 4 for need a little more surgery to move them. I left all mine on a level plane. 3 small washers/nuts are added to the final drive housing and this step is complete for now (I'll leave the idler mount off until the tracks are done)


Step 8 adds a couple of small details to the transmission, so these were added since it's time to paint the driver's area before closing it up. Next up is the rear
firstcircle
Visit this Community
England - South East, United Kingdom
Joined: November 19, 2008
KitMaker: 2,249 posts
Armorama: 2,007 posts
Posted: Saturday, February 09, 2013 - 01:25 PM UTC
Those rivets are ...metal? 0.25mm. Hm, what do you use to pick them up with? I have a feeling my cheap tweezers wouldn't handle that; if plastic I'd use a knife point.
c5flies
Visit this Community
California, United States
Joined: October 21, 2007
KitMaker: 3,684 posts
Armorama: 2,938 posts
Posted: Saturday, February 09, 2013 - 02:06 PM UTC
4/0 or smaller round point paintbrush Matthew. I use a 50/50 mix of water and Future for adhesive and to help slide them around, and then the same solution to further stick them in place. Primer coat of paint goes on as soon as possible to make sure they stay there, in this case when I painted the driver's area.


SgtRam
Staff MemberContributing Writer
AEROSCALE
#197
Visit this Community
Ontario, Canada
Joined: March 06, 2011
KitMaker: 3,971 posts
Armorama: 2,859 posts
Posted: Saturday, February 09, 2013 - 03:04 PM UTC
James - Impressive work, now stop talking about it, and get it done....
CMOT
Staff MemberEditor-in-Chief
ARMORAMA
Visit this Community
England - South West, United Kingdom
Joined: May 14, 2006
KitMaker: 10,954 posts
Armorama: 8,571 posts
Posted: Saturday, February 09, 2013 - 04:48 PM UTC
James I can see this one has you by the throat I cannot remember you ever building this quickly. 1 question in the second picture of the suspension update the log is supposed to locate in the groove correct?
I ask as the picture does not show that and I thought i might be missing something.
c5flies
Visit this Community
California, United States
Joined: October 21, 2007
KitMaker: 3,684 posts
Armorama: 2,938 posts
Posted: Saturday, February 09, 2013 - 05:04 PM UTC
Kev...I actually am making a bit of progress!

Having some time off helps Darren, but this one does have my attention...great kit so far.

Yeah, I realized after I posted that pic that I wasn't clear that I was showing an "in process" shot...it needs to be turned a bit more and pushed in.
panzerconor
Visit this Community
Massachusetts, United States
Joined: February 08, 2012
KitMaker: 1,271 posts
Armorama: 1,253 posts
Posted: Saturday, February 09, 2013 - 05:37 PM UTC
The detail on this kit has my head spinning Epic, my friend, just epic. I'll stick to my Tamiya Marder for now thank you very much

-Conor
 _GOTOTOP