_GOTOBOTTOM
Armor/AFV: Allied - WWII
Armor and ground forces of the Allied forces during World War II.
Hosted by Darren Baker
Riich Universal Carrier Mk.II
bill_c
Staff MemberCampaigns Administrator
MODEL SHIPWRIGHTS
Visit this Community
New Jersey, United States
Joined: January 09, 2008
KitMaker: 10,553 posts
Armorama: 8,109 posts
Posted: Wednesday, July 30, 2014 - 02:18 AM UTC
After some delays finishing up my Matador & 6" howitzer build, I'm ready to begin the long-promised build of Riich's new Universal Carrier Mk.II (see my review here).


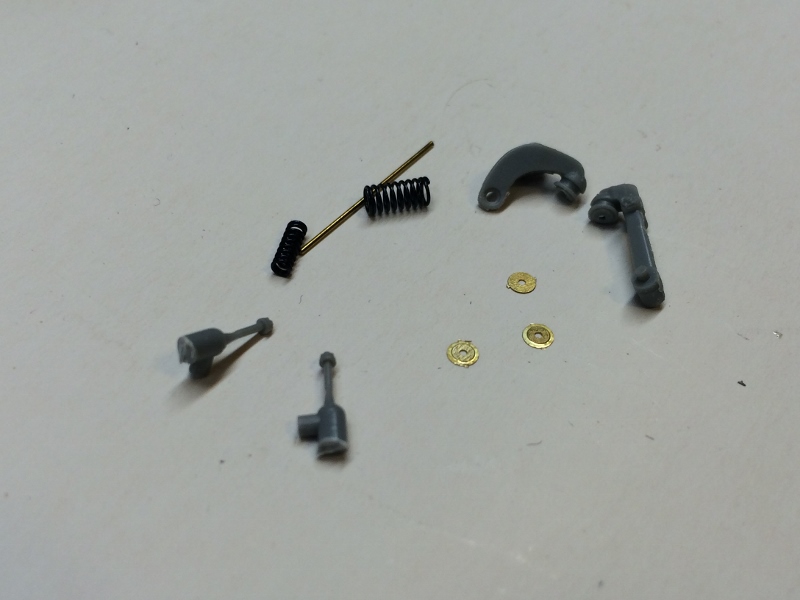
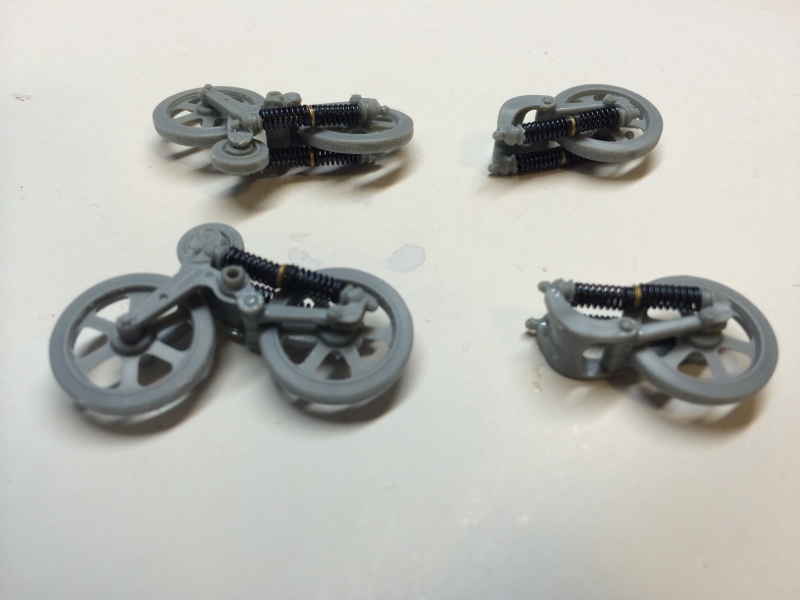
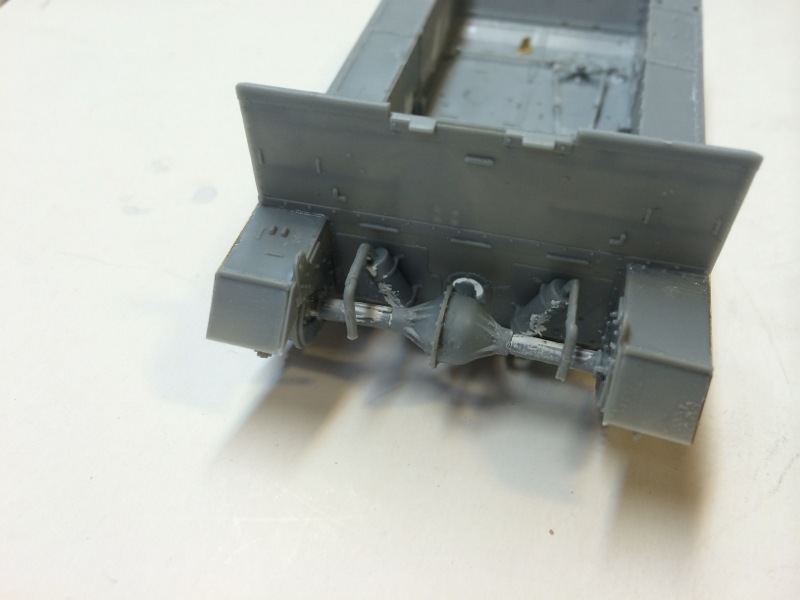
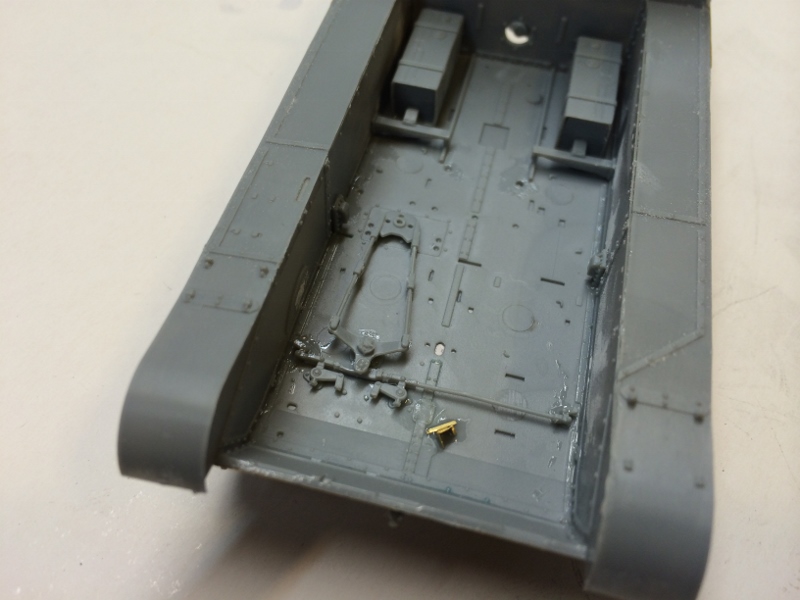
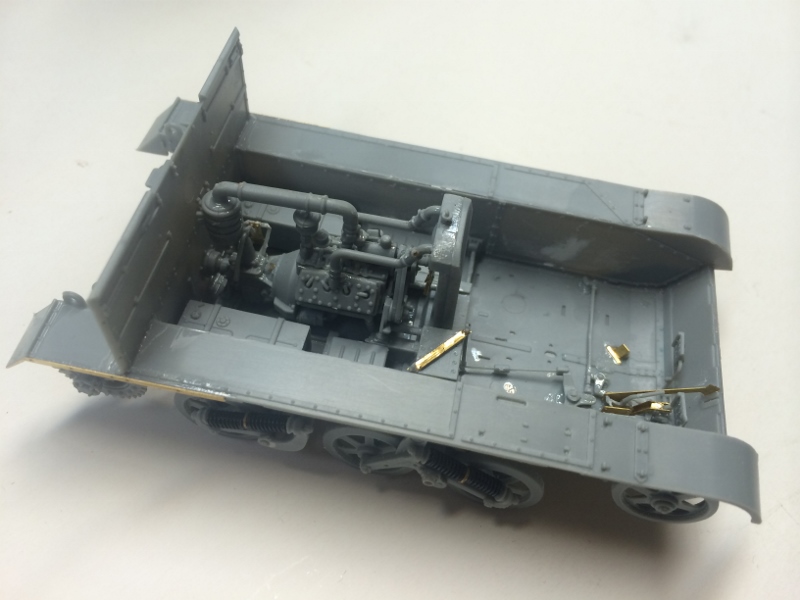
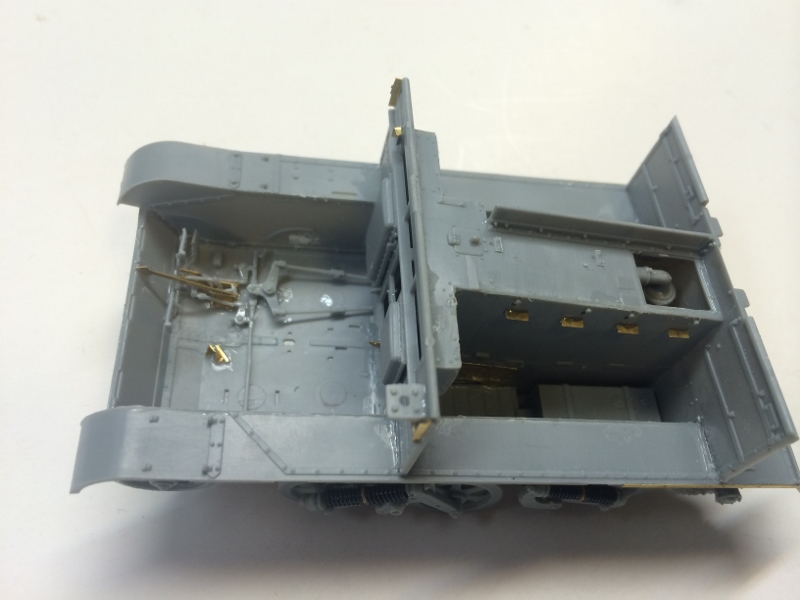
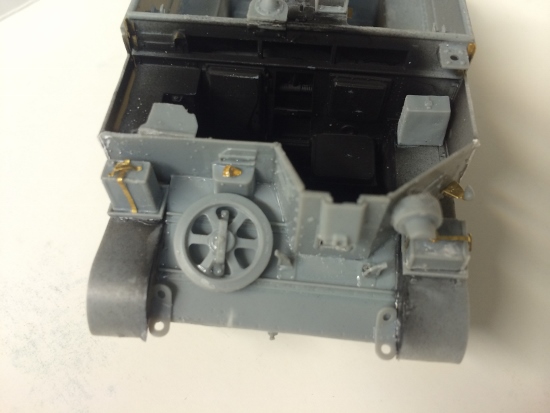
As with the Mk.I, the build commences with the finely-detailed, but alas, hidden engine:


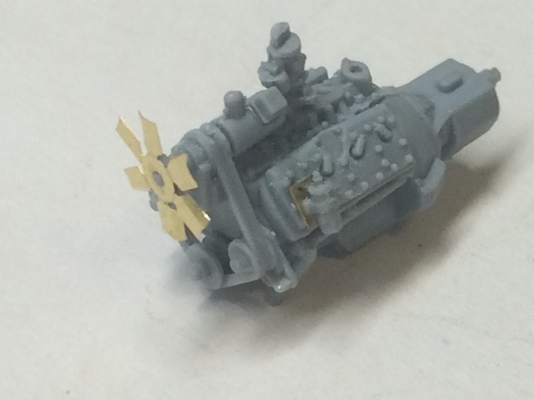
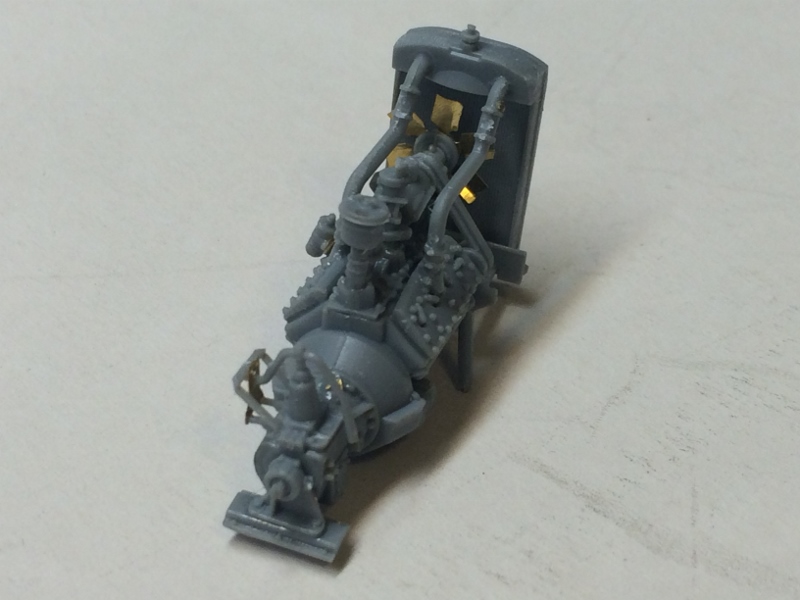
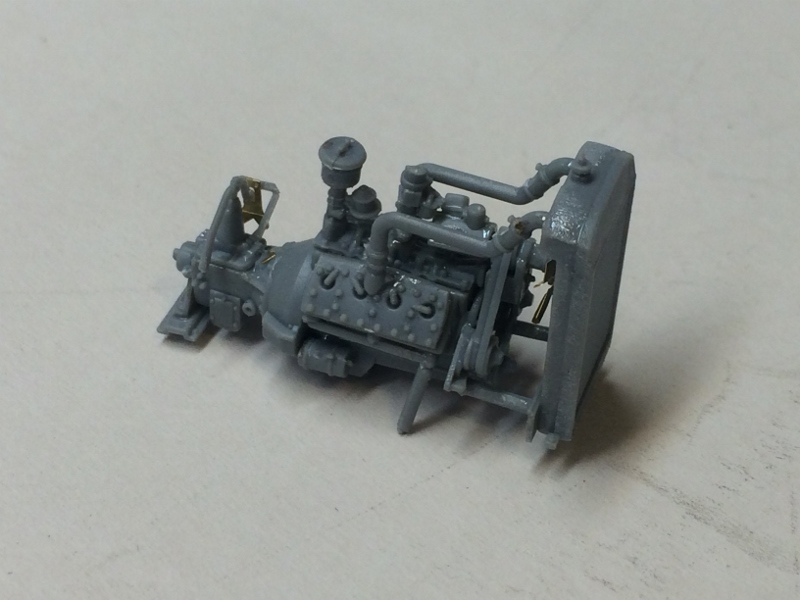
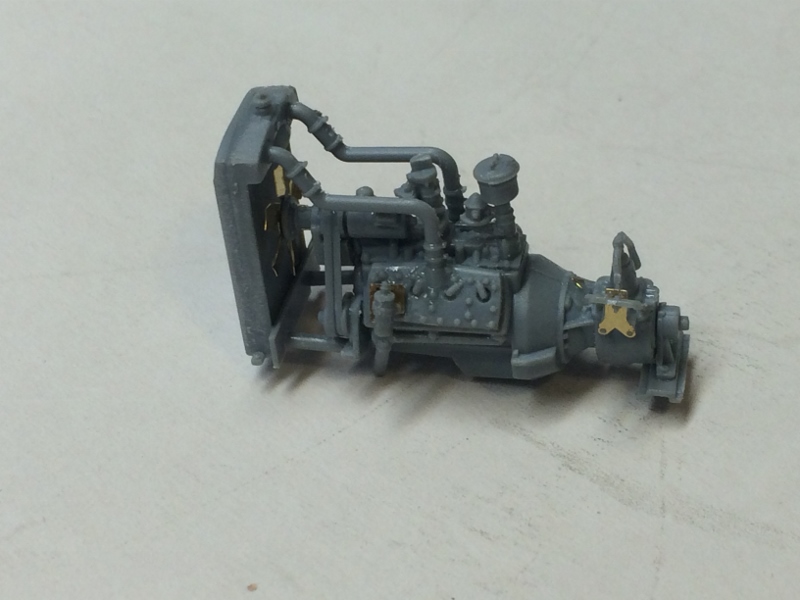
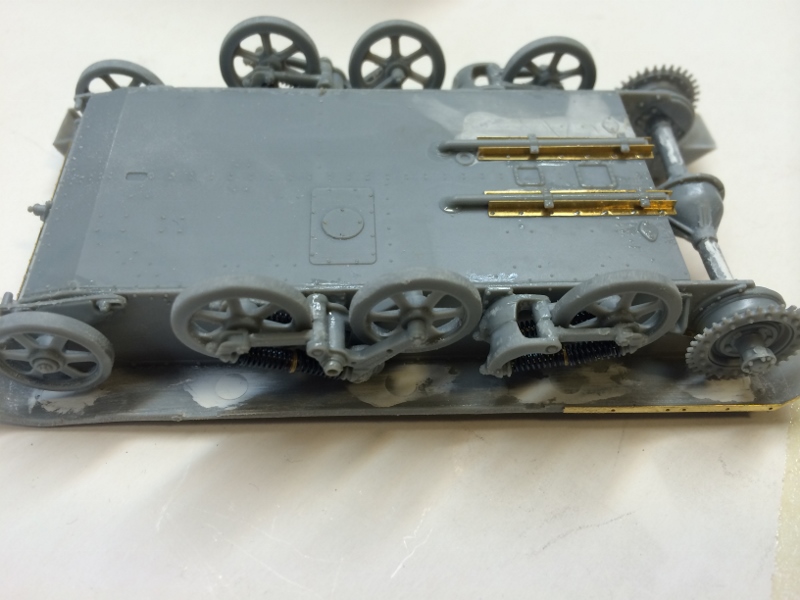
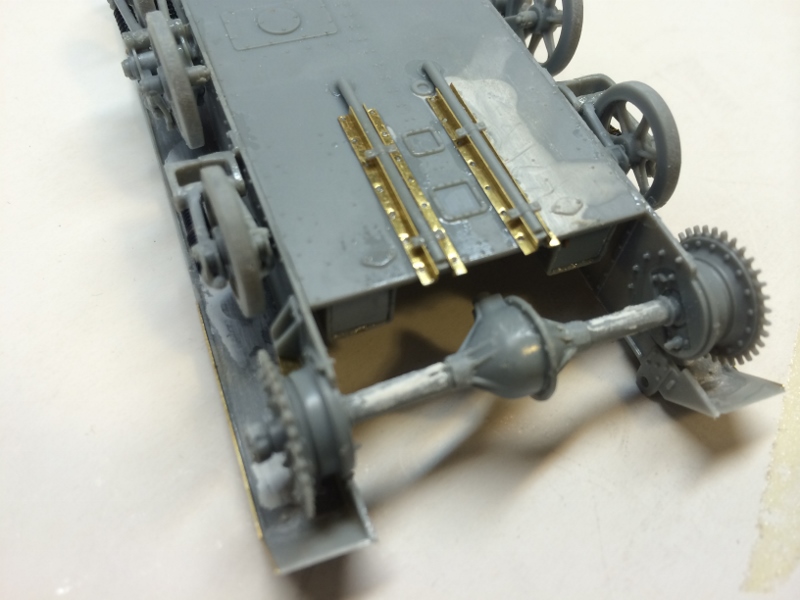
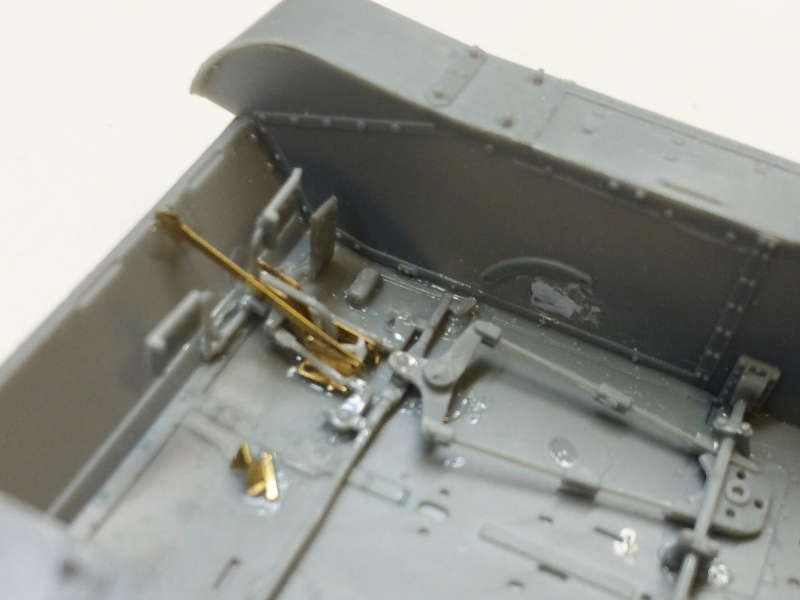
The engine requires some care, as the forward support pylons are attached to an oddly-shaped long piece that is itself attached beneath the cylinder head (not clear from the instructions). You can see my pylons are a bit wobbly in the photos.

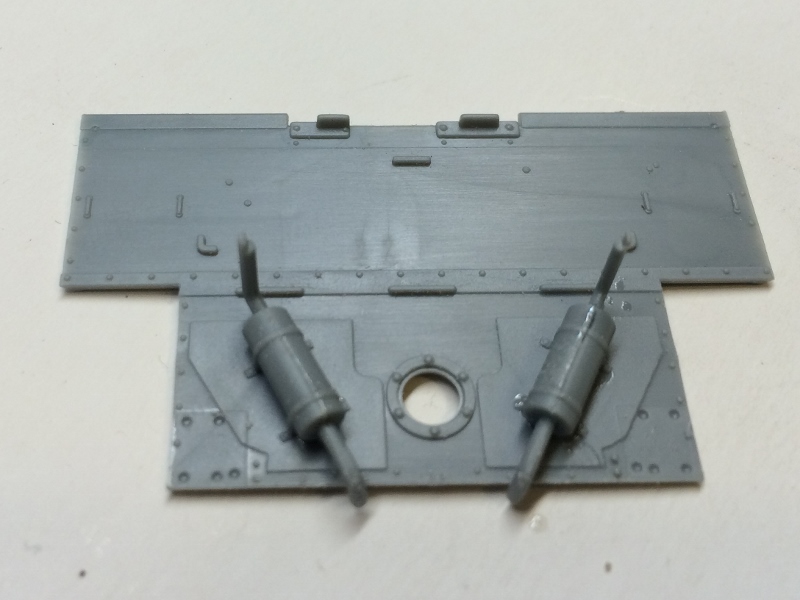
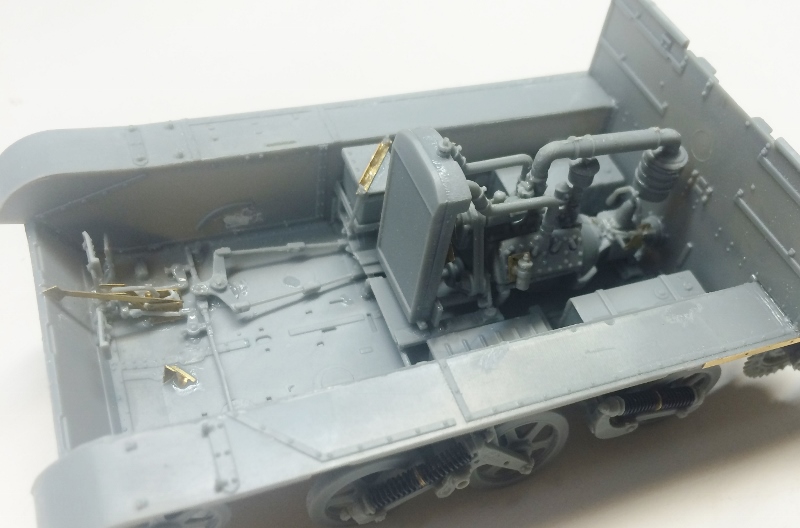
Super-detailers can have a field day with this engine, but it won't show in the final build unless you open the engine cover. A new PE set from Inside the Armor will allow for that.
bill_c
Staff MemberCampaigns Administrator
MODEL SHIPWRIGHTS
Visit this Community
New Jersey, United States
Joined: January 09, 2008
KitMaker: 10,553 posts
Armorama: 8,109 posts
Posted: Wednesday, July 30, 2014 - 02:39 AM UTC
Step #2: the floor board.


The next step is to assemble the gas tanks from four separate pieces. The tanks rest atop 4 "feet" that aren't visible after the build, so some of you may find that to be over-design, while others like myself appreciate the chance to see how this little honey was built.

On the bottom of the floorboard you will need to mount four PE brackets to hold the exhaust pipes. The brackets fit onto raised styrene "bolts" and align perfectly:

bill_c
Staff MemberCampaigns Administrator
MODEL SHIPWRIGHTS
Visit this Community
New Jersey, United States
Joined: January 09, 2008
KitMaker: 10,553 posts
Armorama: 8,109 posts
Posted: Friday, August 08, 2014 - 06:21 AM UTC
Next are the bogeys/road wheels.

They are built around the very visible, distinctive springs that Tamiya rendered mostly as styrene. The springs are either formed around a plastic shaft with the divider built in, or (in this case) a brass rod with three PE disks. The springs are doubled, too, with a smaller one cradled inside a larger one.

It sounds excessively "fiddly," but it's not and the results blow away anything in resin or styrene:


And the results:
bill_c
Staff MemberCampaigns Administrator
MODEL SHIPWRIGHTS
Visit this Community
New Jersey, United States
Joined: January 09, 2008
KitMaker: 10,553 posts
Armorama: 8,109 posts
Posted: Friday, August 08, 2014 - 06:27 AM UTC
Next comes mounting the bogey assemblies to the hull tub. I don't like the way that Riich does this: the attachment points are too delicate, and it's difficult getting the bogeys aligned. Also, there is no provision for shortening the read bogey springs to have the vehicle tilted when carrying a lot of cargo (photos show these puppies loaded & over-loaded with all kits of [auto-censored].


I realize I did not show mounting the universal joint/rear power axle to the kit. There are several tricky points in this assembly. First of all, the hull tub plug is not referenced in the instructions. It should be installed now.

Second, make sure you do NOT glue the sprockets to their mounting, as you will want them to turn freely when mounting the tracks. Finally, you have to line up the inside portion of the sprocket assembly correctly, or the thing won't mount properly to the hull tub:


Here is the rear hull tub wall without the plug:

bill_c
Staff MemberCampaigns Administrator
MODEL SHIPWRIGHTS
Visit this Community
New Jersey, United States
Joined: January 09, 2008
KitMaker: 10,553 posts
Armorama: 8,109 posts
Posted: Friday, August 08, 2014 - 07:08 AM UTC
Next is the interior, with the most detail reserved for the driver's compartment. You start with the steering gear:


Then add the engine:


bat-213
Visit this Community
Canada
Joined: December 30, 2011
KitMaker: 902 posts
Armorama: 788 posts
Posted: Friday, August 08, 2014 - 06:57 PM UTC
great start on your build. looking good.
justsendit
Visit this Community
Colorado, United States
Joined: February 24, 2014
KitMaker: 3,033 posts
Armorama: 2,492 posts
Posted: Saturday, August 09, 2014 - 12:34 AM UTC
Nice details. Looks great so far!

--mike
panamadan
Visit this Community
Minnesota, United States
Joined: July 20, 2004
KitMaker: 1,513 posts
Armorama: 1,449 posts
Posted: Saturday, August 09, 2014 - 01:00 AM UTC
A very busy kit!
Dan
jrutman
Visit this Community
Pennsylvania, United States
Joined: April 10, 2011
KitMaker: 7,941 posts
Armorama: 7,934 posts
Posted: Saturday, August 09, 2014 - 01:11 AM UTC
Lookin good. You have way more patience than I do buddy.
J
Biggles2
Visit this Community
Quebec, Canada
Joined: January 01, 2004
KitMaker: 7,600 posts
Armorama: 6,110 posts
Posted: Saturday, August 09, 2014 - 02:47 AM UTC
Did Riich correct an instruction error concerning the placement of the axles for the drive wheels? I believe they were misnumbered for the wrong sides on the Mk l version.
bill_c
Staff MemberCampaigns Administrator
MODEL SHIPWRIGHTS
Visit this Community
New Jersey, United States
Joined: January 09, 2008
KitMaker: 10,553 posts
Armorama: 8,109 posts
Posted: Saturday, August 09, 2014 - 03:14 AM UTC
Thanks, everyone, the kit isn't for the novice builder, even if it IS a small build.

Quoted Text

Did Riich correct an instruction error concerning the placement of the axles for the drive wheels? I believe they were misnumbered for the wrong sides on the Mk l version.


From what I can see, no corrections were made to the instructions for this kit.
bill_c
Staff MemberCampaigns Administrator
MODEL SHIPWRIGHTS
Visit this Community
New Jersey, United States
Joined: January 09, 2008
KitMaker: 10,553 posts
Armorama: 8,109 posts
Posted: Thursday, August 14, 2014 - 03:35 AM UTC

Quoted Text

Lookin good. You have way more patience than I do buddy.
J


Jerry, you build some of the most-original dioramas I've ever seen from mostly scratchbuilt pieces!
bill_c
Staff MemberCampaigns Administrator
MODEL SHIPWRIGHTS
Visit this Community
New Jersey, United States
Joined: January 09, 2008
KitMaker: 10,553 posts
Armorama: 8,109 posts
Posted: Thursday, August 14, 2014 - 04:06 AM UTC
Now the sad part: enclosing the little gem of an engine:


The instructions call for putting the grab handles onto the cover much later, but I found it easier to align them if I attached them at this stage of the build.

The fit of the engine cover is a bit problematic, so be attentive:

jrutman
Visit this Community
Pennsylvania, United States
Joined: April 10, 2011
KitMaker: 7,941 posts
Armorama: 7,934 posts
Posted: Thursday, August 14, 2014 - 12:44 PM UTC
This company makes some really nice stuff. I am itching to build one of their motorcycles or maybe the new USArmy tractor.
J
bill_c
Staff MemberCampaigns Administrator
MODEL SHIPWRIGHTS
Visit this Community
New Jersey, United States
Joined: January 09, 2008
KitMaker: 10,553 posts
Armorama: 8,109 posts
Posted: Friday, August 15, 2014 - 09:18 AM UTC
You definitely get a lot of fun for your money (some might say "too much," if you don't like fiddly bits).
bill_c
Staff MemberCampaigns Administrator
MODEL SHIPWRIGHTS
Visit this Community
New Jersey, United States
Joined: January 09, 2008
KitMaker: 10,553 posts
Armorama: 8,109 posts
Posted: Monday, September 01, 2014 - 06:58 AM UTC
Next come the driver's seat and the gunner's seat:


As you can see, there are no replacement parts for the PE.


One of the changes between the Mk.1 and Mk.2 is the switch from automobile-type headlamps to a single "blackout hooded" lamp on the front left.
jrutman
Visit this Community
Pennsylvania, United States
Joined: April 10, 2011
KitMaker: 7,941 posts
Armorama: 7,934 posts
Posted: Monday, September 01, 2014 - 07:13 AM UTC
Looking good.
J
bill_c
Staff MemberCampaigns Administrator
MODEL SHIPWRIGHTS
Visit this Community
New Jersey, United States
Joined: January 09, 2008
KitMaker: 10,553 posts
Armorama: 8,109 posts
Posted: Tuesday, September 02, 2014 - 03:39 AM UTC
Thanks, Jerry. I hope to work on the final bits soon and have the photos up.
bill_c
Staff MemberCampaigns Administrator
MODEL SHIPWRIGHTS
Visit this Community
New Jersey, United States
Joined: January 09, 2008
KitMaker: 10,553 posts
Armorama: 8,109 posts
Posted: Monday, September 22, 2014 - 08:57 AM UTC
OK, in the home stretch. First an overall coat of primer & Tamiya Olive Green color:


Then the final with tracks and stowage:


And since the figures from the Mk.I are totally inappropriate for it, here's the driver set behind the wheel (unlike with tanks, the UC had a steering wheel like a car or truck):


bill_c
Staff MemberCampaigns Administrator
MODEL SHIPWRIGHTS
Visit this Community
New Jersey, United States
Joined: January 09, 2008
KitMaker: 10,553 posts
Armorama: 8,109 posts
Posted: Monday, September 22, 2014 - 08:59 AM UTC
And here are the two kits together:


Thanks to Darren Baker and Jim Starkweather for giving me the opportunity to build this little gem. You get a lot of kit for your money.
 _GOTOTOP