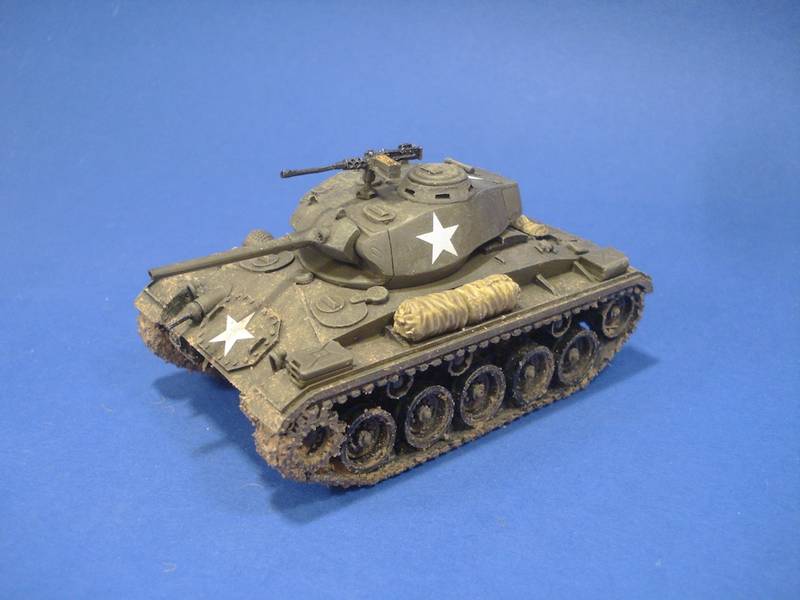
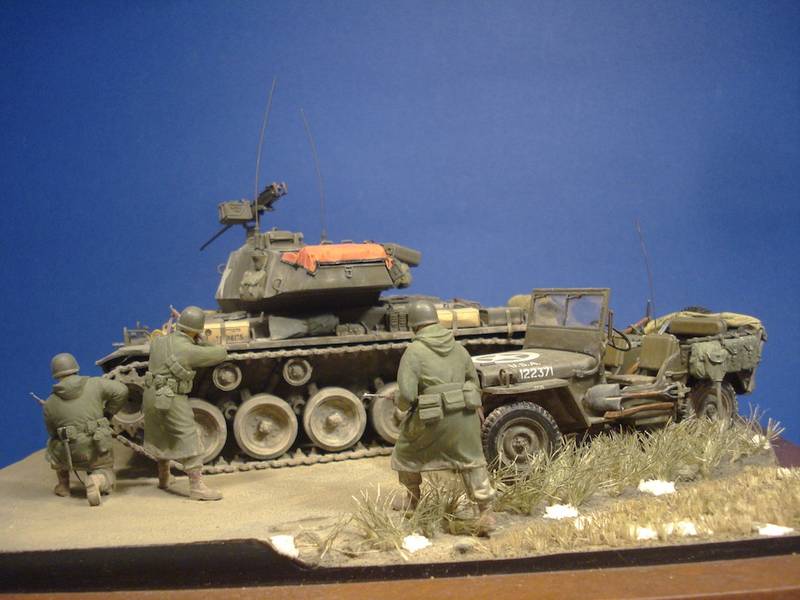
Now this is silly. But(t), Ive always been a fan of the Chaffee and have probably built every existing model of it in any scale at least once somewhere along the line except the latest Bronco and AFV Club renditions. The only two survivors are the old Italeri one, remodelled at least once:
(that was before my weathering days...)
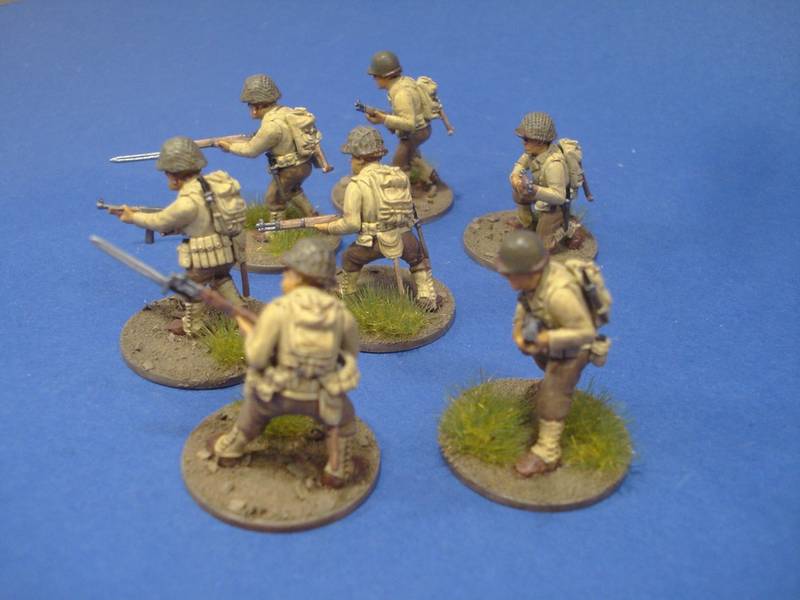
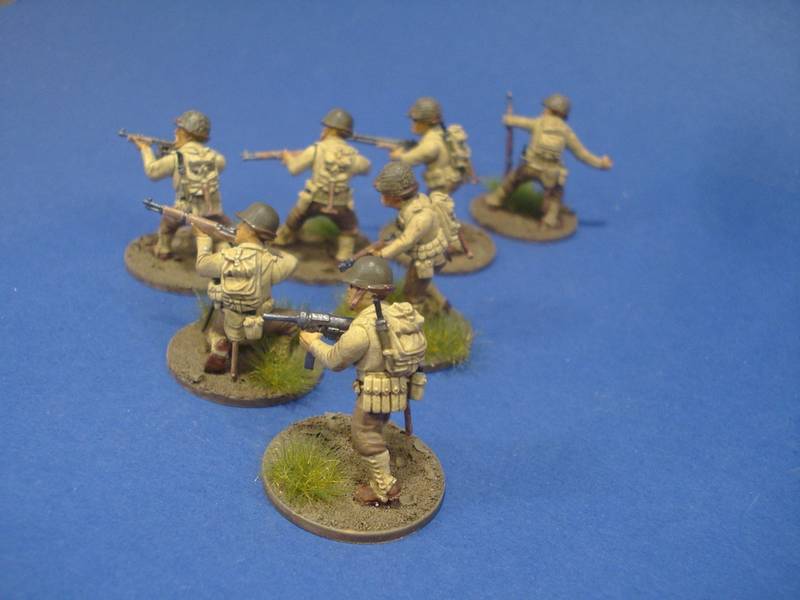
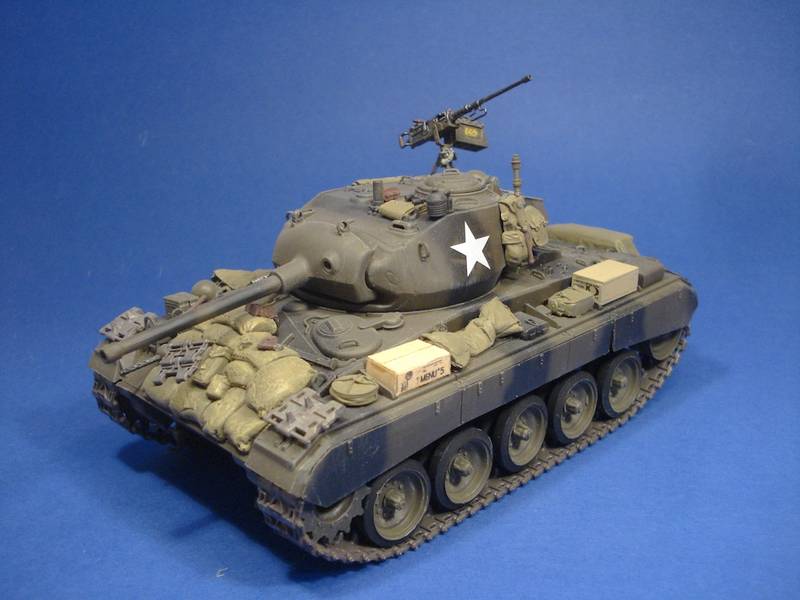
And the other one was actually one of my first projects here on Armorama, a Korean War Dio with guess what?!? An Italeri Chaffee...

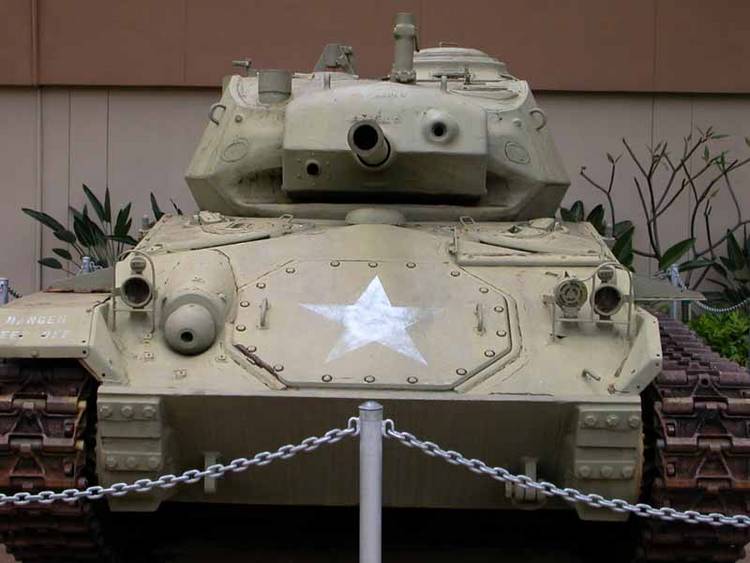
So now, its time for some serious Chaffee business. Those of you who think this blog has something to do with chafing, you can find some information on the Chaffee here, on Wikipedia.
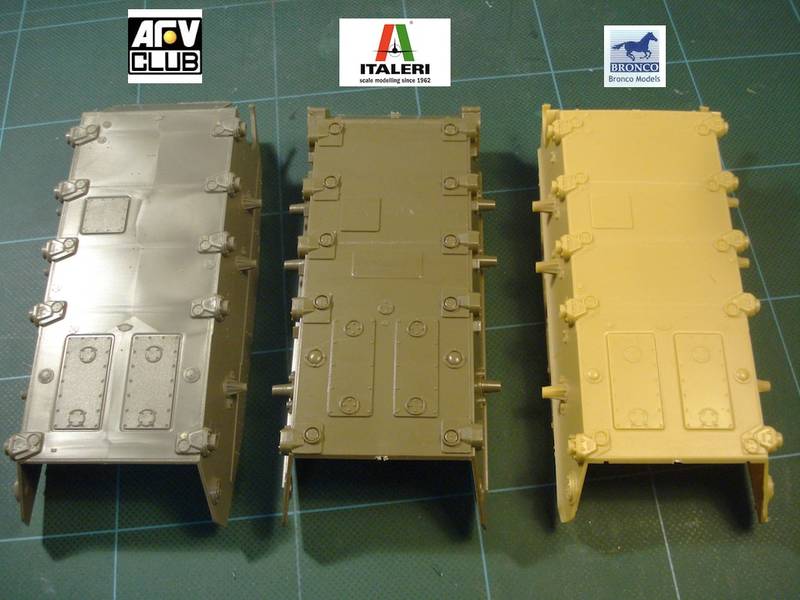
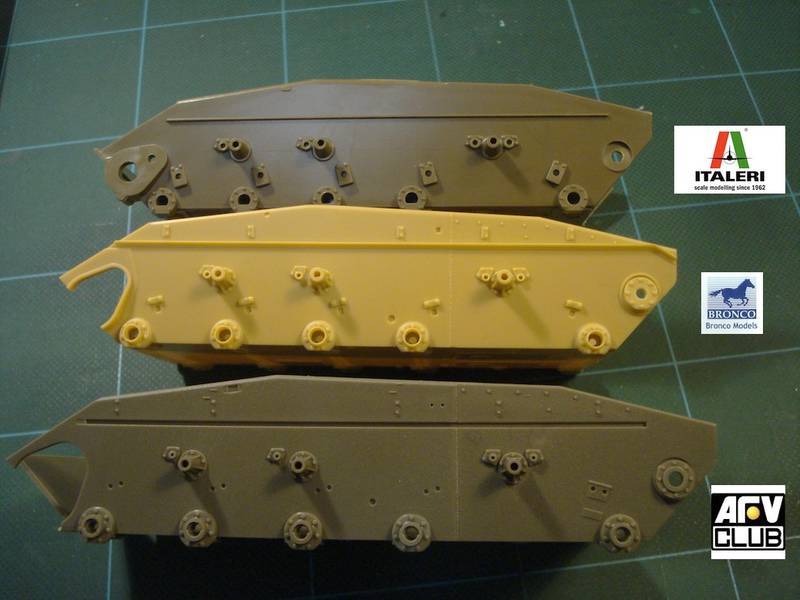
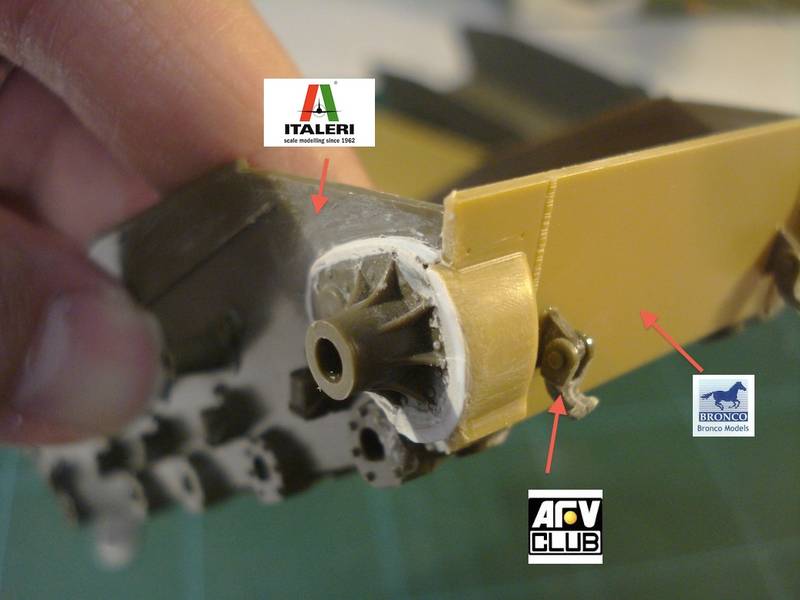
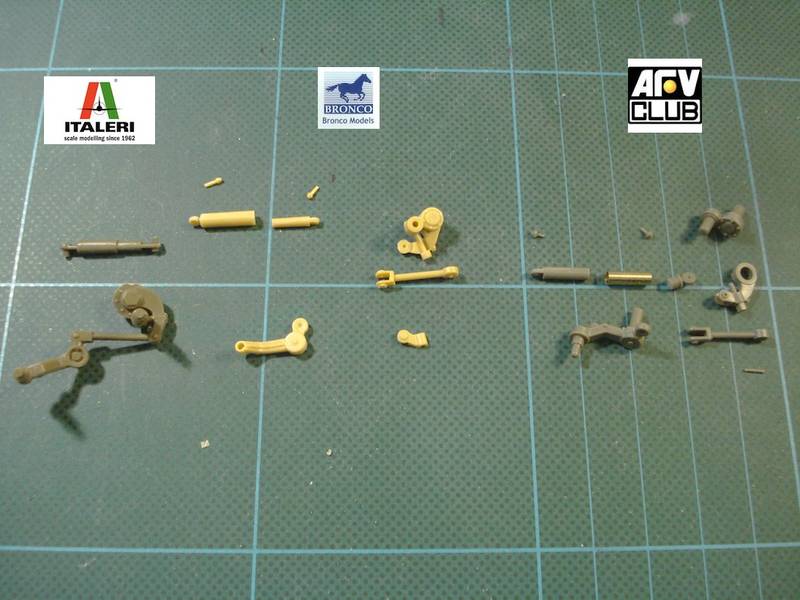
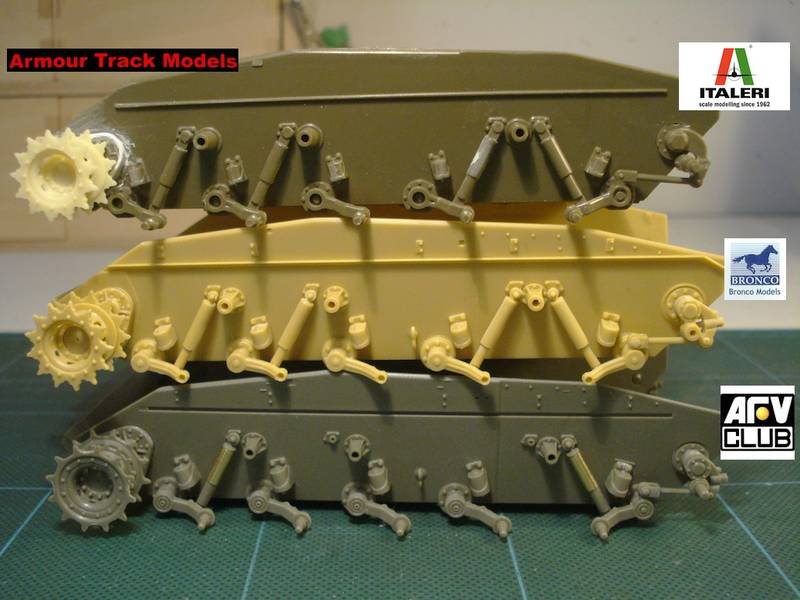
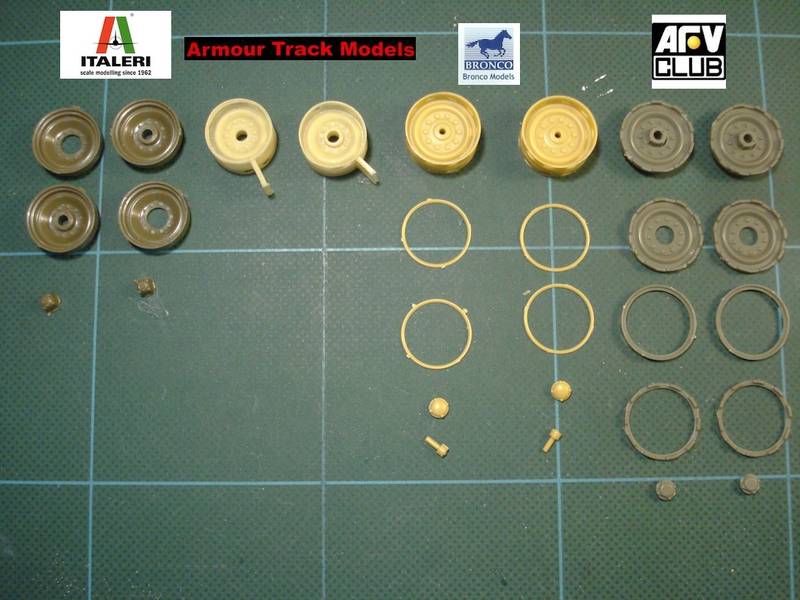
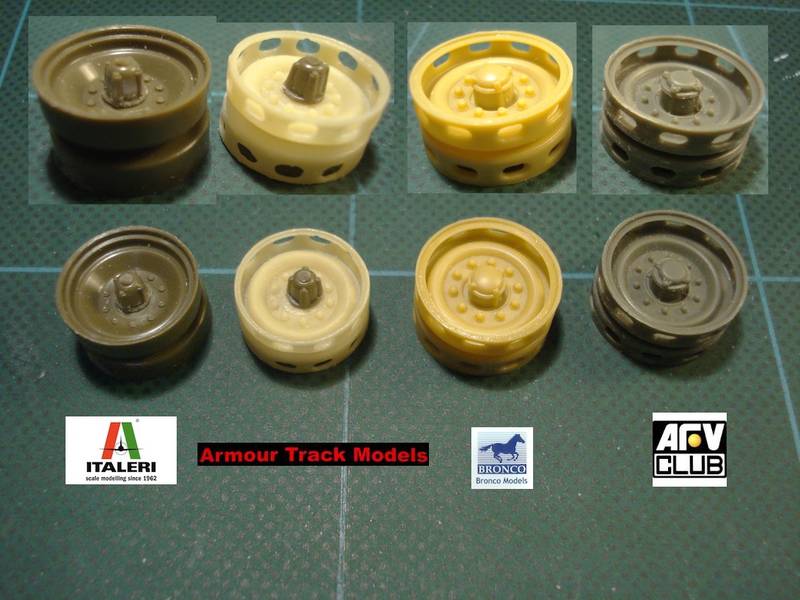
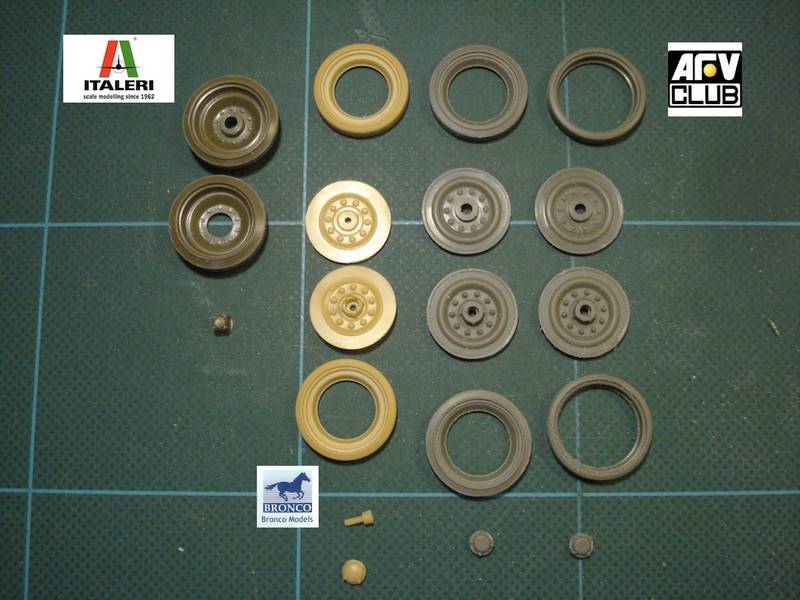
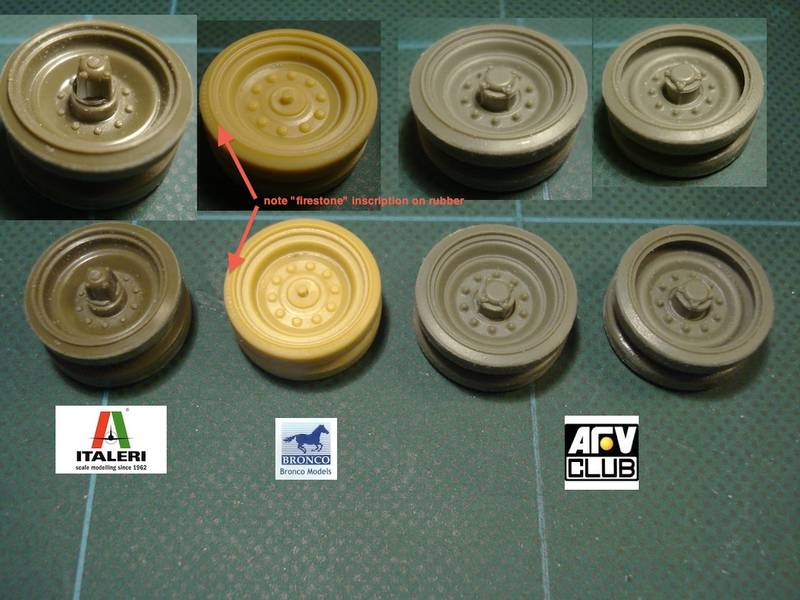
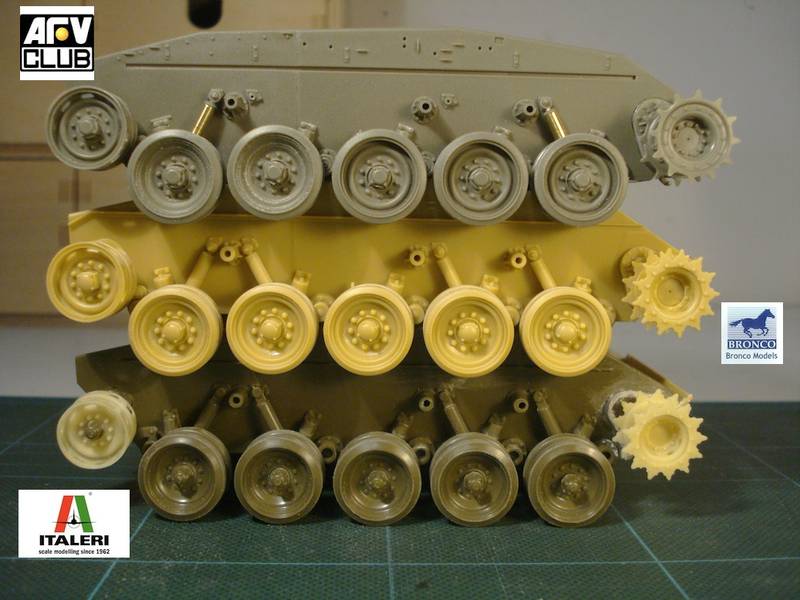
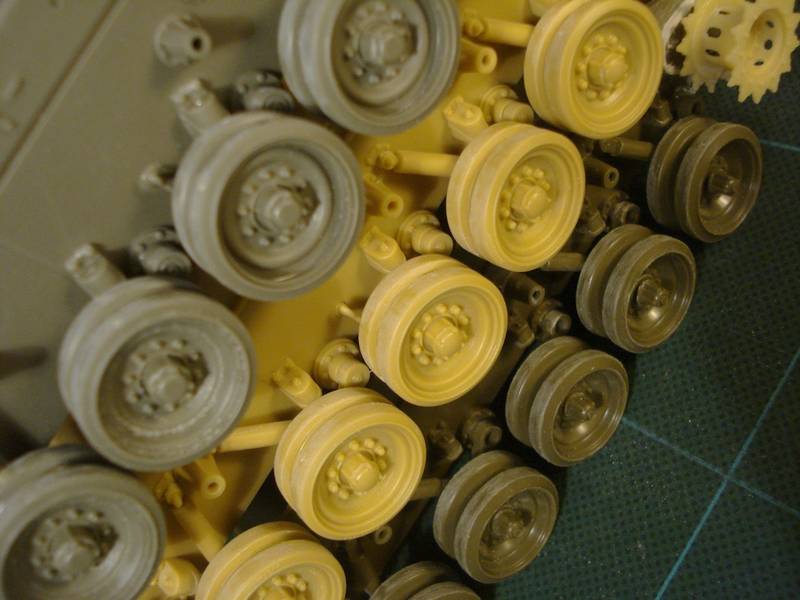
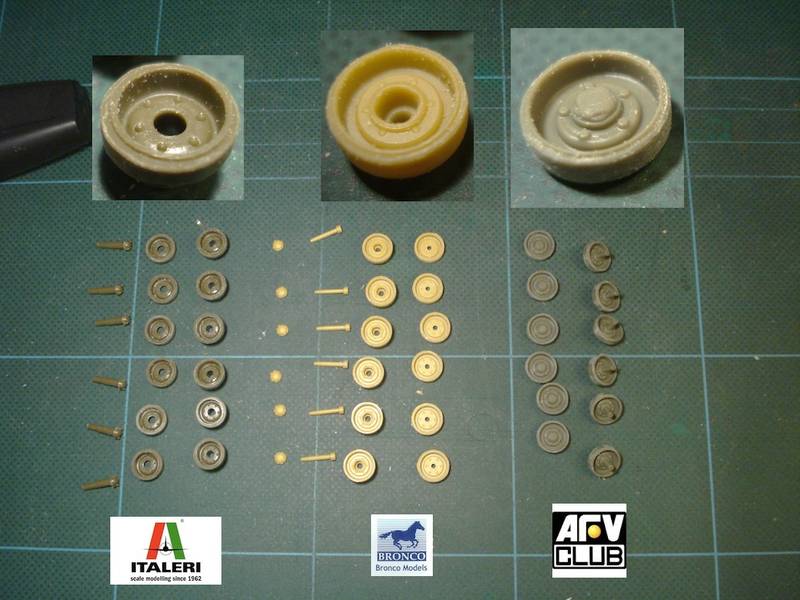
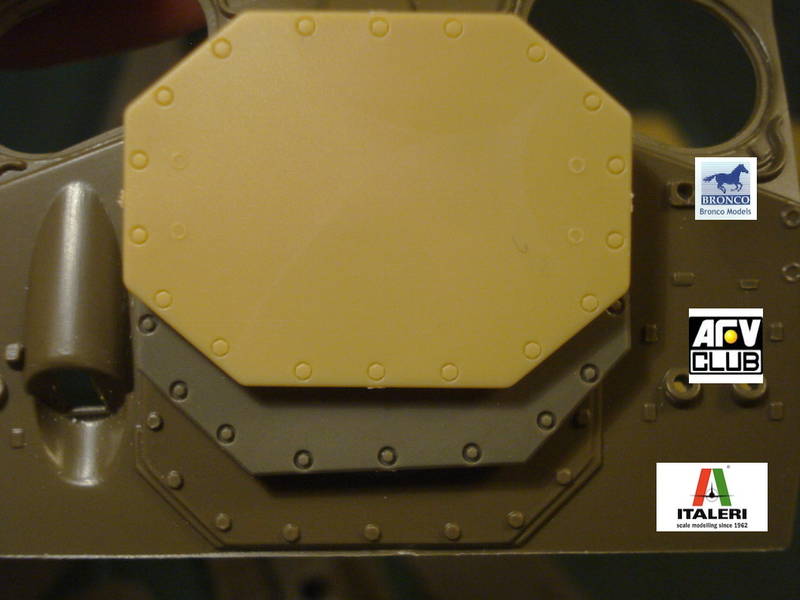
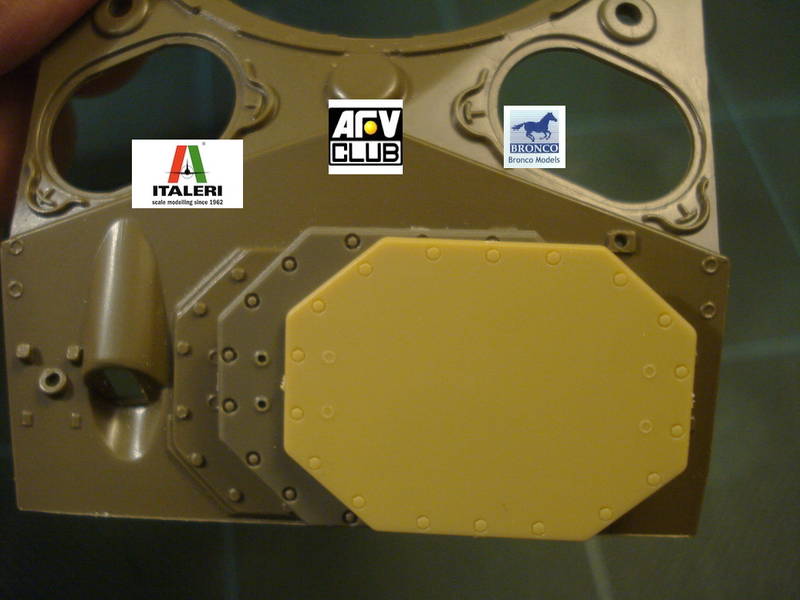
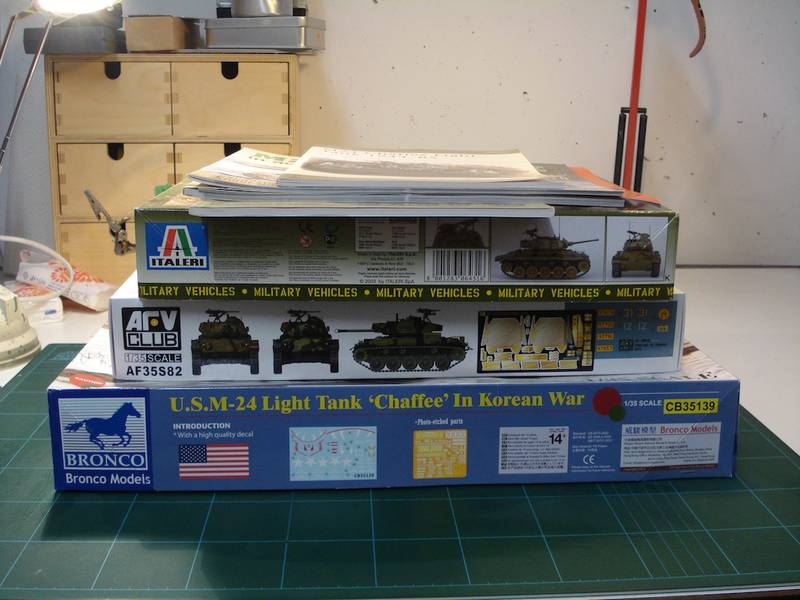
As with my Jeep build log, Ill be building three kits from different manufacturers in parallel and comparing the different sub-assemblies. Hopefully by the end Ill be able to give you some idea on which one would bet he best for you. The three contestants are as follows:
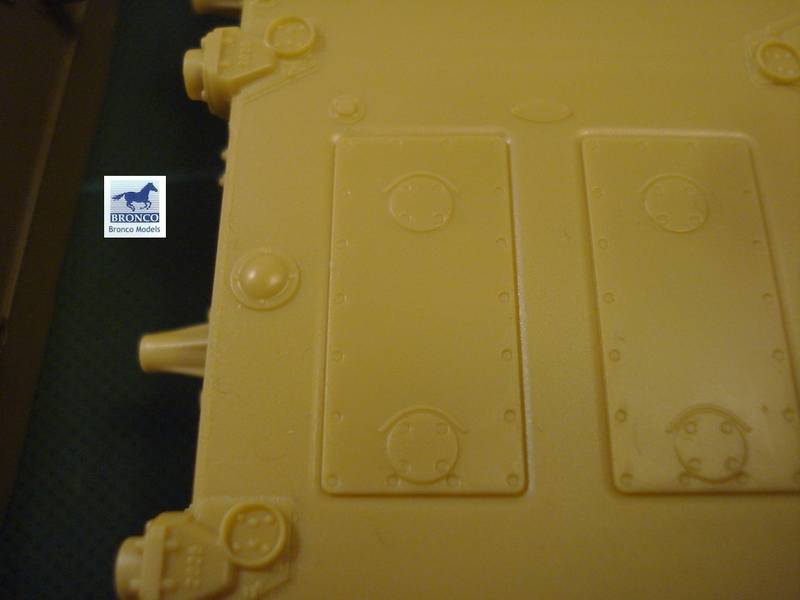
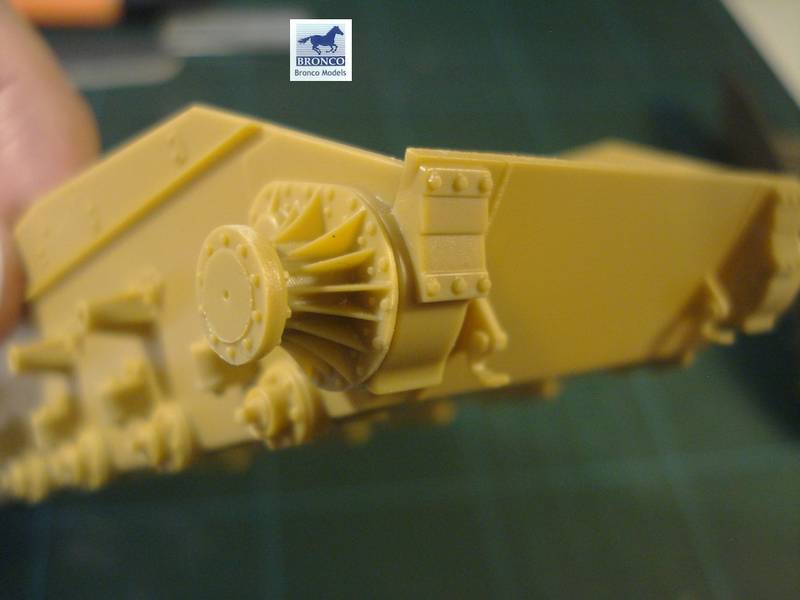
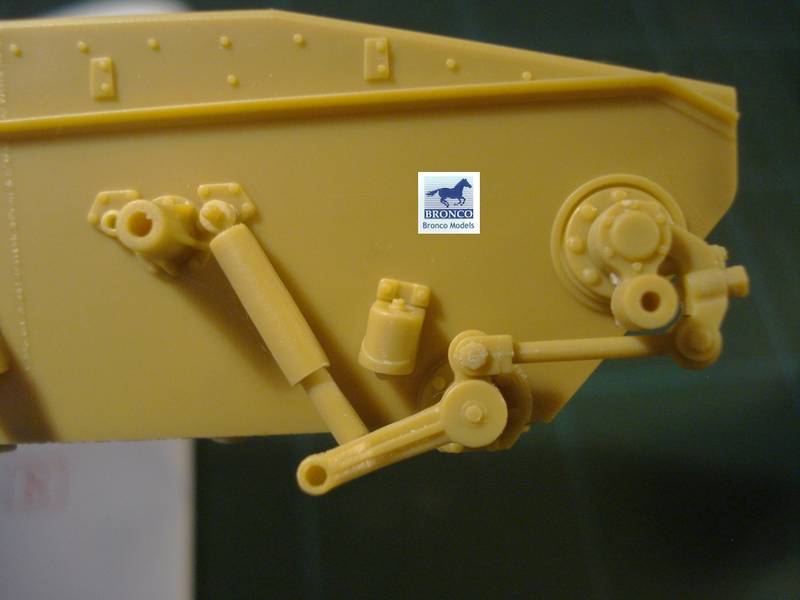
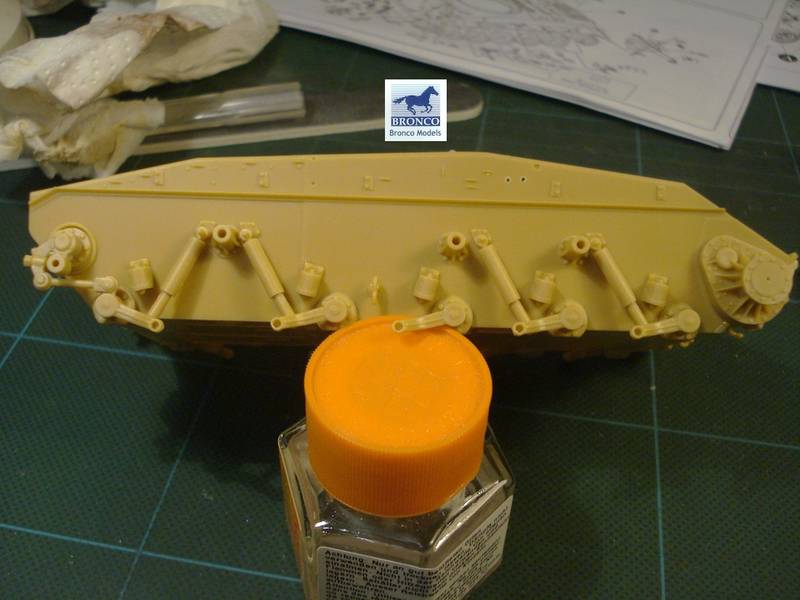
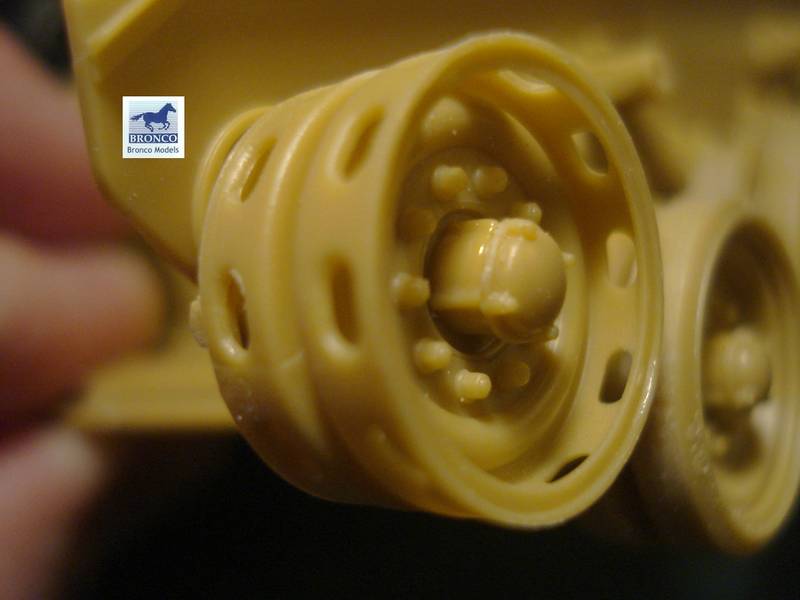
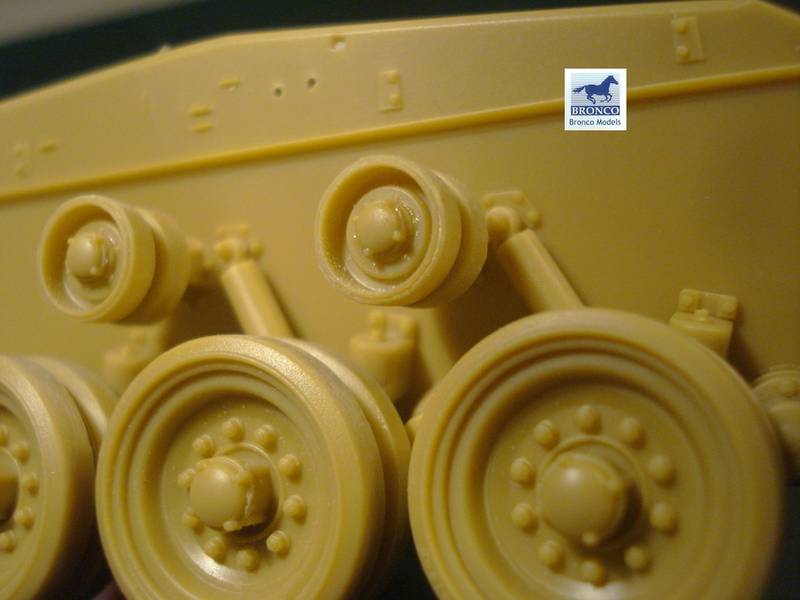
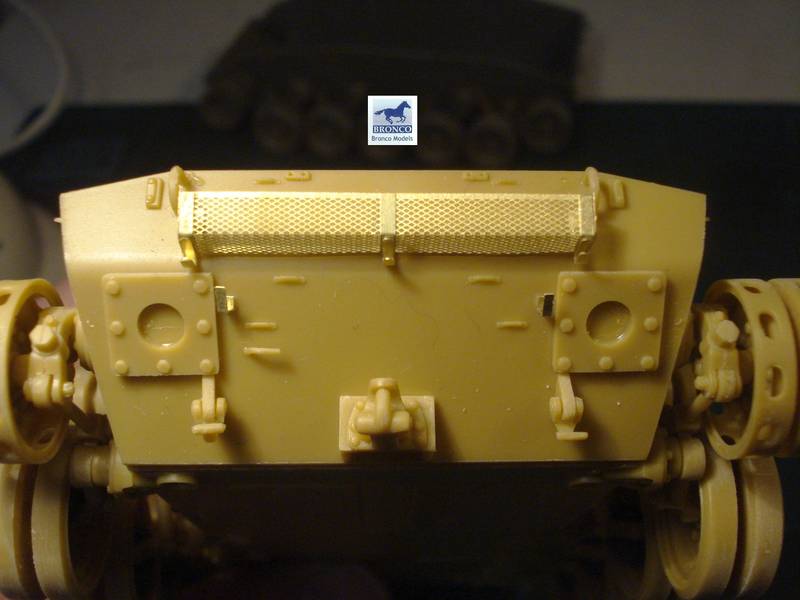
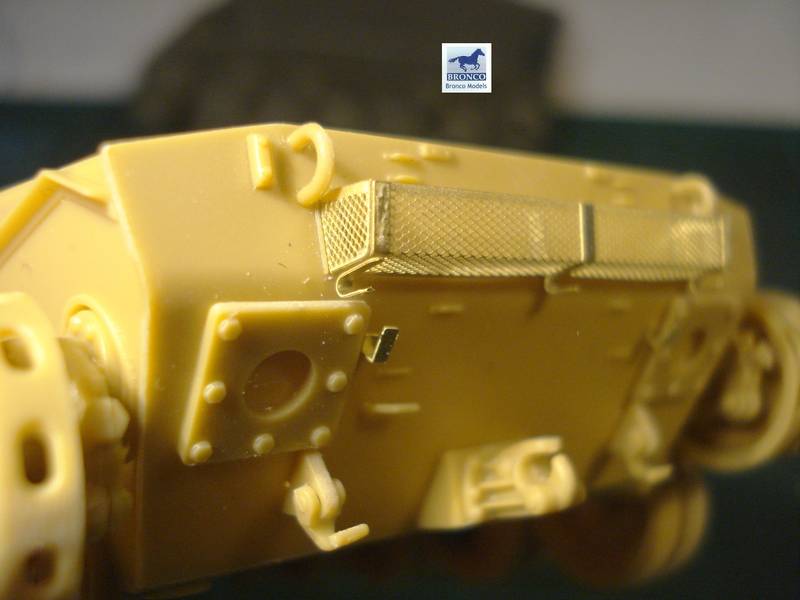
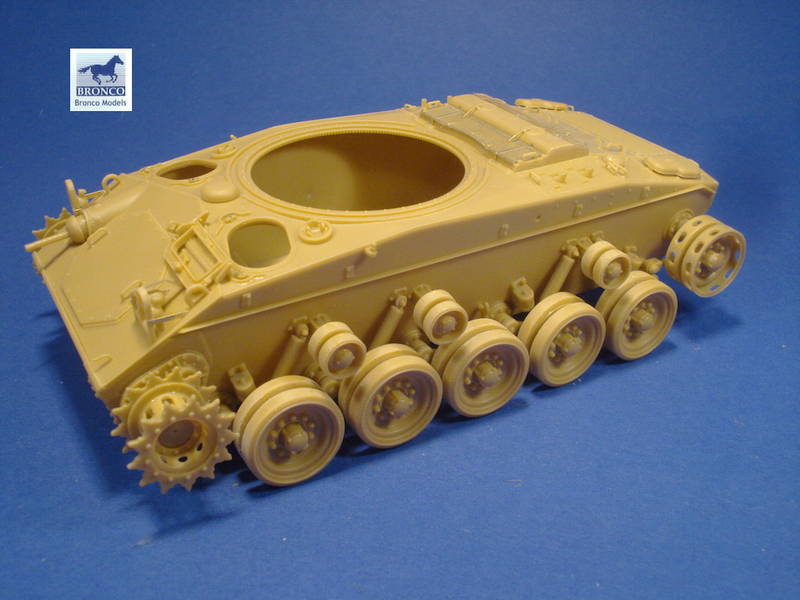
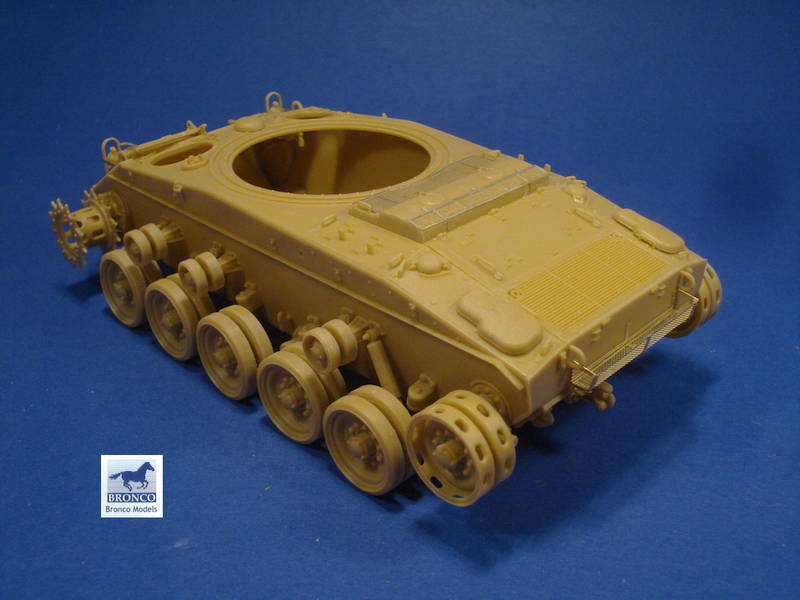
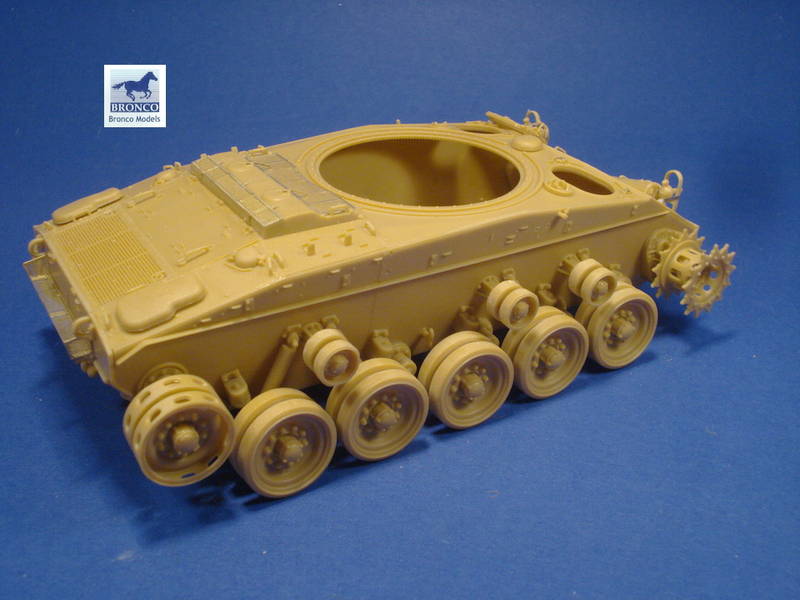
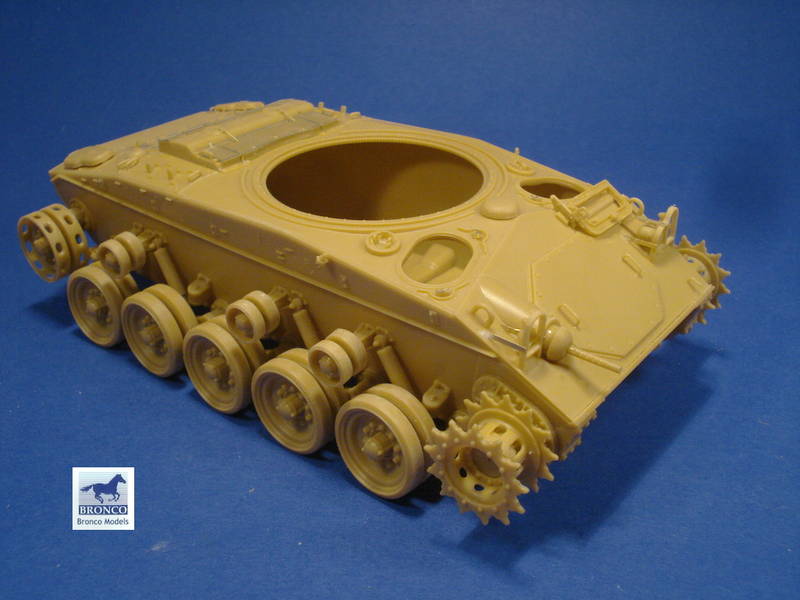
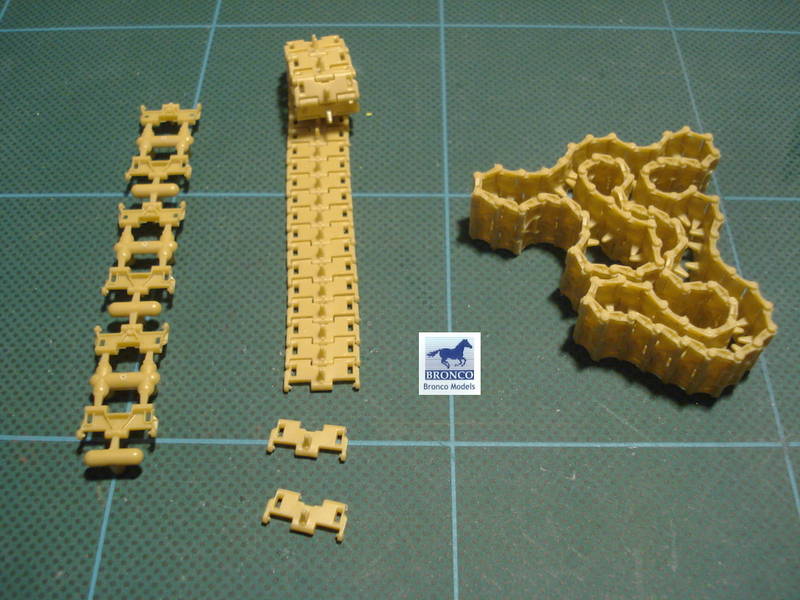
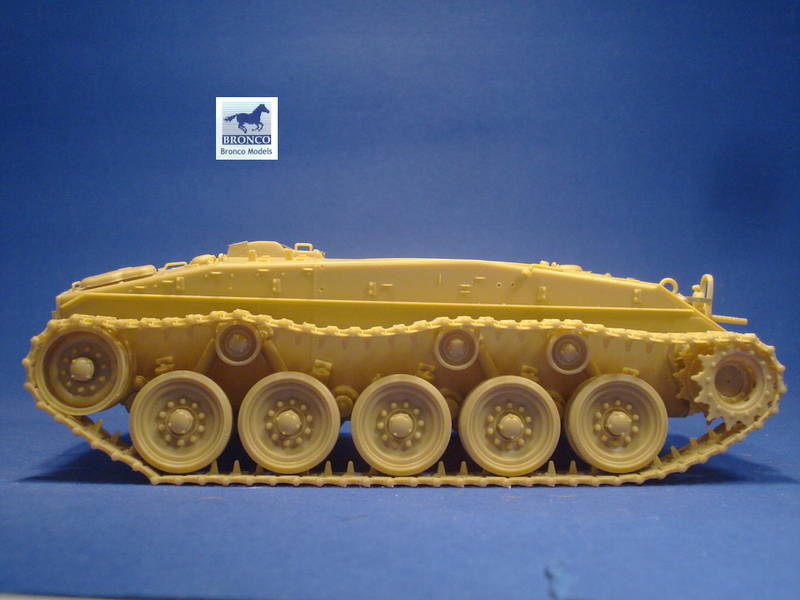
Mr. Broncos Korean War Chaffee
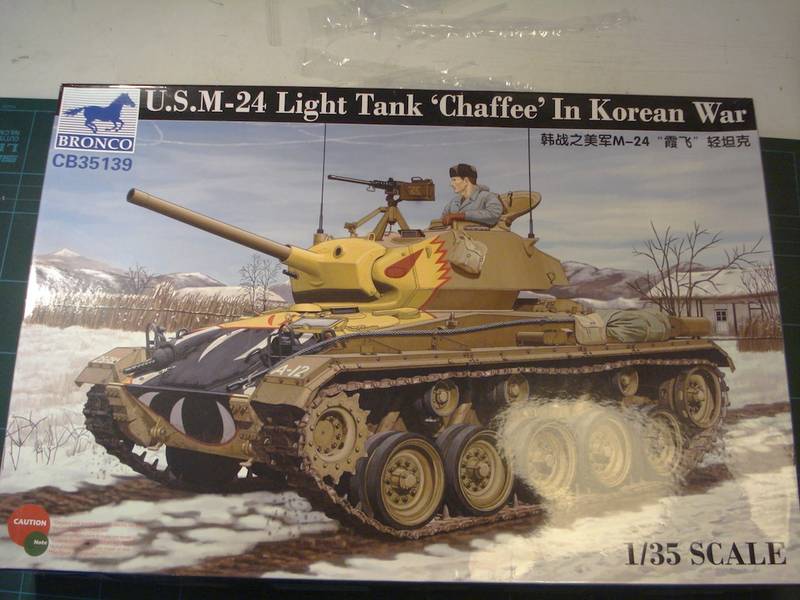
Reviewed here.
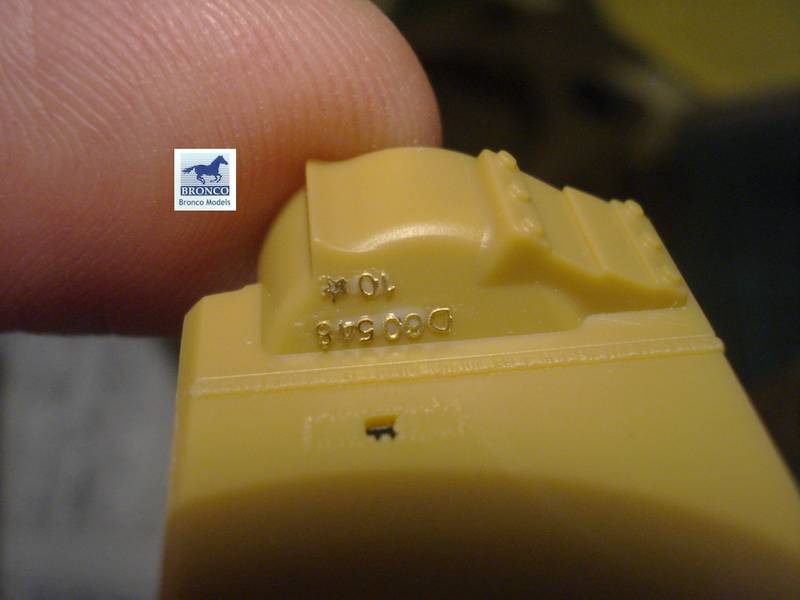
Heres what the box looks like when opened:
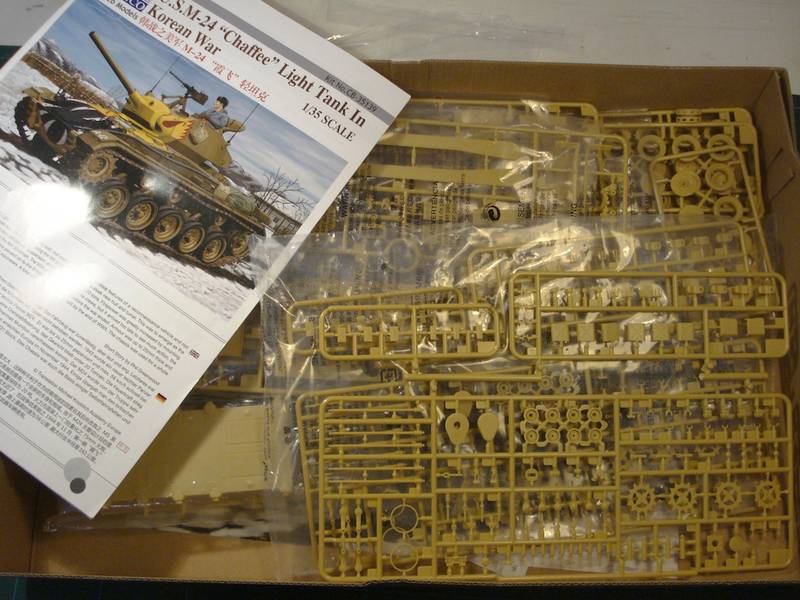
For Sprue shots check out the review.
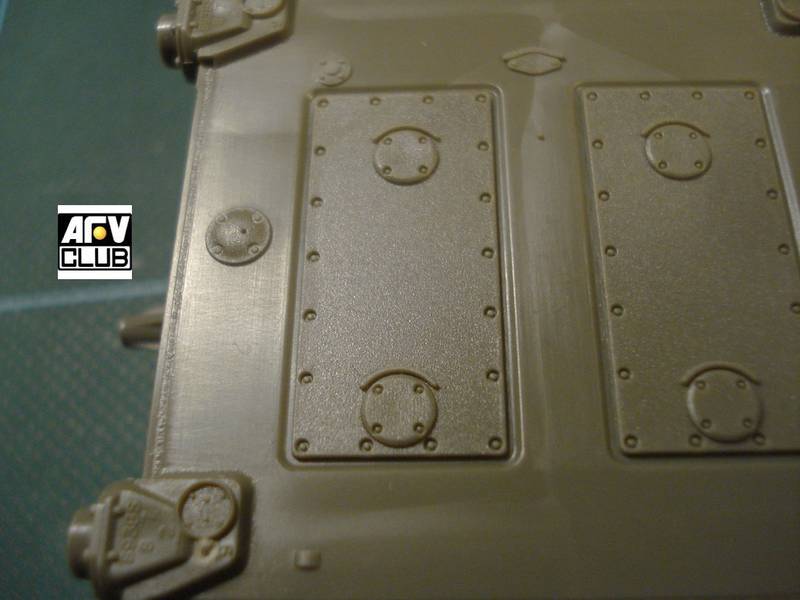
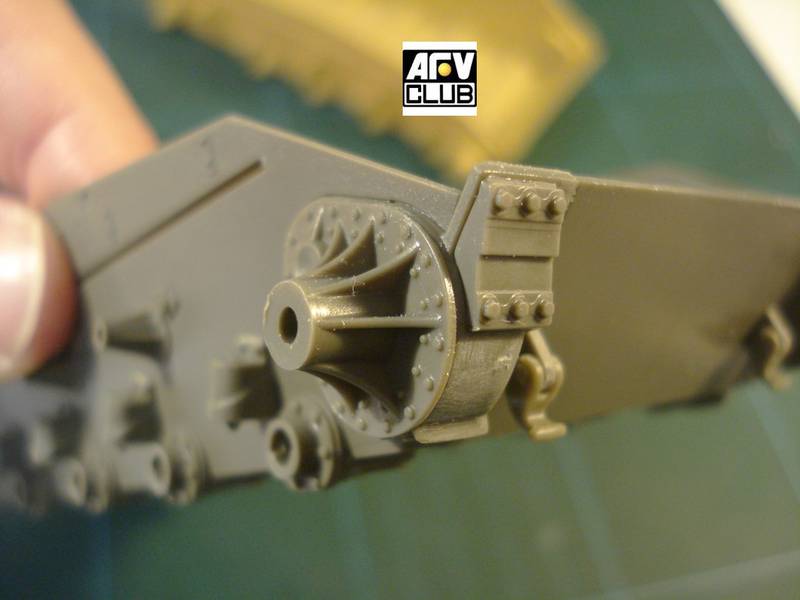
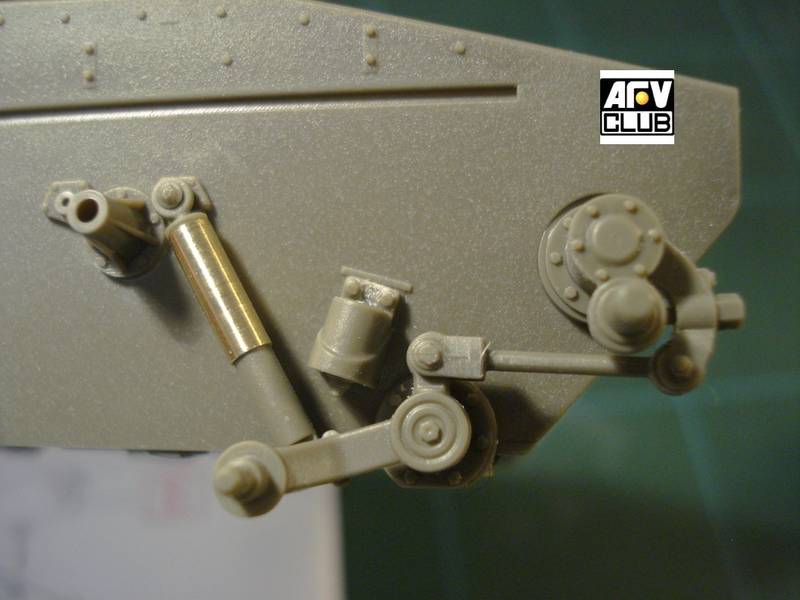
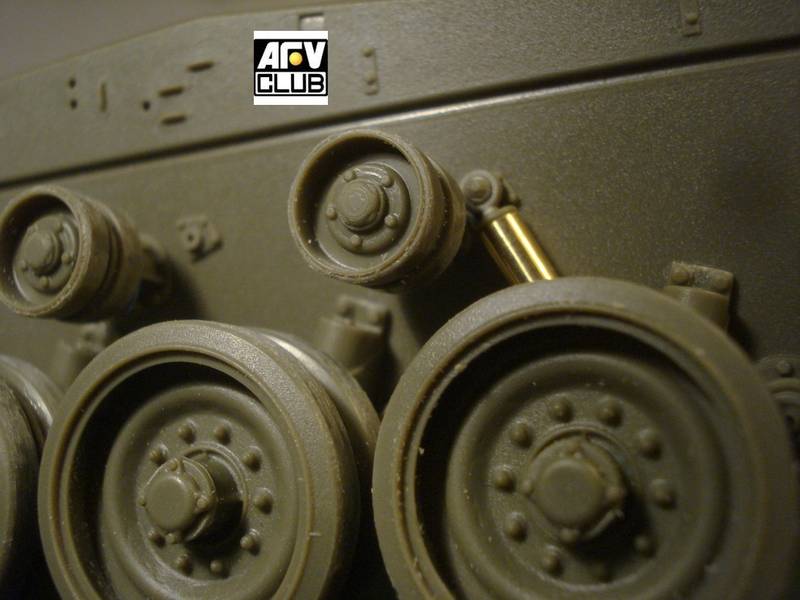
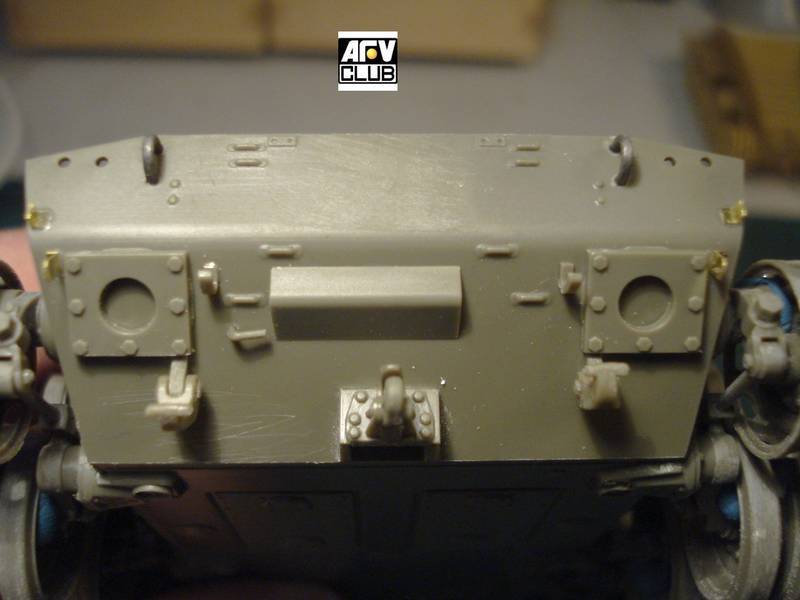
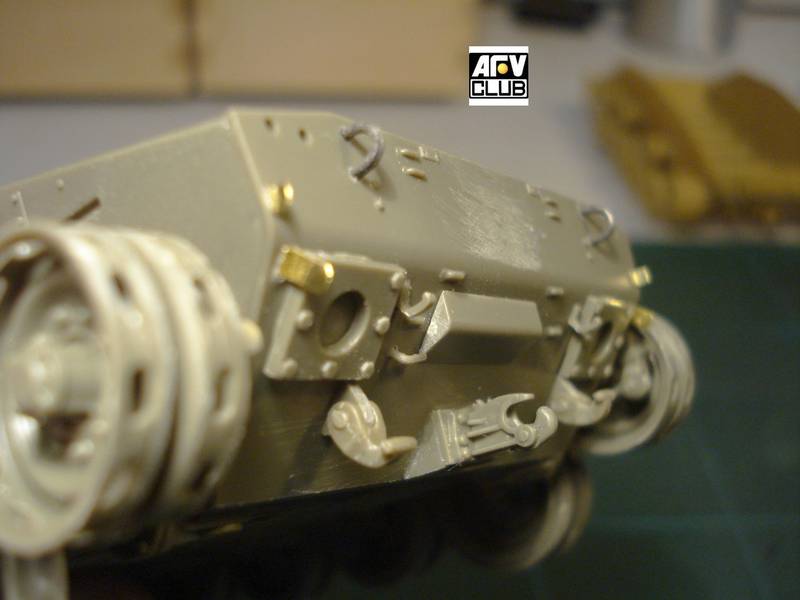
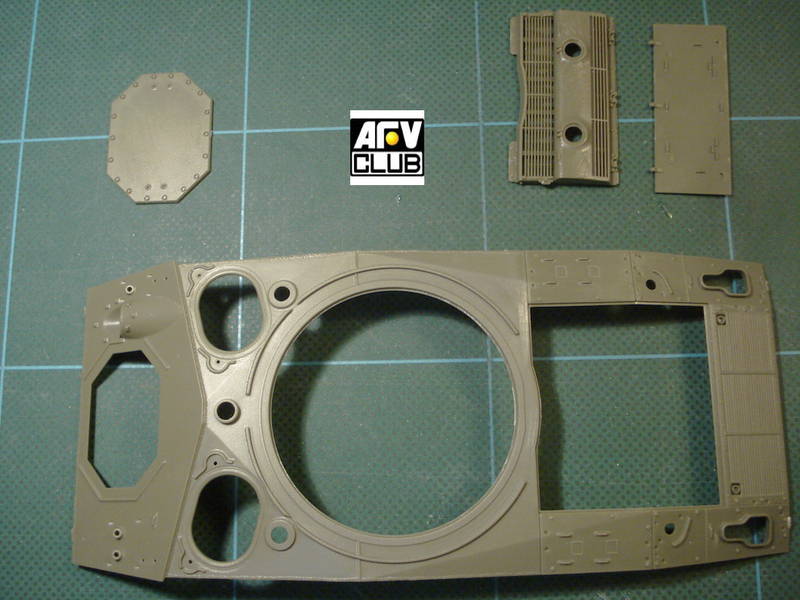
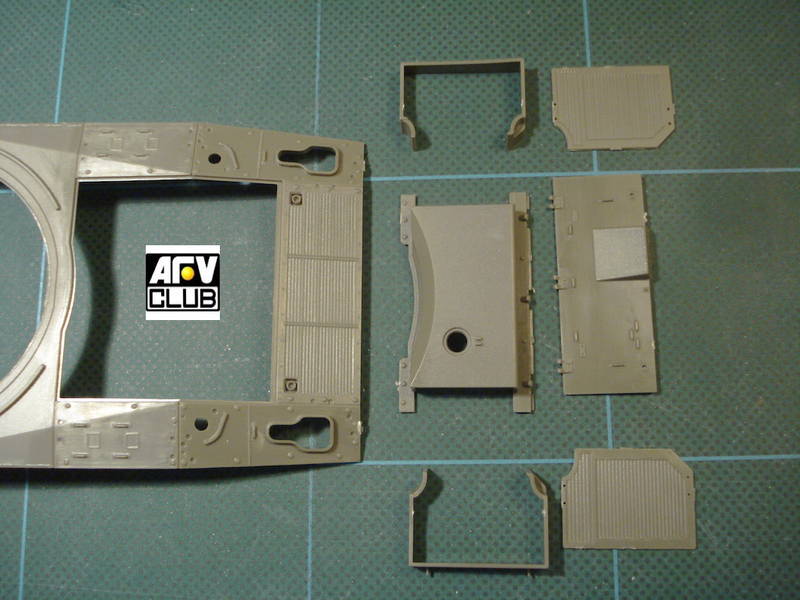
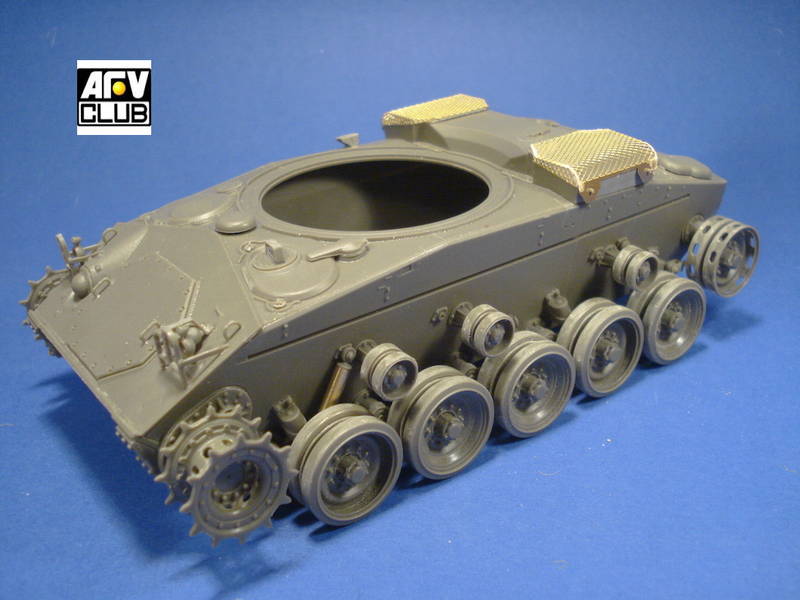
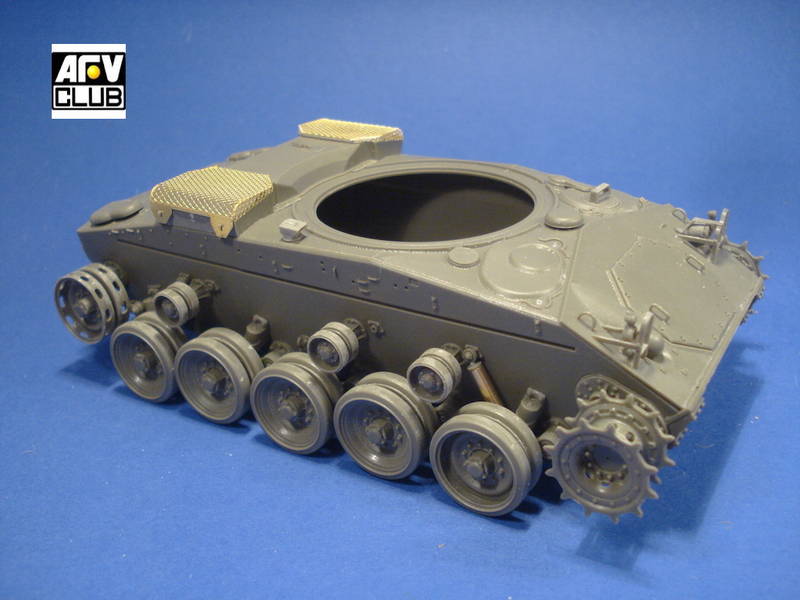
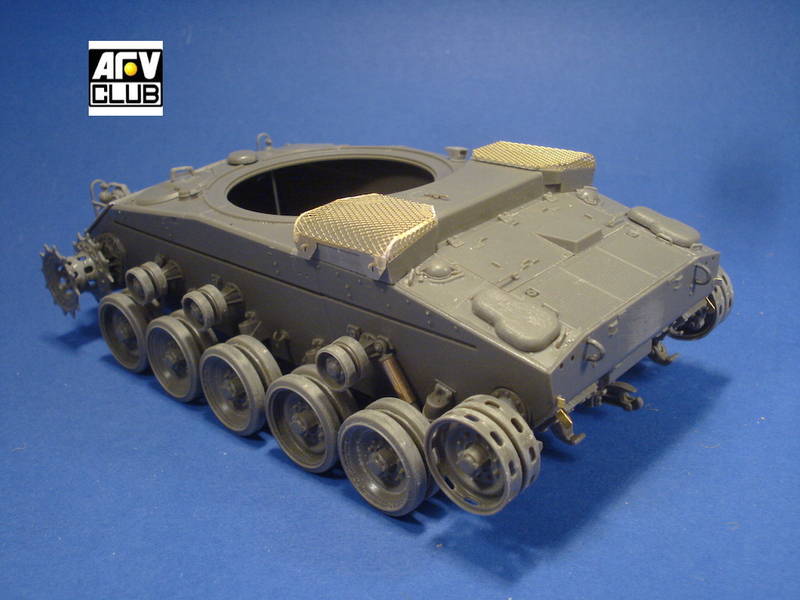
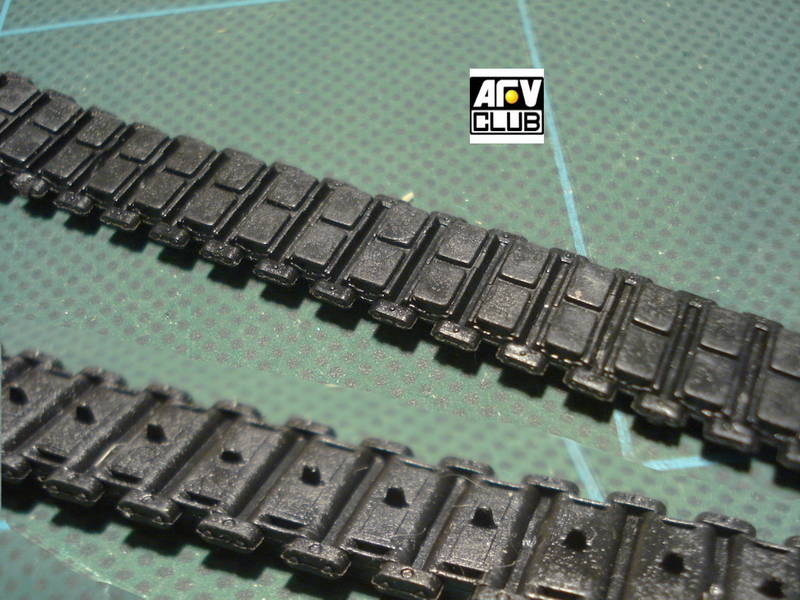
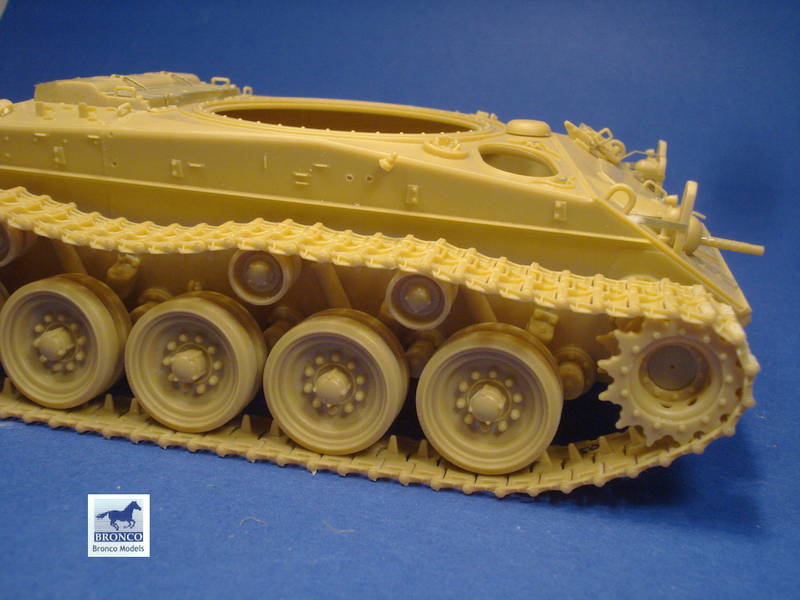
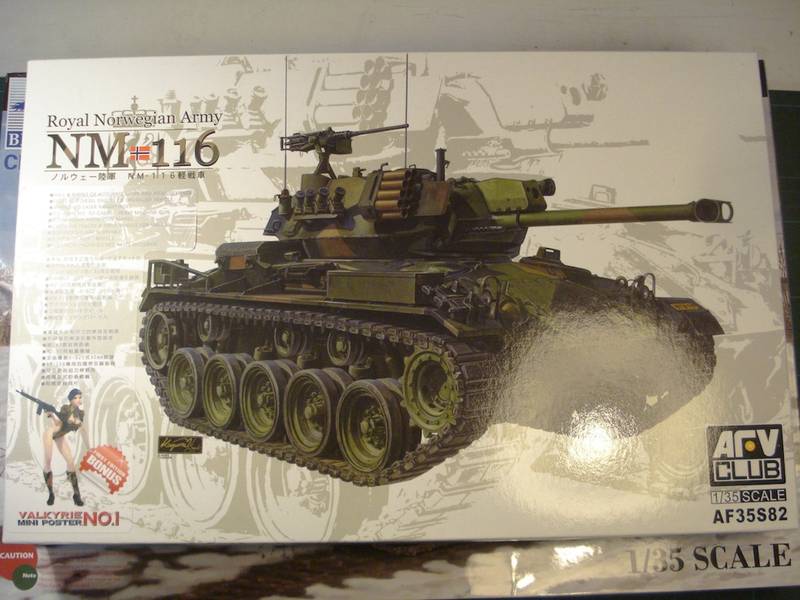
Mr. AFV Clubs Norwegian NM-116:
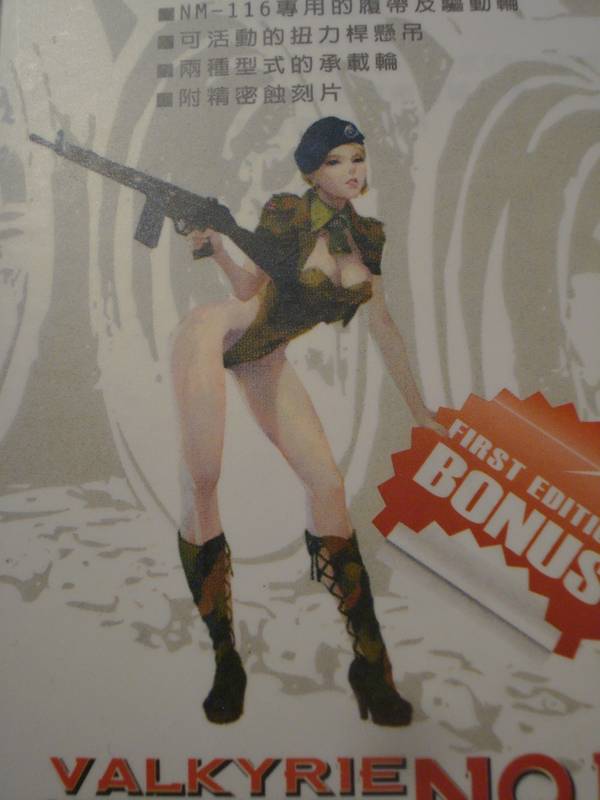
They have included this young militaristic lady on (and in) the box, however, I find the proportions around the hip somehow disturbing... Am I the only one?!
There hasnt been a review on this one on Kitmaker yet, so Ill spend some time with the contents:
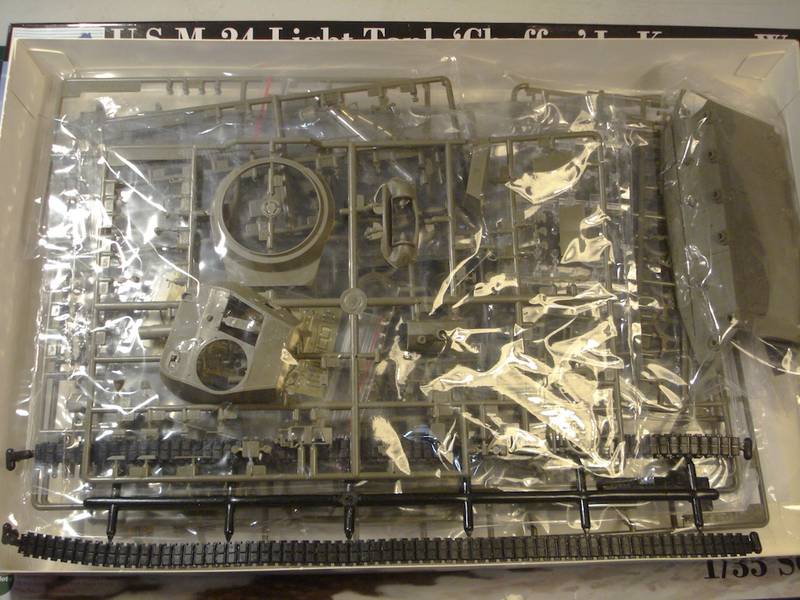
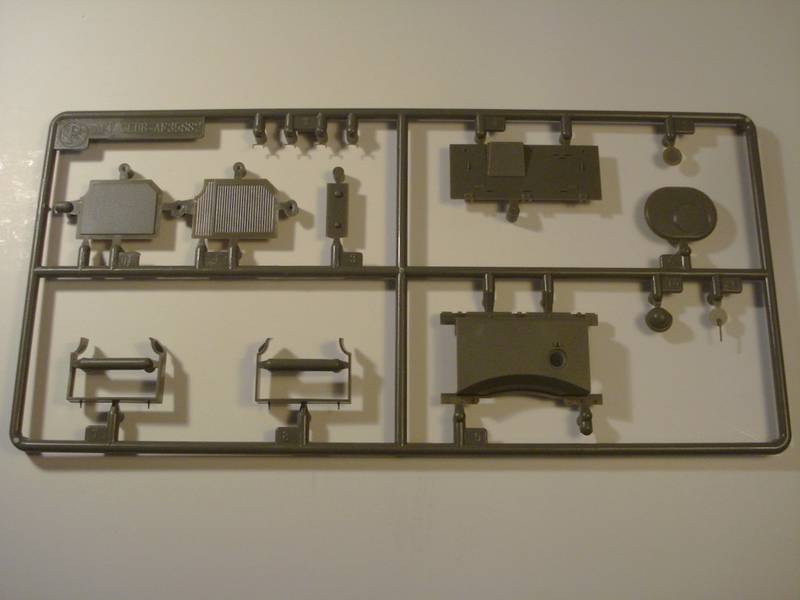
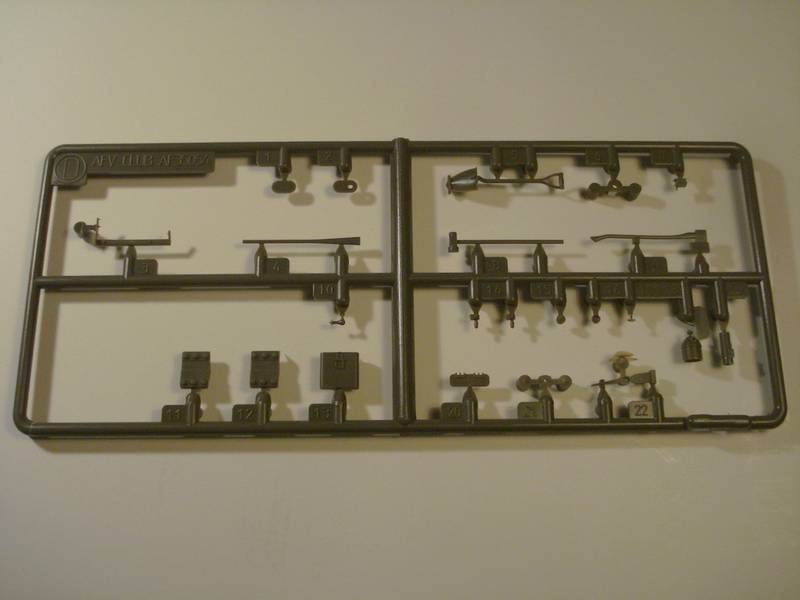
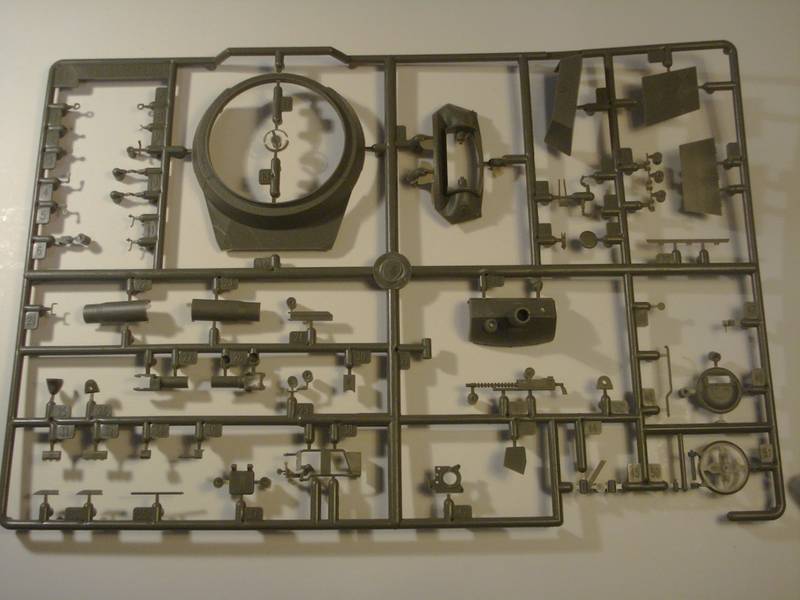
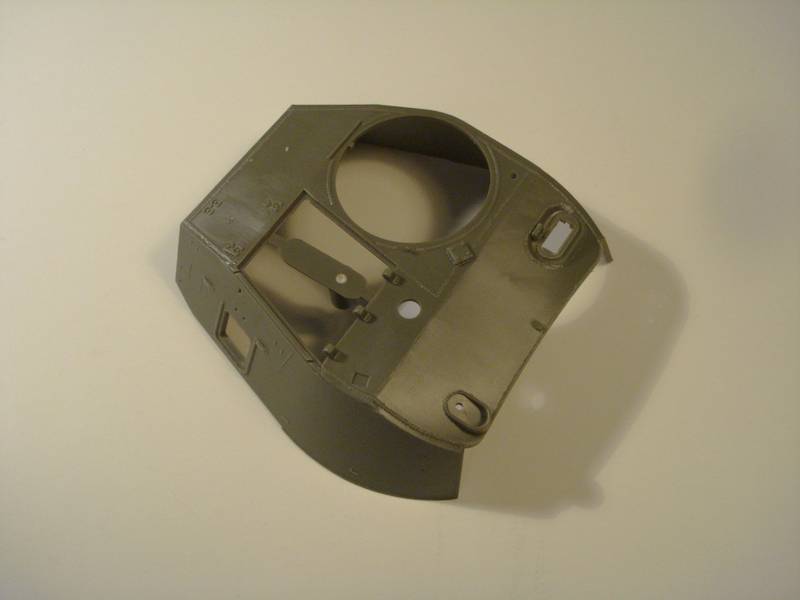
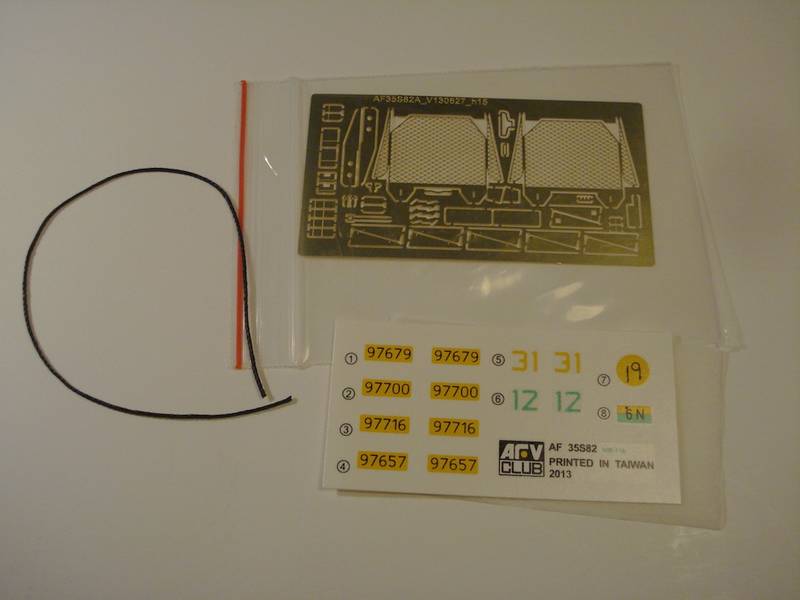
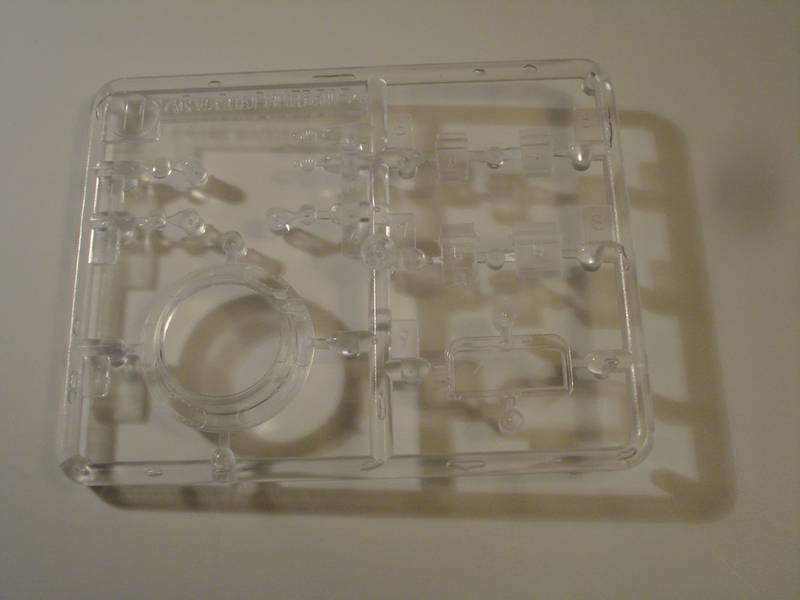
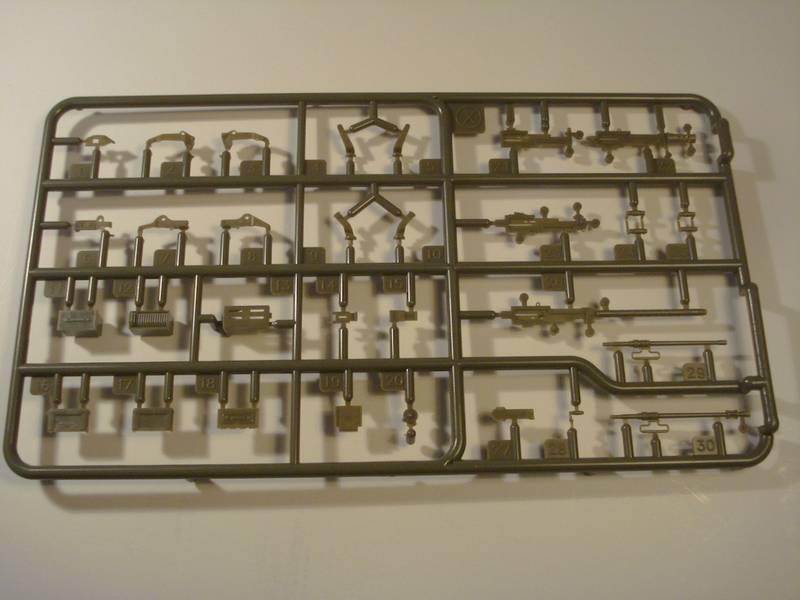
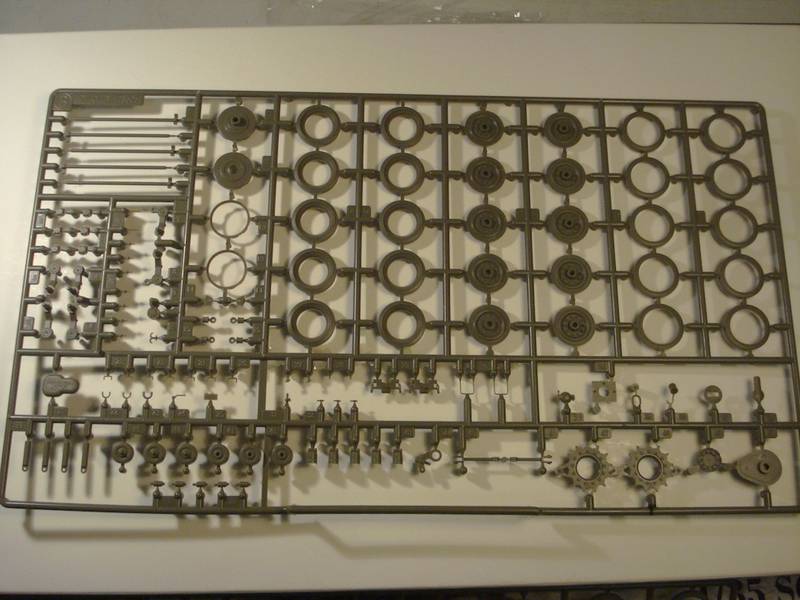
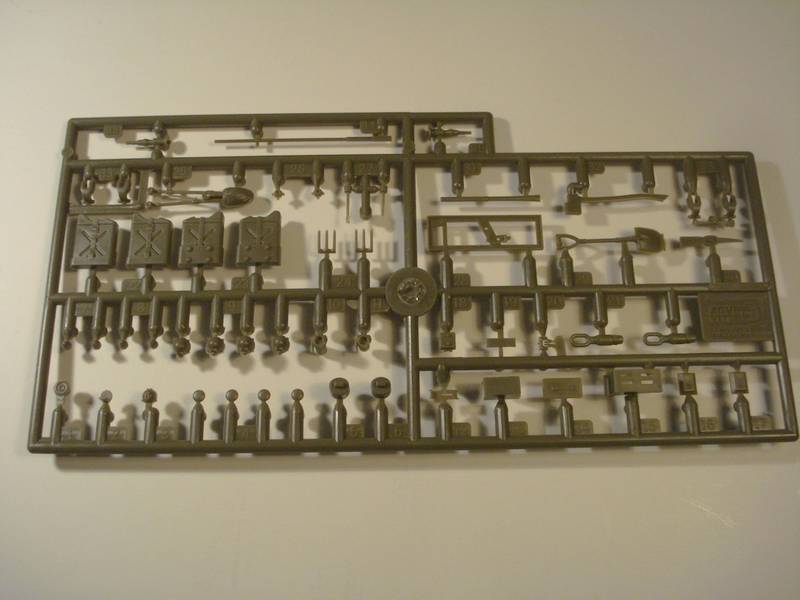
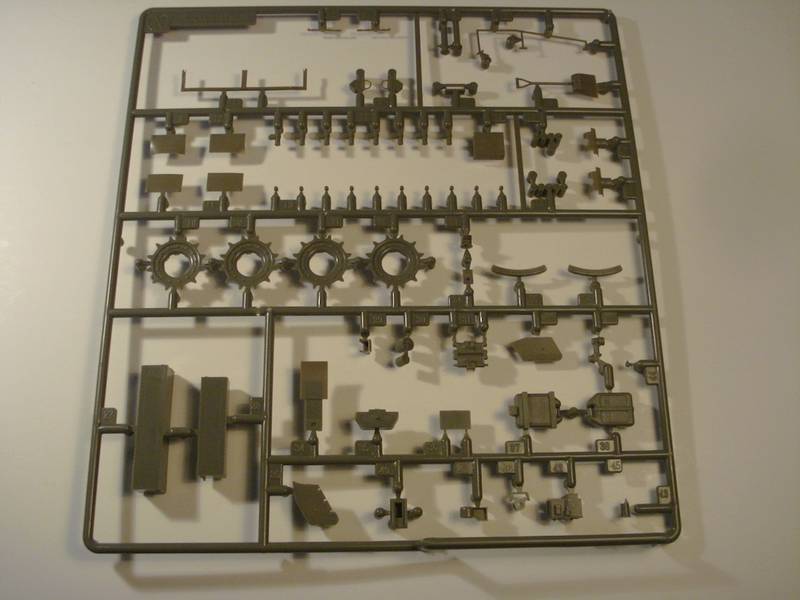
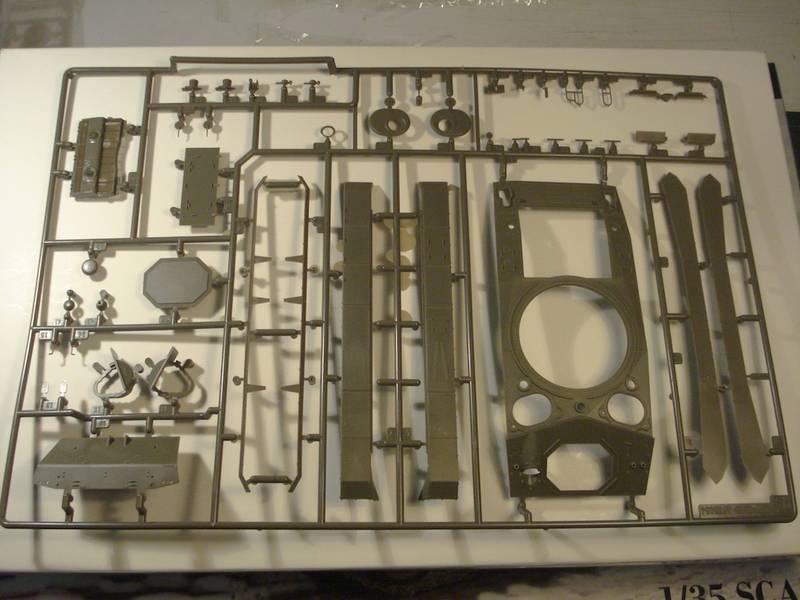
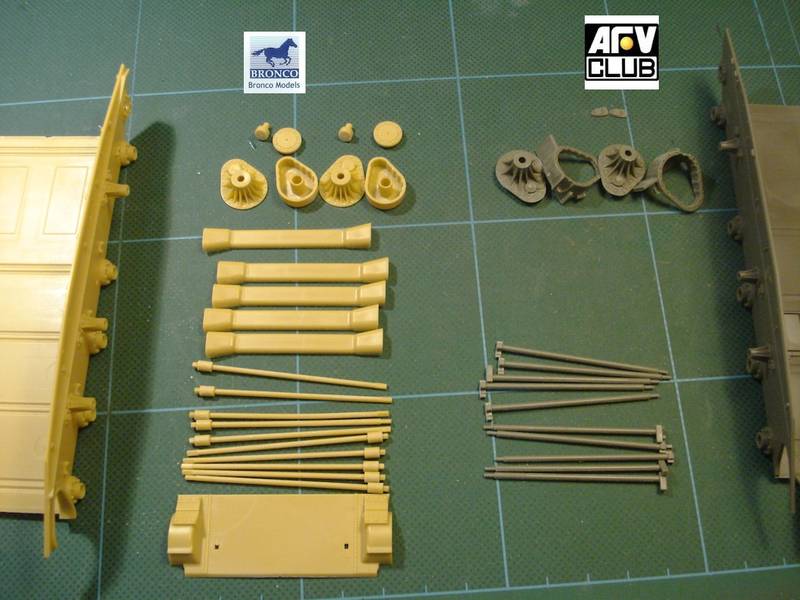
As you can see there are quite a few parts in this one. All parts fort he basic Chaffee (except the gun) seem to be included, add to that the parts needed fort he modification into the Norwegian NM-116, which was an update performed during the cold war to increase the Chaffees firepower and improve the power pack.
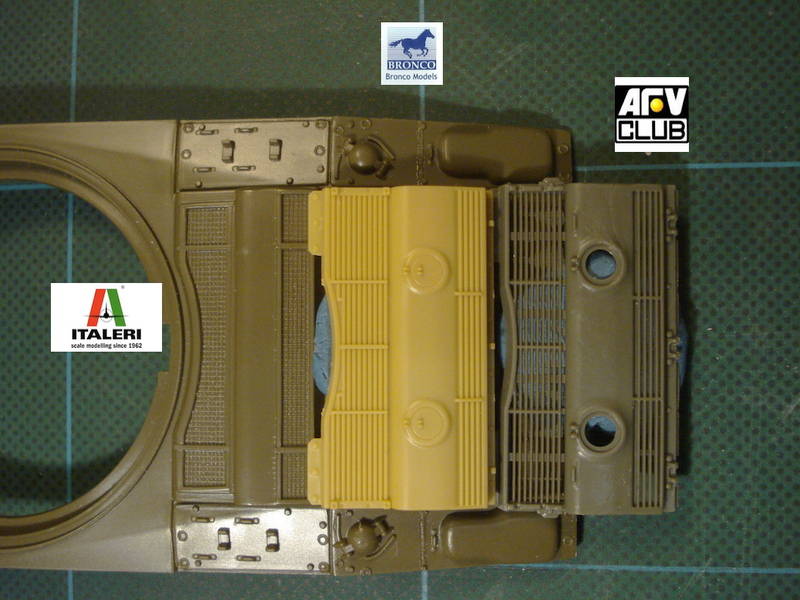
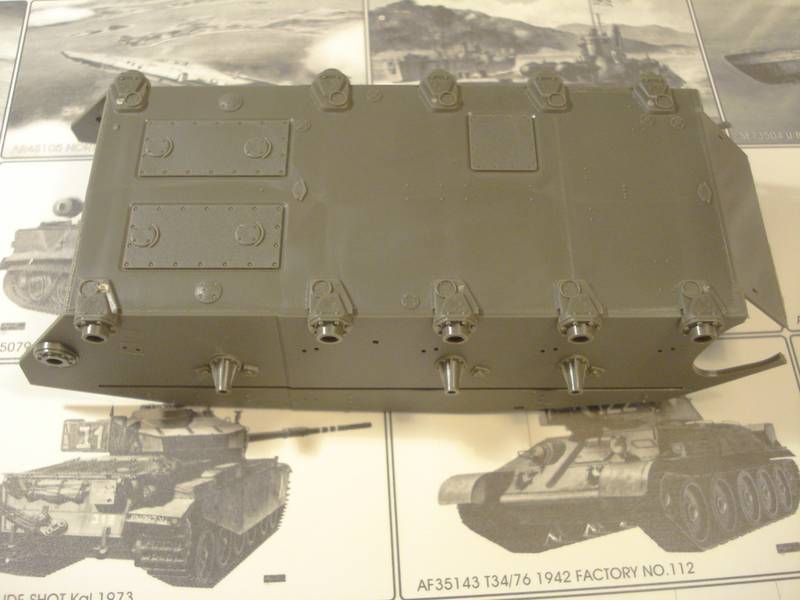
Im planning to build this one as the NM-116, but I will be able to compare the original Chaffee parts during the build. But most of it is still standard chaffe anyway, except the gun, engine deck and some details.
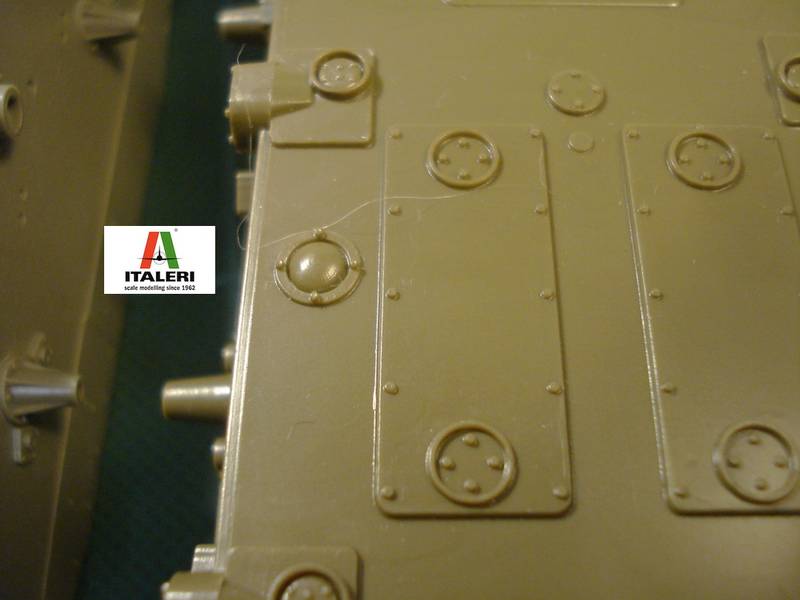
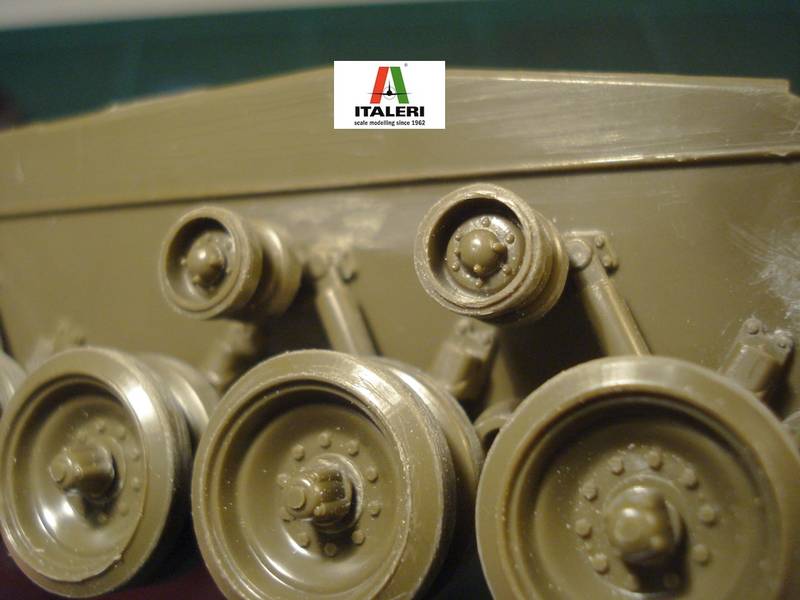
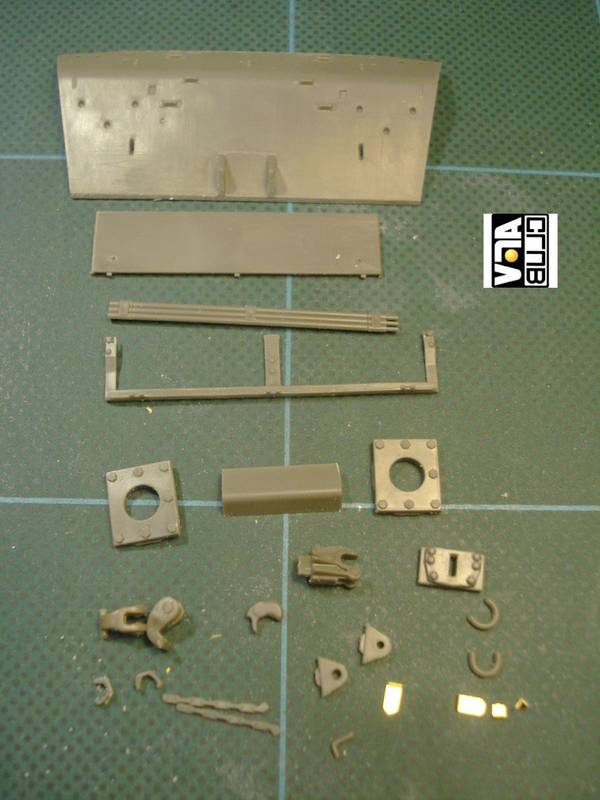
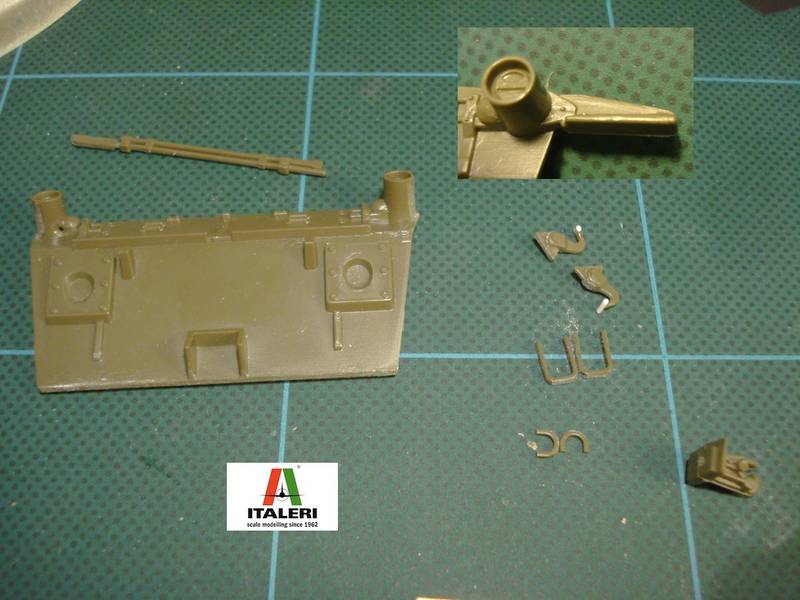
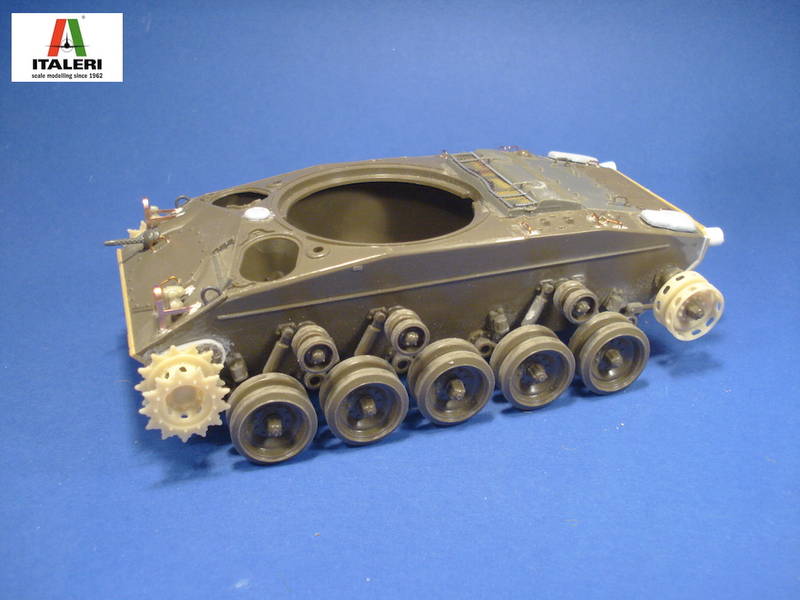
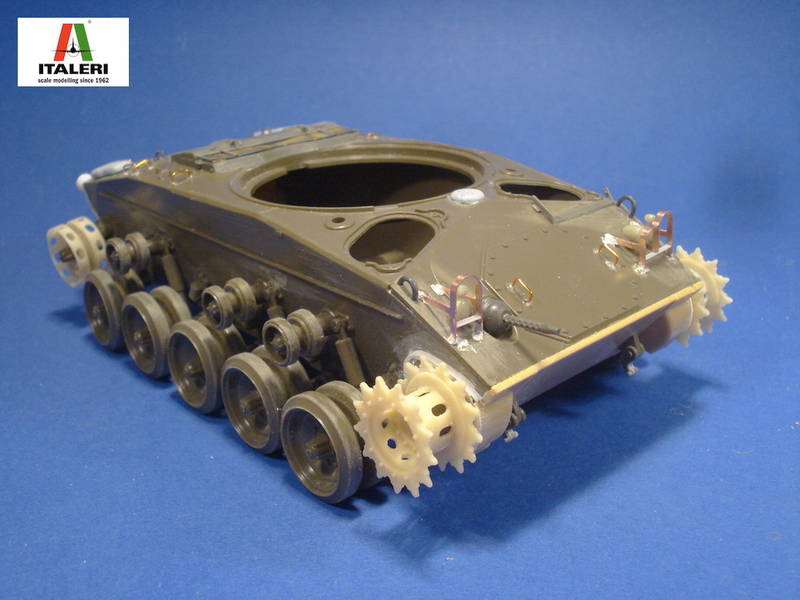
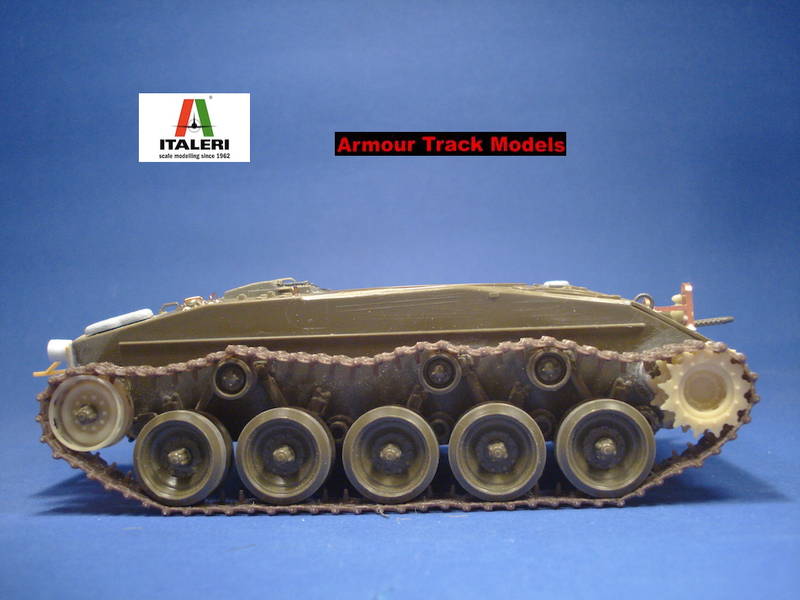
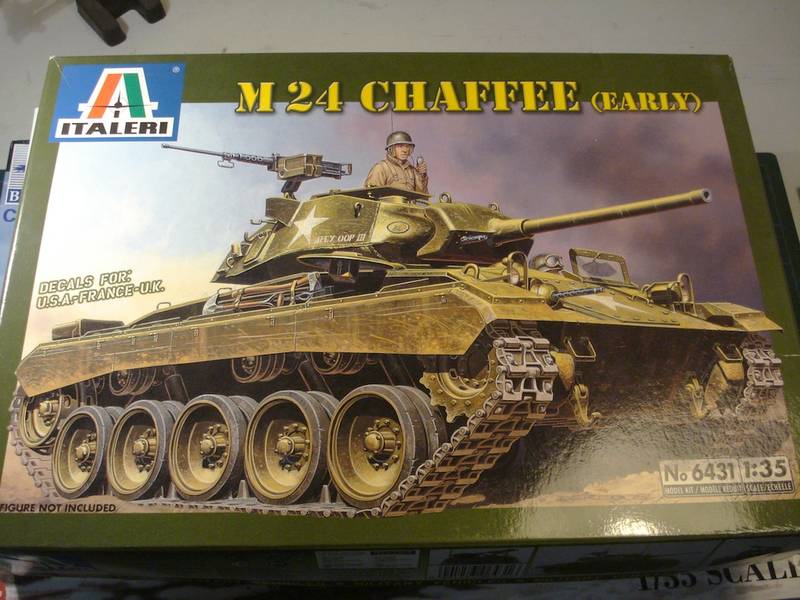
And the last one, well, somethins stupid (no, not Frankie and Nancy Sinatra ). It probably doesnt make sense to build the Italeri kit anymore today, but since I have all kinds of update parts for it, collected before the new kits got out, I figured it would be a good idea to just build it, have fun with it and at the same time we can see the leaps and bounds molding tech has taken since the 1980ies. Or cant we? Wes hall see...
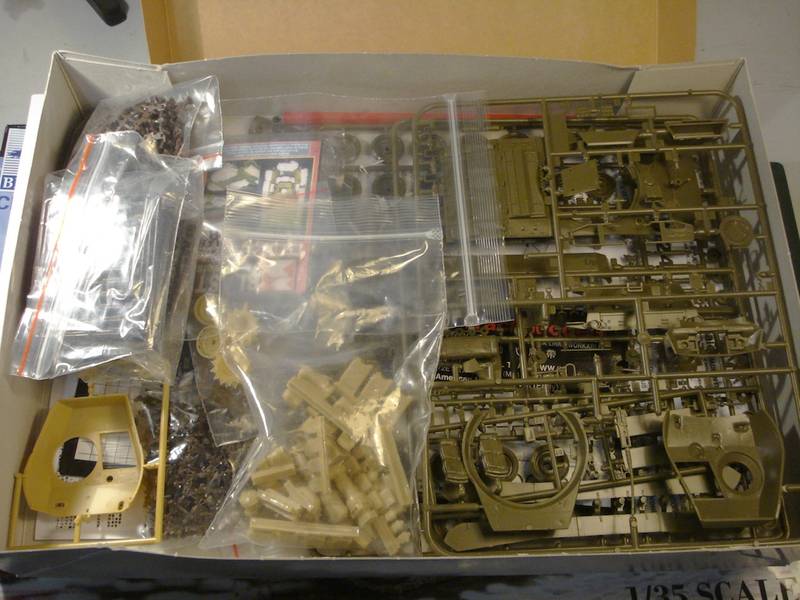
Heres whats inside:
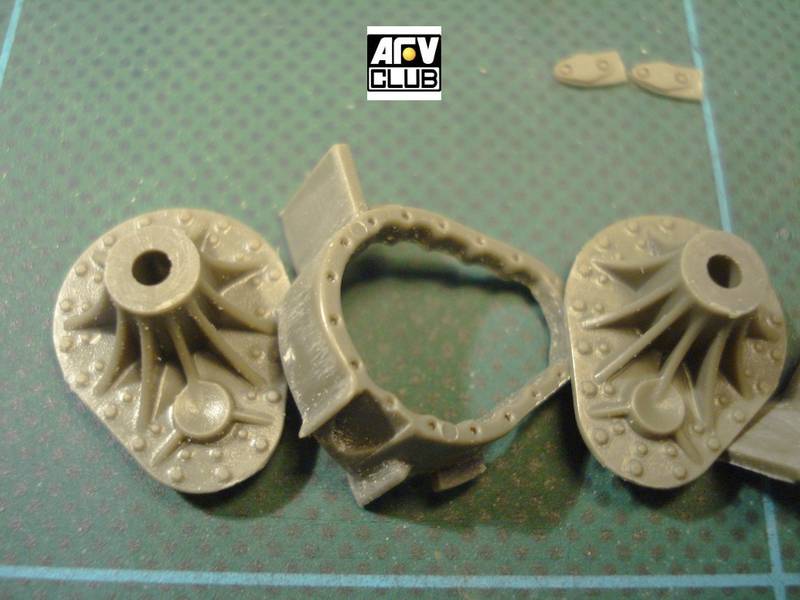
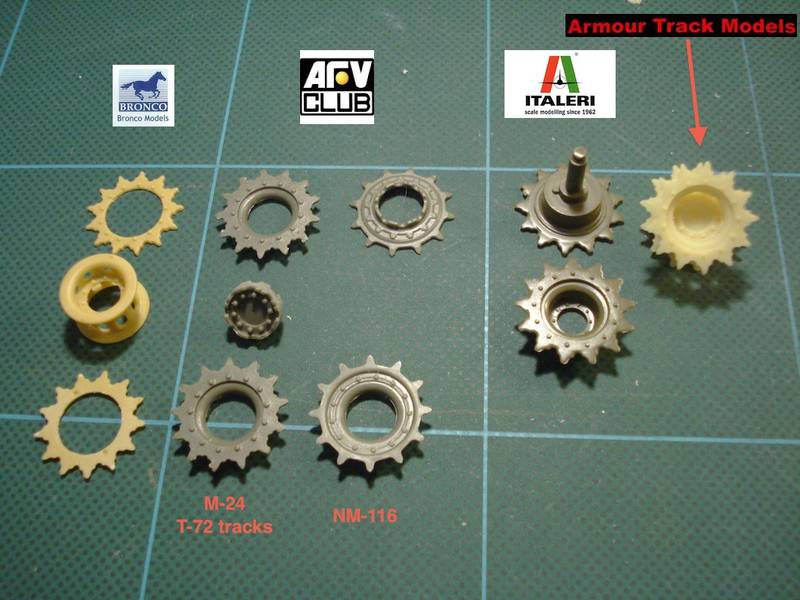
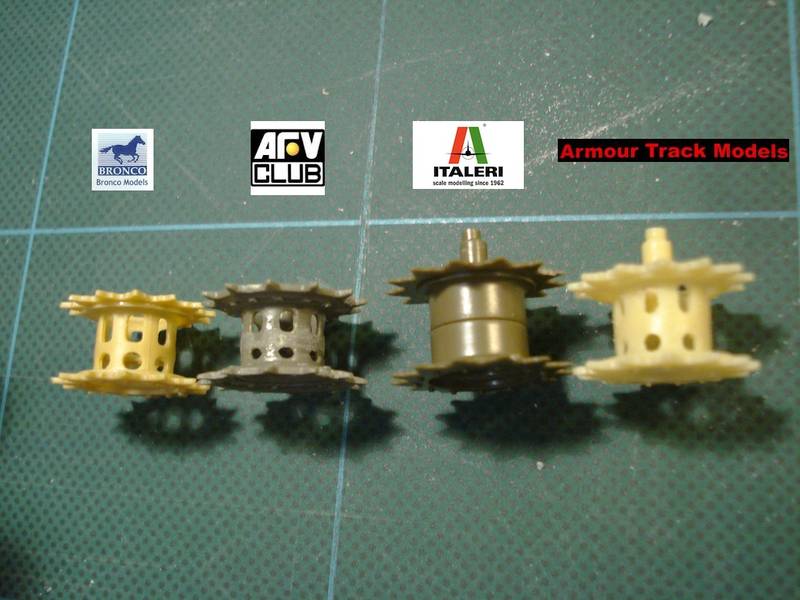
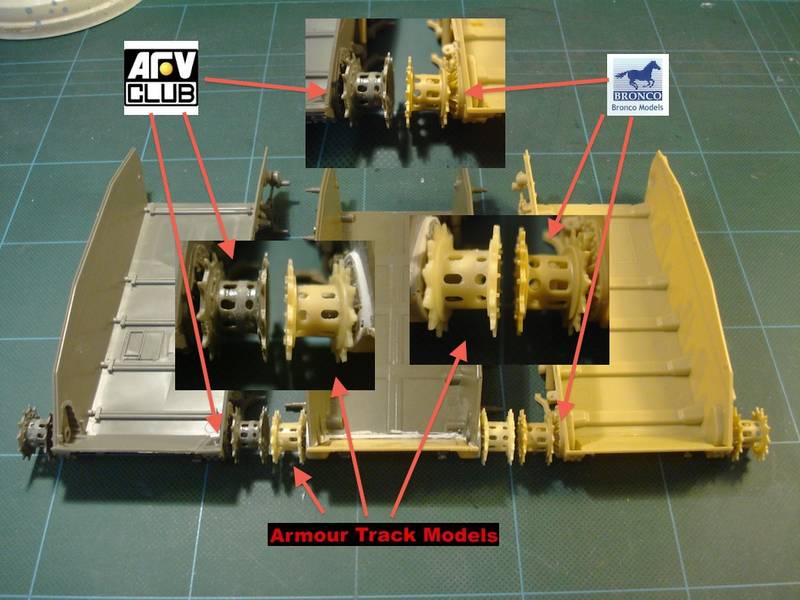
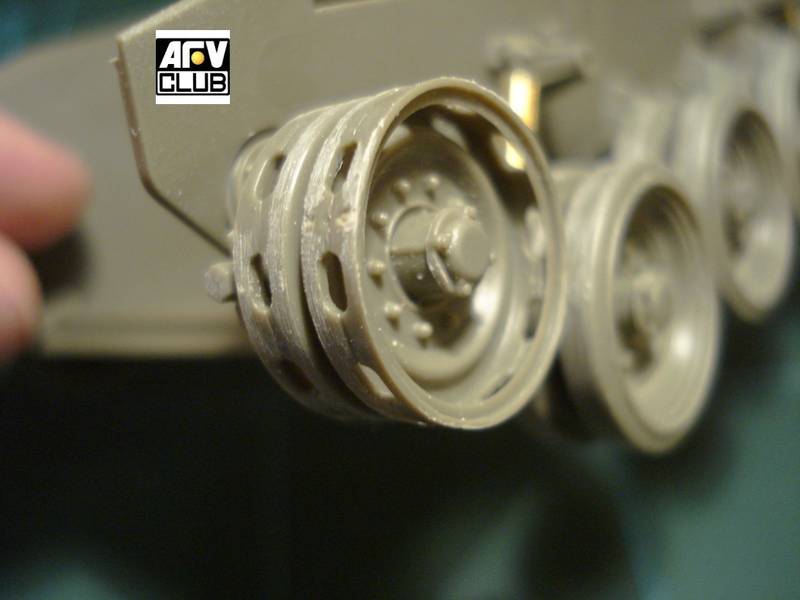
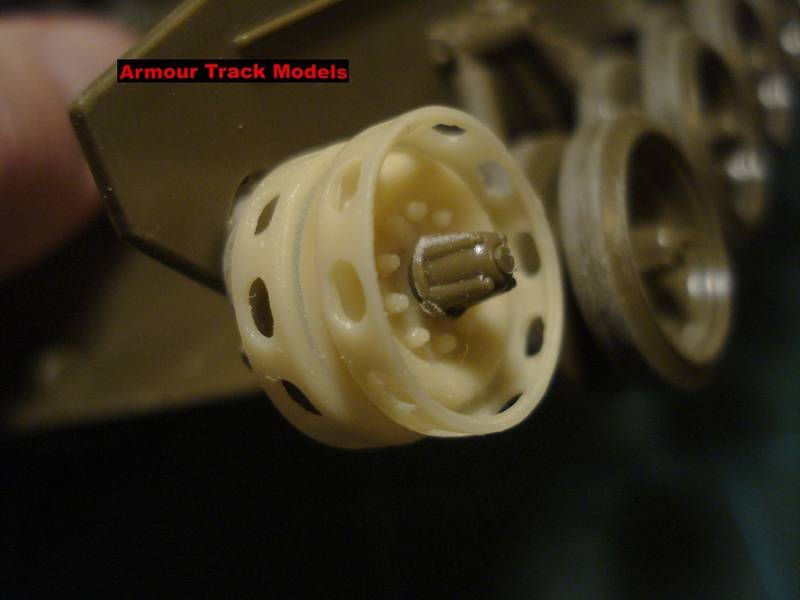
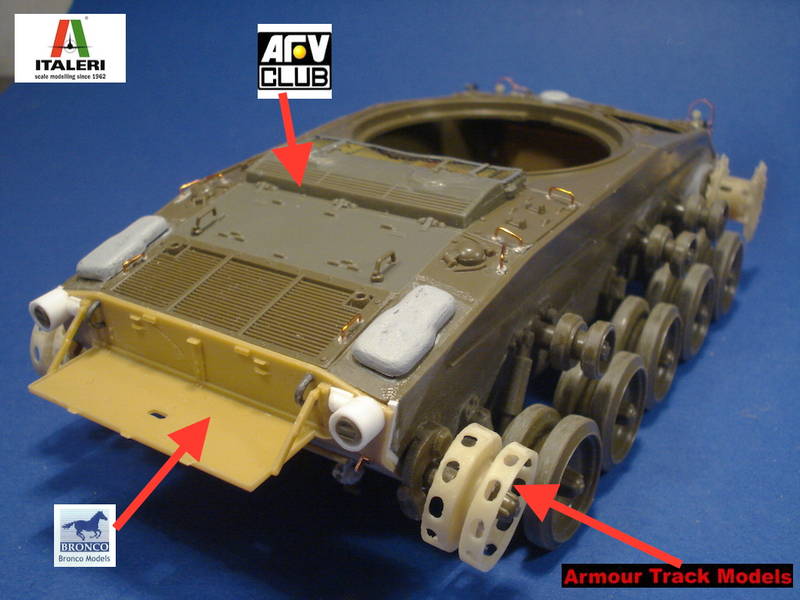
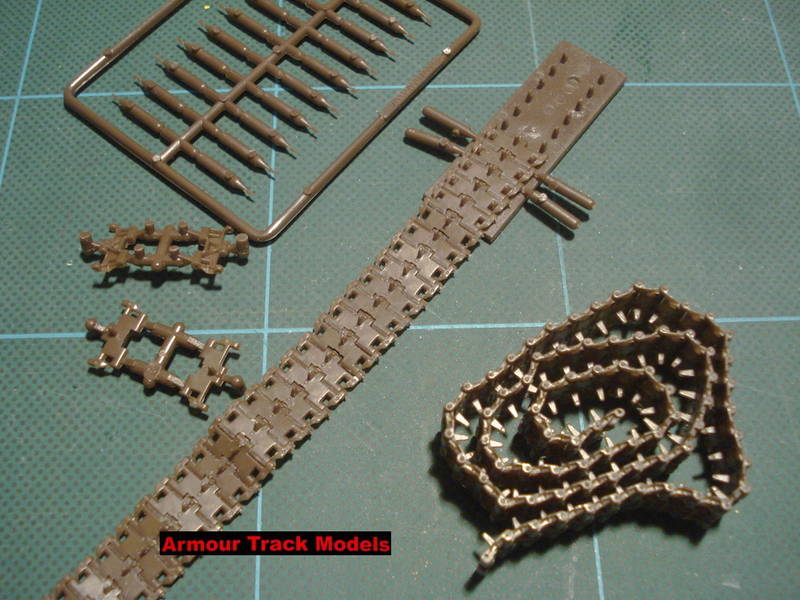
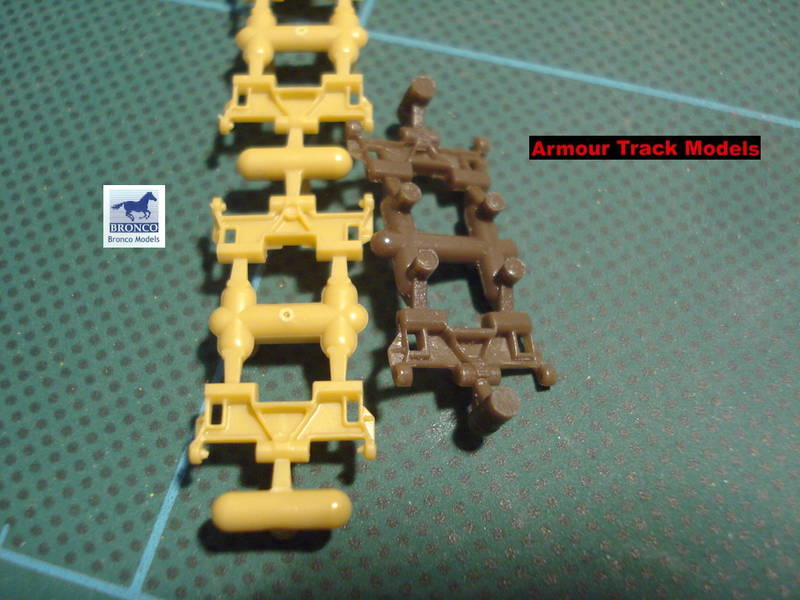
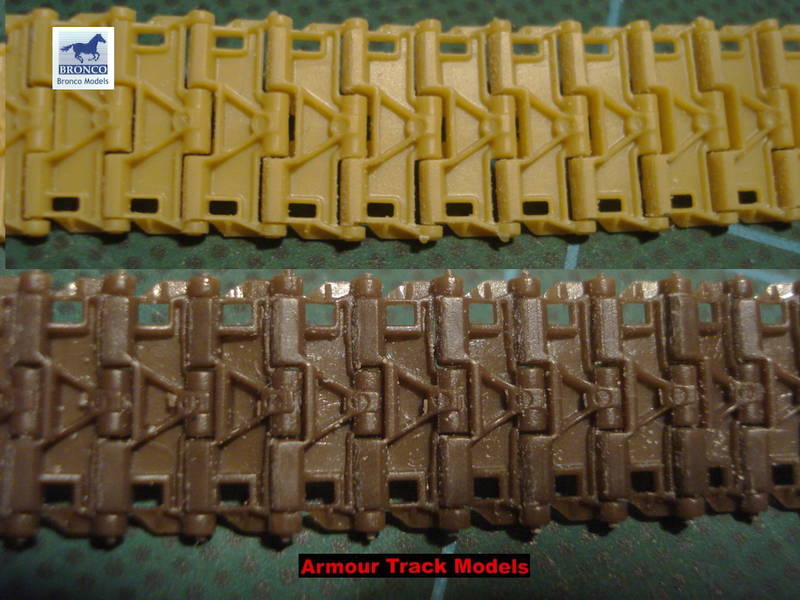
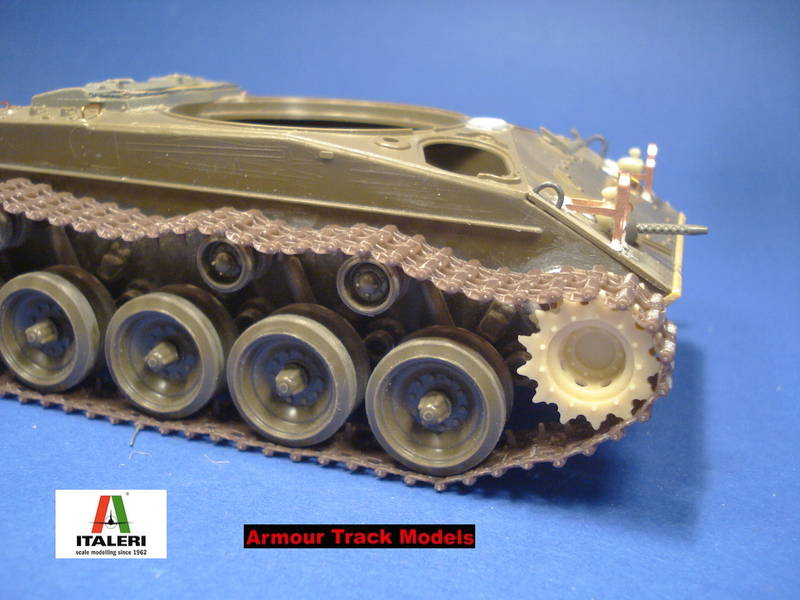
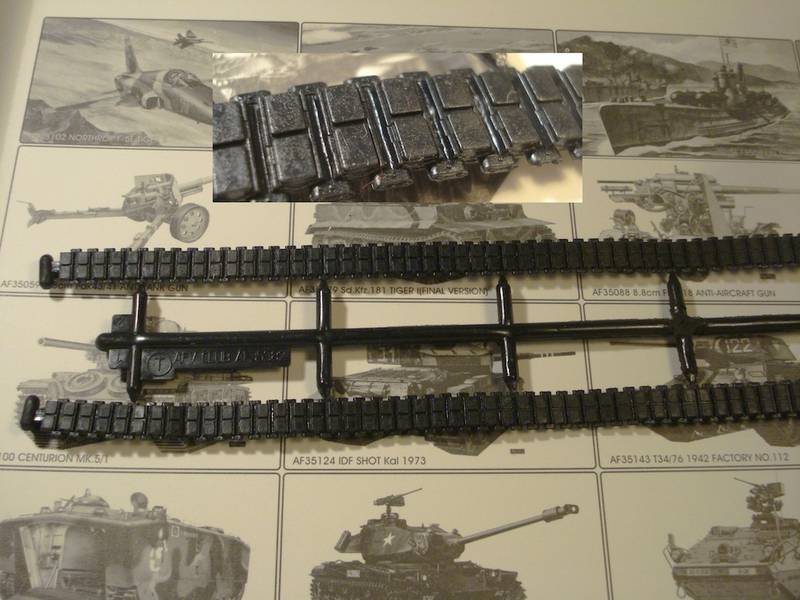
T-72 tracks by Armor Track Models:
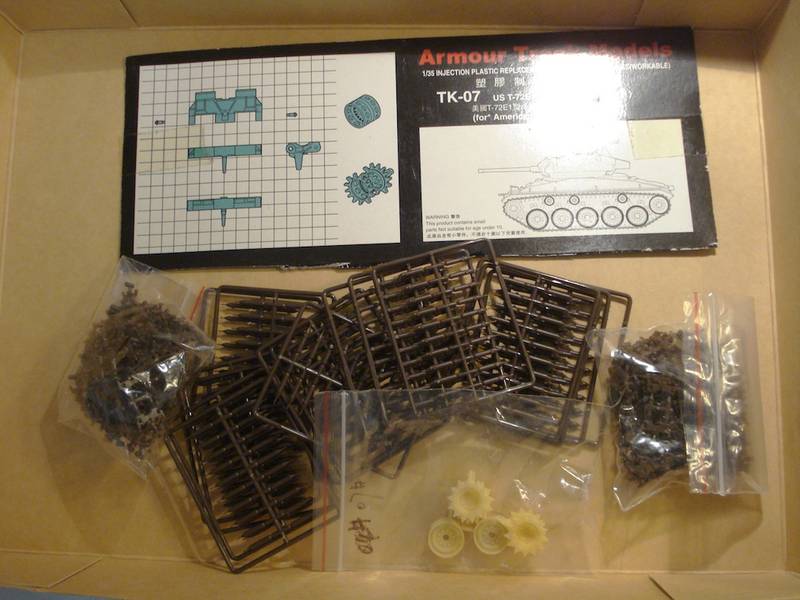
Im not aware that this company is still in business, however, the set contains some really nice resin drive sprockets and idles, as well as the single link styrene tracks.
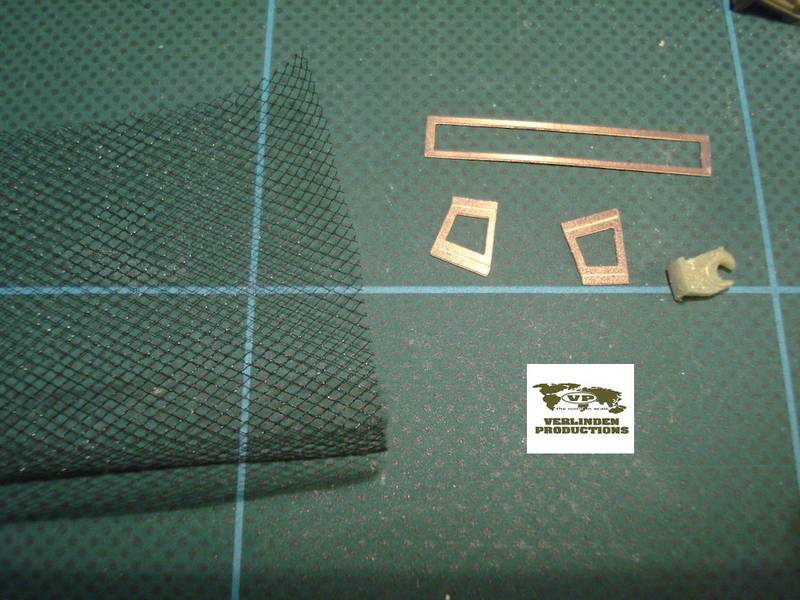
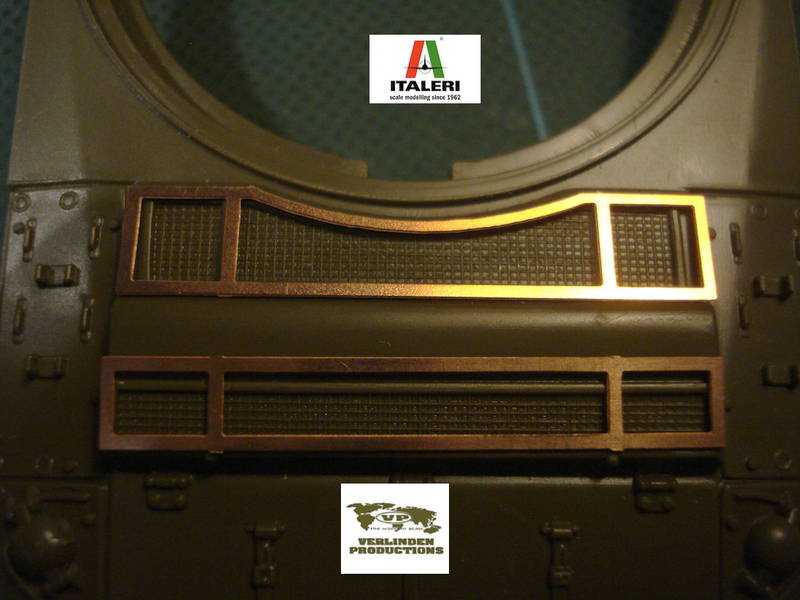
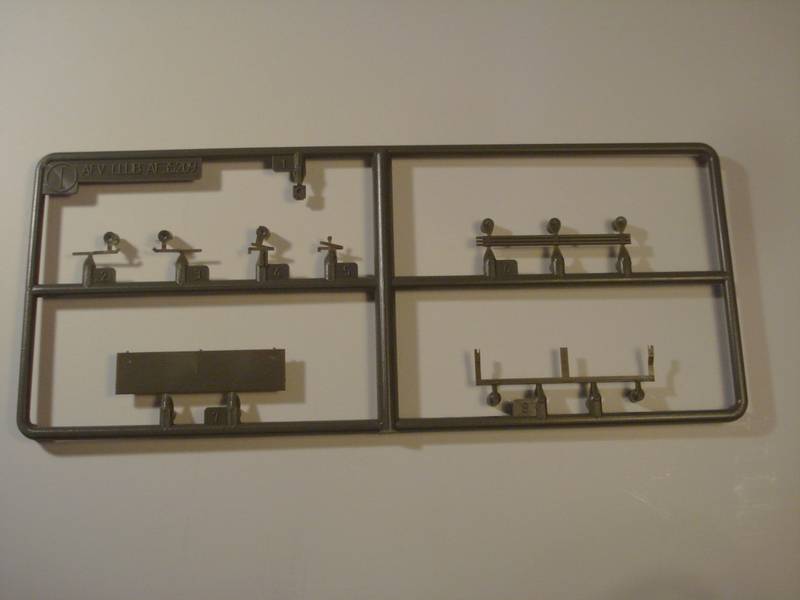
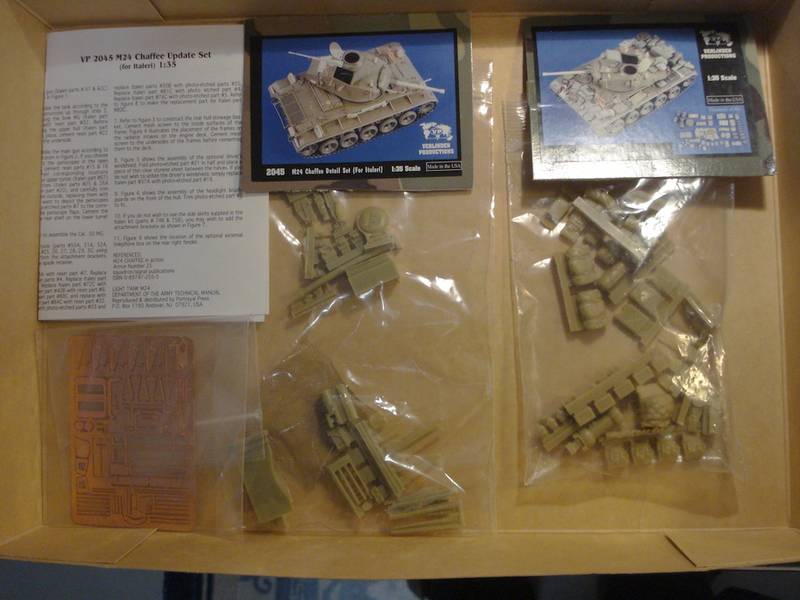
Two sets of Verlinden updates, one for details, one for stowage. These are real old sets and as you can see above, Ive used some of the stowage on my old Chaffee build.
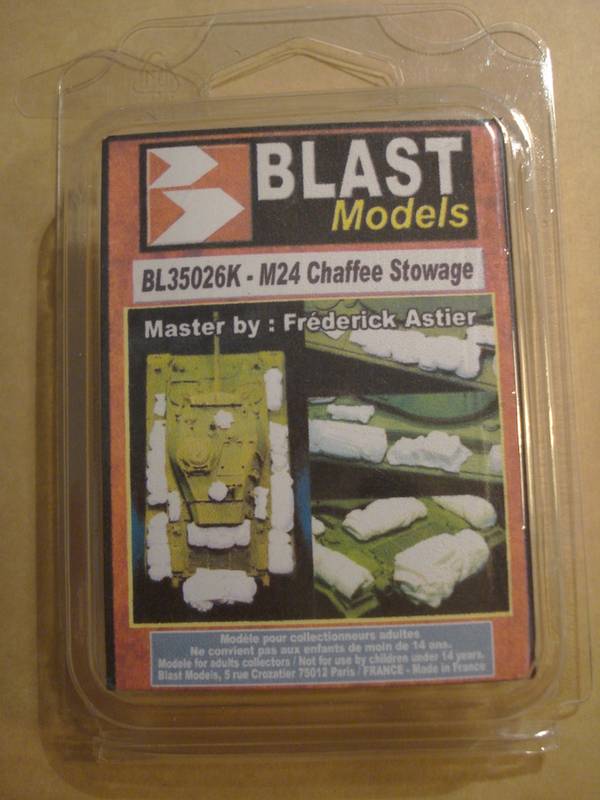
Then we have a nice Blast models stowage set that I picked up on a business trip to the blast models store in Paris some (at least 5) years ago.
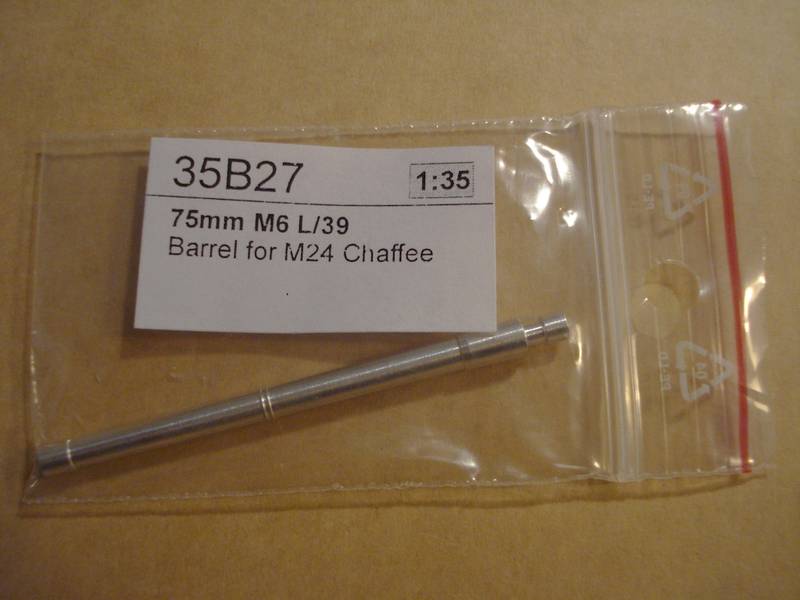
Then theres an RB models barrel, reviewed here.
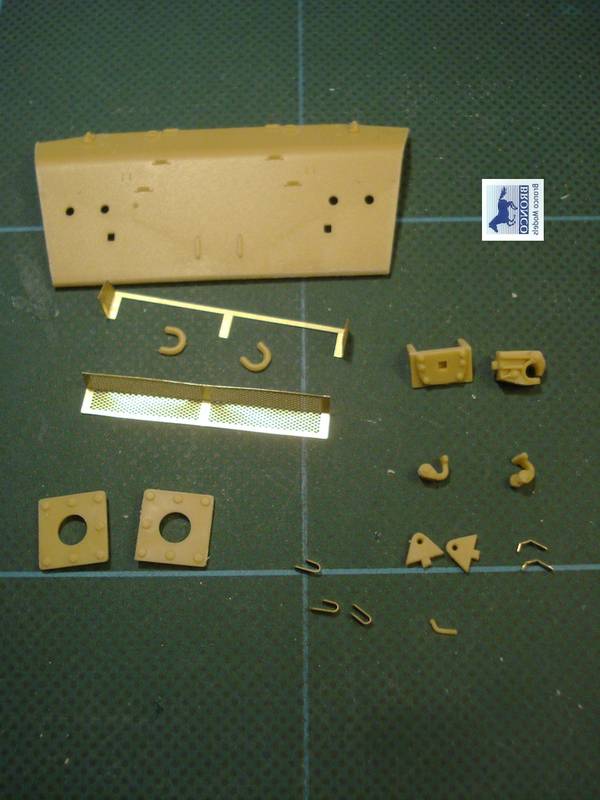
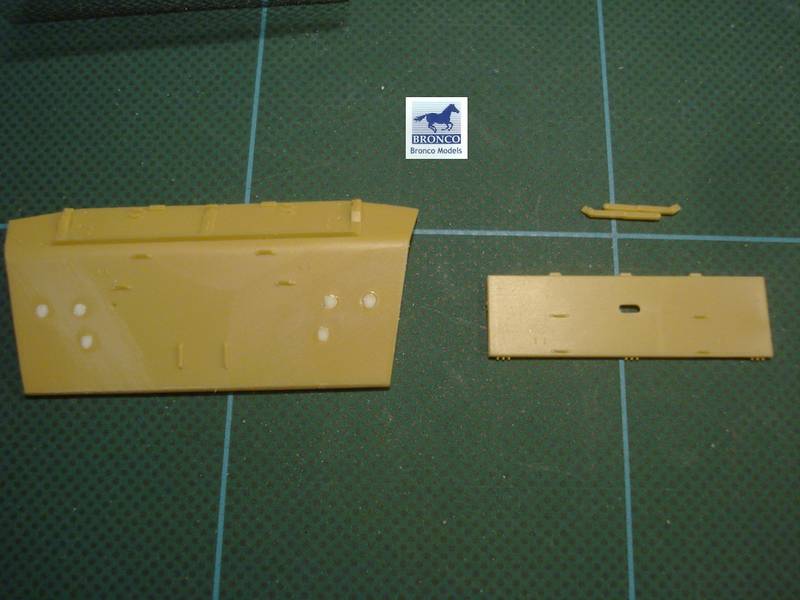
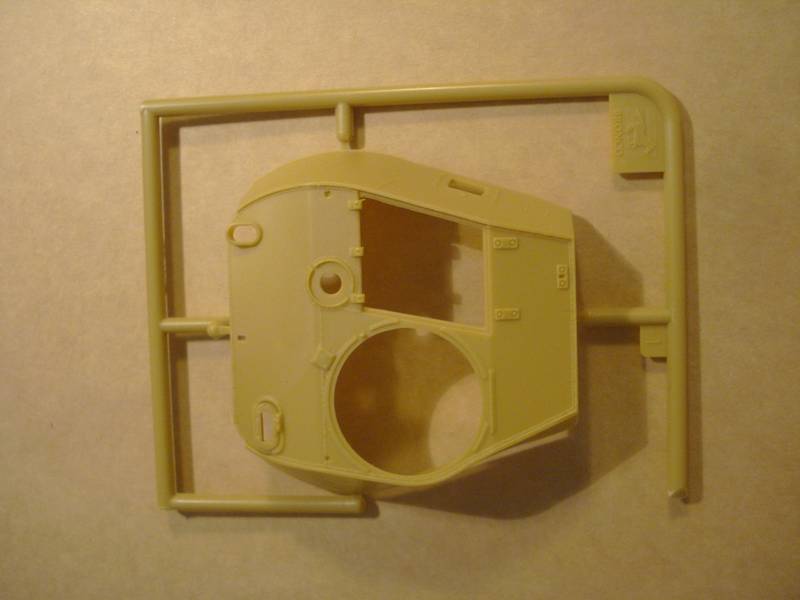
And finally, a Bronco Chaffee Turret. Wait. A Bronco Chaffee Turret?!? Yes!! Well.
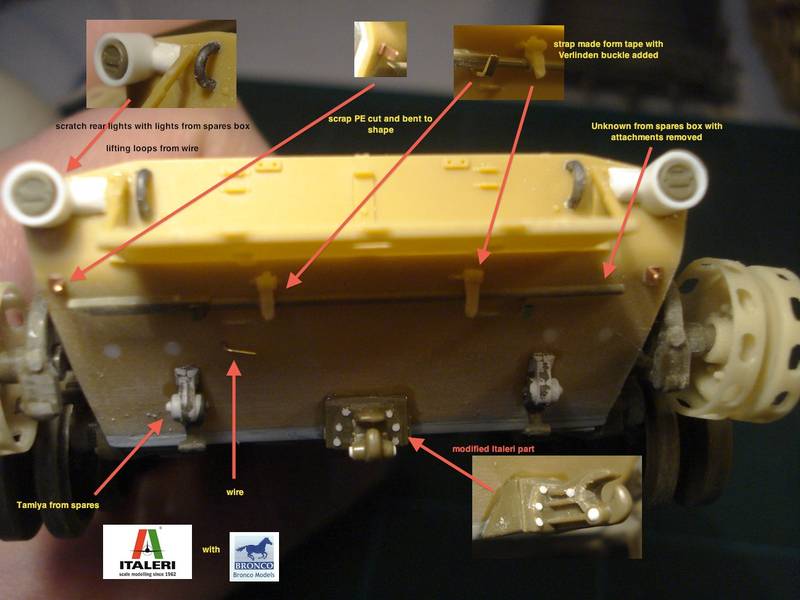
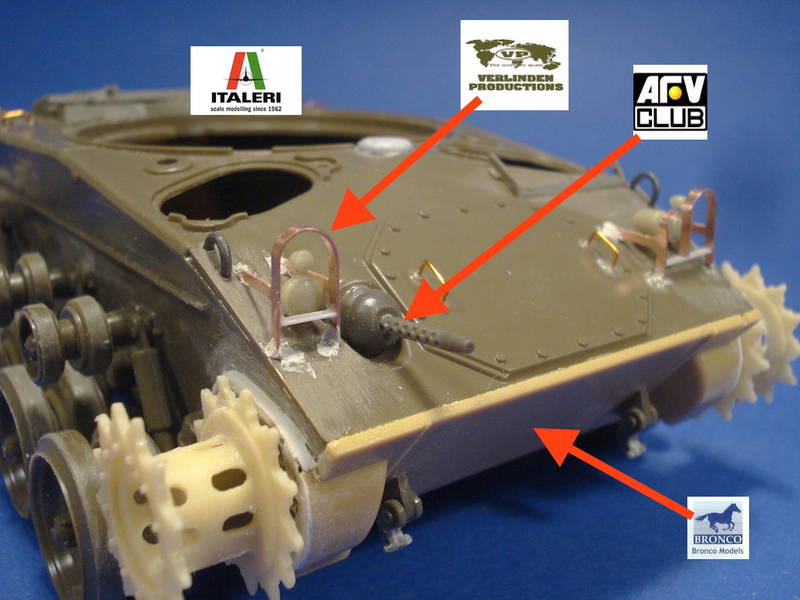
Yes. When I ordered the original WWII Chaffee release from Bronco, I also got the replacement turret for a few cents, just in case I had one of the original kits. Well, it turned out that it wasnt needed so I will try to incorporate it here. In general, I will try to use as mayn leftovers from the other two kits here as I can, just for fun and training my build skills.
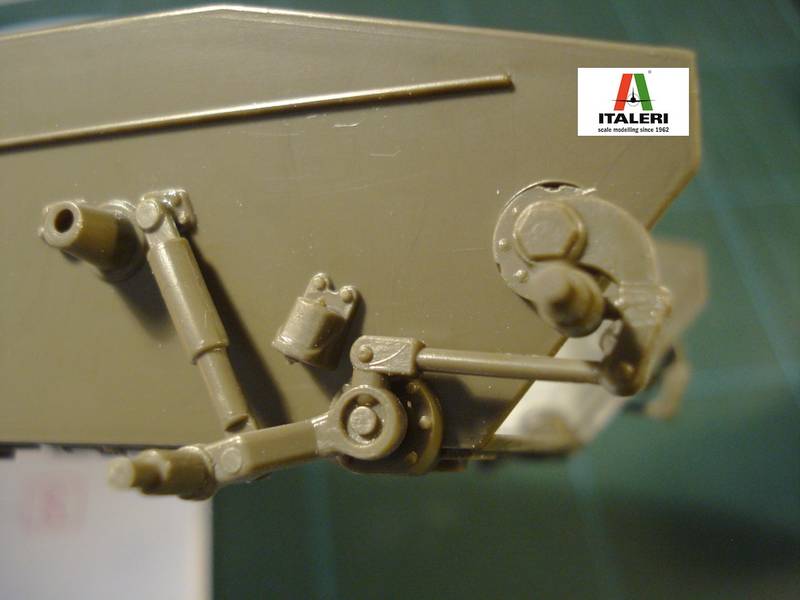
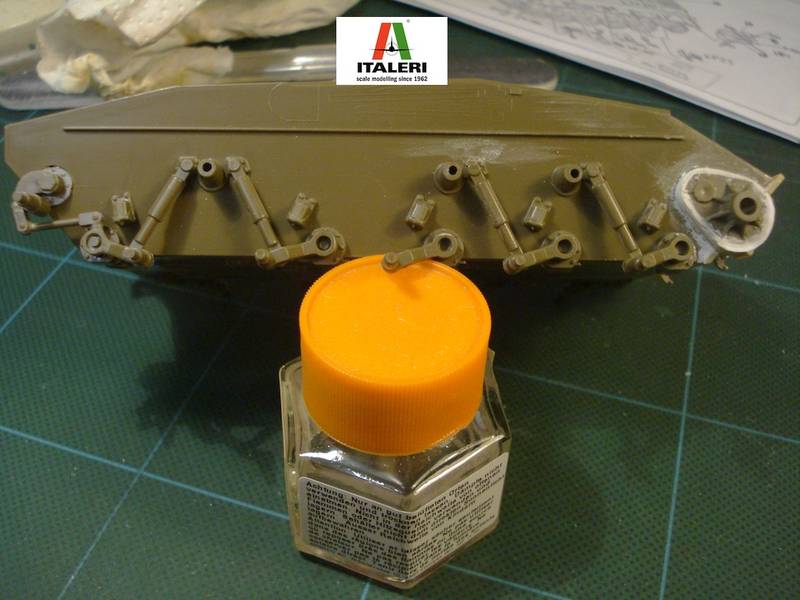
Ill spare you the sprue shots of the Italeri kit, you can look them up here.
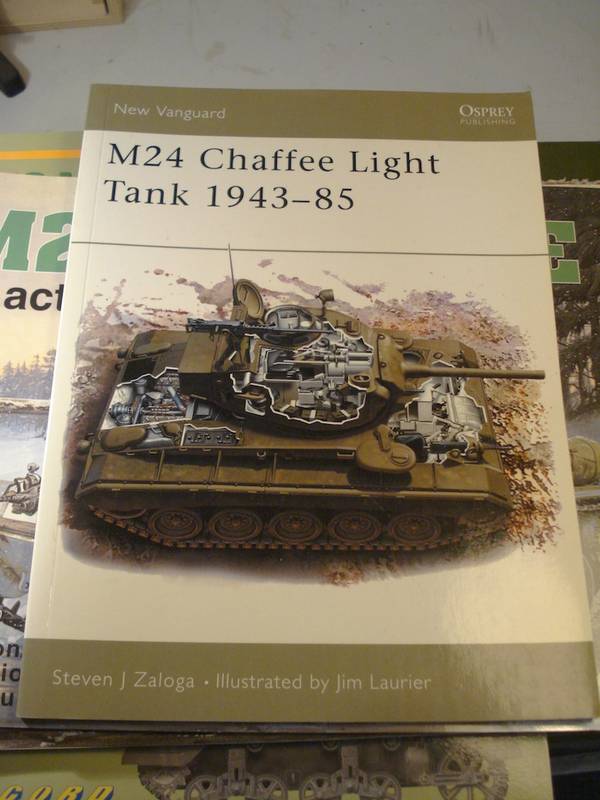
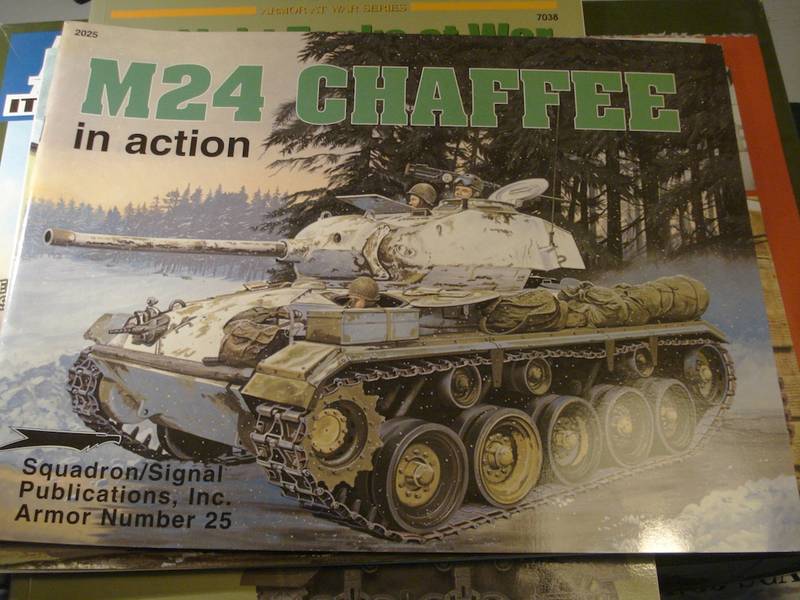
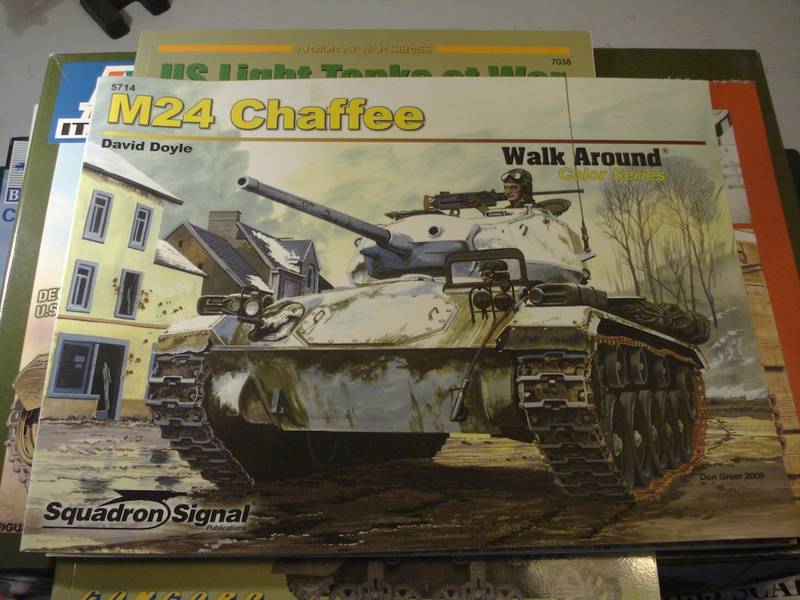
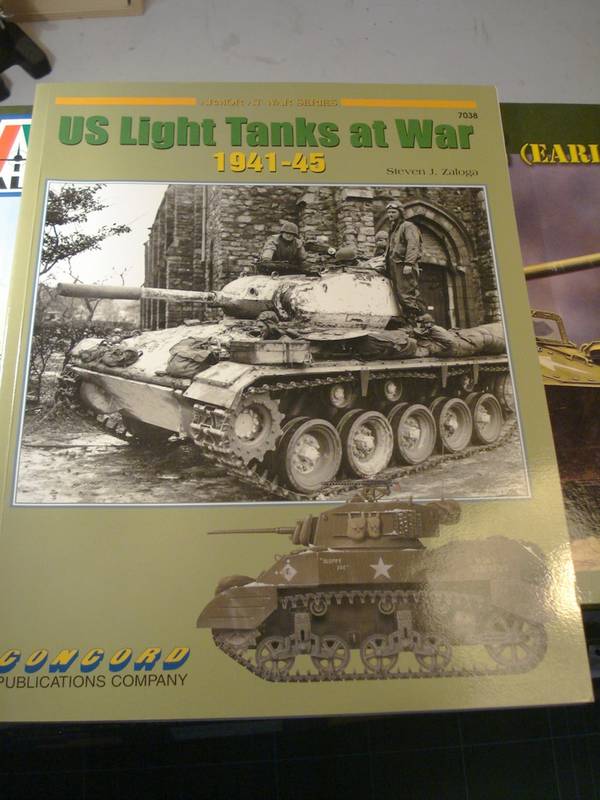
Ah, and finally, some reference material:
Wow... So much space just to set the stage...
Lets get going, shall we? Well, okay. Tomorrow well get to the first update on the running gear. Unfortunately wifey needs the computer for now.
:D