Hi folks,
This will be a build log and, if people areinterested a discussion oard as to the internal fittings and structures of this tank.
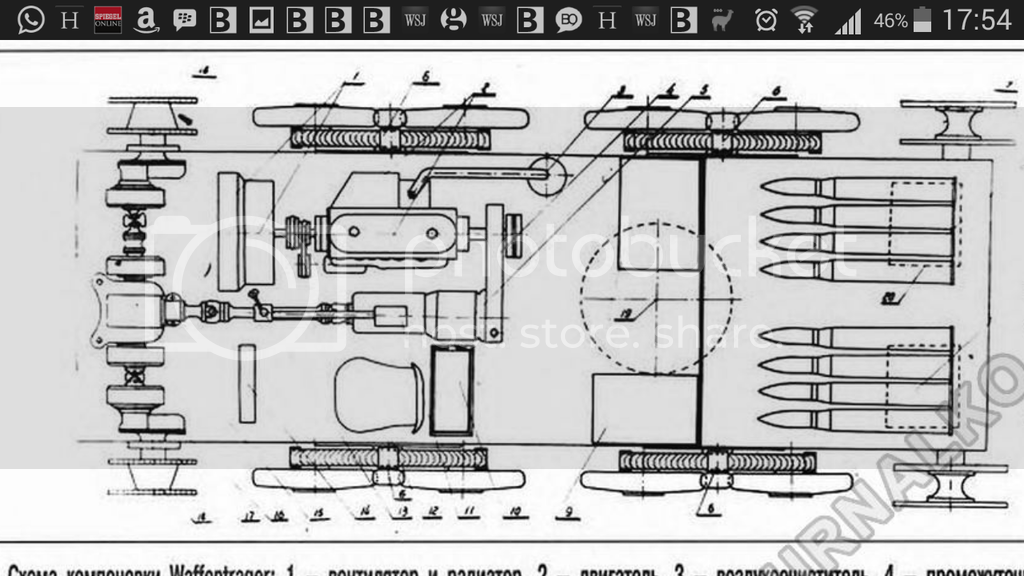
I have begun work on the Trumperter 1/35 Waffentrager PAK 43 designed by Ardelt, which briefly saw action late in the war.
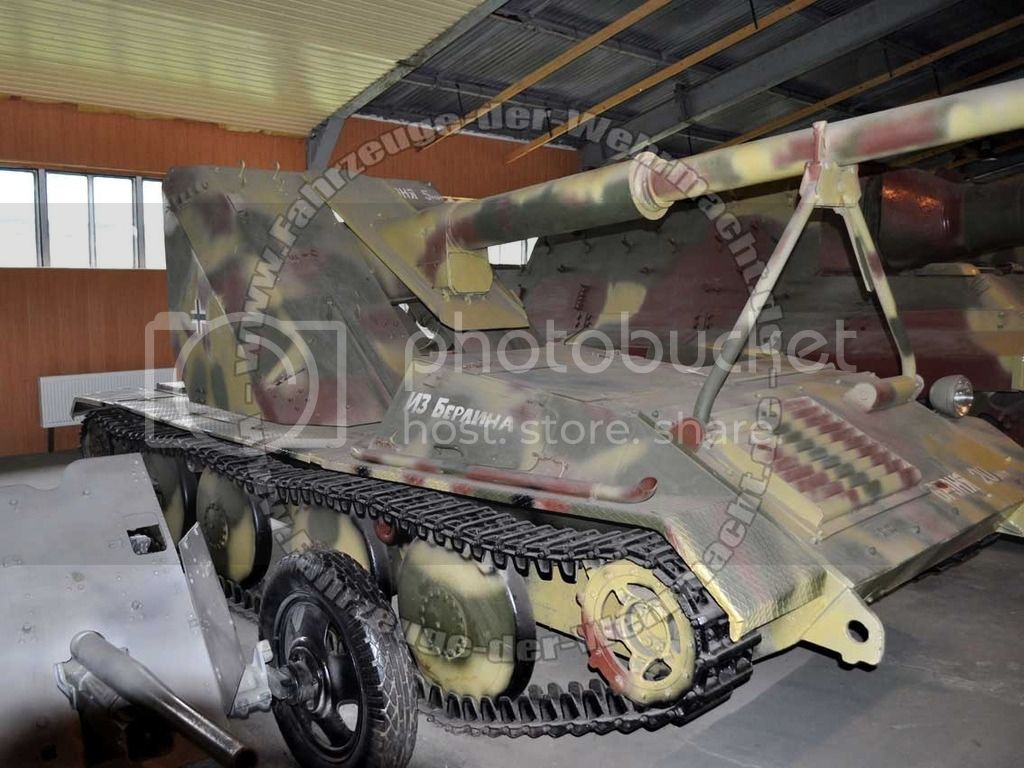
Footage is very limited, especially the interior and some important exterior parts, but the surviving one in Kubinka tank museum and some good photos will help with this project.
As of now, the following mistakes and errors in the kit came in mind:
Wrong placement of internat structures in the front:
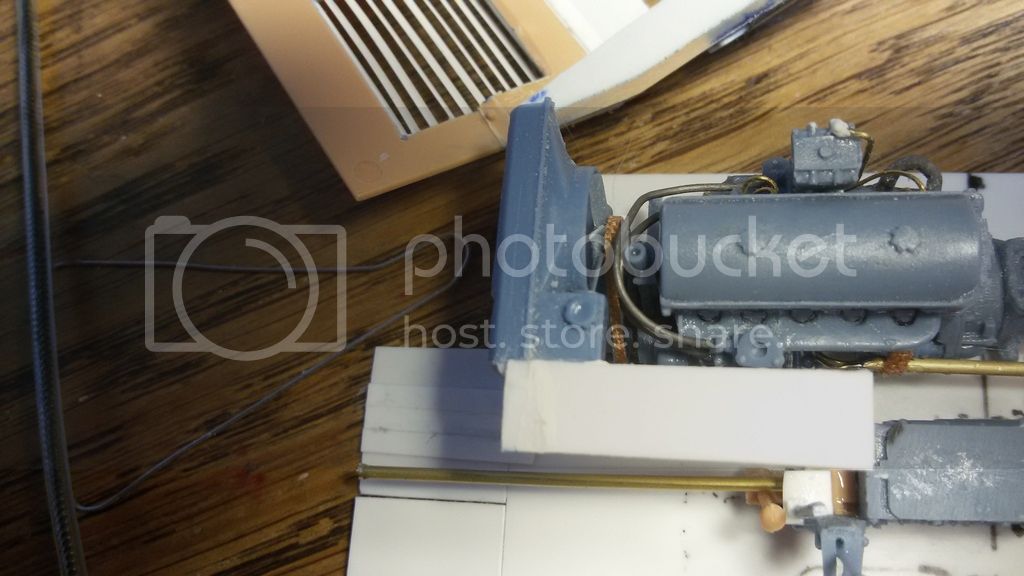
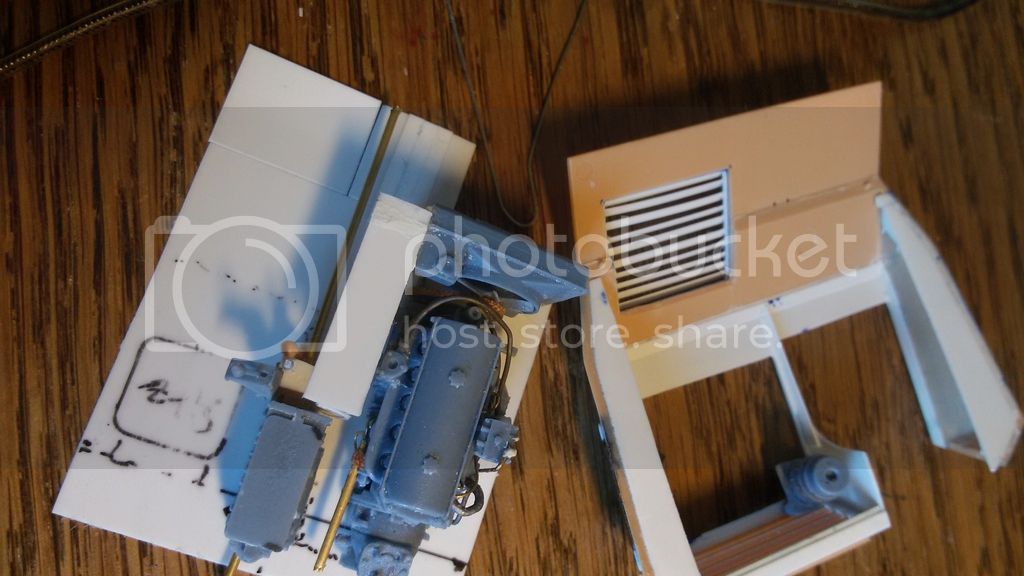
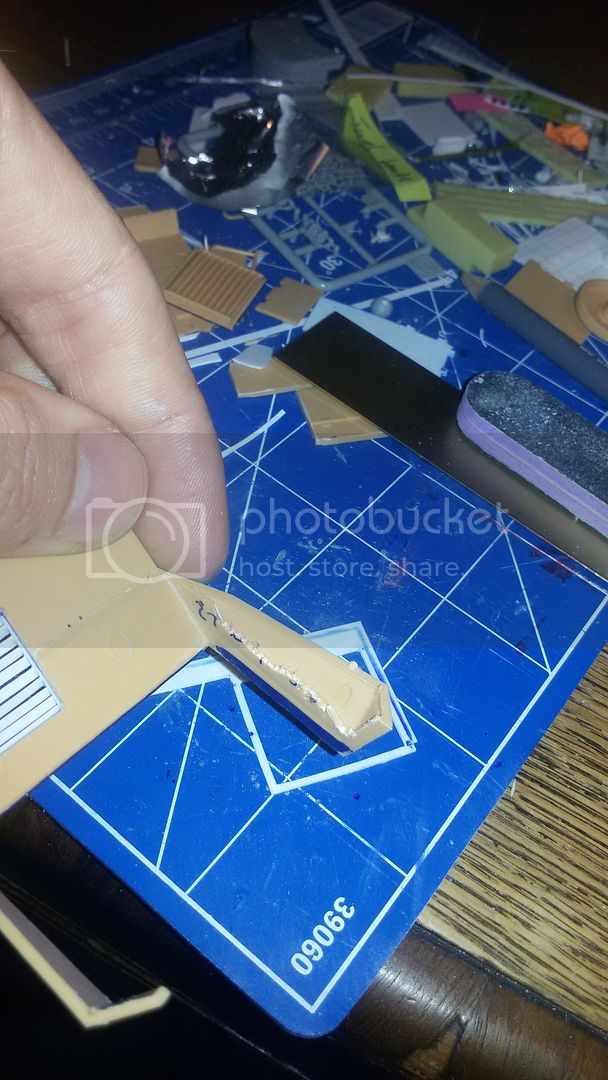
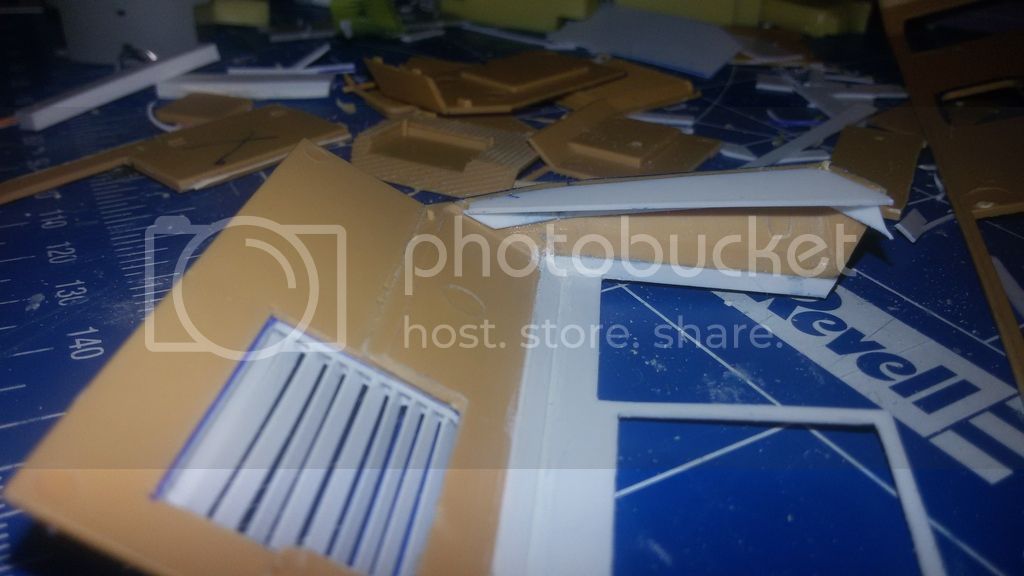
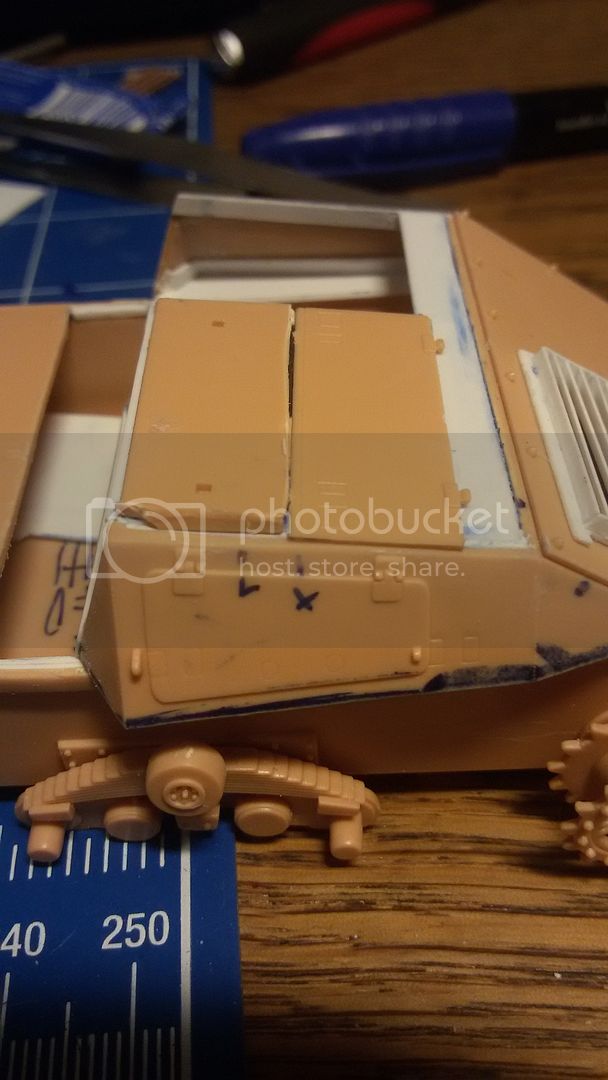
After closer inspection, the next thing is that many parts of the Trumpeter kit are far too thick (especially the front roof parts,around the engine deck).
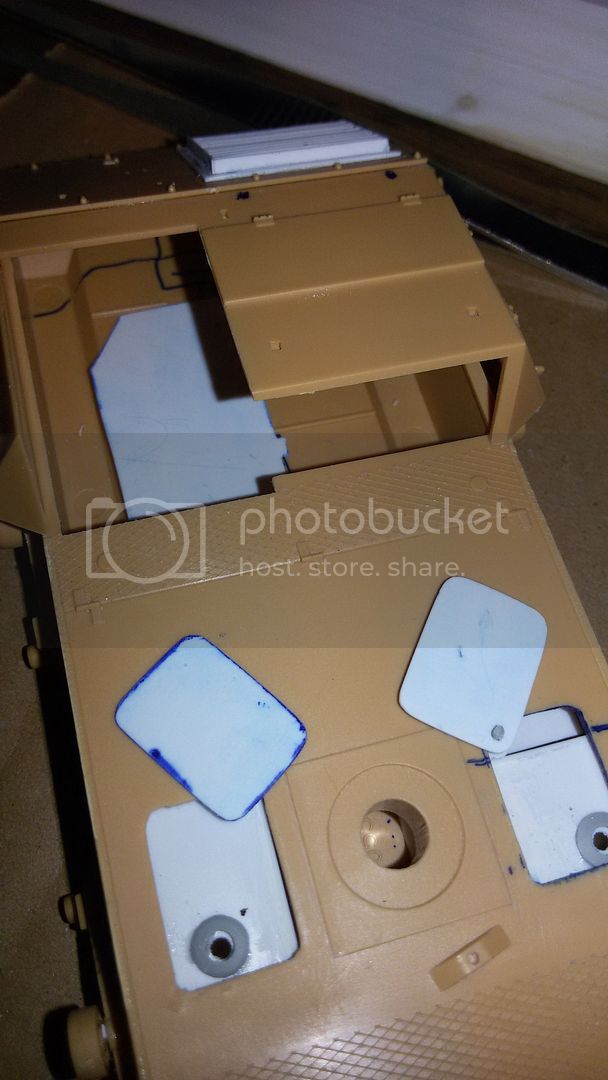
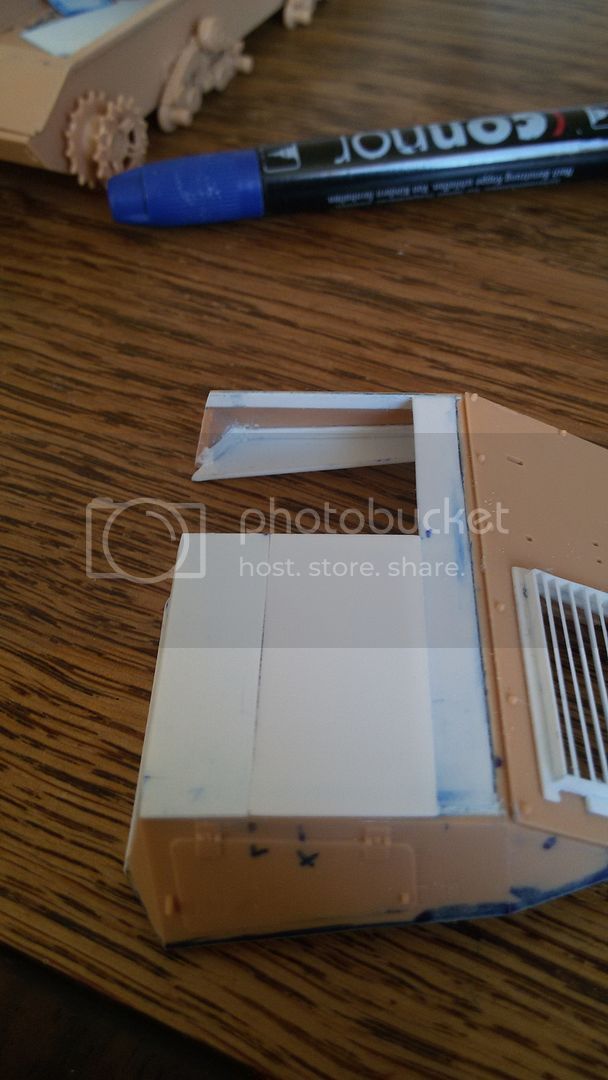
Also this double wall seems dubious and impractical, I removed it. The dirver probably had some levers or handles or so stored in the sponson?!?
Fixing the sponsons.
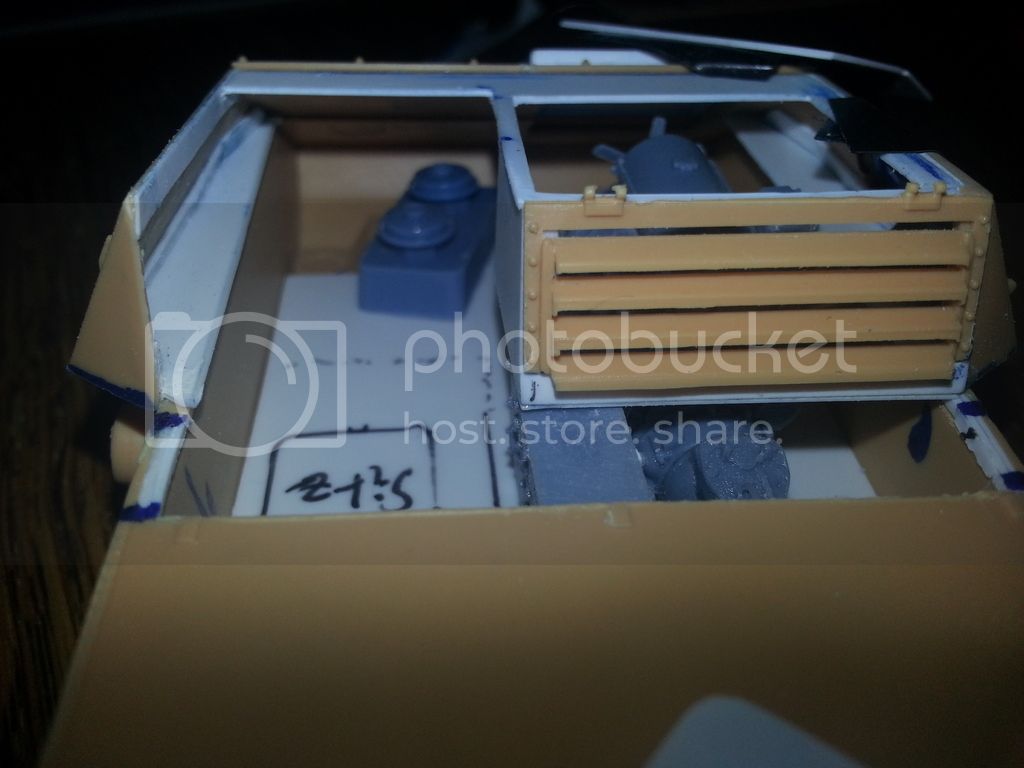
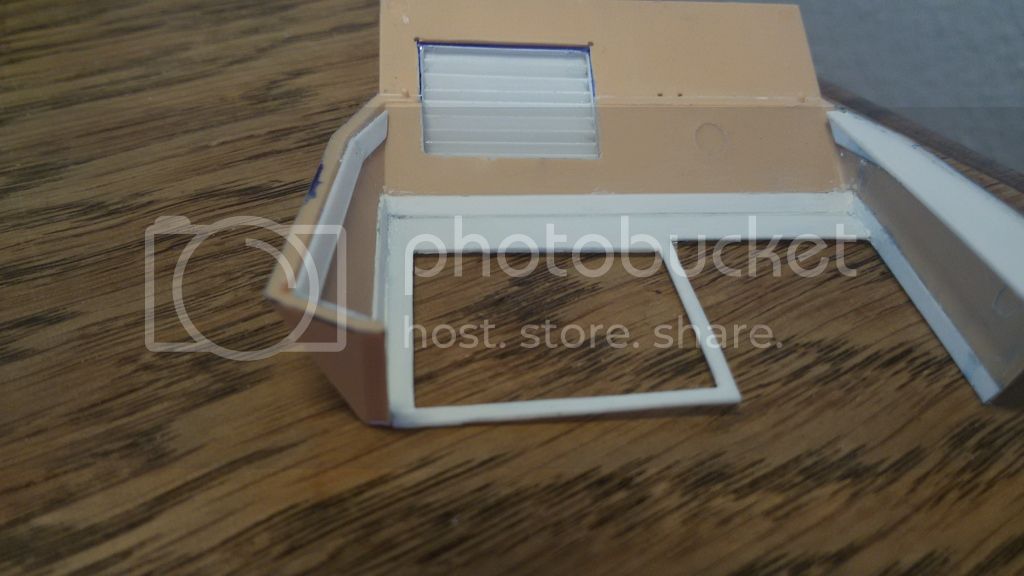
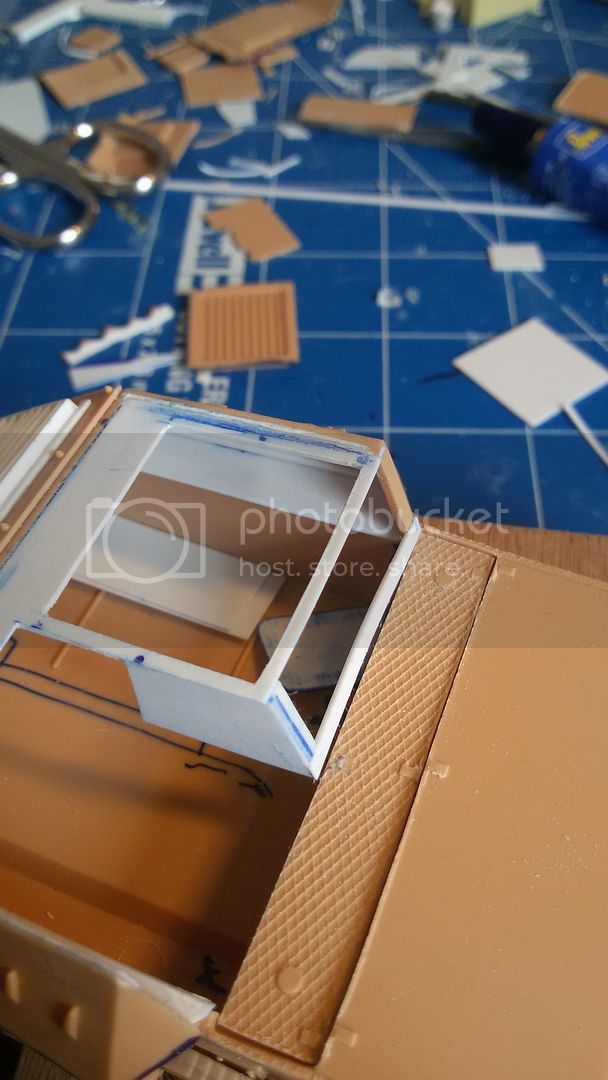
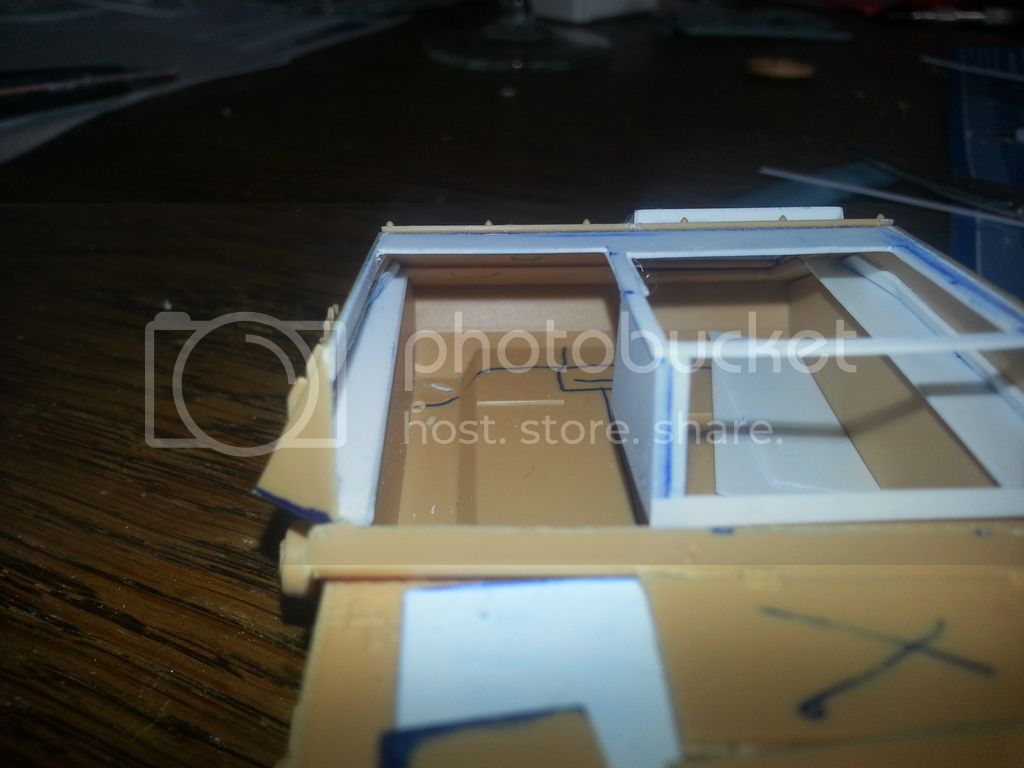
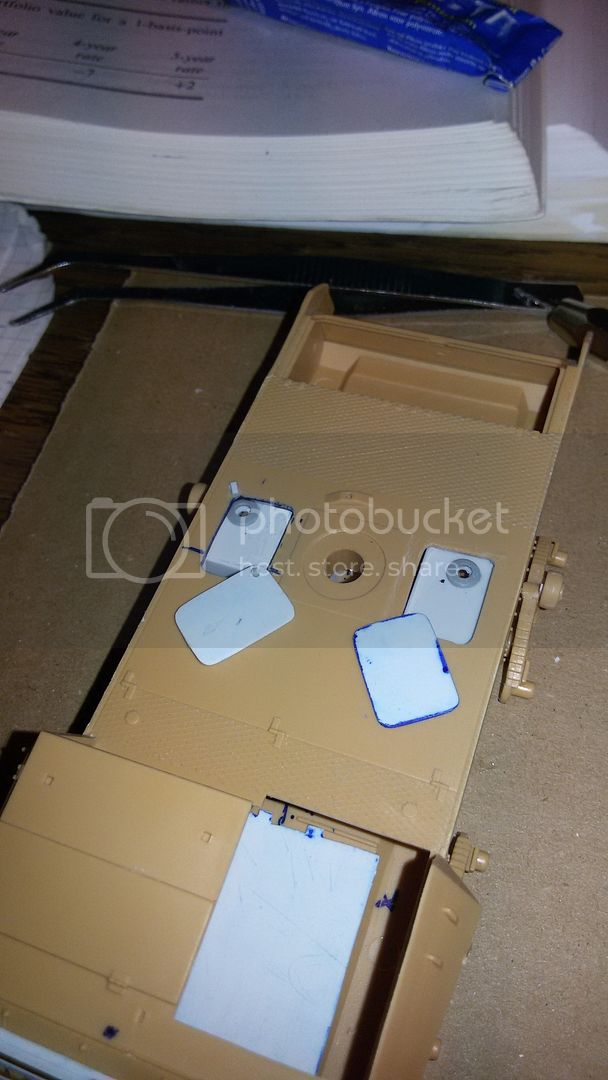
Roof interior view
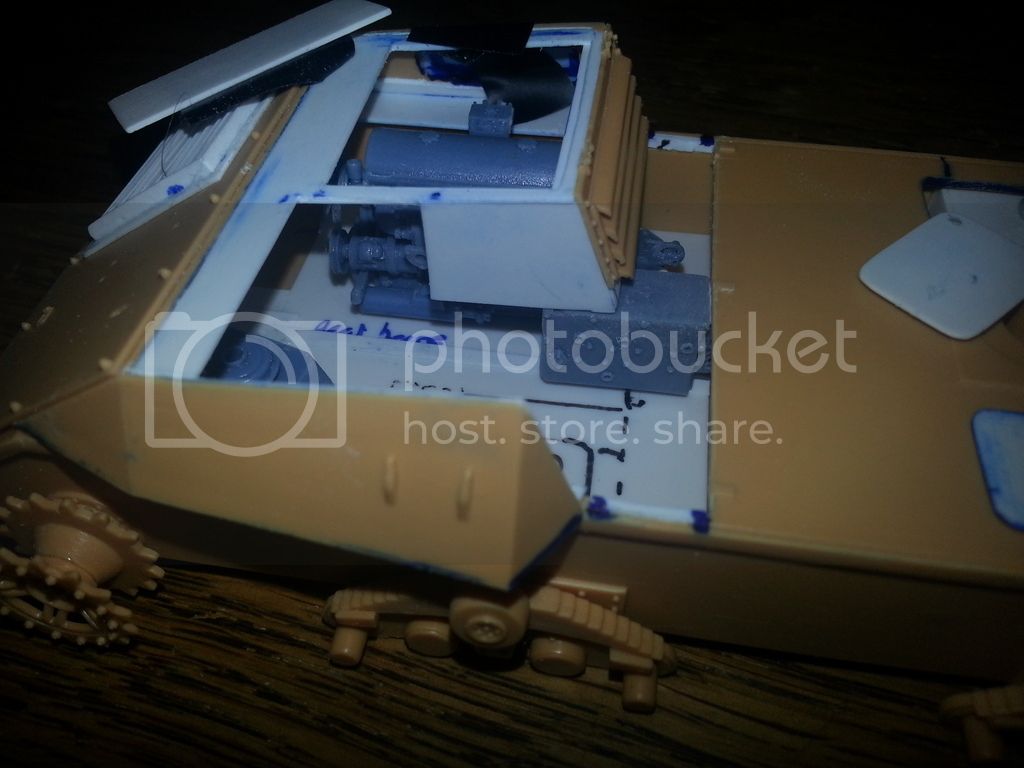
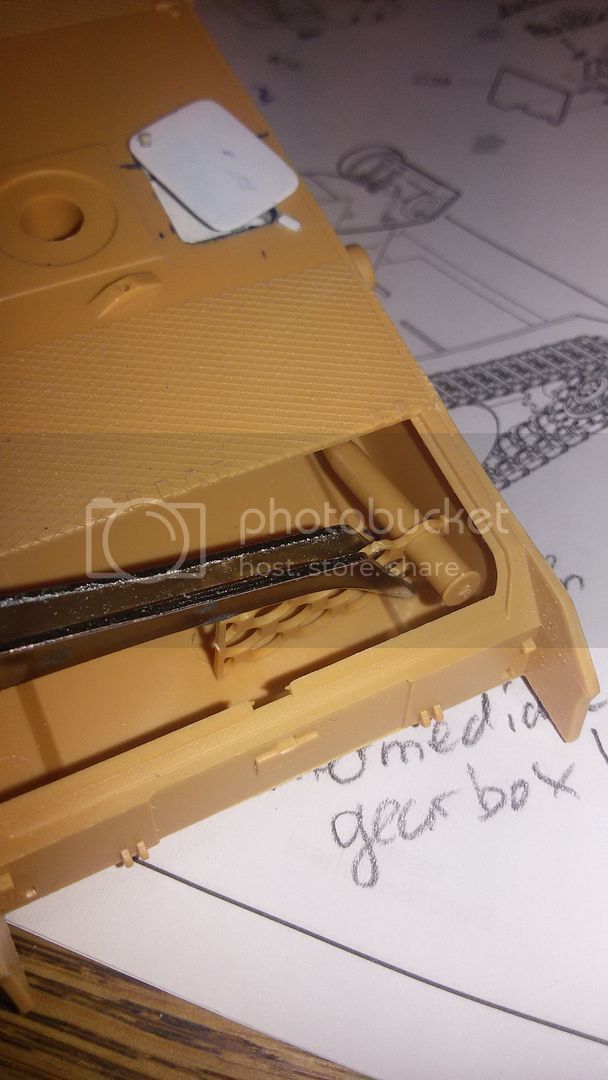
Redesigned front... And started cutting away the next part behind the driver... Must be hatches to get to the gearbox (behind engine and driver) and the battery (behind the driver).
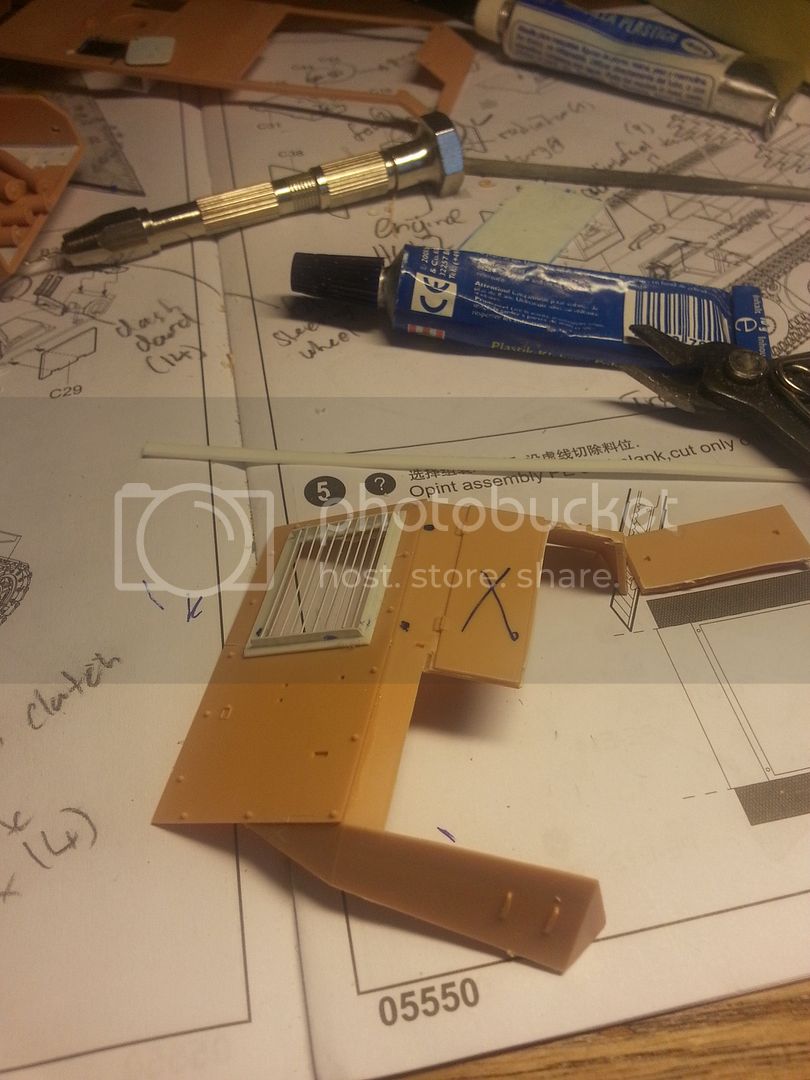
Secondly, the front fan slits are not molded nicely, so they needed to be redone.
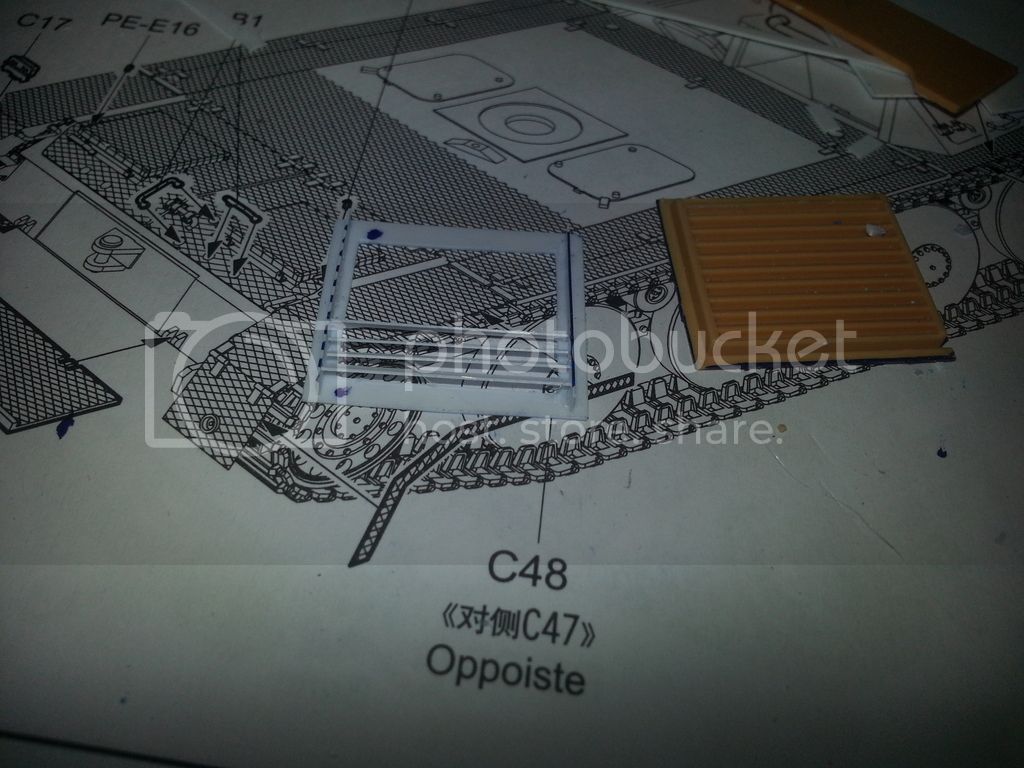
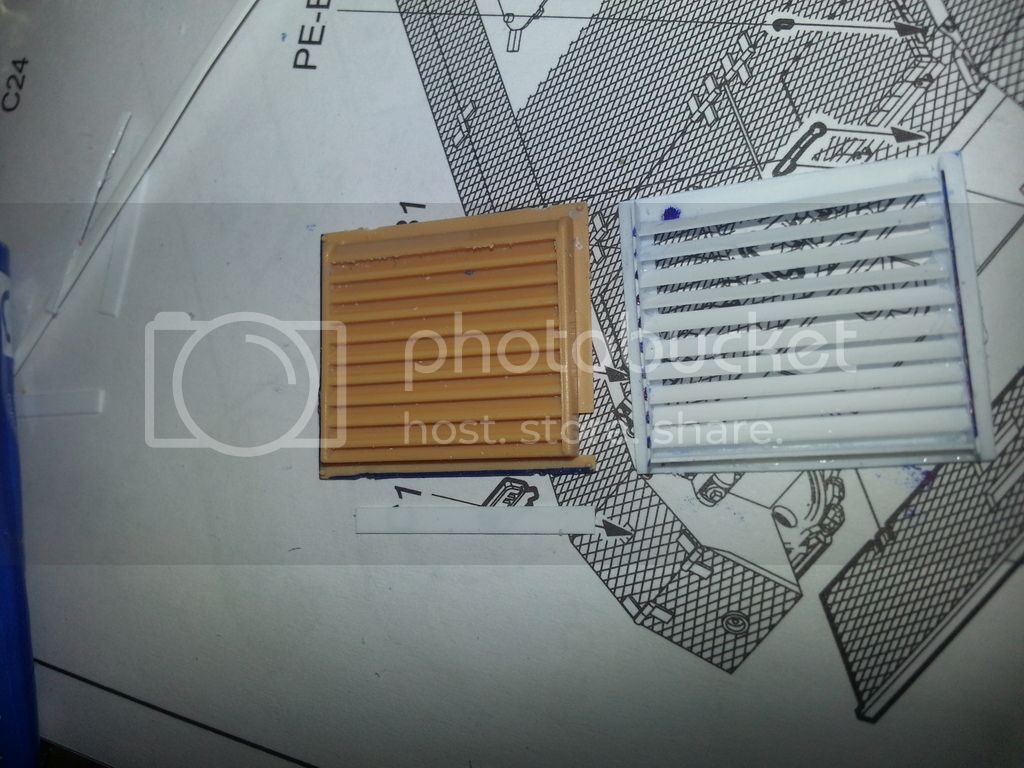

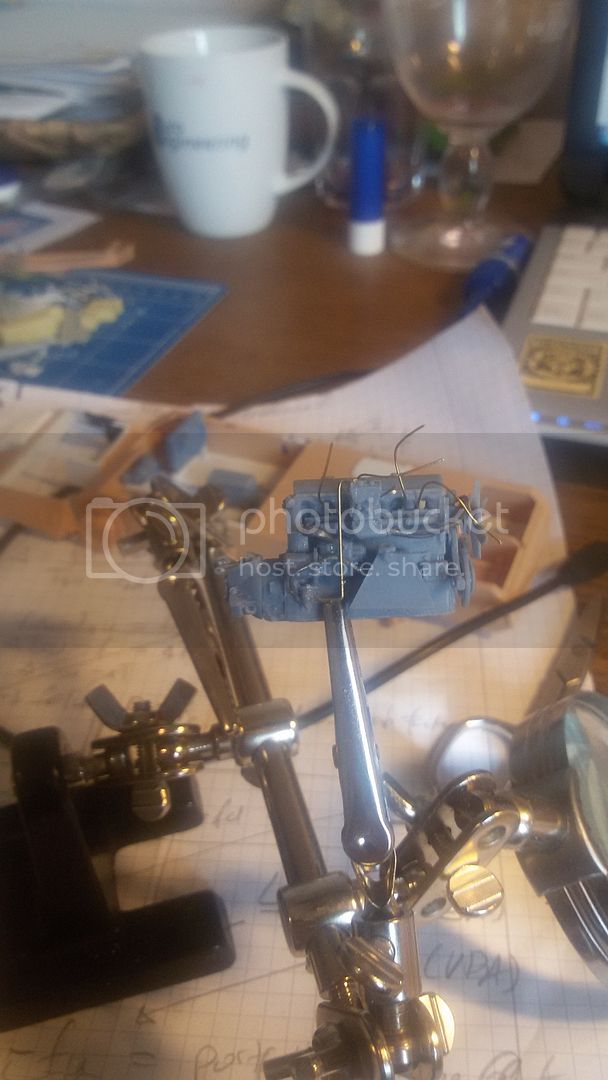
Third in line, the engine and radiator covers are wrong (in terms of dimensions). Needed to be replaces as well.
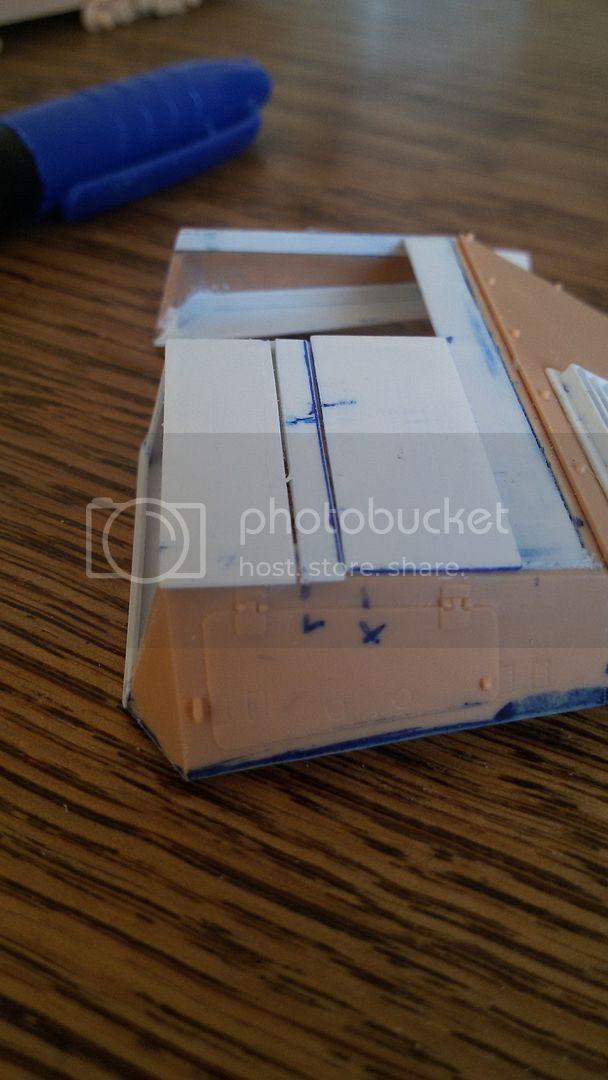
This shows, by how much the leftmost hatch part was too big...
It will be kind of like this in the end.
This image shows the dimesions
Between the driver and the radiator, it seems that the wall is too long and wrong in dimensions as well, and too thick of course. So most of the front had to be reshaped...
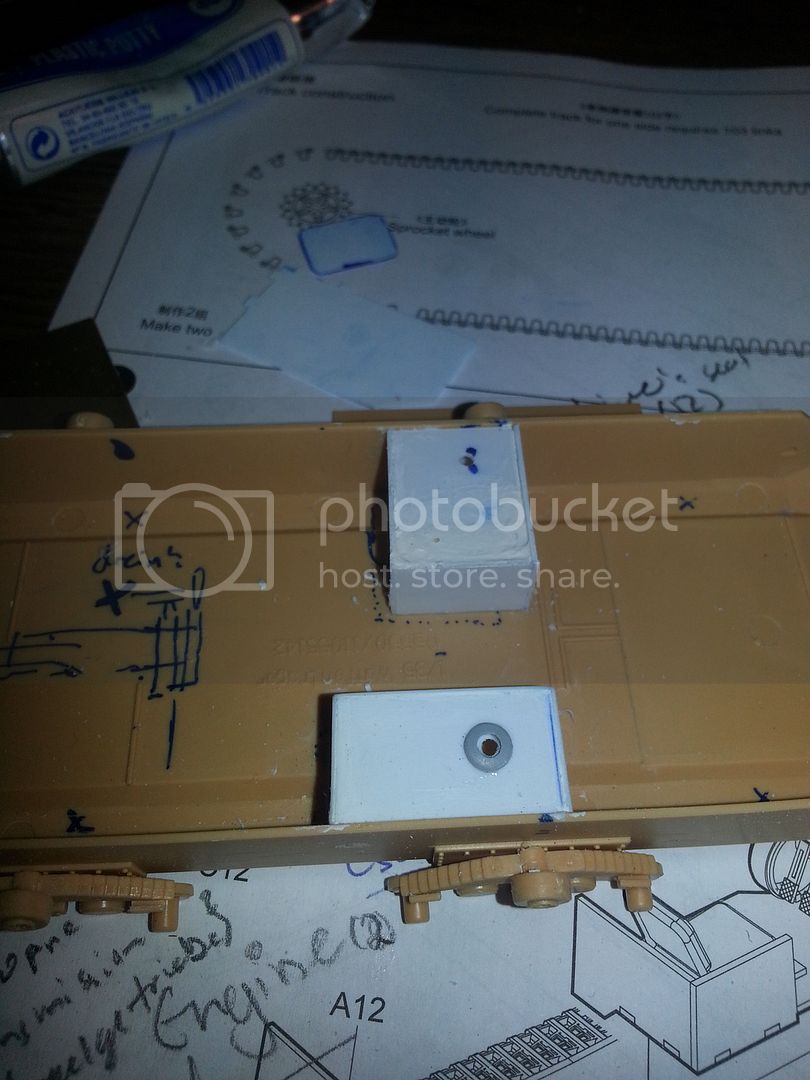
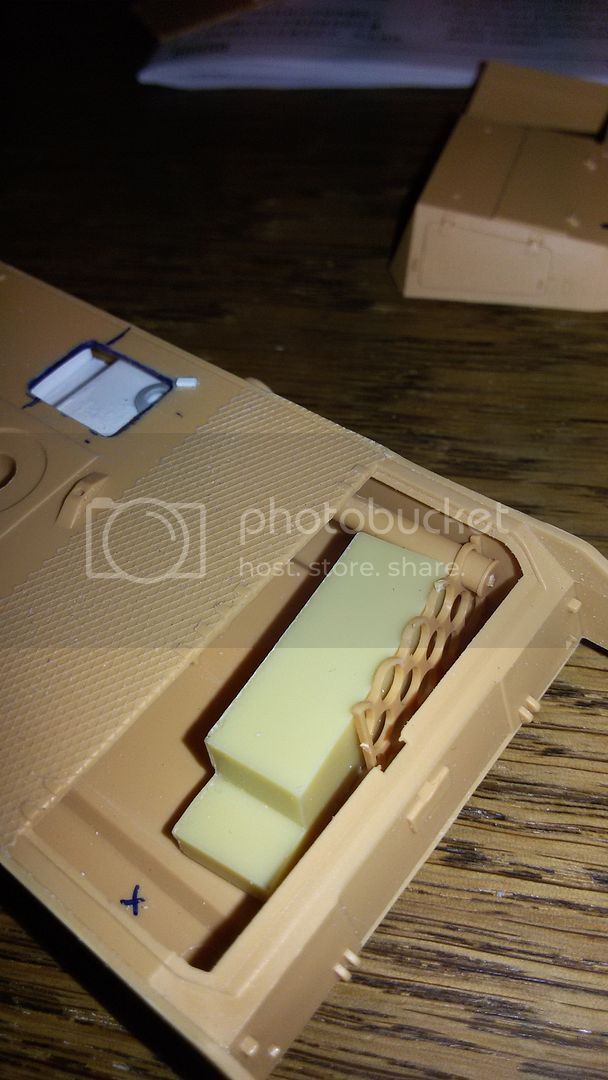
As I wanted to depict all hatches movable and the interior visible, I added the fuel tanks and cut out the hatches/openings. I am not really aware if the mechanism or so, I have not found any footage, so this is based on other mechanisms used in German and Czech tanks.
These are different opening mechanism designs, changed it to a different one though. The depicted ones were ugly, not practicle in that location and I screwed them up.

Further to the back, the ammo rack need major changes to be done. I am not sure what Trumpeter has done, but the way they want the ammo to be stored, physics (shells can't be bend) does not allow the loader to get the shells out of the ammo rack

It is simply impossible.
It is already impossible to get rid of the top shell, the two lower rows are even further from imagination...It is almost more likely to travel with the speed of light than getting those shells out.
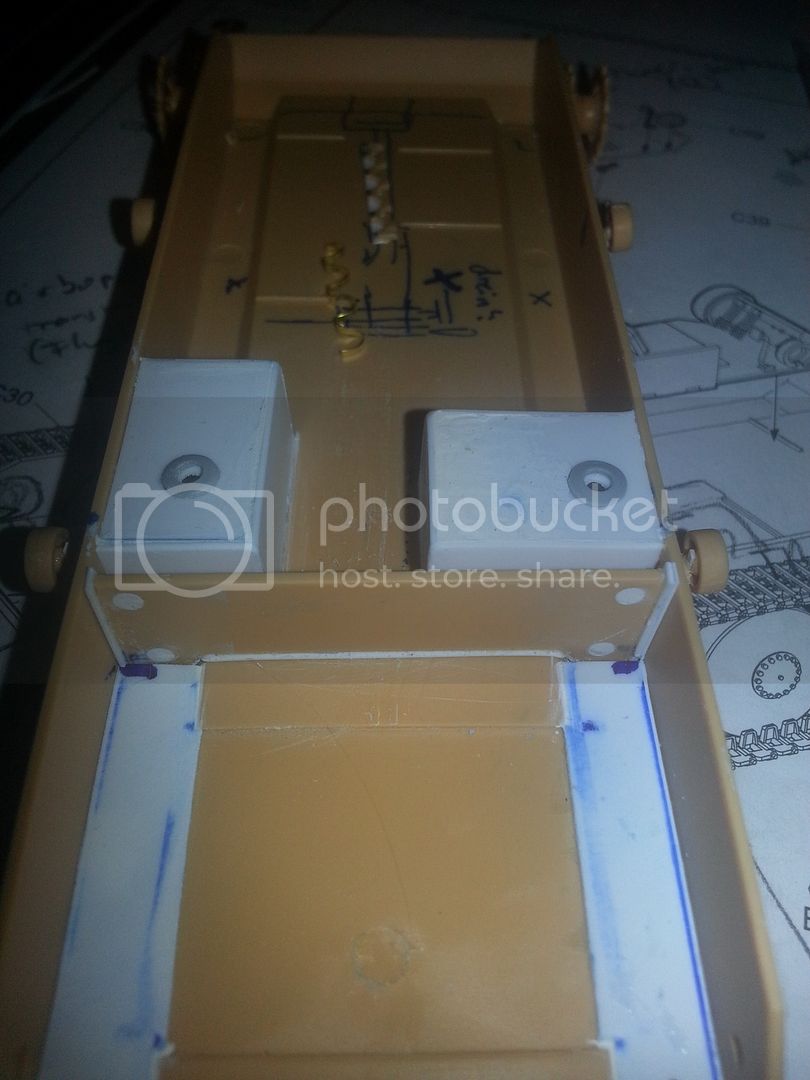
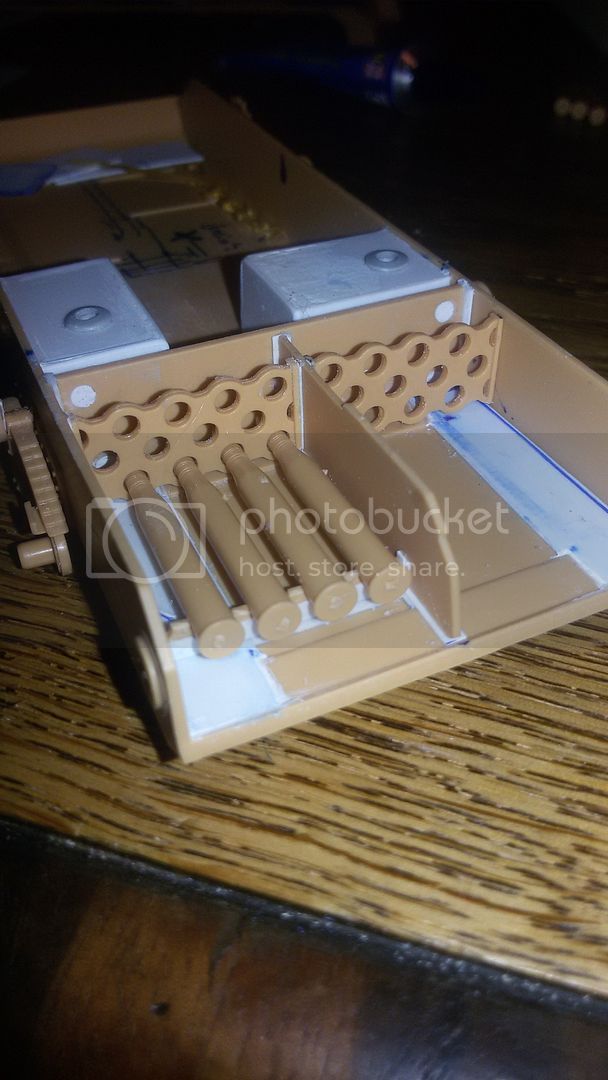
As a result, the whole part needs to be fixed. There must be some kind of spring mechanism, as soon as the top row was emptied, the bar holding the shell needed to be put to the side (with a swing and a spring mechanism) and thus the loader could reach the shells below...)
The floor boxed of the tiger had kind of such a mechanism.
I found no tank which had an ammo rack with so little space and limited possibilities of retrieving the ammo, so it is difficult to think of the design...
Help is appreciated.
Any input and comment is appreciated. Help and criticism is always welcome.
Cheers,
Alex