_GOTOBOTTOM
Constructive Feedback
For in-progress or completed build photos. Give and get contructive feedback!
1/72 Eduard M4A3 Sherman
SHarjacek
Visit this Community
Croatia Hrvatska
Joined: January 29, 2011
KitMaker: 977 posts
Armorama: 553 posts
Posted: Saturday, October 31, 2015 - 04:46 PM UTC
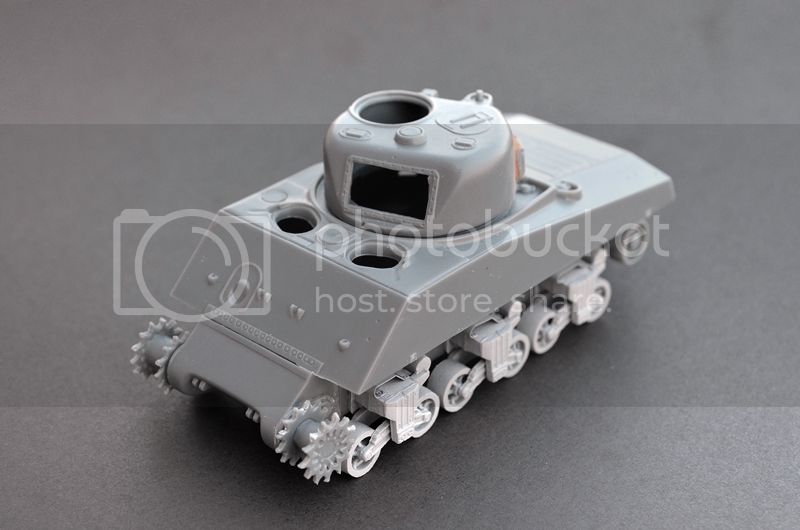
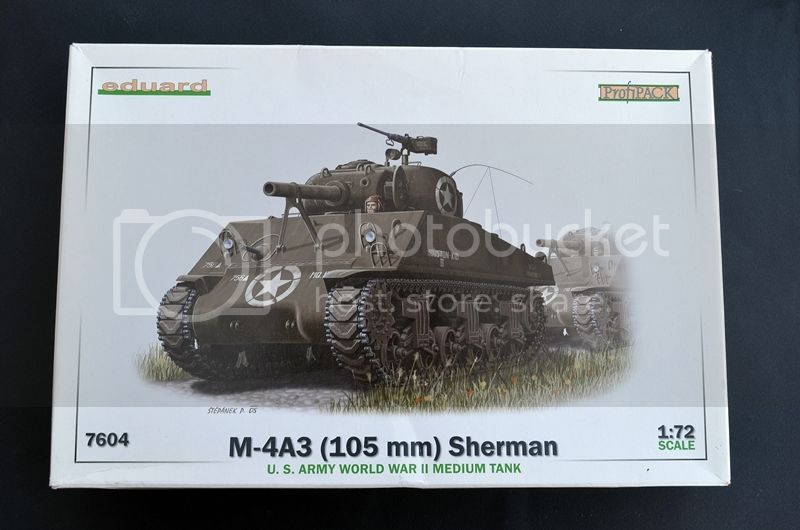
Hello everyone, It's been almost 6 months since I came back from my high school student exchange and I feel like It's time to come back to building models. Before I go back to the primary subjects I'm interested in, I decided to build a couple random models from my stash. First on is the Eduard Sherman M4A3 105mm in 1/72nd scale. I got this model a couple years back as a prize on an exhibition. I totally forgot I had it as I prefer 1/35 so I thought it would be a great model to get me back into making models. Anyways, I decided not to add much, just some basic modifications (not that the model requires much addition, it looks amazing for this scale). However I do not like any of the provided painting options so if someone has any cool painting options for this tank, I would kindly appreciate them sharing it.

I haven't done much work as of now because I have a lot of school work going into my last 2 semesters in high school, and most of my glues and primary stuff has gone bad so I have to order more. I started off with some basic stuff, glued the bigger turret pieces together and filled all the seams. I have also modified the turret and hull base so that the hull can be “screwed” in and not just put on the hull as Eduard had imagined.

I also plan to build a small base for the model and maybe put the driver in if I can find an appropriate figure. (anyone knows who makes WWII american tankers in 1/72, or something similar enough?!). I will start making the base as soon as I decide on the painting option so I can make the appropriate foliage and surroundings.
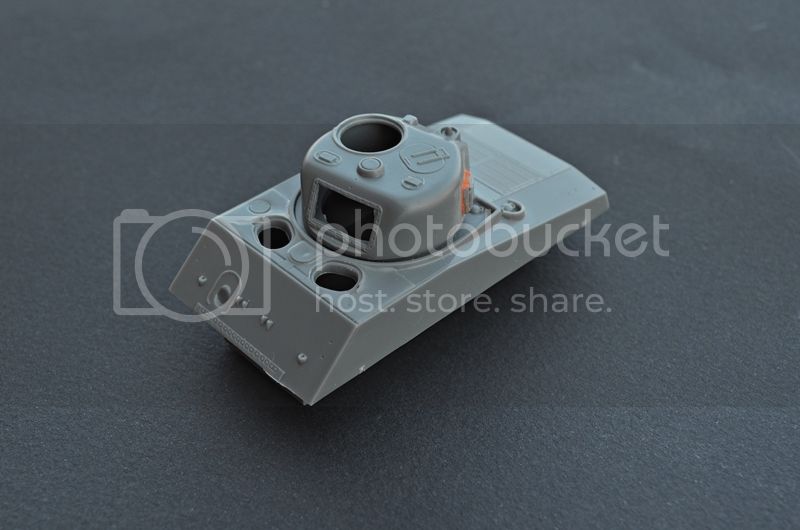


As always, all comments and suggestions are welcome.

Kind regards, Sven.
SHarjacek
Visit this Community
Croatia Hrvatska
Joined: January 29, 2011
KitMaker: 977 posts
Armorama: 553 posts
Posted: Saturday, November 07, 2015 - 05:41 PM UTC
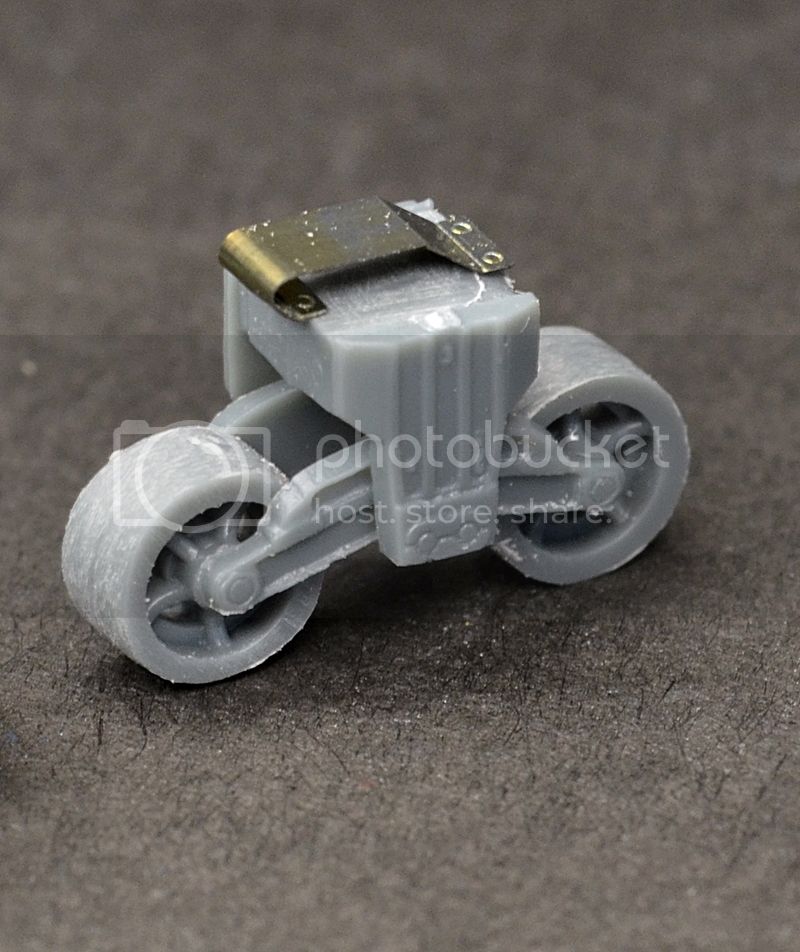
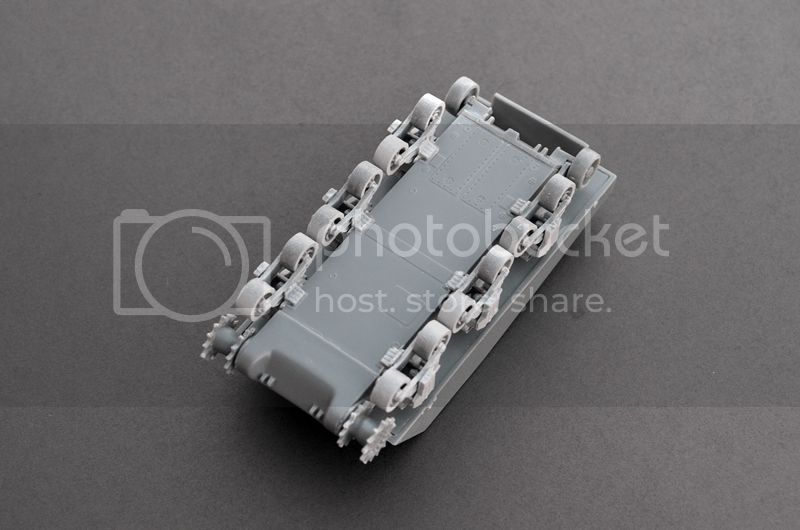
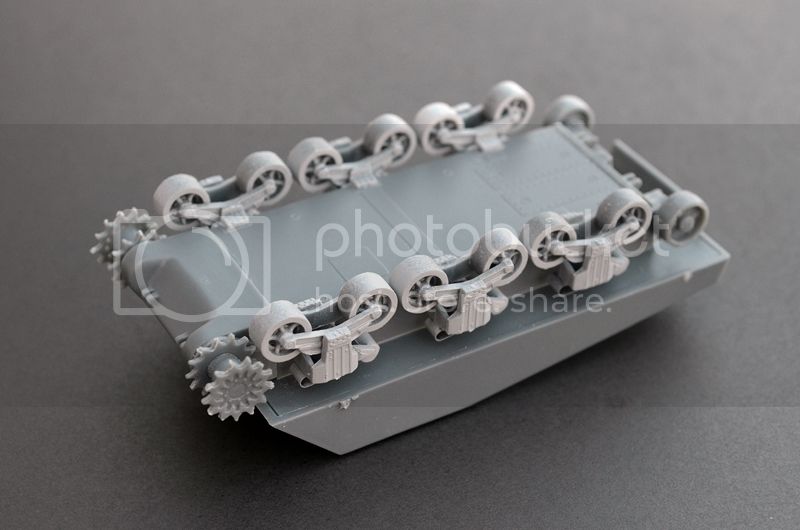
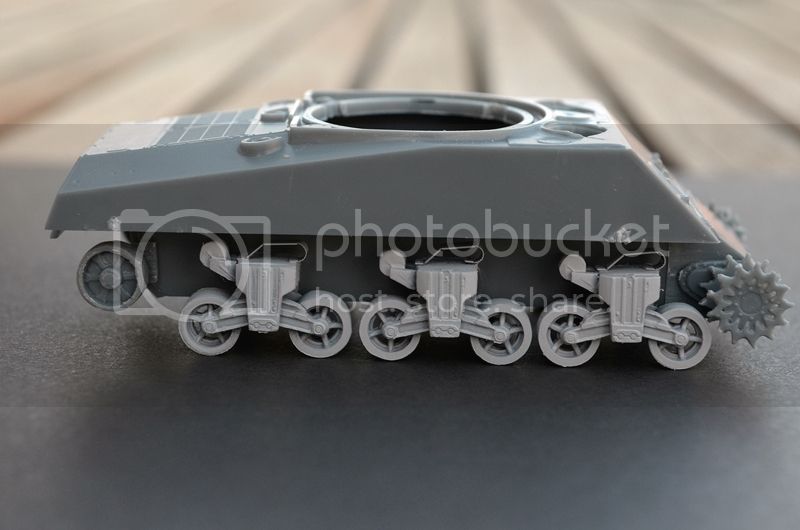
Hello everyone, I decided to update this blog on a weekly basis as I don't have much time to work on the model due to all the college application stuff that needs to be done. Anyways, I worked on the wheels and running gear on the lower hull this week. Working on them is a bit of a PITA because everything is so small and fragile. Eduard offers to replace a molded part with a photo-etched one (don't know the name of it??), I opted for the photo-etched option. I heated up the fret and put it in cold water afterwards so it bends more easily.

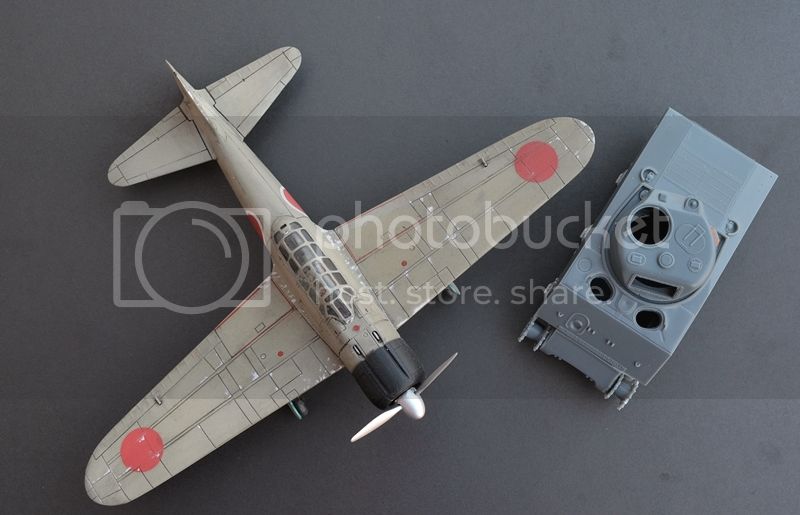
I would say my bending skills are below average right now because I didn't do any for quite some time. However, I'm quite happy with how it turned out since I haven't done anything in over a year. I think I'm going to work on the upper hull this week and Ill only have around half an hour to an hour daily. Last picture is the sherman with another model I've done in 72nd scale a while ago for a size comparison.


All comments and suggestions are welcome as per usual.

Kind regards, Sven.
qcarr1
Visit this Community
Vermont, United States
Joined: March 16, 2015
KitMaker: 67 posts
Armorama: 67 posts
Posted: Monday, November 09, 2015 - 11:06 PM UTC
Looking good so far, Sven! I'll be following your build and look forward to your next post.
Sandbox
Visit this Community
Connecticut, United States
Joined: October 29, 2002
KitMaker: 350 posts
Armorama: 158 posts
Posted: Tuesday, November 10, 2015 - 07:27 PM UTC
Nice start to your build. Very crisp close up pictures. What are you using for camera? Any additional lighting?
robw_uk
Visit this Community
England - North East, United Kingdom
Joined: June 22, 2010
KitMaker: 1,224 posts
Armorama: 1,207 posts
Posted: Tuesday, November 10, 2015 - 08:11 PM UTC
nice start - way too small for my old eyes. Looking forward to more
SHarjacek
Visit this Community
Croatia Hrvatska
Joined: January 29, 2011
KitMaker: 977 posts
Armorama: 553 posts
Posted: Tuesday, November 10, 2015 - 10:26 PM UTC
Thank you for the comments, guys!

Jeffrey, I'm using my Nikon D5200 digital SLR camera with the standard lens on macro mode, I usually take my pictures during the day so i don't have to use any additional lightning. I edit my pictures in photoscape ( free software, very easy to use and effective). I just sharpen them a bit and add some contrast ( I only add contrast if I take pictures on a black background).

Kind regards, Sven.
SHarjacek
Visit this Community
Croatia Hrvatska
Joined: January 29, 2011
KitMaker: 977 posts
Armorama: 553 posts
Posted: Friday, November 20, 2015 - 06:36 PM UTC
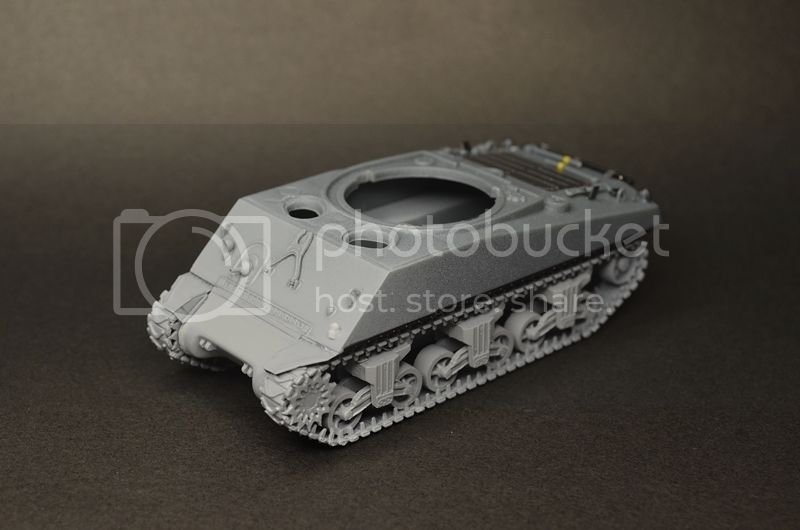
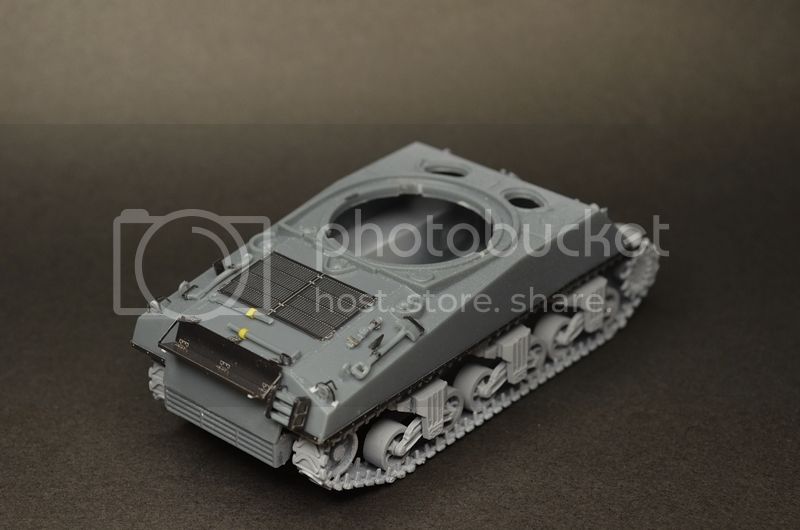
Hello, it`s time for another update. I was quite busy with school last week so I didn`t find time to update my blog. This week was a little less stressful so I had time to work on the Sherman. I hope to finish building it today and lay primer tomorrow so I can focus on painting next weekend. As you can see a couple plastic parts are missing ( I lost one of the headlights so I have to figure out a way to replace that) and a few photo etched parts are missing on the hull but it`s more less ready for paint.
I must say I envy those so work with photo etch in this scale on a regular, I thought it was a pita. I decided to order the ET model(?) WWII stowage set to hide some mistakes I made and to make the vehicle more interested. I`m still figuring if I want to insert a driver figure or not.
I have found a couple Concord publication book on US tanks in Europe during WWII that I will use as a reference during painting. I must say I`m very excited to paint something again after more than a year and I`ve seen quite a few new interesting techniques that I might try myself.
Anyways, there she is. As you can see I primed the front of the hull already as there were some nasty gaps in the lower portion that are yet to be sanctioned. I also apologize for worse pictures but the weather outside if horrible and I had to use artificial light.


All comments and suggestions welcome as per usual.

Kind regards, Sven.
SHarjacek
Visit this Community
Croatia Hrvatska
Joined: January 29, 2011
KitMaker: 977 posts
Armorama: 553 posts
Posted: Saturday, November 28, 2015 - 03:24 PM UTC
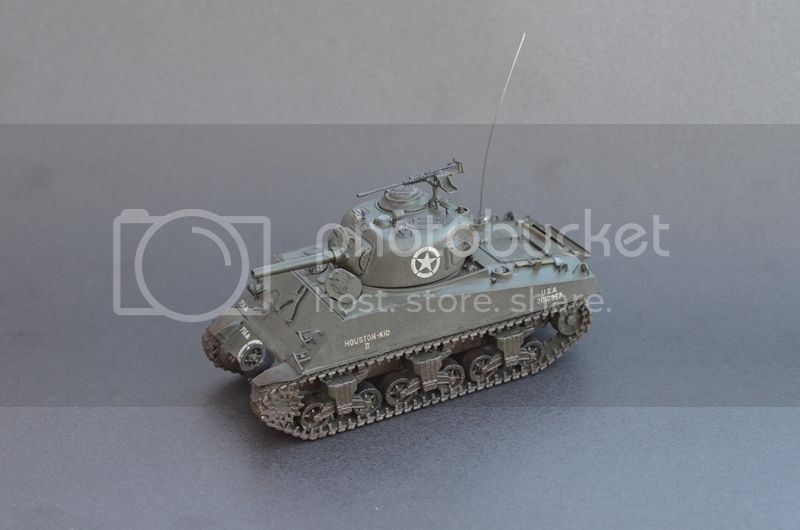
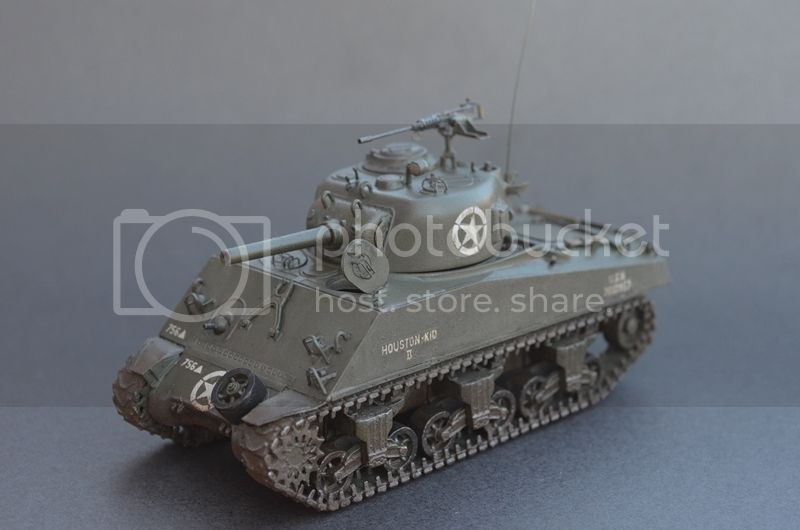
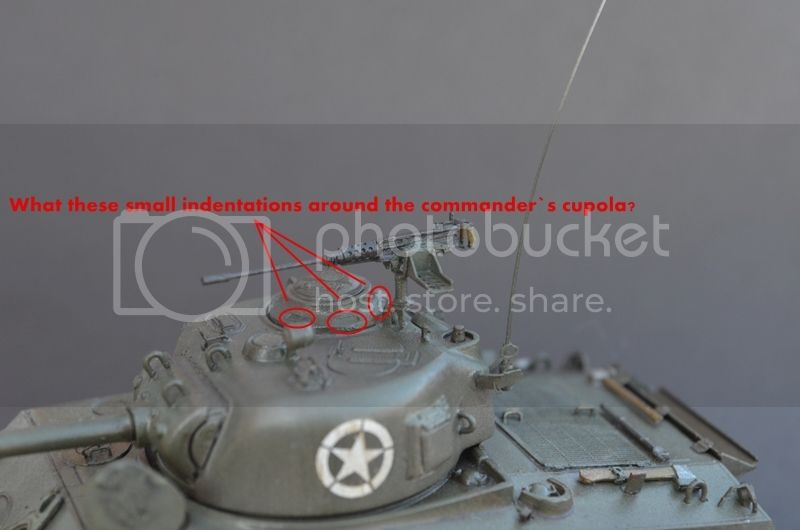
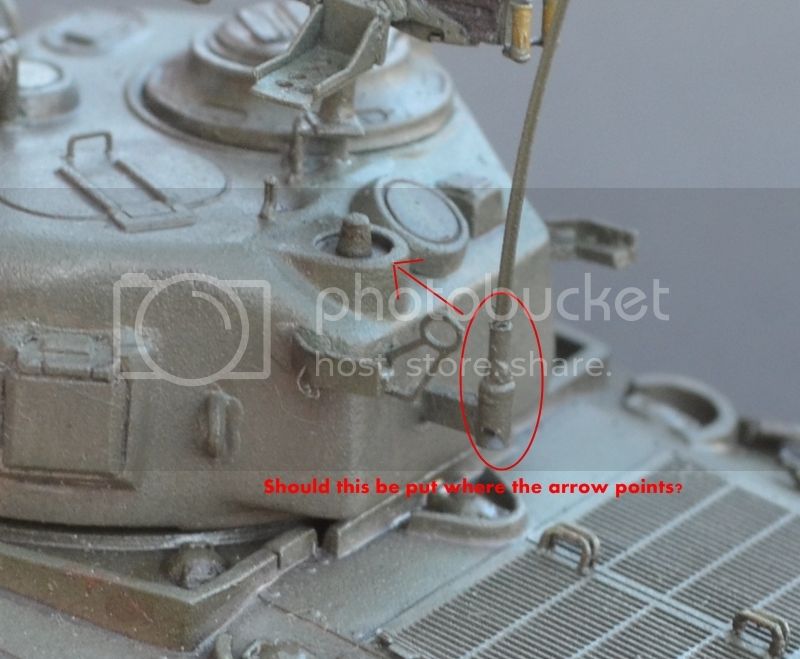
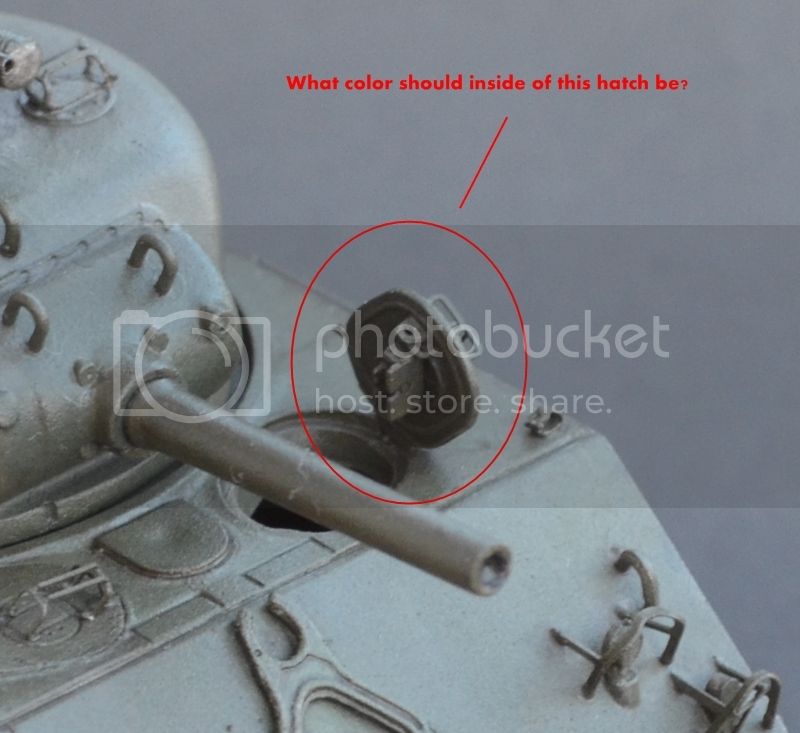
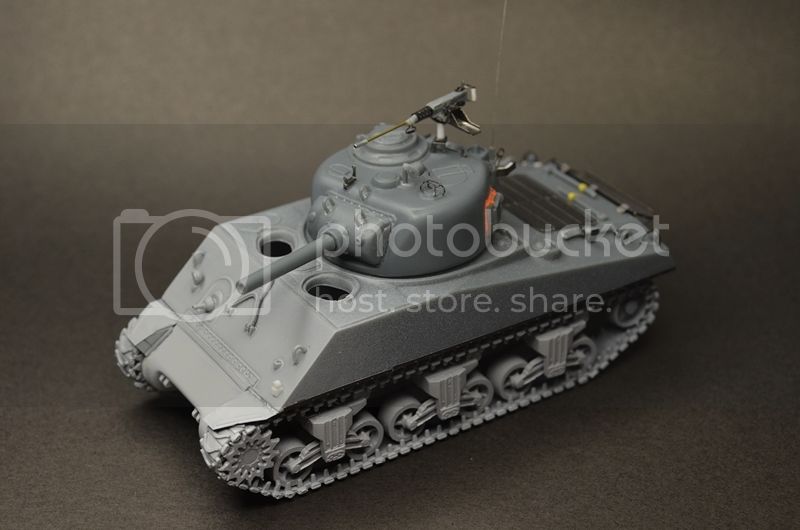
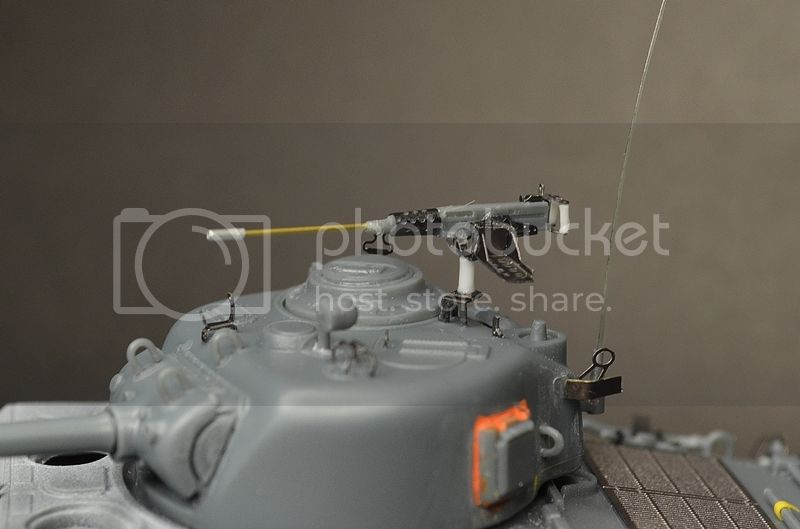
Hello, I`m back on track with the updates. I have done quite some work since last update. I`m no expert for WWII Shermans so I just mixed some colors by eye to try and match the paint. I have started weathering but I`m waiting for the stowage set to show up before I fully weather it. I`m also trying to find a base so I can start working on the diorama. The figures I found were just too expensive (14.50$) for a couple figures and a couple half figures which is a little expensive for me as I`m only intending to use one, so I`m looking into an alternative for that. I have a couple questions which are on the last three pictures, so I`ll greatly appreciate if someone can help me with those.


All comment and criticism is welcome as per usual.


Kind regards, Sven.
easyco69
Visit this Community
Ontario, Canada
Joined: November 03, 2012
KitMaker: 2,275 posts
Armorama: 2,233 posts
Posted: Saturday, November 28, 2015 - 04:31 PM UTC
Nice job, I like Eduard kits..I did the 1/35 scale Sherman..which uses Tasca Sprues & Eduard PE.That's a cute 105mm.
The cupola indentations holes are actually glass for commanders vision, I believe they are bluish green in color, someone will correct me. The antennae should go on the round top part where your arrow is pointing. The rear of the turret components are for storing the .50 cal MG.
Inside of hatch is olive drab, black rubber seal, the vision block is also black or olive drab..glass area is blue green.In your open hatch picture, the replaceable vision block is missing.The hatch vision guard wire should be corrected. The side wires should be at 45 degree angle. - in your last hatch picture, I'm referring to the closed hatch on the left...top vision guard wire.
joepanzer
Visit this Community
North Carolina, United States
Joined: January 21, 2004
KitMaker: 803 posts
Armorama: 740 posts
Posted: Saturday, November 28, 2015 - 07:28 PM UTC
That's amazing for 1/72. How do you see stuff that small?
SHarjacek
Visit this Community
Croatia Hrvatska
Joined: January 29, 2011
KitMaker: 977 posts
Armorama: 553 posts
Posted: Monday, November 30, 2015 - 01:45 AM UTC

Quoted Text

Nice job, I like Eduard kits..I did the 1/35 scale Sherman..which uses Tasca Sprues & Eduard PE.That's a cute 105mm.
The cupola indentations holes are actually glass for commanders vision, I believe they are bluish green in color, someone will correct me. The antennae should go on the round top part where your arrow is pointing. The rear of the turret components are for storing the .50 cal MG.
Inside of hatch is olive drab, black rubber seal, the vision block is also black or olive drab..glass area is blue green.In your open hatch picture, the replaceable vision block is missing.The hatch vision guard wire should be corrected. The side wires should be at 45 degree angle. - in your last hatch picture, I'm referring to the closed hatch on the left...top vision guard wire.


David, thank you so much. This model has been quite a challenge so far, as I'm used to 1/35th scale, everything is so tiny. I shall replace the hatch vision guard with a new one, I didn't even see this one was in such a bad shape. Do you have a picture or a drawing of the "replaceable vision block" as google didn't help at all.

Kind regards and thanks.
SHarjacek
Visit this Community
Croatia Hrvatska
Joined: January 29, 2011
KitMaker: 977 posts
Armorama: 553 posts
Posted: Monday, November 30, 2015 - 01:46 AM UTC

Quoted Text

That's amazing for 1/72. How do you see stuff that small?


Joe, thanks! I don't even know how I see it either. Everything is so tiny!
SHarjacek
Visit this Community
Croatia Hrvatska
Joined: January 29, 2011
KitMaker: 977 posts
Armorama: 553 posts
Posted: Saturday, June 04, 2016 - 03:21 PM UTC
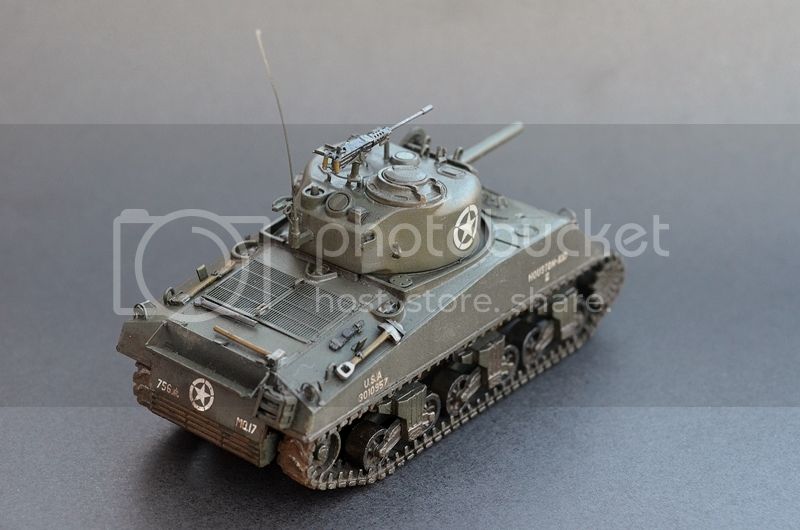
The model is more or less done, I still have some details to fix and am yet to find a figure. Any comments on what can and should be improved are kindly welcome before I finish the model. Also, I'm not satisfied with the groundwork at all, does anyone have any ideas on what could I add to the surface to make it look a little bit more lively?


Kind regards, Sven.
Ironclaw
Visit this Community
Washington, United States
Joined: May 20, 2016
KitMaker: 73 posts
Armorama: 58 posts
Posted: Saturday, June 04, 2016 - 08:36 PM UTC
Looking really good.

Amazing detail @ 1/72 scale
 _GOTOTOP