


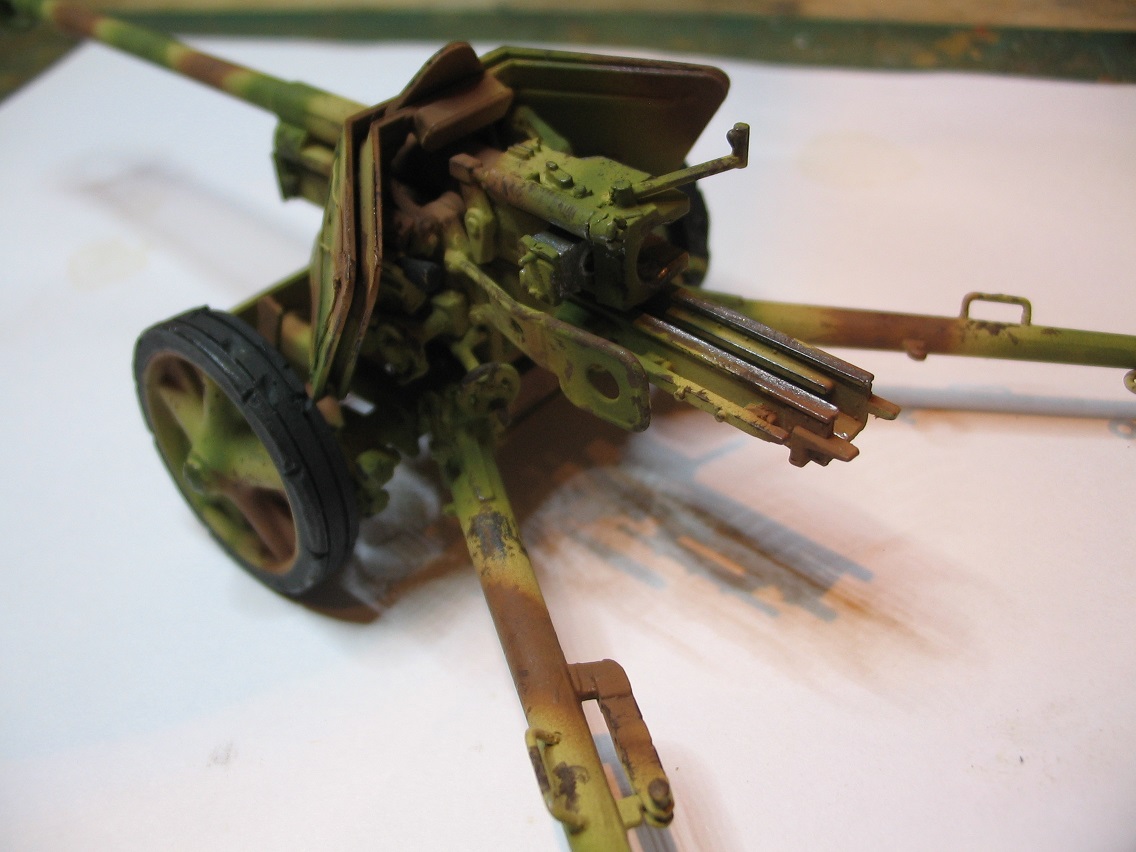
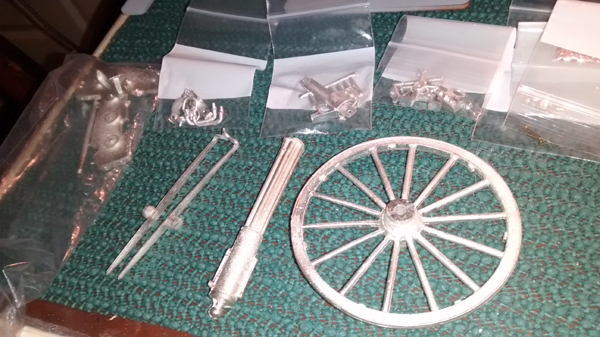
OMG are all thoes launcher tubes two piece? Looks like a neat kit other than all the tubes.


Kelly, it's really simple to do on the Kitmaker site. The only problem on there is space as your space quota disappears really quickly. I pay a couple of quid each month for unlimited space so it's really worthwhile doing that. Photobucketgate has ruined dozens of different sites that I used to look at as now all the users photos have vanished and are being held to ransom which by the sound of it noone's willing to pay. Odds are someone will sue them eventually and there'll be a test case on intellectual property rights which hopefully they'll lose as I can't see that what they're doing is legal.


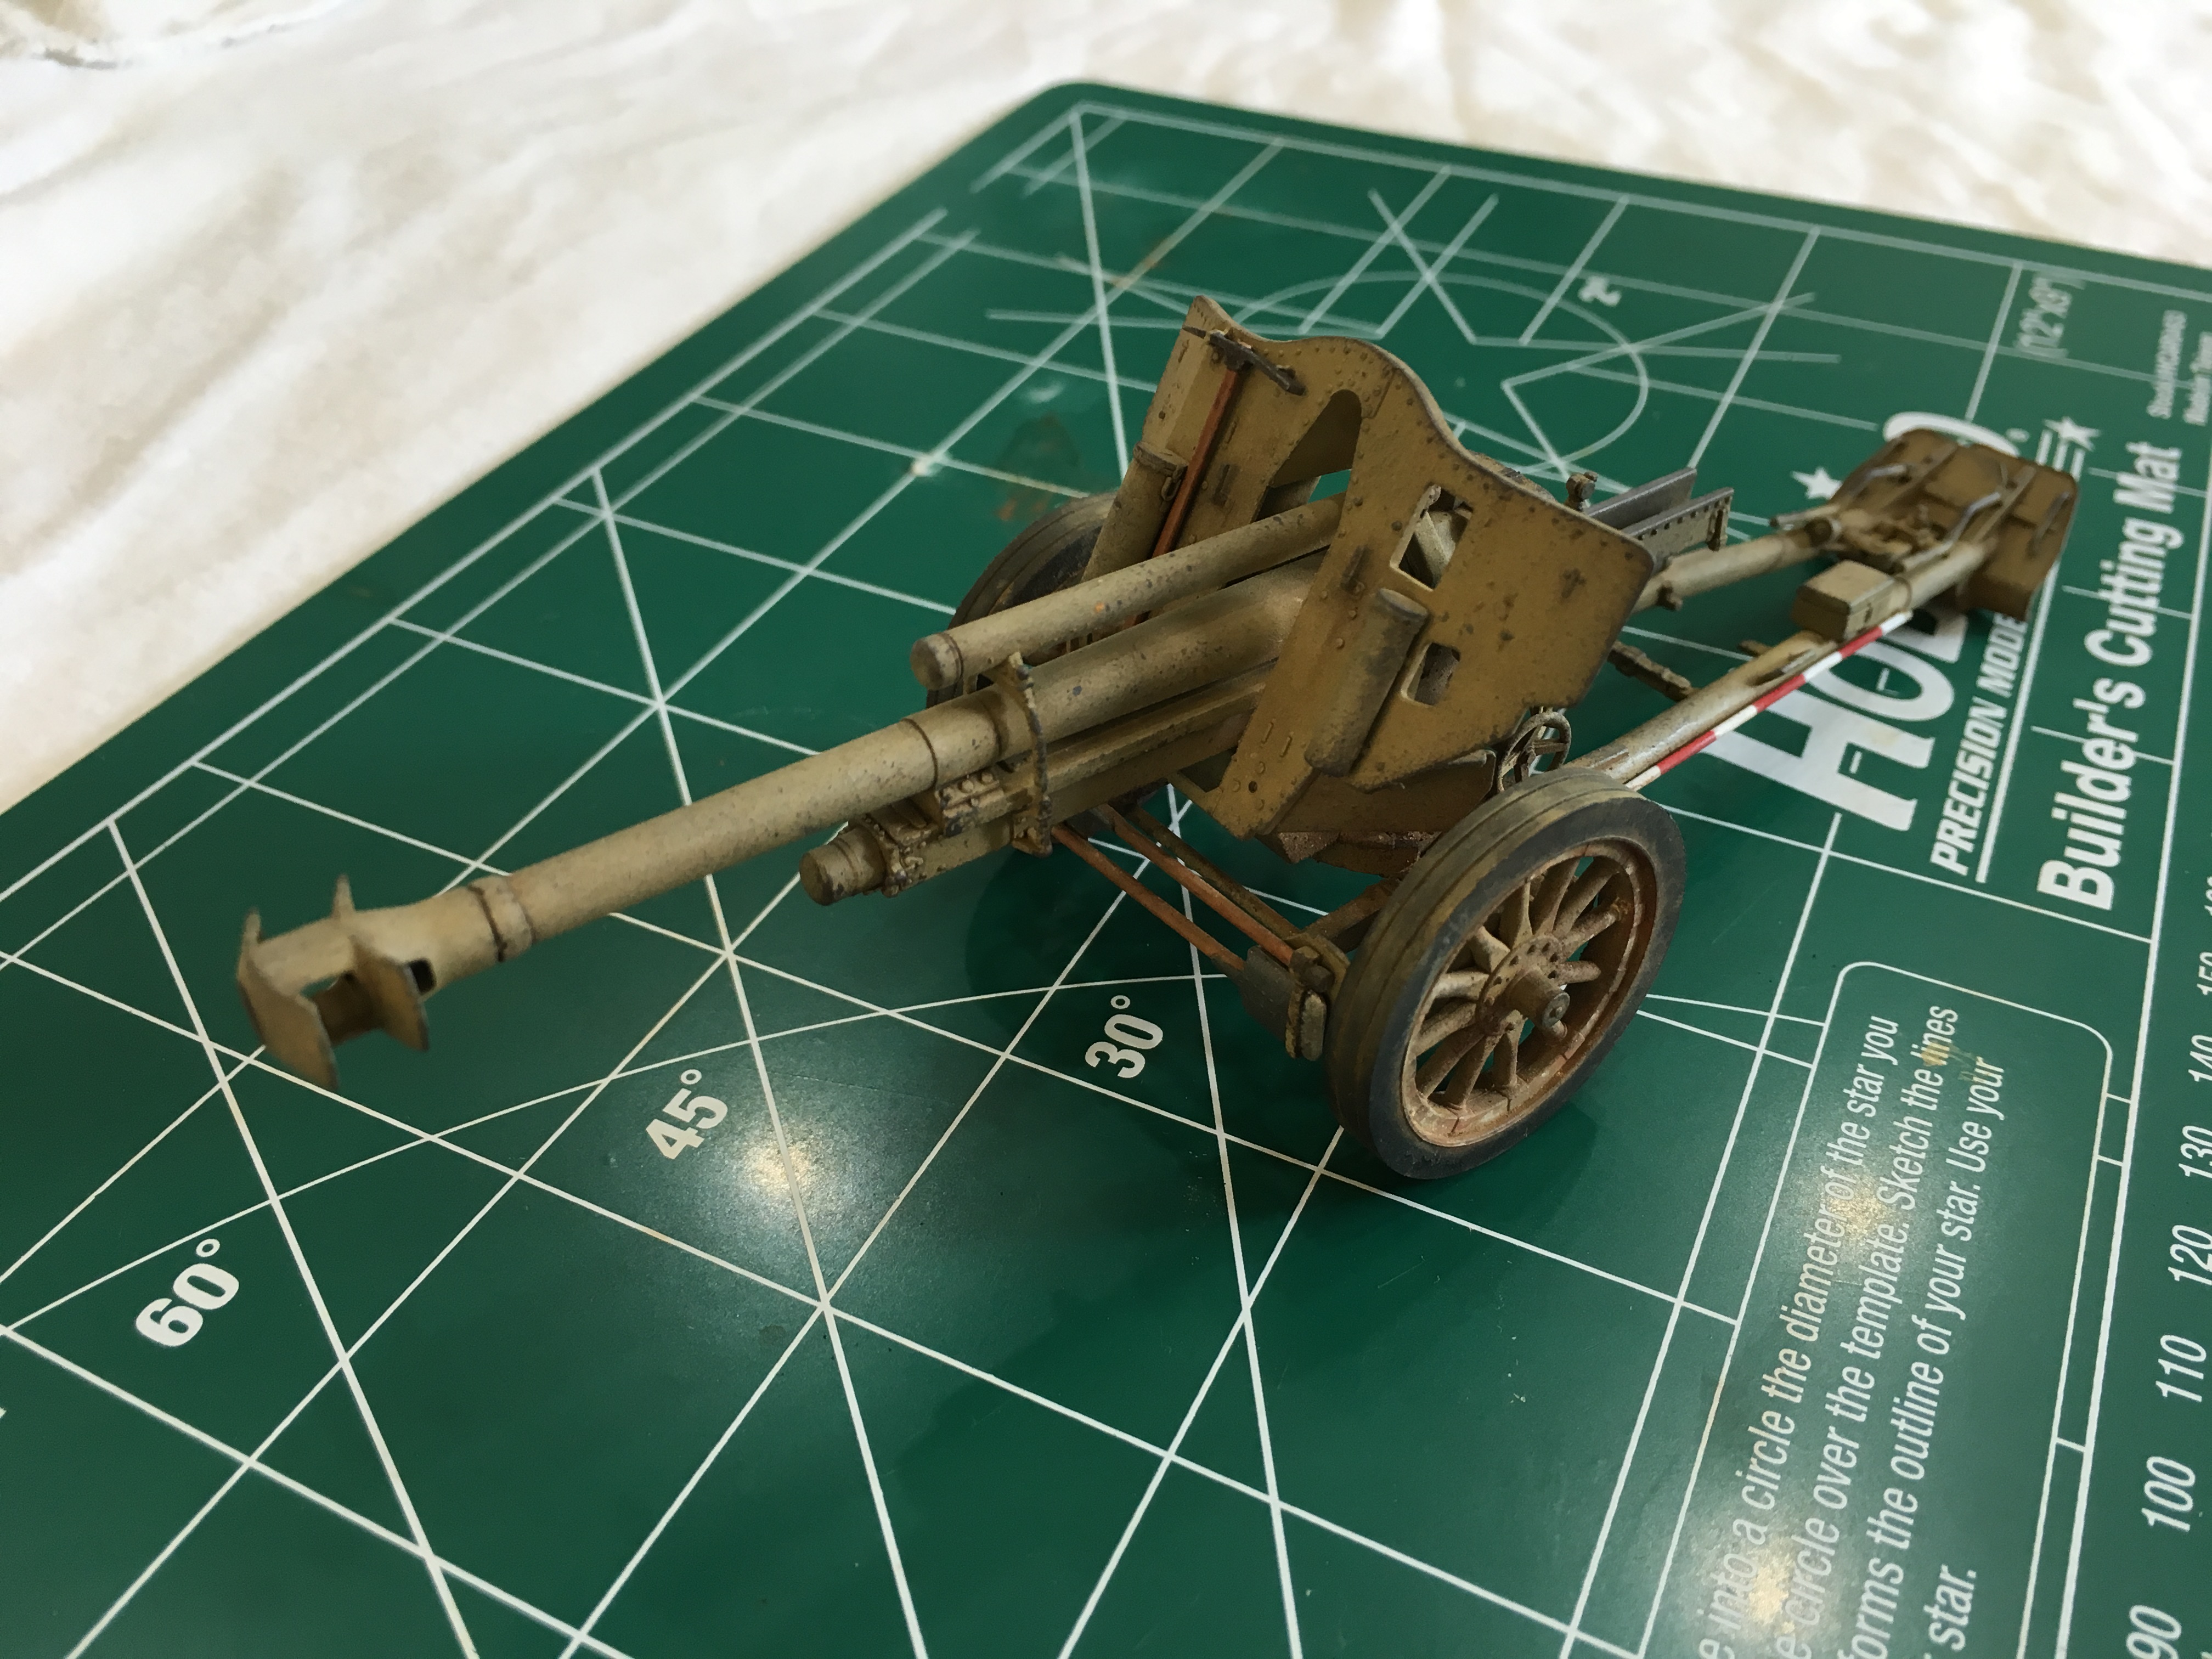
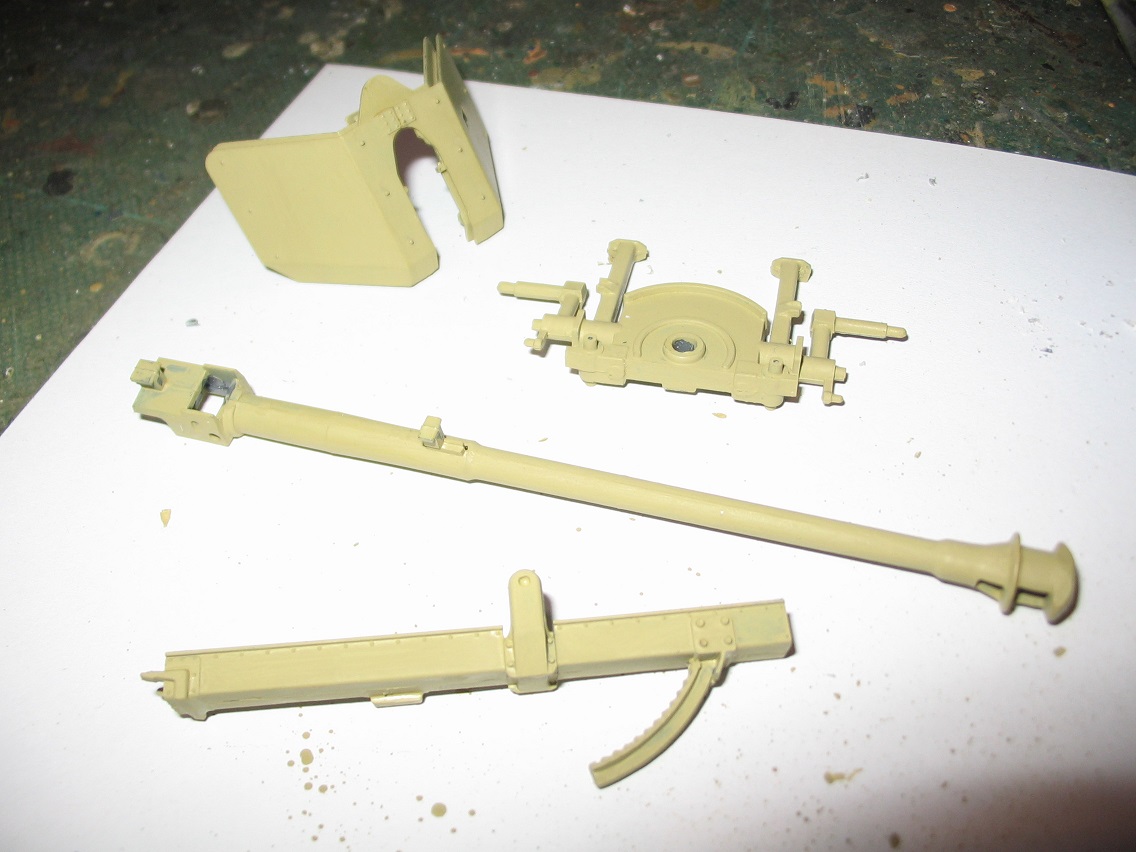
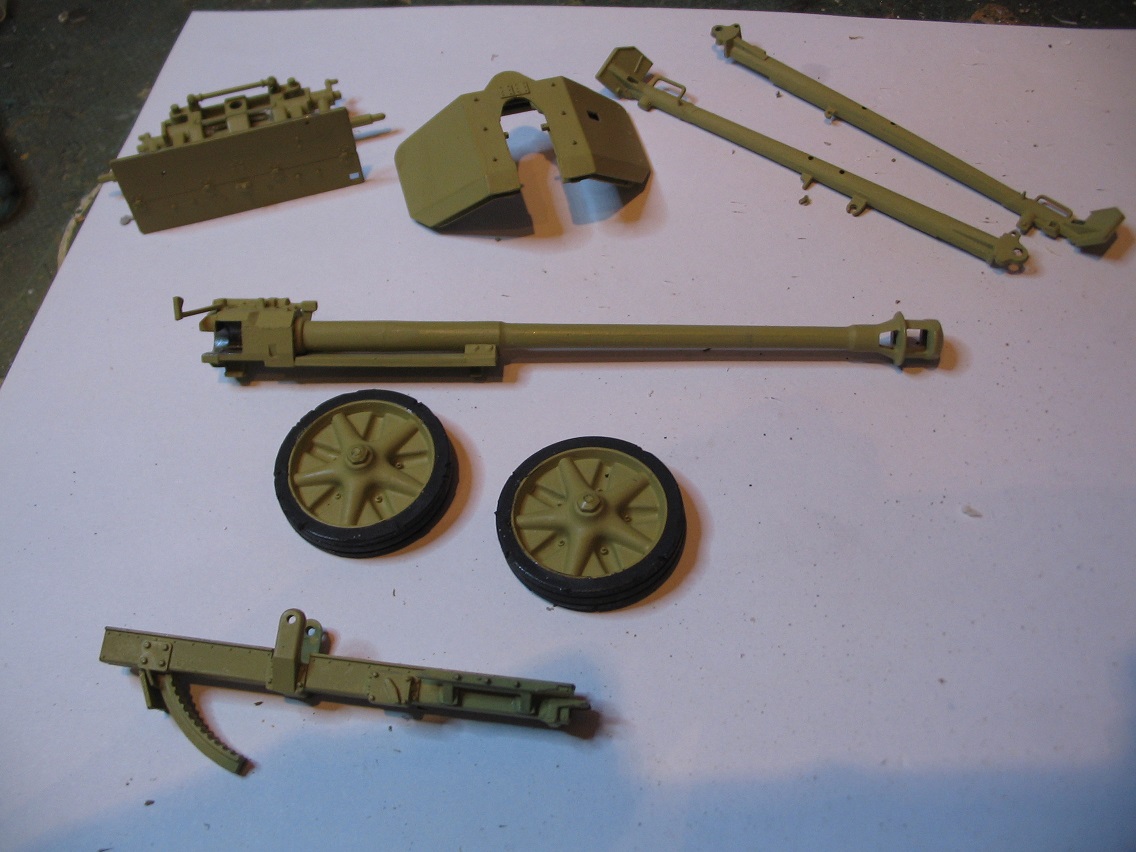
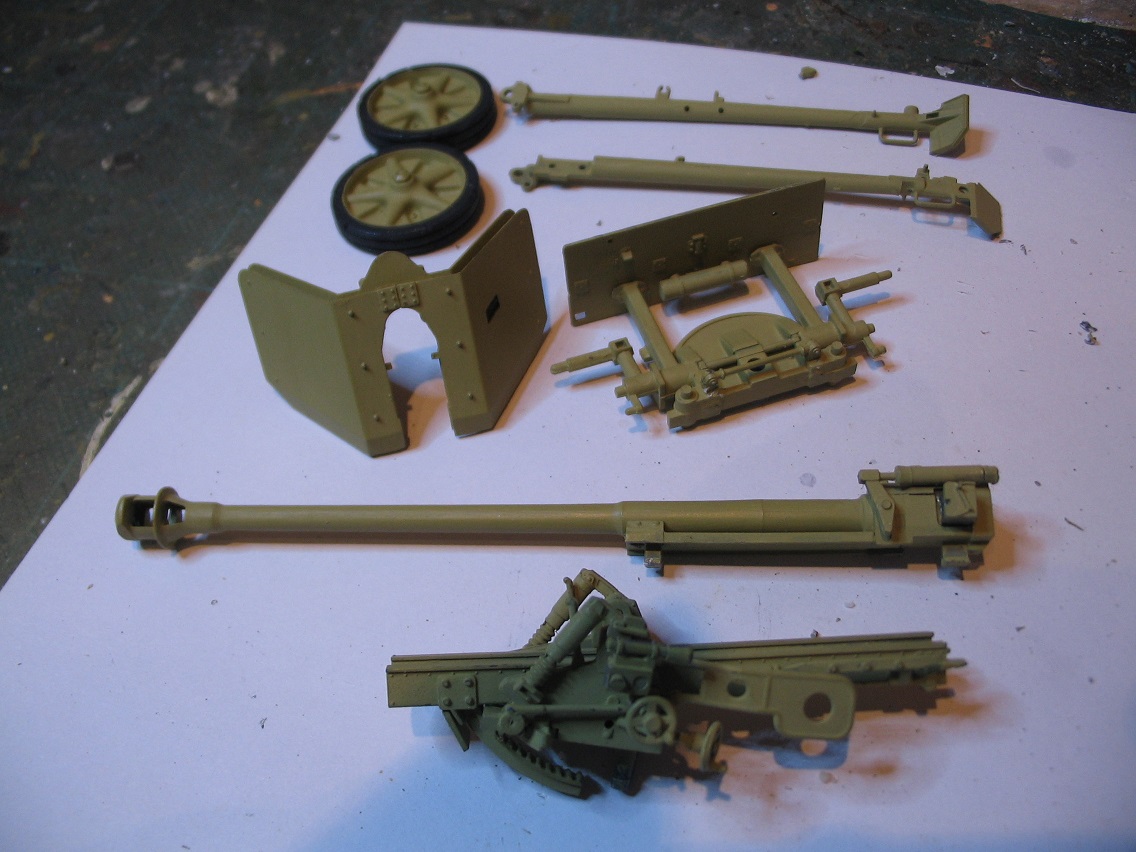
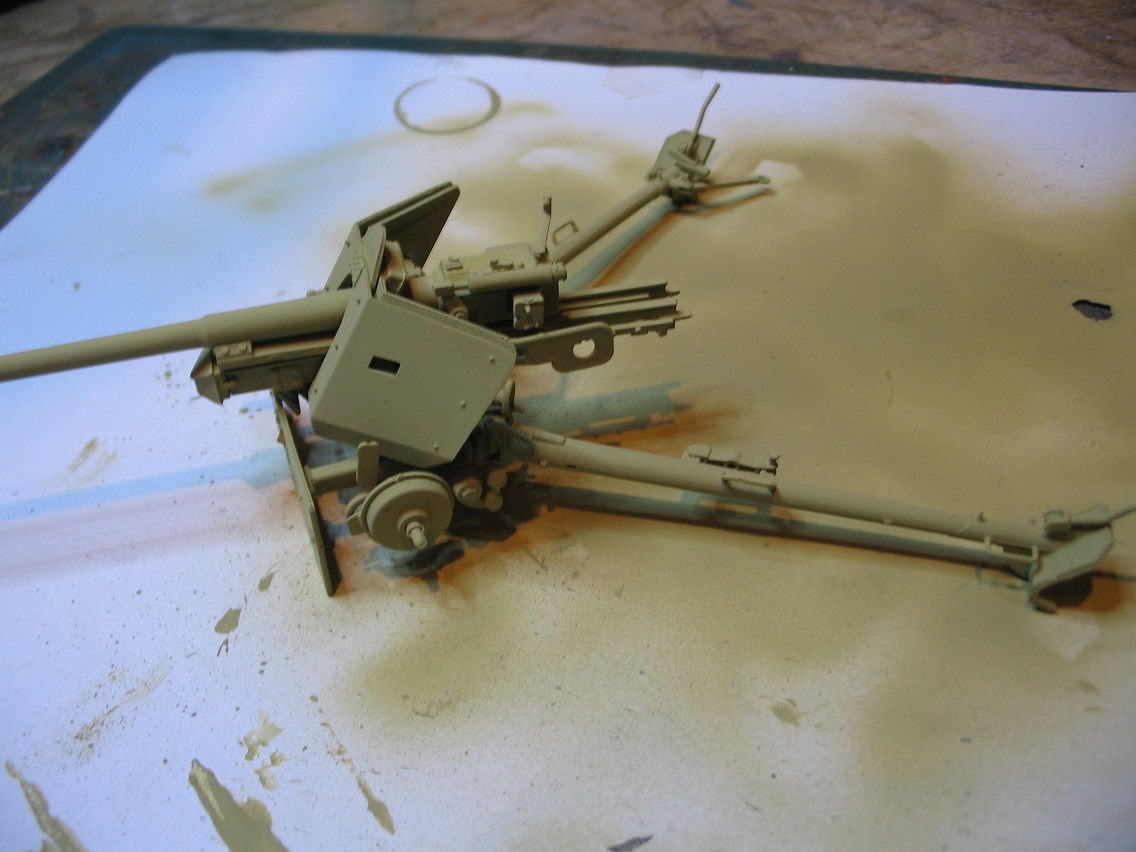
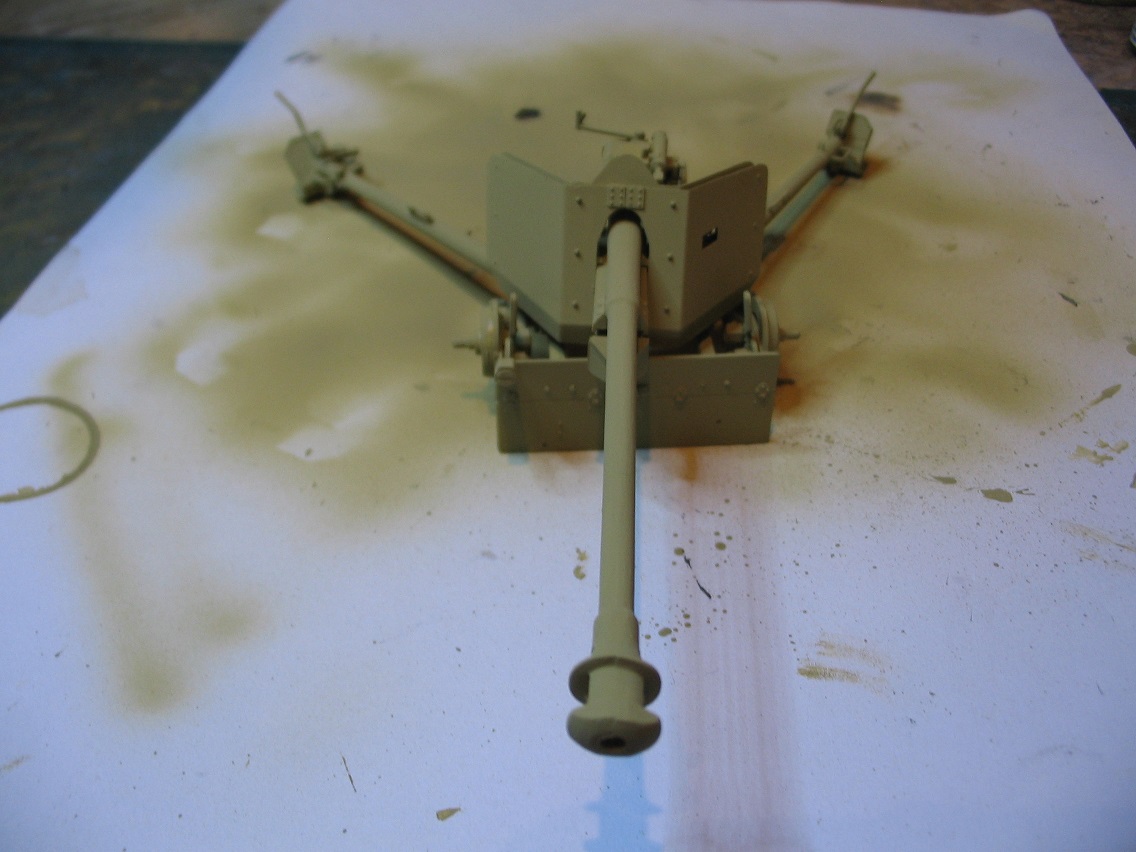
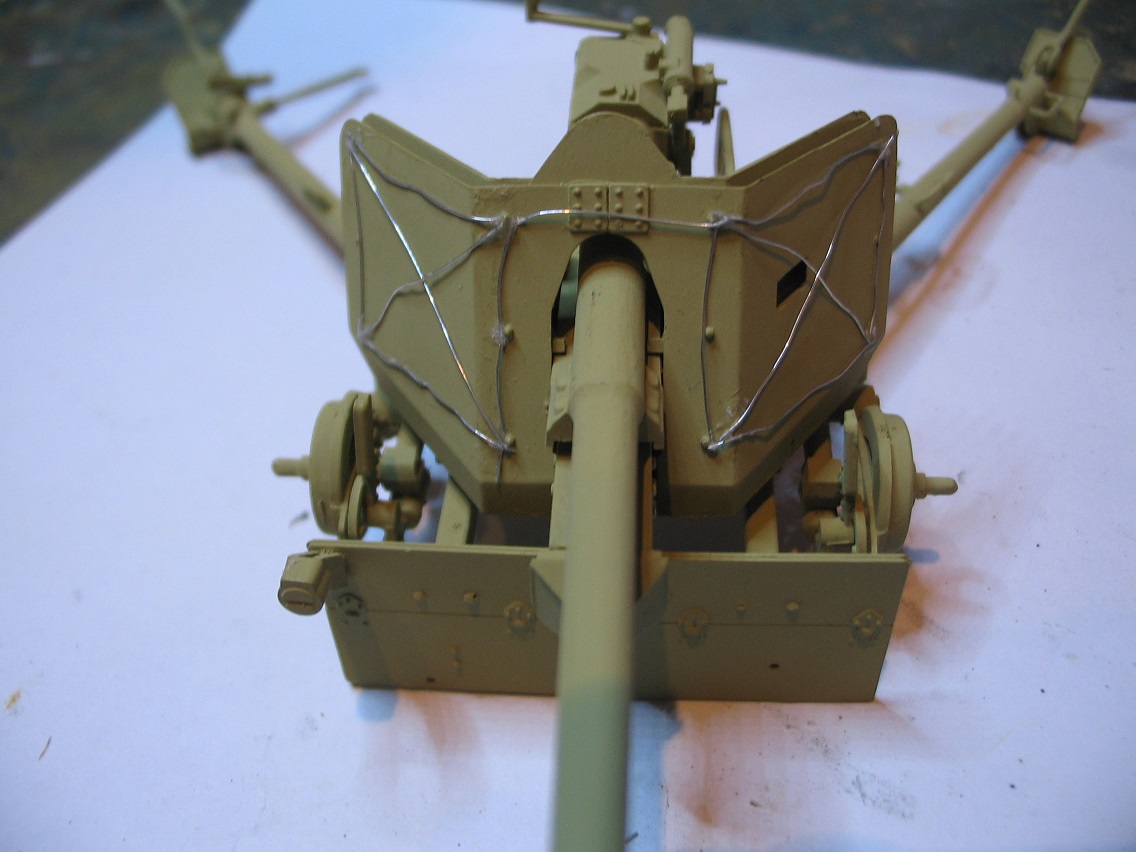
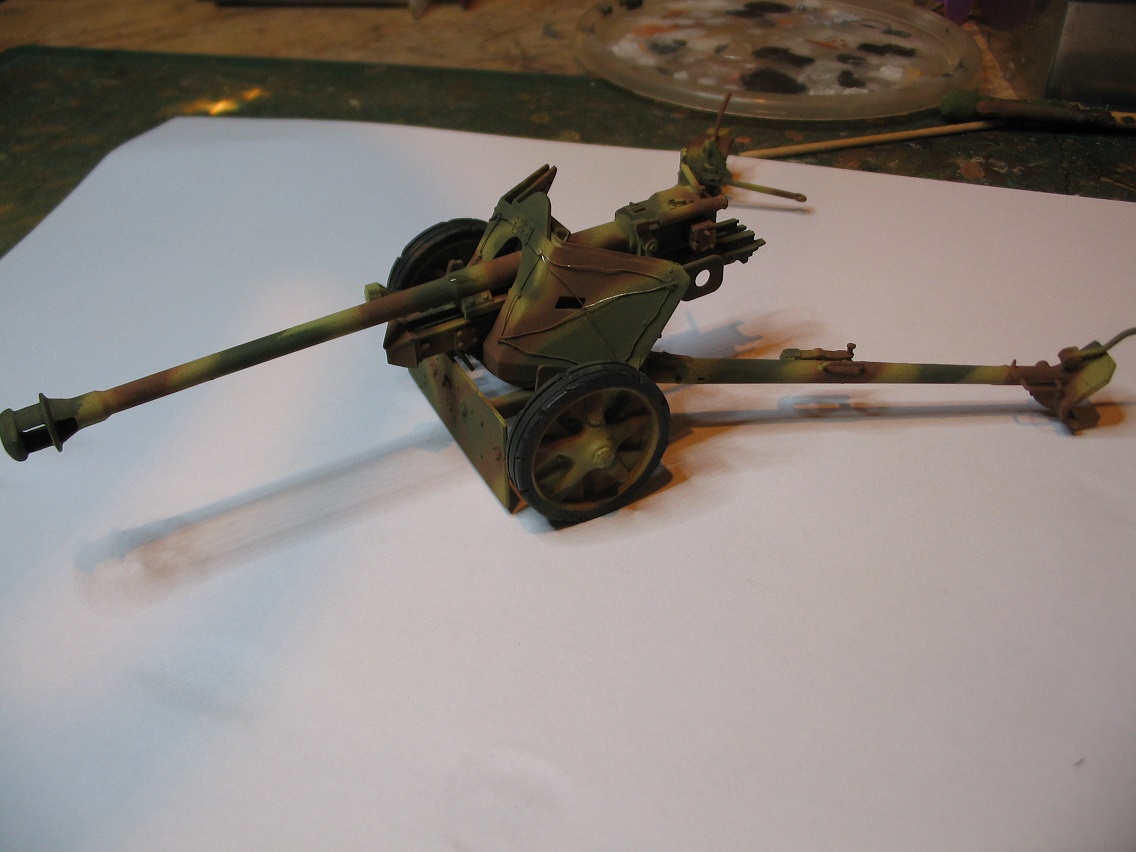
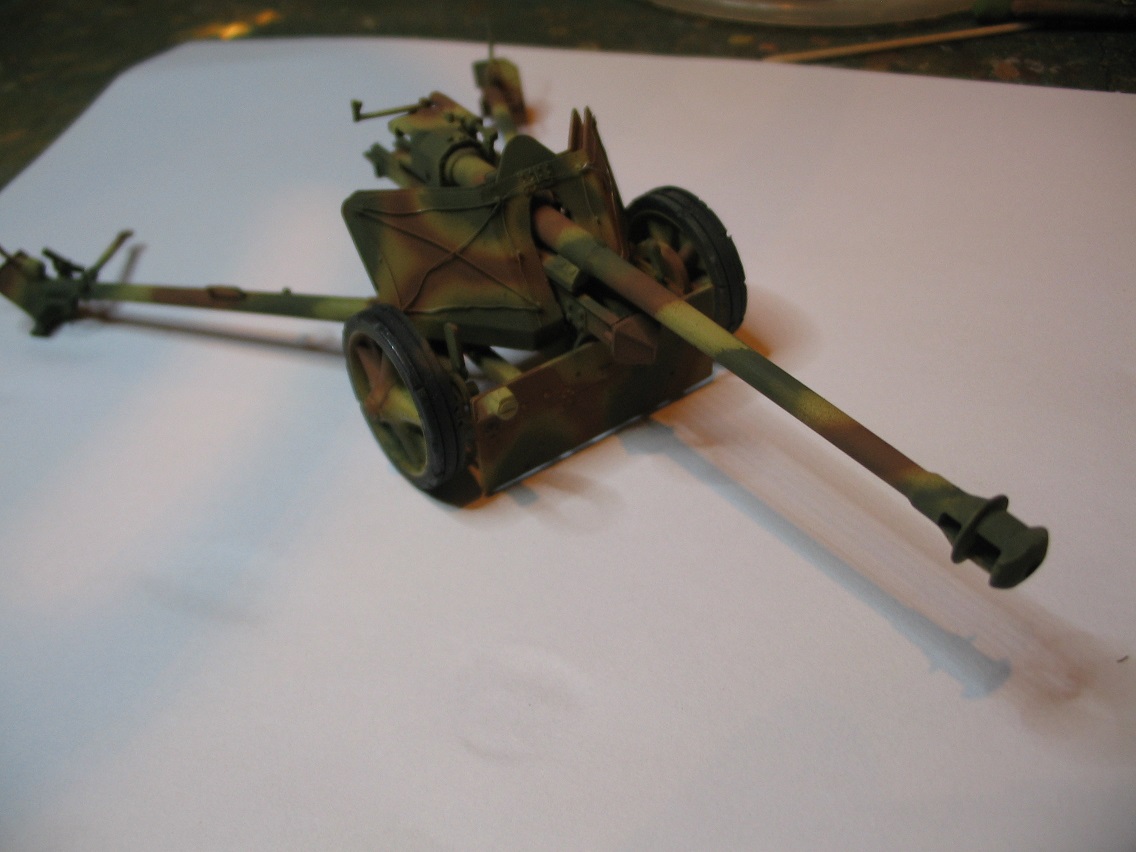
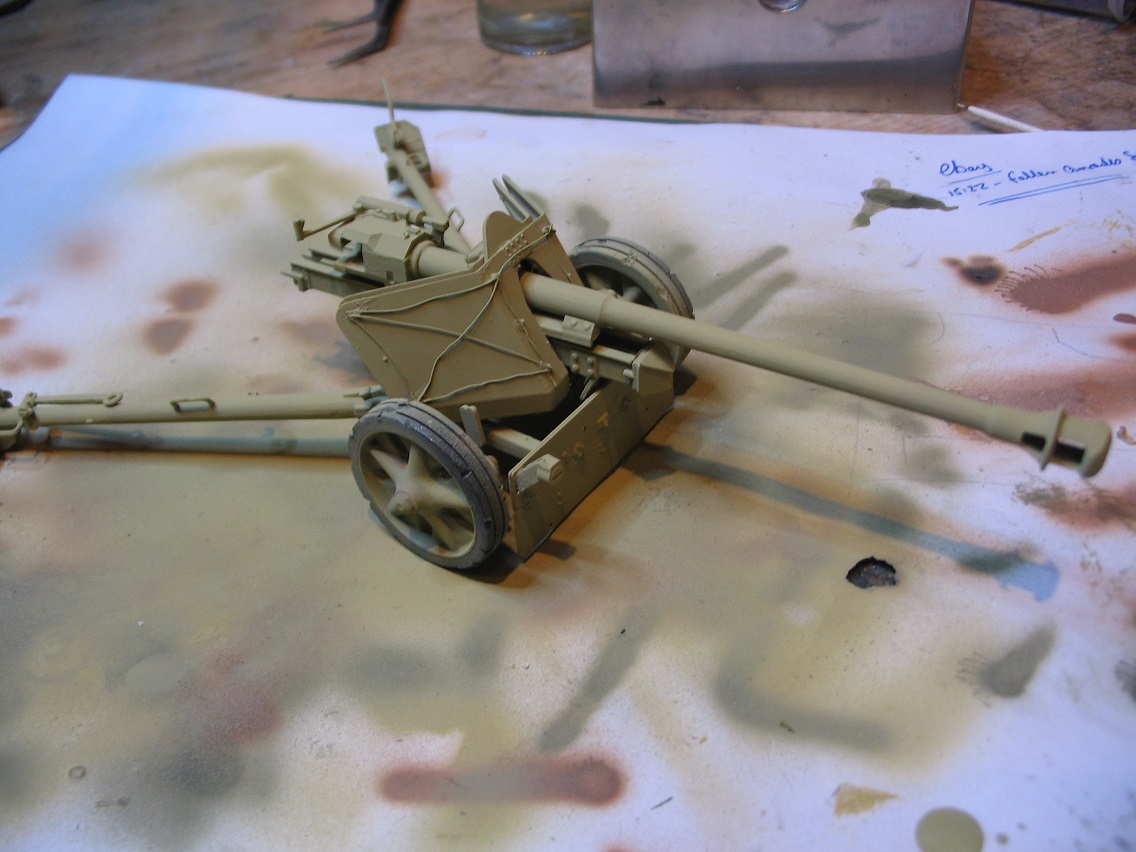
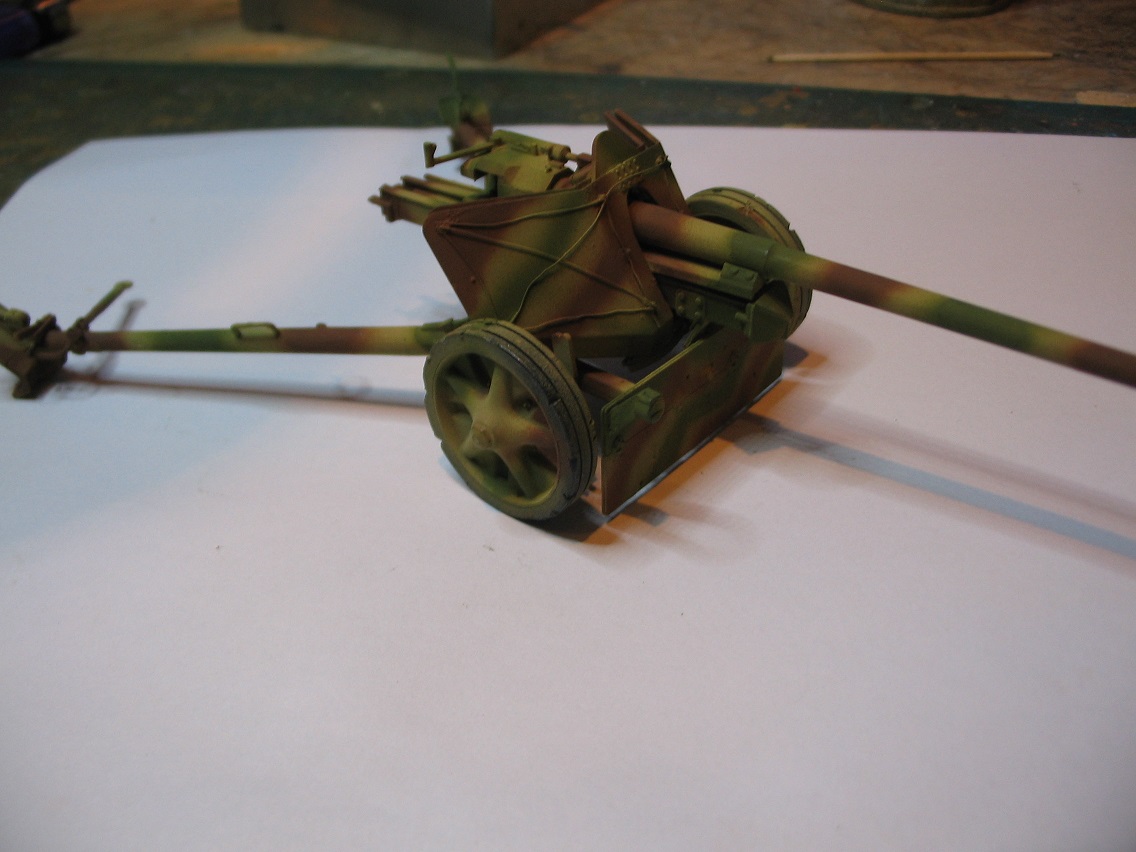
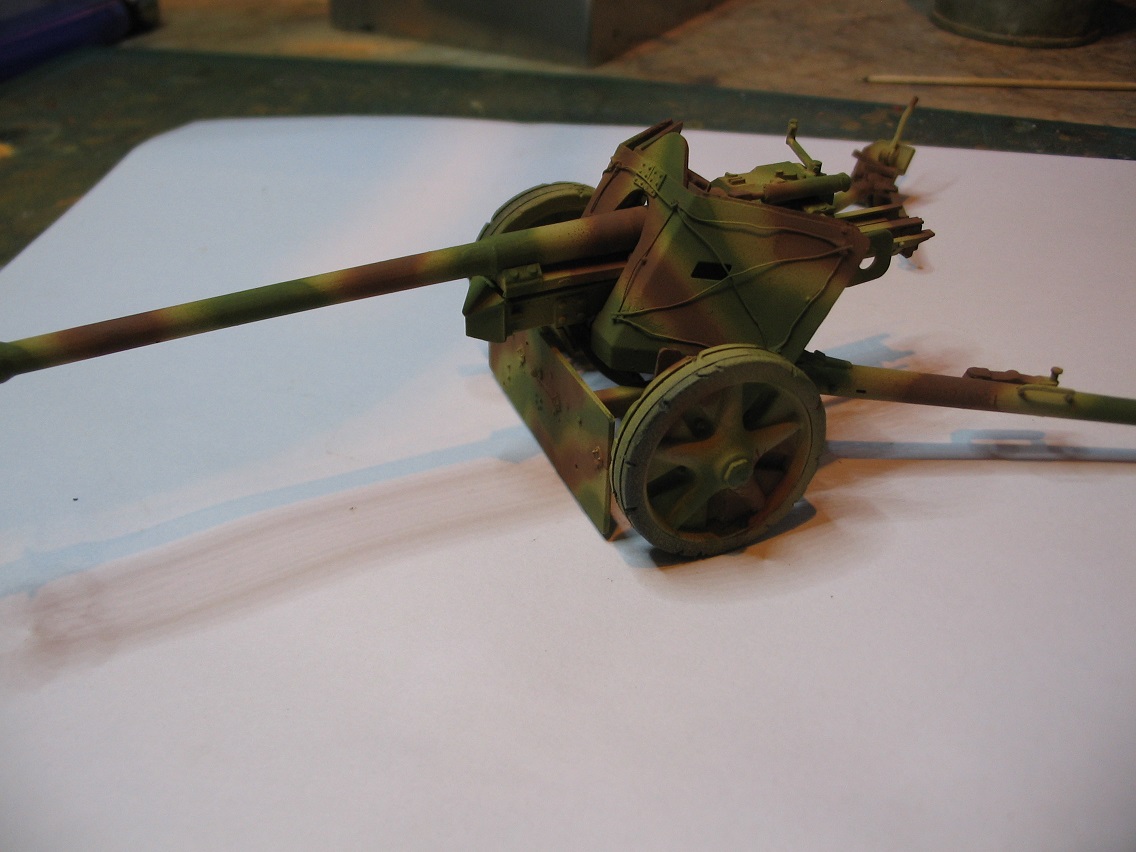
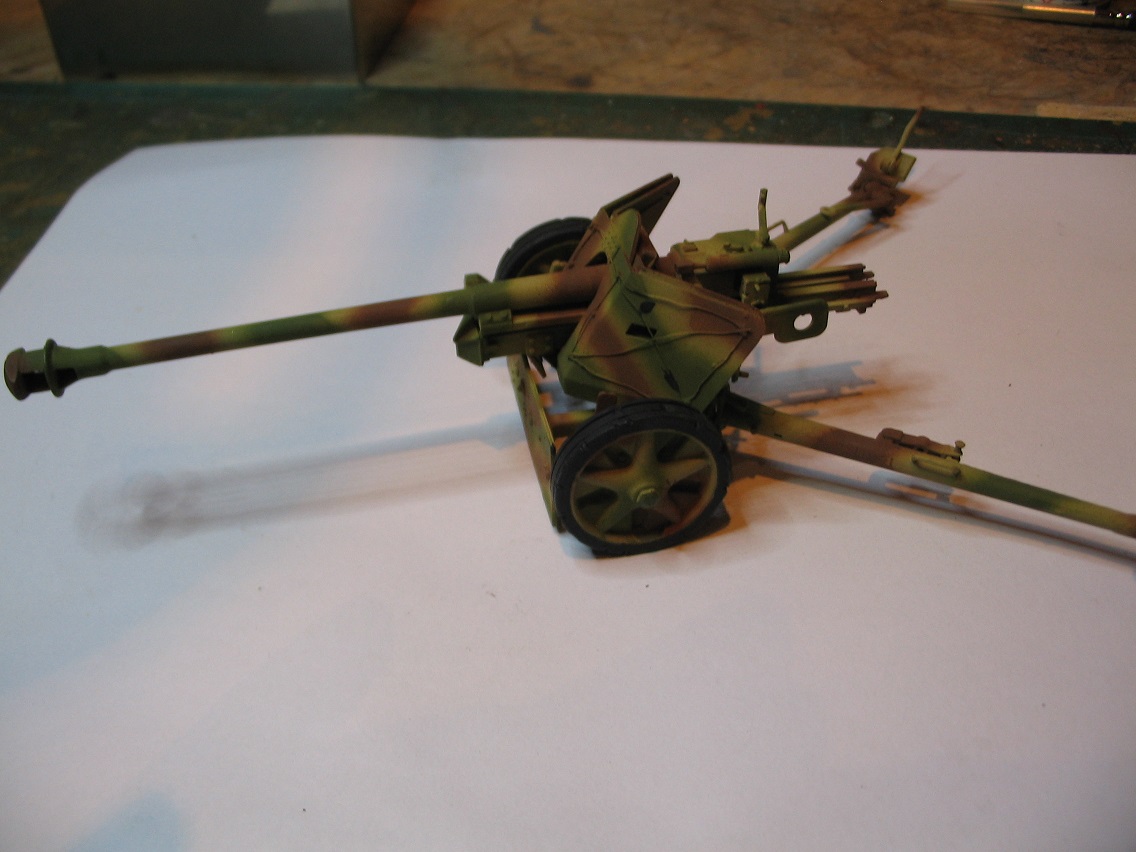
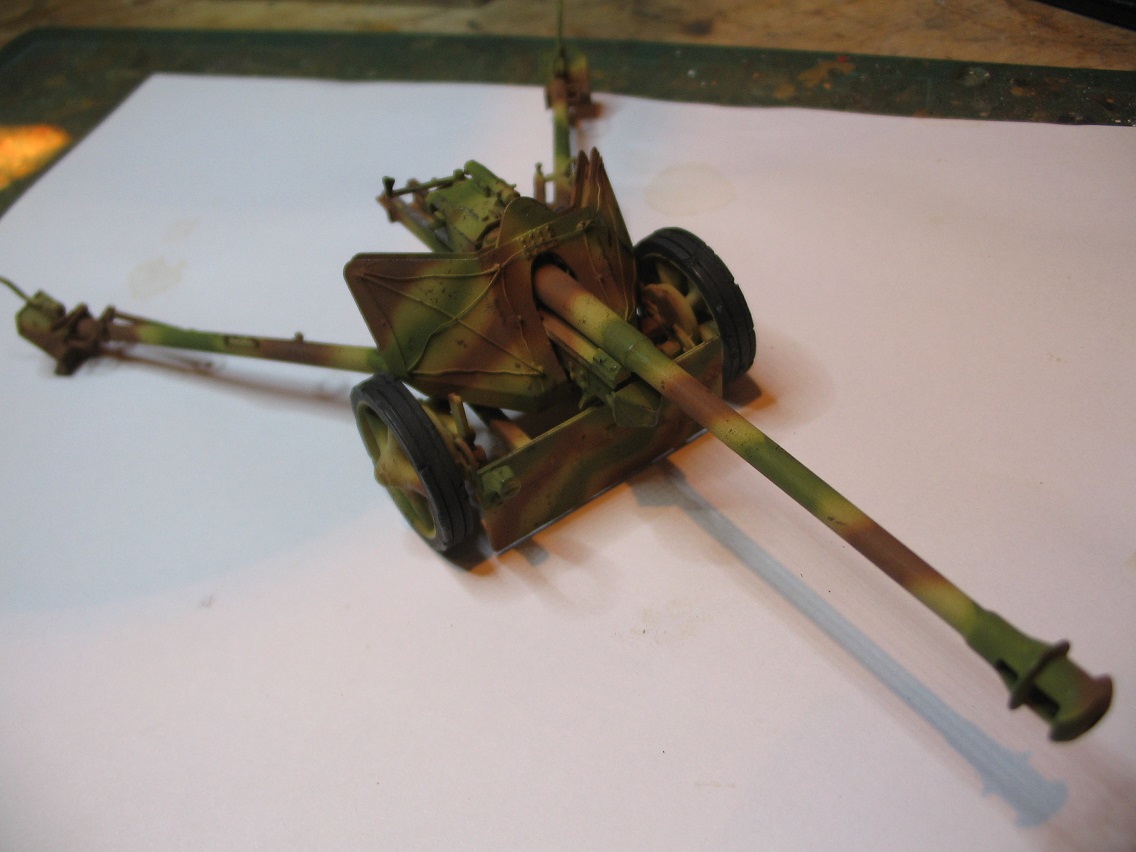
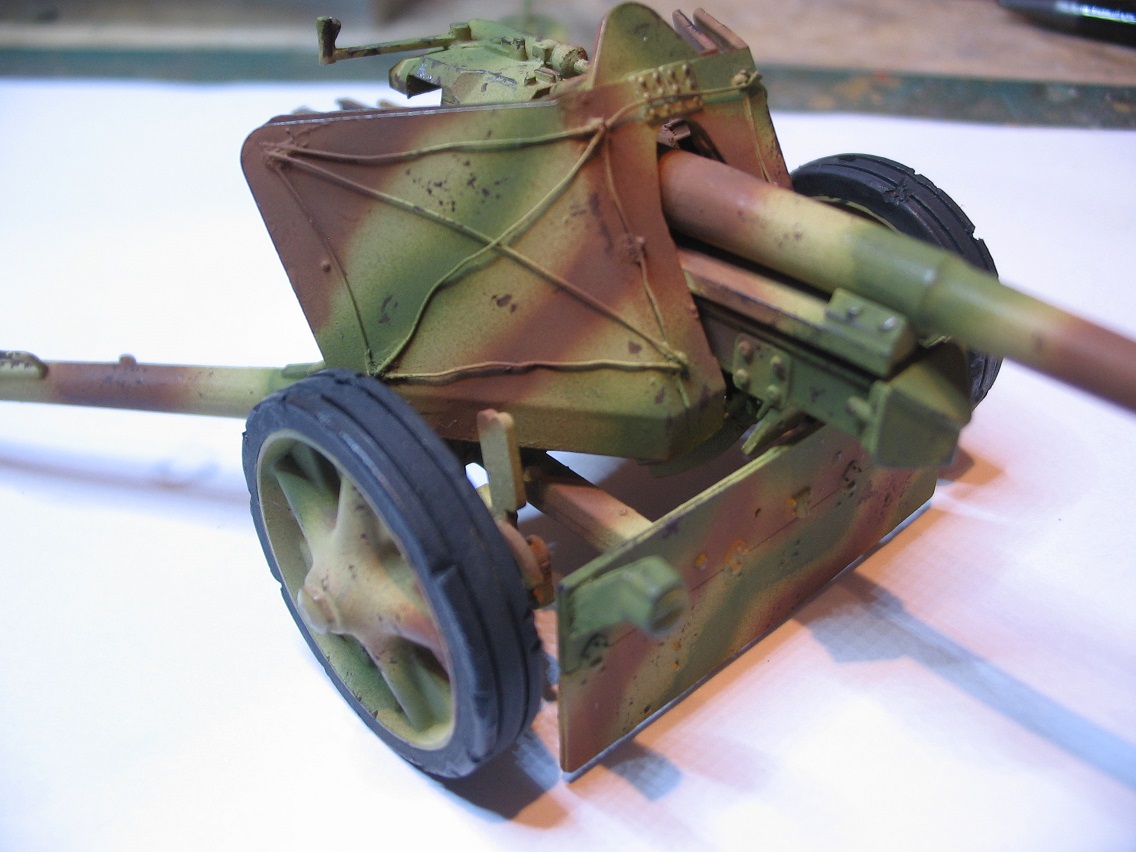
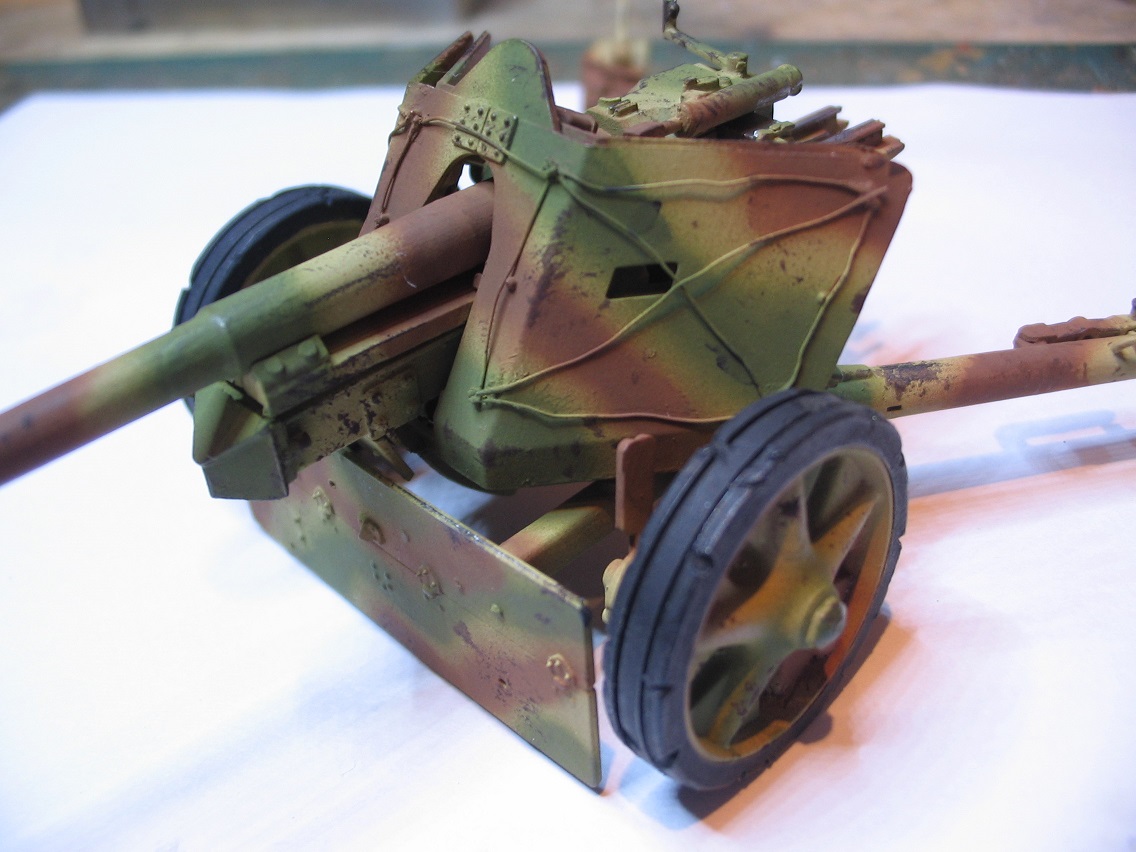
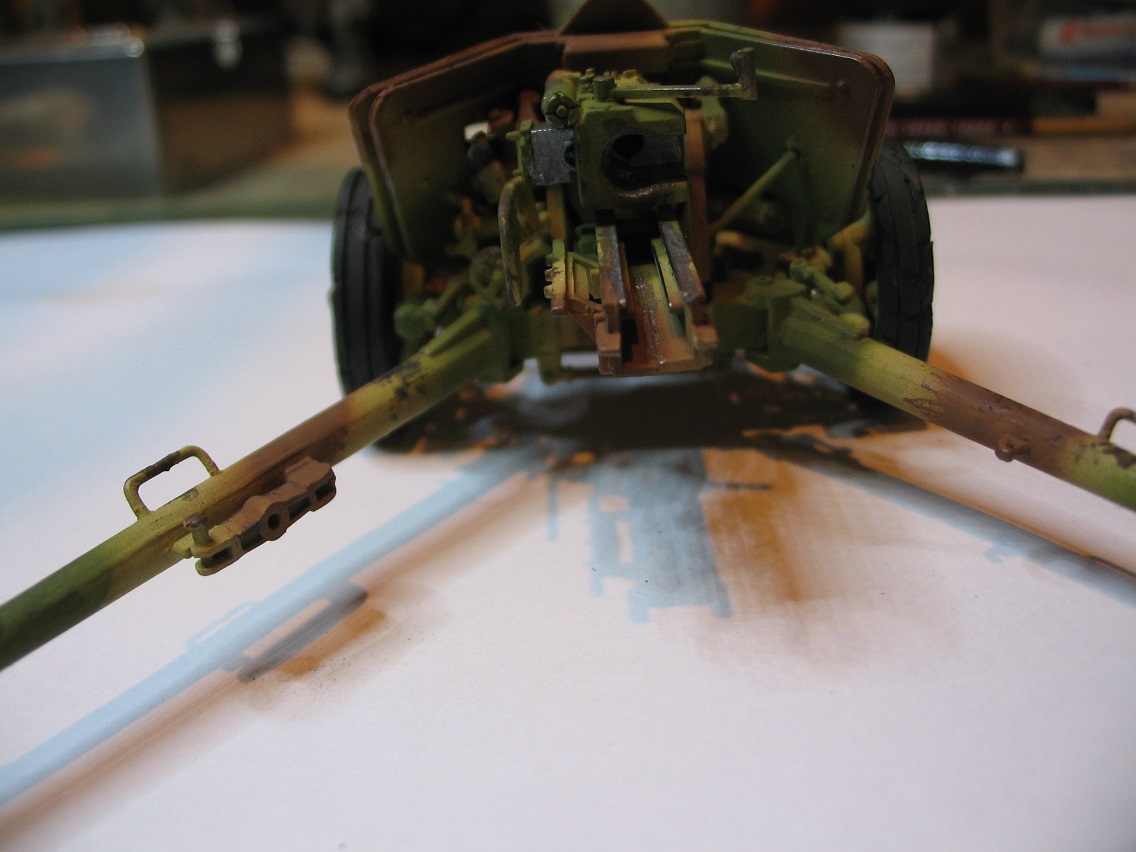
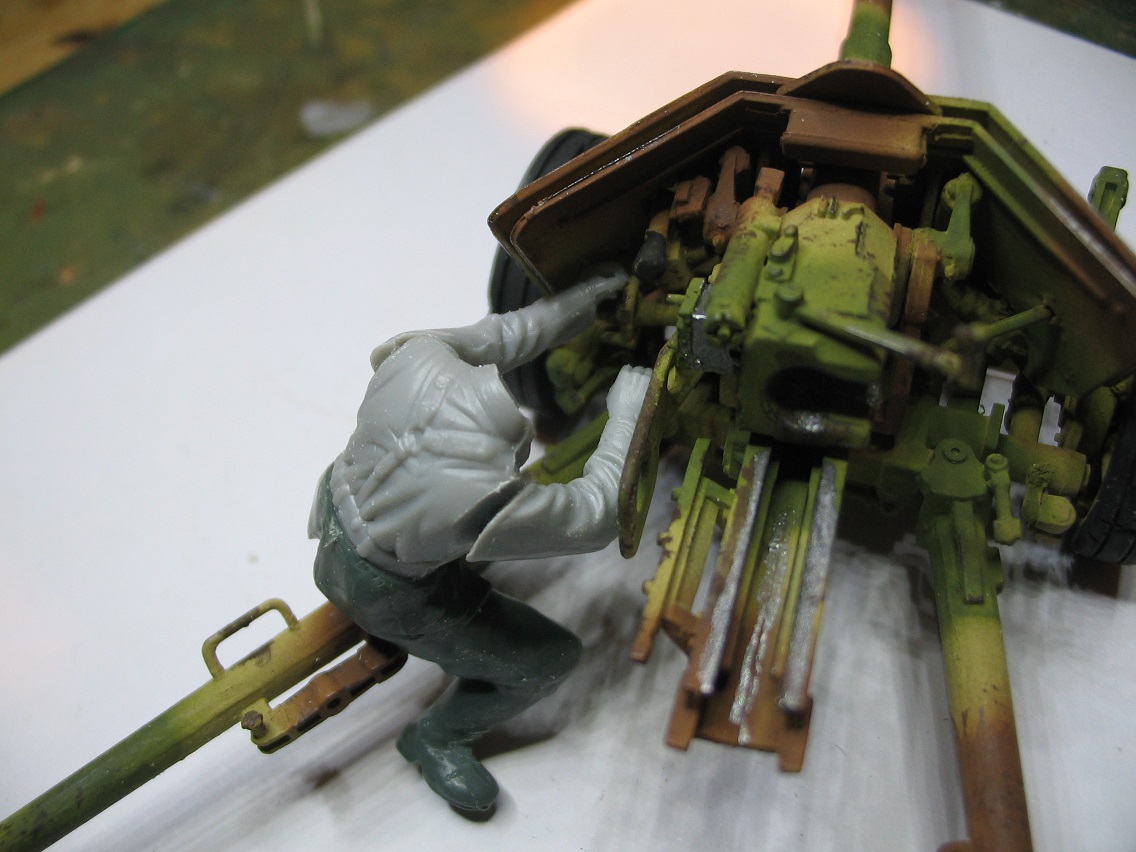
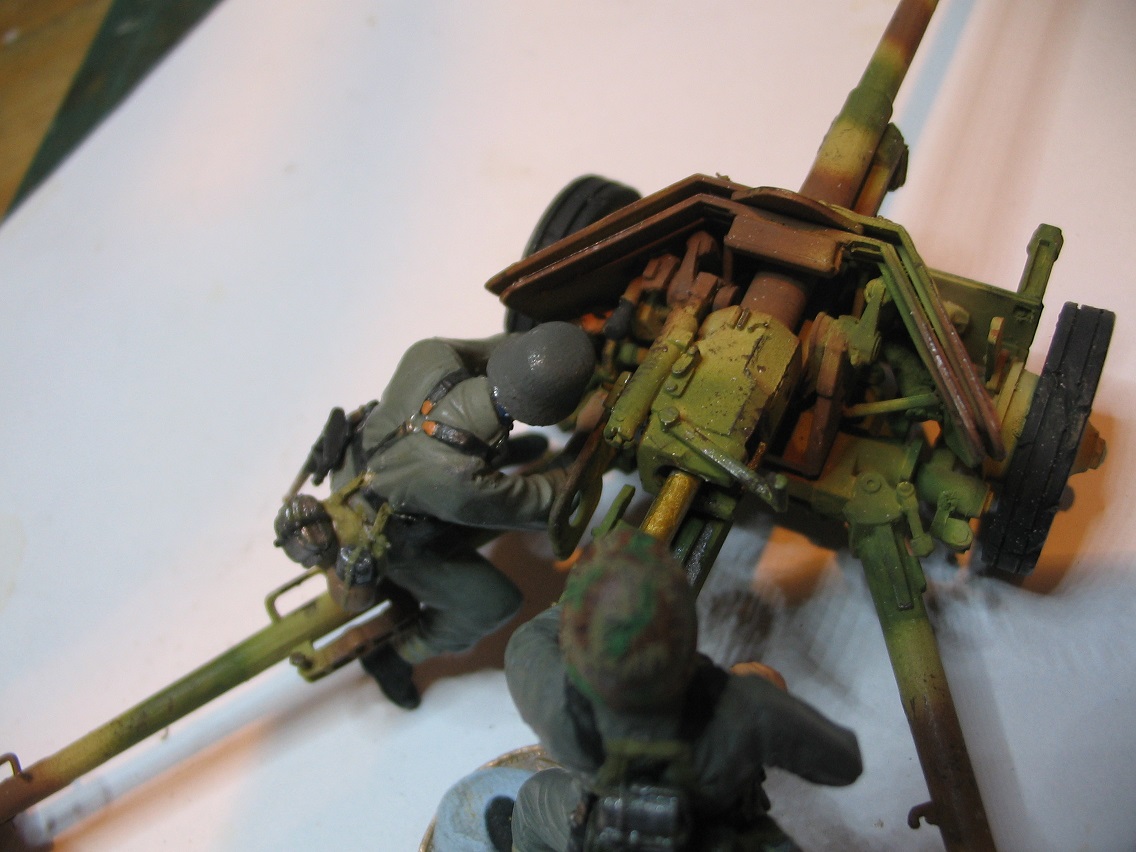
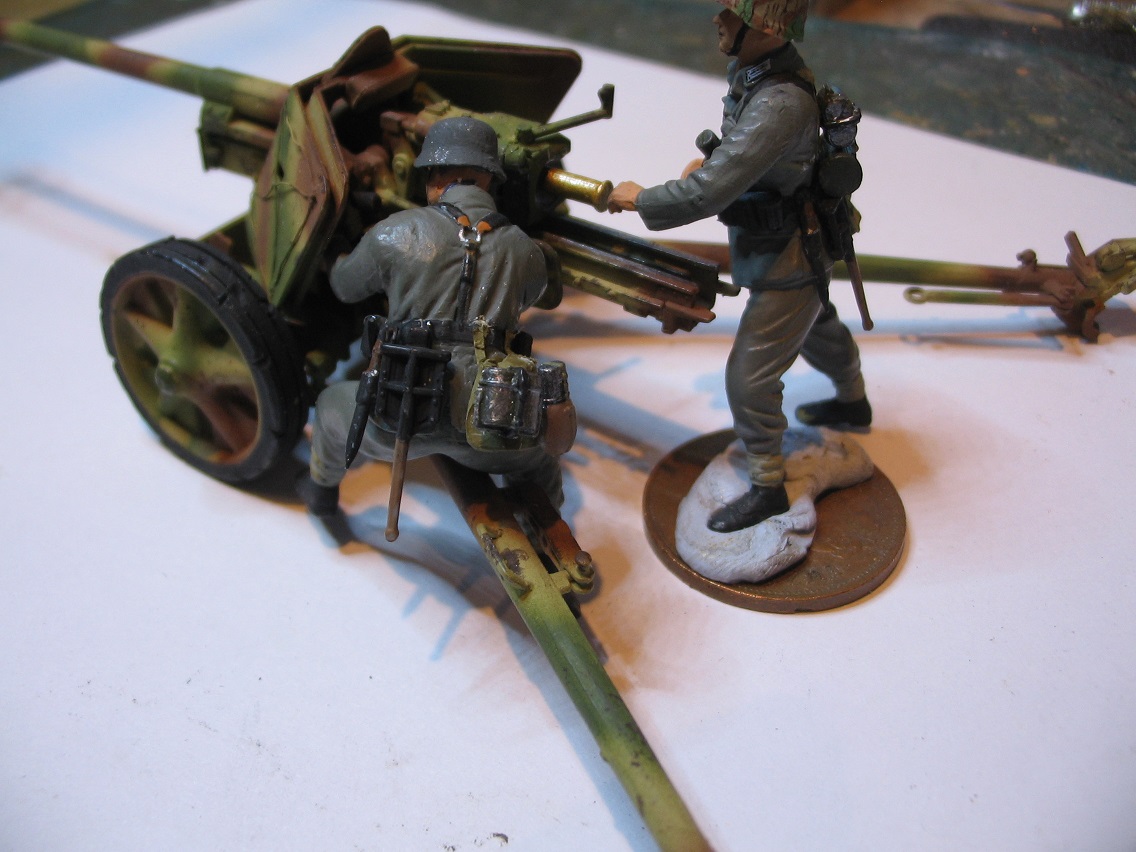
Bryan, love the le Fh18/40. You've done a great job on that. I built the same kit a few years ago and remember getting very frustrated with it at times with all the fiddly little bits. That's come out really nice.
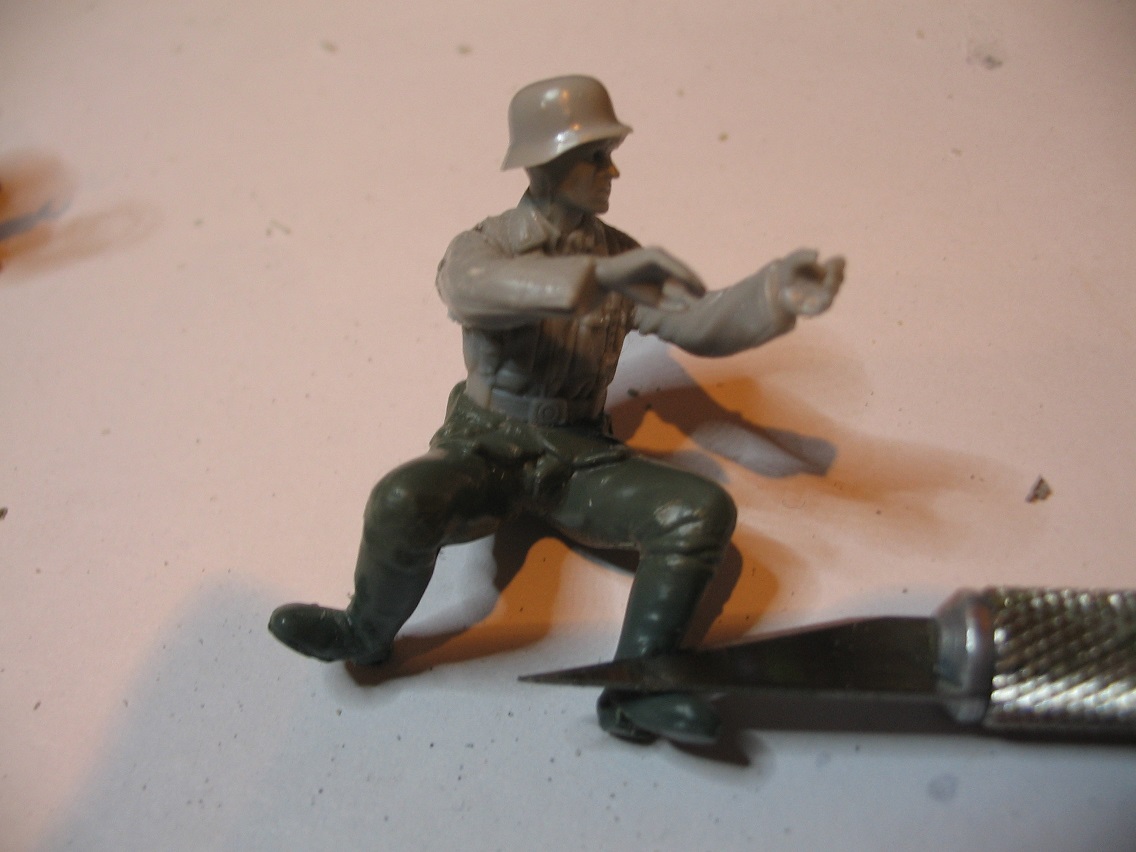

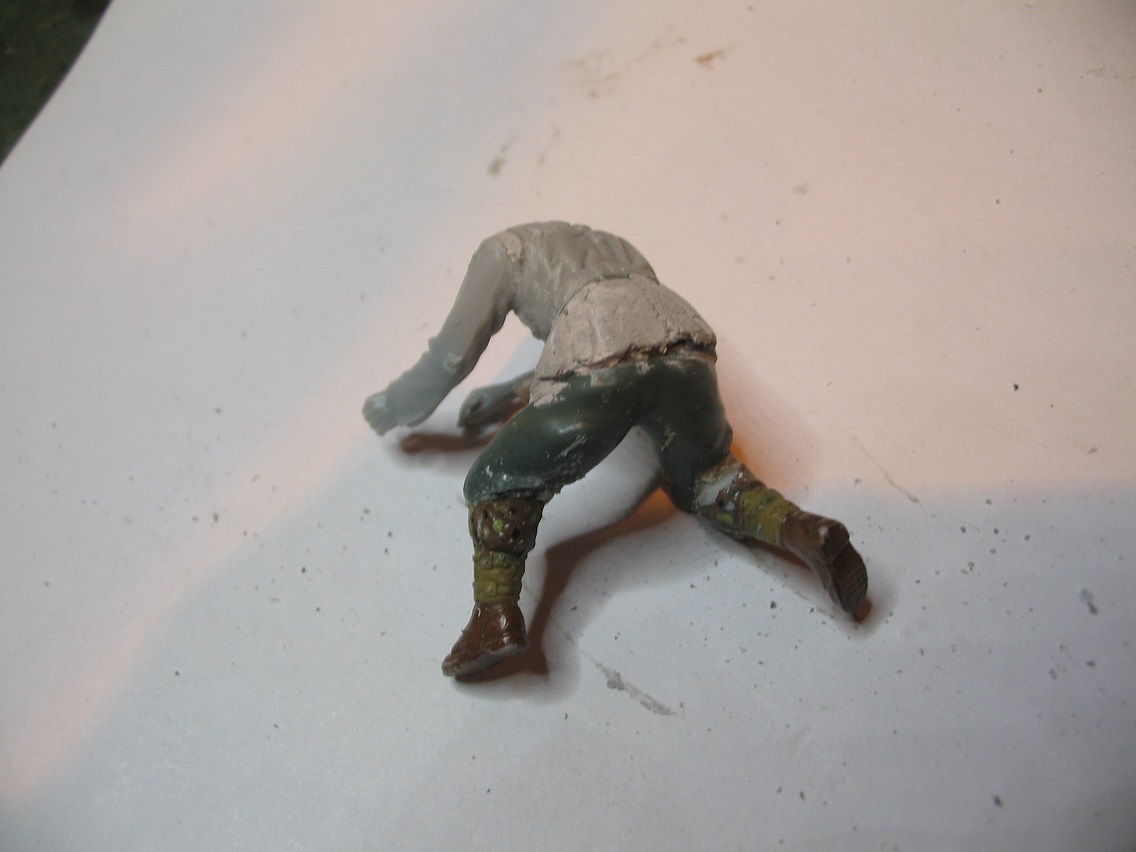

 hence I'm doing a full dio albeit a small one. More to come...
 |


