Campaigns: Completed Campaigns
Campaigns that are completed should be grouped here.
Hosted by Richard S.
Anti-AircraftCampaign
barkingdigger
Staff MemberAssociate Editor
ARMORAMA
#013
Visit this Community
England - East Anglia, United Kingdom
Joined: June 20, 2008
KitMaker: 3,981 posts
Armorama: 3,403 posts
Posted: Saturday, May 26, 2018 - 05:52 PM UTC
Some great builds here, so I better pull my finger out and post some updates! My Skink turret went together well, and I added details to round it out. The antenna bases are Tasca leftovers for a British no.19 set (seeing as Canada was part of the Empire...), the spare tracks are Tamiya, and the rest is Evergreen or wire. Only one Skink ever went overseas for trials, and I read somewhere that it was changed out from CDP tracks to standard Sherman tracks to match the rest of the unit it was joining, so I went for T54E1 track. (CDP track exists in 1:35, but I don't have any...) On the back of the turret I added the "D in octagon" foundry symbol and a number from Archer transfers.


I've arm-wrestled the old Dragon hull together, but it will wait for its own update post...
Martinvidas
Visit this Community
Noord-Brabant, Netherlands
Joined: February 13, 2011
KitMaker: 322 posts
Armorama: 300 posts
Posted: Saturday, May 26, 2018 - 10:01 PM UTC
This is my small update - some dark wash.


I'll wait to this one to dry, before next one.
Pave-Hawk
Visit this Community
Western Australia, Australia
Joined: May 05, 2006
KitMaker: 900 posts
Armorama: 510 posts
Posted: Sunday, May 27, 2018 - 10:22 AM UTC
Mobelwagen is underway, and I tough I would have a go at Eduards, photo etch gun shield.

Origianally was going to solder it, but even playing around with temperatures, sanding the edges to bare brass and using external flux, I could not get the solder to wet properly. The awkward shape and the fact it's all butt joins with very thin sheet didn't help matters, so in the end I just applied liberal amounts of superglue.

Will decide later if I actually use the part or stick with the kit part.


zontar
Visit this Community
Hawaii, United States
Joined: August 27, 2006
KitMaker: 1,646 posts
Armorama: 1,557 posts
Posted: Monday, May 28, 2018 - 11:57 AM UTC
Aloha All,

I started this a couple weeks ago, but just realized I never posted to this thread.

Tamiya's 1/35th scale German 8ton Semi Track w/ 20mm Flakvierling Sd.kfz 7/1


A lot of ejector pin holes to fill...


Happy Modelling,
-Zon

barkingdigger
Staff MemberAssociate Editor
ARMORAMA
#013
Visit this Community
England - East Anglia, United Kingdom
Joined: June 20, 2008
KitMaker: 3,981 posts
Armorama: 3,403 posts
Posted: Sunday, June 03, 2018 - 08:50 AM UTC
I promised a hull update on my Skink!

It didn't take long to remember why I went off the old Dragon M4A1 kits - the fit of hull parts is awful. I spent ages getting the basic "box" built to my satisfaction, and in retrospect I wish I'd used a Tasca/Asuka kit instead. Still, when life gives you lemons...

First up was adding the well-known GSC "Canadian" notch at the rear:


Then came adding all the missing bolts around the suspension - remember the old DML kit was based on the ancient Italeri kit!


Fiddling with sand shields was next - I used some old Tasca ones, but it took a lot of trial & error. I have some DS tracks so it shouldn't be a problem to feed them up and under once everything is assembled. The turret came up a treat with a shot of primer too - the casting marks look like they've always been there. I filled all the tool mounting holes, as the Canadians put things in different places. And somewhere along the line I misplaced the sprue with the hull hatches, so had to perform surgery on old MP Authen-I-Kit hatches instead.


The rest was just a case of adding details from the spares box - Tasca, Tamiya, Academy, and even some 3D-printed items.


All in all I'm pleased with the result. Now I need to finish the bogies and it's off to paint we go!
d6mst0
#453
Visit this Community
Texas, United States
Joined: August 28, 2016
KitMaker: 1,925 posts
Armorama: 601 posts
Posted: Sunday, June 03, 2018 - 11:07 AM UTC
Tom,

Nice prep work and added hardware. I am sure the paint work will be impressive.

Mark
Pave-Hawk
Visit this Community
Western Australia, Australia
Joined: May 05, 2006
KitMaker: 900 posts
Armorama: 510 posts
Posted: Sunday, June 03, 2018 - 01:18 PM UTC
That's coming along really well Tom. I'm glad to finally see one in the wild
Martinvidas
Visit this Community
Noord-Brabant, Netherlands
Joined: February 13, 2011
KitMaker: 322 posts
Armorama: 300 posts
Posted: Wednesday, June 13, 2018 - 06:30 AM UTC
Good evening
I call this one finished. I liked the final look of the T-34:


Thank You for the great campaign. I really enjoyed to be part of this one.
See You in the next one
deerstalker36
Visit this Community
Queensland, Australia
Joined: May 16, 2010
KitMaker: 232 posts
Armorama: 218 posts
Posted: Friday, June 22, 2018 - 01:51 PM UTC
nice work Martin, the T34 does look different with that turret

lots of hard work going in to upgrade the sherman Tom. it'll be good to see it finished
Martinvidas
Visit this Community
Noord-Brabant, Netherlands
Joined: February 13, 2011
KitMaker: 322 posts
Armorama: 300 posts
Posted: Saturday, June 23, 2018 - 06:53 PM UTC

Quoted Text

nice work Martin, the T34 does look different with that turret

lots of hard work going in to upgrade the sherman Tom. it'll be good to see it finished


Thank You
Do we gonna have second leg of this campaign? I have few more kits to build with AA guns and rockets.
Igorbc
Visit this Community
Croatia Hrvatska
Joined: December 11, 2015
KitMaker: 101 posts
Armorama: 95 posts
Posted: Saturday, June 23, 2018 - 07:41 PM UTC
I would like to know if someone can give me a guidelines how to post photo in Kit maker gallery since I have no clue how to do it.
Lakota
#123
Visit this Community
New Mexico, United States
Joined: November 17, 2008
KitMaker: 1,202 posts
Armorama: 635 posts
Posted: Sunday, June 24, 2018 - 02:59 AM UTC
Martin,
Great work! Congrats on a nice looking model. You don't see too many AA T-34's around, at least on this side of the ocean.
Take care,
Don "Lakota"
Petro
Visit this Community
Connecticut, United States
Joined: November 02, 2003
KitMaker: 984 posts
Armorama: 846 posts
Posted: Sunday, June 24, 2018 - 12:25 PM UTC

Quoted Text

I would like to know if someone can give me a guidelines how to post photo in Kit maker gallery since I have no clue how to do it.


Are you asking about linking to a photo in your gallery?
petbat
Visit this Community
Queensland, Australia
Joined: August 06, 2005
KitMaker: 3,353 posts
Armorama: 3,121 posts
Posted: Sunday, June 24, 2018 - 02:33 PM UTC

Quoted Text

I would like to know if someone can give me a guidelines how to post photo in Kit maker gallery since I have no clue how to do it.


Hi Igor. This thread is a little dated in the graphics, but pretty much explains how to do this:

https://armorama.kitmaker.net/forums/160011&page=1
petbat
Visit this Community
Queensland, Australia
Joined: August 06, 2005
KitMaker: 3,353 posts
Armorama: 3,121 posts
Posted: Sunday, June 24, 2018 - 02:38 PM UTC
Tom, nice detail work on the Skink. That turret looks amazing.

Zon, an oldie but a goodie - nice choice. A little work like knock out pins to contend with, but it still makes up to a respectable kit even after all the decades since it was first released.

Iain, That gun shield looks like a lot of work. Hope it stay together for you, I have never had much luck with Supergluing joins.

Martin, what can I say. Great build. Nicely weathered; it looks really well used. A fine addition to your collection.
Petro
Visit this Community
Connecticut, United States
Joined: November 02, 2003
KitMaker: 984 posts
Armorama: 846 posts
Posted: Wednesday, June 27, 2018 - 11:50 AM UTC
I have been progreesing with my build.

The picture of the bogie assembly was late May. Too lazy to post lol.

I put a basecoat on all the subassemblies. Now i need to add some of the etch details.
I am not sure what color the wire on the reels is supoosed to be. I assume black. Will paint stick to the rubber hoses?
I hope to get some more work done on the weekend.
petbat
Visit this Community
Queensland, Australia
Joined: August 06, 2005
KitMaker: 3,353 posts
Armorama: 3,121 posts
Posted: Thursday, June 28, 2018 - 11:59 AM UTC
Looking good Marc.

I was going to build a model in my usual 1/35th scale for this build, but yesterday found this in a box in the garage. I forgot I had it. Matchbox M16 Halftrack.


Nostalgia got the better of me, taking me back to my teens, and I started to build it:


A long time since I built braille scale and I needed to do this while my eyesight is still reasonable. Nothing fancy, basically OOB except I thinned the mud flaps and the rear folded down shield part. Certainly missing the detail I am used to
TacFireGuru
Visit this Community
Colorado, United States
Joined: December 25, 2004
KitMaker: 3,770 posts
Armorama: 2,263 posts
Posted: Thursday, June 28, 2018 - 12:23 PM UTC
VERY little modelling MoJo lately. I did manage to tone down the camo some today.


Mike
petbat
Visit this Community
Queensland, Australia
Joined: August 06, 2005
KitMaker: 3,353 posts
Armorama: 3,121 posts
Posted: Friday, June 29, 2018 - 06:35 PM UTC
Hope you get your Mojo back Mike. I really want to see that finished.

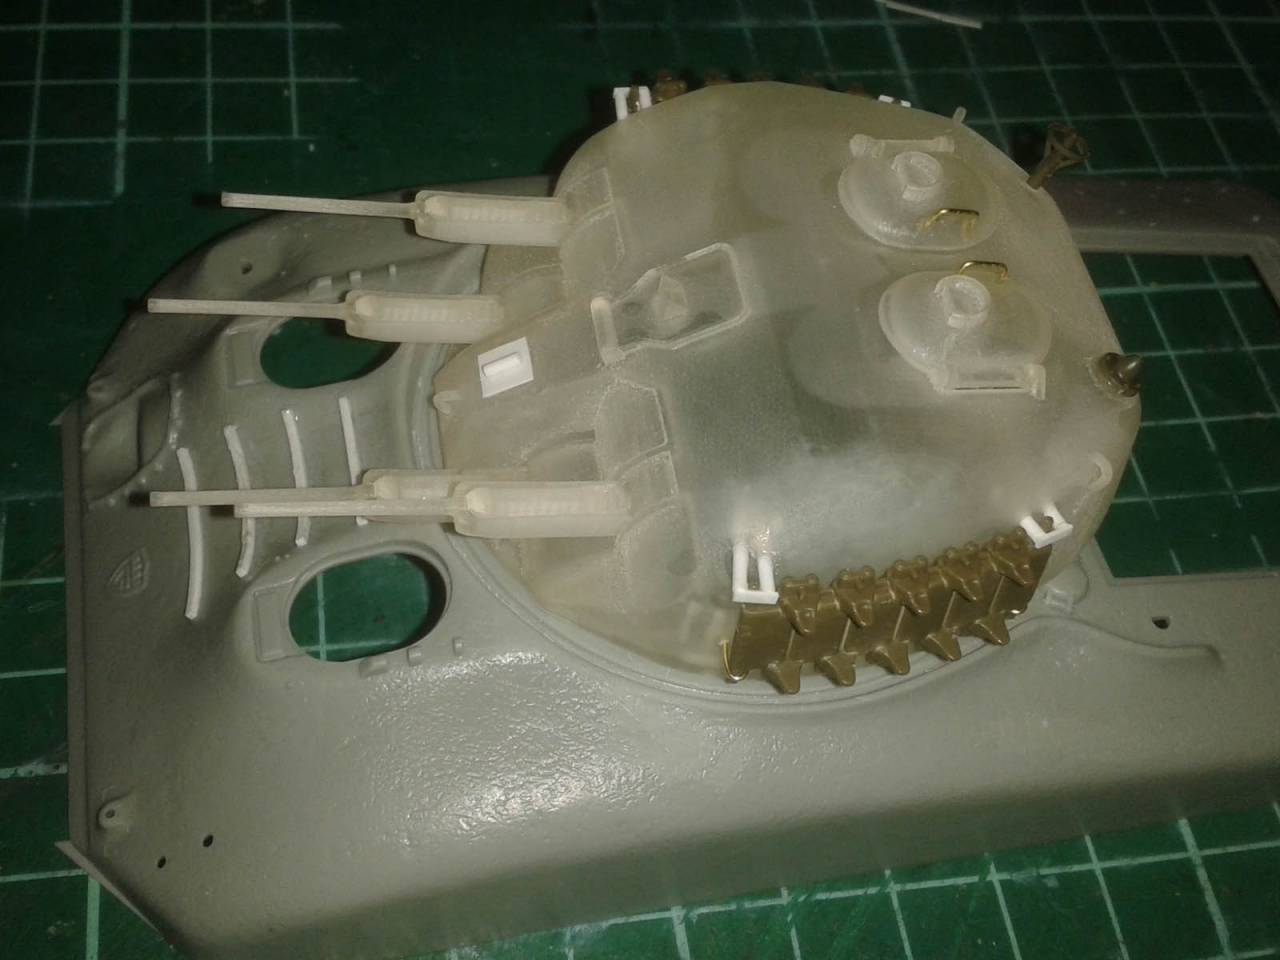
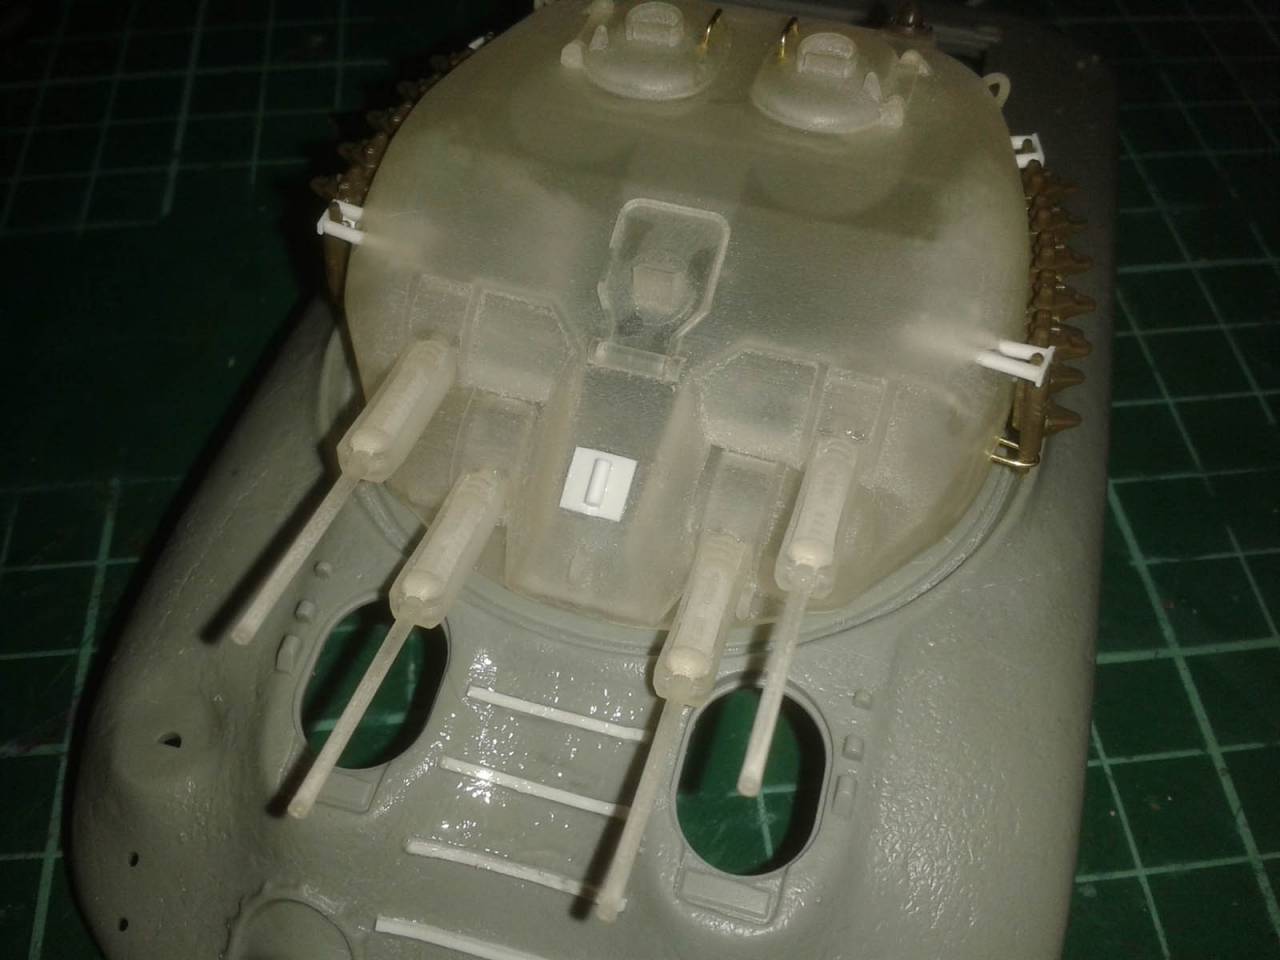
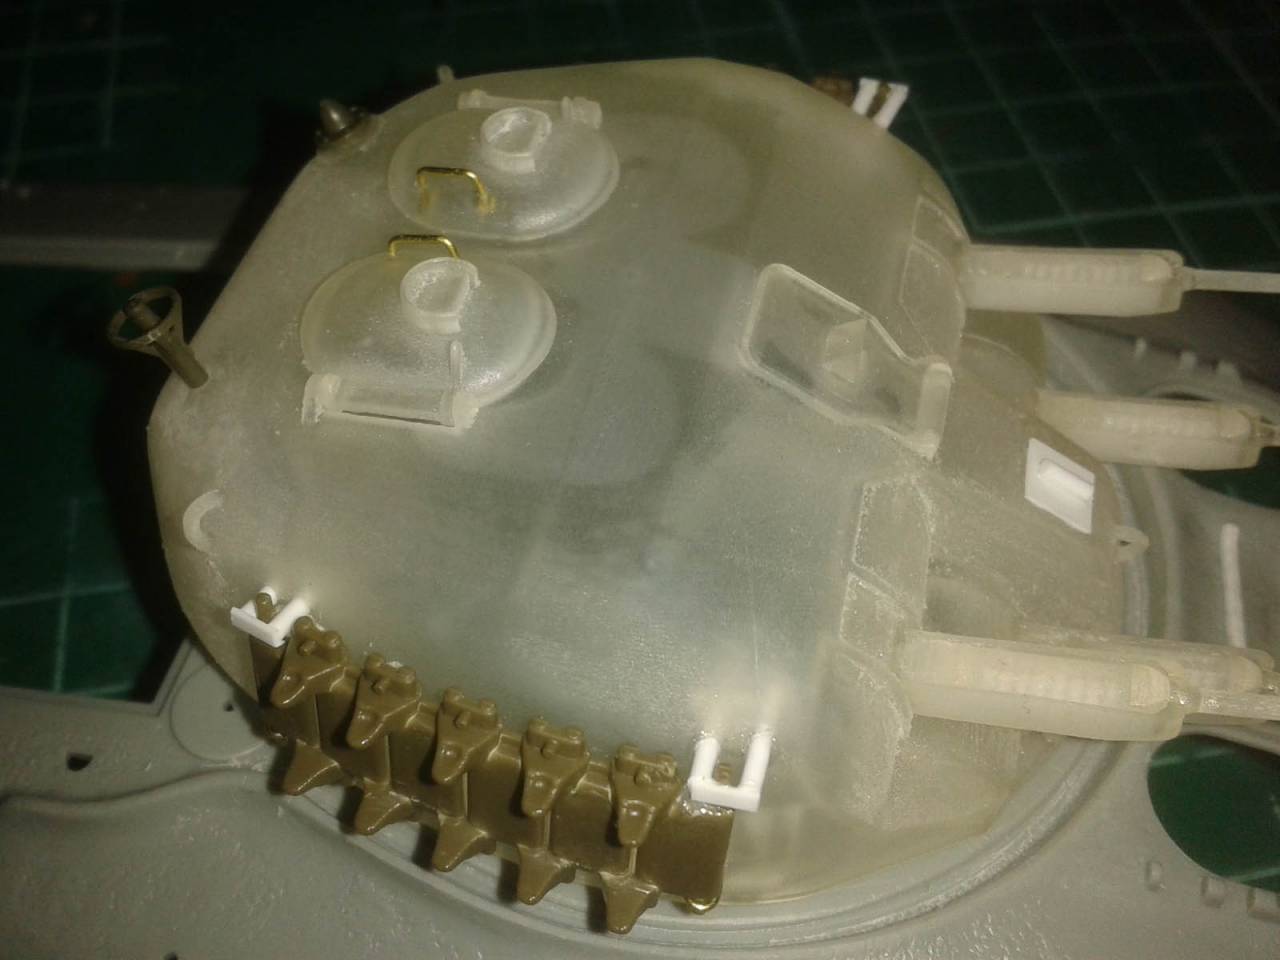
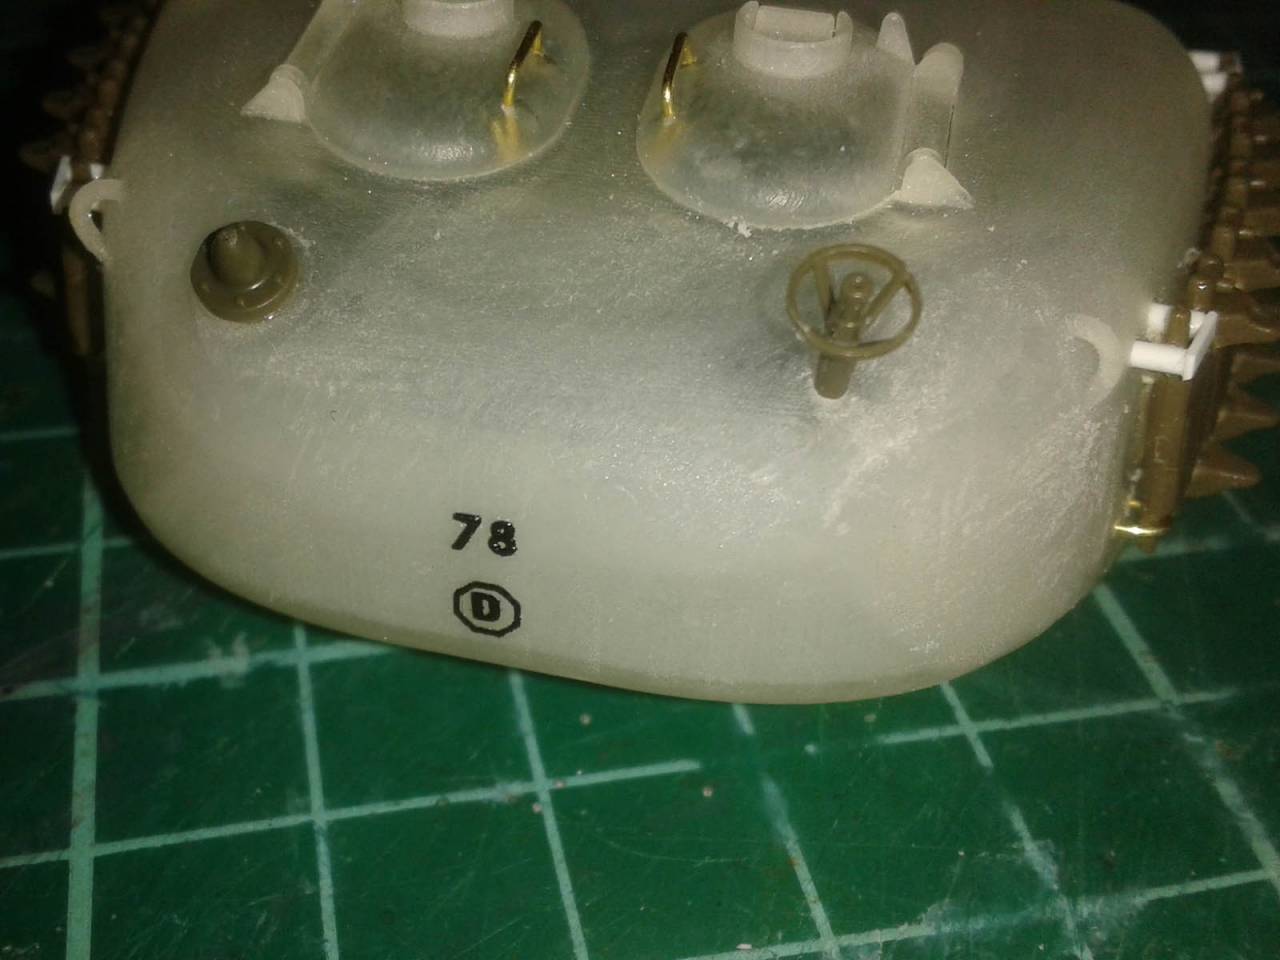
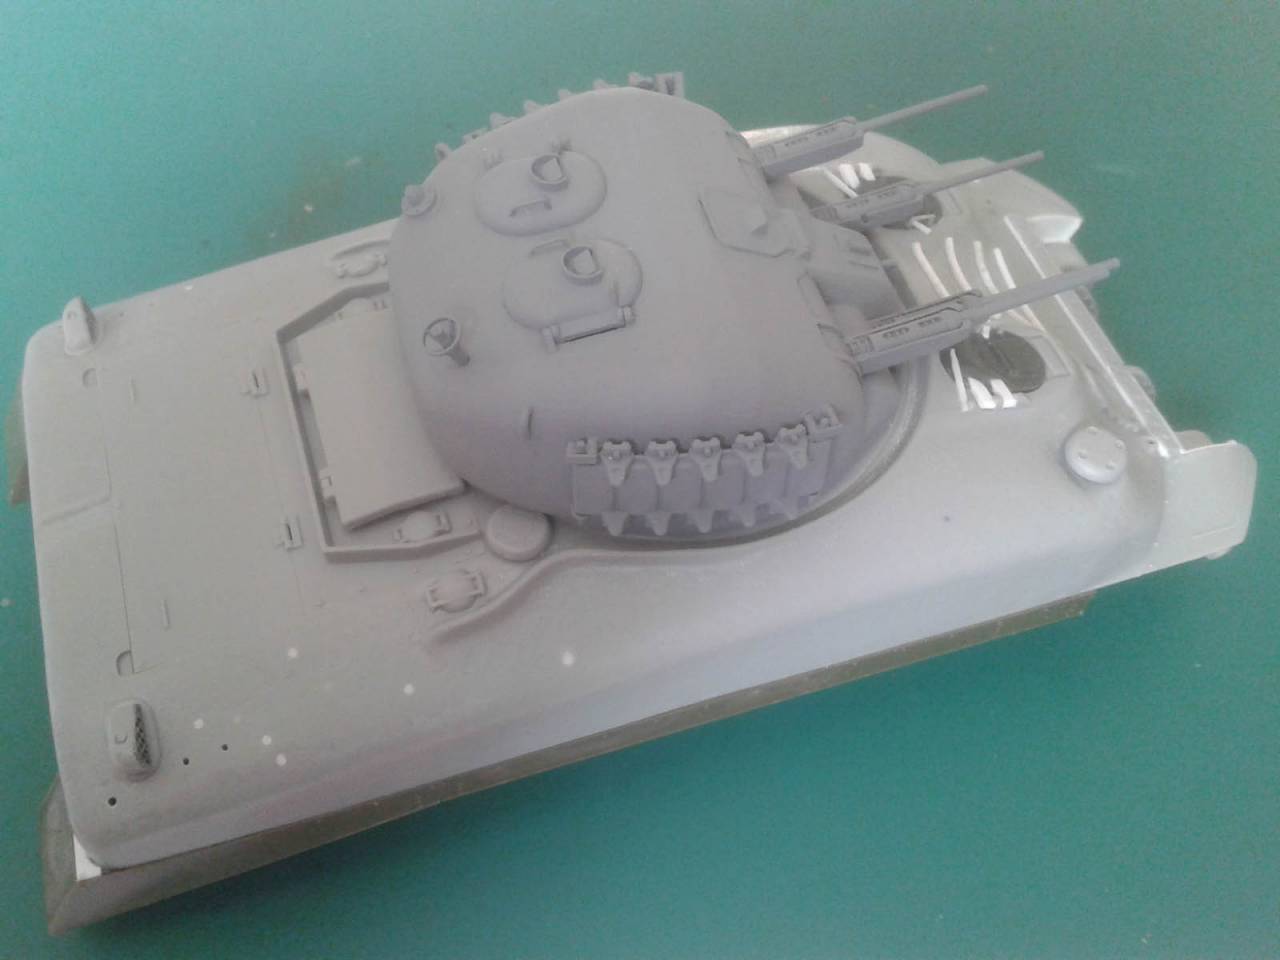
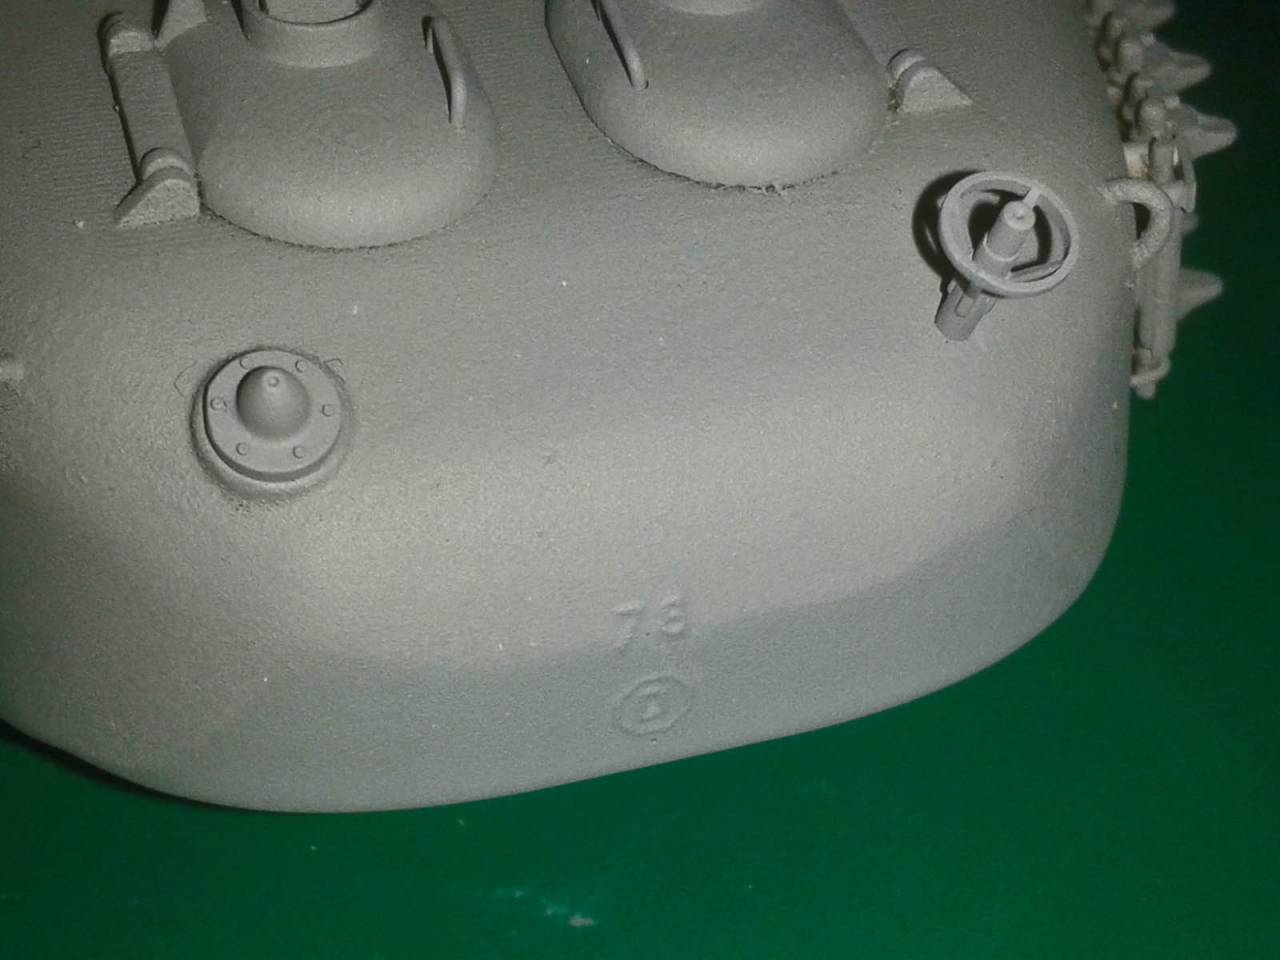
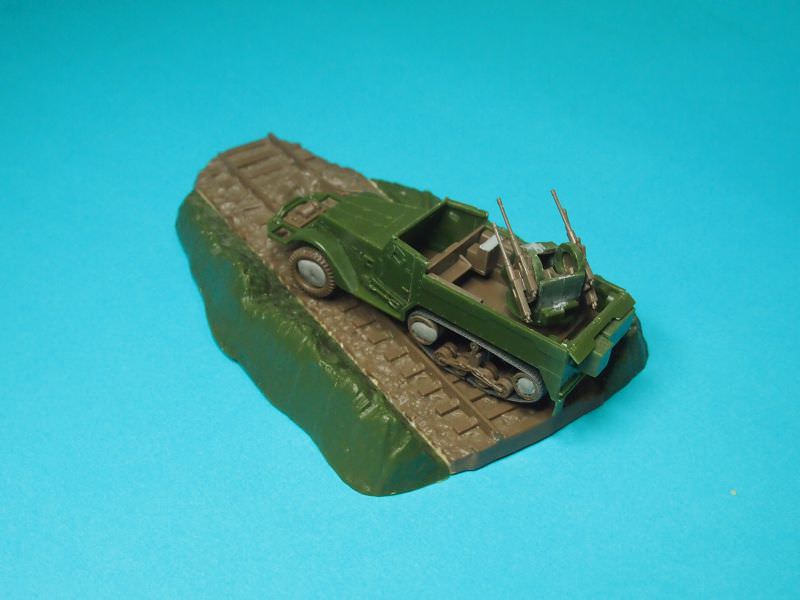
Okay, so my OCD side came out with this Matchbox kit. I couldn't resist detailing the M16 a little, as the kit is very basic in some areas. I wanted to use all the kit parts, so I went a little sparingly and detailed, not replaced.

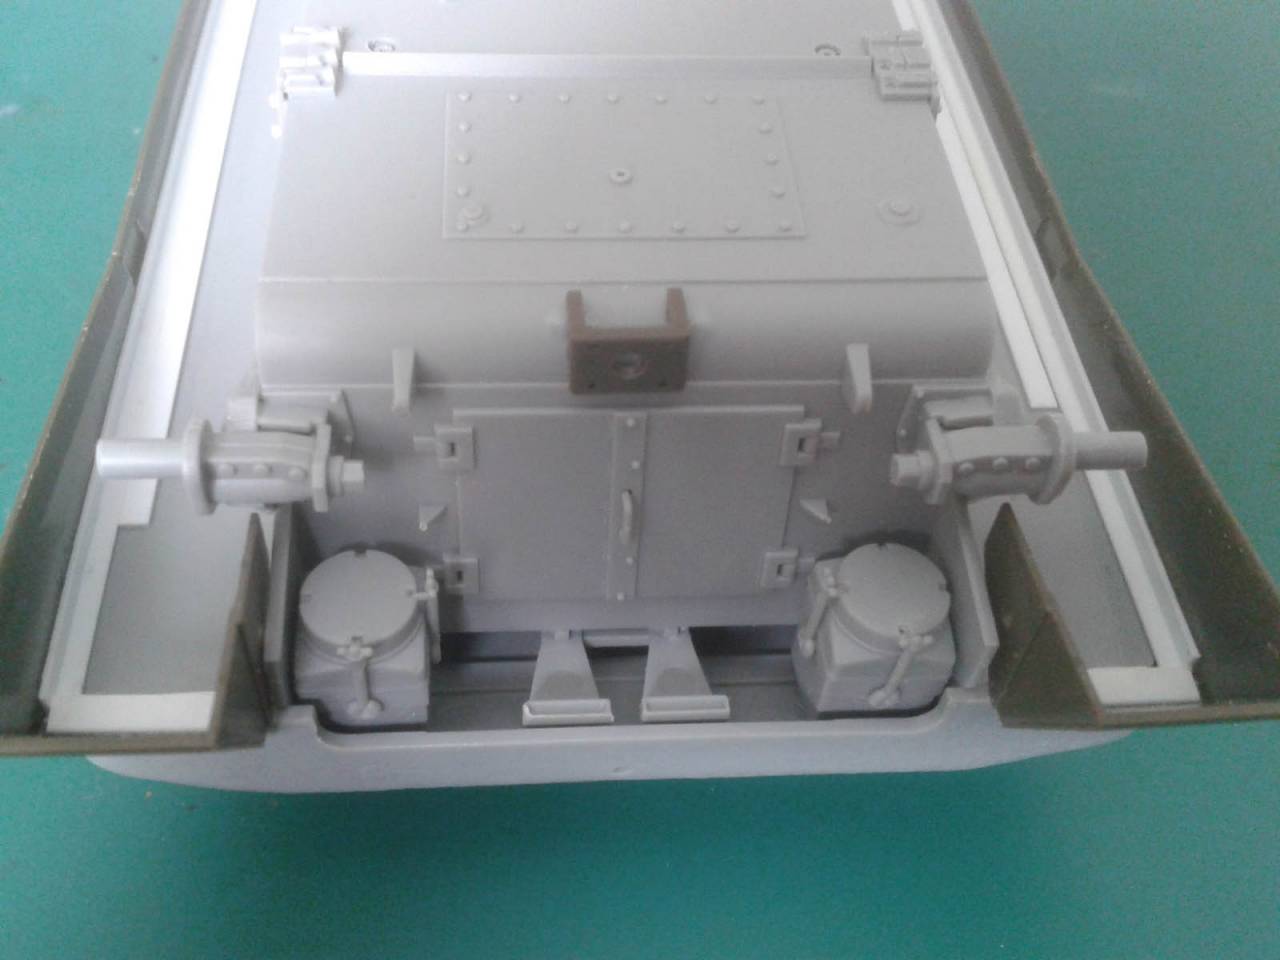
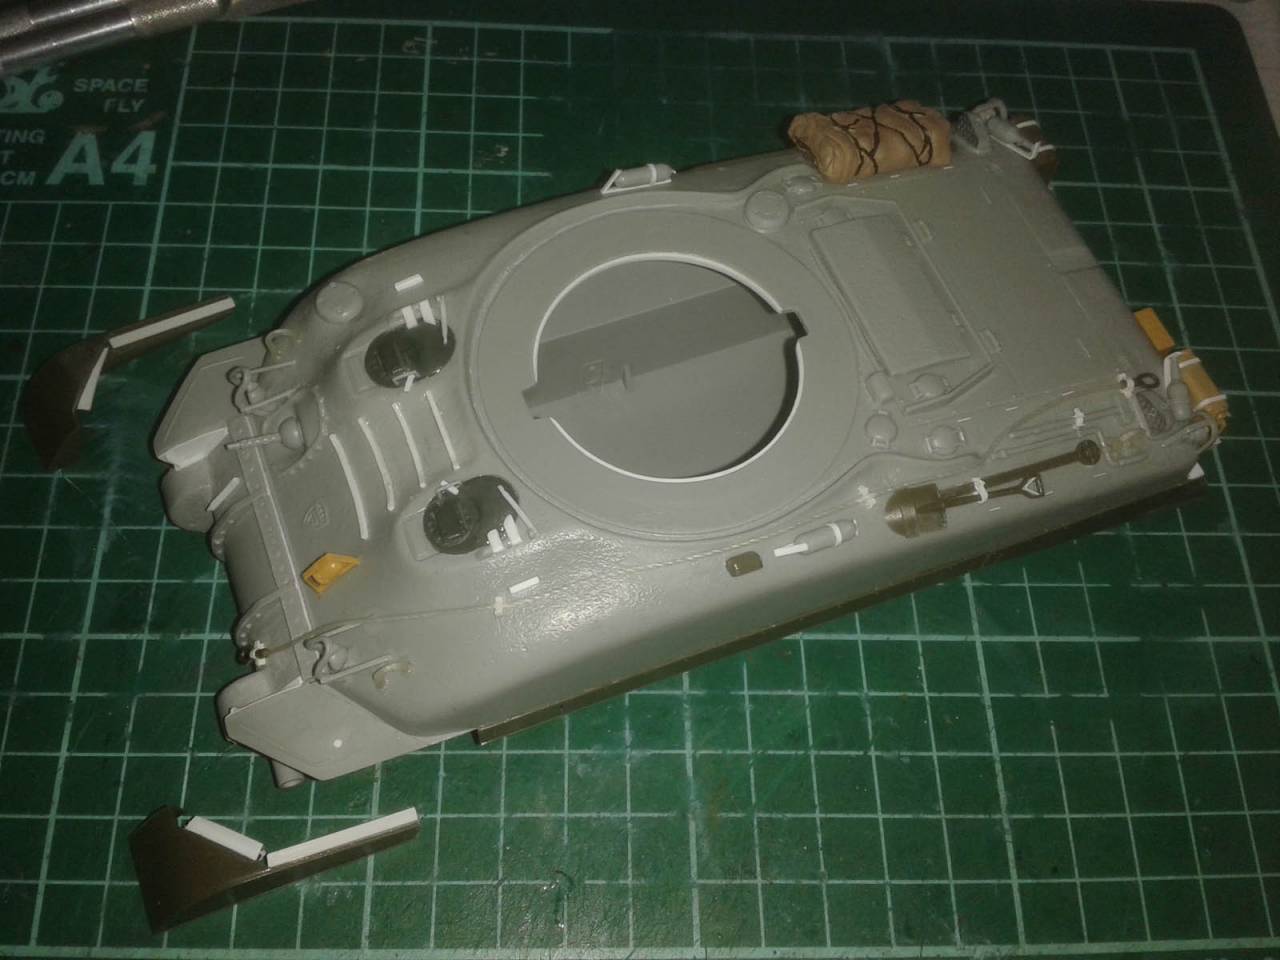
As per previous pic the rear of the gun platform is just a flat wall in the kit, where in reality there no wall, it is open to see the rear of the seat and bracing, etc, plus a gas powered generator and battery are located there.


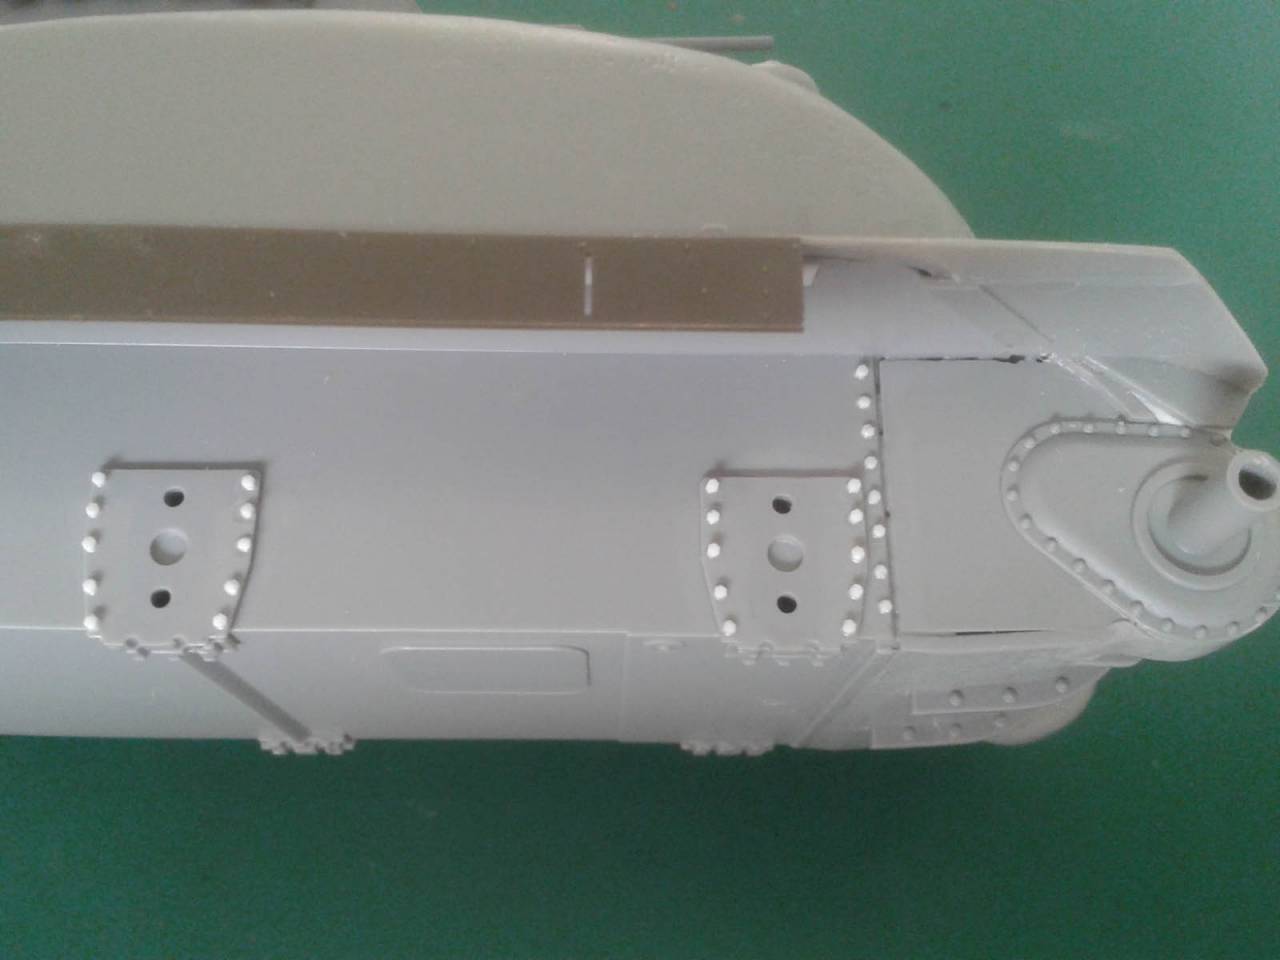
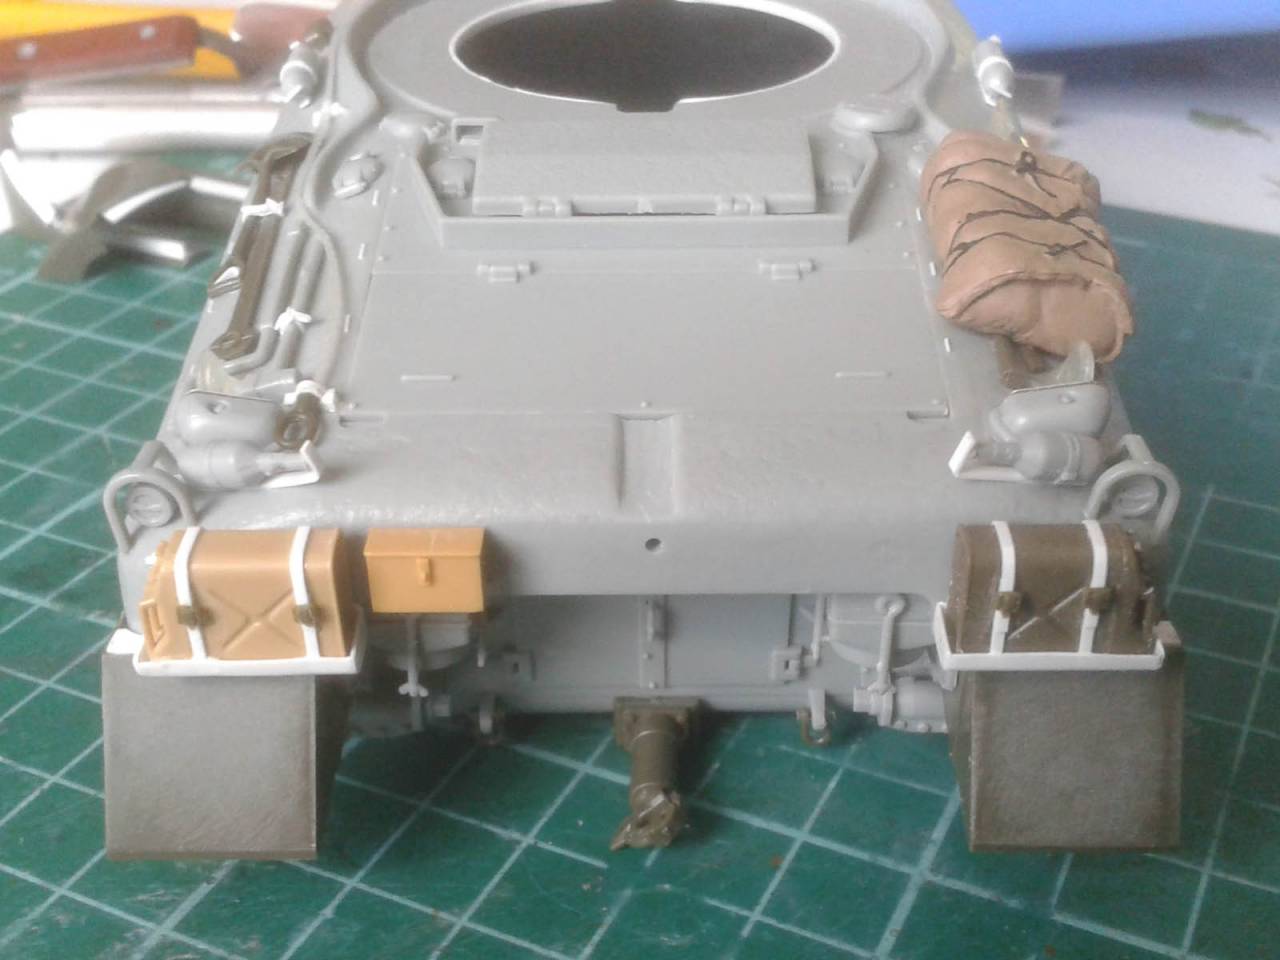
Then I drilled out the headlights - will fill with clear epoxy later - and made up some stowage from Magic Sculpt and styrene. I also removed the single Jerry can handles and replaced them with a 3 bar one made from stretched sprue.


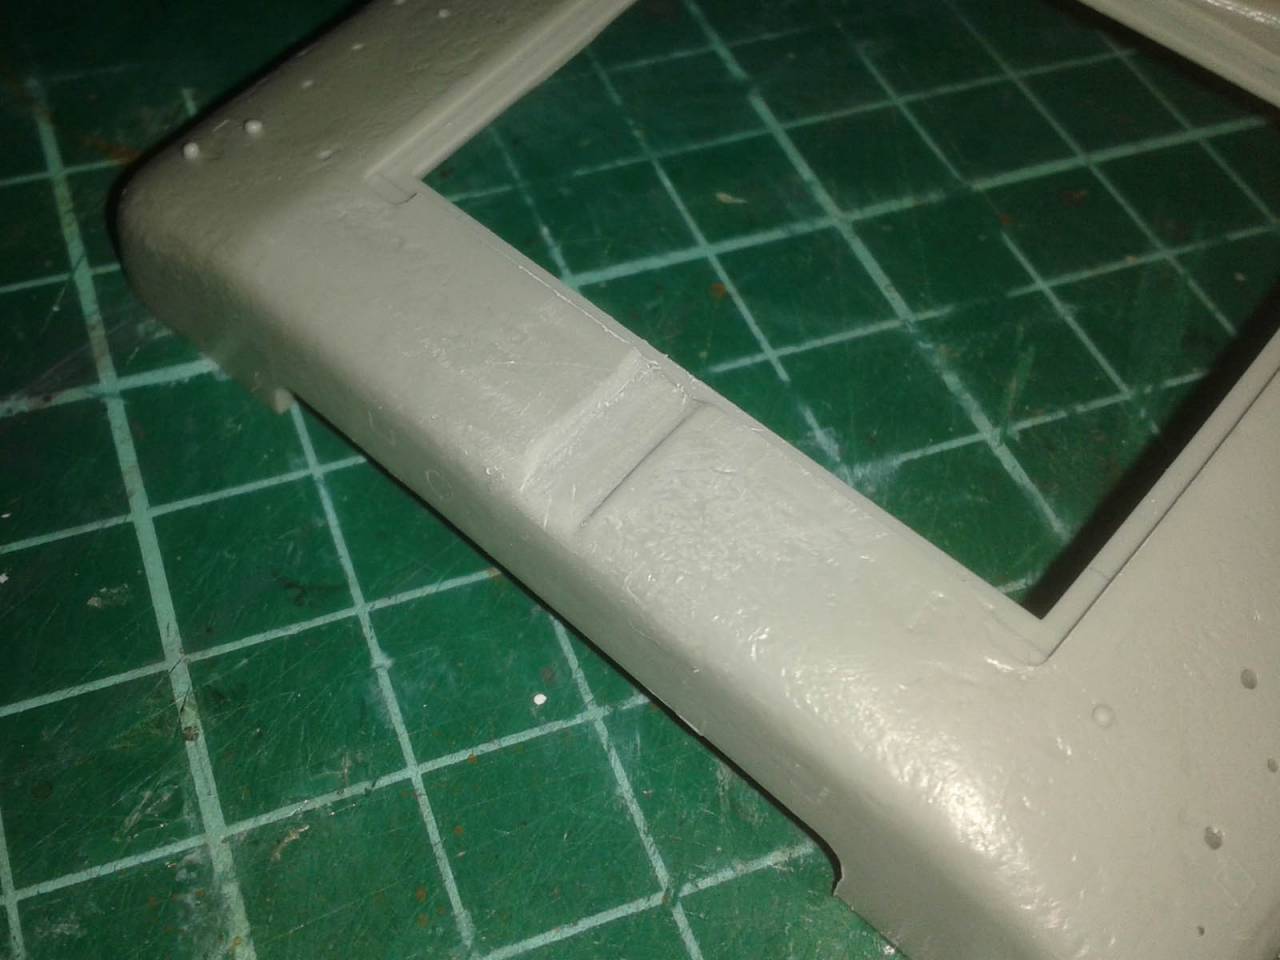
Then decided to replace the rectangle profile rails with the proper I Beam shape. Dremelled out the rails and where the one piece moulding had the rails between the sleepers, not on them. This now shows the correct open space under the rail between the sleepers. 3m pieces of strip styrene used here to form the rails, not I beam styrene. That enabled me to a bit more drama to how the damage is depicted.


Need to add some brackets to retain the rails and some other improvements here.
deerstalker36
Visit this Community
Queensland, Australia
Joined: May 16, 2010
KitMaker: 232 posts
Armorama: 218 posts
Posted: Saturday, June 30, 2018 - 12:09 AM UTC
great work on updating this little beauty Peter
27-1025
Visit this Community
North Carolina, United States
Joined: September 16, 2004
KitMaker: 1,281 posts
Armorama: 1,222 posts
Posted: Wednesday, July 04, 2018 - 09:27 AM UTC
In progress picture

petbat
Visit this Community
Queensland, Australia
Joined: August 06, 2005
KitMaker: 3,353 posts
Armorama: 3,121 posts
Posted: Wednesday, July 04, 2018 - 07:33 PM UTC
Your Half track has acne Chris
27-1025
Visit this Community
North Carolina, United States
Joined: September 16, 2004
KitMaker: 1,281 posts
Armorama: 1,222 posts
Posted: Friday, July 06, 2018 - 05:01 AM UTC

Quoted Text

Your Half track has acne Chris


All kidding aside, I managed to really screw this build up - not paying close attention to the instructions. Not sure if it is repairable. Don't have another M16 in the stash so we'll have to see if I can up with a fix
petbat
Visit this Community
Queensland, Australia
Joined: August 06, 2005
KitMaker: 3,353 posts
Armorama: 3,121 posts
Posted: Saturday, July 07, 2018 - 12:36 PM UTC
Good luck Chris. I hope you can salvage this.
Petro
Visit this Community
Connecticut, United States
Joined: November 02, 2003
KitMaker: 984 posts
Armorama: 846 posts
Posted: Saturday, July 14, 2018 - 12:43 PM UTC
I have been working very slowly. I've been busy at work as usual.


Put the sub assemblies together just for a couple photos. I need to figure what decals i am using and fix any problems and get moving. The painting stage is where i get enjoyment, though it has been a few years. Those etched pieces on the spools were straight, before i added the tubing.😟
Needs some more touch ups then the weathering process can begin.