

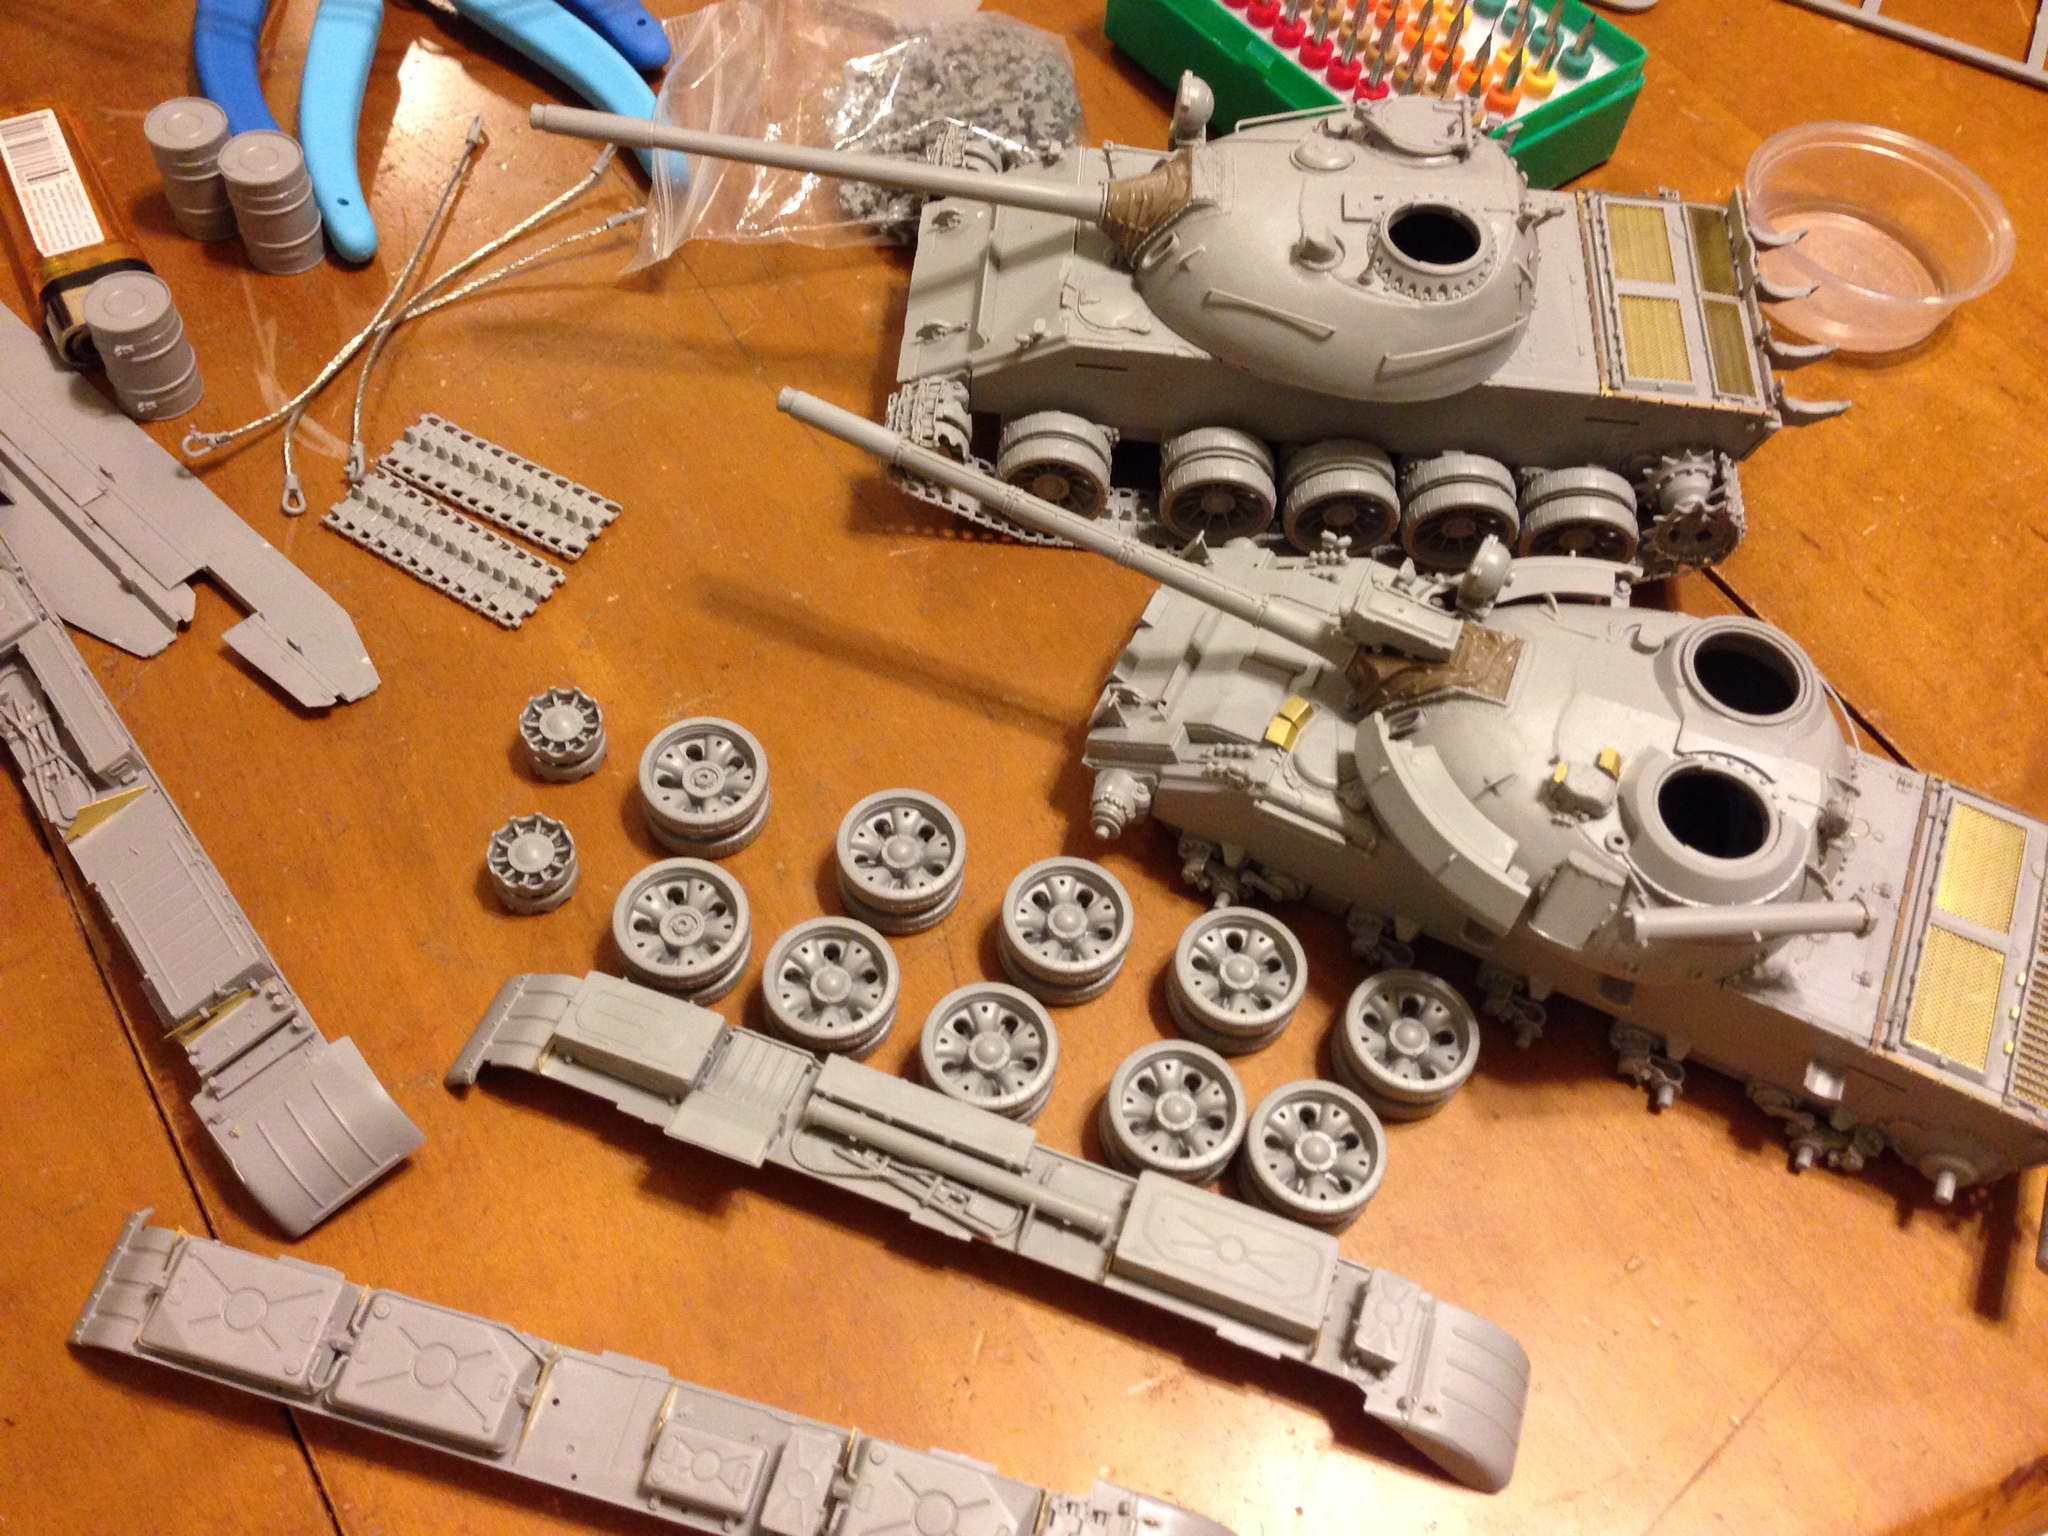
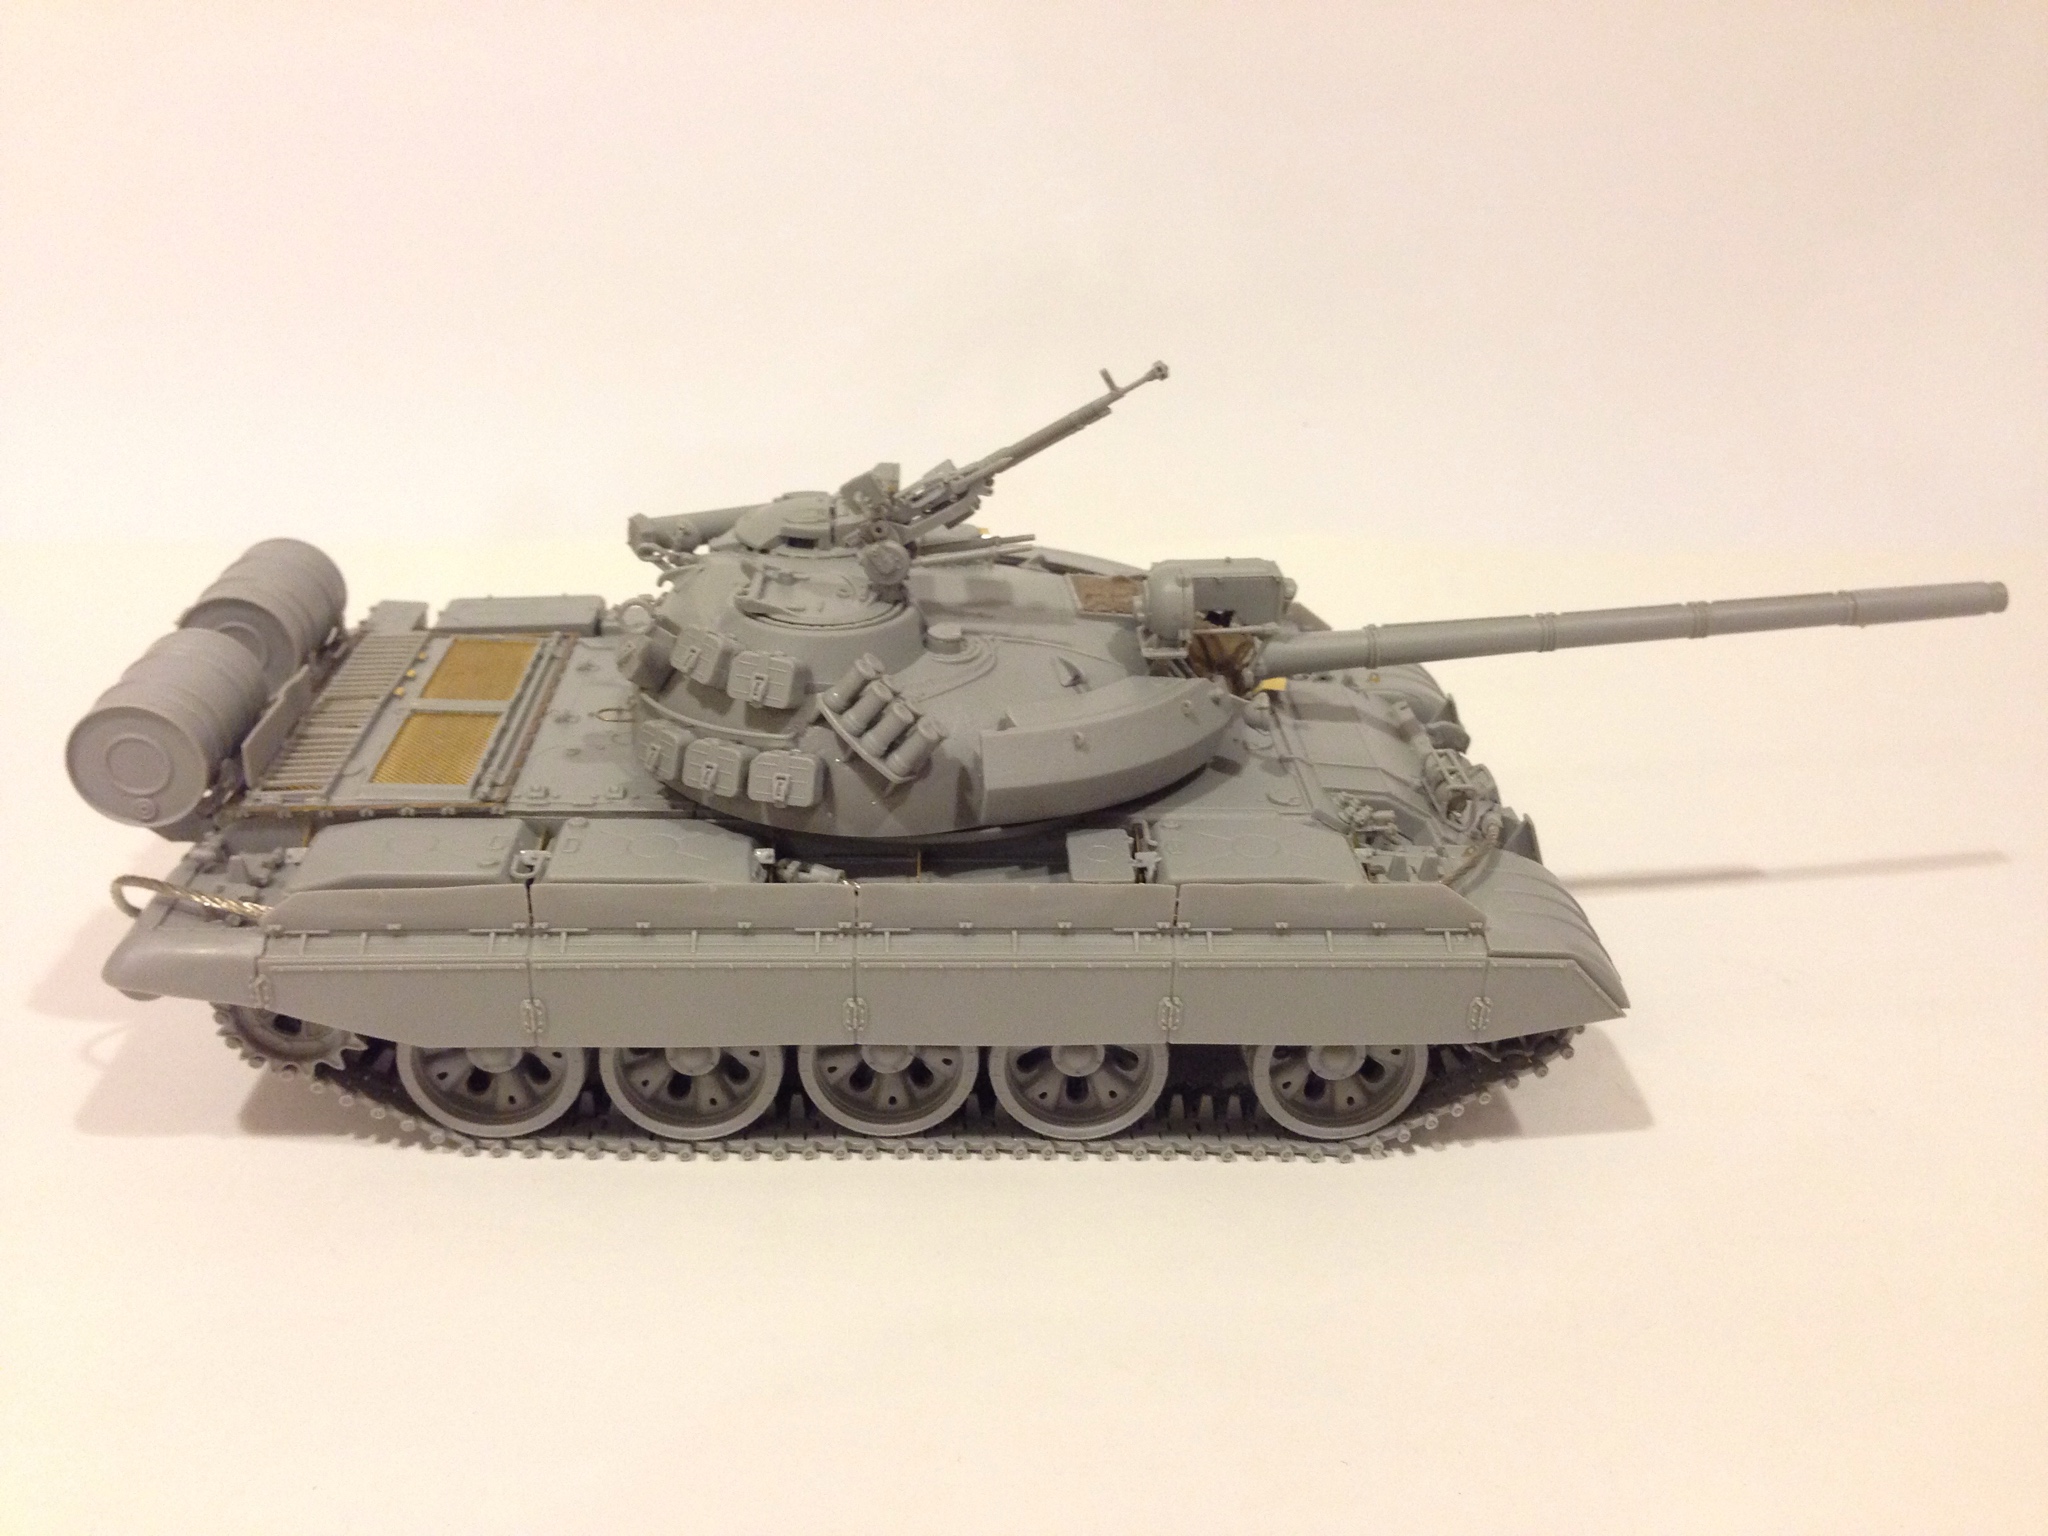
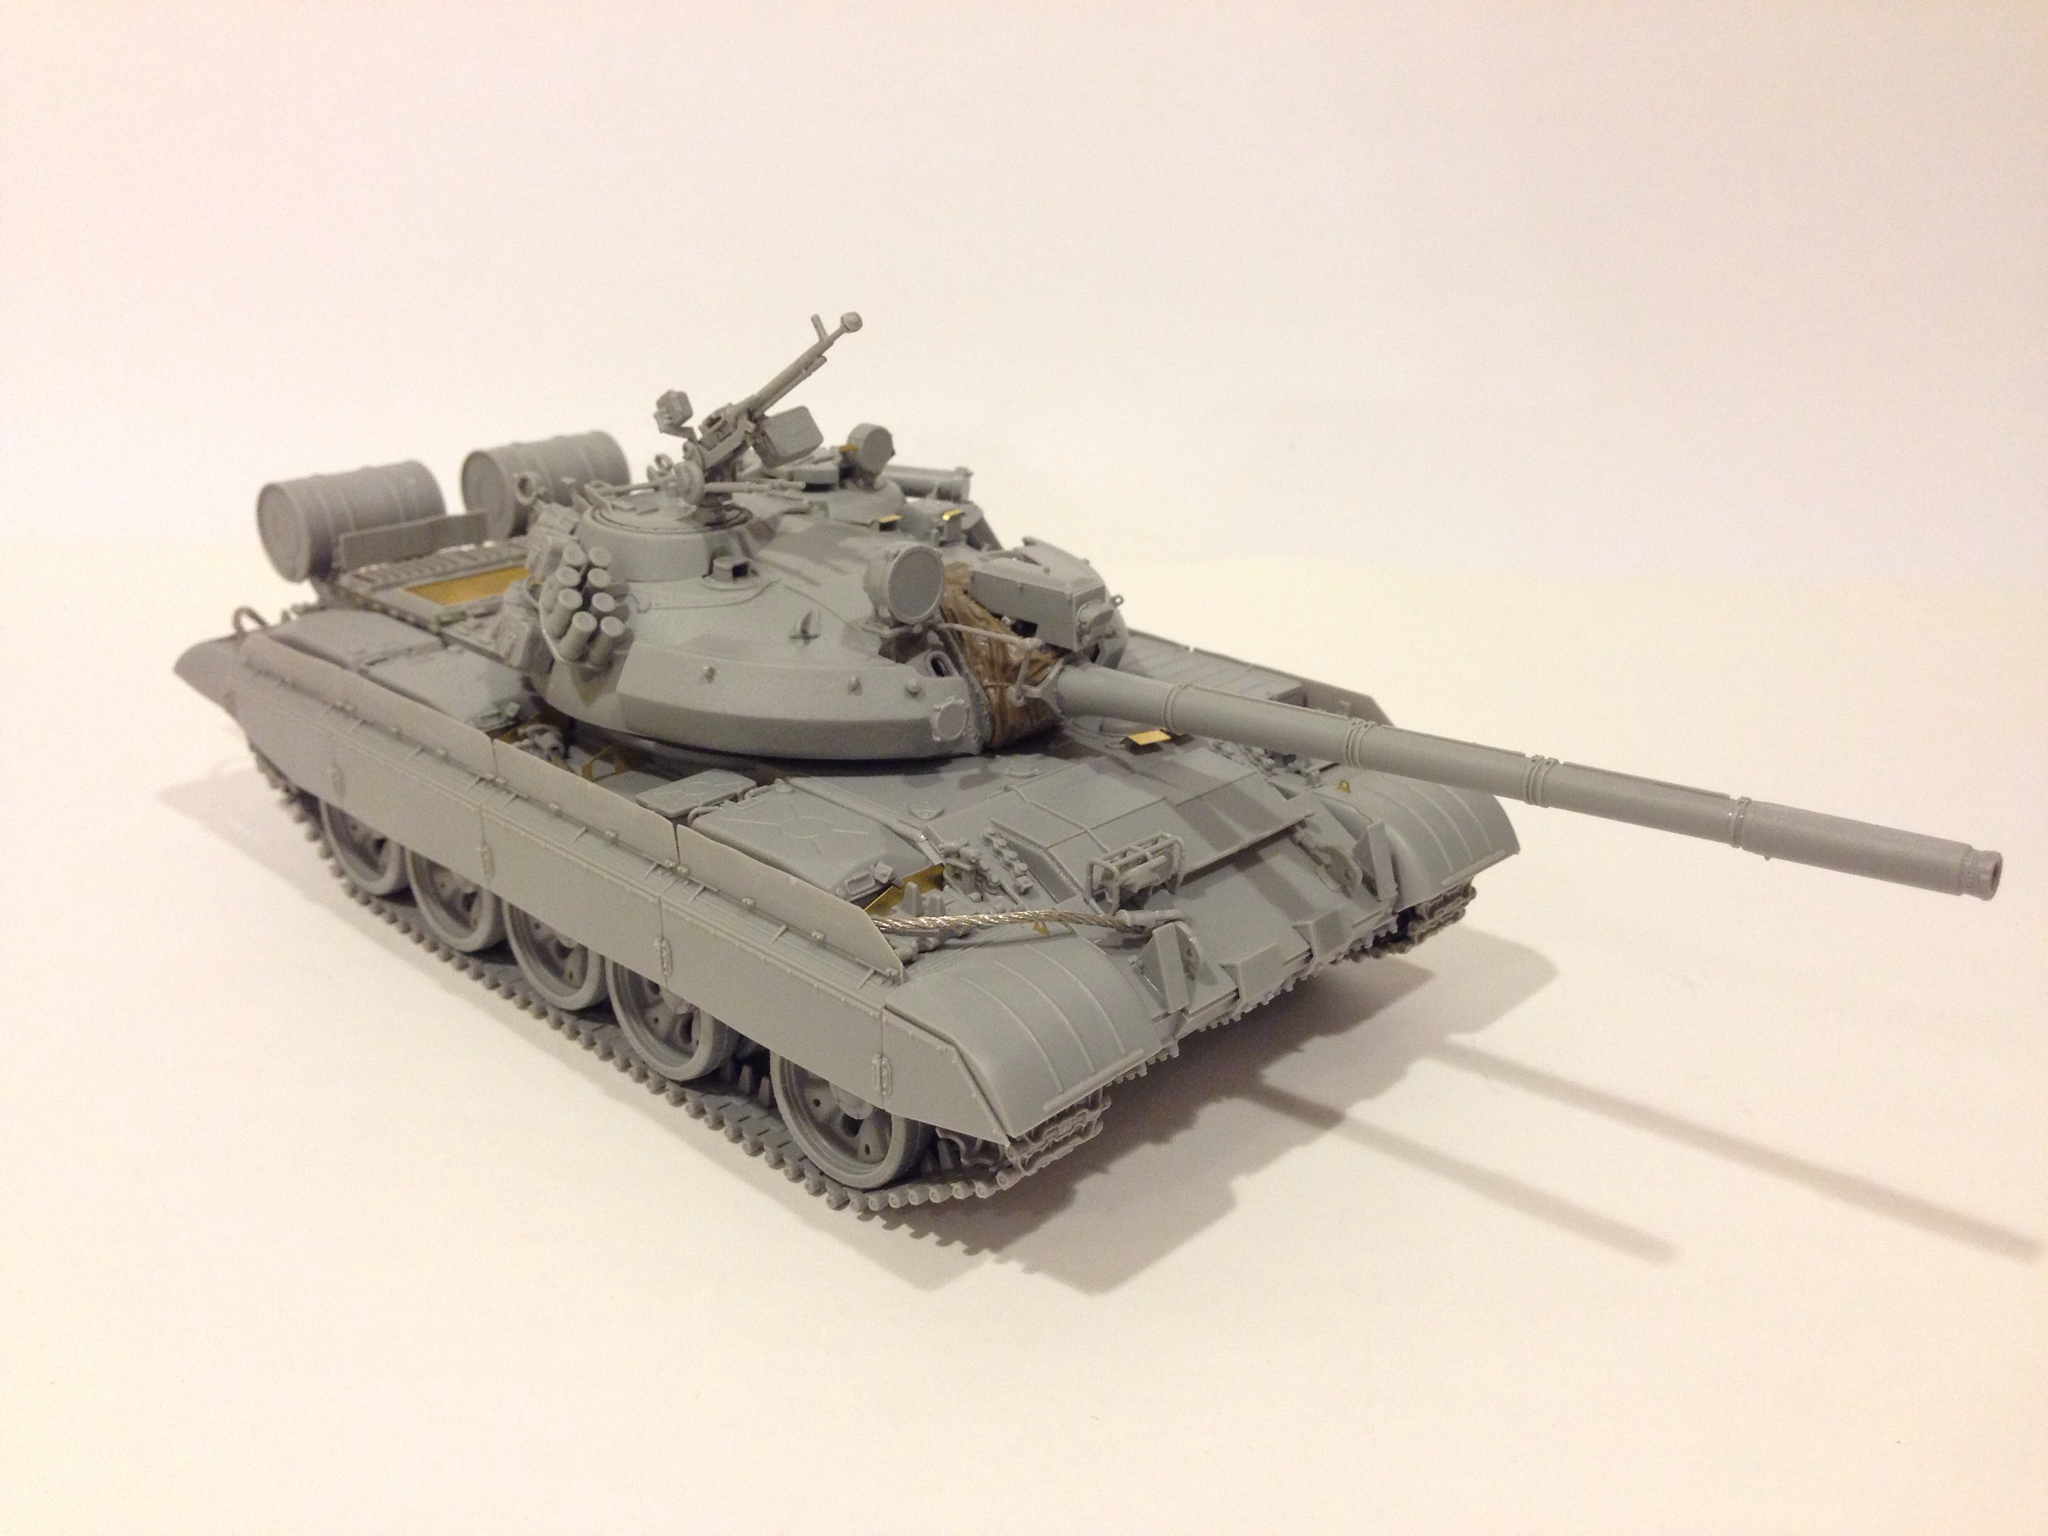
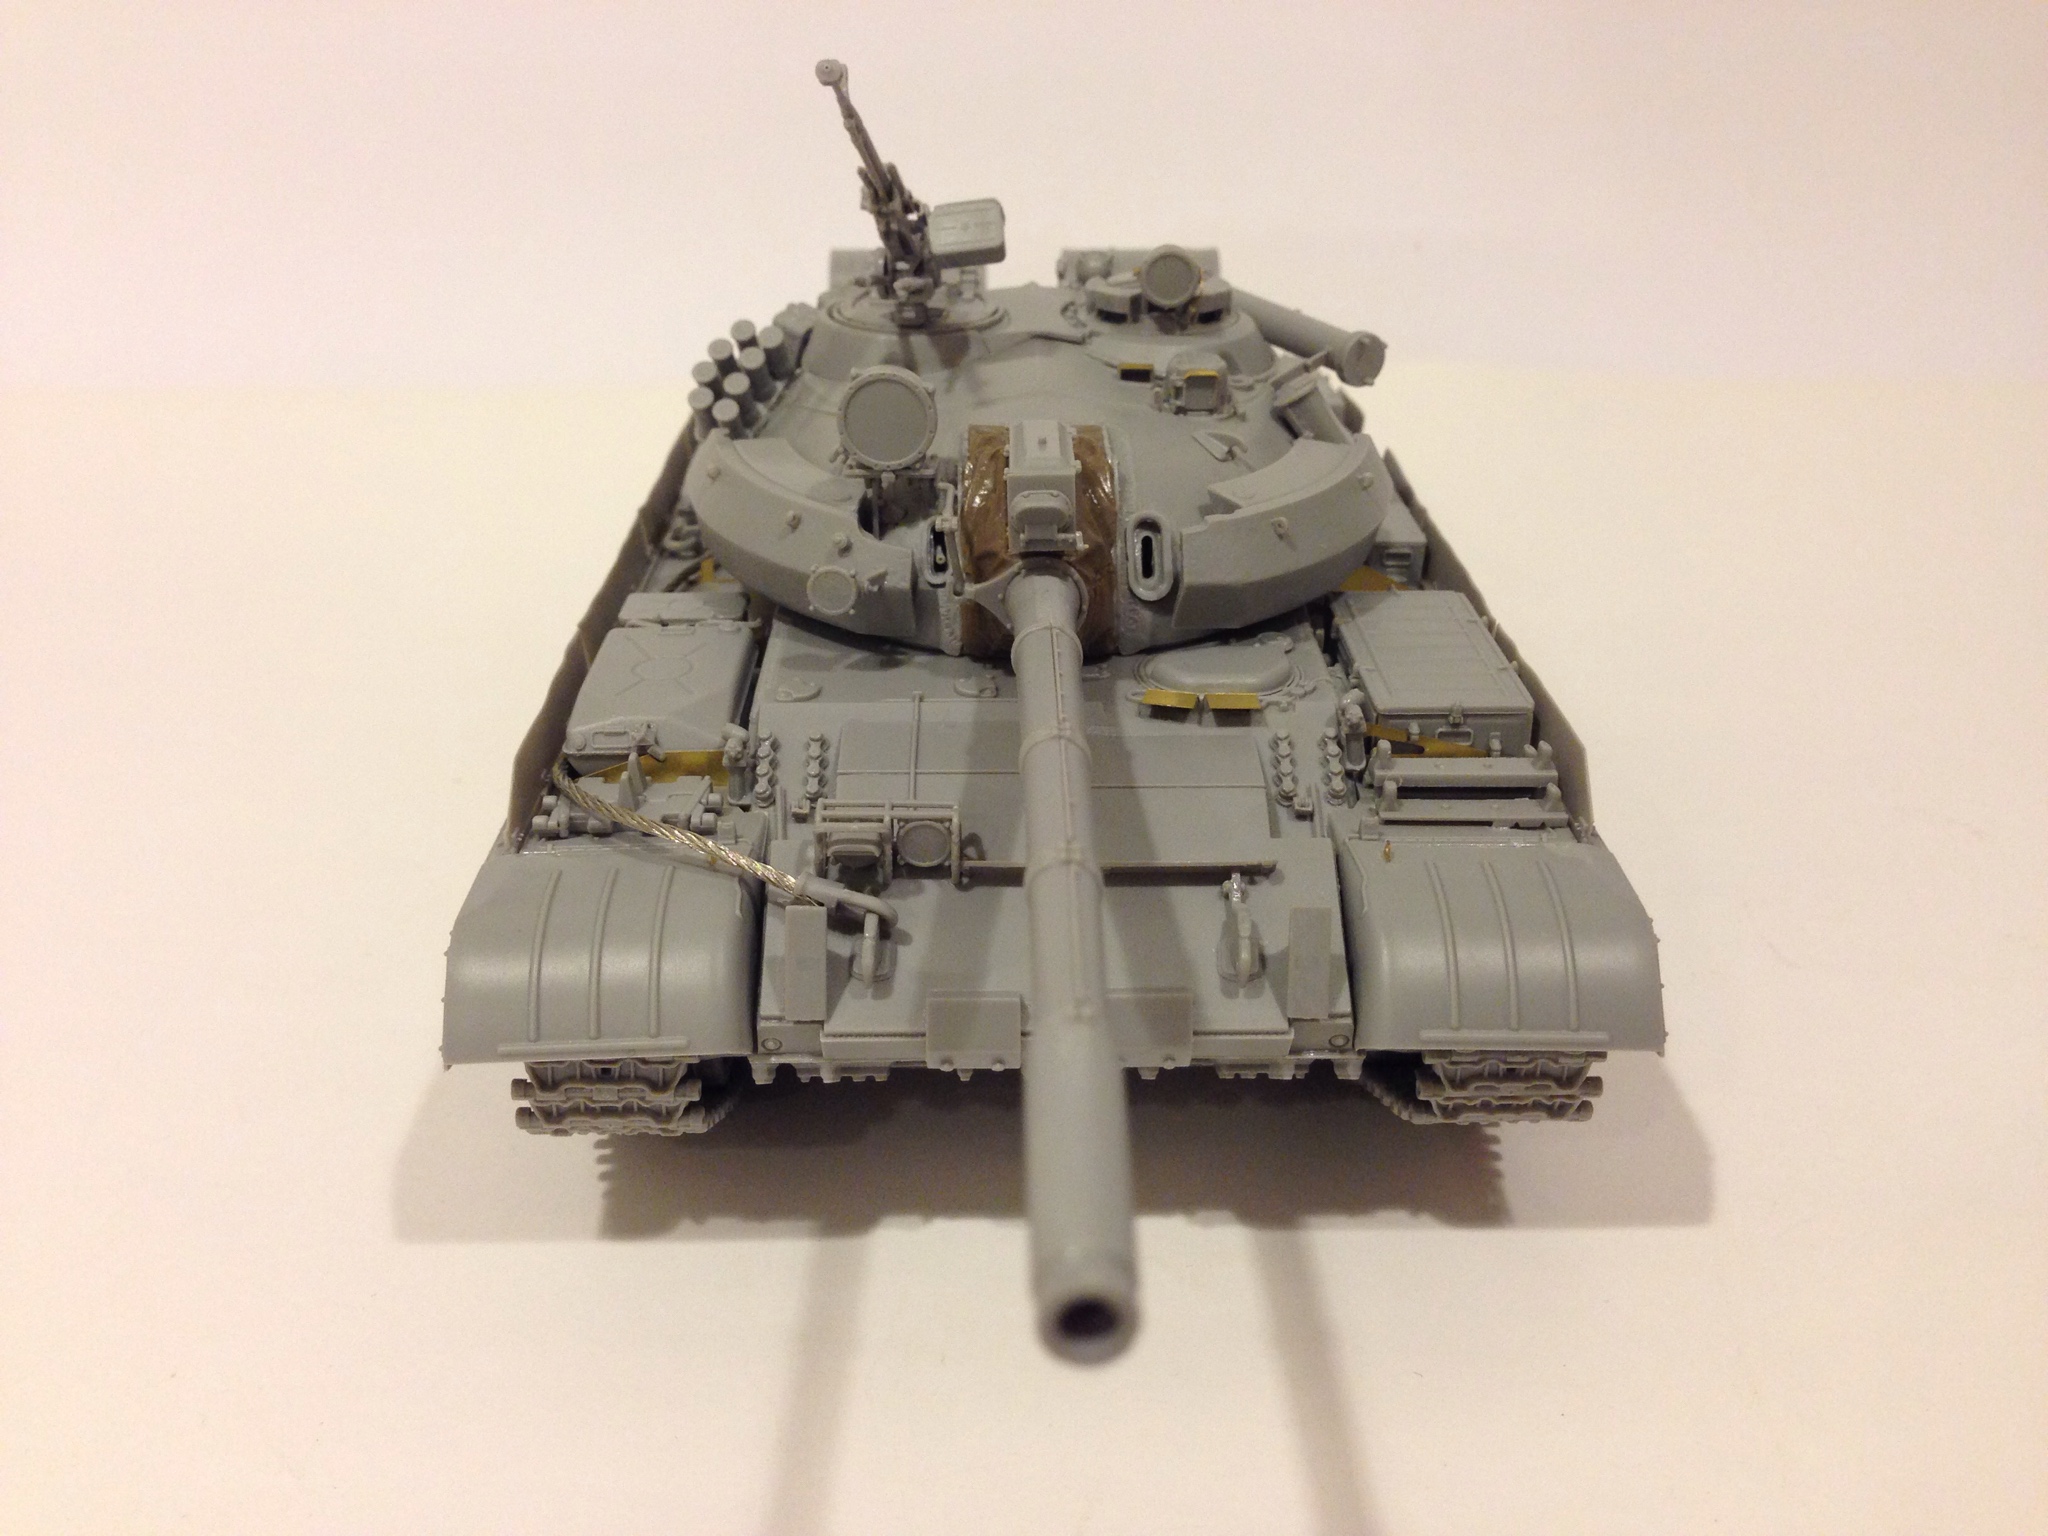
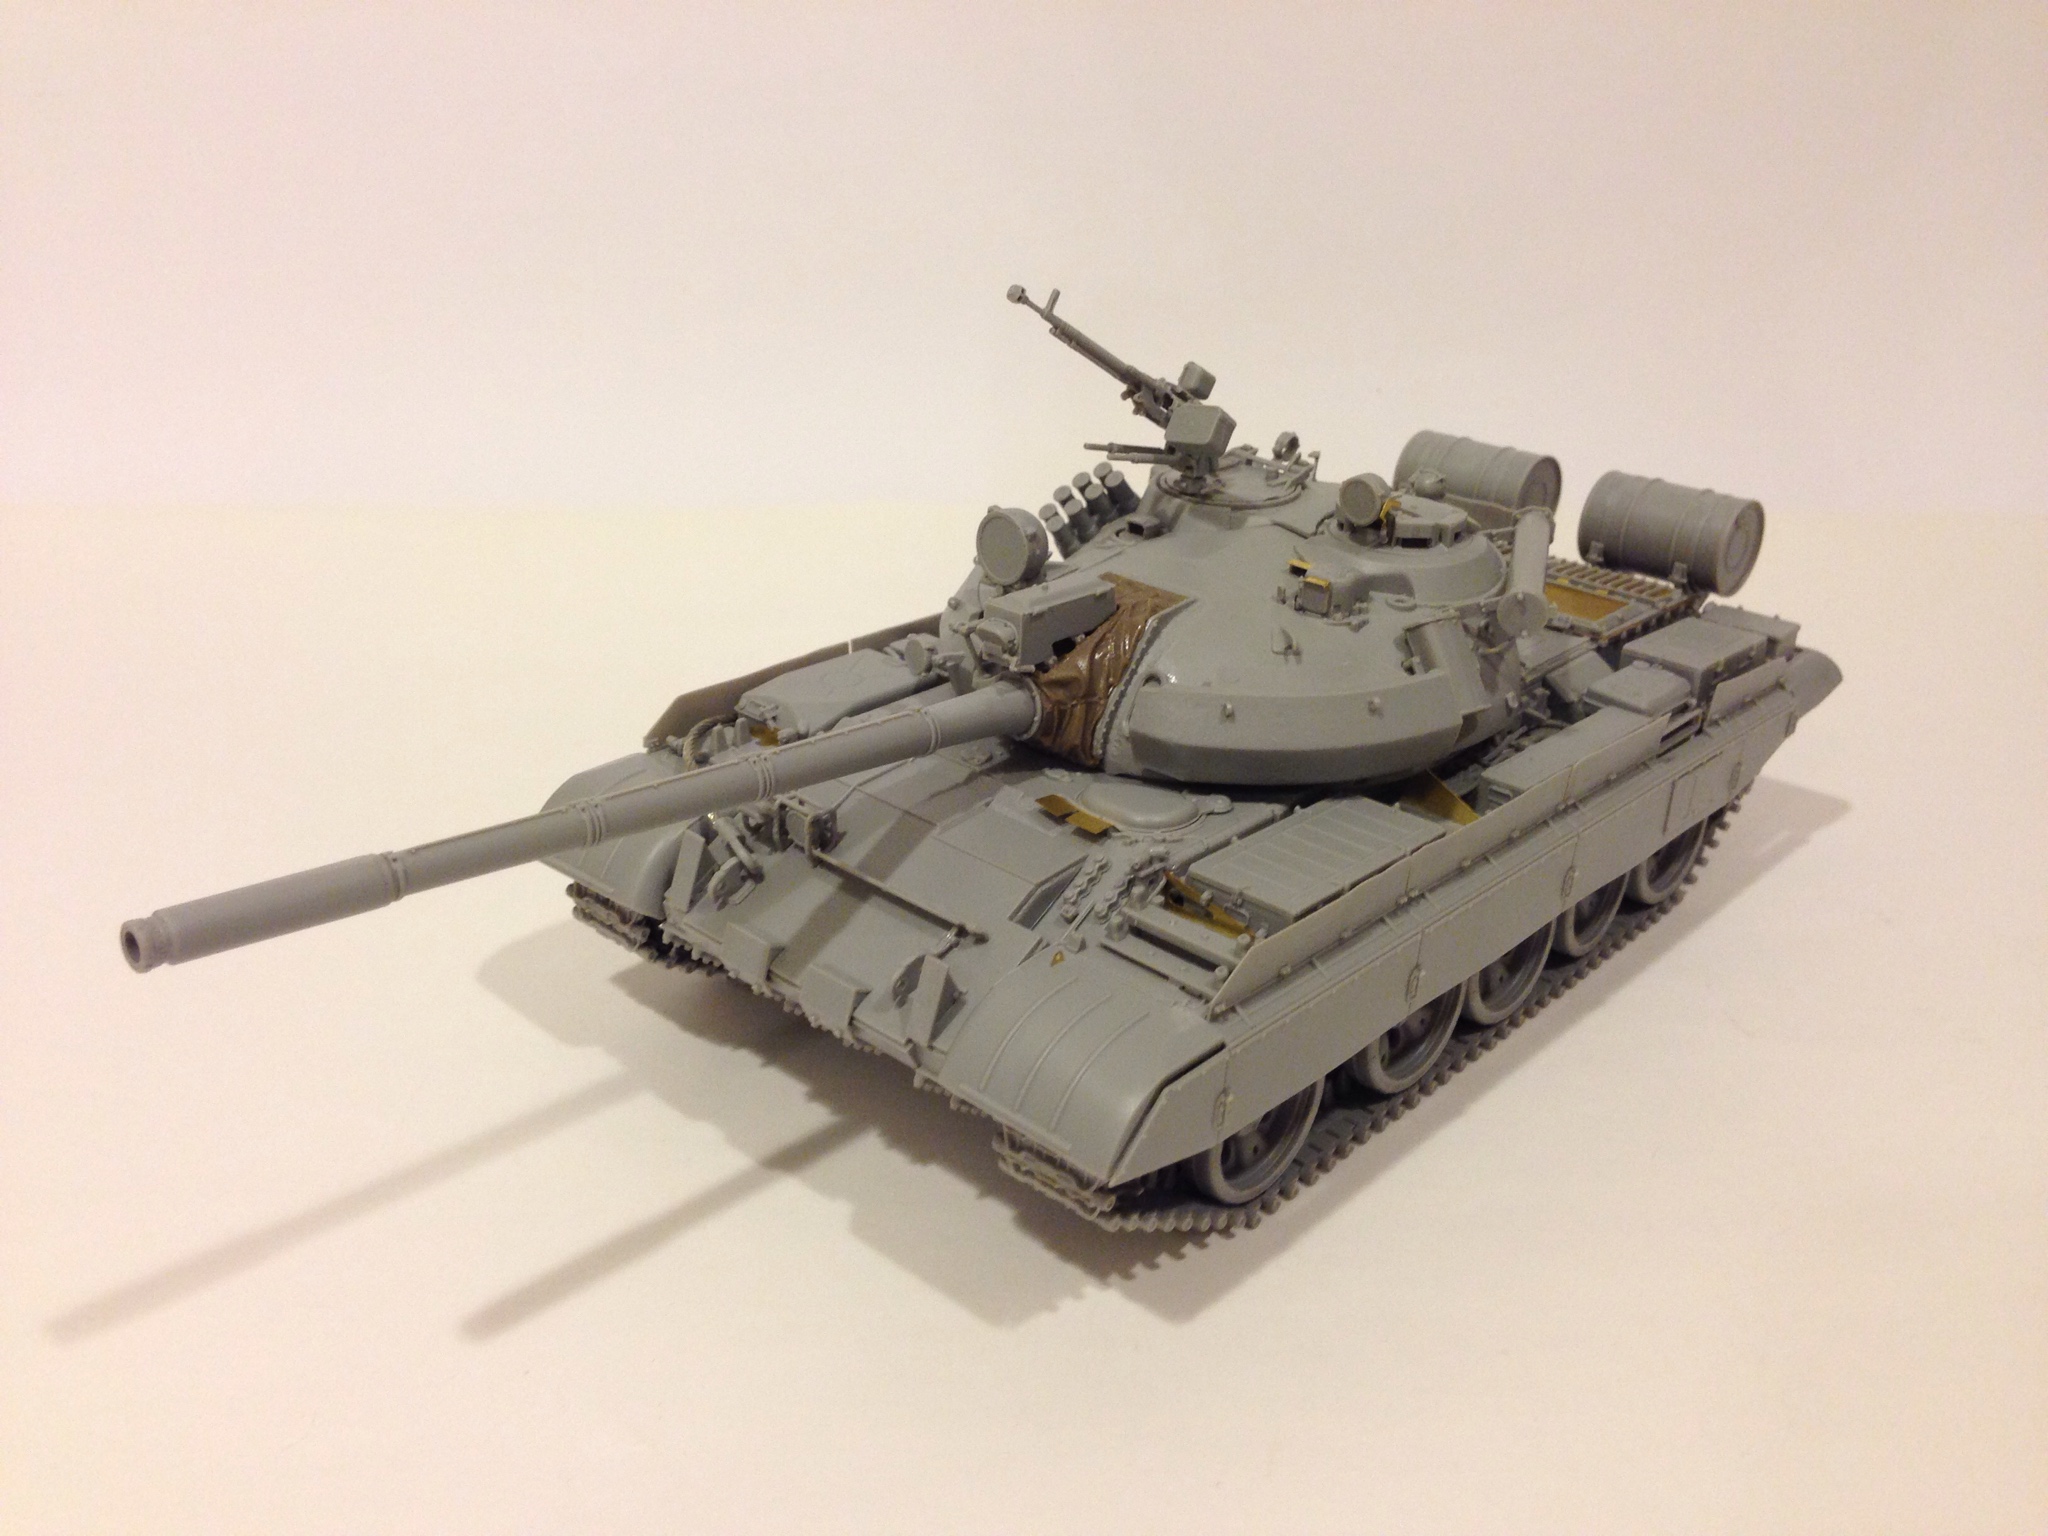
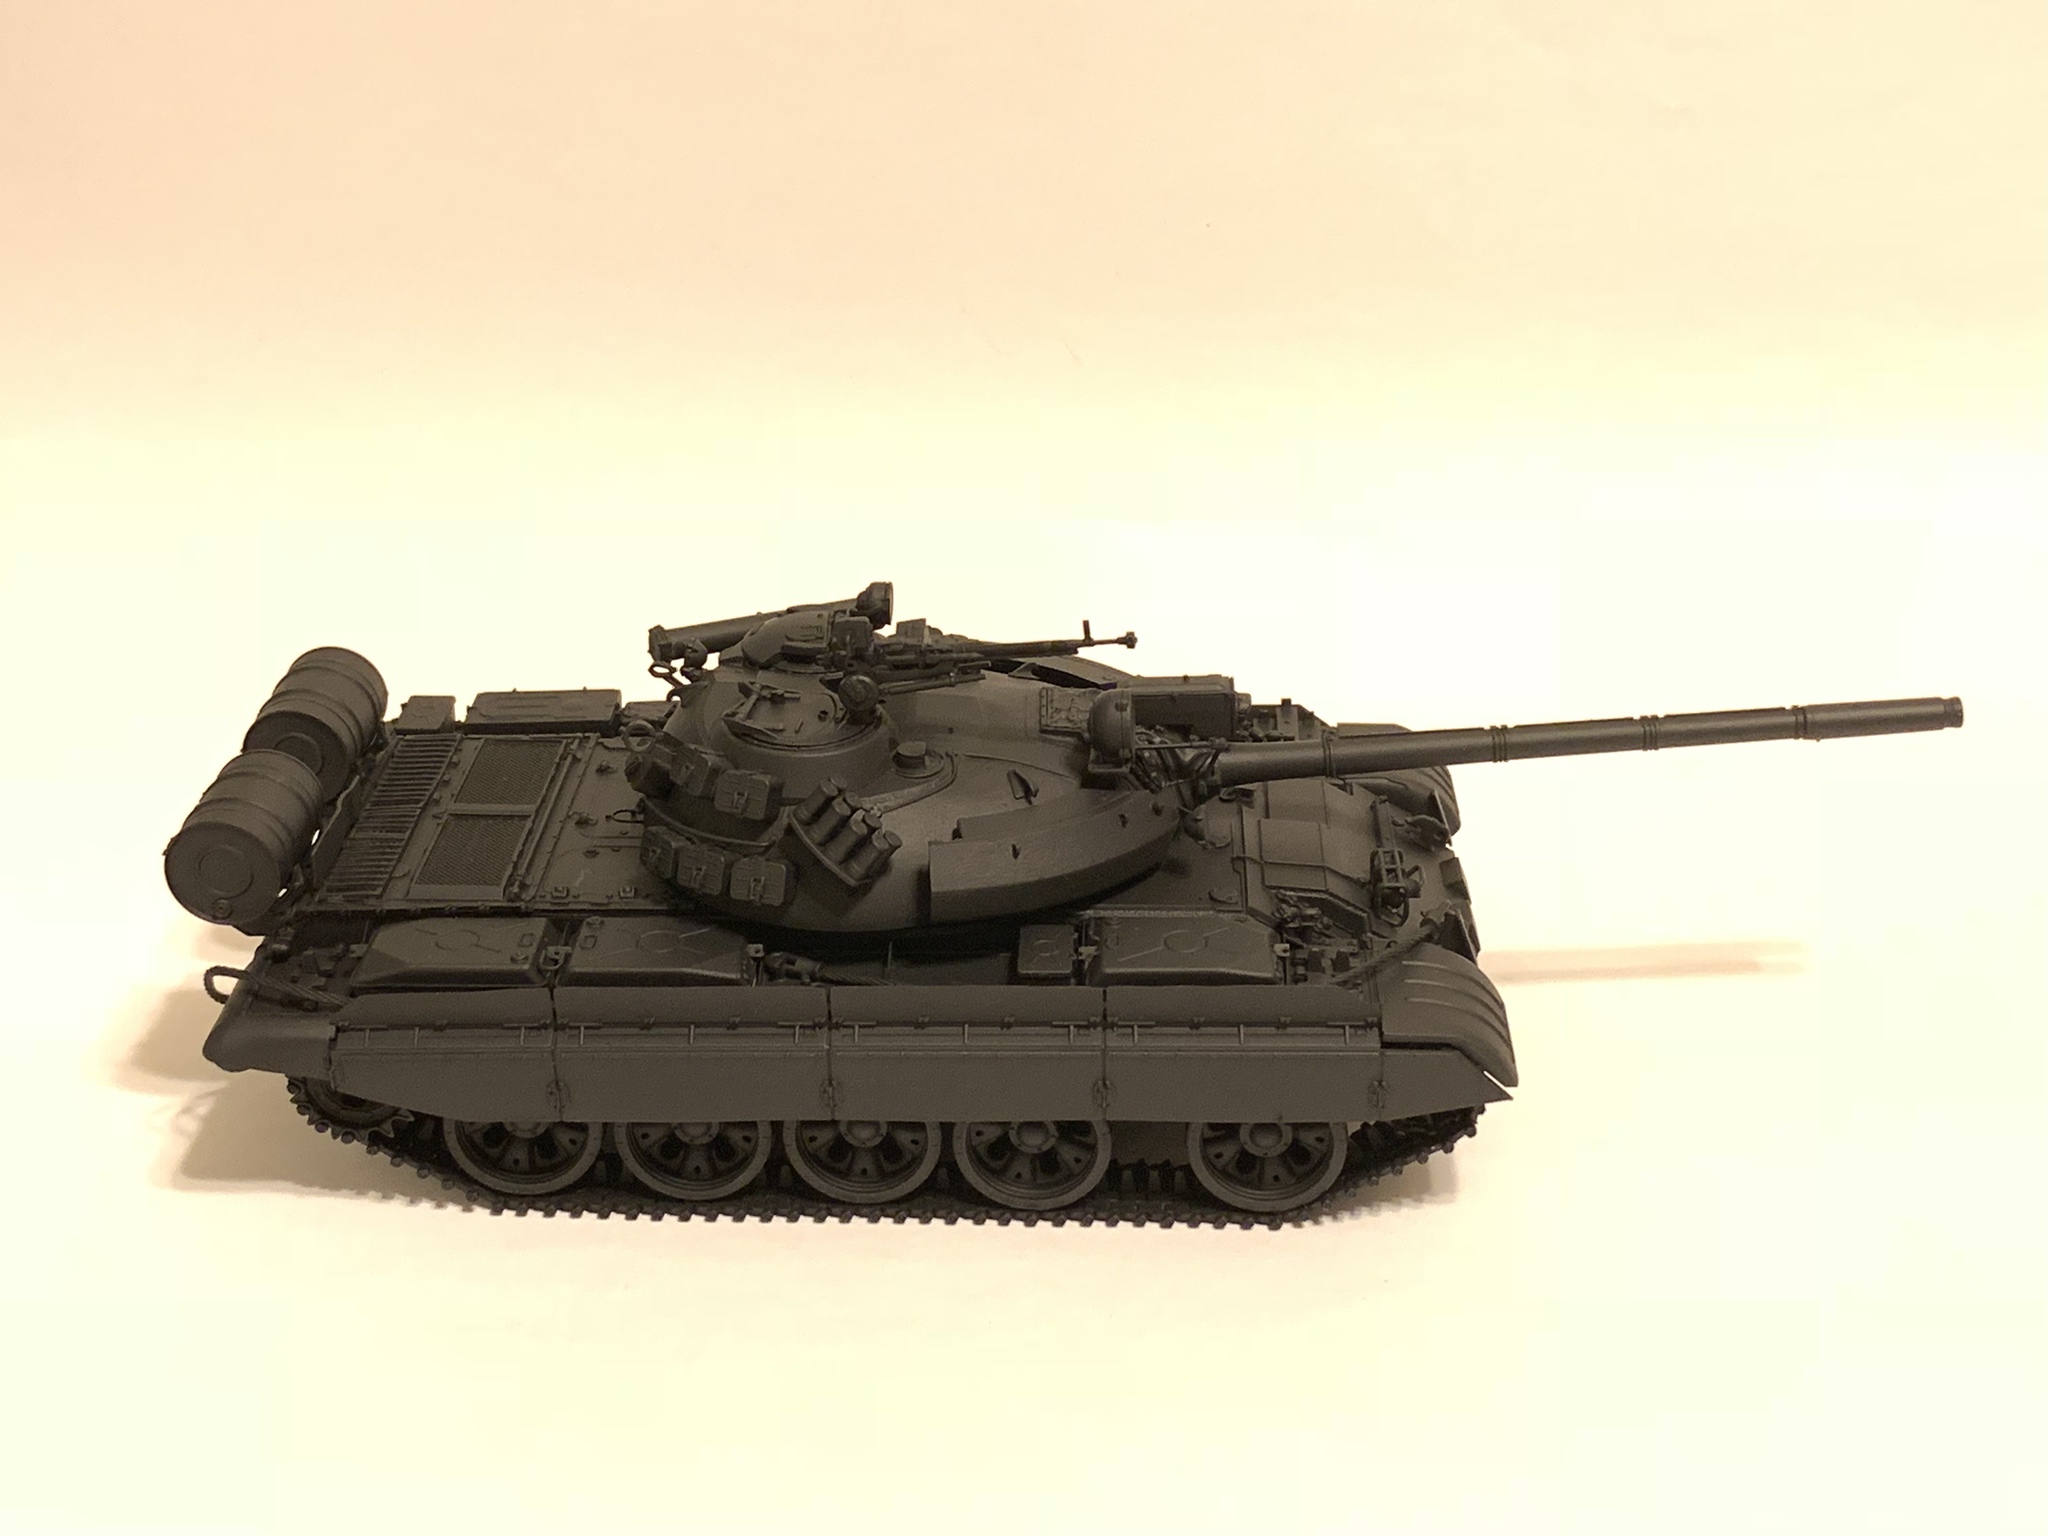
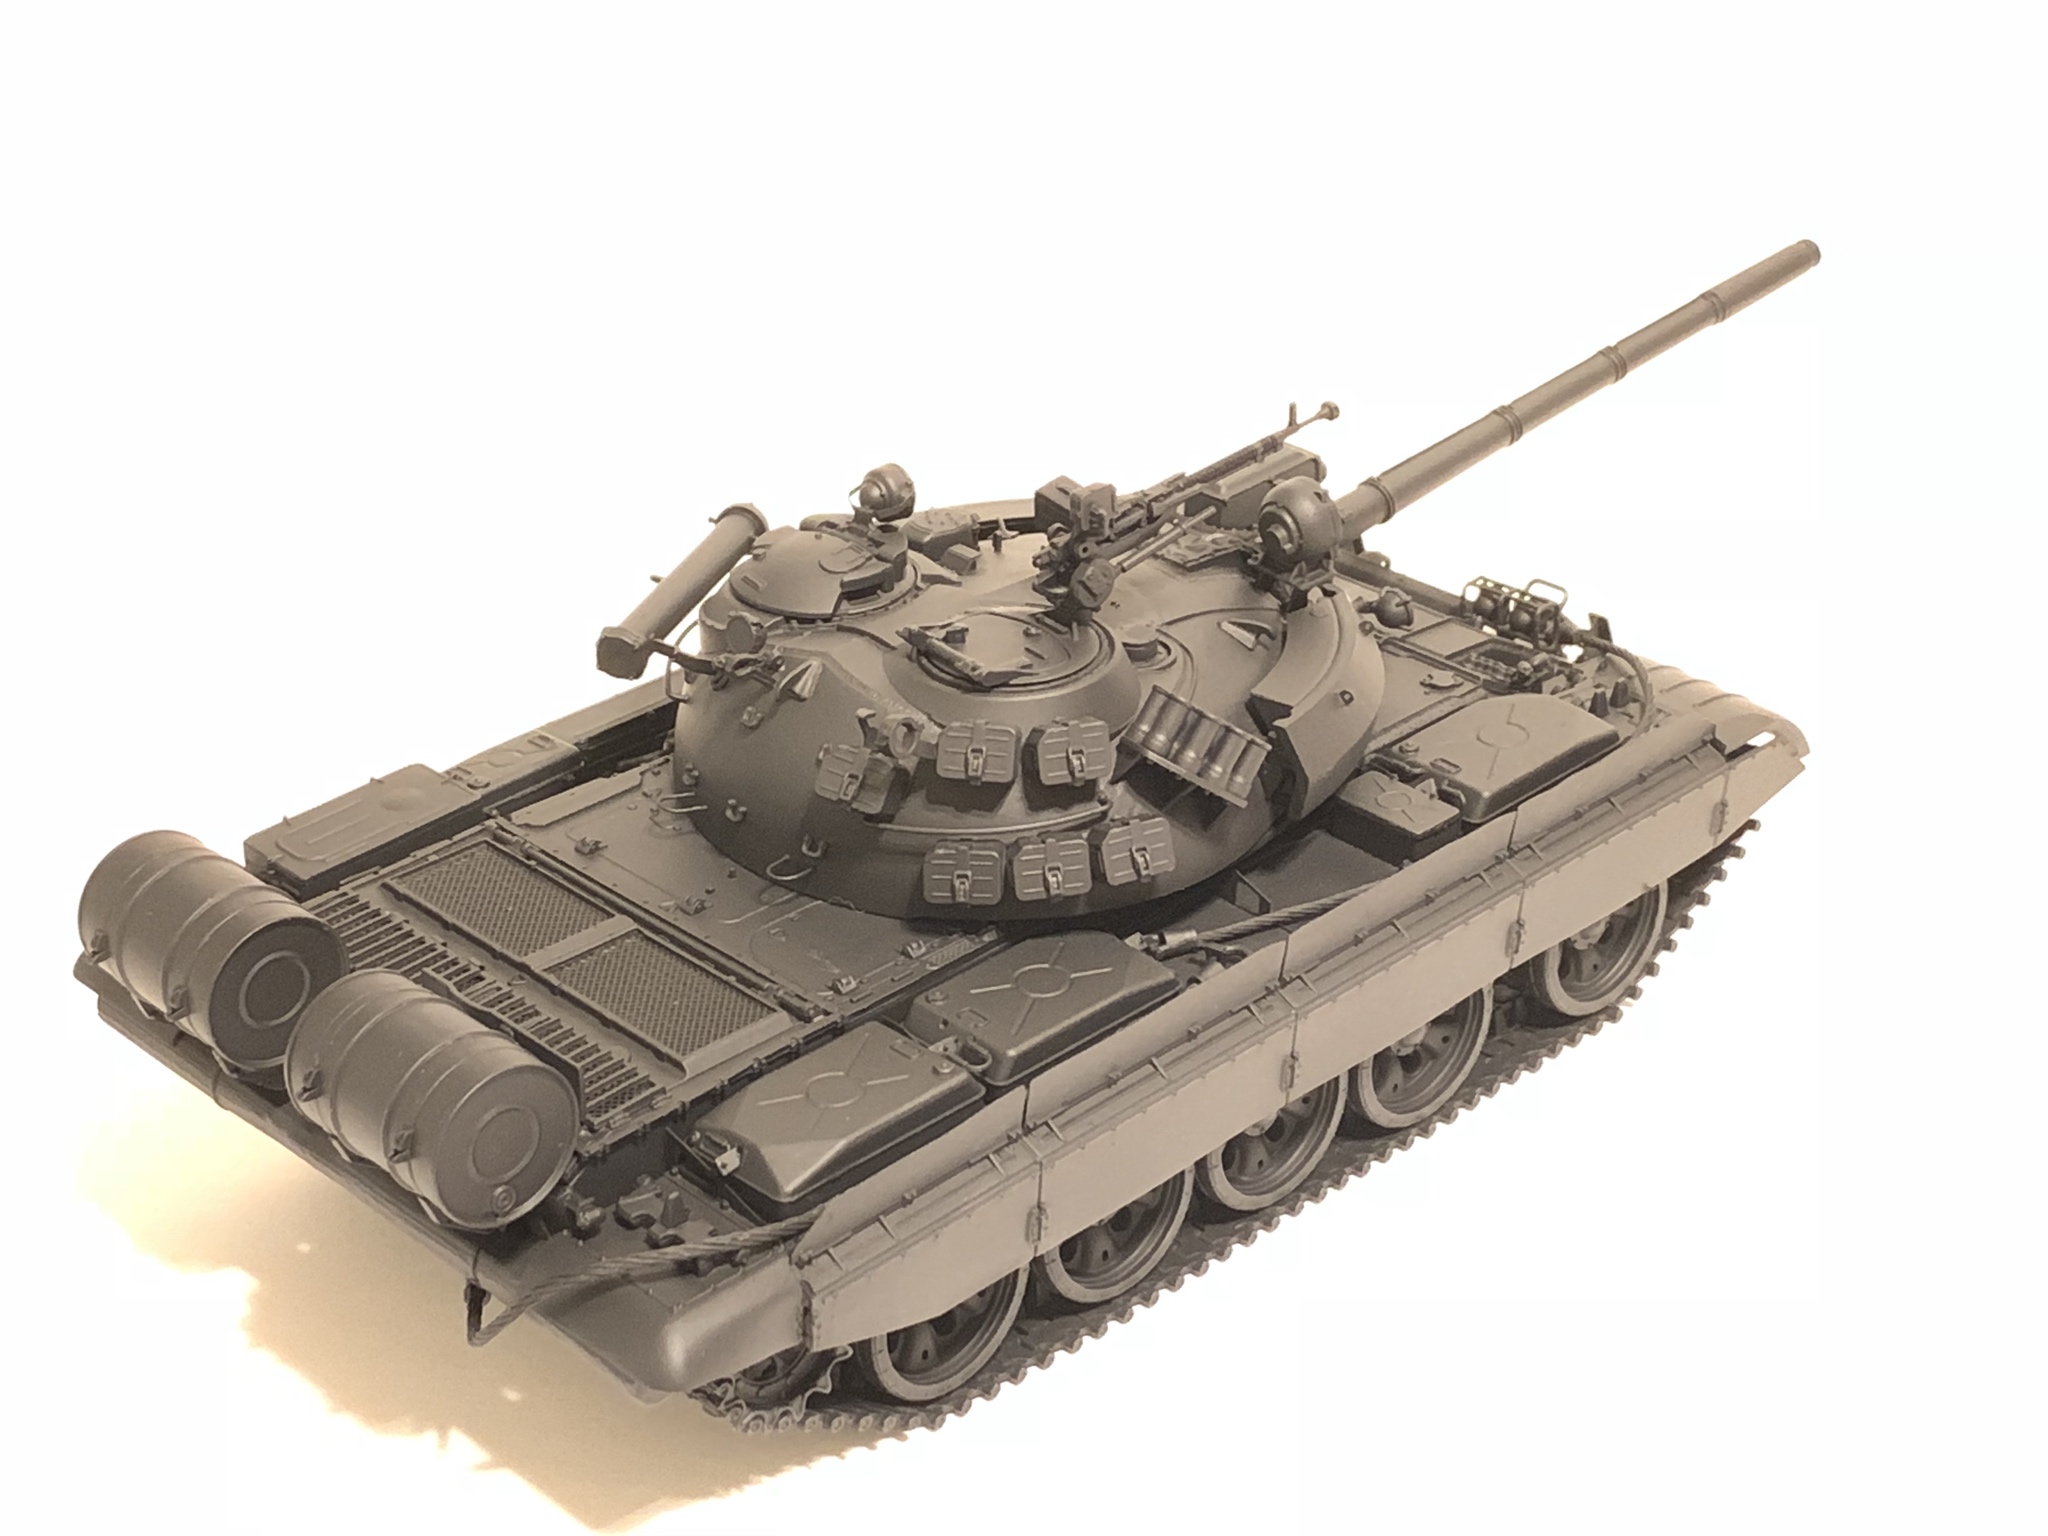
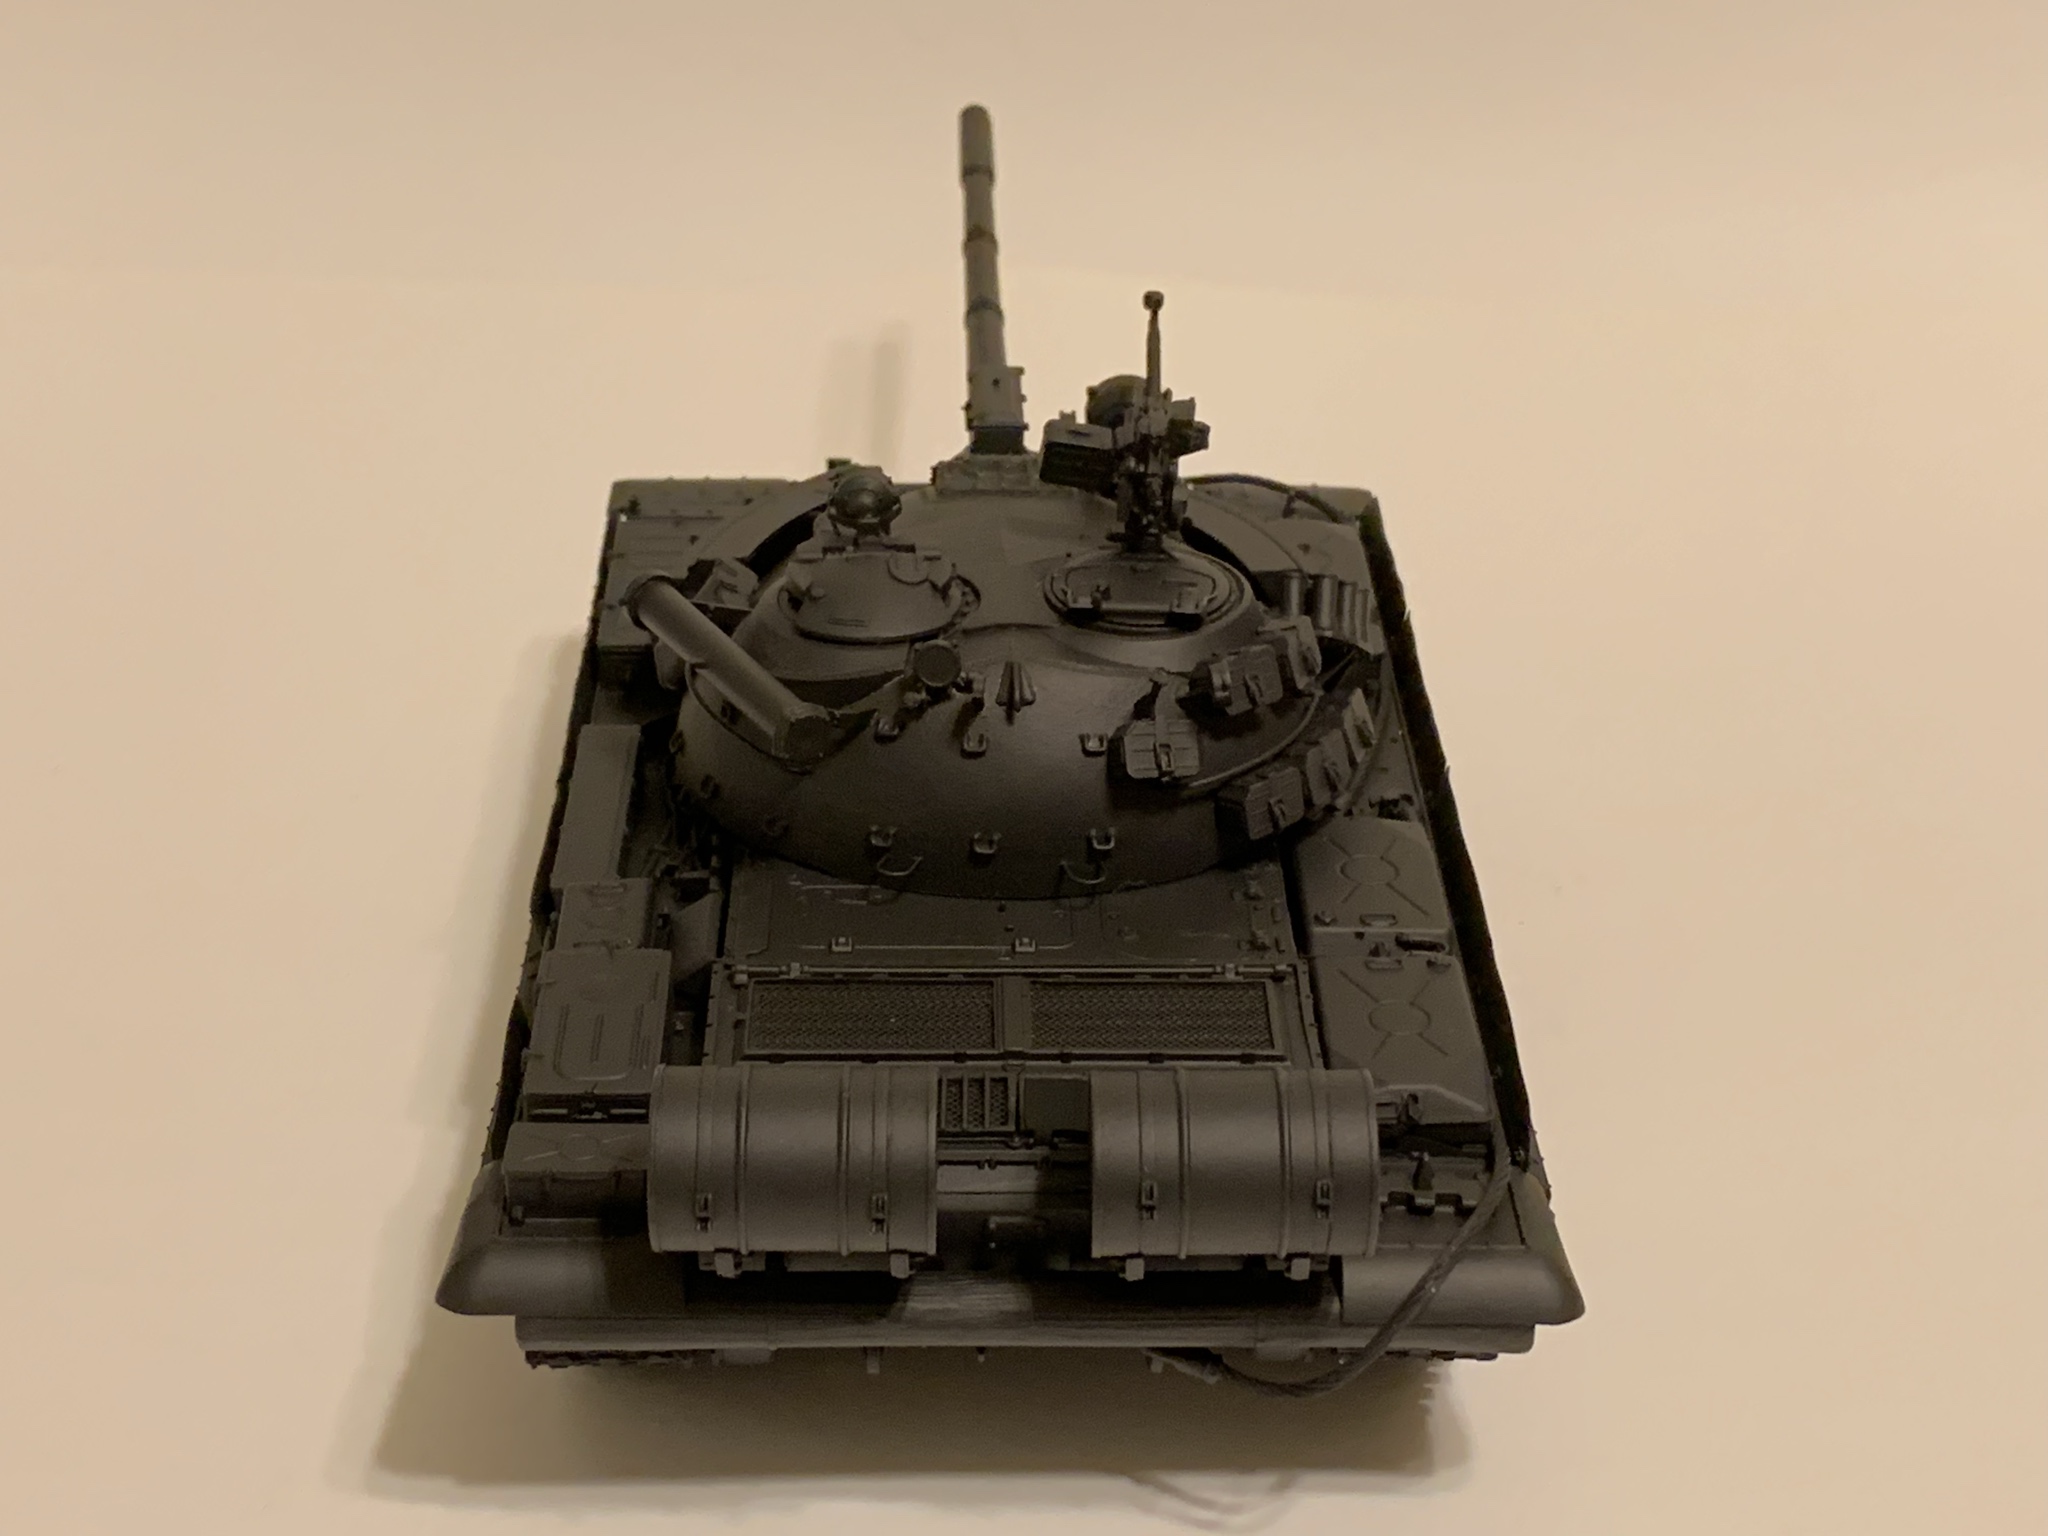
Will post the other two that I've completed.
-Joseph


Hats off to you Sir!
Nice looking 55s!
Dan
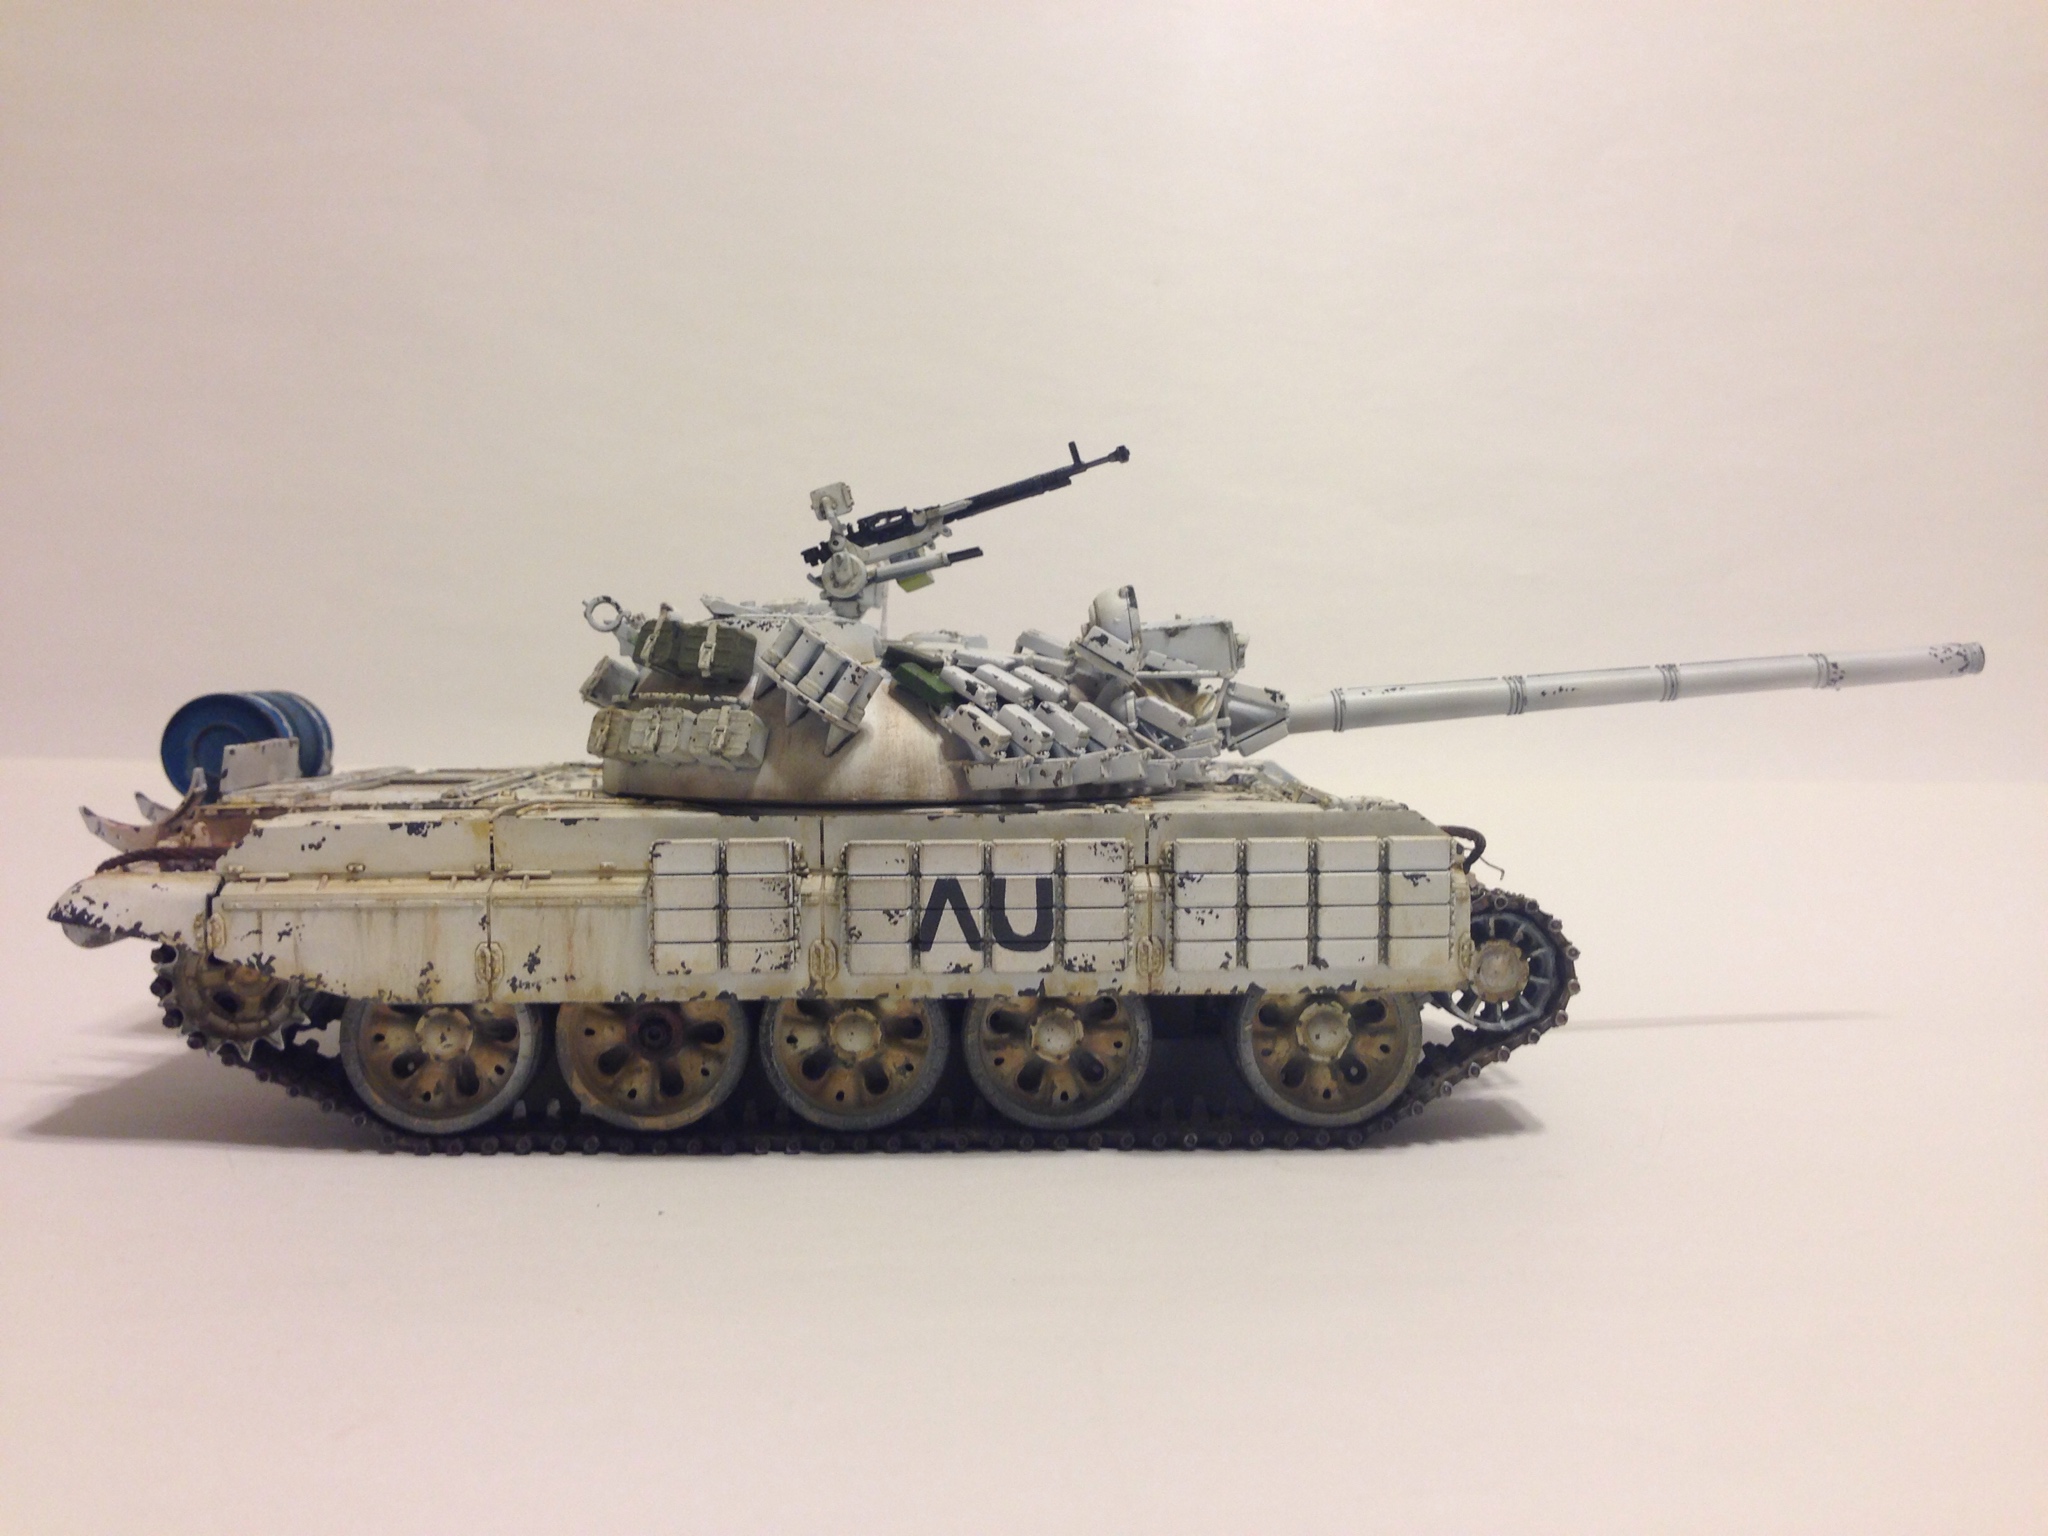
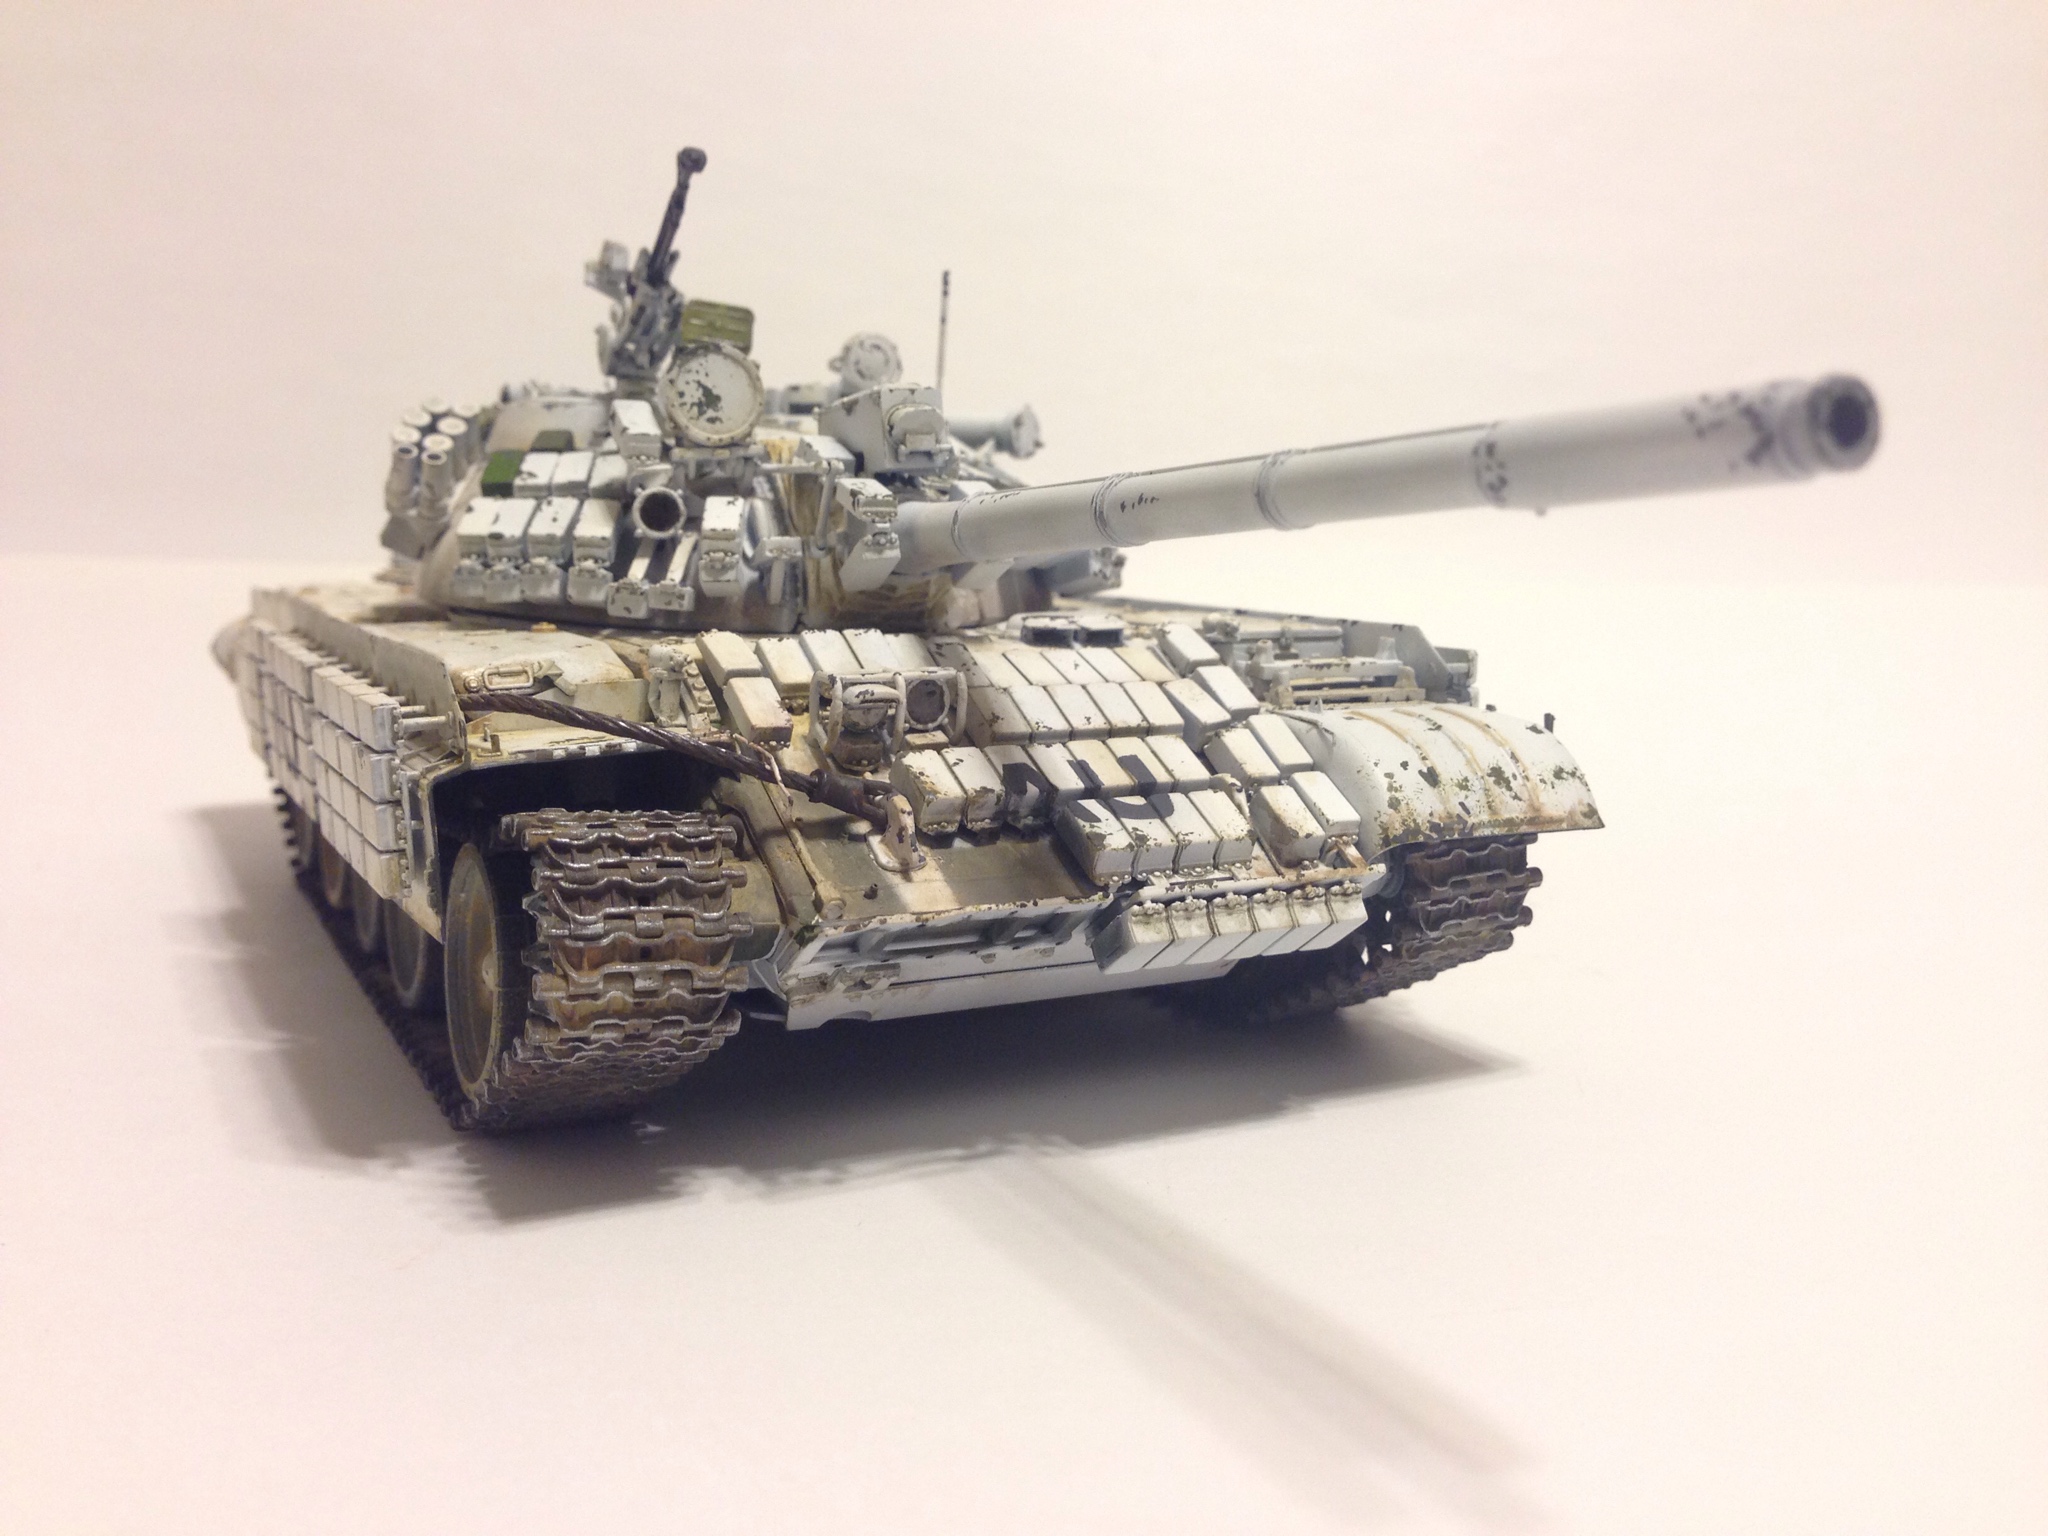
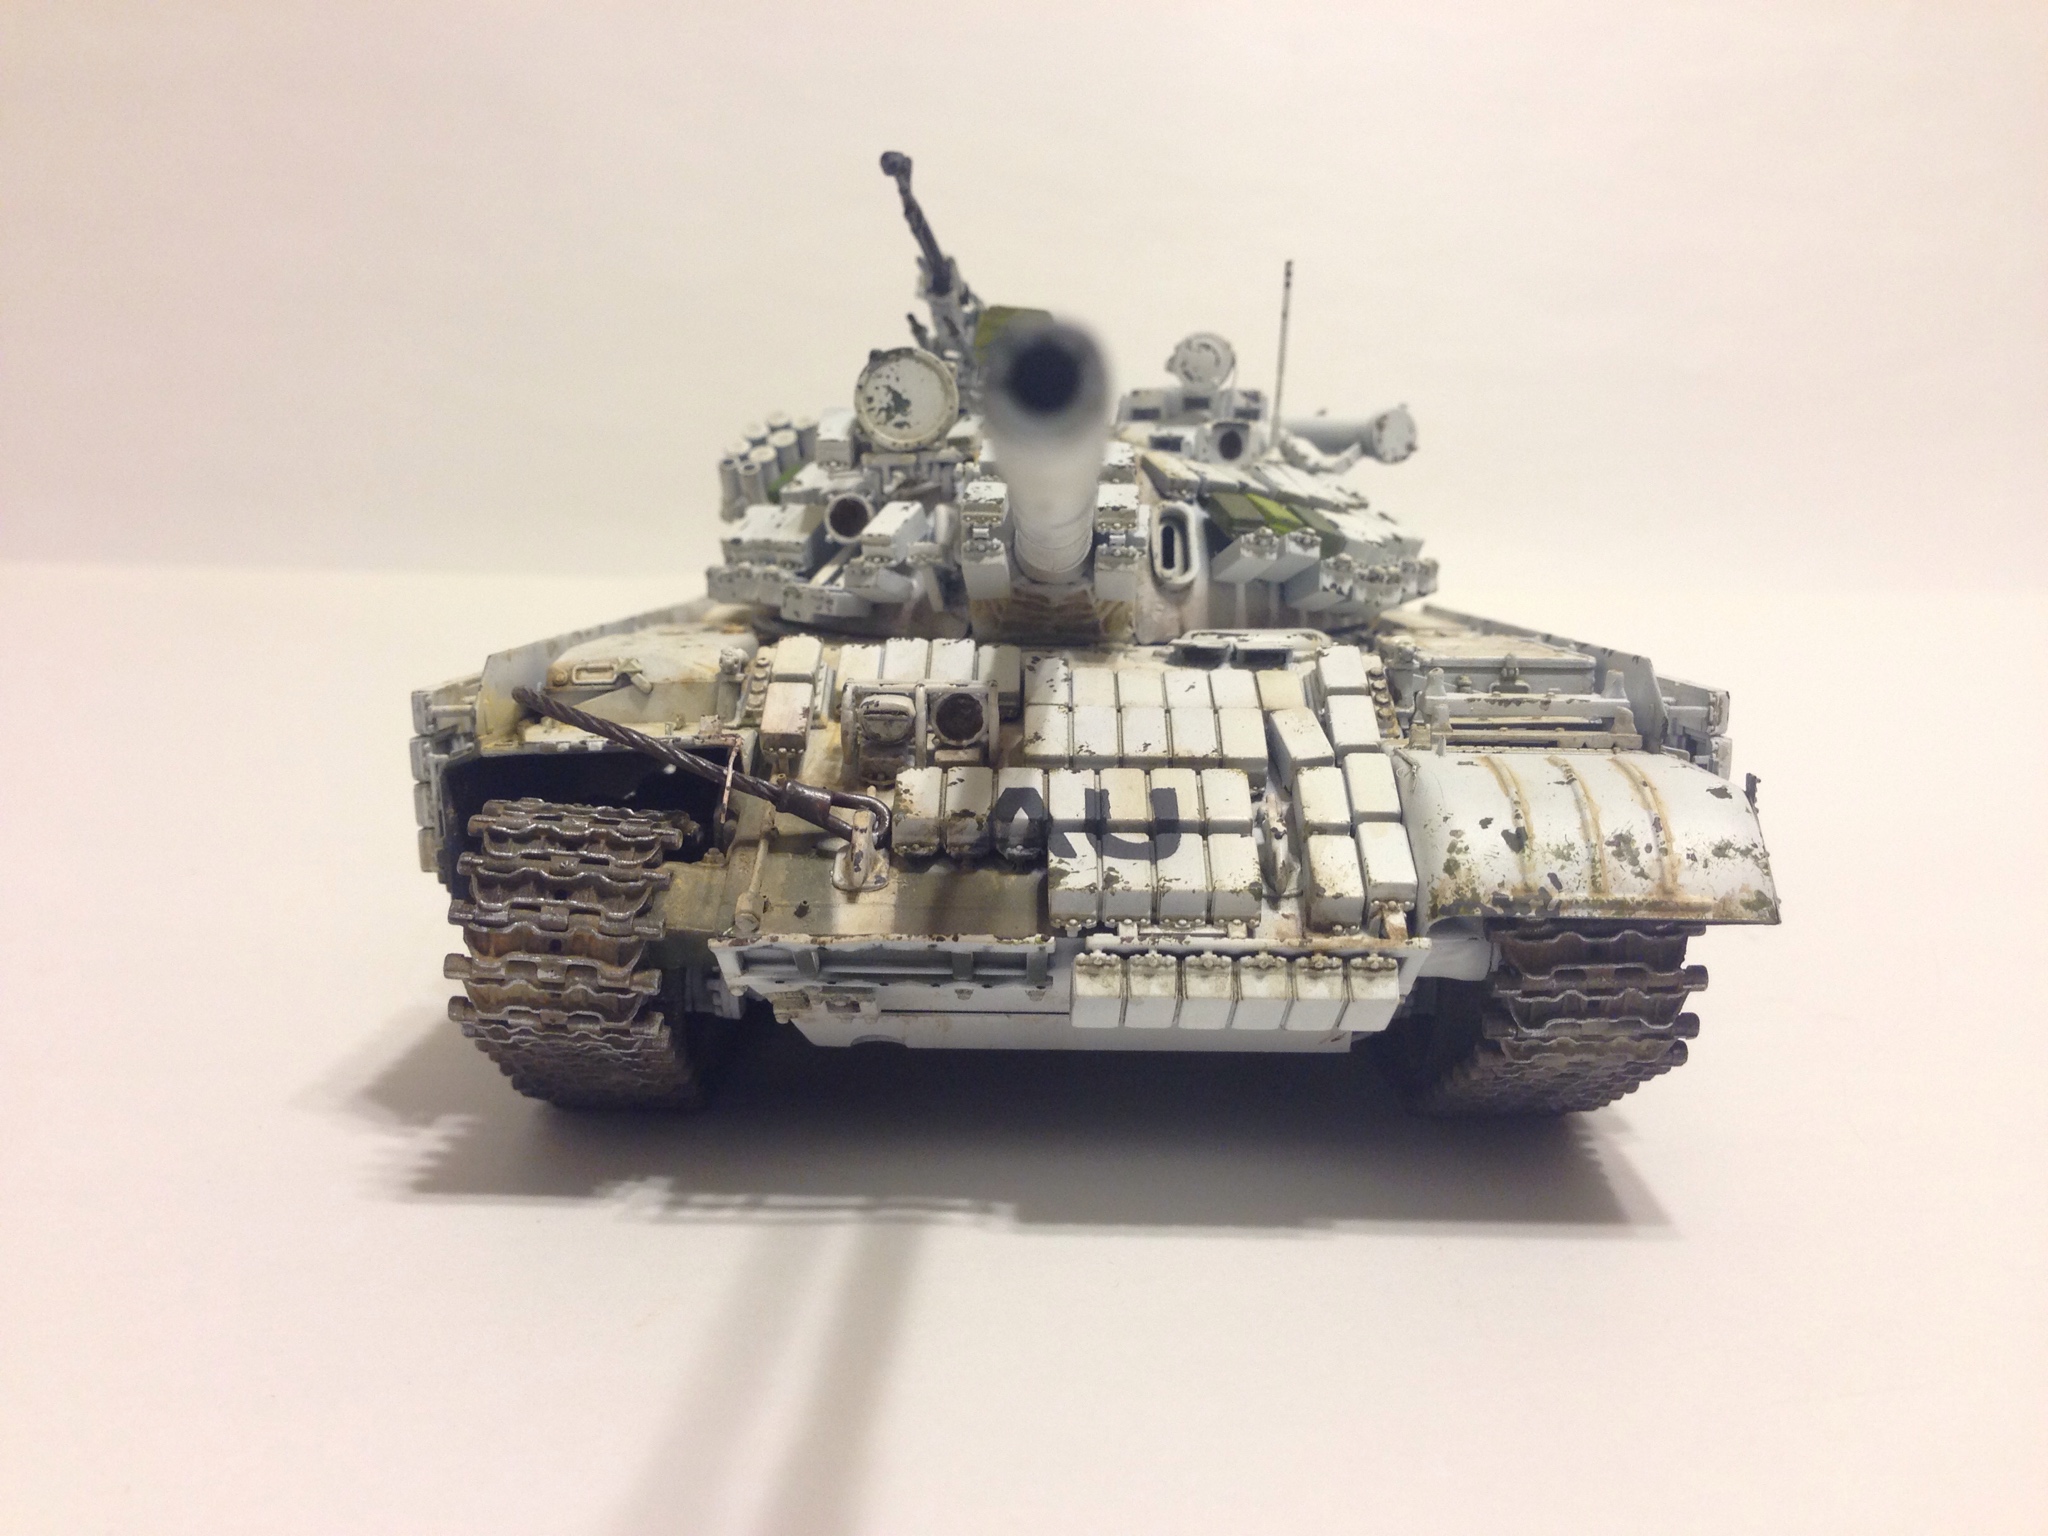
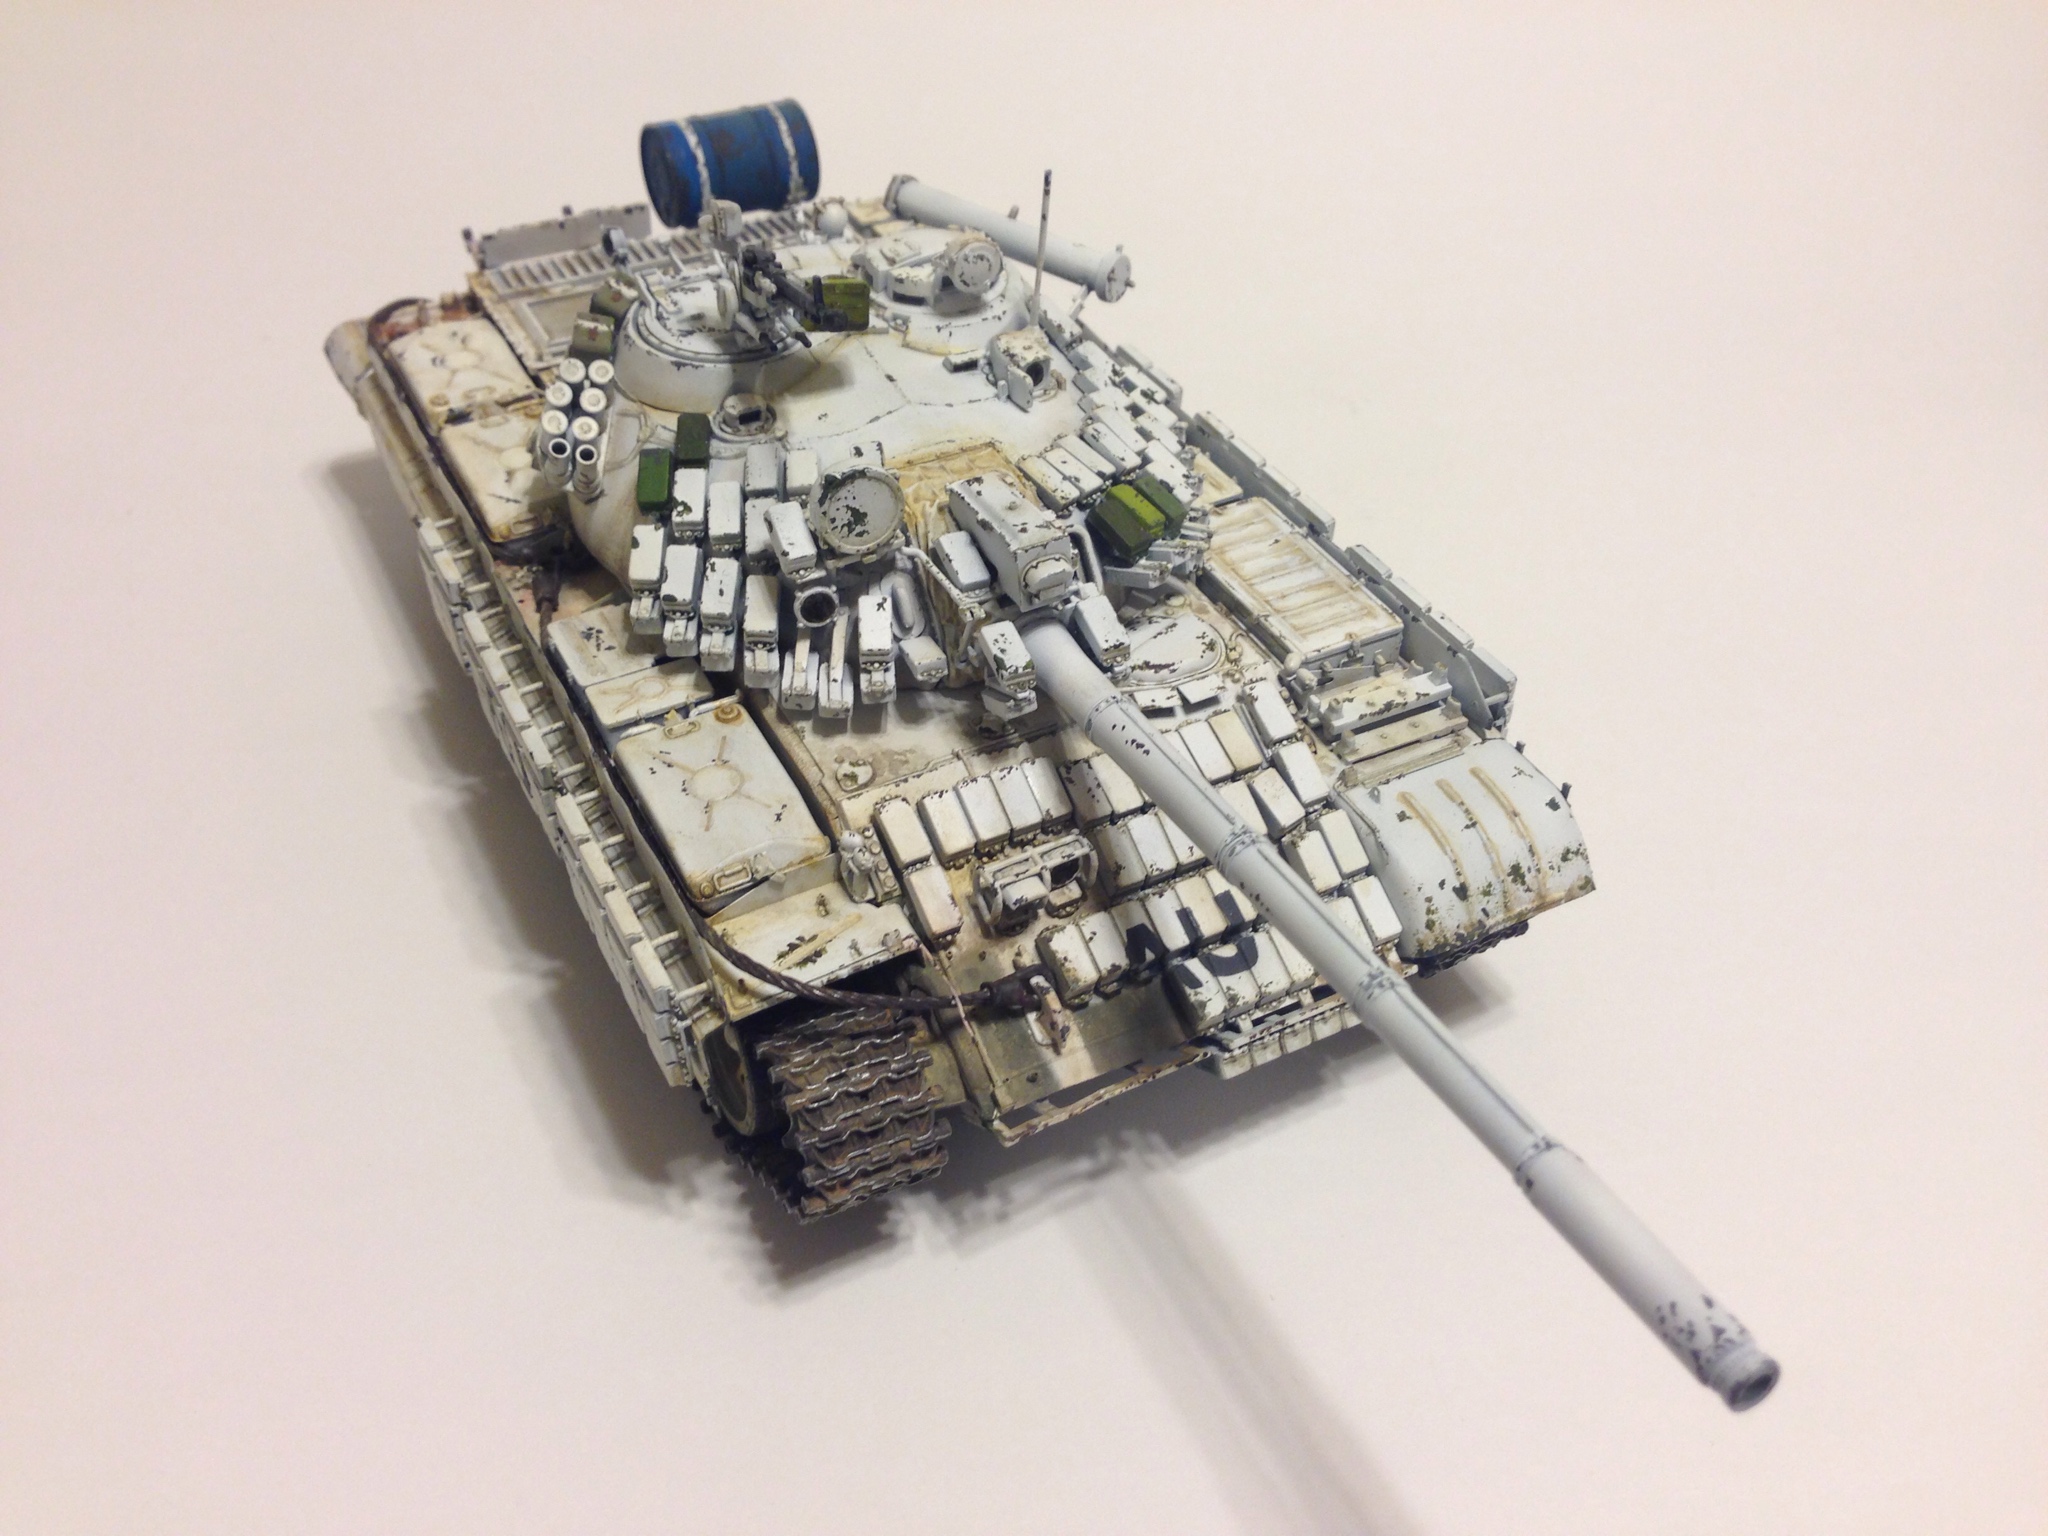
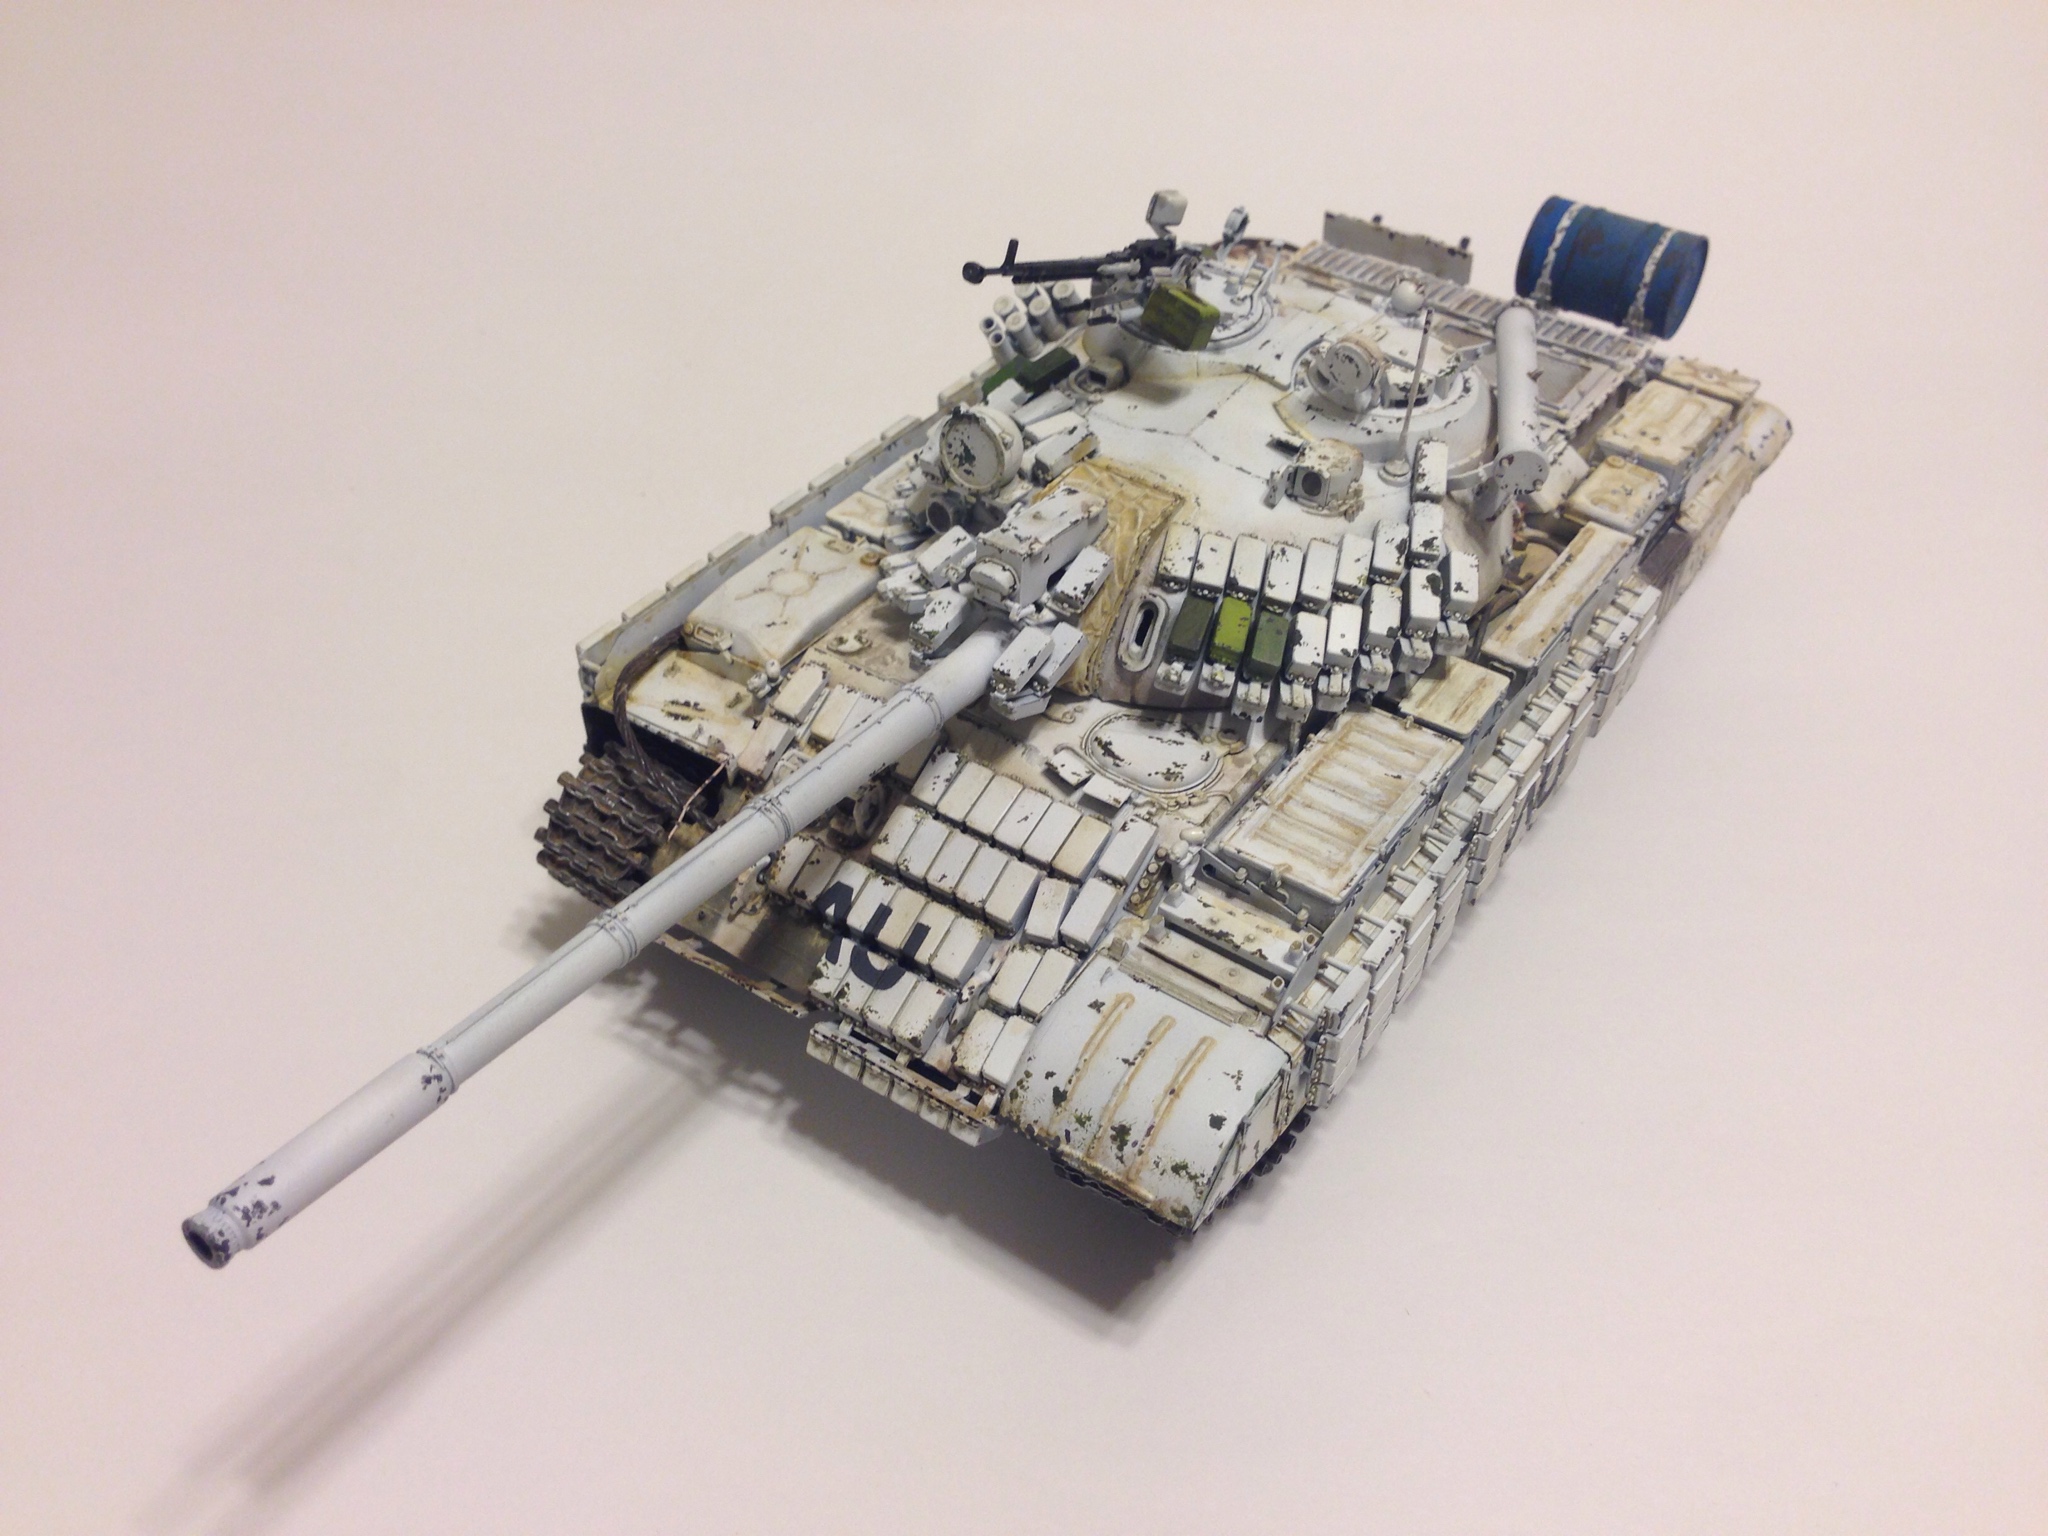
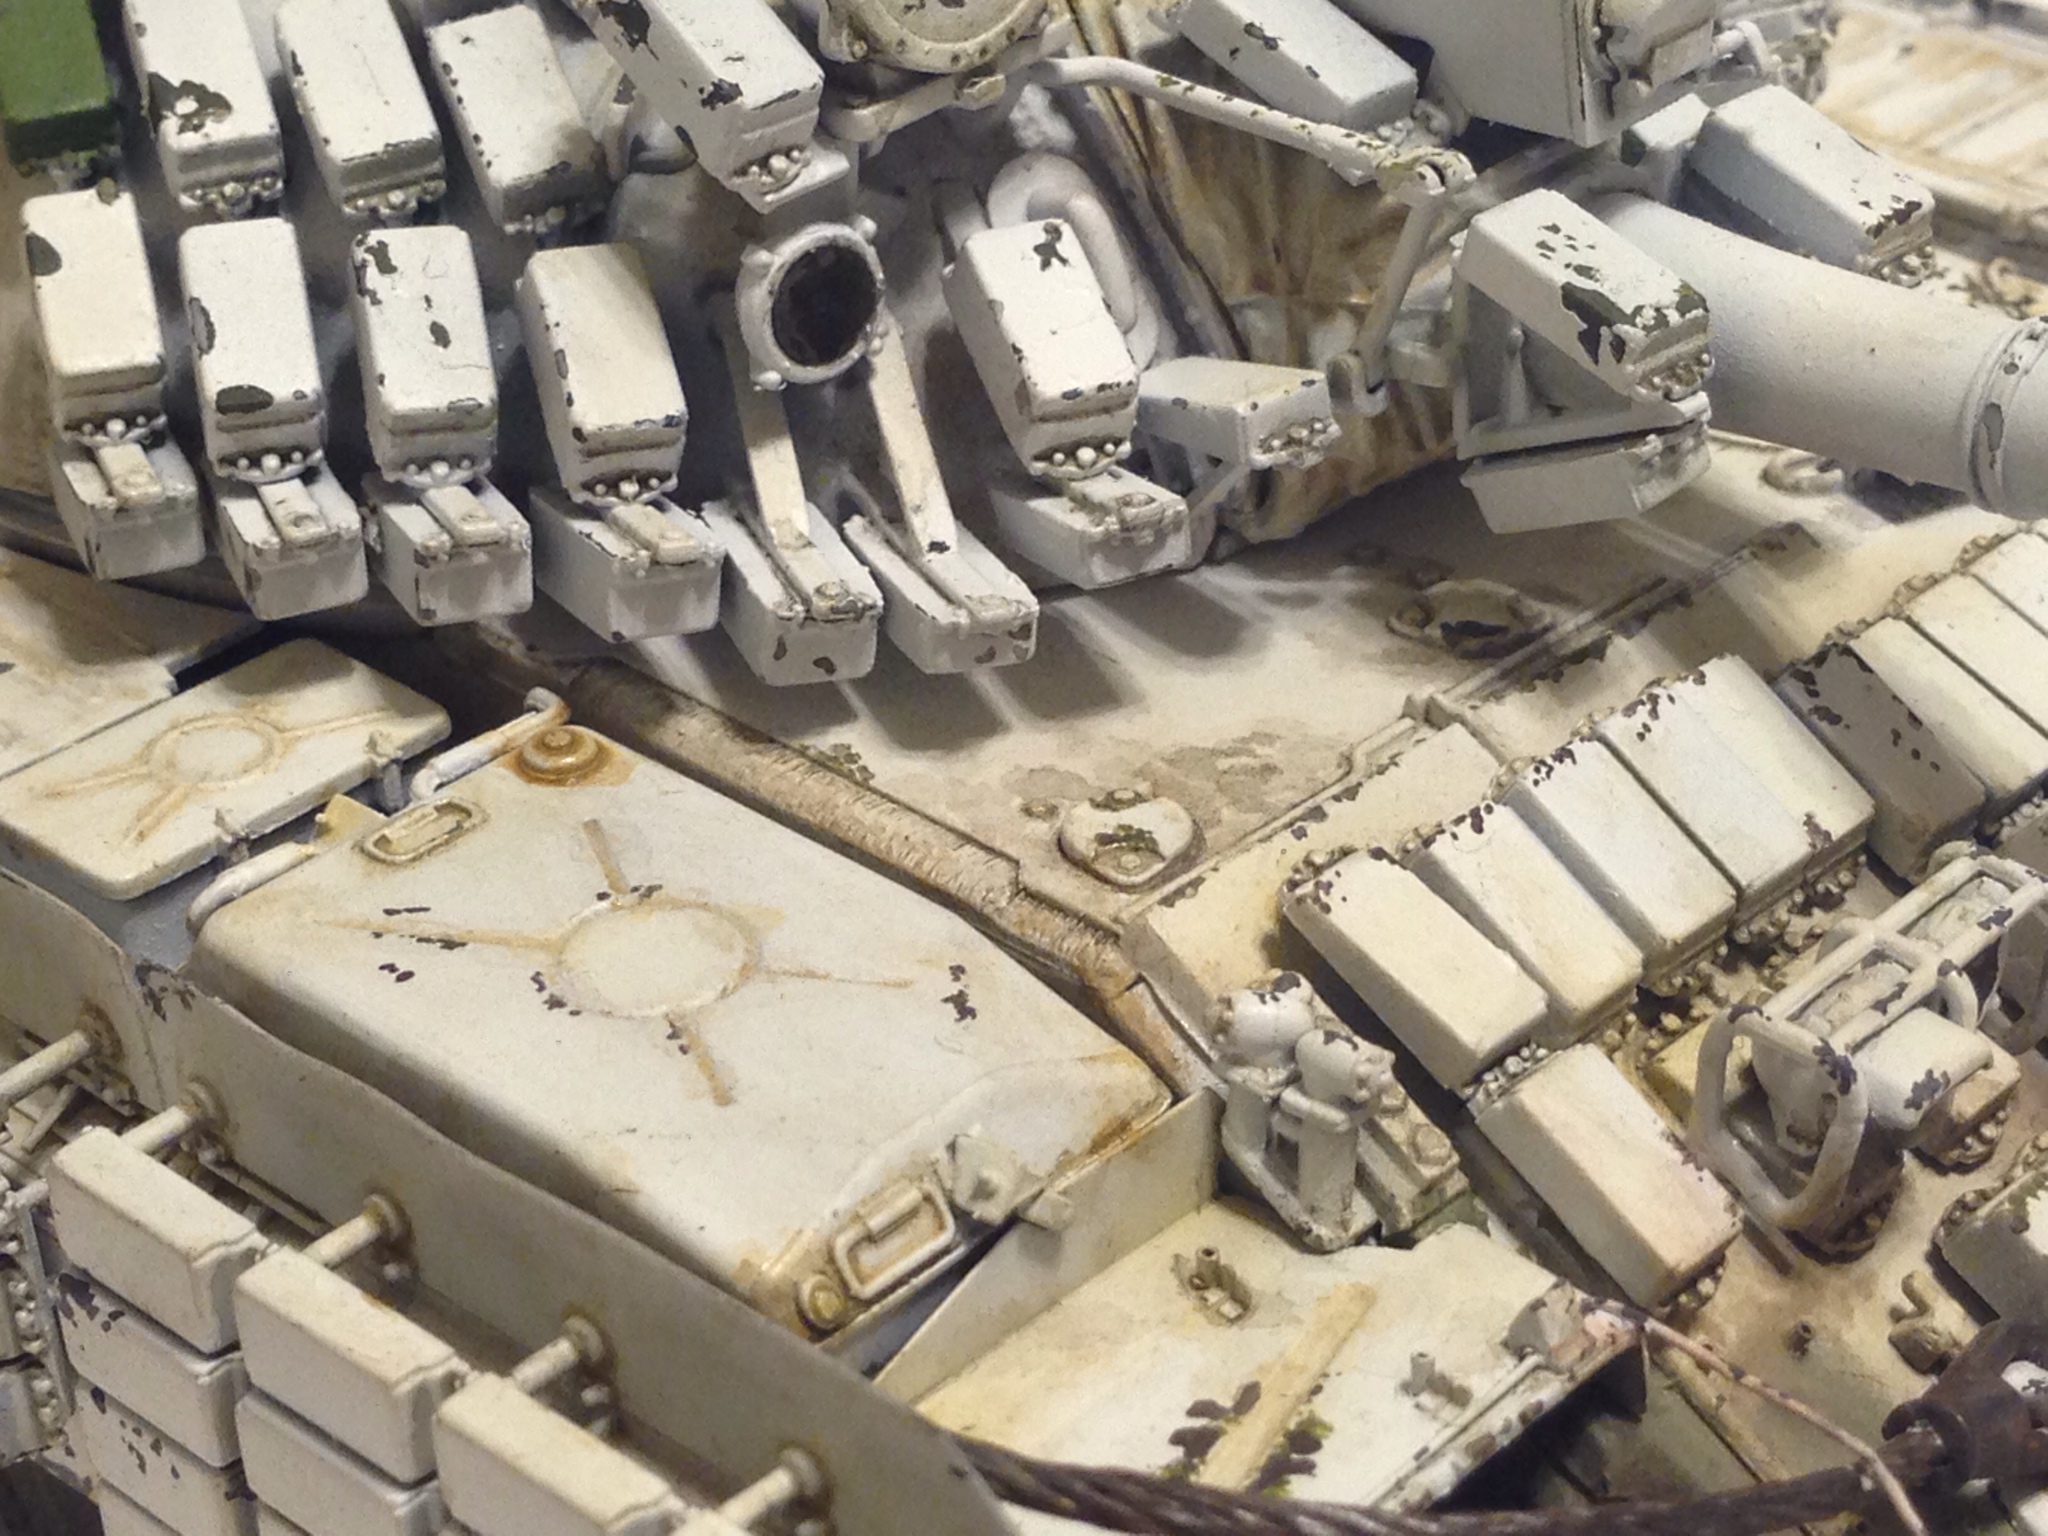
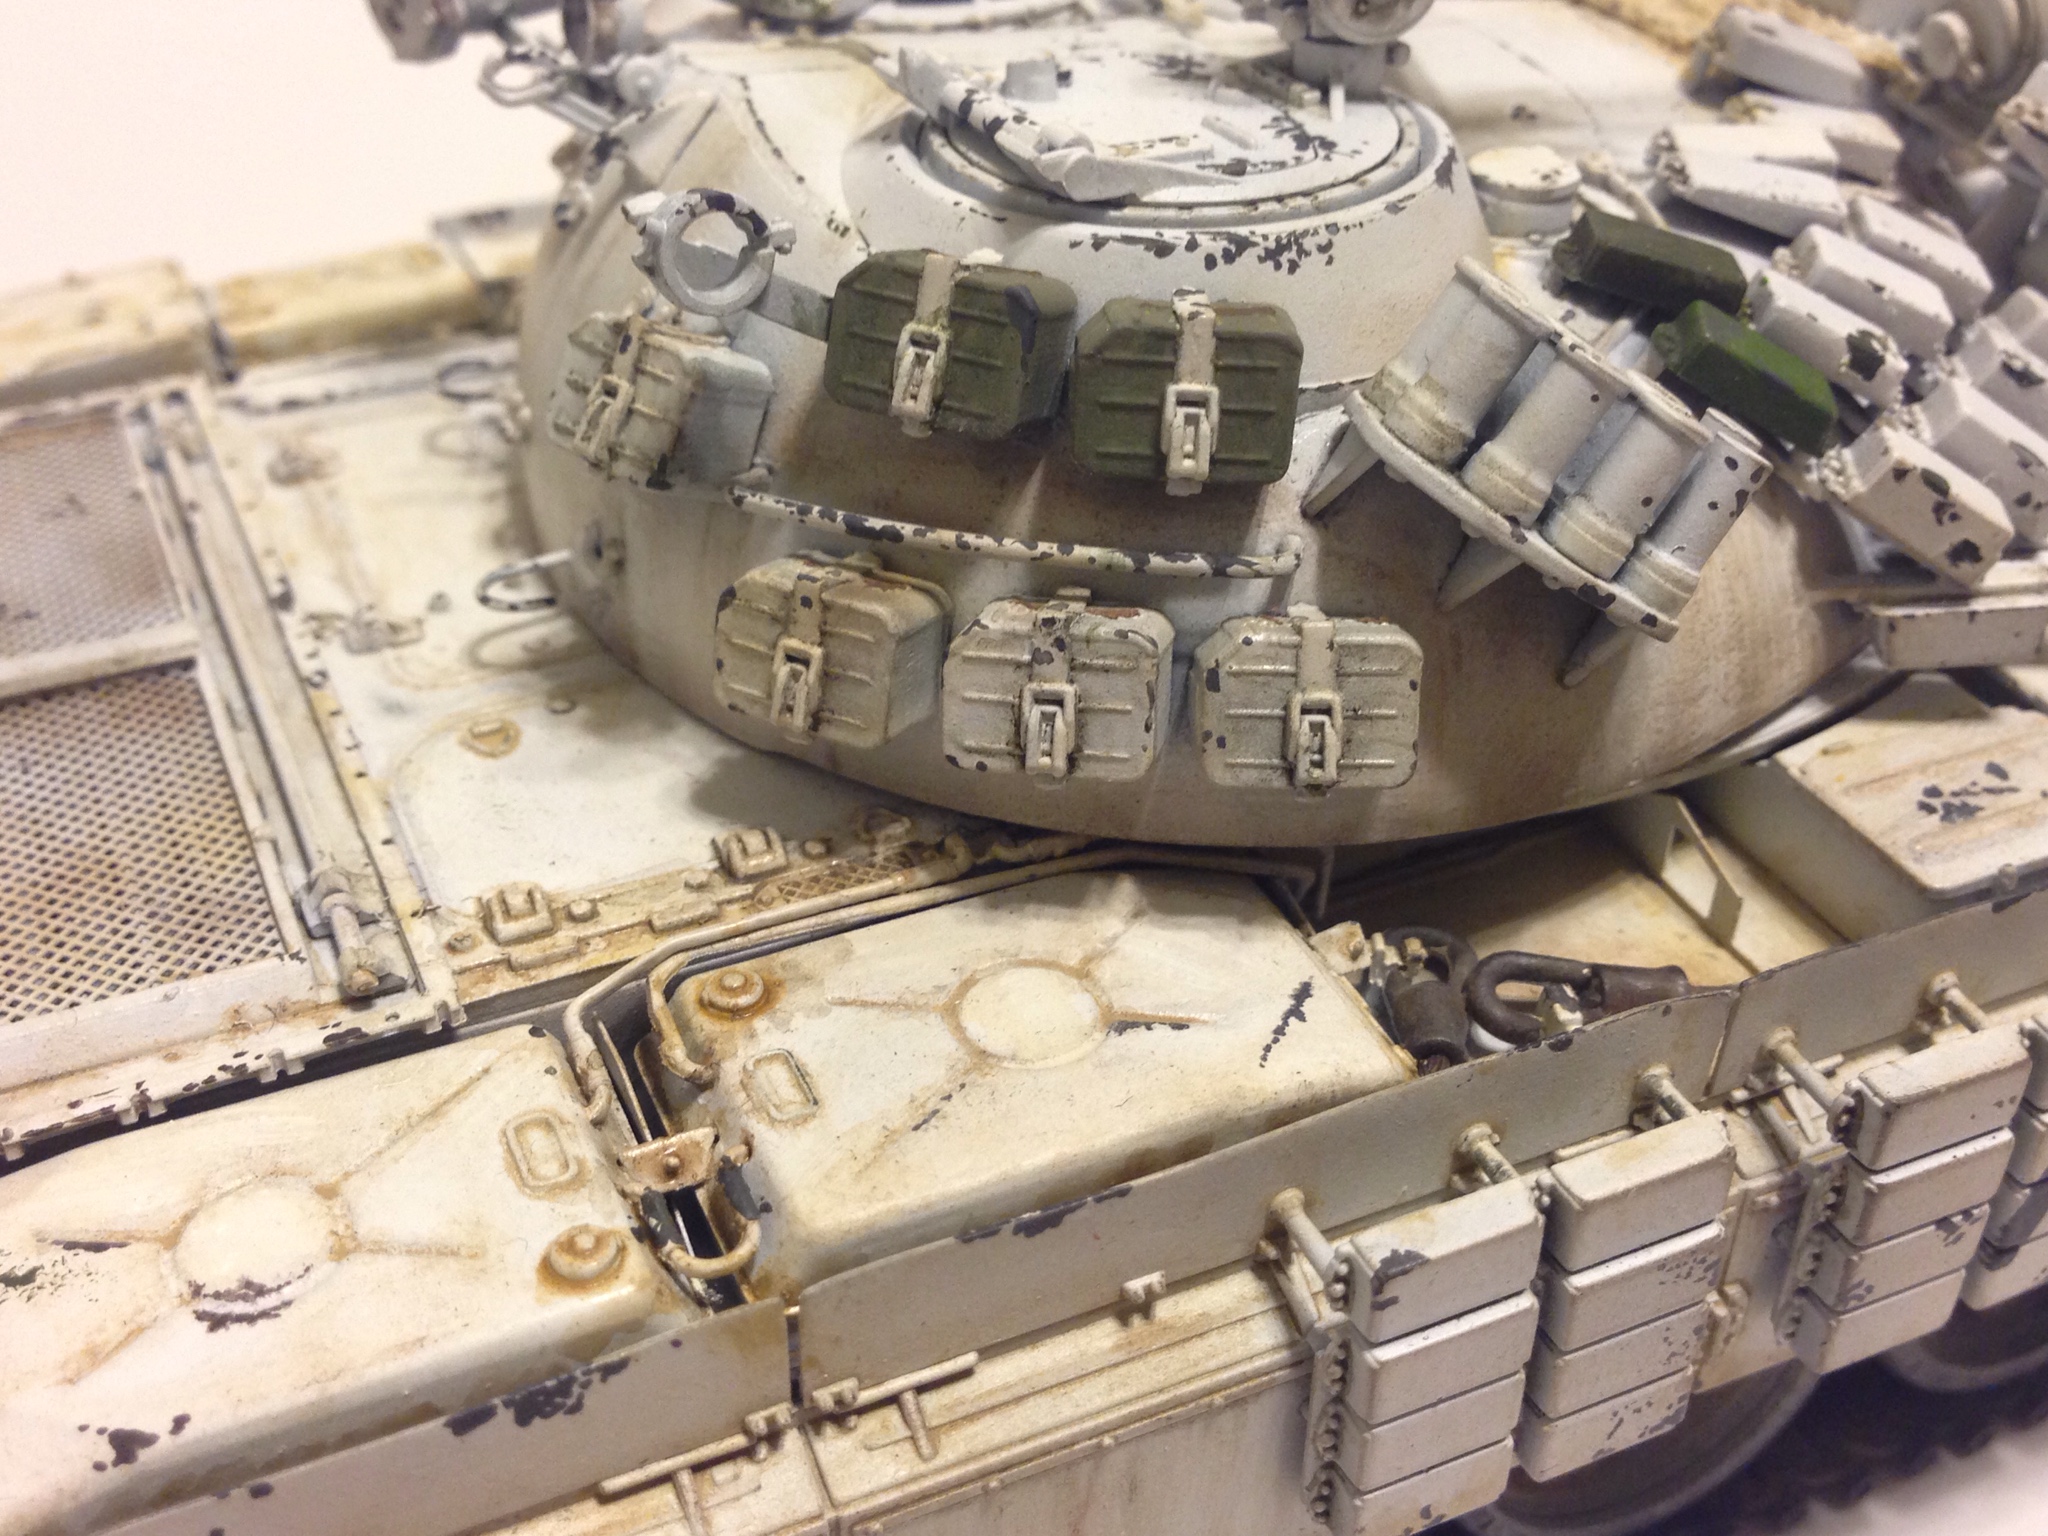

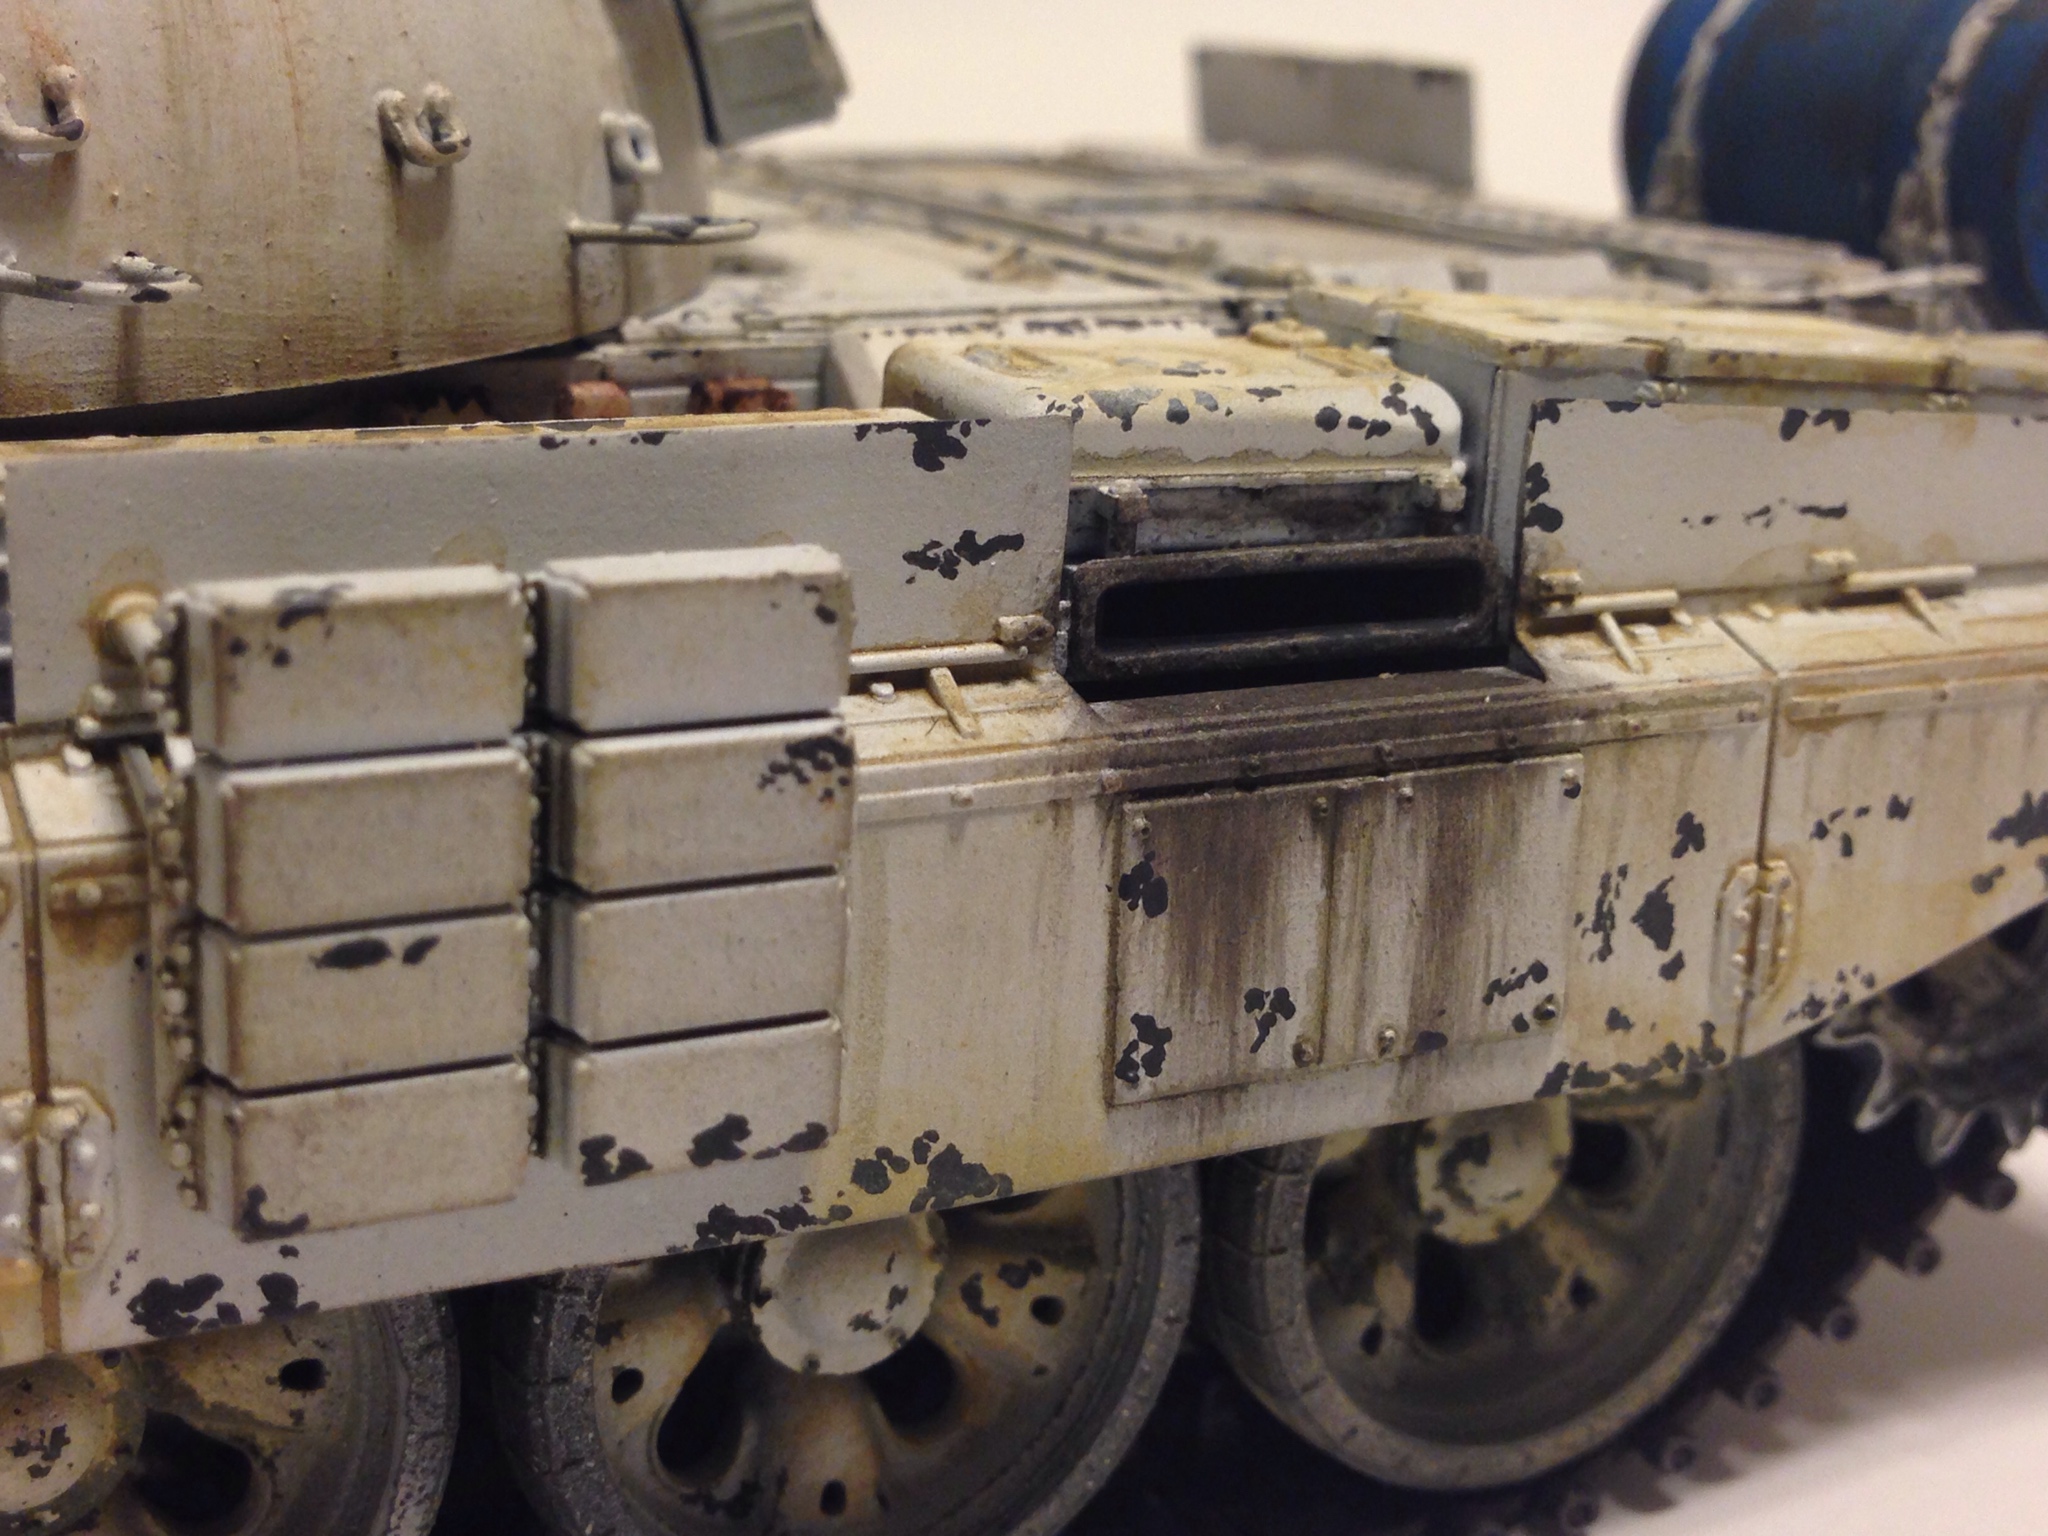


Very nice. The super detailing and realism in paint.


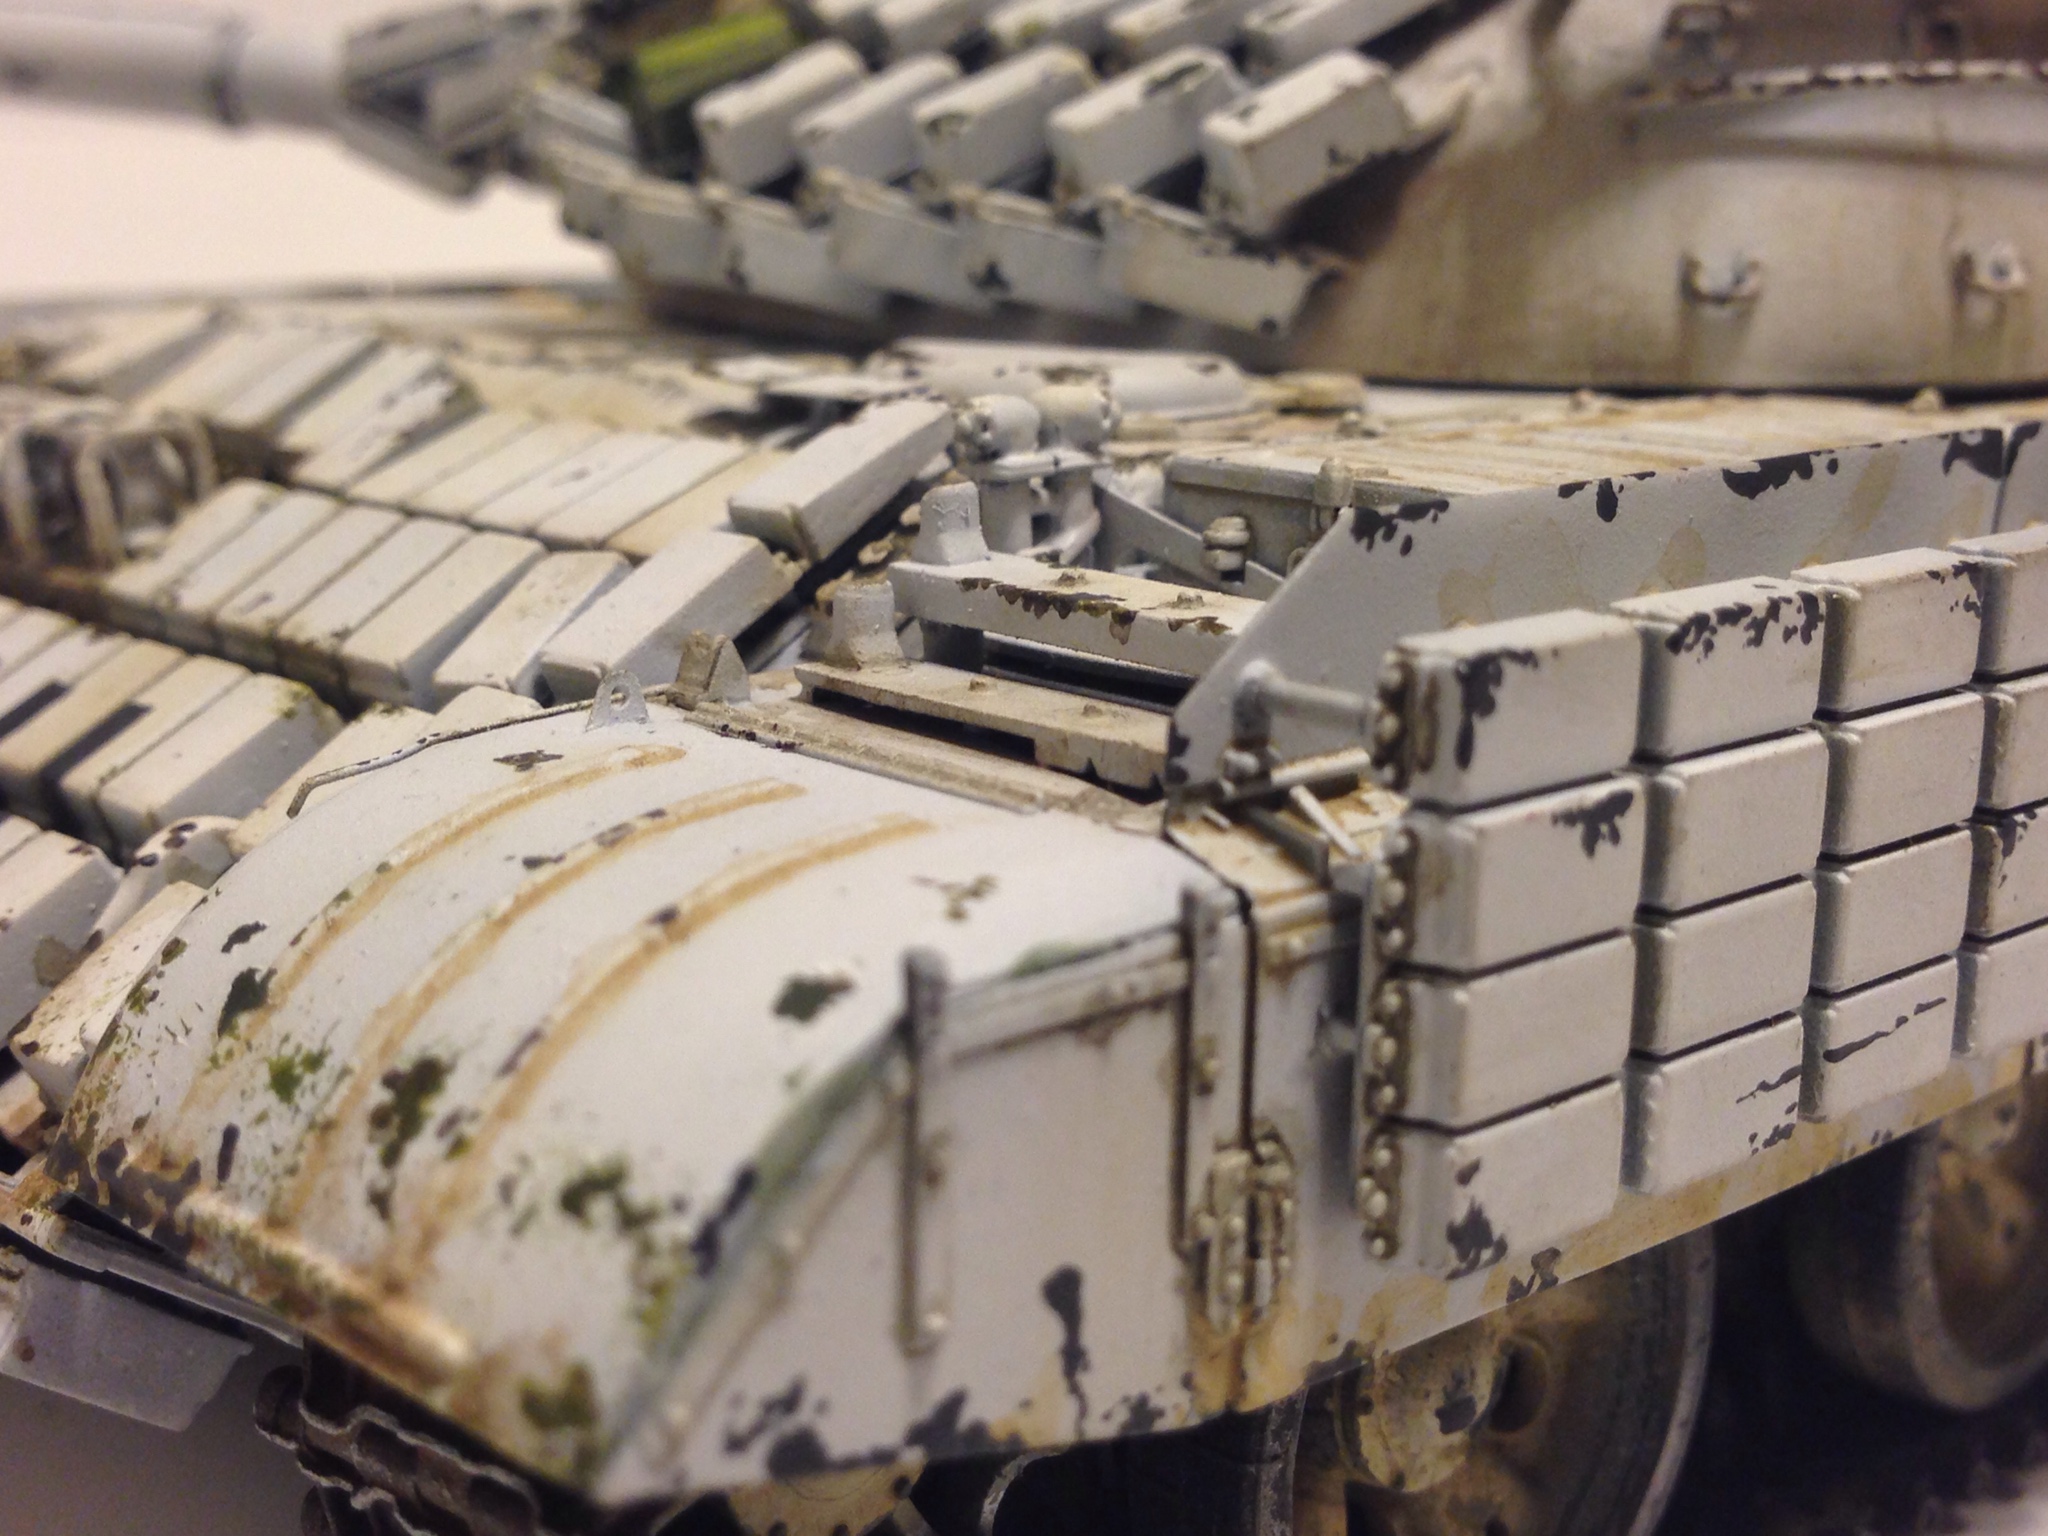
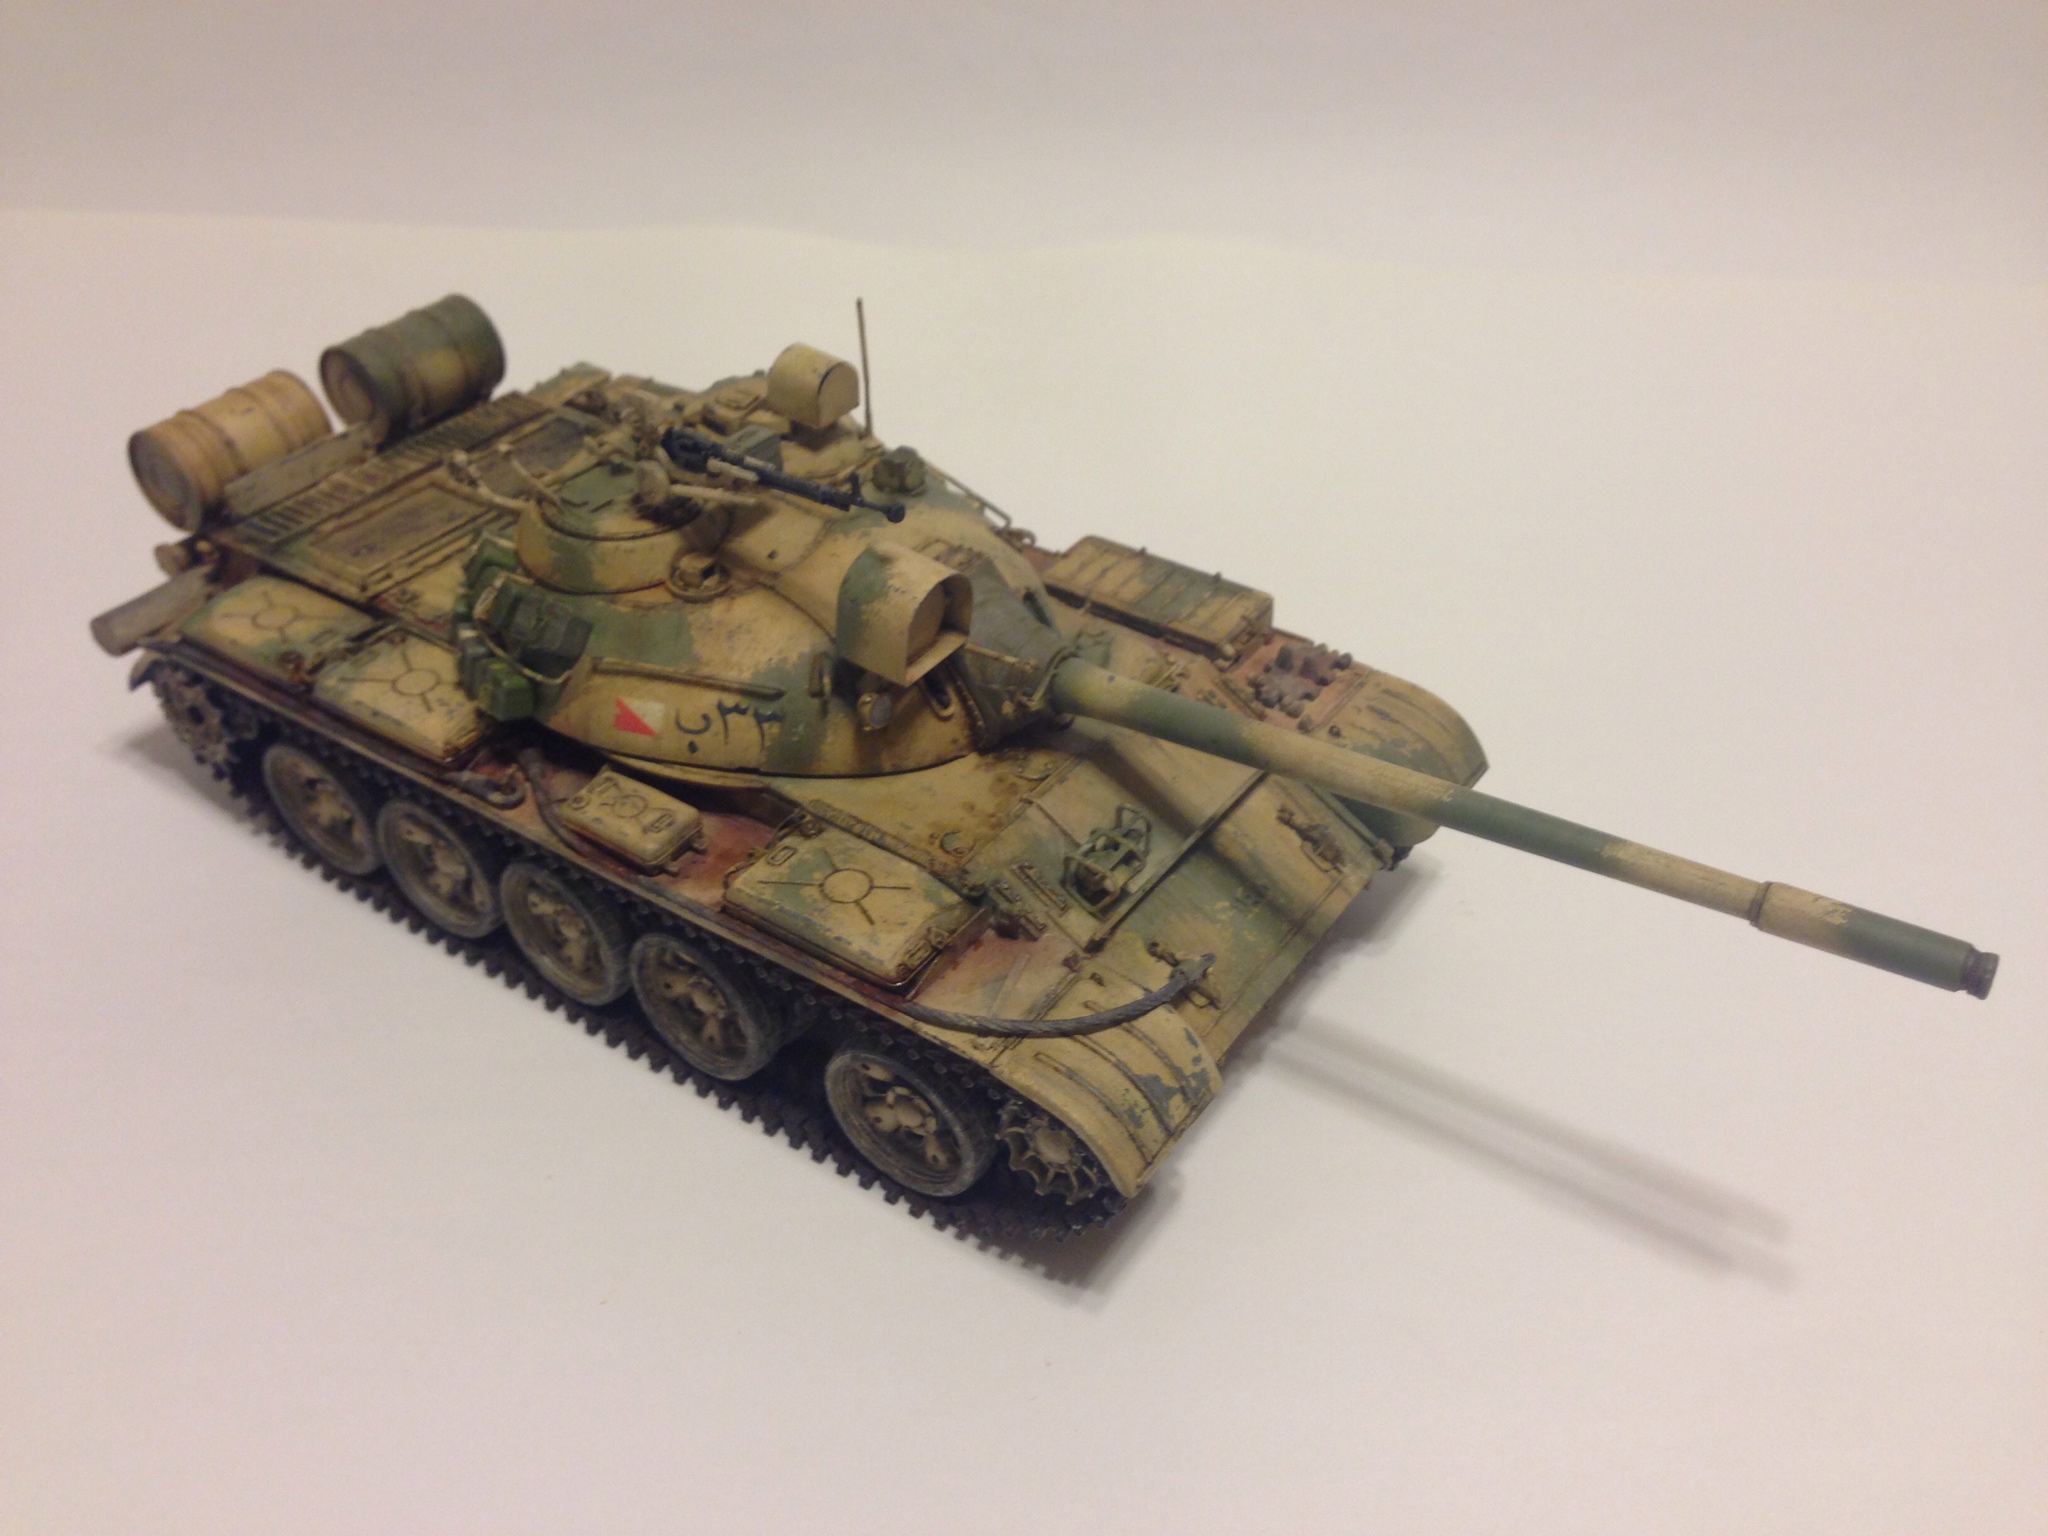
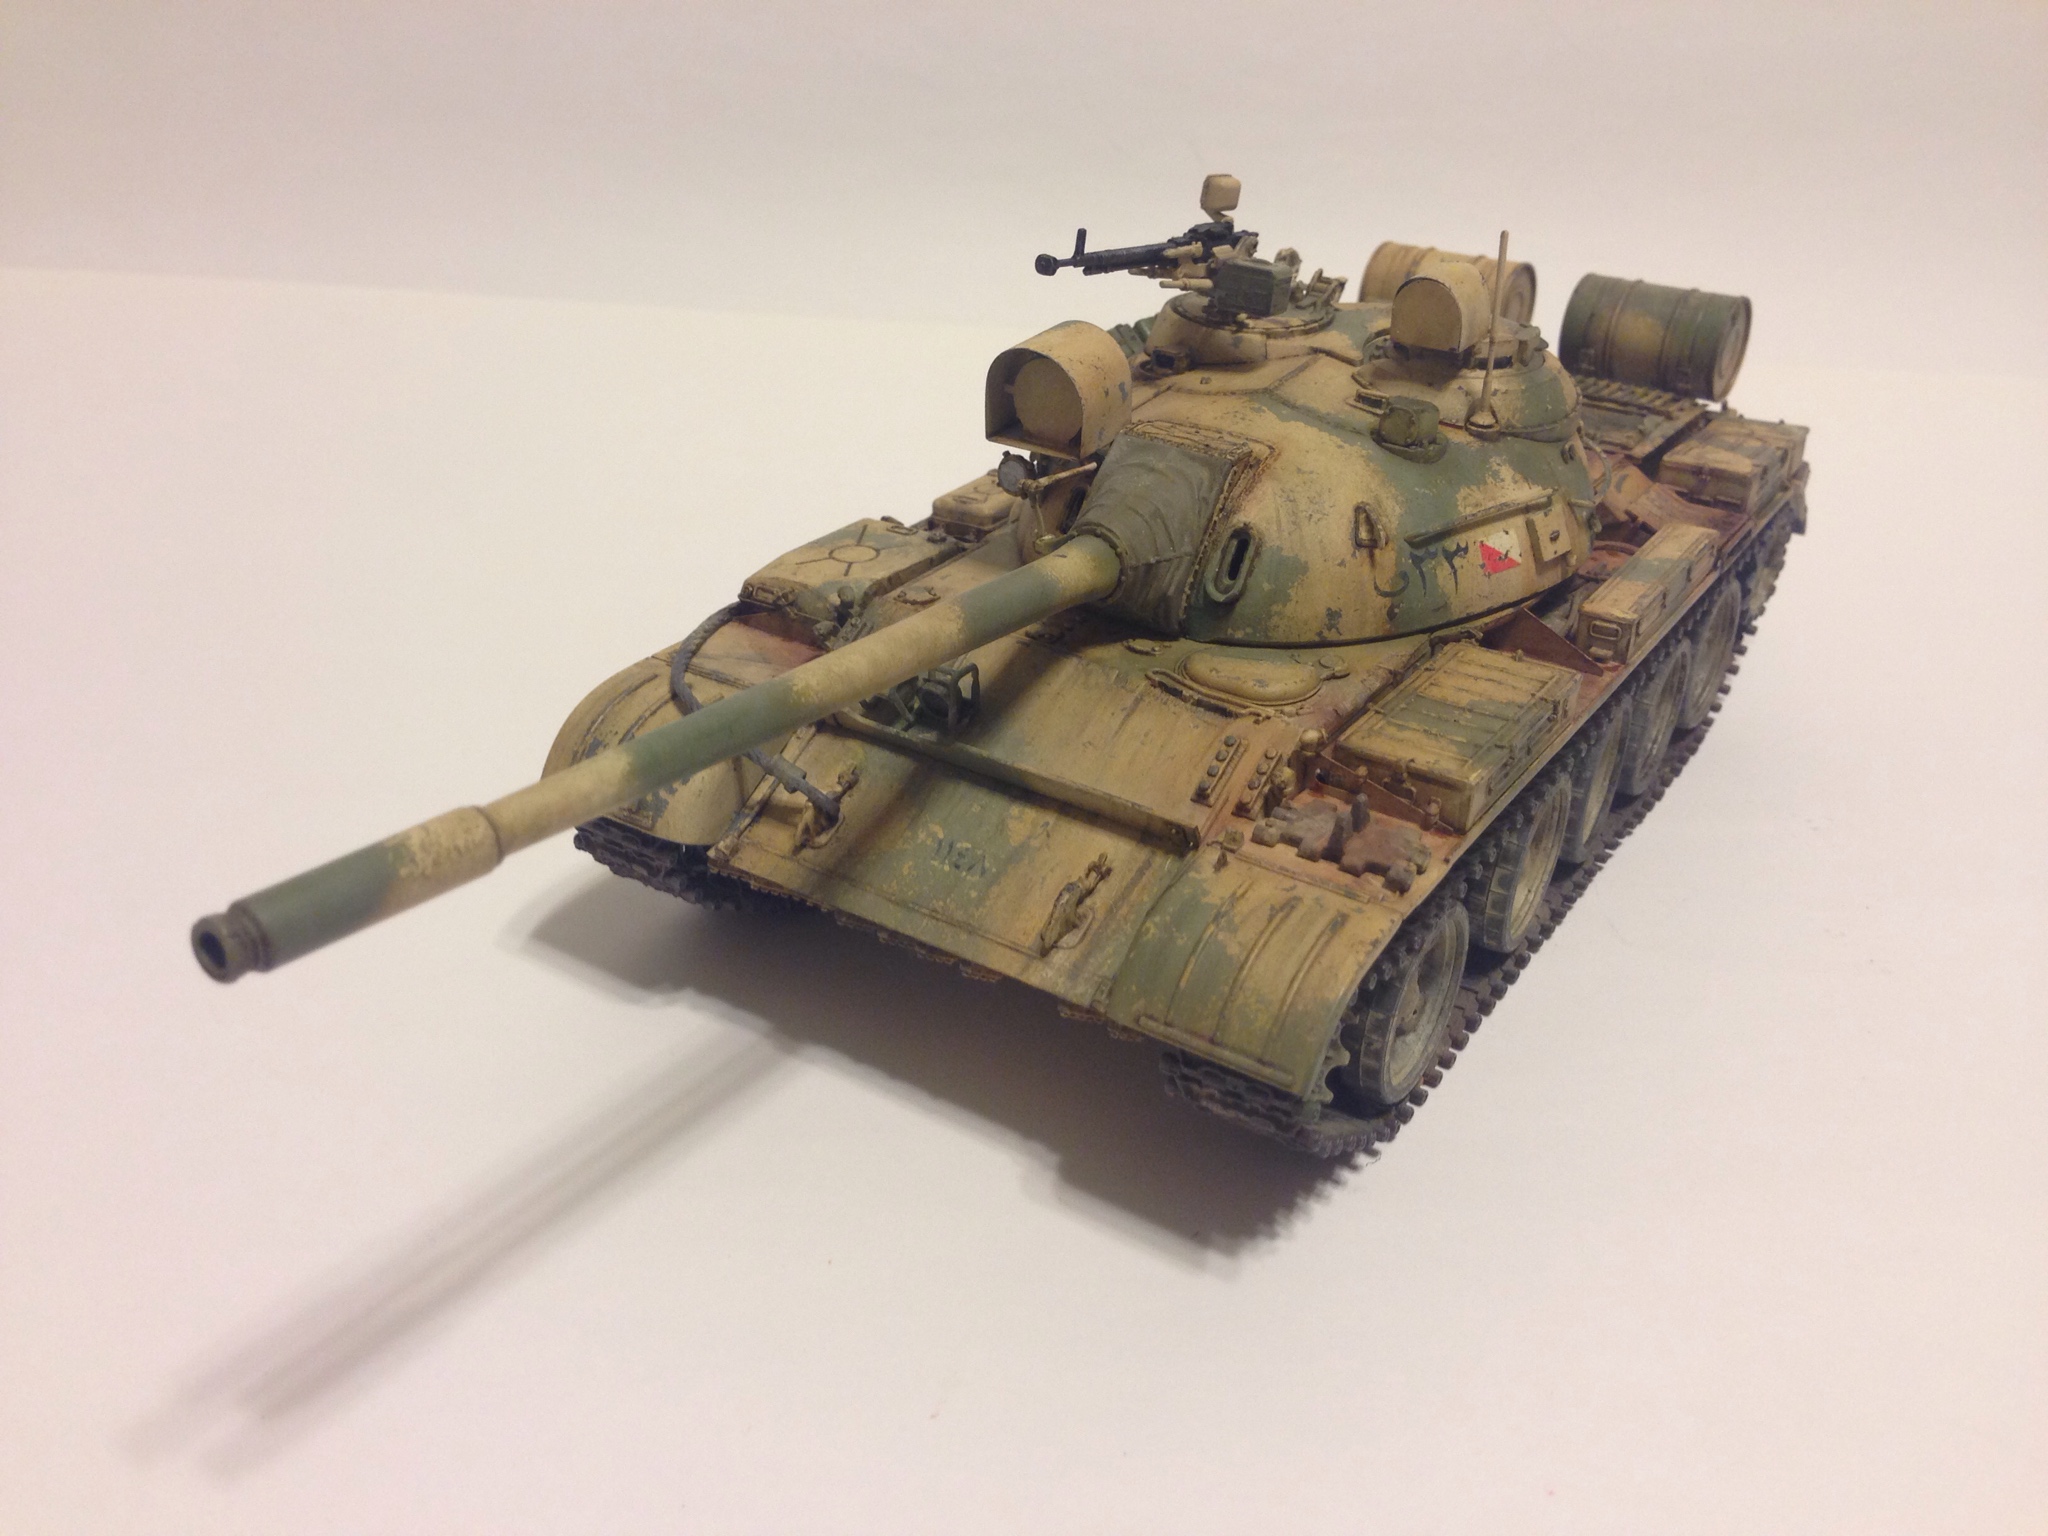
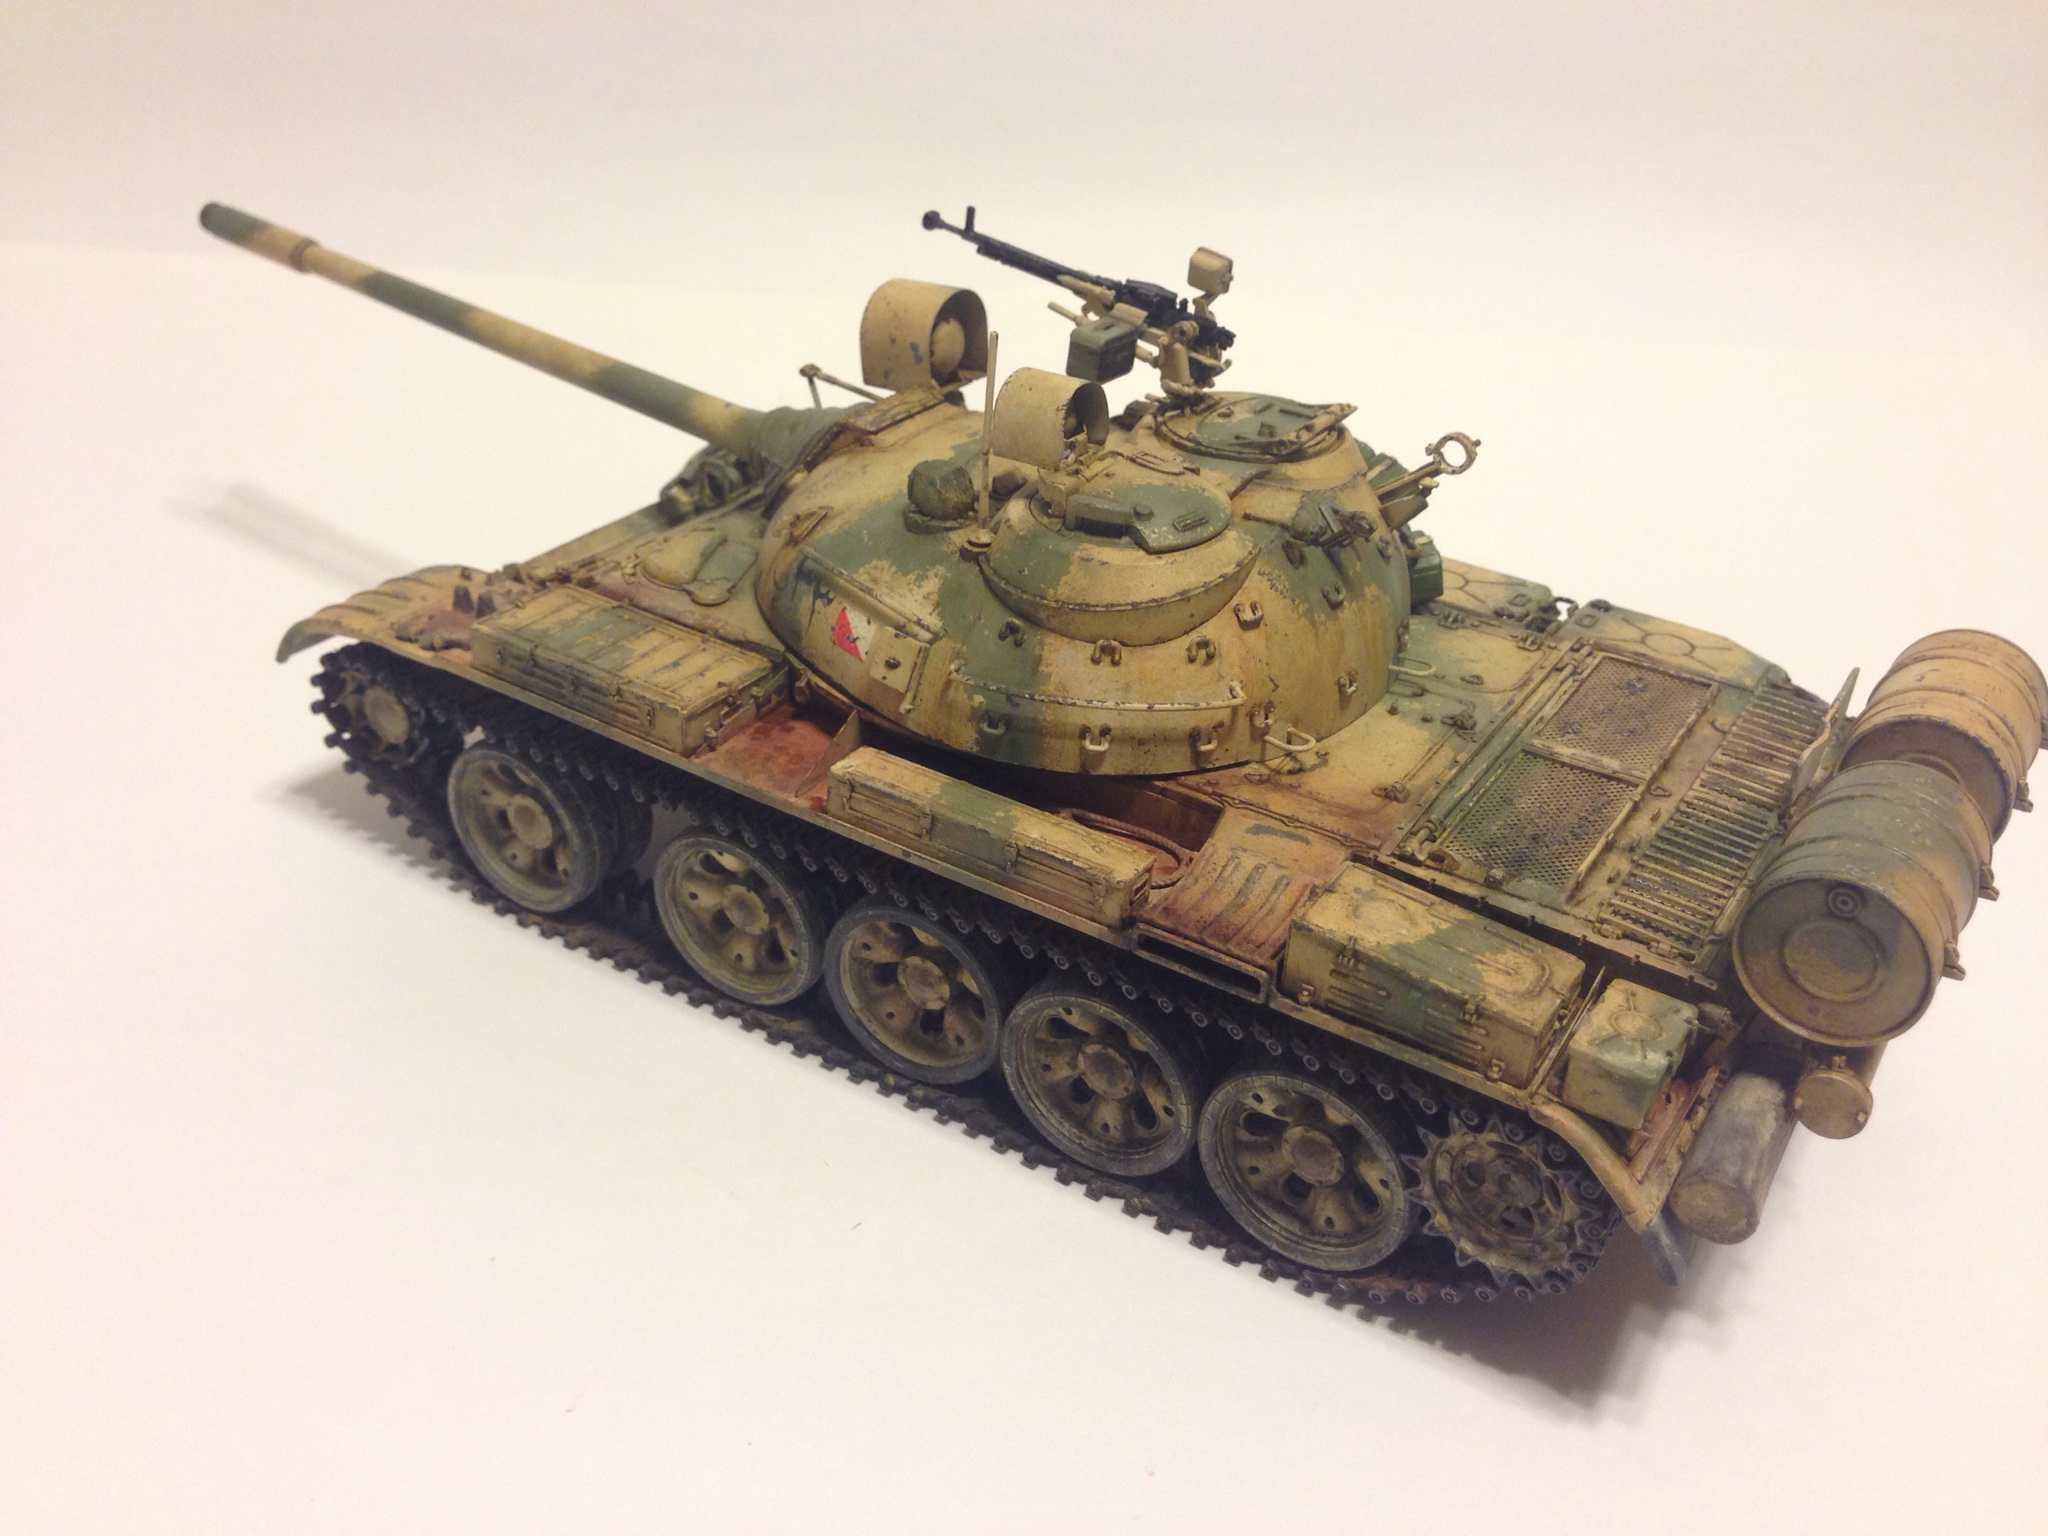
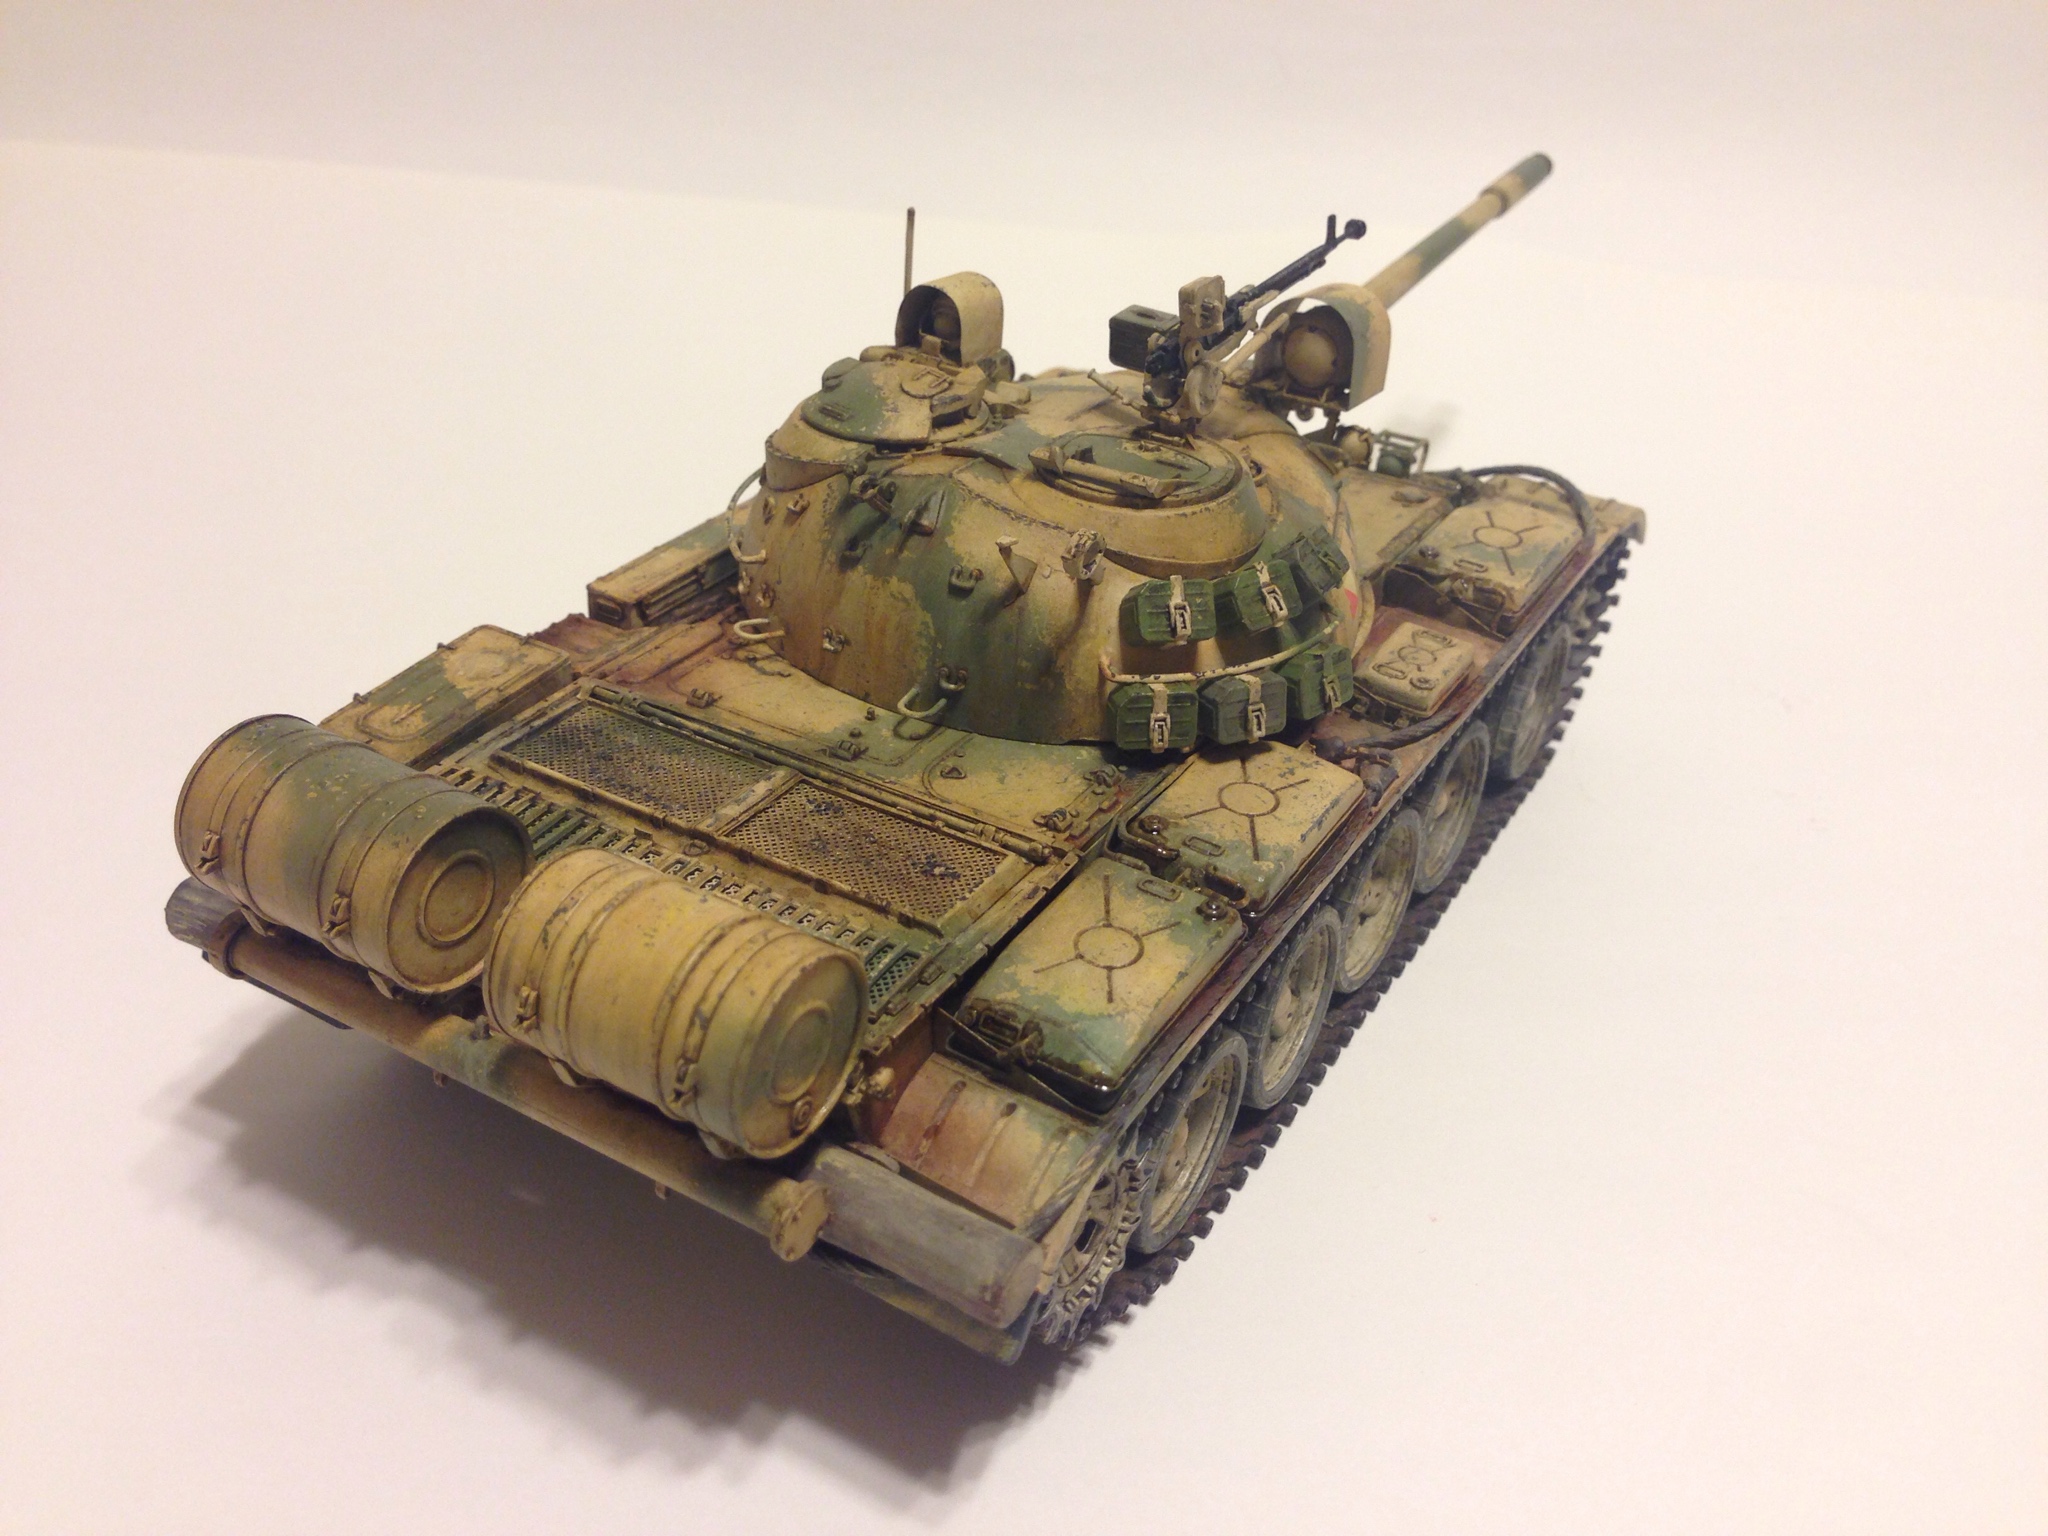
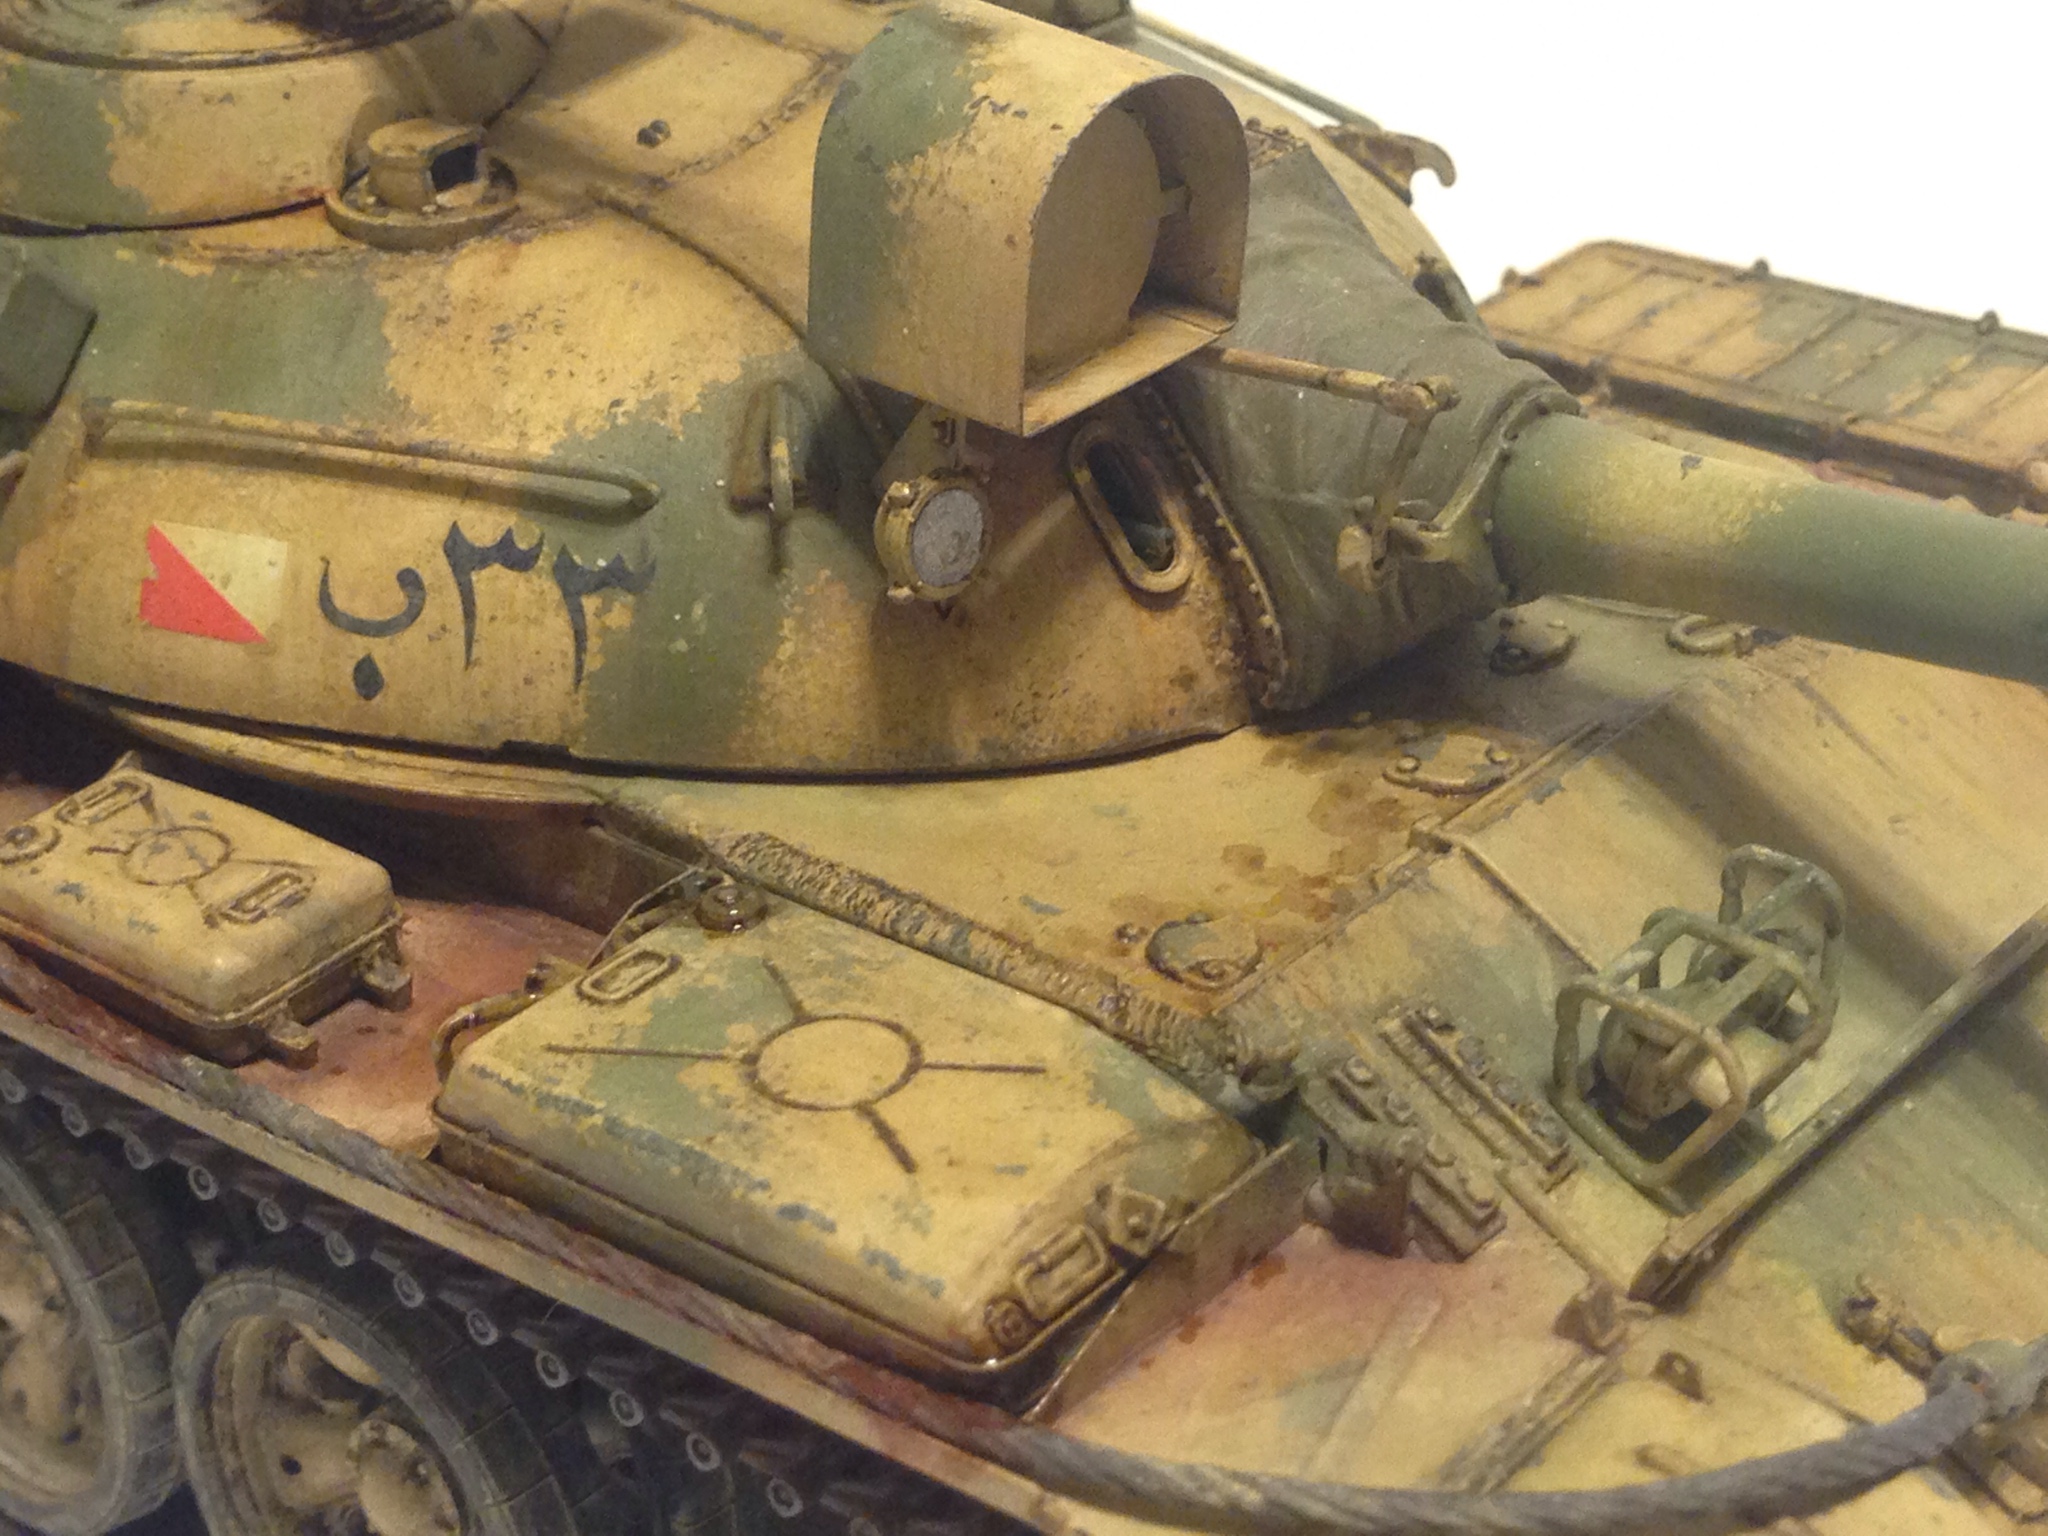
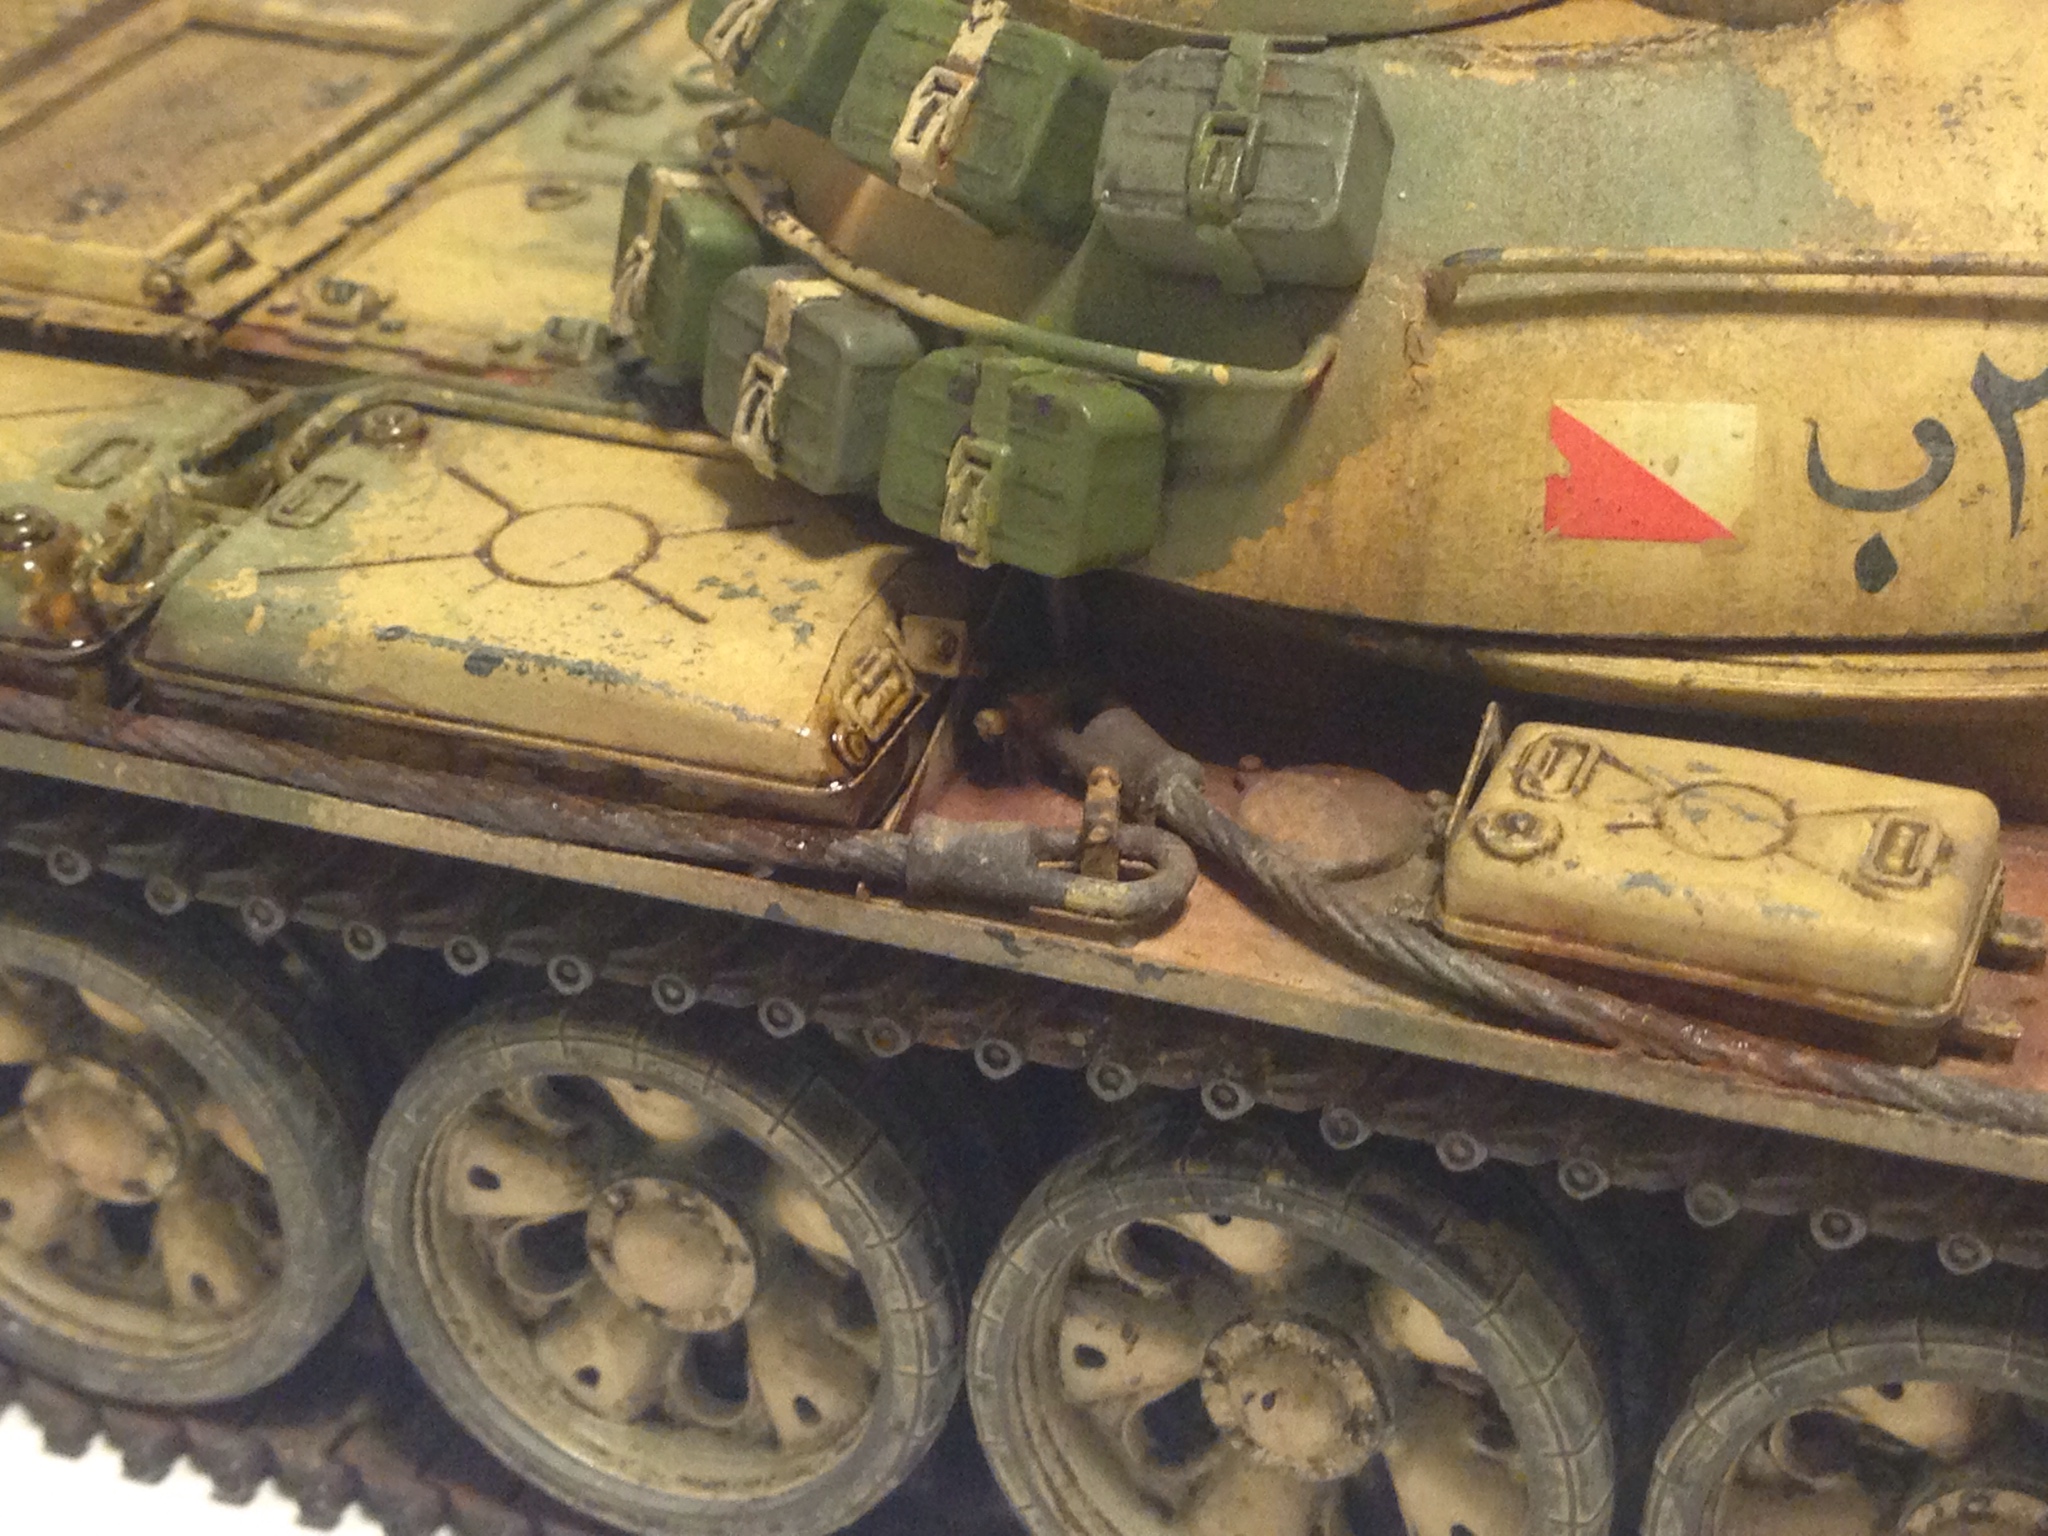
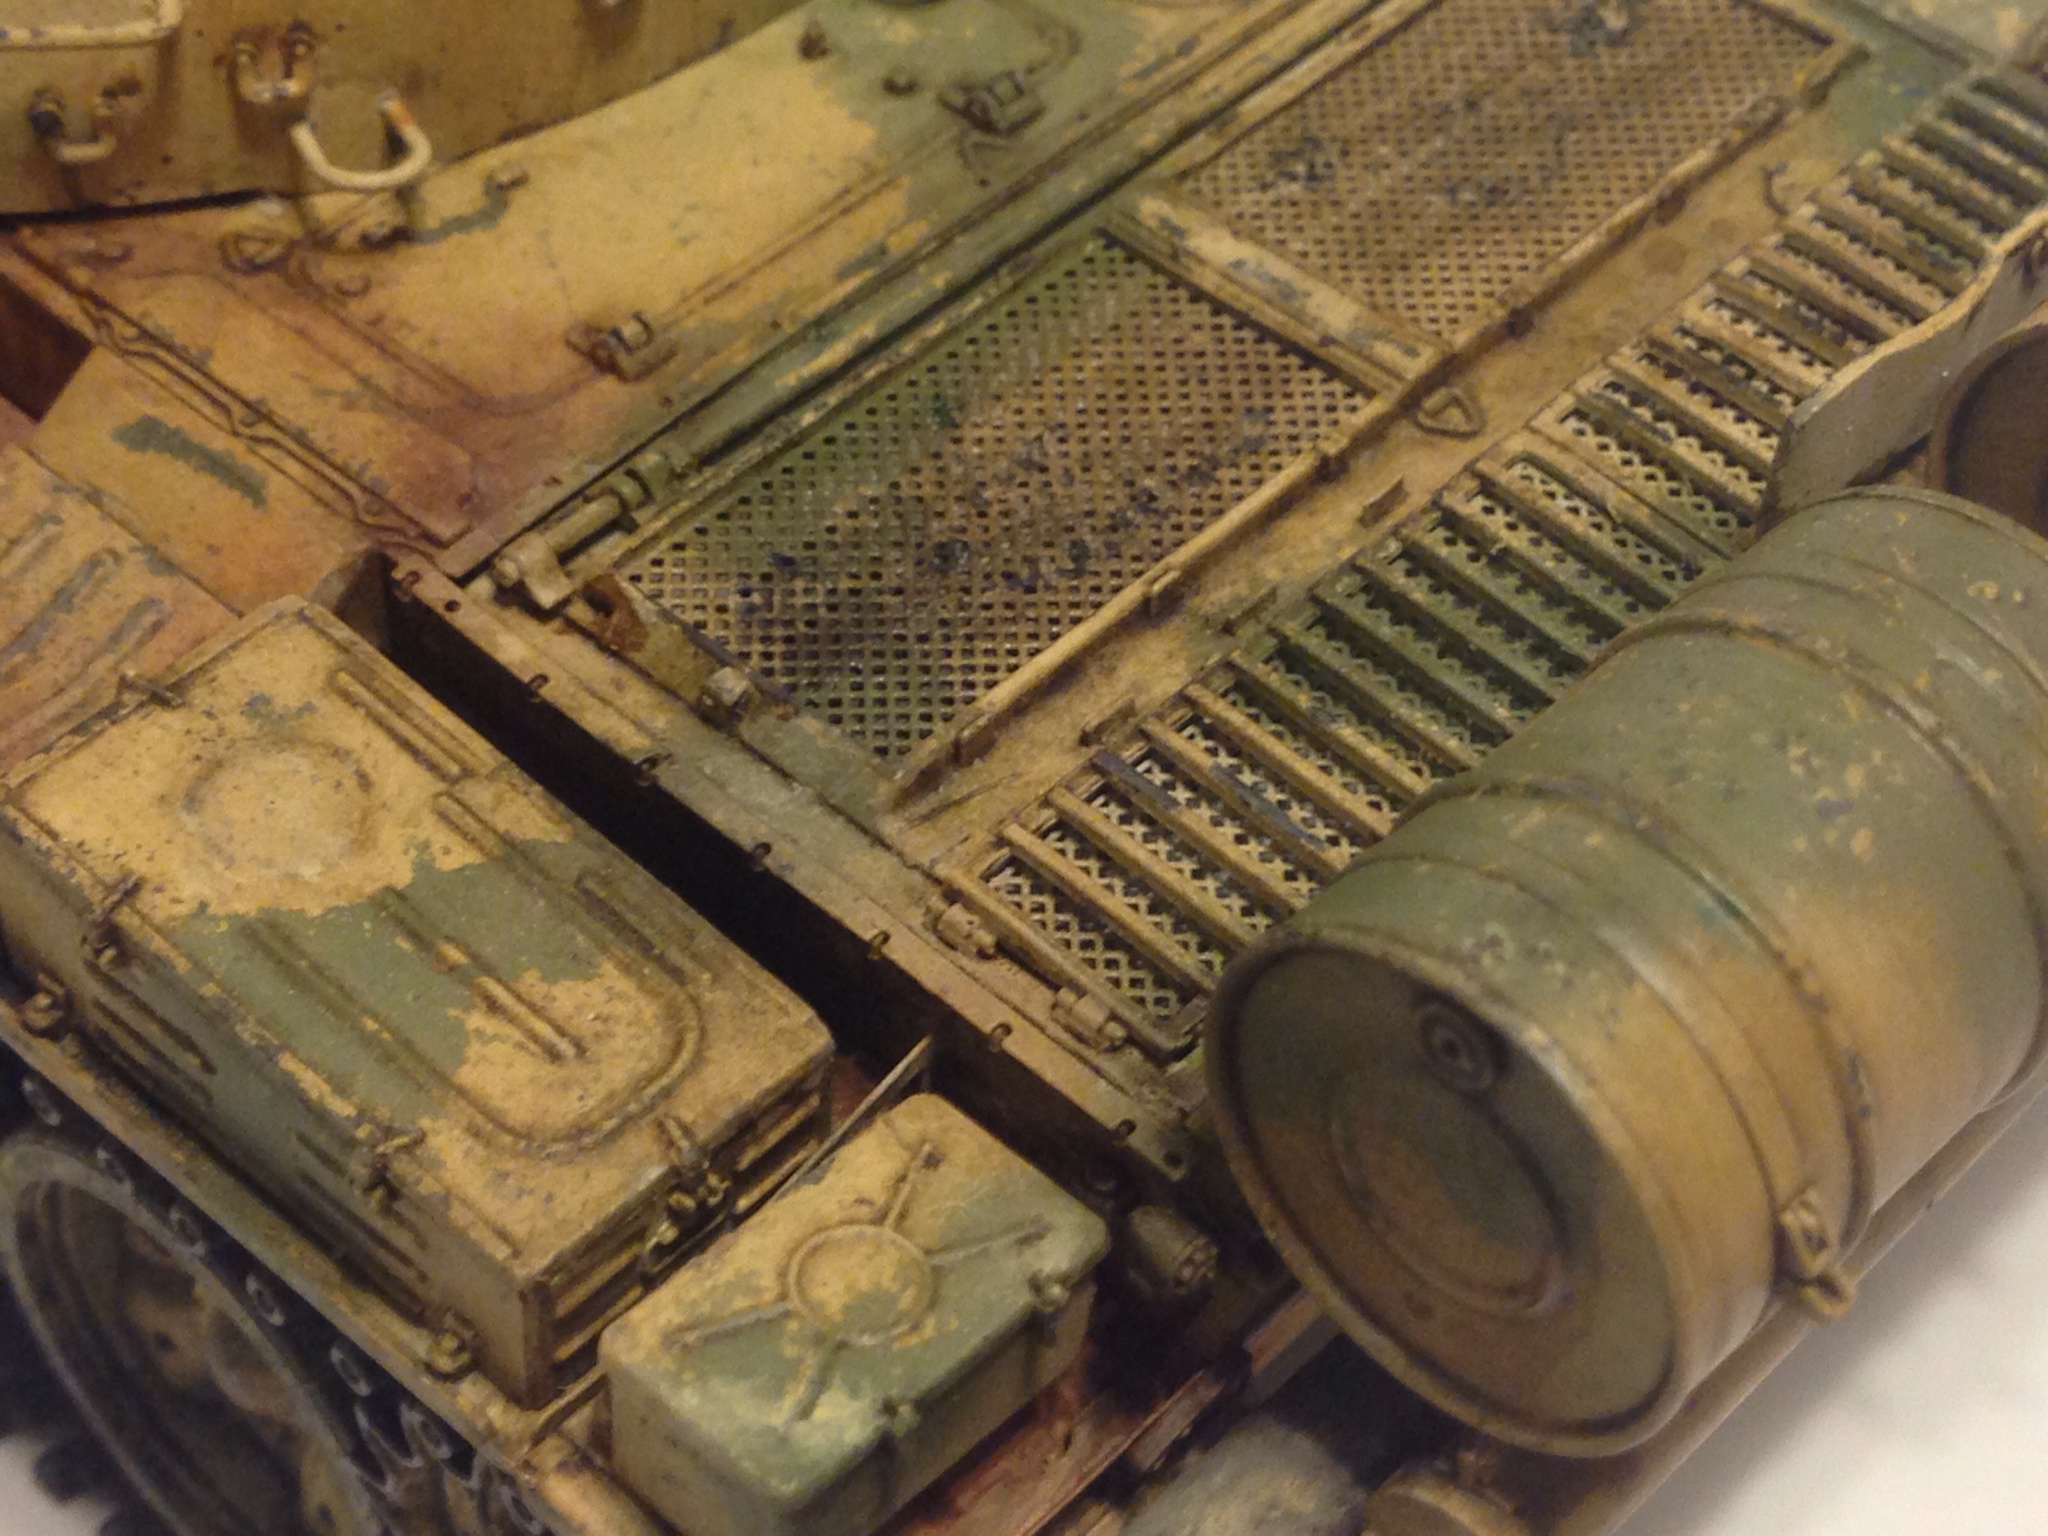
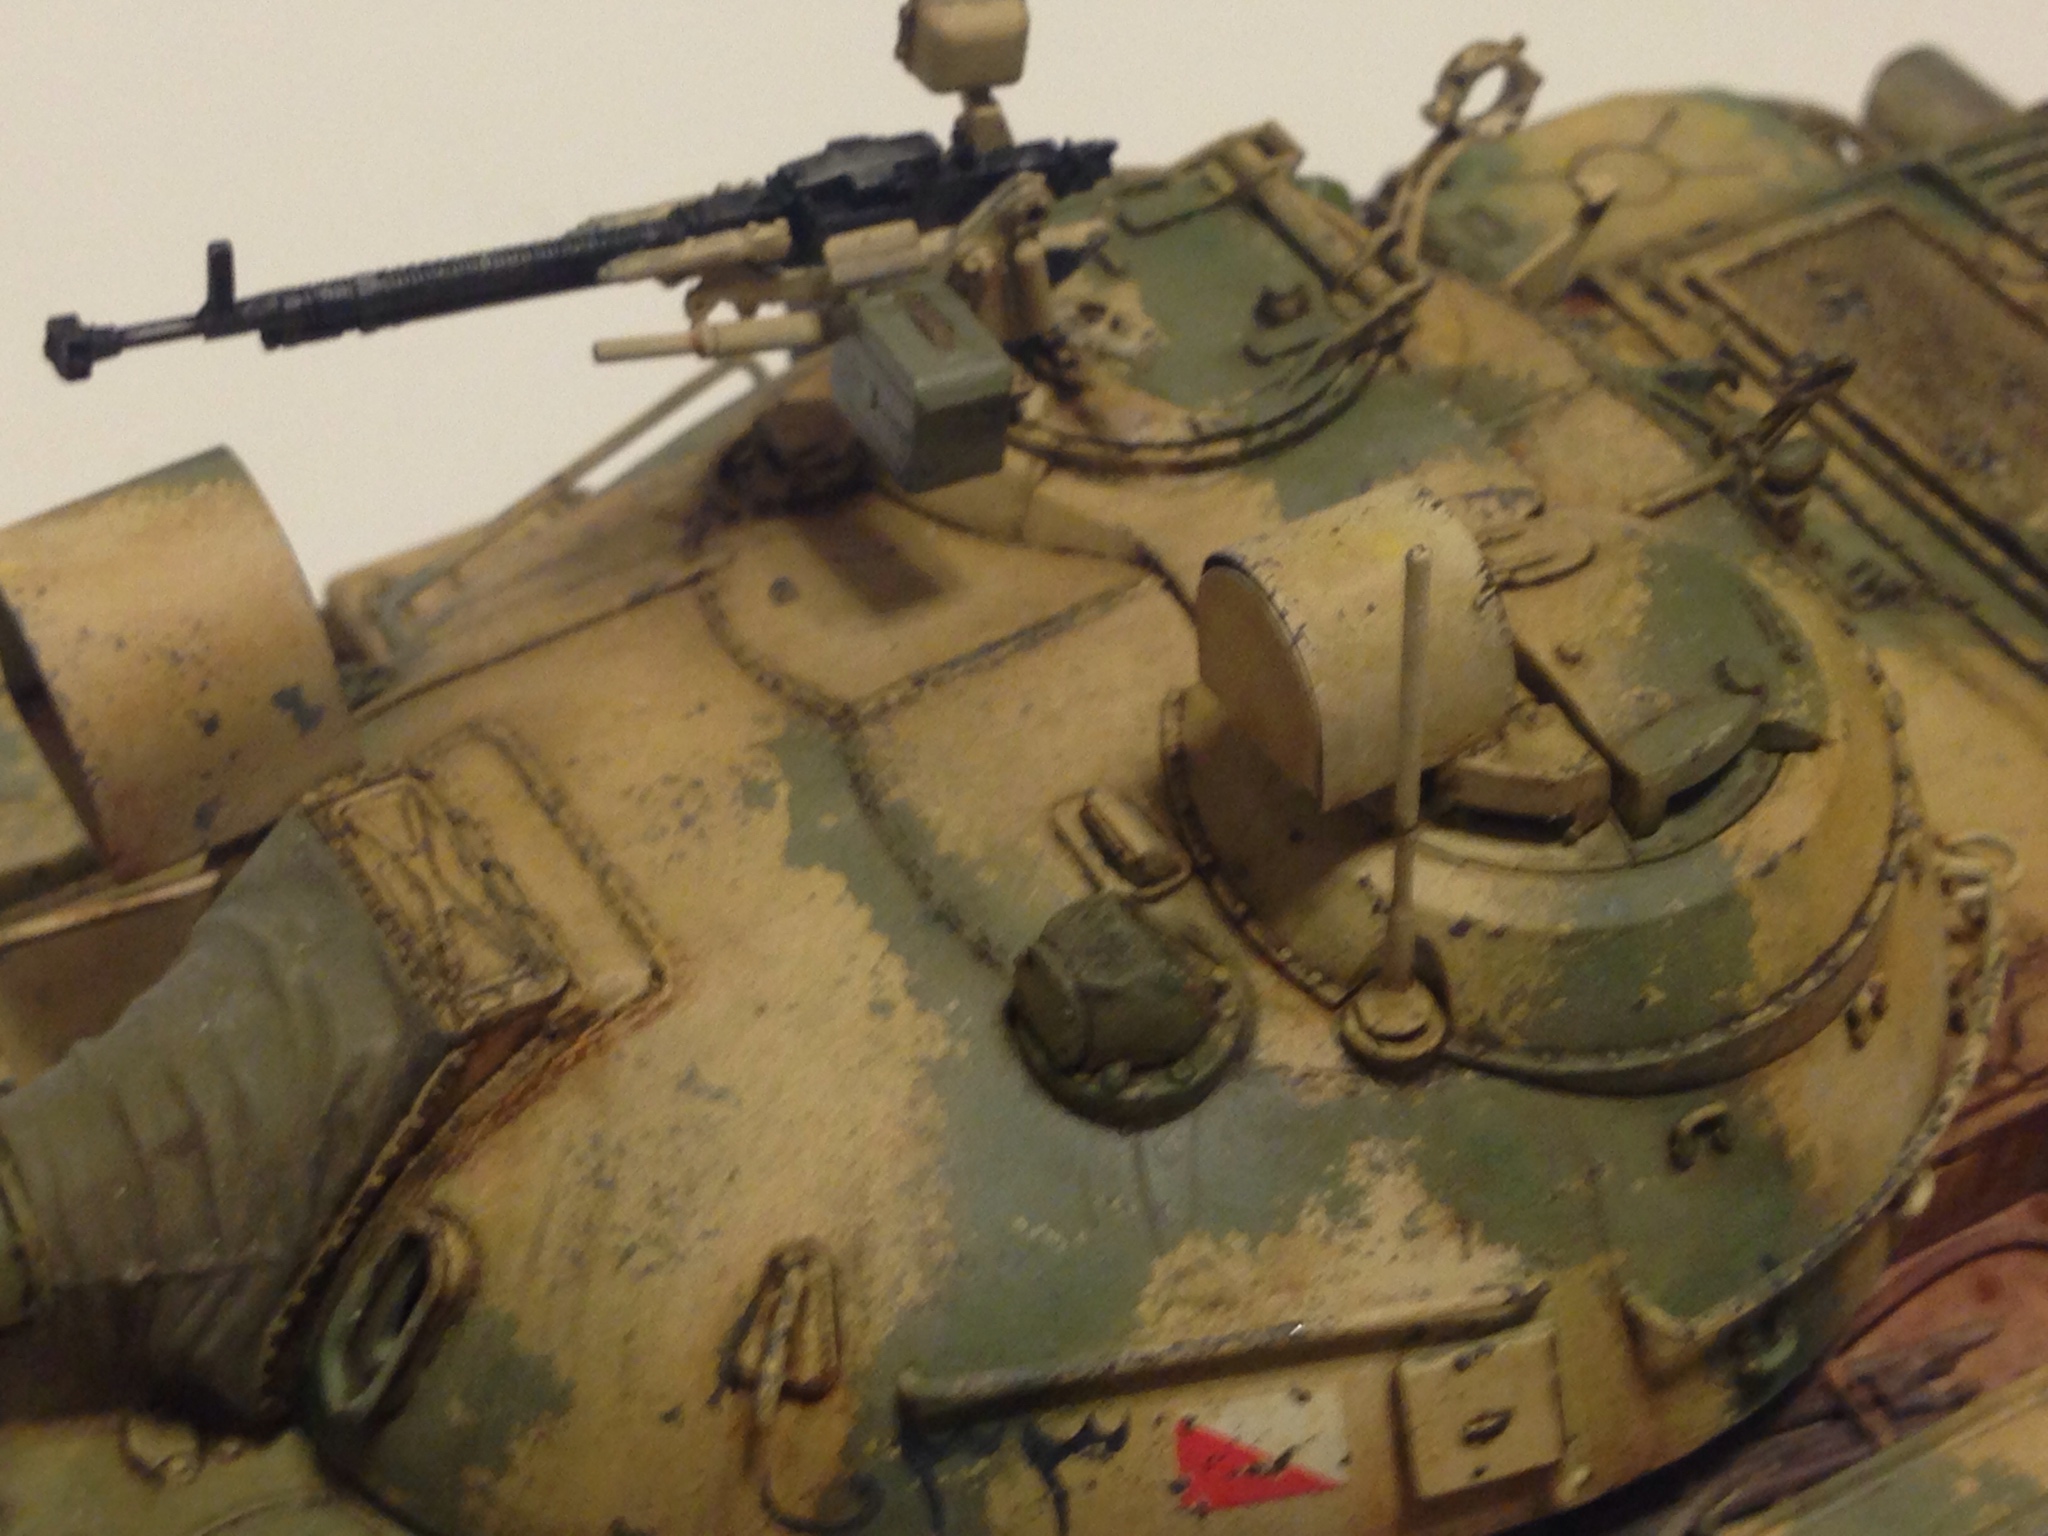
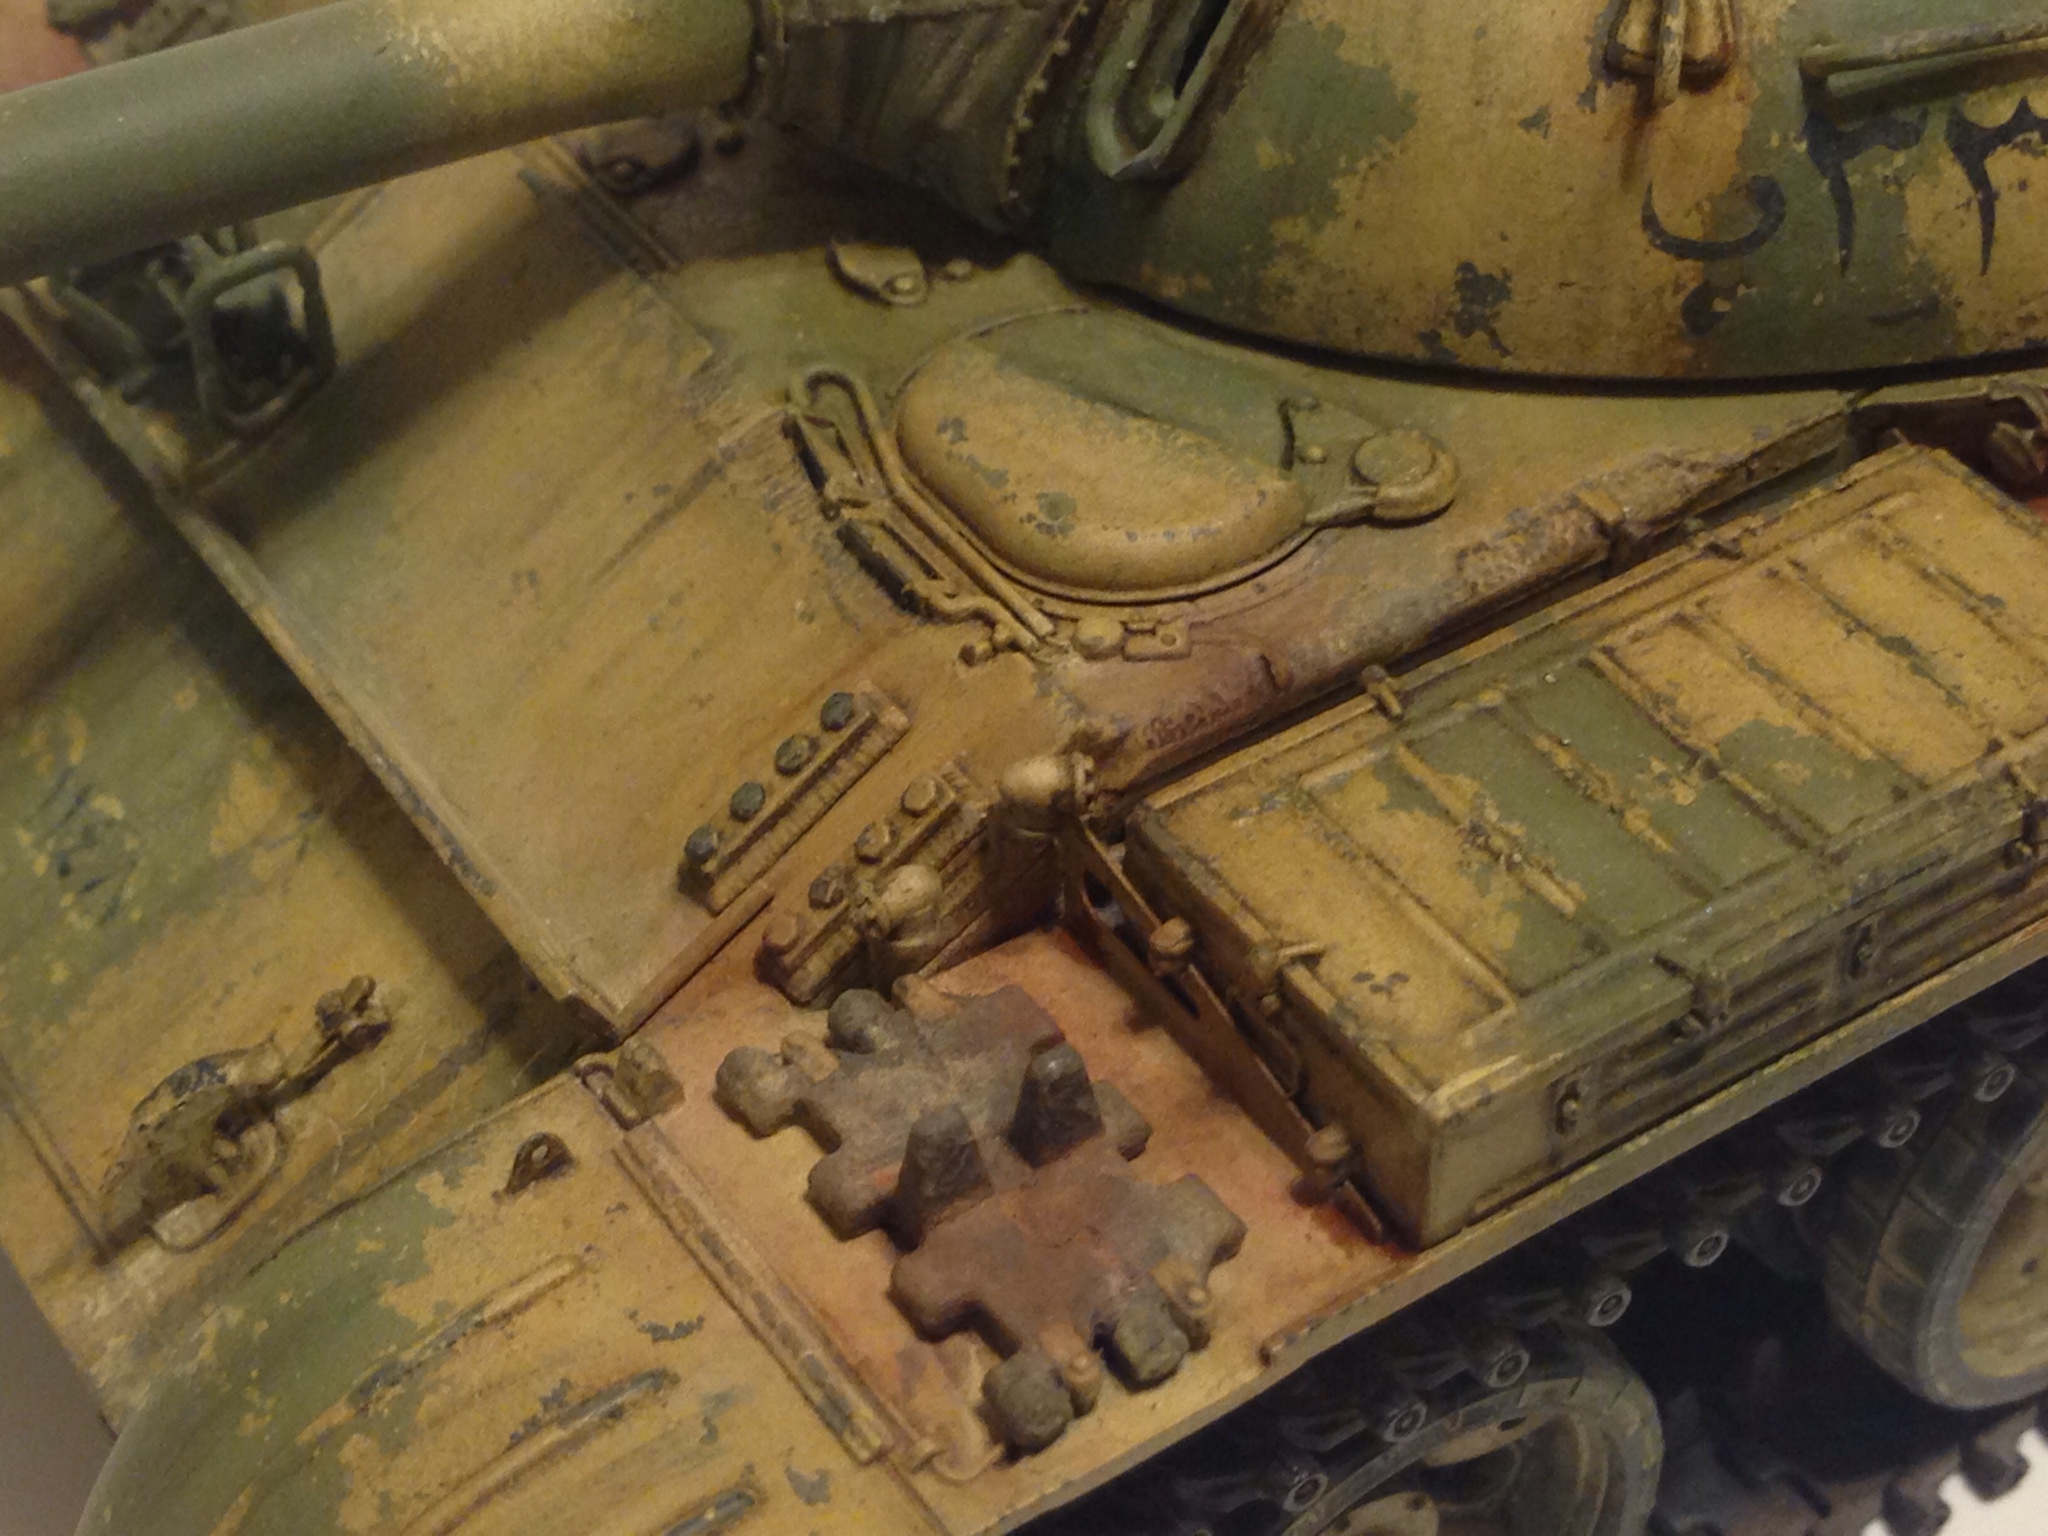
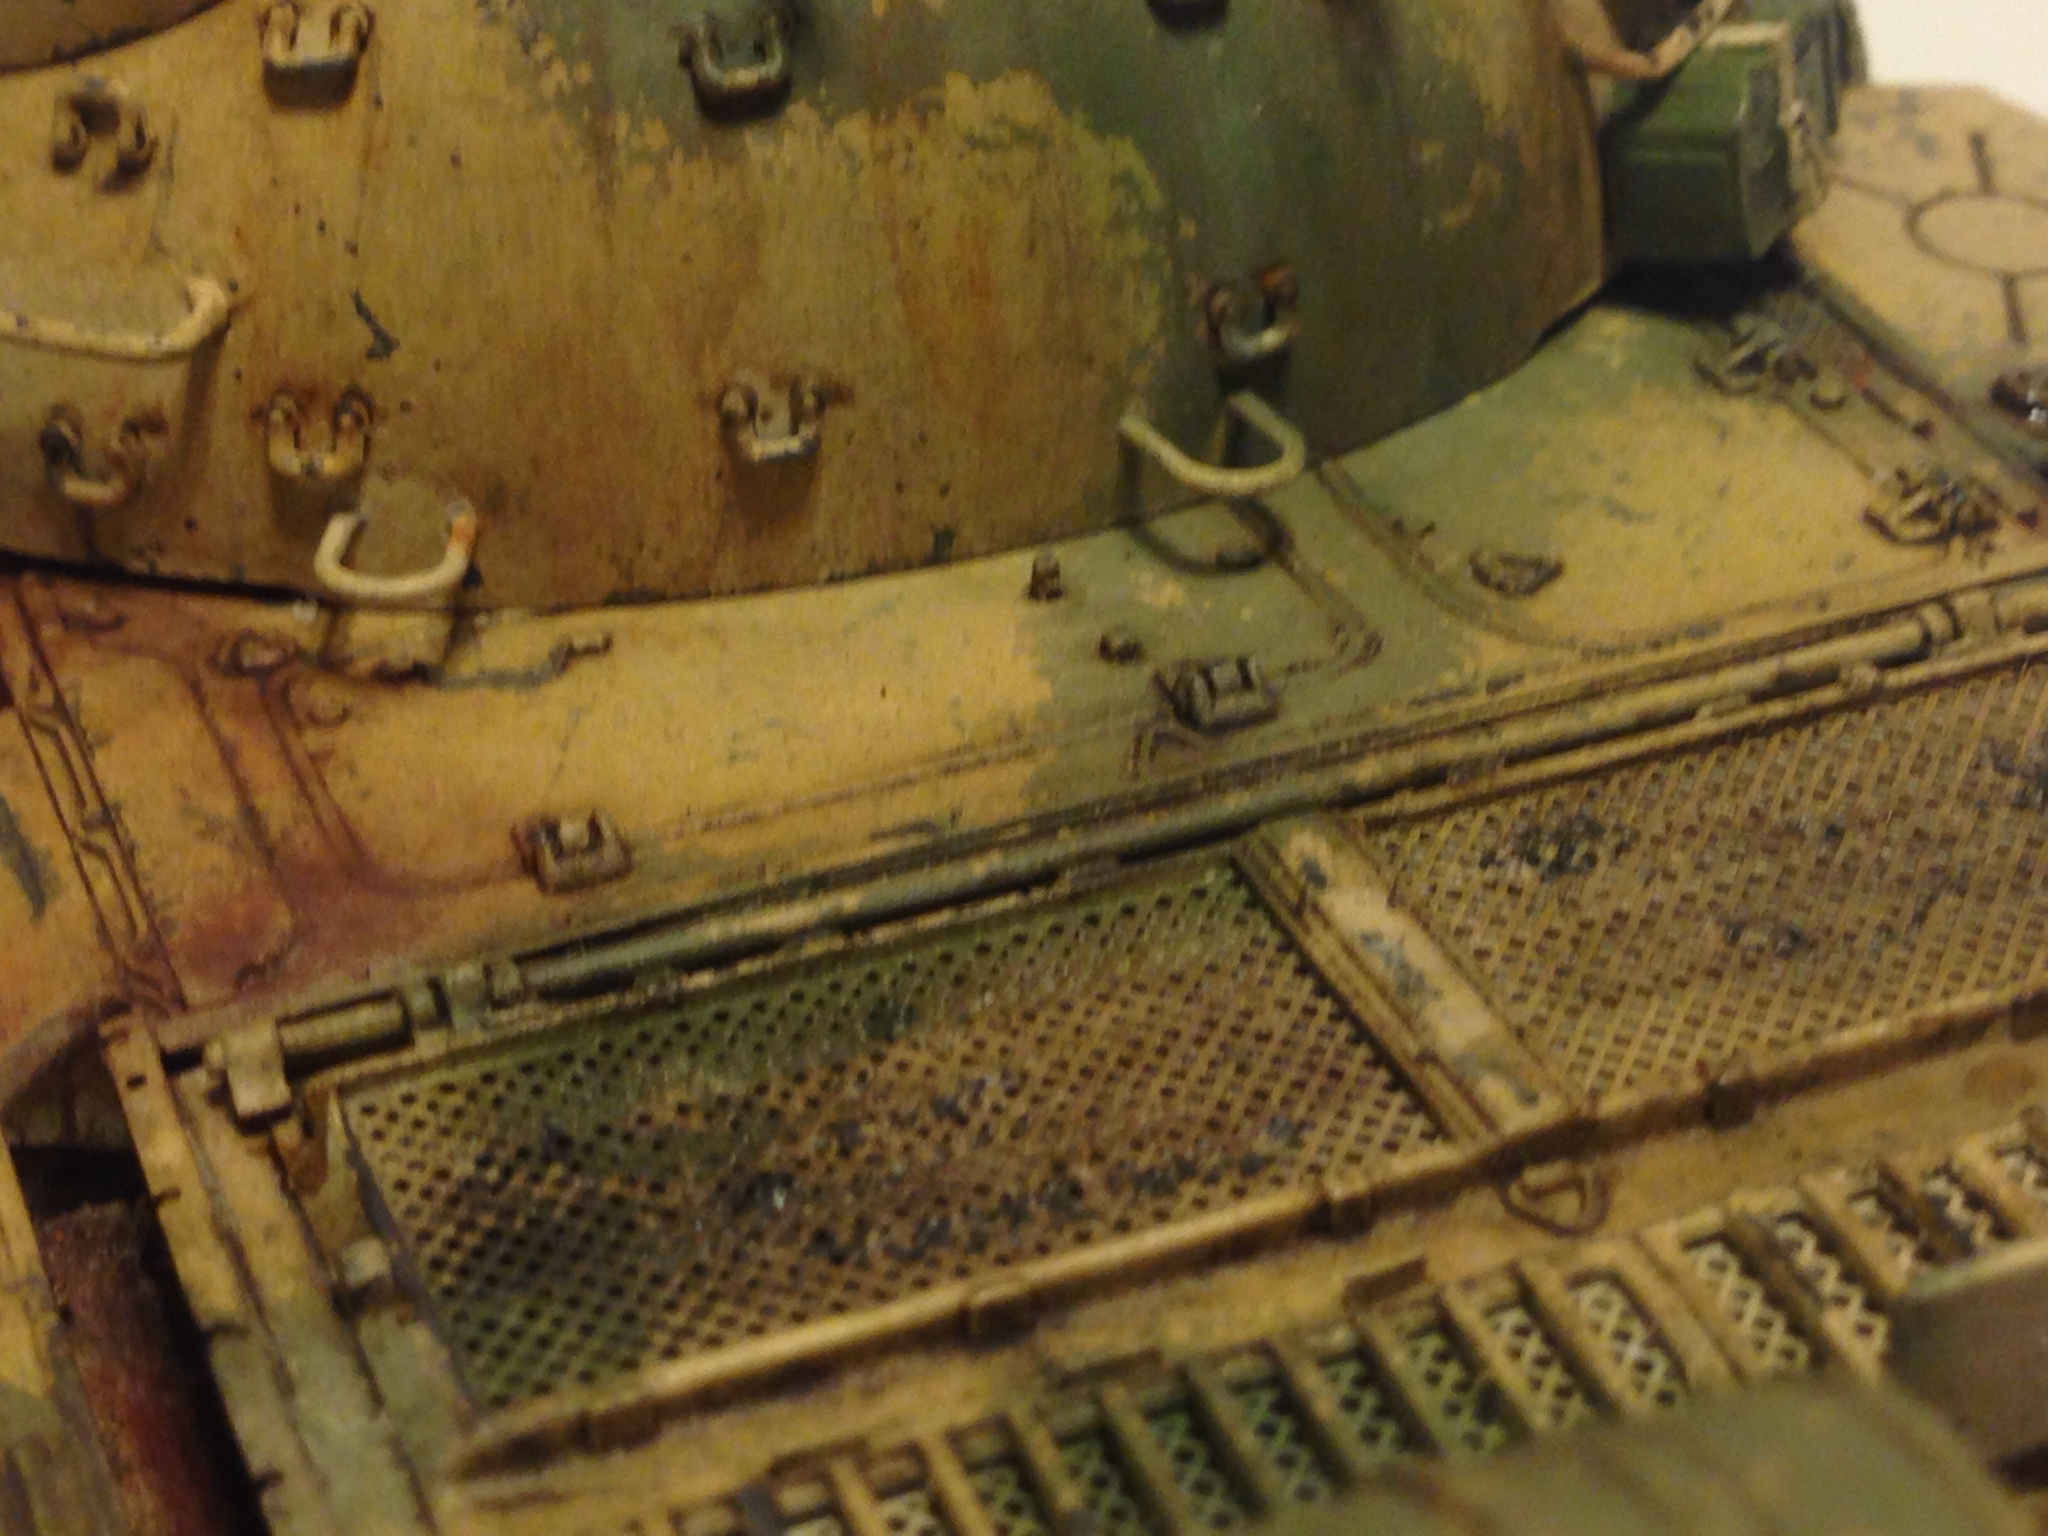
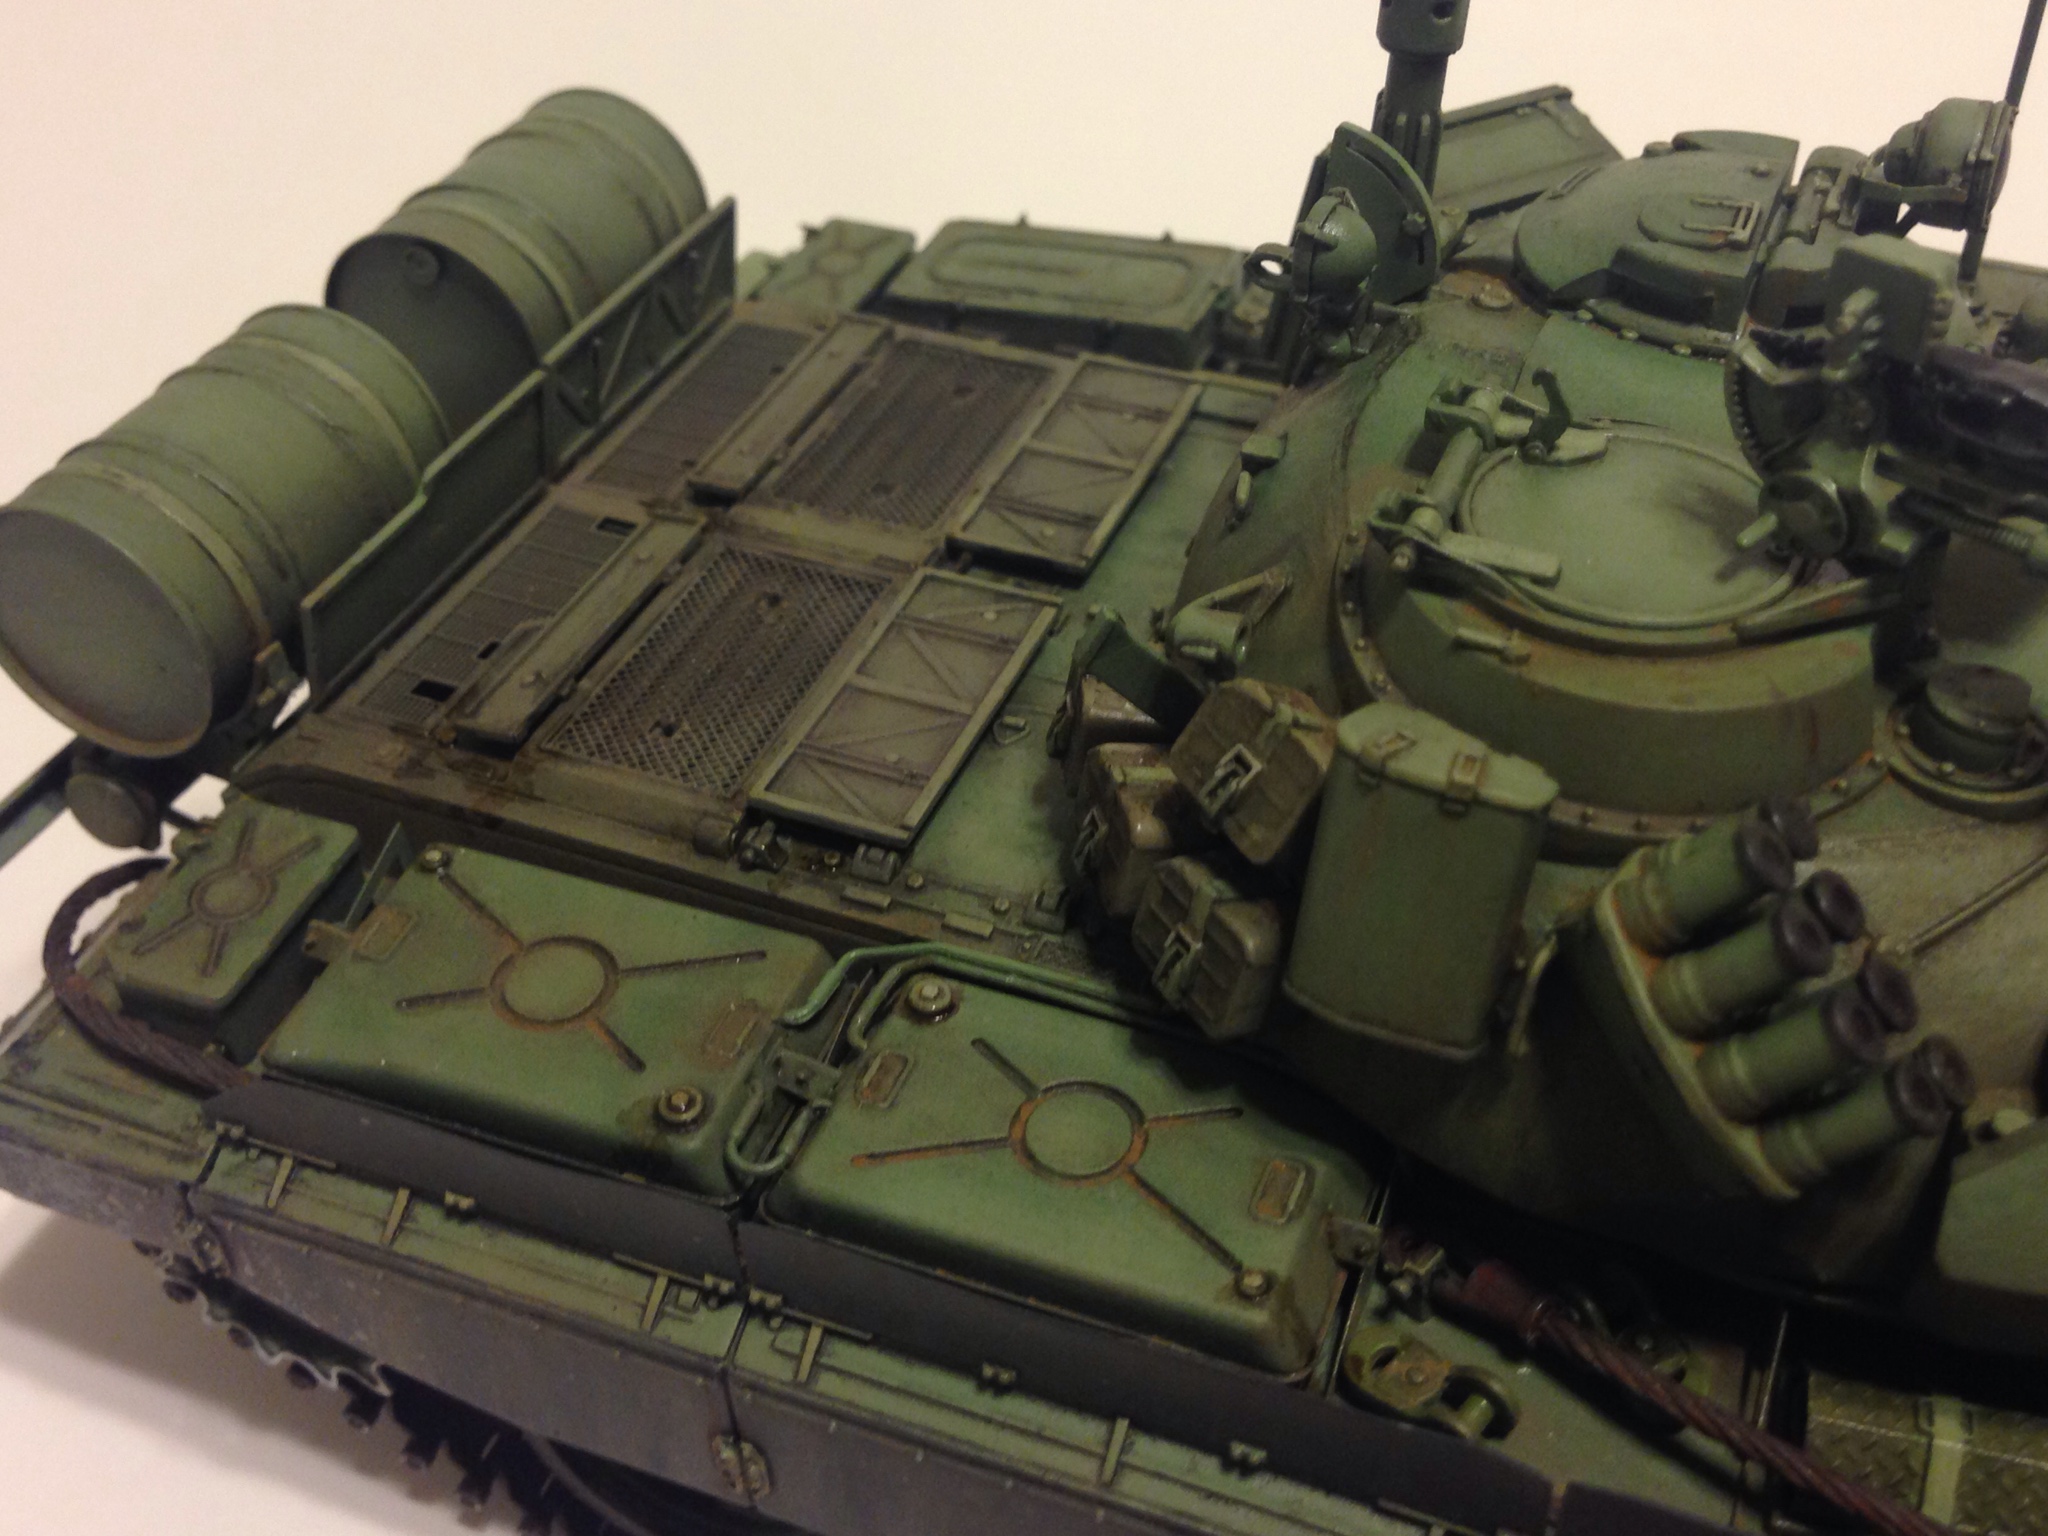
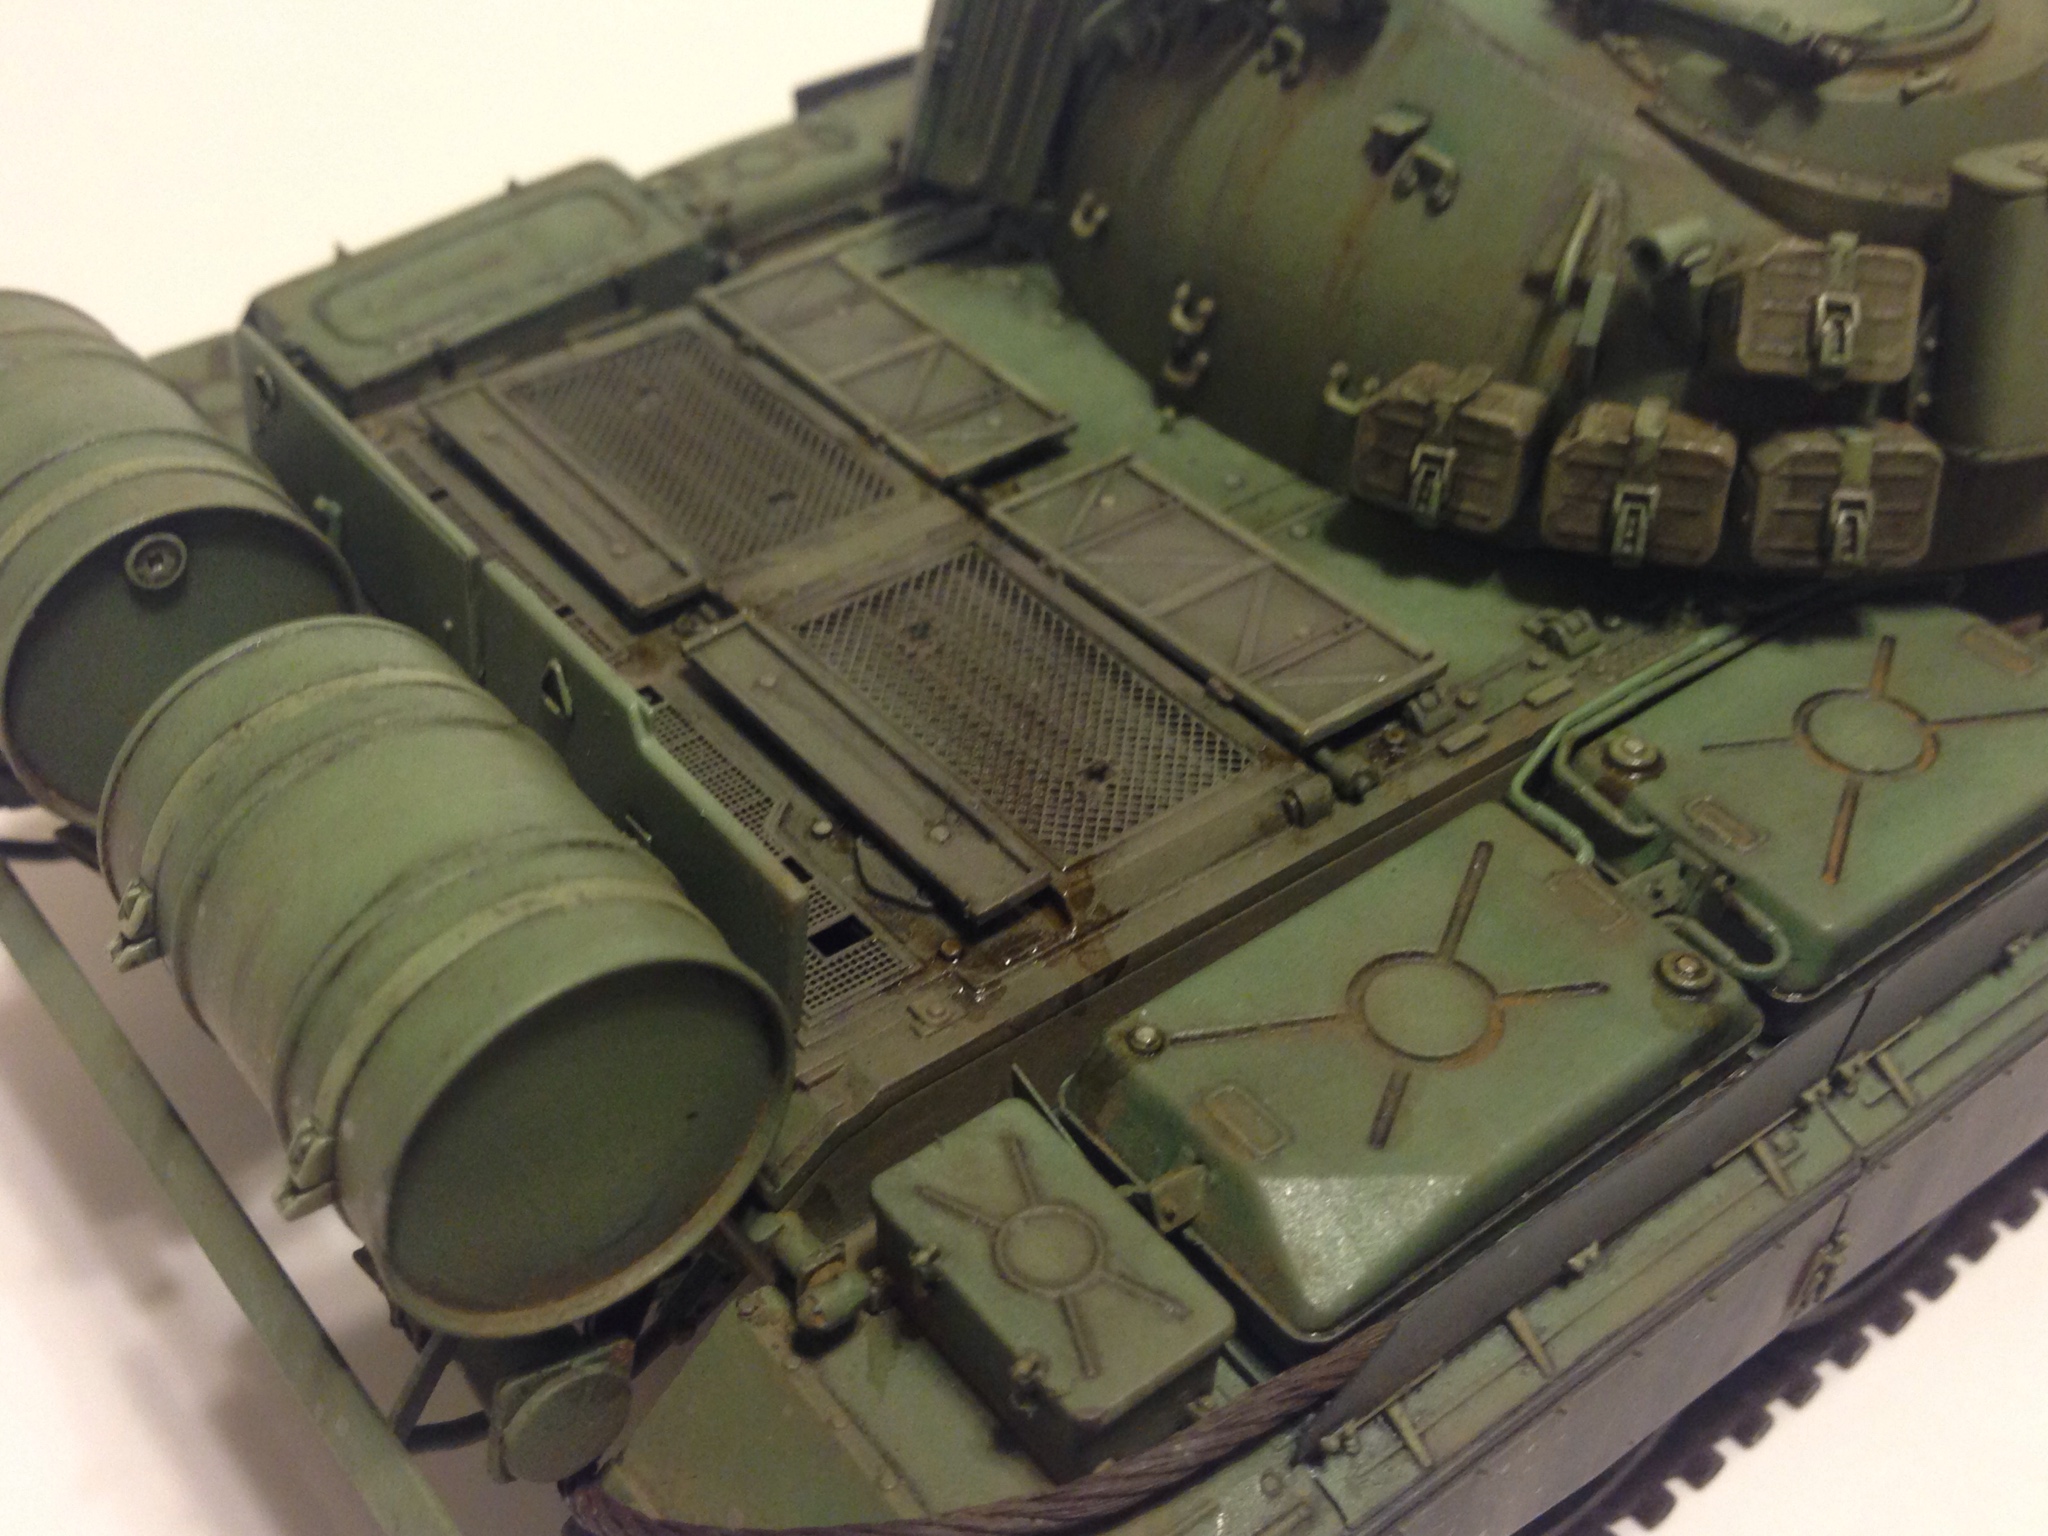
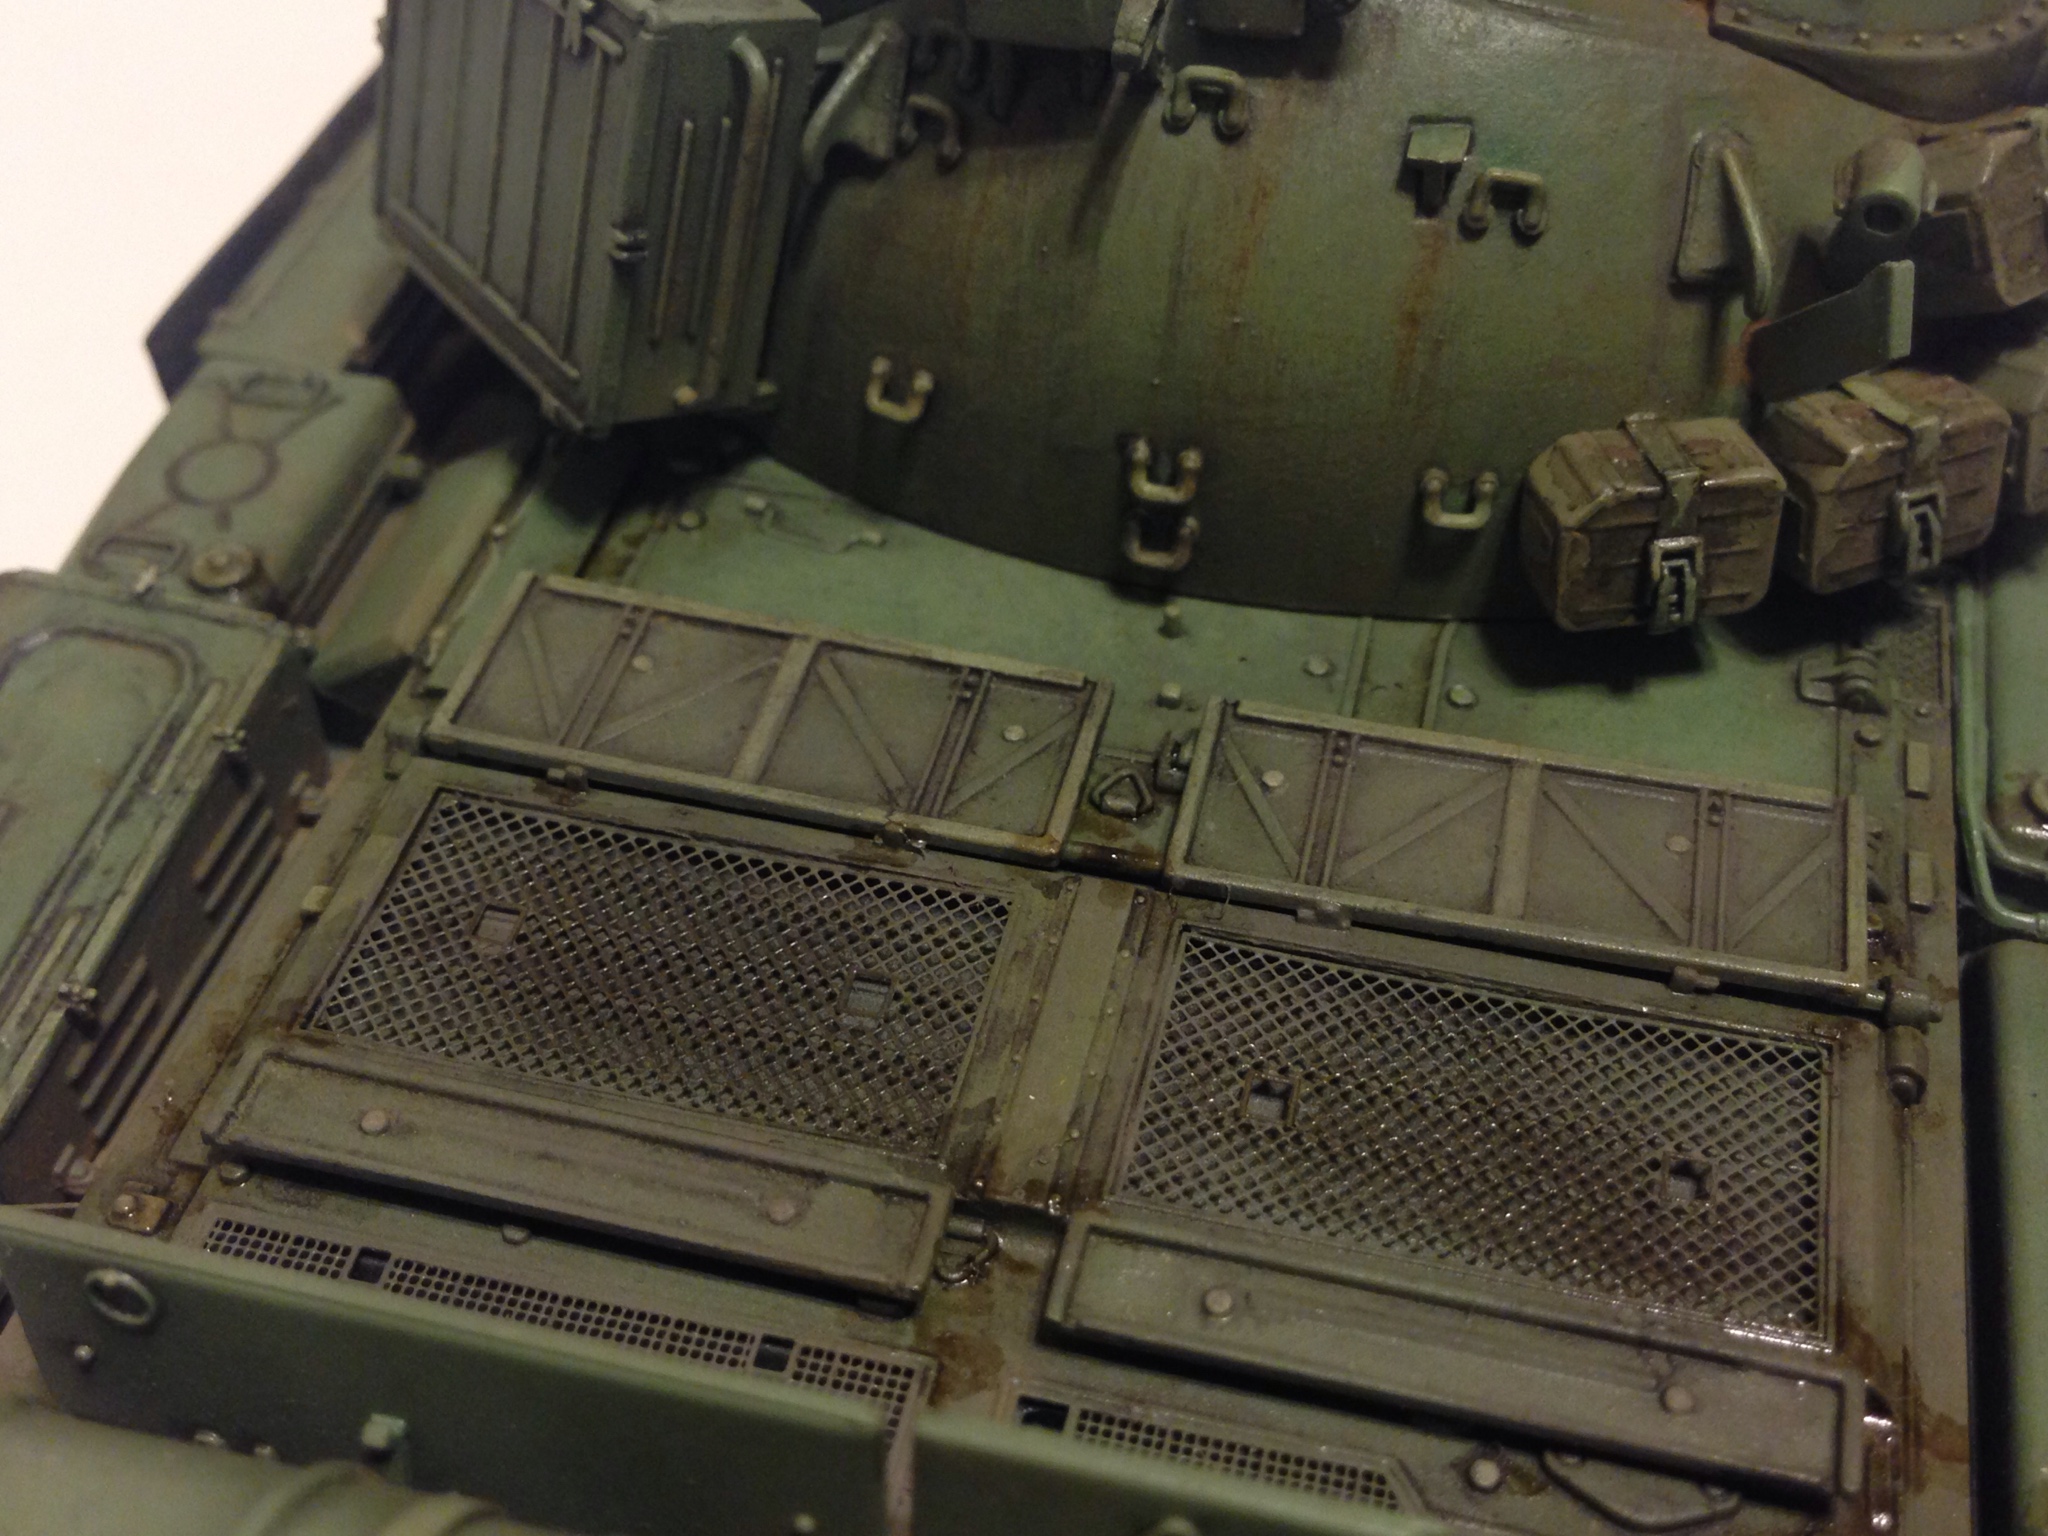
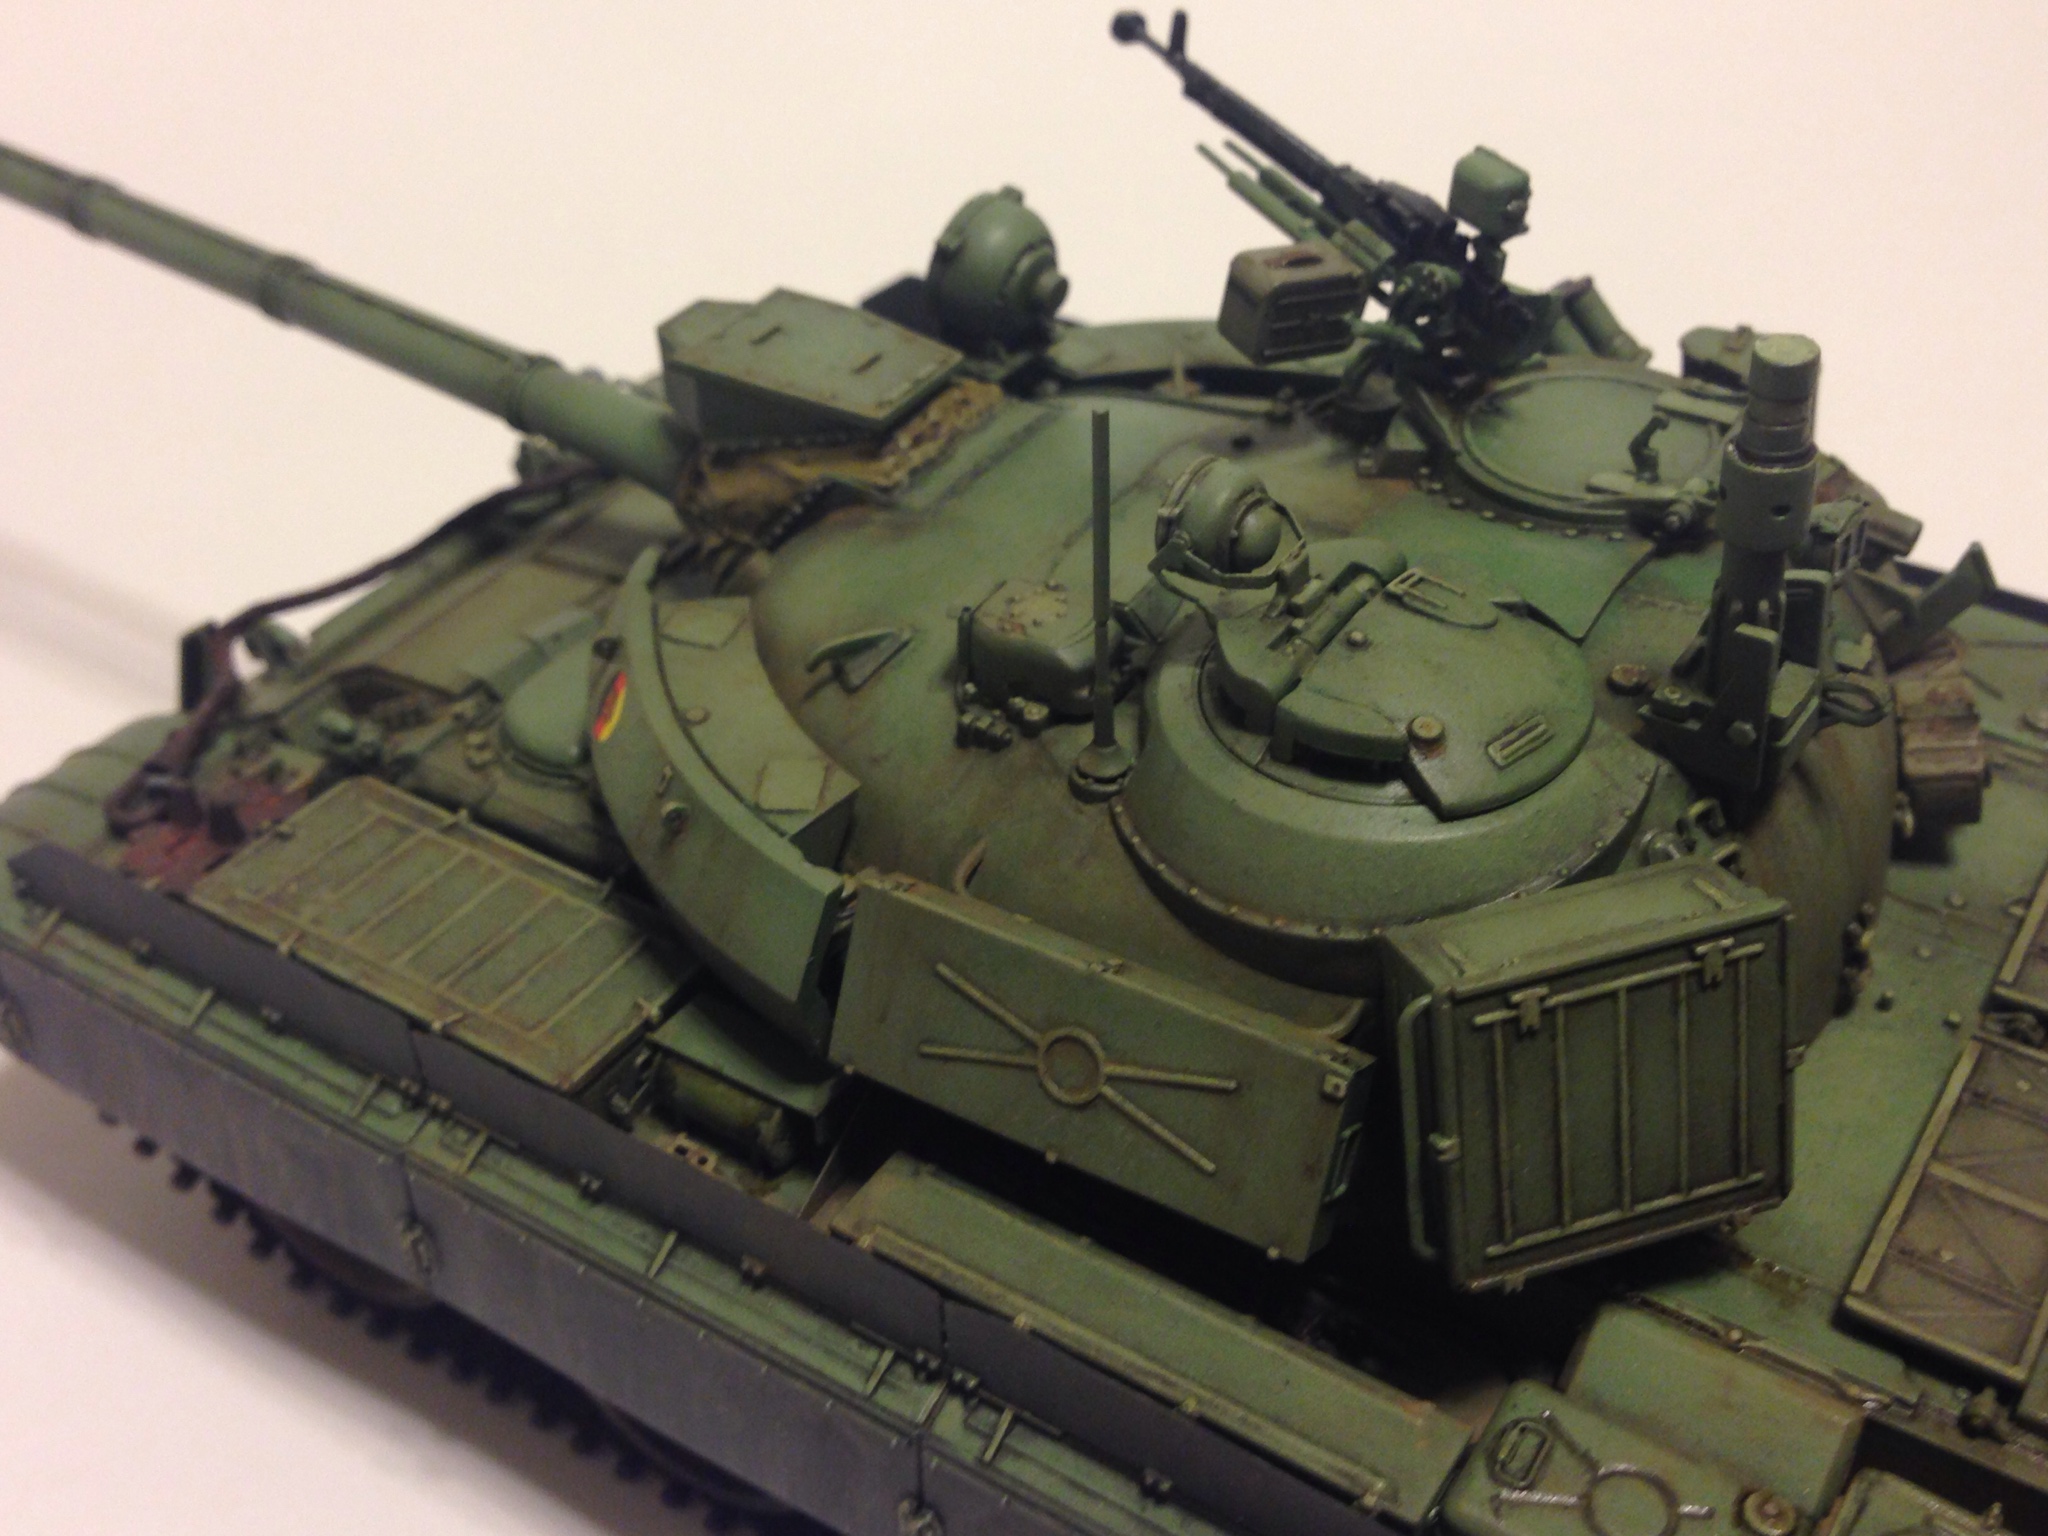
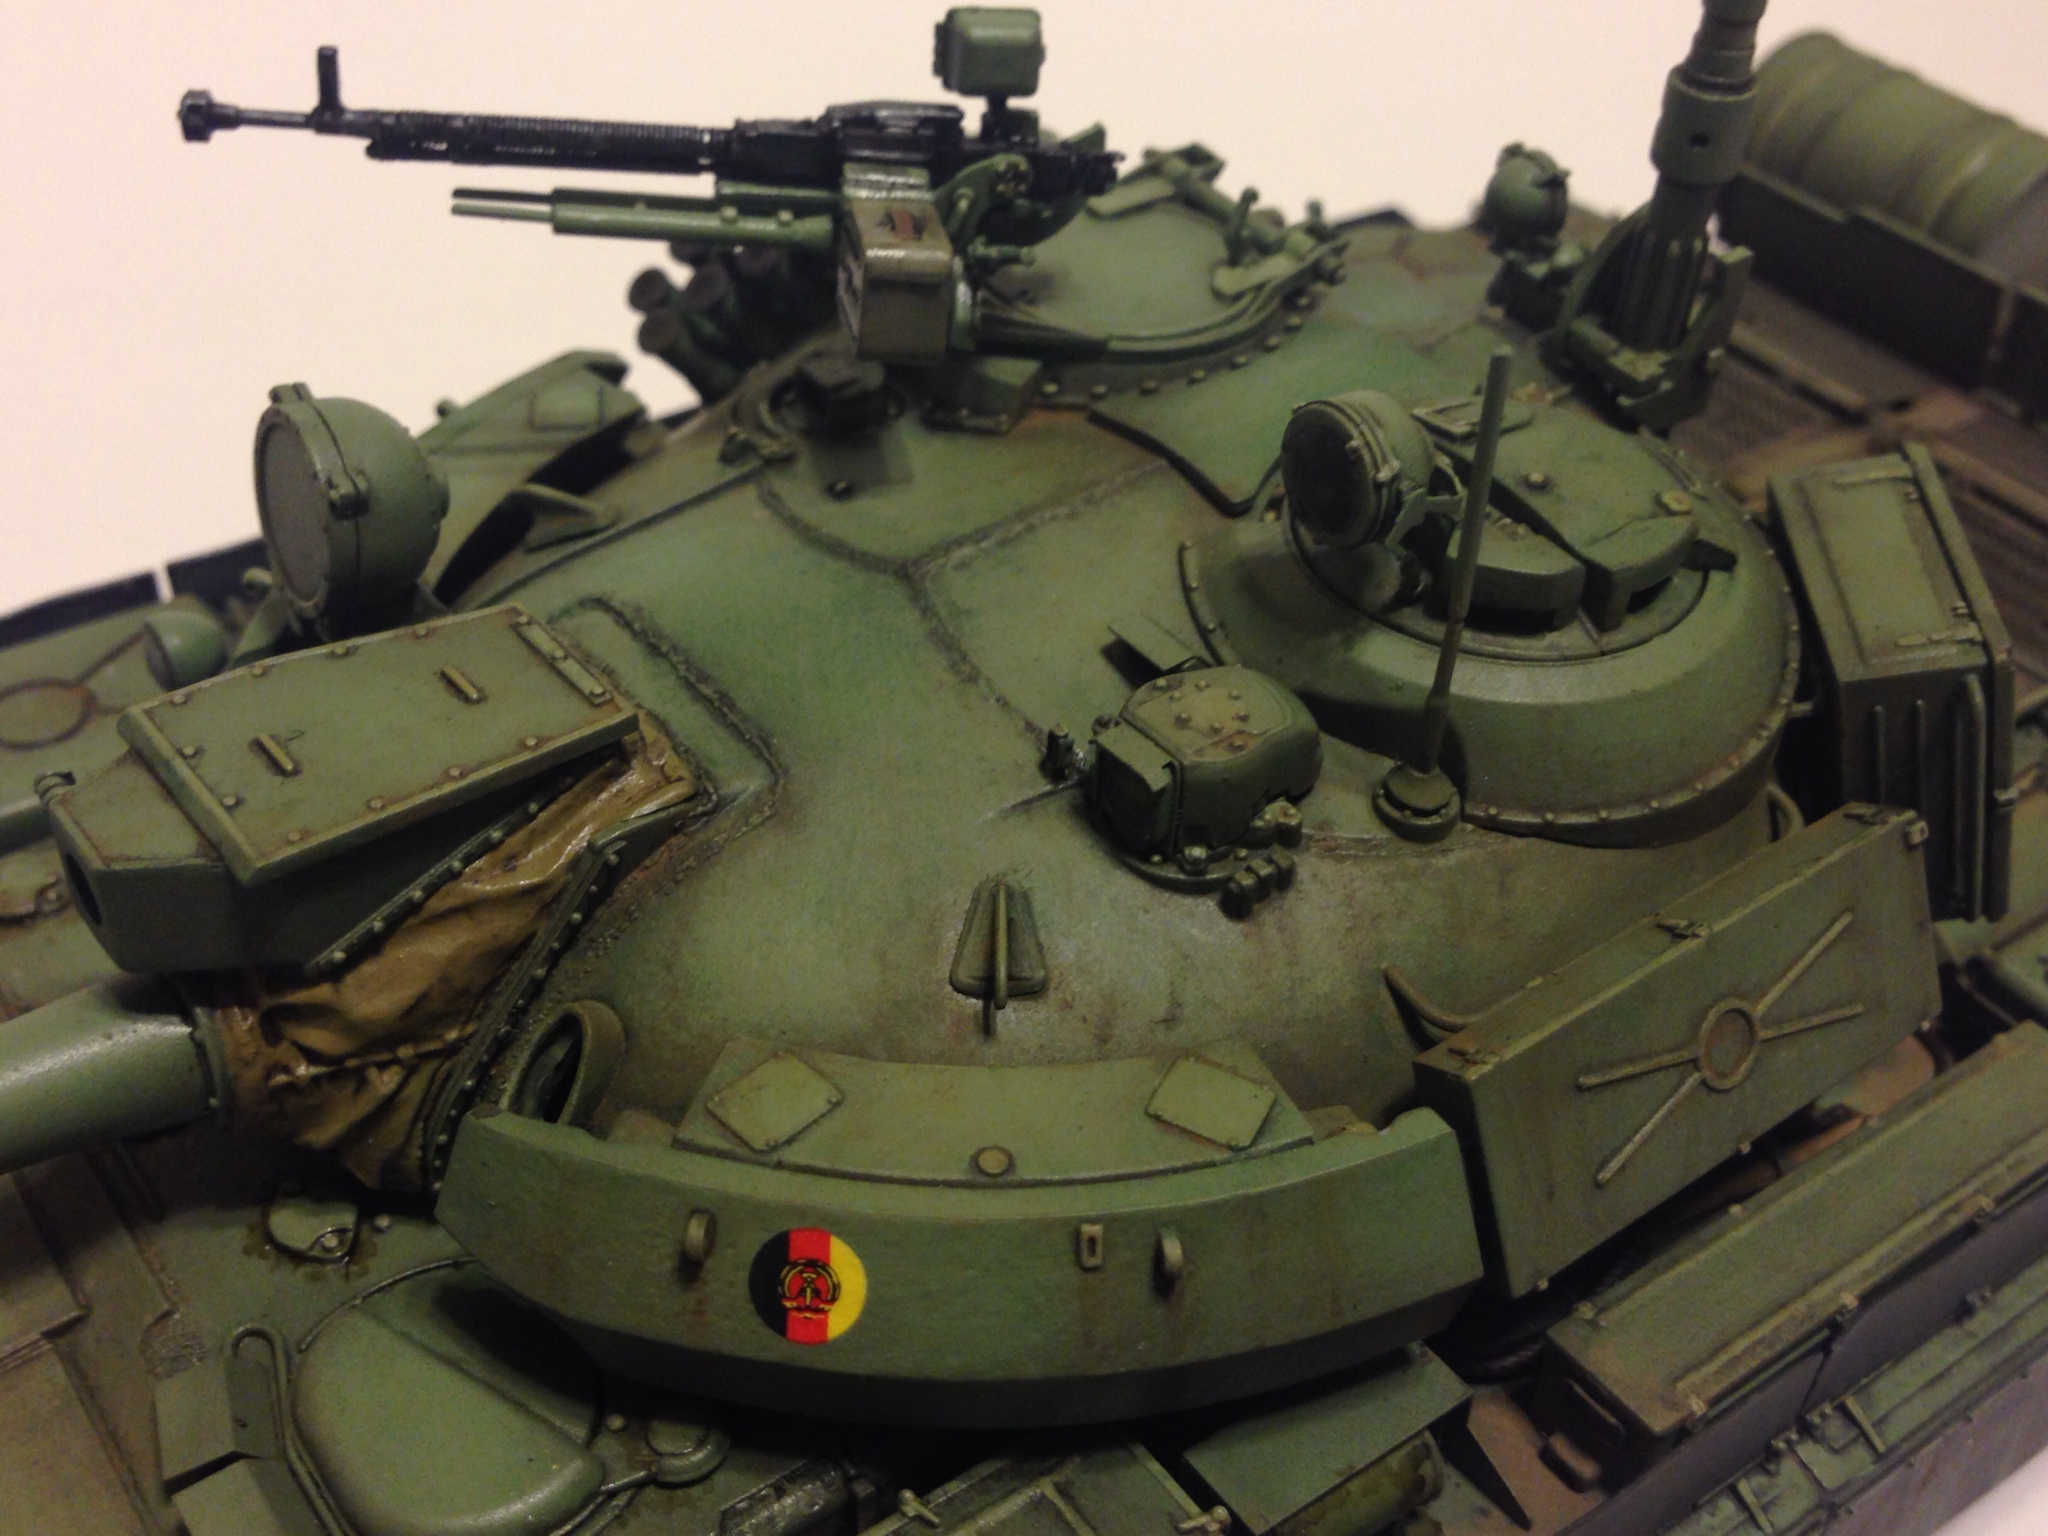
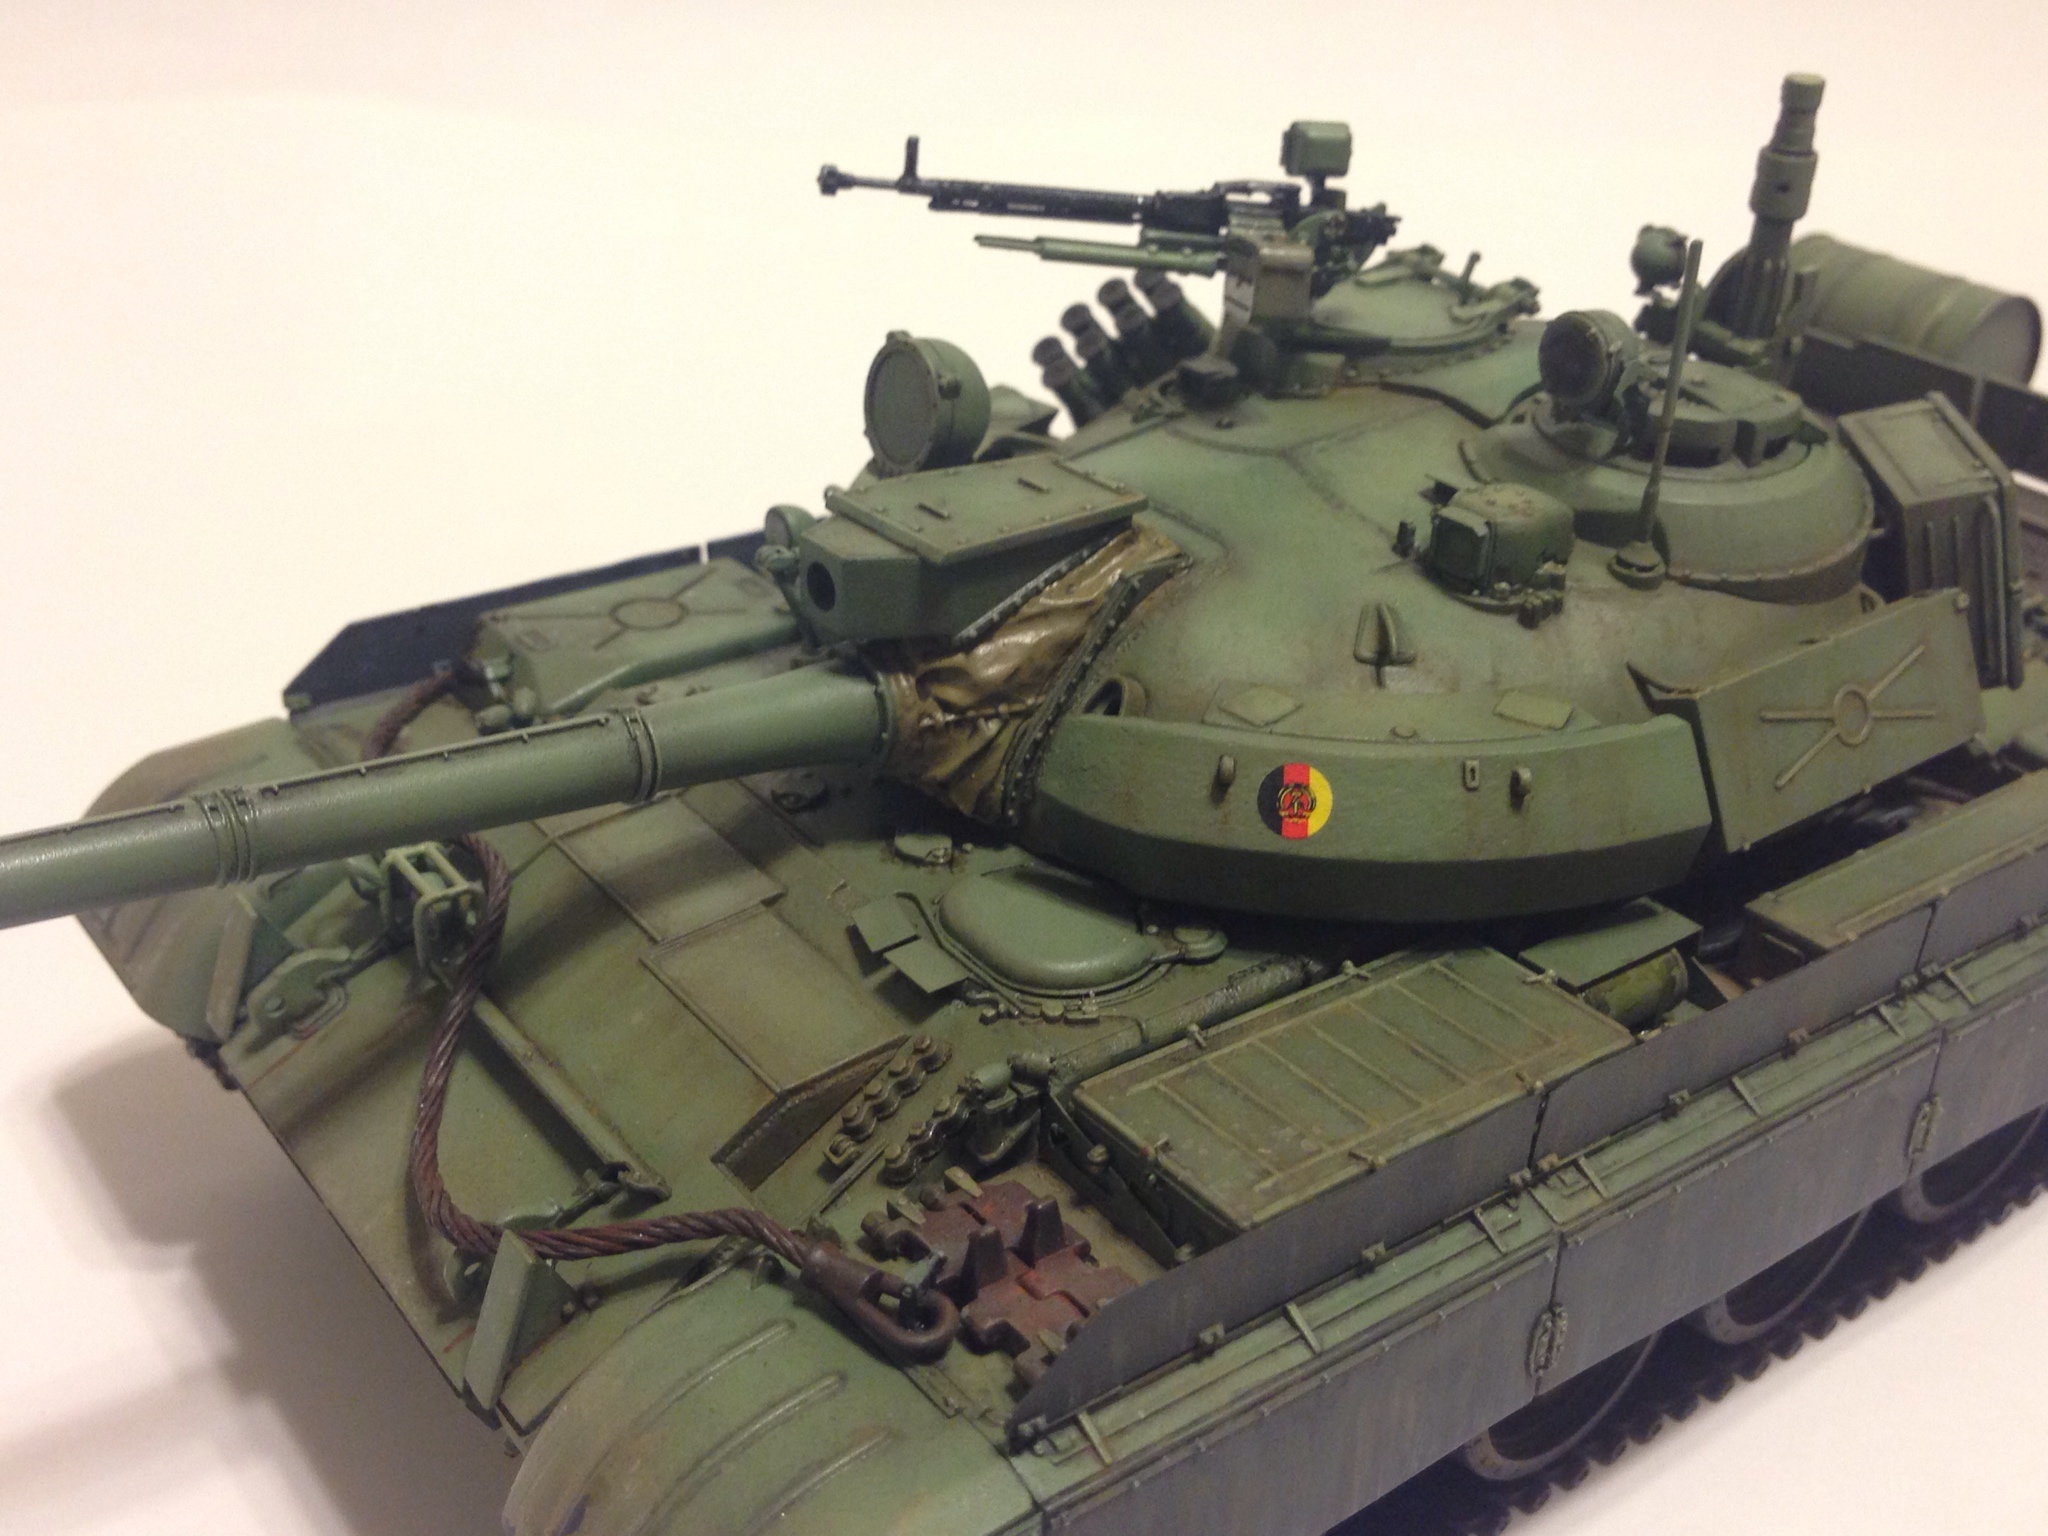
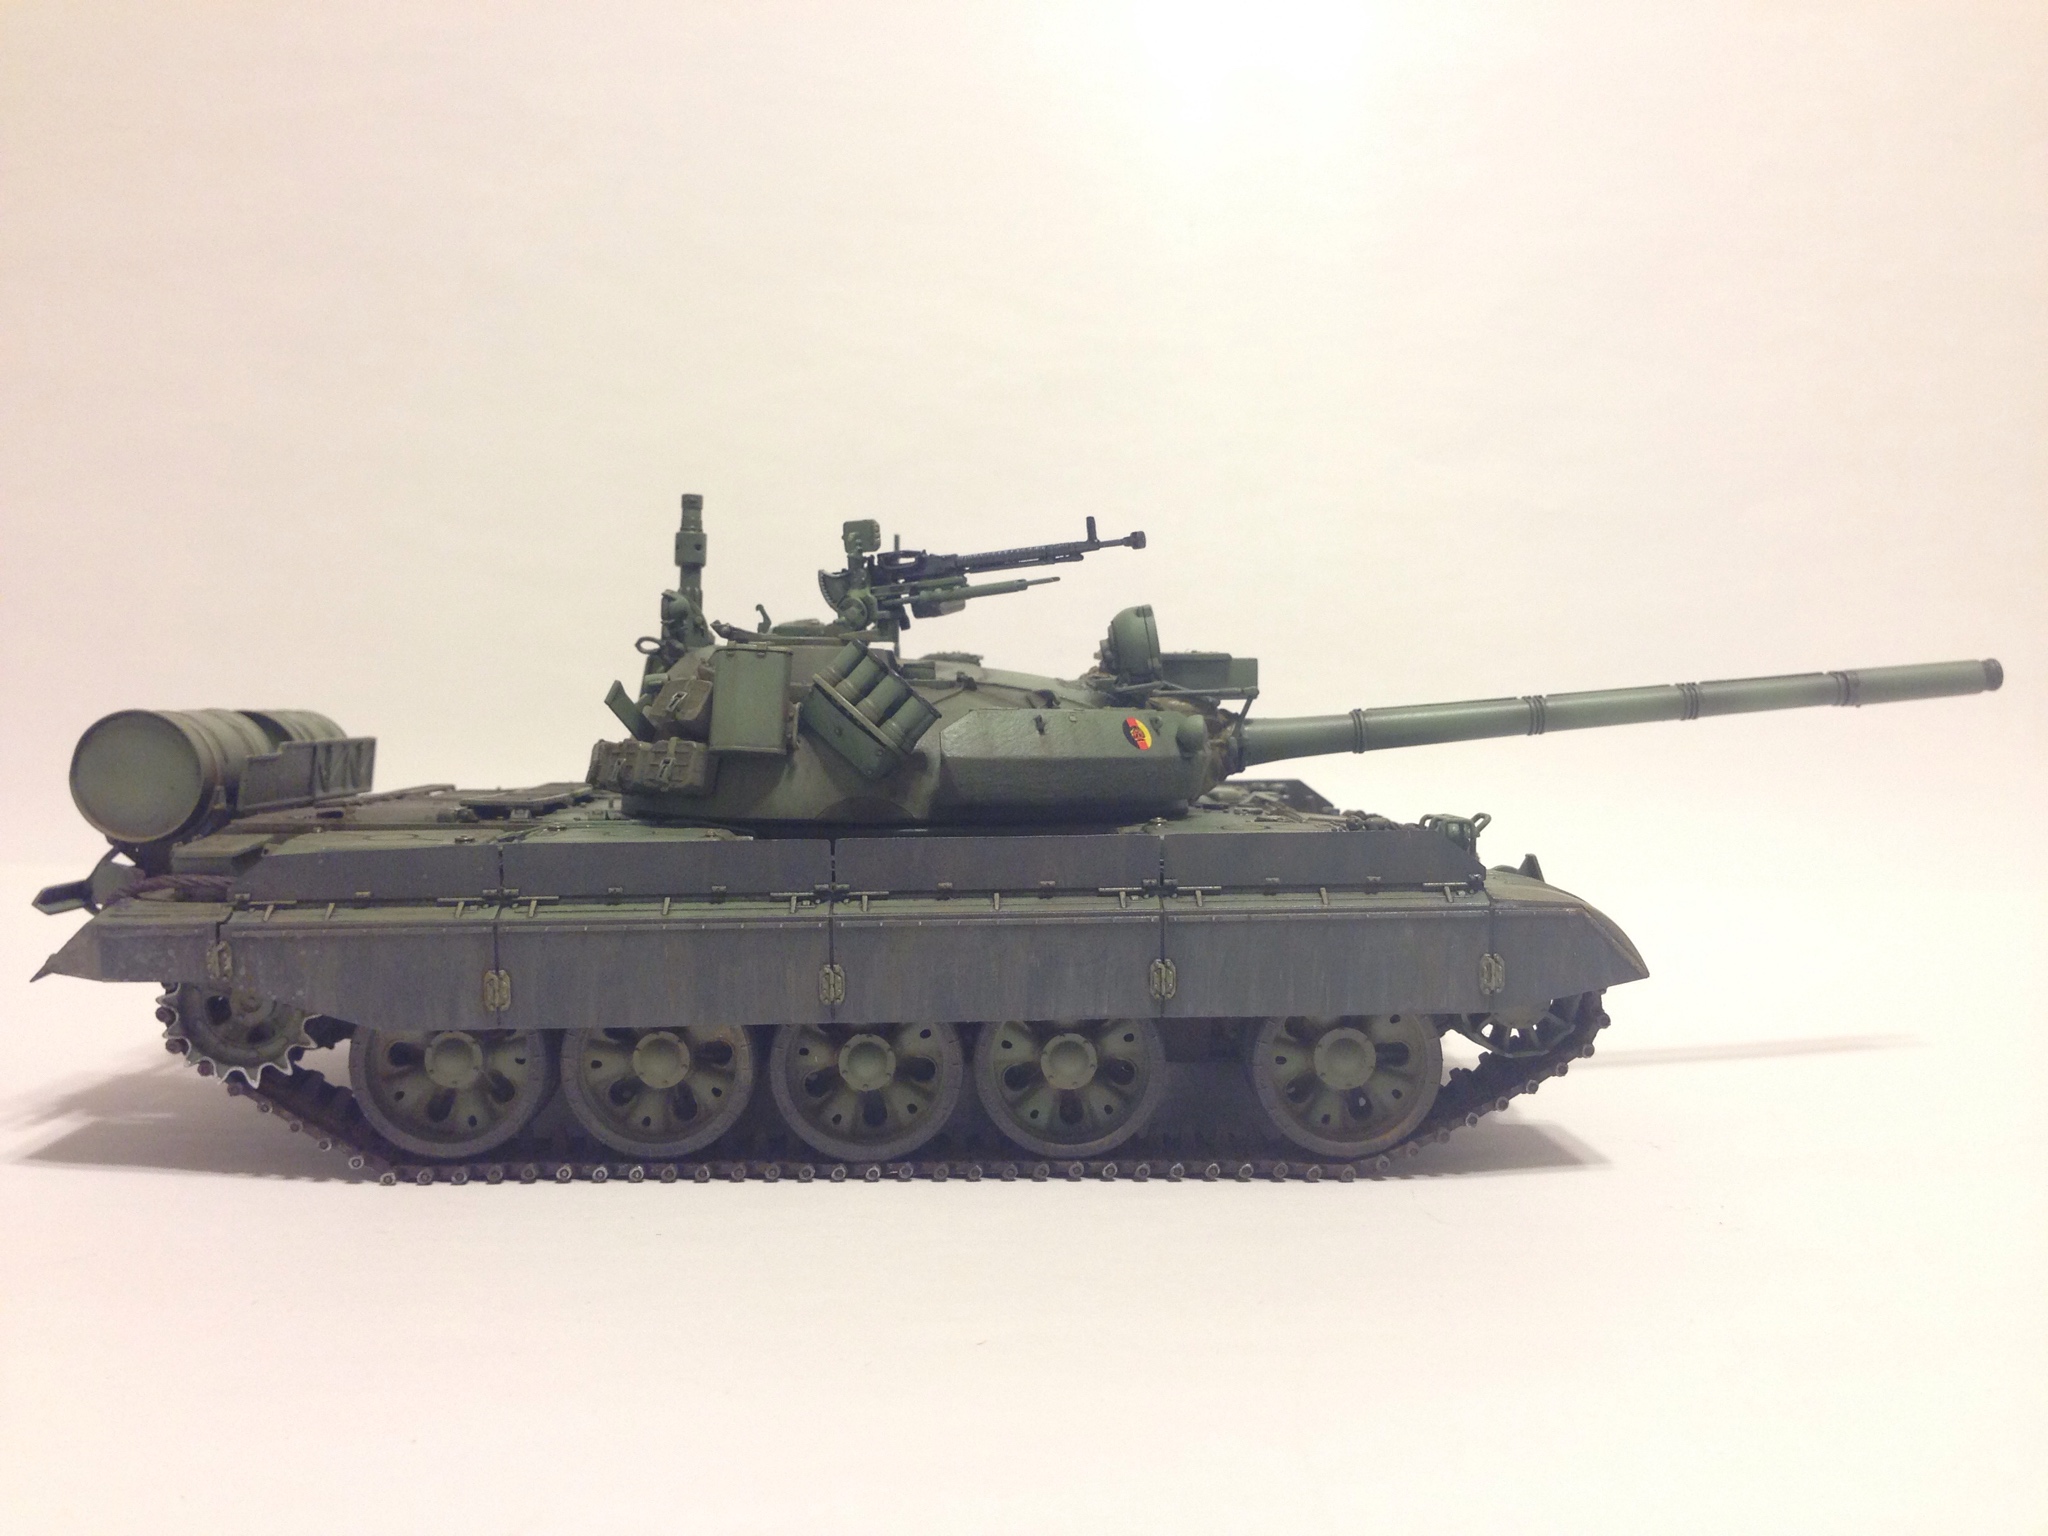
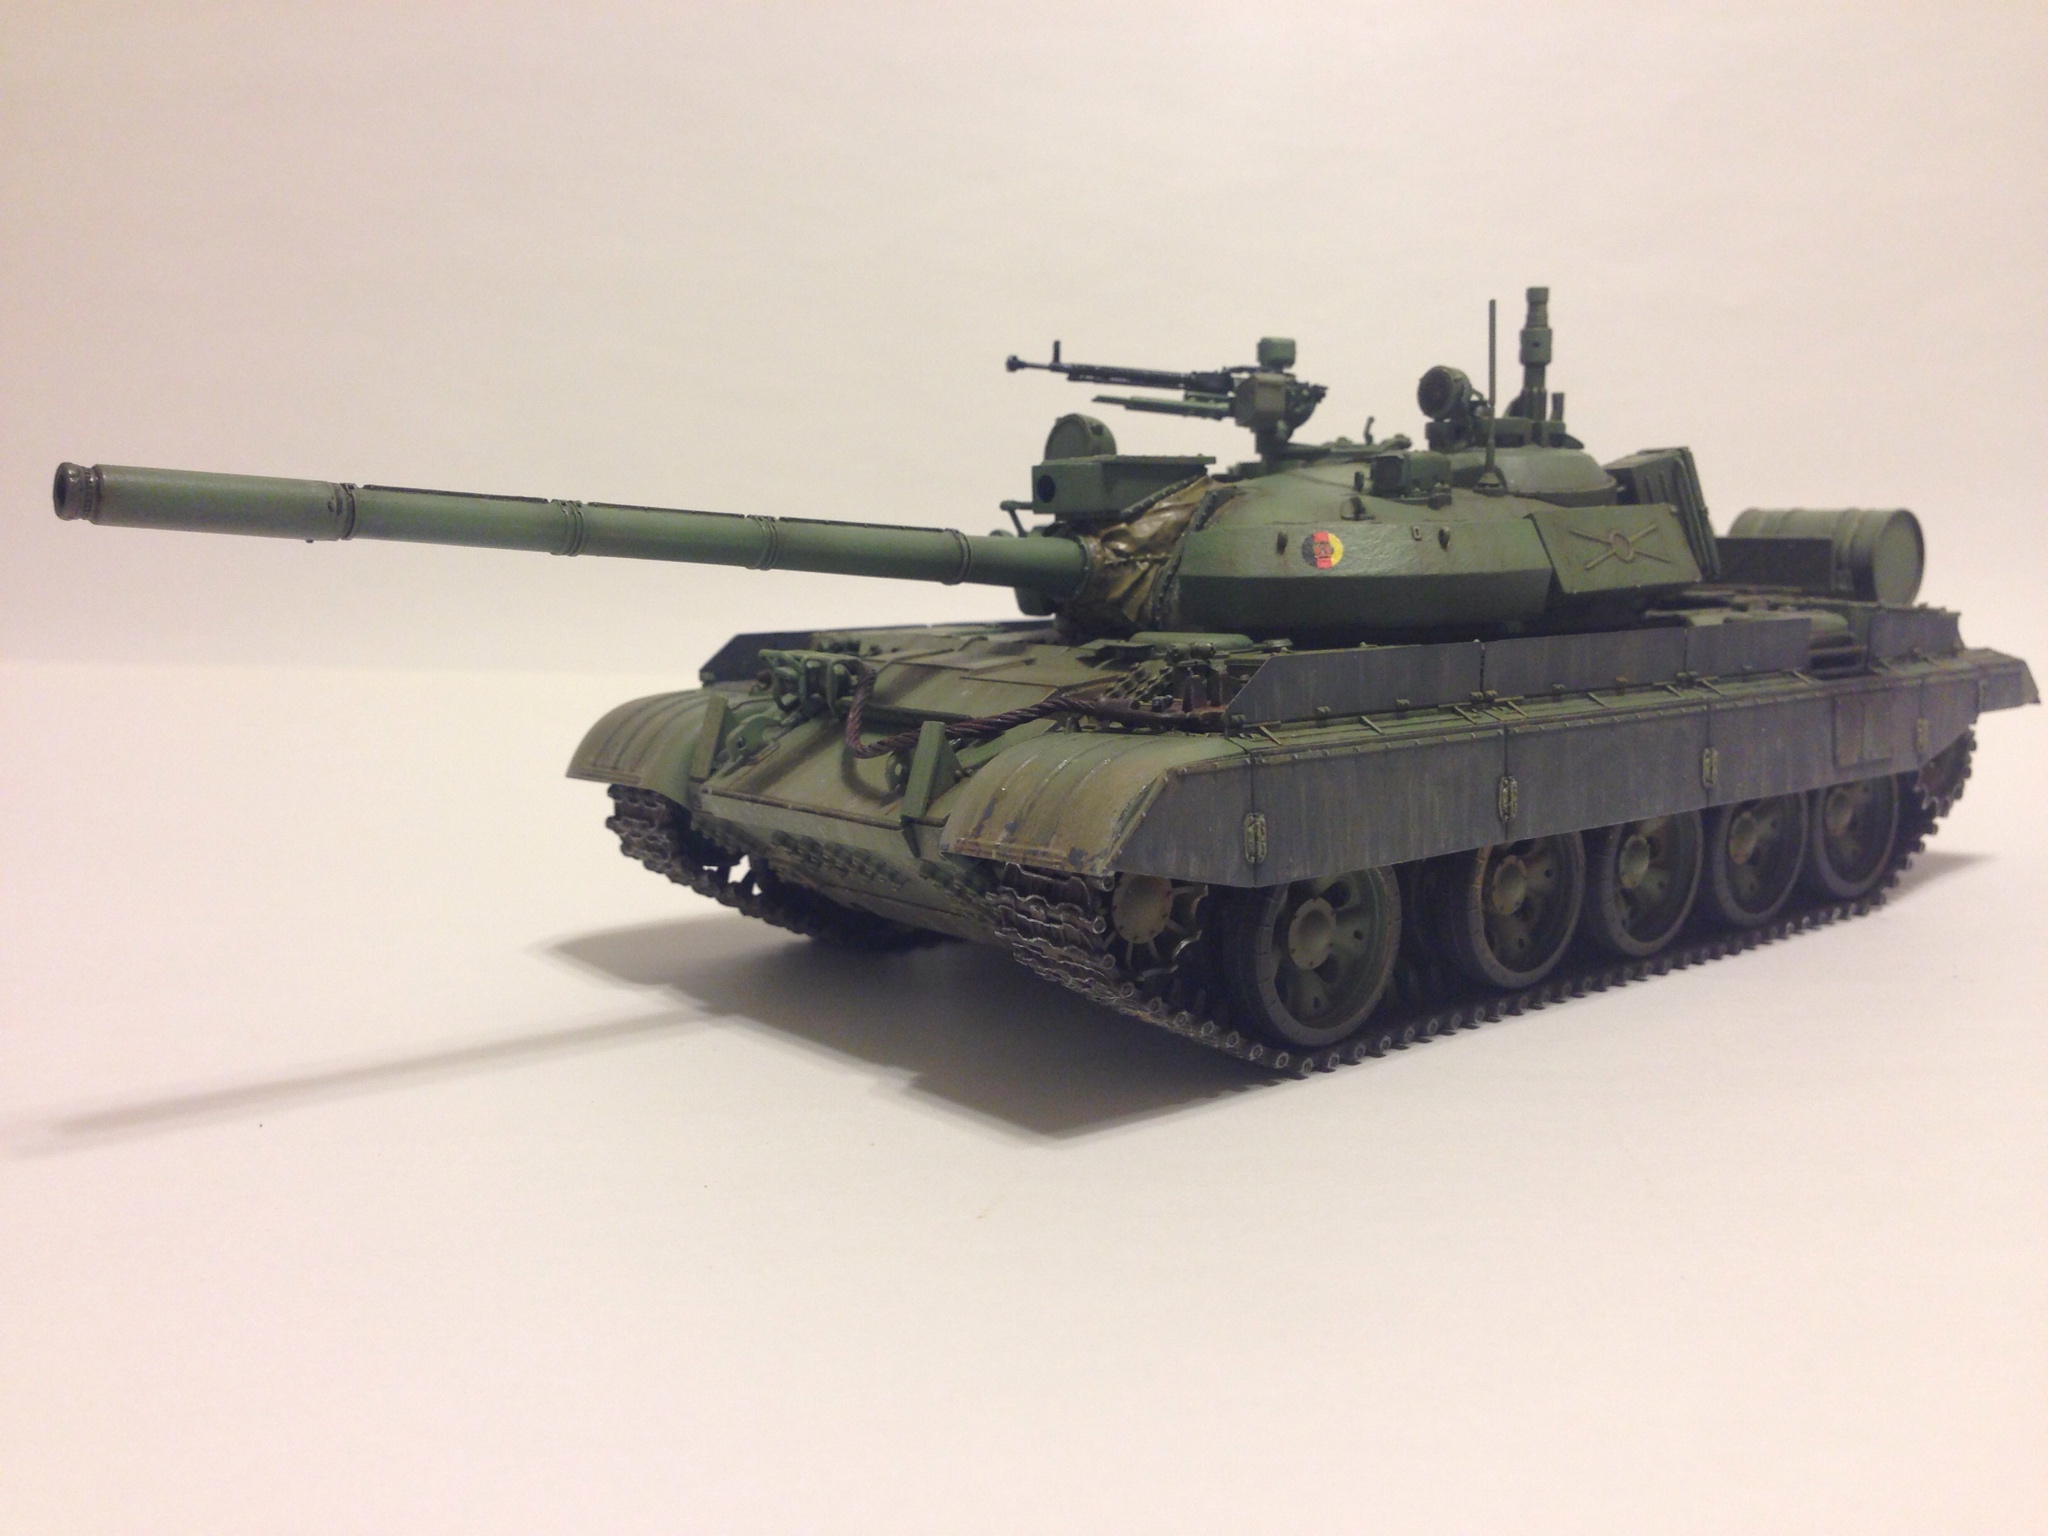
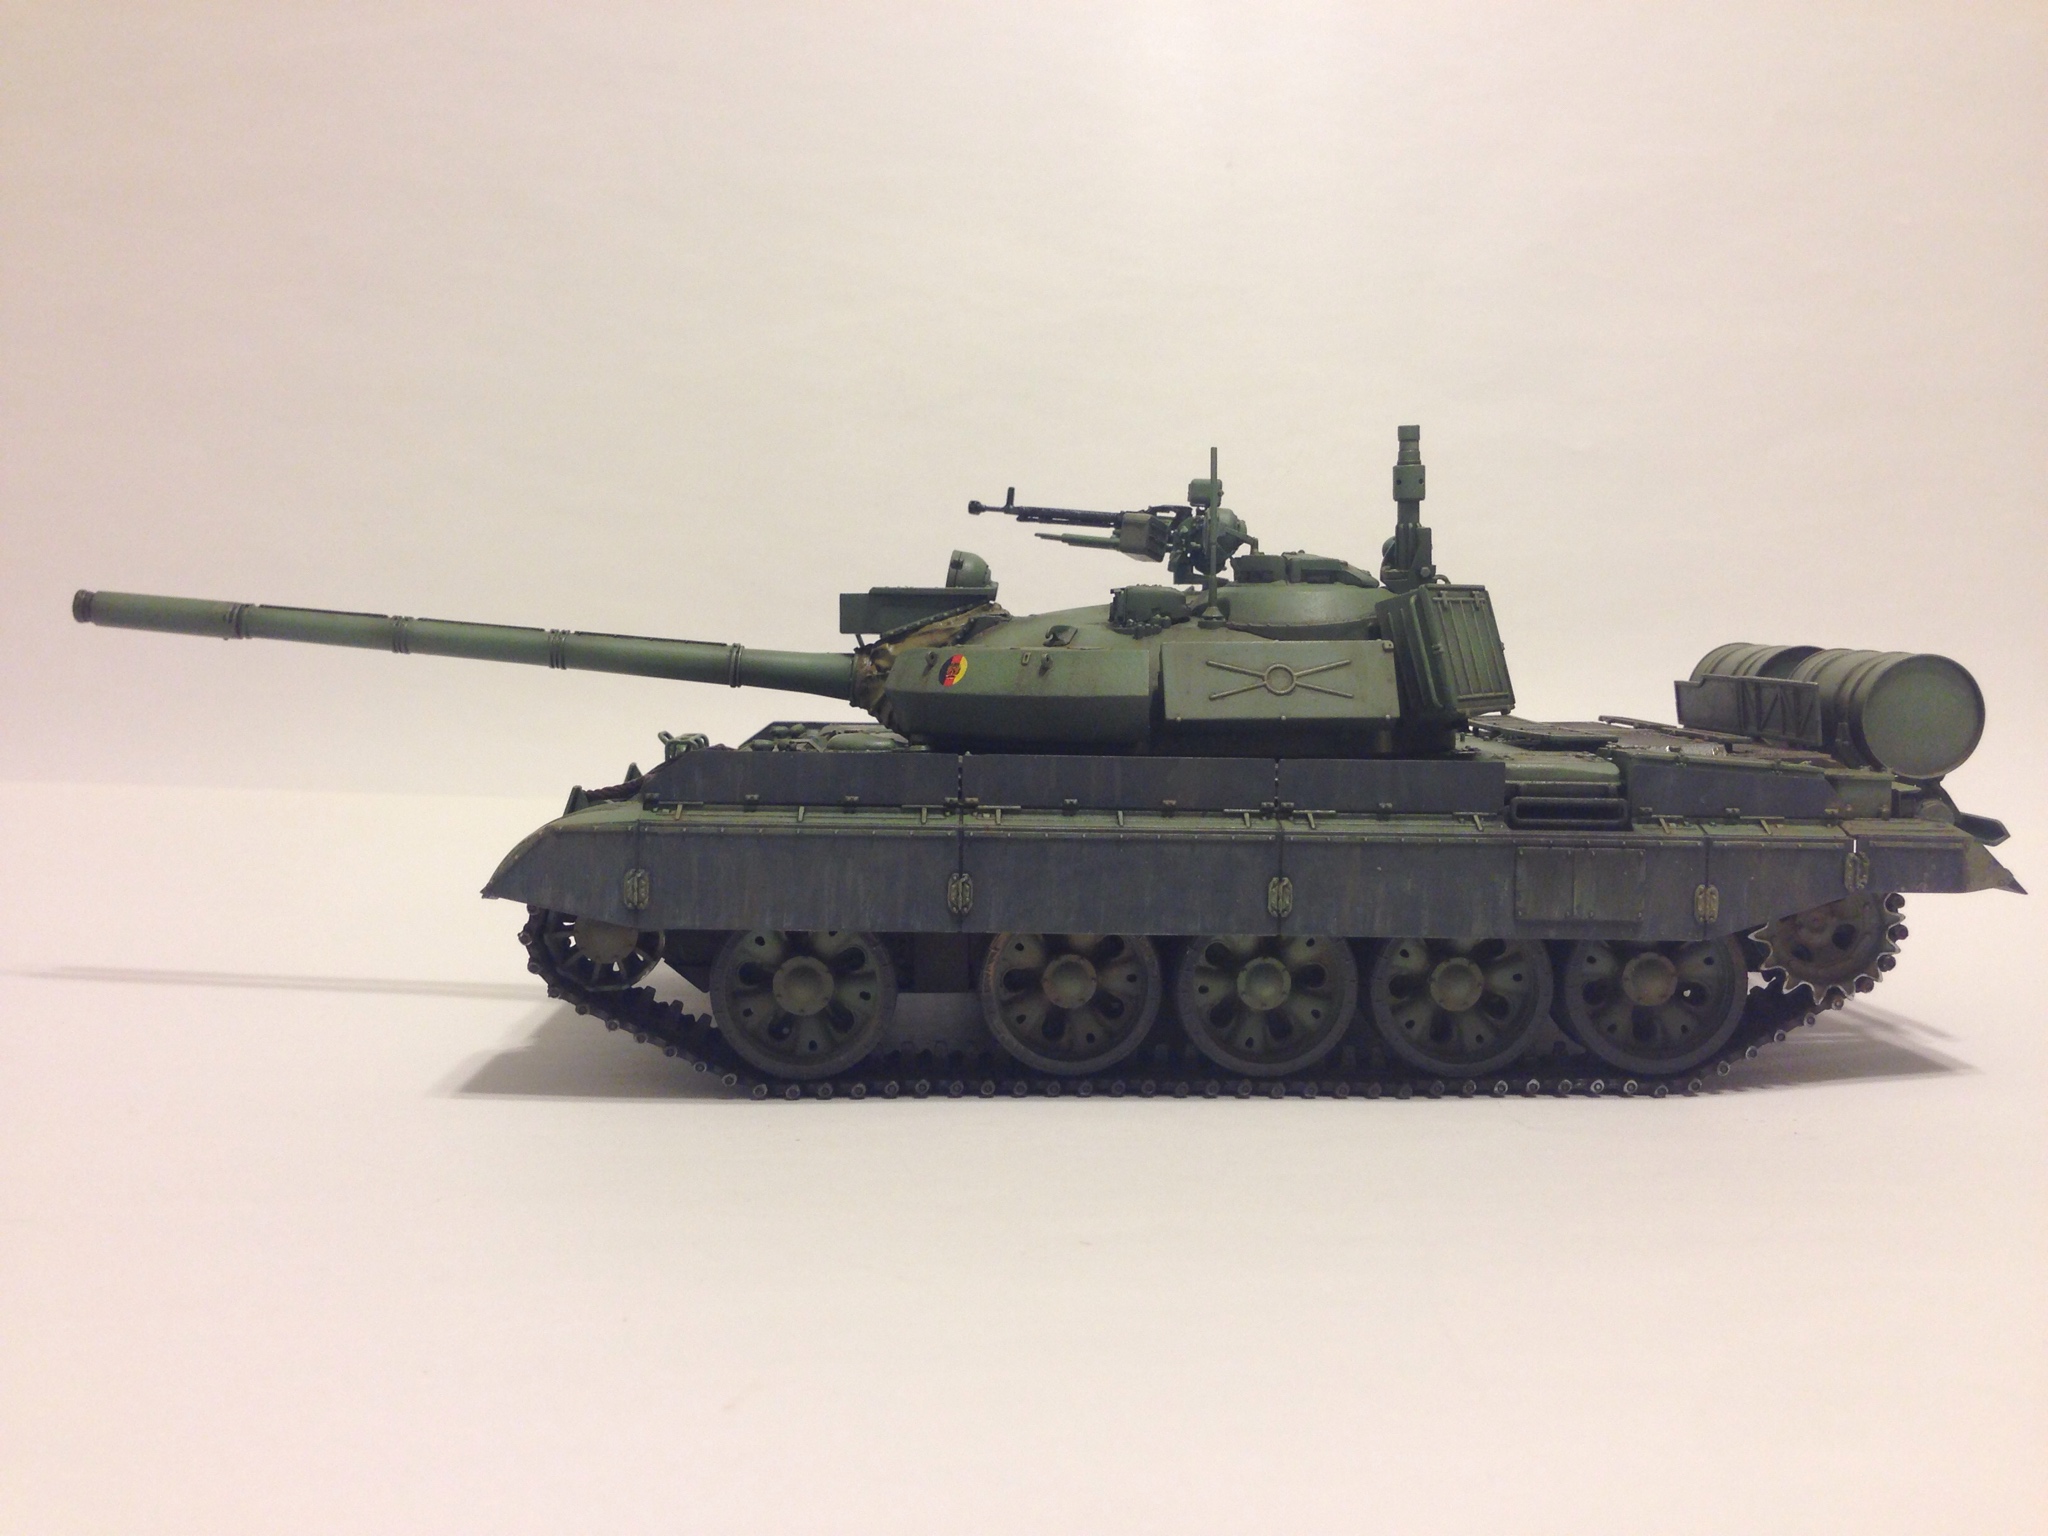
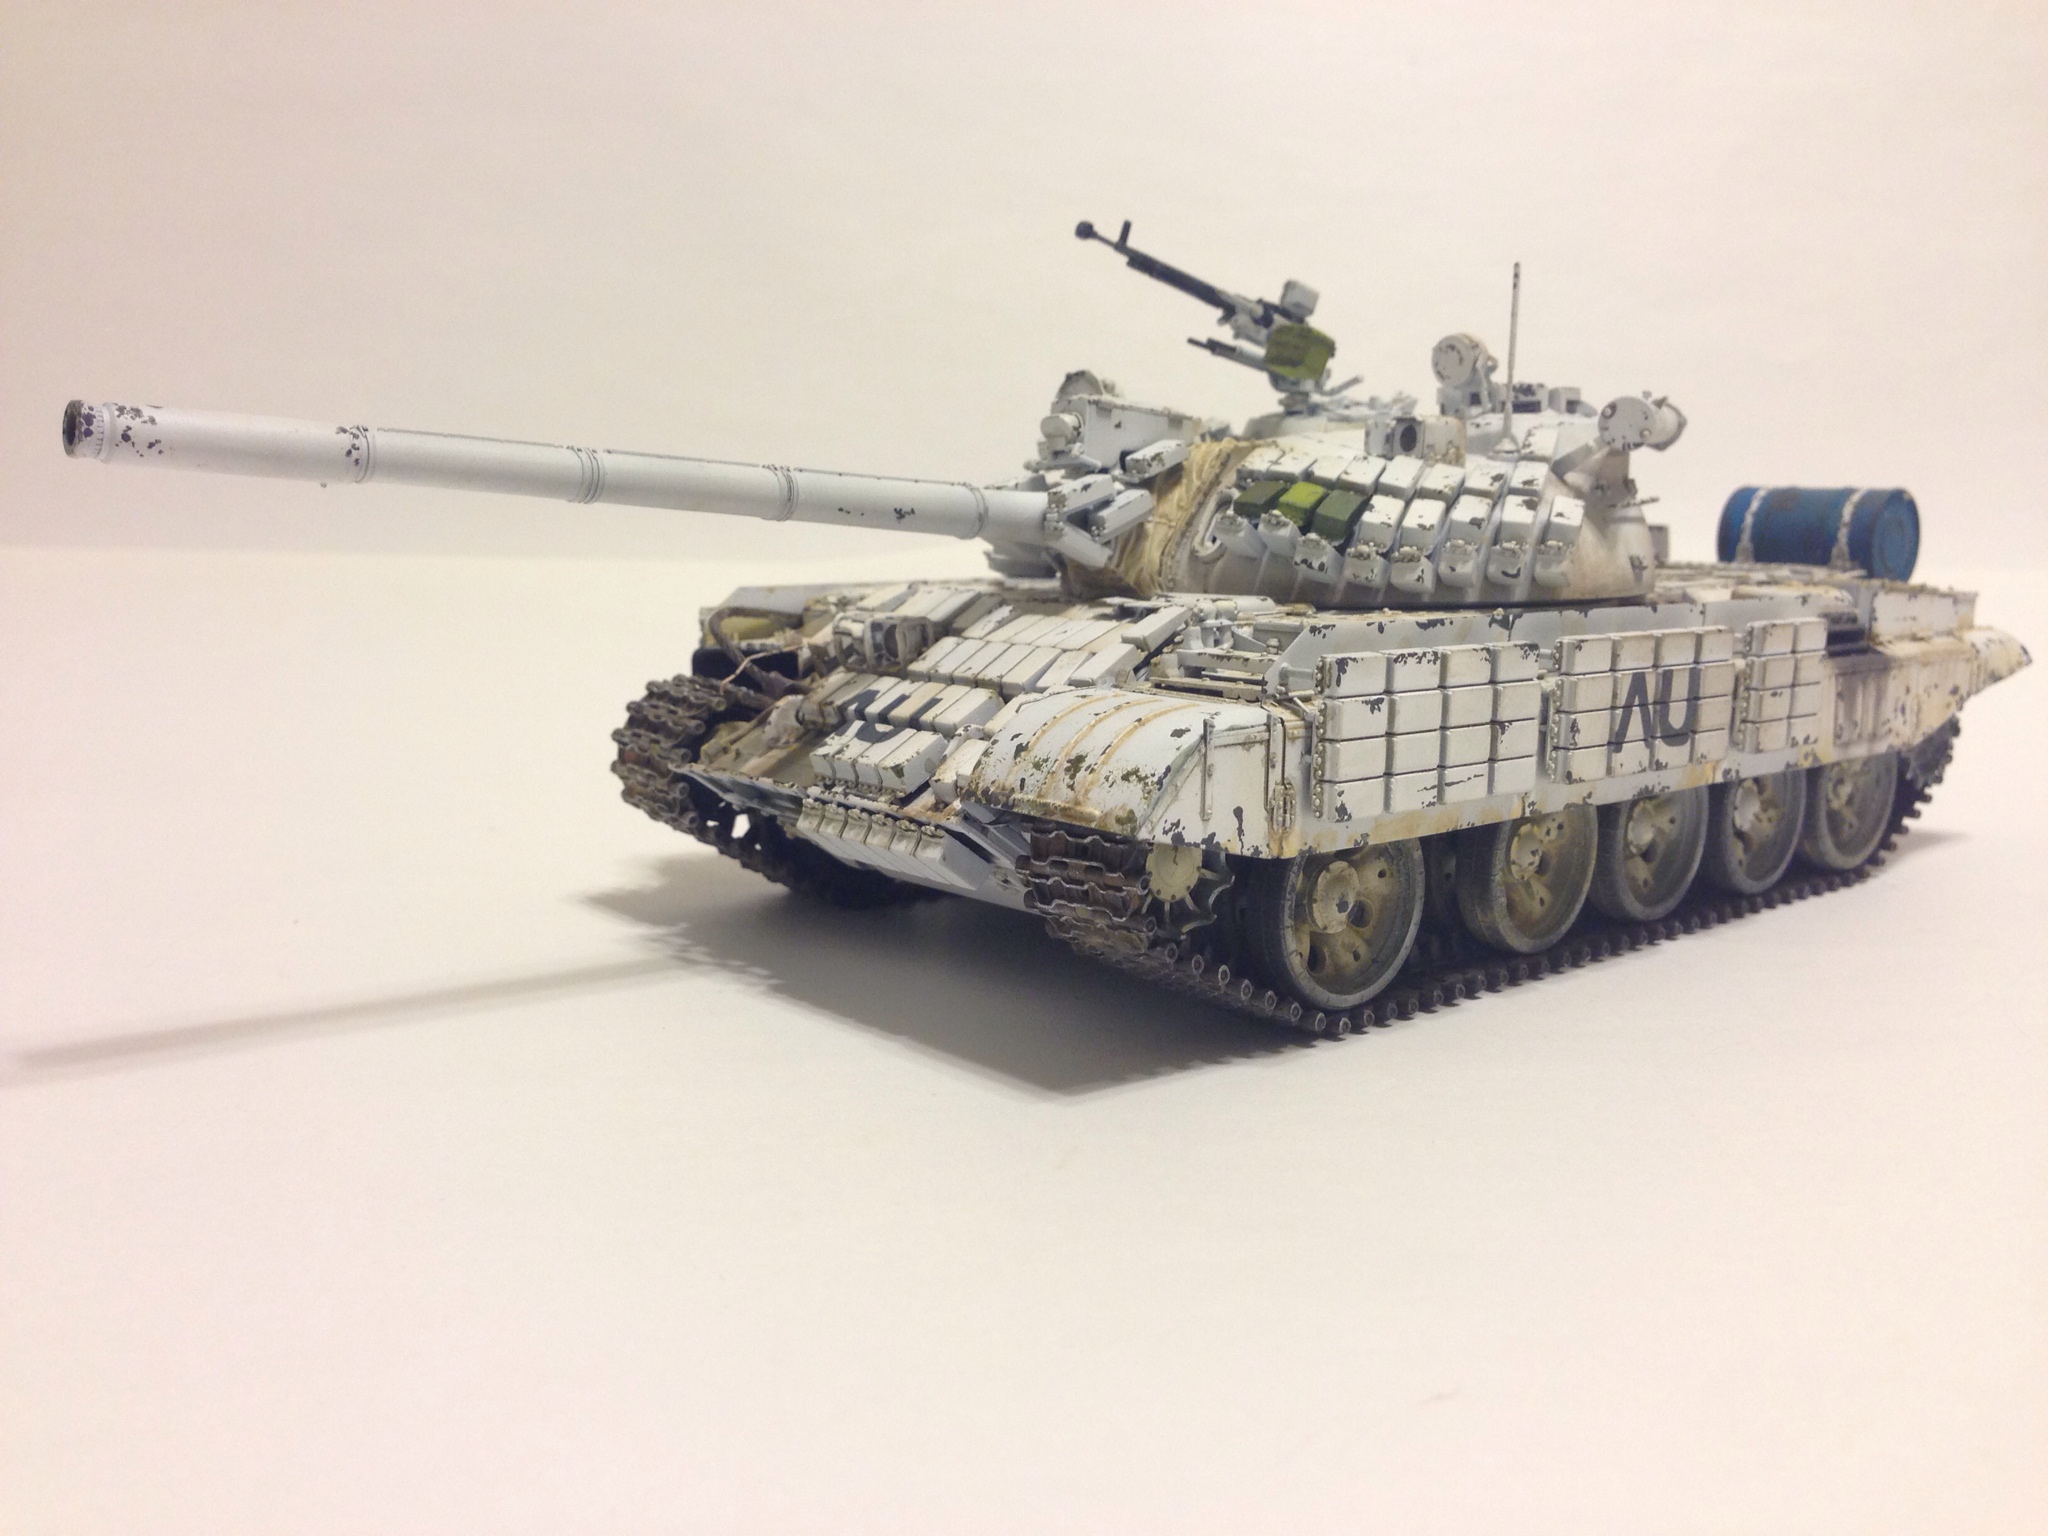
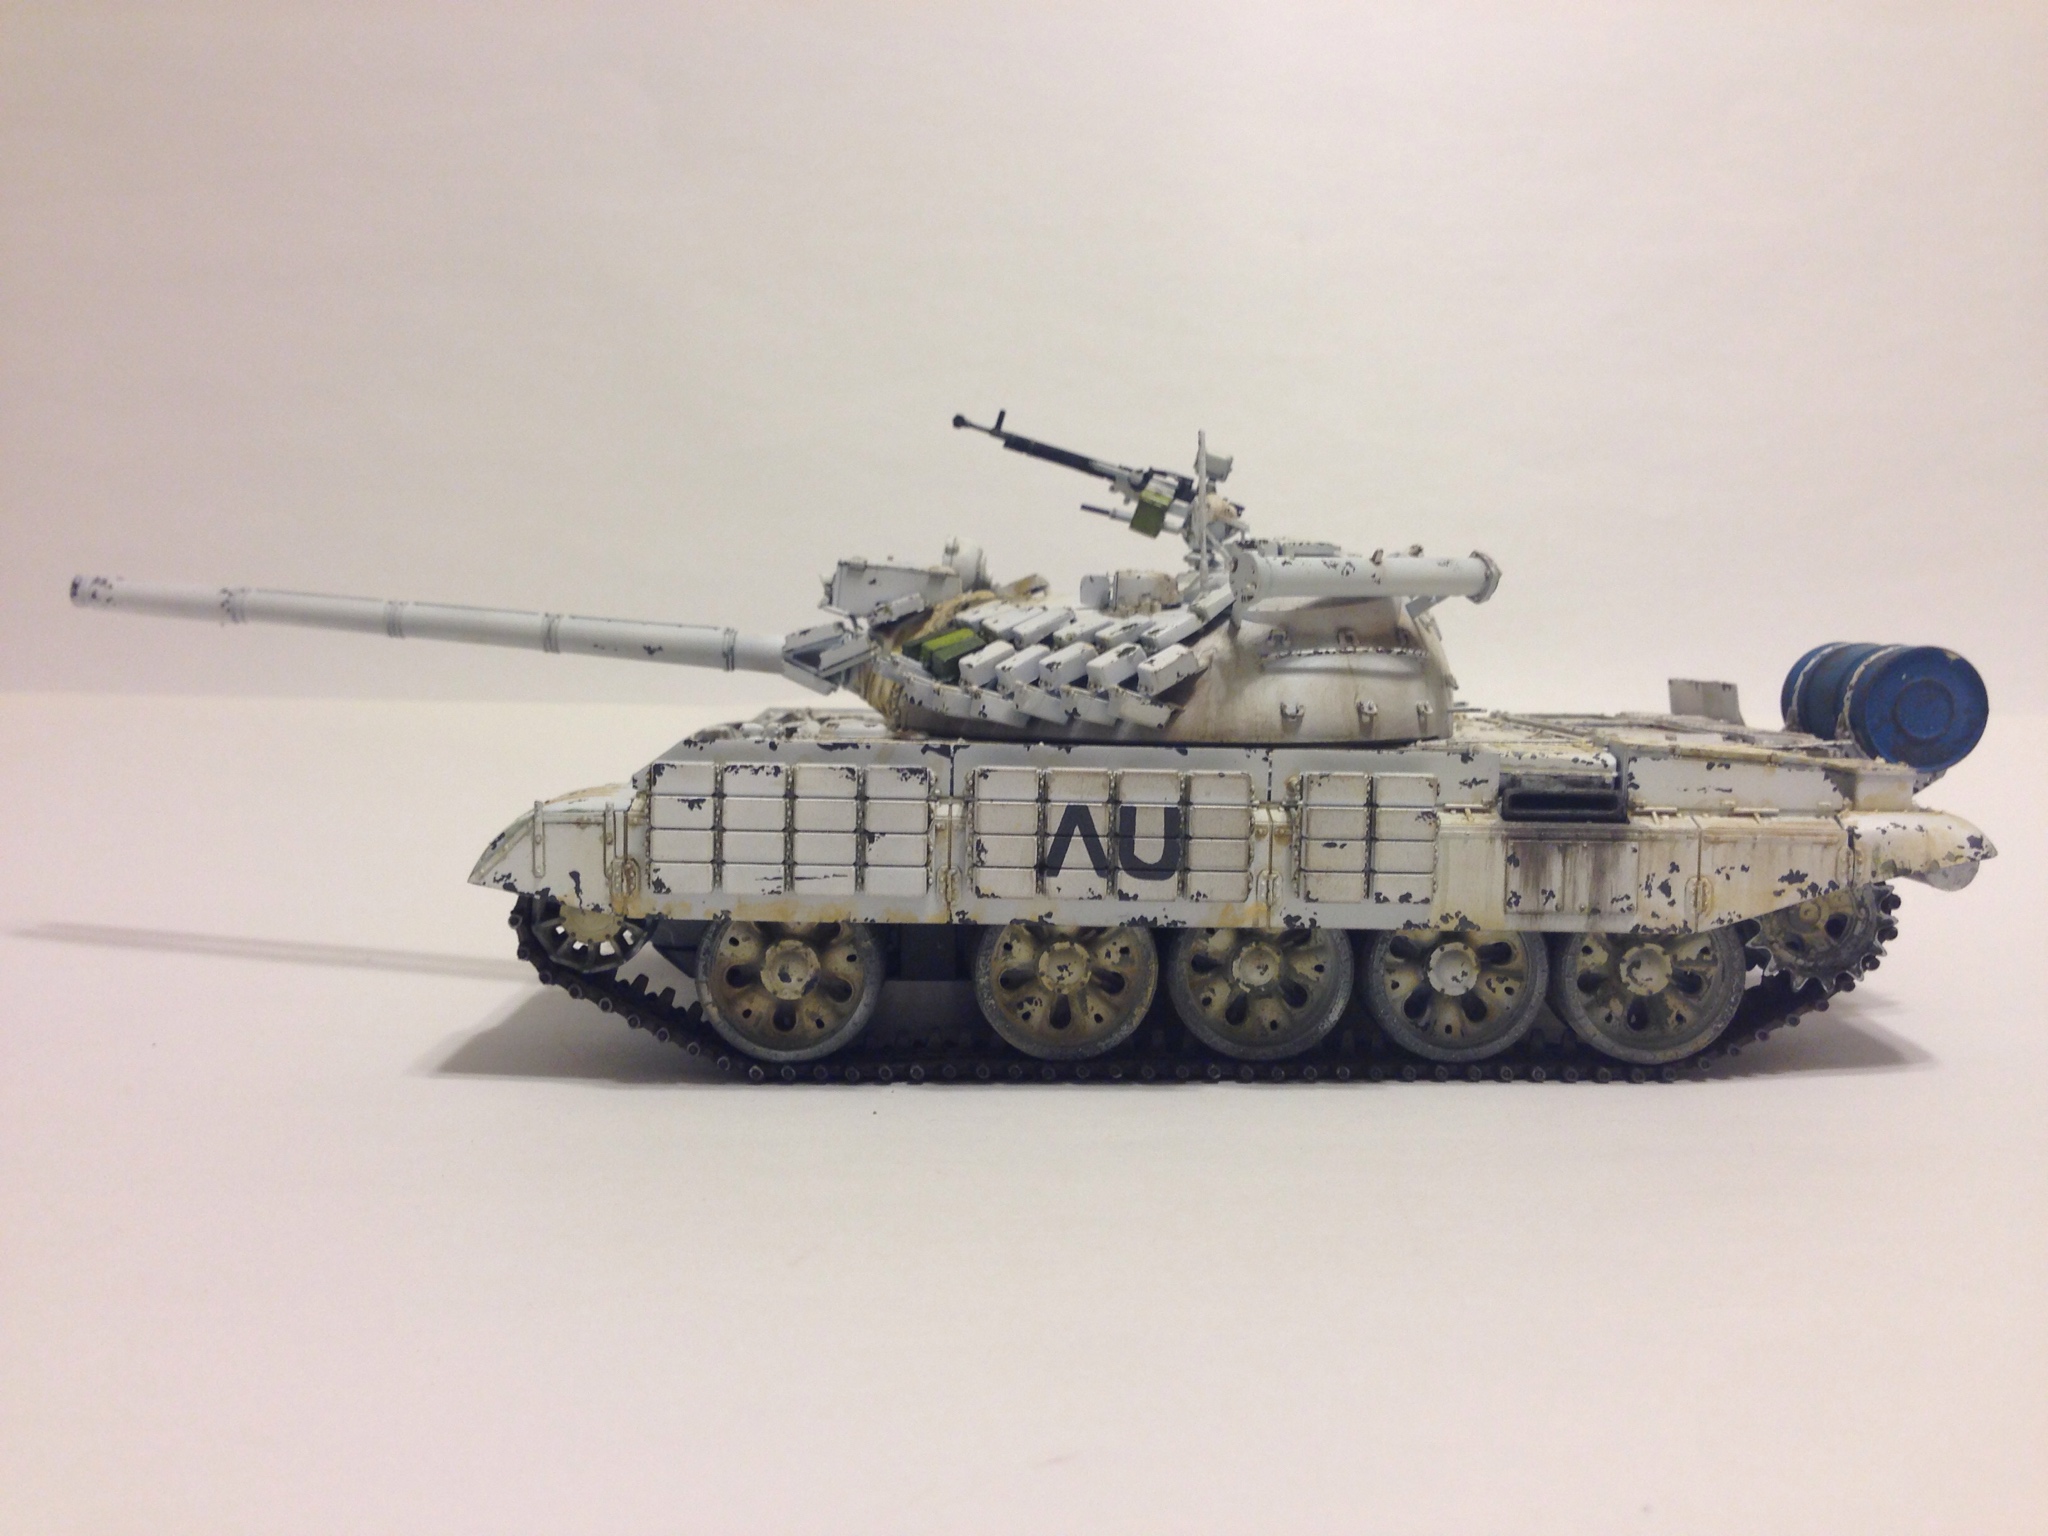
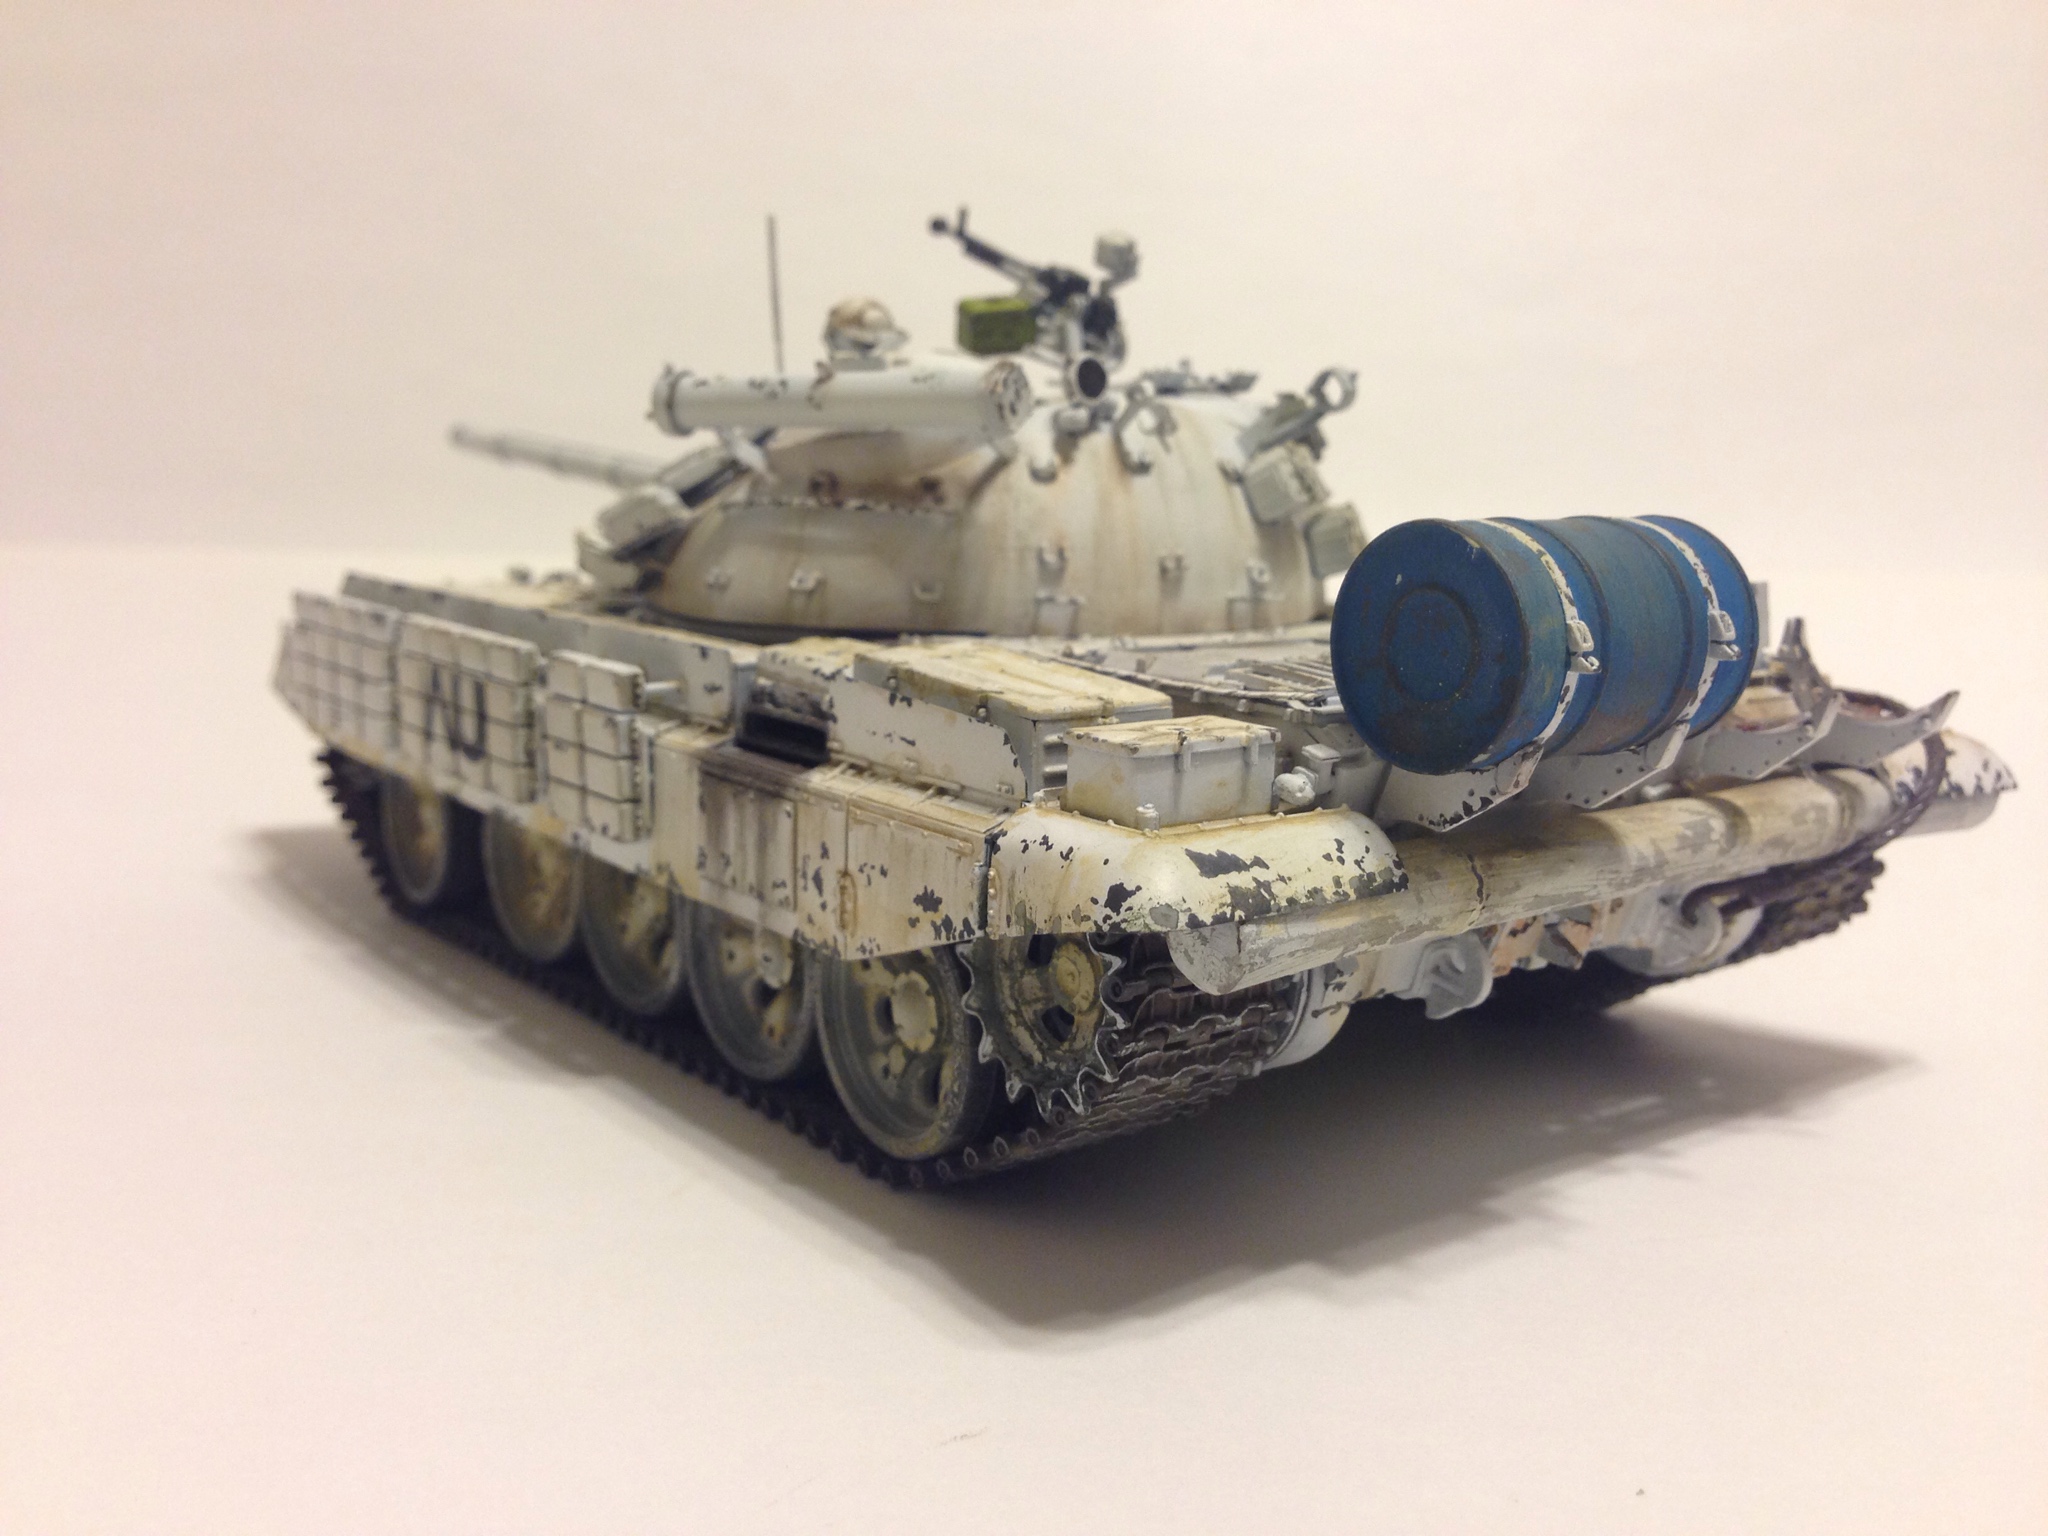
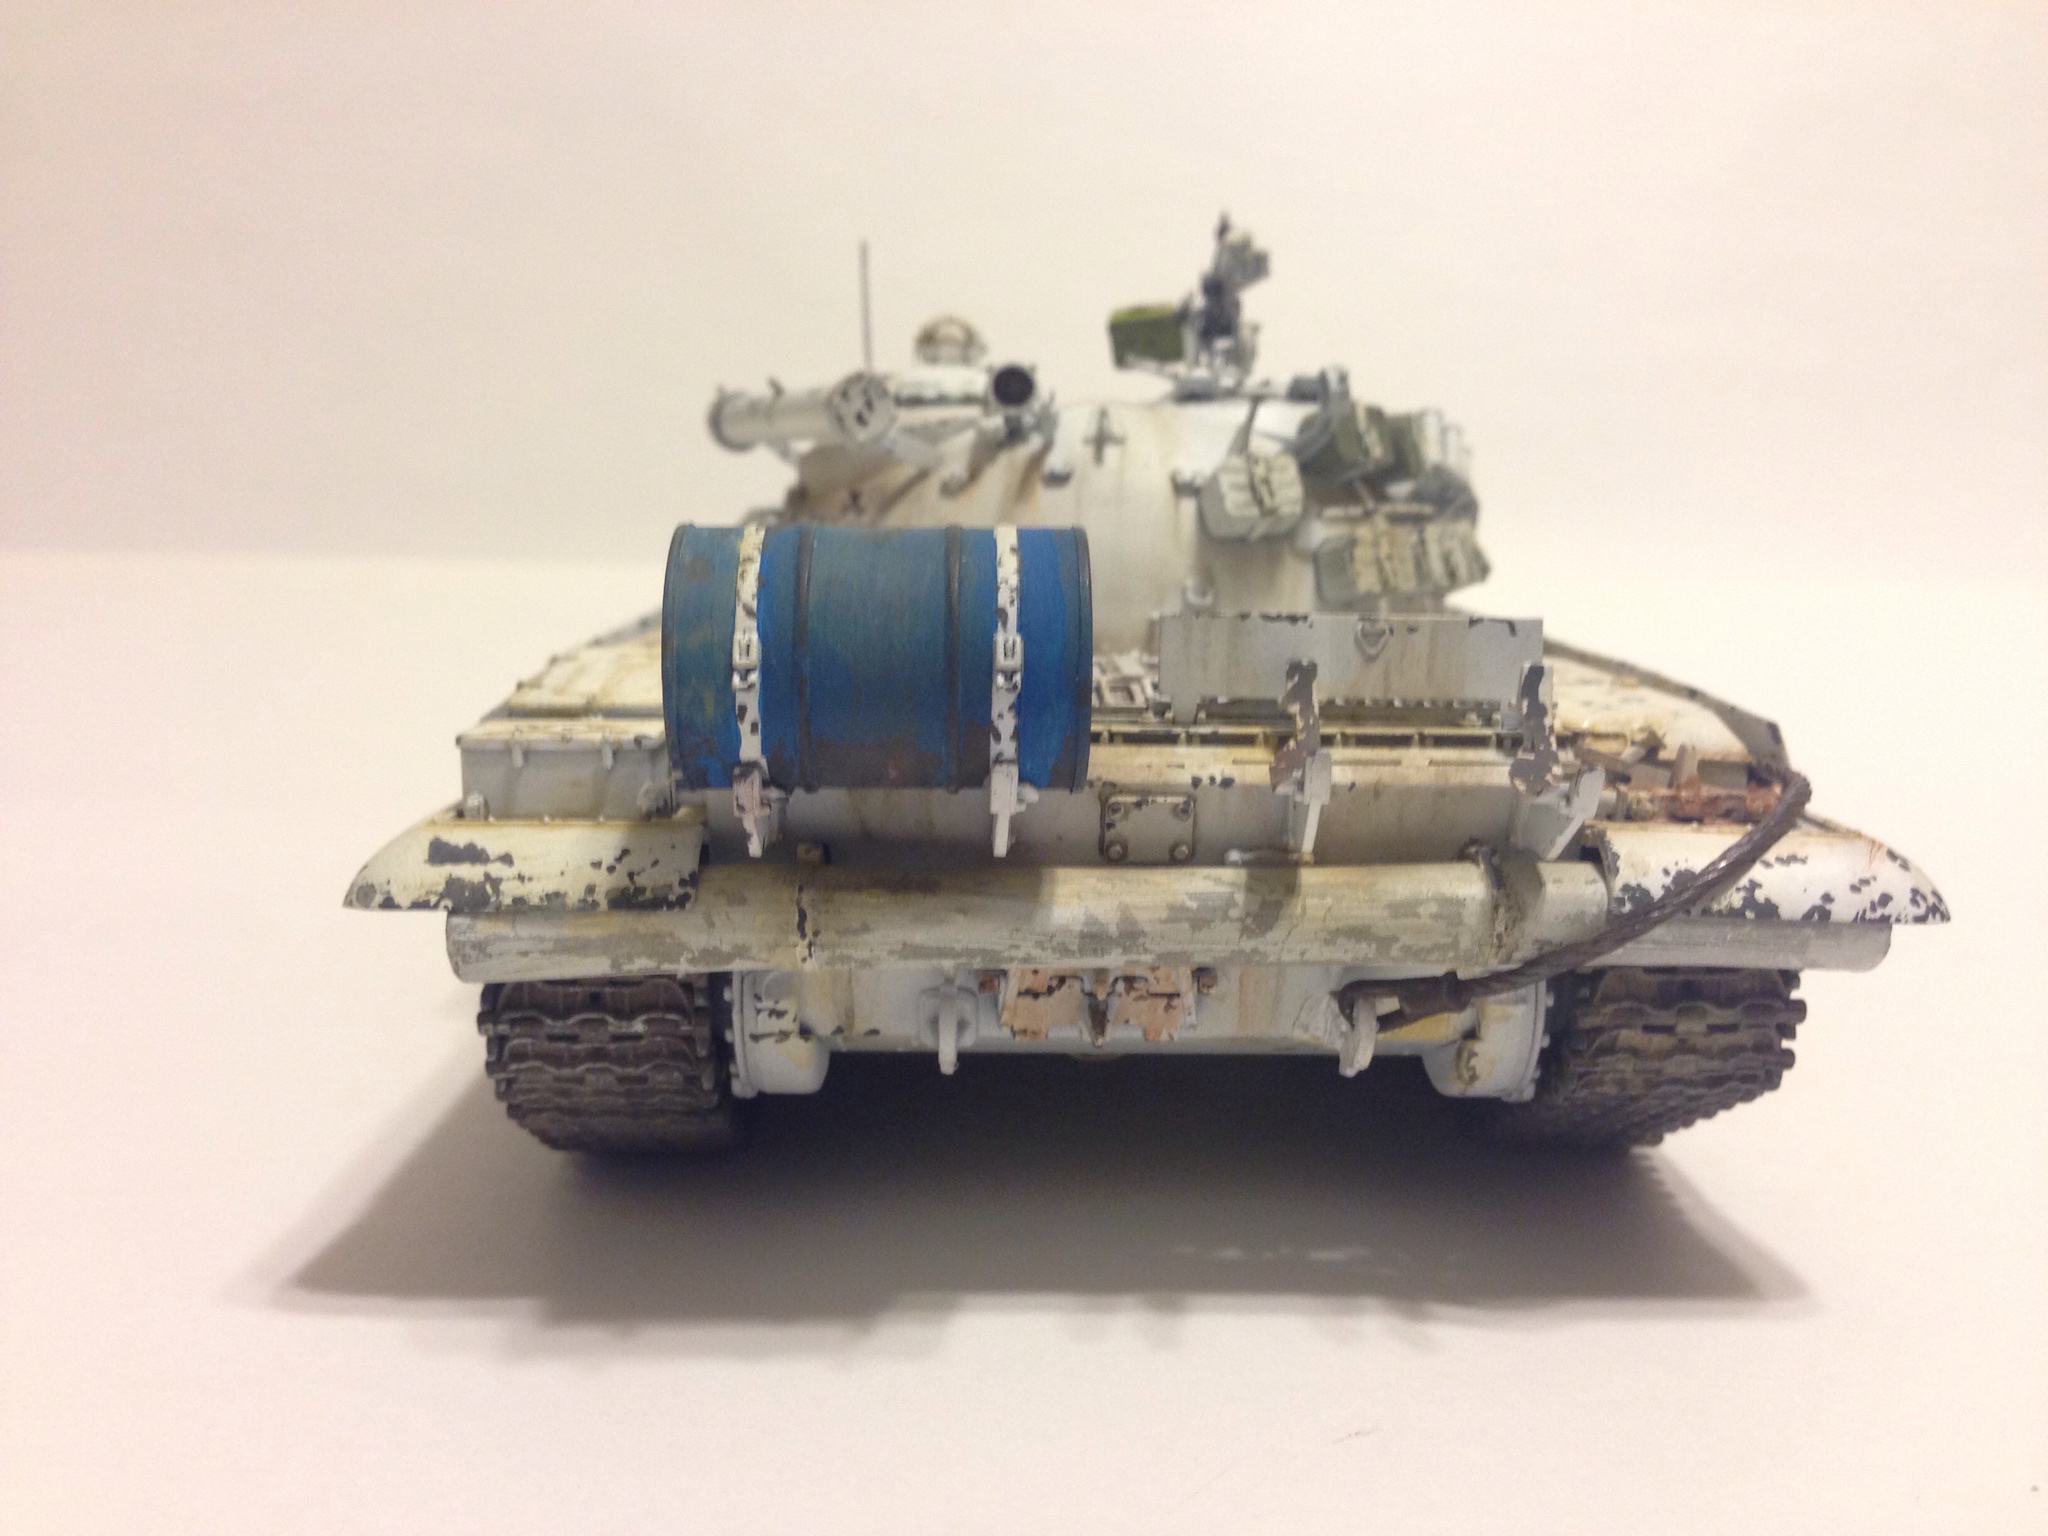
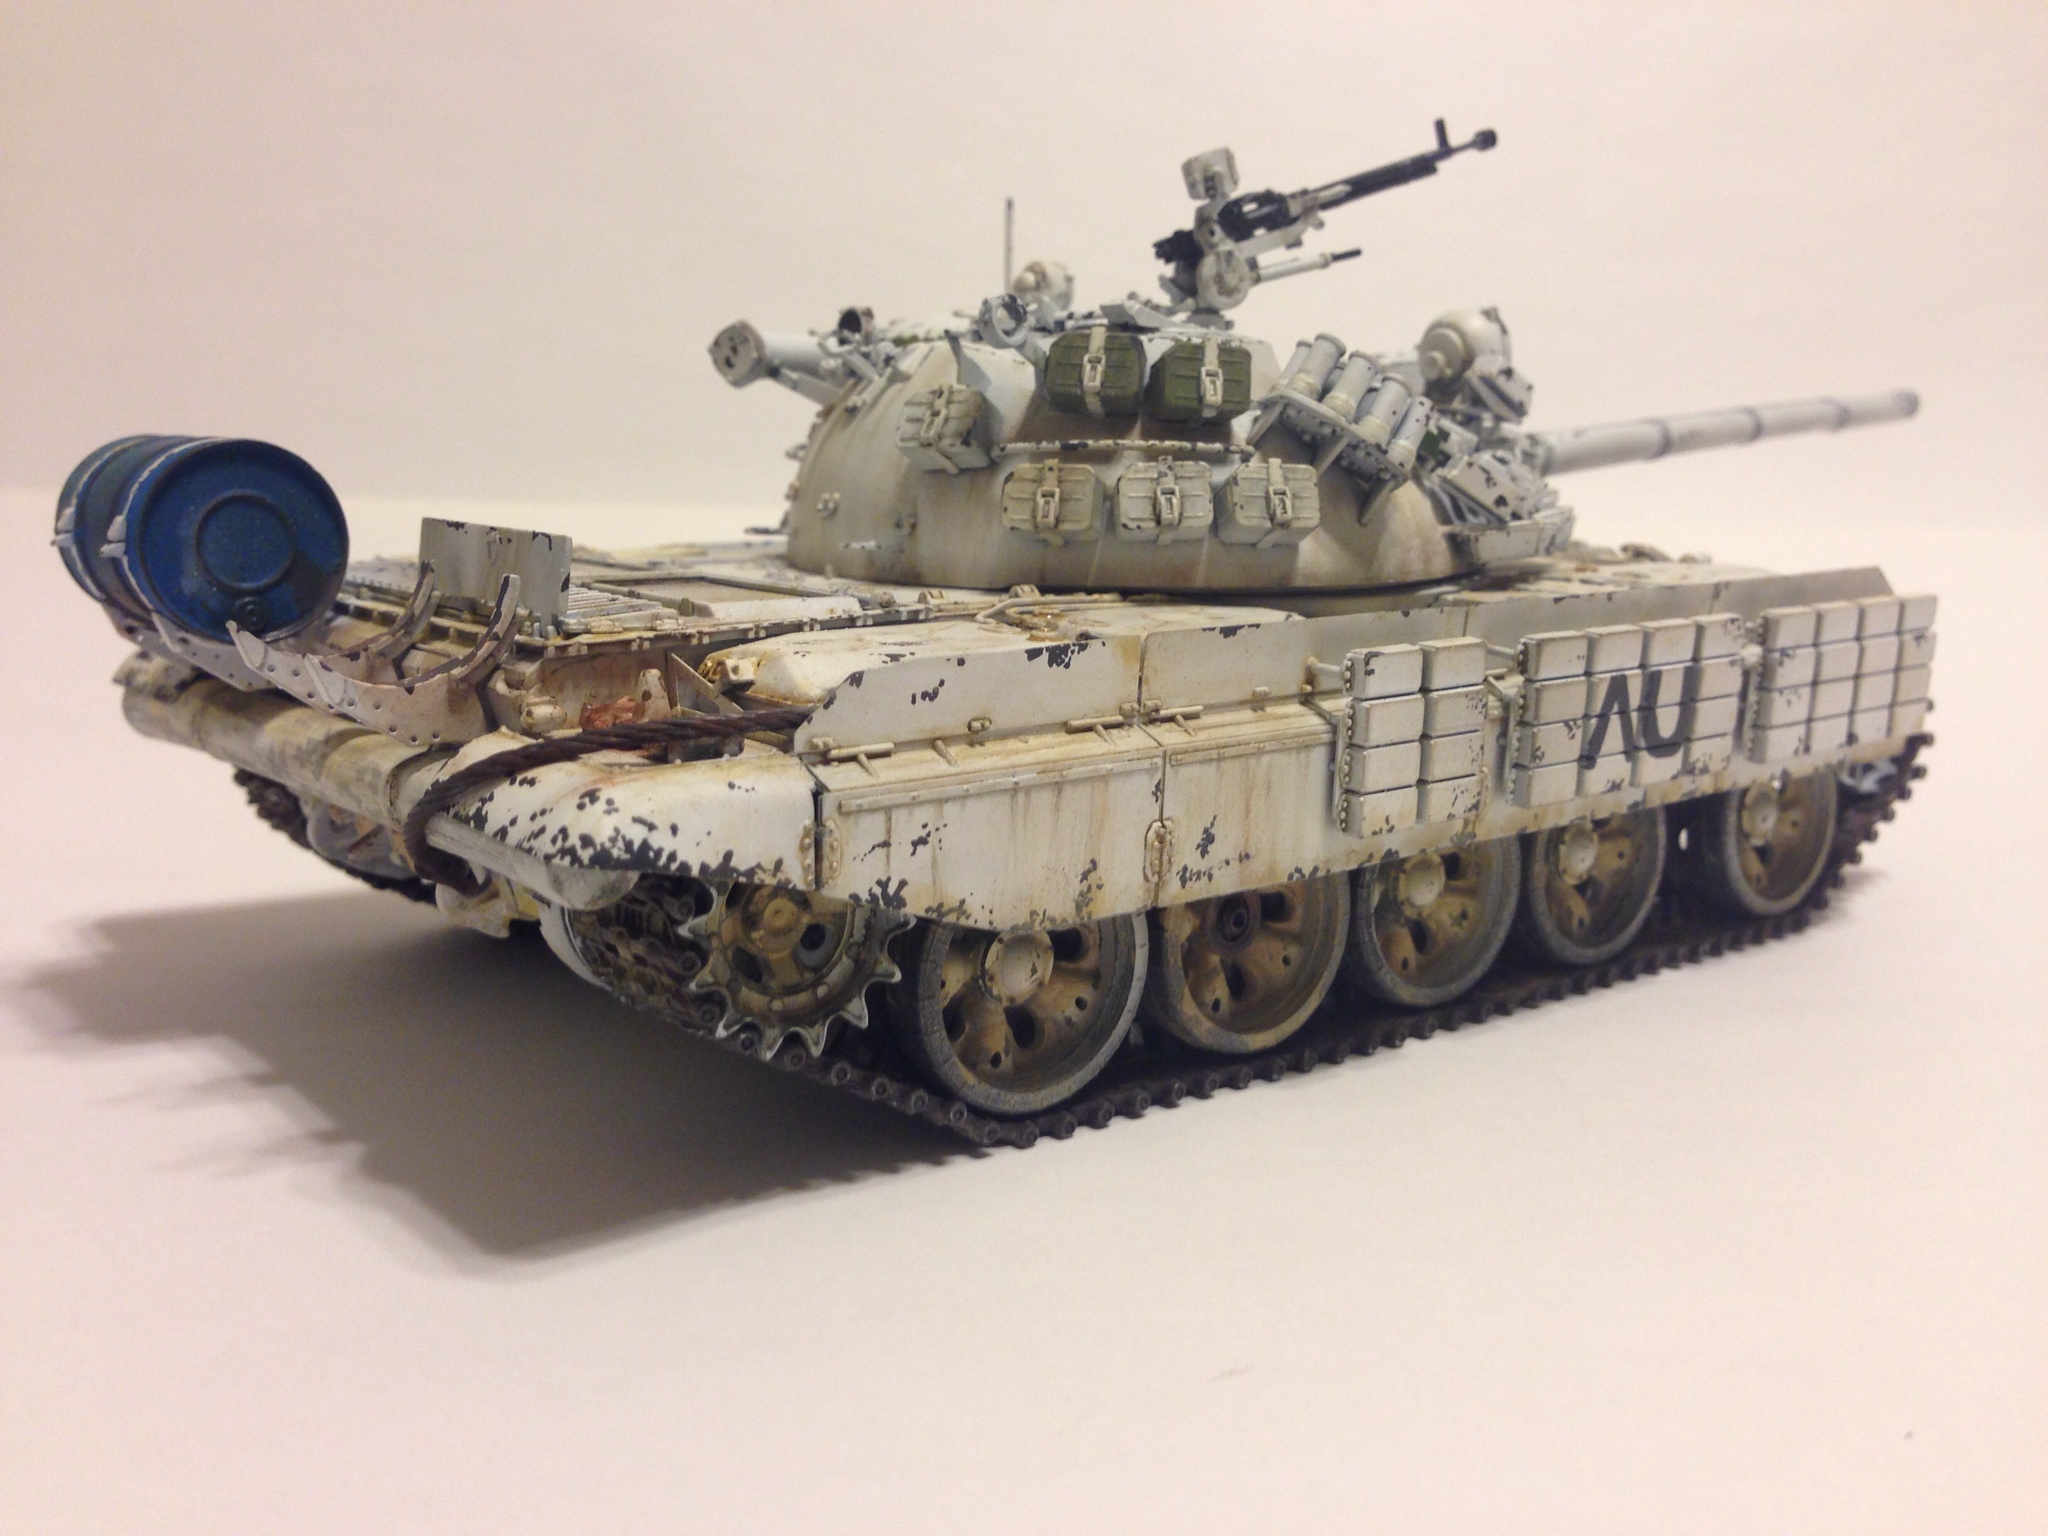
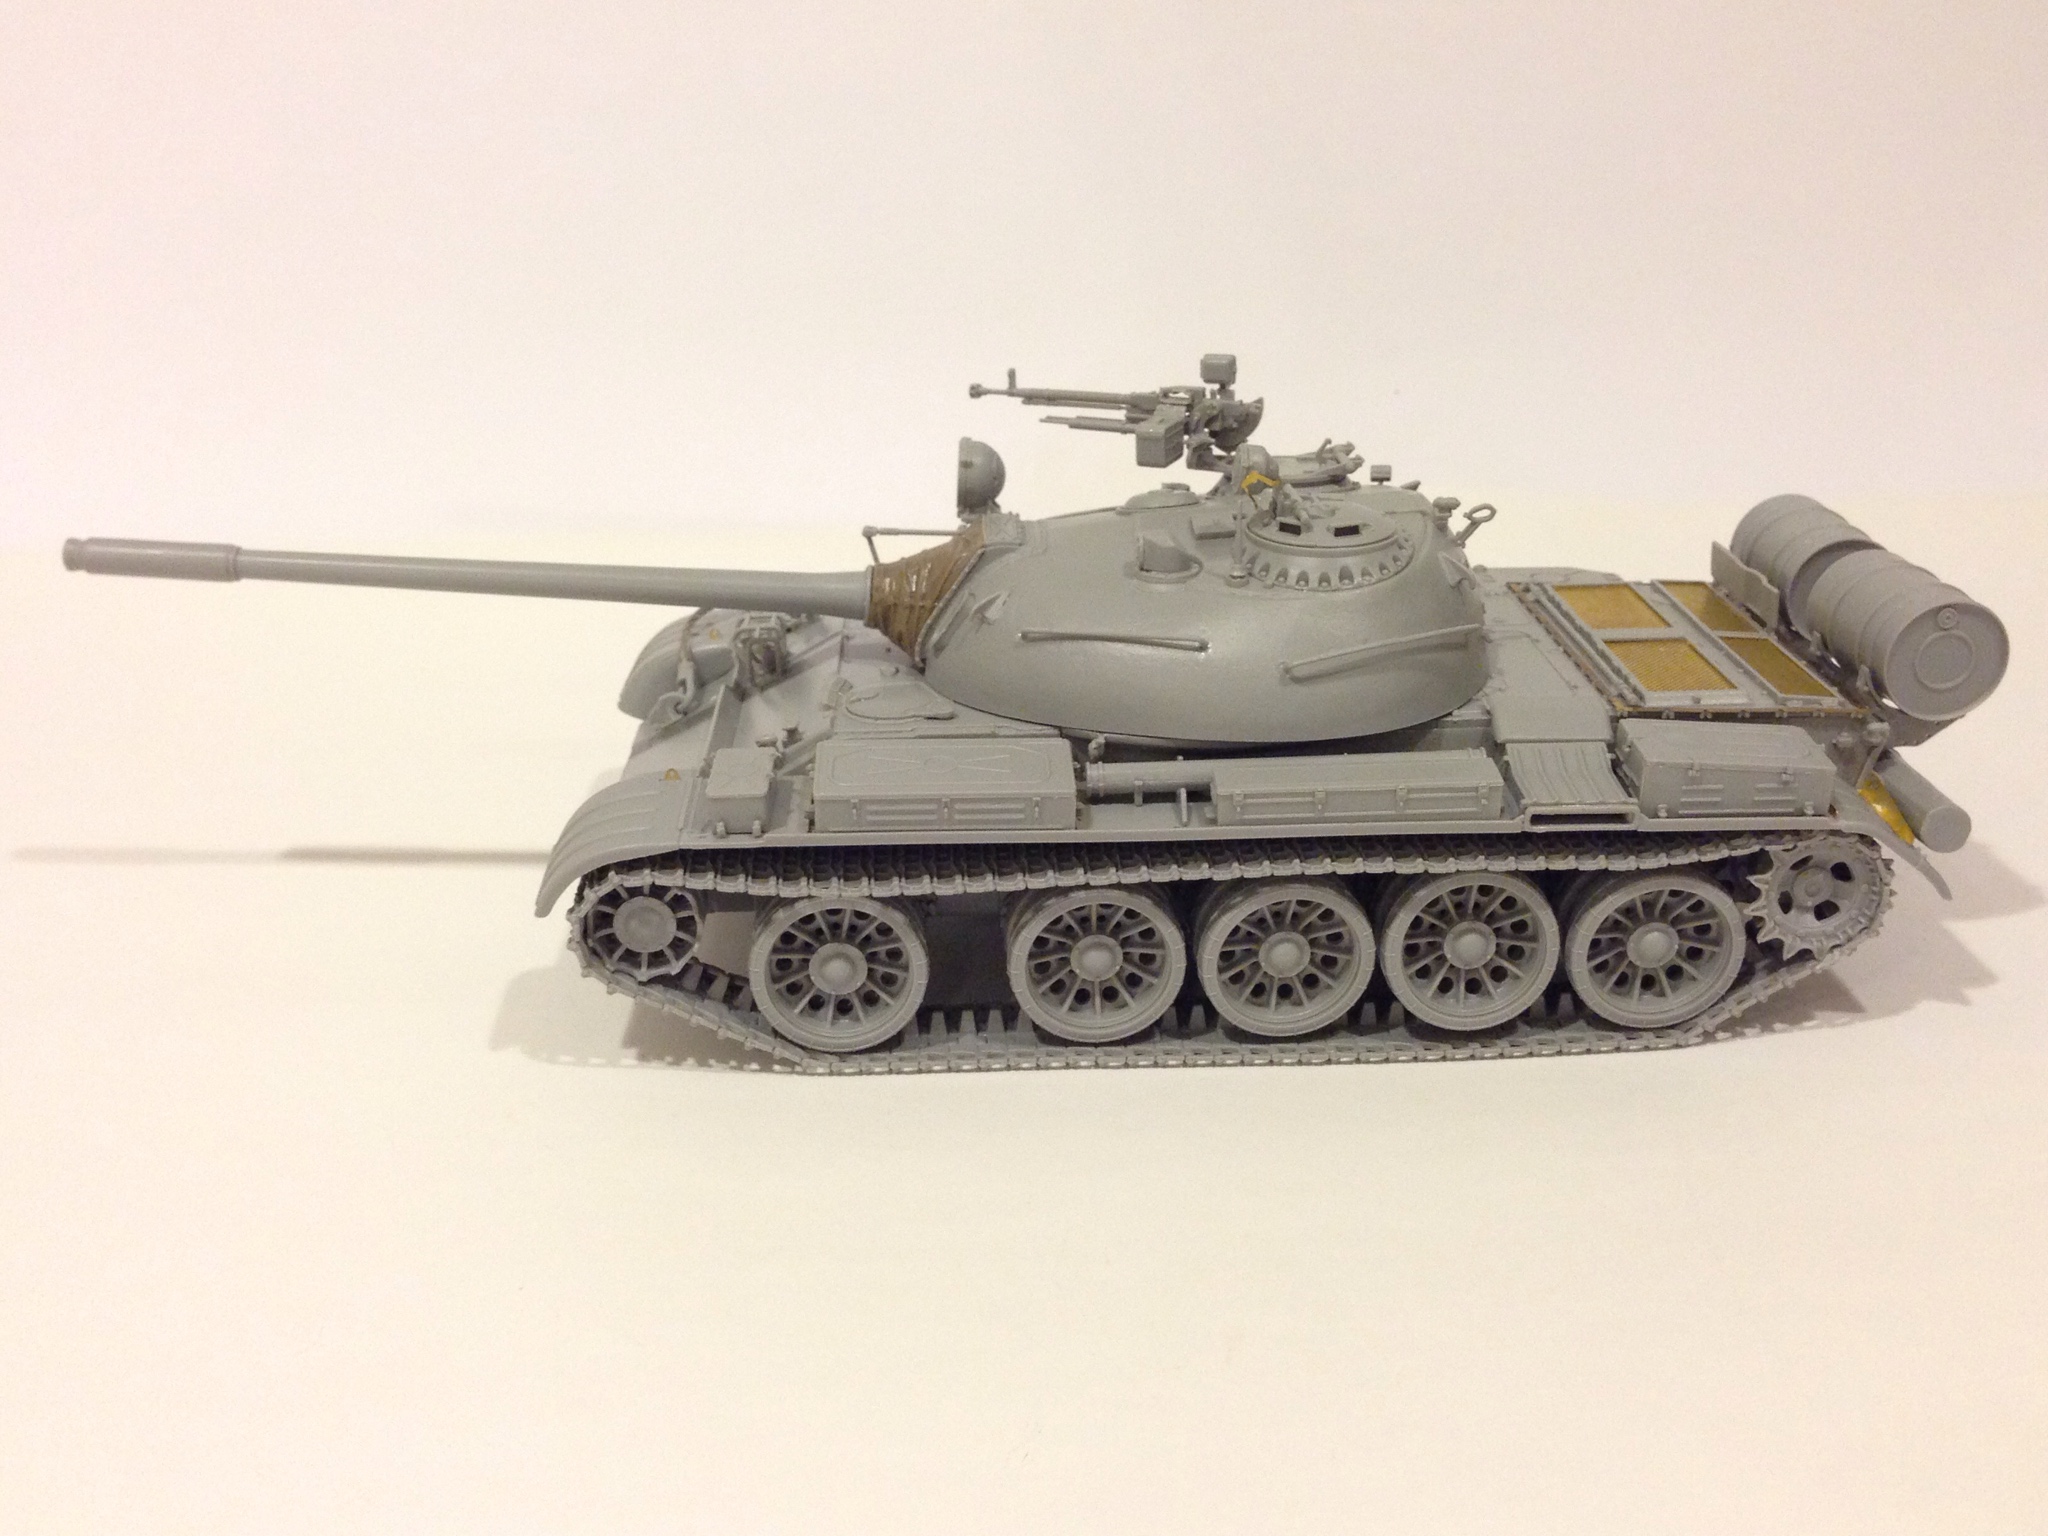
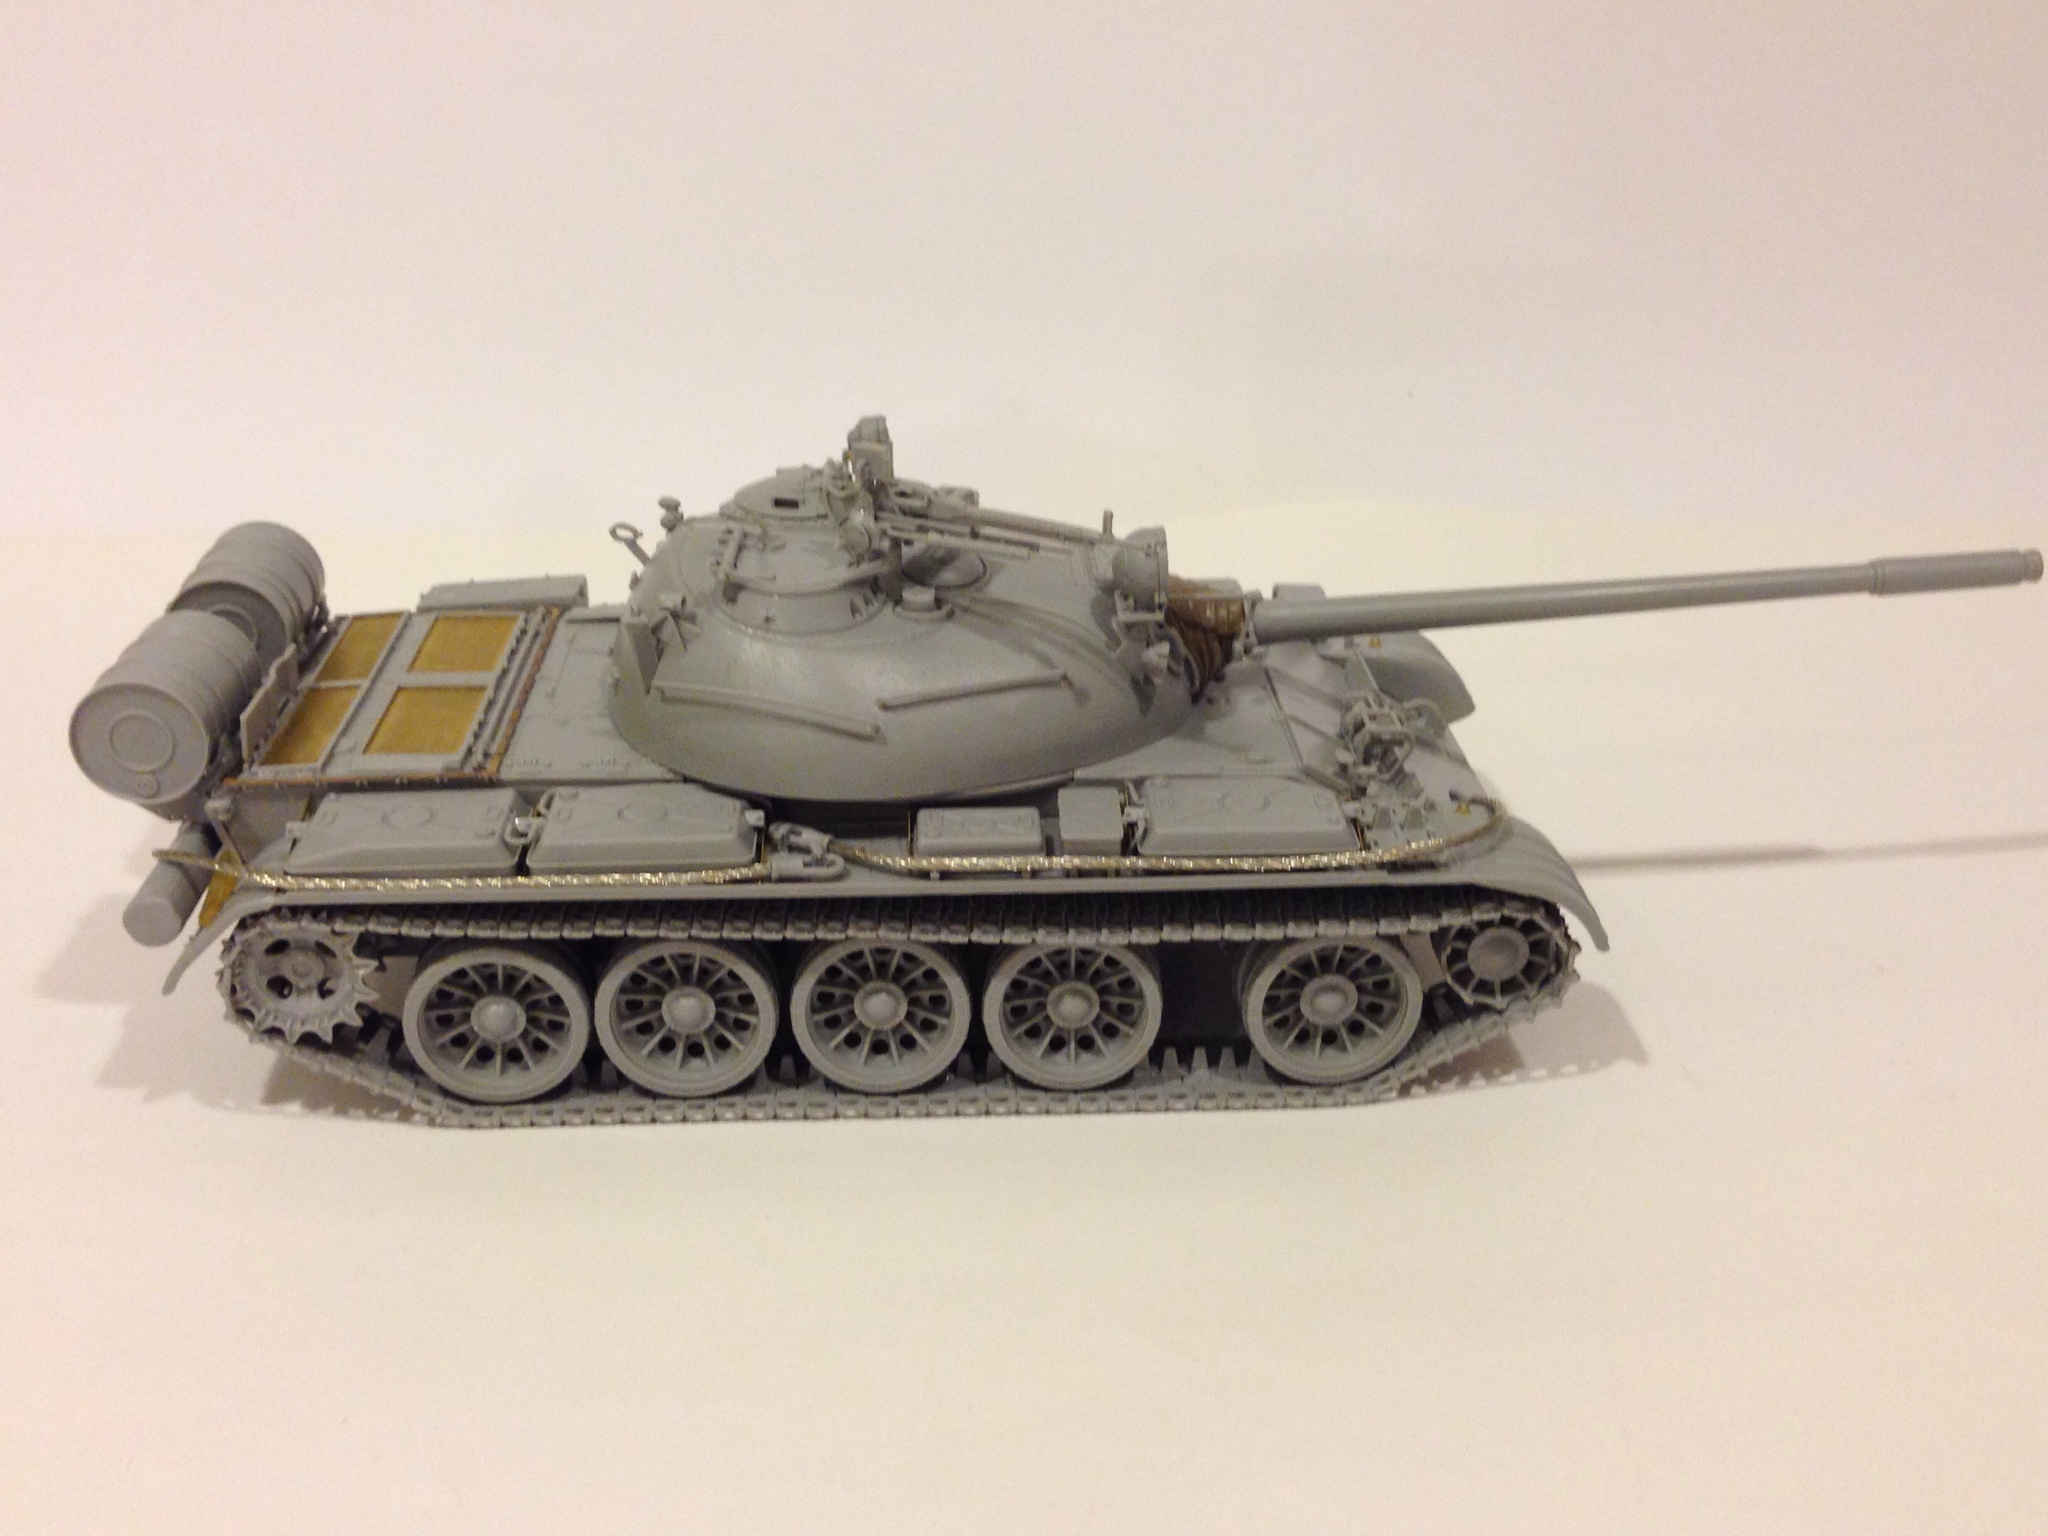
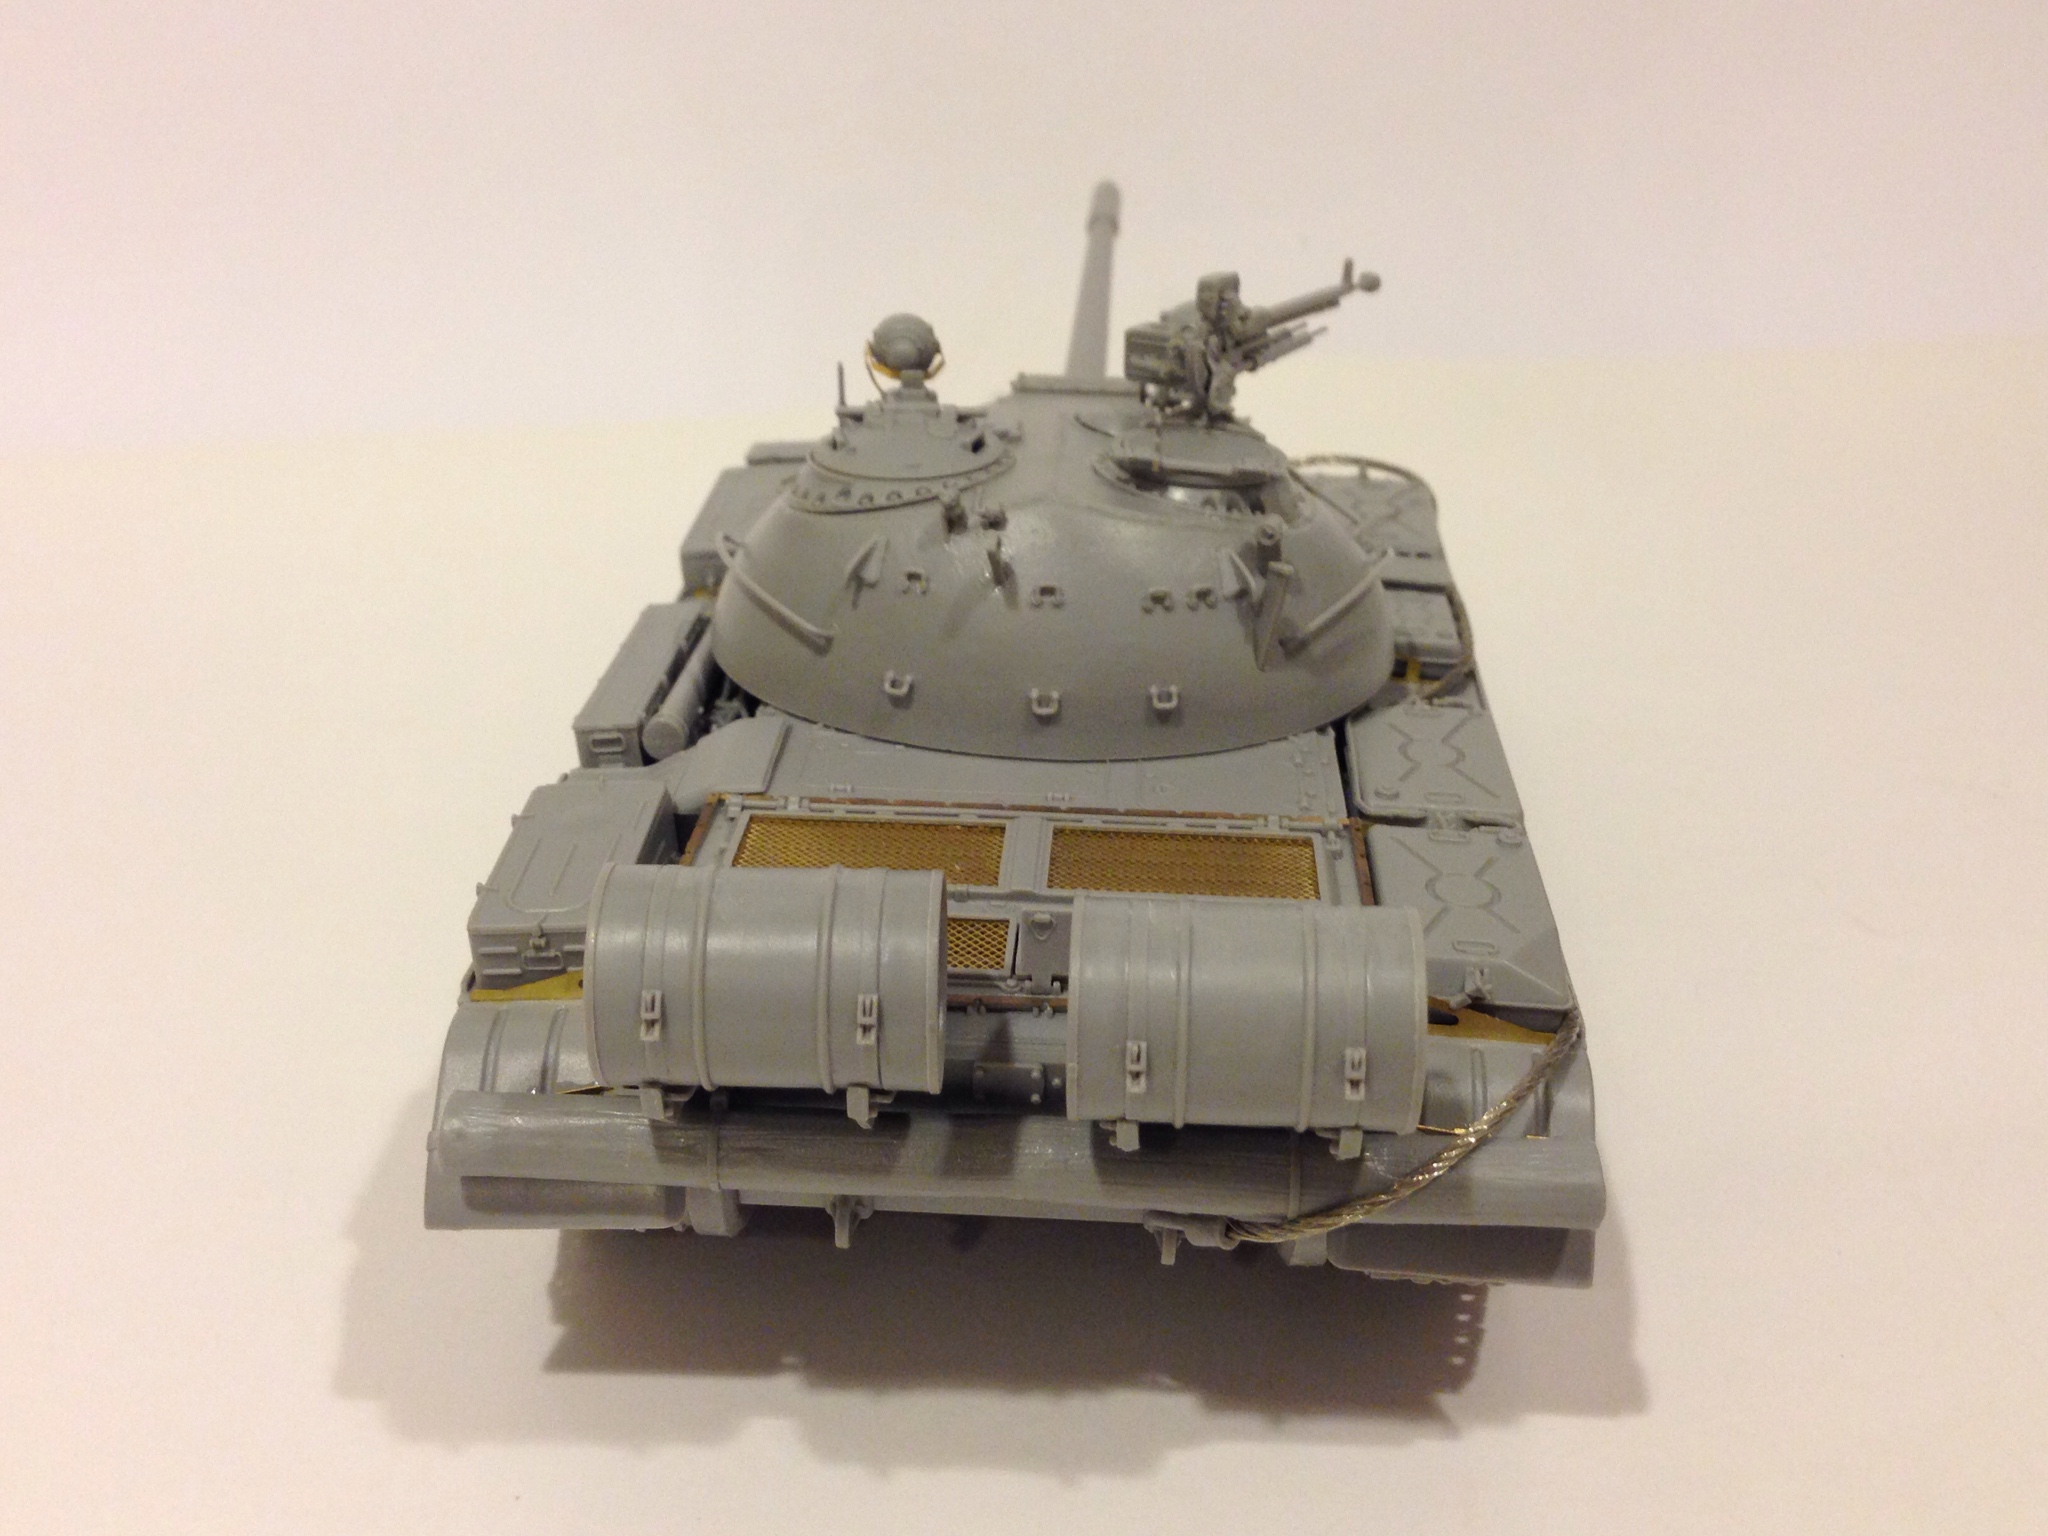
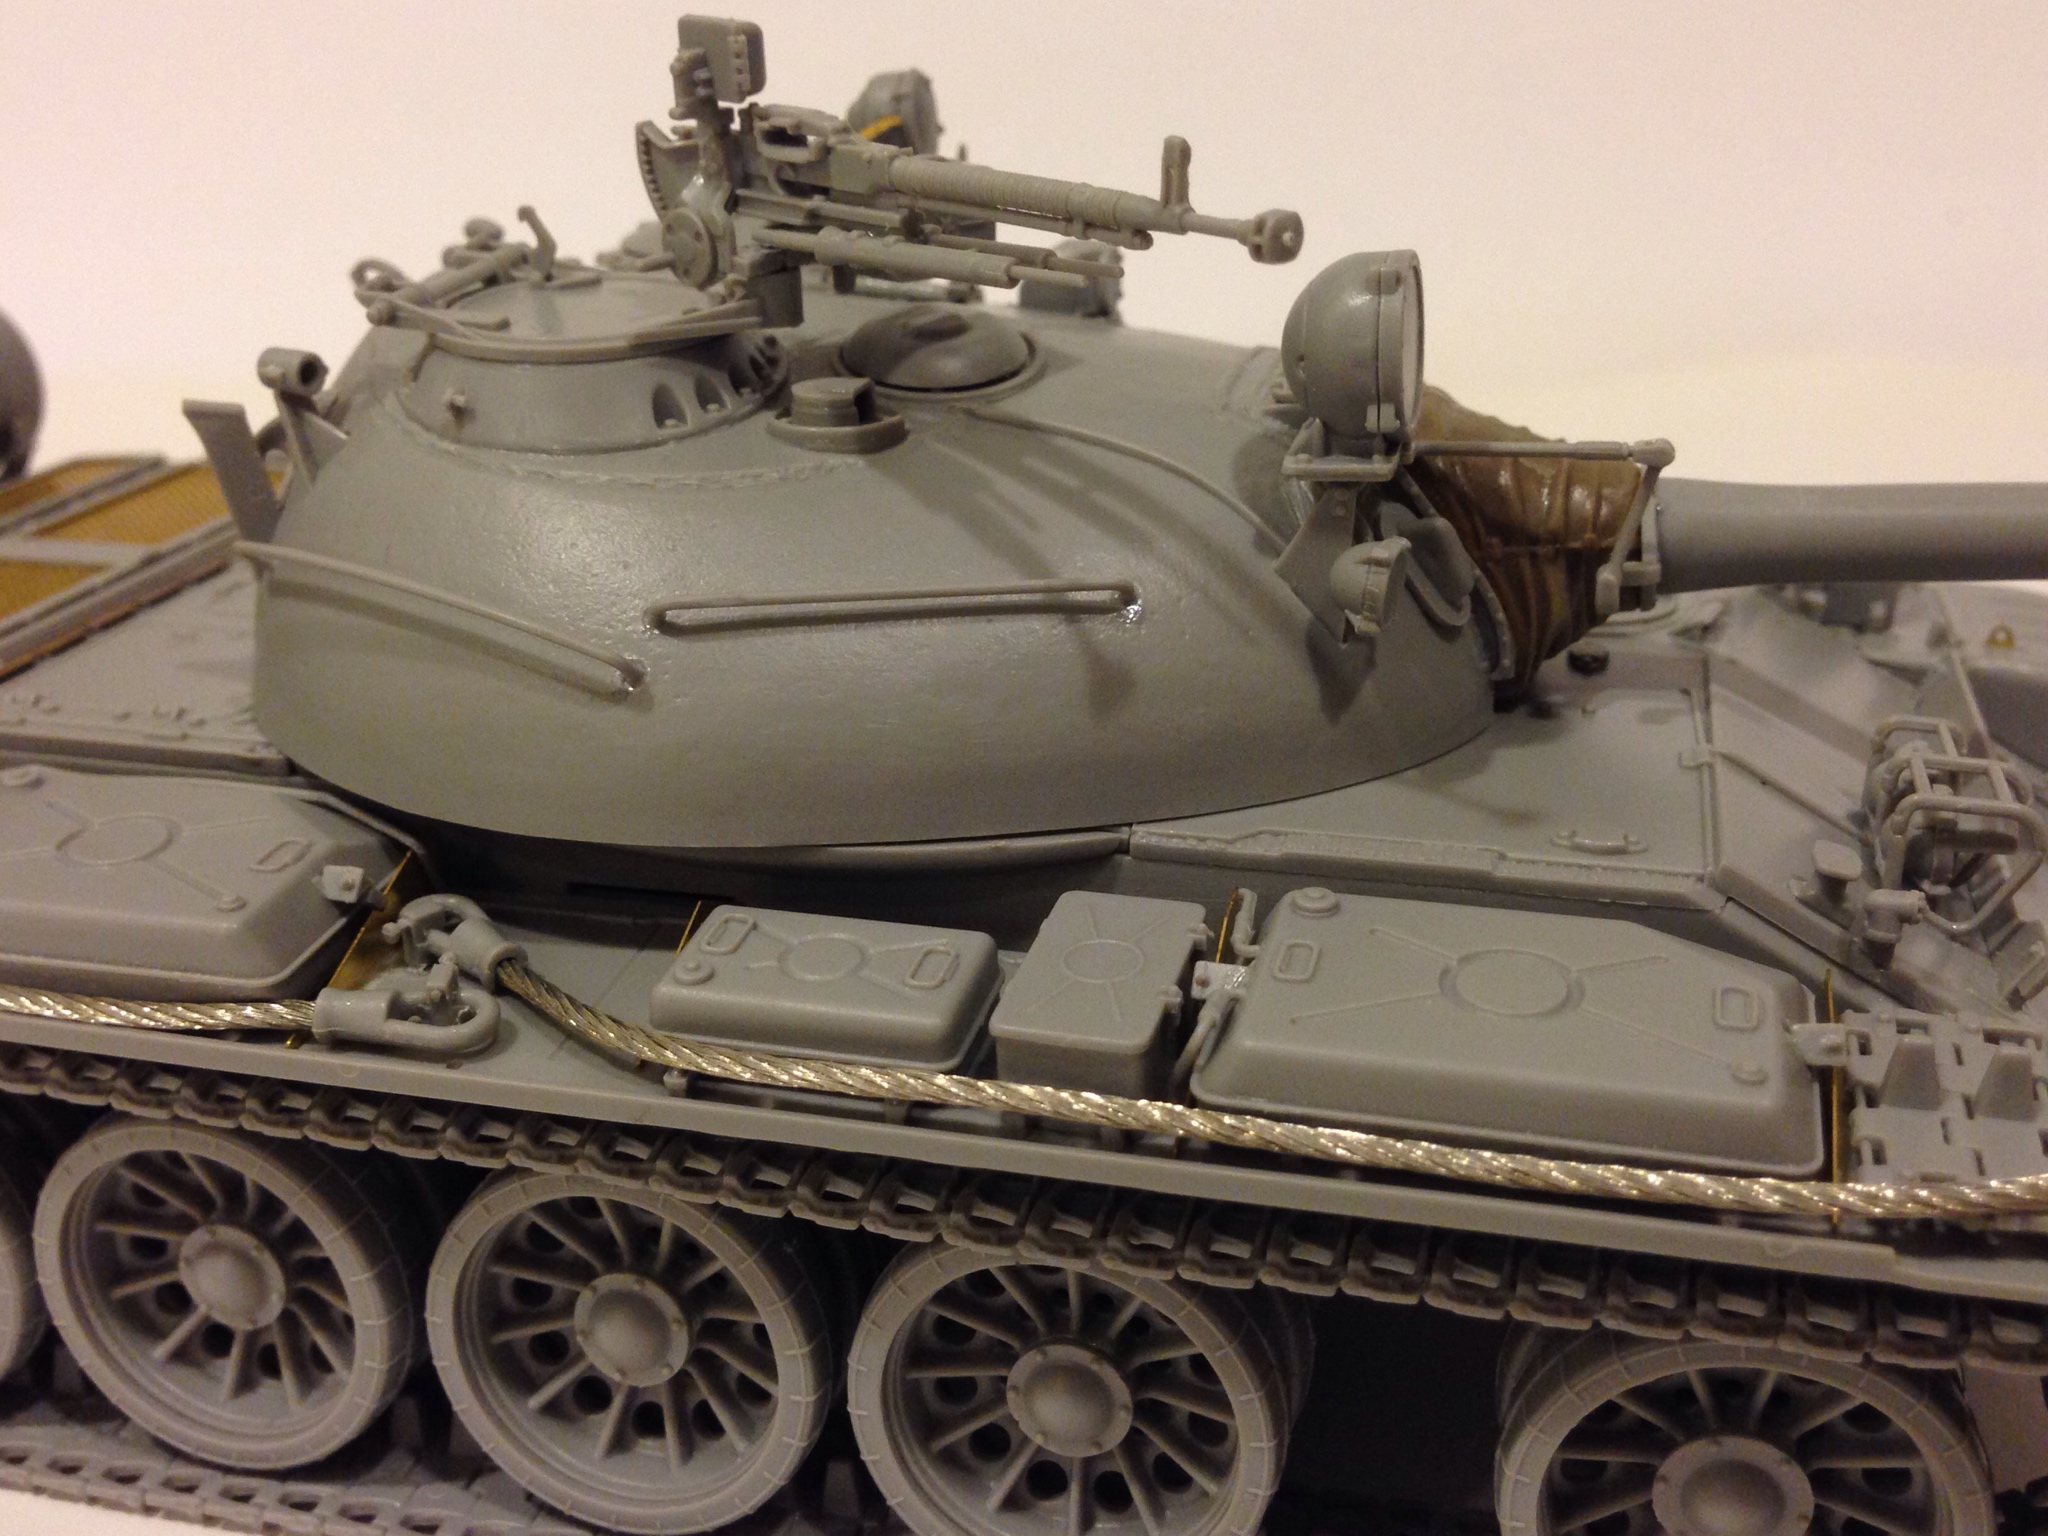
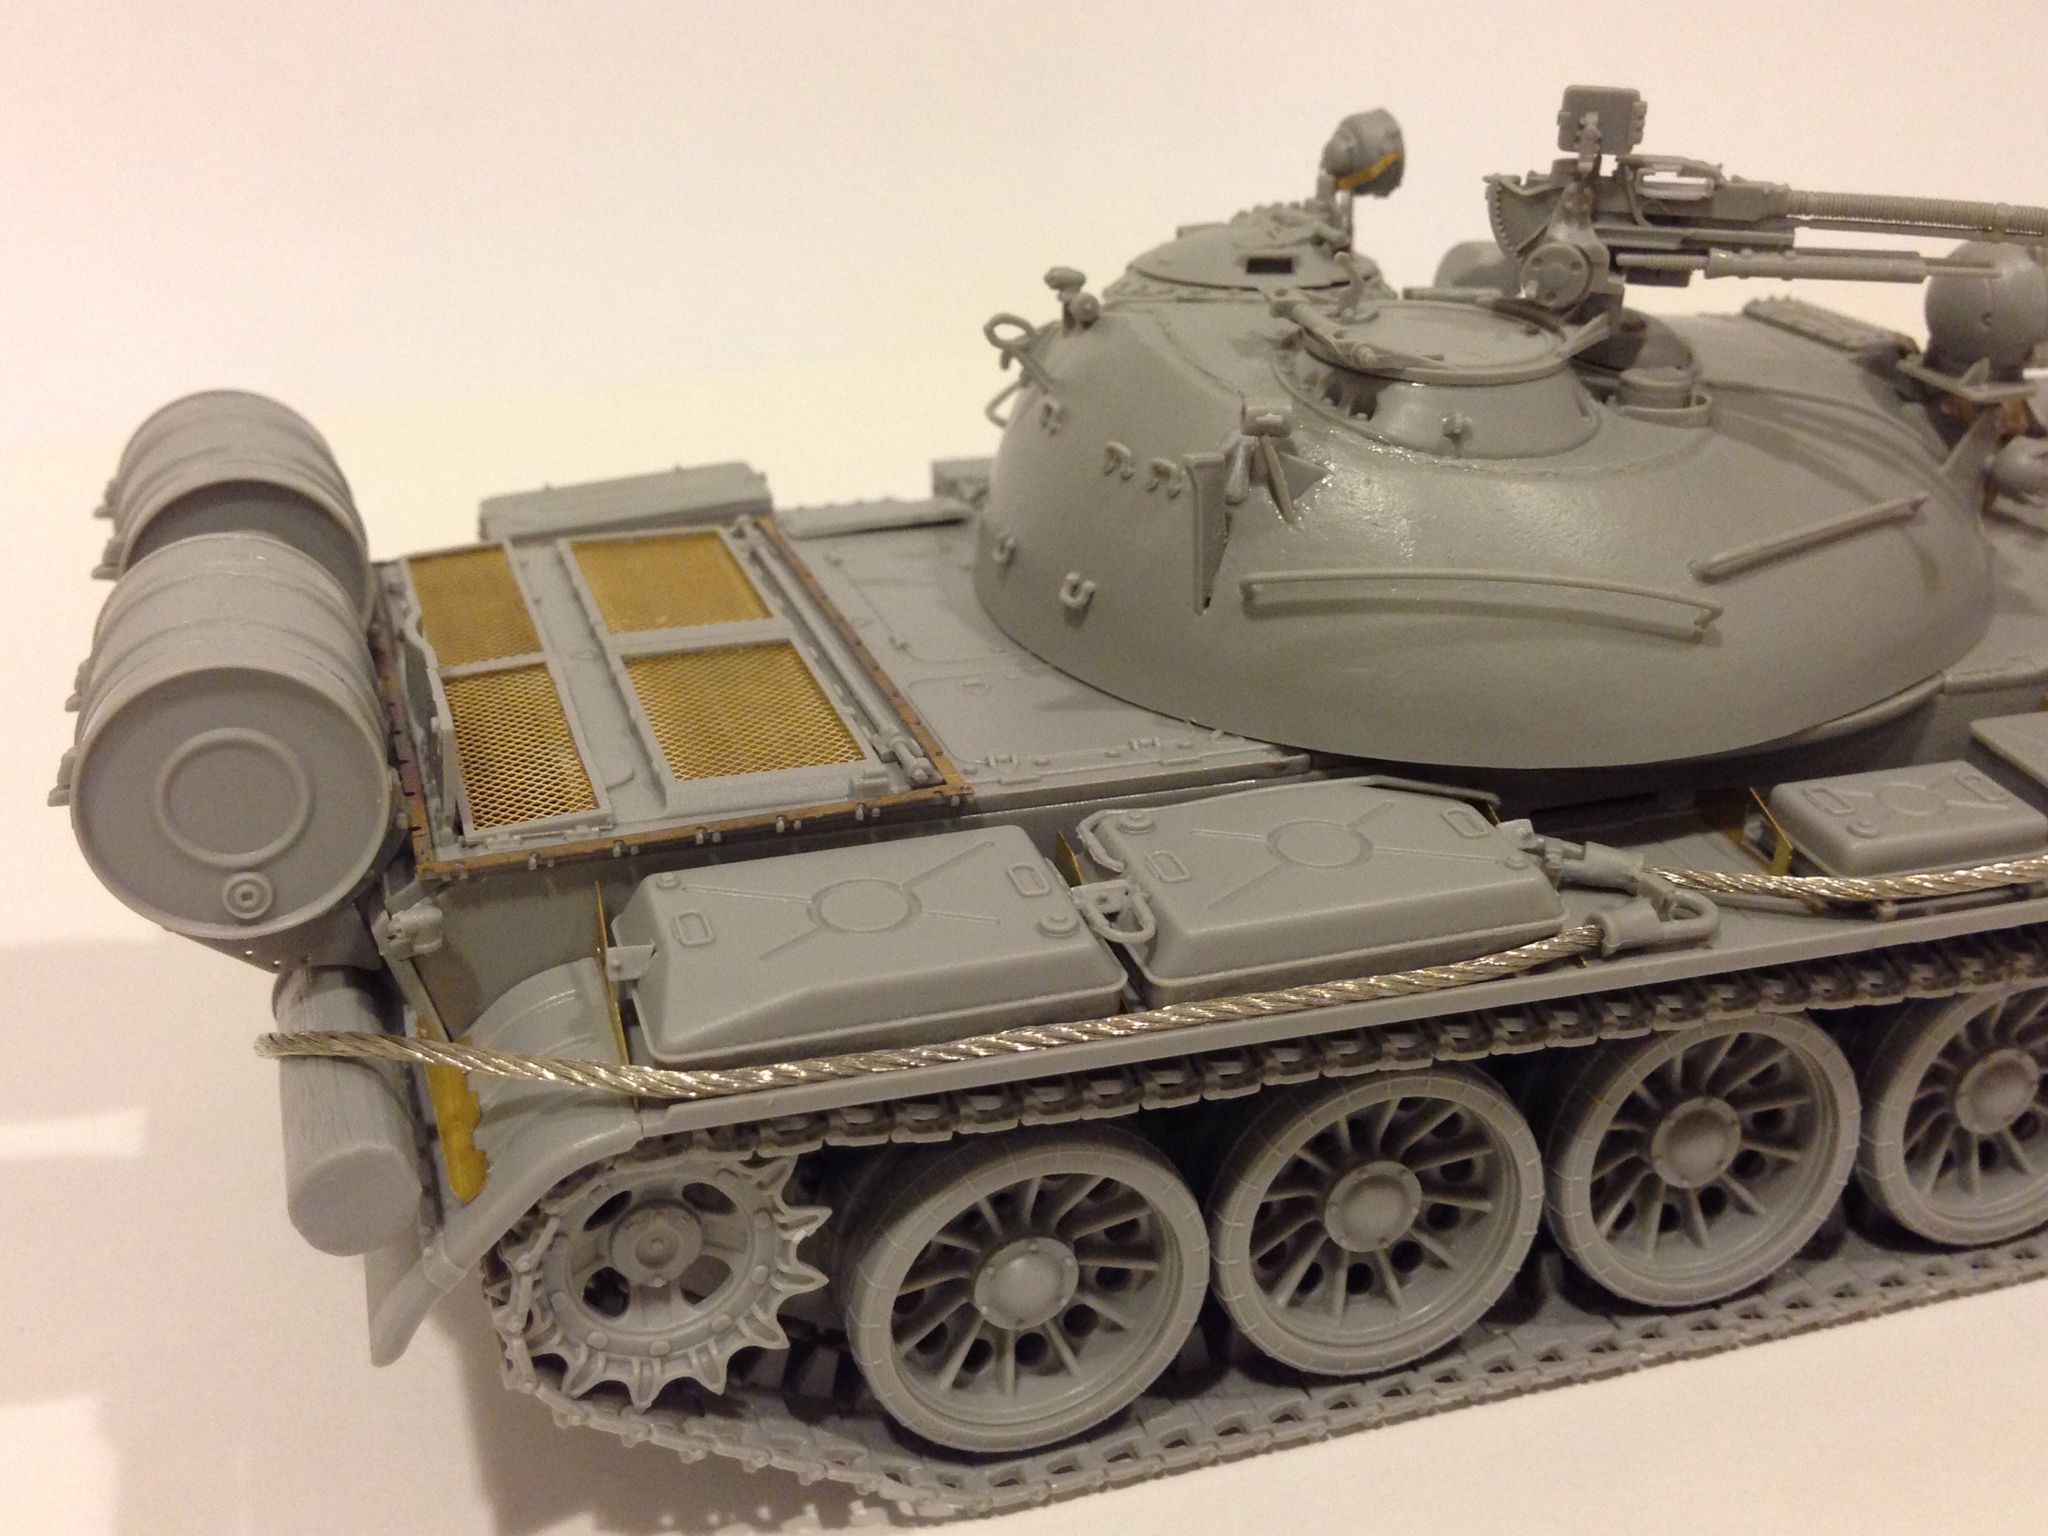
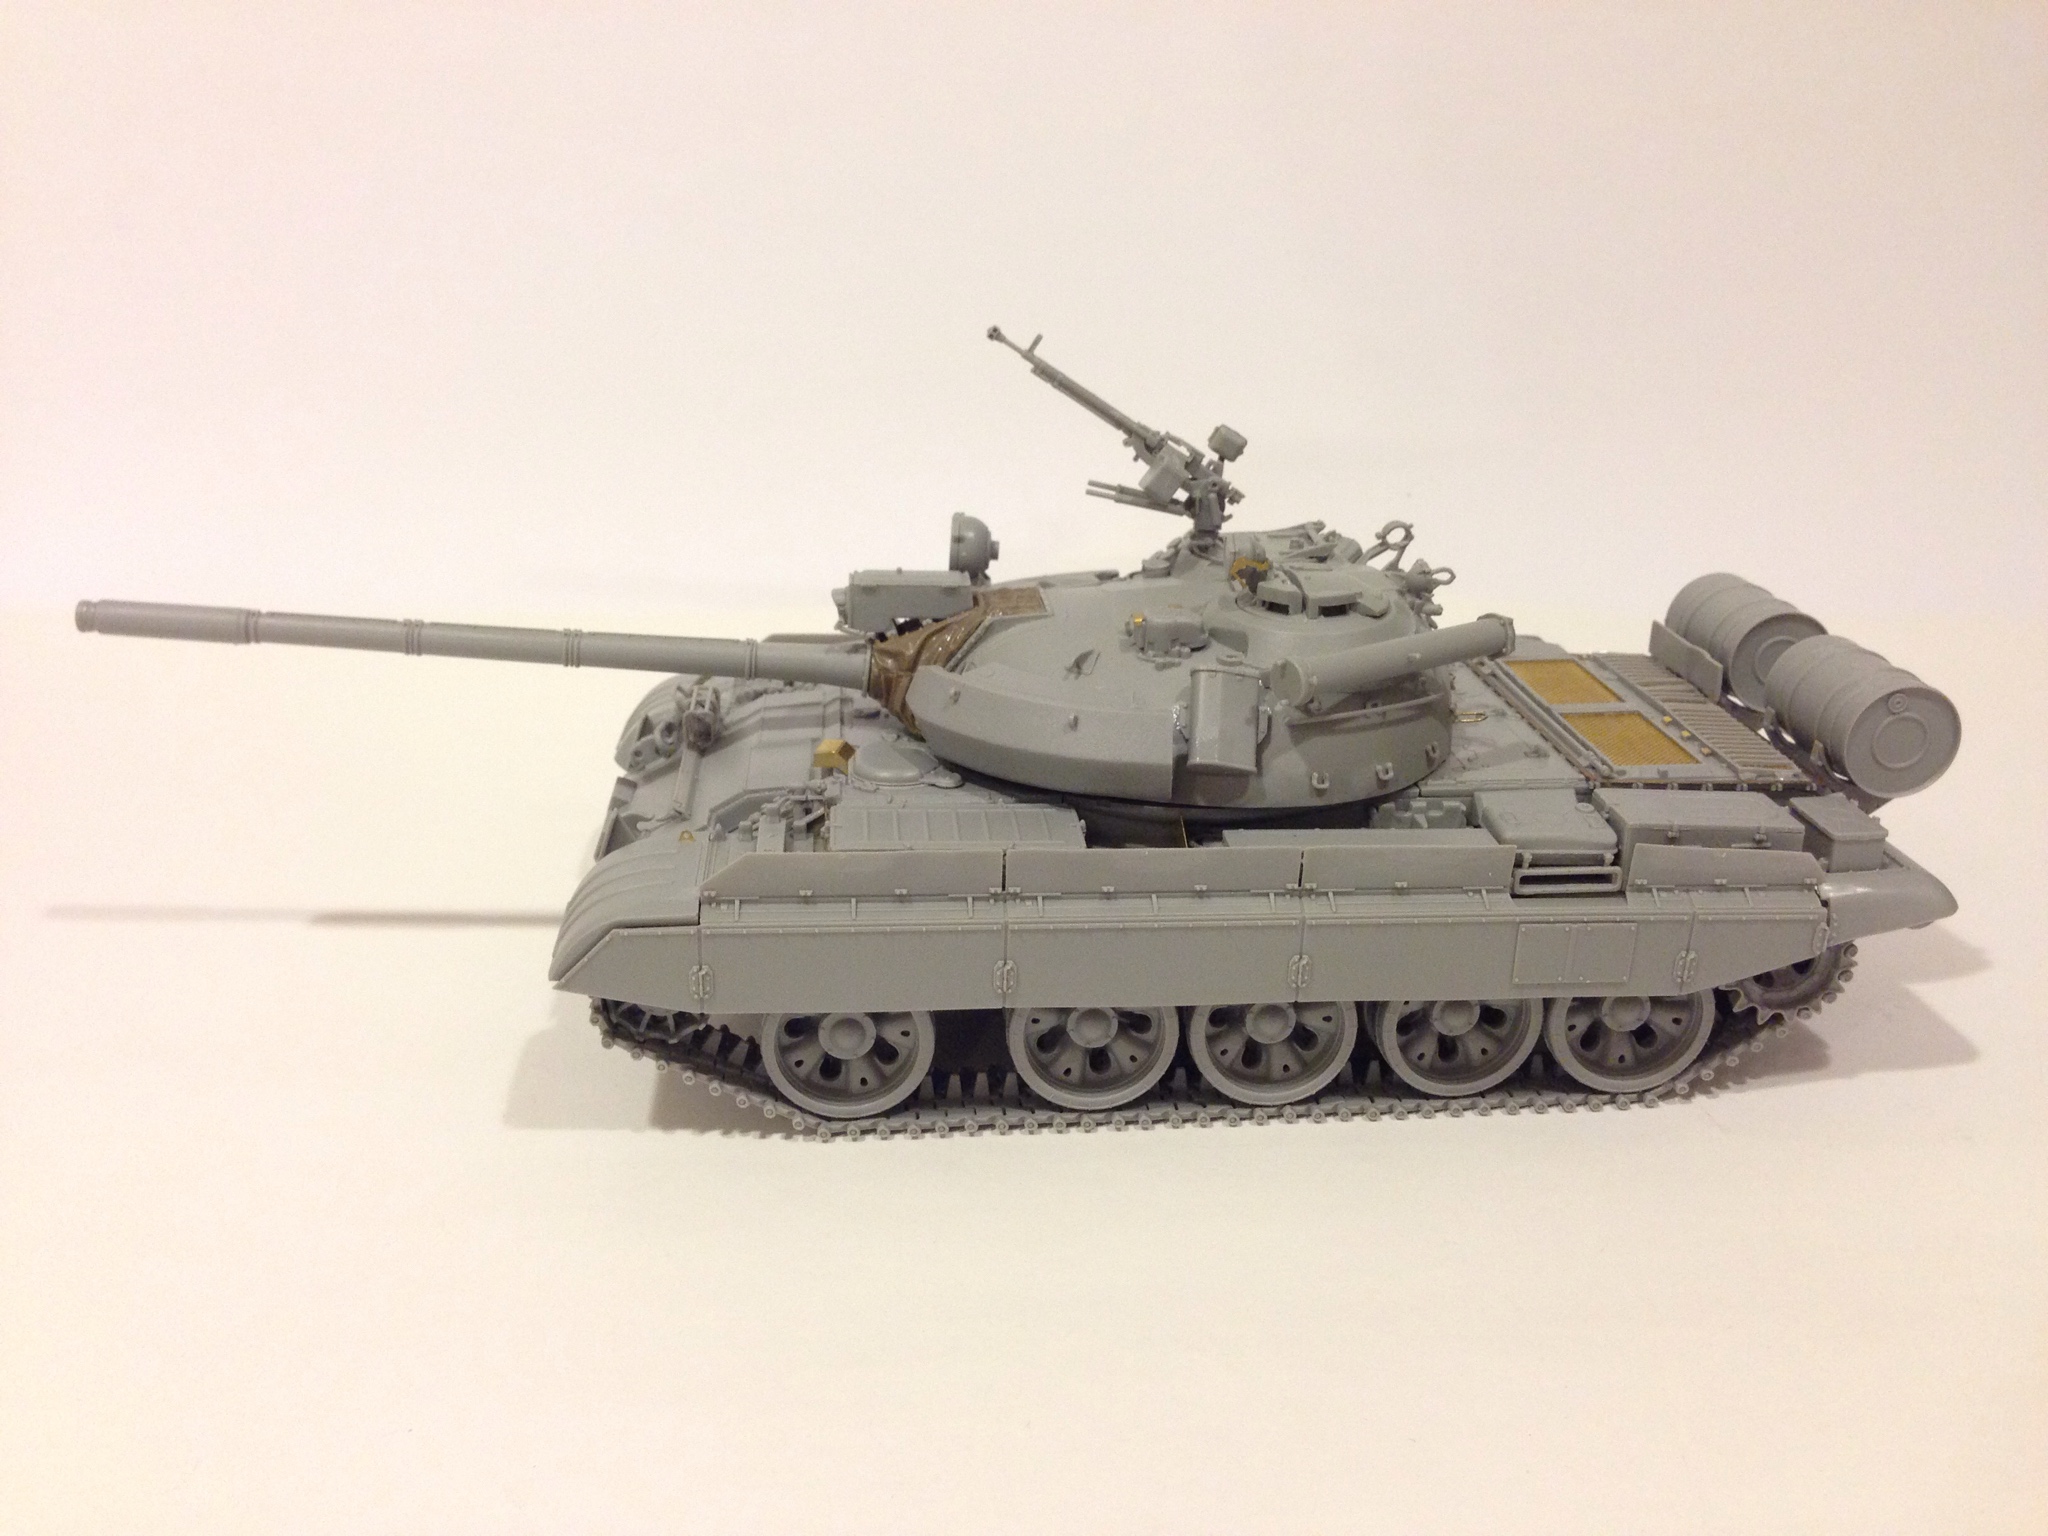
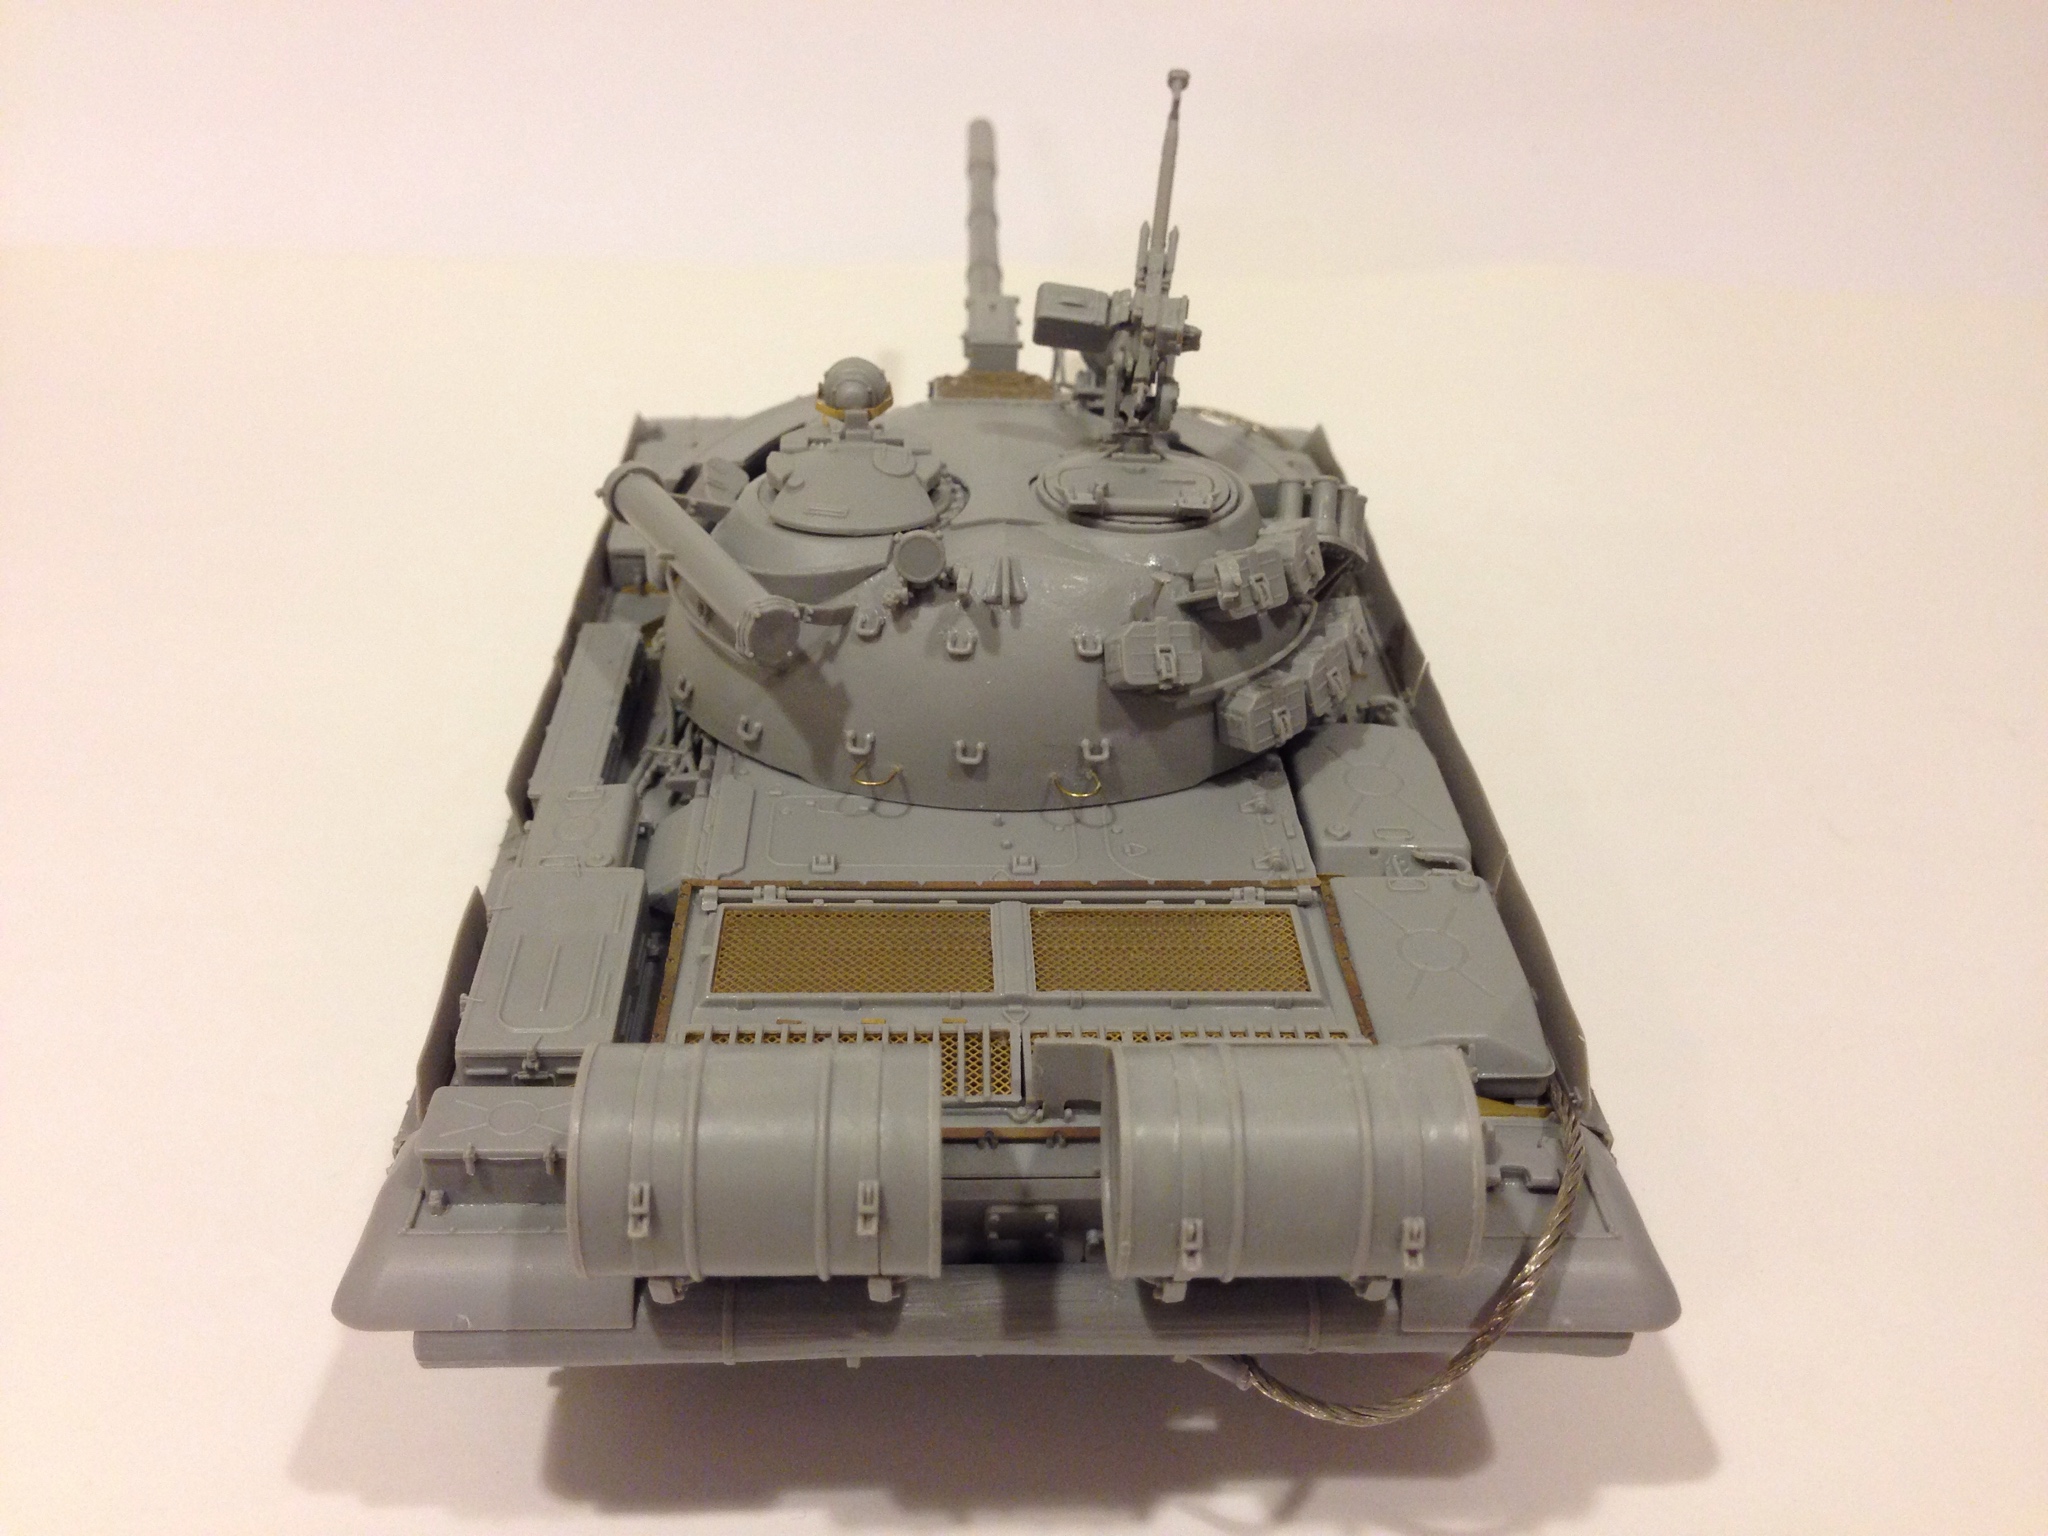
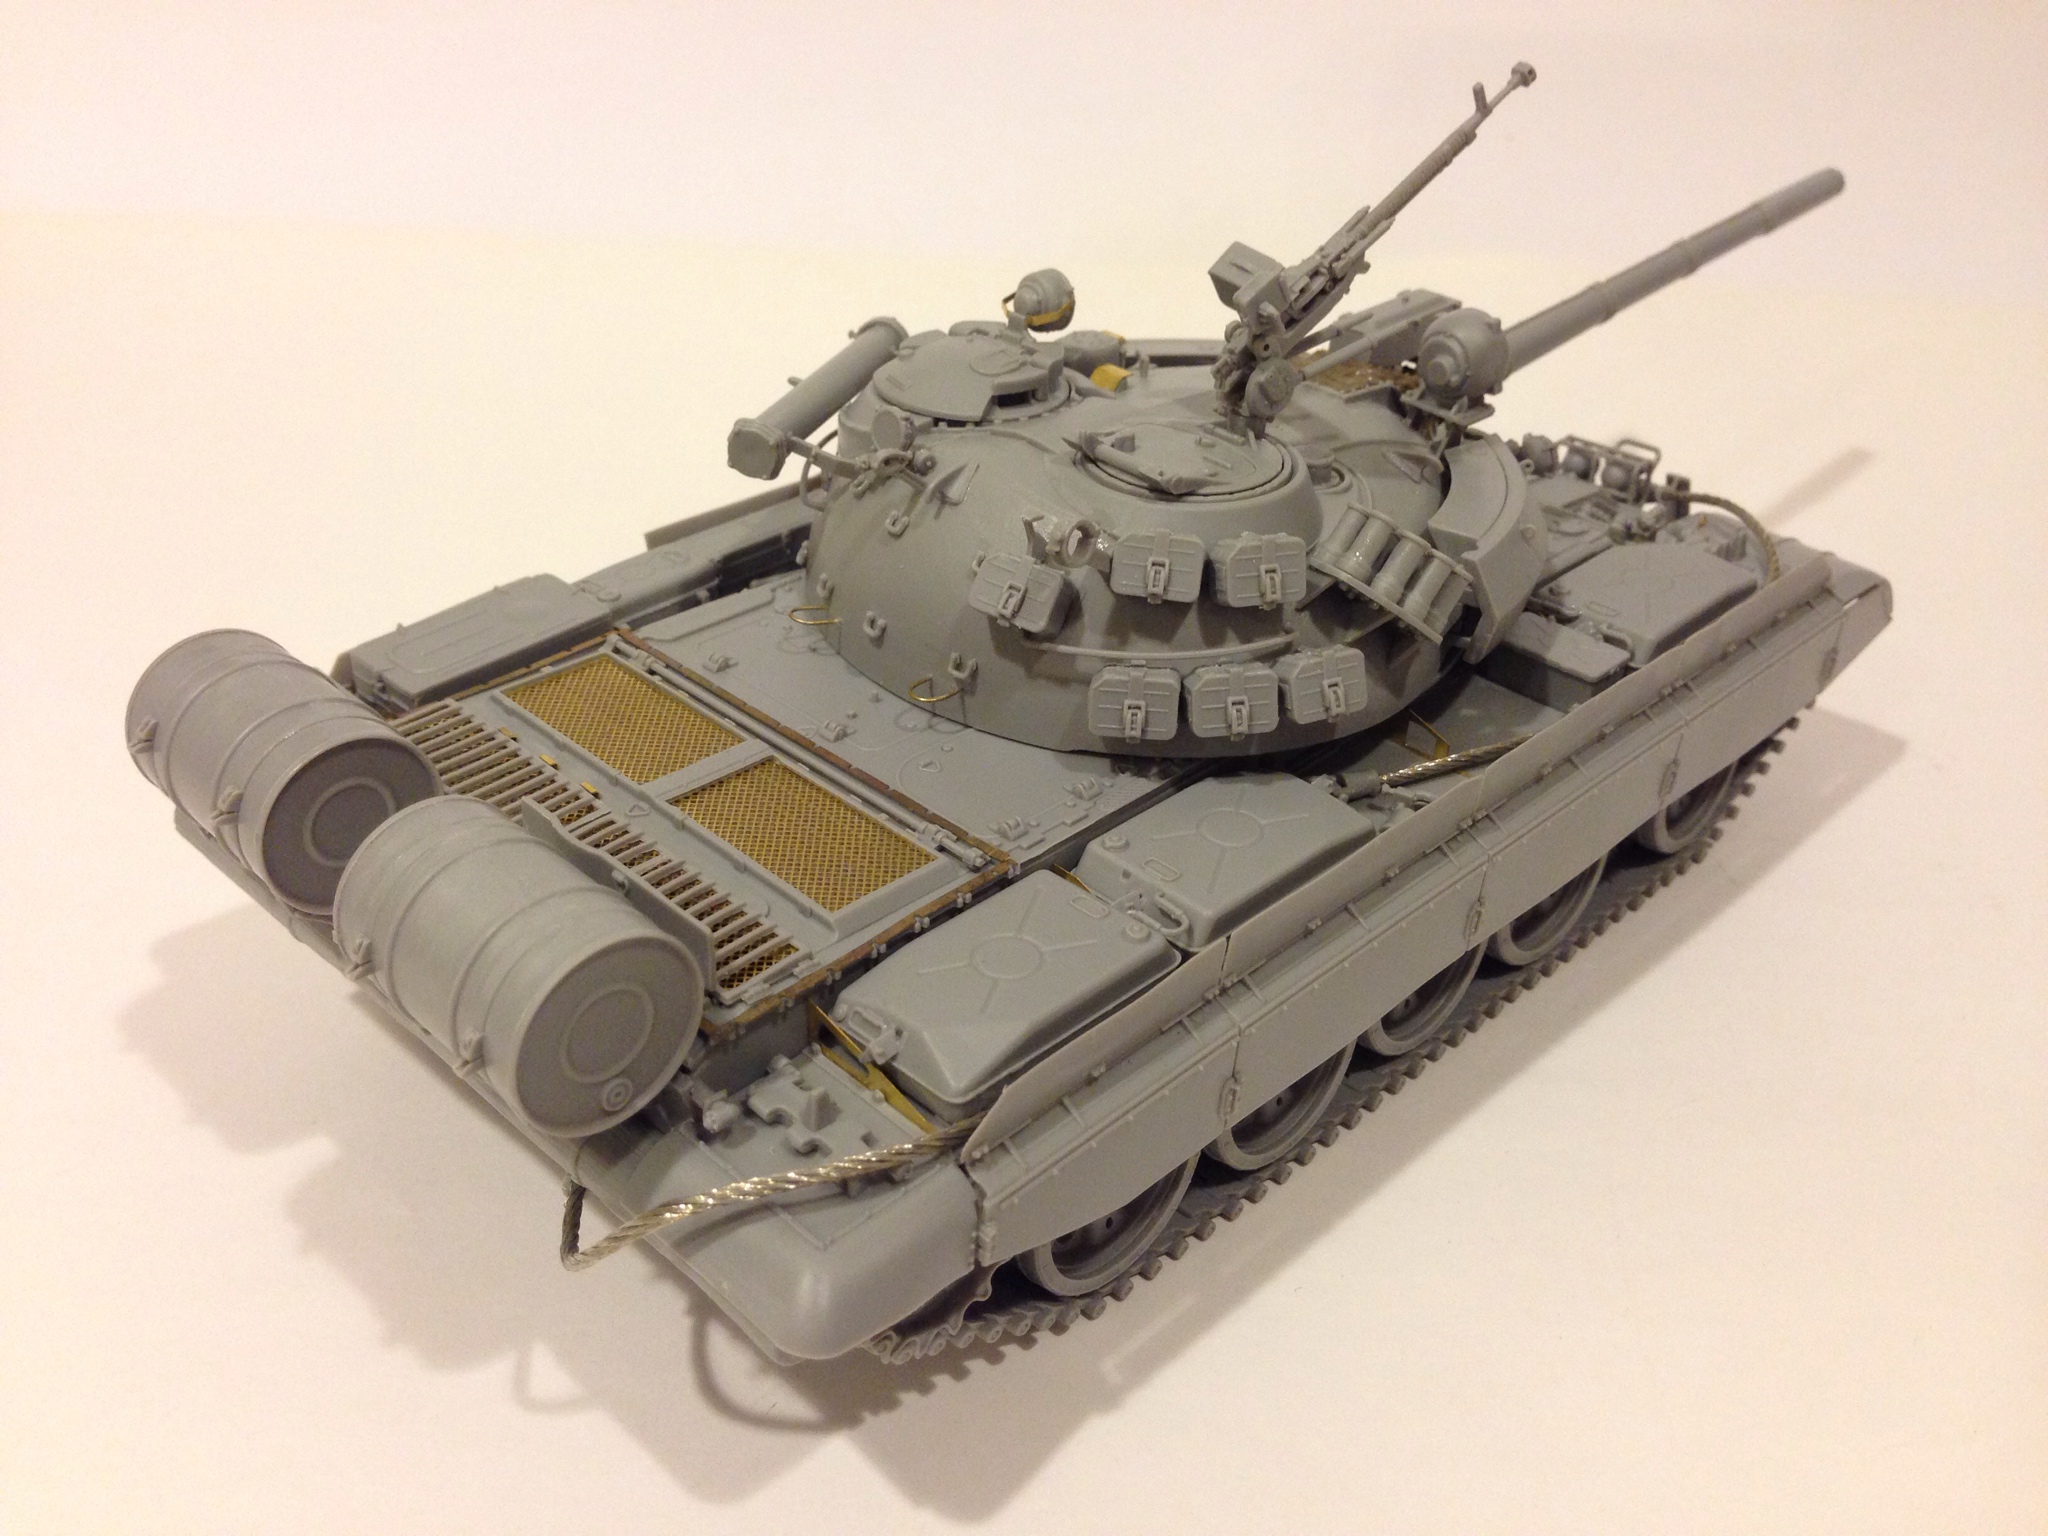
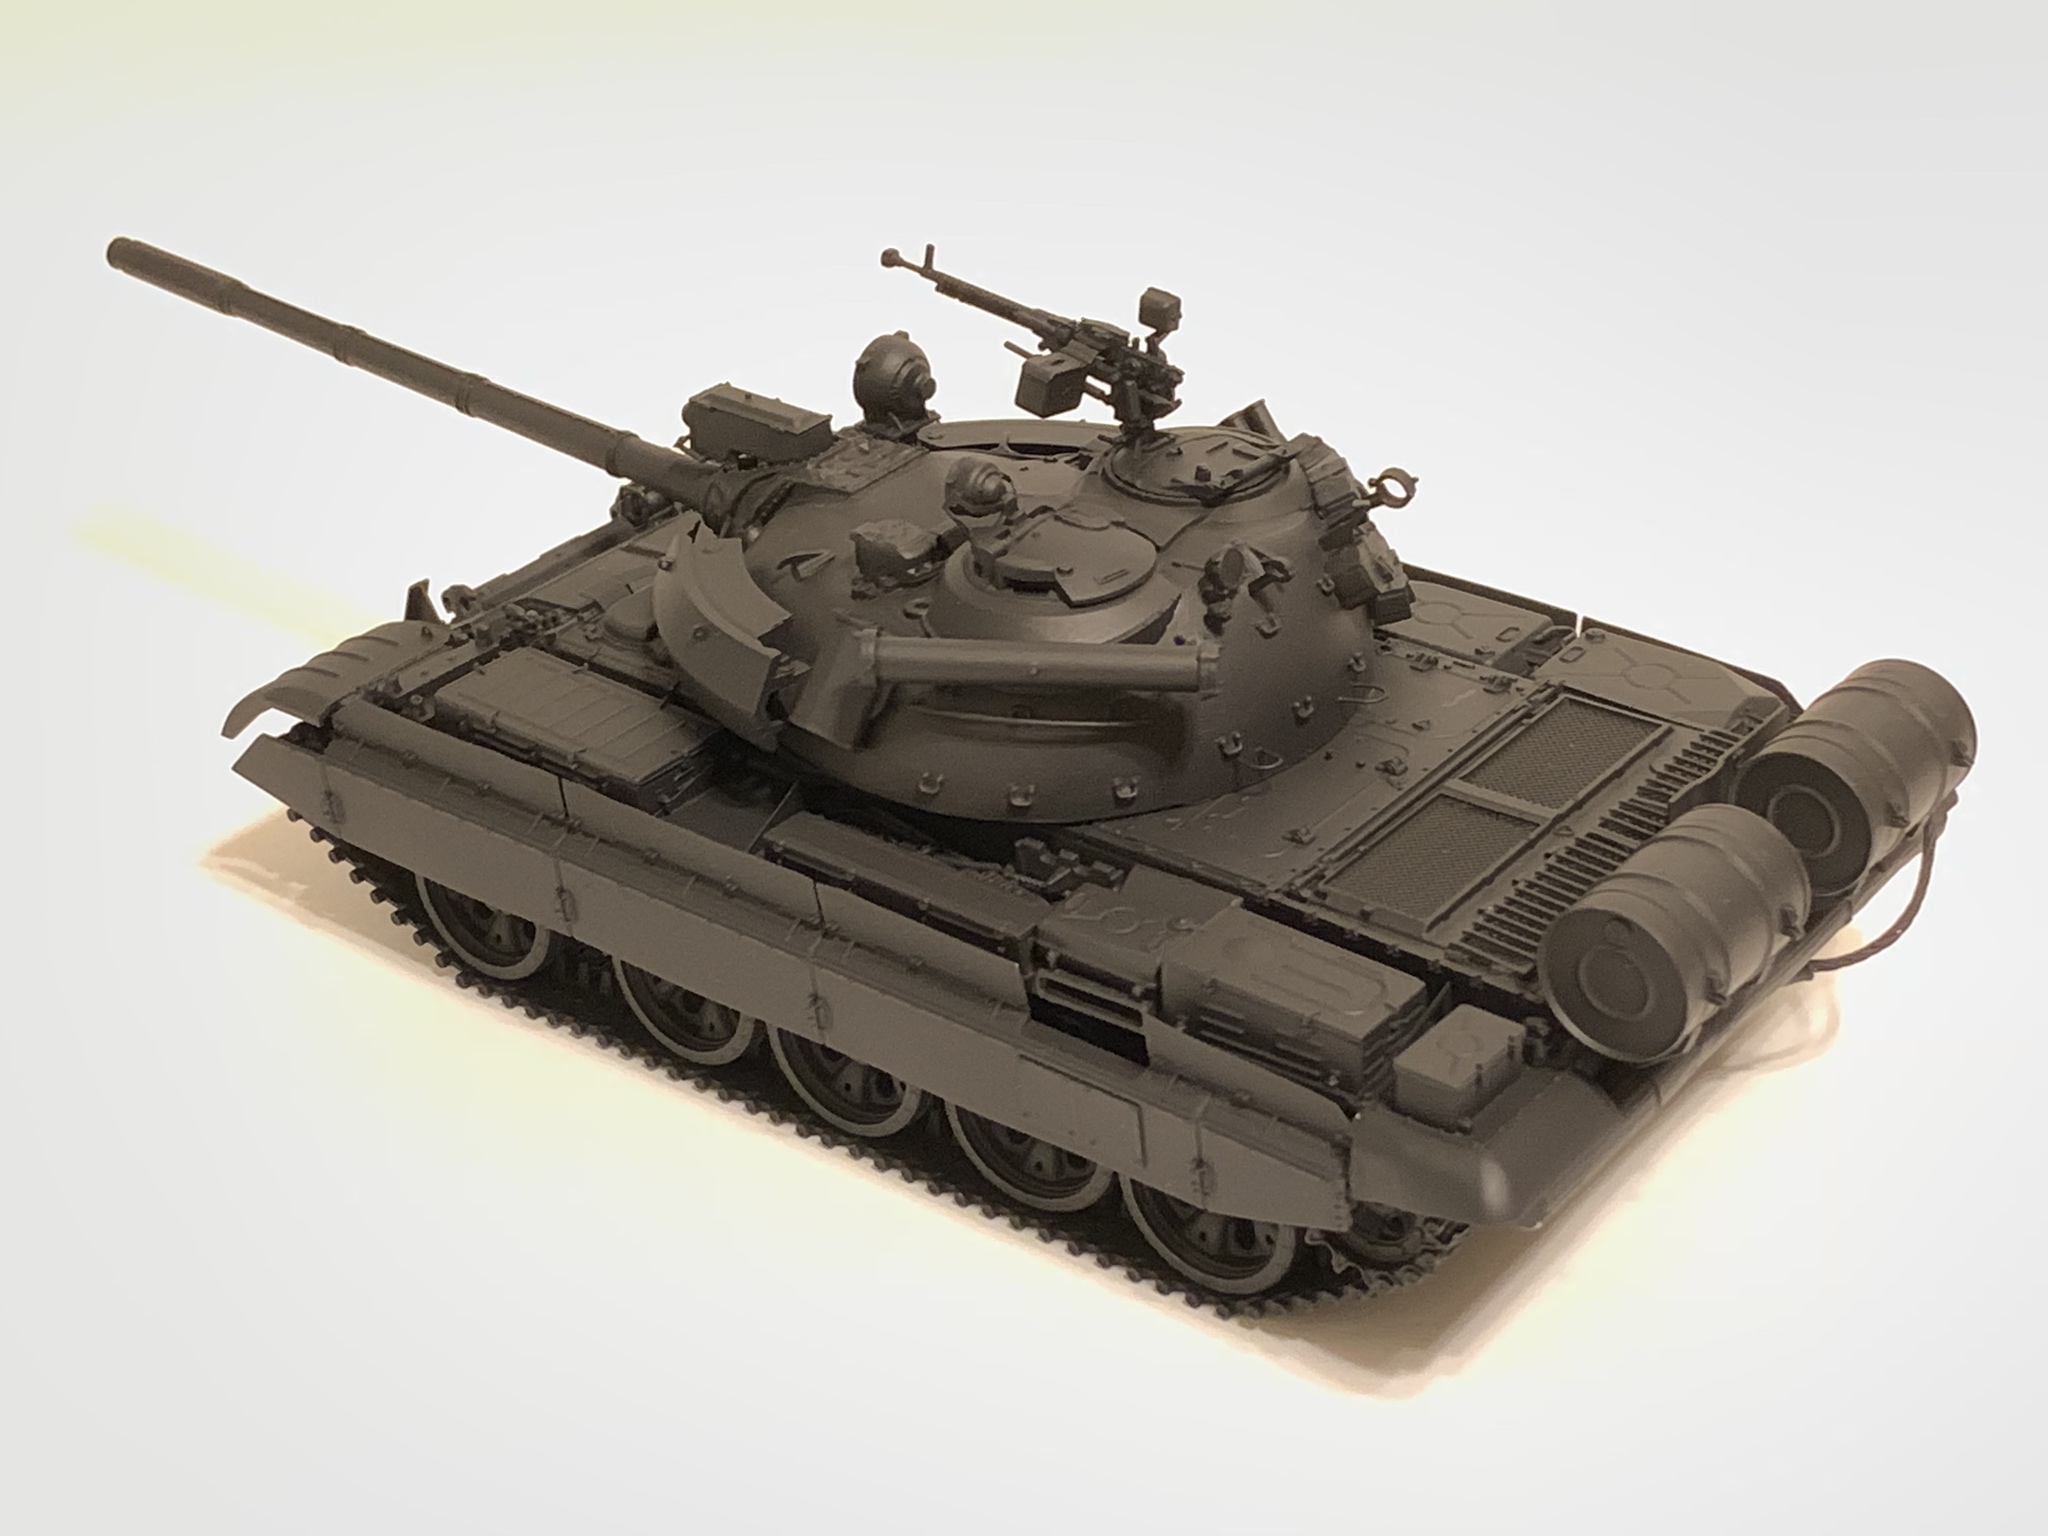
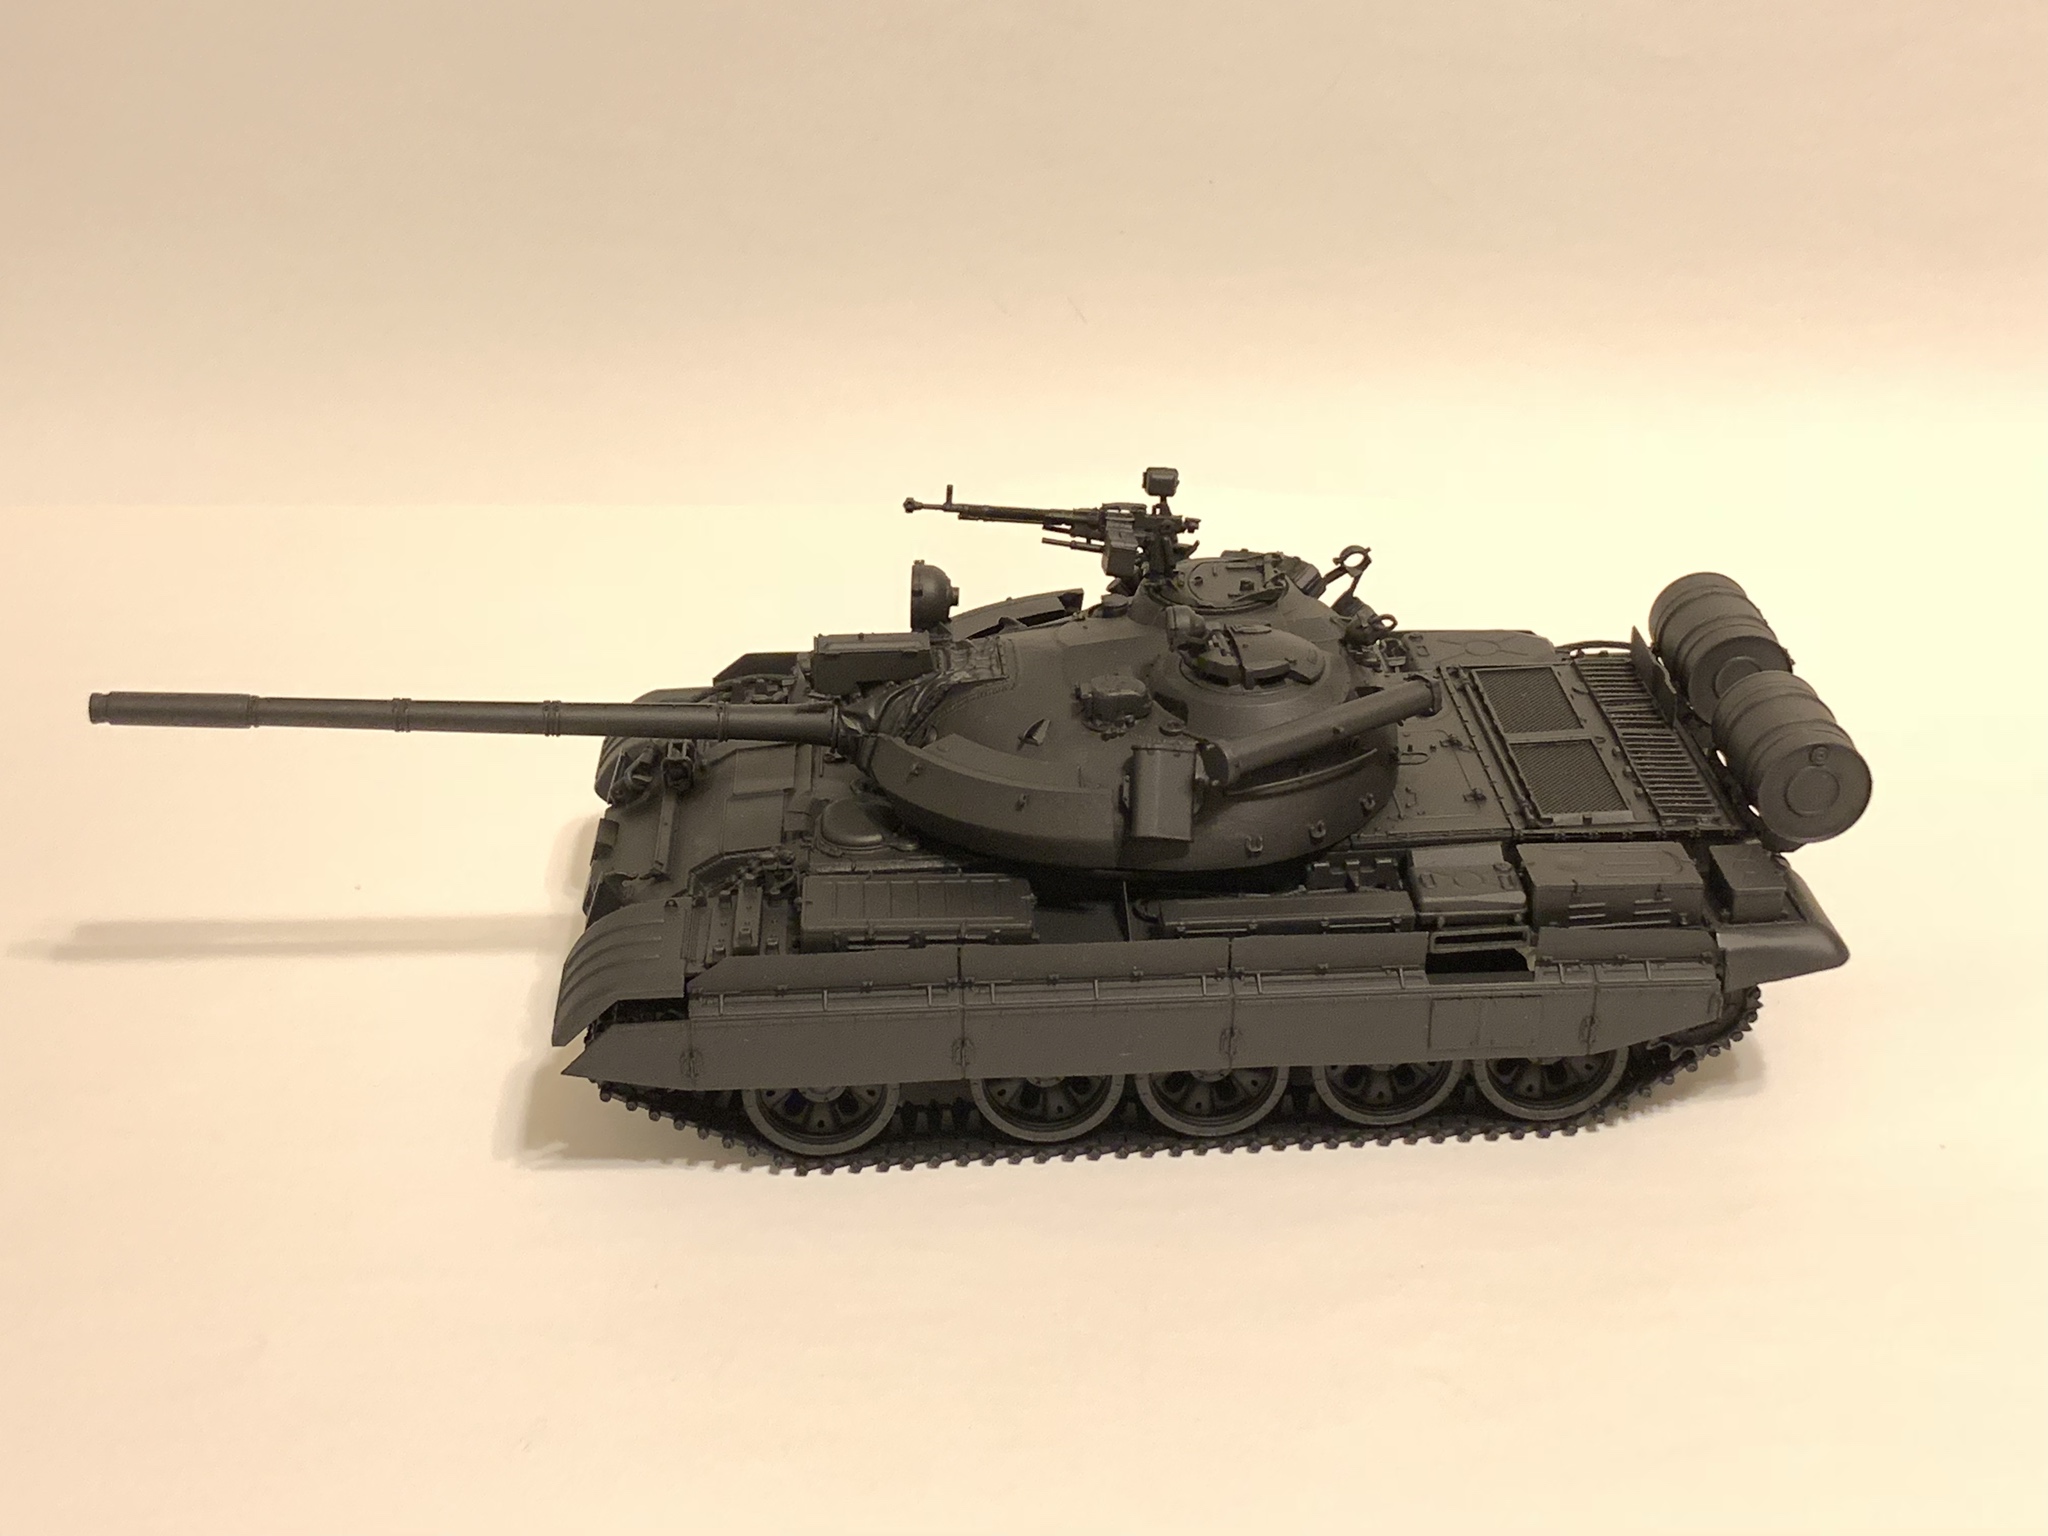
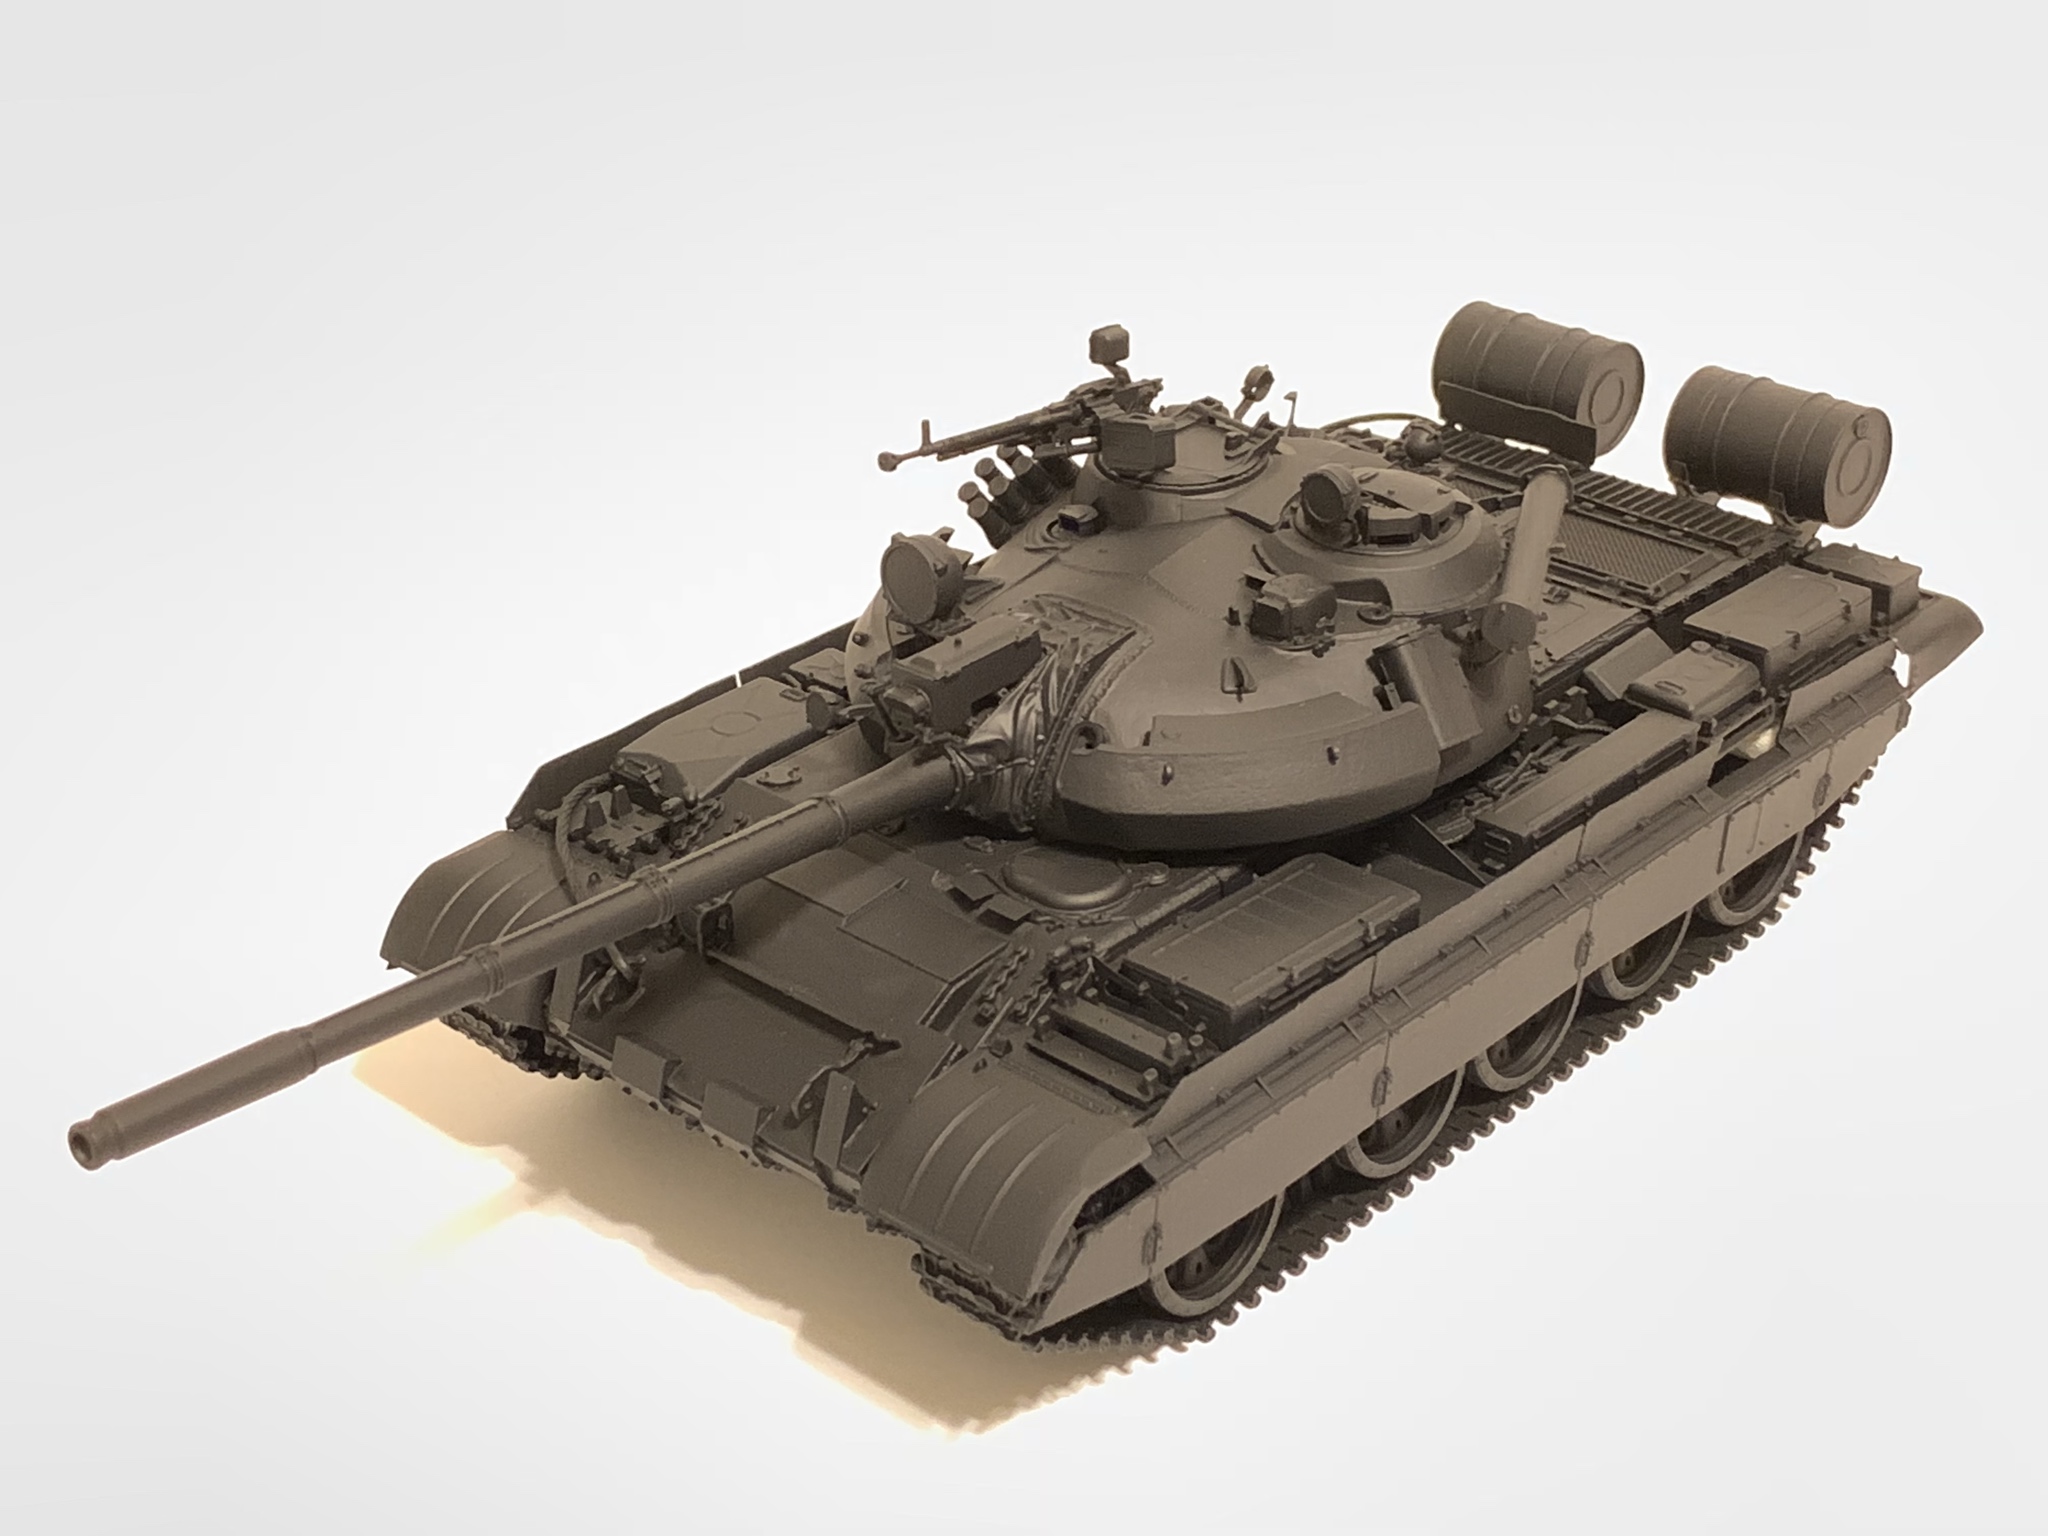
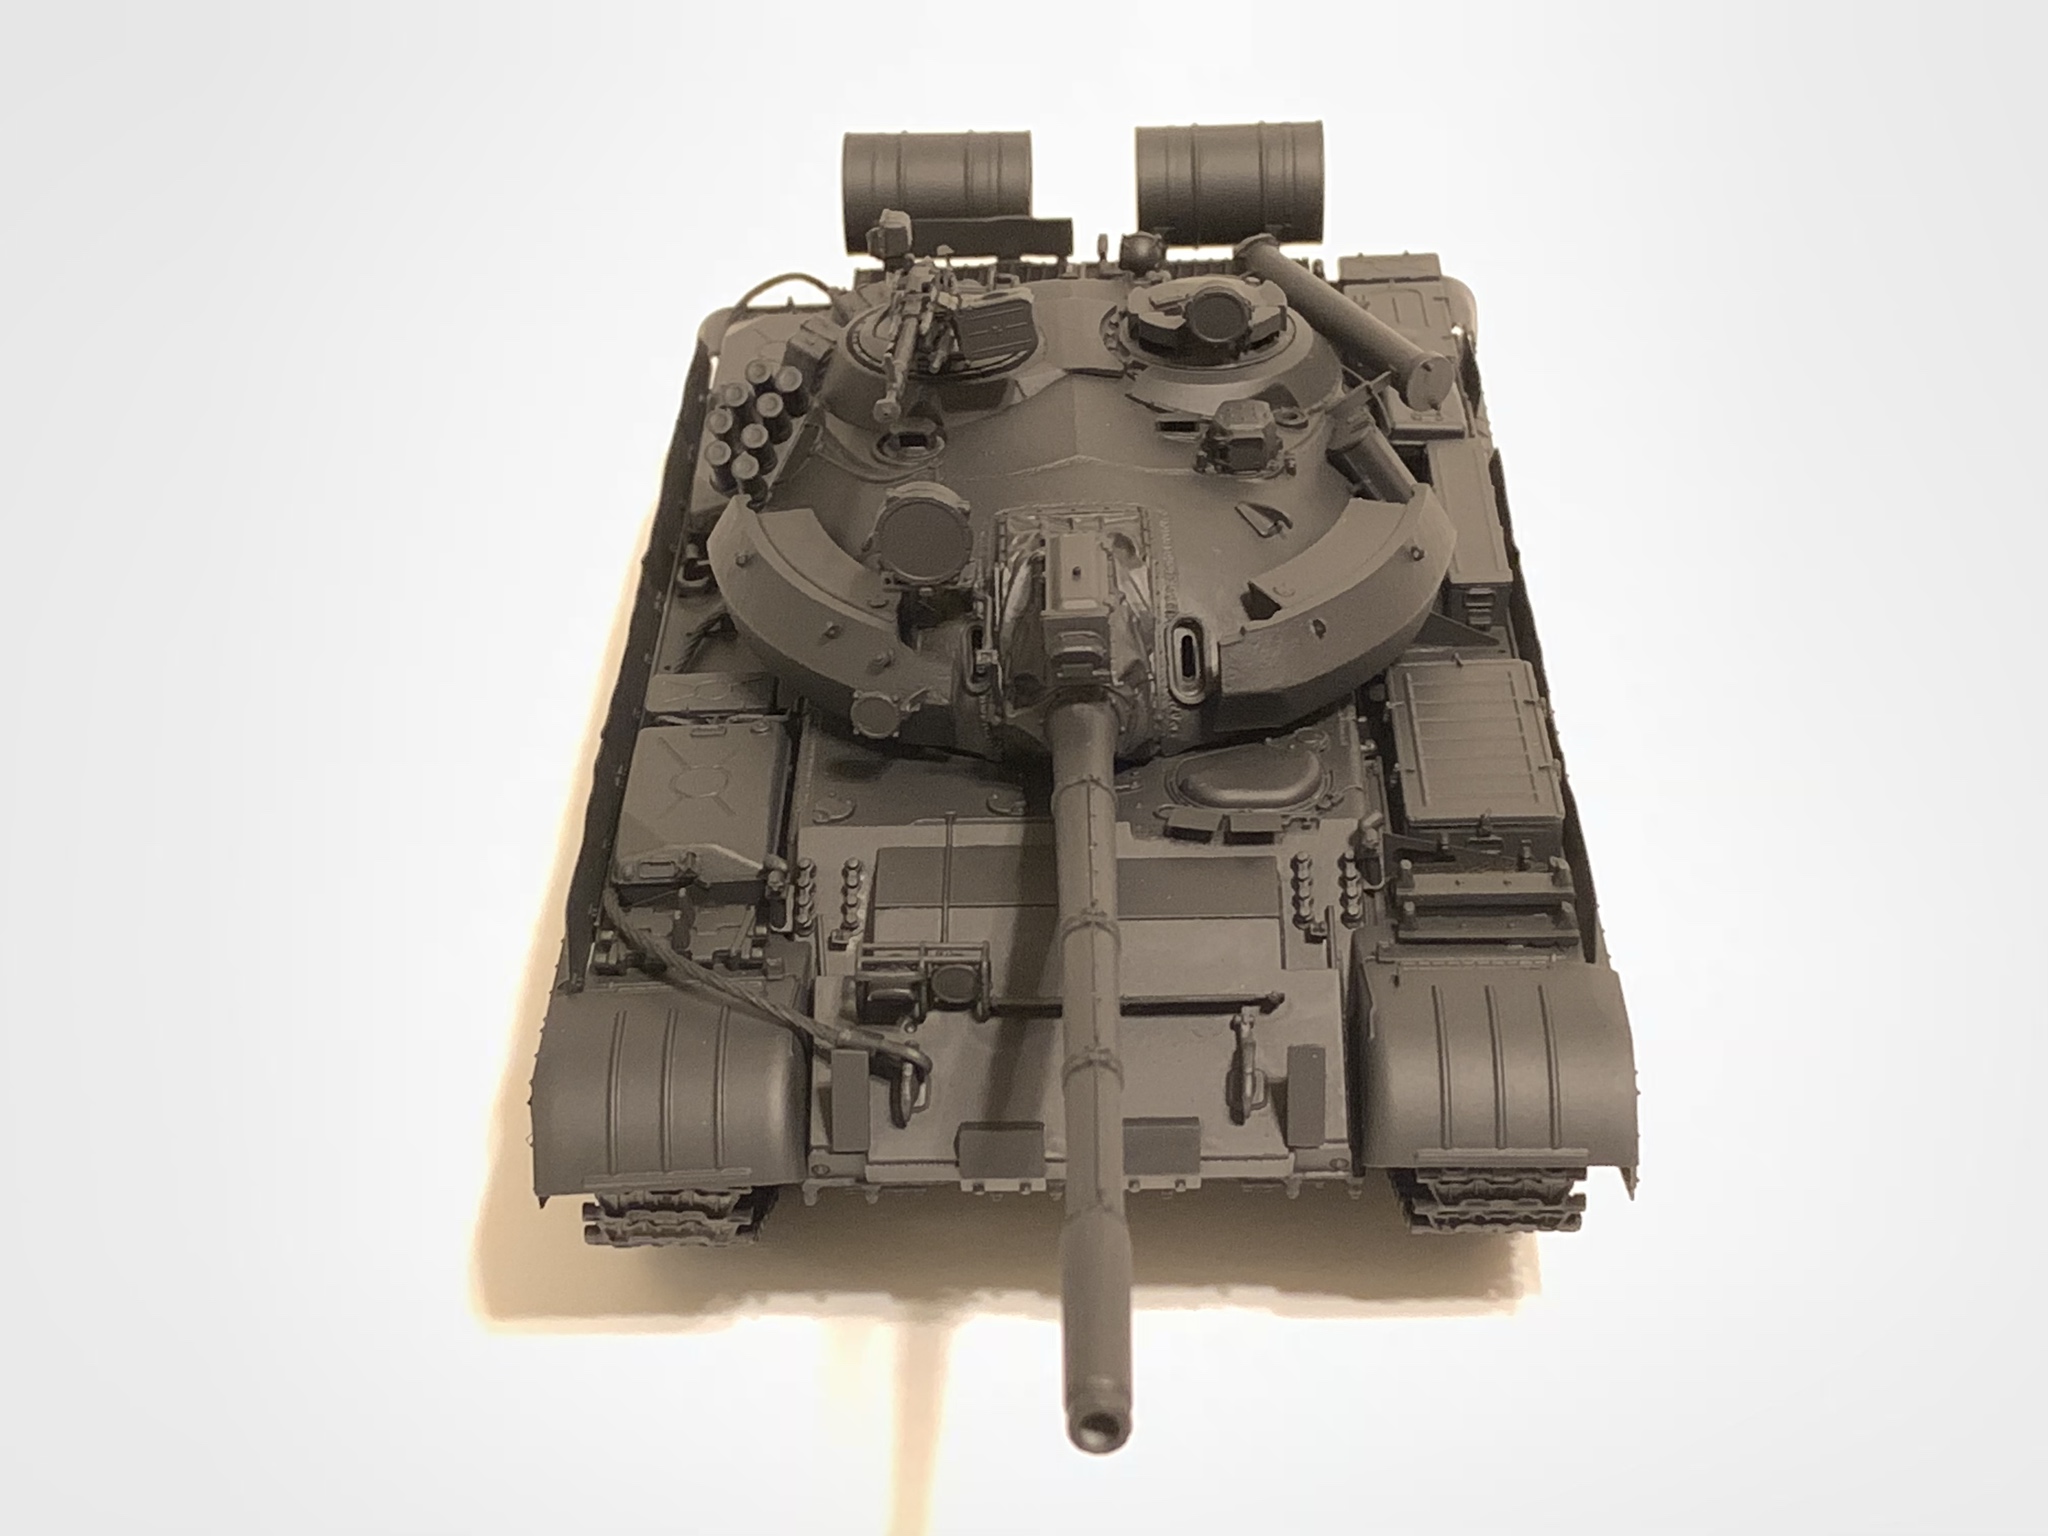
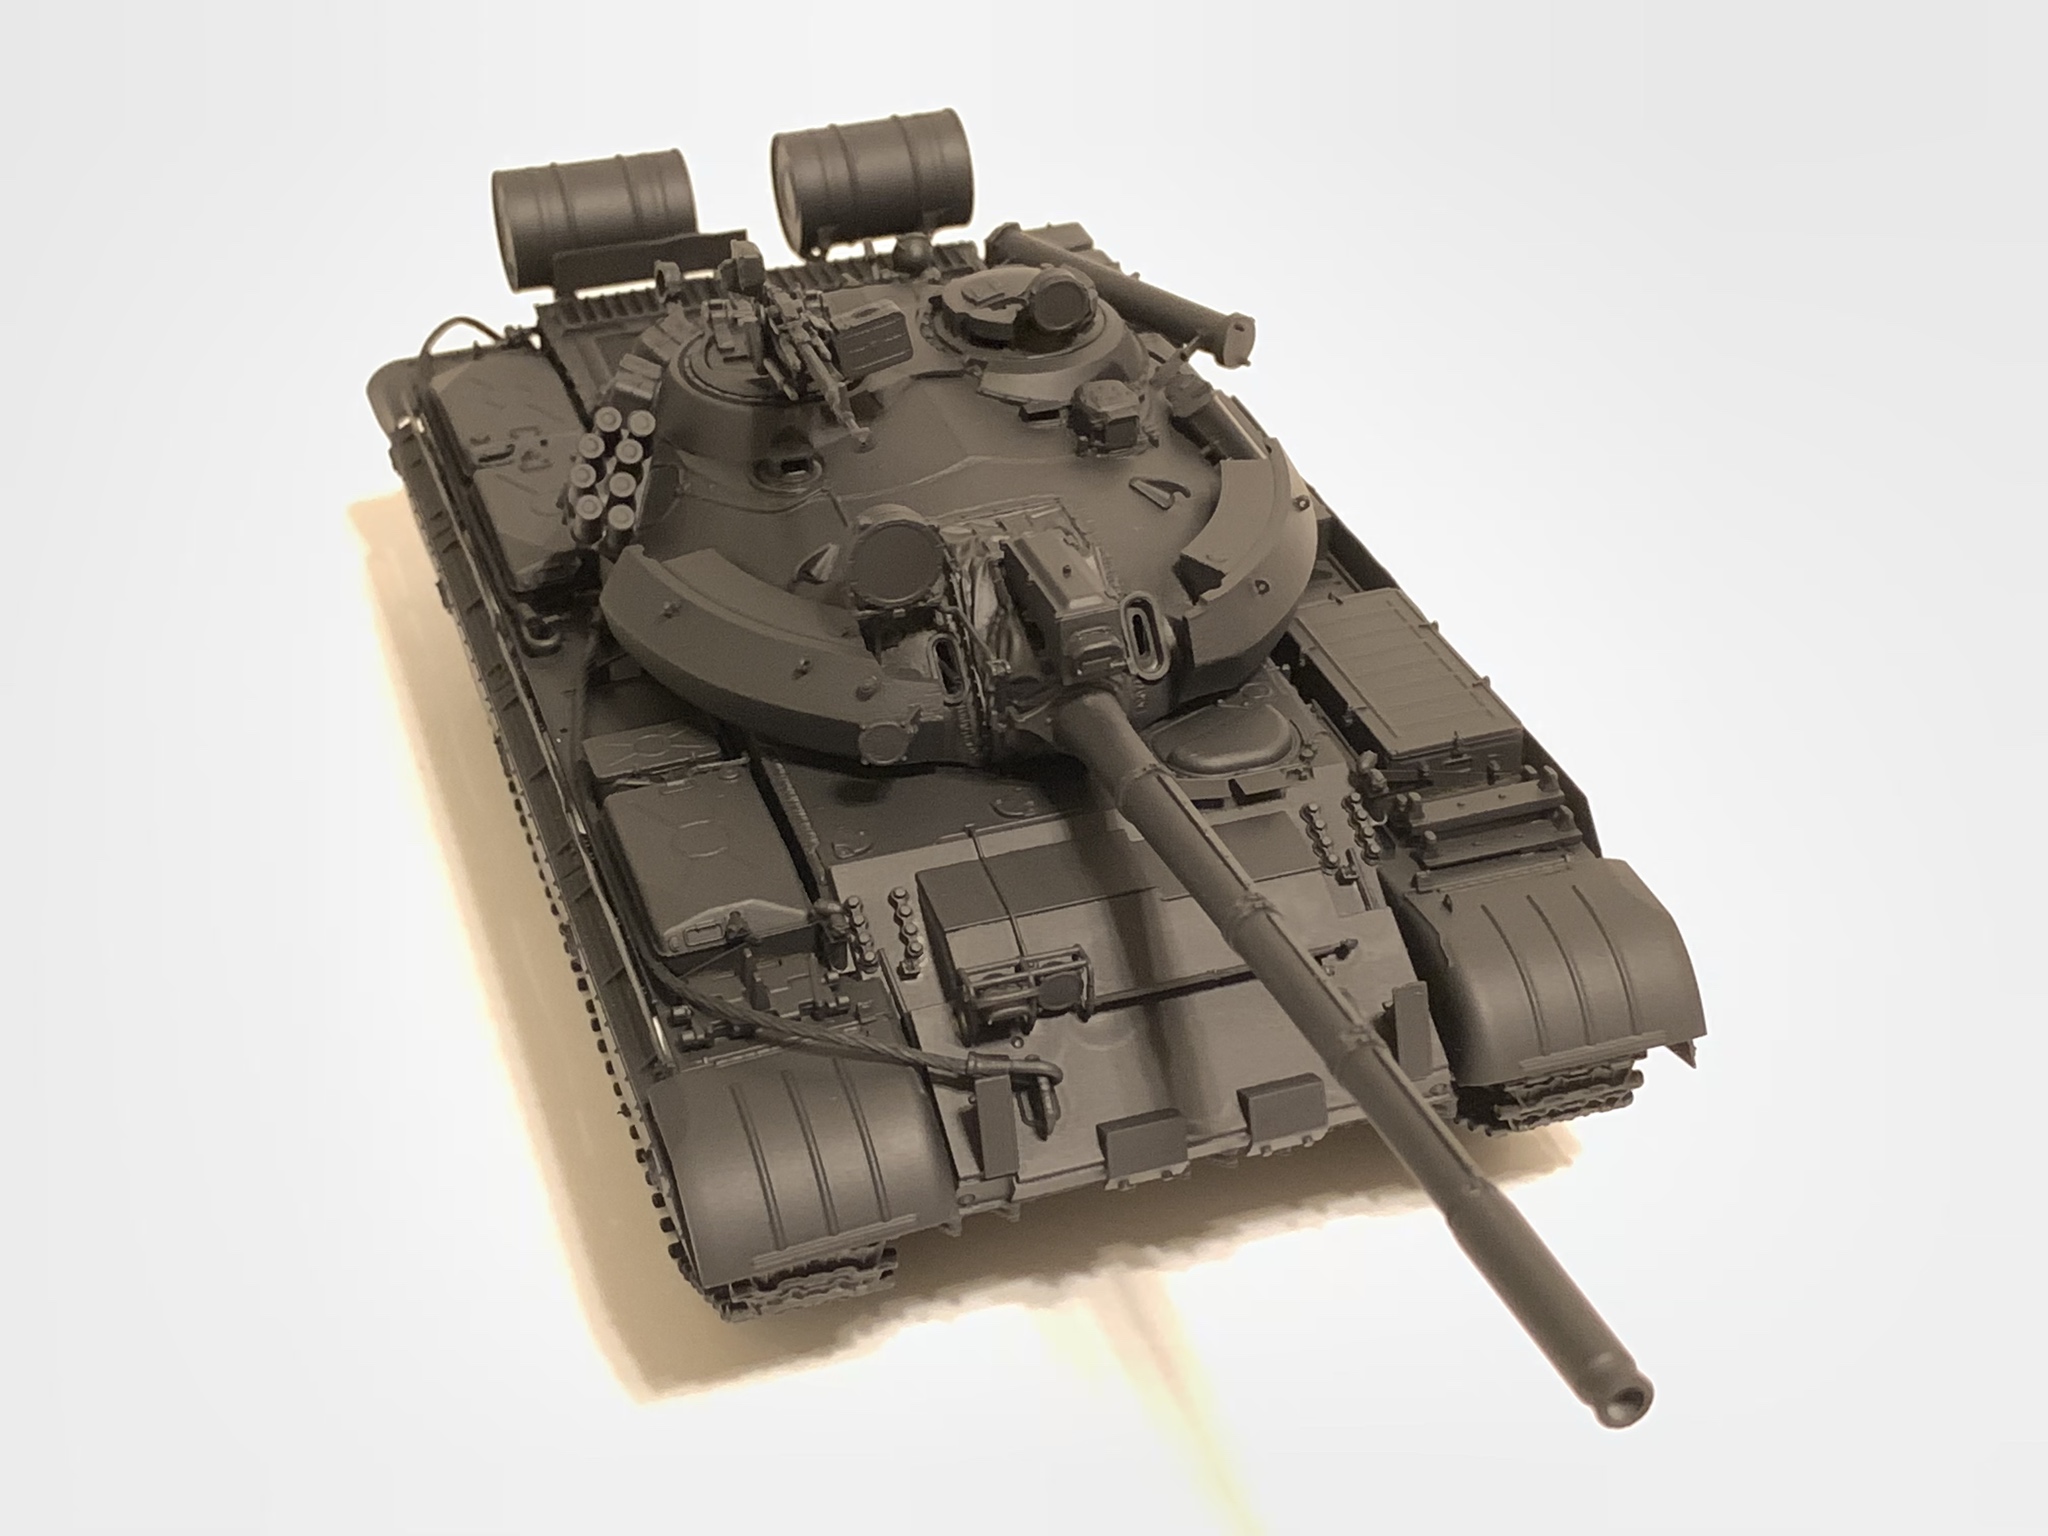
I fookin love your Iraqi T-55 at the top of the page, it looks very good indeed good sir, a very nice worn and weary looking T-55.
Matt

These are so so nice! I've really enjoyed this thread and can't wait to see more.
Quoted Text
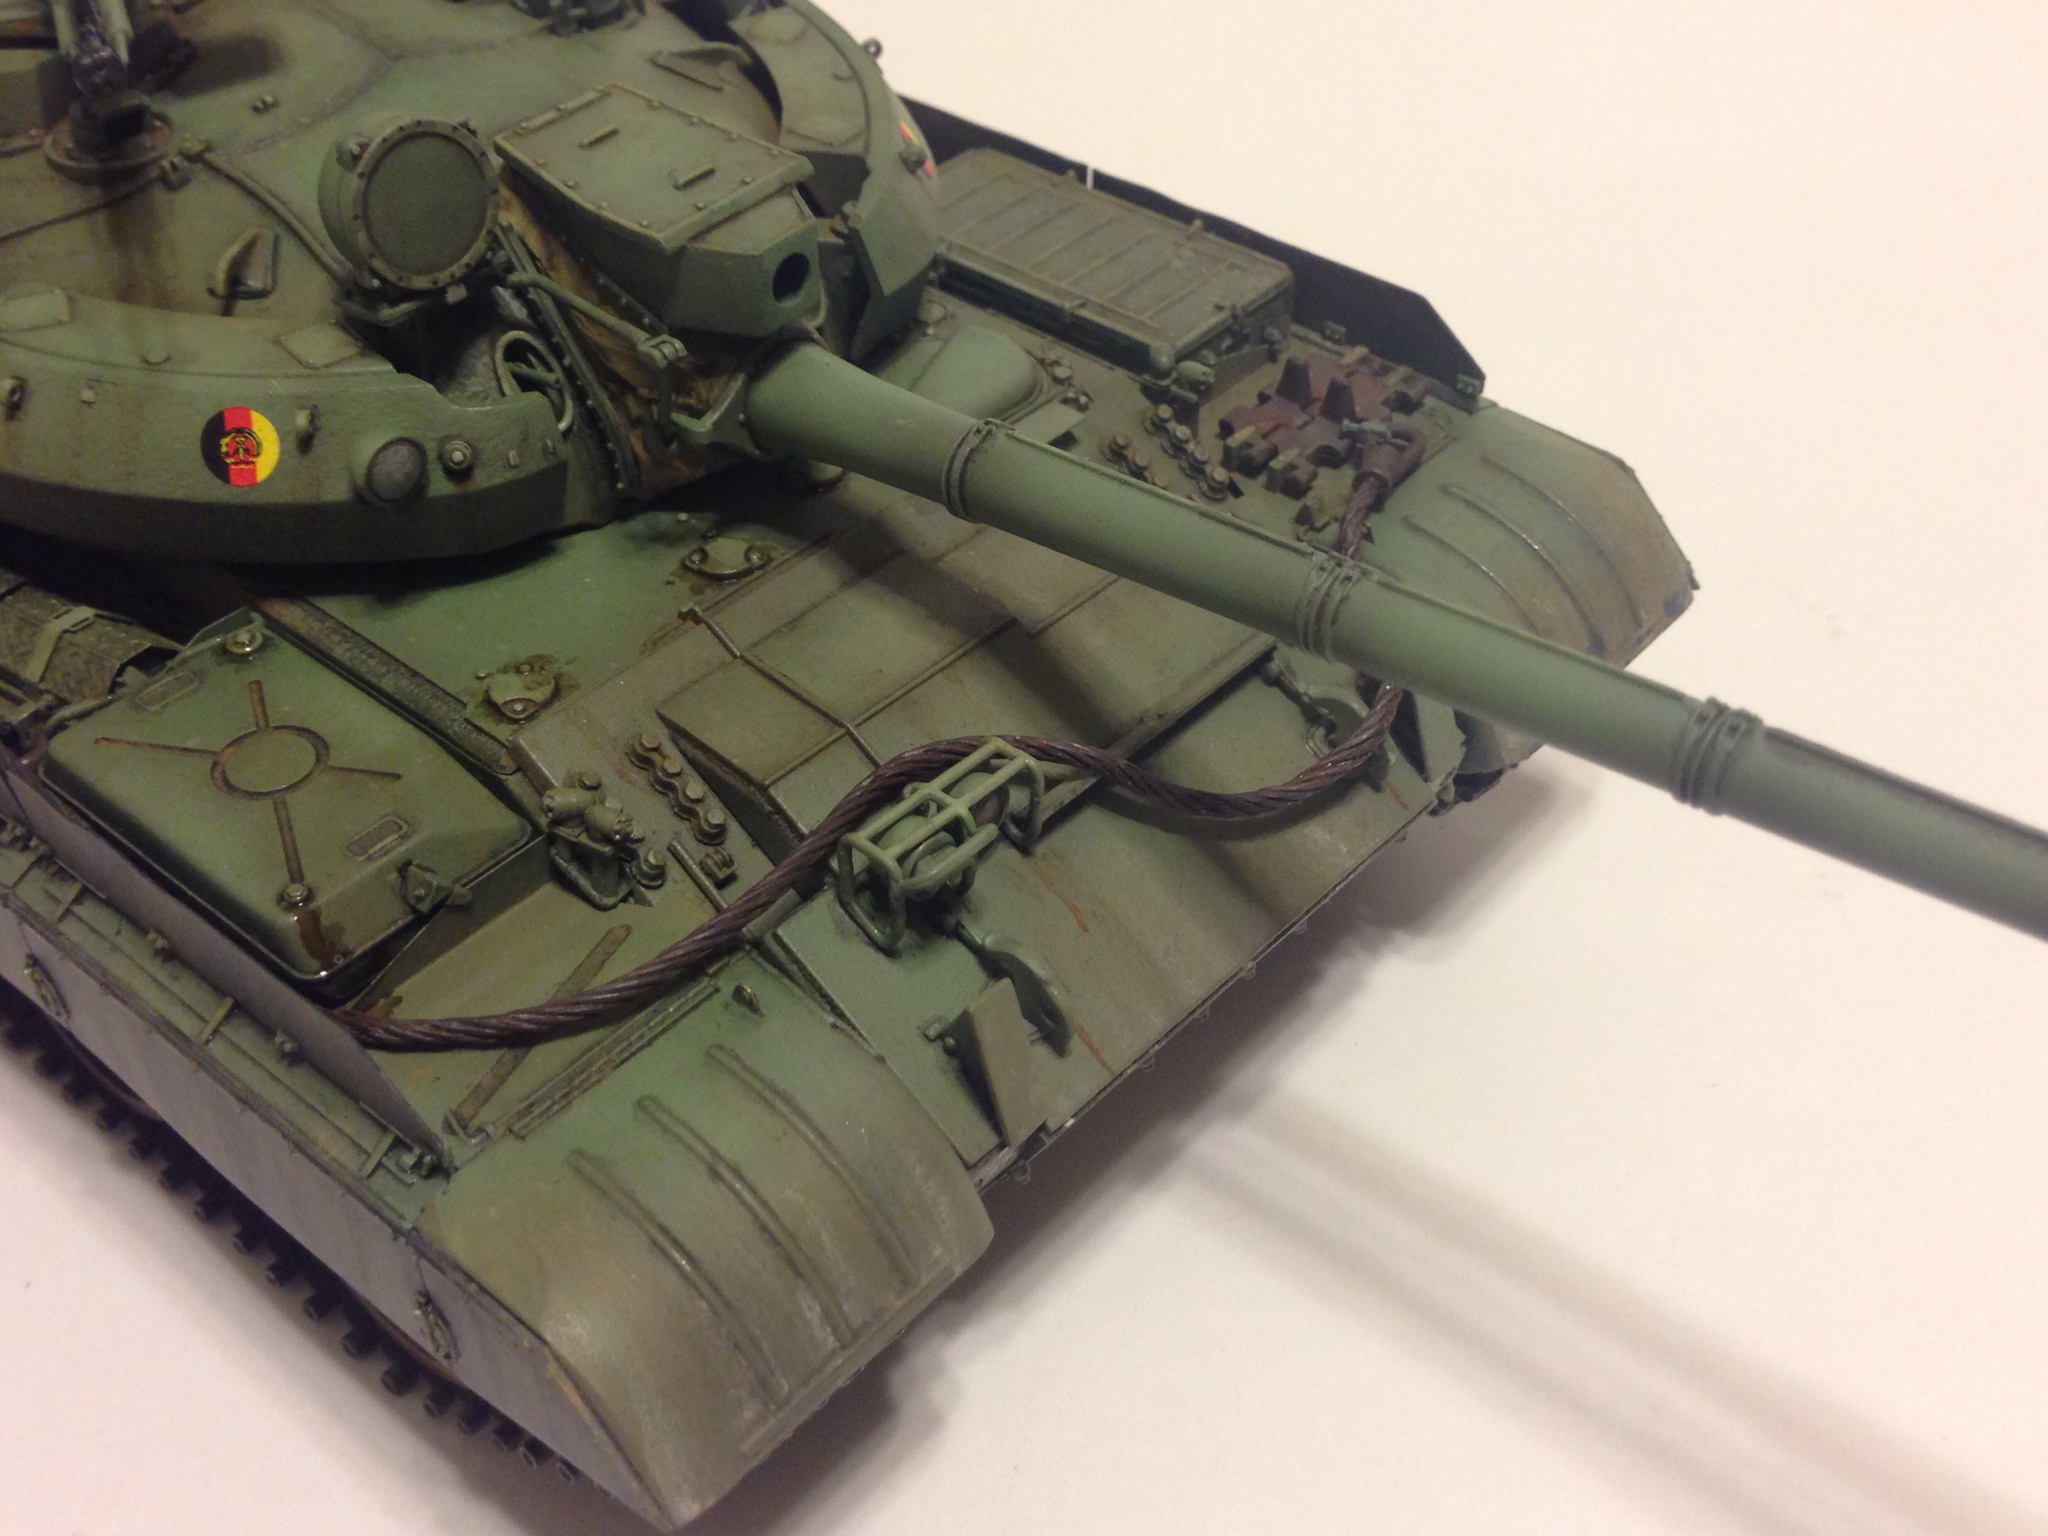
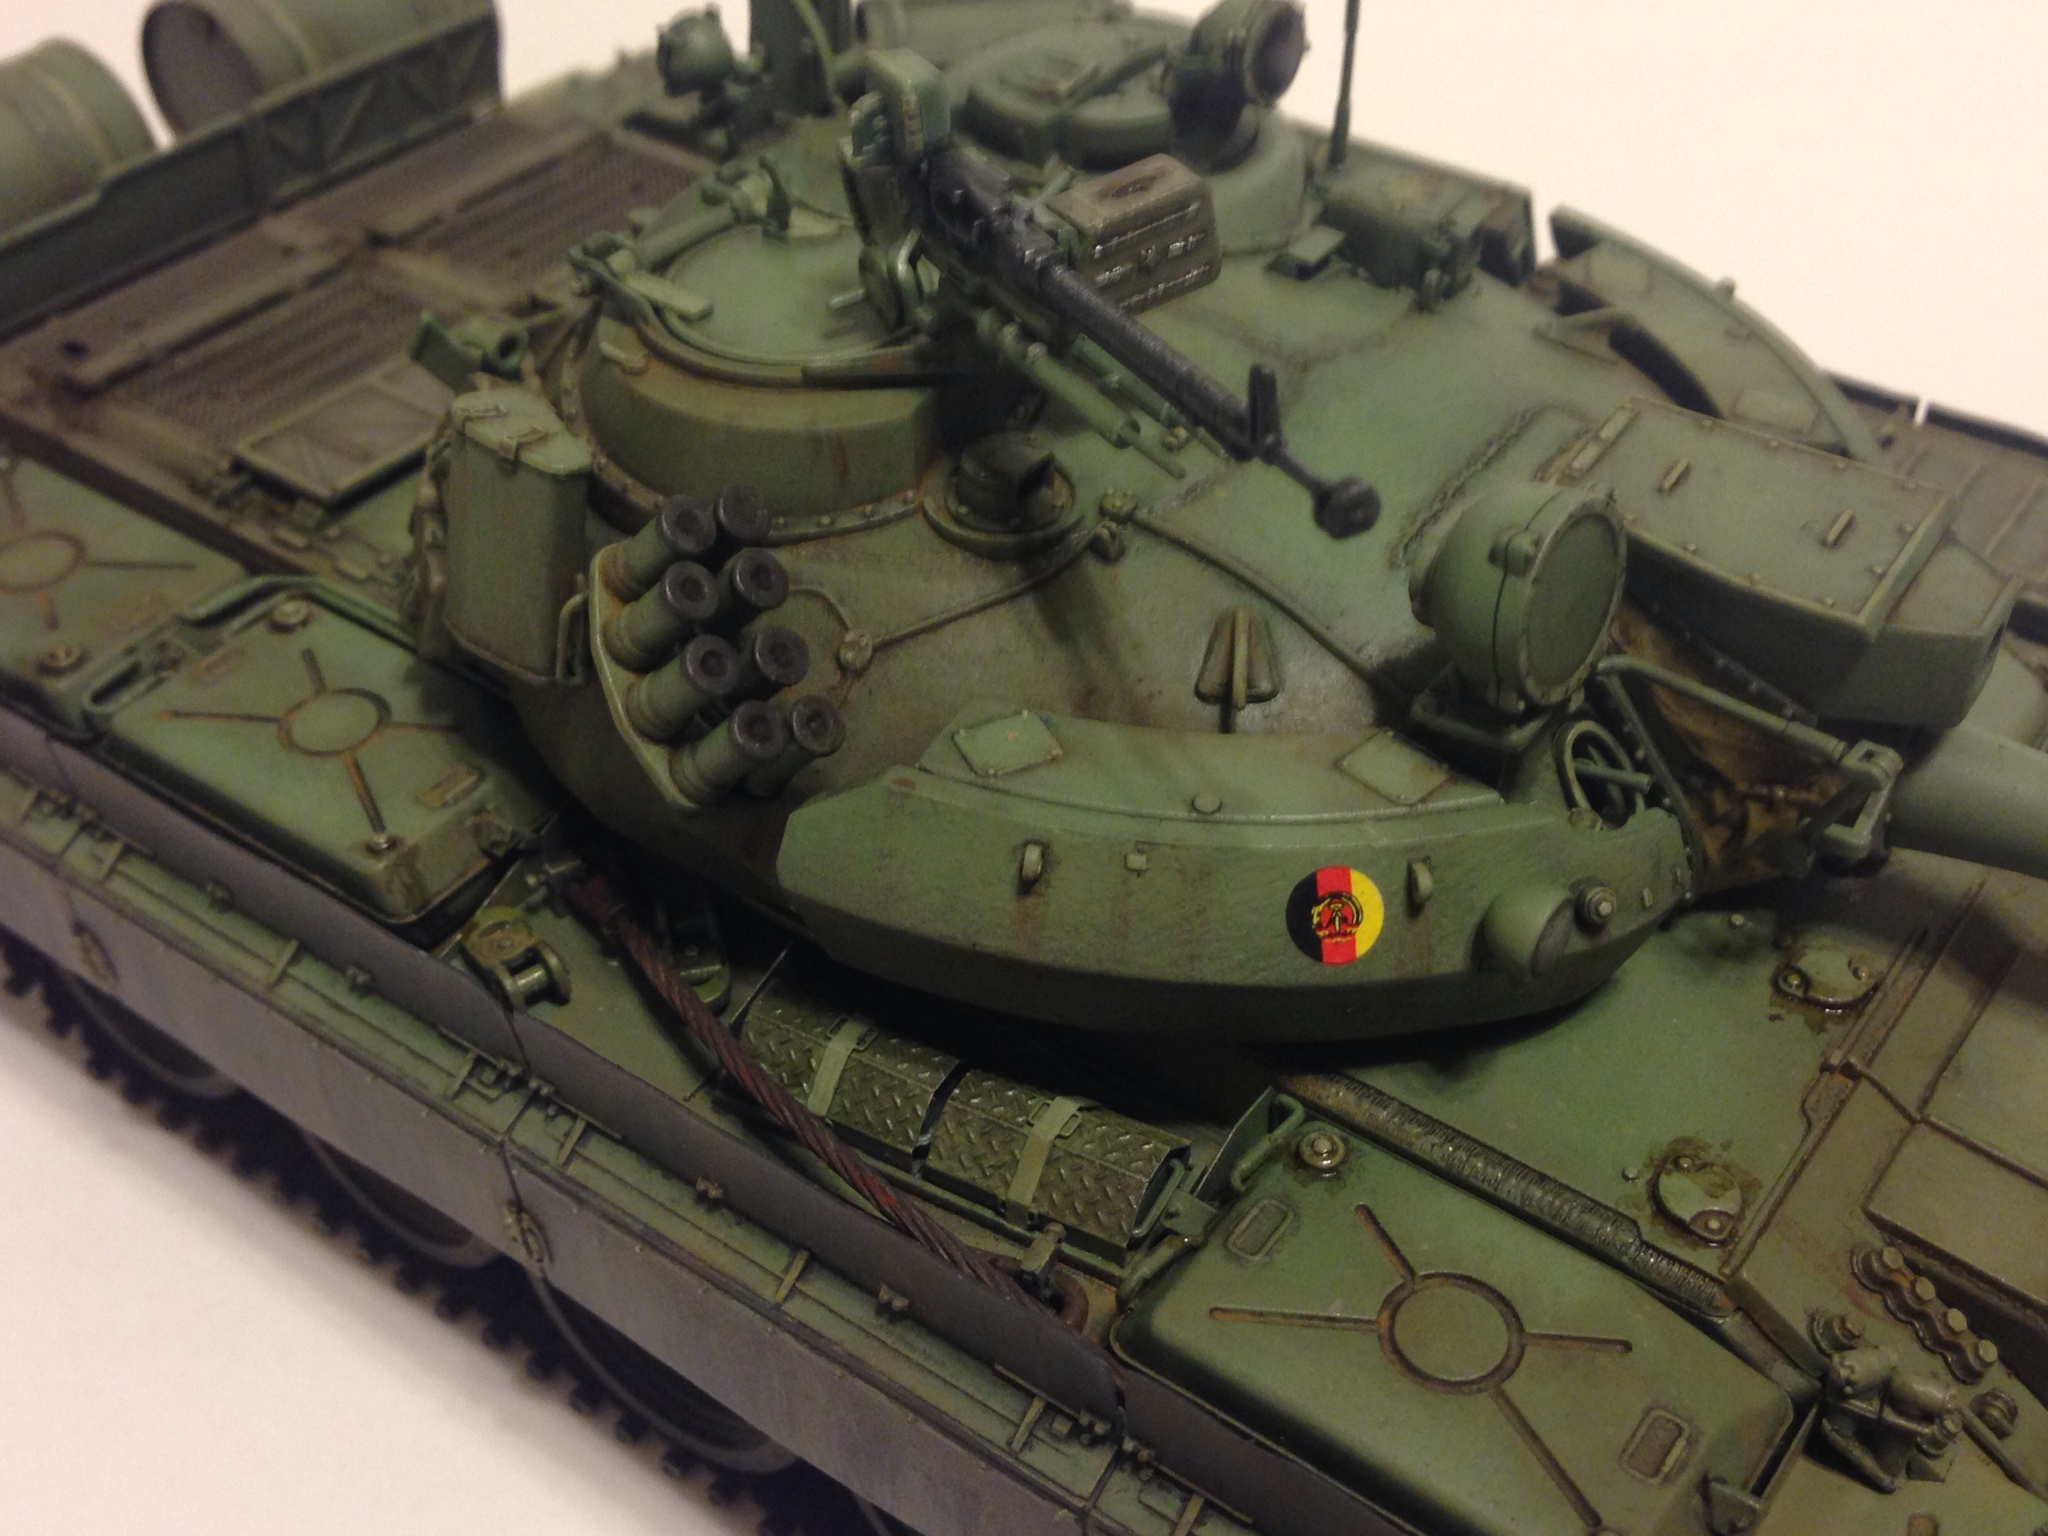
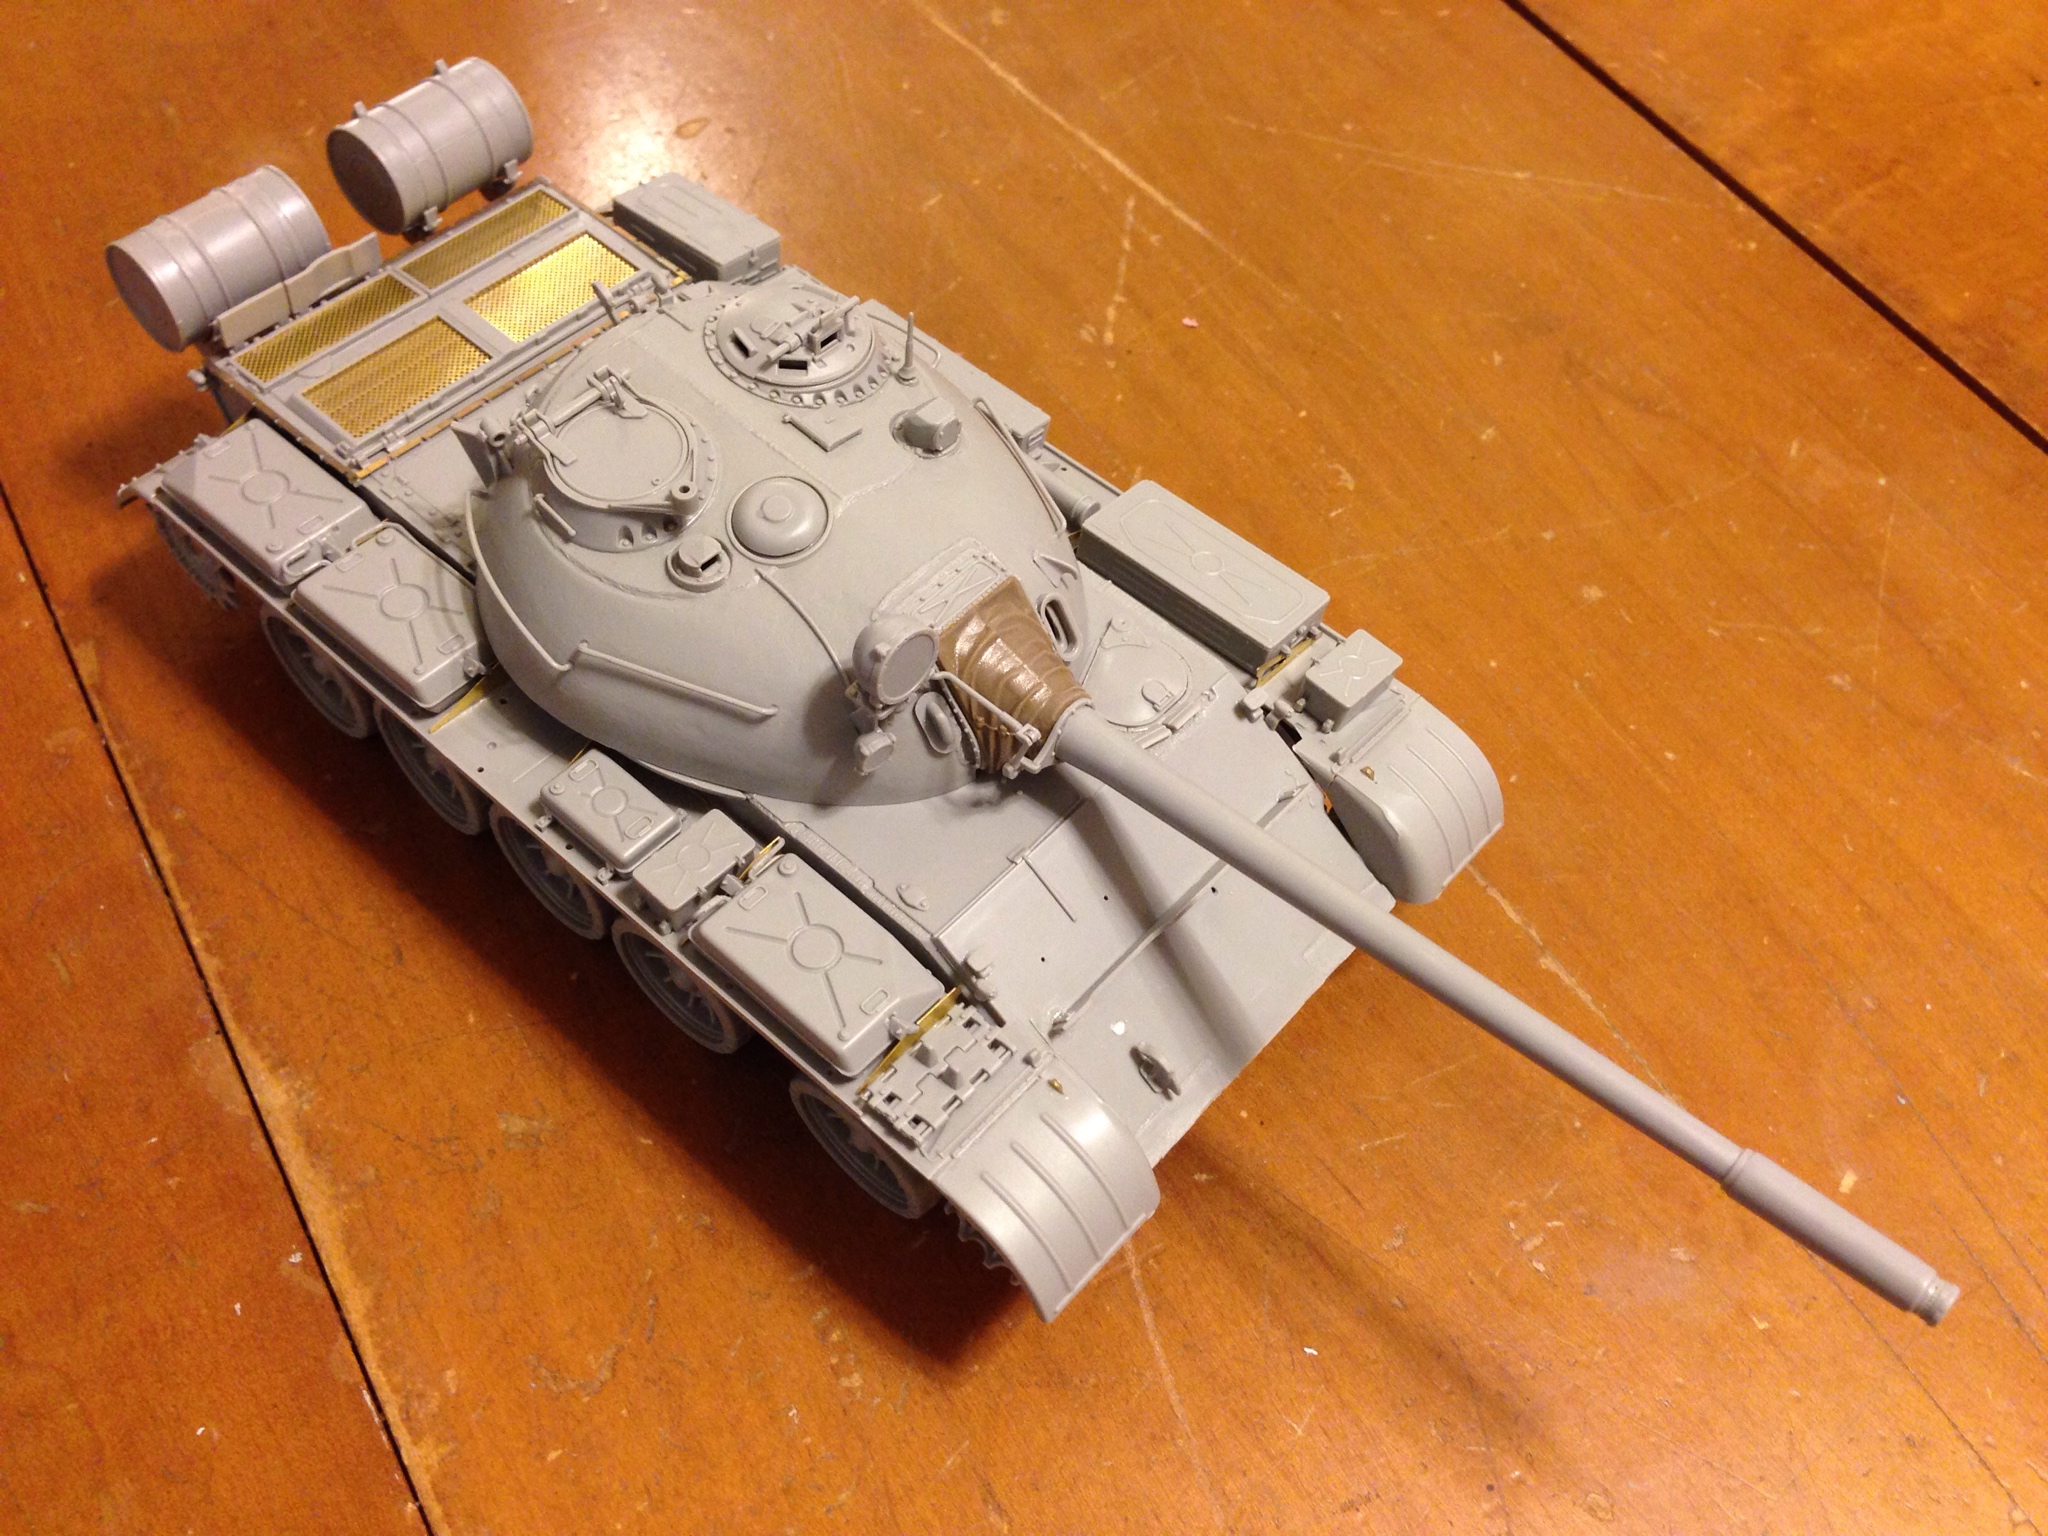
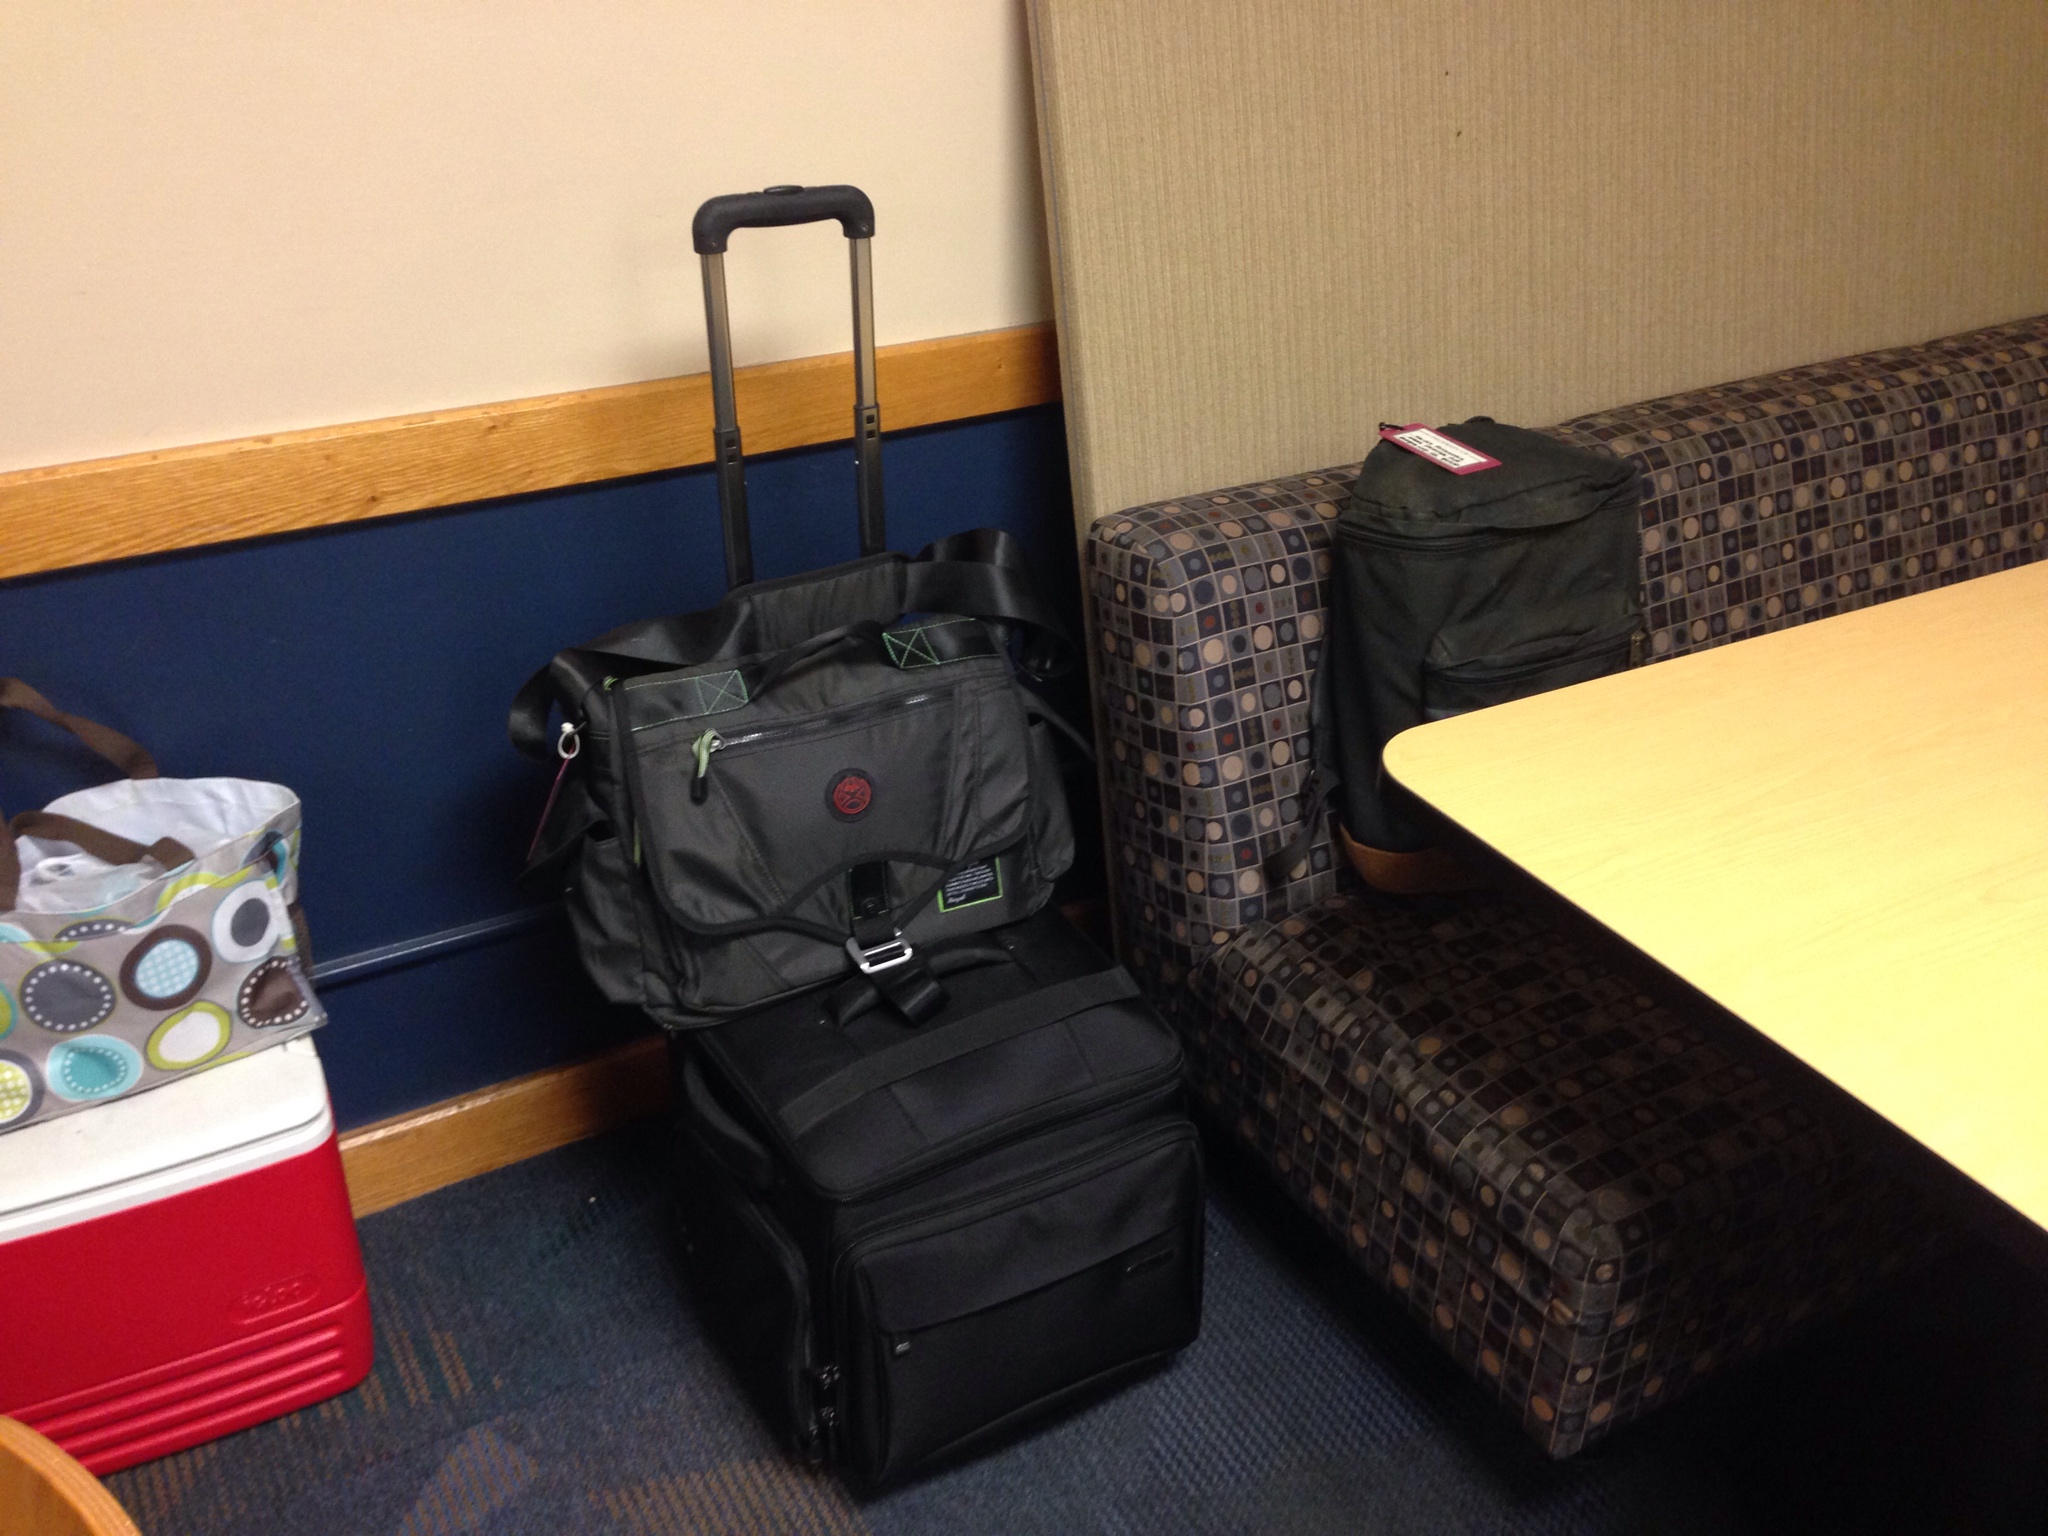
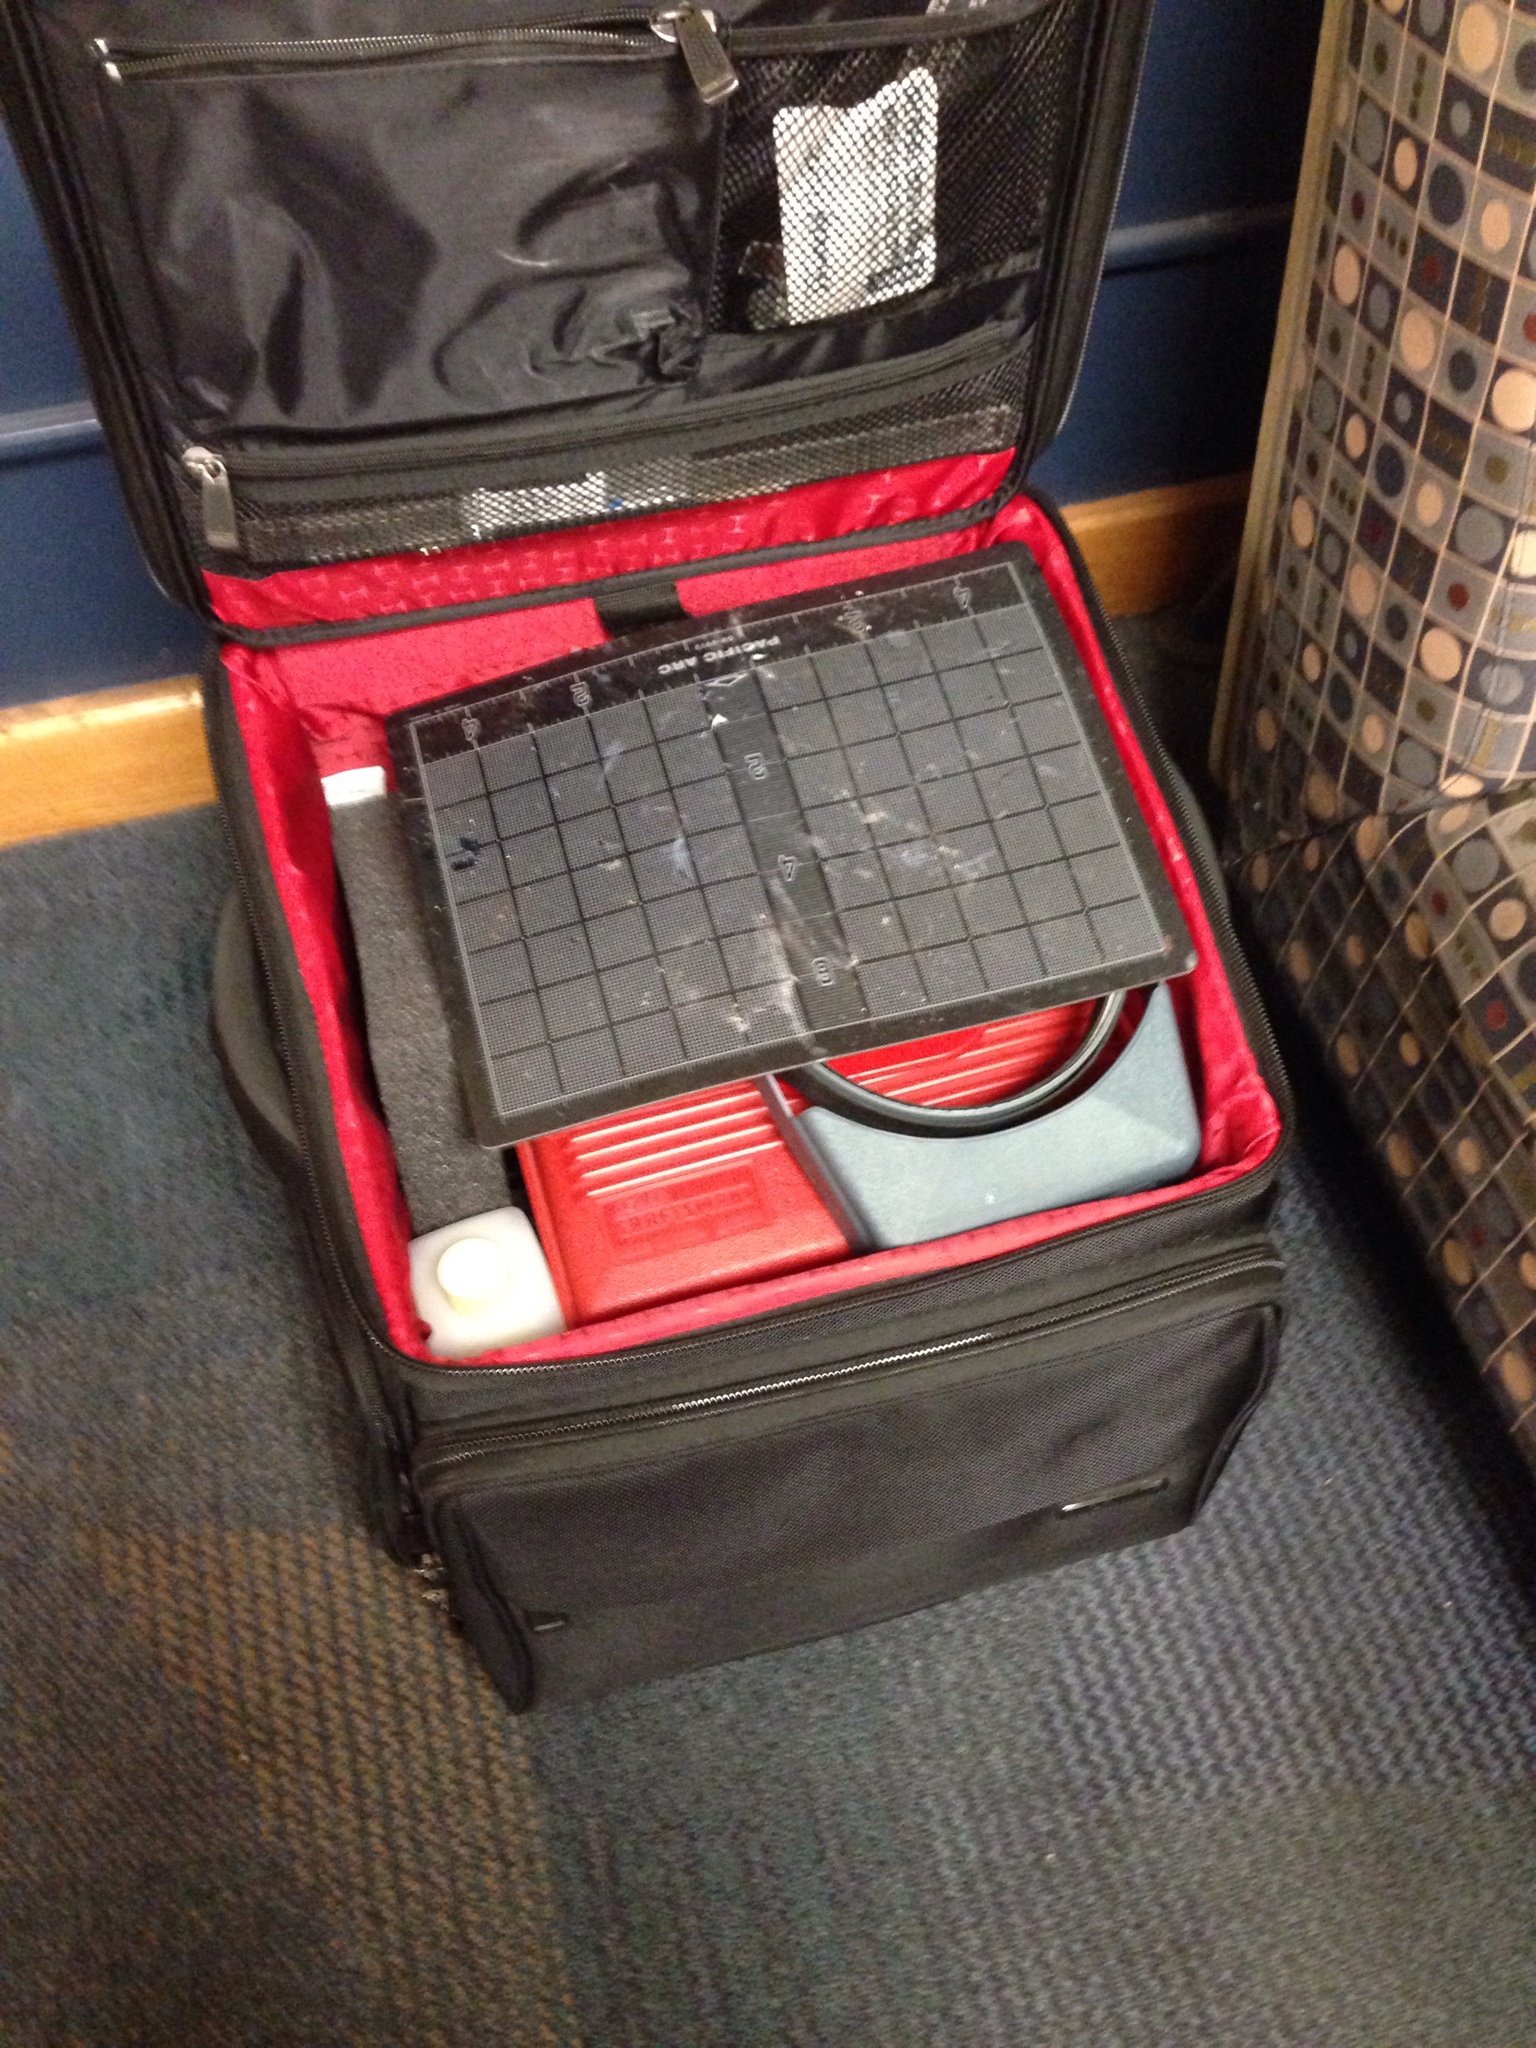
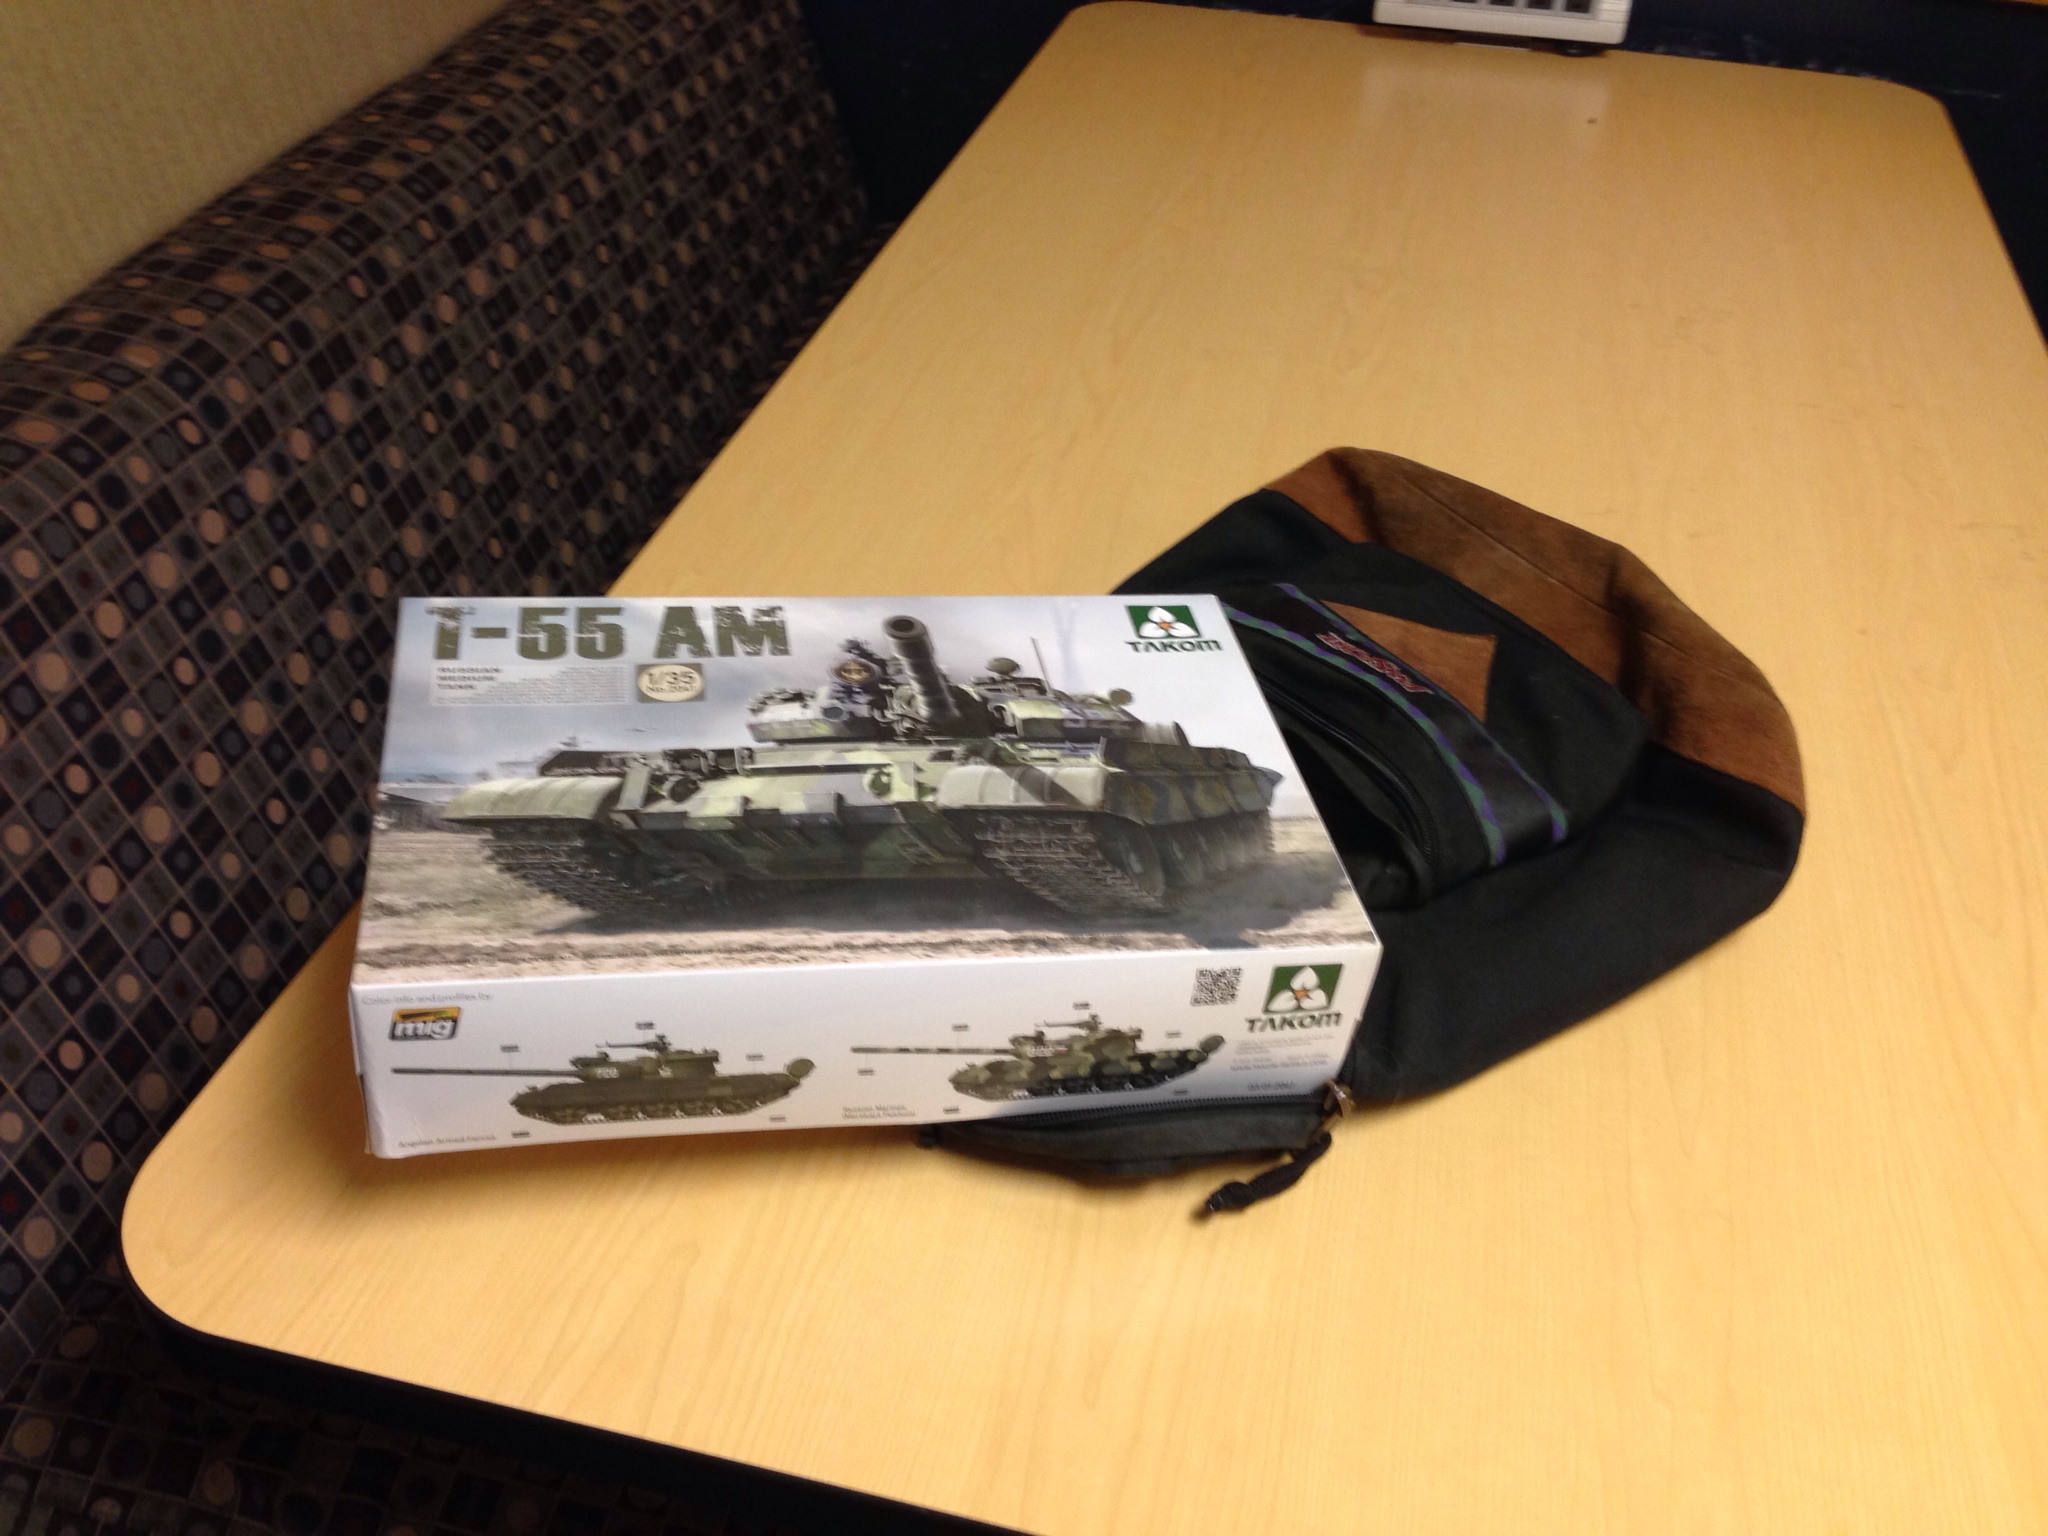
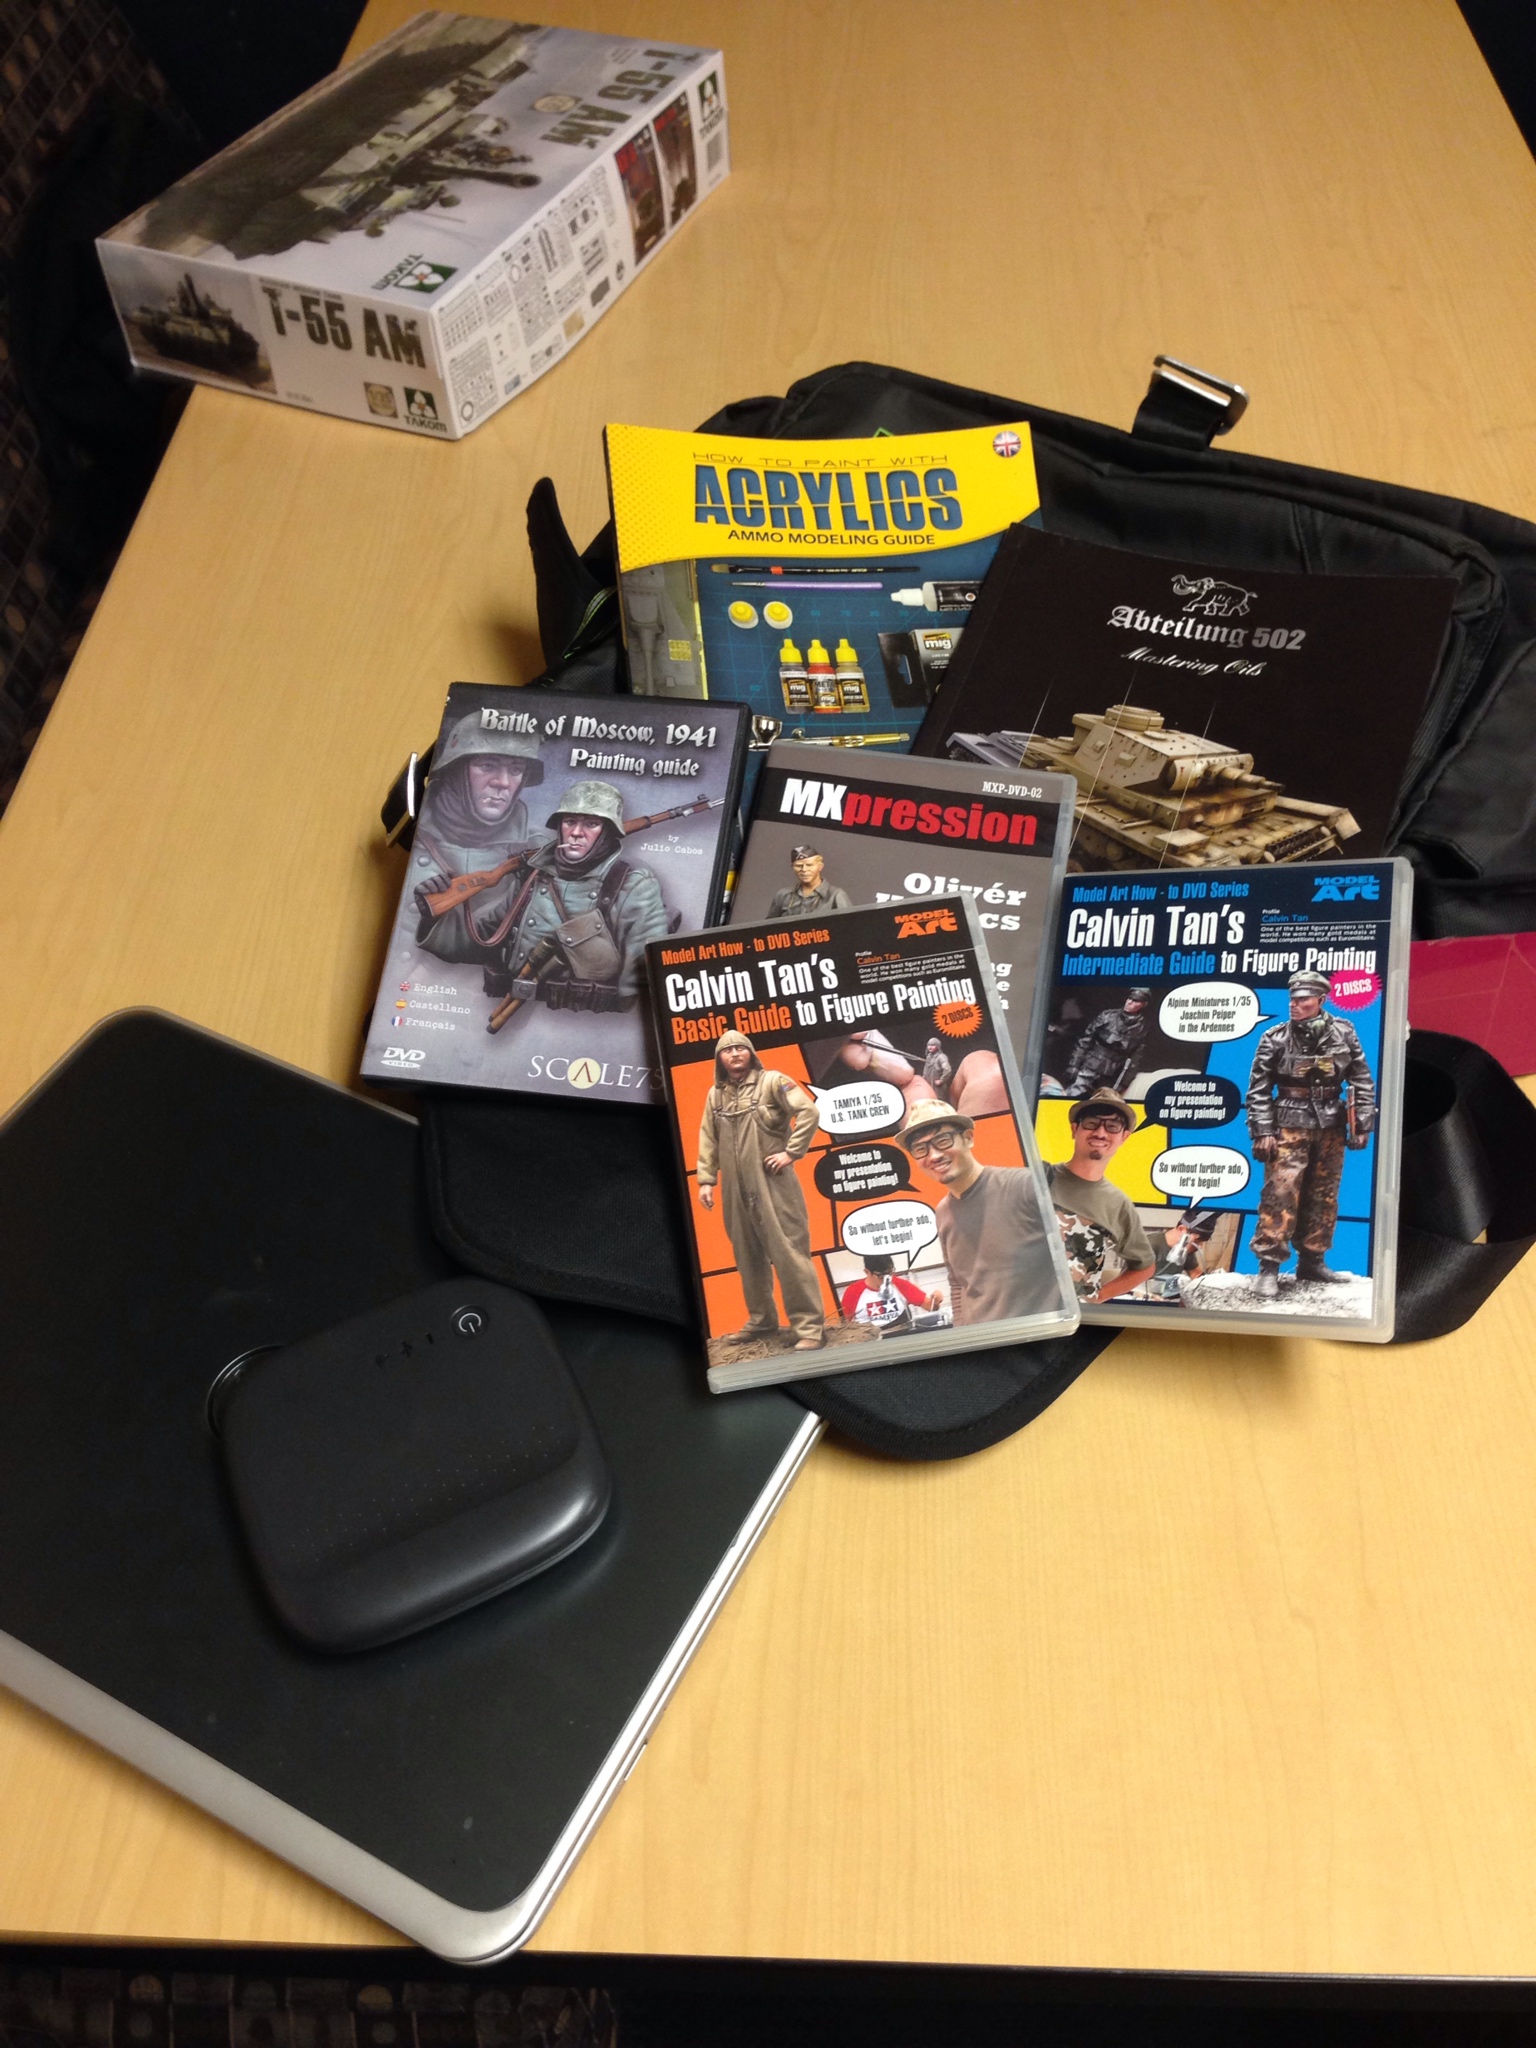
Thanks Dan! I have 3 more in my stash:
- T-55A which I am planning to be an Operation Danube version
- T-55AM, to be a Russian Marine version
- Tiran 4, I haven't selected a scheme yet.
The Type 59 looks nice. I might add it to this build.Quoted TextVery nice. The super detailing and realism in paint.
Thank you, sir!
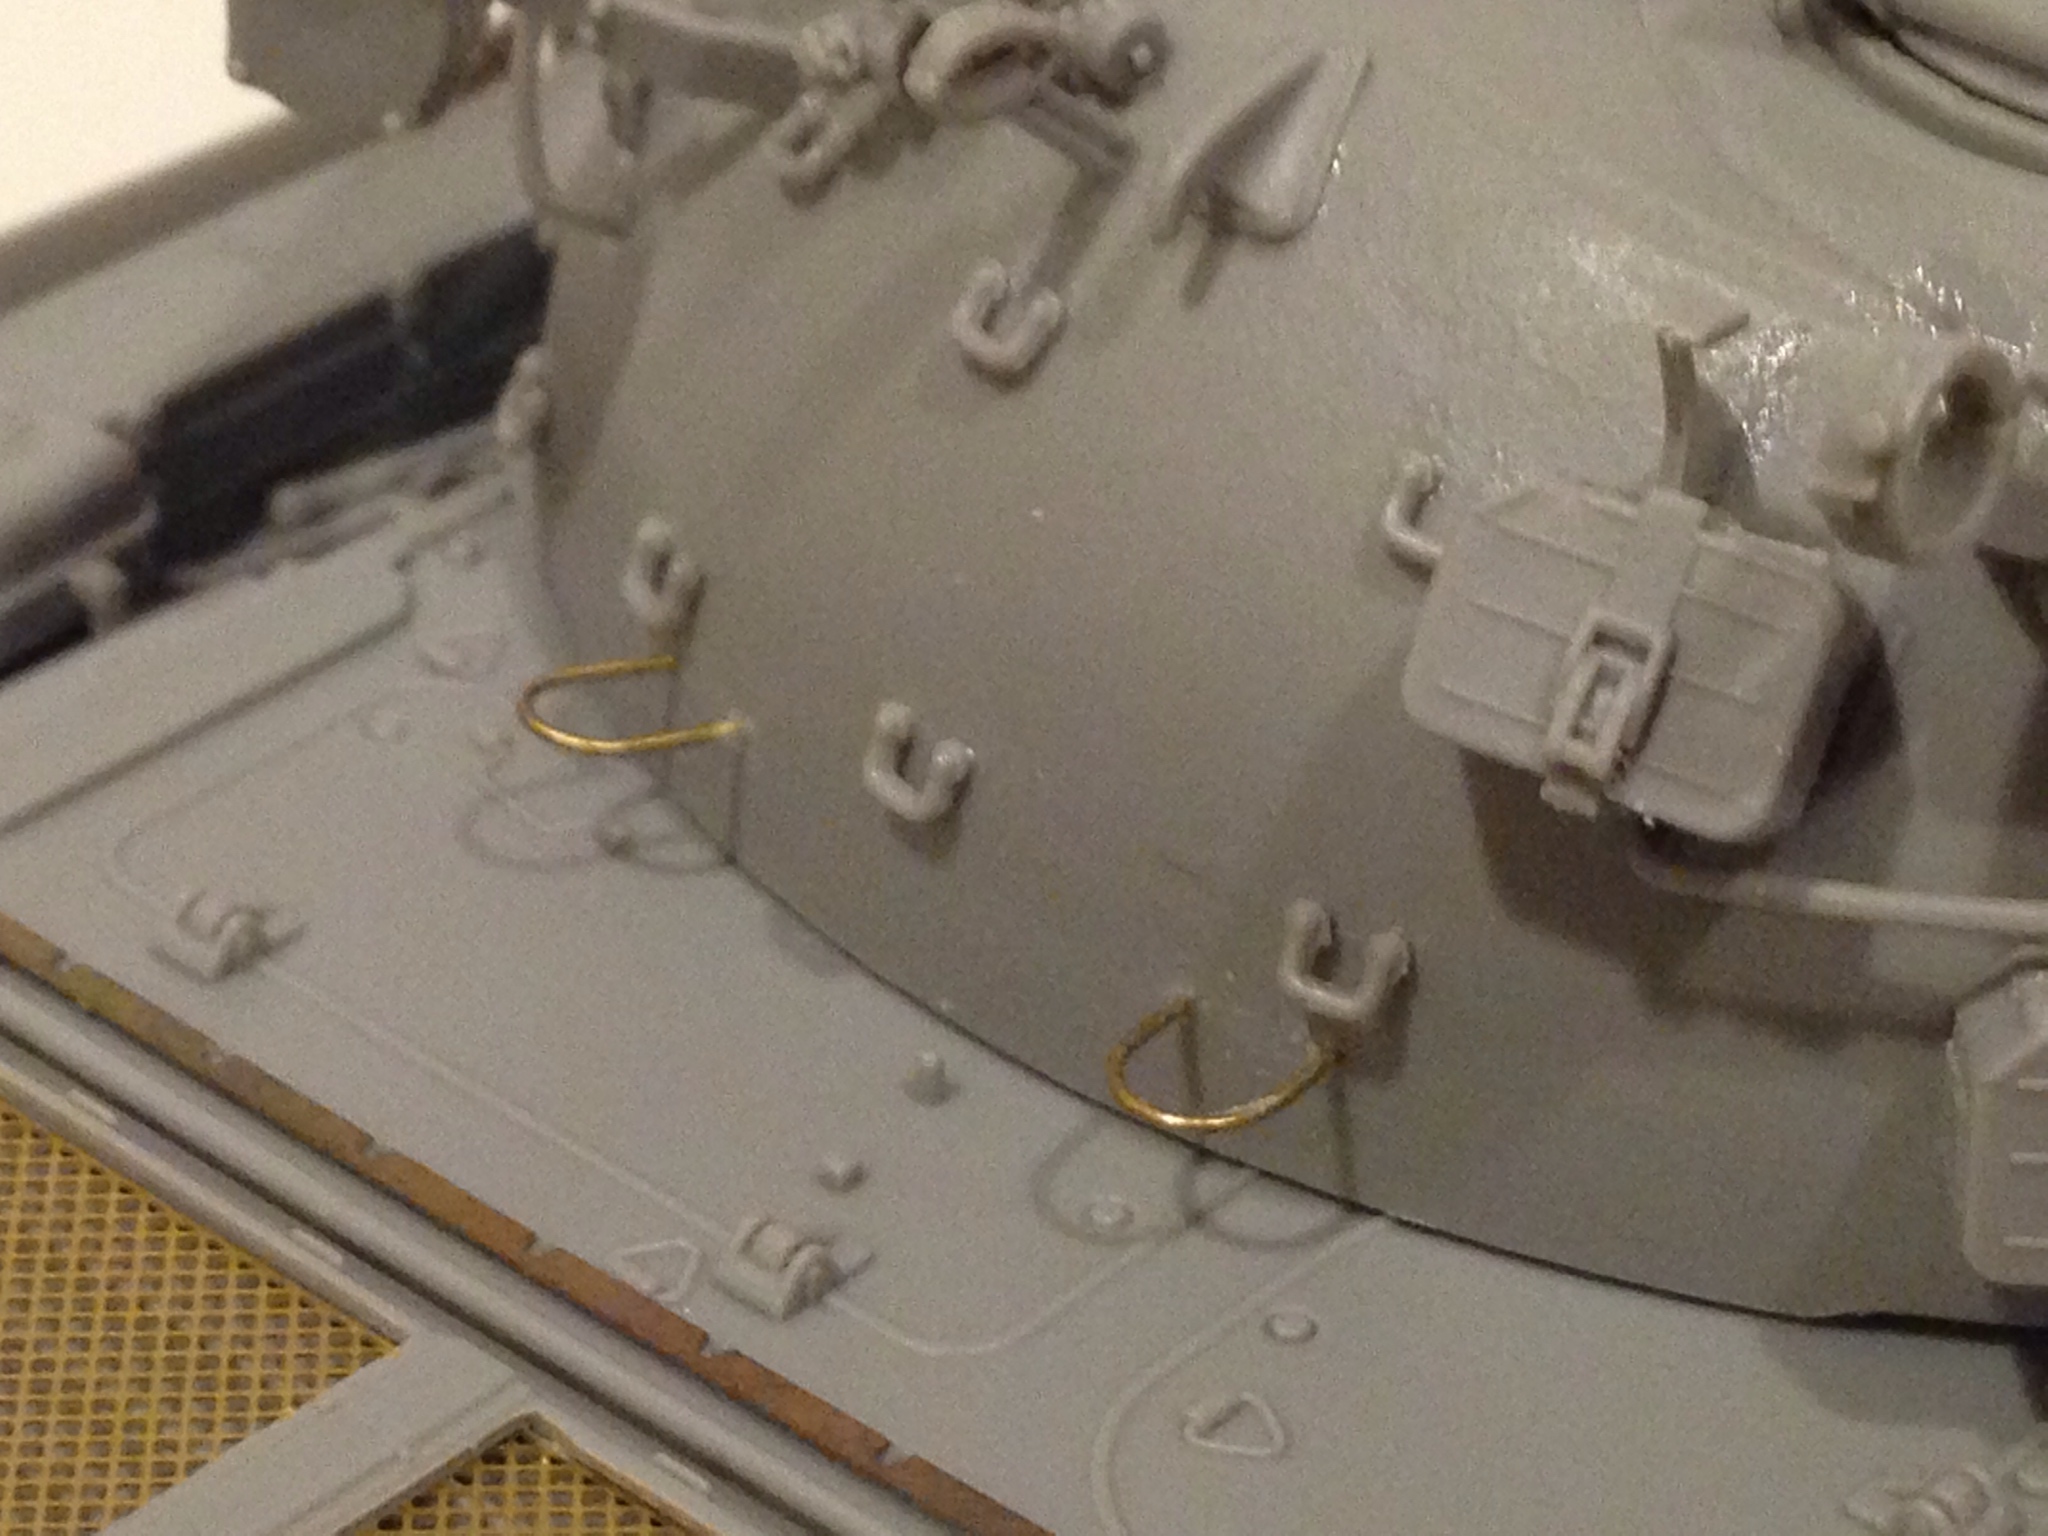
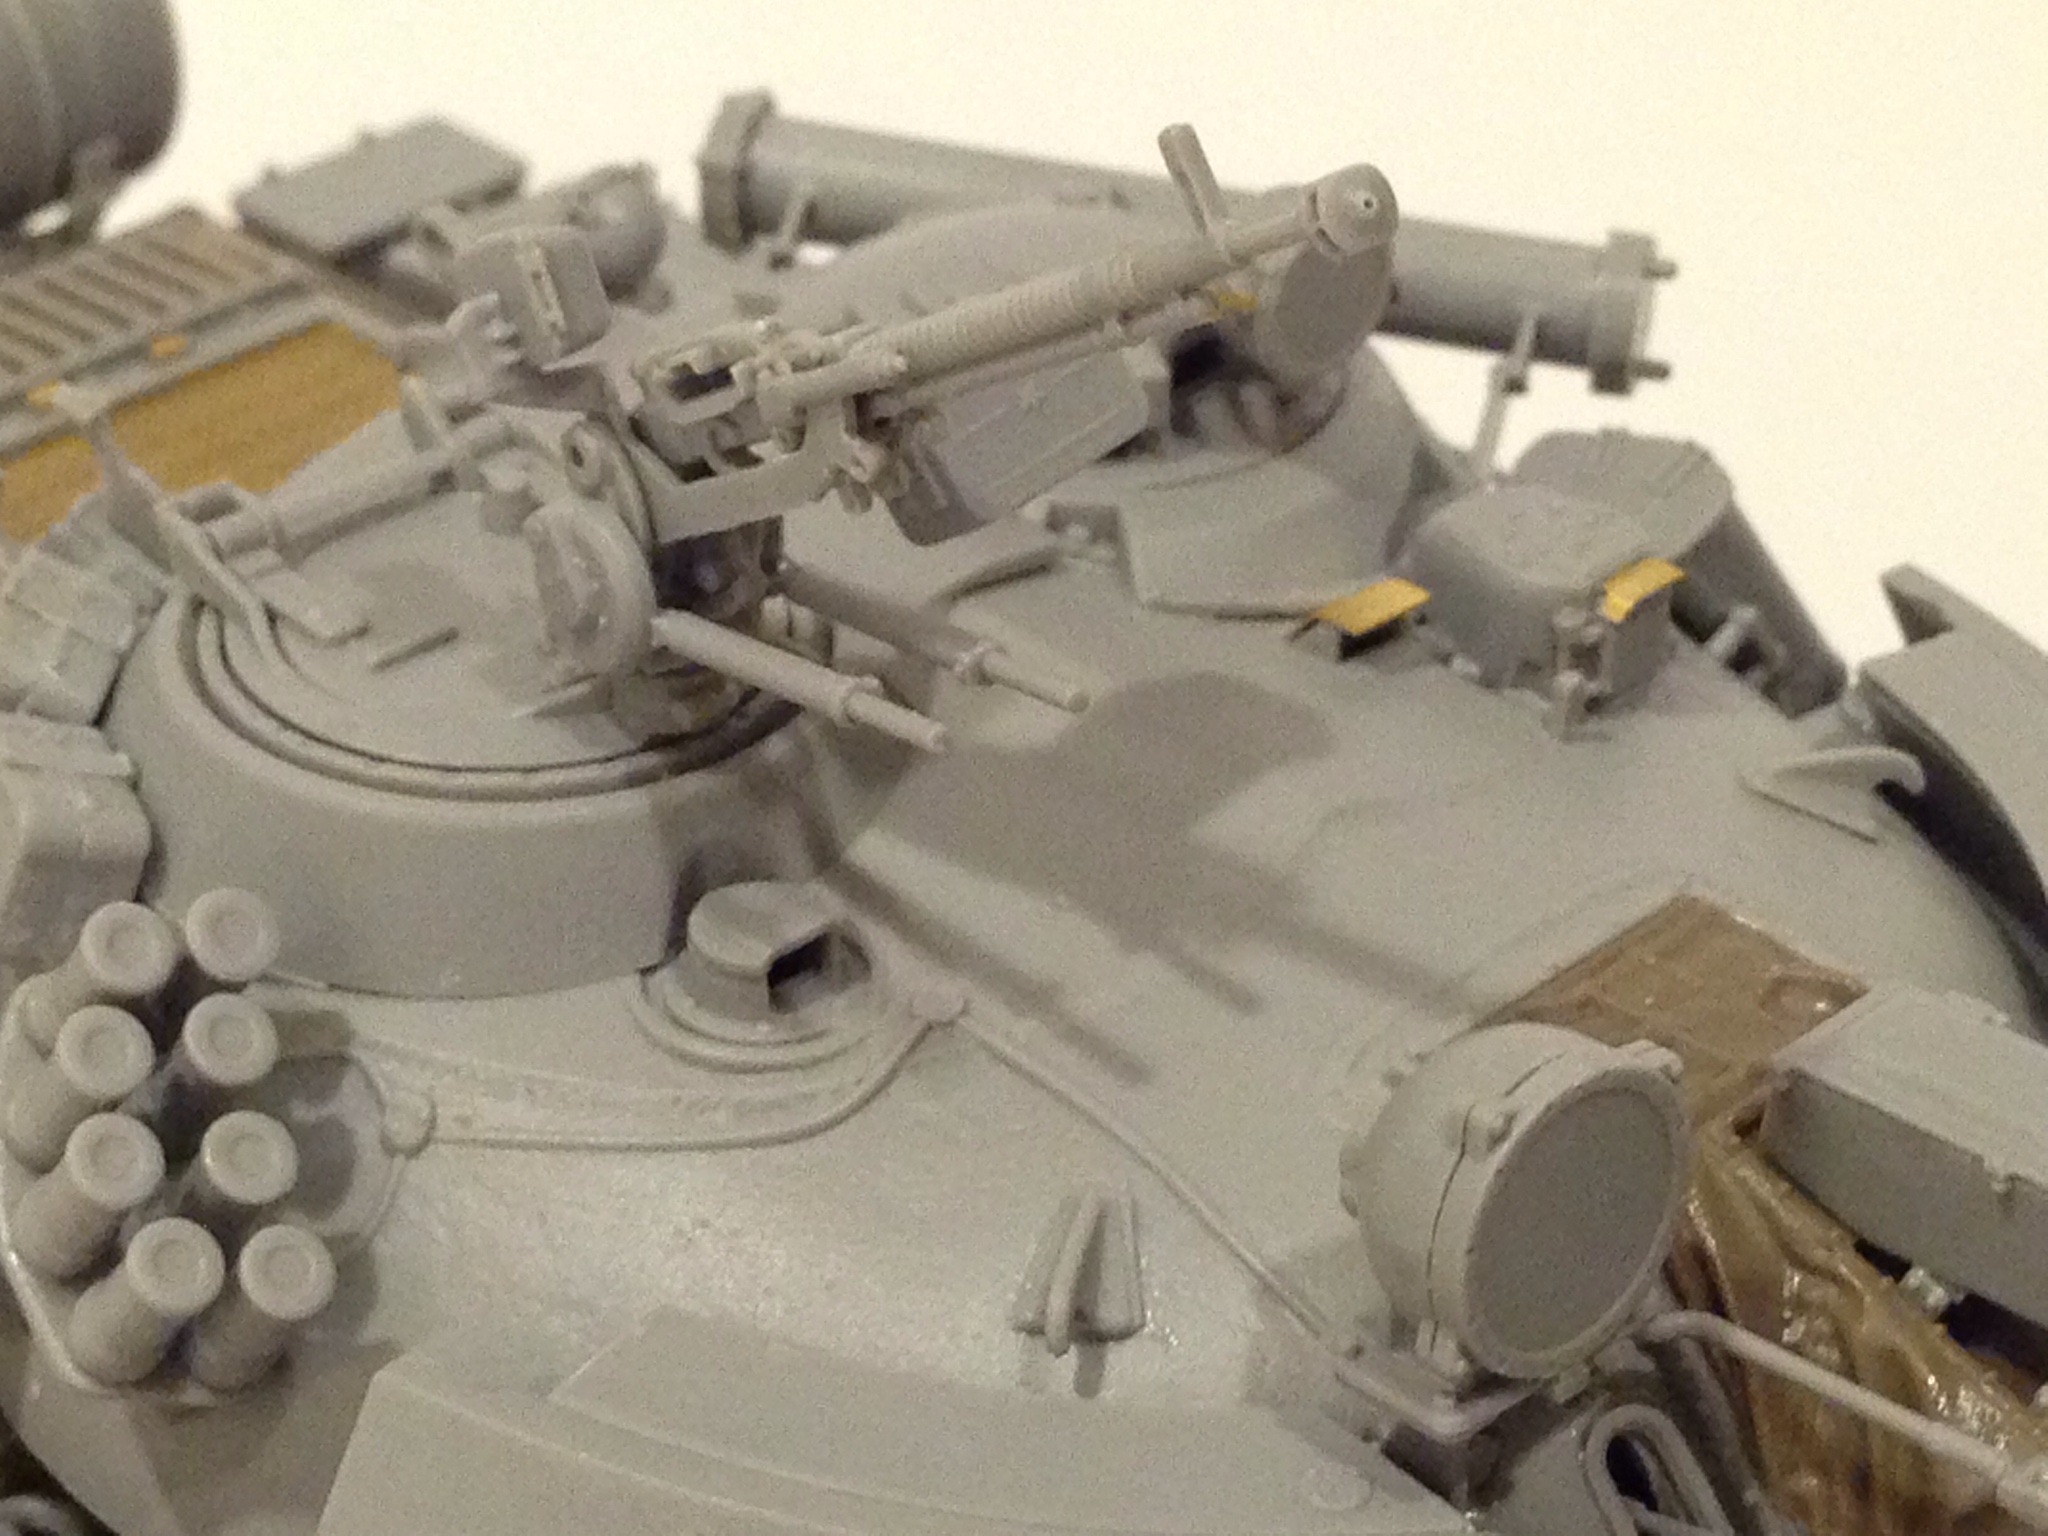
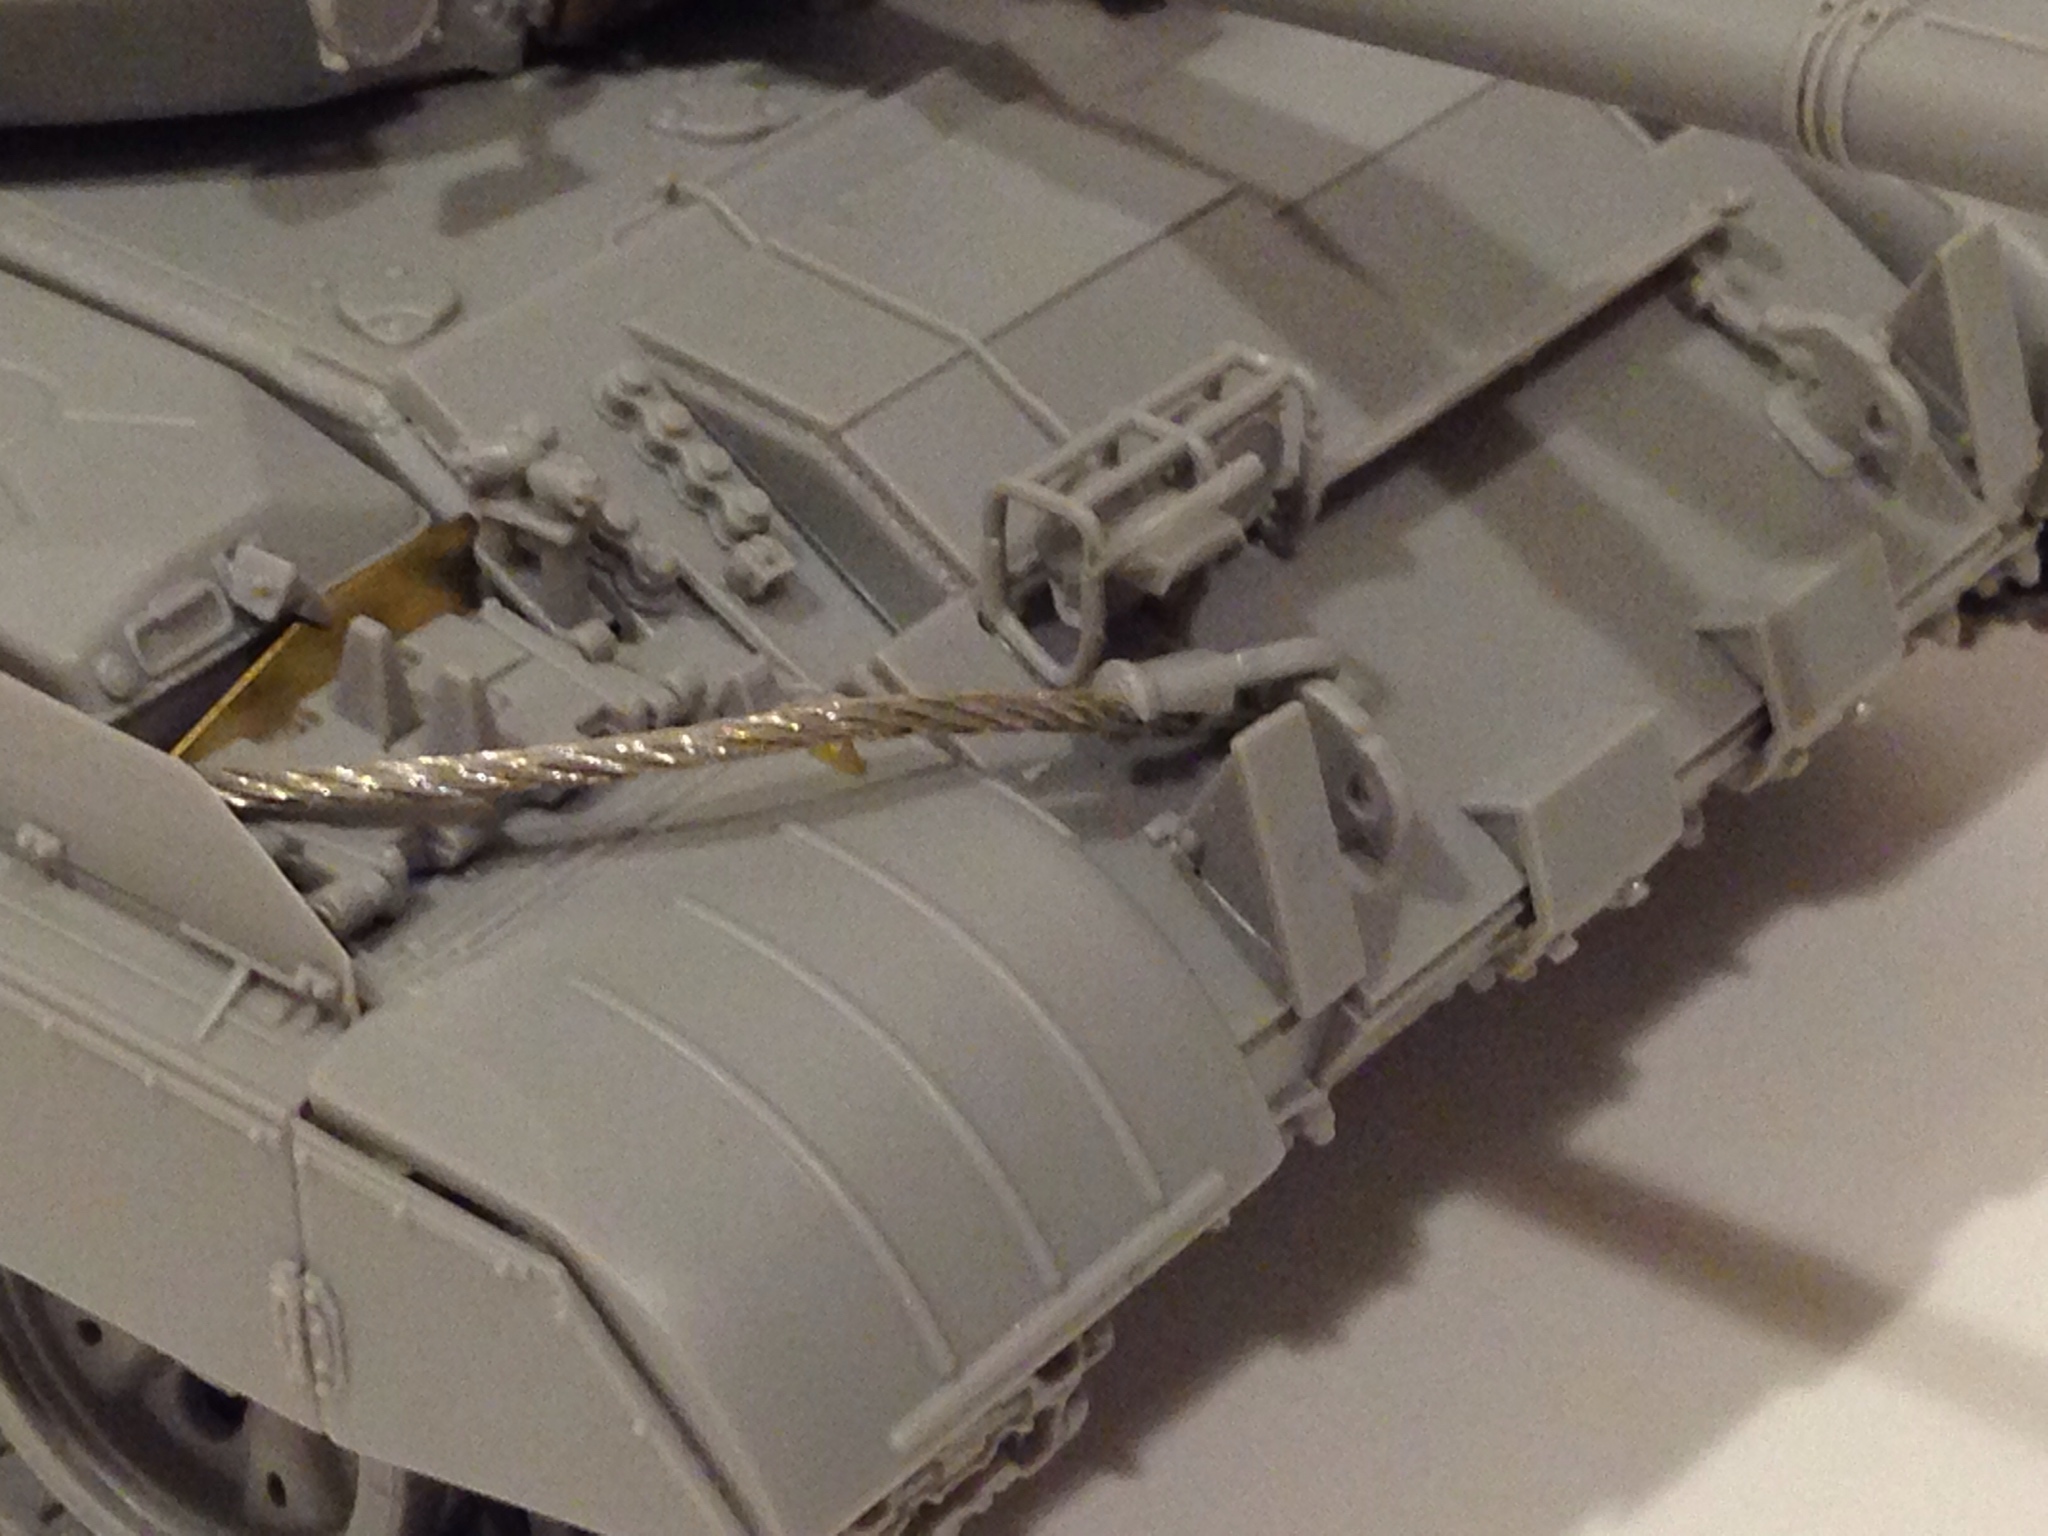
I was reviewing photos on my phone and found some WIP pictures for the AMV. Here are the photos I took when I made the left mud guard retaining rod.
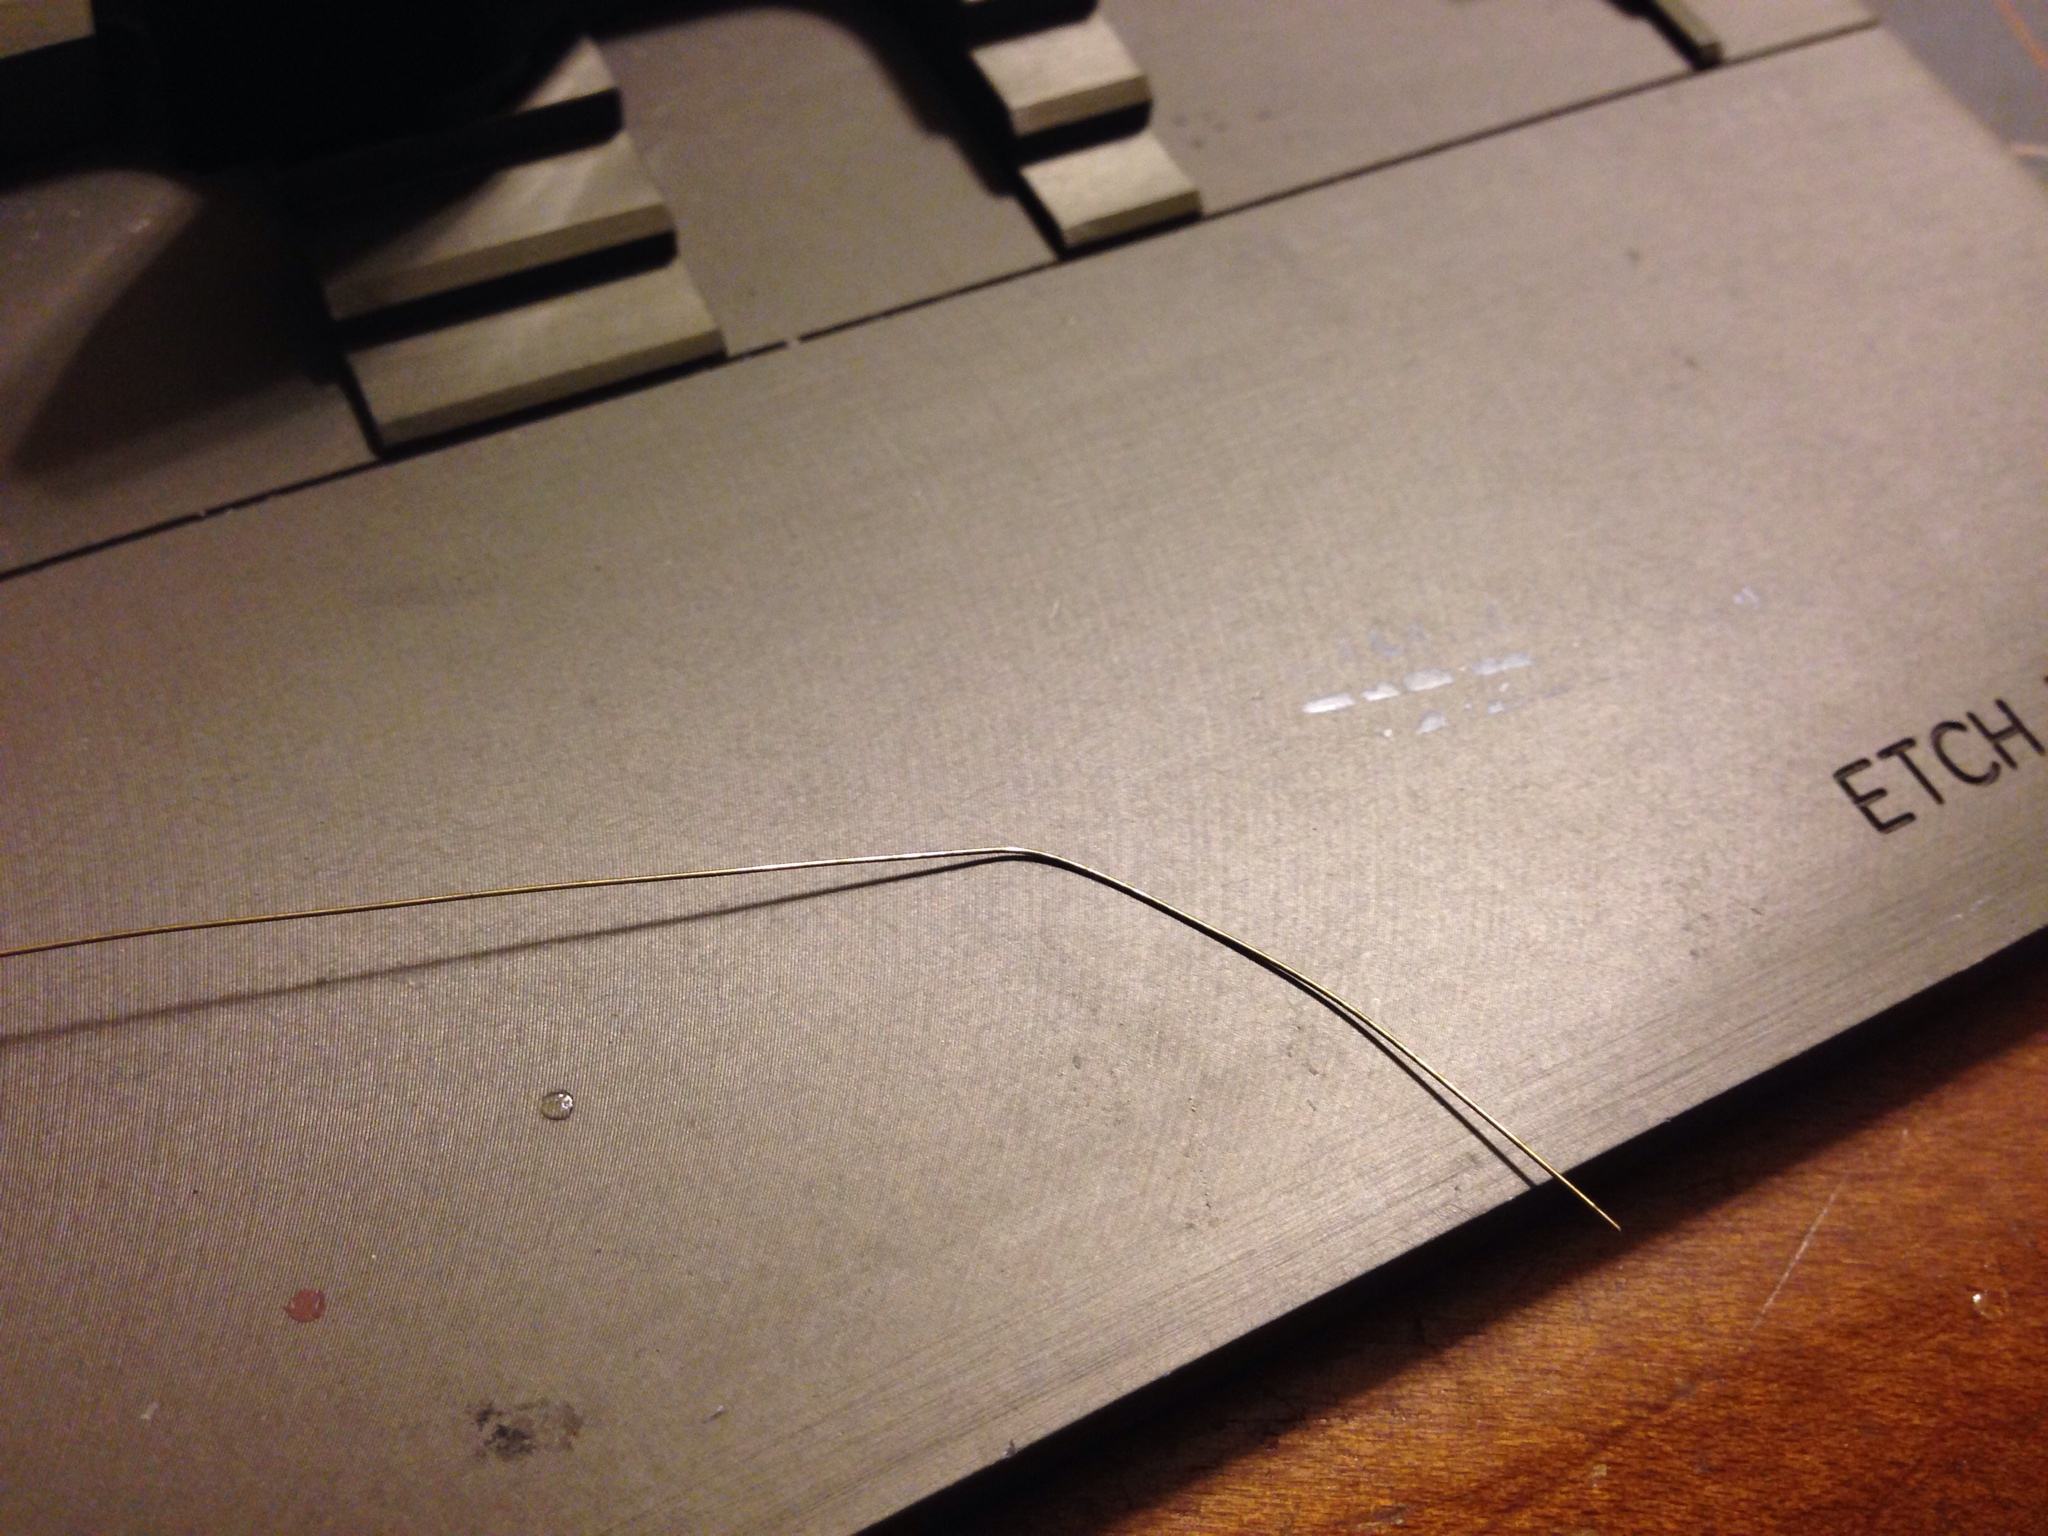
I got a nice gauge brass rod from my stash(unfortunately, I don't have the exact gauge). Since it was slightly bent, I'll show a brief SBS on how to straighten it.
I learned this technique of straightening rods online (thank you, whomever you are). I roll the bent rod on a hard surface using the flat end of a tweezer.
Here's the result.
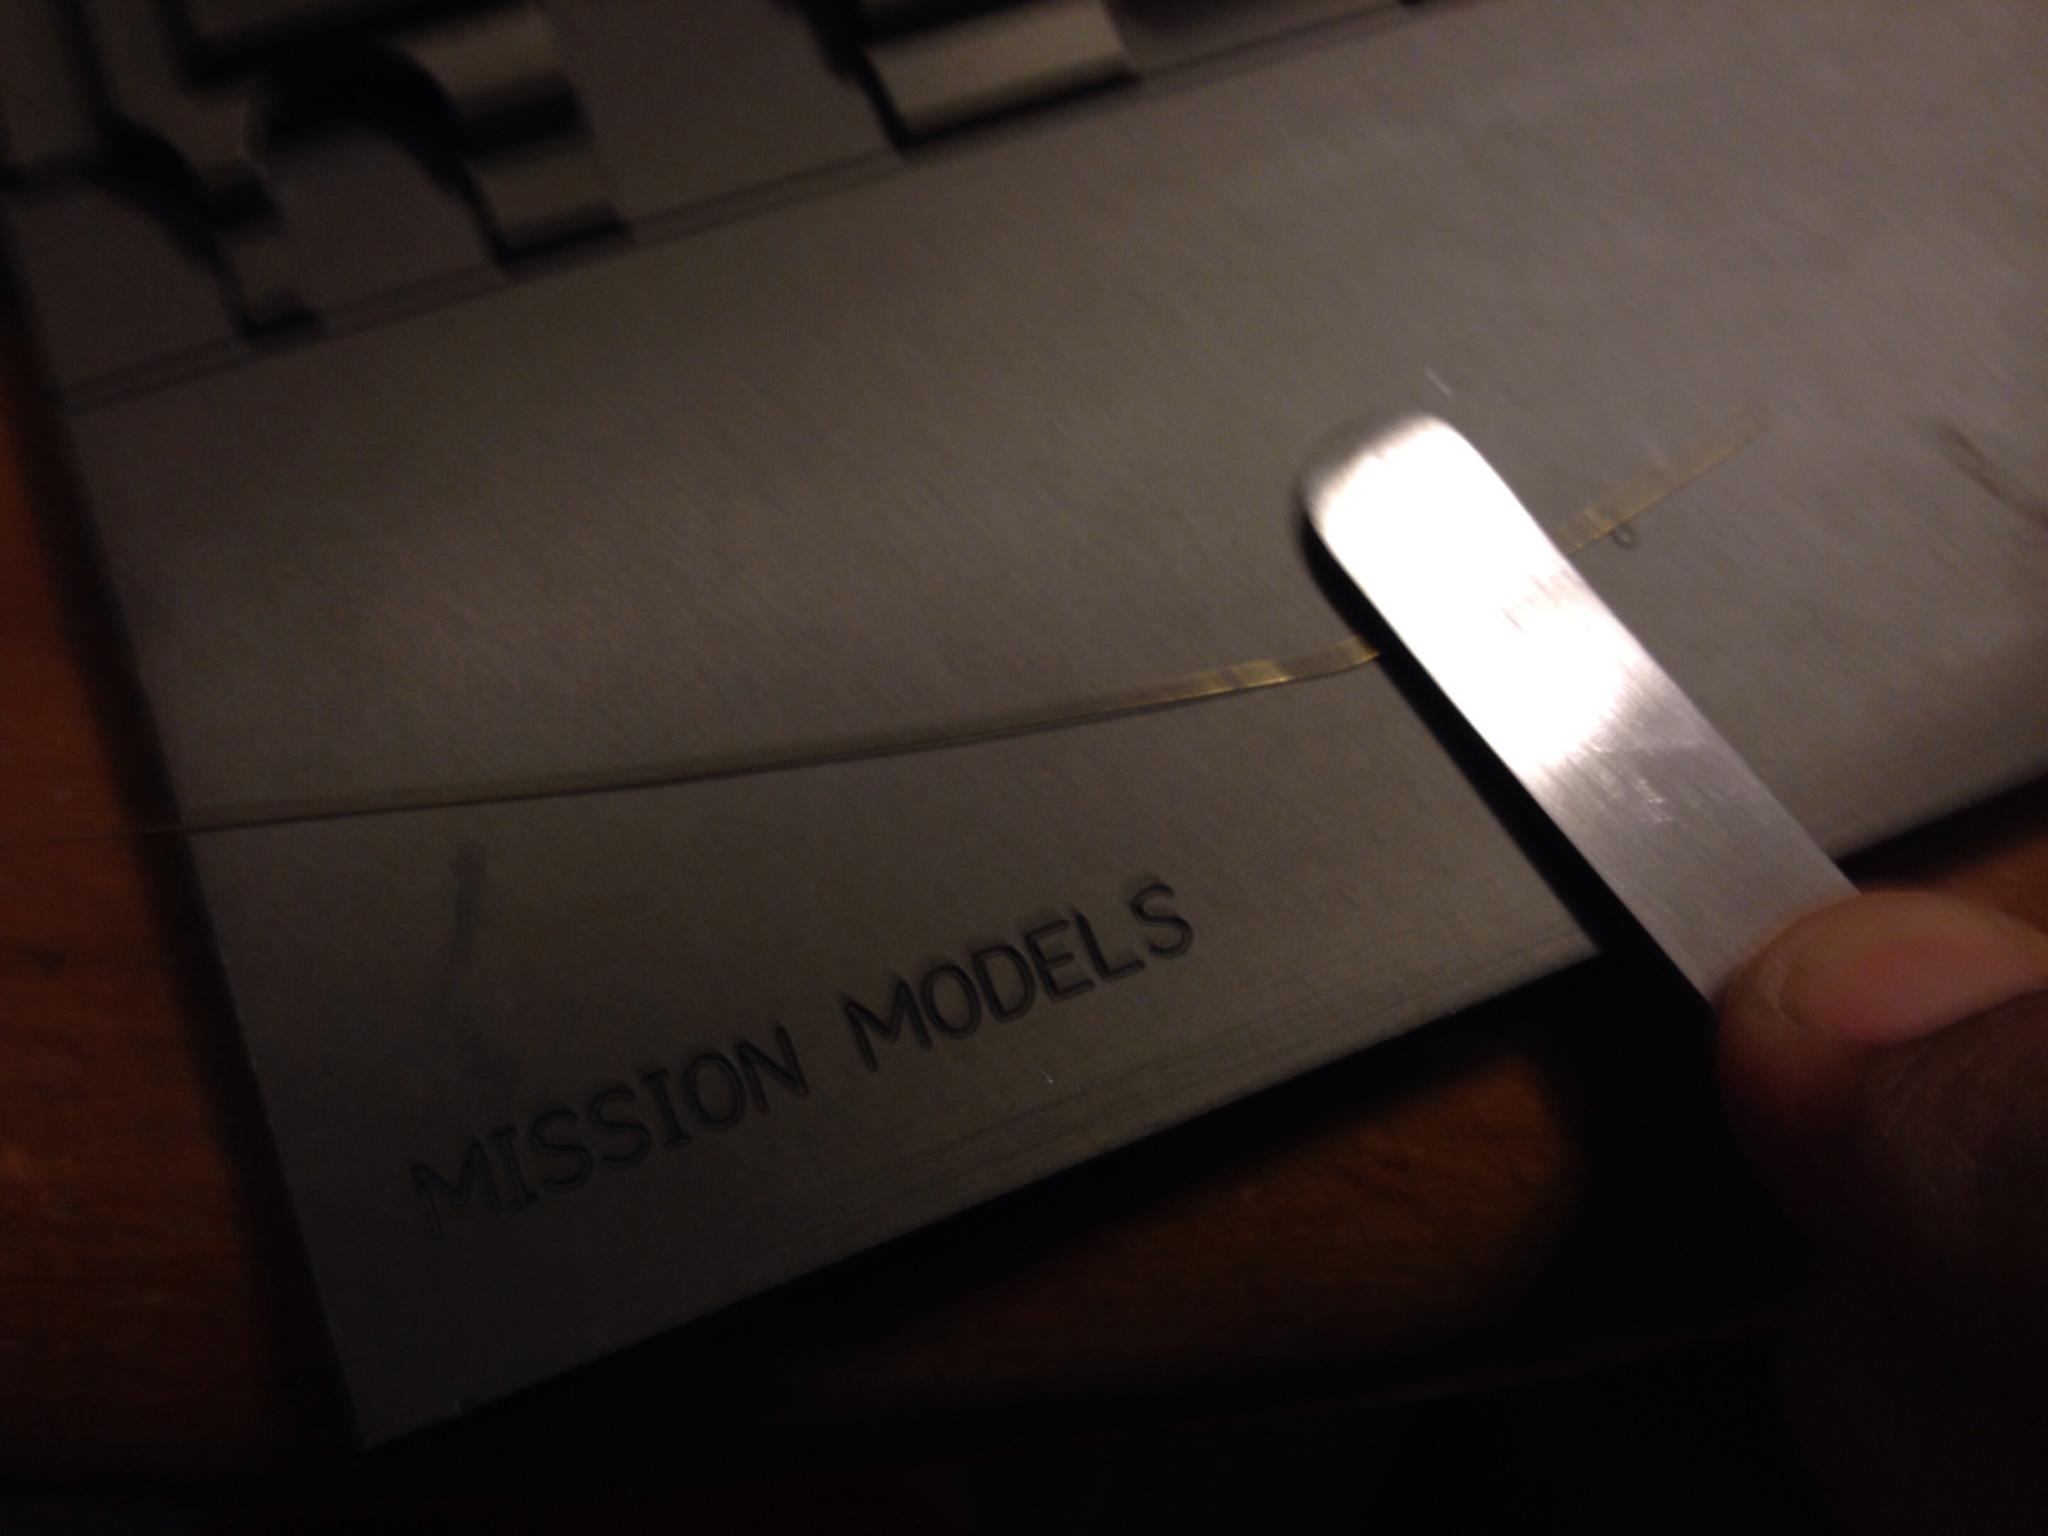
I used a Xuron 90 degree wire bender.
And here's the bent wire.
Using another Xuron needle nose pliers, I hold the wire right next to the molded detail to get the approximate distance of the bends.
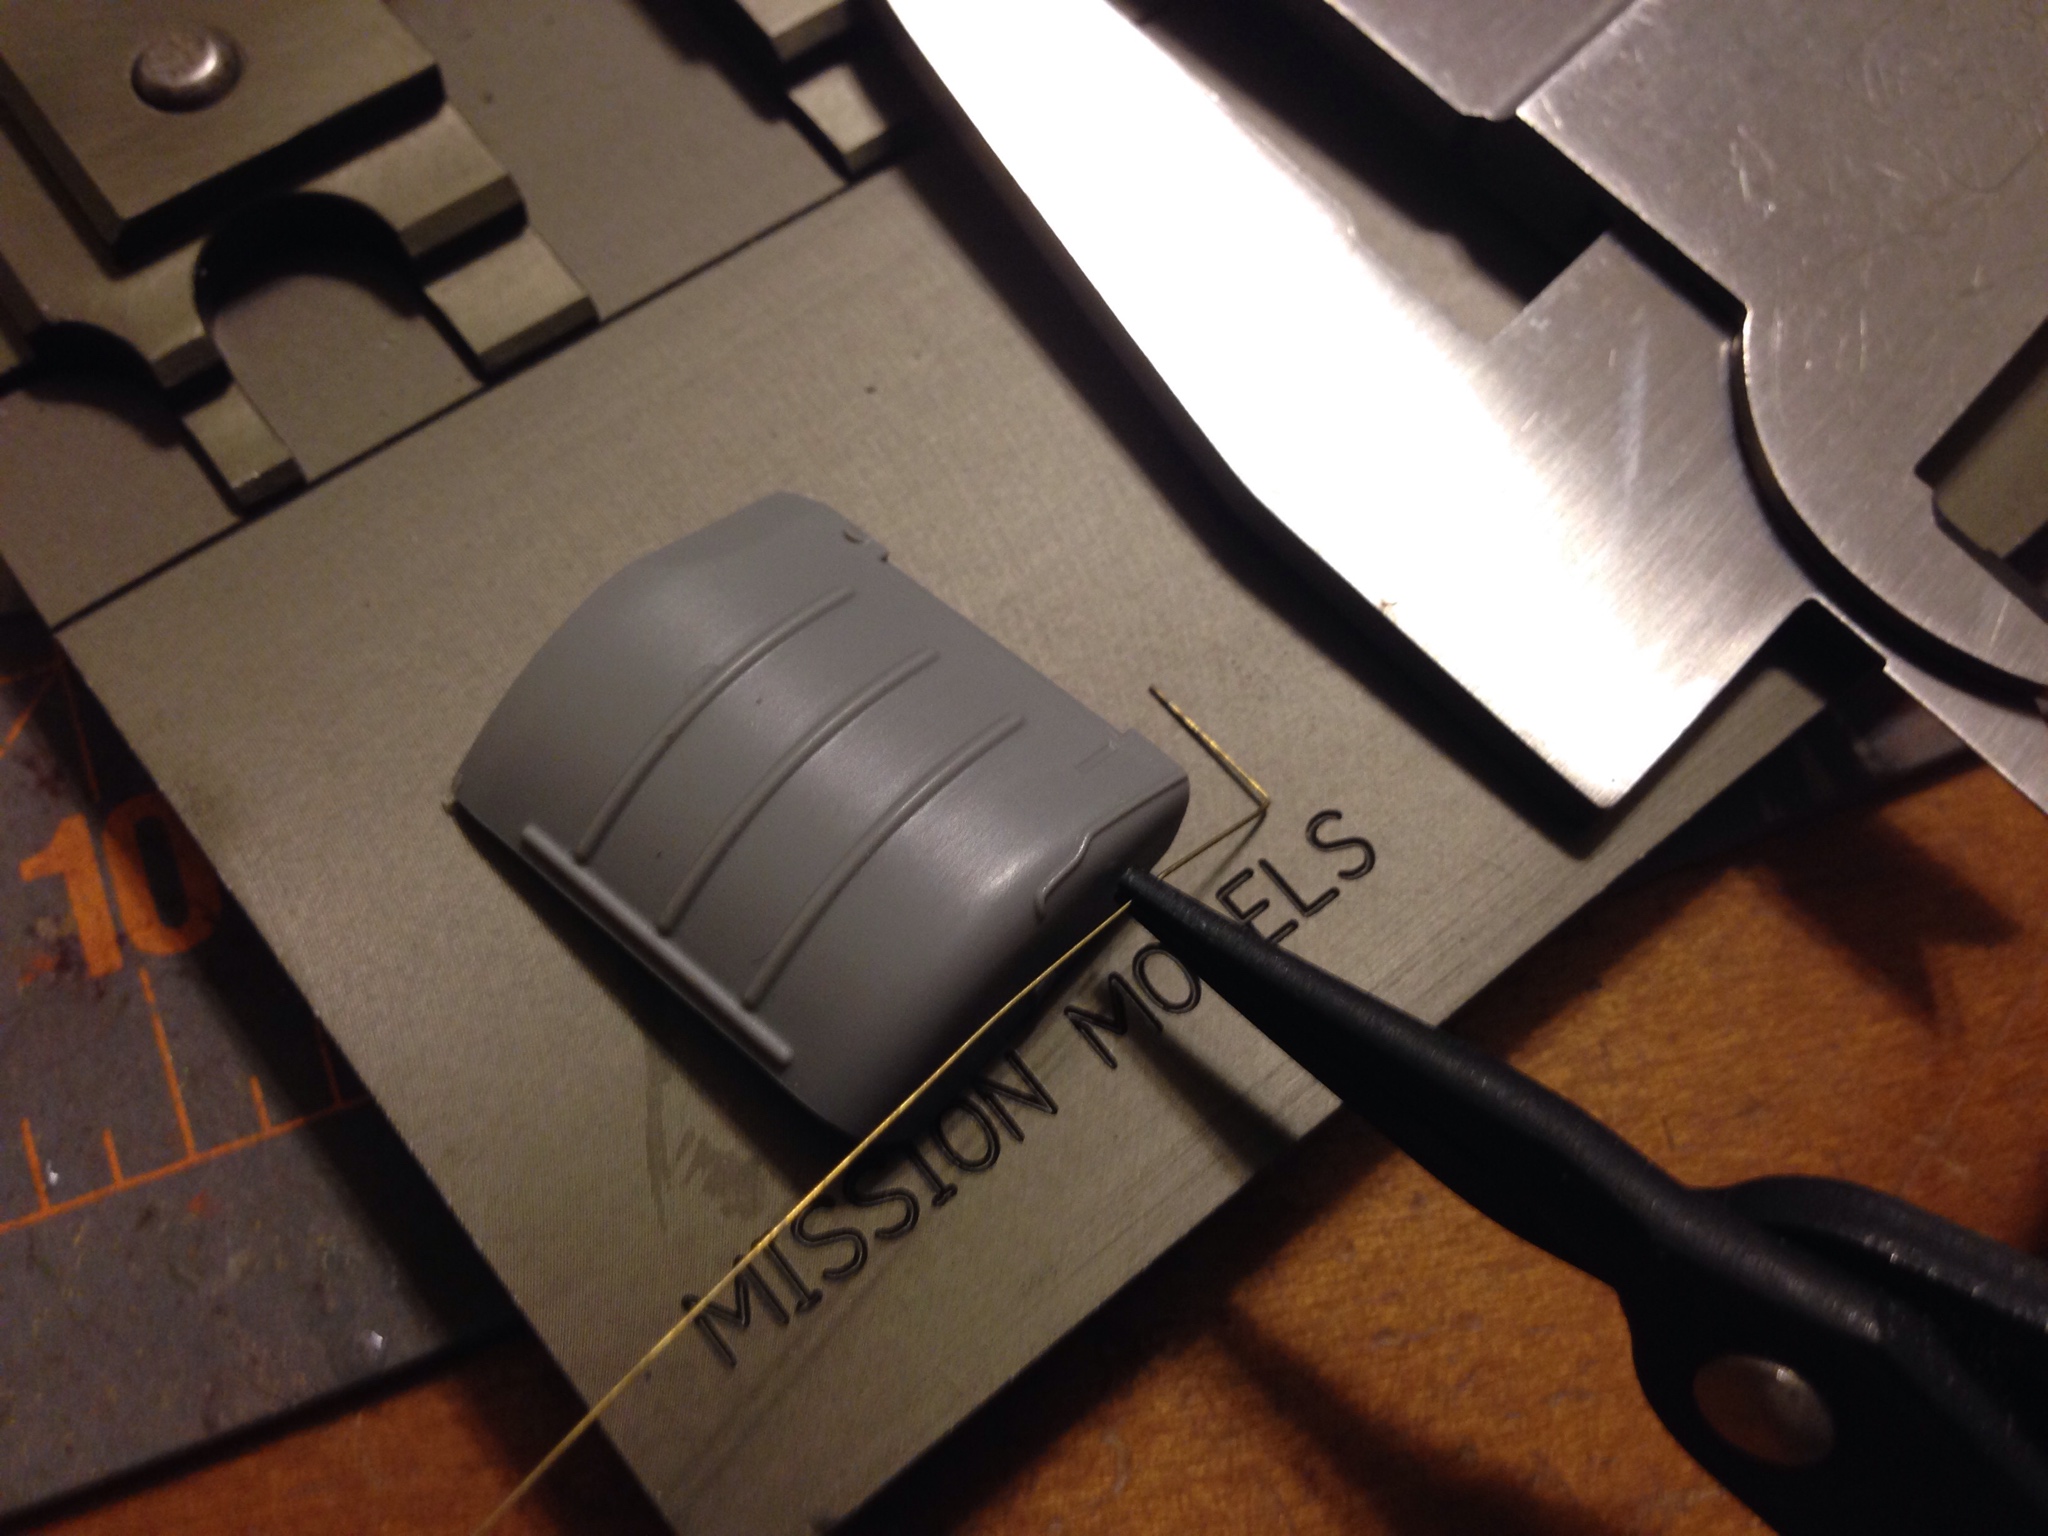
Once I am satisfied with the overall shape, I glue it on to the fender. BTW, I have pre-drilled a hole. Also, since the brass wire is very soft and flimsy, I coated it with thin CA to make it firm. If I am not mistaken, this is the technique that Calvin Tan uses to make 1/35 rifle straps out of paper.
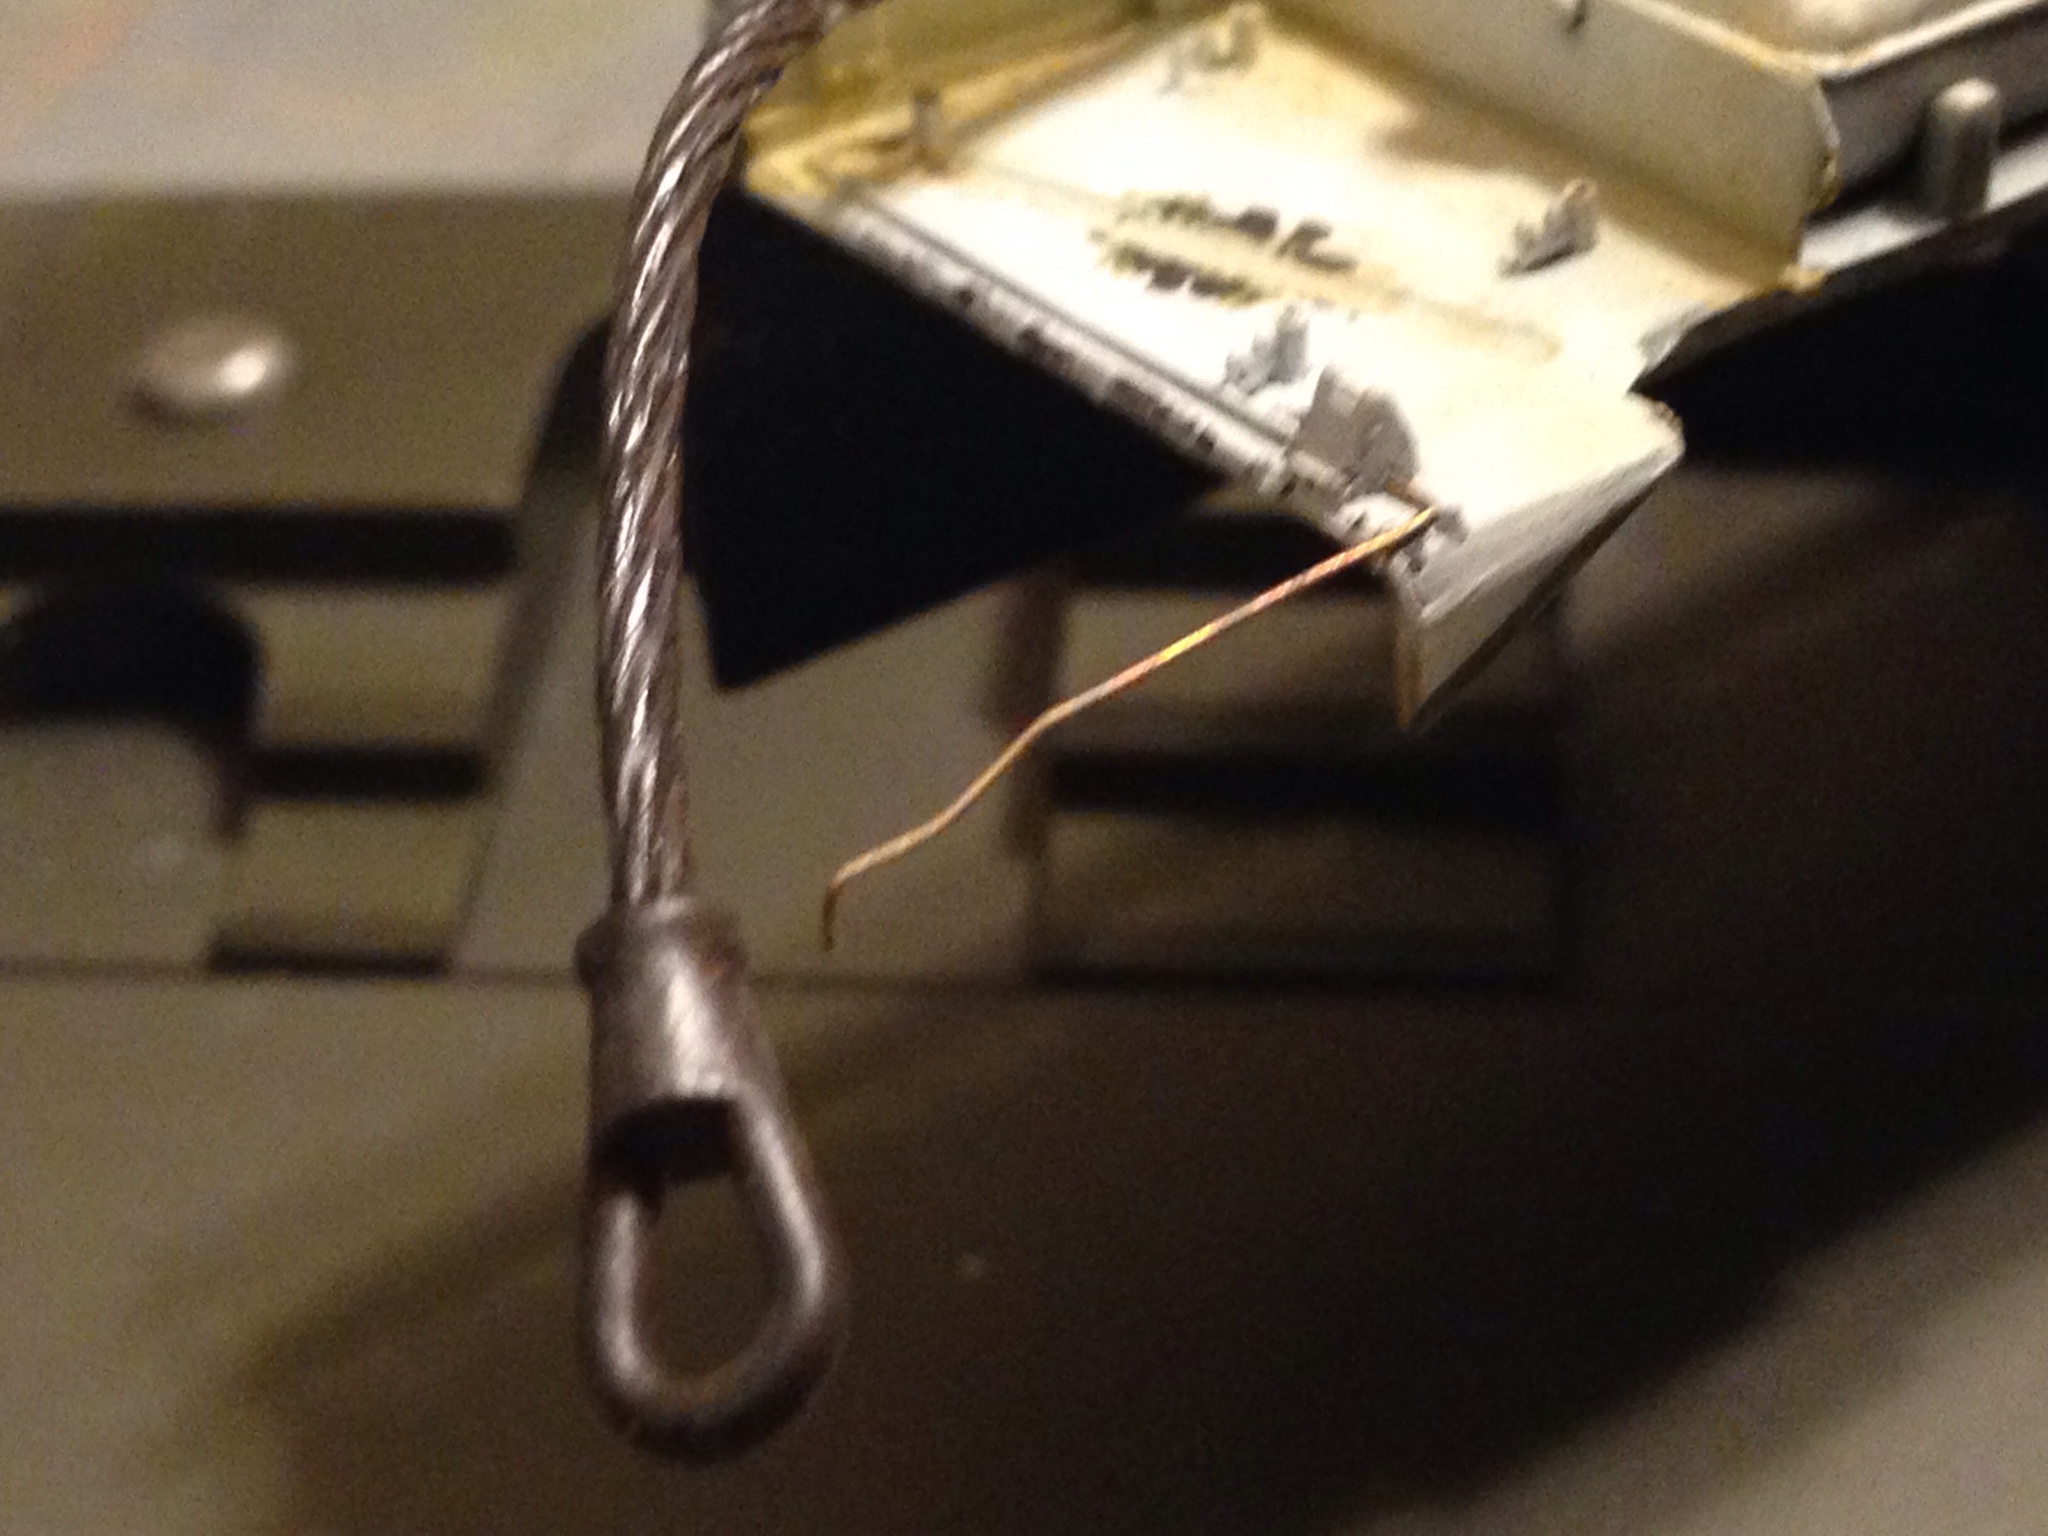
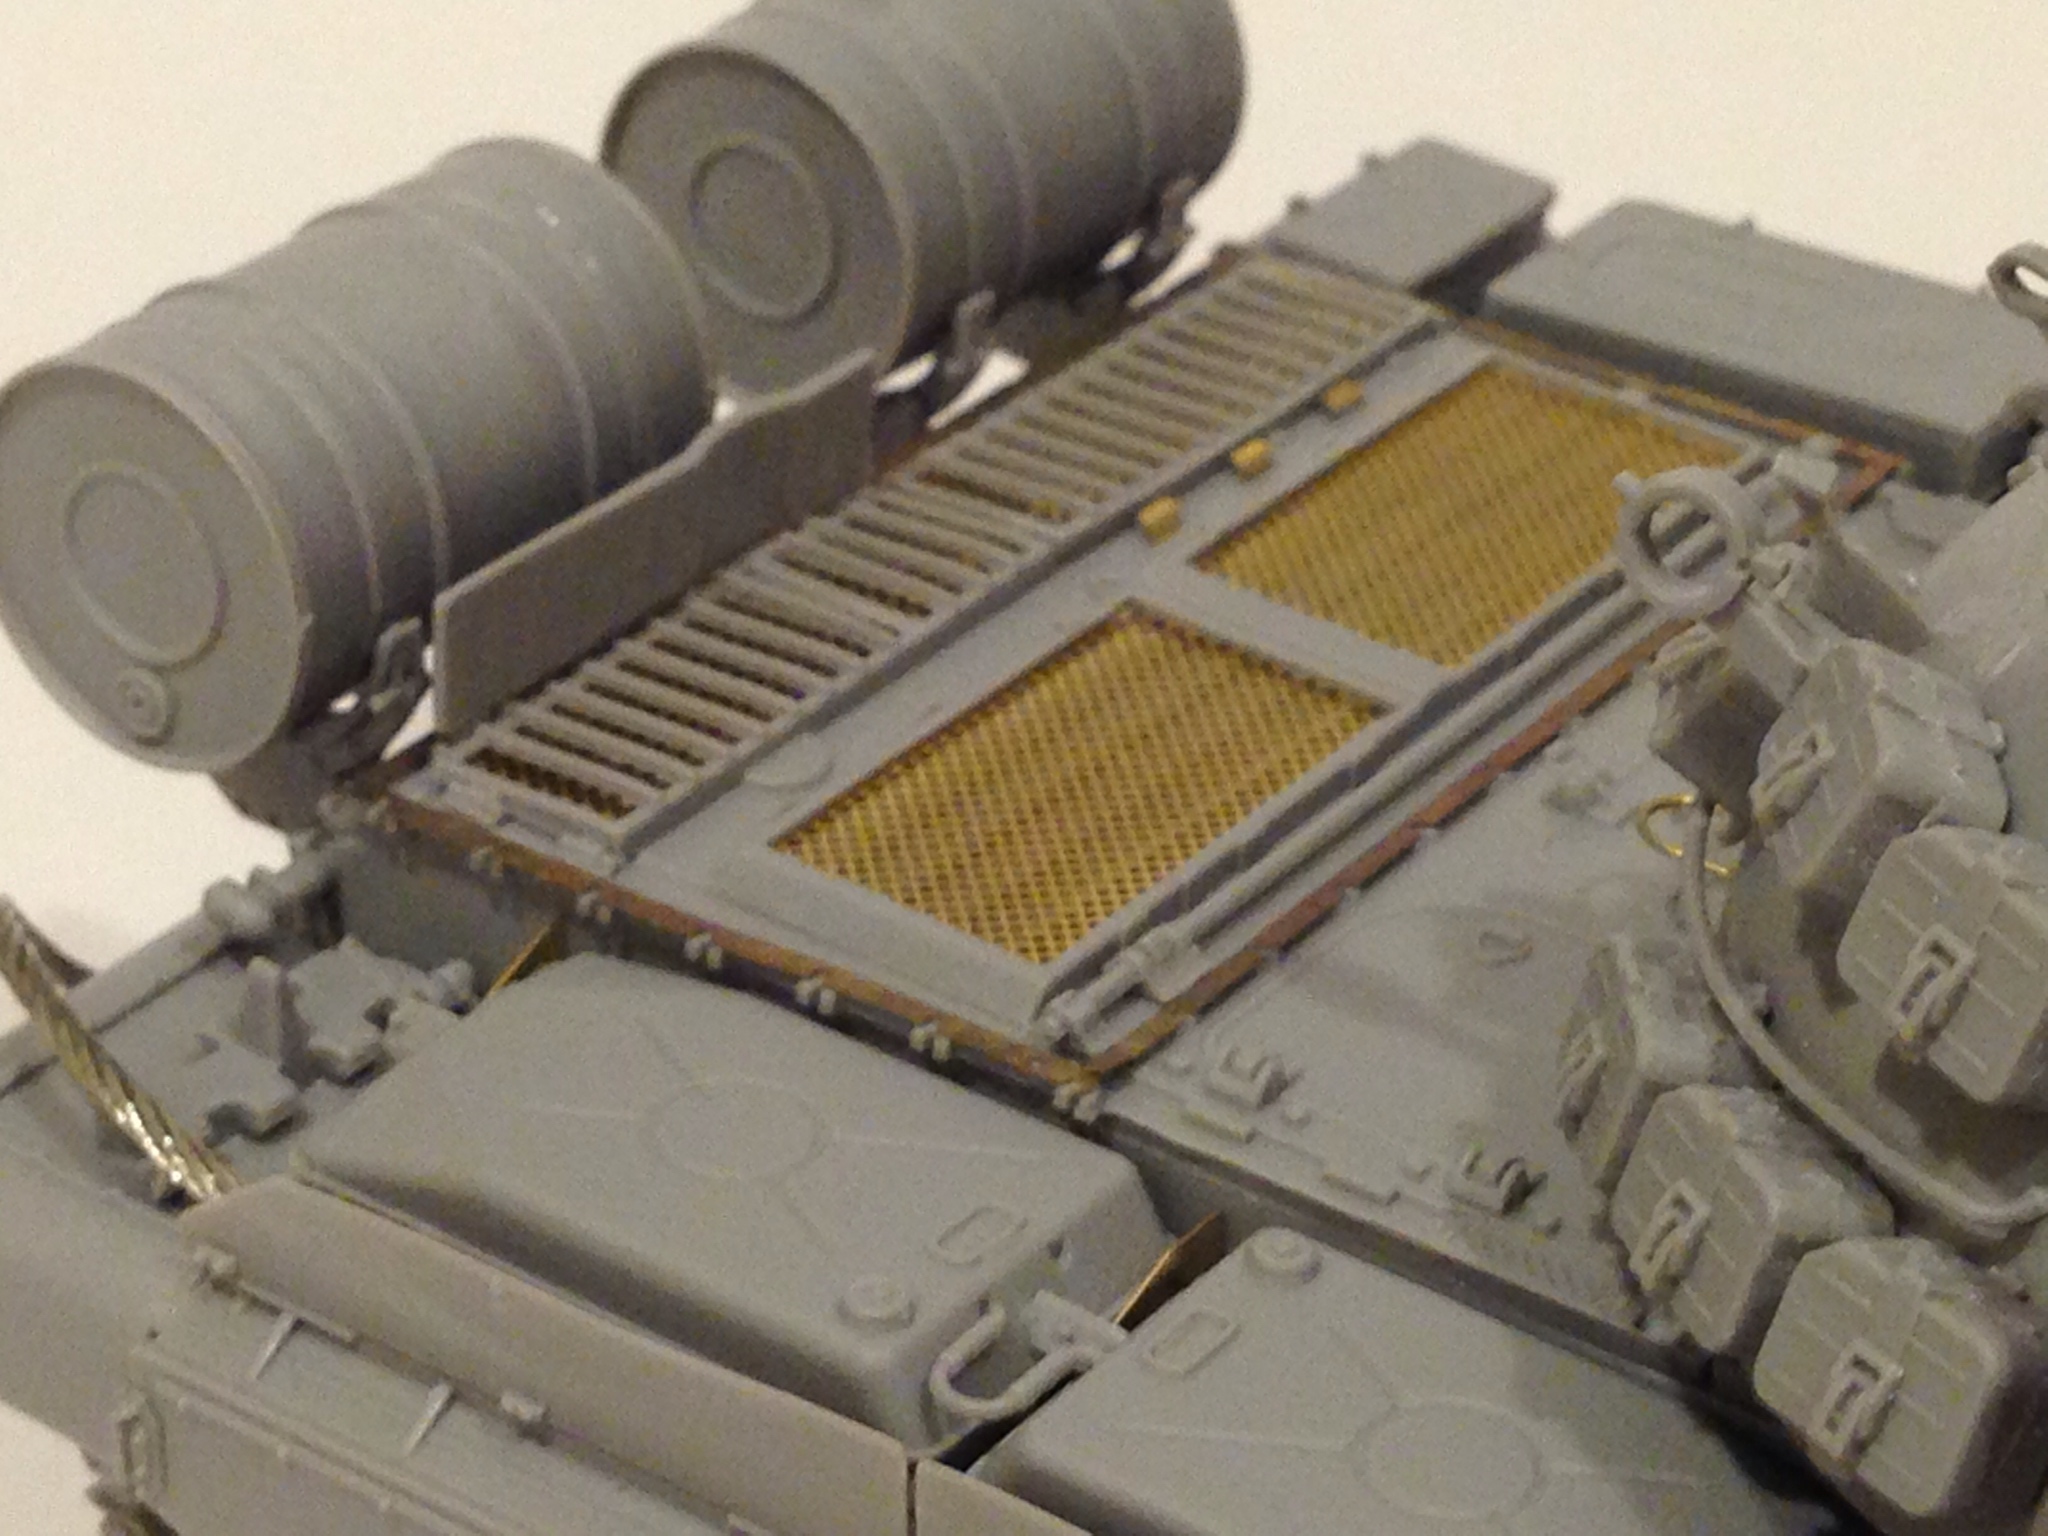
Here's how it looks all weathered up.
Same procedure for the left fender which you can barely see in this photo.
Hope this helps.
-Joseph


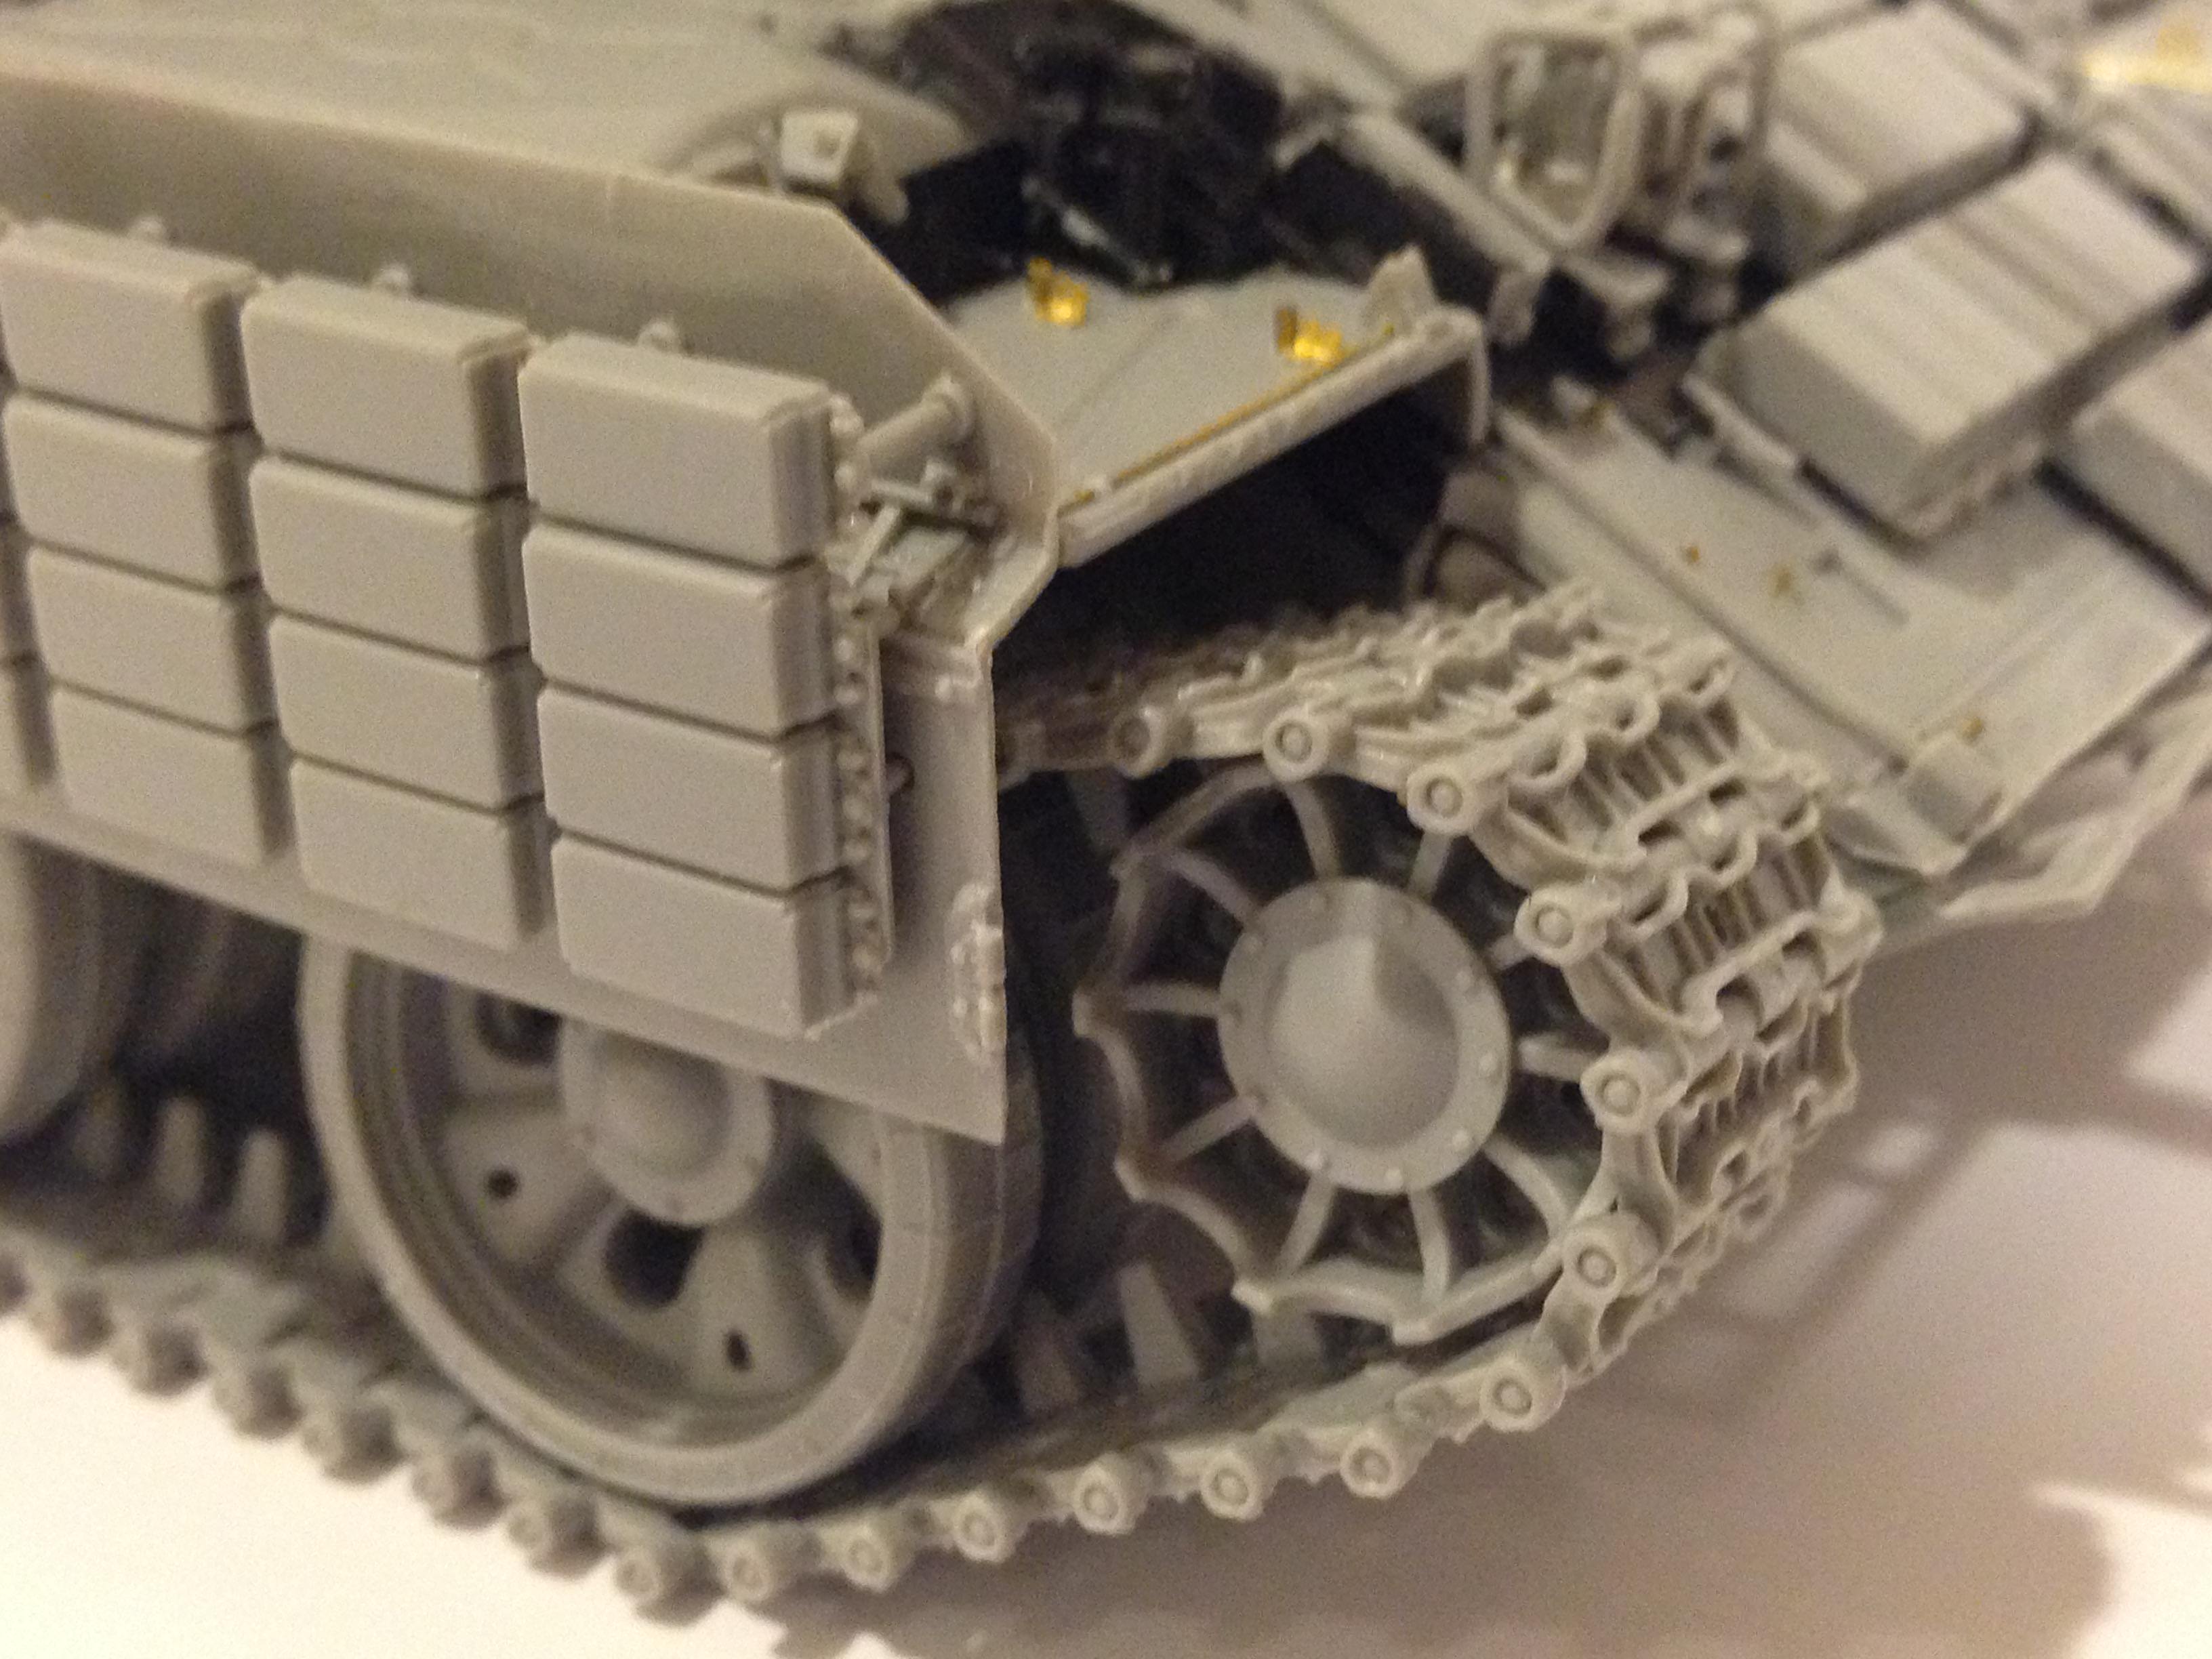
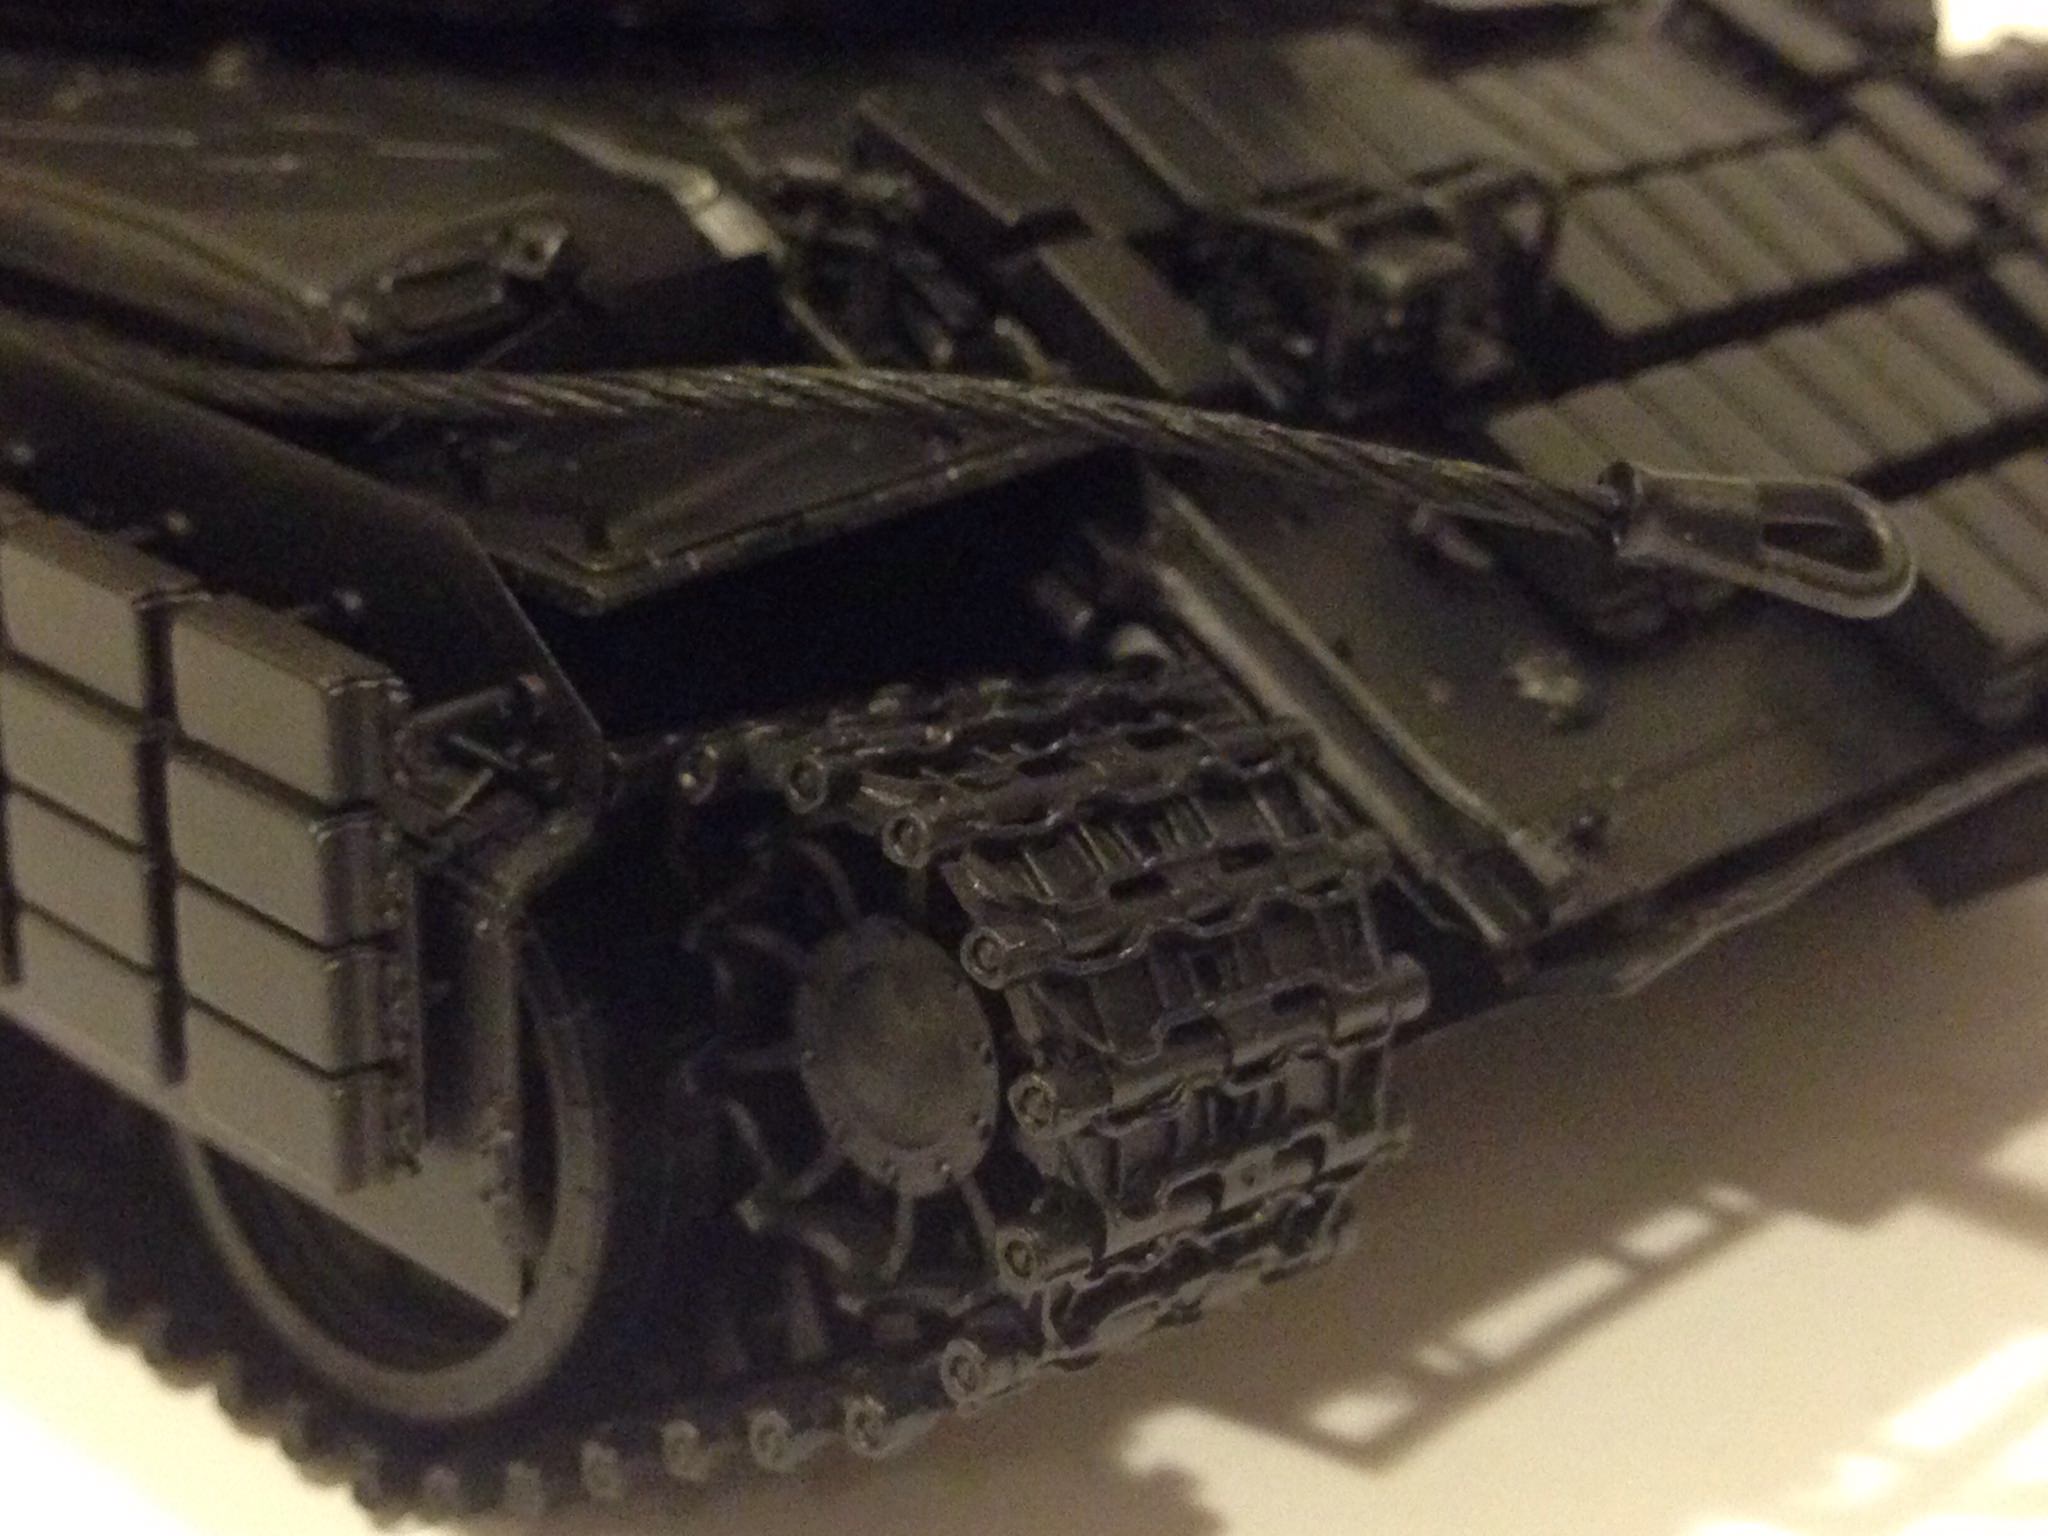


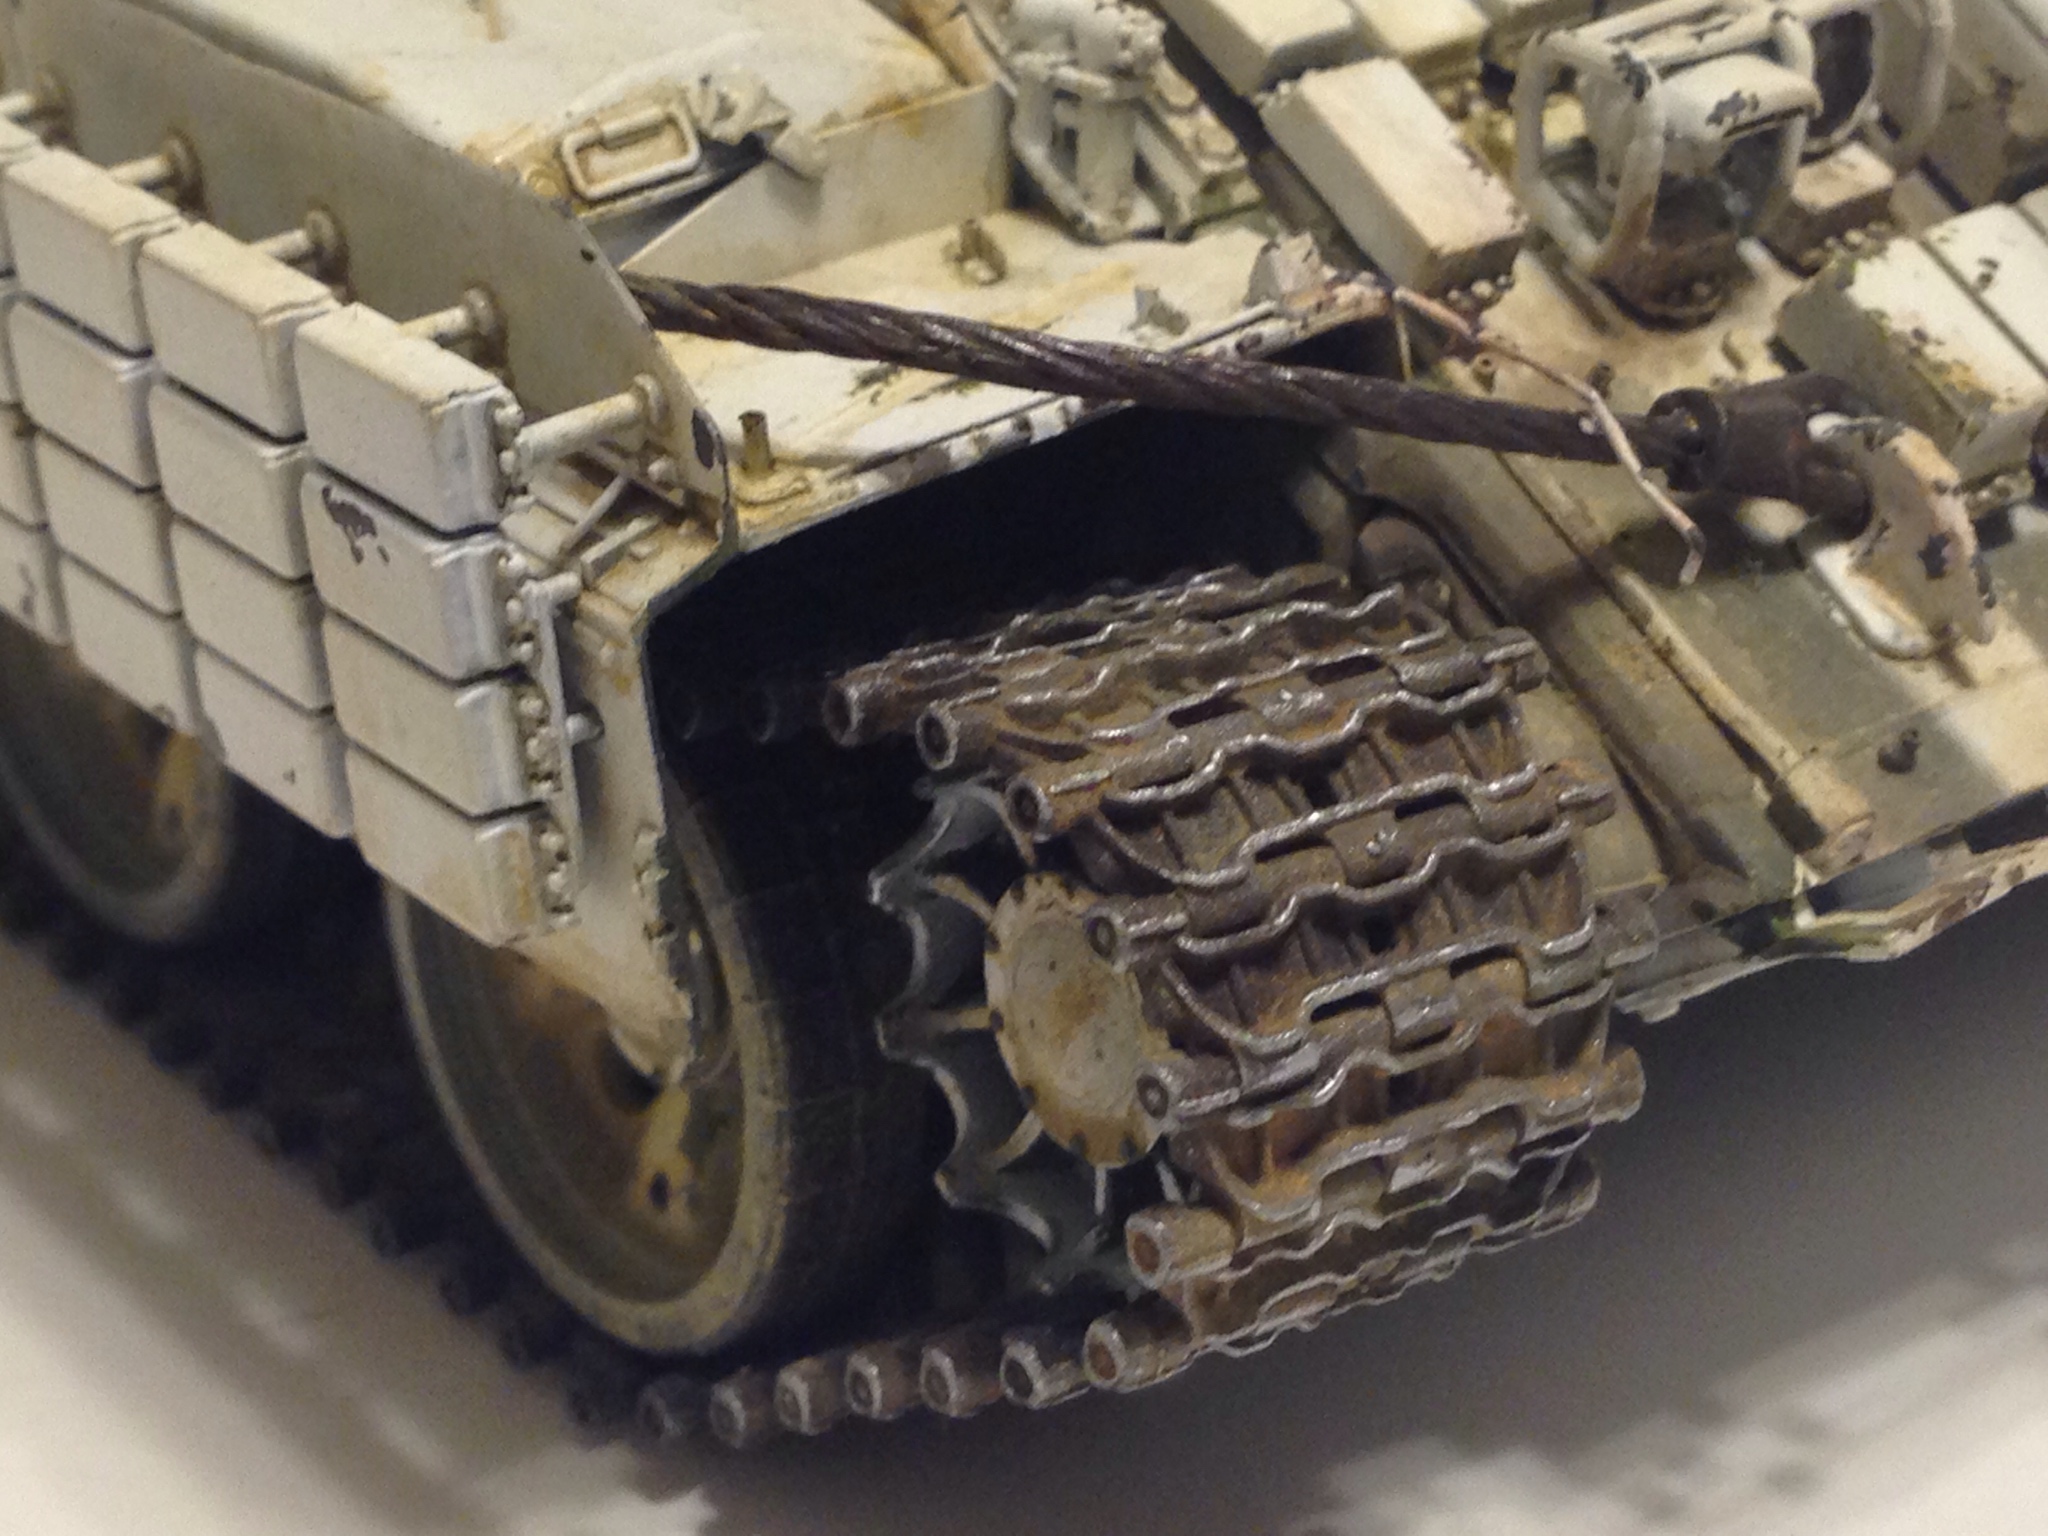
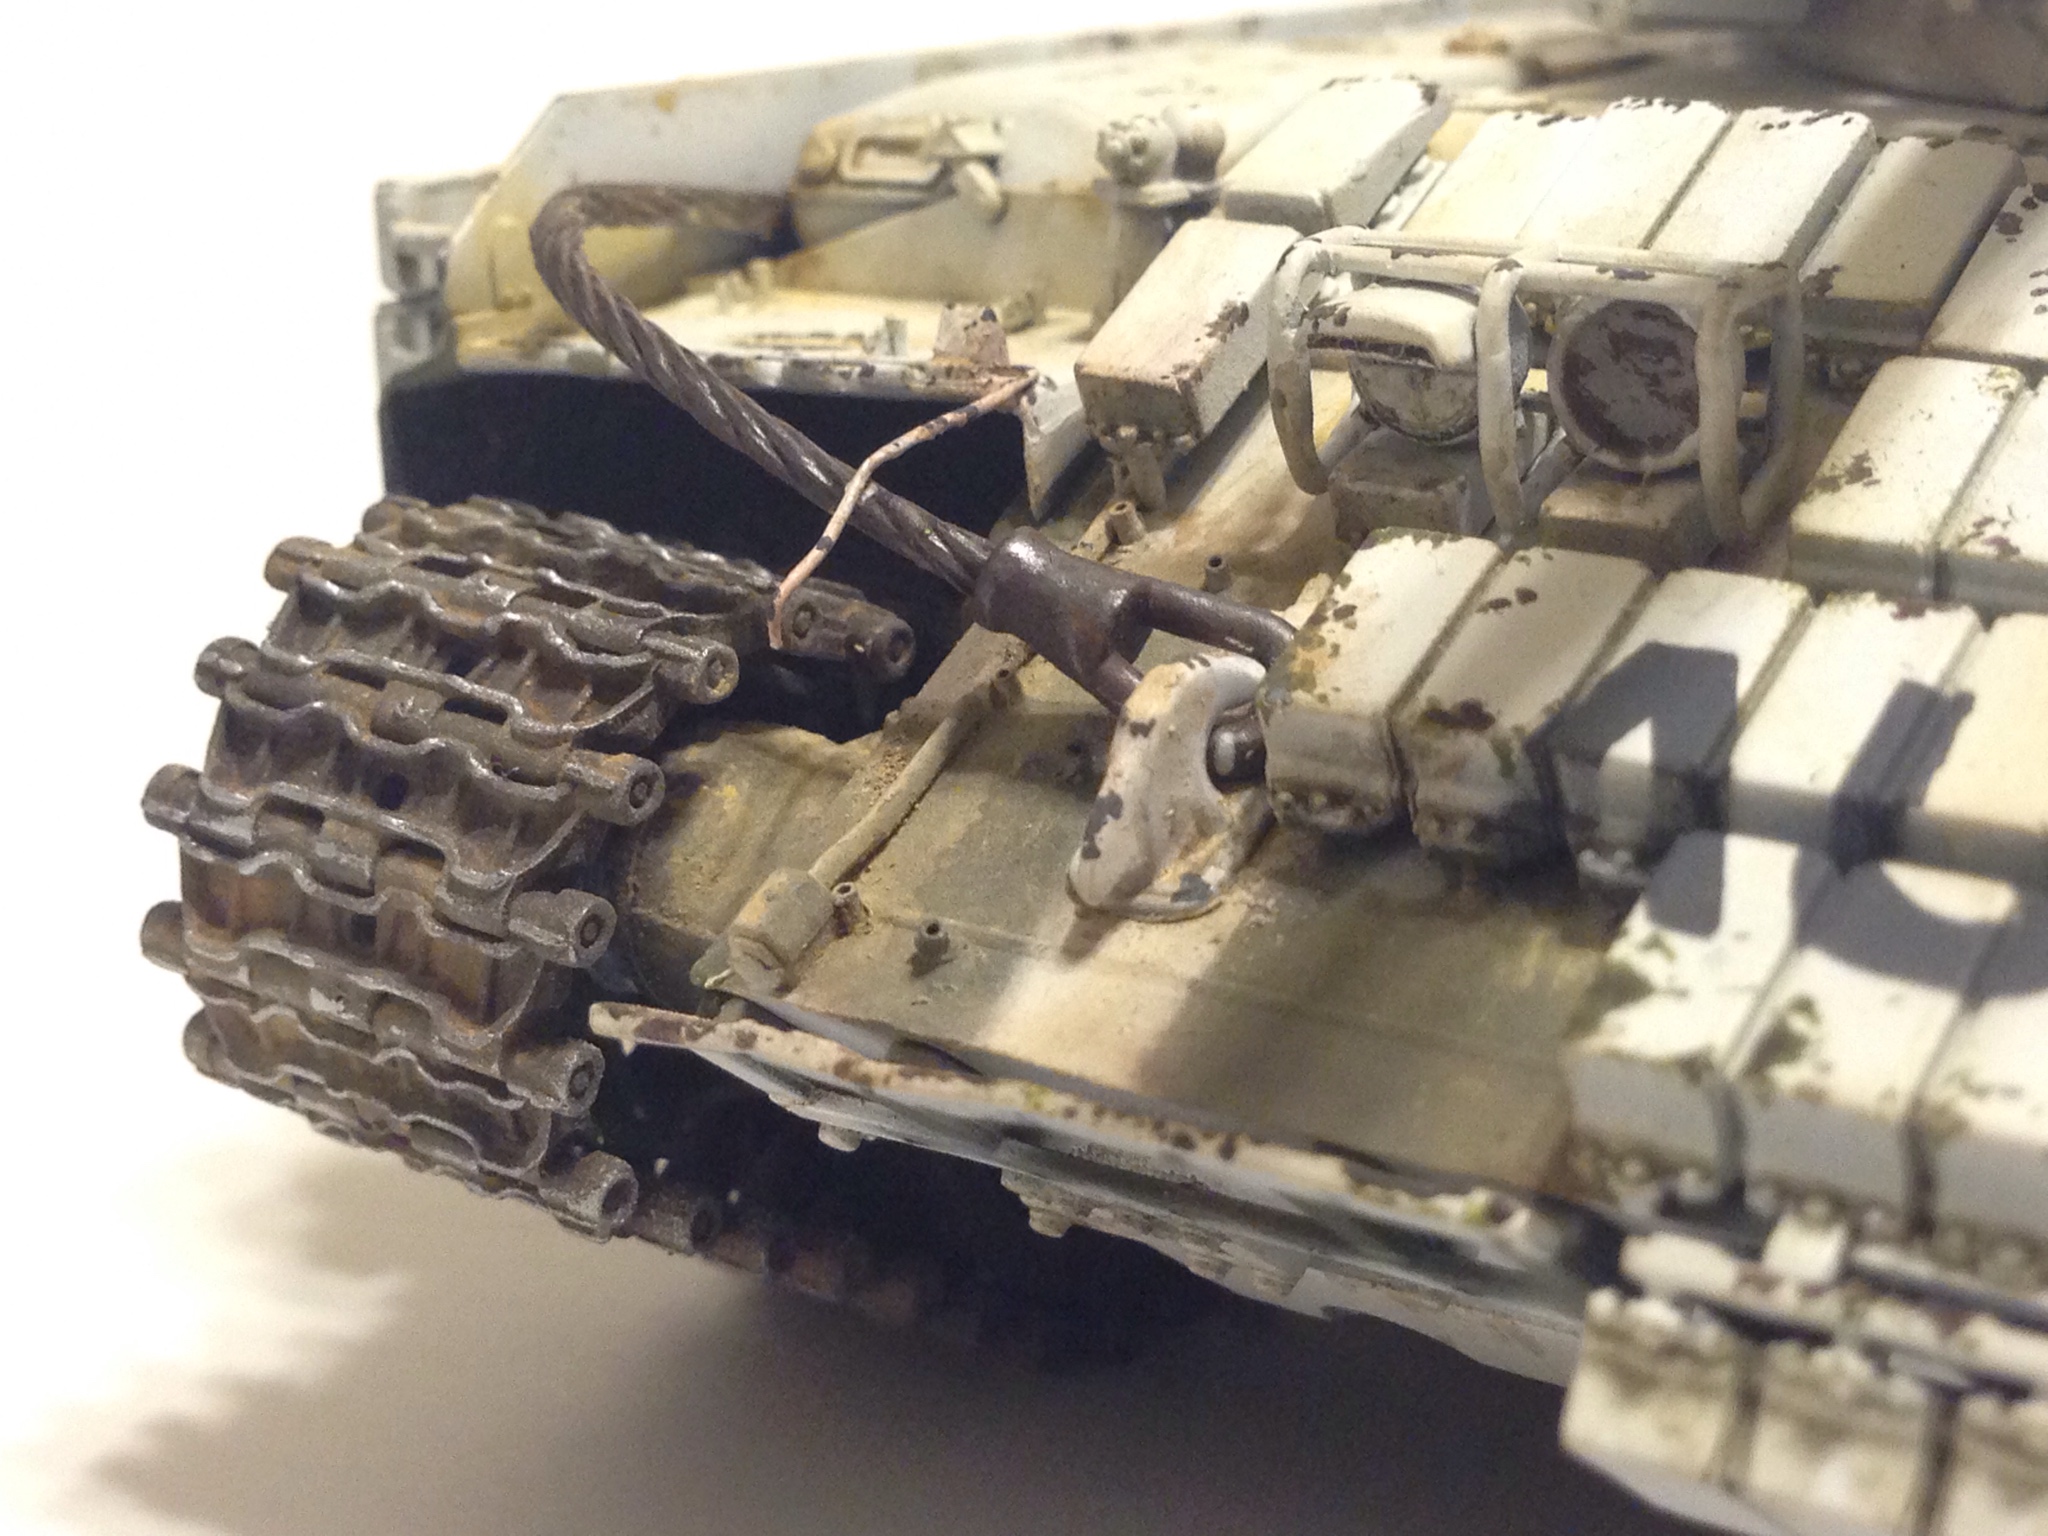
Those tracks are some of the best I've seen. Please elaborate on your technique.
I was wondering where you went Joseph!
Dan


 |


