

Yes Russ; David and I have discussed this. However I am more or less accustomed to this error happening.
Mis-spelling the name "Koenig" I think is more a factor of muscle memory on the part of the typesetter. They see "nig" and they automatically type "ing" or even "ning". This is something I have gotten used to over the years.
Armor/AFV
For discussions on tanks, artillery, jeeps, etc.
For discussions on tanks, artillery, jeeps, etc.
Hosted by Darren Baker, Mario Matijasic
RFM Sheridan-- First Look

165thspc

#521

Joined: April 13, 2011
KitMaker: 9,465 posts
Armorama: 8,695 posts
Posted: Friday, September 20, 2019 - 12:46 AM UTC


Kevlar06

Joined: March 15, 2009
KitMaker: 3,670 posts
Armorama: 2,052 posts
Posted: Friday, September 20, 2019 - 04:32 AM UTC
Quoted Text
... I must say, some of the kits outthere are really overdone, but that's just me, not using PE anymore. I am currently building AFV Clubs M42 Duster (late) and often i scratch me old head thinking "holy, was this really necessary to break this and that down in so many parts". But as I said, it's just me.I came to enjoy building straight forward kits more and more. having said that: I'm sure gonna buy the Rye Field M551 (just because I love this tank).
Phillipe,
I do agree with you about the number of parts in many of these kits. I'm not put off by them, and am glad many including PE in the price of the kit. But I'm also happy there are alternative manufacturers like Tamiya out there, which offer excellent kits with great fit at a lower parts count. To me, the more options we have as modelers the better. As a former Sheridan crewman, I like the detail and options offered by the RFM kit, but I'd love to build the Tamiya kit too, it lends itself to a myriad of possibilities.
I'm finding all sorts of indicators in the RFM kit that may show they've thought about at least another boxing-- perhaps with a more complete interior. Additionally, the requirement to drill out marked holes in the turret and hull tell me they may have some plans for the kit in different versions, along with the extra bolt head detail provided. But there are also a few things I'm not sure I'm happy with-- I already mentioned the breech screw detail-- and the silly spring assisted "recoil feature". One other is the short 152mm barrel is split down the middle, with a PE insert for the grooved barrel. My understanding is Tamiya has a one piece barrel with the grooves in place too. The barrel is certainly big enough in 1/35 scale to require lans and grooves, but I'd think RFM could have done the same as Tamiya did with a one piece barrel. We'll see how it goes in the build. Speaking of barrels, a detail often overlooked by modelers when building the Sheridan is a white "index" line on top of the barrel, to help get the gun on target for the gunner (the TC lays the gun on target using the TCs joystick). The barrel of the Sheridan was short, and under certain light conditions, this short barrel, without a lot of hull overhang like MBT guns, was sometimes difficult to get lined up with the target, so TCs often painted this white mark along the top of the barrel. Mine was painted as a "half" arrow, about six inches down the tube from the muzzle.
VR, Russ
Kevlar06
Joined: March 15, 2009
KitMaker: 3,670 posts
Armorama: 2,052 posts
Posted: Friday, September 20, 2019 - 07:19 AM UTC
One thing missing from the kit is a tow cable. The tow cable brackets are there (PE parts Y4), but no cable or shackles are included in the kit. This isn't really a big deal, as they came and went easily enough, and I don't know what the later practices were in the 73rd Armored ((82nd ABN) regarding wire tow cables. Many M551A1 tracks in 11th ACR in the 70s had tow cables, but not all. The preferred method of towing in the 11th ACR was usually a tow bar-- I only saw the cables used on one or two occasions in three years. Many photos of the rear deck in Vietnam show the cables present though. They wrapped around the brackets holding the pioneer tools and ramming staff on the back deck.
VR, Russ
VR, Russ
U-mark
Joined: January 04, 2017
KitMaker: 128 posts
Armorama: 89 posts
Posted: Friday, September 20, 2019 - 08:33 AM UTC
I have question for you former Sheridan crew members. Were the side floatation skirts ever taken off operational vehicles? If so, were the "troughs" covered or left open?
Kevlar06
Joined: March 15, 2009
KitMaker: 3,670 posts
Armorama: 2,052 posts
Posted: Friday, September 20, 2019 - 09:10 AM UTC
Quoted Text
I have question for you former Sheridan crew members. Were the side floatation skirts ever taken off operational vehicles? If so, were the "troughs" covered or left open?
The answer is no. Not on an operational Sheridan. The only time they were removed was to replace one. We used to erect them about once a year for cleaning and inspection. I never saw one in actual use (for swimming anyway) in the three years I was around Sheridans in the 11th CAV-- but someone else might have a different experience. The only exception that I'm aware of was the VISMOD OPFOR vehicles at NTC-- I believe the skirts were removed from some of those vehicles to enable fitting the VISMOD kit frame over the vehicle.
VR, Russ
trickymissfit
Joined: October 03, 2007
KitMaker: 1,388 posts
Armorama: 1,357 posts
KitMaker: 1,388 posts
Armorama: 1,357 posts
Posted: Friday, September 20, 2019 - 10:14 AM UTC
Quoted Text
Quoted TextSheridan's got everything external bent up slot! I've seen more than one Sheridan without a searchlight! Just mounts!
Did RFM supply the applique armor kit as separate parts? Also, no one has spoken about the drivers hatch externally. How does it look? Lights?
Gary
Appliqué armor is separate, so I guess you could build a very early Vietnam era M551 just by leaving it off, but you'd need a different 152mm barrel with the large bore evacuator, or the barrel with the ring (I believe Voyager does both). I'm a bit puzzled by the belly armor appliqué that comes in the kit, as it covers up the drivers escape hatch. They might have done that in Vietnam when they added the appliqué kits, but I seem to remember the driver's escape hatch being accessible from the outside-- at least I recall seeing one or two dropped along a road in Germany someplace (free beer for the crew that recovers another crew's belly hatch!). But I might be wrong about that-- maybe I'm thinking of M60A1s in our tank company. We routinely left one or two drain plugs out (nicely molded at the rear of the hull in the kit) to let excess water drain from the hull before it froze in the winter. The drivers hatch is exceptionally detailed with clear vision blocks, wipers, M551A1 IR drivers scope or TTS drivers scope, and even part B14, which is the reservoir for the wiper fluid. Lights are little gems-- even the marker lights (turn indicators and "cat eye" markers) have three parts-- a clear inner lens, with an outer casing and then a separate cover.
VR, Russ
I'm thinking about doing three Sheridan's. An ODS track, and two from I-Corp in late 68/69 time frame. I thought the barrel looked odd, but still no big deal. Fifty Mech. Infantry and 1st of the 1st CAV are high on my list.
Just a note: it wasn't uncommon to see Sheridan's without the armor package up north, as the north was at the bottom end of the food chain.
Gary
Kevlar06
Joined: March 15, 2009
KitMaker: 3,670 posts
Armorama: 2,052 posts
Posted: Saturday, September 21, 2019 - 04:40 PM UTC
Gary,
The more I look at the kit, I think you can build any version you want. It may take a modification of the bustle rack for an early version though. But I'd say RFM designed it to take advantage of using it as a base for different versions, similar to what they did with their Tigers and Panthers--with or without interiors and different accessories. The TTS version had a slave cable receptacle added during rebuilds (the M551 and M551A1 ran the cable through the driver's hatch). The slave receptacle on the TTS was on the front hull to the driver's left-- this kit has it as an option by drilling a mounting hole for a salve cable receptacle port cover. It's features like this that make me believe RFM is going to use this as a base for other versions.
VR, Russ
exgrunt
Joined: December 17, 2013
KitMaker: 301 posts
Armorama: 301 posts
Posted: Sunday, September 22, 2019 - 02:51 AM UTC
For those interested in building a Vietnam track, your options suddenly improved quite a bit.
http://www.perthmilitarymodelling.com/newkitnews/echelon.html
http://www.perthmilitarymodelling.com/newkitnews/echelon.html

TankSGT
Joined: July 25, 2006
KitMaker: 1,139 posts
Armorama: 946 posts

Posted: Sunday, September 22, 2019 - 03:13 AM UTC
Quoted Text
Quoted TextI have question for you former Sheridan crew members. Were the side floatation skirts ever taken off operational vehicles? If so, were the "troughs" covered or left open?
The answer is no. Not on an operational Sheridan. The only time they were removed was to replace one. We used to erect them about once a year for cleaning and inspection. I never saw one in actual use (for swimming anyway) in the three years I was around Sheridans in the 11th CAV-- but someone else might have a different experience. The only exception that I'm aware of was the VISMOD OPFOR vehicles at NTC-- I believe the skirts were removed from some of those vehicles to enable fitting the VISMOD kit frame over the vehicle.
VR, Russ
Russ, "ALLONS!" I was a Knox trained Sheridan crewman and part of training was a swim around Tobacco Leaf lake. Being in the drivers hatch below the water line was a bit nerve wracking.
Tom

Kevlar06
Joined: March 15, 2009
KitMaker: 3,670 posts
Armorama: 2,052 posts
Posted: Sunday, September 22, 2019 - 06:55 AM UTC
Tom,
Tobacco Lake was the only place I ever saw a Sheridan swim. Part of the demonstration for new AOC inductees-maybe you were driving! I was there in 76 and 77, for AOC, A2 transition and came back for the MOC. We never went swimming in Germany, I think for safety reasons. There really werent any lakes in the Squadron area where we could do legitimate training, and at Grafenwhor we had other things going on (there was a sizable lake there Id heard 1st Squadron had a swim day there once, and lost a track so that was quickly discontinued. We ran around a lot without drain plugs in the Sheridans, 113s and M60s, because during the winter water would collect in the lower hull, freeze, and that played havoc with the torsion bars on cold vehicles. Its not good to swim with no drain plugs.
VR, Russ

SEDimmick
Joined: March 15, 2002
KitMaker: 1,745 posts
Armorama: 1,483 posts

Posted: Monday, September 23, 2019 - 06:43 AM UTC
I've put in about 4 hours into the kit Saturday-I started with the running gear and upper hull.
Overall the detail is really nice on it, but the biggest issue I'm running into the kit is minor fit issues-like the mounting slots for parts are a hair too long and need about .05 of a millimeter removed so they fit flush with the part they need to be attached to.
There is a minor gap (about .5 millimeter or less-after using a pair of clamps to try to close it up) between the upper and lower hull of the kit-nothing some filler can't take care of.
The engine grates are a tight fit-the biggest one I winded up removing the mounting pins because it was making it bow up when installed and had to shave down where it interfaced with the T bar a little bit to make it fit properly.
The engine access panels that are covered by the PE parts don't fit that great (really tight fit), but I'm not sweating it too much since they'll be covered up.
The kit isn't a slammer-it needs some minor tweaking so everything fits together properly, that can slow down things.
The tracks are terrible-deep ejection pin marks on the back and the track pads on the front aren't that well defined. I was going to use them at first, but after getting a better look under an optivisor, I ordered a set of Masterclub tracks to replace them.
Overall, I'd give the kit a B+, which is mainly because of the tracks or it would have gotten an A- for the minor fit issue problems.
Kevlar06
Joined: March 15, 2009
KitMaker: 3,670 posts
Armorama: 2,052 posts
Posted: Monday, September 23, 2019 - 07:05 AM UTC
Scott,
I havent started mine yet, so cant comment on the fit issues. My experience with the only other RFM kit Ive built (The Tiger I early) was the fit was really tight in some places too. I think RFM uses the same philosophy as Wingnut Wings the kits are designed to use little or no filler, so even a bit of paint will interfere with the fit. Id rather remove material than have to add it but thats just me. My kit has some ejector pin marks on the tracks but no where near what you describe, or whats in the Moxingfans photos above. The marks in my kit are easily removed with a sharp scalpel, although 4-5 are a bit deeper than others I think this must be a product of uneven operation of the injector pins its likely some kits will have deep impressions, others not I probably just got lucky in my kit. At 655 parts, I dont think Modelers should expect the kit to fall together though what version are you building? Be careful as there are TTS parts not suitable for an early M551A1.
VR, Russ
SEDimmick
Joined: March 15, 2002
KitMaker: 1,745 posts
Armorama: 1,483 posts
Posted: Monday, September 23, 2019 - 07:29 AM UTC
Quoted Text
Scott,
I havent started mine yet, so cant comment on the fit issues. My experience with the only other RFM kit Ive built (The Tiger I early) was the fit was really tight in some places too. I think RFM uses the same philosophy as Wingnut Wings the kits are designed to use little or no filler, so even a bit of paint will interfere with the fit. Id rather remove material than have to add it but thats just me. My kit has some ejector pin marks on the tracks but no where near what you describe, or whats in the Moxingfans photos above. The marks in my kit are easily removed with a sharp scalpel, although 4-5 are a bit deeper than others I think this must be a product of uneven operation of the injector pins its likely some kits will have deep impressions, others not I probably just got lucky in my kit. At 655 parts, I dont think Modelers should expect the kit to fall together though what version are you building? Be careful as there are TTS parts not suitable for an early M551A1.
VR, Russ
Russ,
I'm building C33 Metal Wolfe from Op Just Cause using the Echelon decals. Its a M551A1 that has some of the TSS stuff on it, but not the sight itself. That is the one thing I did notice about the directions-there are M551A1s with "TSS" equipment on them (like the British style SGLs and updated towing hooks), but not the actual sights.
The fit problems are that they are way too tight in spots-like the engine access doors to the point that they almost don't fit. The other issue I ran into was mold shift on the front and rear most suspension arms (they are the same parts), that takes a little extra time with a scraping tool to fix. Just annoying stuff like that.
The tracks have a decent amount of ejection pin marks on them that would require a decent amount of filler instead of just shaving them down a bit-that was my first reaction to seeing them, then I put on my optivisors and said nah that isn't gonna work.
Parts counts don't scare me-Its really inconsequential if the kit is designed properly-and LTL tracks can be a time suck anyways-which wind up being half the parts to a kit anyways. The fit isn't bad at all-its more annoying then anything else-nothing major so far that would cause a migraine to fix.
I've been building crappy kits since April of this year (2x Italeri Semoventes and a Mirror Models CMP conversion with a Dragon Flak 30 on the bed) both have been major headaches and are trash compared to this kit in detail/fit, so I was hopeful for a little less drama this build-which so far its been for the most part, but just annoying to deal with. I'm happy we got a very well detailed/accurate M551A1 that I've been waiting almost 30 years for.
I created a Facebook page as a group build for the kit, I'll post the link later here.

panamadan
Joined: July 20, 2004
KitMaker: 1,513 posts
Armorama: 1,449 posts
Posted: Monday, September 23, 2019 - 10:59 AM UTC
Can you post photos Scott?
D
D
Kevlar06
Joined: March 15, 2009
KitMaker: 3,670 posts
Armorama: 2,052 posts
Posted: Monday, September 23, 2019 - 05:16 PM UTC
Just a few notes-- I've been putting together an in-box review of the kit, which I hope Carlos Martin will help me get published. In doing so, I've discovered a few things-- The instructions are missing "Step 19" entirely! We go from Steps 18 immediately to 20, with no 19 anywhere in sight. And, there's no Step 23 either! It's also missing in action. But I don't think there's anything missing, it's probably just a numbering "glitch". Also, the "generic" appliqué armor plate found on almost all M55A1s and all TTS vehicles is missing from Steps 47-49, but present on the A1 (green) instruction diagrams as "only for use on the A1" version. I believe this is wrong for this vehicle. By the time the "TTS Sheridan" was in use, virtually all Sheridans had gone through at least one or more rebuilds and upgrades, and would likely have had the armor appliqué added at some point. Although it's possible they were removed to save weight by the 73rd Armored Cav Regiment on some 82nd Airborne Vehicles, I don't think that was the case. So, the instructions, in a word, are "messed up". I guess that's two words-- but a point I want to make is this--study the instructions very carefully before you begin building the version you want, and have some references handy. Another point-- this kit will make a beautiful model, but, it's not going to be a quick build, even though you won't use all the parts-- you'll still use a majority of the 655 parts-- and some of those parts are tiny-- between those tiny parts and the confusing instructions, this is not a kit for beginners.
VR, Russ
VR, Russ
TankSGT
Joined: July 25, 2006
KitMaker: 1,139 posts
Armorama: 946 posts
Posted: Monday, September 23, 2019 - 05:20 PM UTC
Russ, I went though 11D training in the summer of 77 and was held over for another 3 weeks for 551 school. early October of 77. It was a lot of fun since my platoon were all 11D from my cycle. We had Drill Sergeants but since we were MOS awarded soldiers not trainees we we mostly treated as students.
Tom
Tom
Kevlar06
Joined: March 15, 2009
KitMaker: 3,670 posts
Armorama: 2,052 posts
Posted: Wednesday, September 25, 2019 - 09:33 AM UTC
Folks, I managed to get over to Fort Lewis this AM, and snagged quite a few photos of their 2 Cav marked TTS Sheridan, which is not in such good shape. But there were two things I noticed with this track its missing the appliqué armor, and doesnt look like it ever had it. So perhaps there were some Sheridans that never got it. The second thing I noticed I forgot to mention earlier is the M551and Early M55A1s used a clear oil level sight in each road wheel hub (which was subject to leakage). But by 1978, these began to be replaced by a single grease fitting nipple. The kit comes with a flat center in each hub that would only be correct for the early pre 78-79 tracks. However, there are multiple nipples on the long arm of the kit C sprue. These are not indicated in the instructions anywhere, but if you want to build a late M551A1 or TTS track, youll need to add them. Ill see if I can do a separate feature on the photos, but frankly, this Sheridan is in such bad shape I feel there are better Sheridans out there for photos. As for the road wheel hubs, this is another indicator to me RFM intends to release at least another version. It would be easy to do so with the way the kit is designed.
VR, Russ
VR, Russ
brekinapez
Joined: July 26, 2013
KitMaker: 2,272 posts
Armorama: 1,860 posts
Posted: Wednesday, September 25, 2019 - 11:51 AM UTC
Russ -
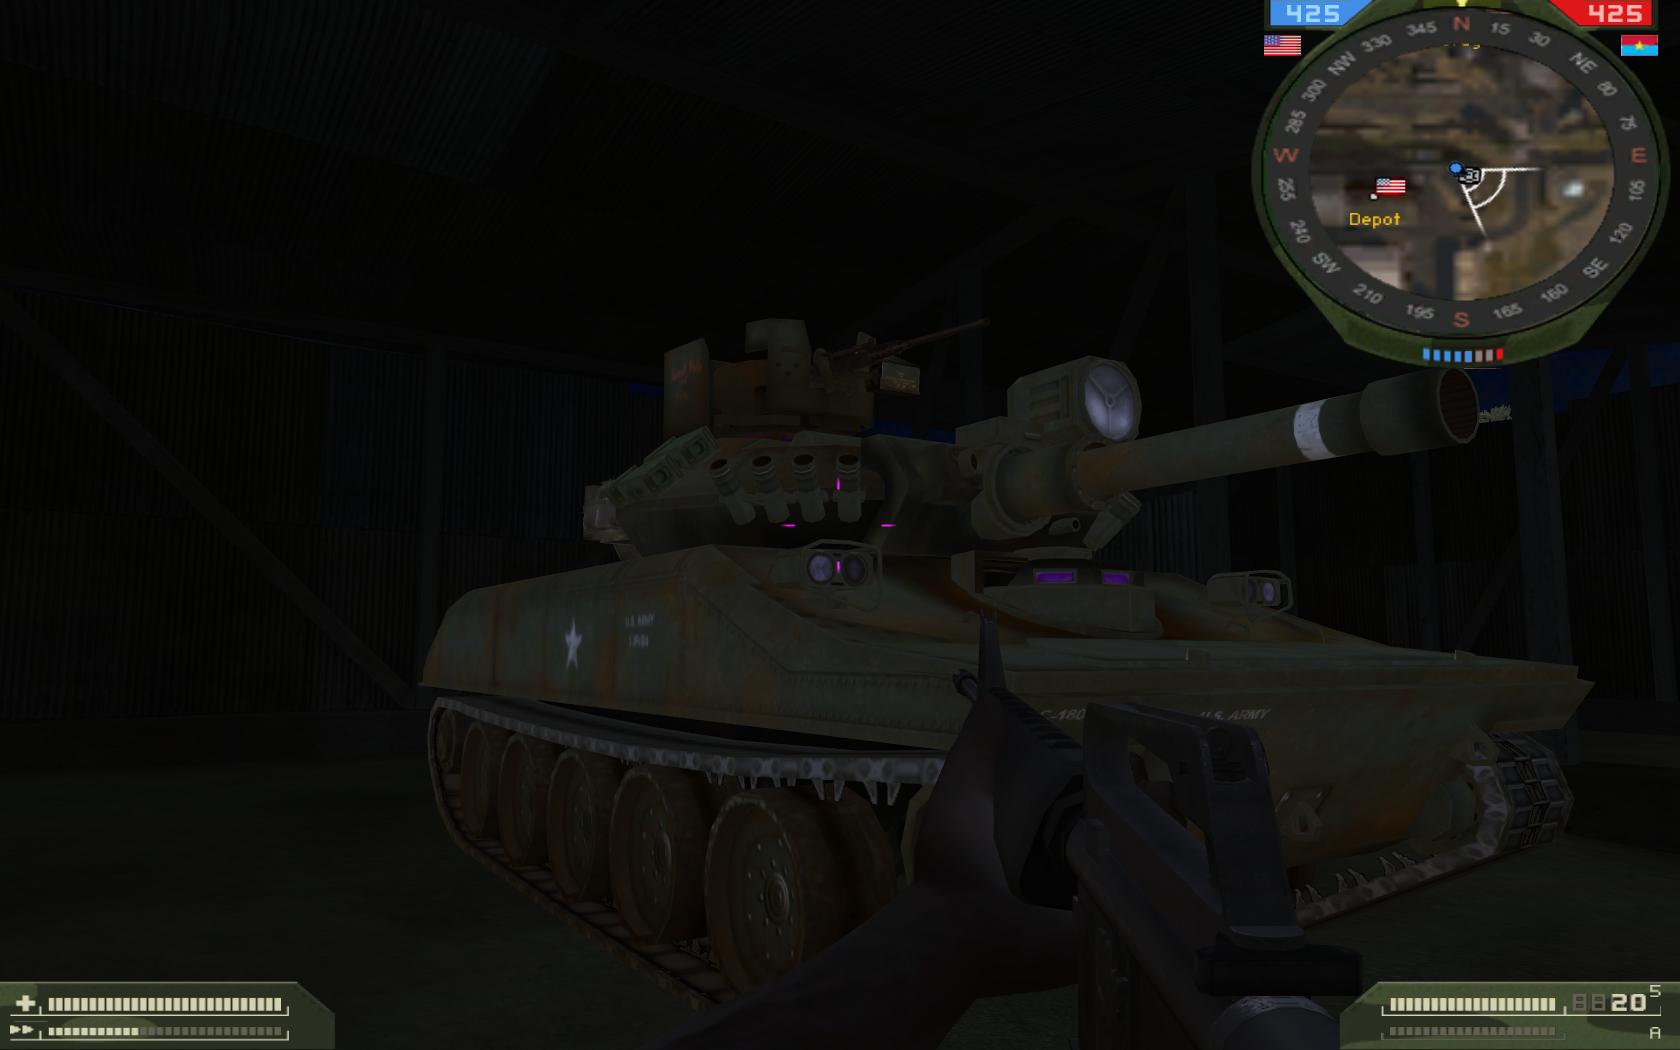
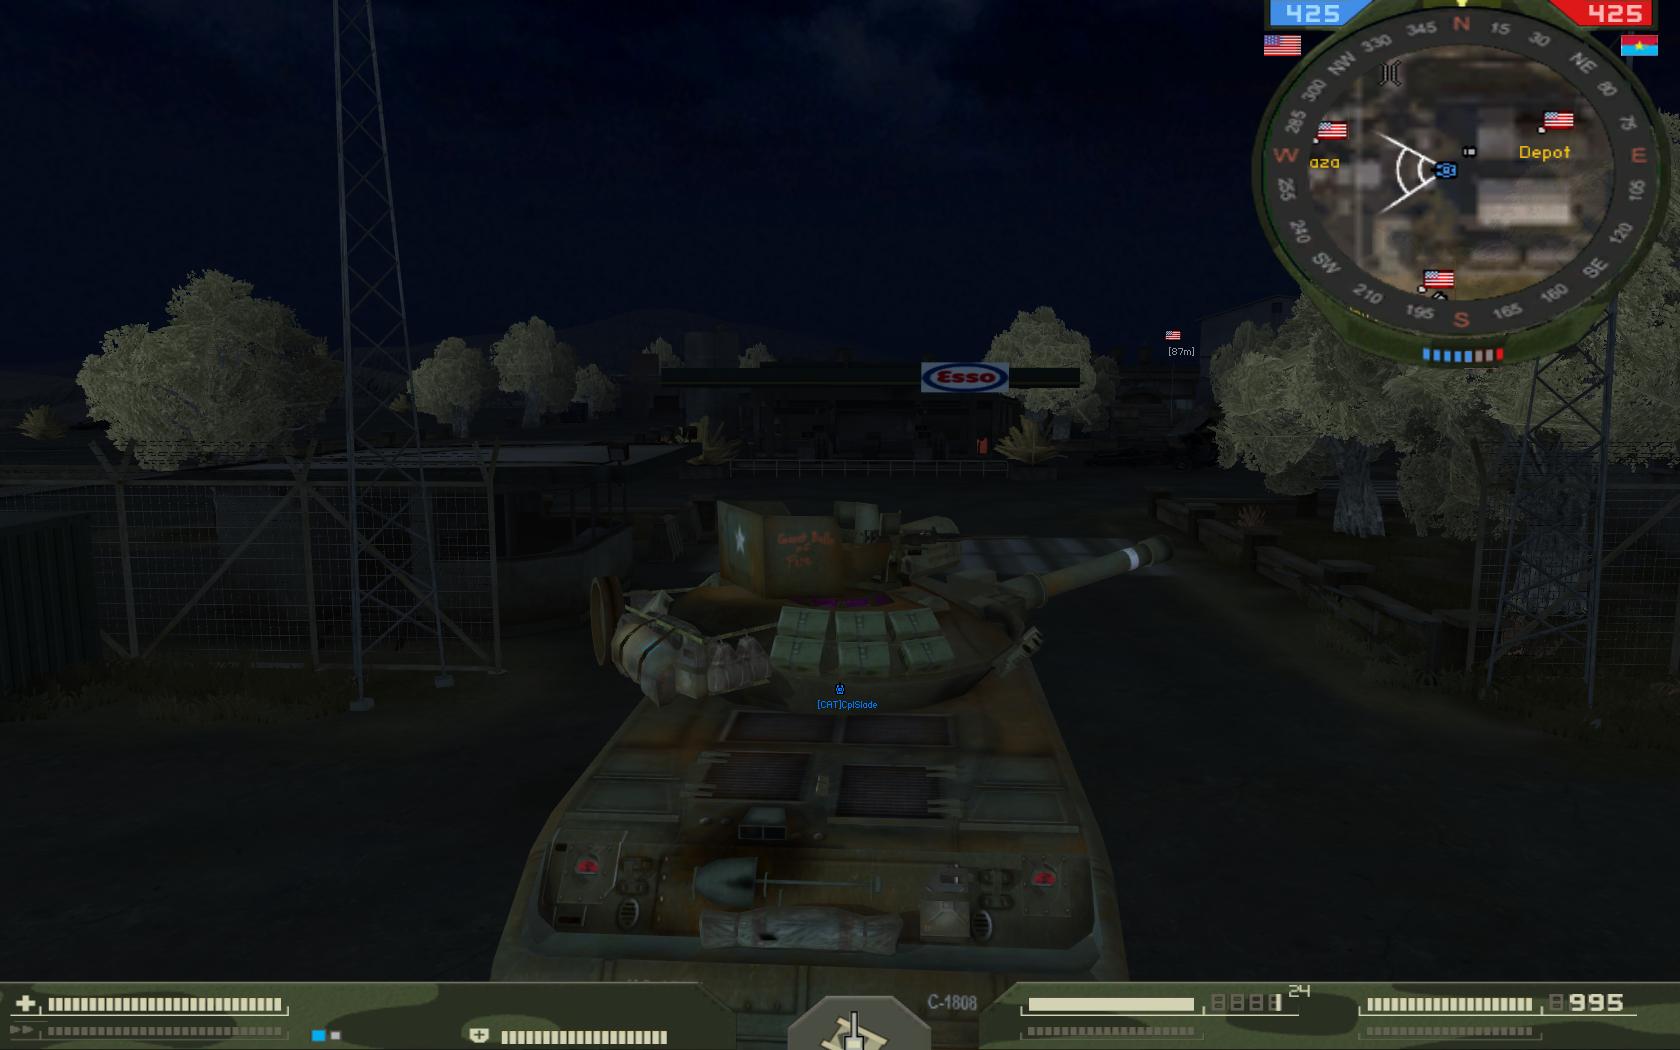
I found a couple more pics from a disc of screenshots I did in-game years ago (2008!). This is from the version developed for Battlefield 2, which itself was derived from a Battlefield 1942 mod. There is a shot of me shooting up a B-52 but I don't think they had it ready to fly at the time but you could get in it.
So, based on what you can tell here, which option from the RFM kit--or even the Tamiya if it is suitable--would come closest to how they depicted it for a Vietnam setting?
Kevlar06
Joined: March 15, 2009
KitMaker: 3,670 posts
Armorama: 2,052 posts
Posted: Thursday, September 26, 2019 - 03:34 AM UTC
Shell,
I can't really say for sure which version would be correct from looking at the screen shots, but, it looks like the RFM M551A1 with the AN/VSSA3 searchlight should be the closest. You could probably get away with the Tamiya kit too, which would be a cheaper, faster build. It's definitely not the late TTS version as it has a searchlight, and early headlight guards.
VR, Russ
165thspc
#521
Joined: April 13, 2011
KitMaker: 9,465 posts
Armorama: 8,695 posts
Posted: Thursday, September 26, 2019 - 04:49 AM UTC
Russ - if you are having problems posting pictures of the kit or of you build I would be happy for you to e-mail them to me and I will post them to my Photobucket account and then send you the links to post here.
I am really not understanding all the verbiage (which honestly most of which I don't care to read) and all the fair to horrible, unviewable screen captures from some combat video game that doesn't seen to relate in any way to the subject title.
However I would live to see photo and info about the new Sheridon kit. - Sorry

18Bravo
Joined: January 20, 2005
KitMaker: 7,219 posts
Armorama: 6,097 posts
Posted: Thursday, September 26, 2019 - 05:14 AM UTC
Quoted Text
There is a minor gap (about .5 millimeter or less-after using a pair of clamps to try to close it up) between the upper and lower hull of the kit-nothing some filler can't take care of.
If I ever tackle this I might elect to use .5mm styrene strip instead of filler. And if it's suitable, leave the edge standing proud to work into a weld with liquid cement.
SEDimmick
Joined: March 15, 2002
KitMaker: 1,745 posts
Armorama: 1,483 posts
Posted: Thursday, September 26, 2019 - 06:36 AM UTC
Here are some shots I've taken with the one I'm working on
https://photos.app.goo.gl/hk5iZ6bXje6rDmFHA
https://photos.app.goo.gl/hk5iZ6bXje6rDmFHA

27-1025
Joined: September 16, 2004
KitMaker: 1,281 posts
Armorama: 1,222 posts
Posted: Thursday, September 26, 2019 - 07:34 AM UTC
I finally just got my kit today. For those sitting on the fence here's some pics of what's in the box.


It all looks very nice, looking forward to building this. At first glance it looks like careful attention needs to be paid to the instructions and I'm not real clear as to what parts actually constitute an A1 and an A1 TTS.
It all looks very nice, looking forward to building this. At first glance it looks like careful attention needs to be paid to the instructions and I'm not real clear as to what parts actually constitute an A1 and an A1 TTS.
Kevlar06
Joined: March 15, 2009
KitMaker: 3,670 posts
Armorama: 2,052 posts
Posted: Thursday, September 26, 2019 - 09:57 AM UTC
Folks, I haven't actually posted any photos yet as I'm in the process of writing a review. To that end, I've spent a lot of time doing research and going over the instructions (which leave a lot to be desired) to try and sort out in a logical manner the good, and the bad sides of the kit. As I go along and find things, I'm posting them here so those folks ahead of me can sort out the details--or not. I do have some "inside knowledge" of the M551, since I was around them for three years. Part of my review will explain some of the differences between the various designations. So, if you'll be patient, I think I can get something in print by next week. Since so many photos of the sprues are already available, I think I'll confine my photos to the "excellent" and "not so good" aspects of the kit. I did some photography of the real thing yesterday, which I'll gladly send to Michael per the offer above. But the vehicle I used is in less than stellar shape-- I think you have some good photos of the M551 you were associated with already Michael-- correct?
VR, Russ
VR, Russ
brekinapez
Joined: July 26, 2013
KitMaker: 2,272 posts
Armorama: 1,860 posts
Posted: Thursday, September 26, 2019 - 11:11 AM UTC
Quoted Text
I am really not understanding all the verbiage (which honestly most of which I don't care to read) and all the fair to horrible, unviewable screen captures from some combat video game that doesn't seen to relate in any way to the subject title.
Maybe if you bothered reading you'd understand how it relates. People who criticize stuff without making any effort to understand what they are criticizing really should just keep quiet. All you end up revealing is how condescending and ignorant you are.
 |

WEB HOSTING BY


Copyright ©2021 Armorama and Kitmaker Network, a subsidiary of Silver Star Enterprises
All Rights Reserved. Please read our Conditions of Use and Privacy Policy.
All Rights Reserved. Please read our Conditions of Use and Privacy Policy.