

1⁄35Warrior!
14
Comments

About the Author


FROM: FLORIDA, UNITED STATES
Retired US Army Artillery Officer, currently a contractor at MacDill AFB in the Tampa, FL area. I have been modelling for the past 40+ years, really seriously on armor and large scale helos (1/32, 1/35) for the last 35 or so.
Comments

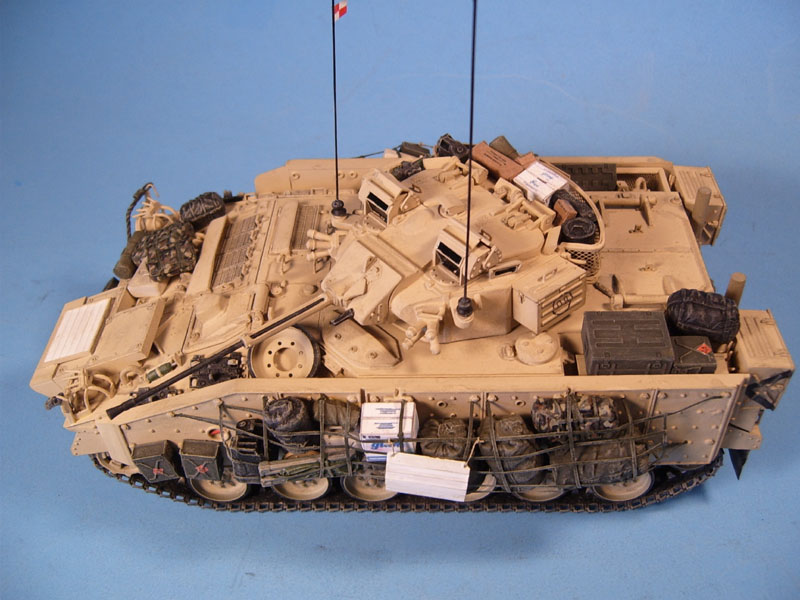
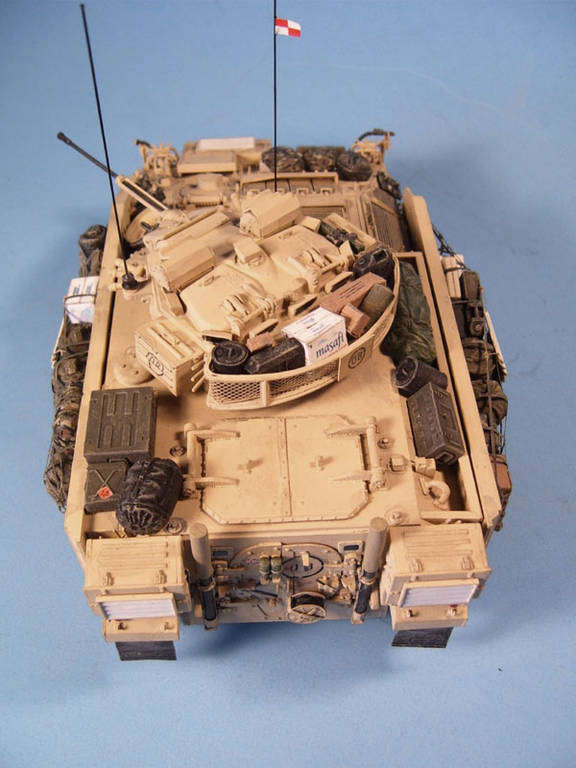
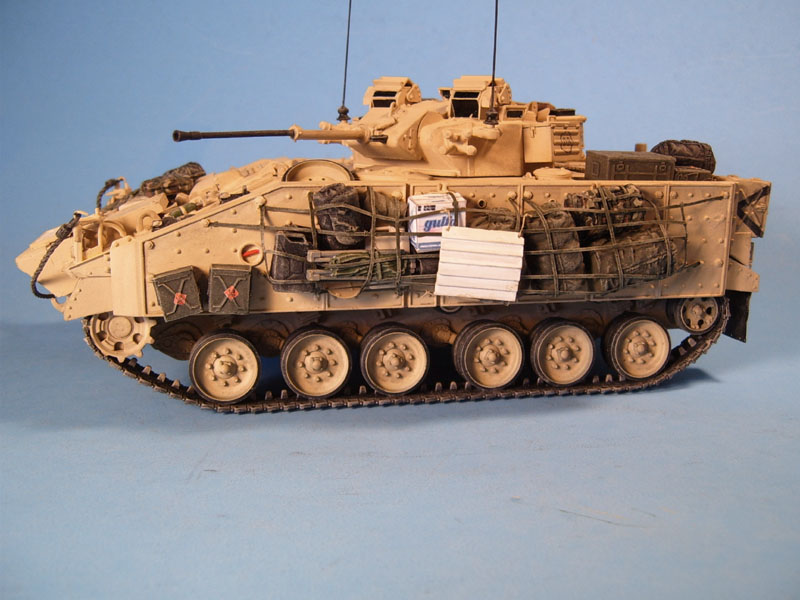
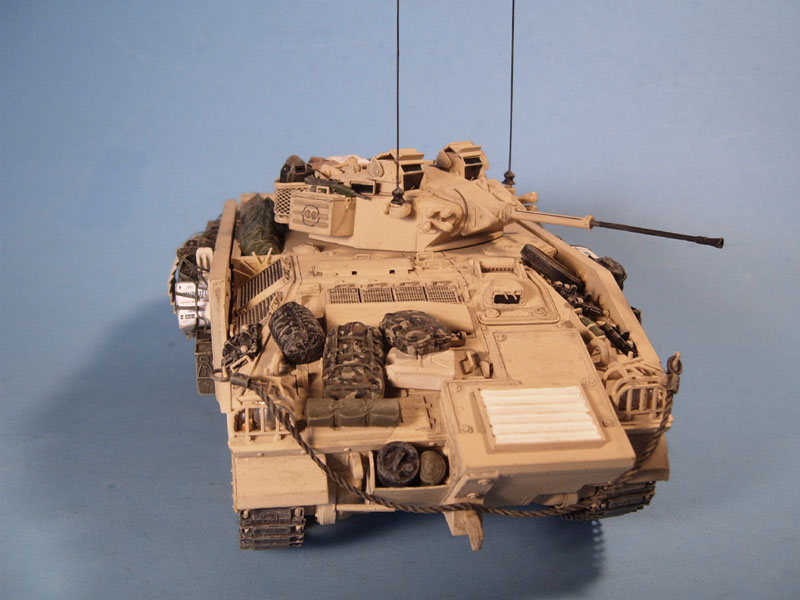
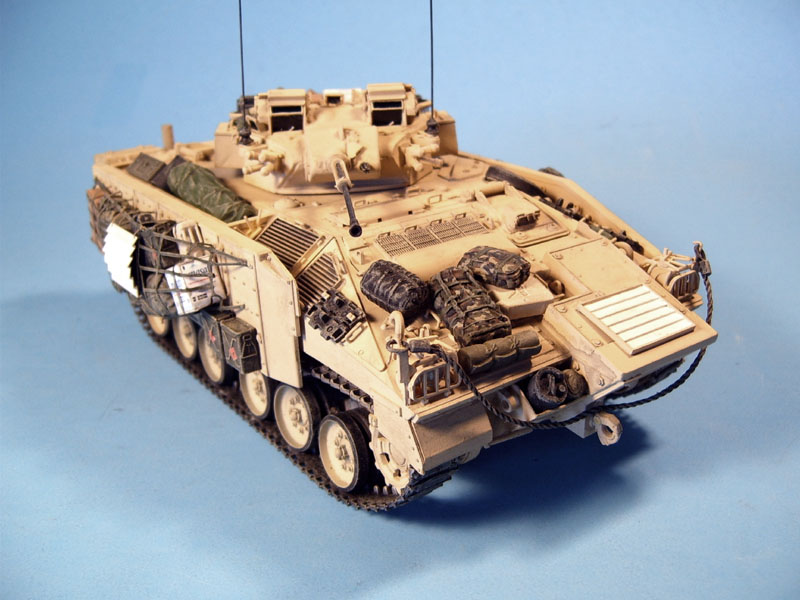
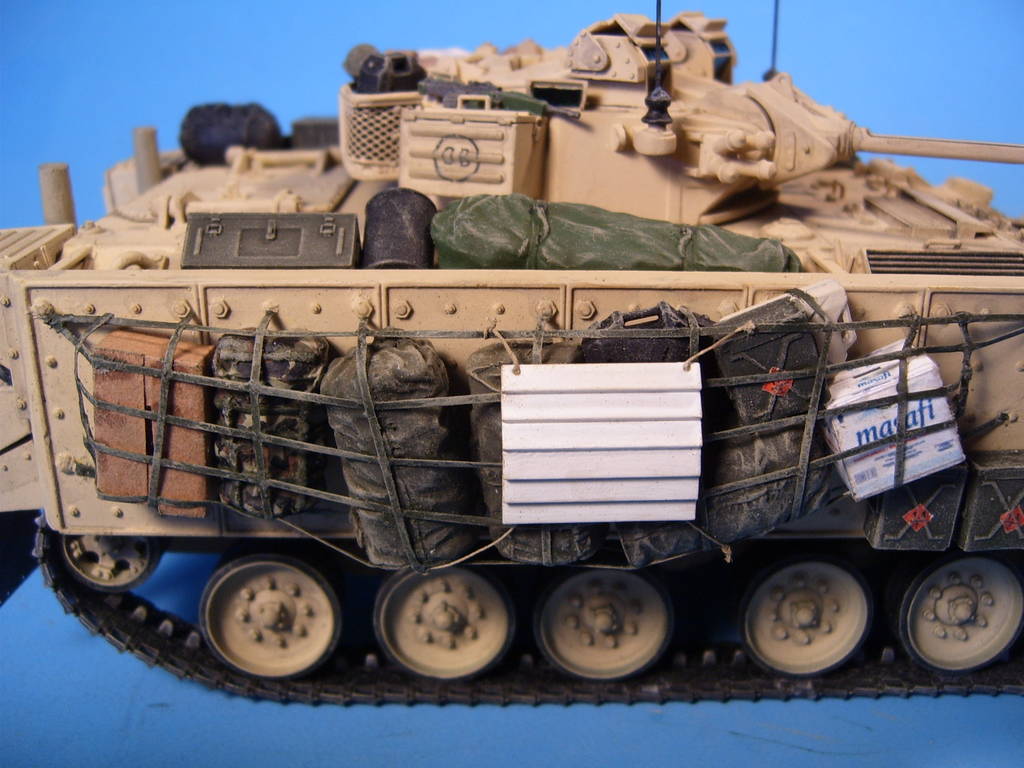
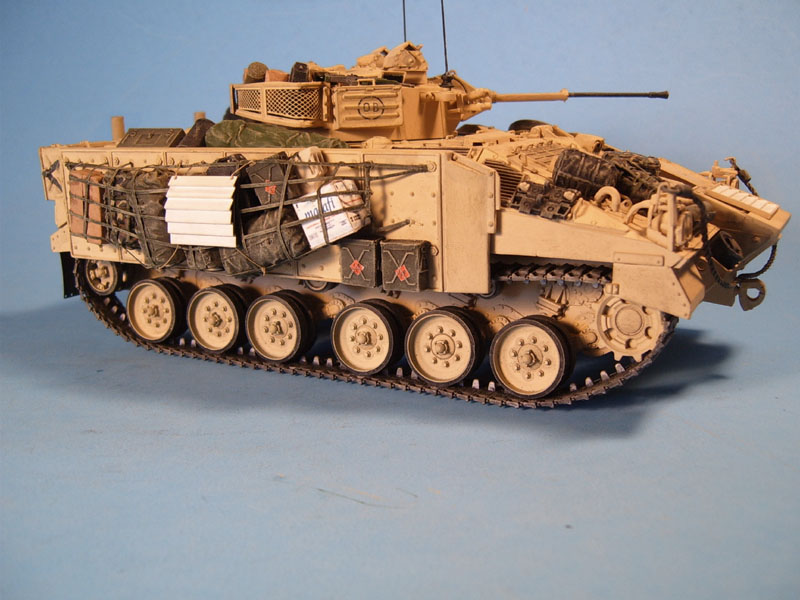
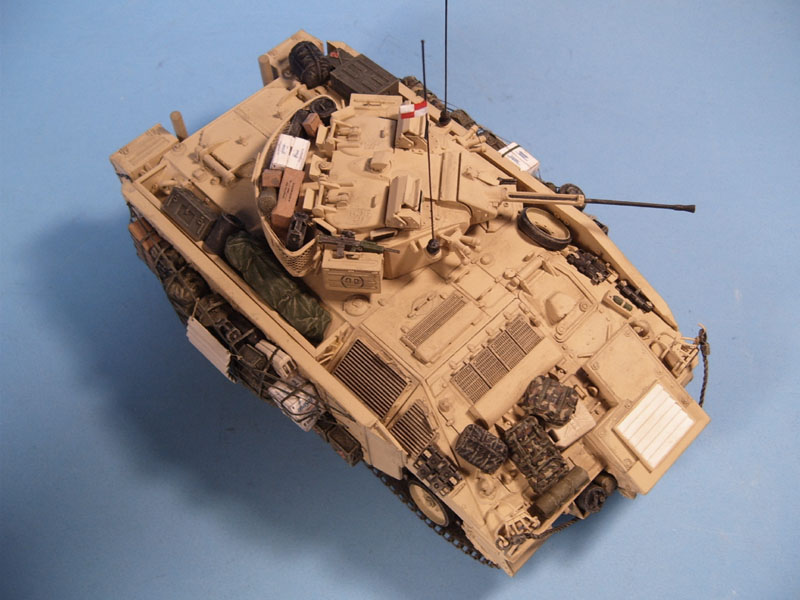
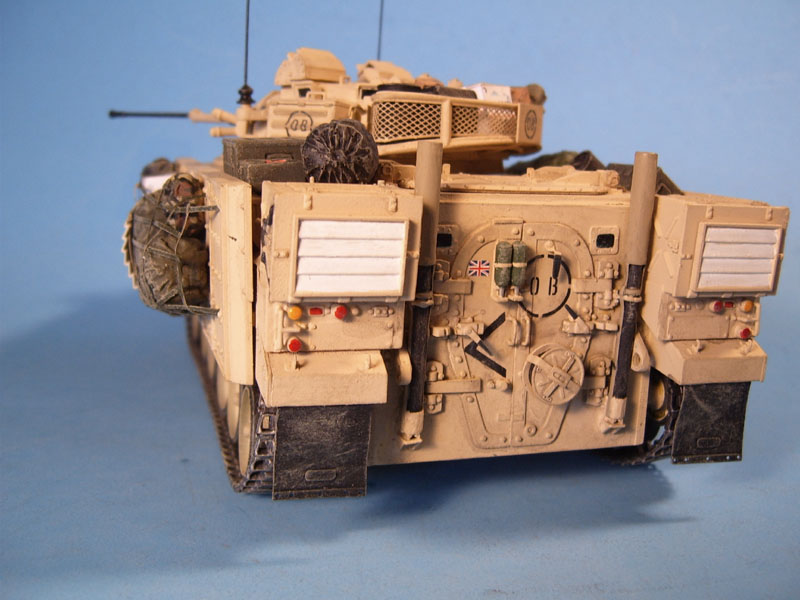
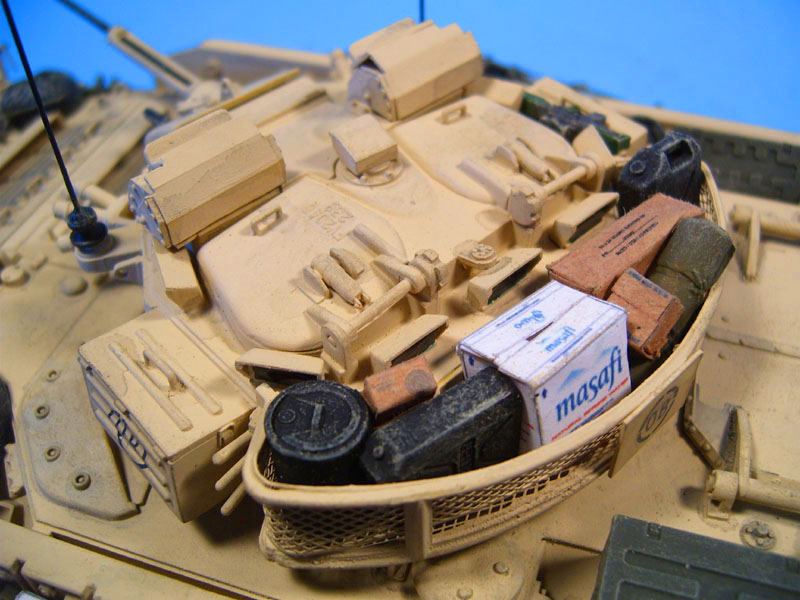
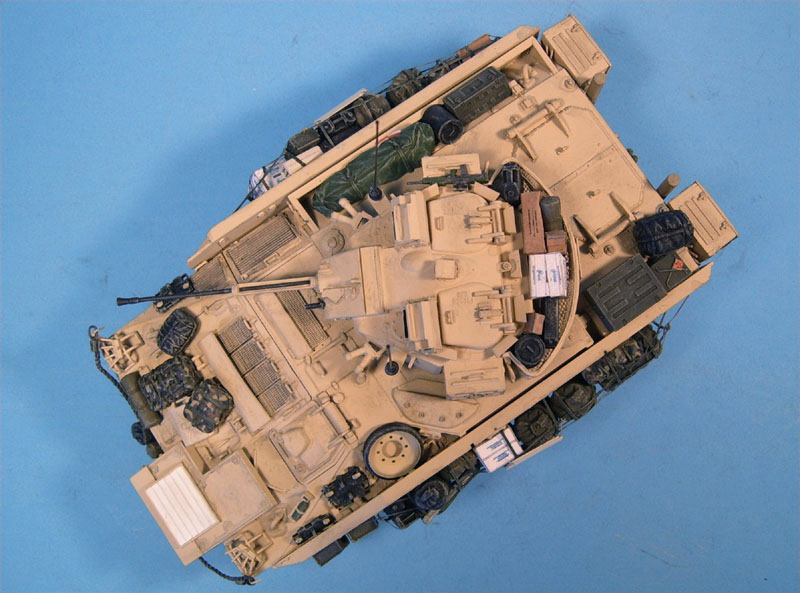
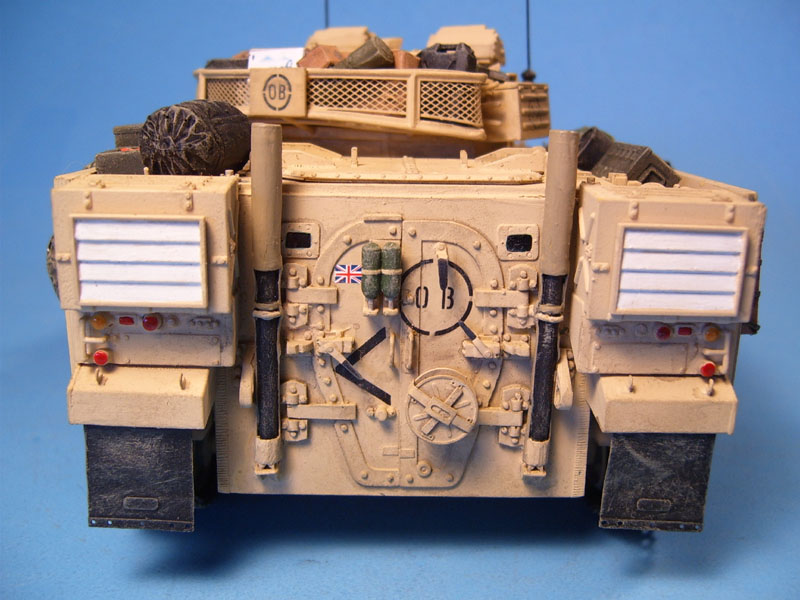
Great looking Warrior Gino, like the way you installed the ID panels on the sides, really eye catching, also all the stowage and the net....
Congrats
OCT 11, 2006 - 12:06 AM

Very nice. And almost sacrilegious for Gino, as it is a non-US subject.
OCT 11, 2006 - 01:22 AM

Gino, as usual your work is outstanding. This one will go into my bookmarks along with your M2A2 OIF. I have a couple questions for you. First, what did you make the netting out of? And regarding attachment points, it looks like the netting is shown being secured by the nuts on the panels. Am I correct in this assumption? Also, how would have the ammo cans on the right hand front side panel been secured?
OCT 11, 2006 - 01:30 AM

Thanks, glad you like it.
Yup, the actual netting is secured by the existing bolts on the armor. The bolts are removed and holes cut into the netting ends. Then reattach the bolts through the netting straps.
For the net, I first glued the painted and weathered gear to the armored skirts. I made the netting out of 1/16" wide (I think) graphics arts tape. I first strung the horizontal pieces and super glued the ends to the edge of the bolt heads on the armor panels. Once all the horizontal pieces were done, I ran all the vertical pieces, again attaching each end to existing boltheads. I glued each where they crosseed to hold it all together too. Lastly, I painted the straps OD Green to finish it all off.
The ammo boxes are held onto the actual vehicle by removing the existing skirt bolts and drilling holes in the boxes. Then reattach the bolts through the holes in the box and screw them back into the skirt.
OCT 11, 2006 - 01:59 AM
I mixed it myself. I took Testors Model Master Sand, FS#33531, and added some yellow and some dark brown to it. It is pretty much dead on for the Op Telic Sand color of Brit AFVs.
OCT 11, 2006 - 05:32 AM
I mixed it myself. I took Testors Model Master Sand, FS#33531, and added some yellow and some dark brown to it. It is pretty much dead on for the Op Telic Sand color of Brit AFVs.[/quote]
Thanks. Miloslav
OCT 11, 2006 - 05:36 AM

Looks really awesome! I love the way the Warrior looks and like what you did with loading it up, and the intricate markings on irregular surfaces. My only question is-is the barrel 100% straight? It looks like it needs just the slightest tweak with the thumbs from a little droop.
OCT 11, 2006 - 10:22 AM

Thanks all. Glad you like it.
Looks straight to me. Might be the camera angle on some of the pics.
OCT 12, 2006 - 06:38 AM
Copyright ©2021 by Gino P. Quintiliani. Images and/or videos also by copyright holder unless otherwise noted. The views and opinions expressed herein are solely the views and opinions of the authors and/or contributors to this Web site and do not necessarily represent the views and/or opinions of Armorama, KitMaker Network, or Silver Star Enterrpises. All rights reserved. Originally published on: 2006-10-11 00:00:00. Unique Reads: 16439

WEB HOSTING BY


Copyright ©2021 Armorama and Kitmaker Network, a subsidiary of Silver Star Enterprises
All Rights Reserved. Please read our Conditions of Use and Privacy Policy.
All Rights Reserved. Please read our Conditions of Use and Privacy Policy.