

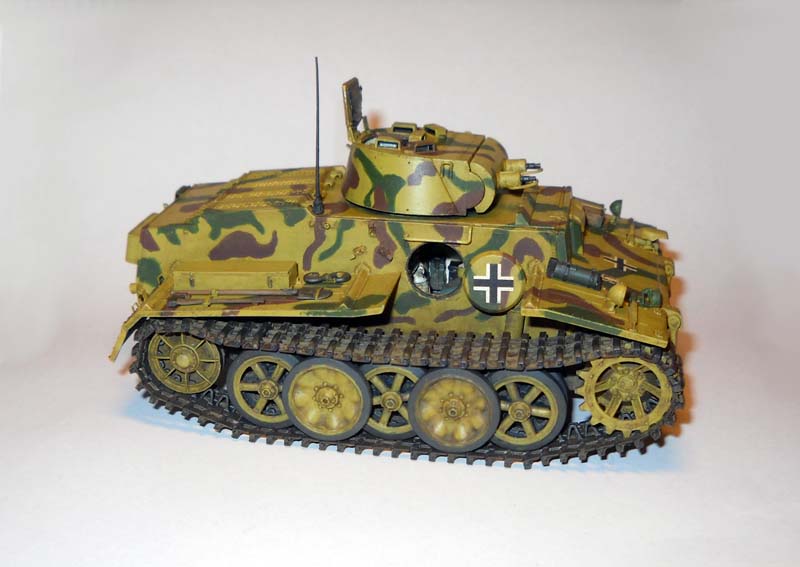
1⁄35Pz.Kpfw I Ausf .F (VK18.01) Build
7
Comments
introduction
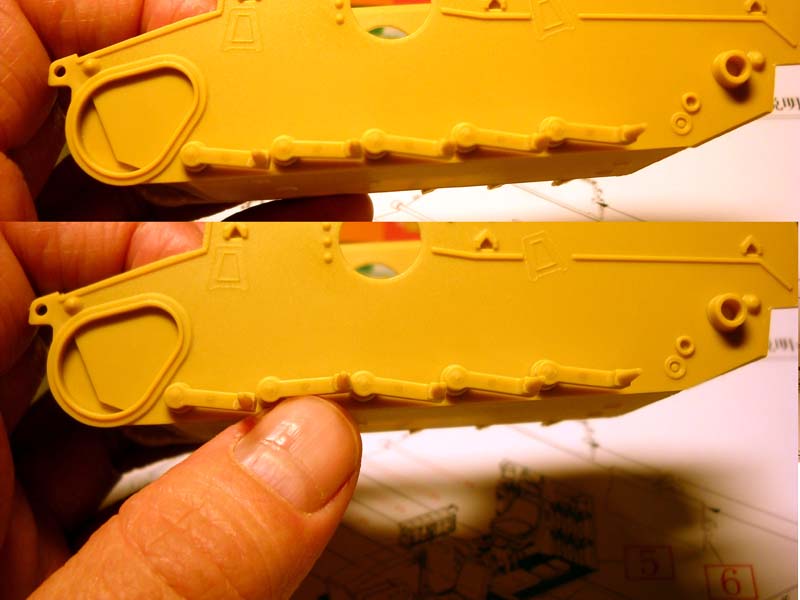
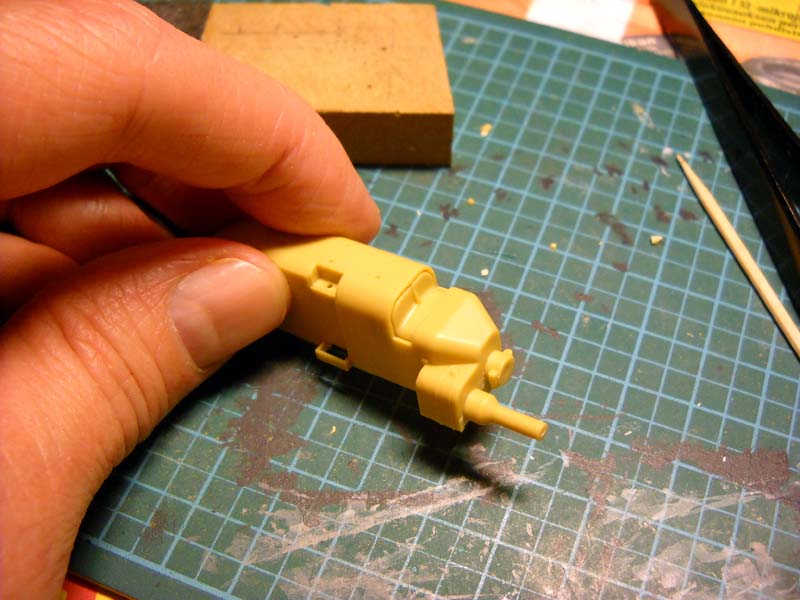
Bronco Models is a relatively new manufacturer (anything produced this century is relatively new to this guy), and I have been looking forward to getting my hands on one of their kits to see what the deal is with this interesting company. I say interesting because they have been releasing unusual and eagerly awaited kits to fill the gaps of many a modeler's wish list. One of their latest releases certainly falls under the unusual category. The PzKpfw I Ausf .F (VK18.01) was a development of the Panzer I that was affectionately called the Little Tiger, and only 30 were produced. For a look at what you get in the box, have a look at Darren Baker's review here. I really had no idea what to expect when I got this kit. I've read a few in-box reviews of some other Bronco releases, but never seen any up close and in person and hadn't heard much on how buildable they were and so on. The first thing you'll notice when you have a look at the sprues is that there are a lot of parts. And a lot of little parts. And a lot of very little parts. And quite a few very tiny parts. This is not a weekend kit, nor a kit a for beginners. Detail and molding quality is generally excellent, with a few standouts positively and negatively; more on that below. Moving on to the instructions, they seem at first glance fairly straightforward, although slightly different from how other manufacturers usually do it. Just a couple of notes before we get going: the plastic is a on the hard side; this is good news as it allows for delicate parts to retain their shape better and lessens the risk of breakage. The bad news is that it will take a second or two for cement to soften the plastic. This becomes a bit of an issue when trying to get smaller pieces attached (of which there are many) and with some of the very petite attachment points. Be very careful removing pieces from sprues. A single edged razor blade is very useful in these situations; support the piece and trim closer to the sprue rather than the part. It's much easier and safer to go back and trim a small nub then to try and get a clean slice on your first go. The photo etch is extremely soft, be very careful handling and removing pieces. There are the usual mold lines to be dealt with (mostly very minor) and a few unfortunate sprue attachment points. Decide what is within your comfort zone to try to remove from the smaller parts. And with that, let's get cracking.What the hull?
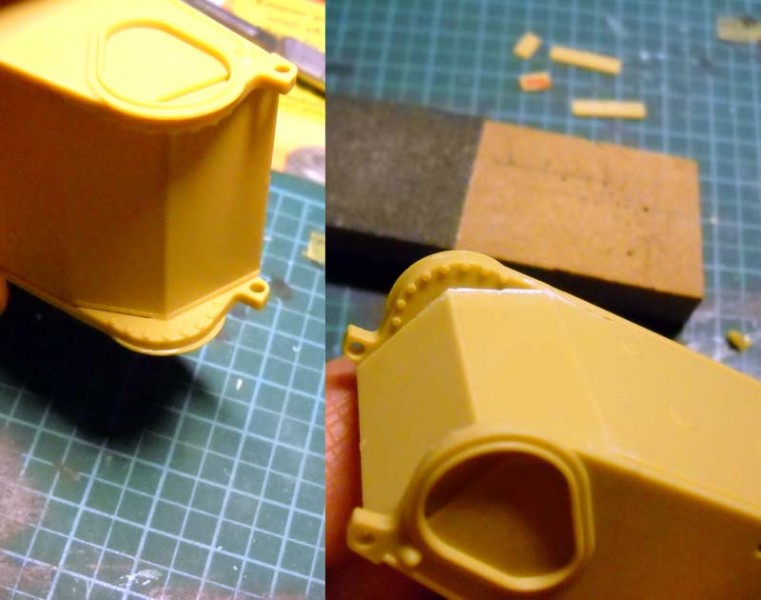
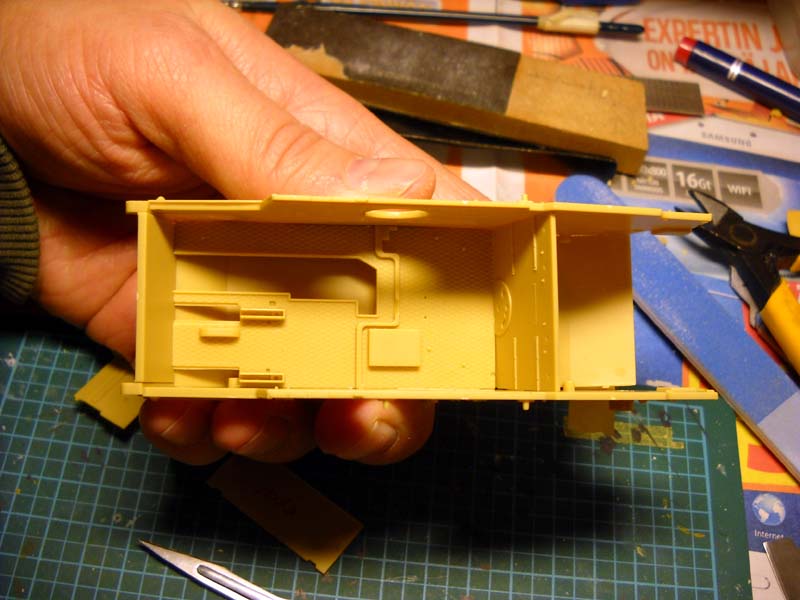
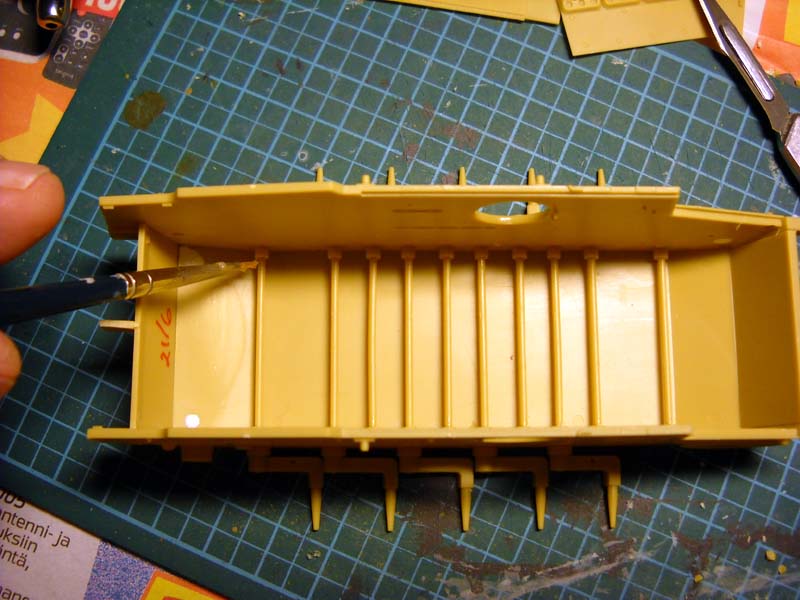
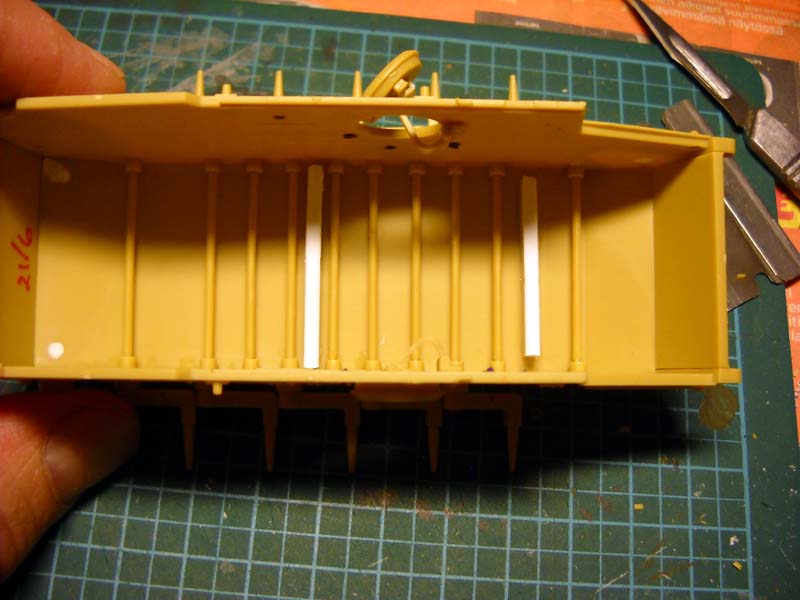
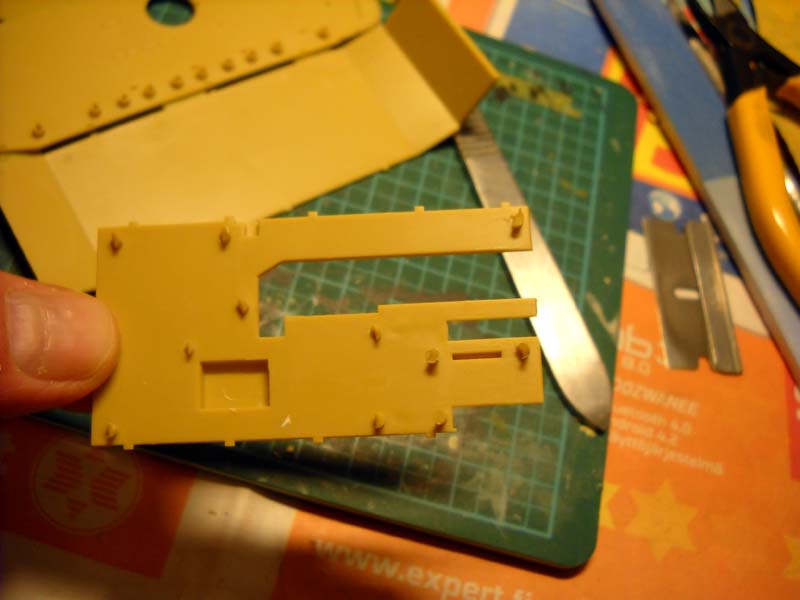
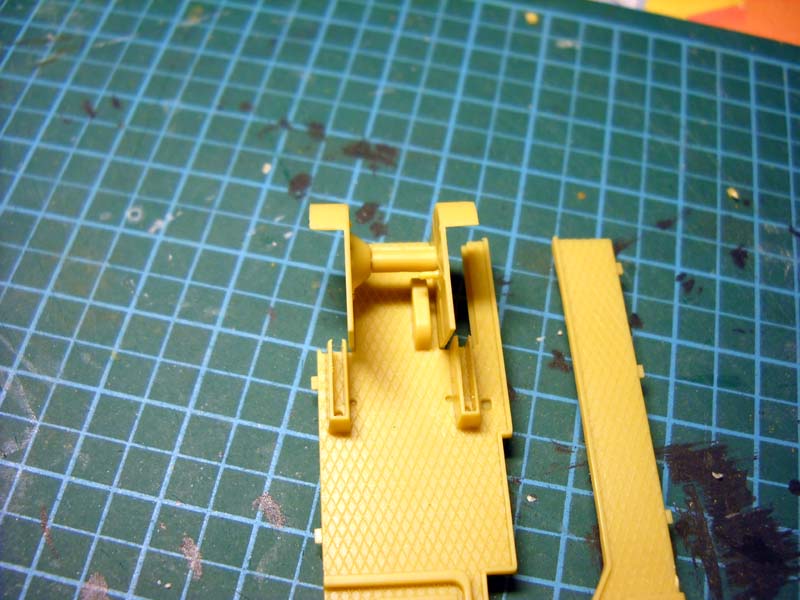
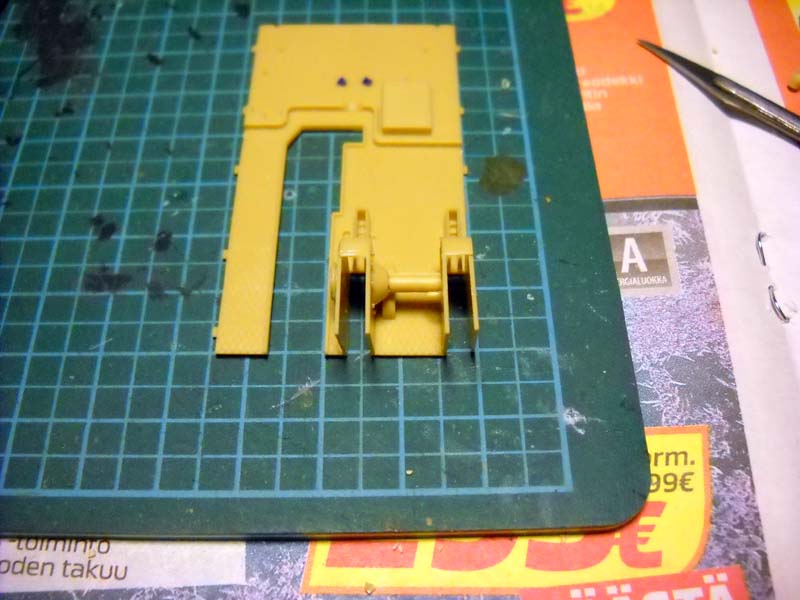
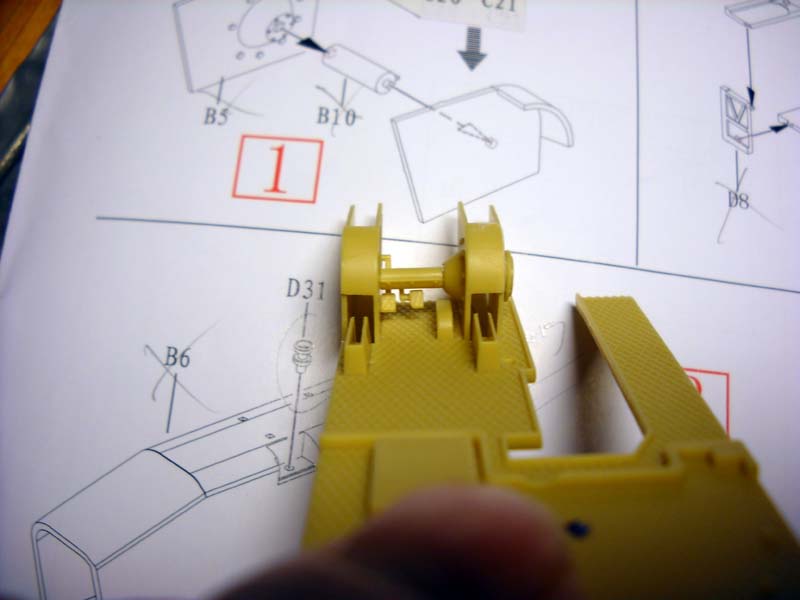
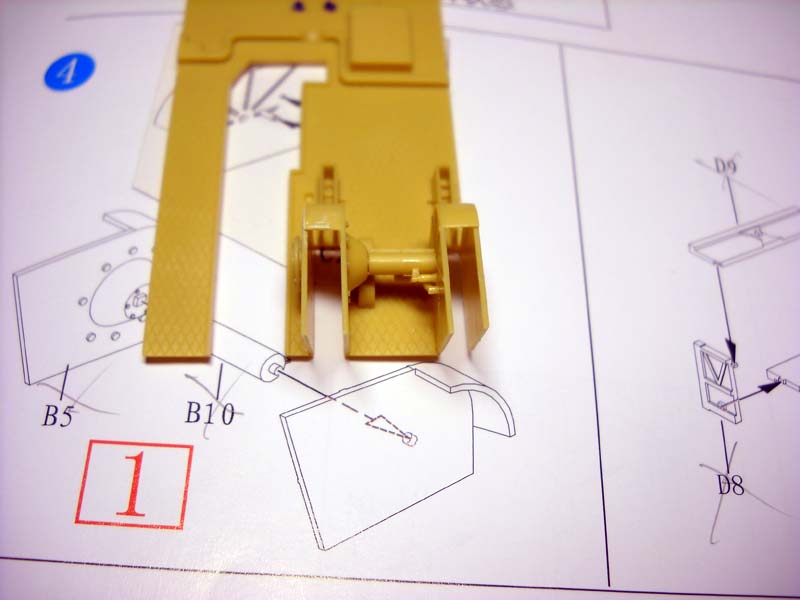
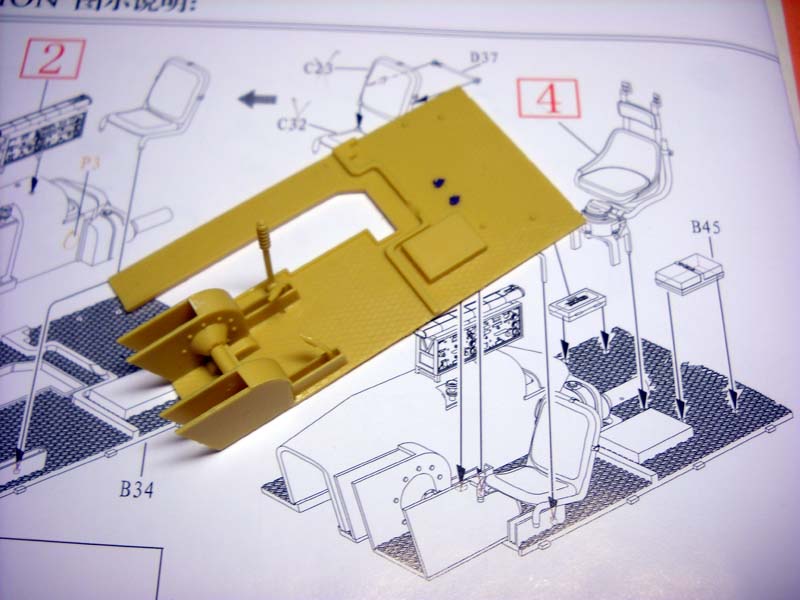
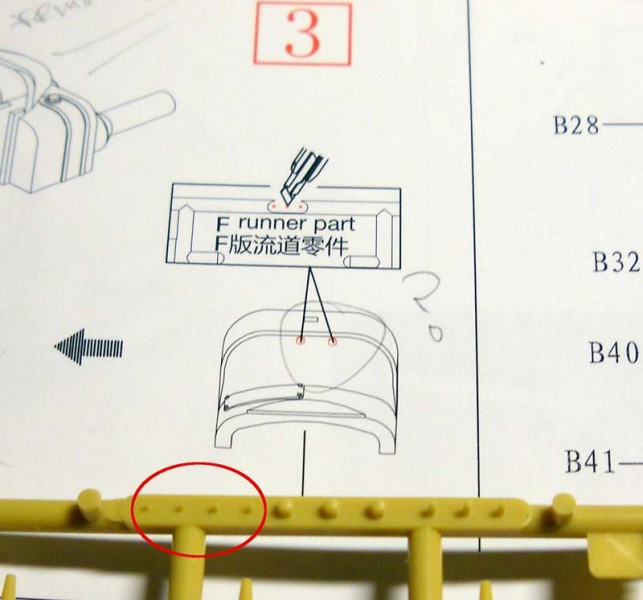
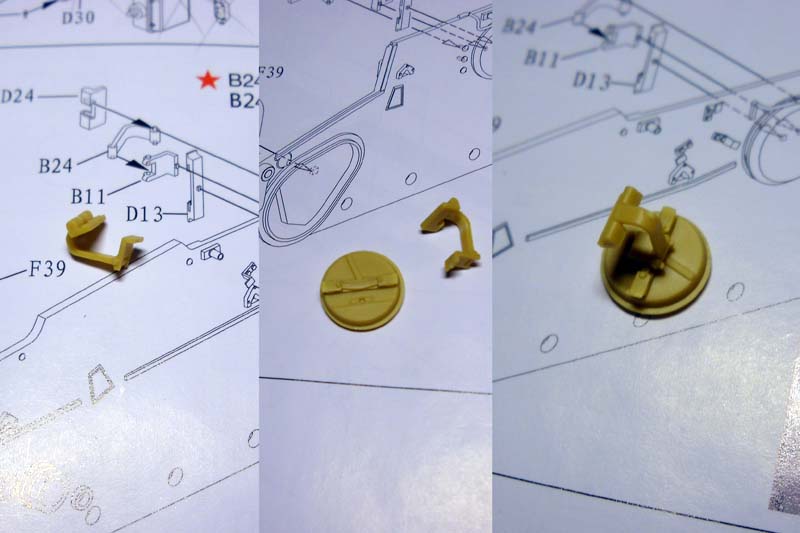
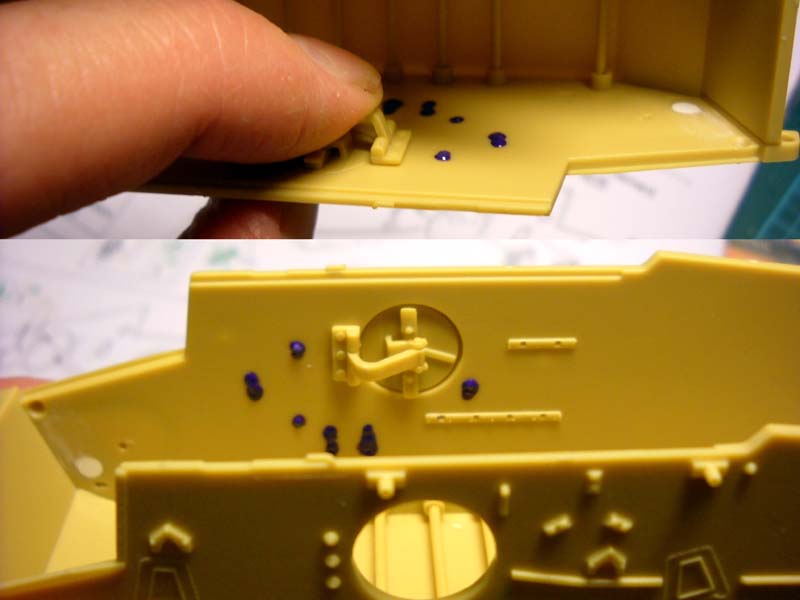
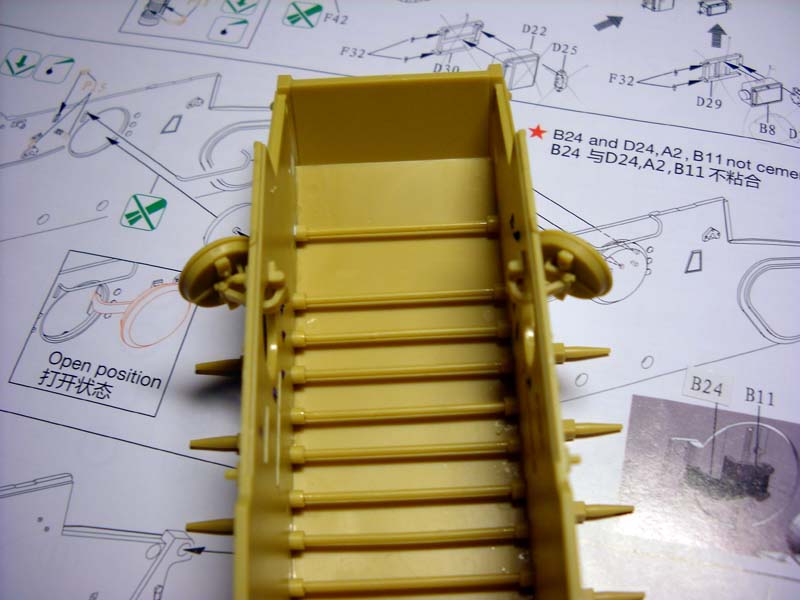
The hull is broken down into several parts rather than being molded as a one piece tub. You'll notice that the instructions would have you add all the hull side details, floor pan etc. and then assemble the hull proper. I had some reservations on this approach and decided to go with a more conventional method and add details as the hull got built up. As it turns out, you can probably follow the instructions, with the exception of leaving off details that would likely get damaged, the photo etch, hand rails and tow shackles for example. A dry fit of all the hull parts revealed no potential fit problems or warping. I glued the side walls in place and let them set overnight. One of my clamps apparently shifted so I ended up with a minor gap to be filled; this also shifted the front hull plate a bit so some sanding was on the cards. The back plate and torsion bars are added next: glue the bars at the mounting end only. The bars actually work, allowing you the option of displaying on an uneven surface should you wish. The instructions don't really mention what the proper sit should be so I ended up leaving the swing arms flush with the hull bottom. They should probably sit a little bit lower. I removed the mounting and ejector stubs from the floor pan and added some strips to the floor to bring the pan up to the appropriate level. I decided it would make more sense from a painting standpoint to do the floor pan as a sub-assembly and paint as I went along rather than try to do all that once it was popped in place. Part D3 is a bit fiddly to get in place. The instructions call for some bolt detail to be added, but they aren't really clear on which ones you need to shave off from the sprues. Through process of elimination, I eventually discovered they're the smallest ones (see pic). I didn't want to spend time figuring that out at the time and then of course forgot about it. I also ended up forgetting to add the circular PE inspection hatch (P3). The transmission unit can be left off until you have the floor pan in place, dry fit and sand/shave the inside edges if needed to get it to sit properly. Add the gear lever (D7) to the floor and slip the transmission cover over it, rather than trying to glue the lever after you have the cover in place. You might need to thin the lever guard box inside edges for a better fit. I decided to glue B42 to the brake housing cover rather to the hull side as per the instructions; a small notch was cut into the part to help it fit better. Remember to add B22. The instructions have a slight error with B43, it should be flipped. The pedals and steering levers were glued in place and everything was given a coat of custom mixed blue-grey. The walls and seat/turret mount were painted with Gamecolor Elfic Flesh. I masked over locating points with some liquid latex to which I added a bit of purple. The escape hatch and hinges go together well; align the parts the way you see them on the instruction sheet and do one side at a time. The slots and pins are a very tight fit so scraping might be needed. Do not force them, but apply firm pressure and they will slide into place.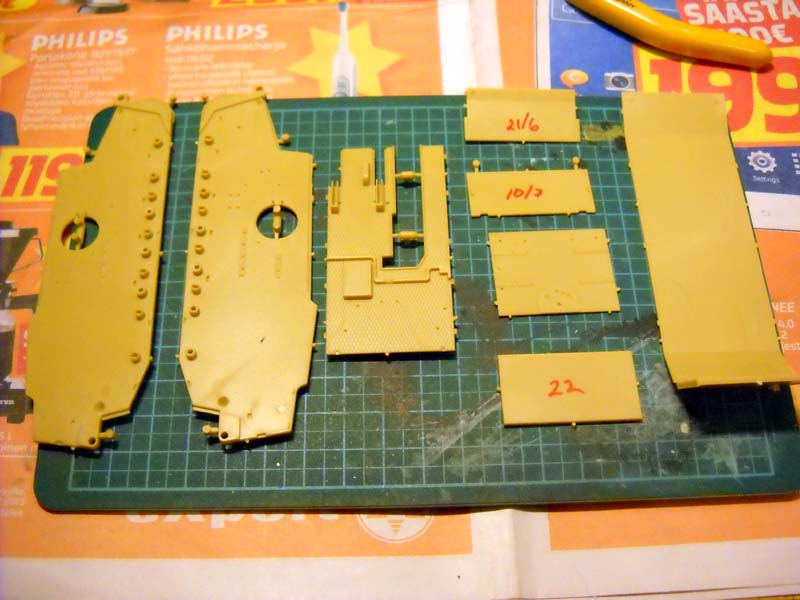
About the Author


FROM: UUSIMAA, FINLAND
I got my first kit when I was about 7 or 8 and was immediately hooked. Magazines such as Fine Scale Modeler helped to push me to go beyond what kits had to offer before photo etch and resin were commonplace. I took a break of about 8 years and now I'm back at it making up for lost time. When I'm not...
Comments


Very nice build and build-review! You have done a great job on the Tiny Tiger and taken advantage of what looks to be wealth of detail.
The pointers will be helpful to those who tackle this beast - like ME!
Thanks for posting this - very inspirational! Now all I have to do is set aside perhaps 3 - 4 months for to do this one in (what takes others a week is my fiddling for a month or more - "speed, you know, kills!")
Bob
MAR 04, 2014 - 05:34 AM

Thanks Dan and Bob. I was surprised at how long this took to build and above all, paint all that great, detailed stuff you get. Even if I had an airbrush to use, I figure I wouldn't have saved that much time, maybe 5 hours? So yes, set aside plenty of time when you do get around to building it.
Kimmo
MAR 04, 2014 - 06:34 AM

Copyright ©2021 by Kimmo Happonen. Images and/or videos also by copyright holder unless otherwise noted. The views and opinions expressed herein are solely the views and opinions of the authors and/or contributors to this Web site and do not necessarily represent the views and/or opinions of Armorama, KitMaker Network, or Silver Star Enterrpises. All rights reserved. Originally published on: 2014-03-04 13:22:26. Unique Reads: 14886

WEB HOSTING BY


Copyright ©2021 Armorama and Kitmaker Network, a subsidiary of Silver Star Enterprises
All Rights Reserved. Please read our Conditions of Use and Privacy Policy.
All Rights Reserved. Please read our Conditions of Use and Privacy Policy.