

1⁄35Tiny ASU -57
Introduction
During WWII, combat experience revealed the need for a light, maneuverable high velocity self-propelled gun. The Soviet's answer in the early 1950s was the ASU-57. Weighing in at a paltry 3.3 tons the ASU-57 could be landed or parachuted from military transports of the day such as the AN-8, or AN-12. At that time this vehicle was the only self-propelled gun capable of parachute insertion.
The vehicle was equipped with a 50 HP engine, capable of speeds of 45 KPH on hard surfaces and partially built of a material called duraluminum. This light-weight vehicle packed a healthy punch with a high velocity 57mm antitank gun, firing 6-10 rounds per minute, and was capable of piercing 100 mm of armor at a range of 1000 meters. Total load for the vehicle was 30 rounds, with all being carried internally. Its very small height helped with its survivability. With the upper level armor lowered the top of the vehicle came up only to the average mans chest.
The ASU-57 was very successful and exported by the Soviets to Yugoslavia, Viet Nam and Egypt. It served on into the 60s taking part in the 1967 war between Egypt and Israel.

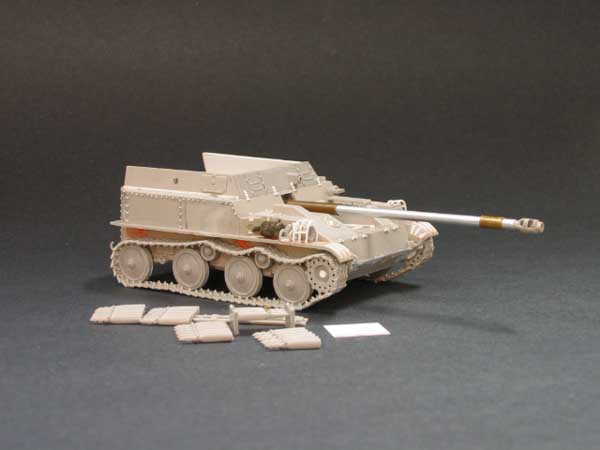
the kit
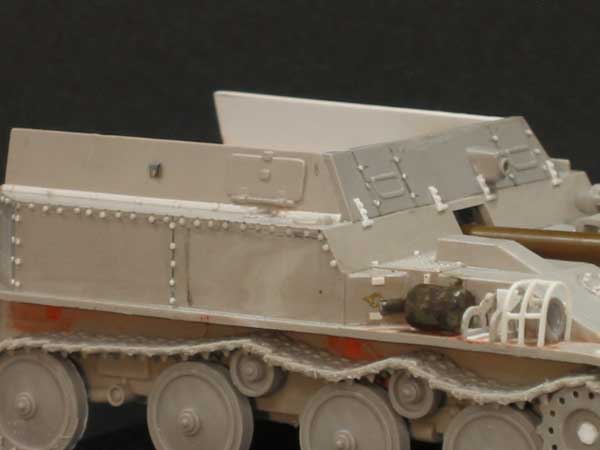
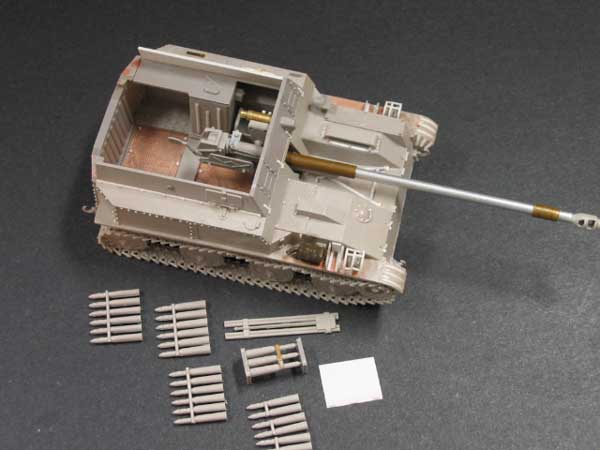
Just like the real vehicle, this thing is tiny! I added the German tanker figure for a size reference for the viewers, not to mention my hand size as well! AER-Muldova and Maquette have released this kit and they are one in the same. Im not sure if any other companies have released this or not. Prior to building this little kit I had looked at a couple of build ups on line. They all said the same thing; Lots of work, Hard to follow instructions etc. Armed with this knowledge I decided to try and tackle the kit. These guys werent kidding on either account! The fit of the kit was so-so for the most part with some overly thick parts and some simplified parts. If somebody was to take their time, they could turn out a pretty decent kit. The lower hull is made up of four pieces, the bottom, left and right sides, and rear pieces. Getting these to sit level and square is the biggest problem that I faced. After getting them as level as I thought I could, I set out to tackle the interior.the office
The exploded diagram of the kit is all you have to go by when assembling the kit, and can play havoc on your eyes if you arent careful! Using the old carpenters rule of measure twice, cut once I dove into the interior. I looked twice and some times three times to make sure I had things going where they were supposed to go. A few of the parts on the interior were too thick so I substituted .010 sheet styrene in their place. After I had the interior assembled I decided to tweak things a little and try and dress the otherwise plain looking kit up a bit.
About the Author


FROM: CALIFORNIA, UNITED STATES
After a several year break from the hobby I have happily returned to it. Slowly, but surely getting my mojo back.
Comments


All Rights Reserved. Please read our Conditions of Use and Privacy Policy.