_GOTOBOTTOM
Armor/AFV
For discussions on tanks, artillery, jeeps, etc.
1/35 Tamiya Leclerc series 2
blacksad
Visit this Community
Quebec, Canada
Joined: September 07, 2009
KitMaker: 198 posts
Armorama: 192 posts
Posted: Sunday, August 11, 2013 - 02:56 AM UTC
Hi !

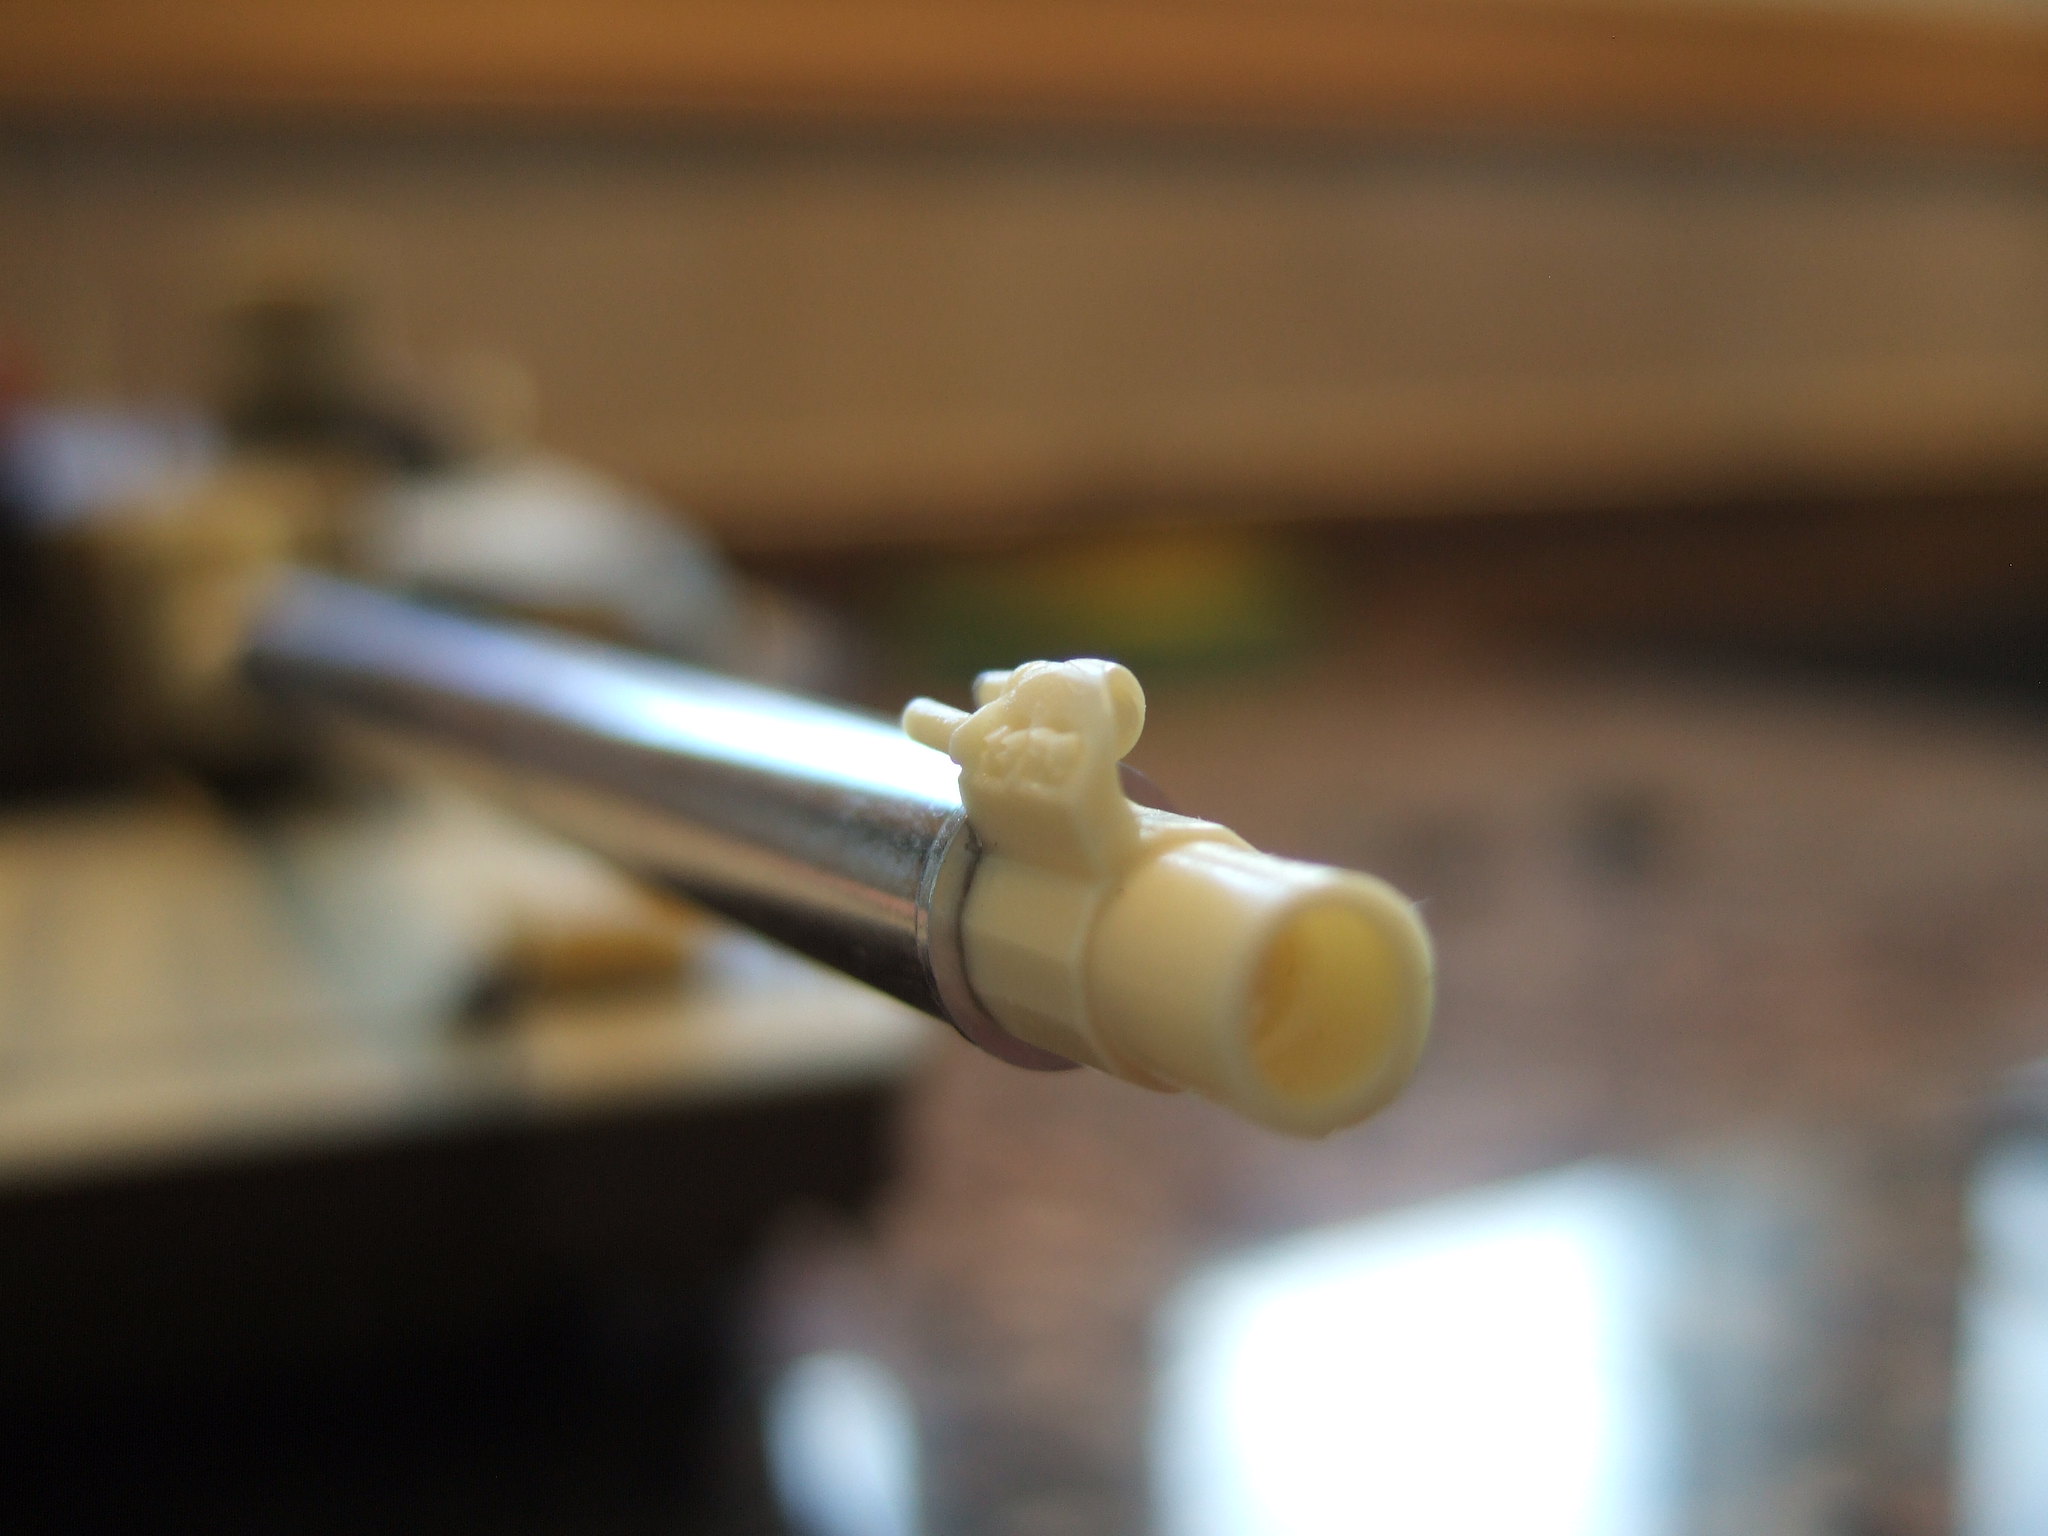
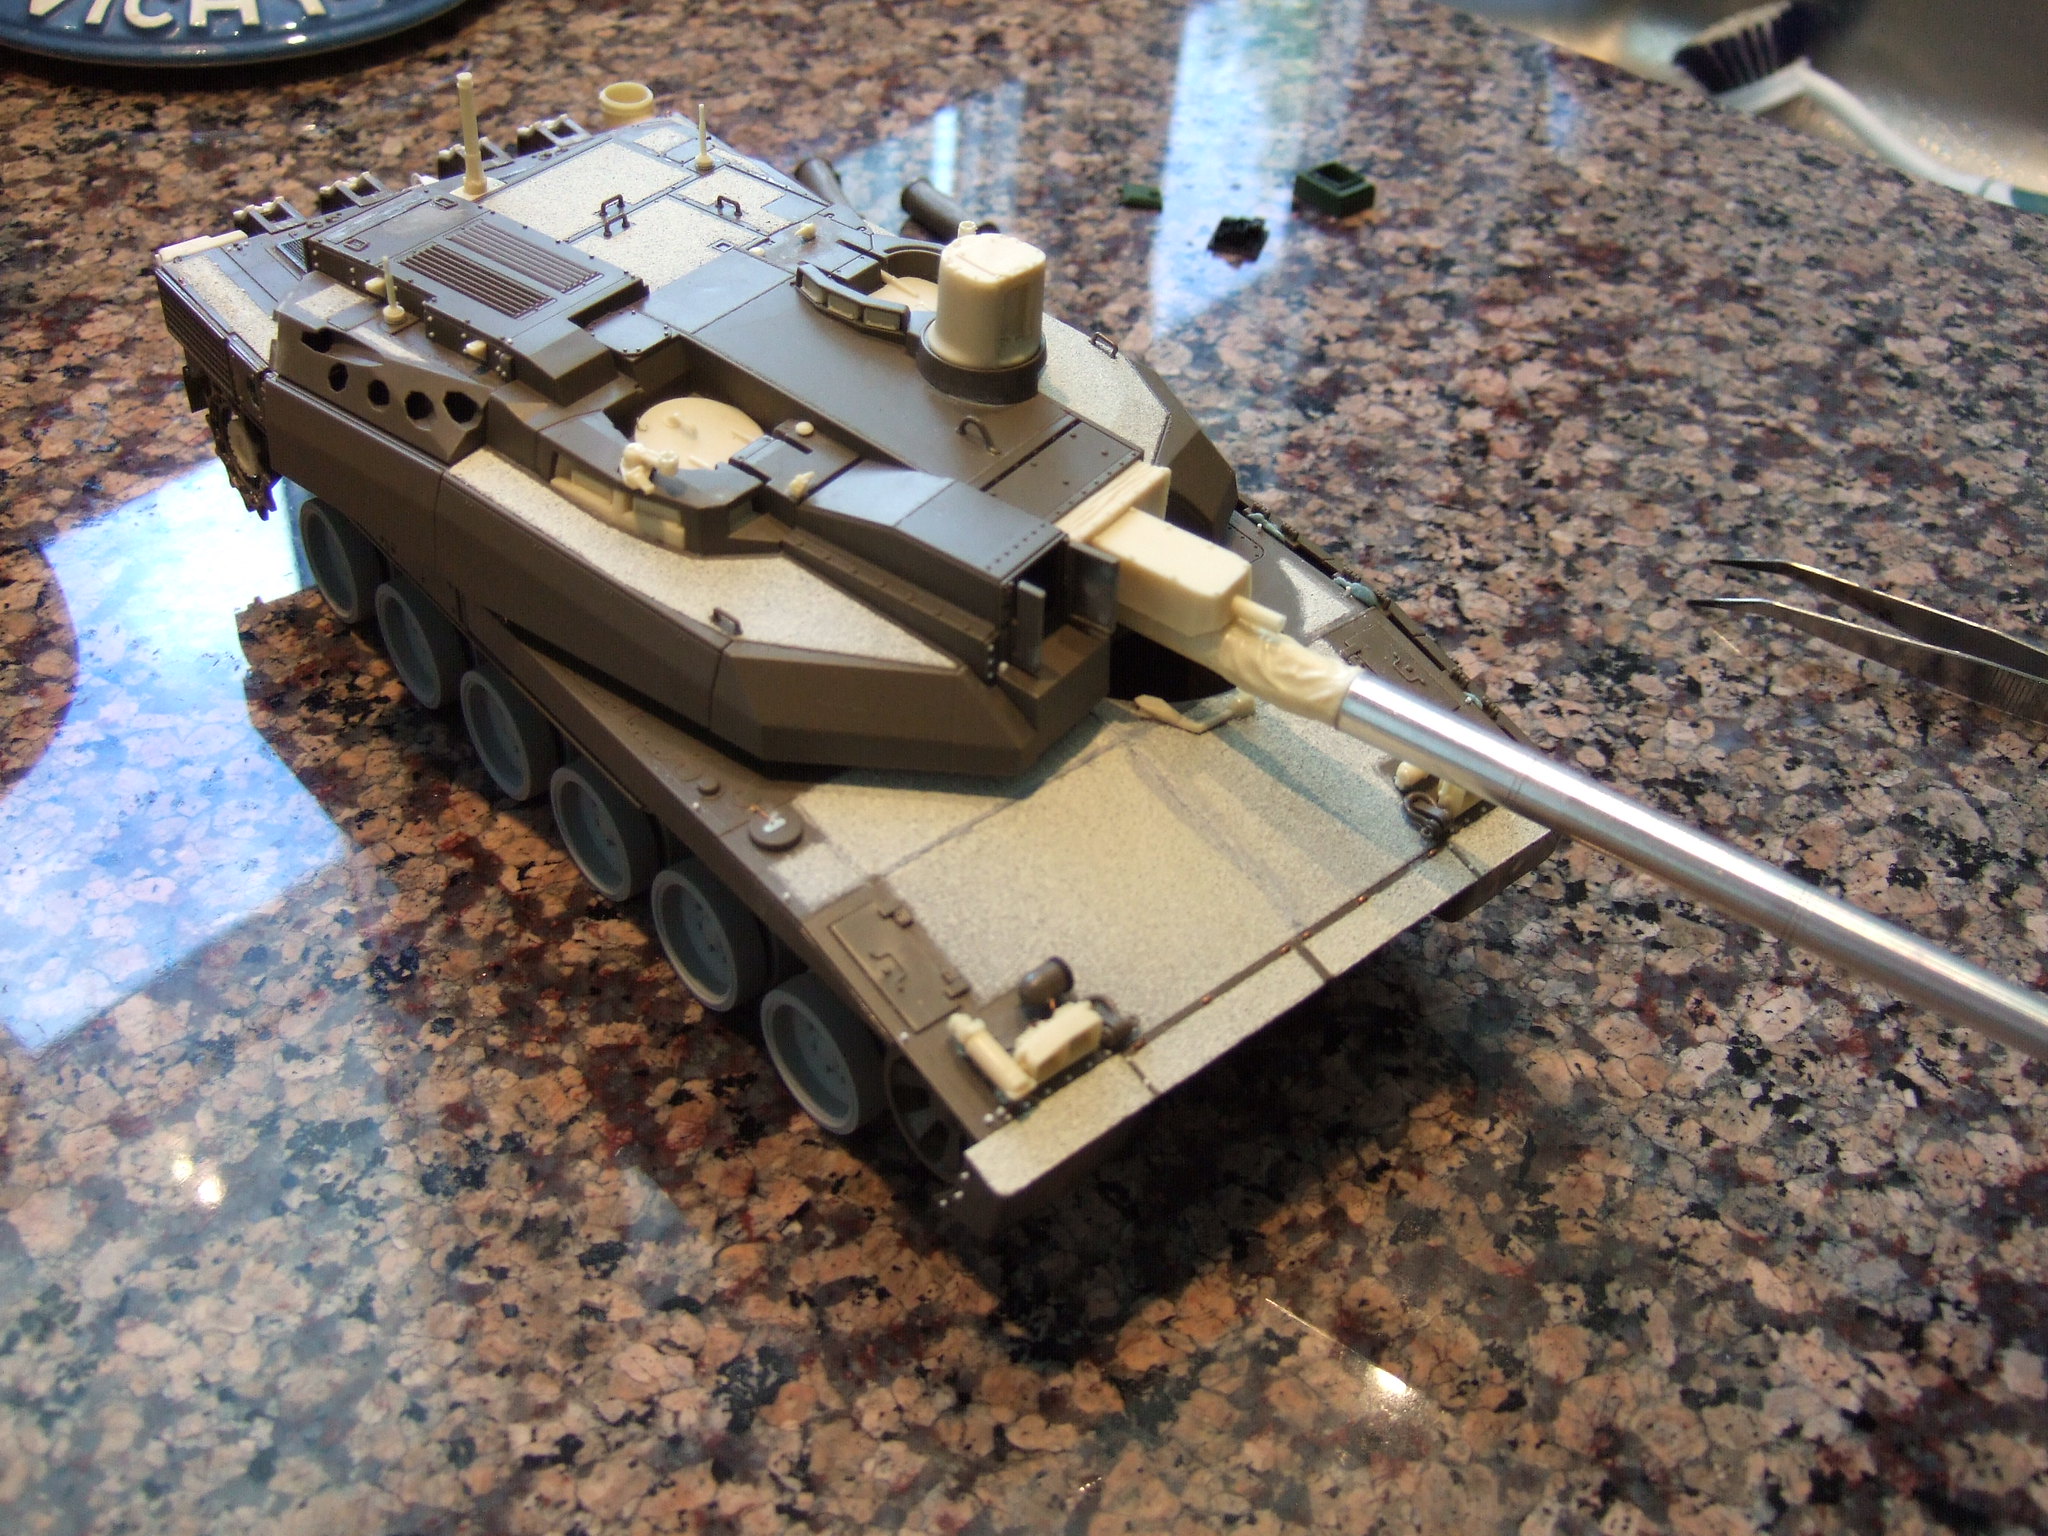
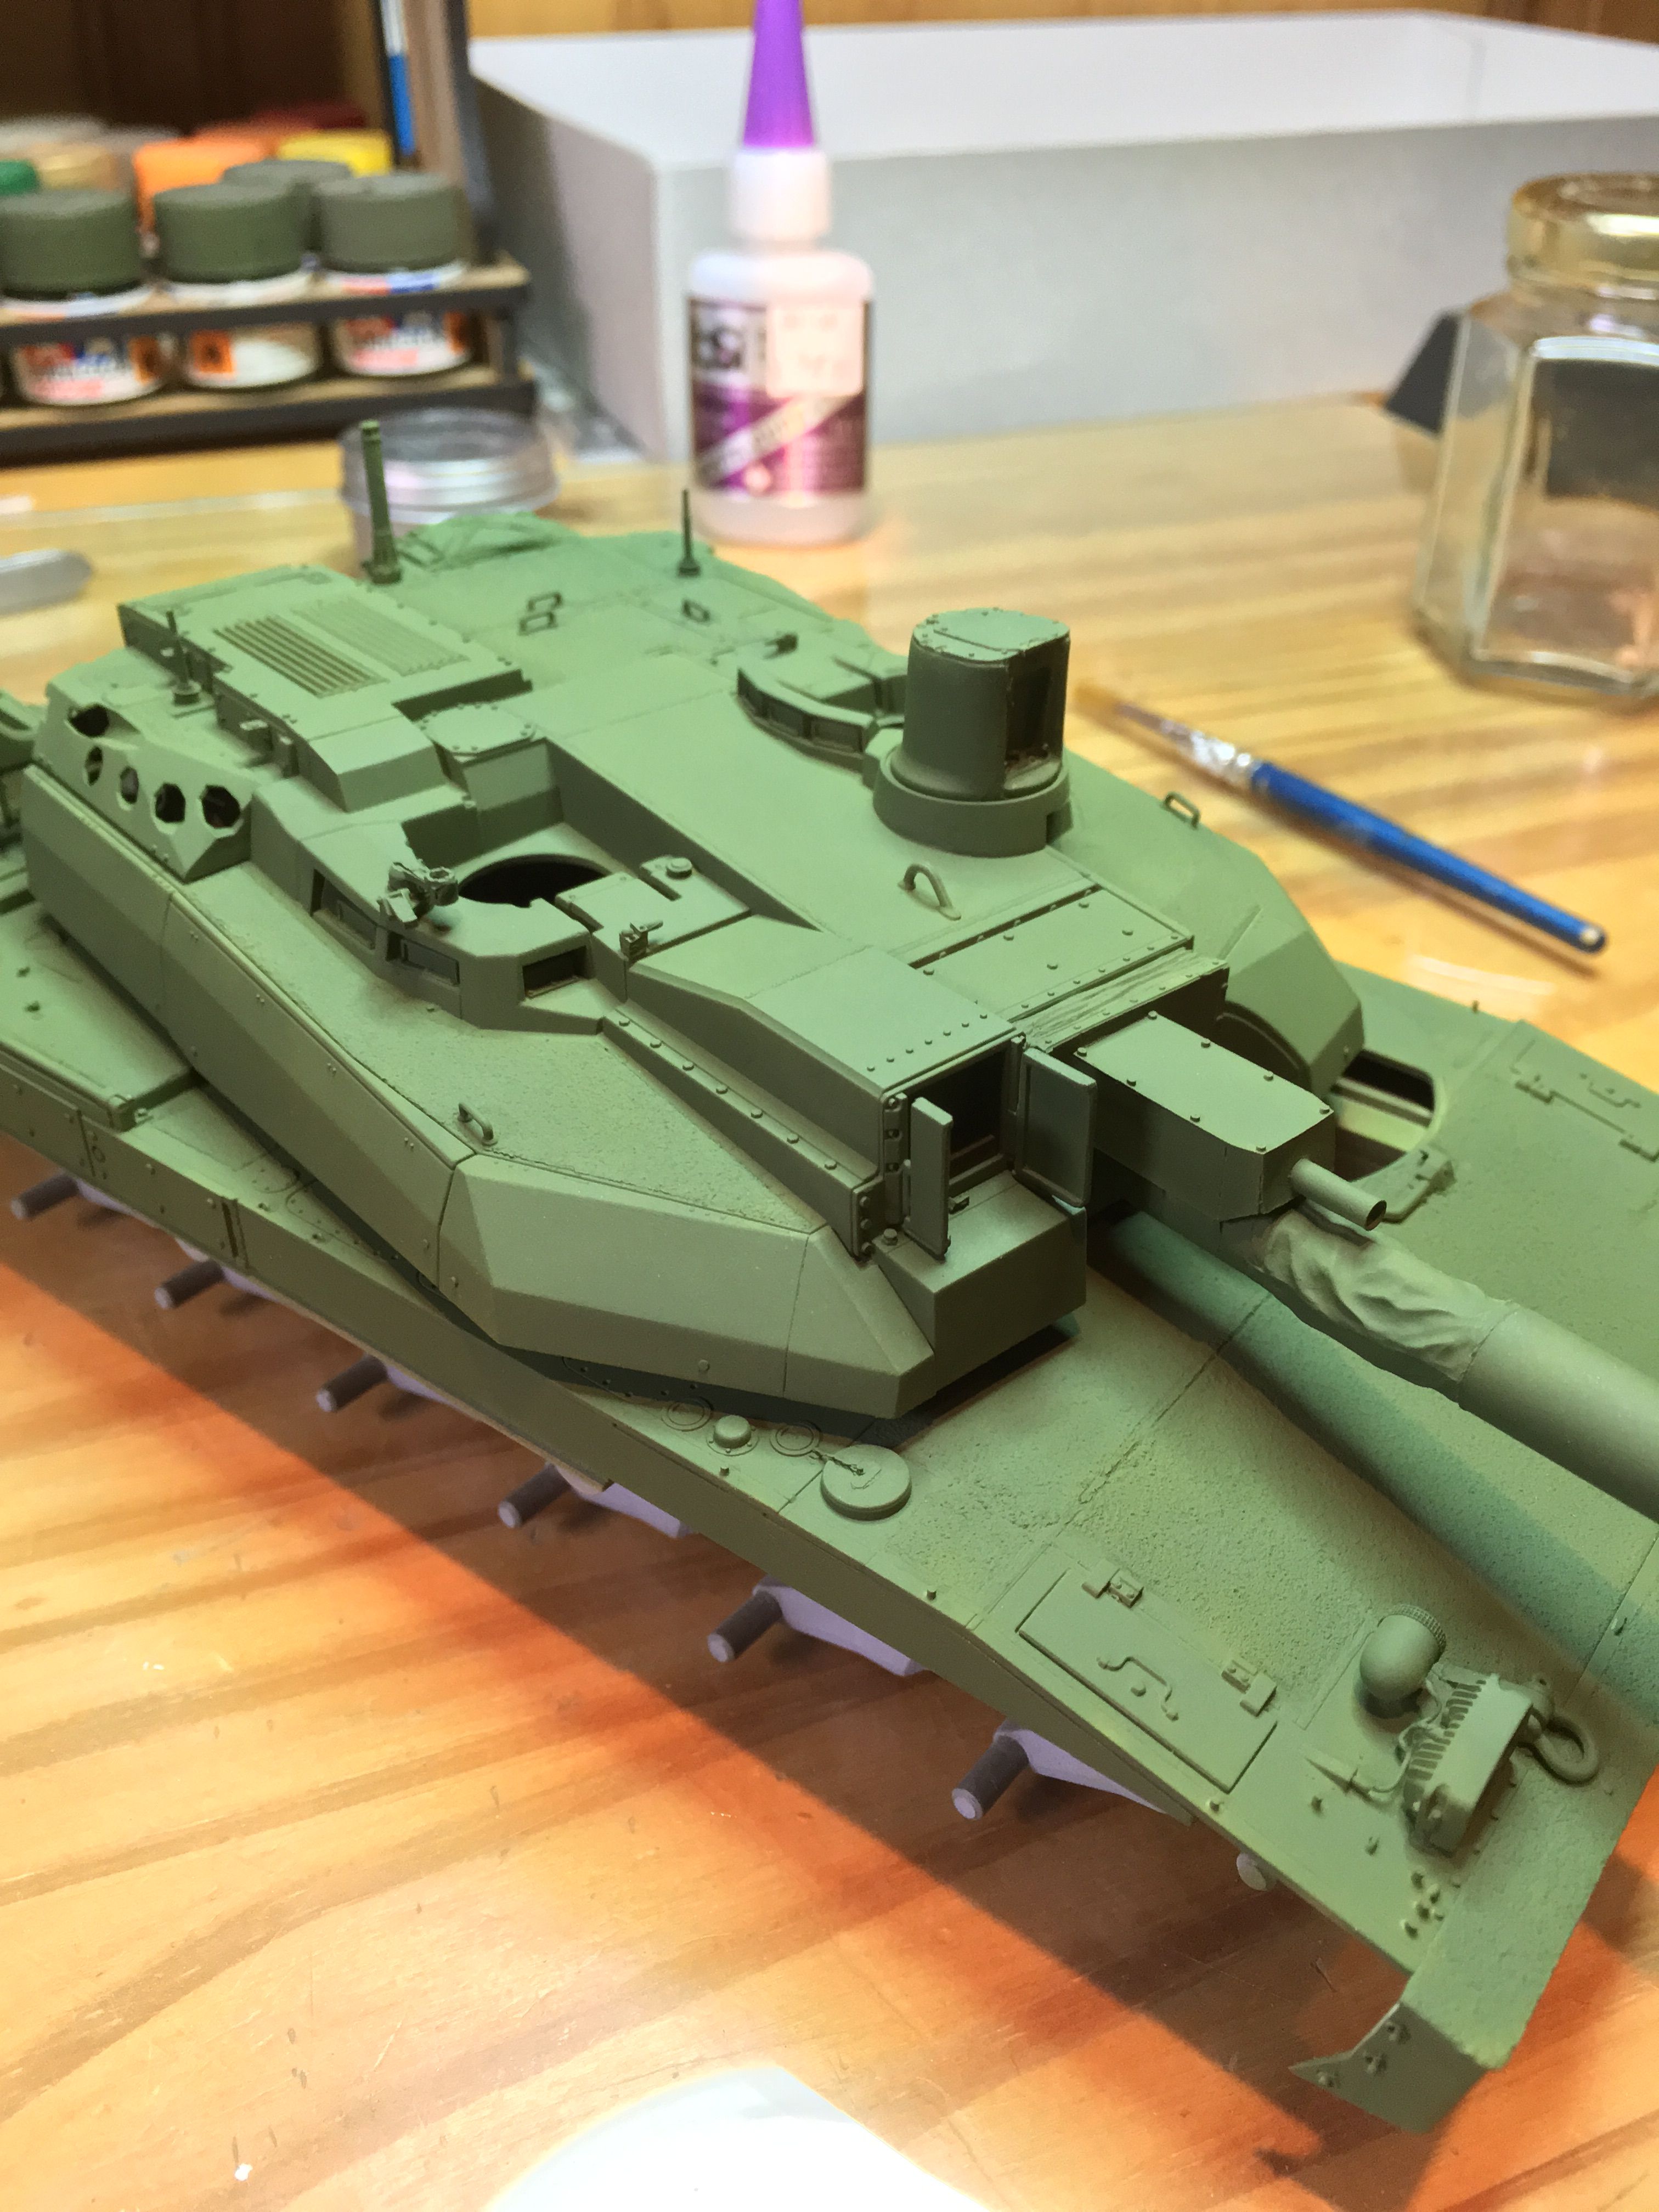
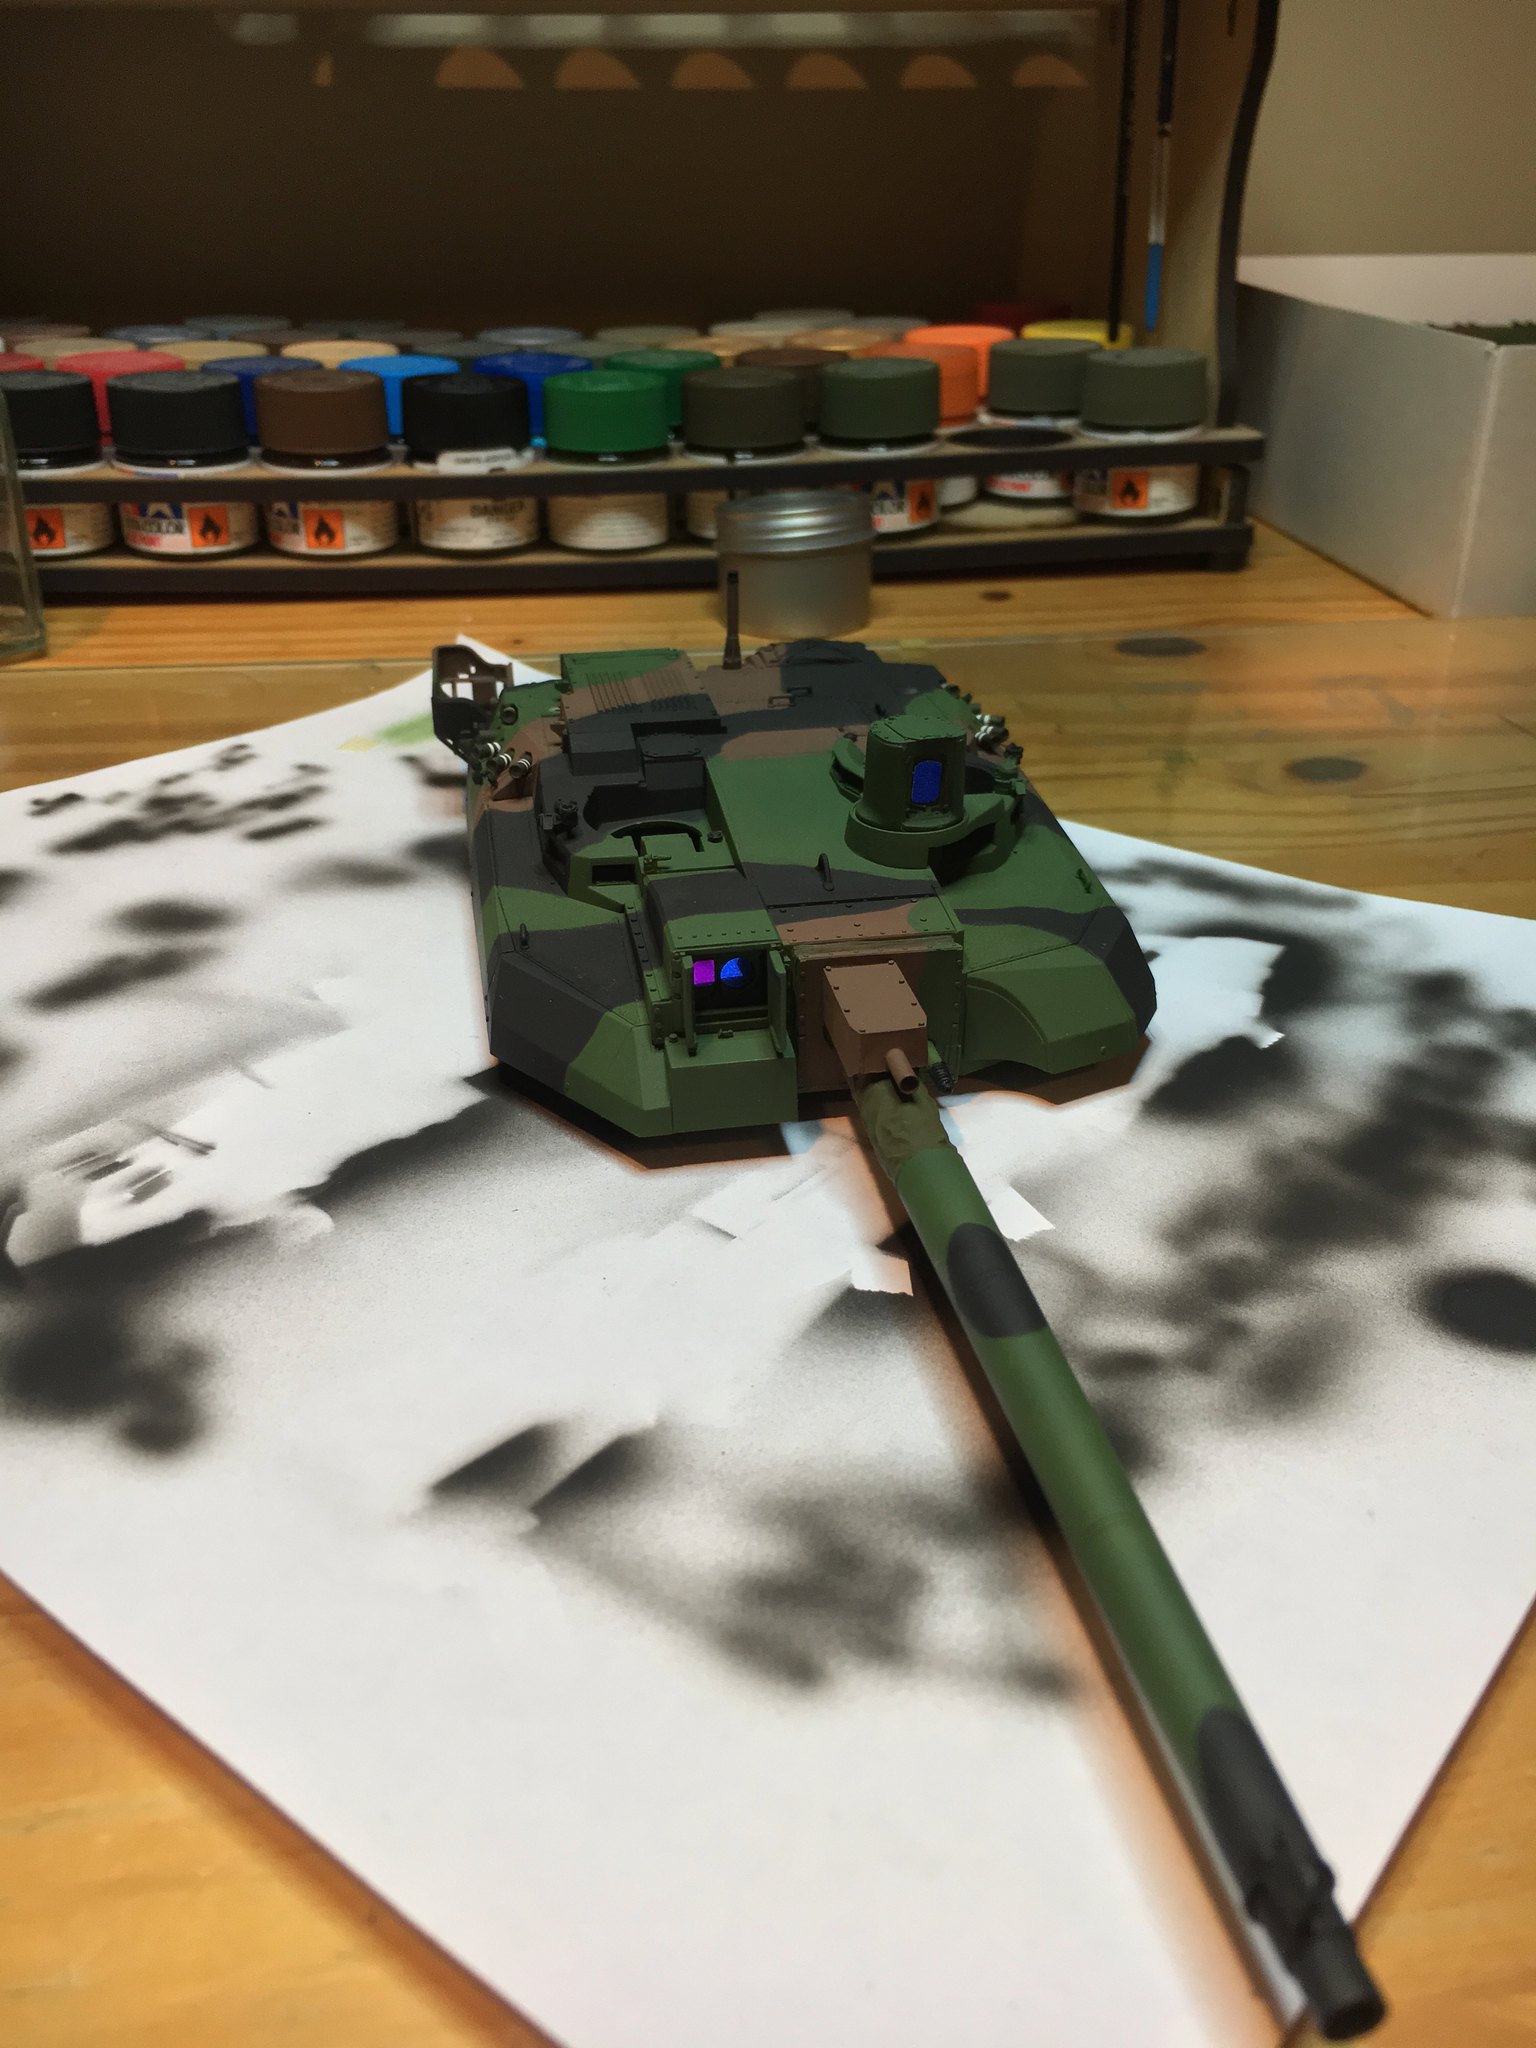
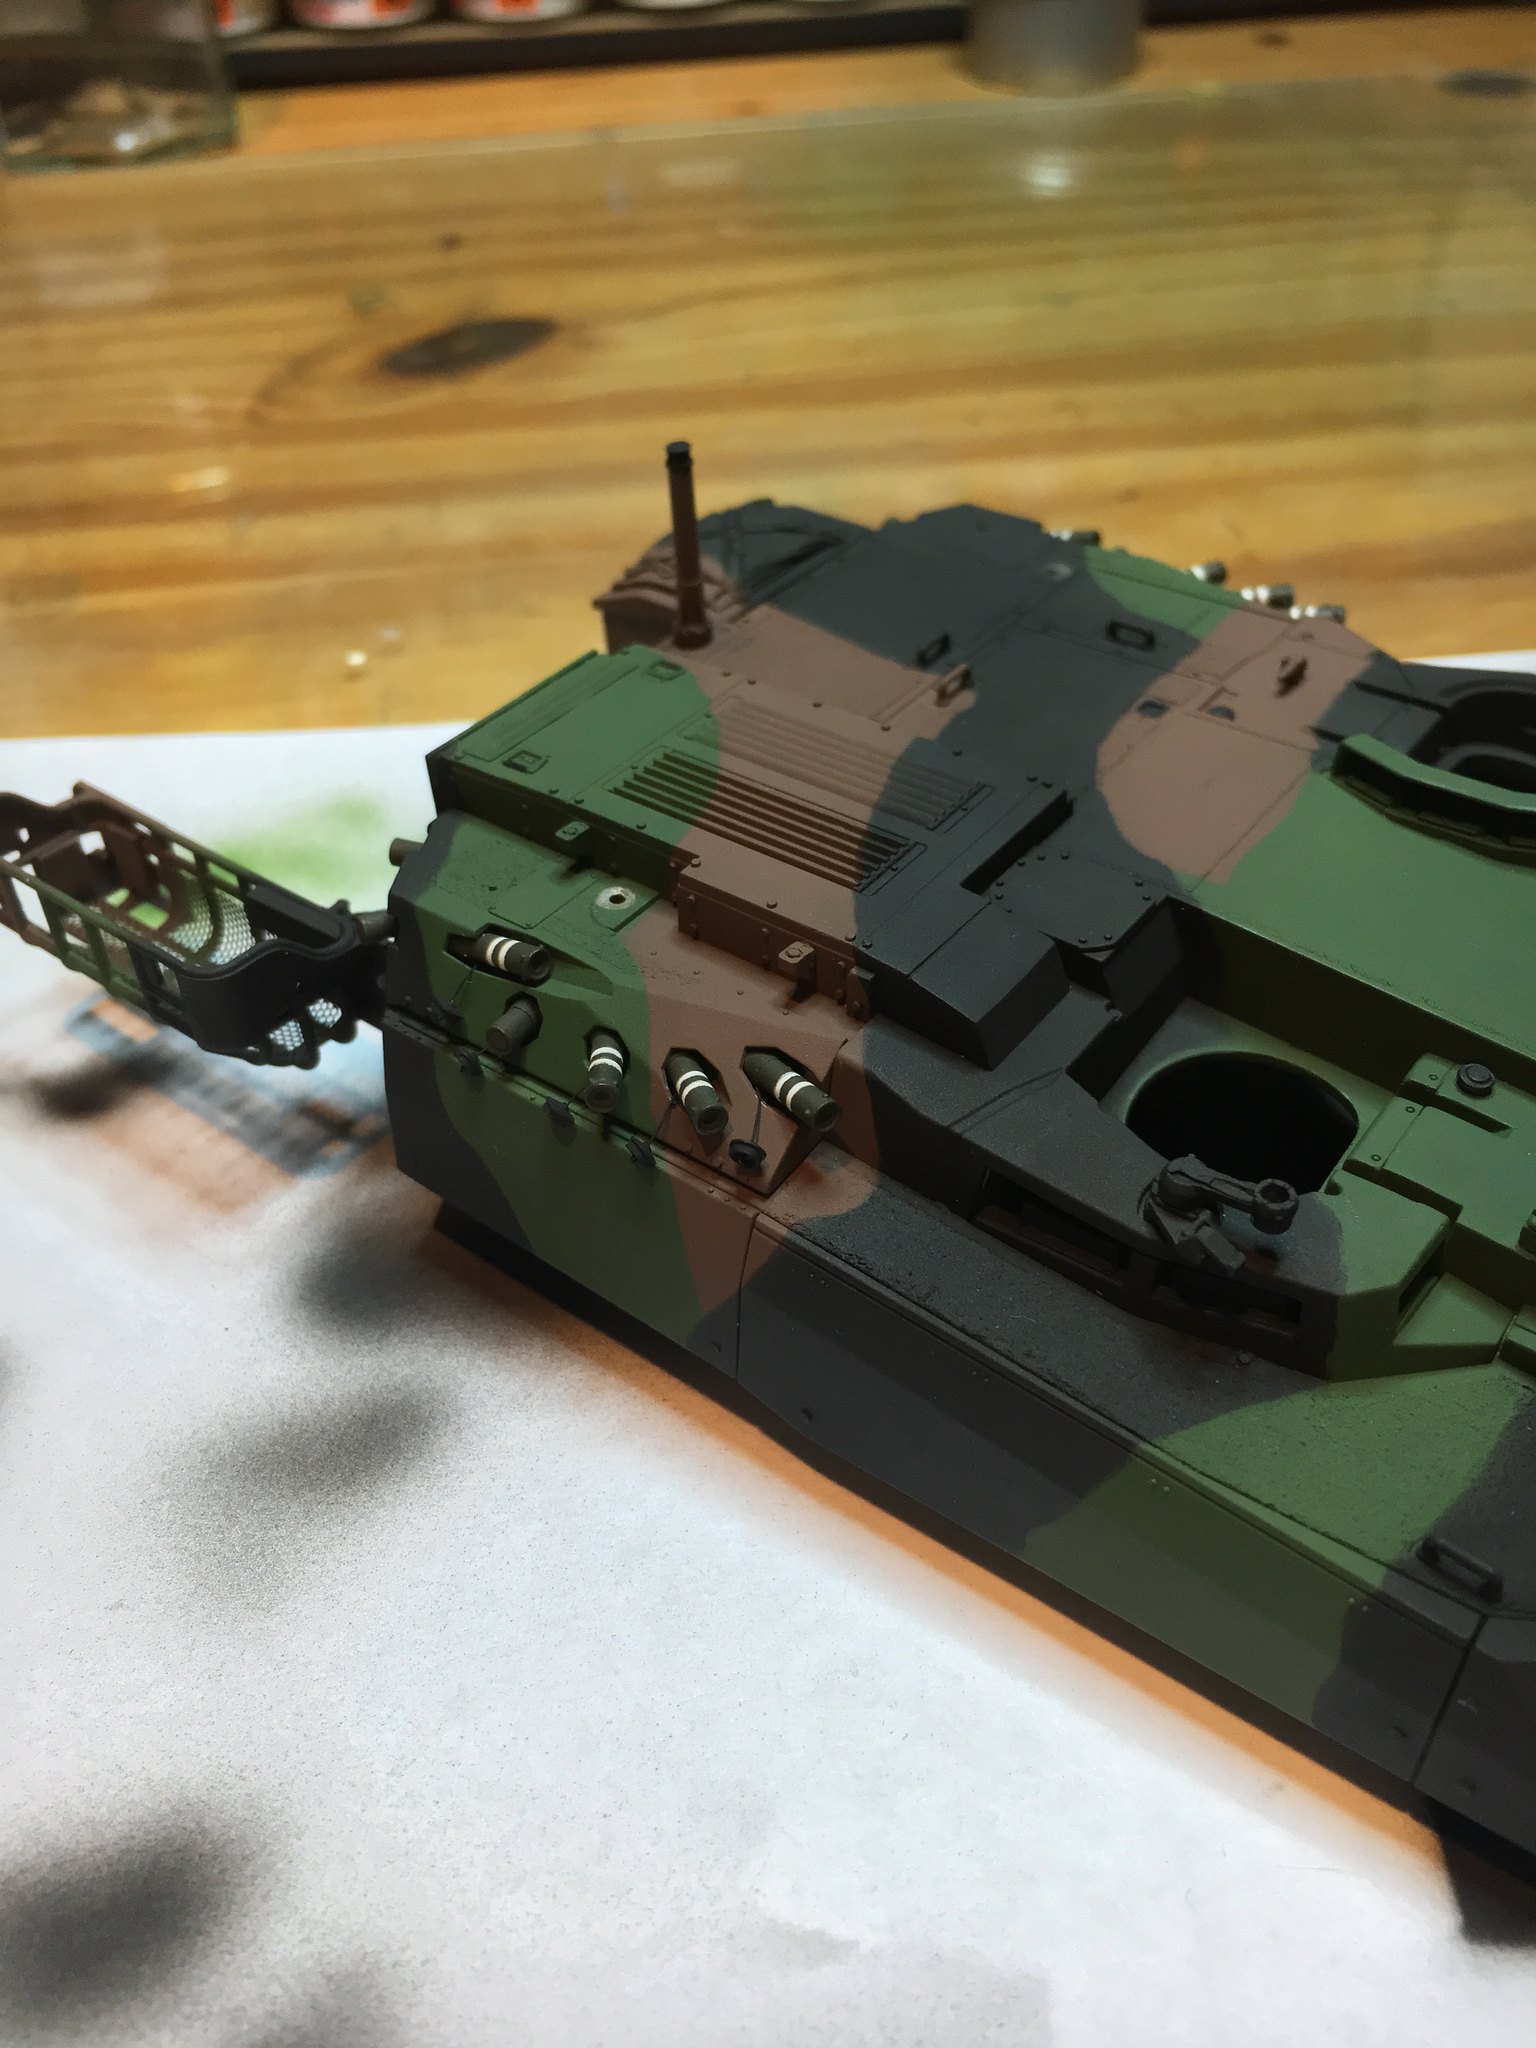
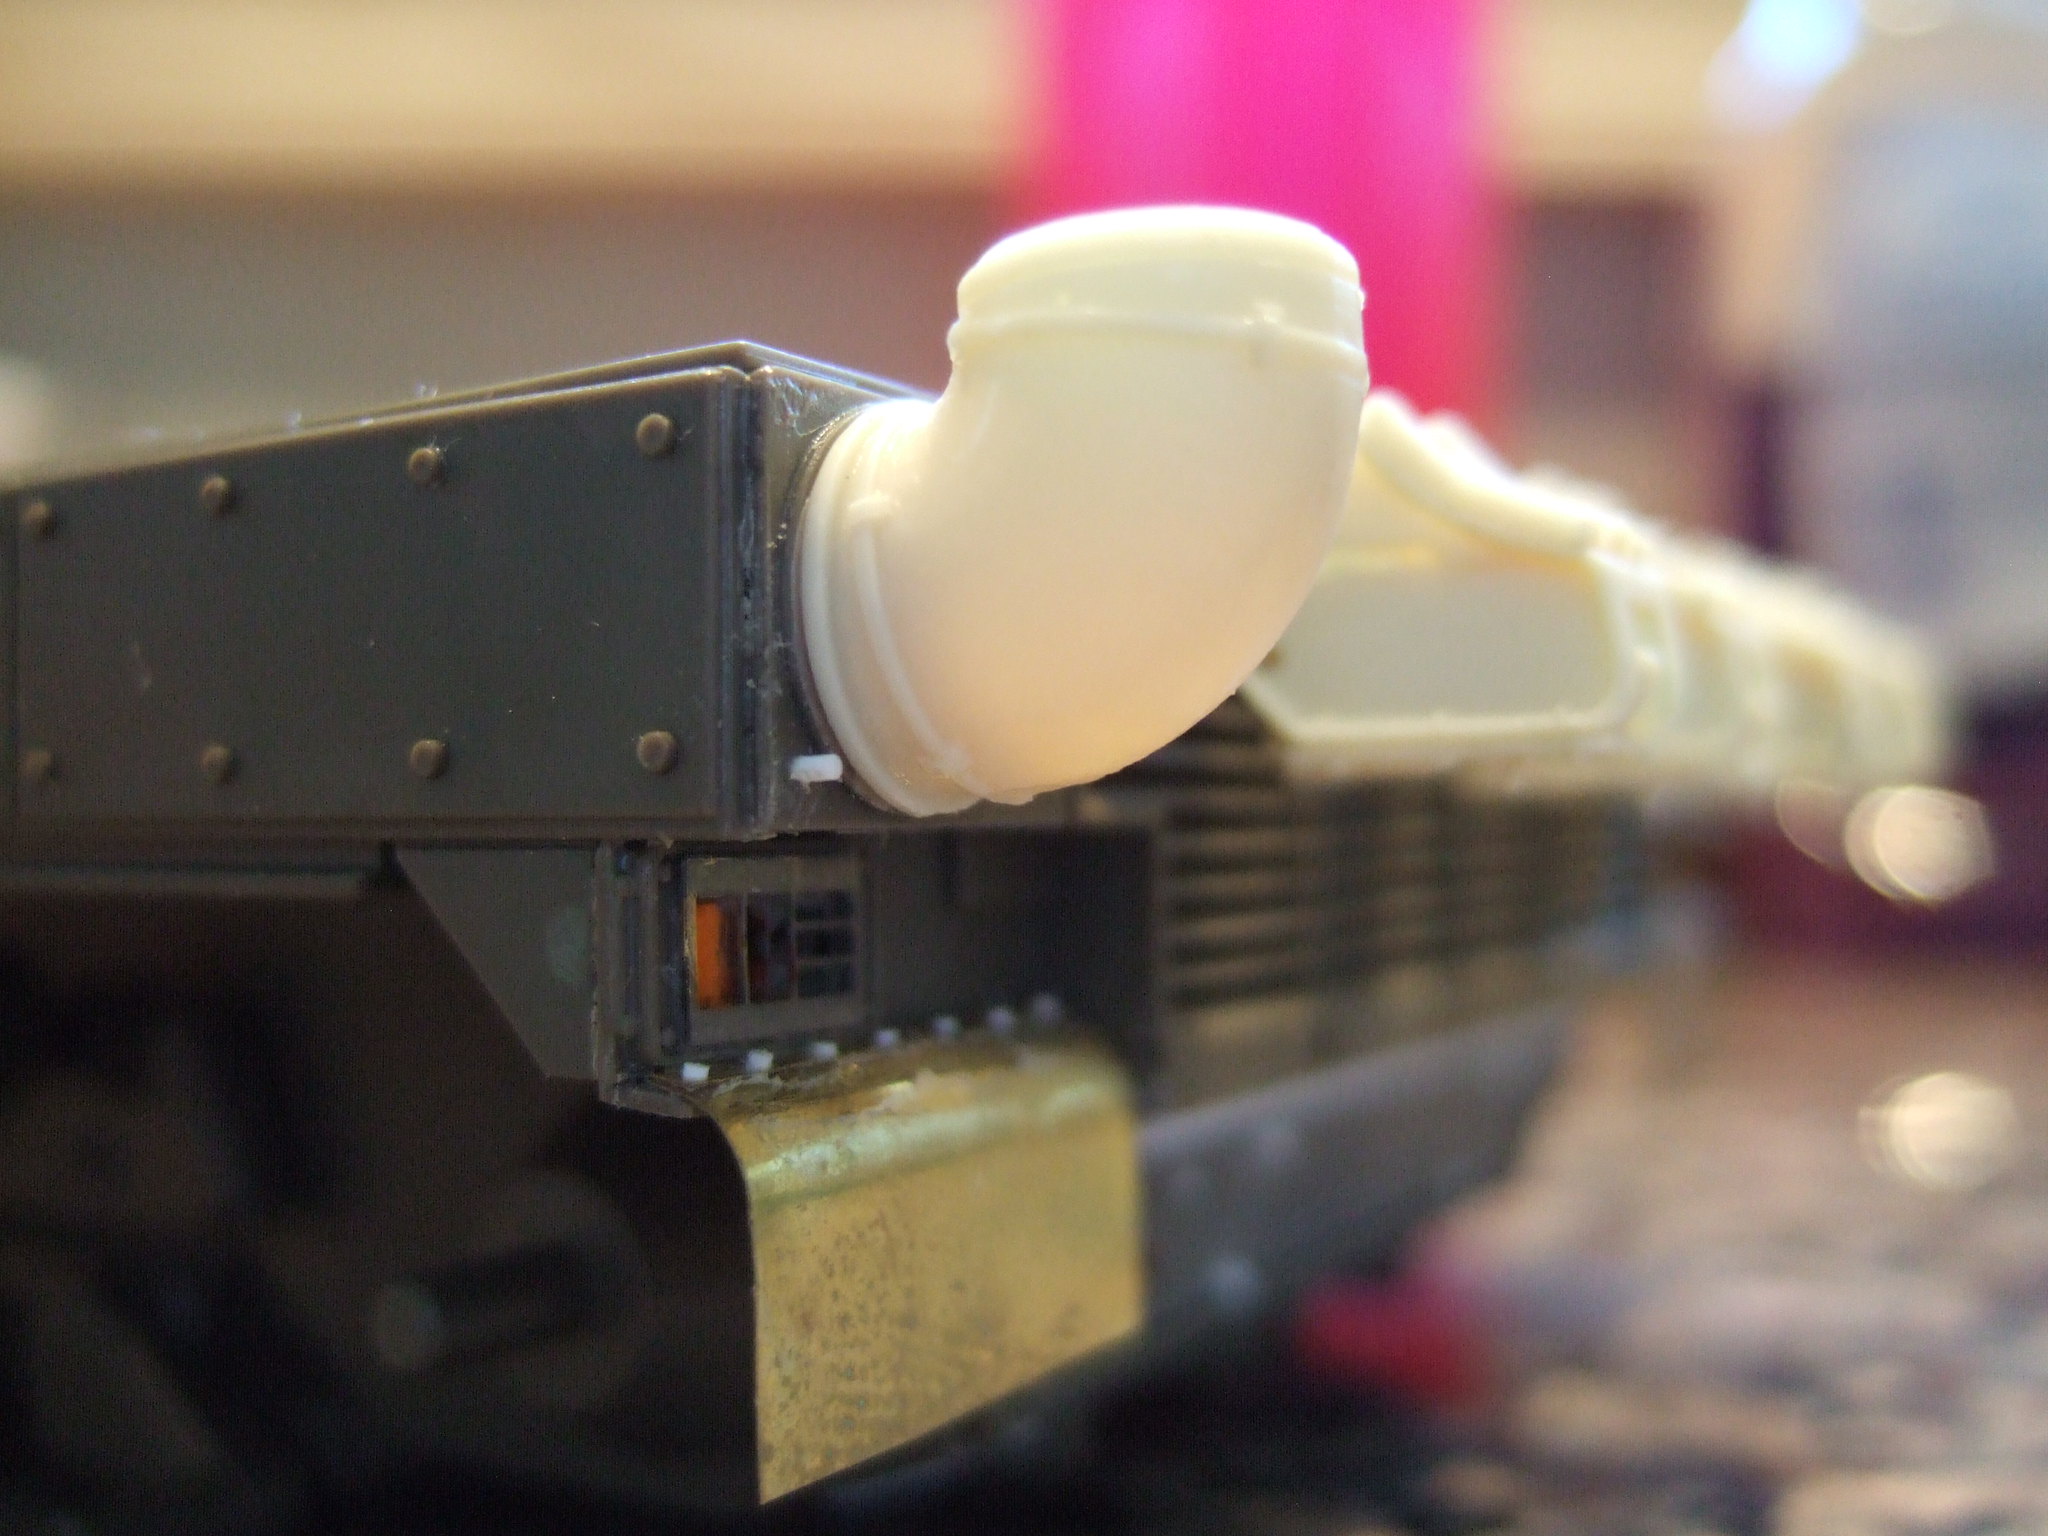
After quite a long break in modeling, I decided to open up my leclerc box and start building it ! I will be using blast models update set, aswell as their galix set, but I'm not so sure about using the galix on my model since it looks like these tubes are rarely fitted on the real tanks. It's a shame because the resin pieces looks very good ! I'm also using eduard side skirts set and general detailing set, aswell as the voyager set which I'm waiting to arrive by the mail. It's only a beginning, but it's been a very fun build to do. Lots of scratch, but nothing overly complicated, thanks to olivier carneau great guide, which is in my opinion a work of reference for anyone looking to build a leclerc.

Throughout my build I've used these resources :

http://olivier.carneau.free.fr/

Olivier's website, with complete guide and reference pictures of the series 2.

http://www.colleurs-de-plastique.com/forums/showthread.php?17911-Leclerc-kit-tamiya-serie-2-conversion-RT5

Djiti's leclerc RT5 build, lots of interesting techniques on this one.

http://www.military-kits.com/sections.php?op=viewarticle&artid=66

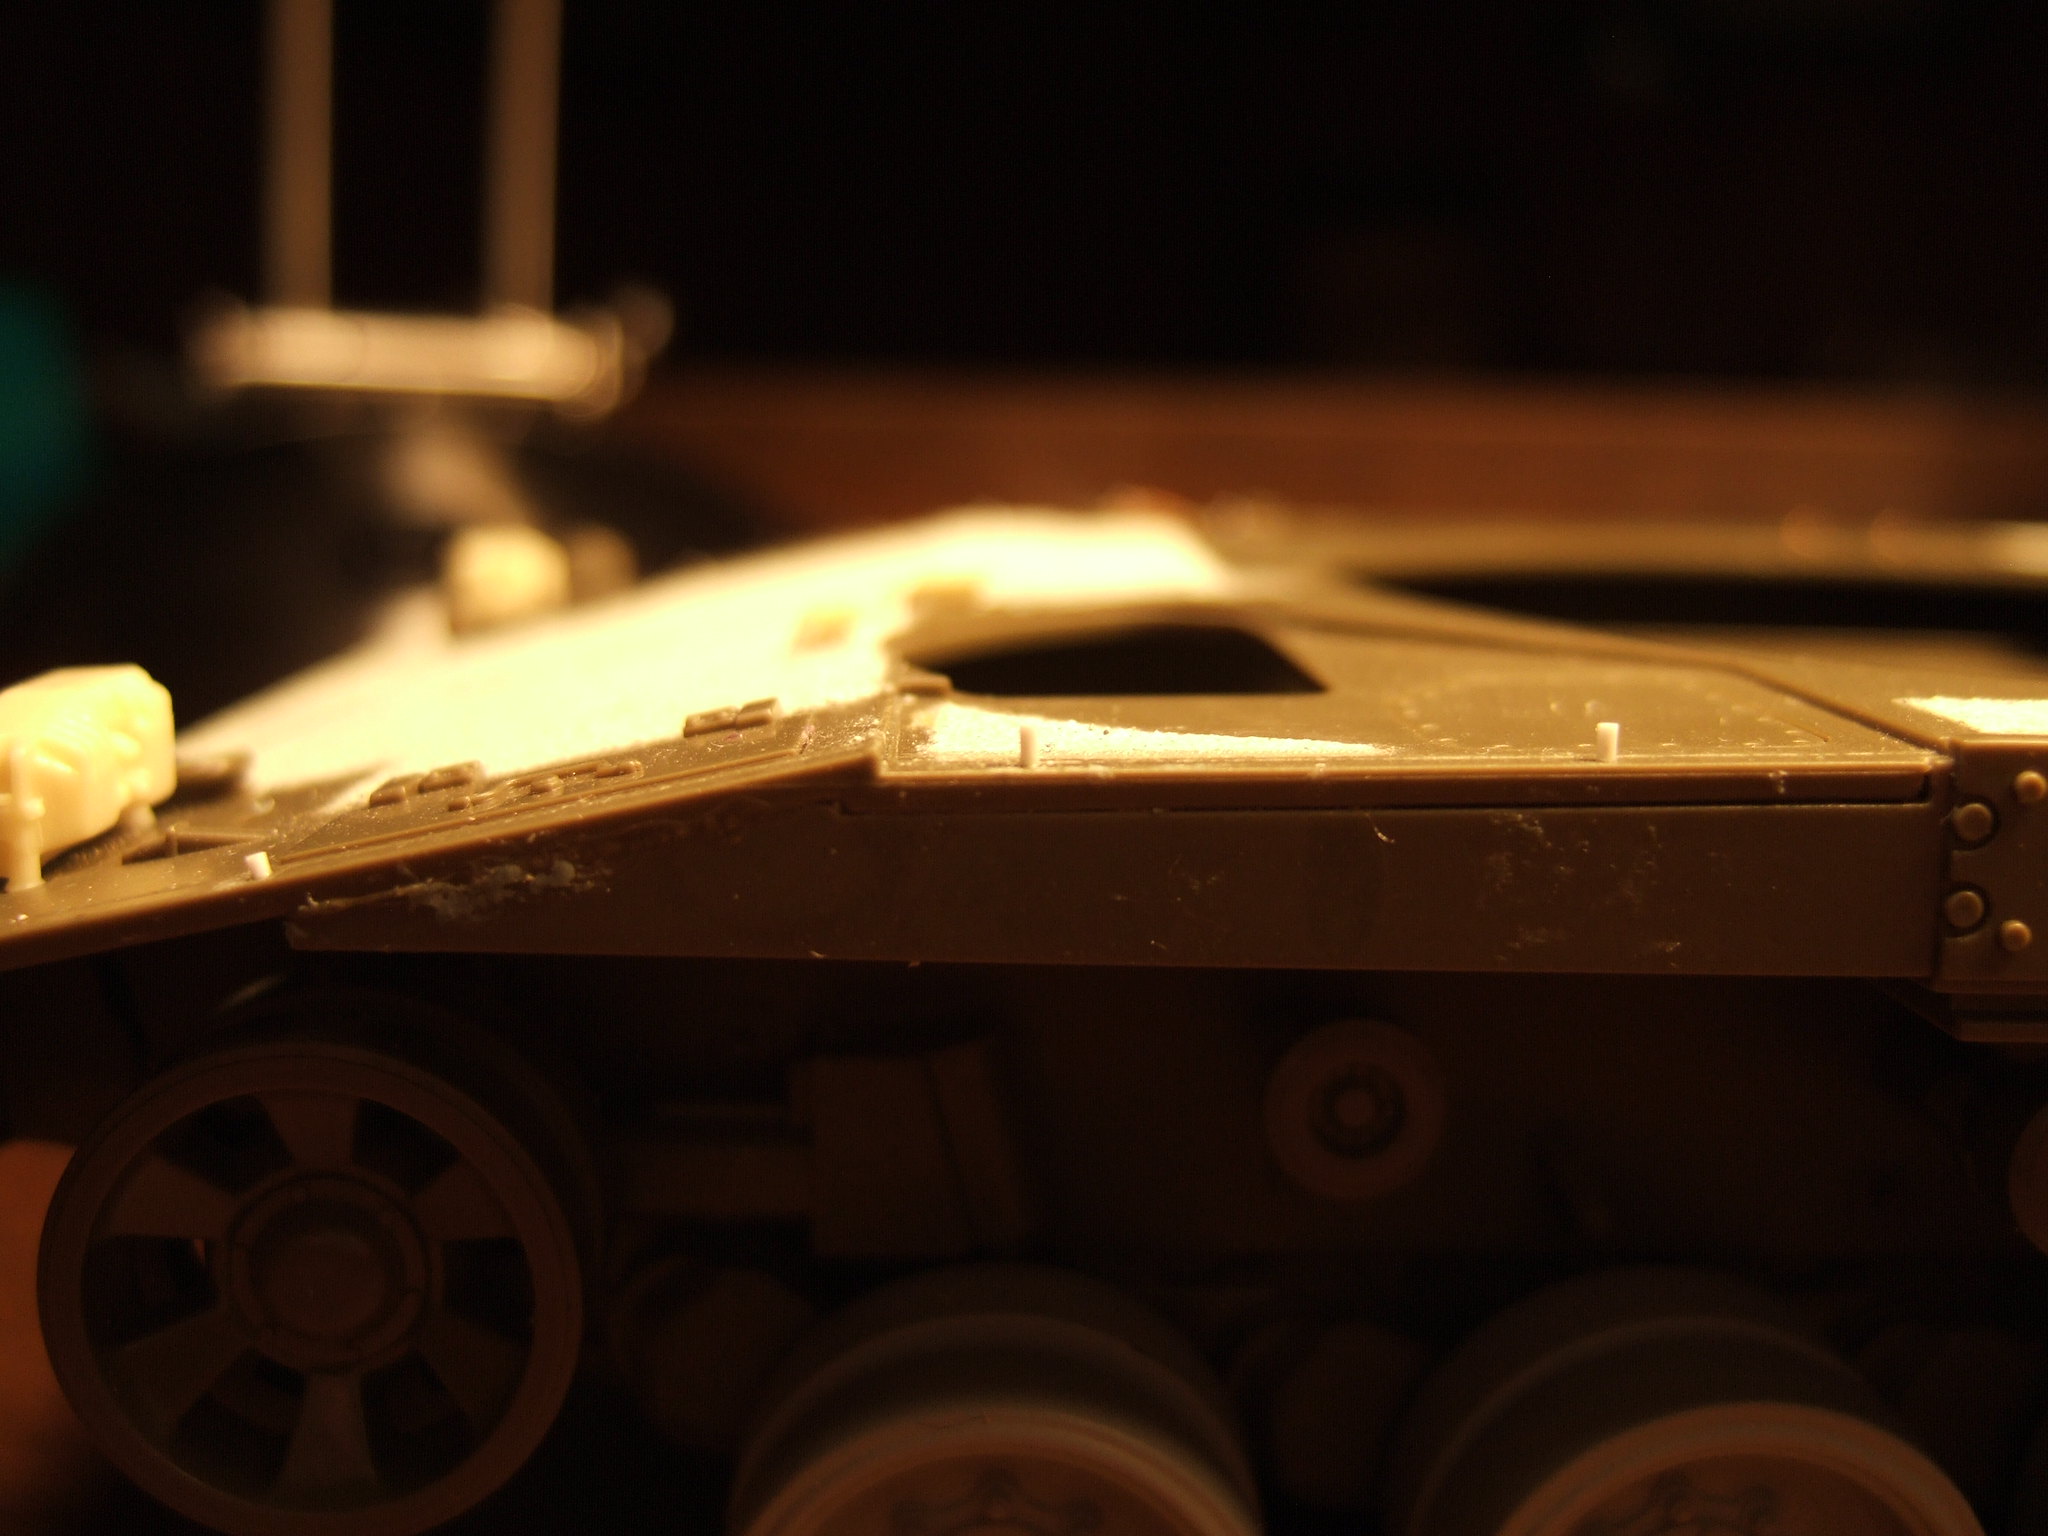
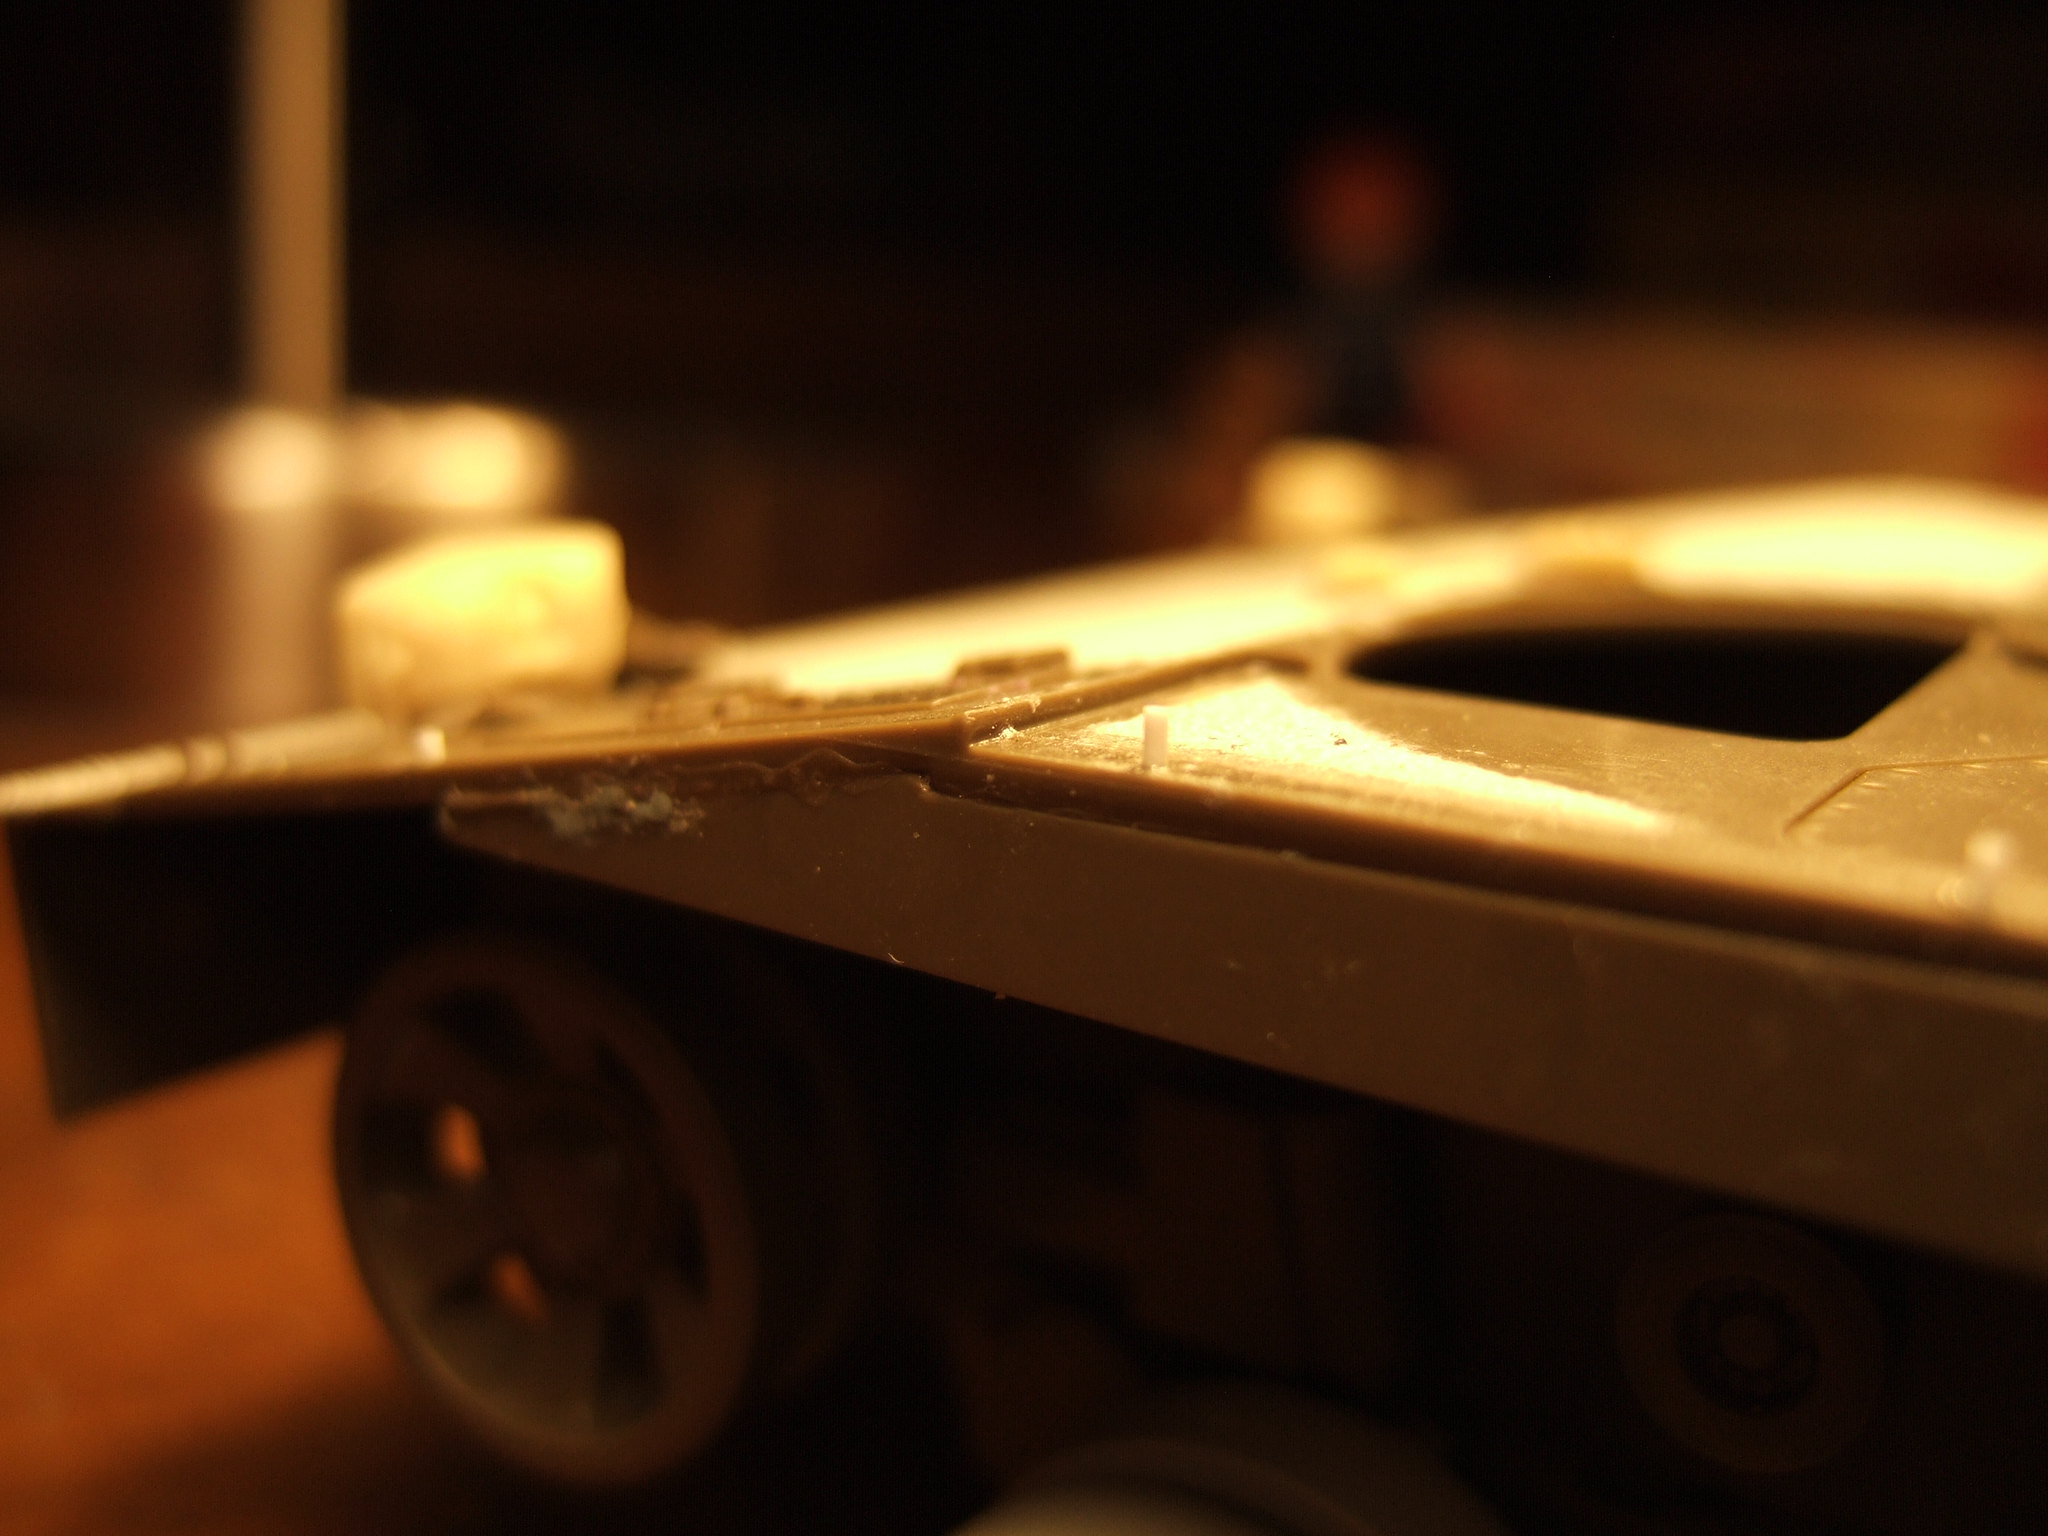
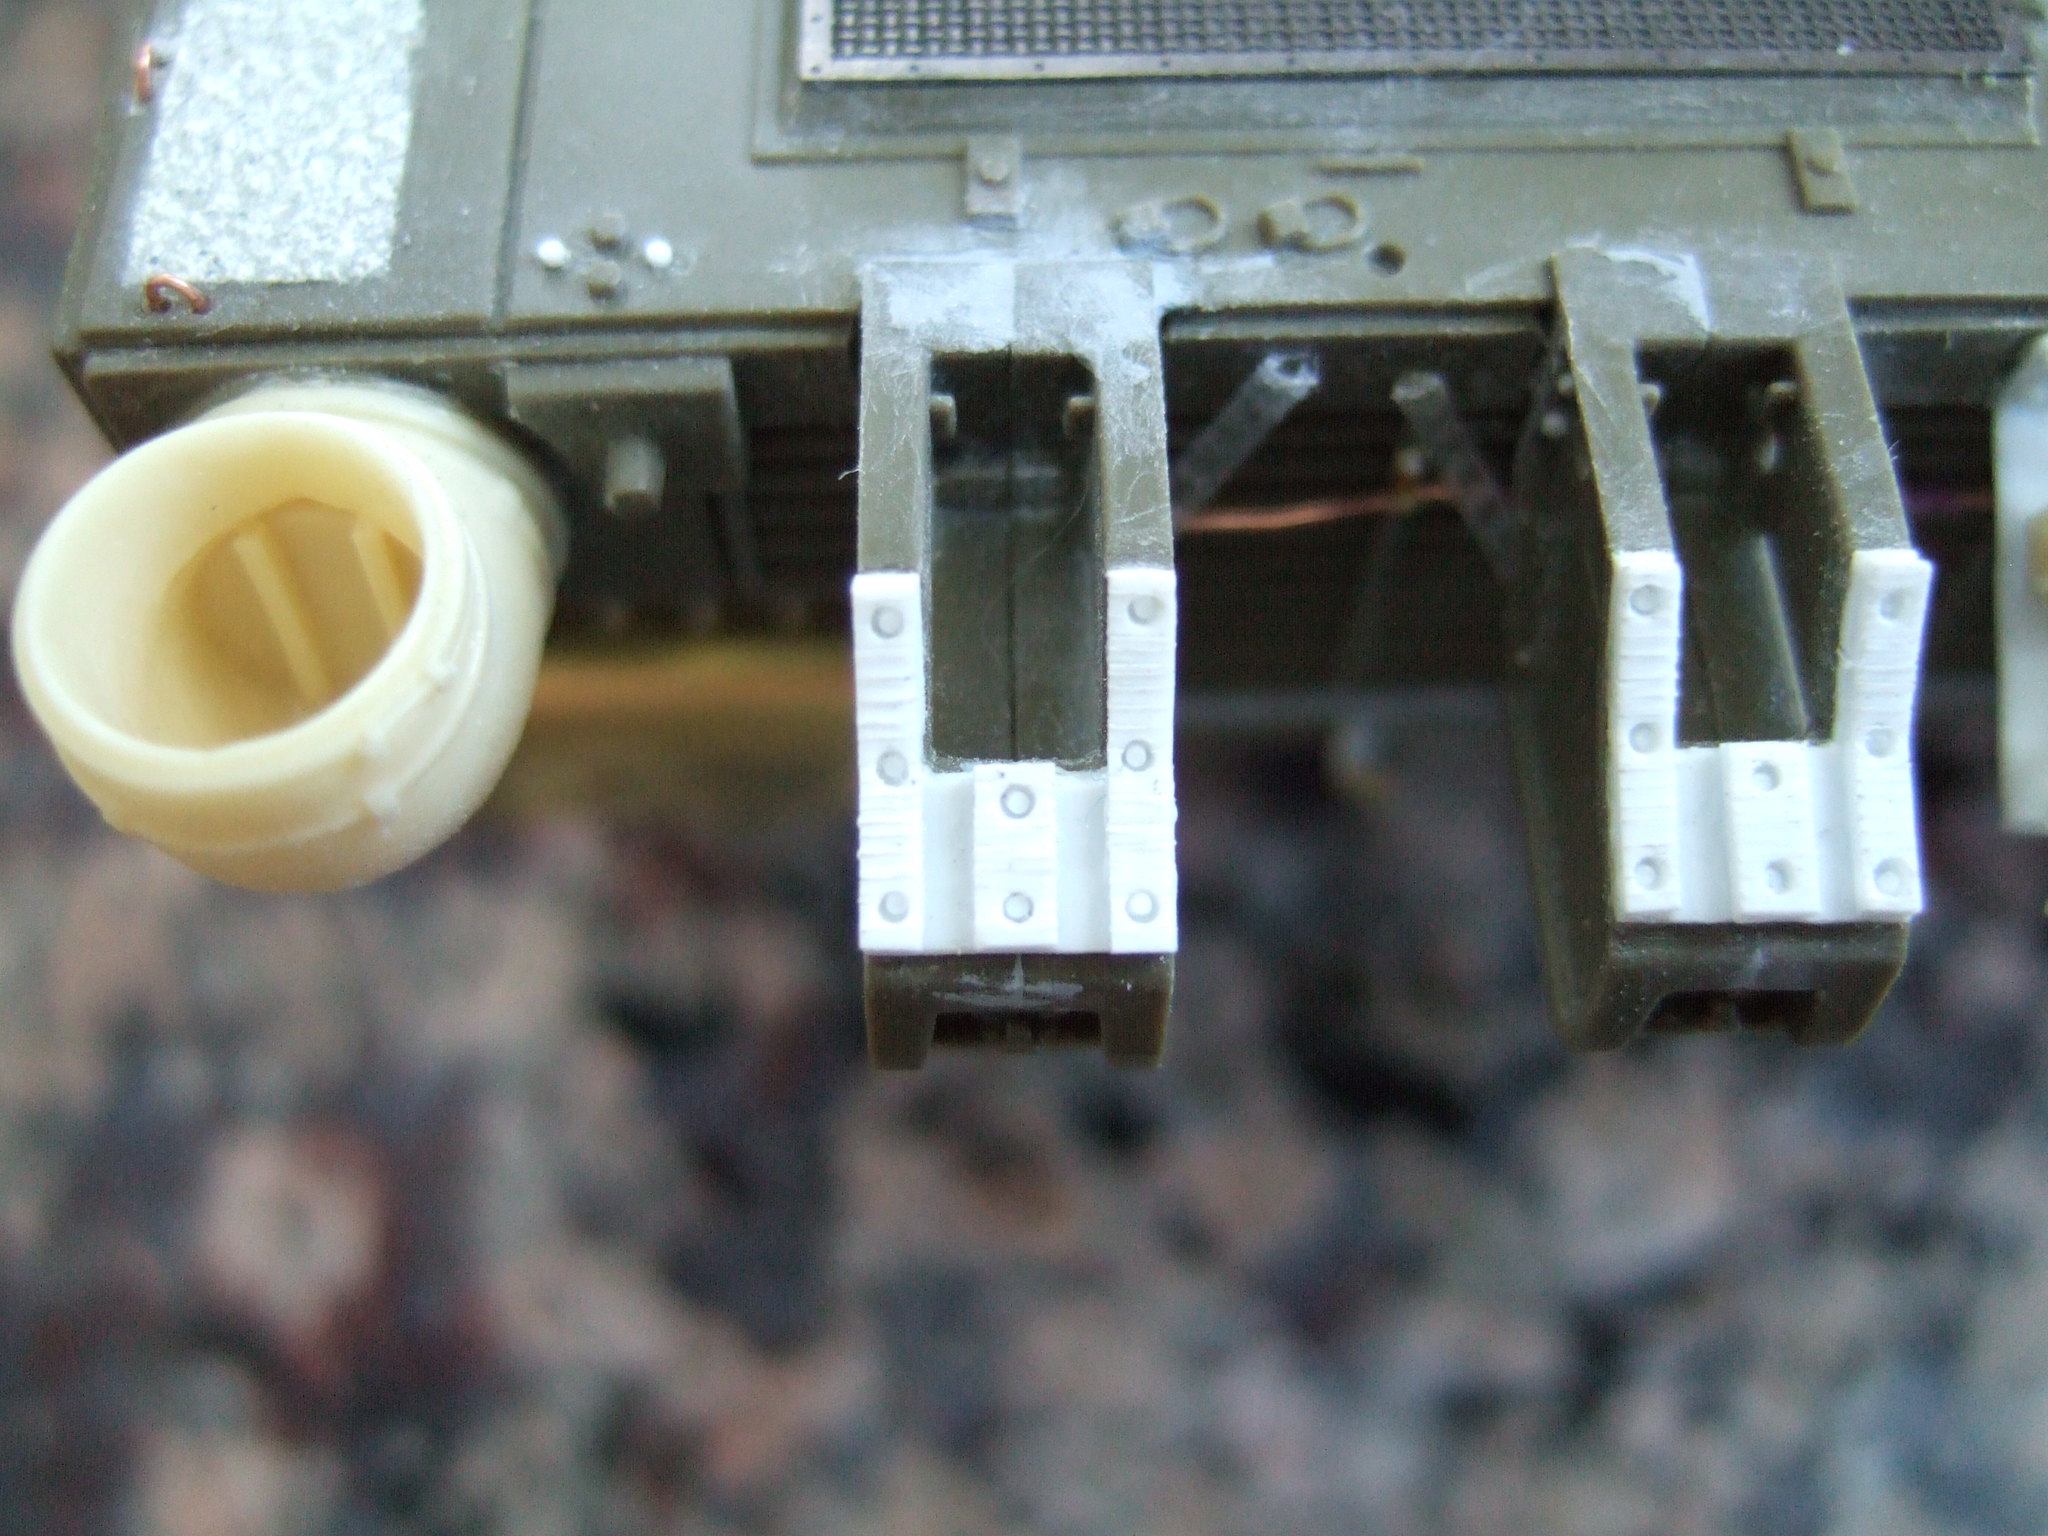
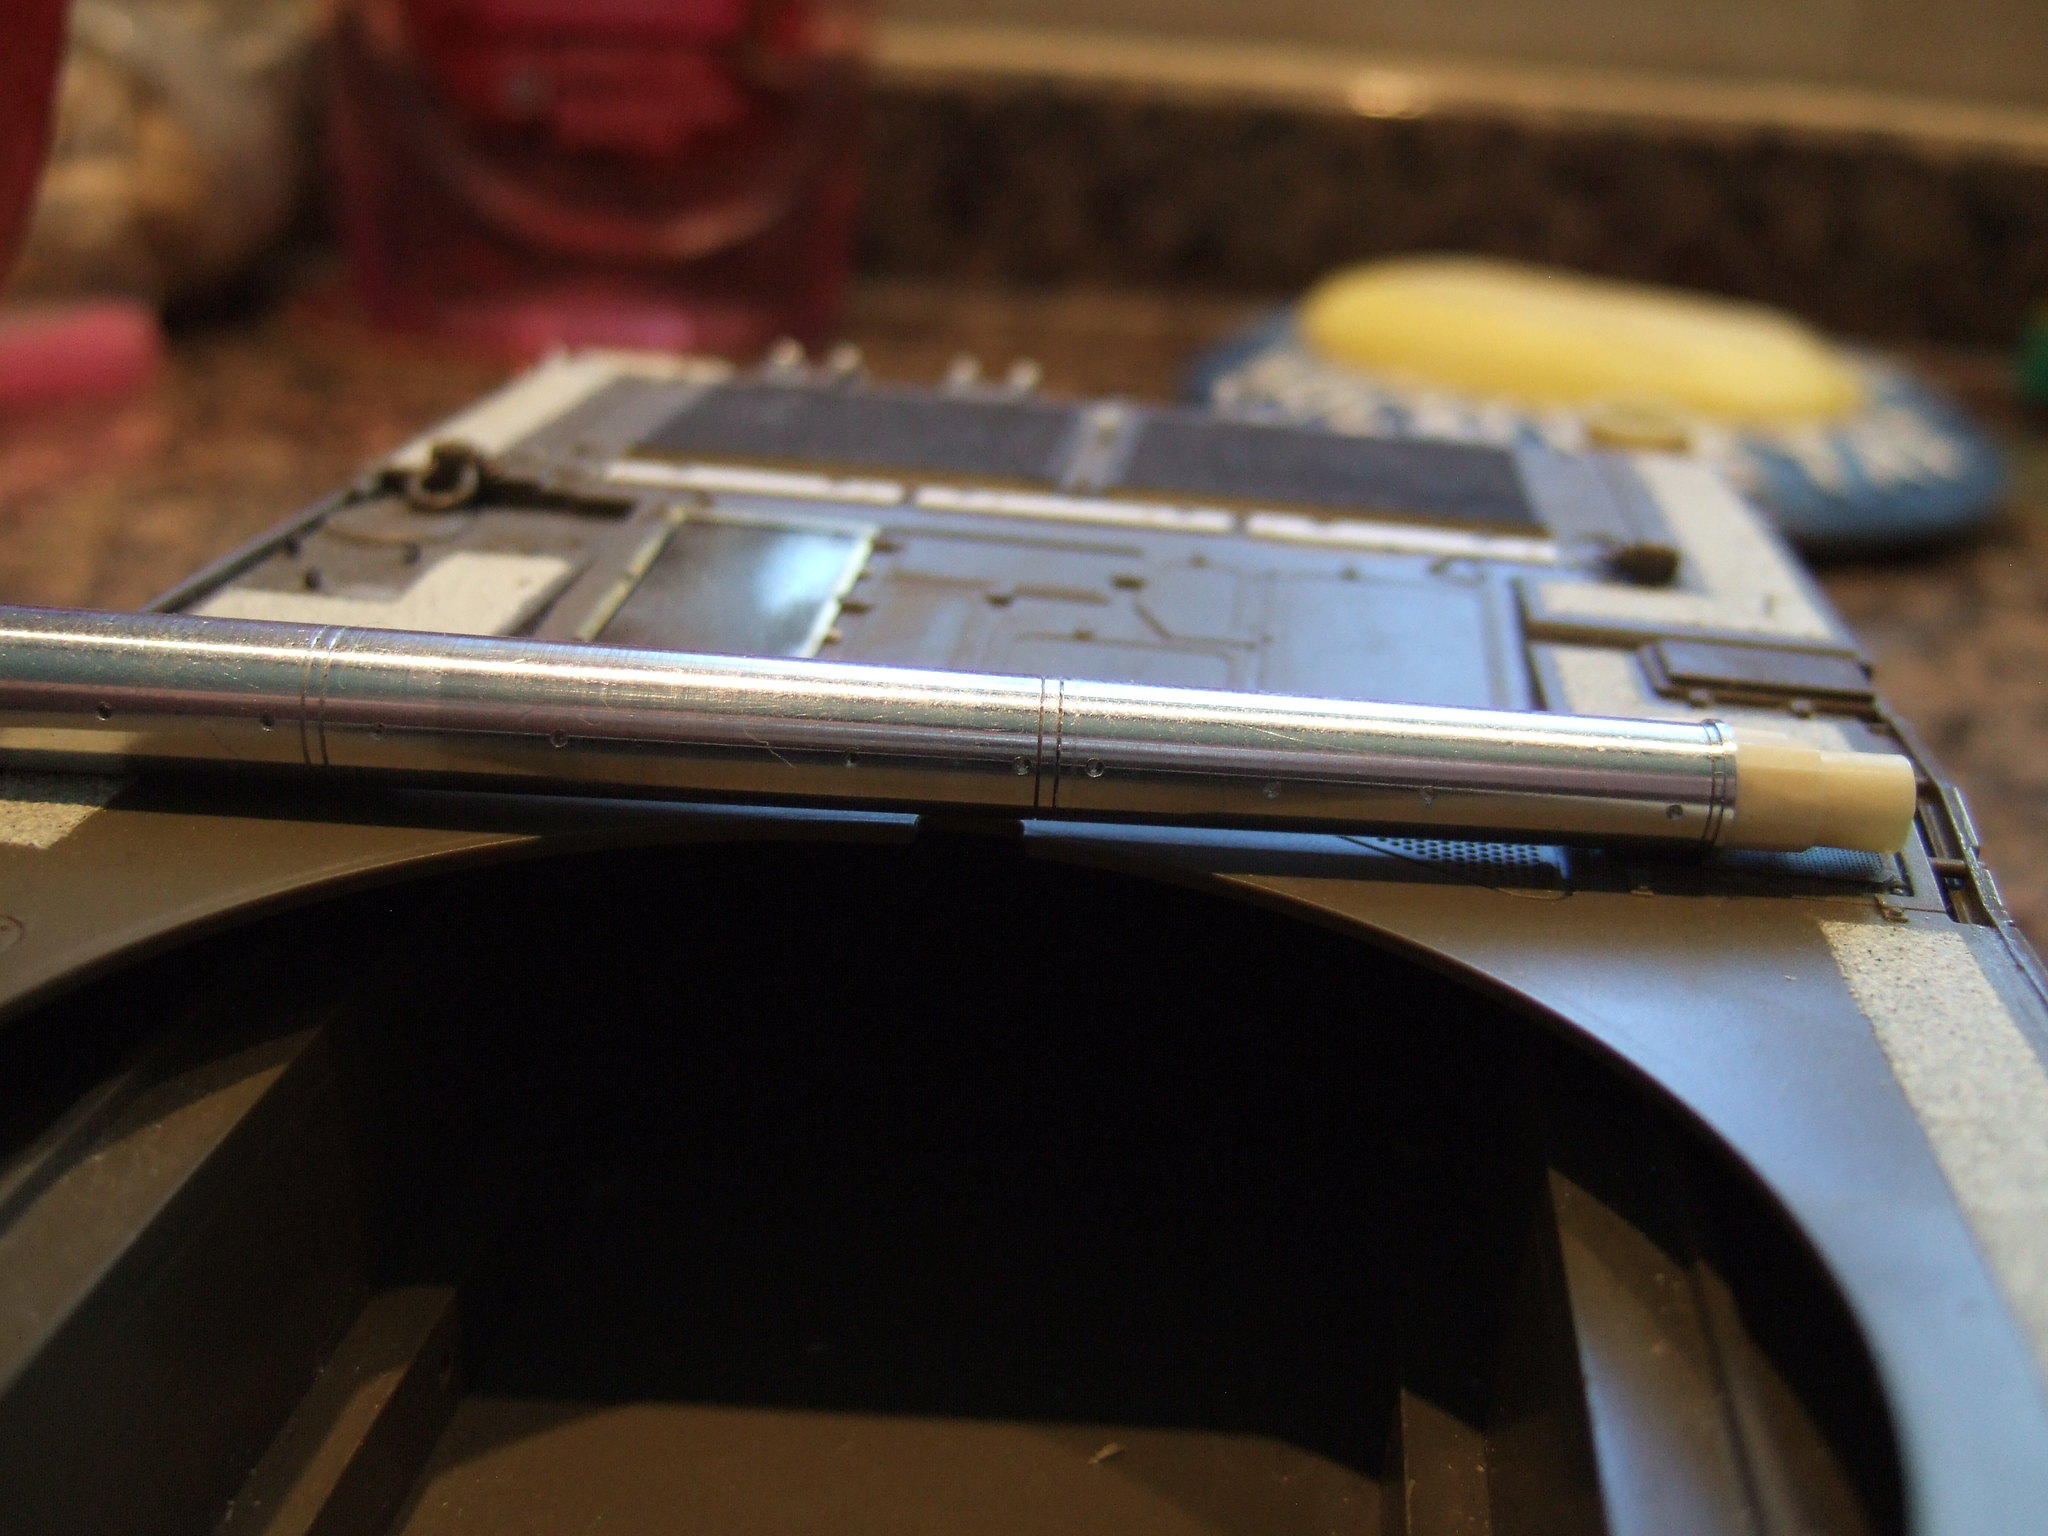
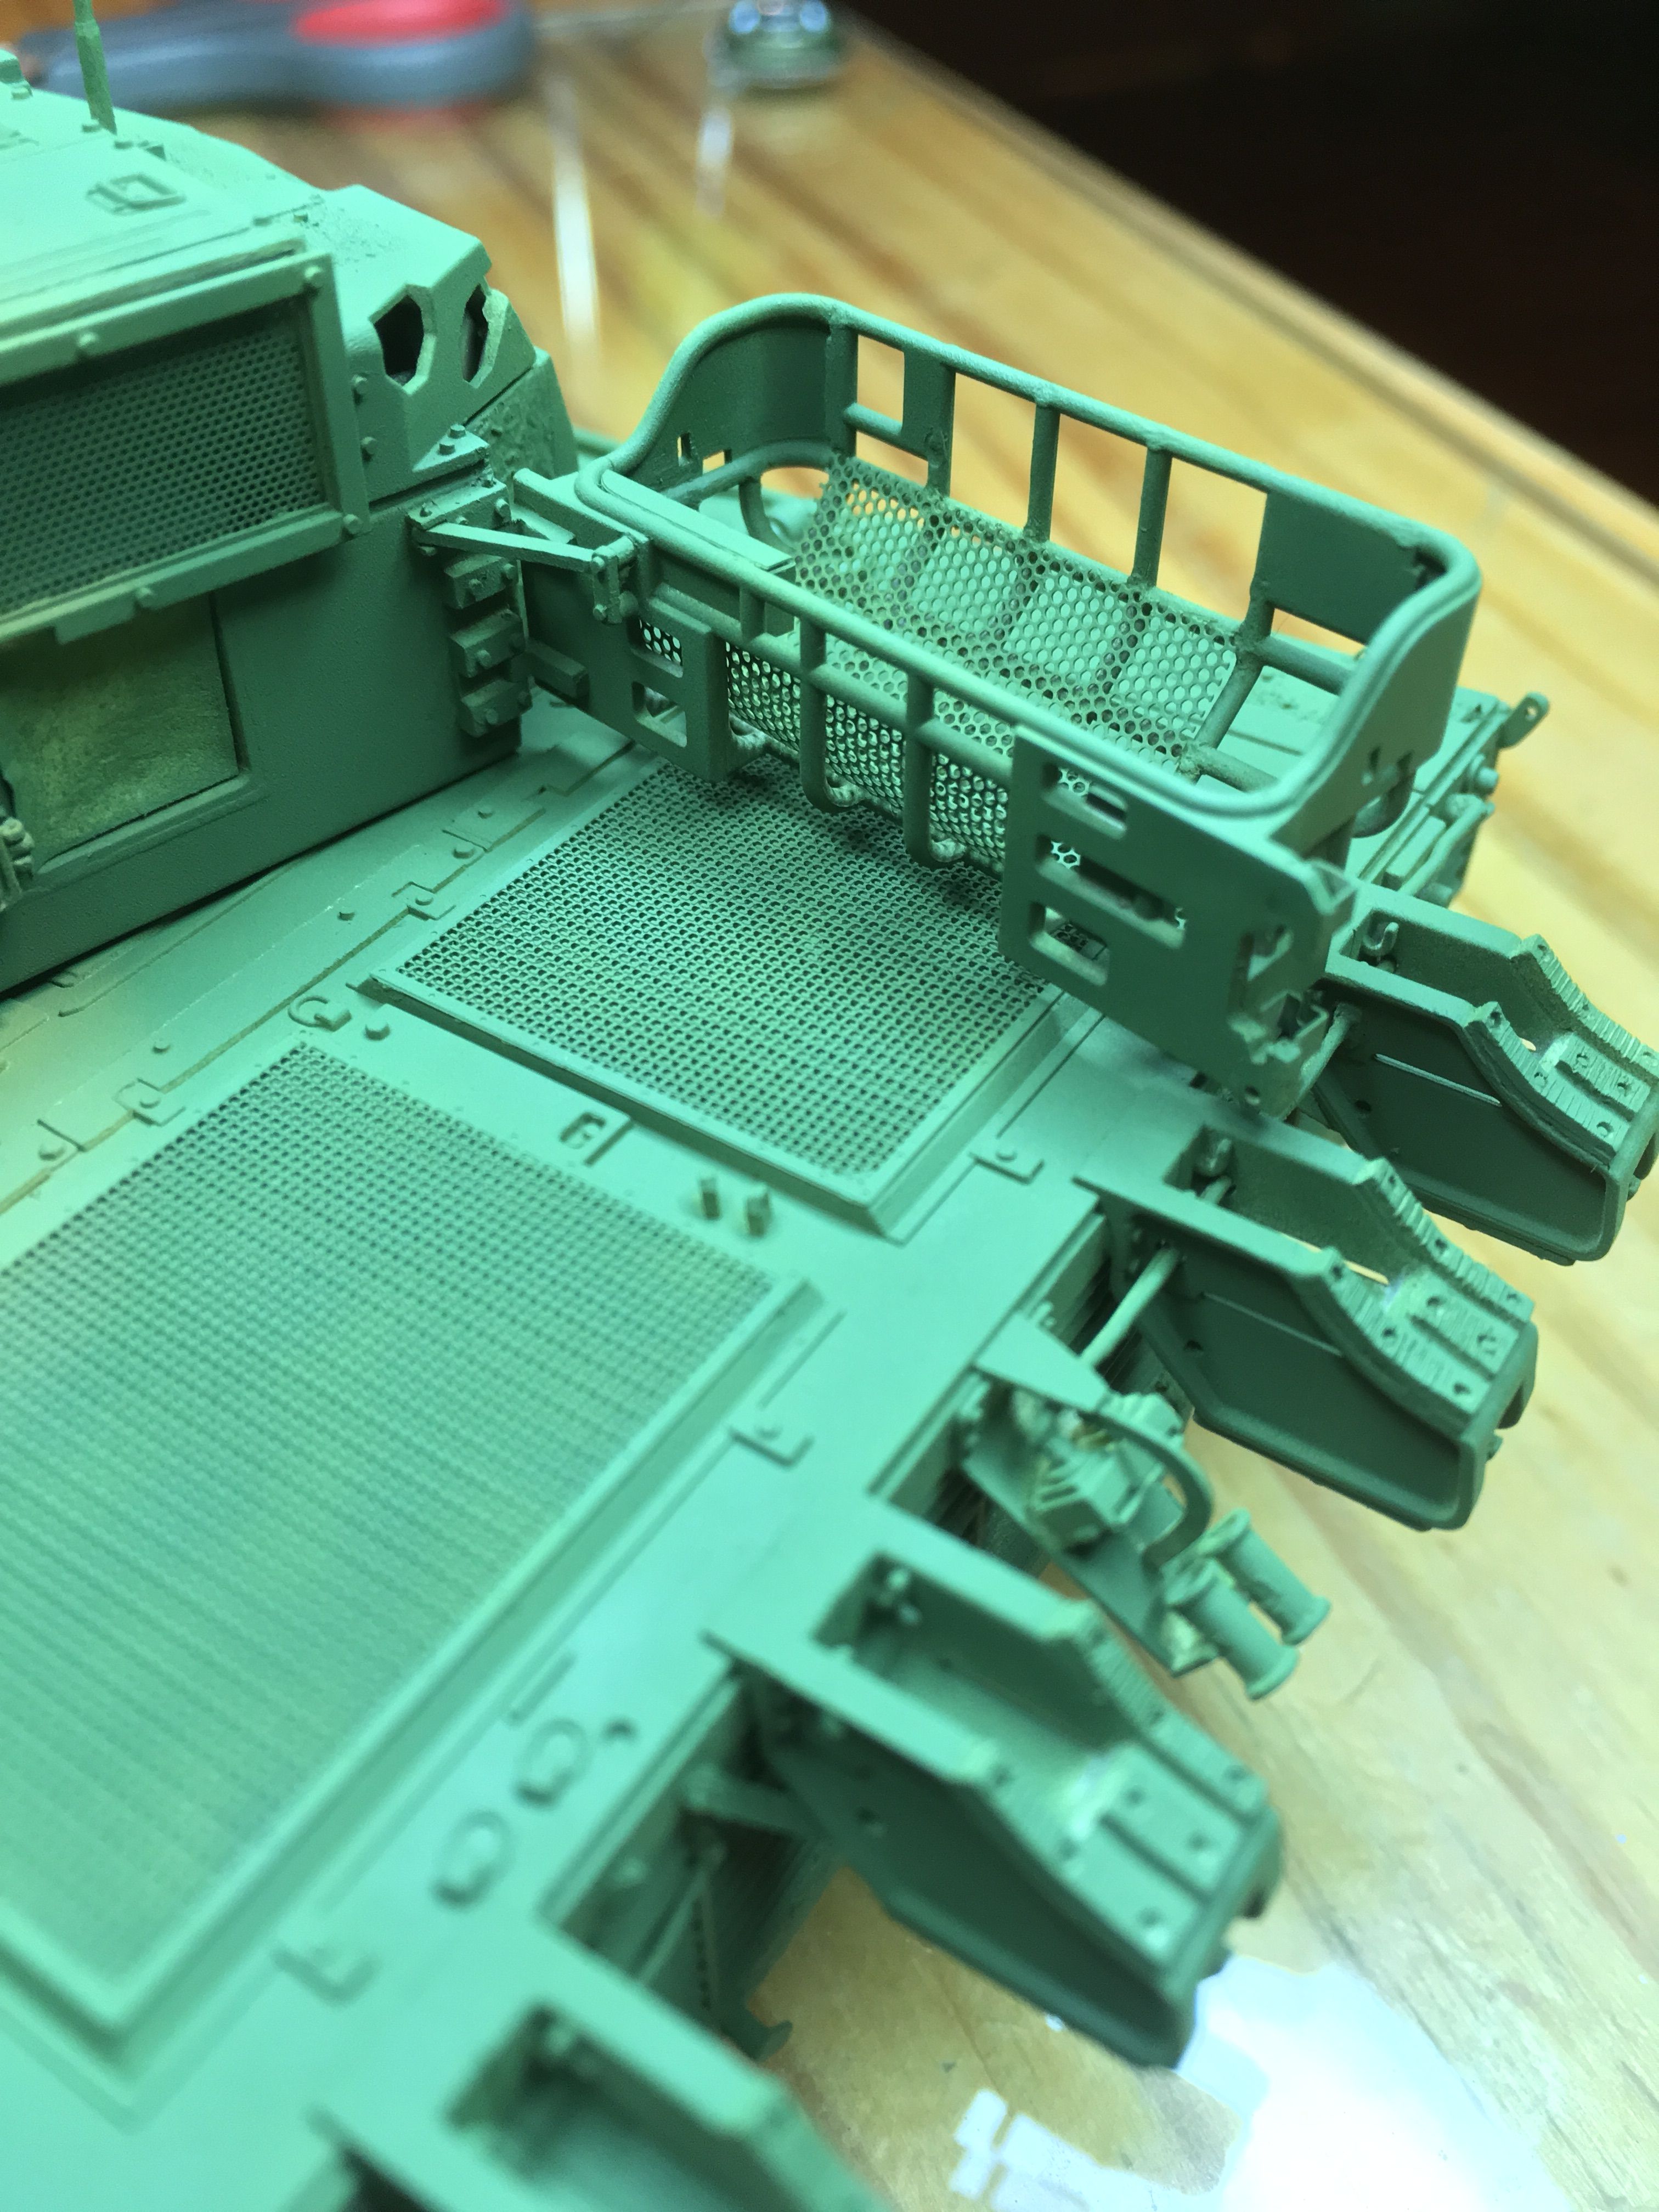
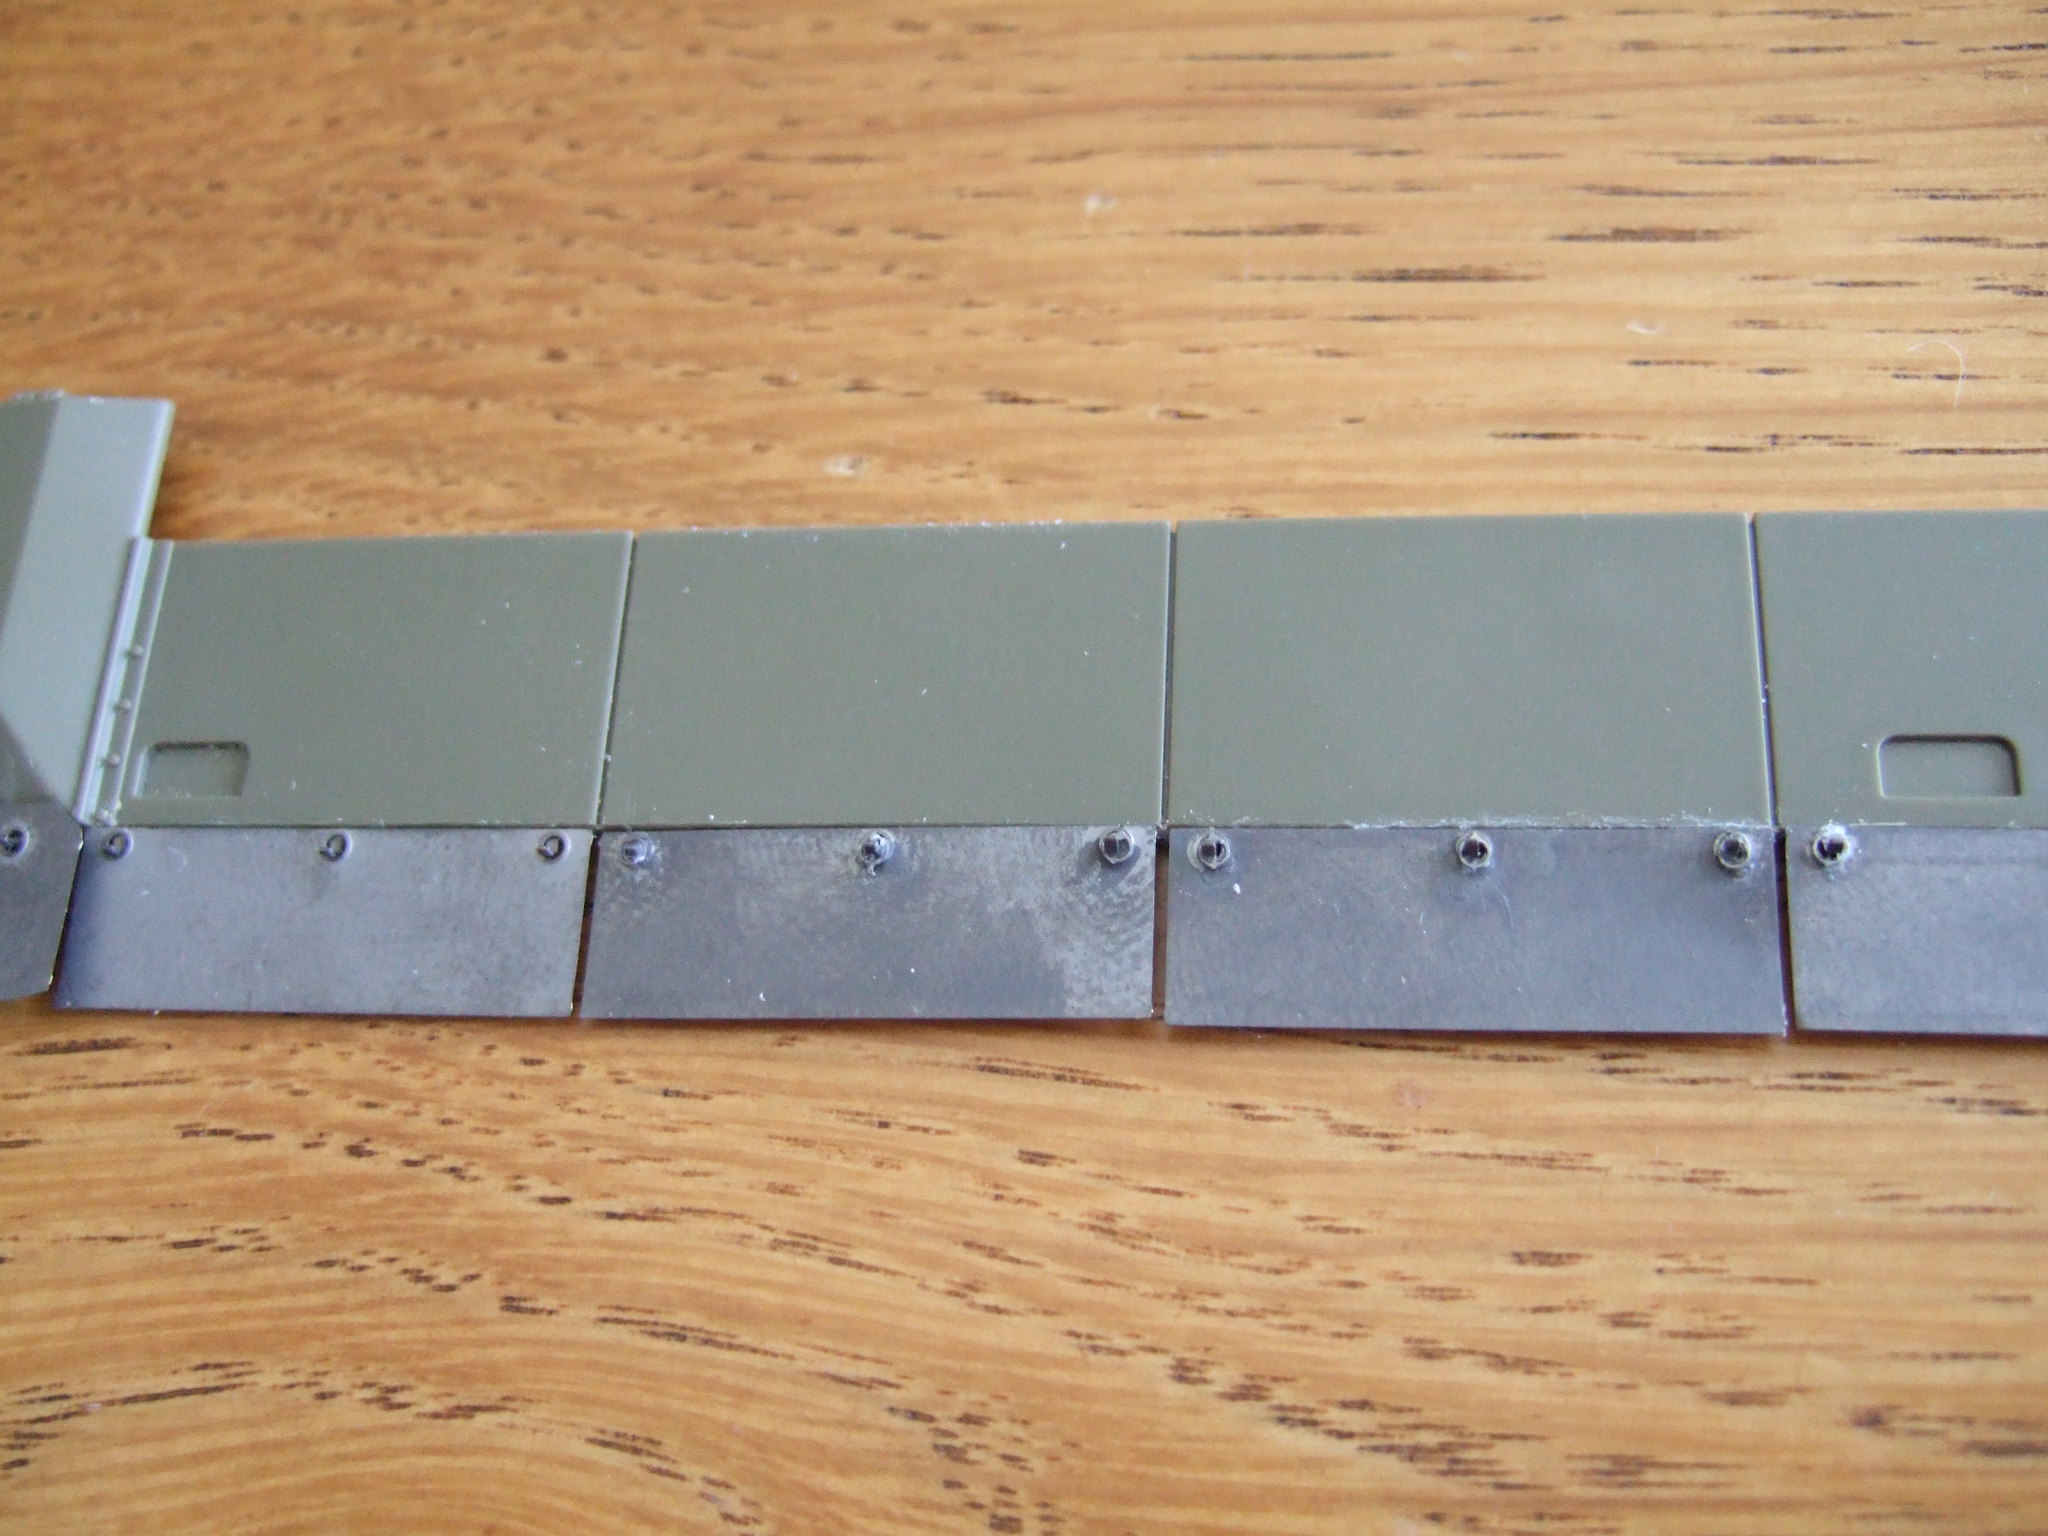
I began to work on the side skirts, using eduard set. Really easy to use and adds details to the too much thick side skirts provided by tamiya.


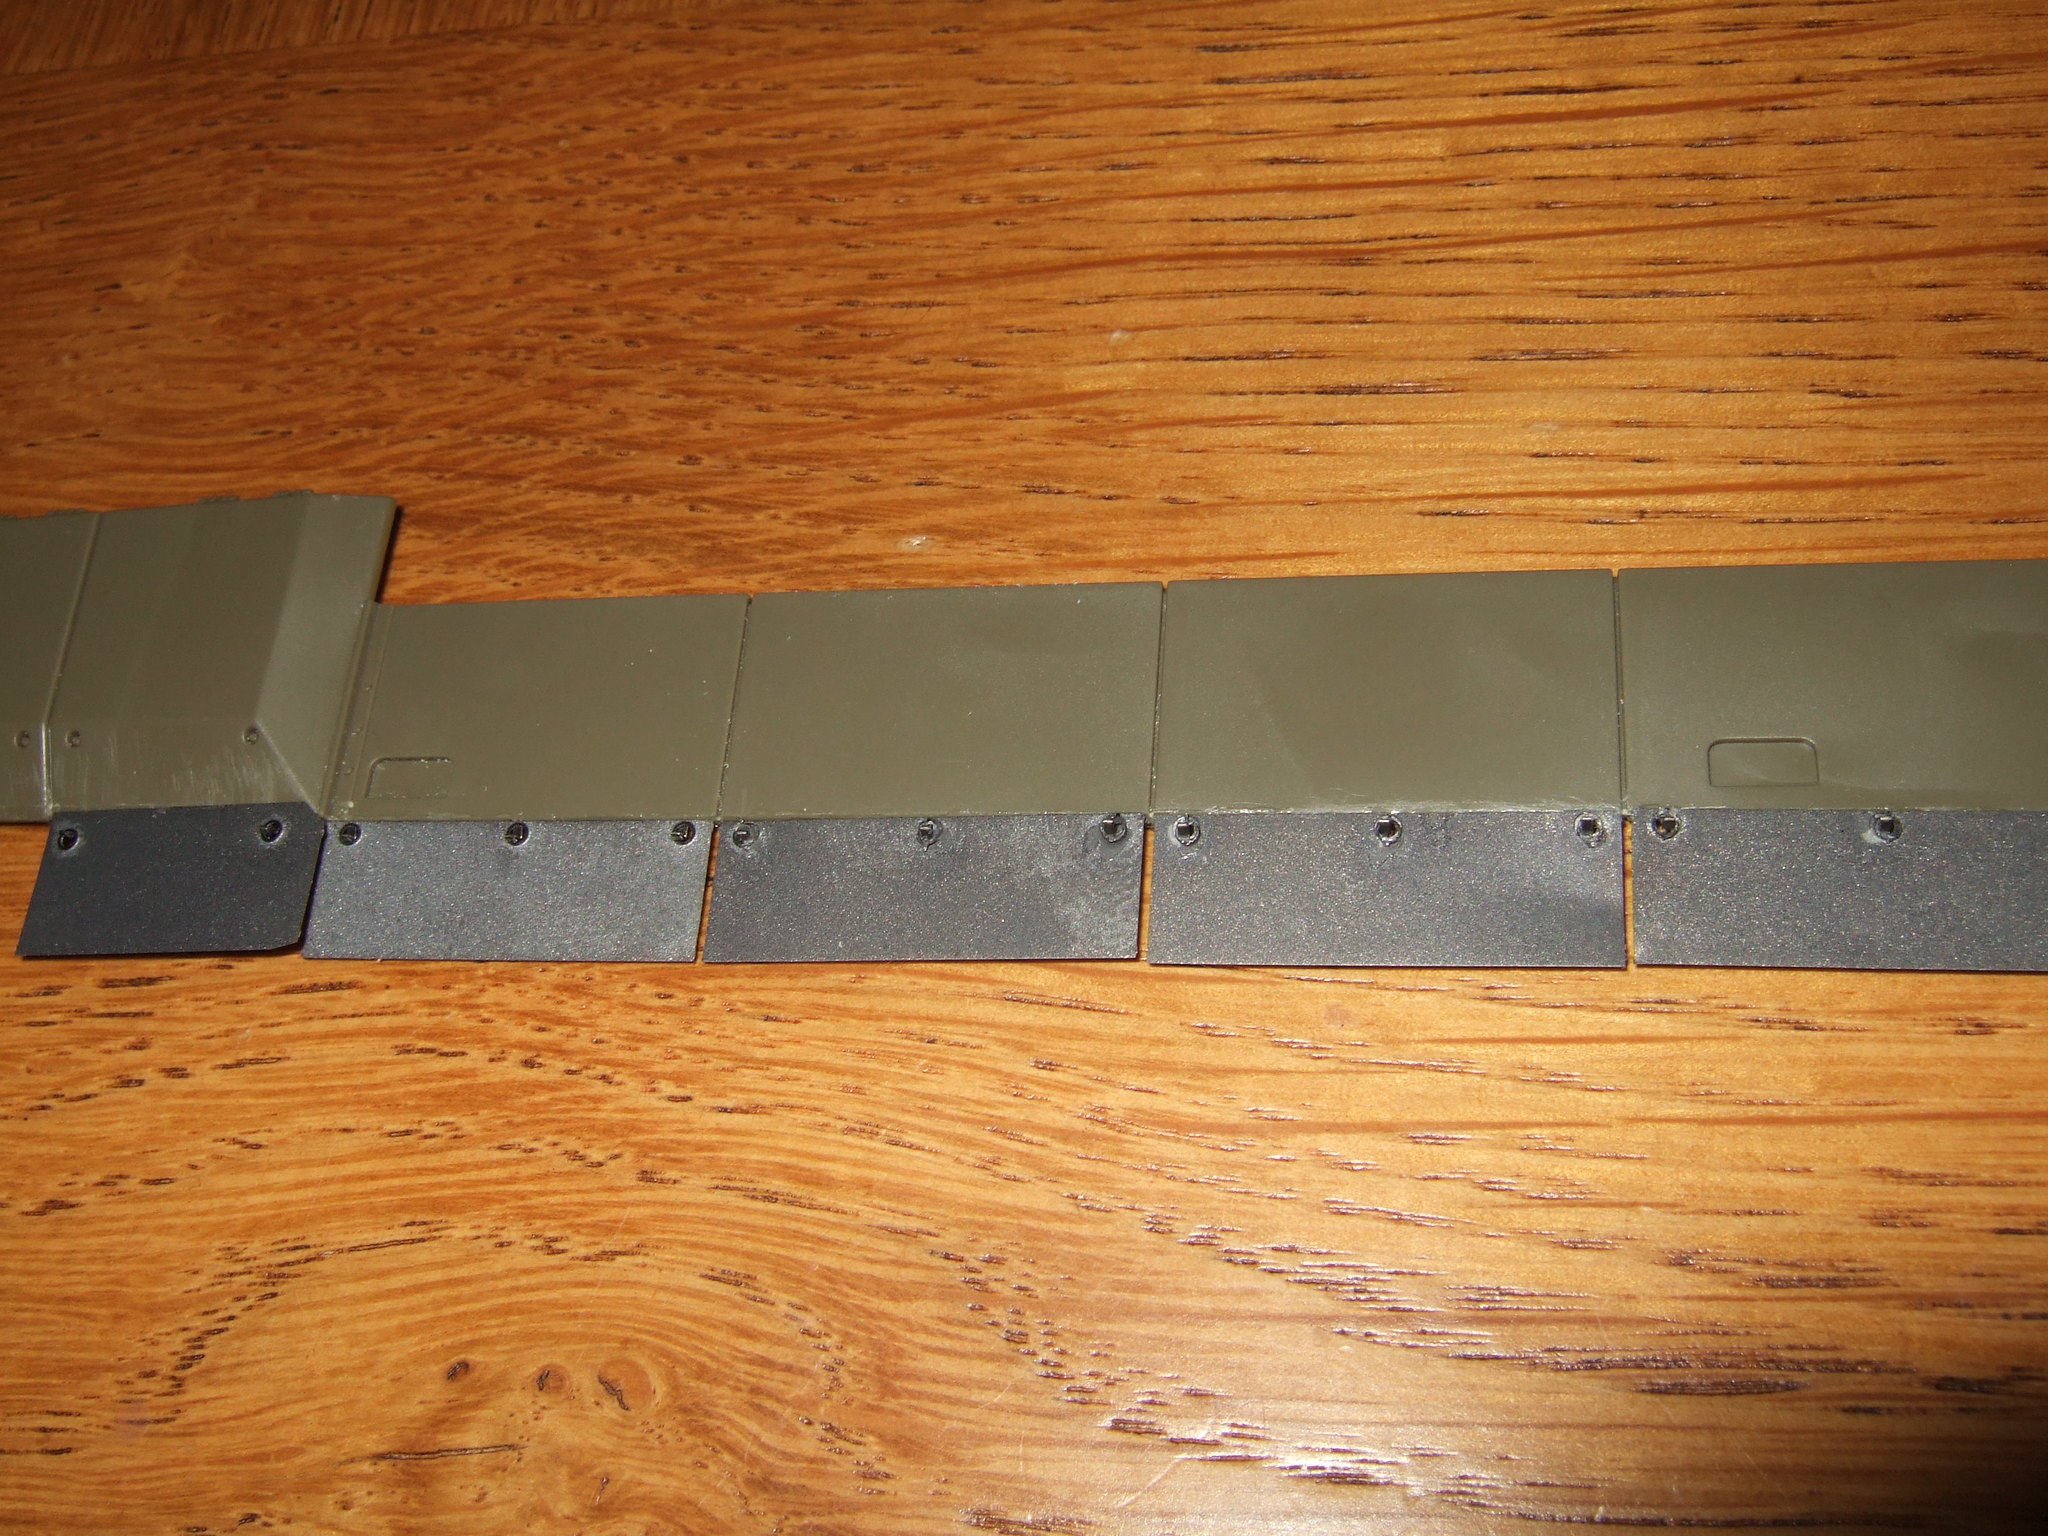
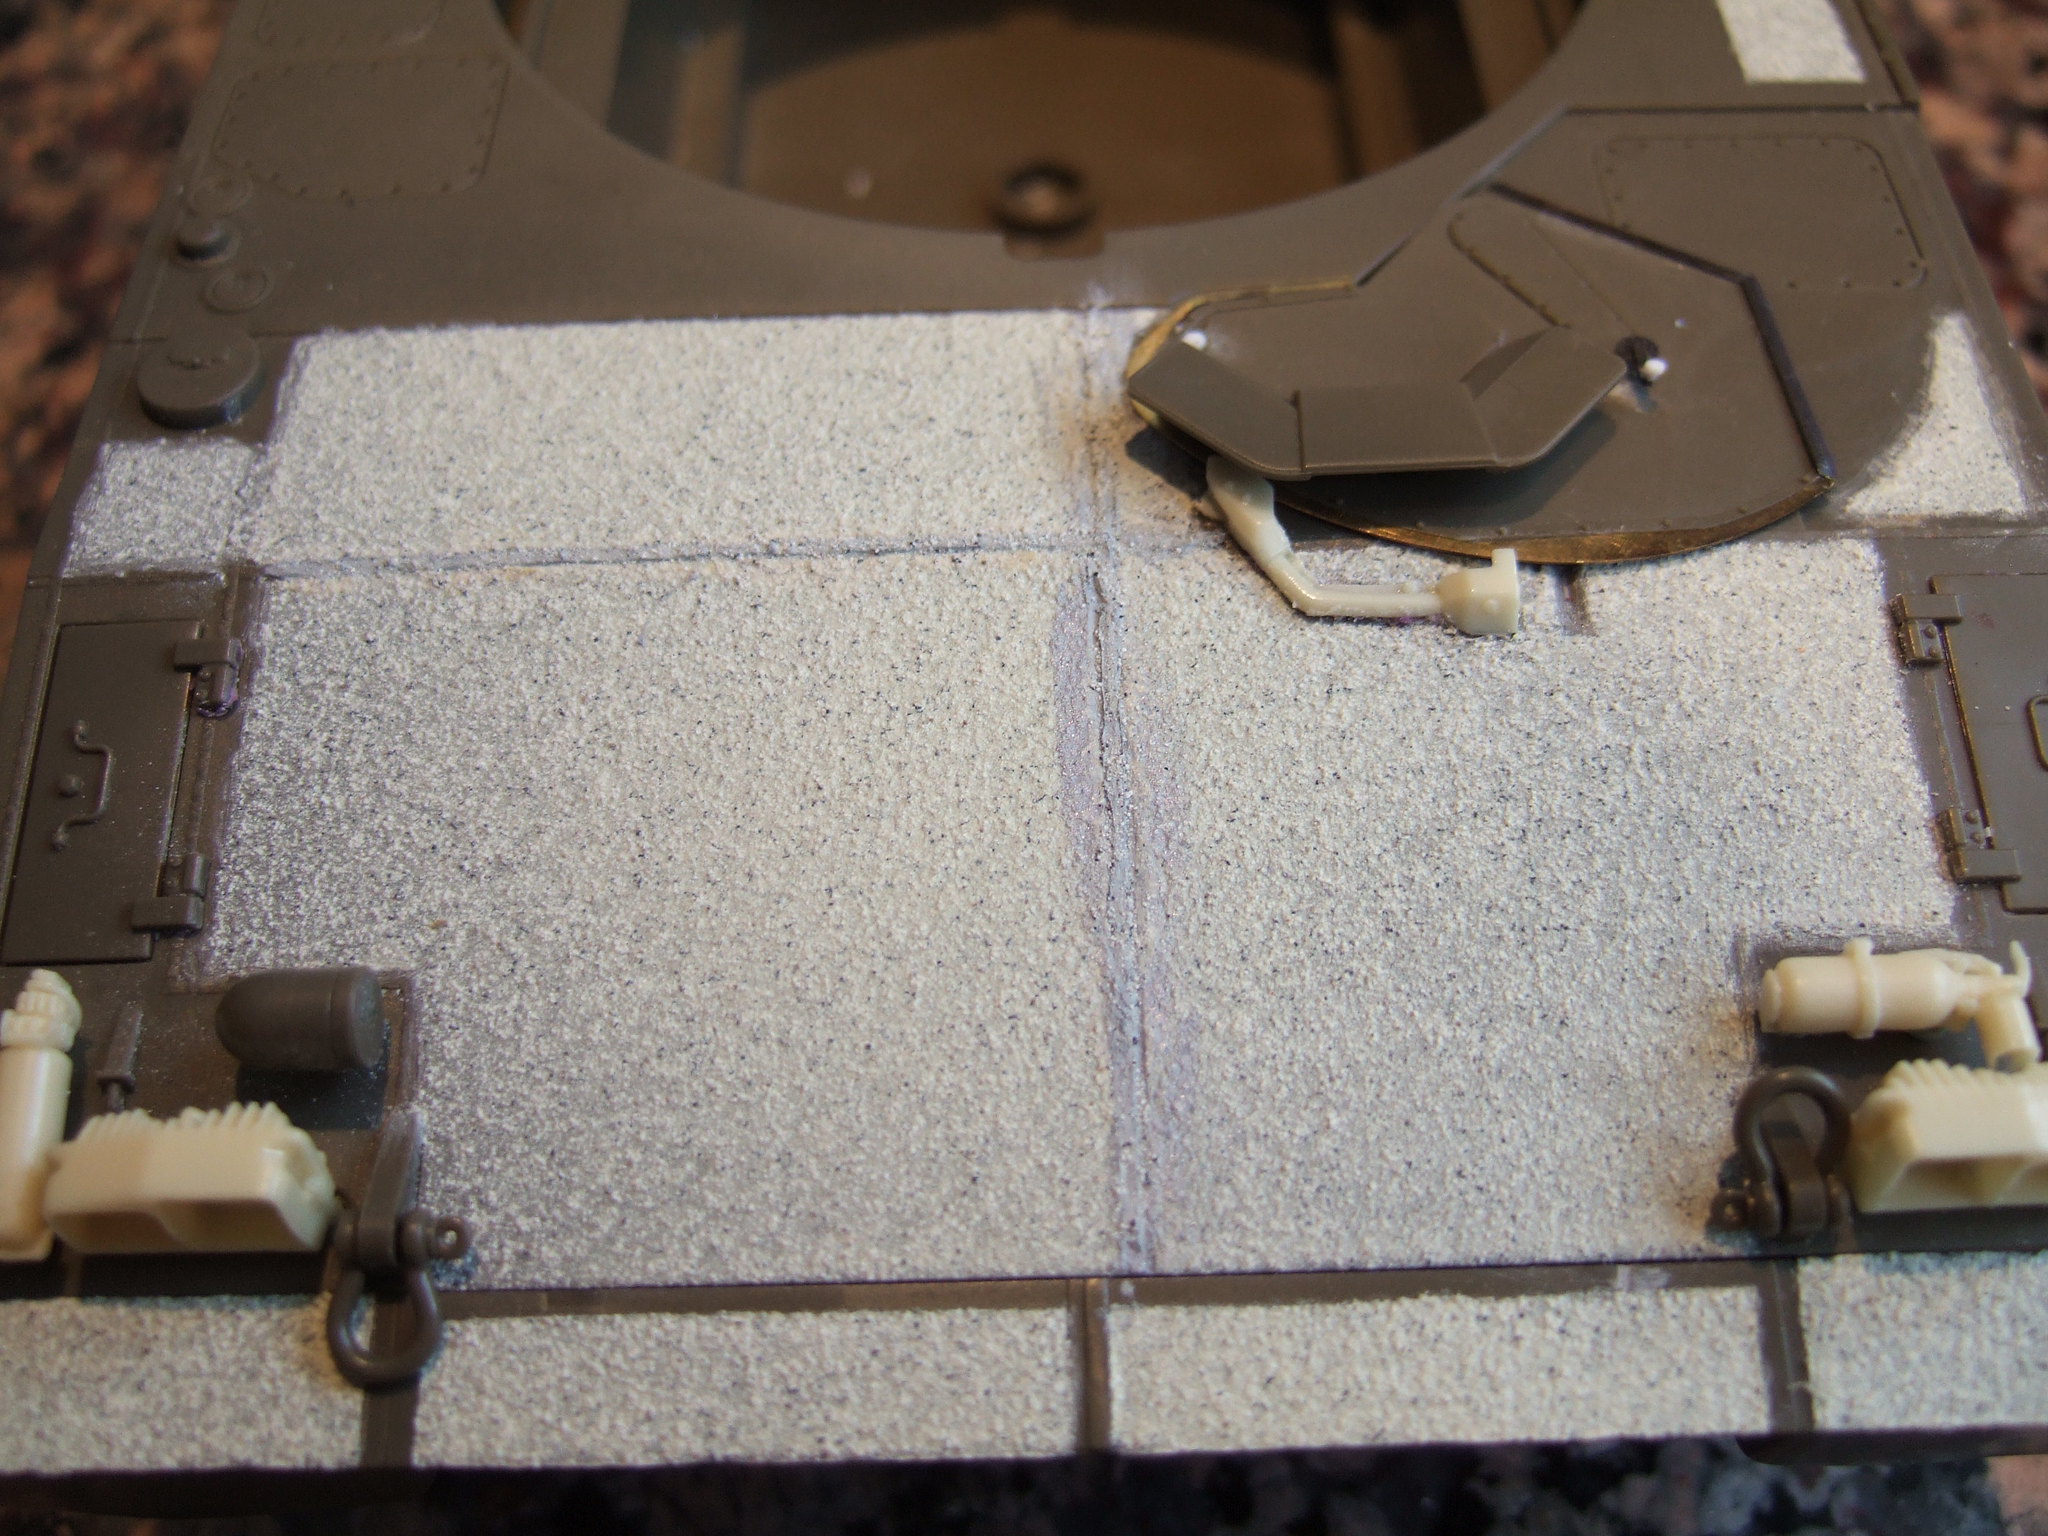
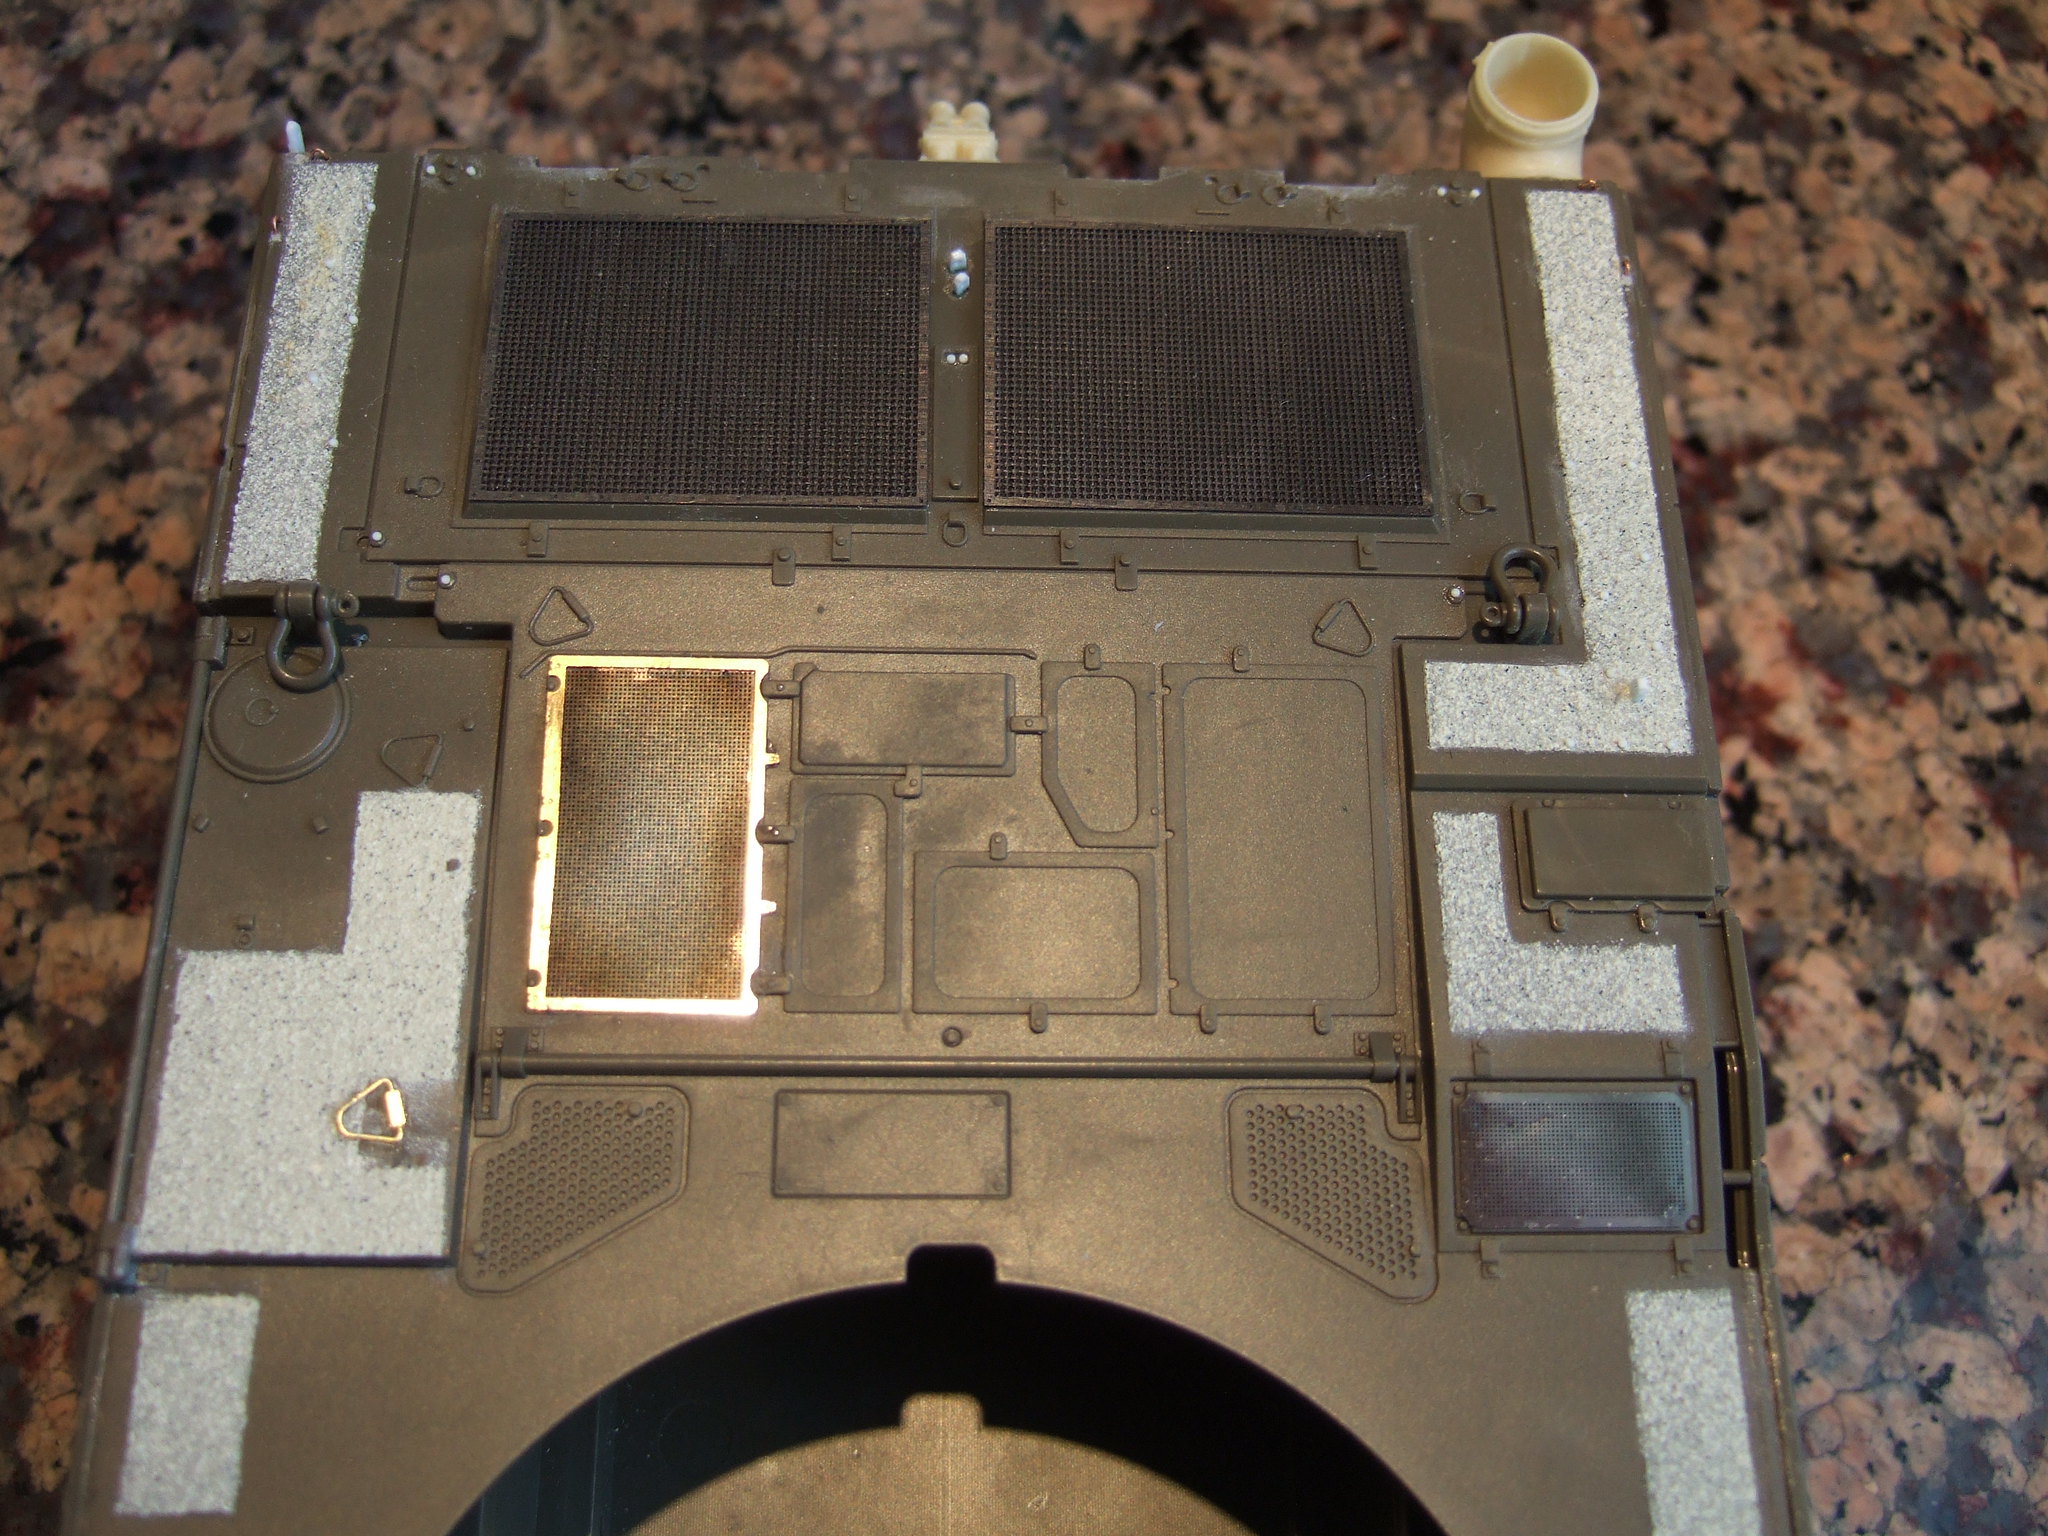
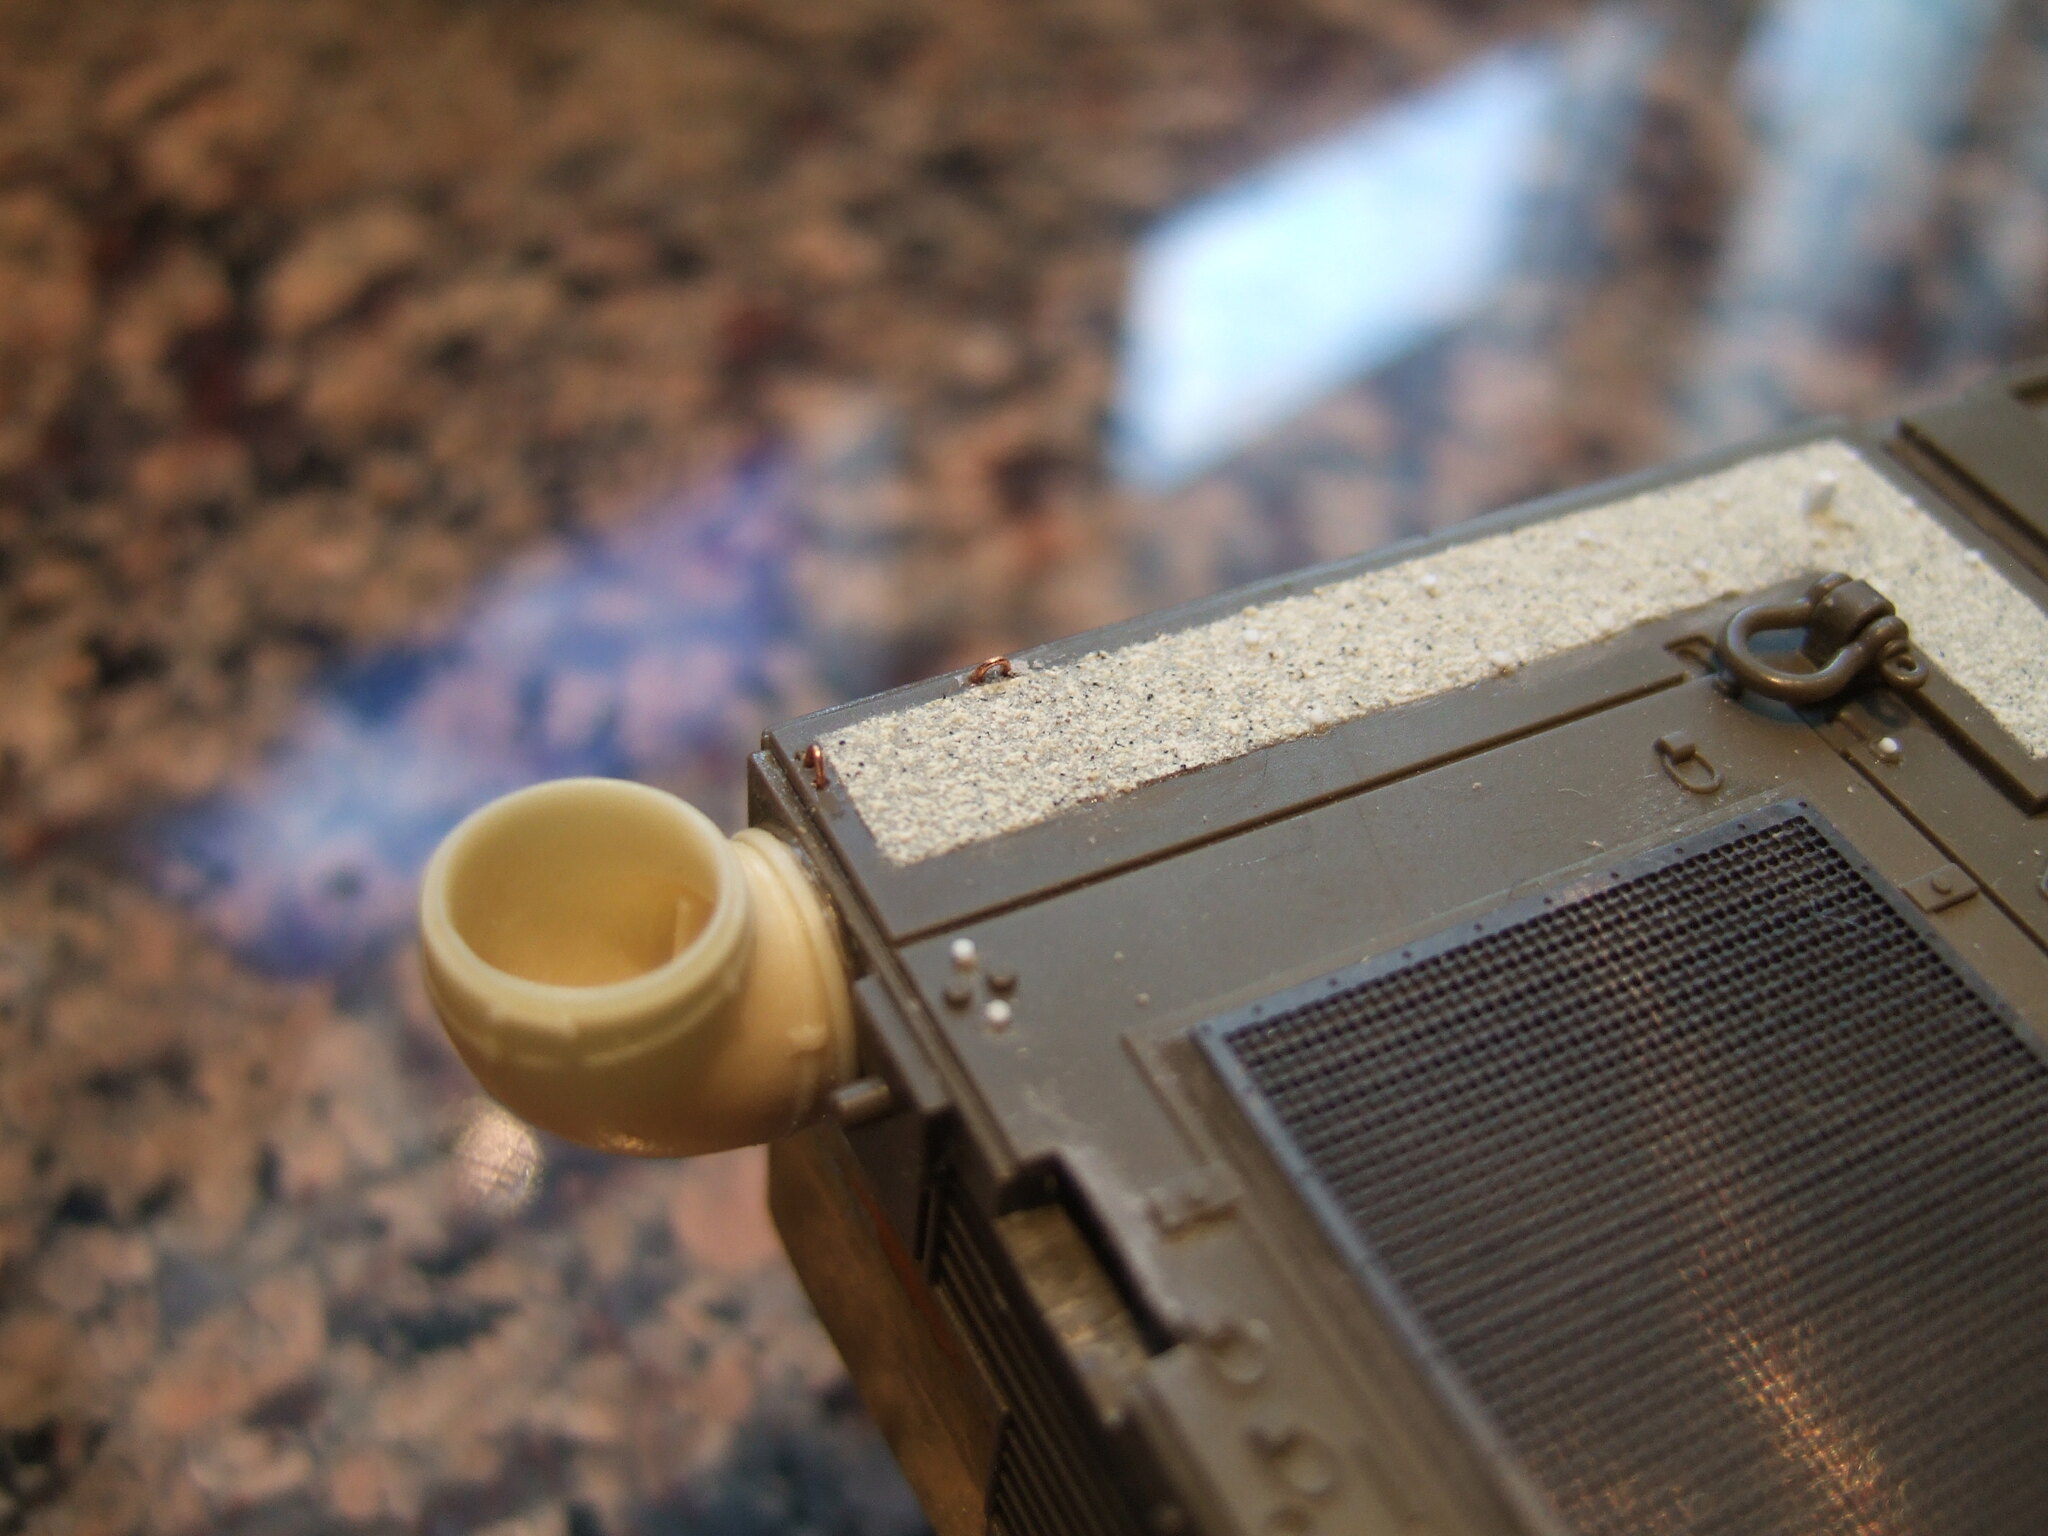
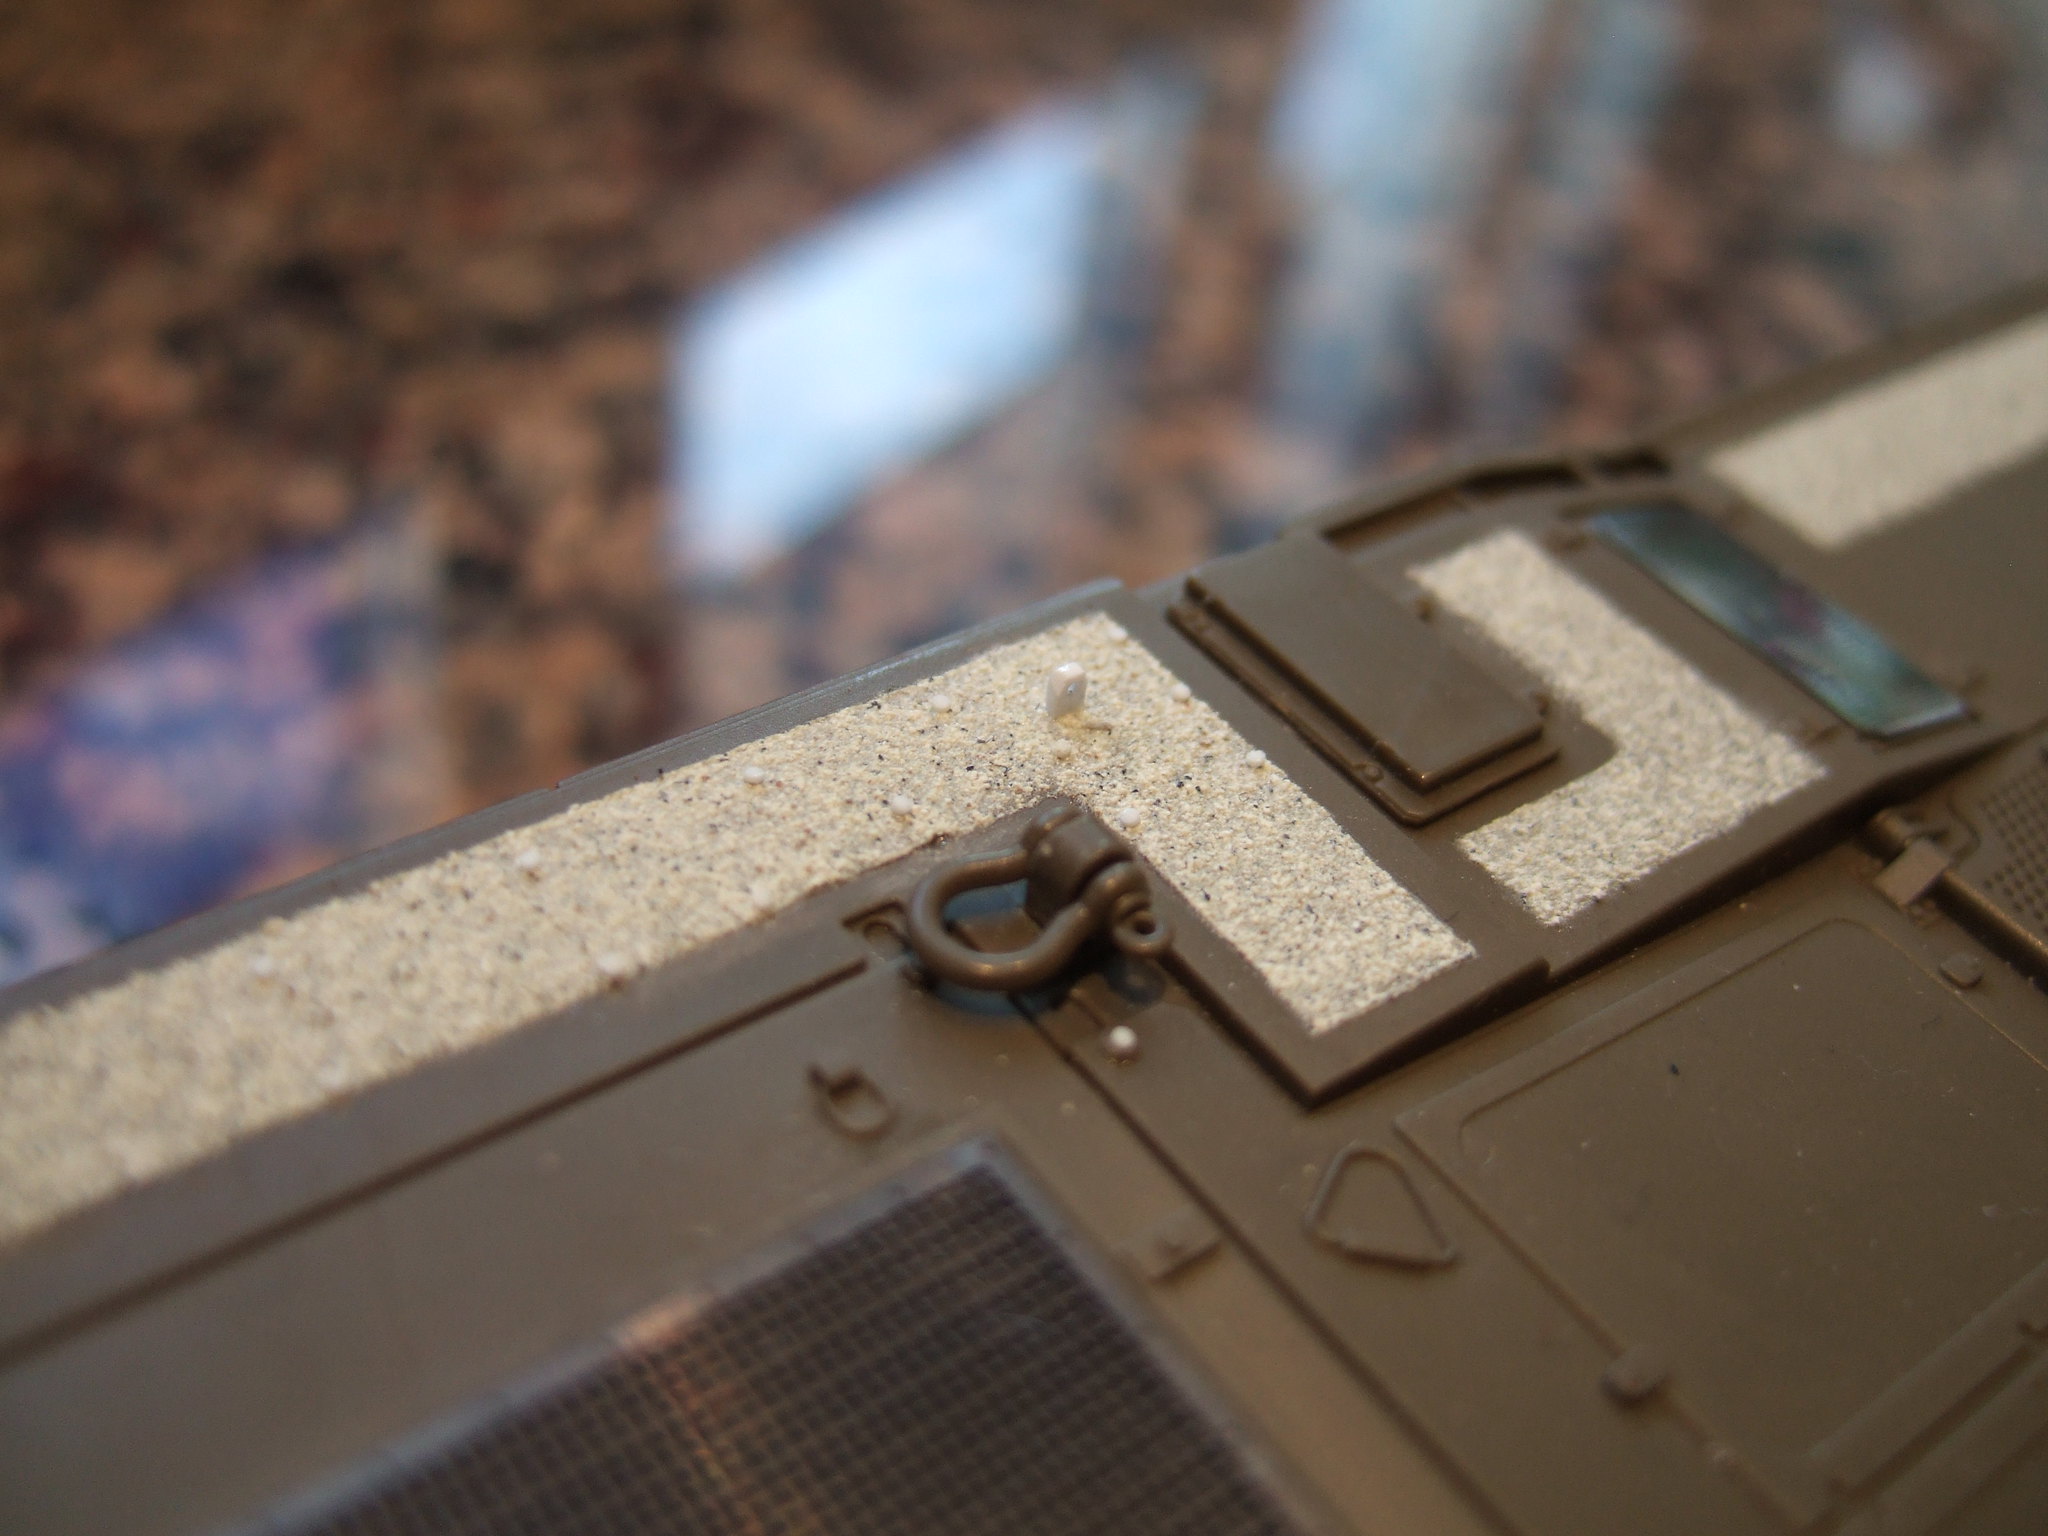
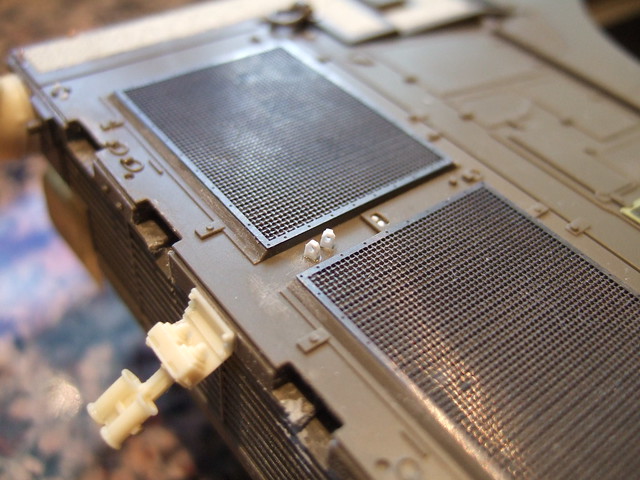
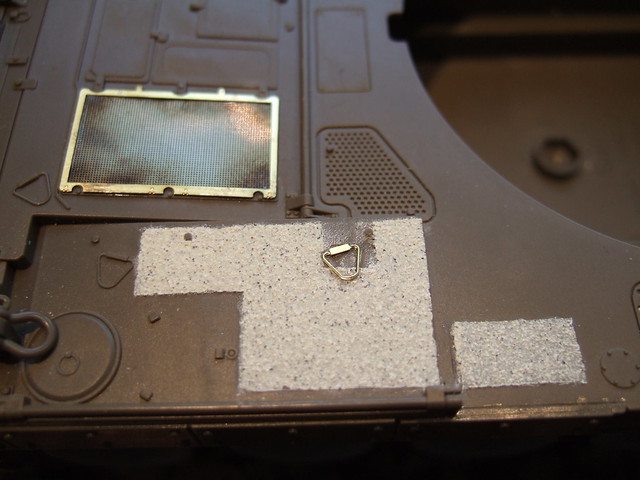
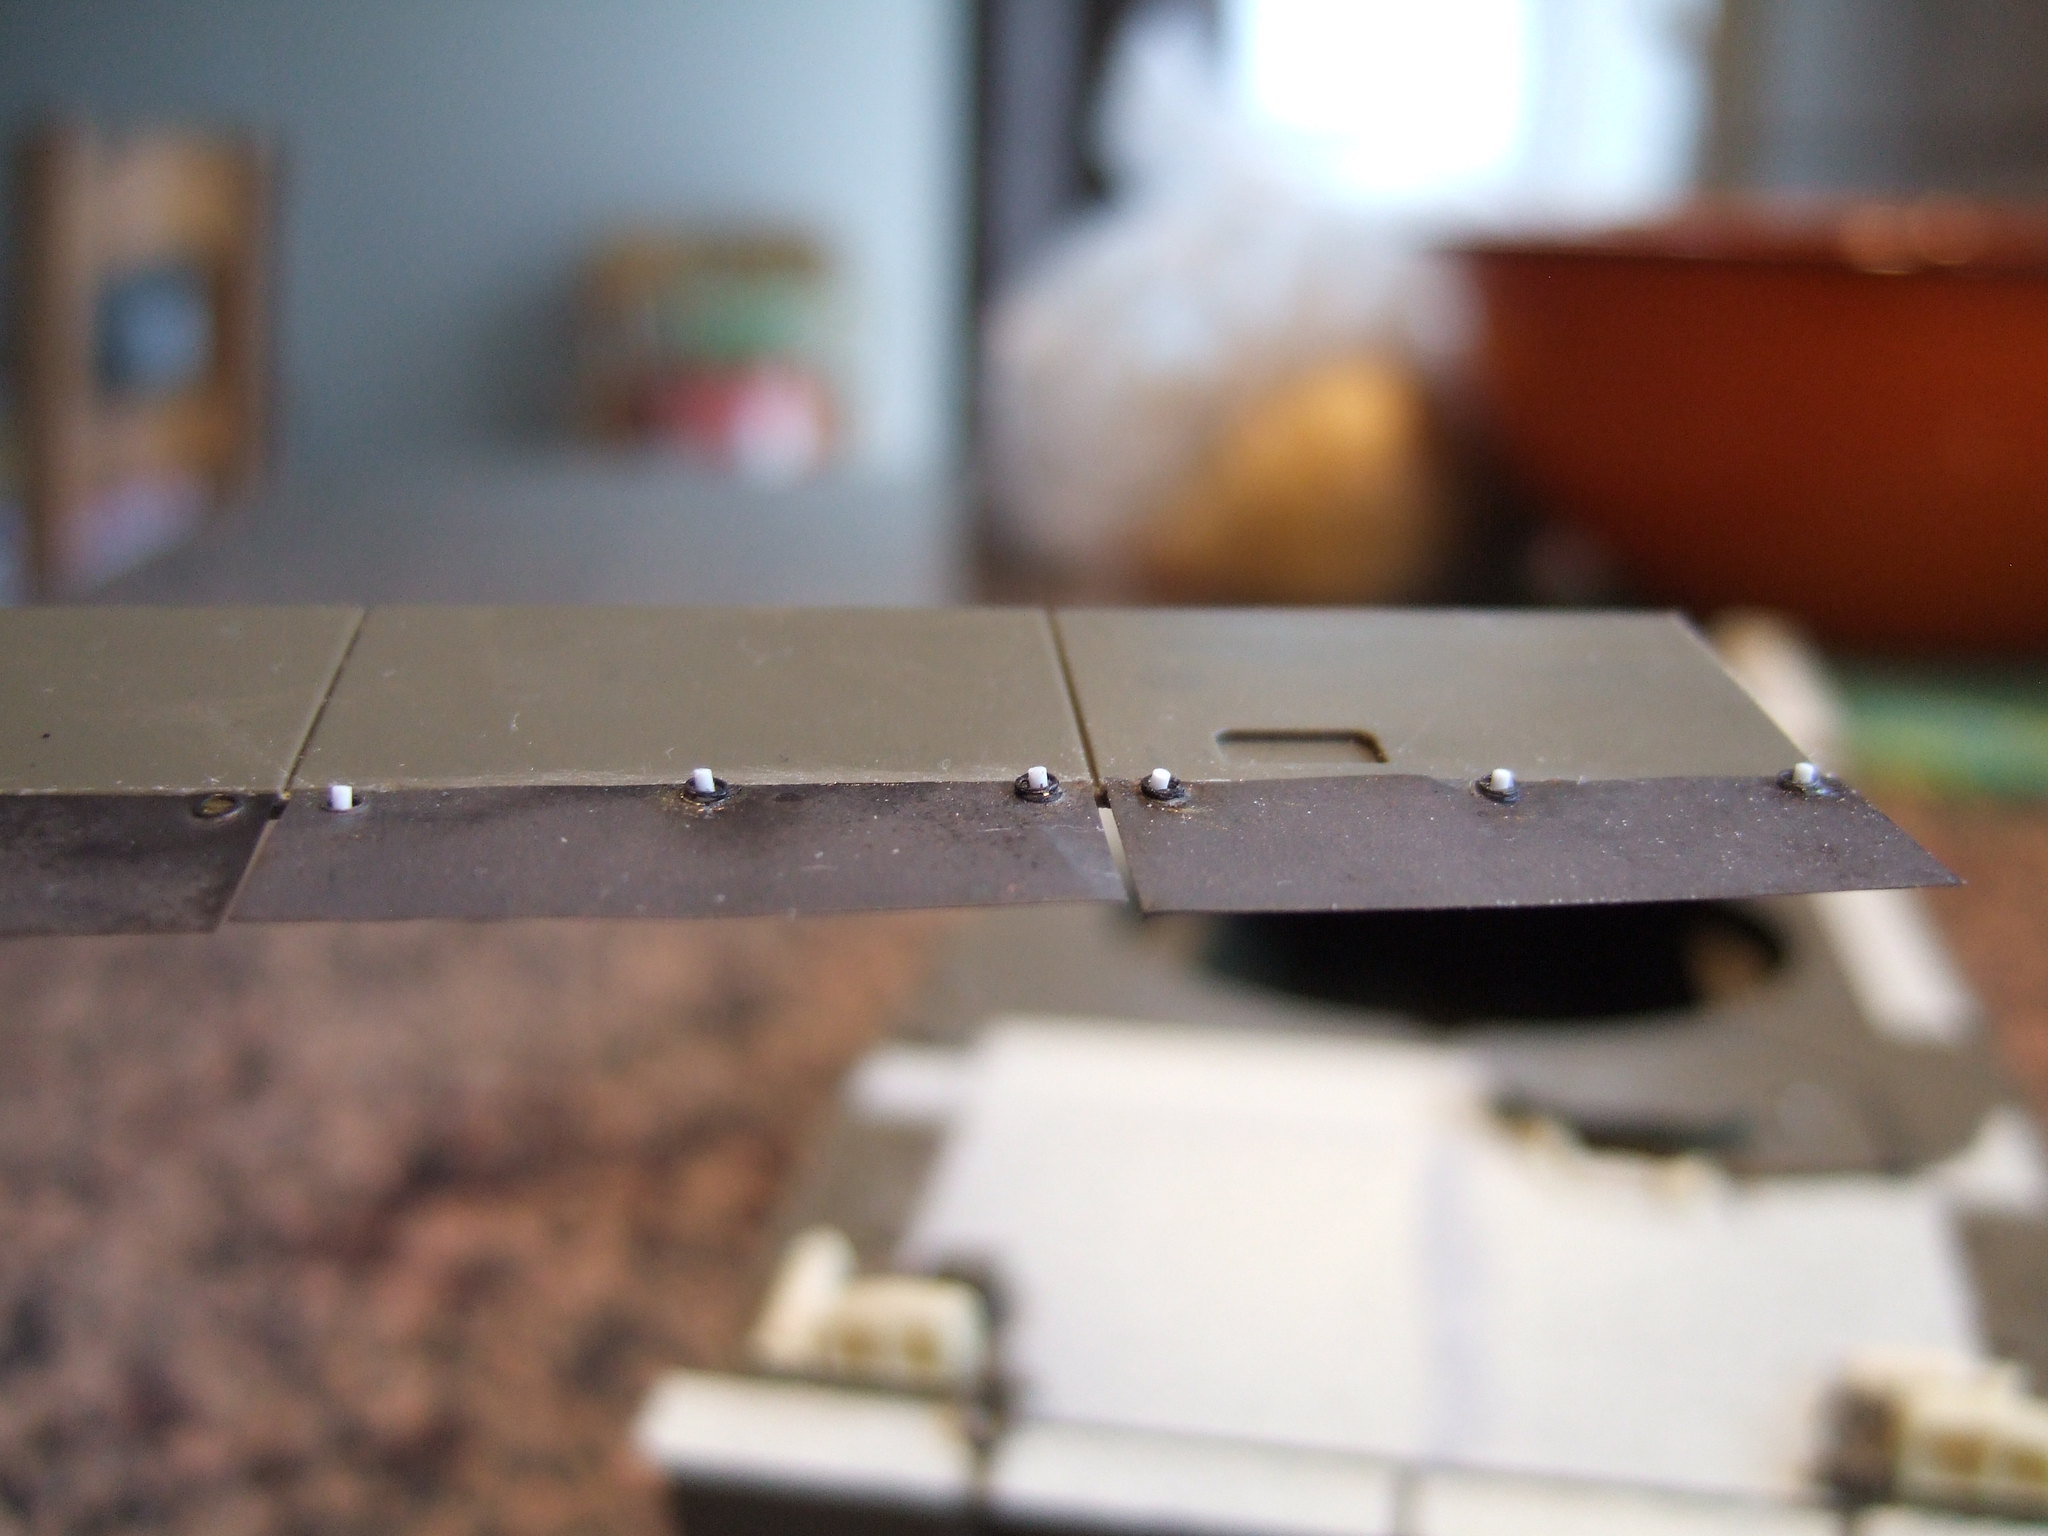
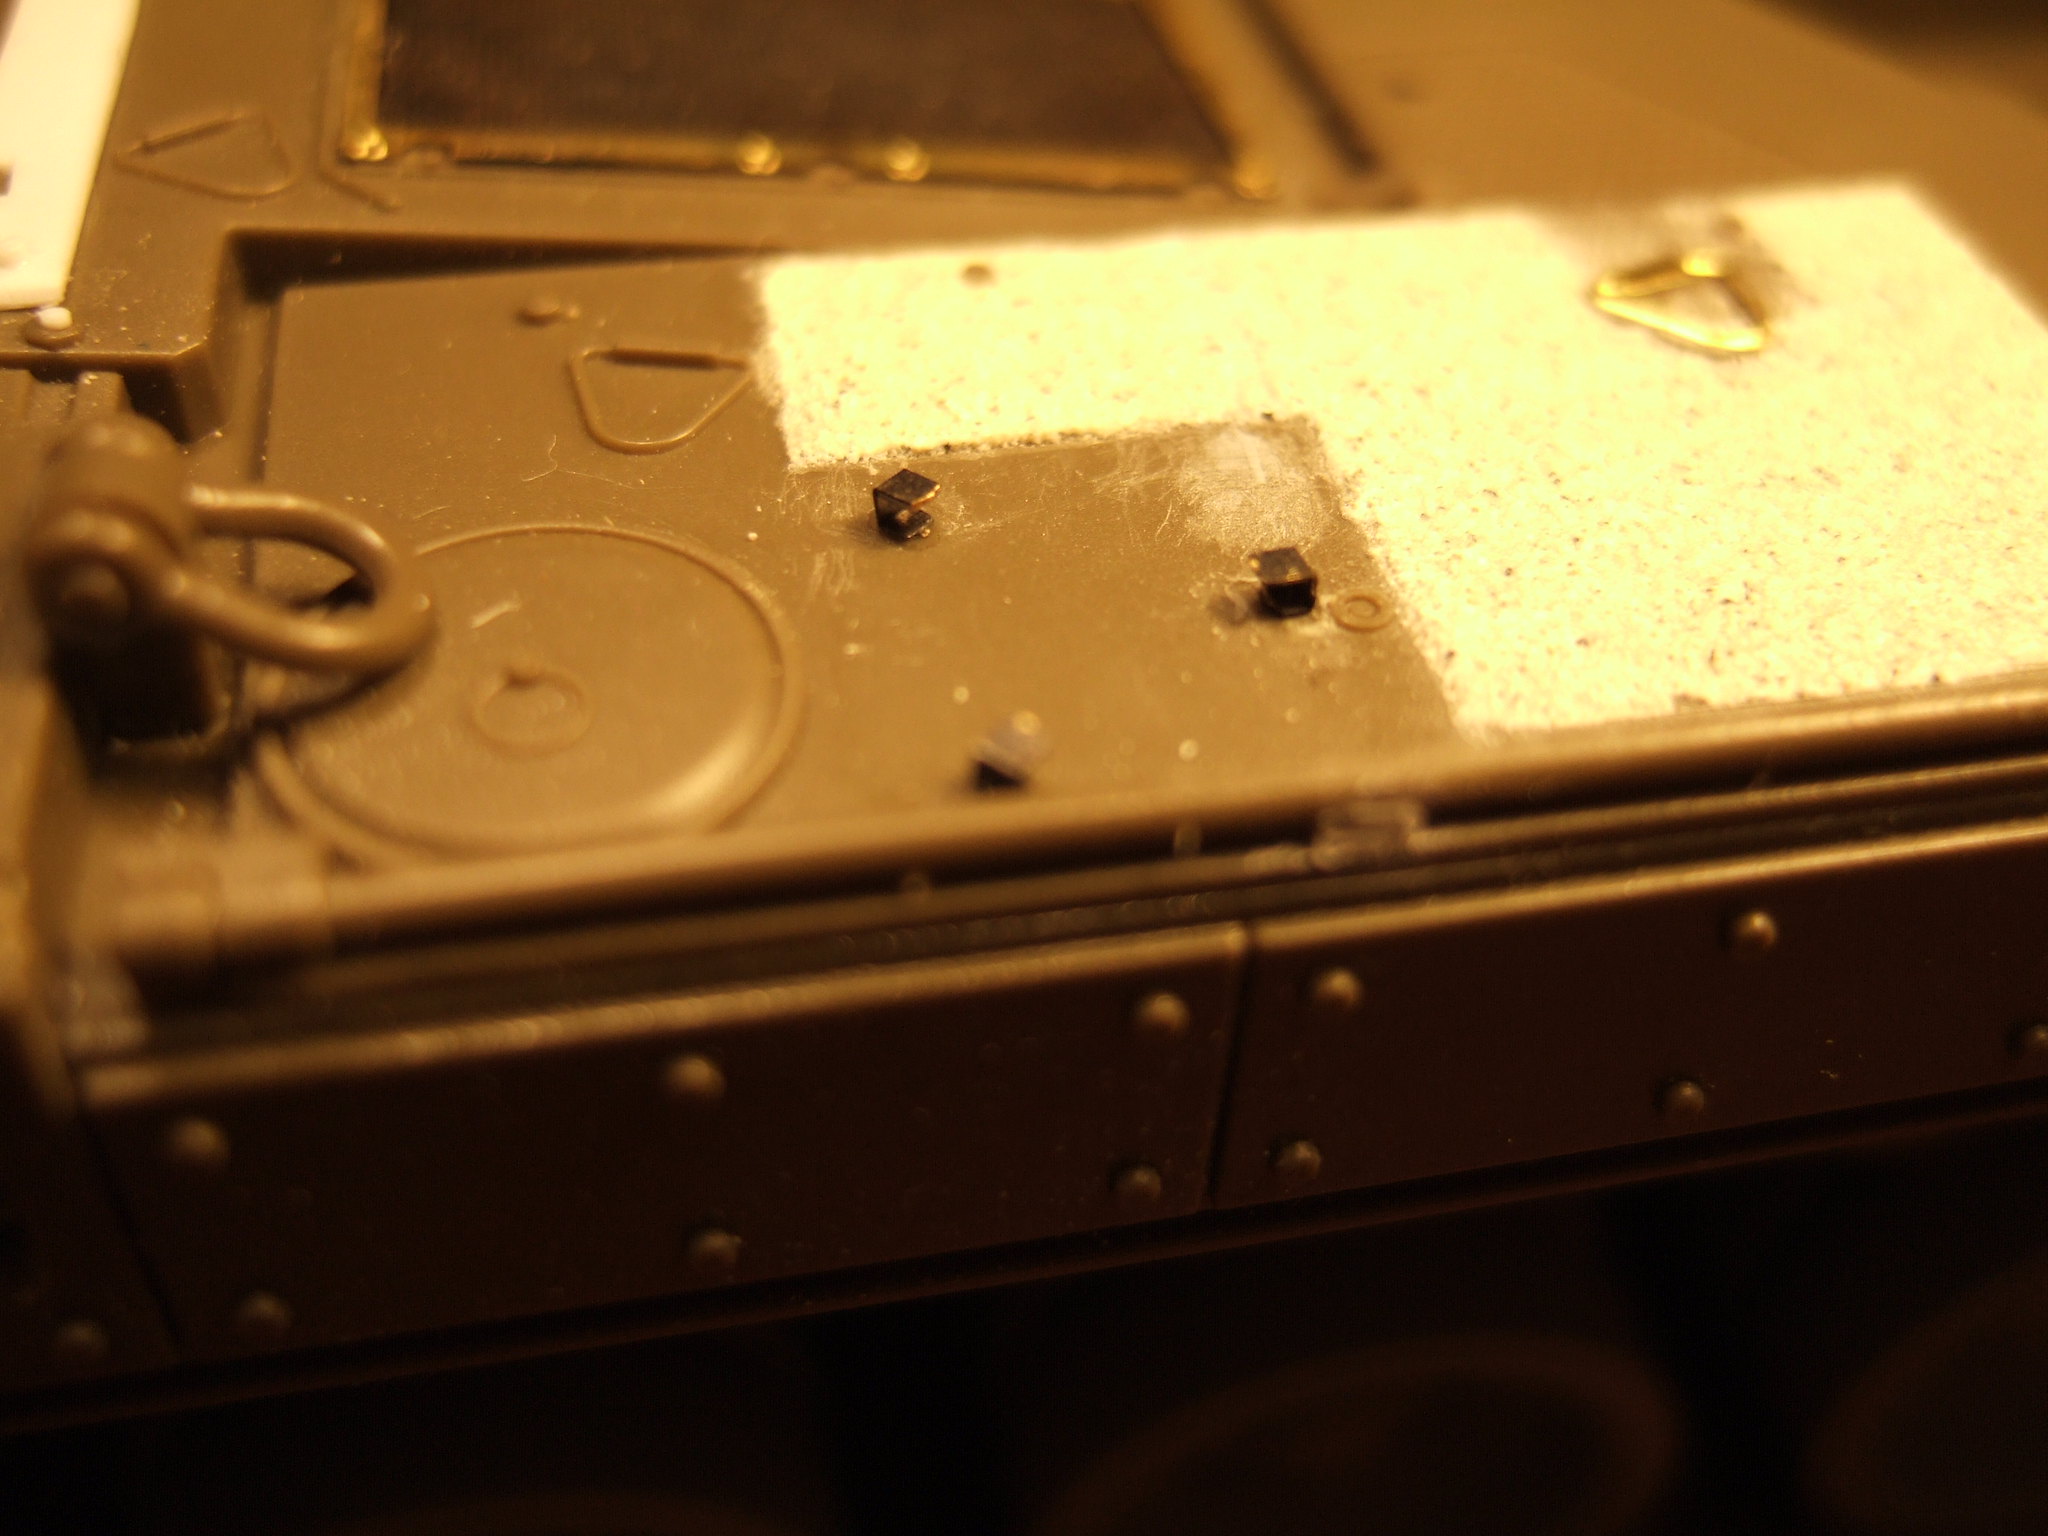
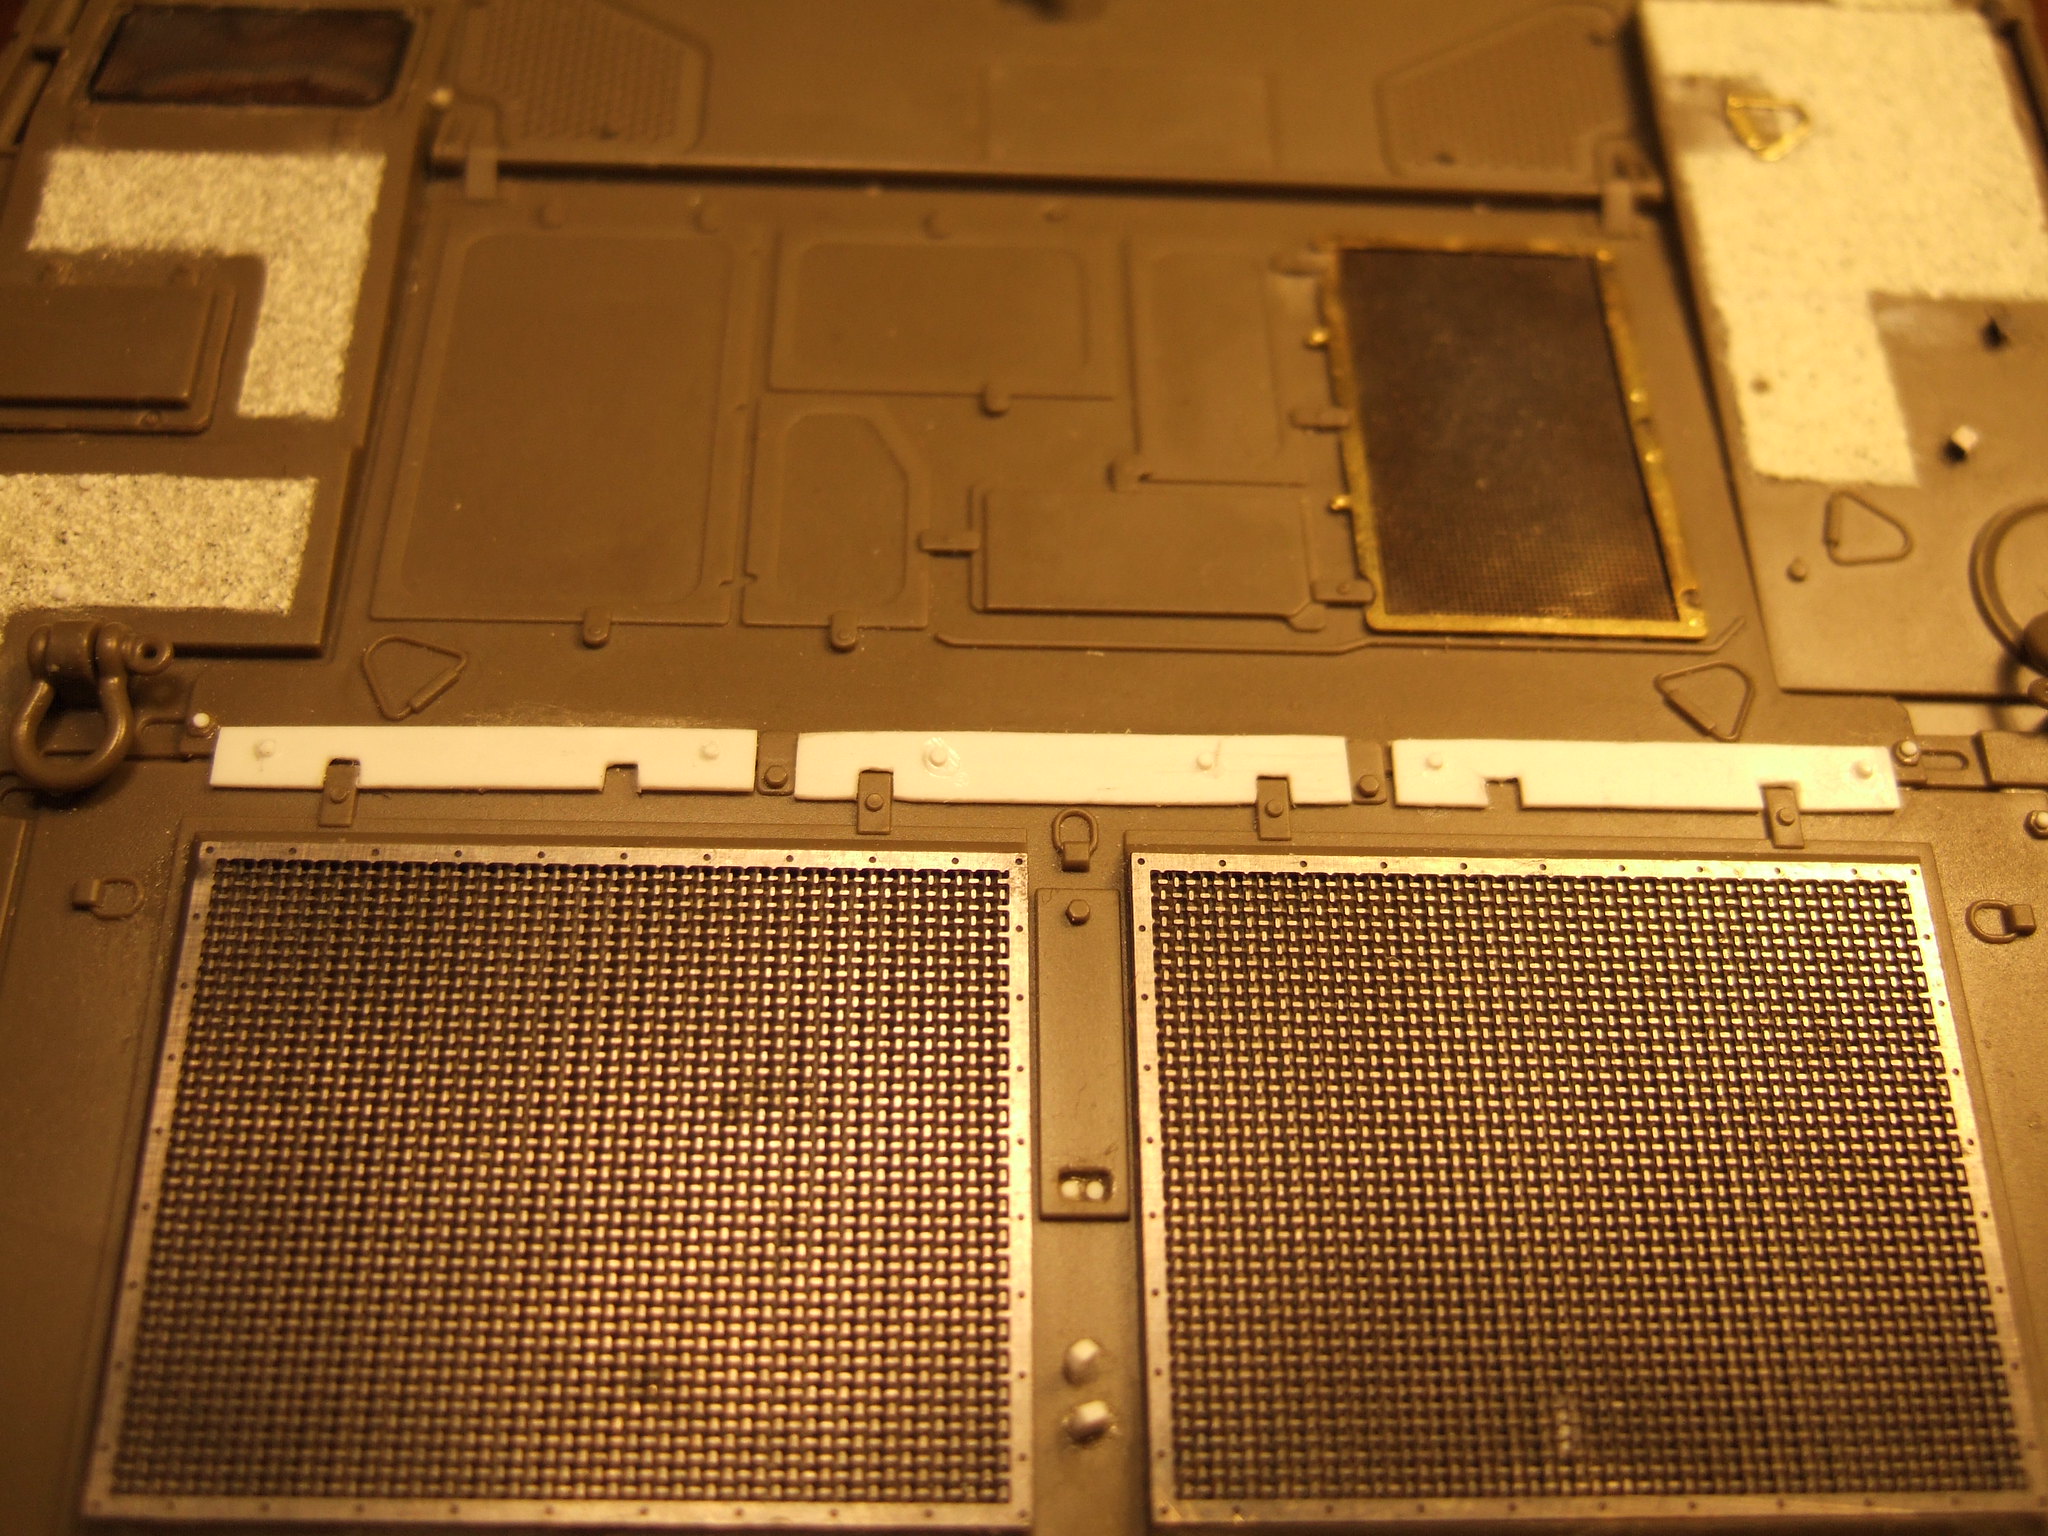
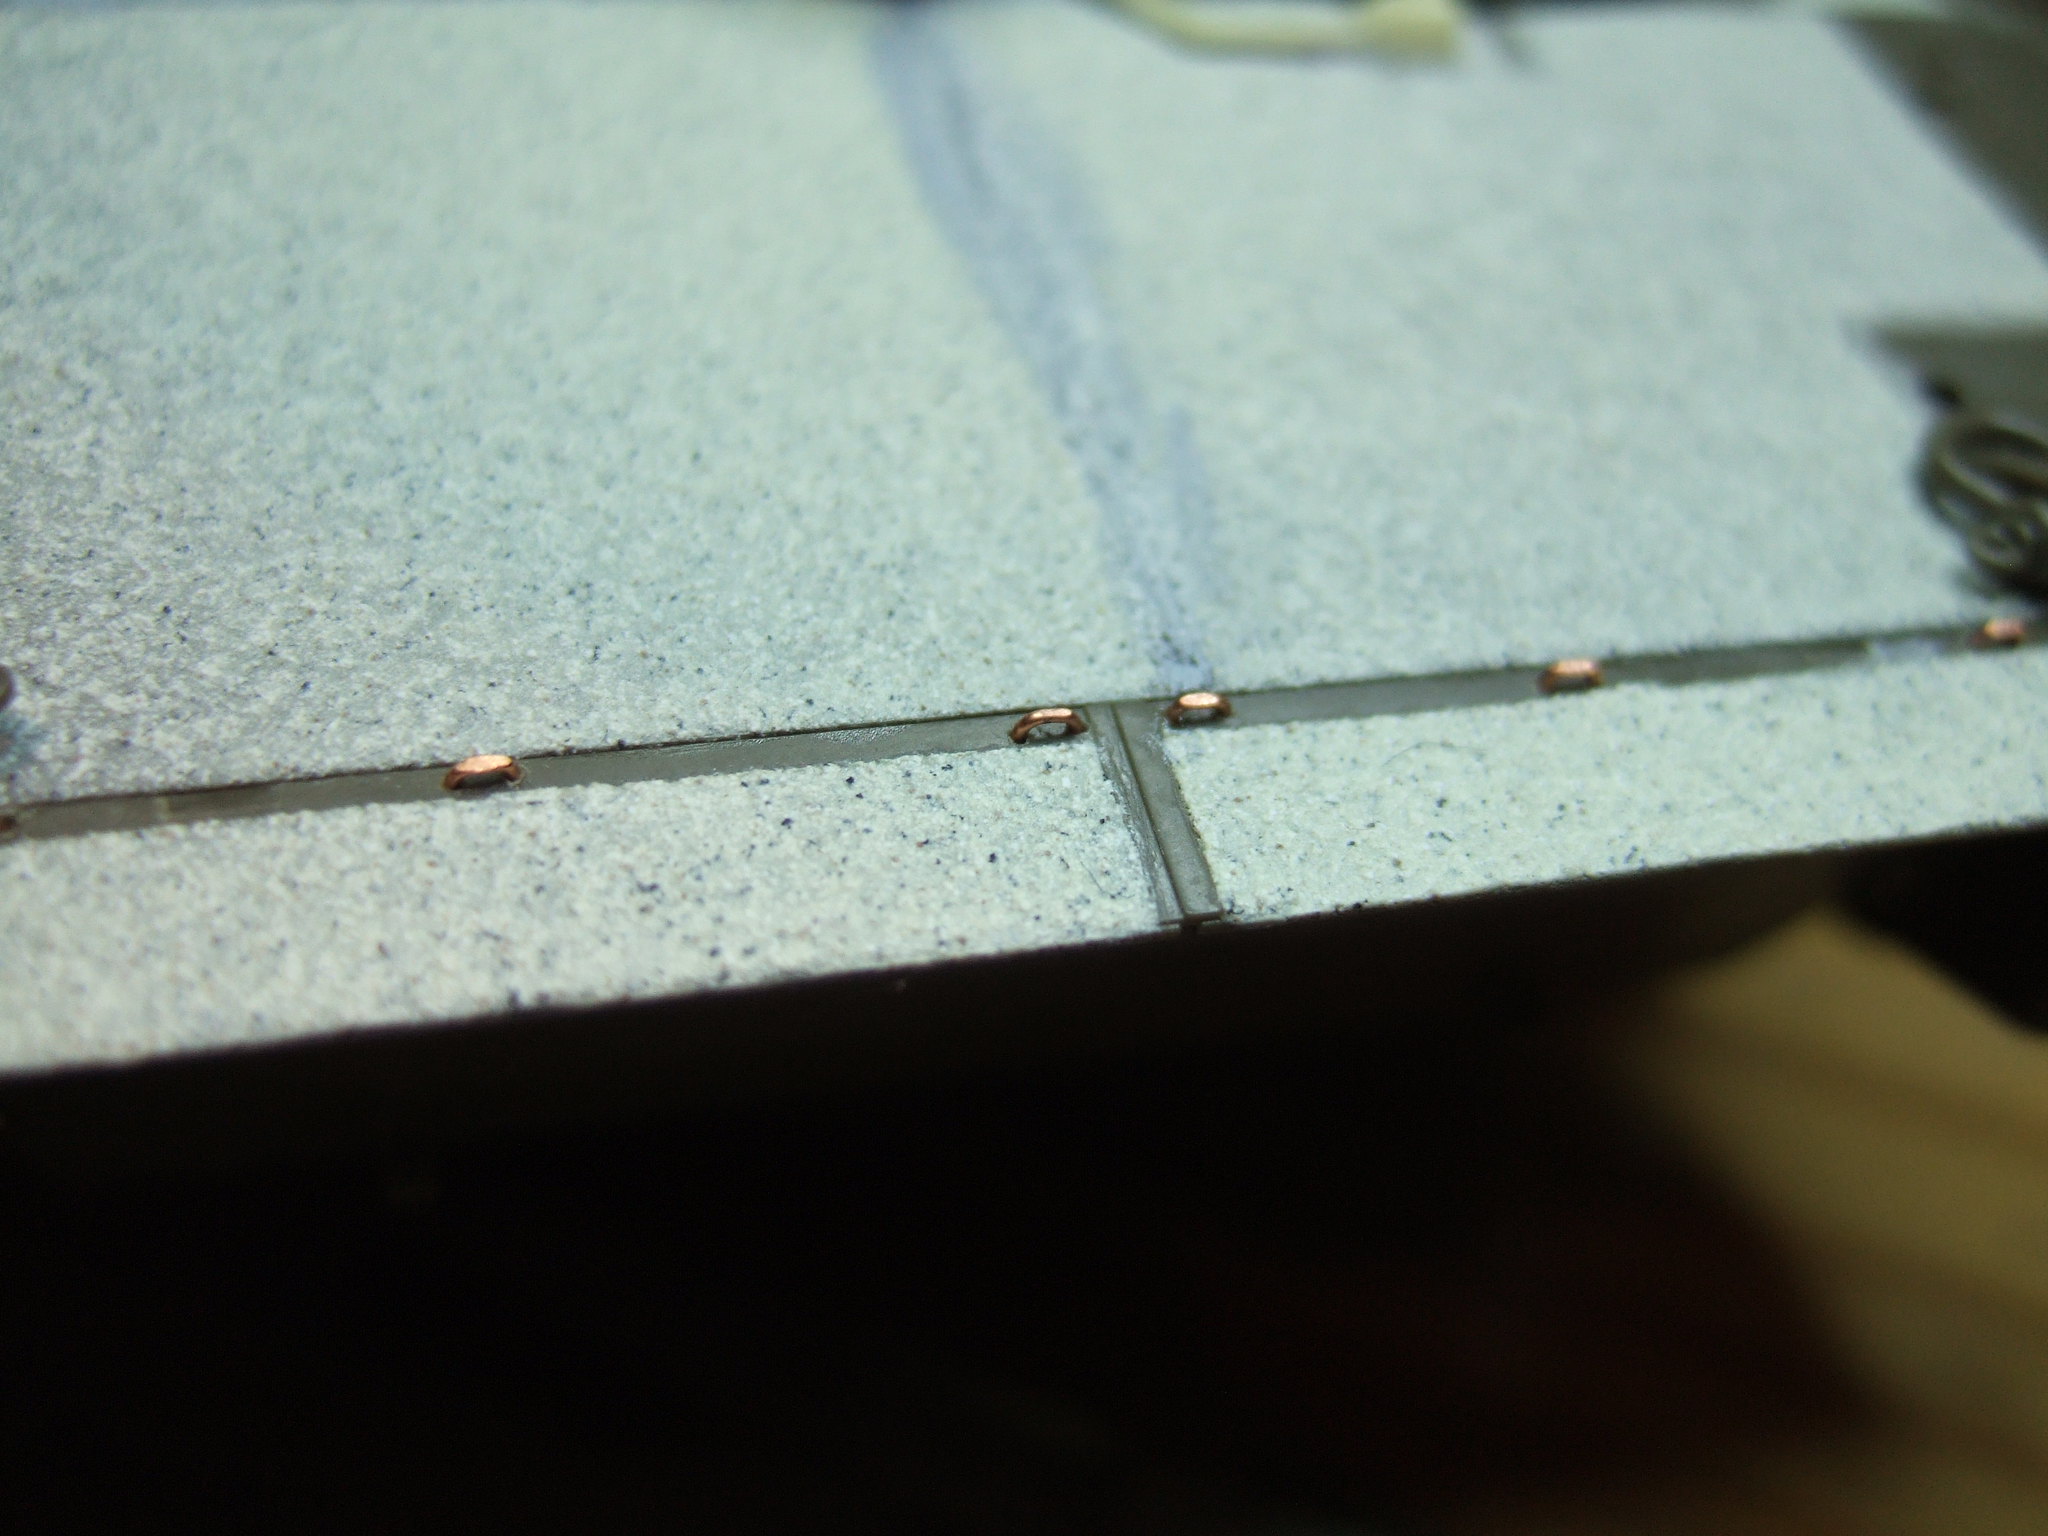
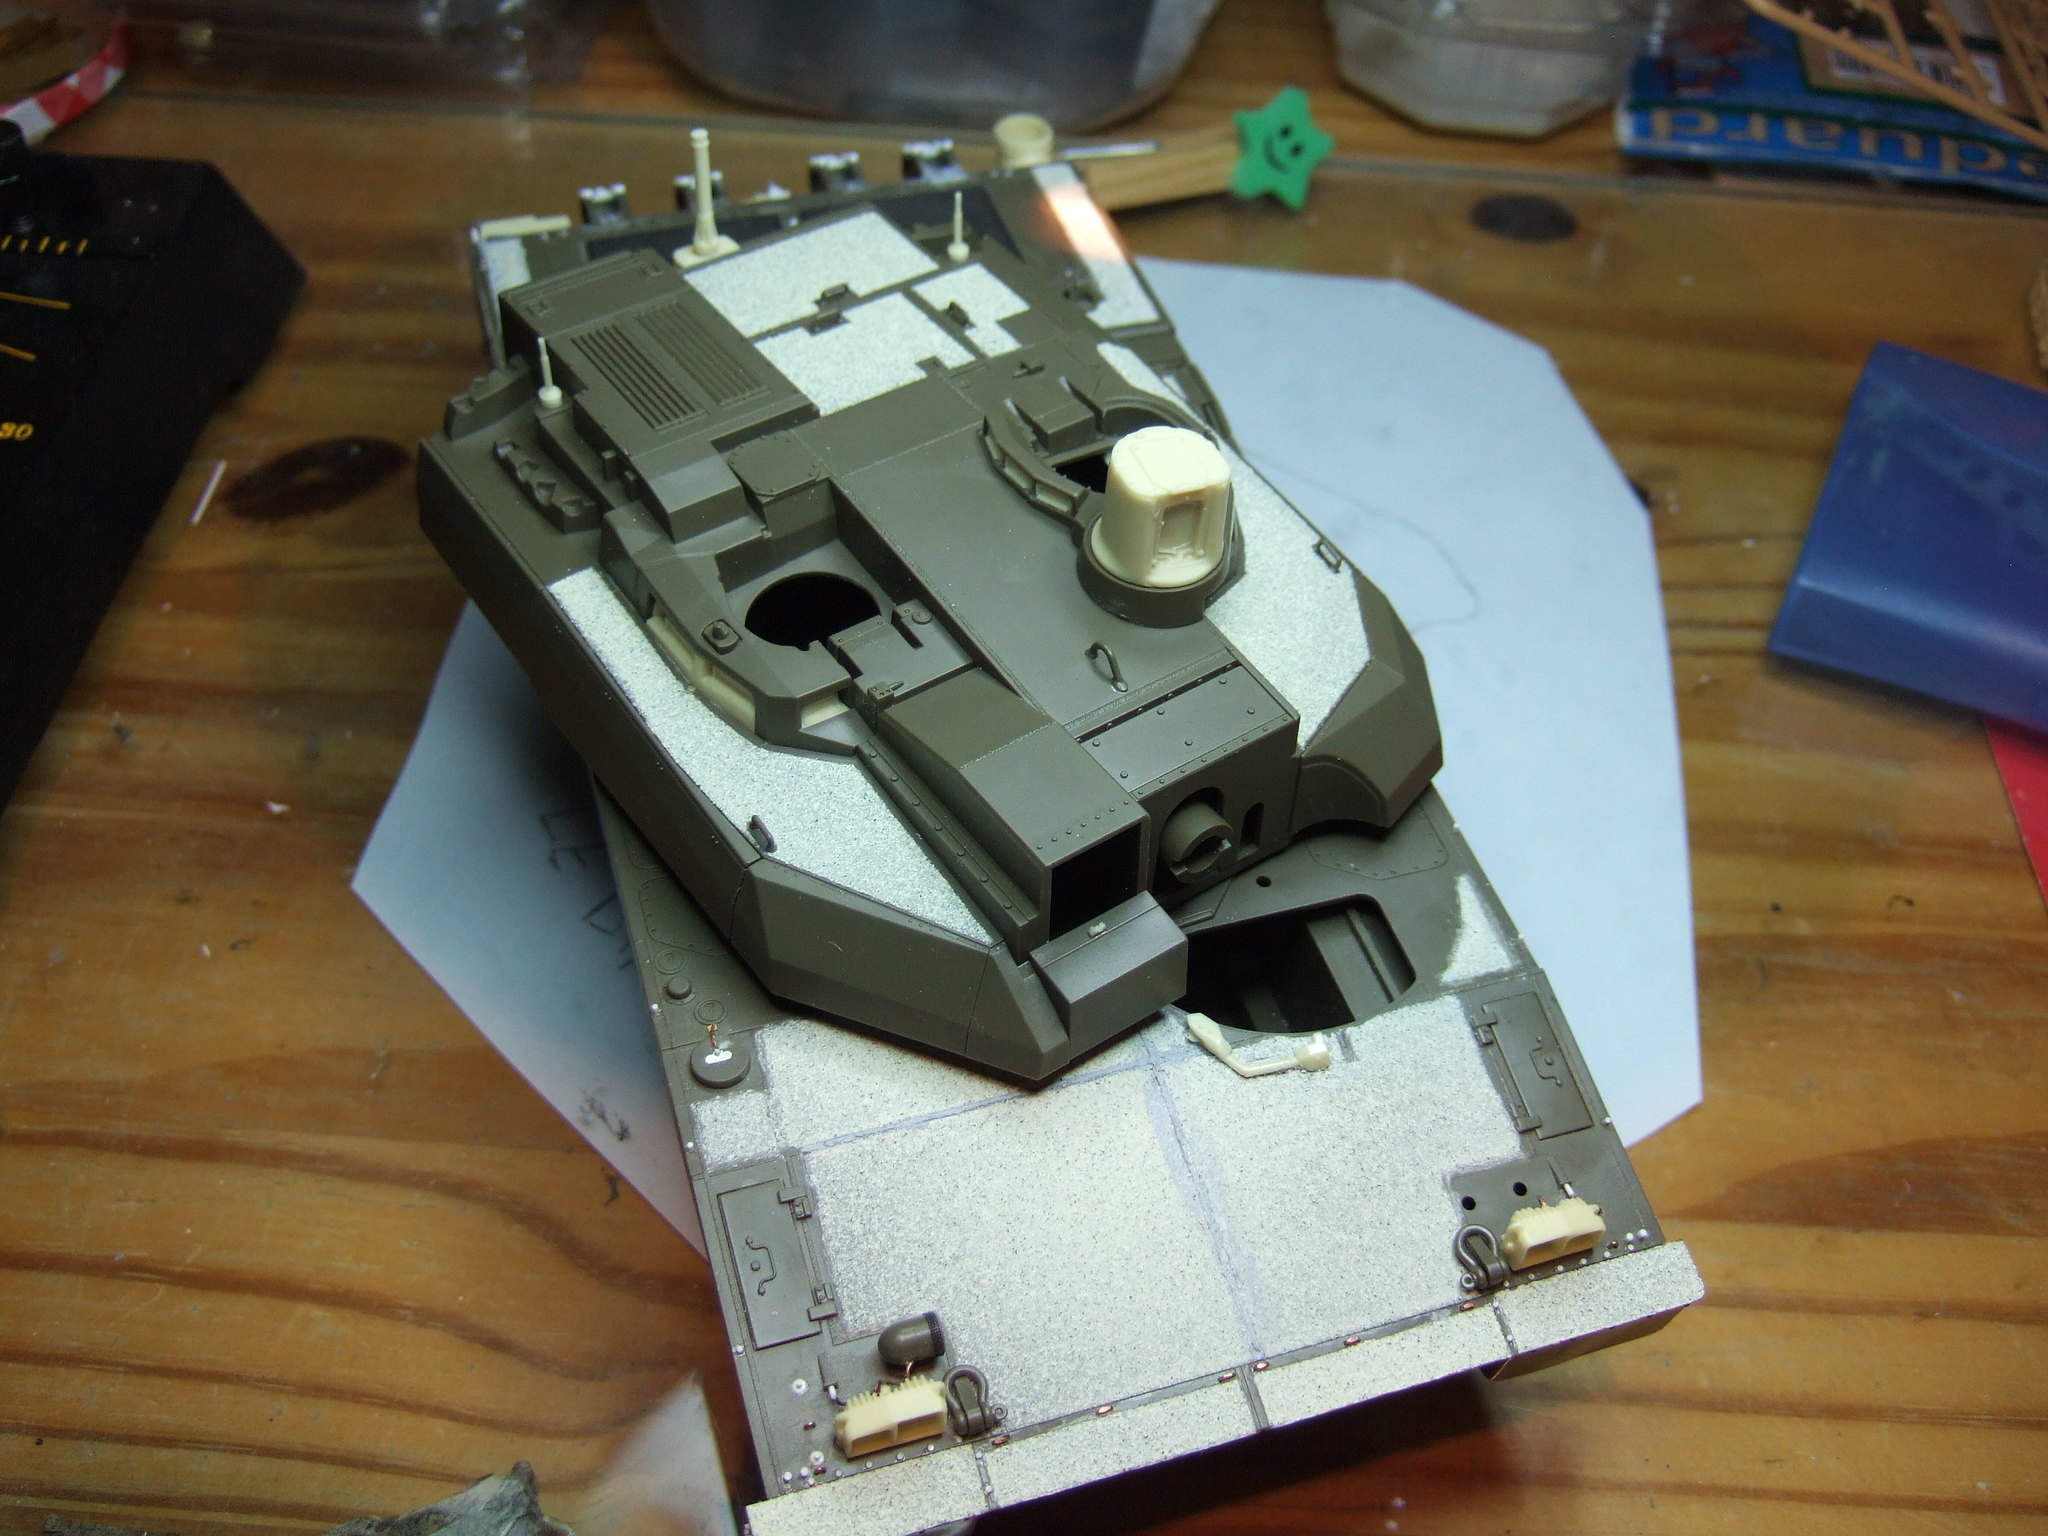
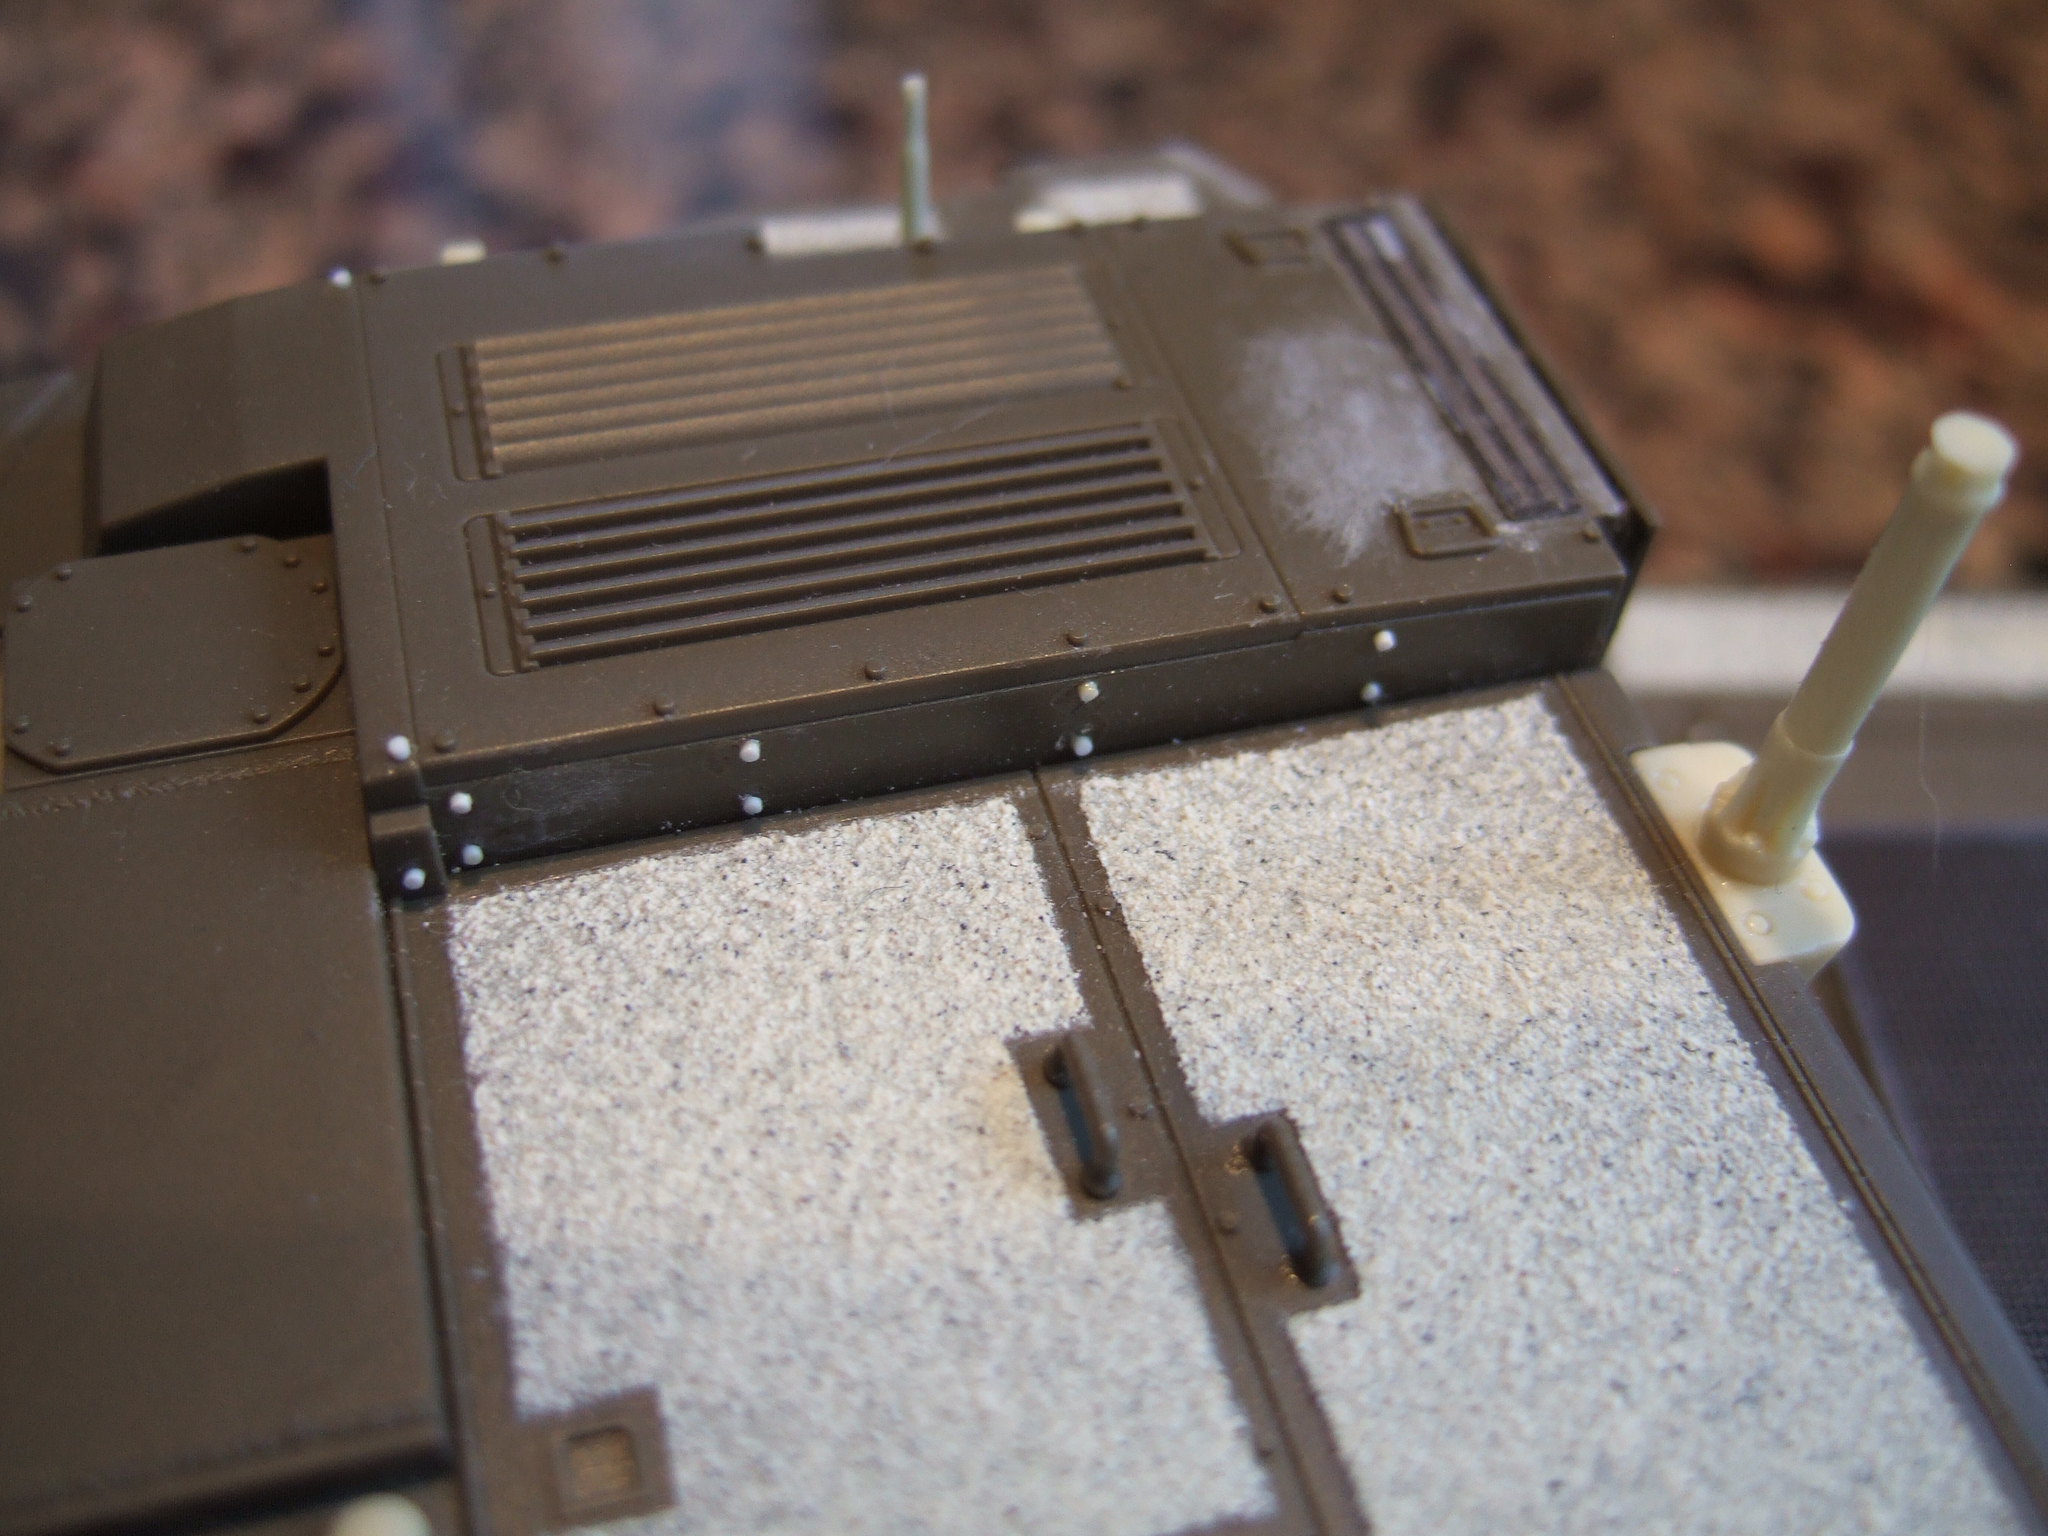
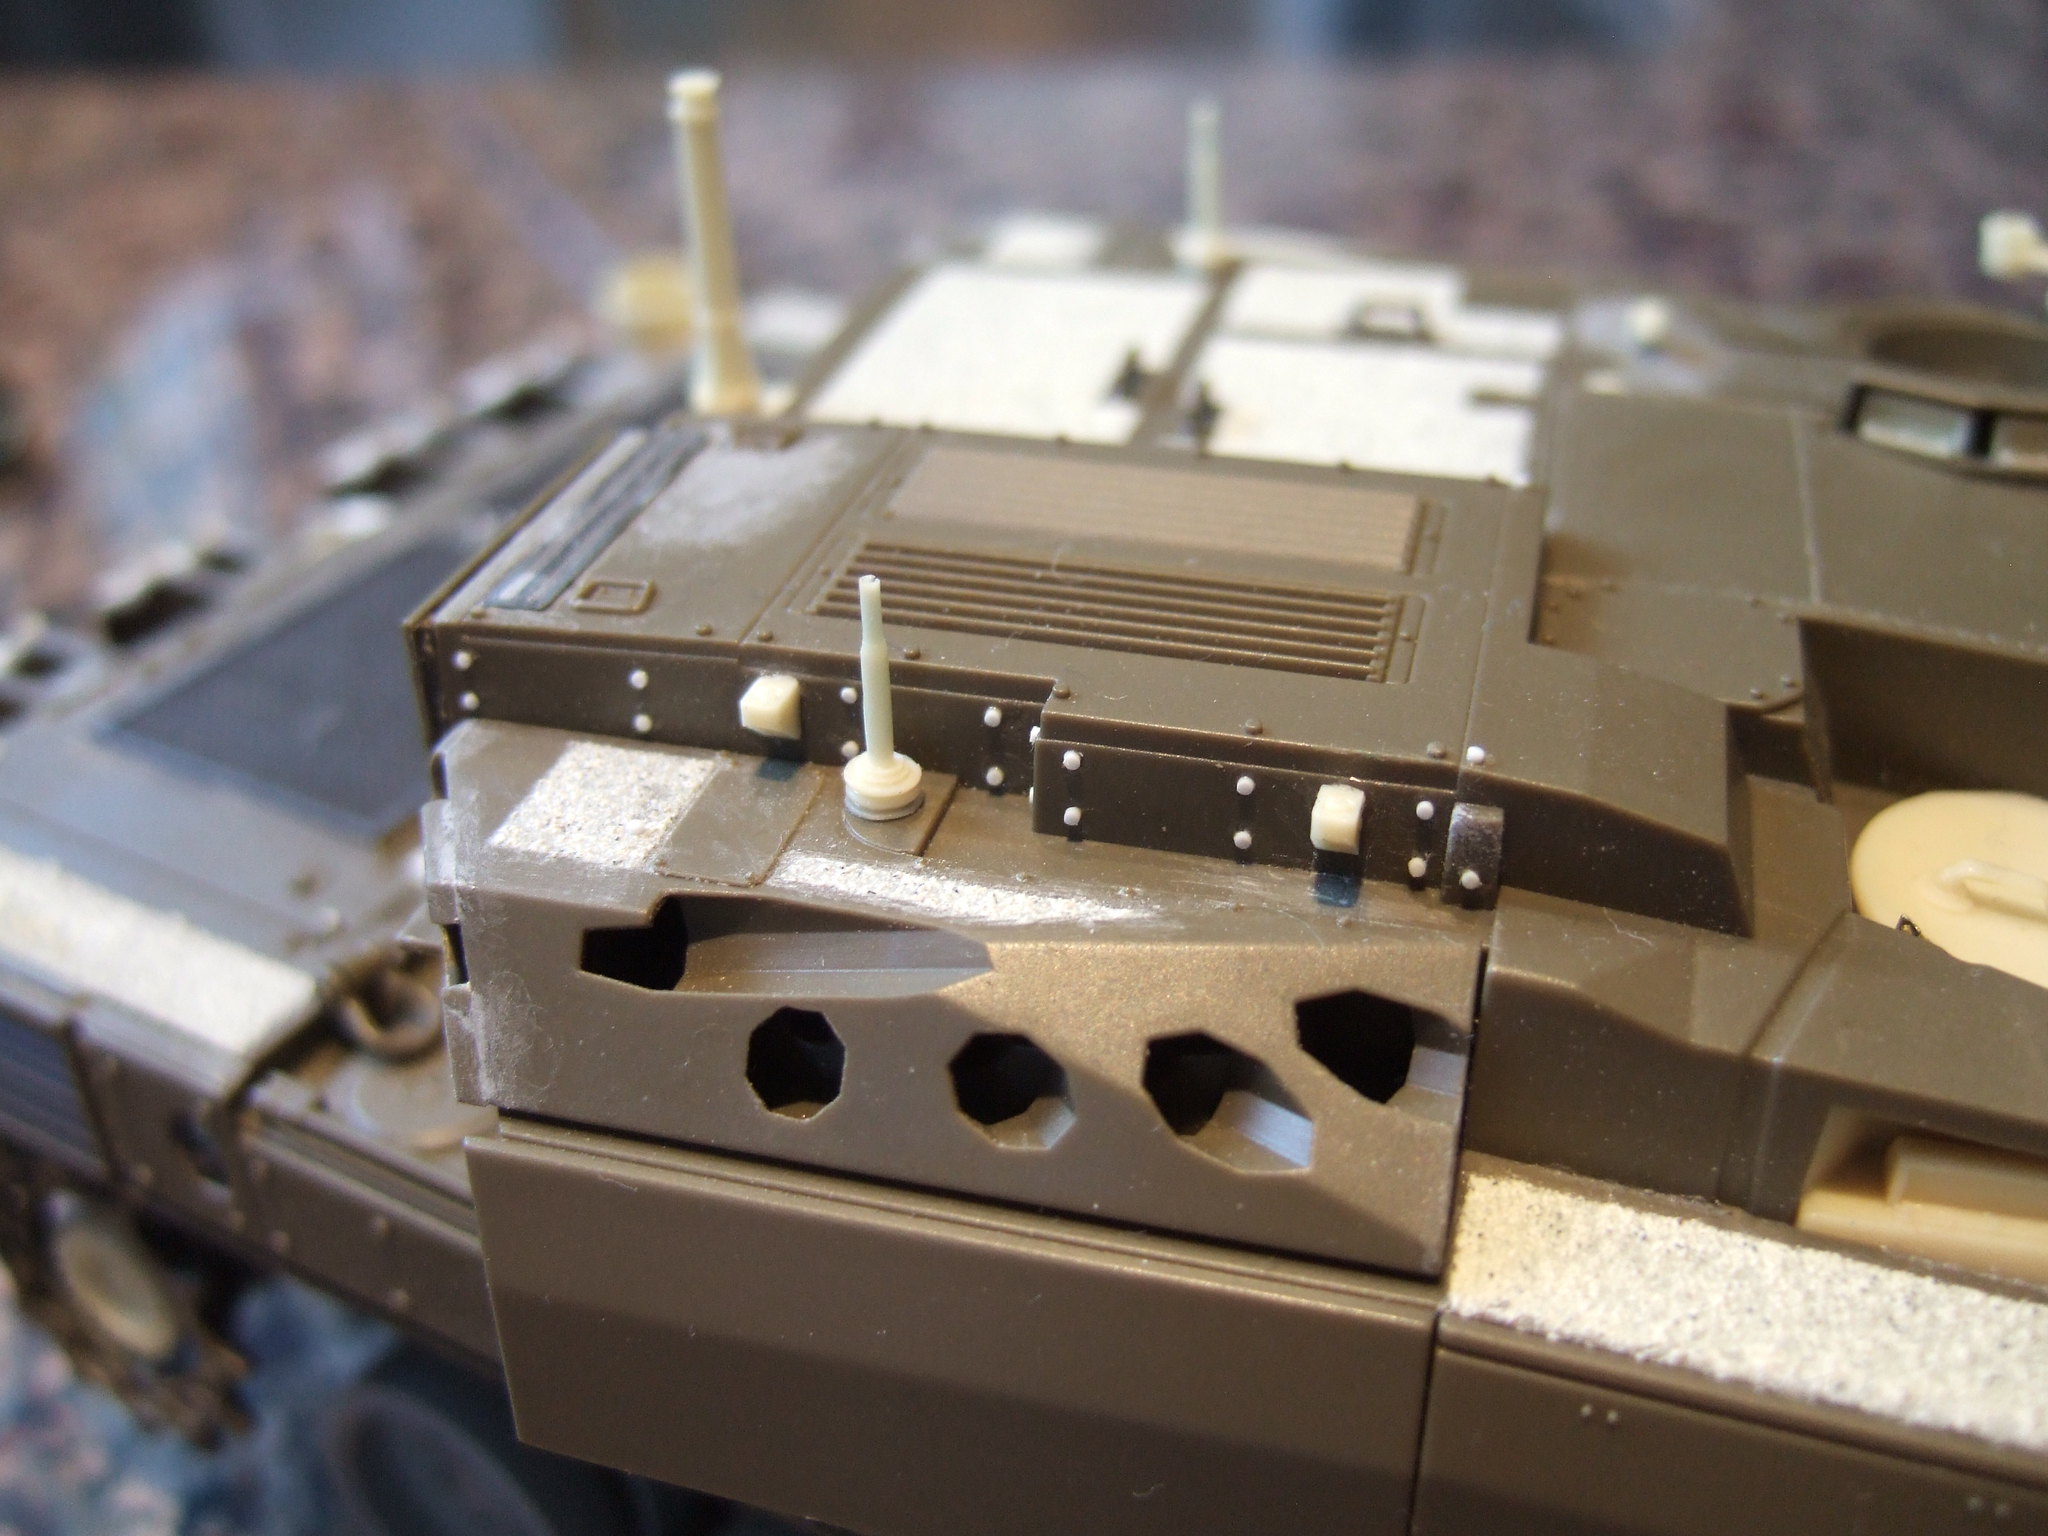
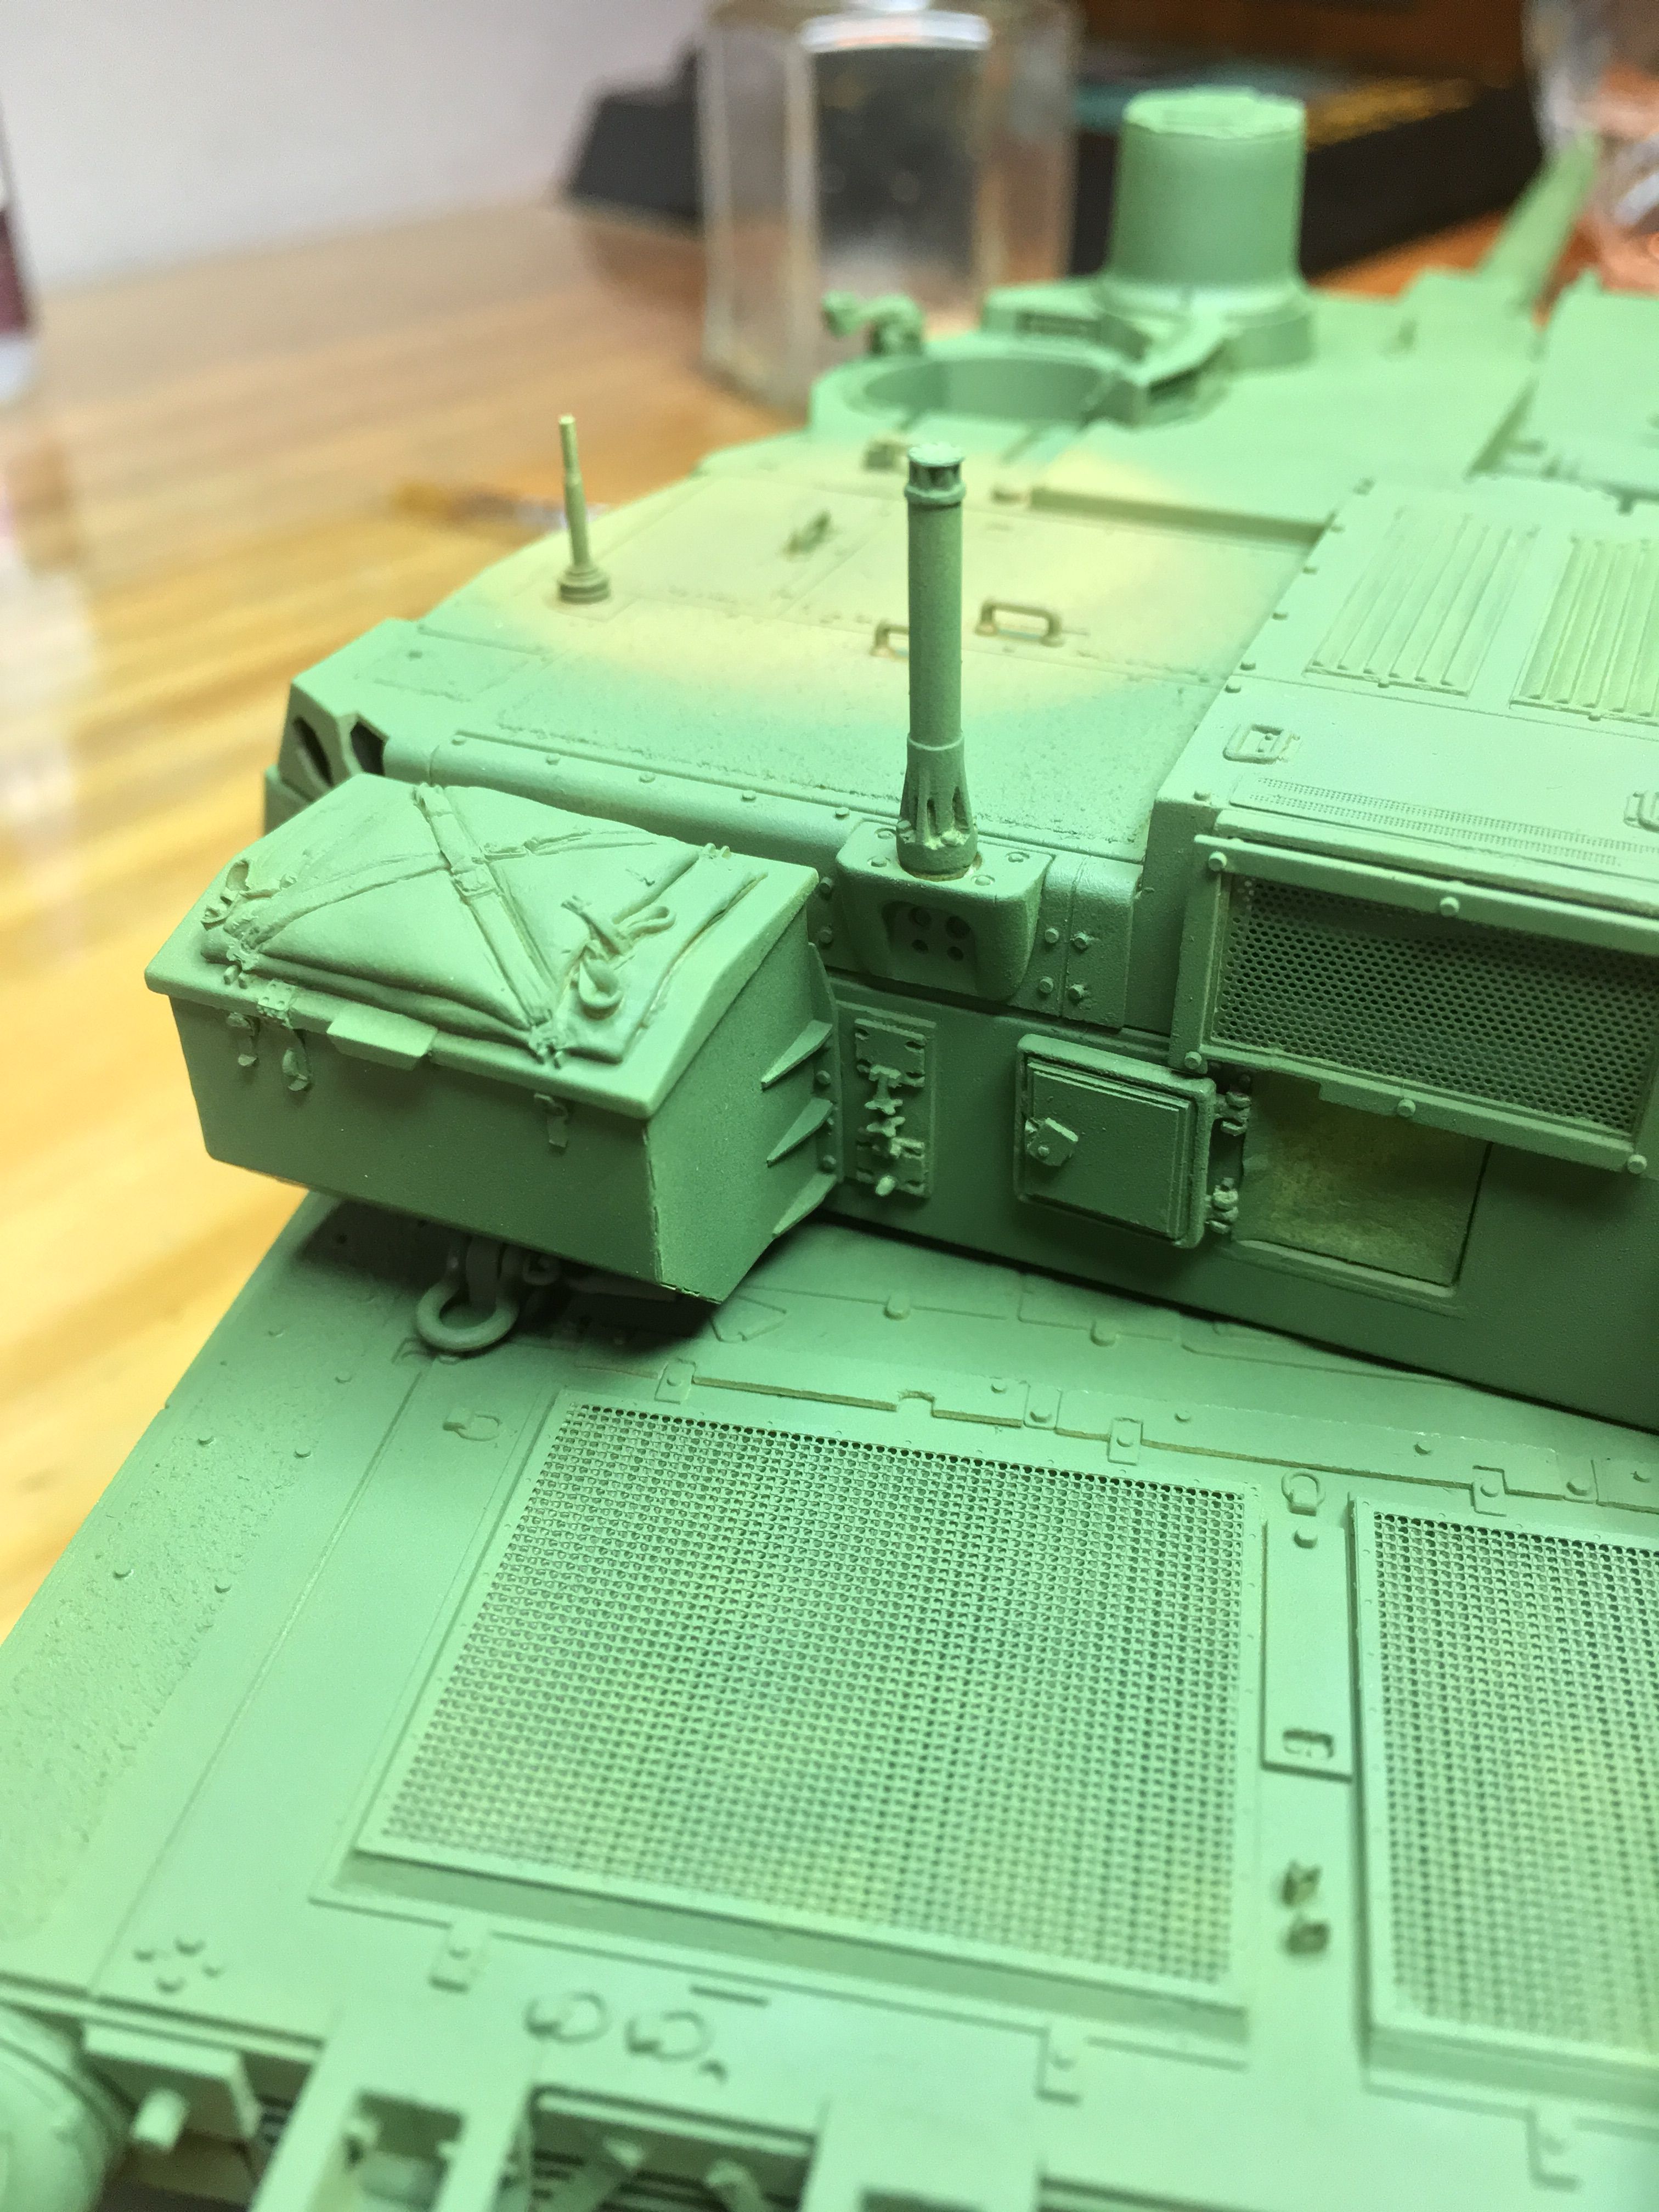
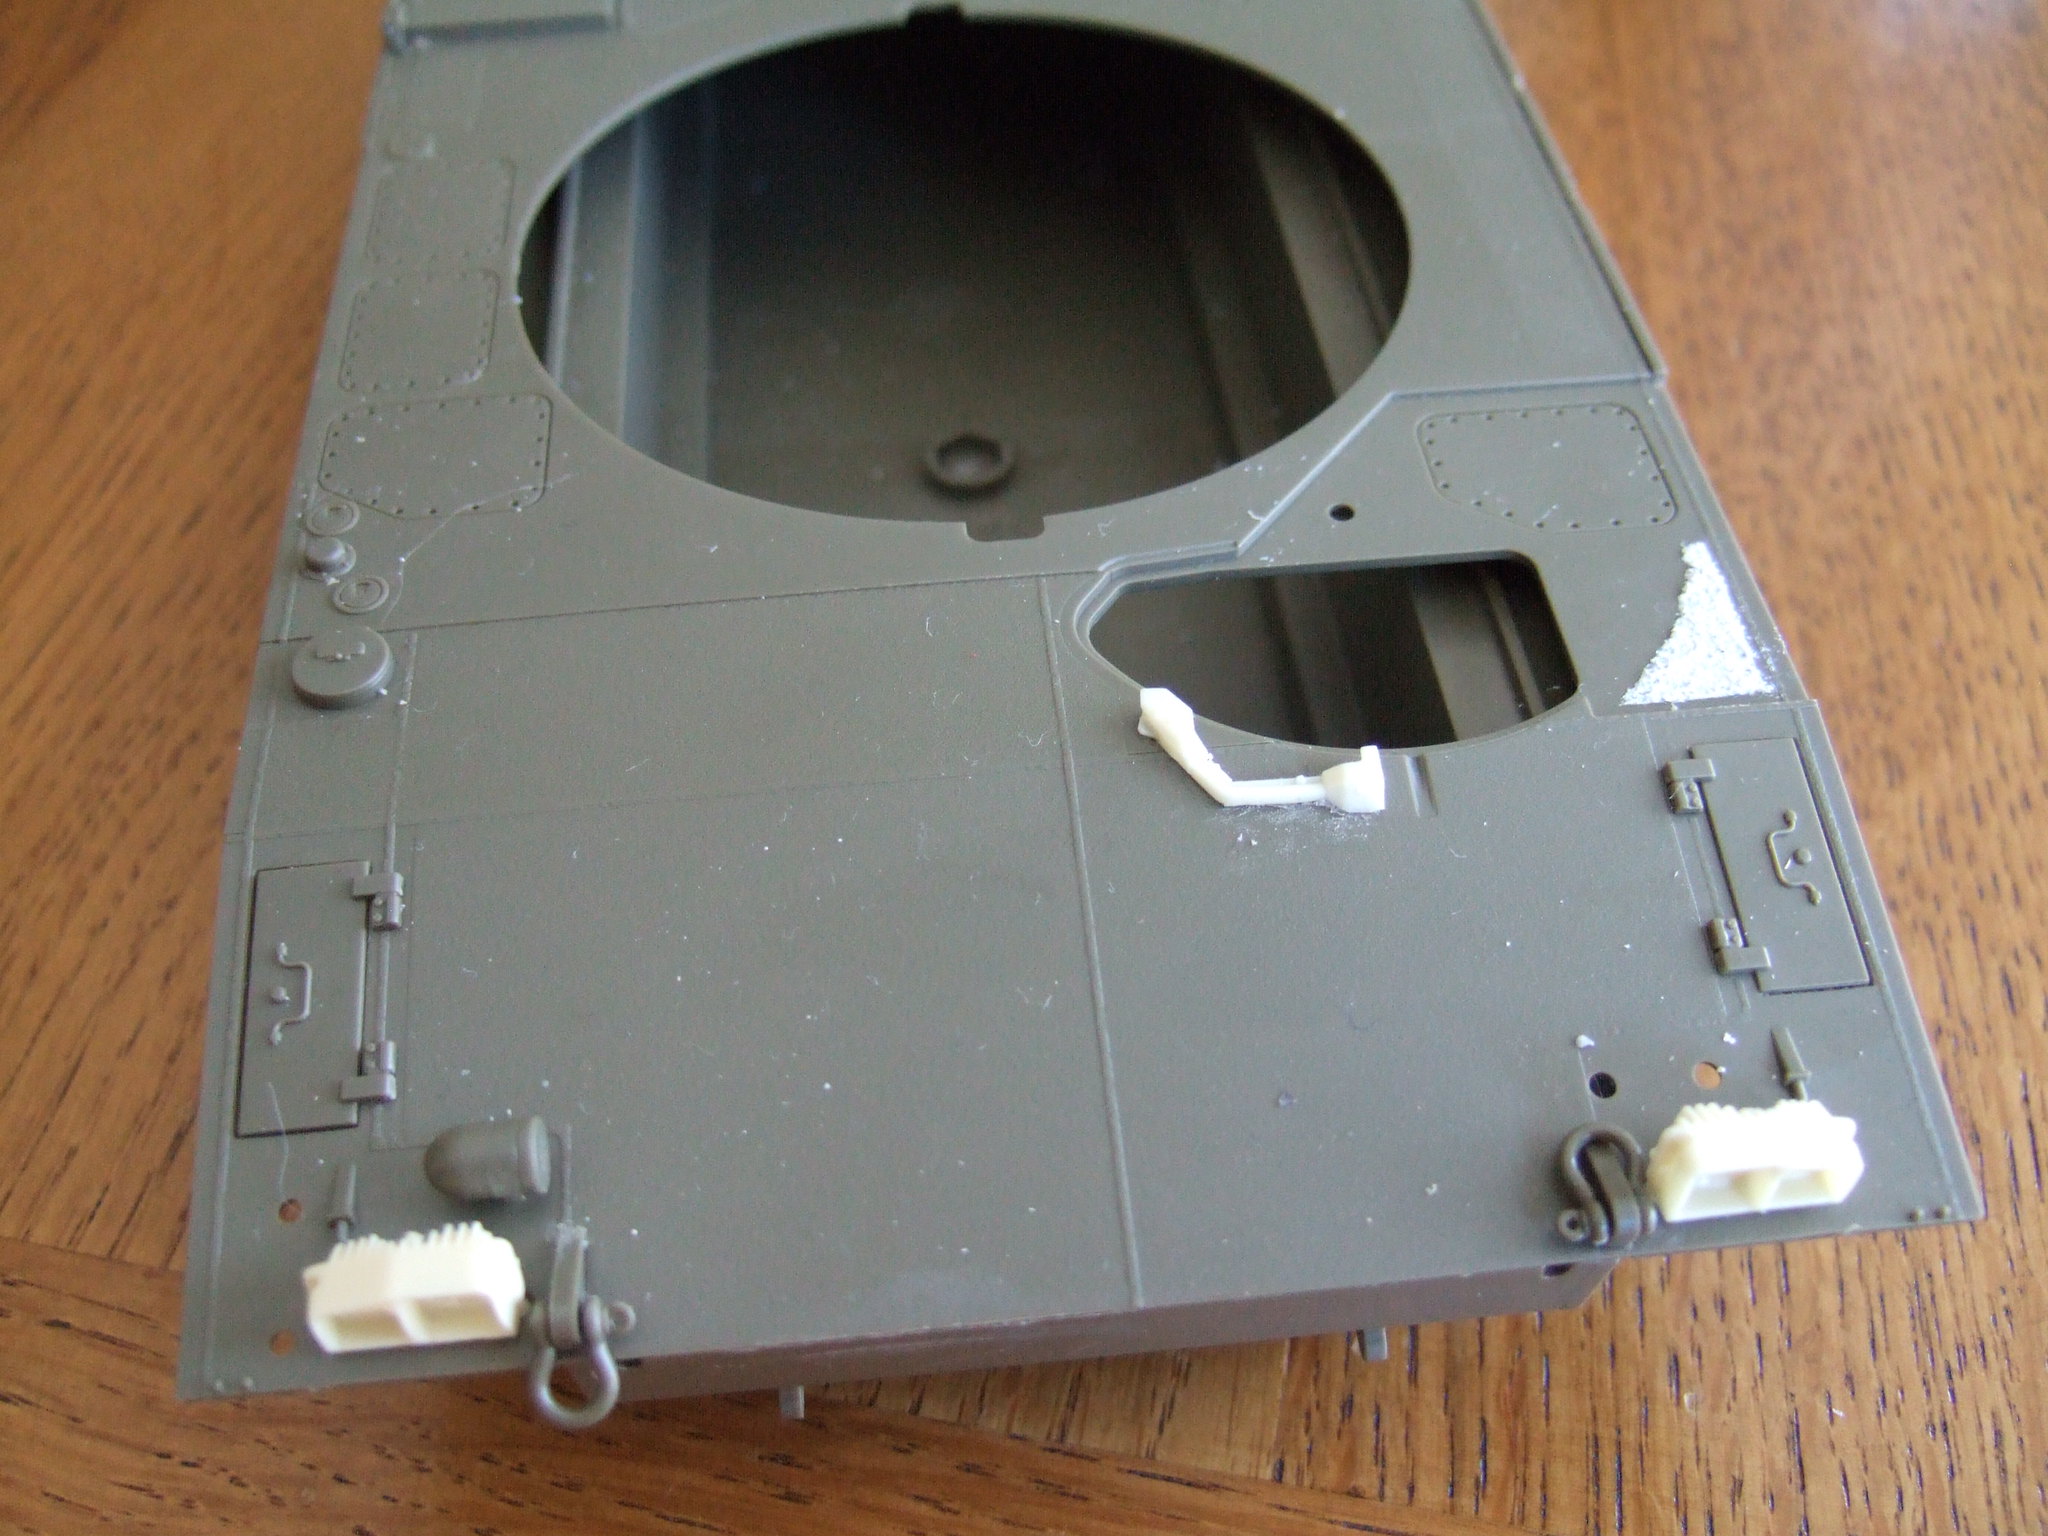
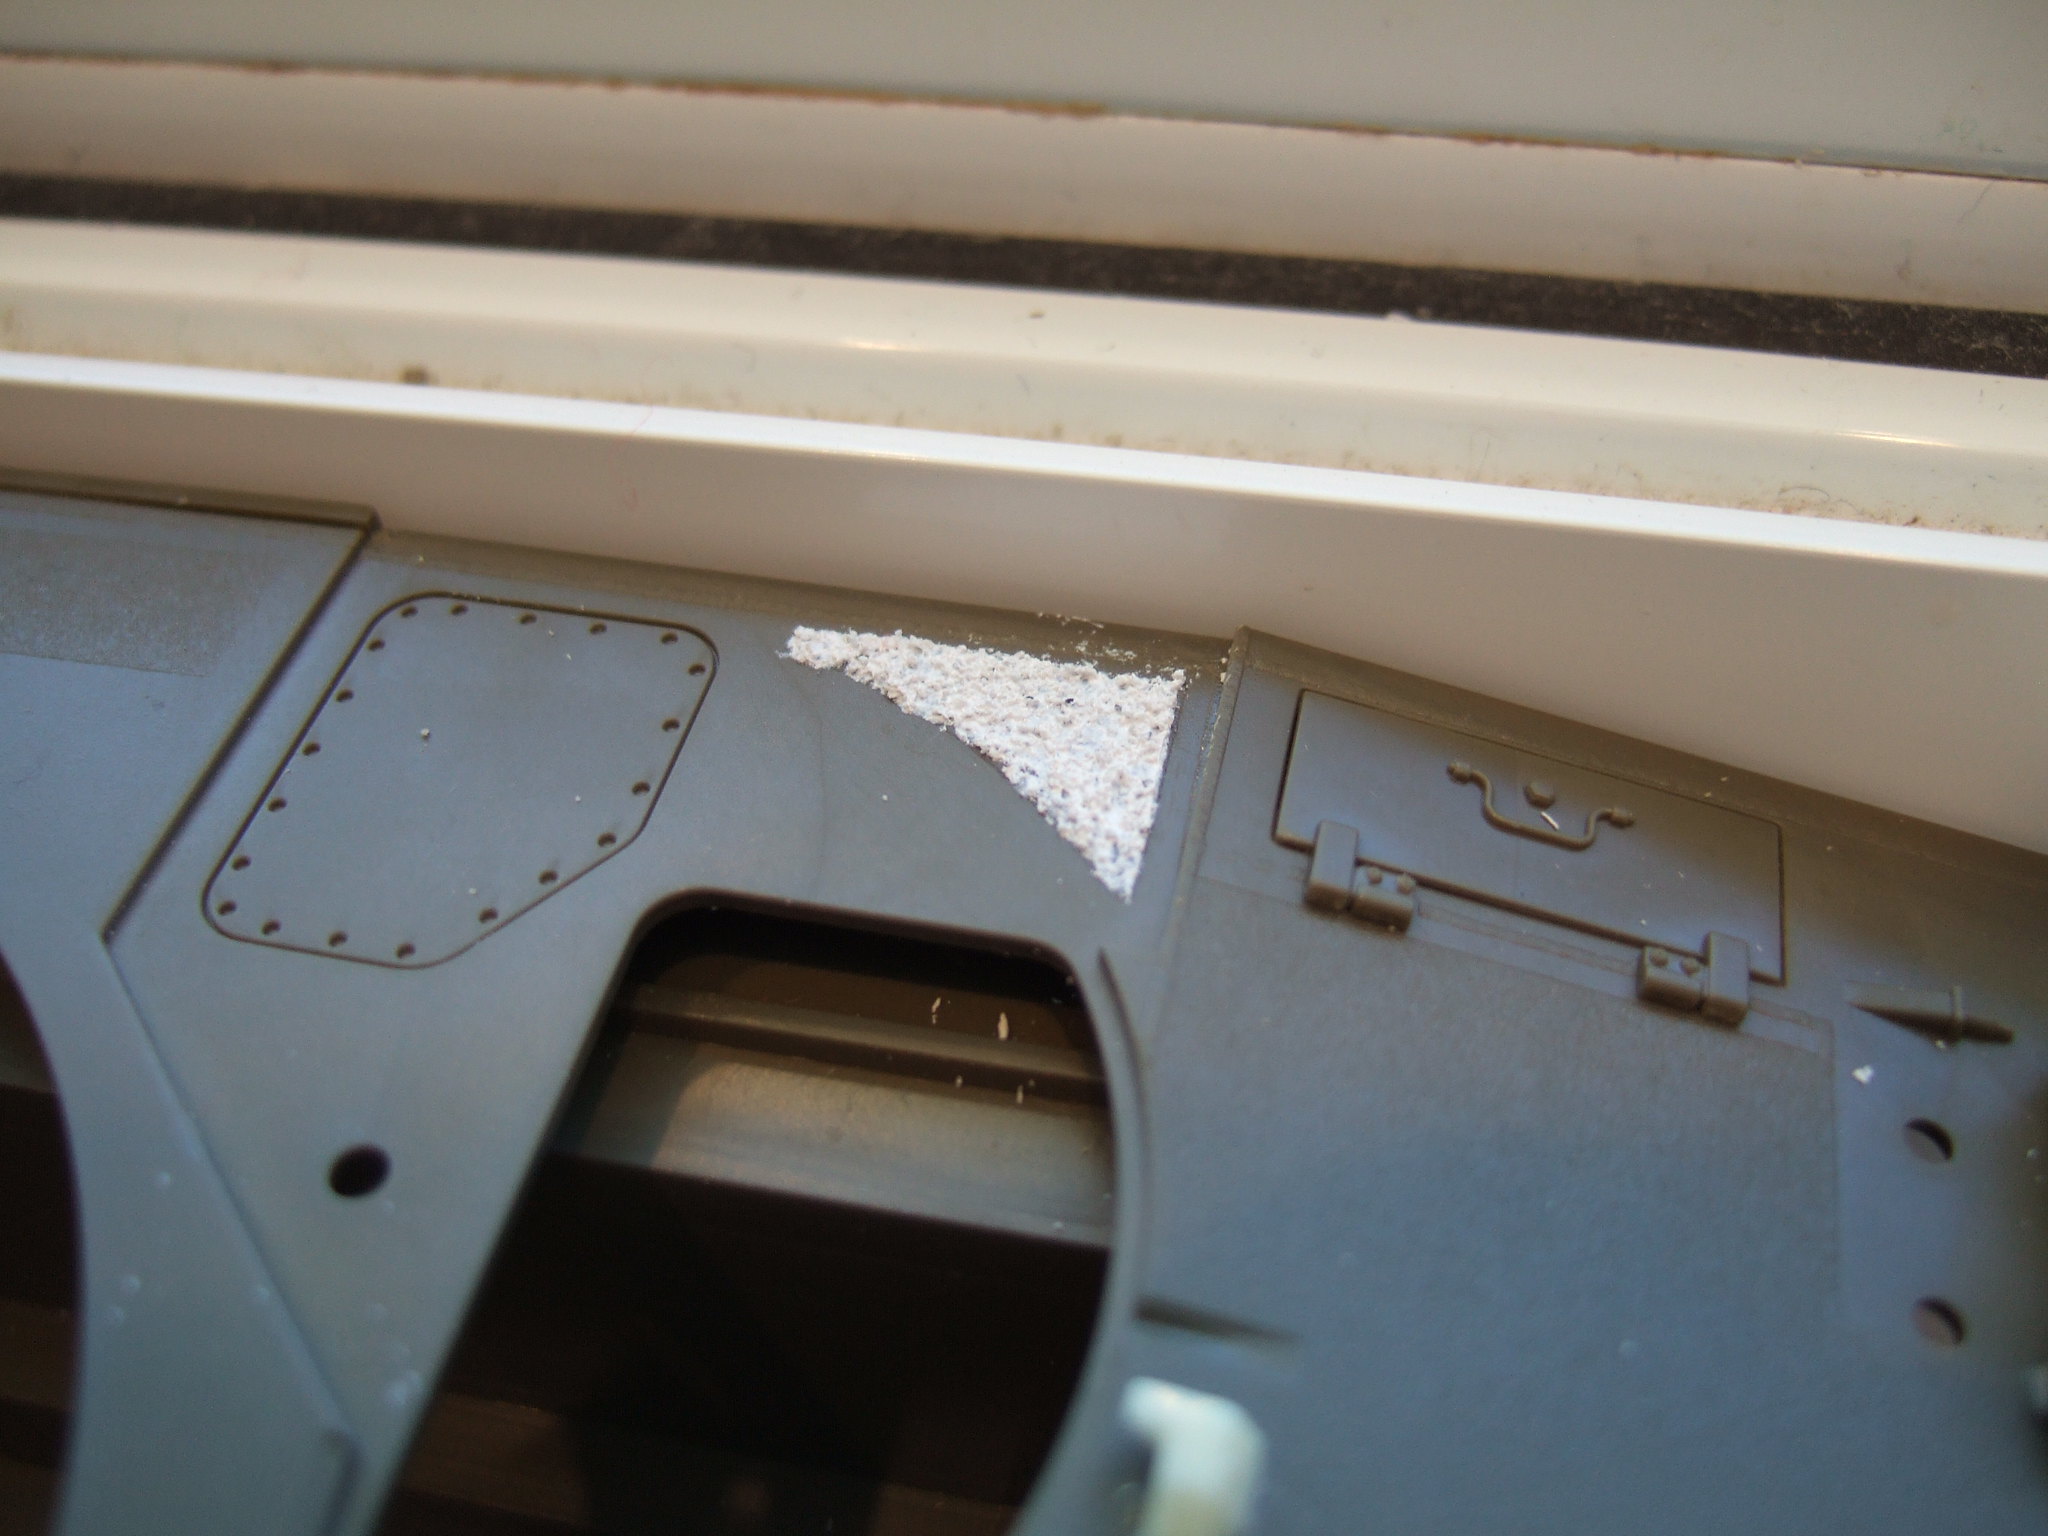
Detail of my first try on the anti-slip coating :


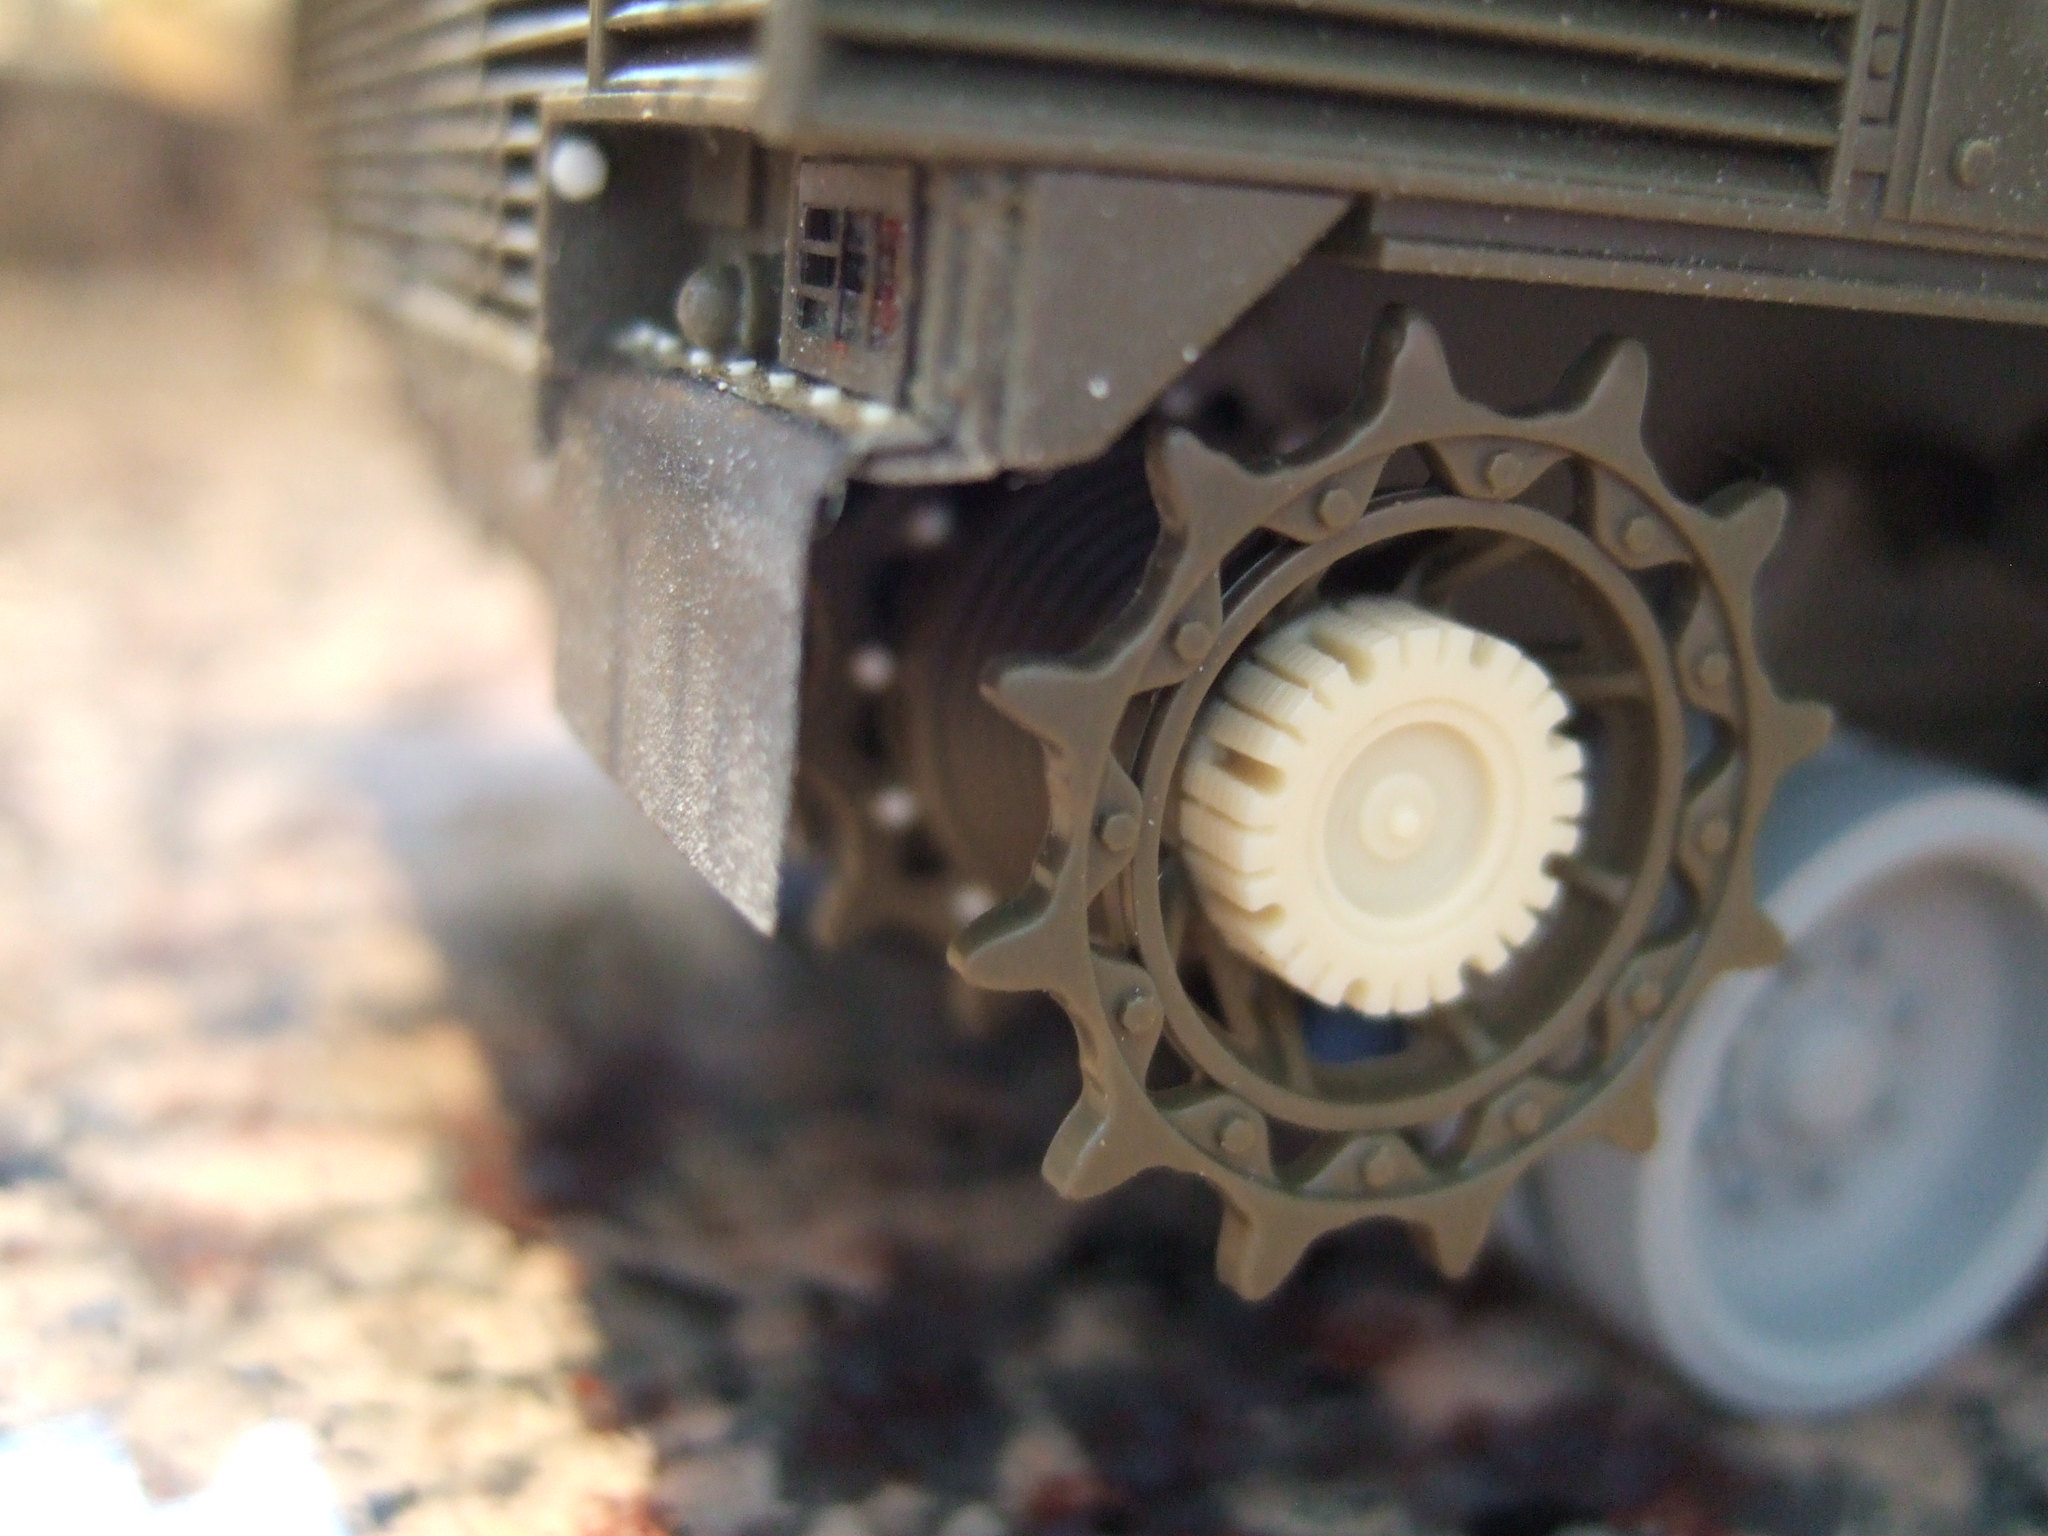
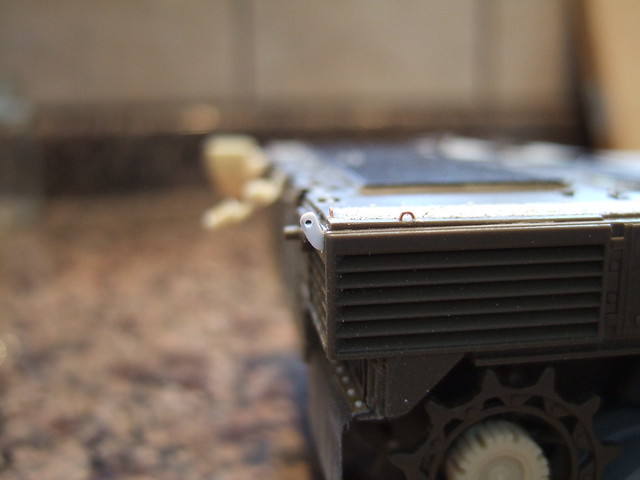
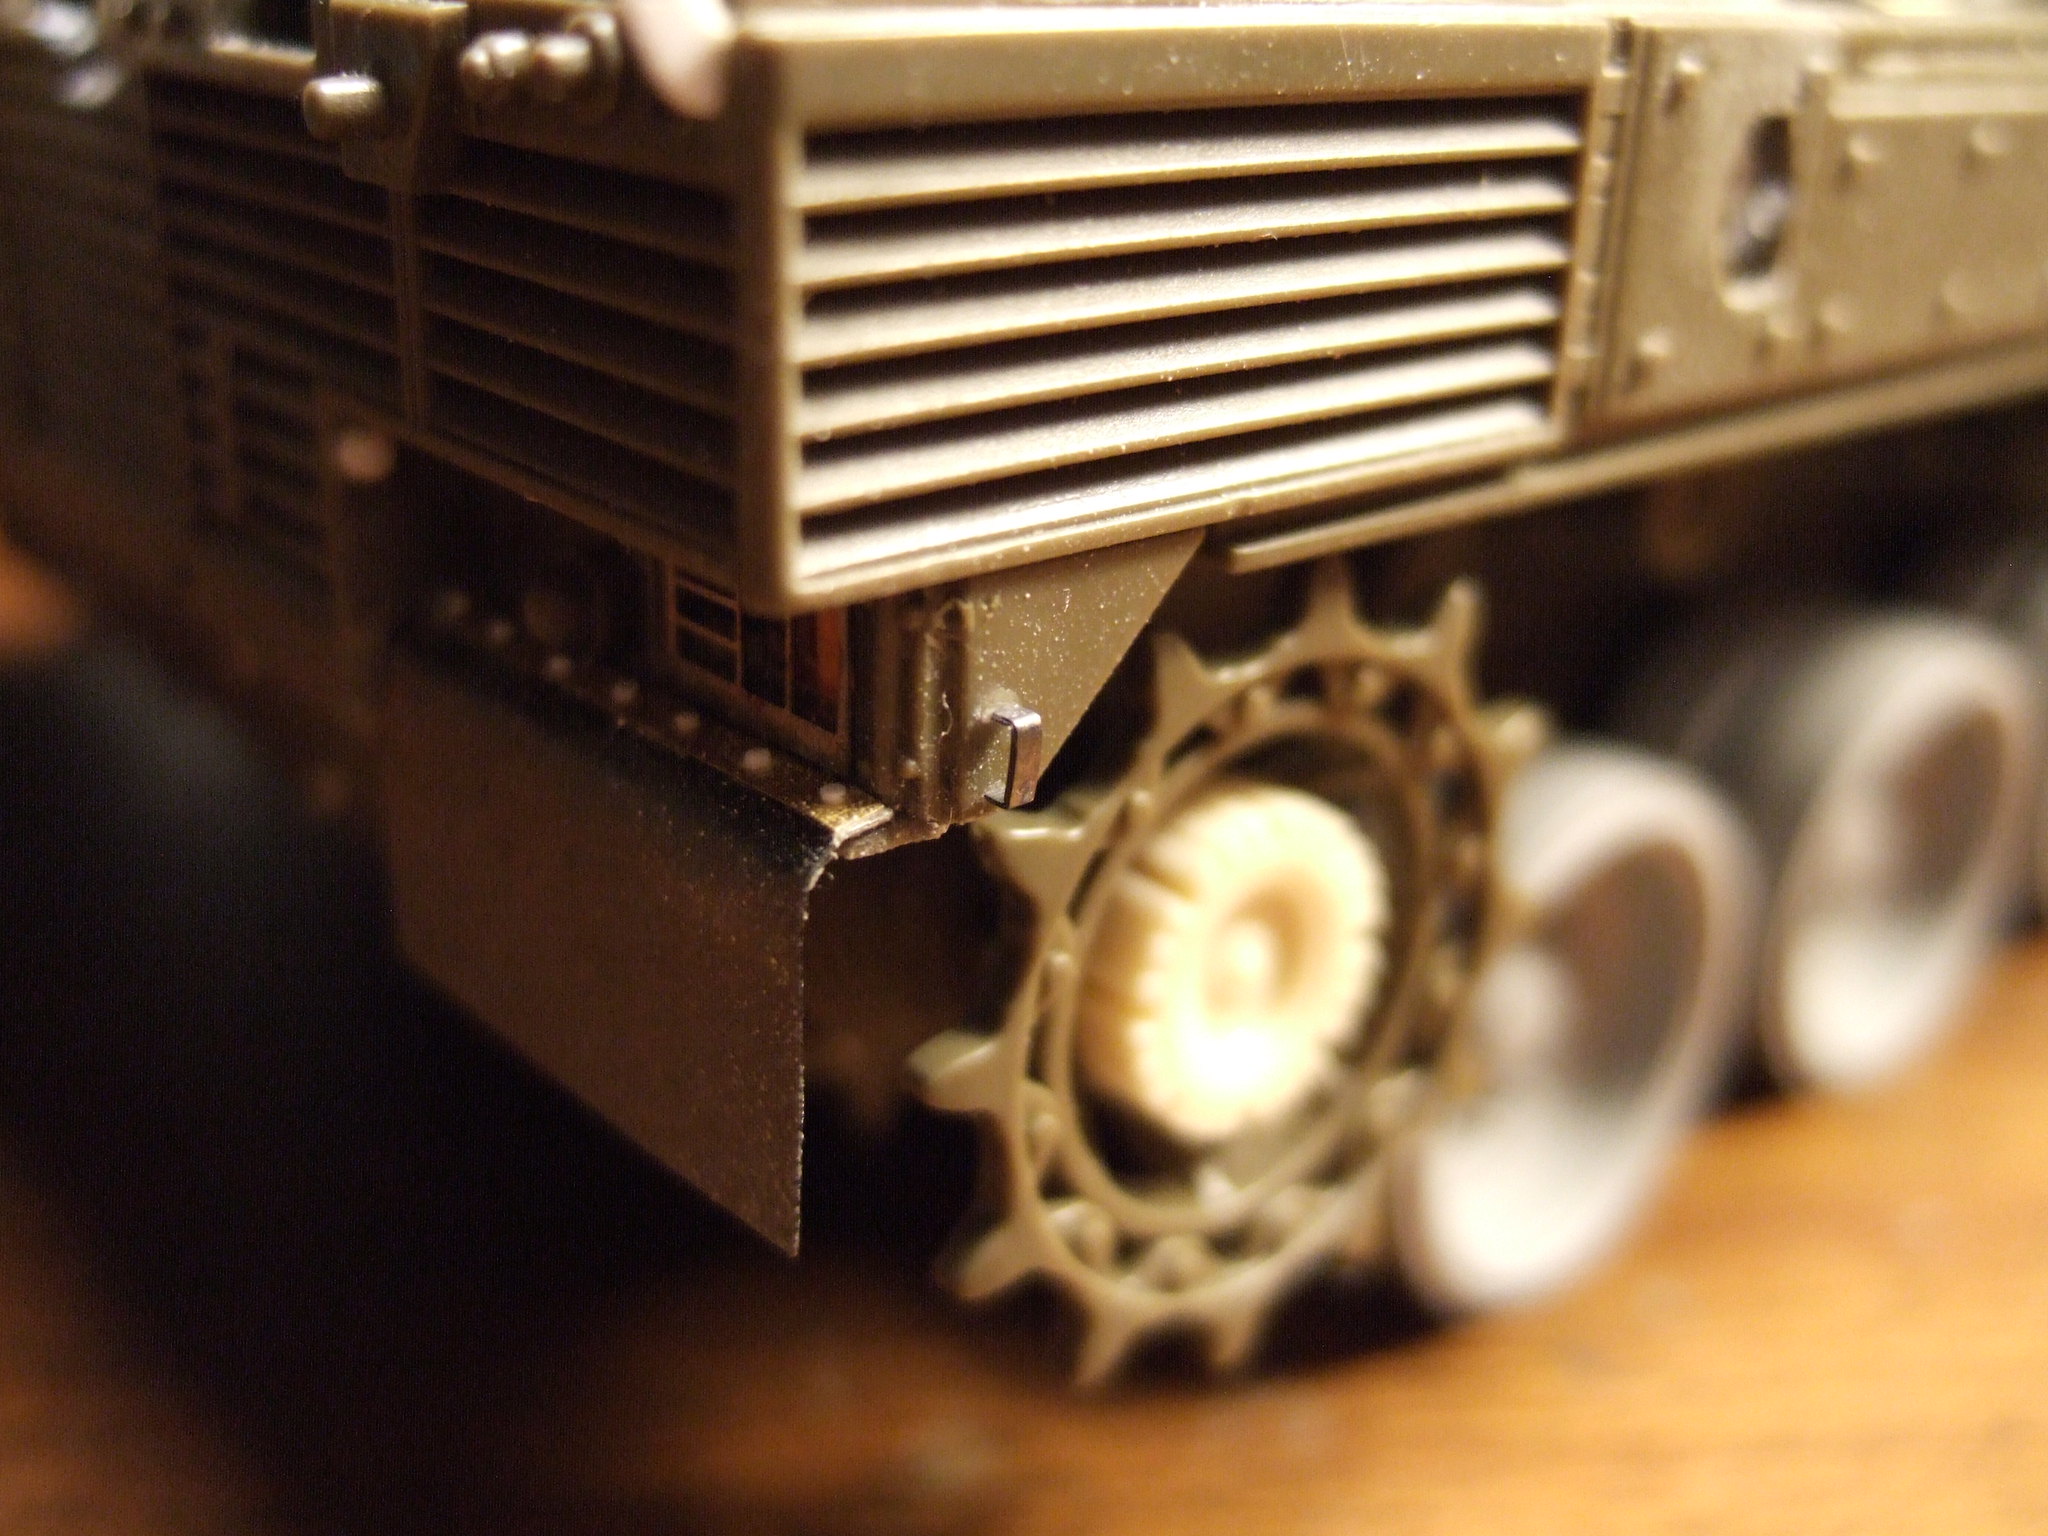
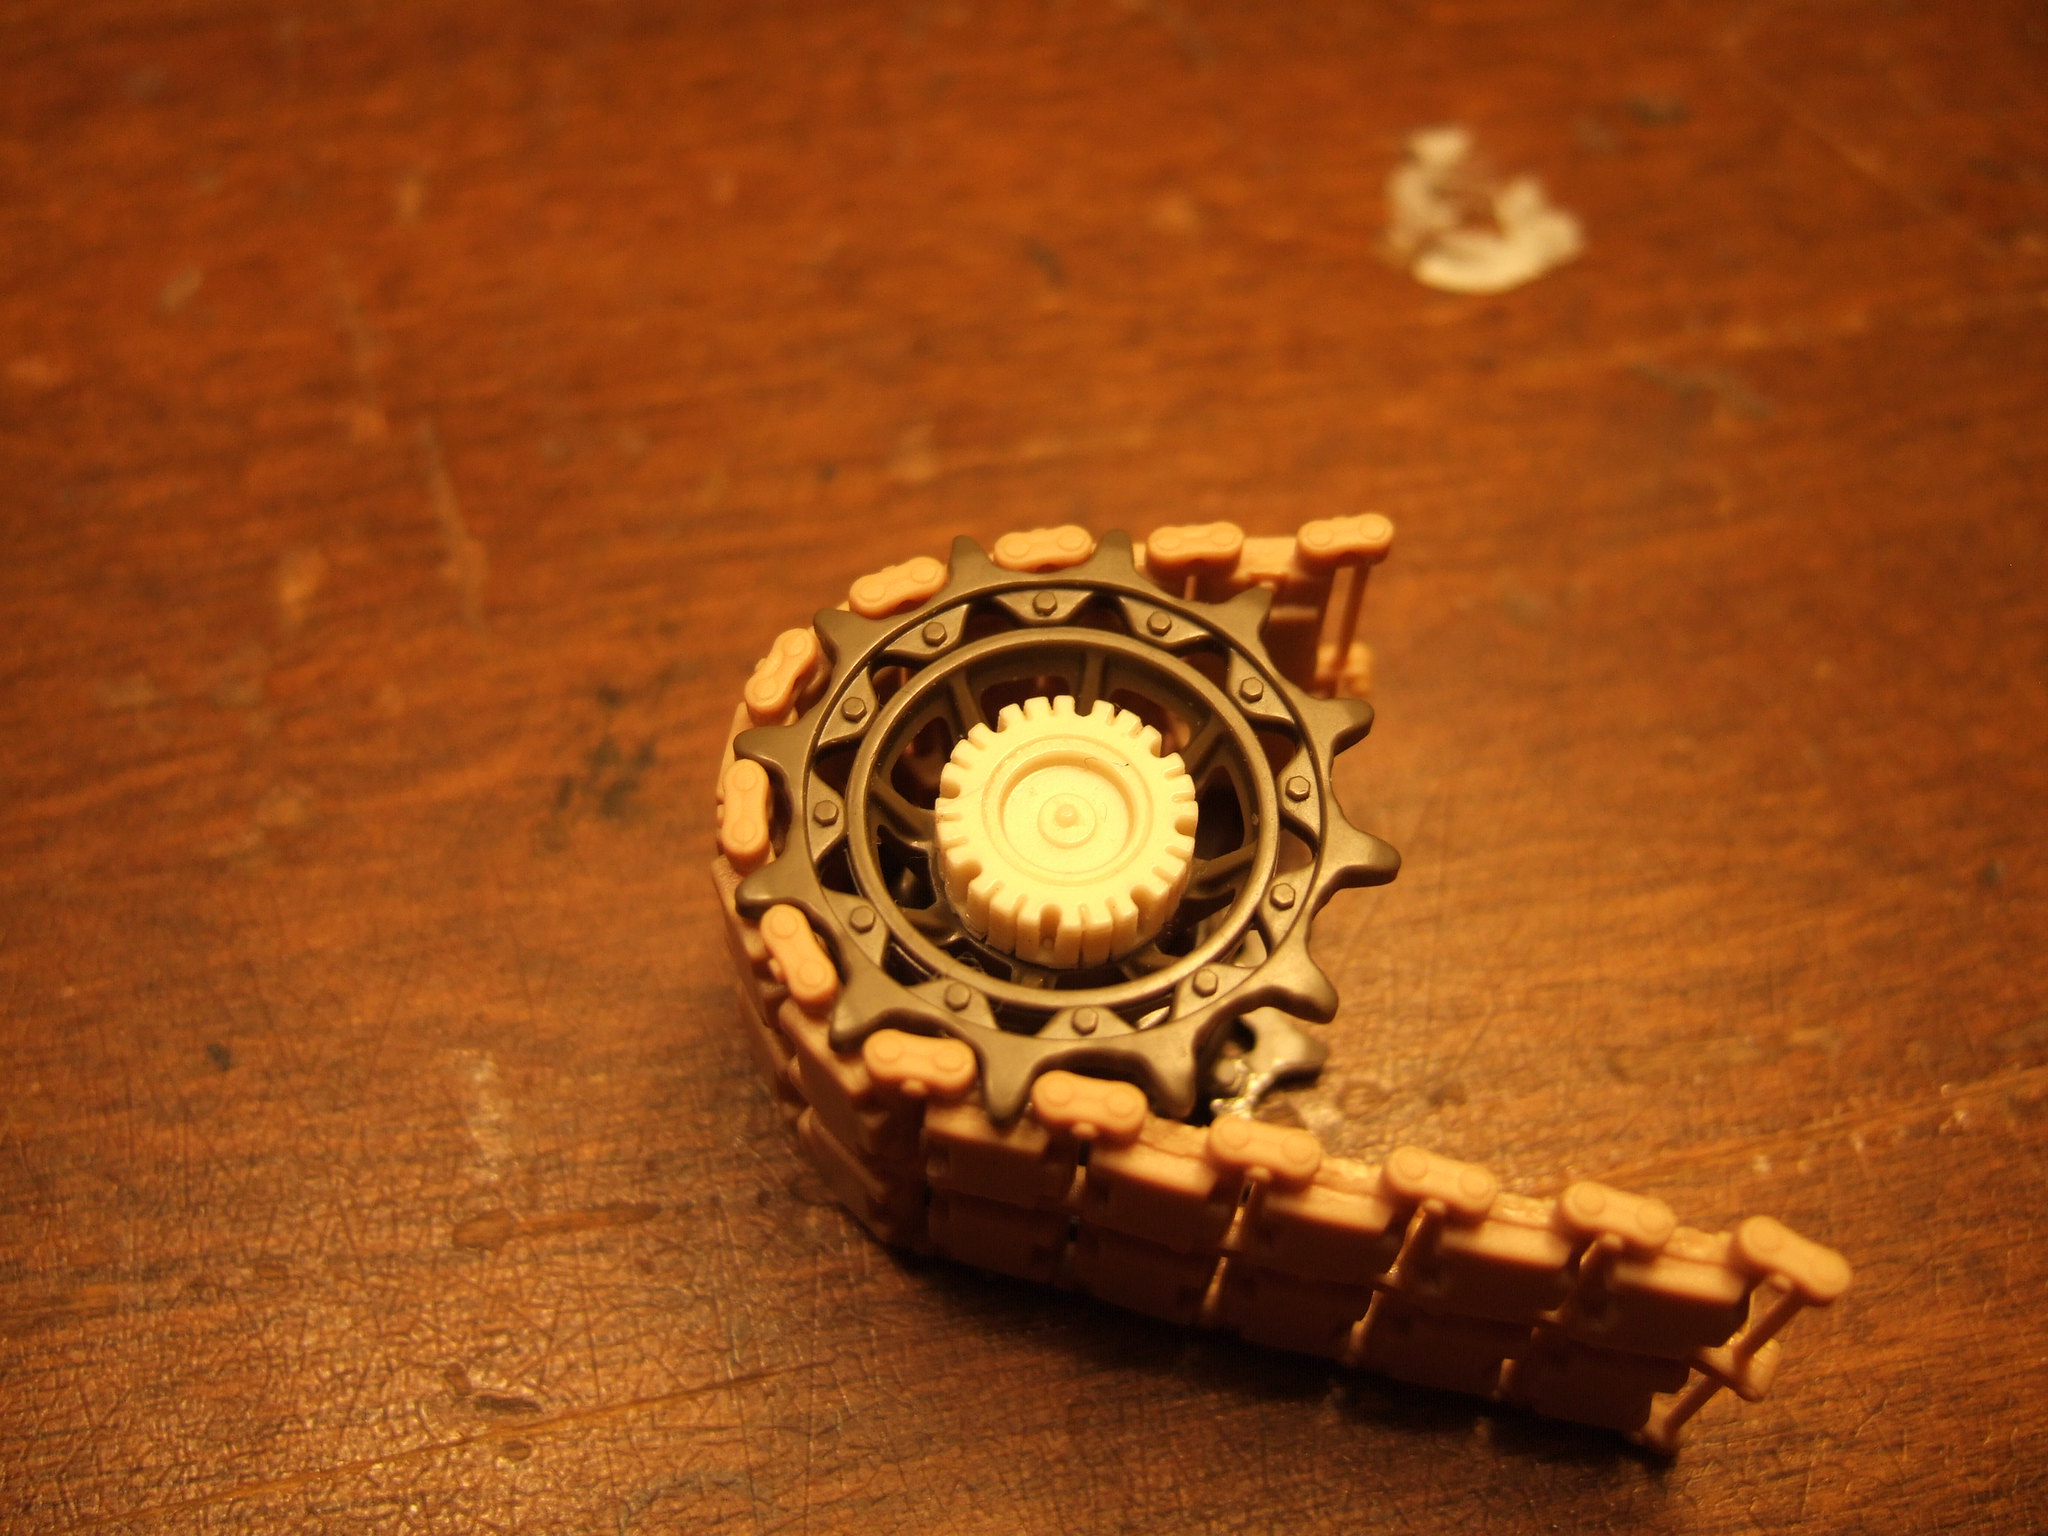
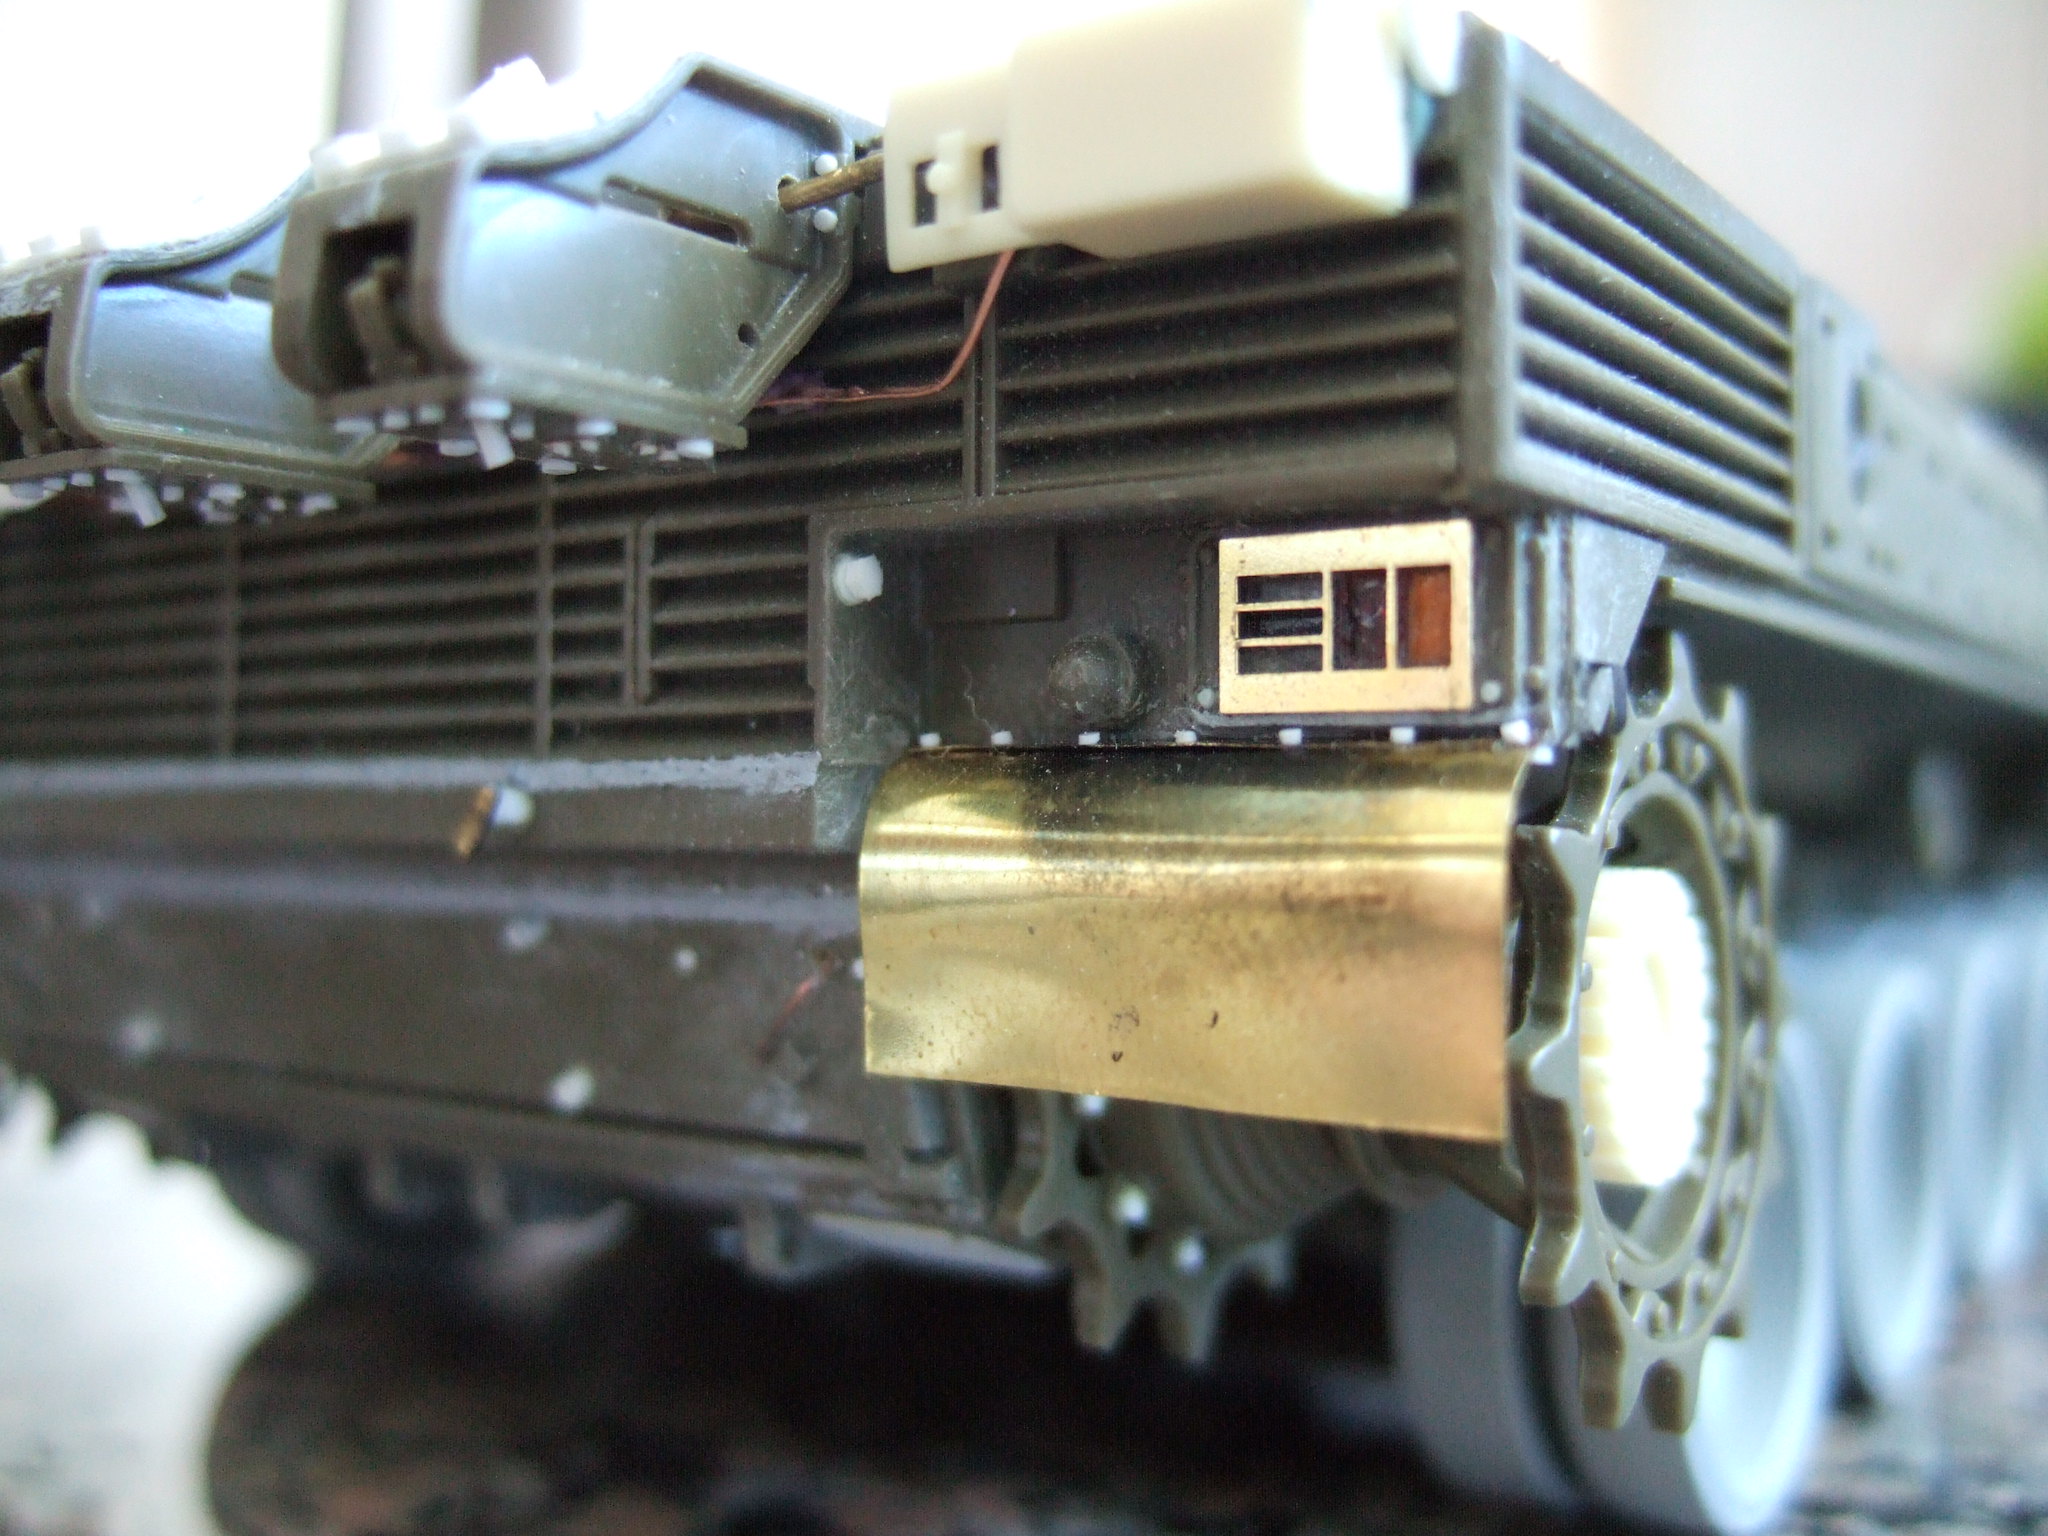
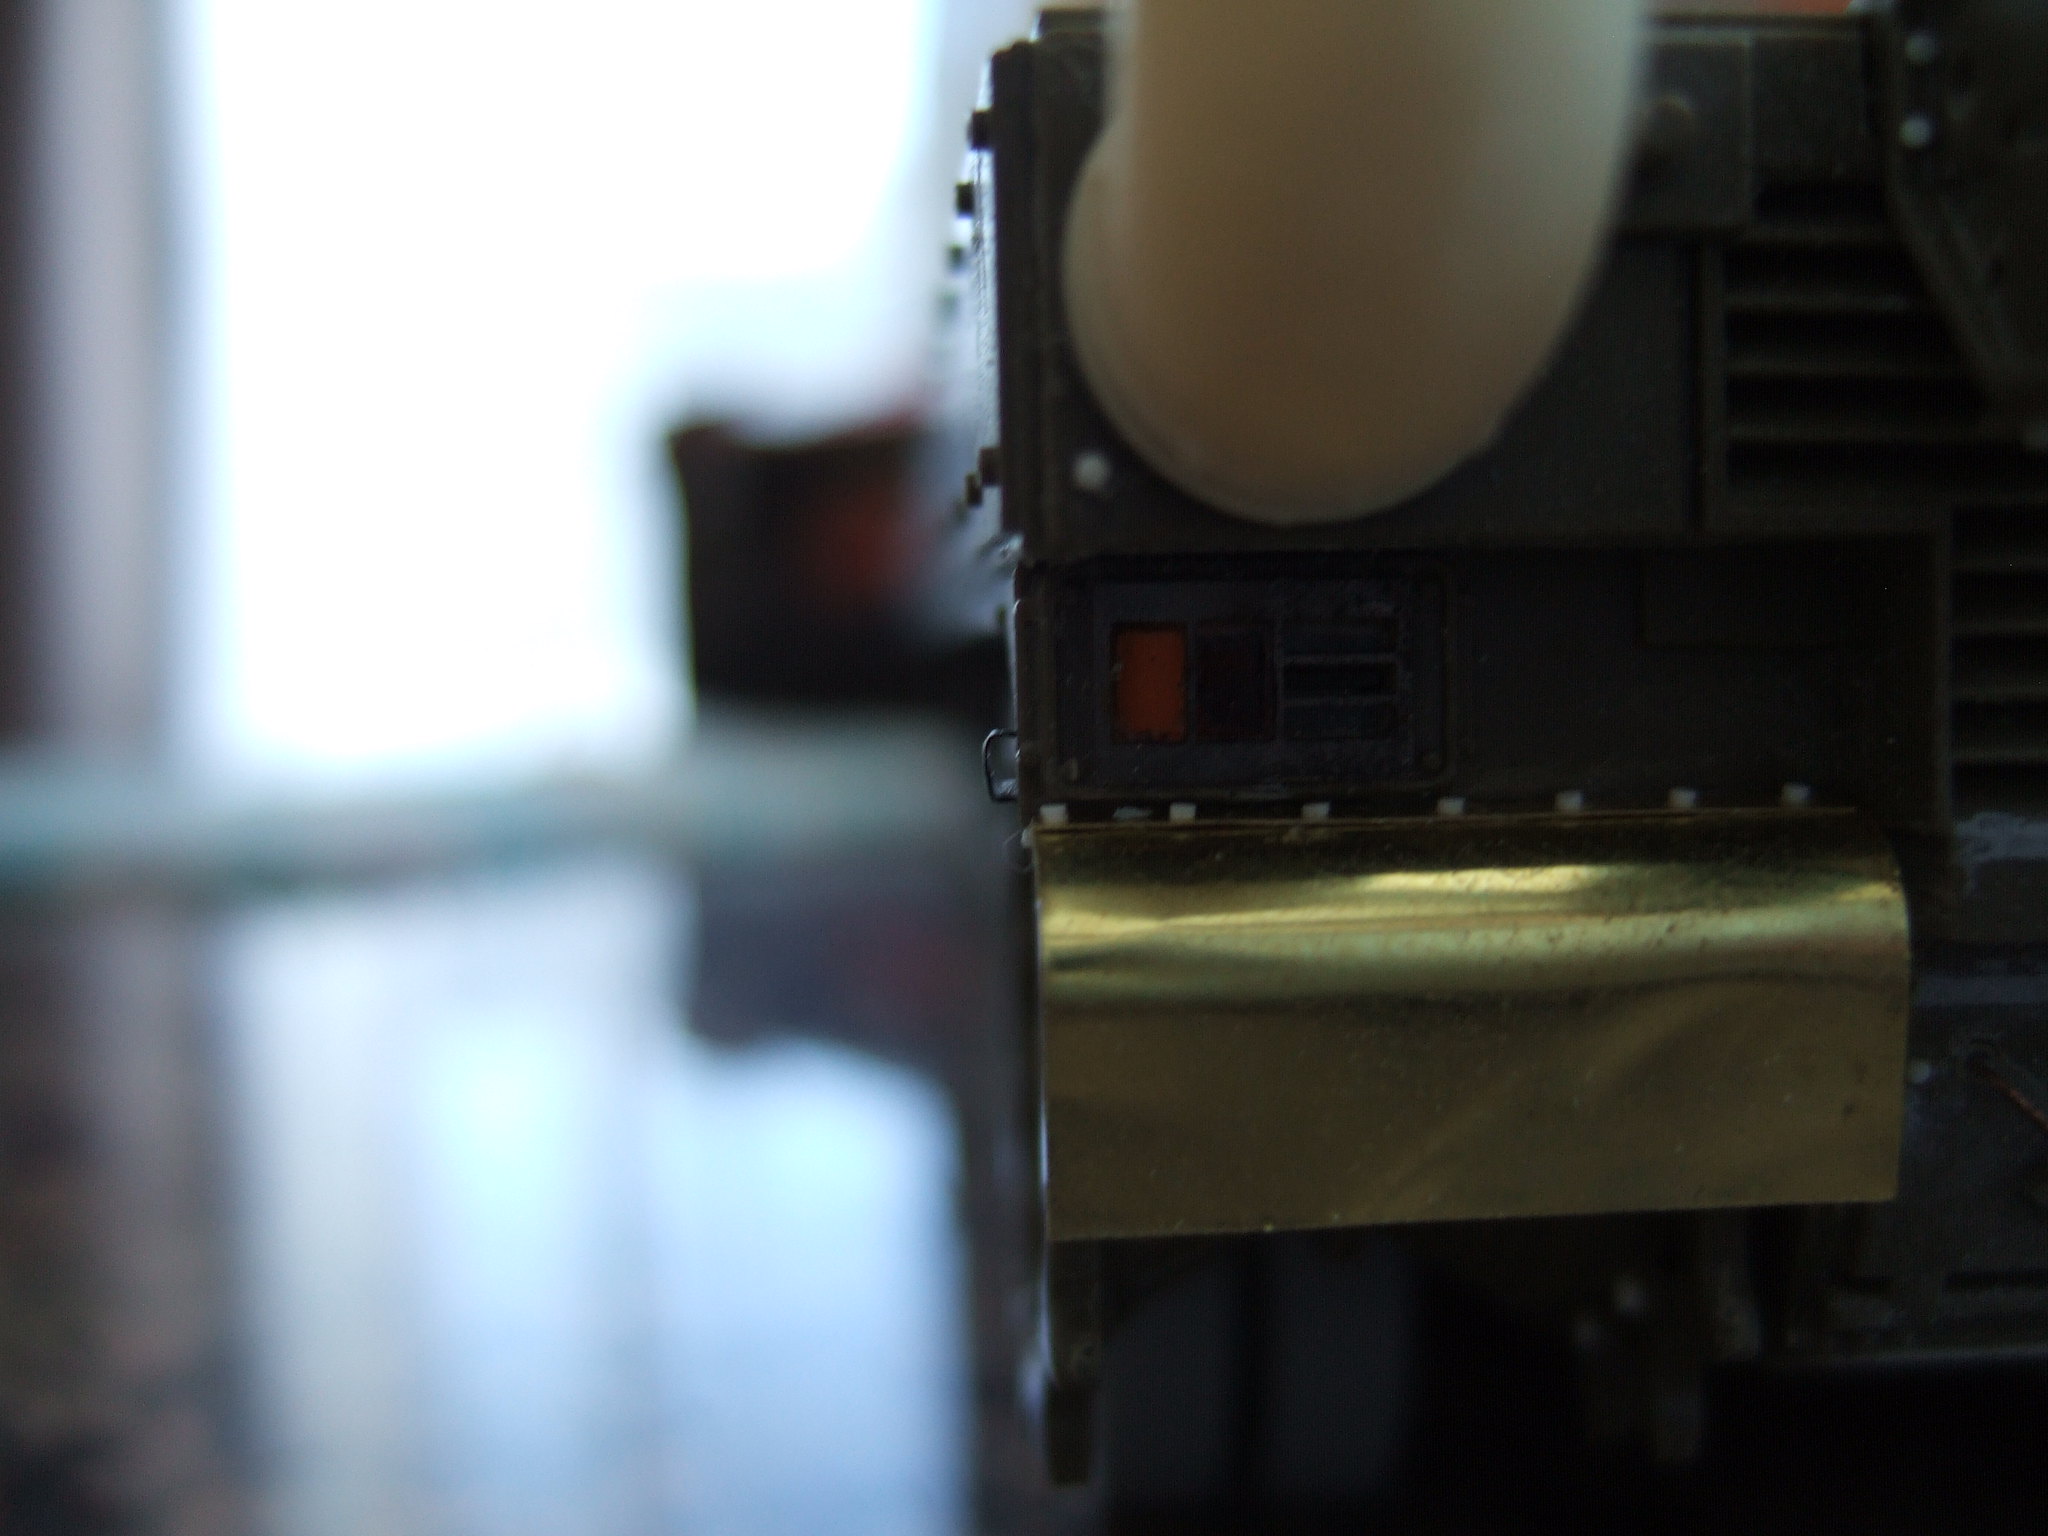
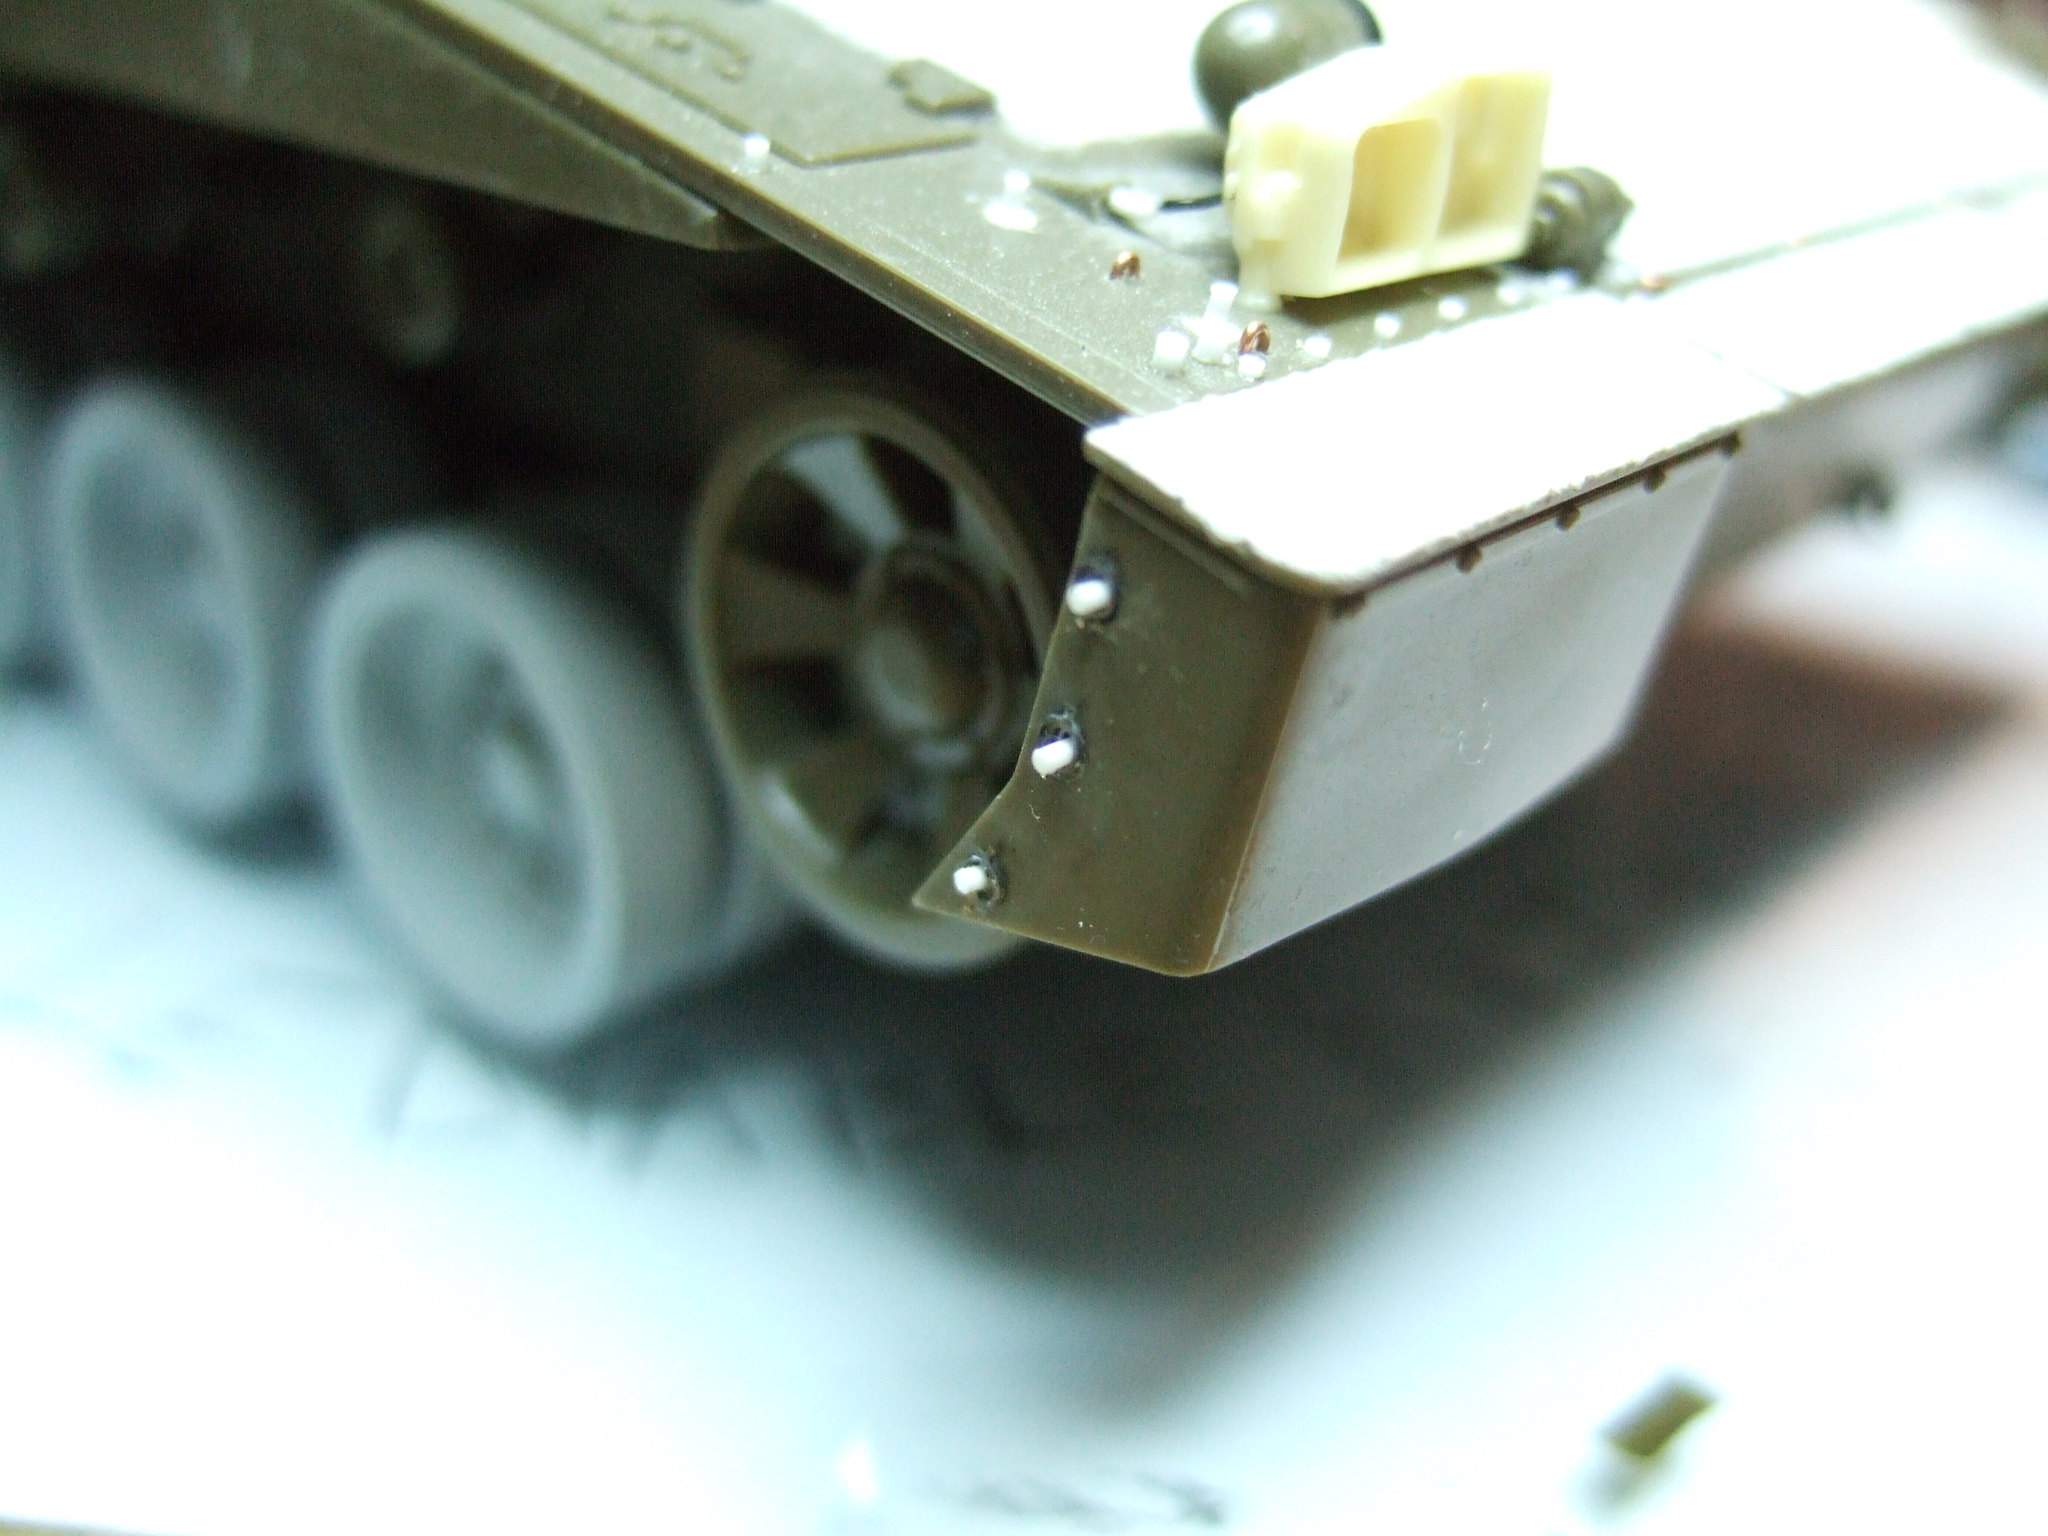
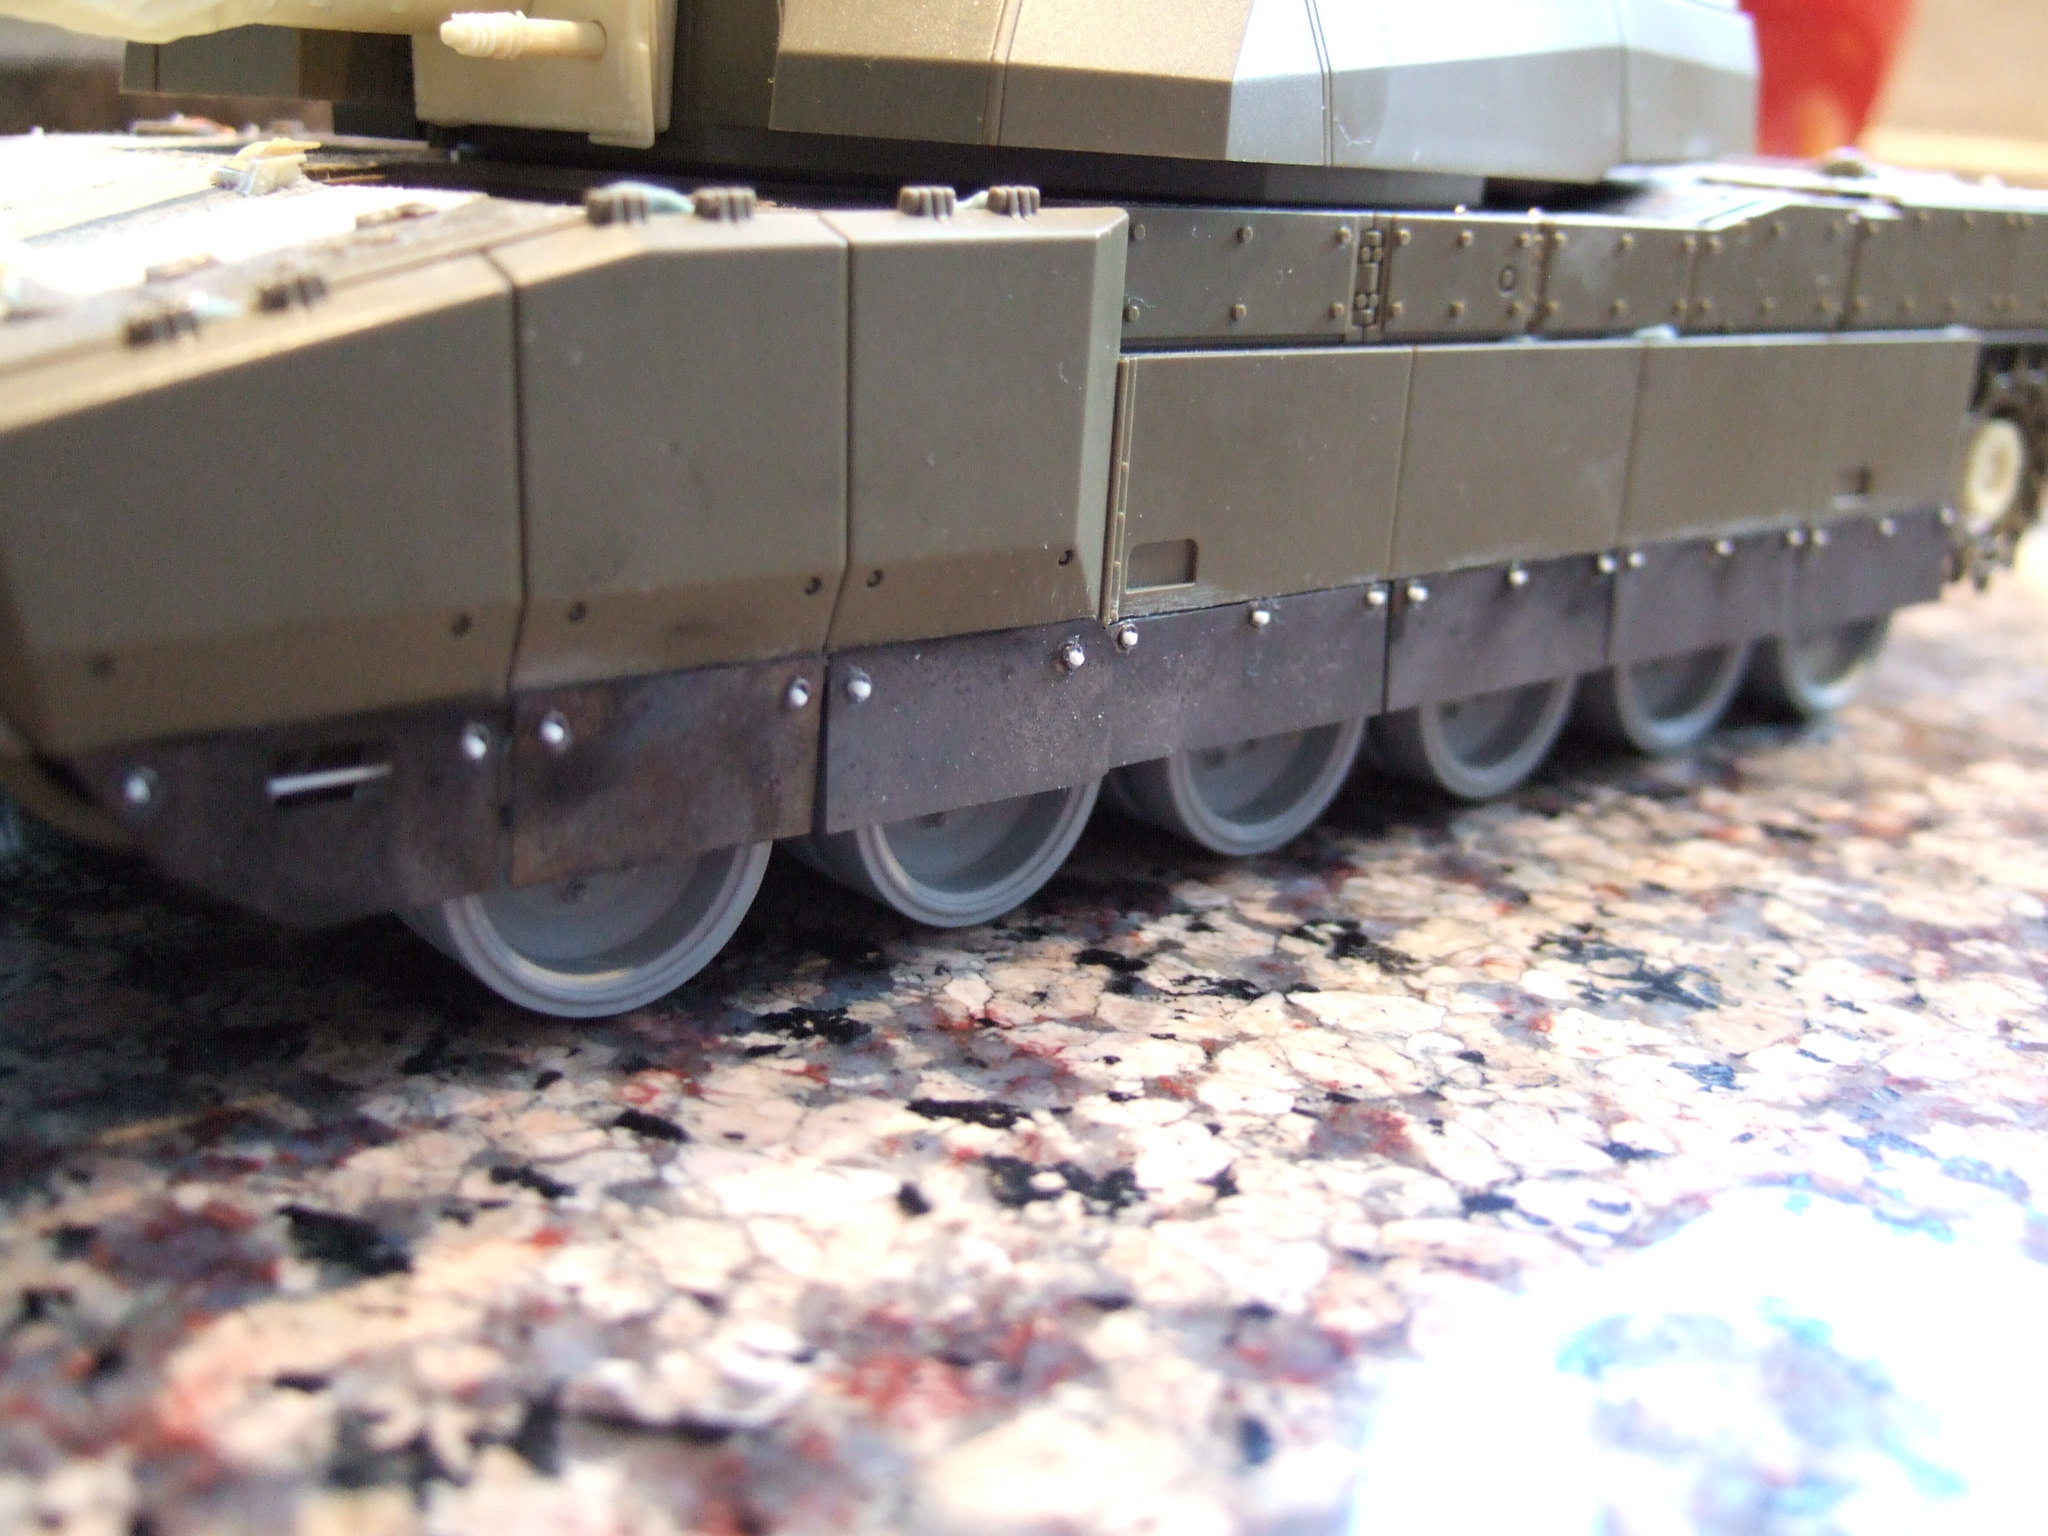
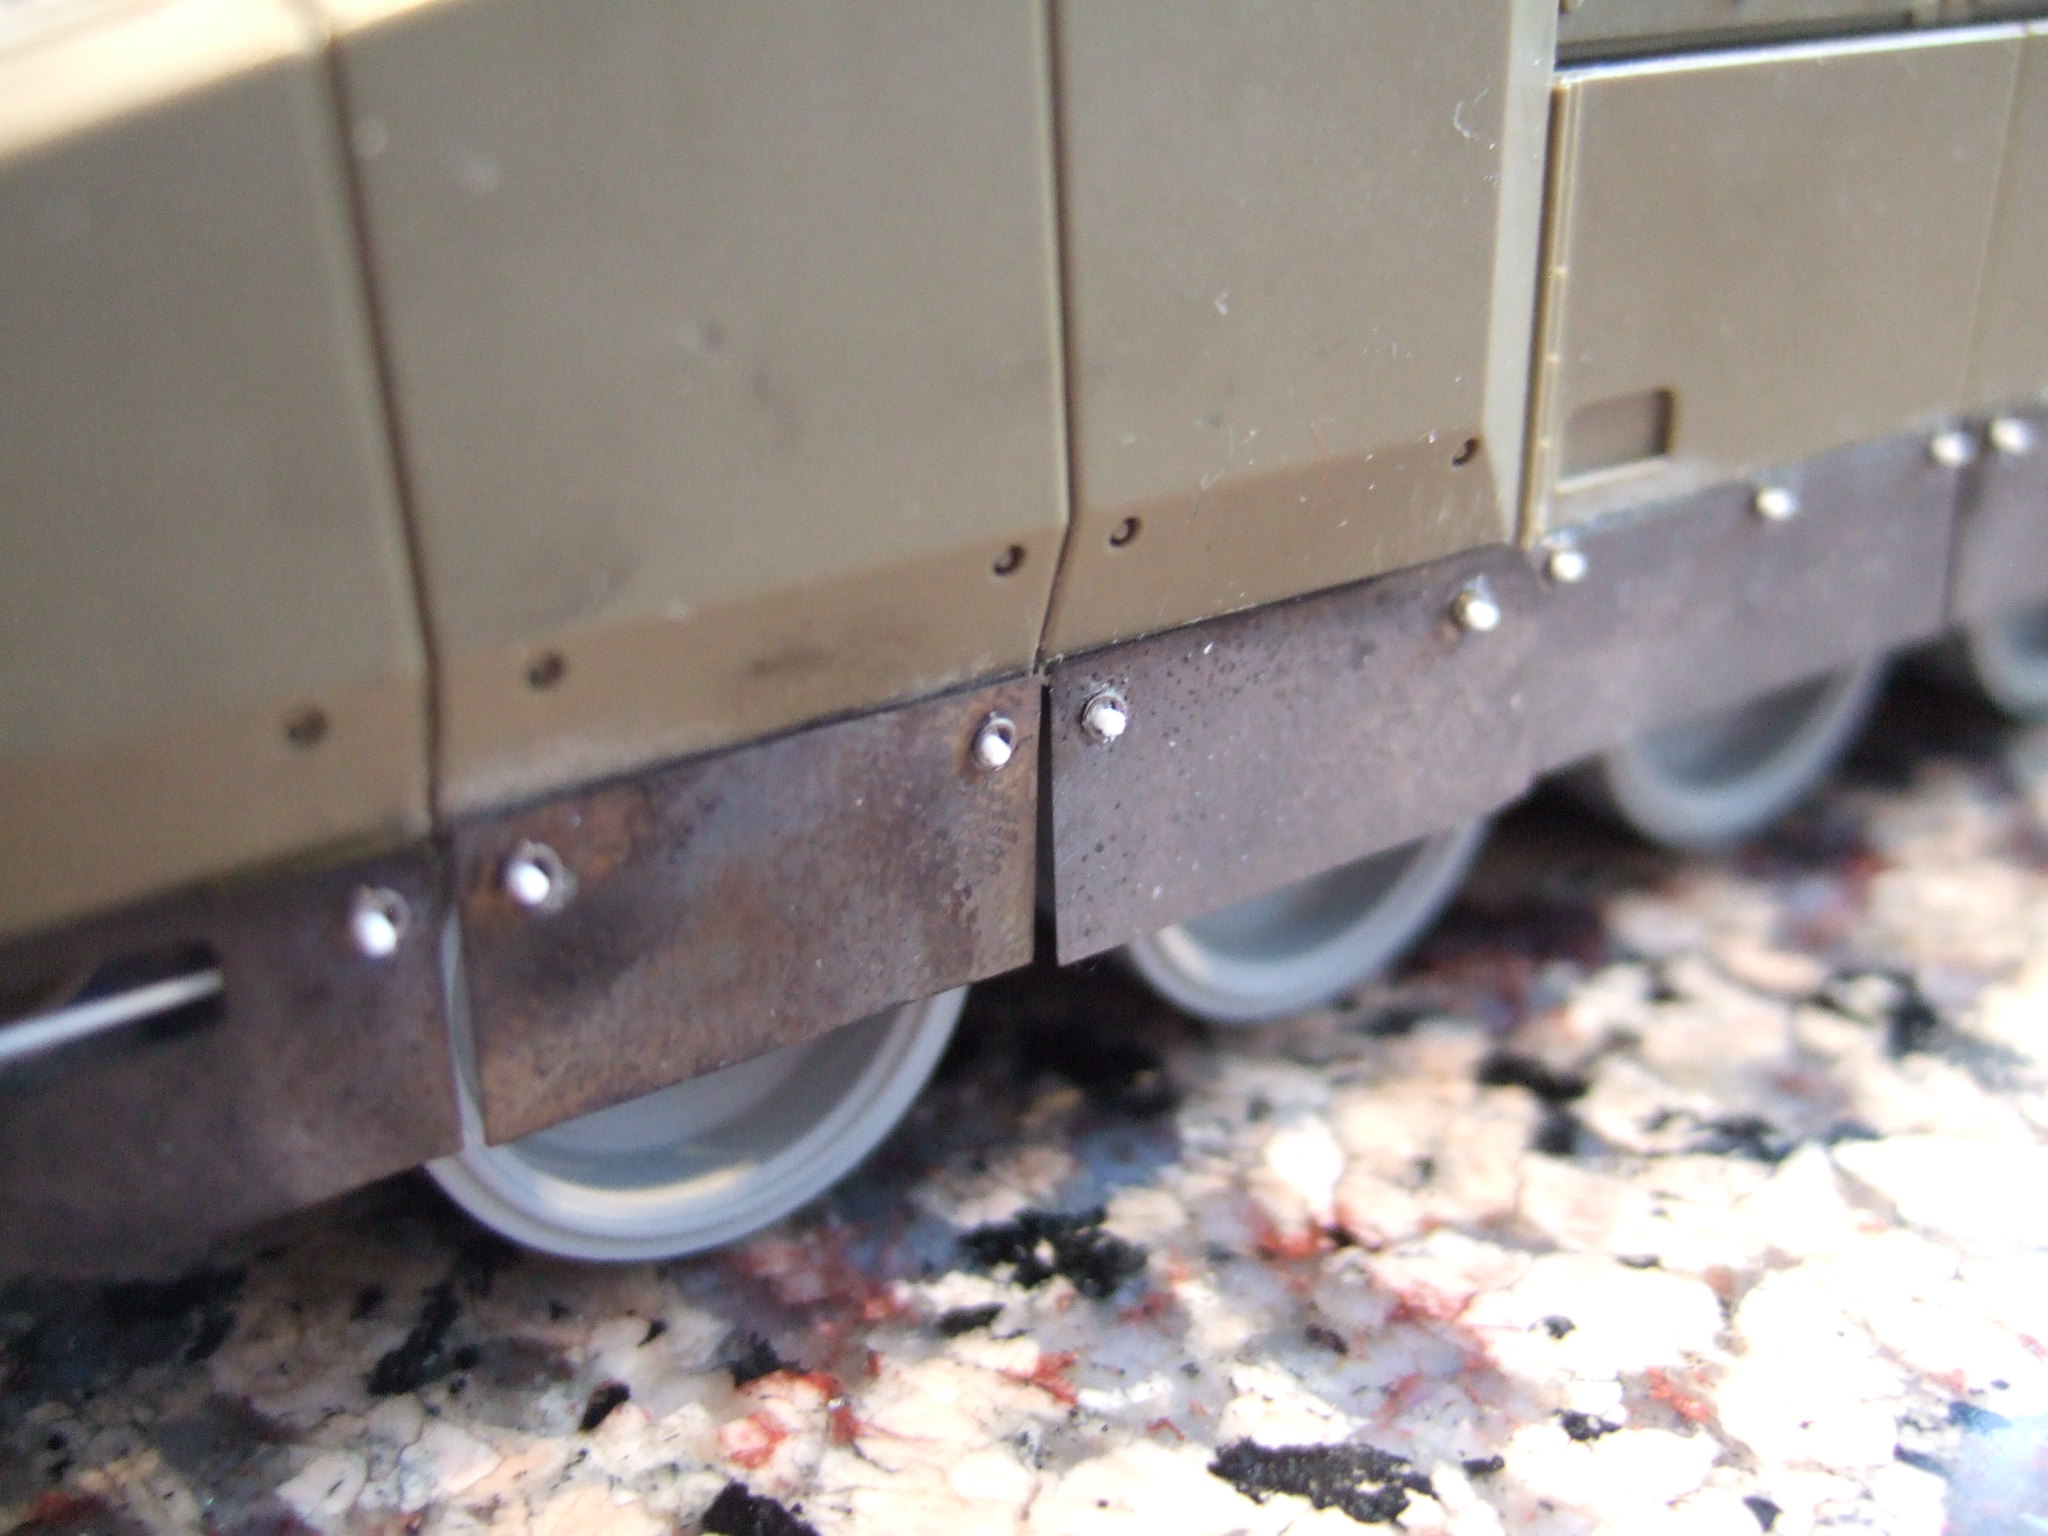
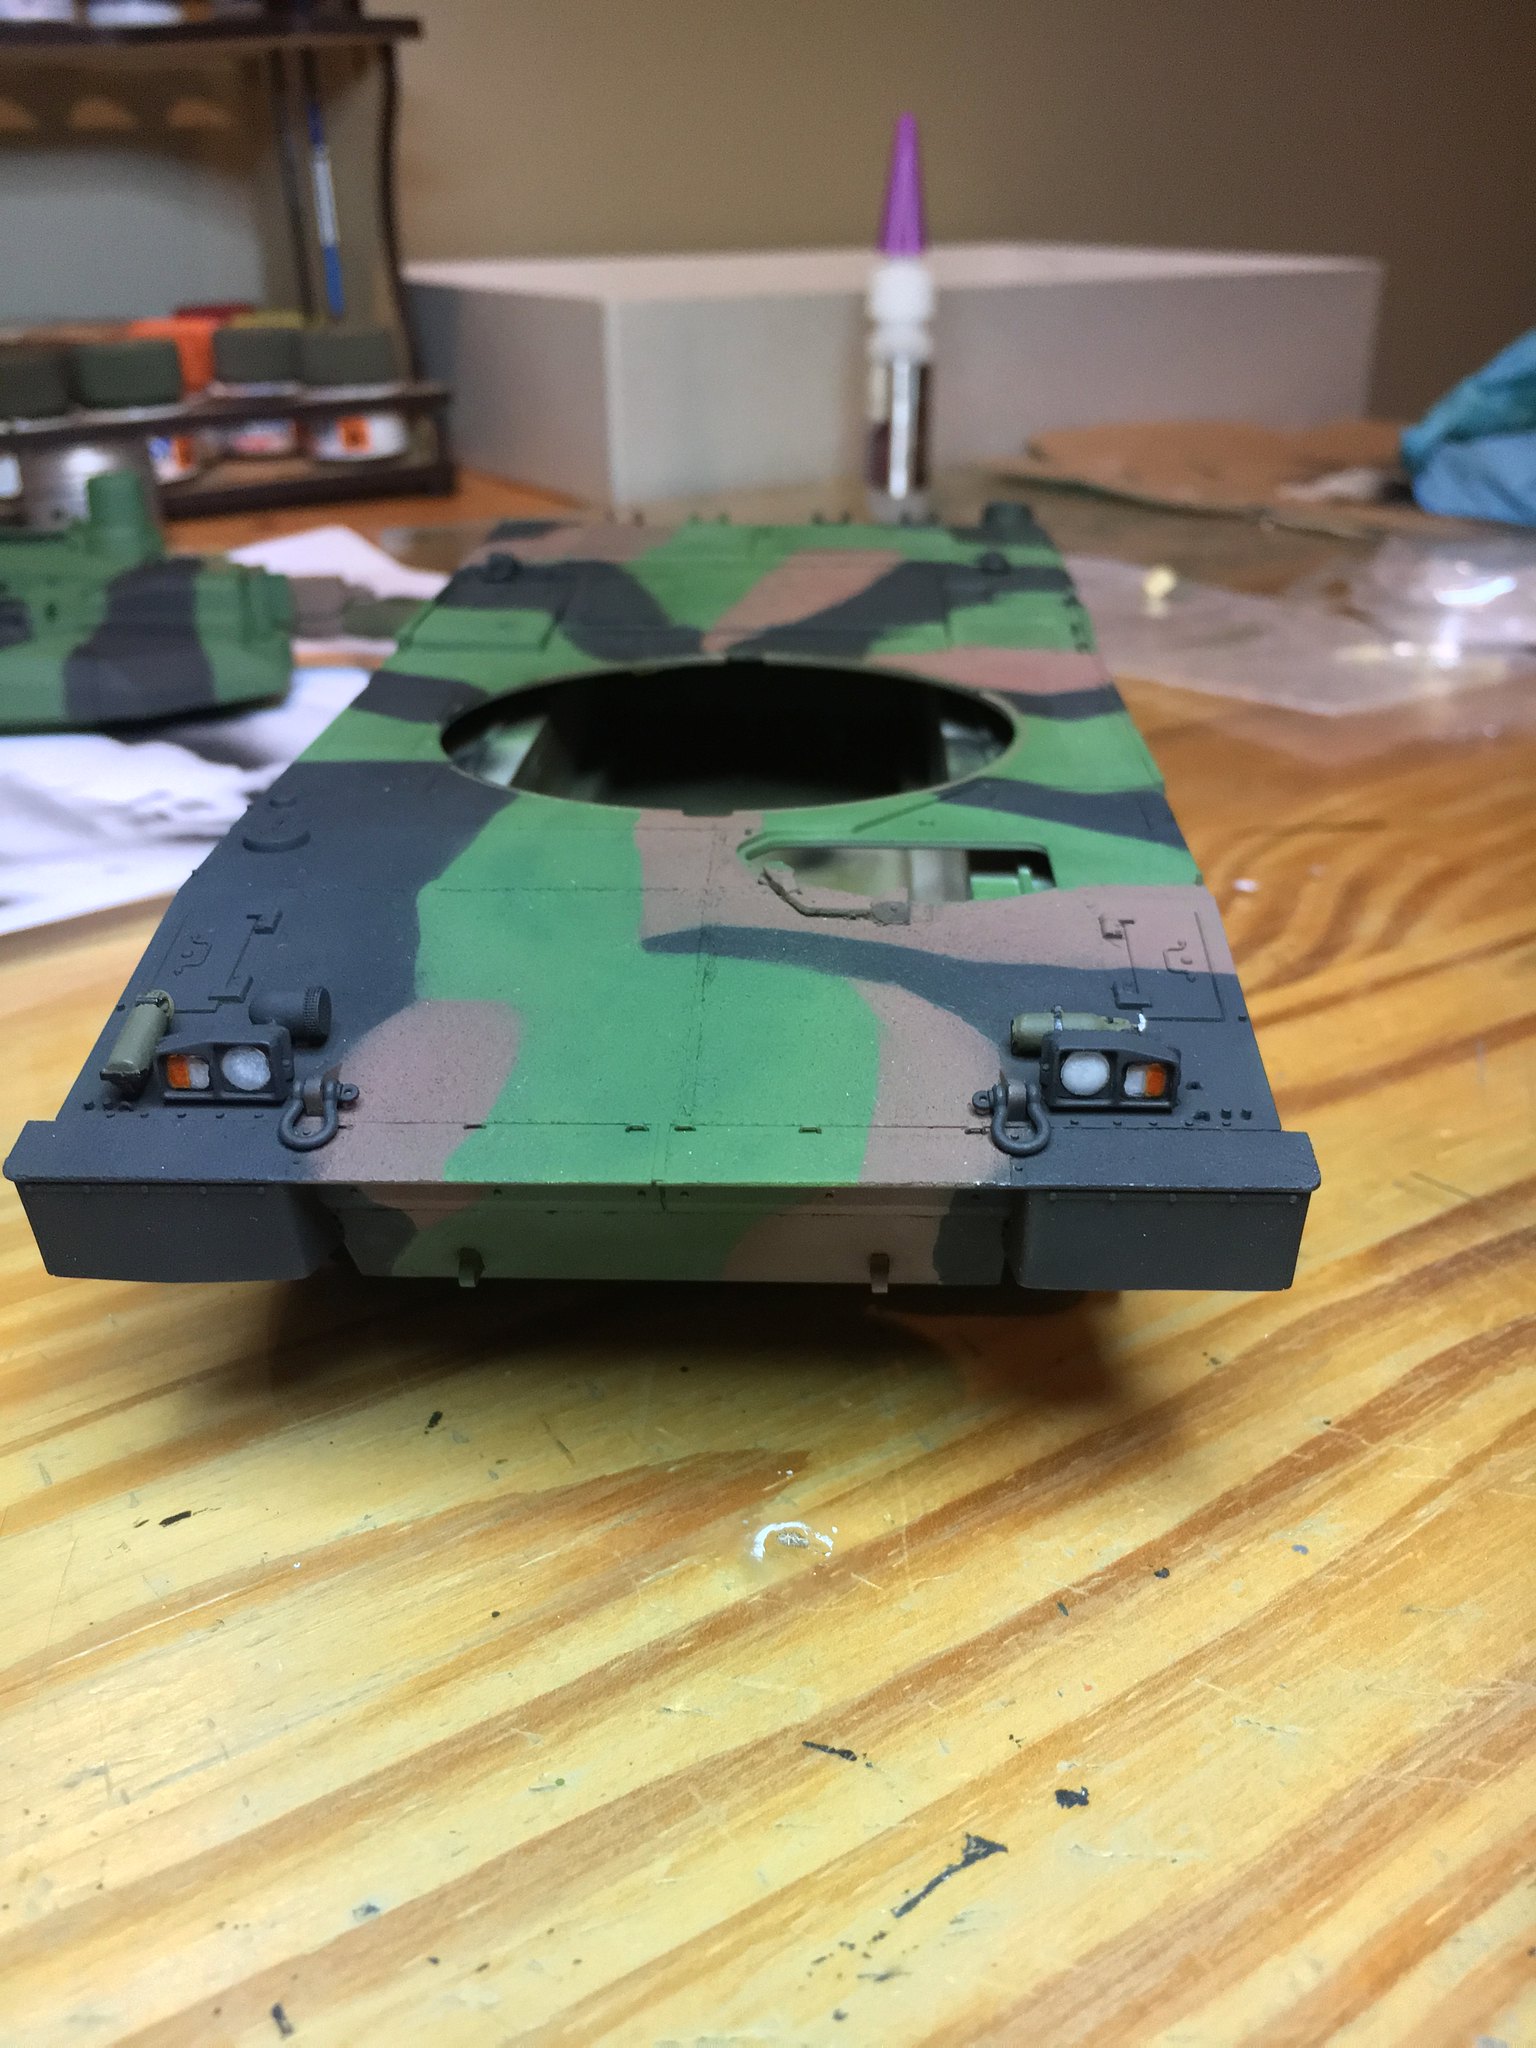
The mud flaps are scratch made, although I used the pe panel that was in eduard set. It was too long and a bit large for my tastes; I trimmed it to the appropriate size using reference pictures of the sprocket to see where the mudflap ends while looking at the tank sideways.


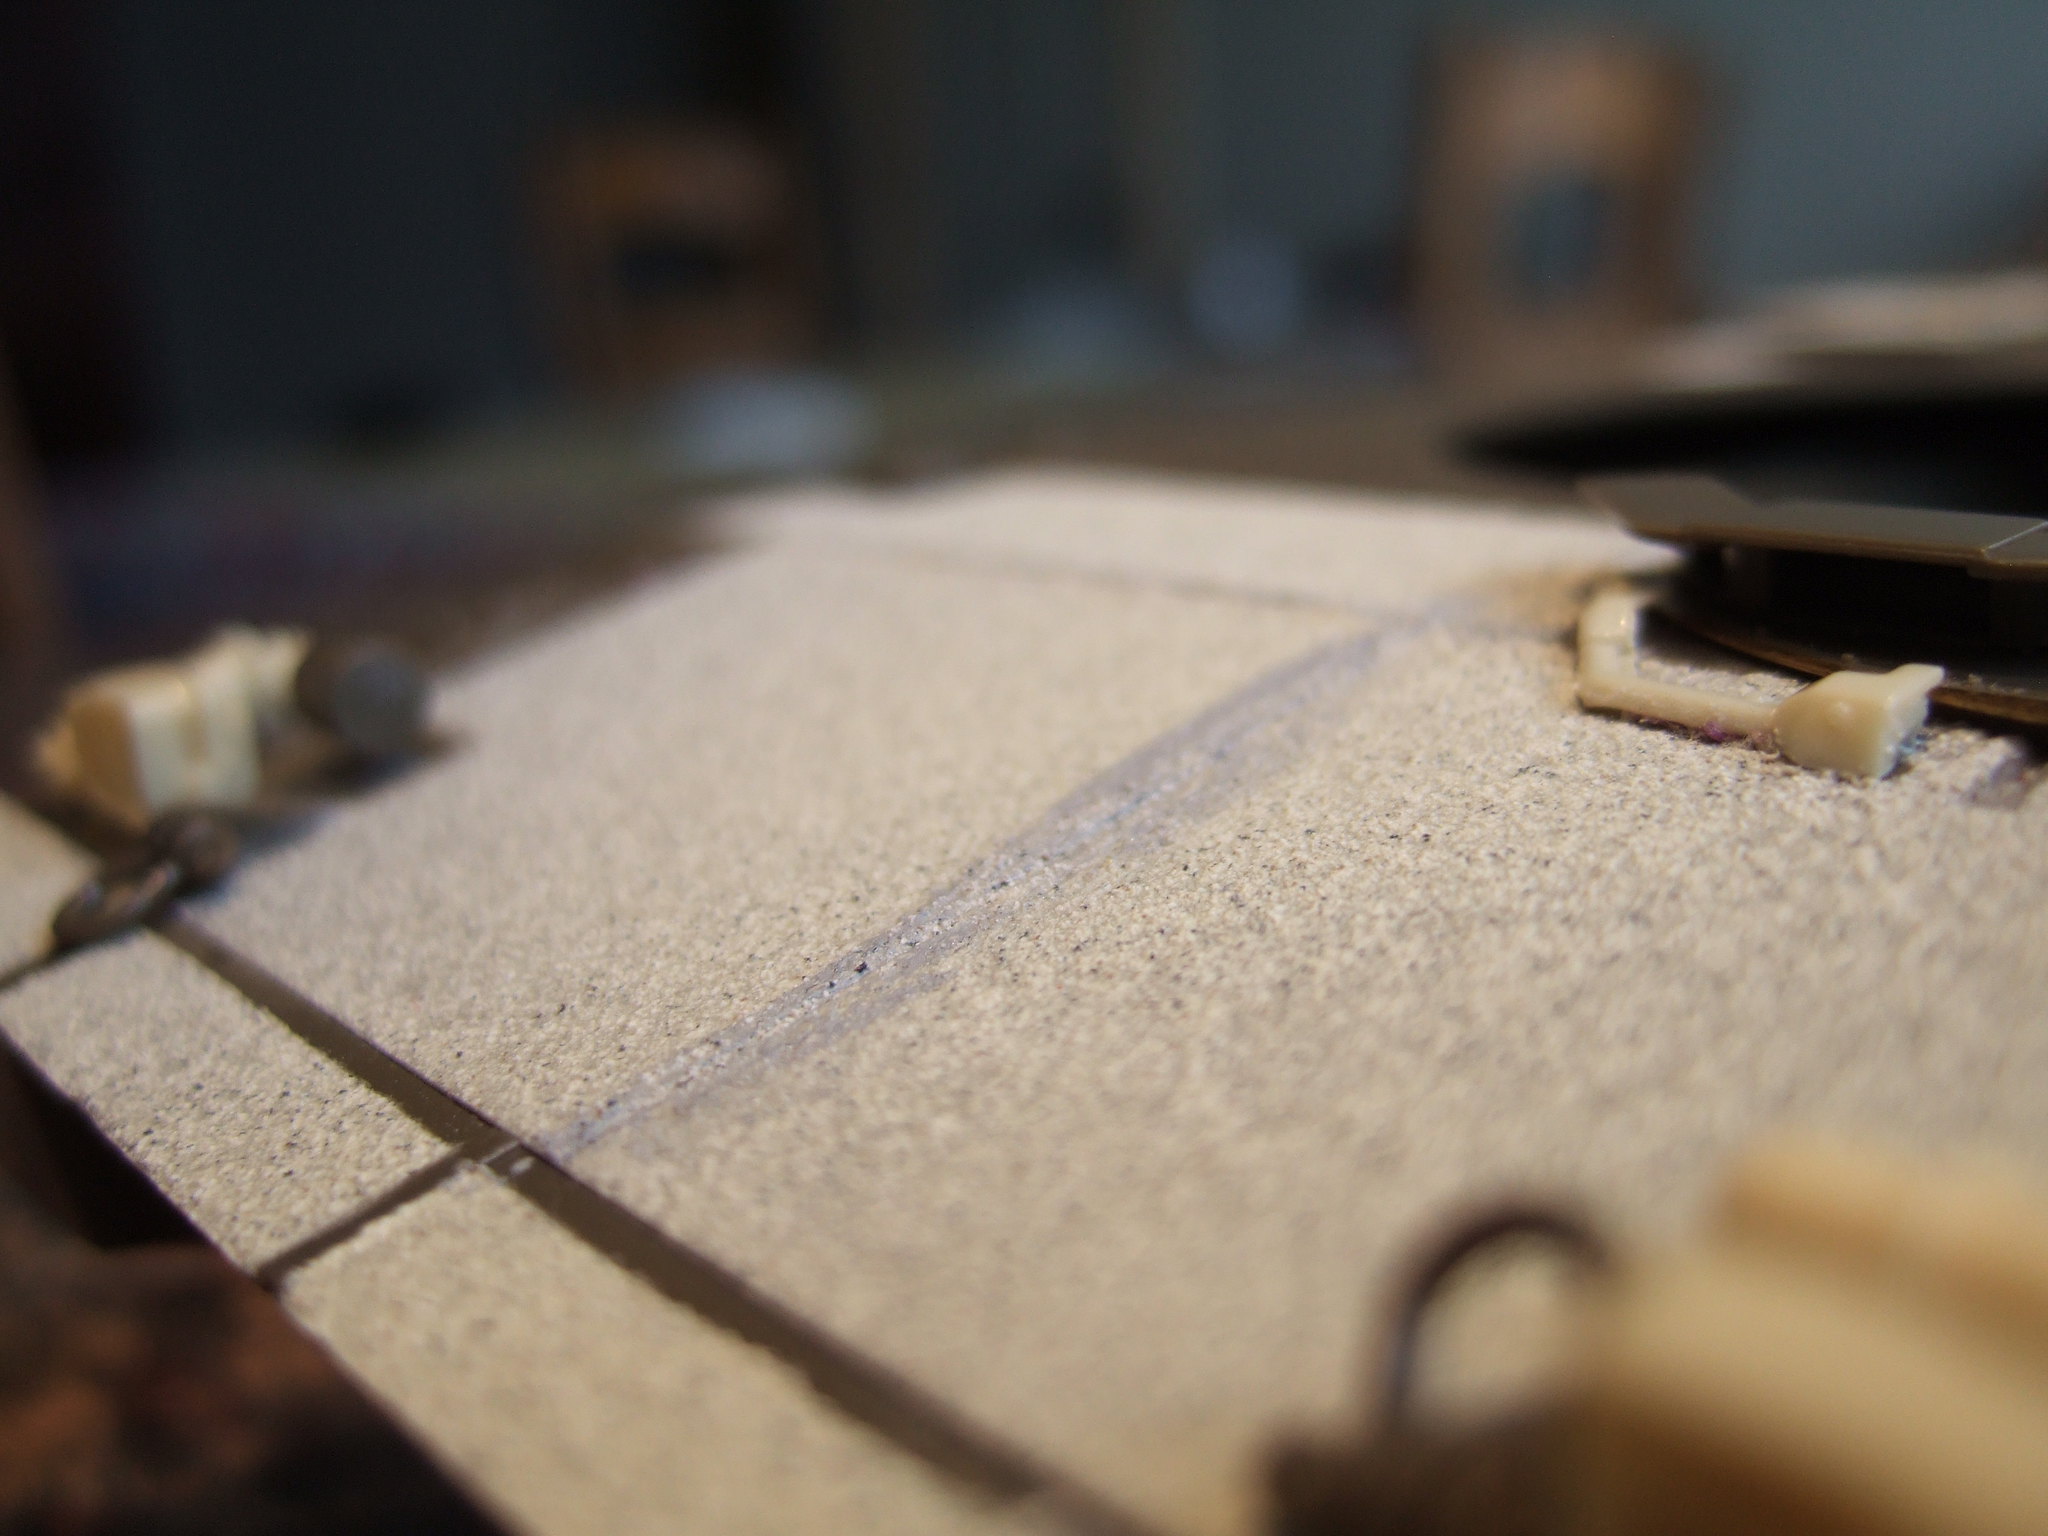
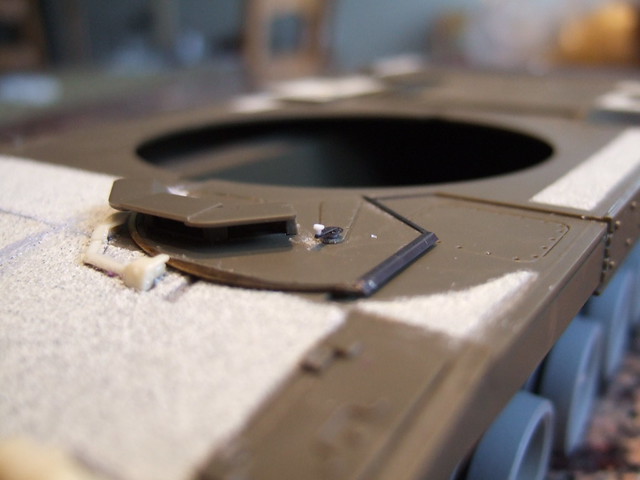
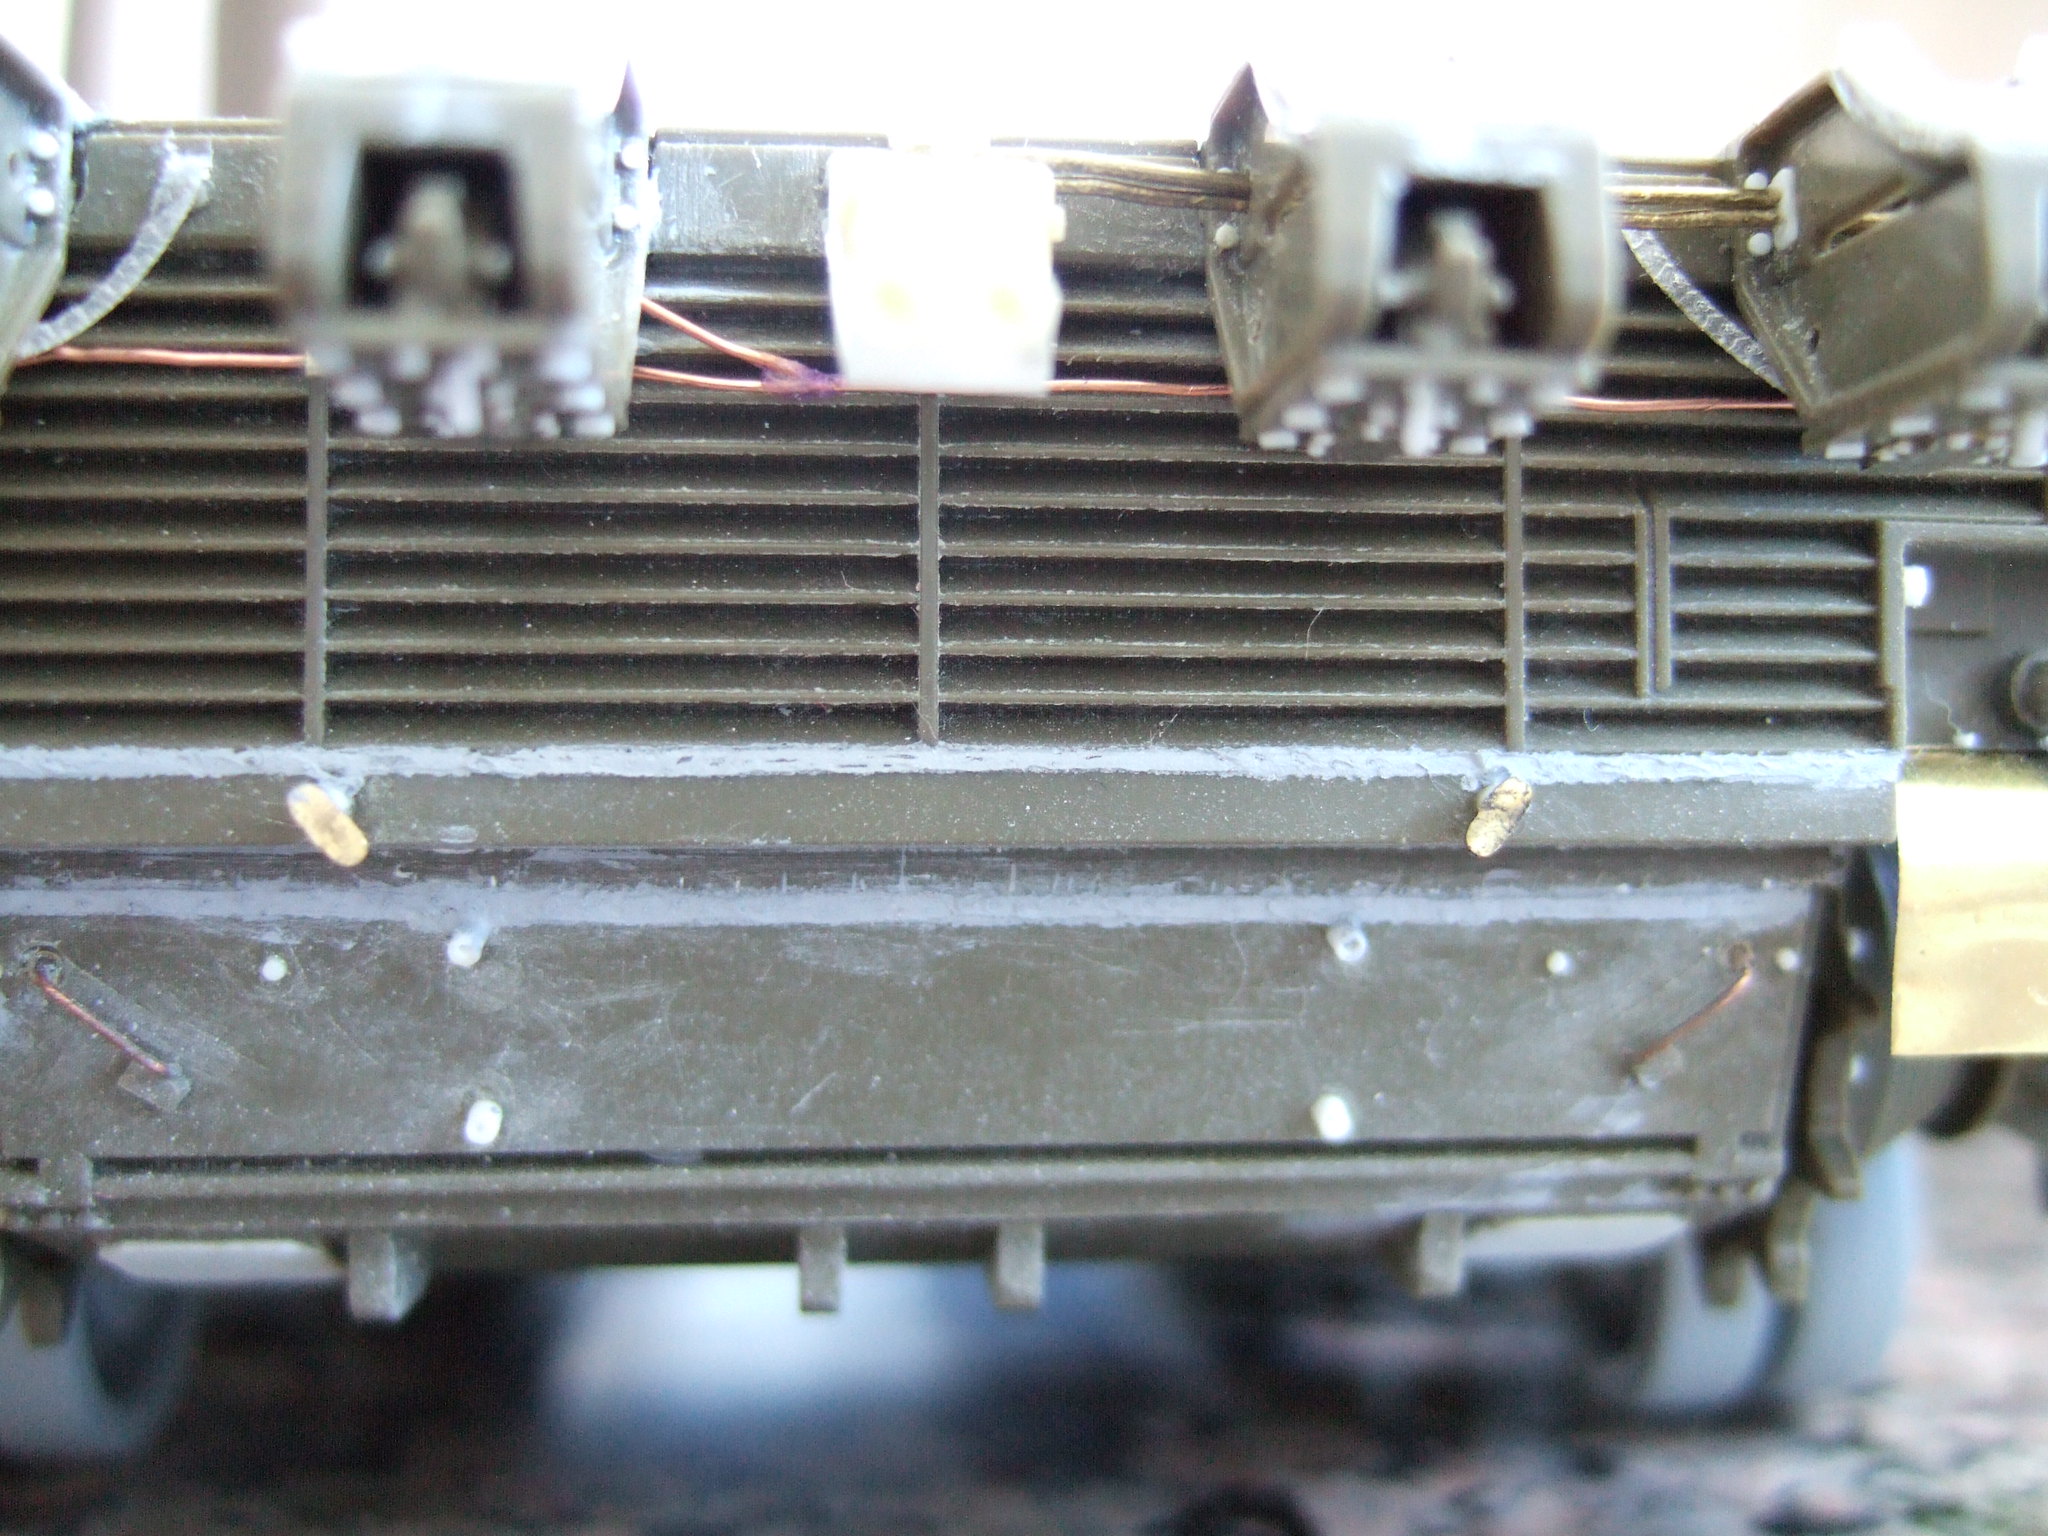
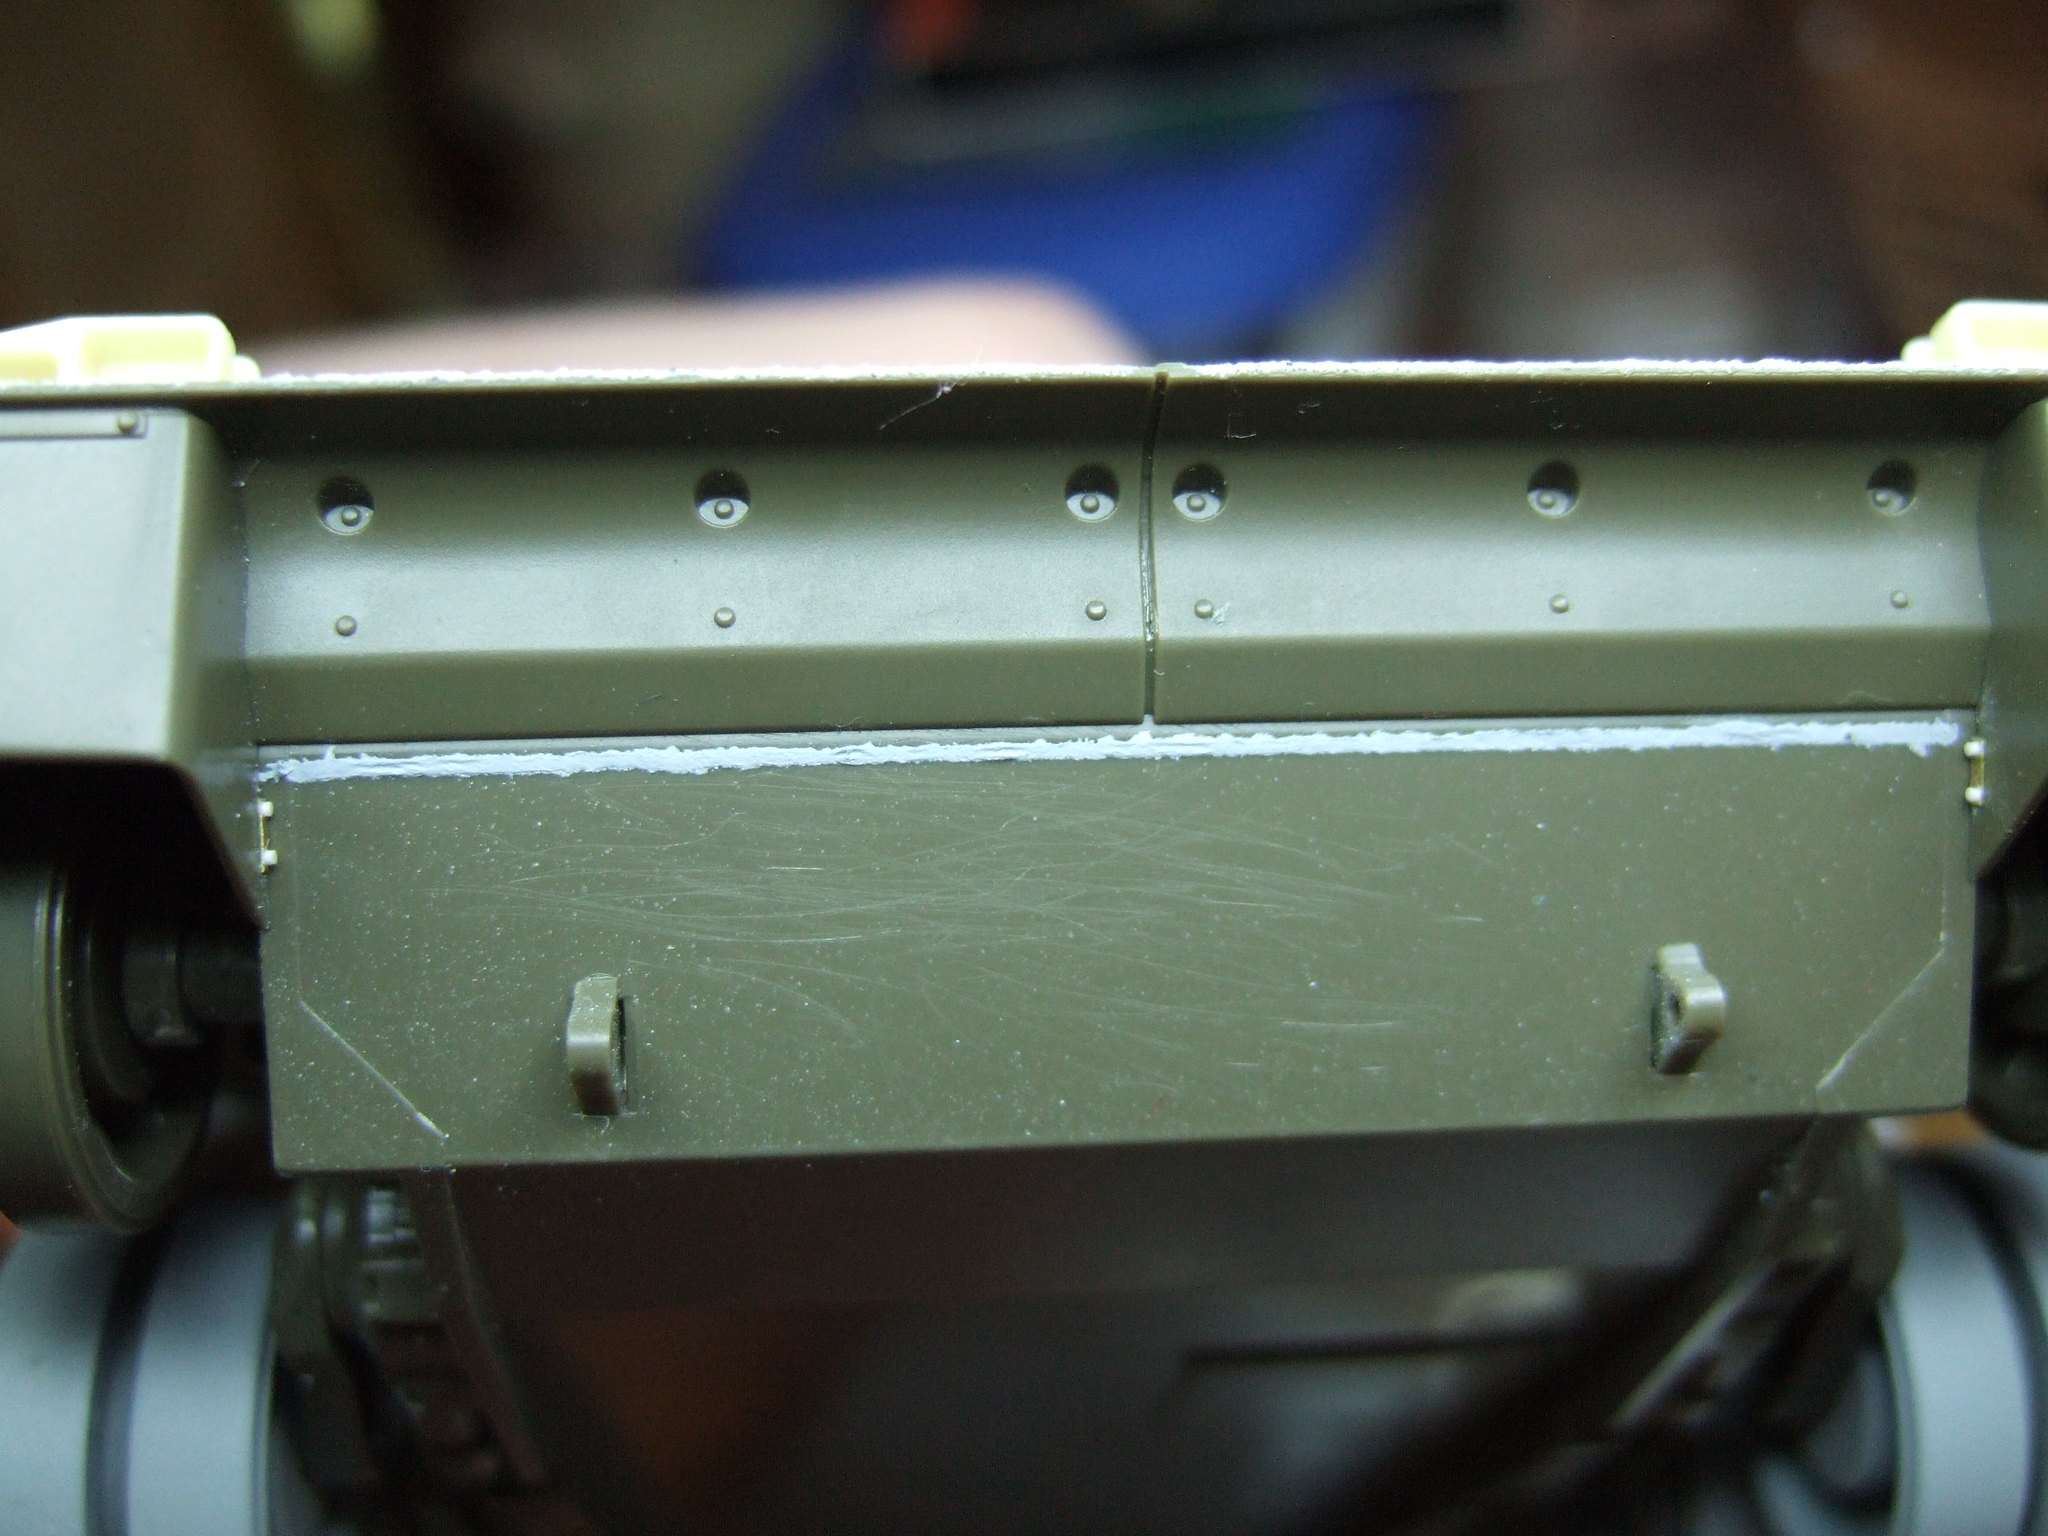
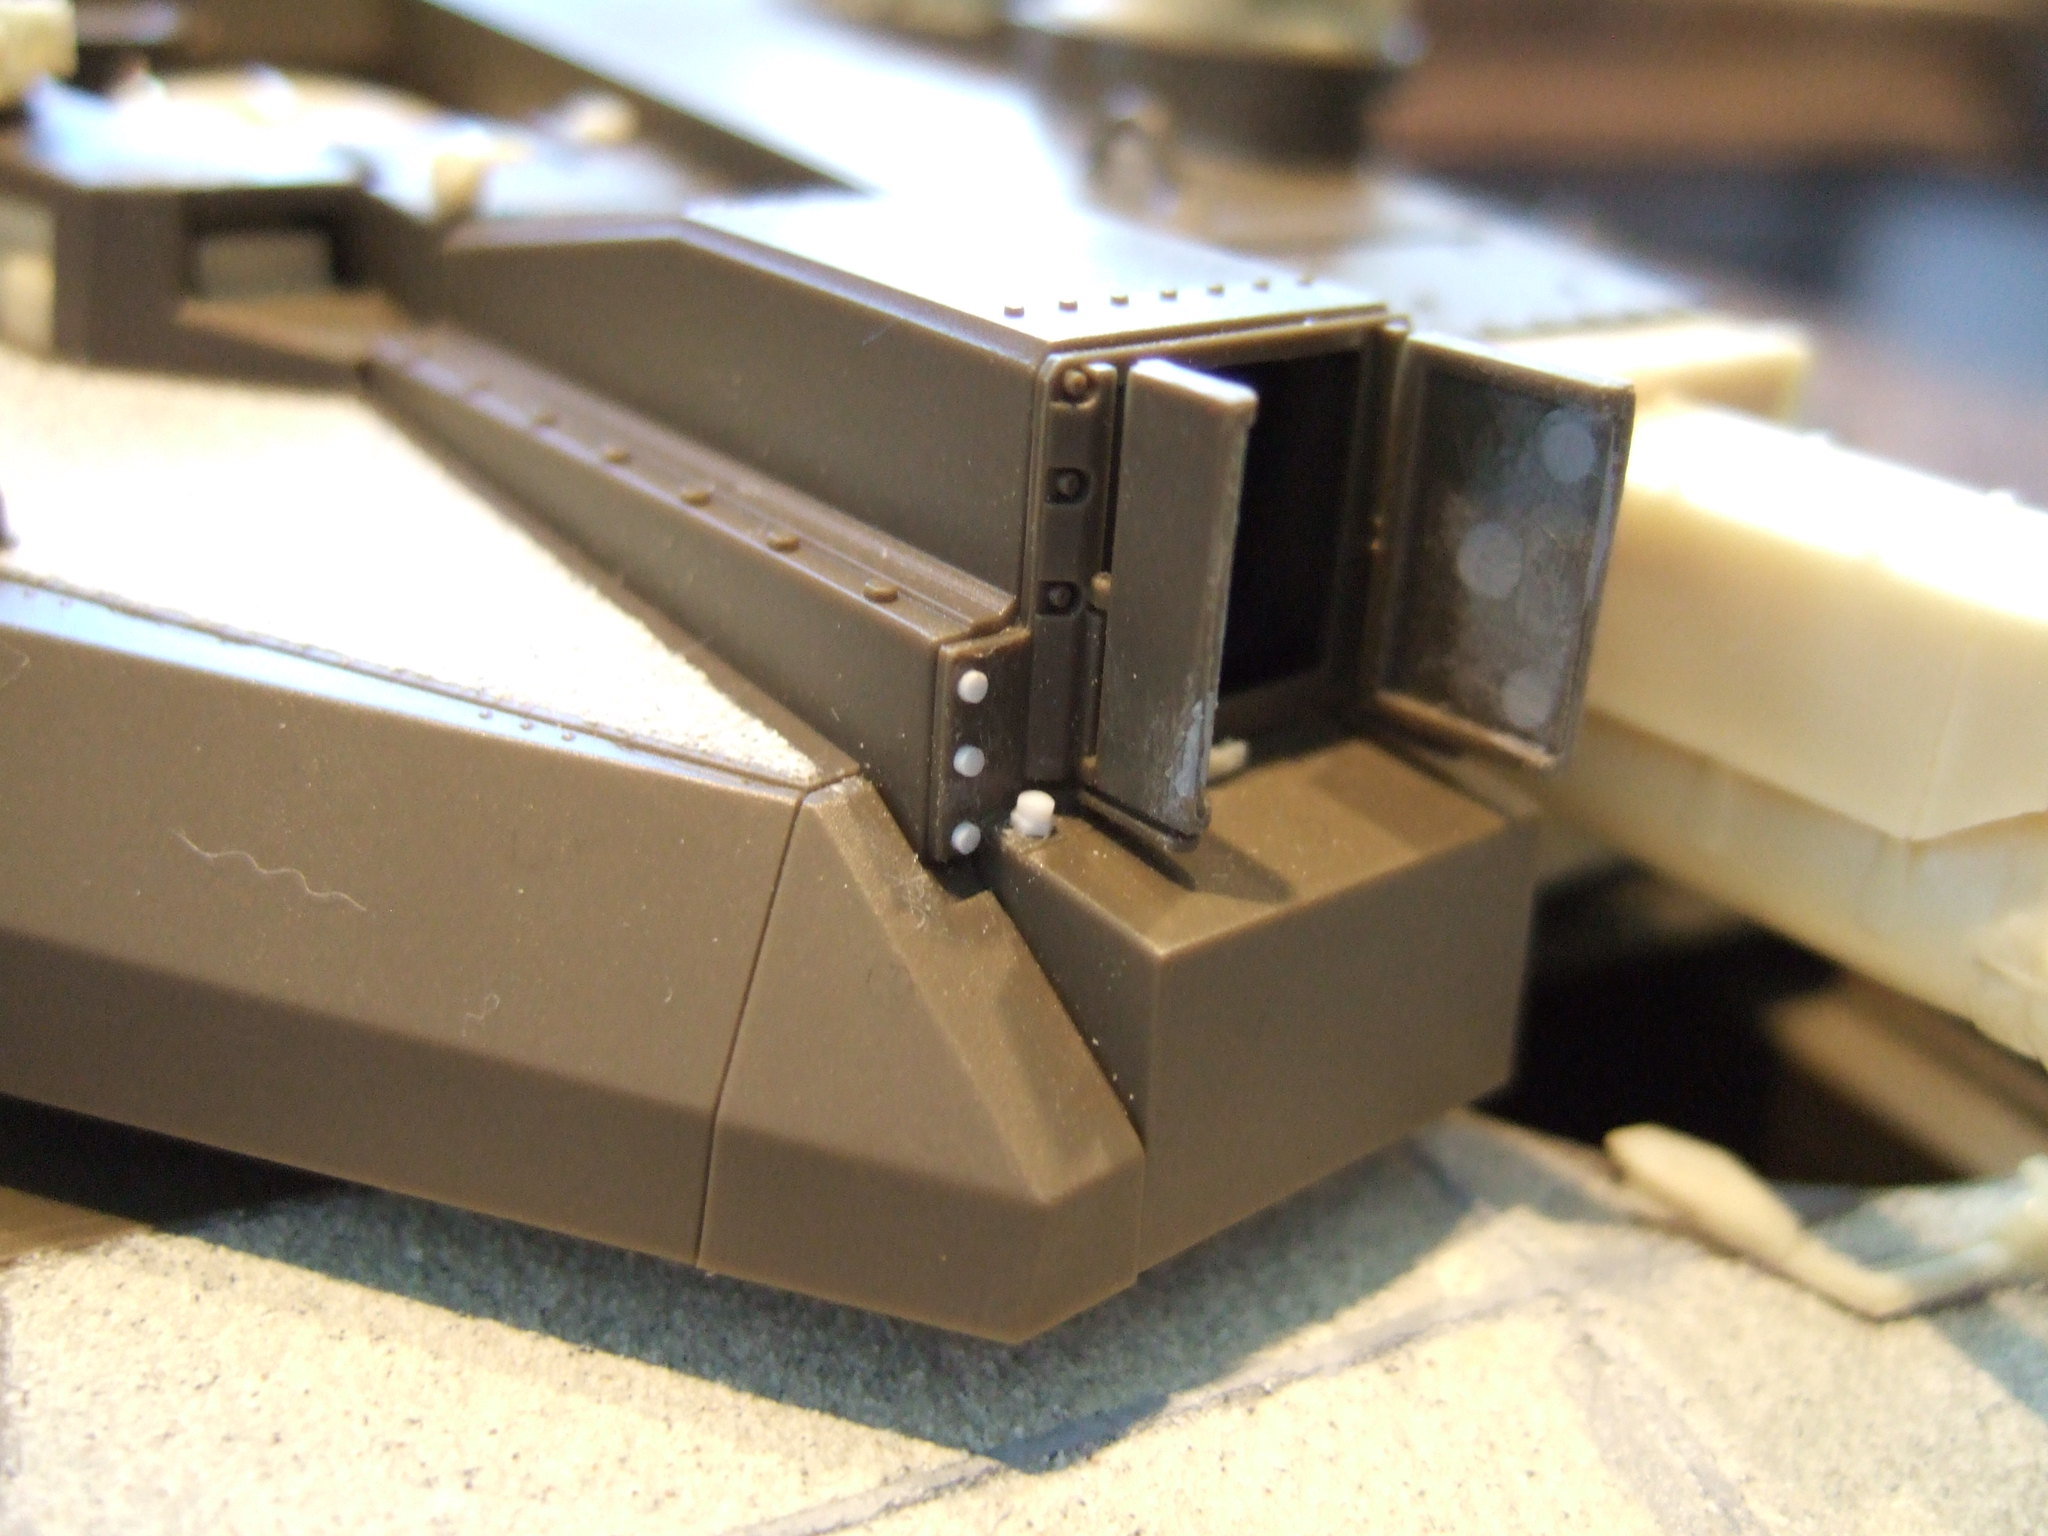
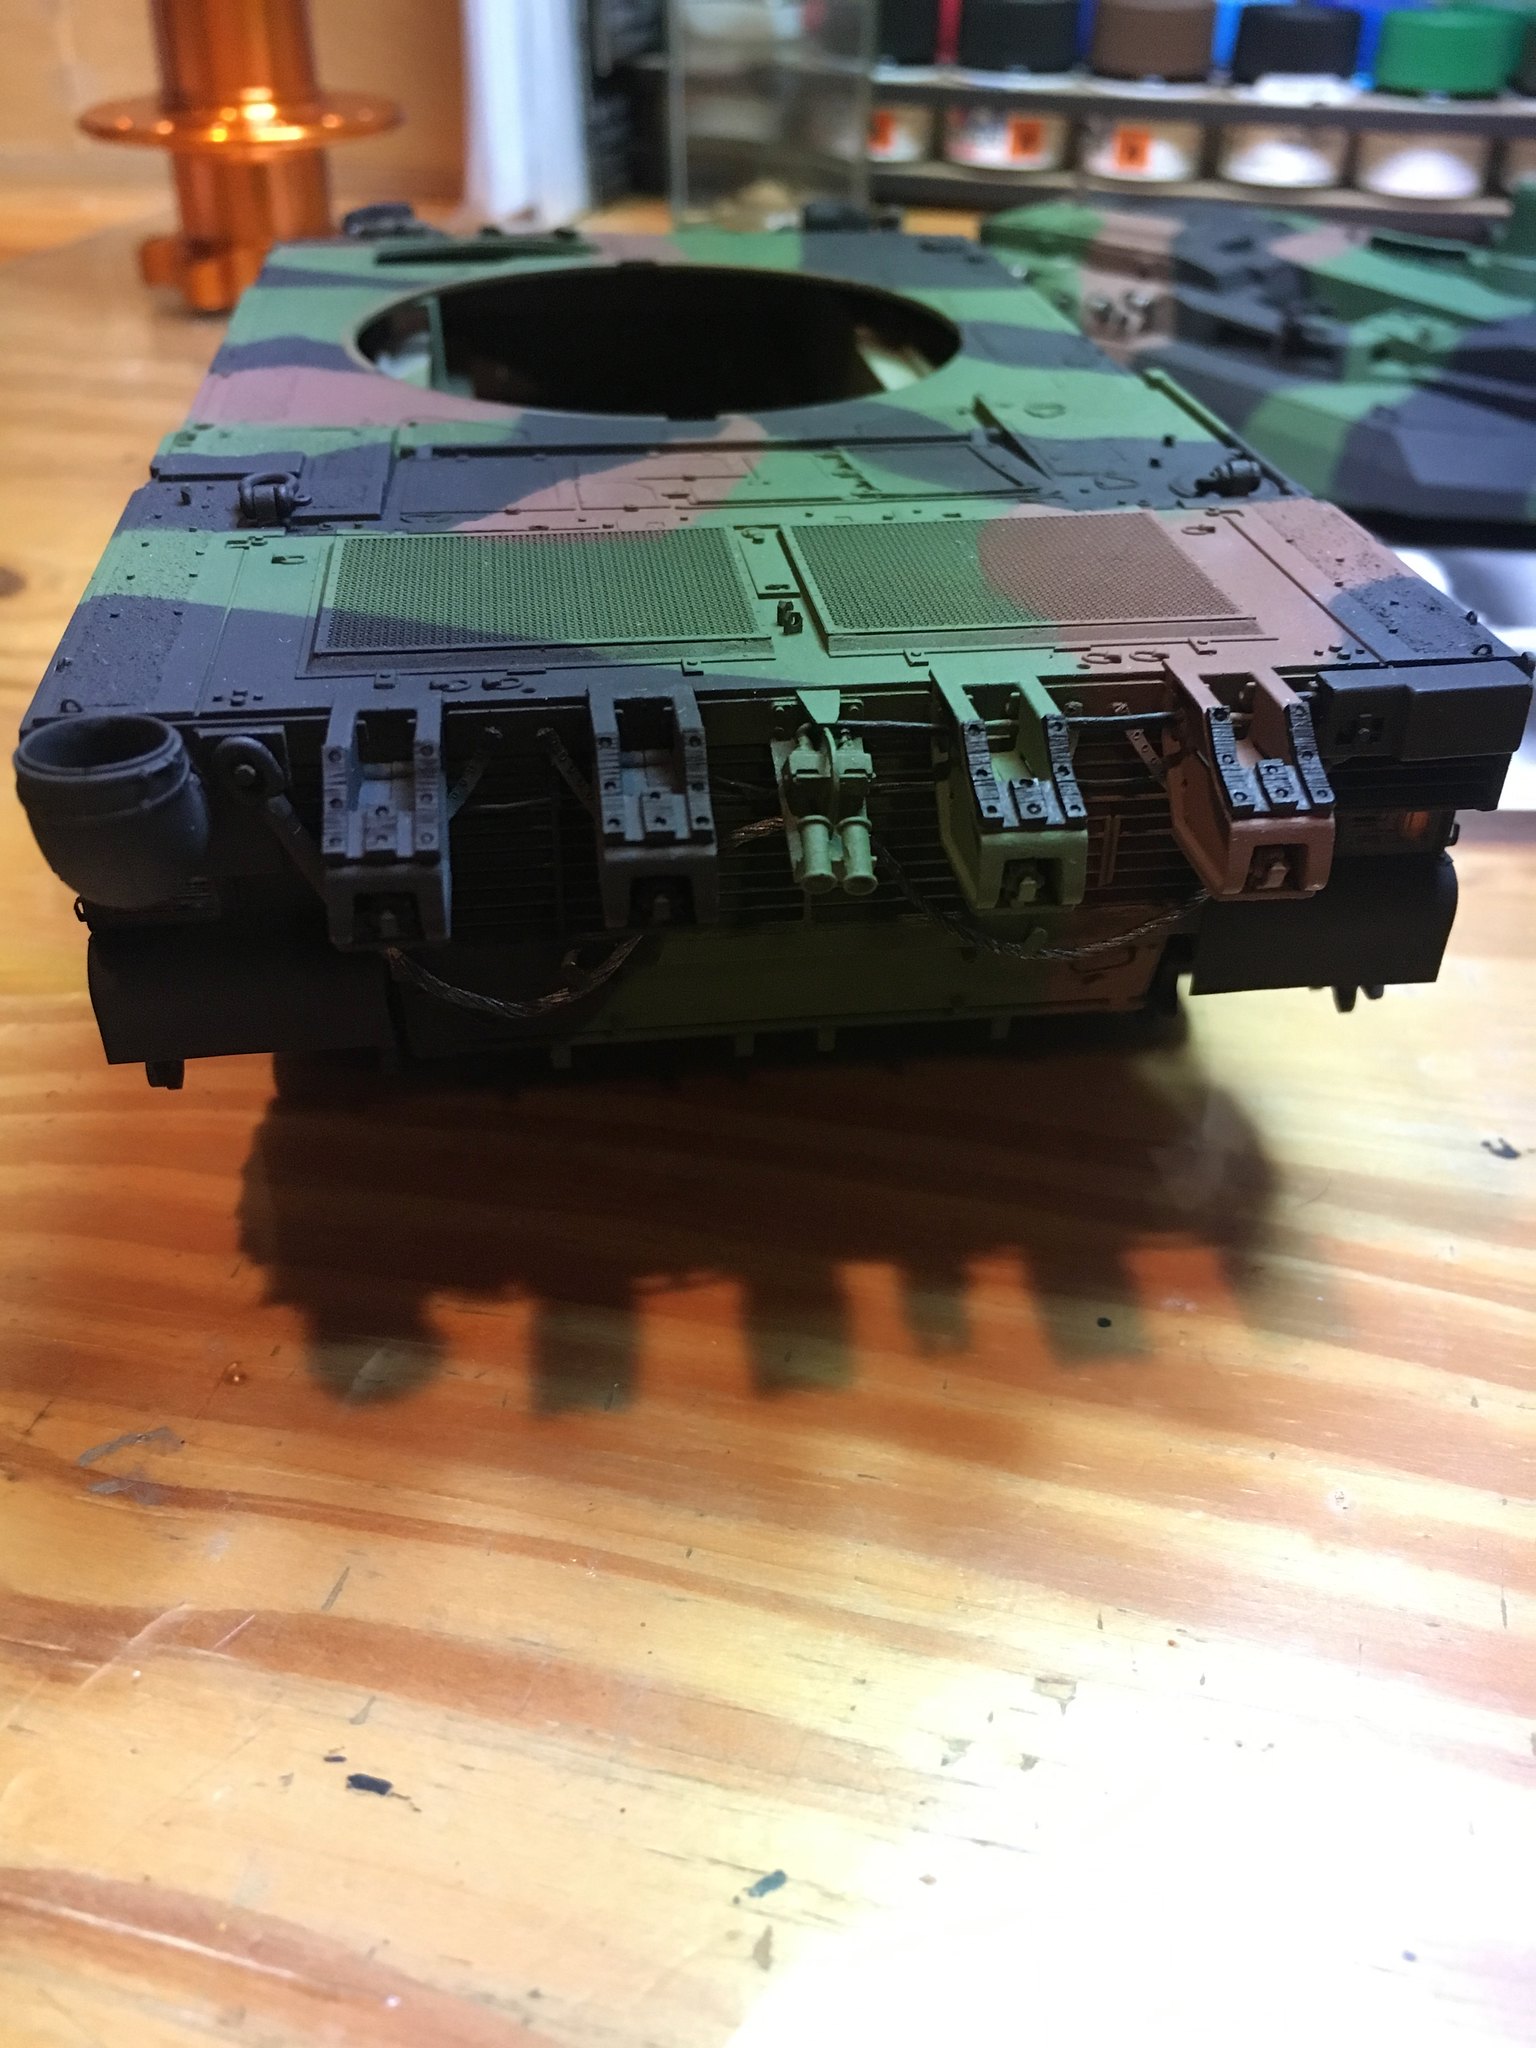
I've tried to replicate the welding line on the back of the tank using miliput, this is a first attempt. While it's not the best, at least it adds up some details :


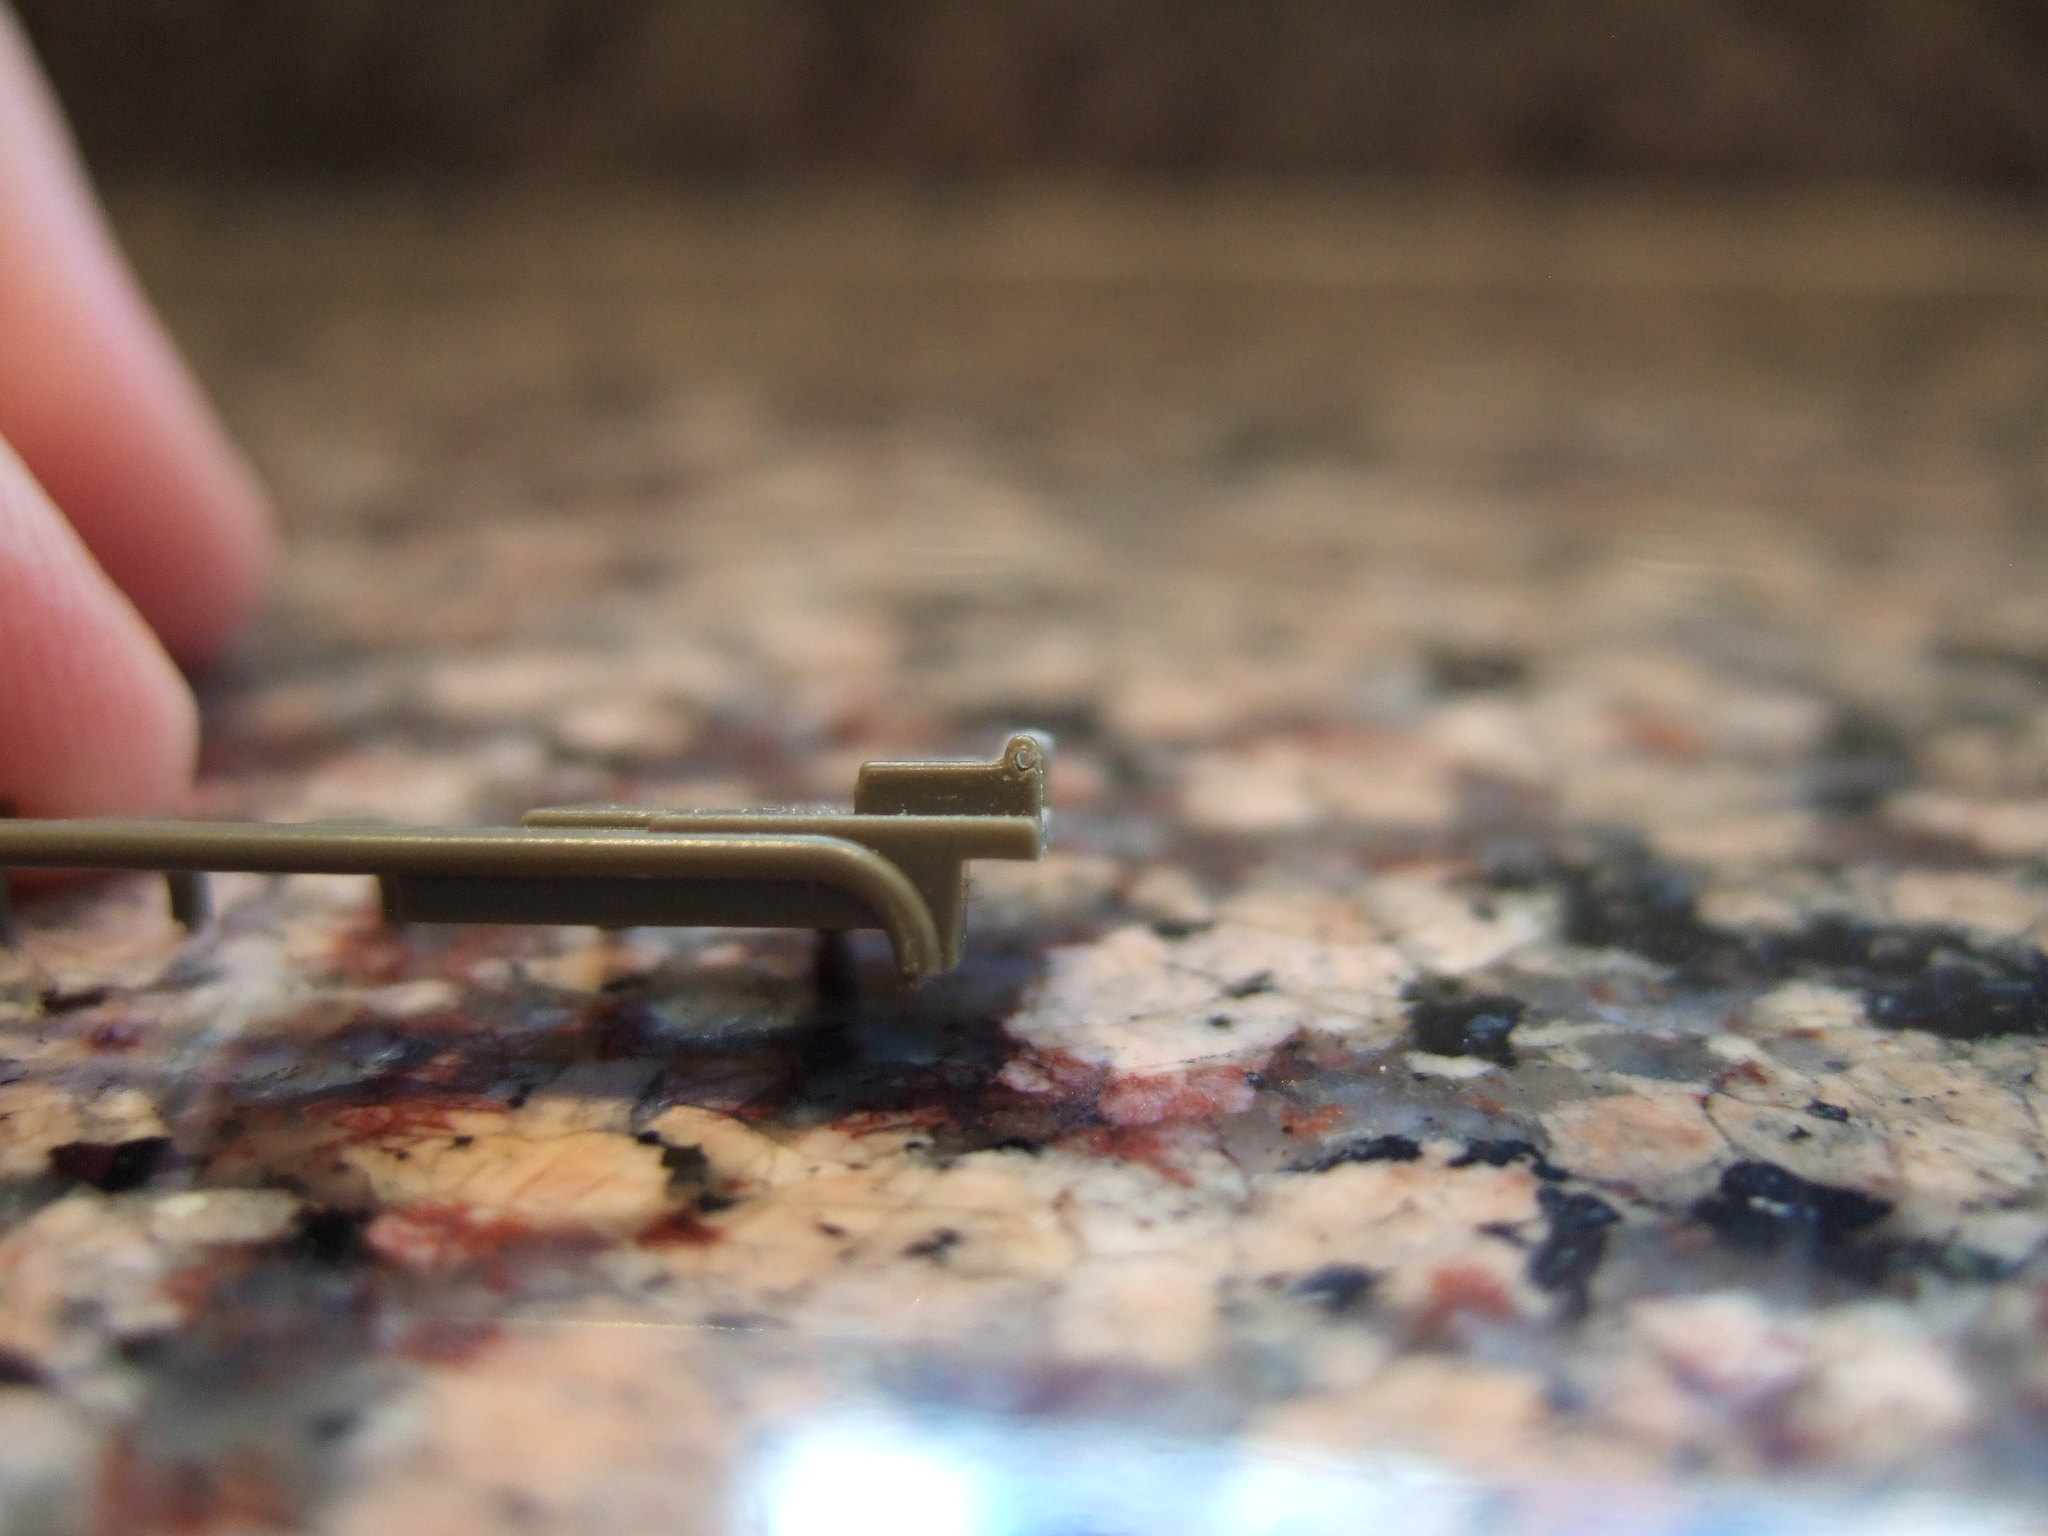
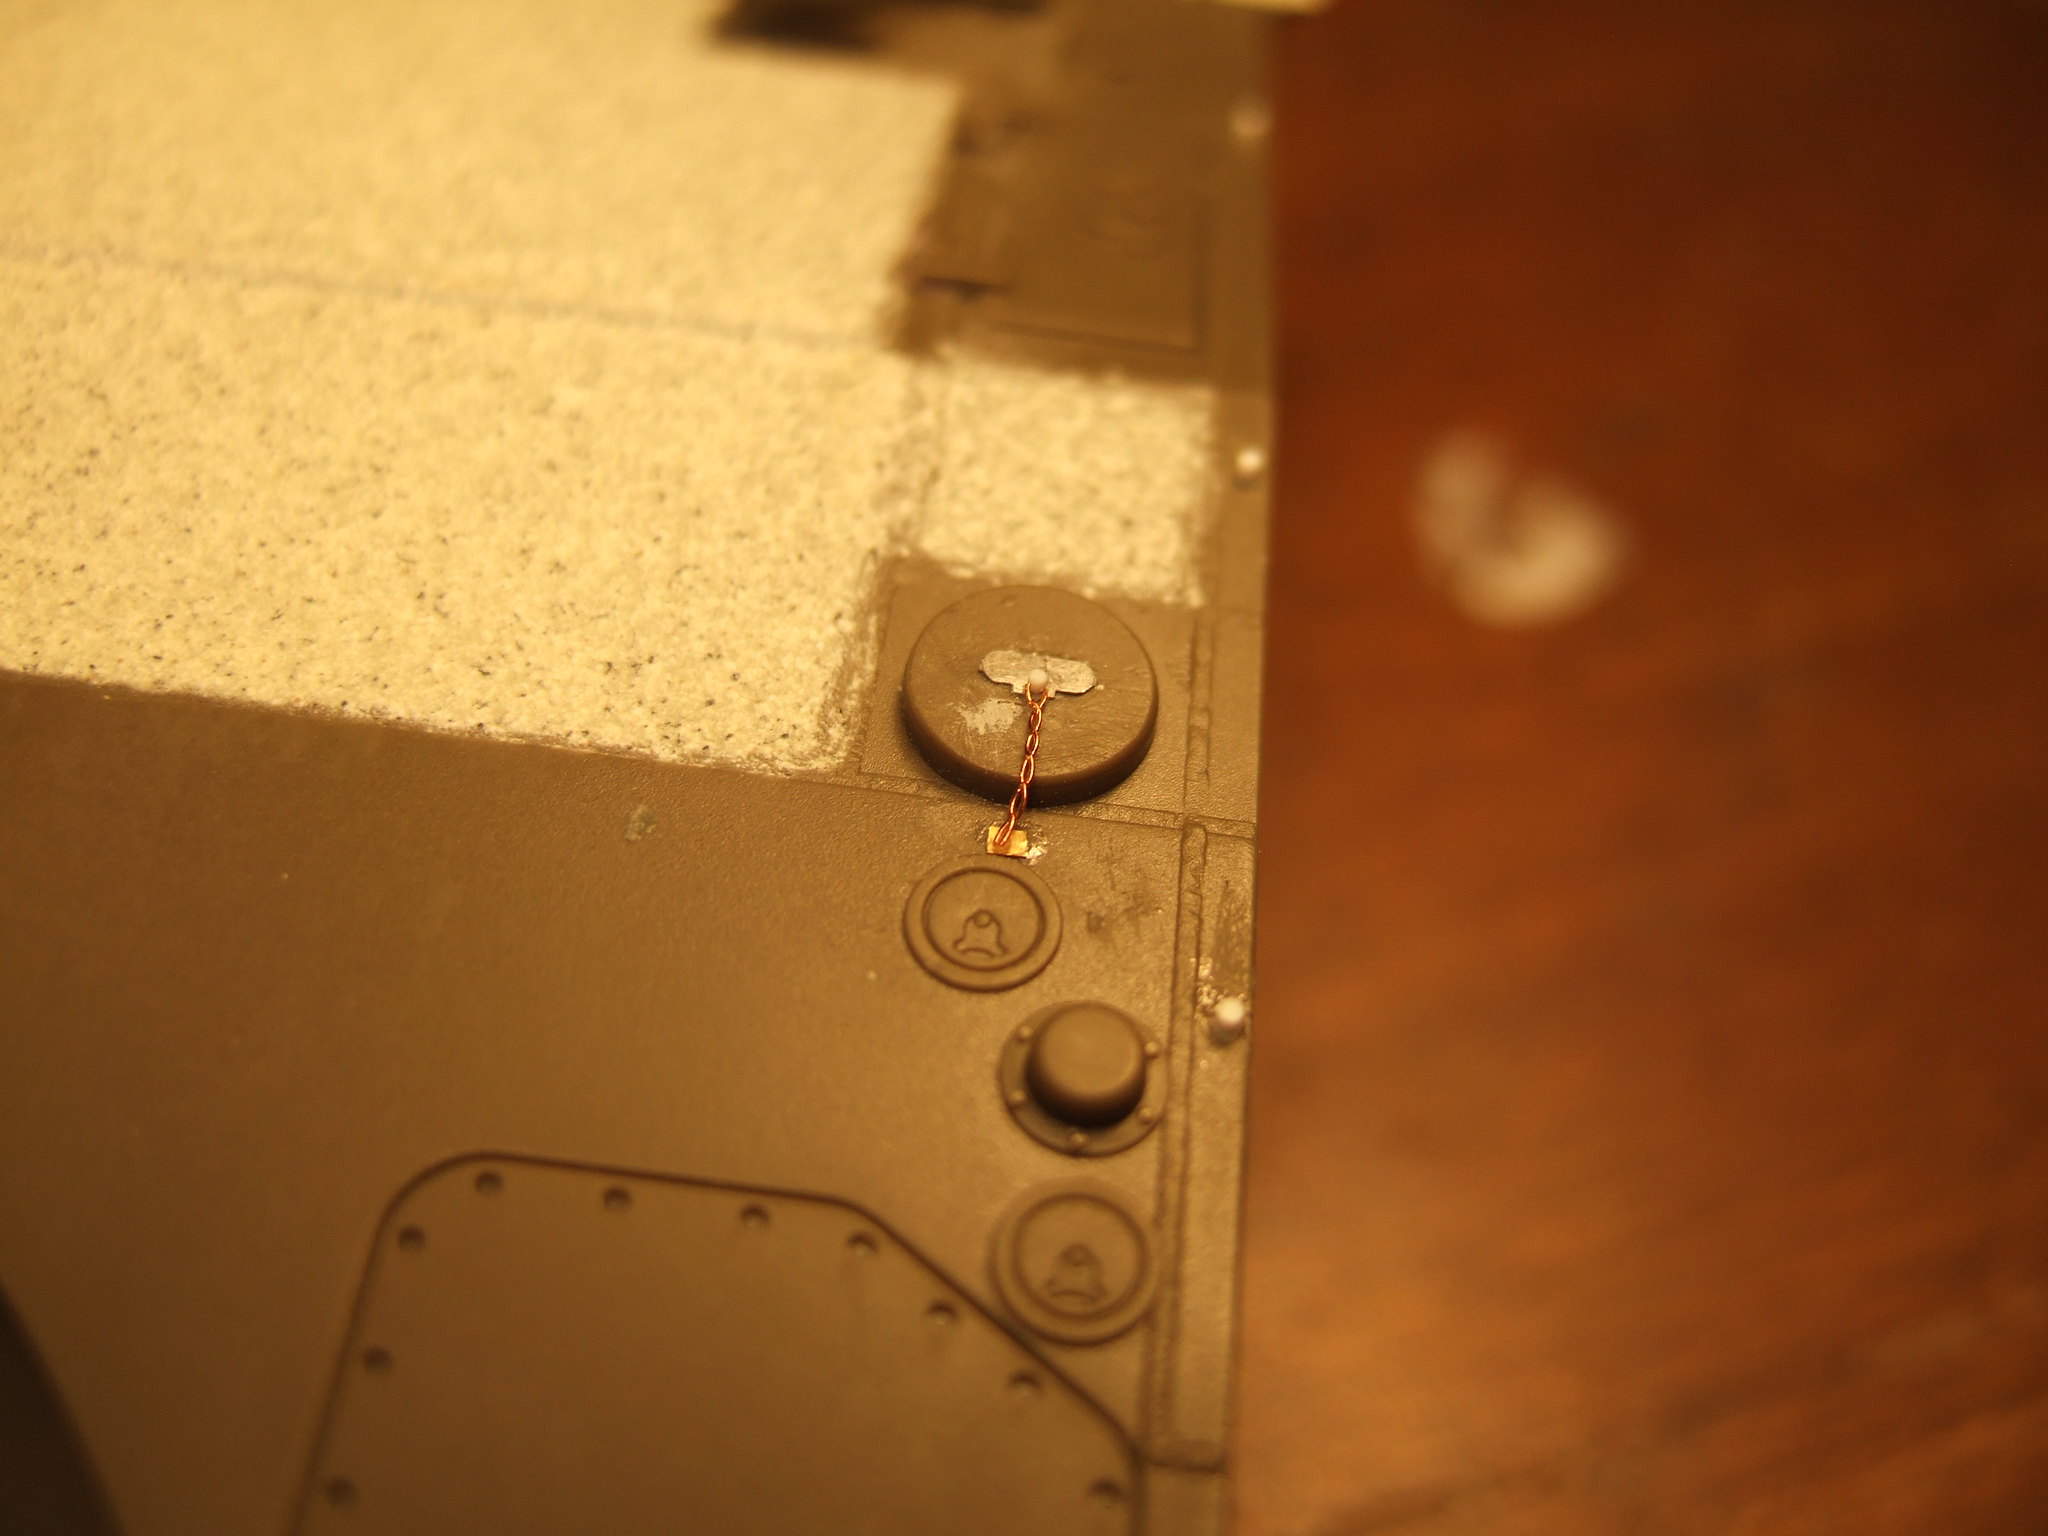
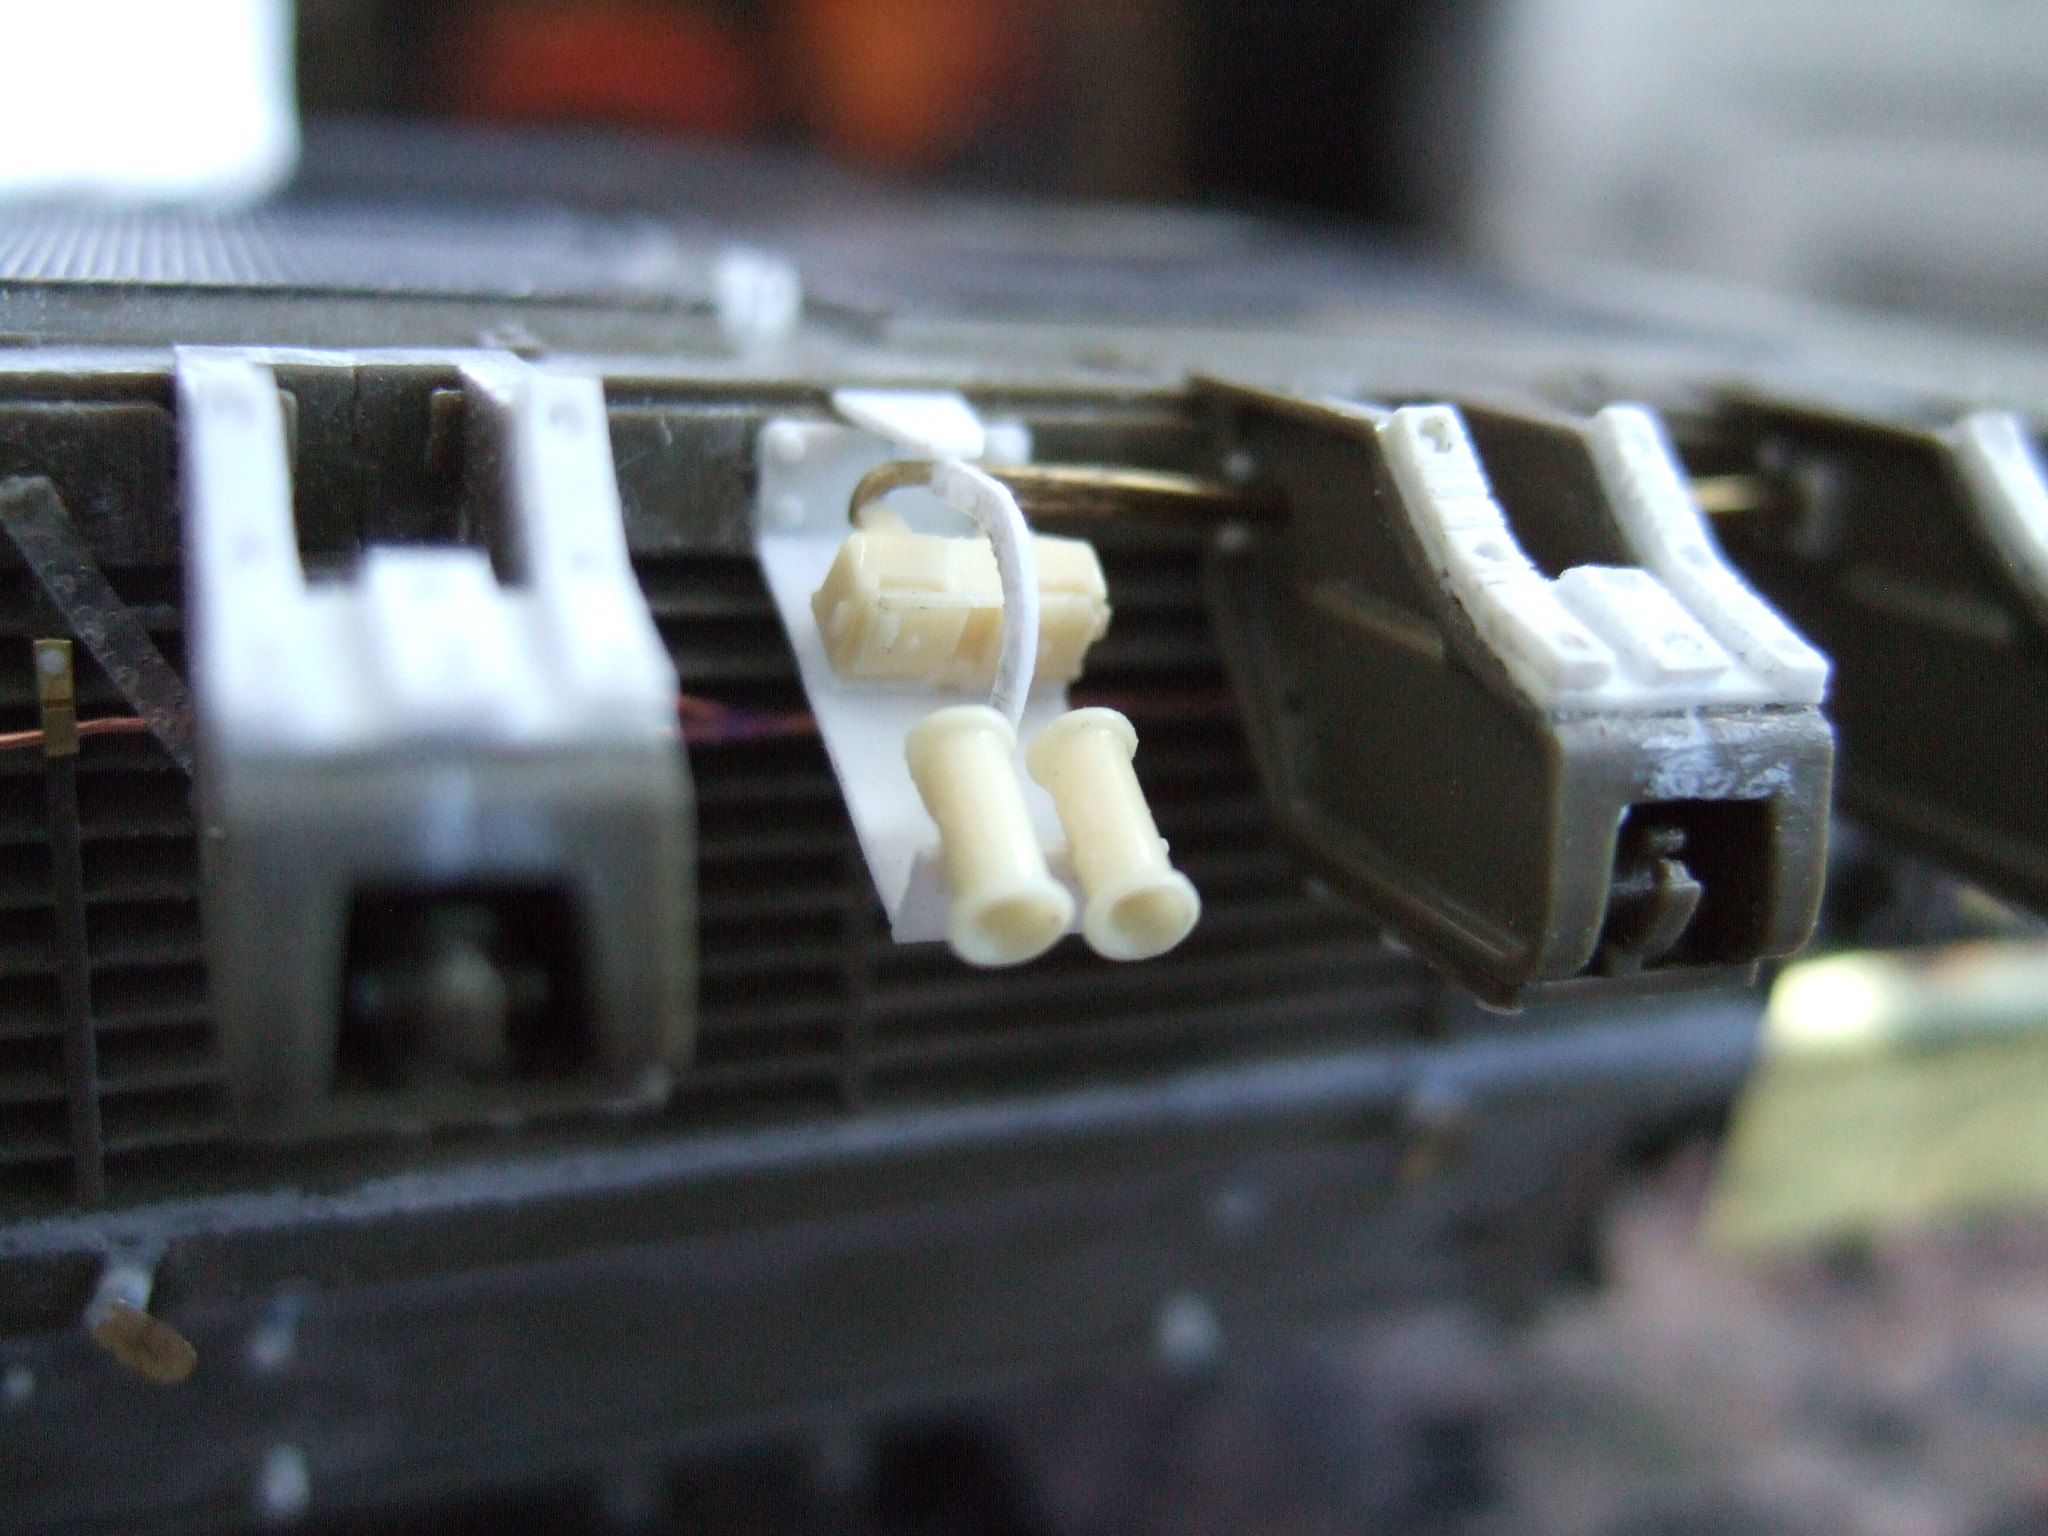
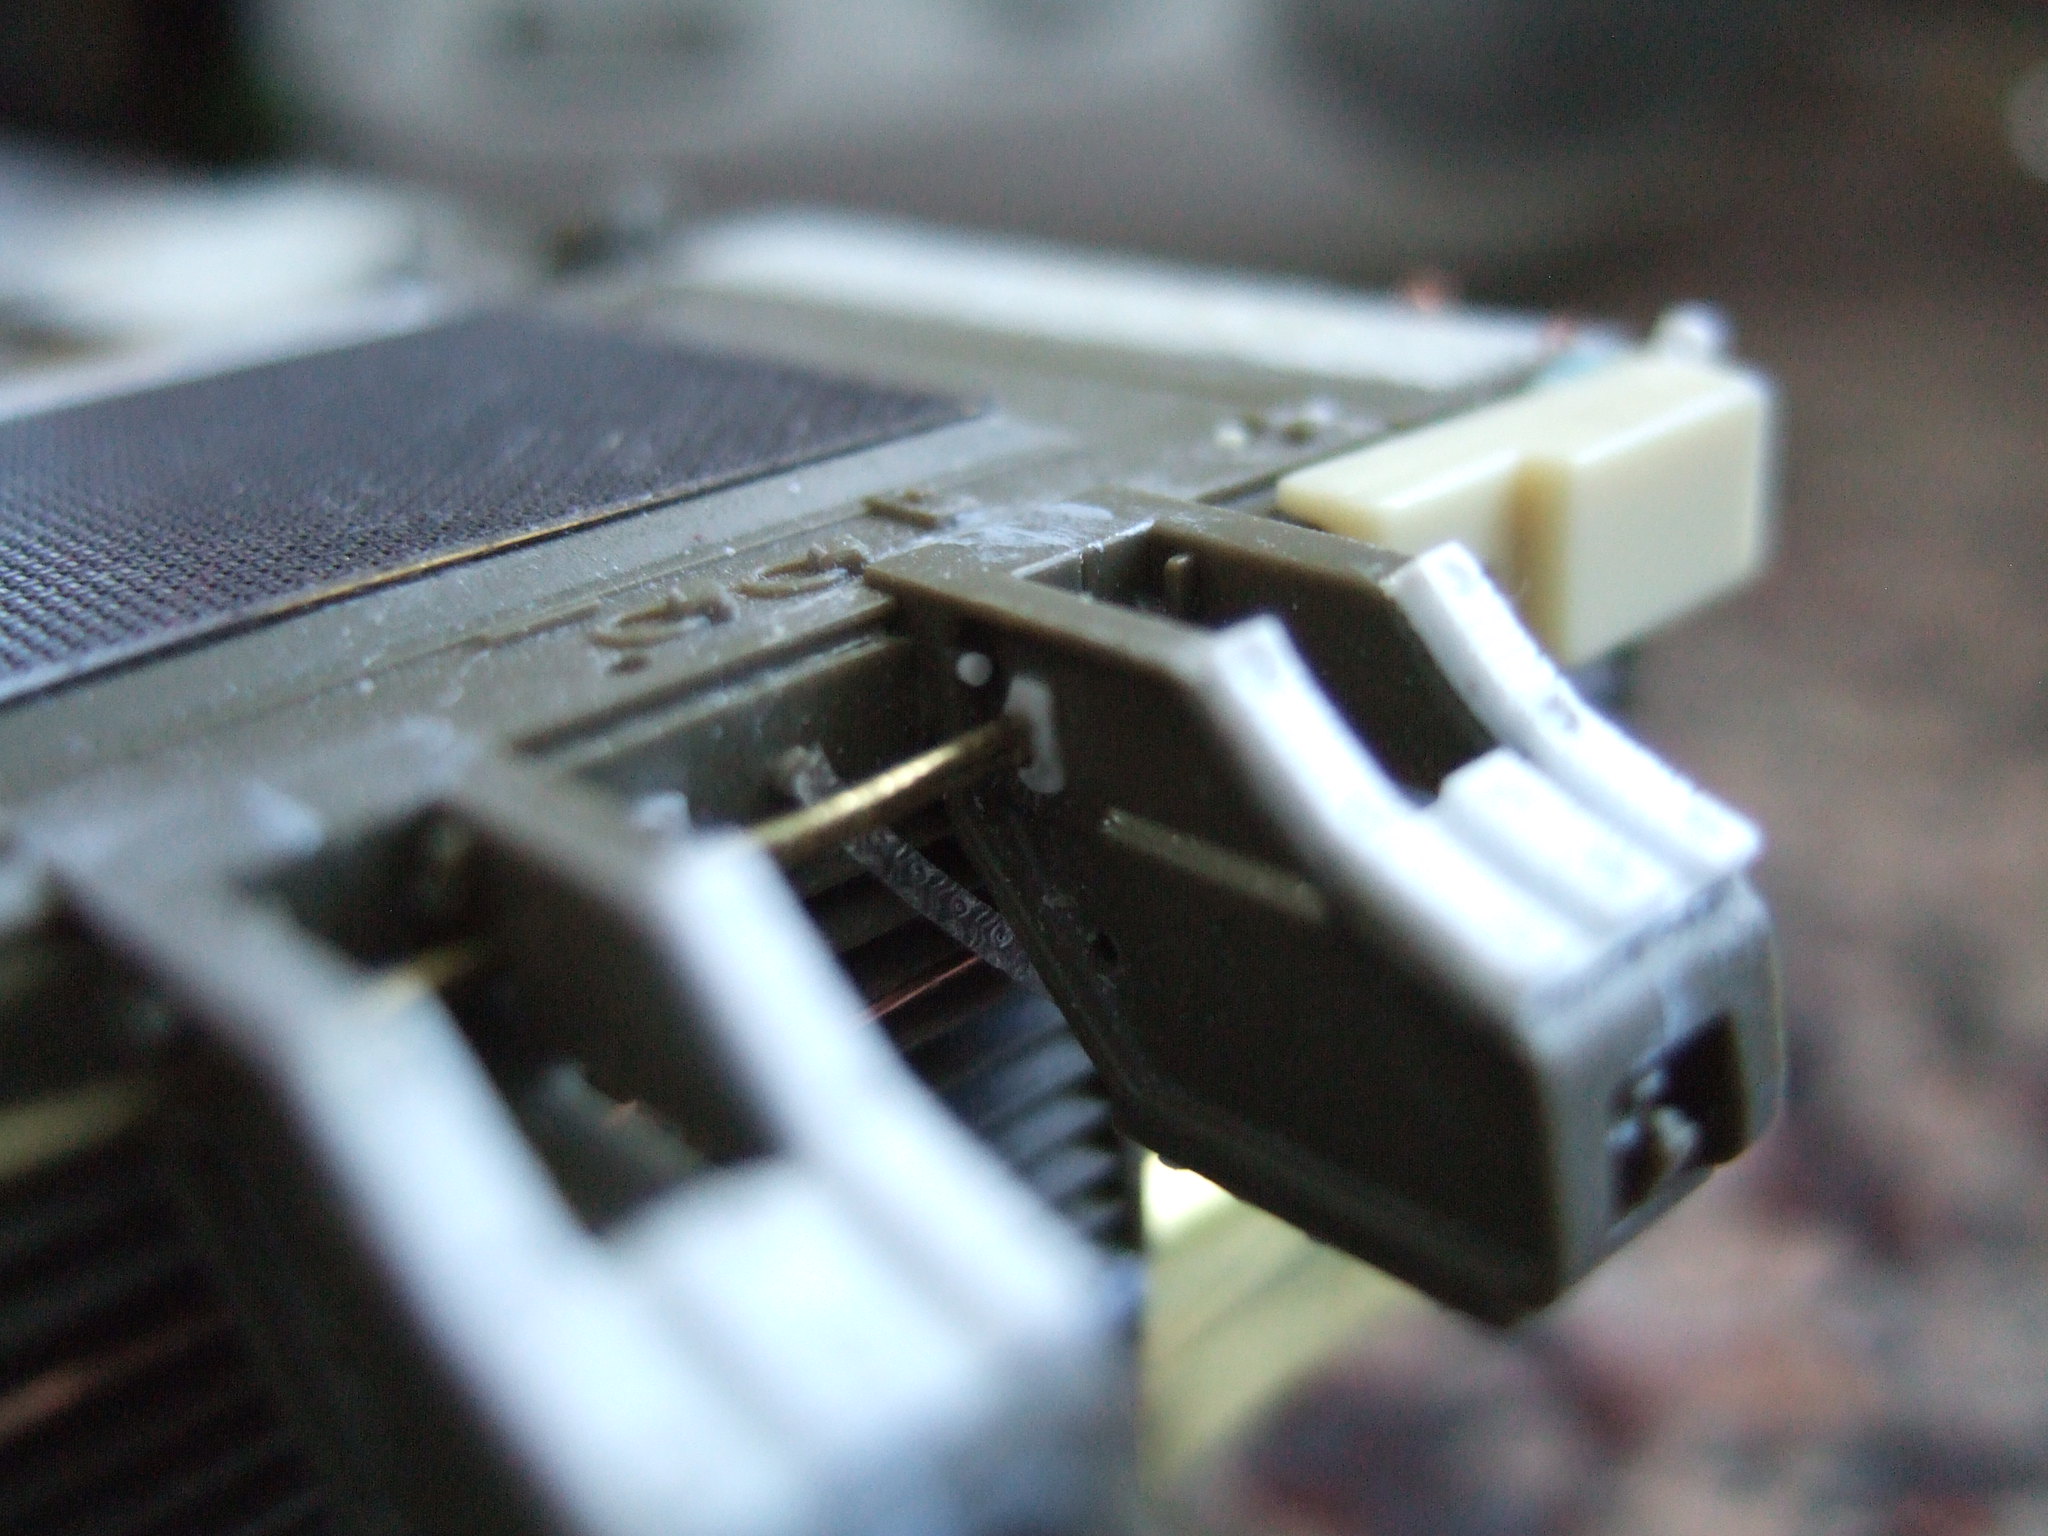
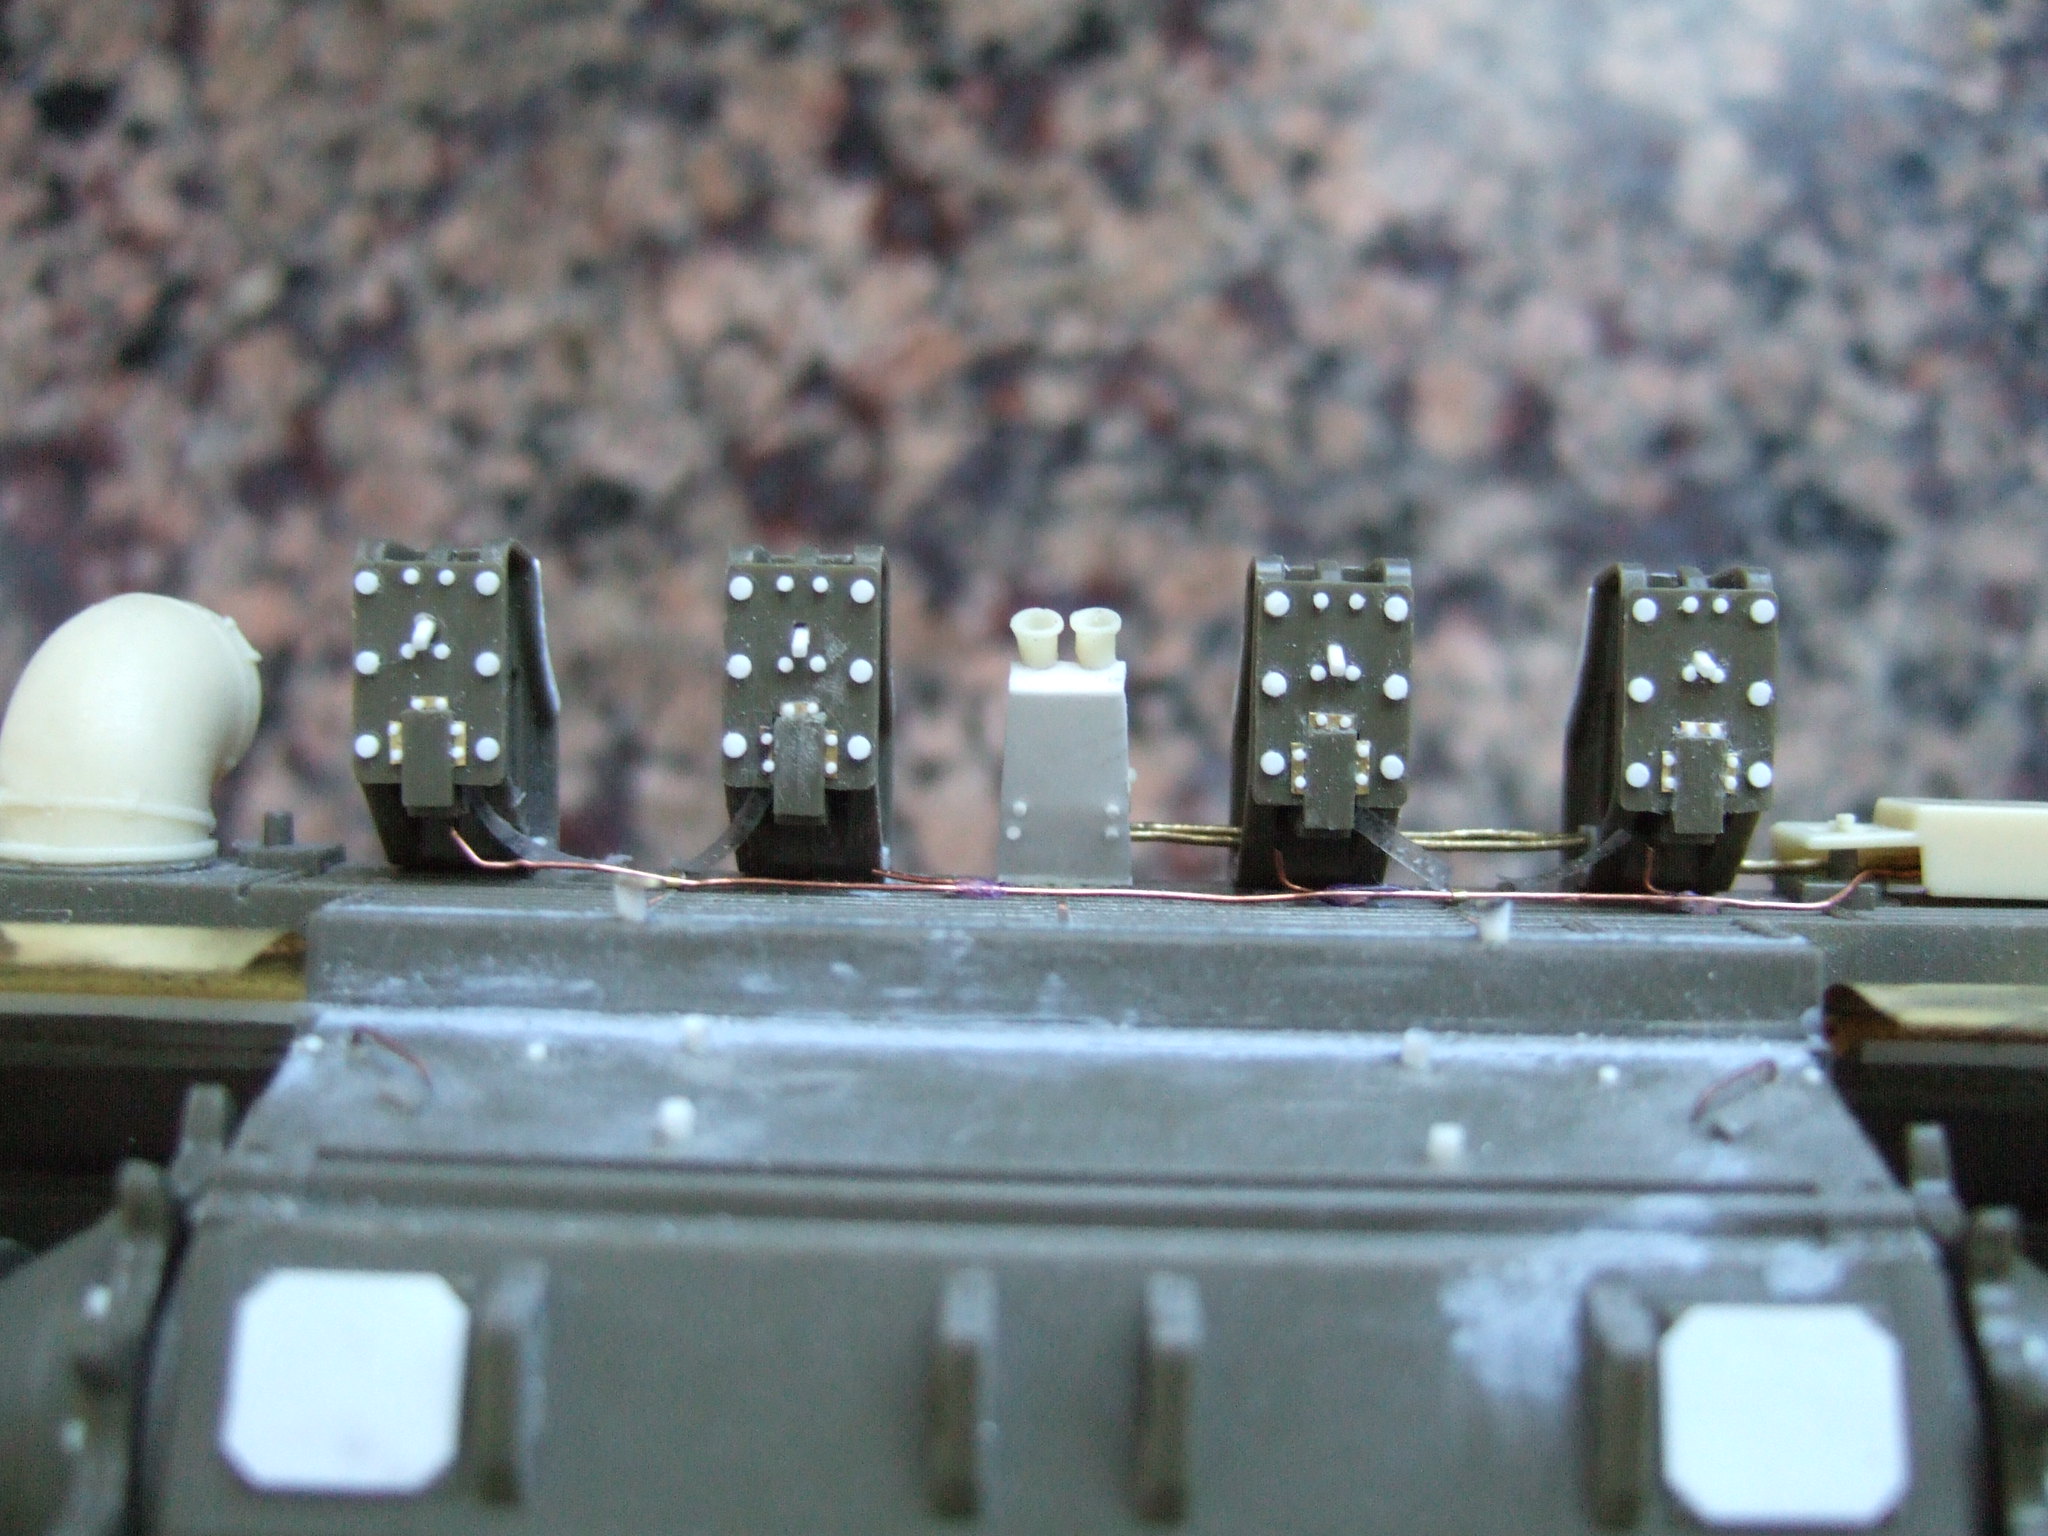
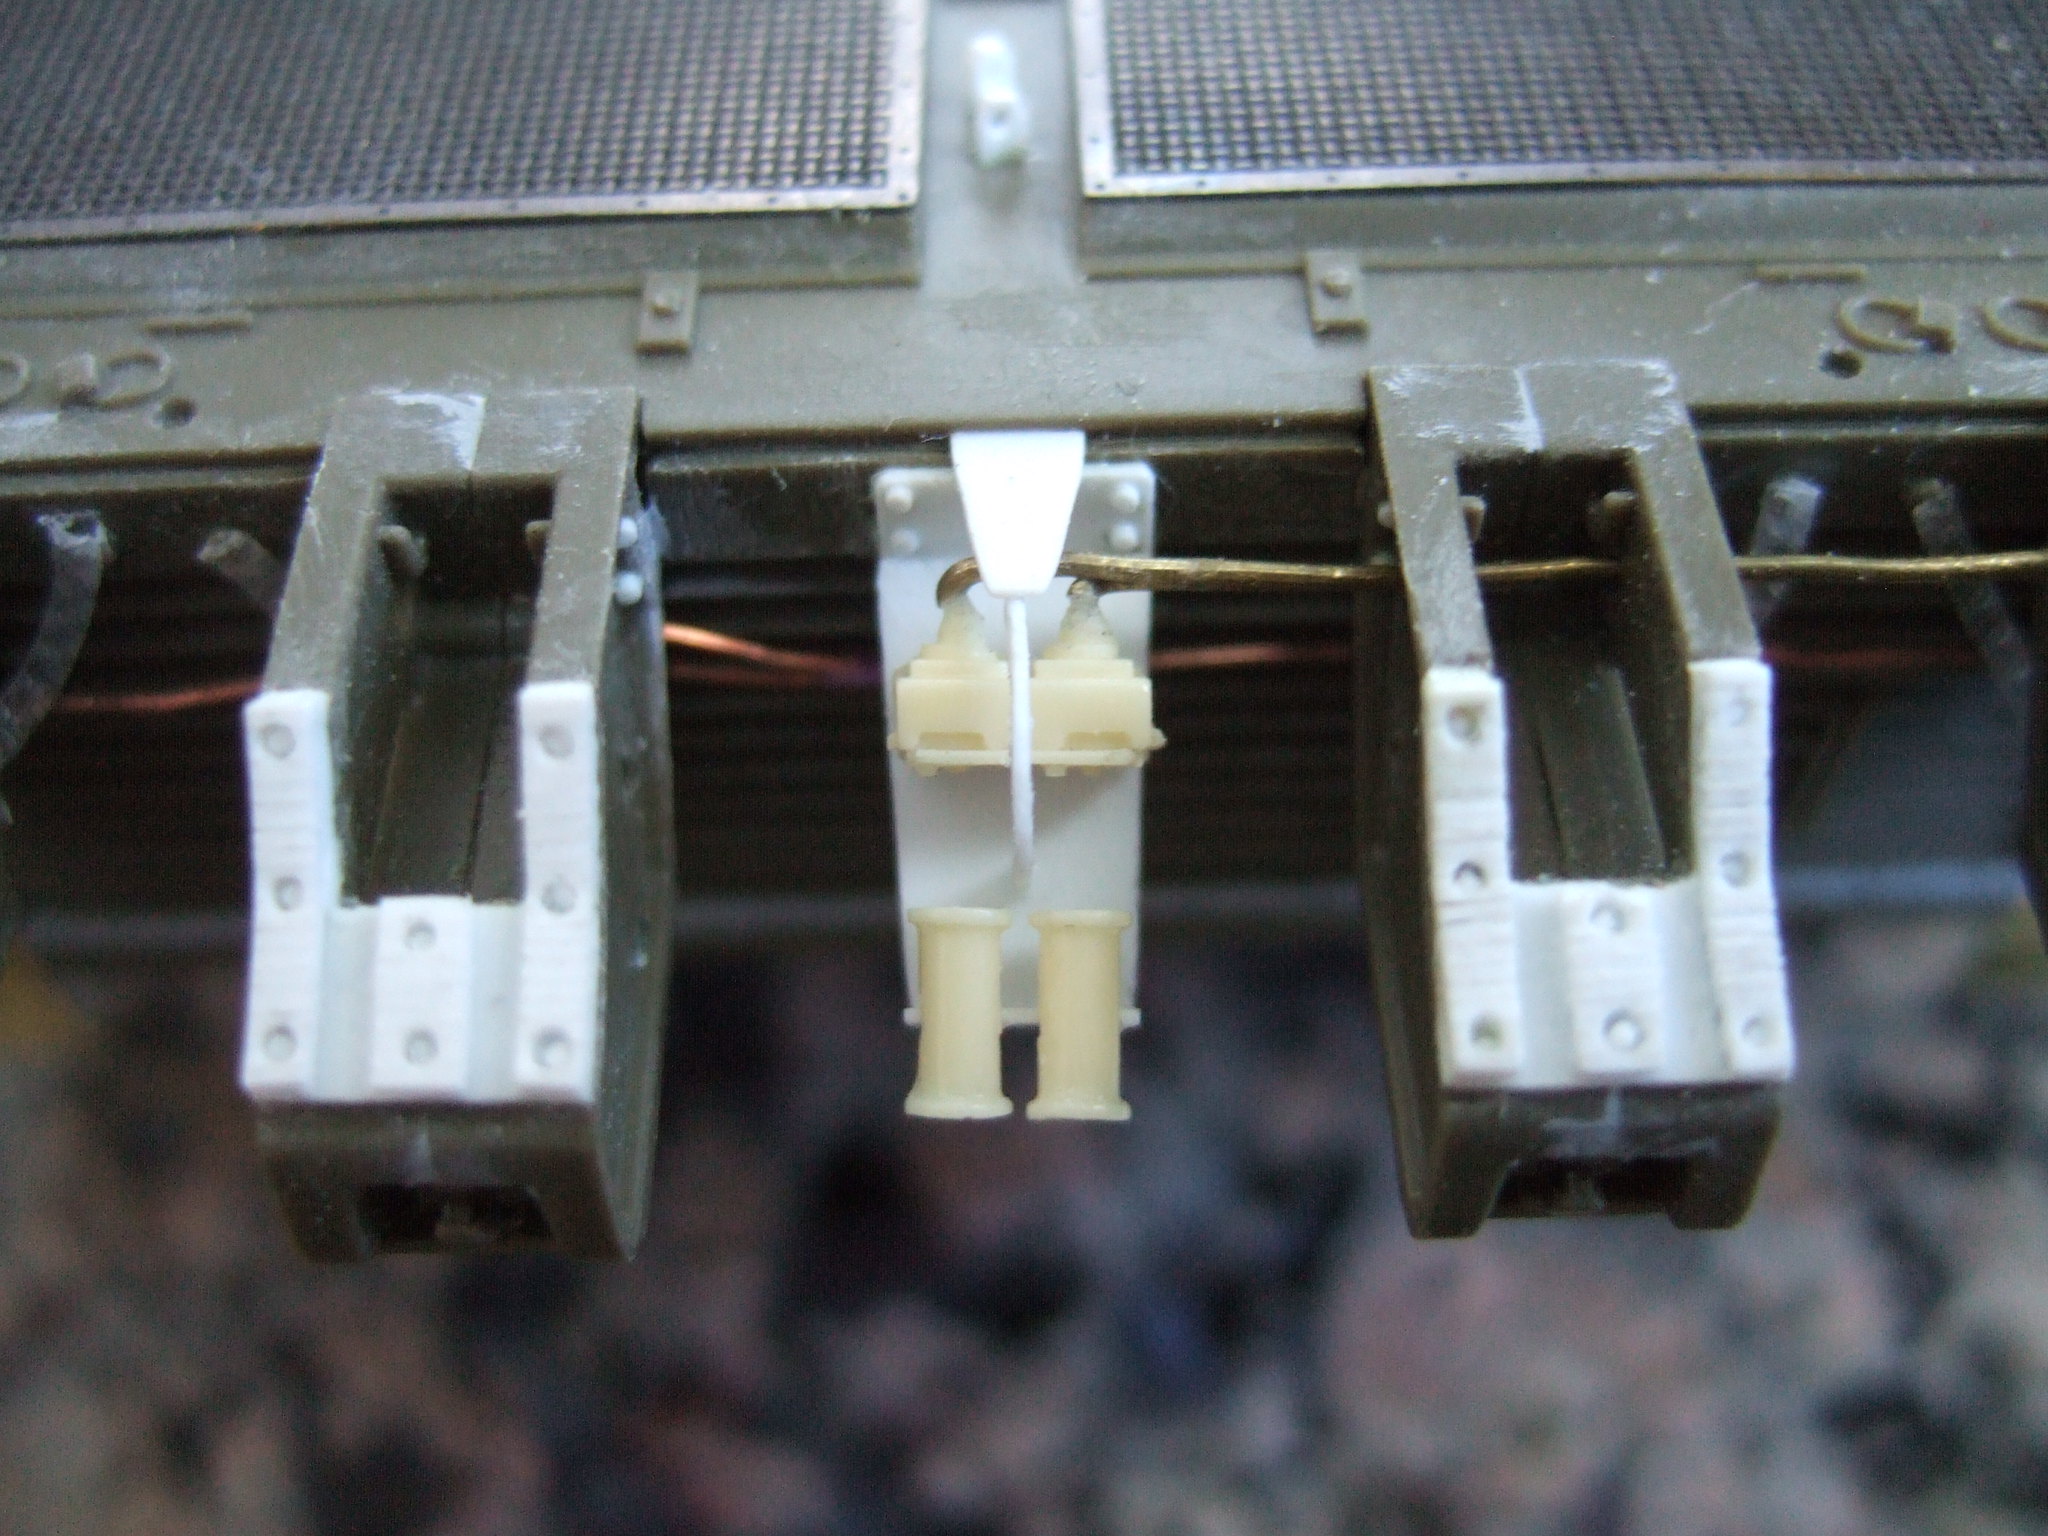
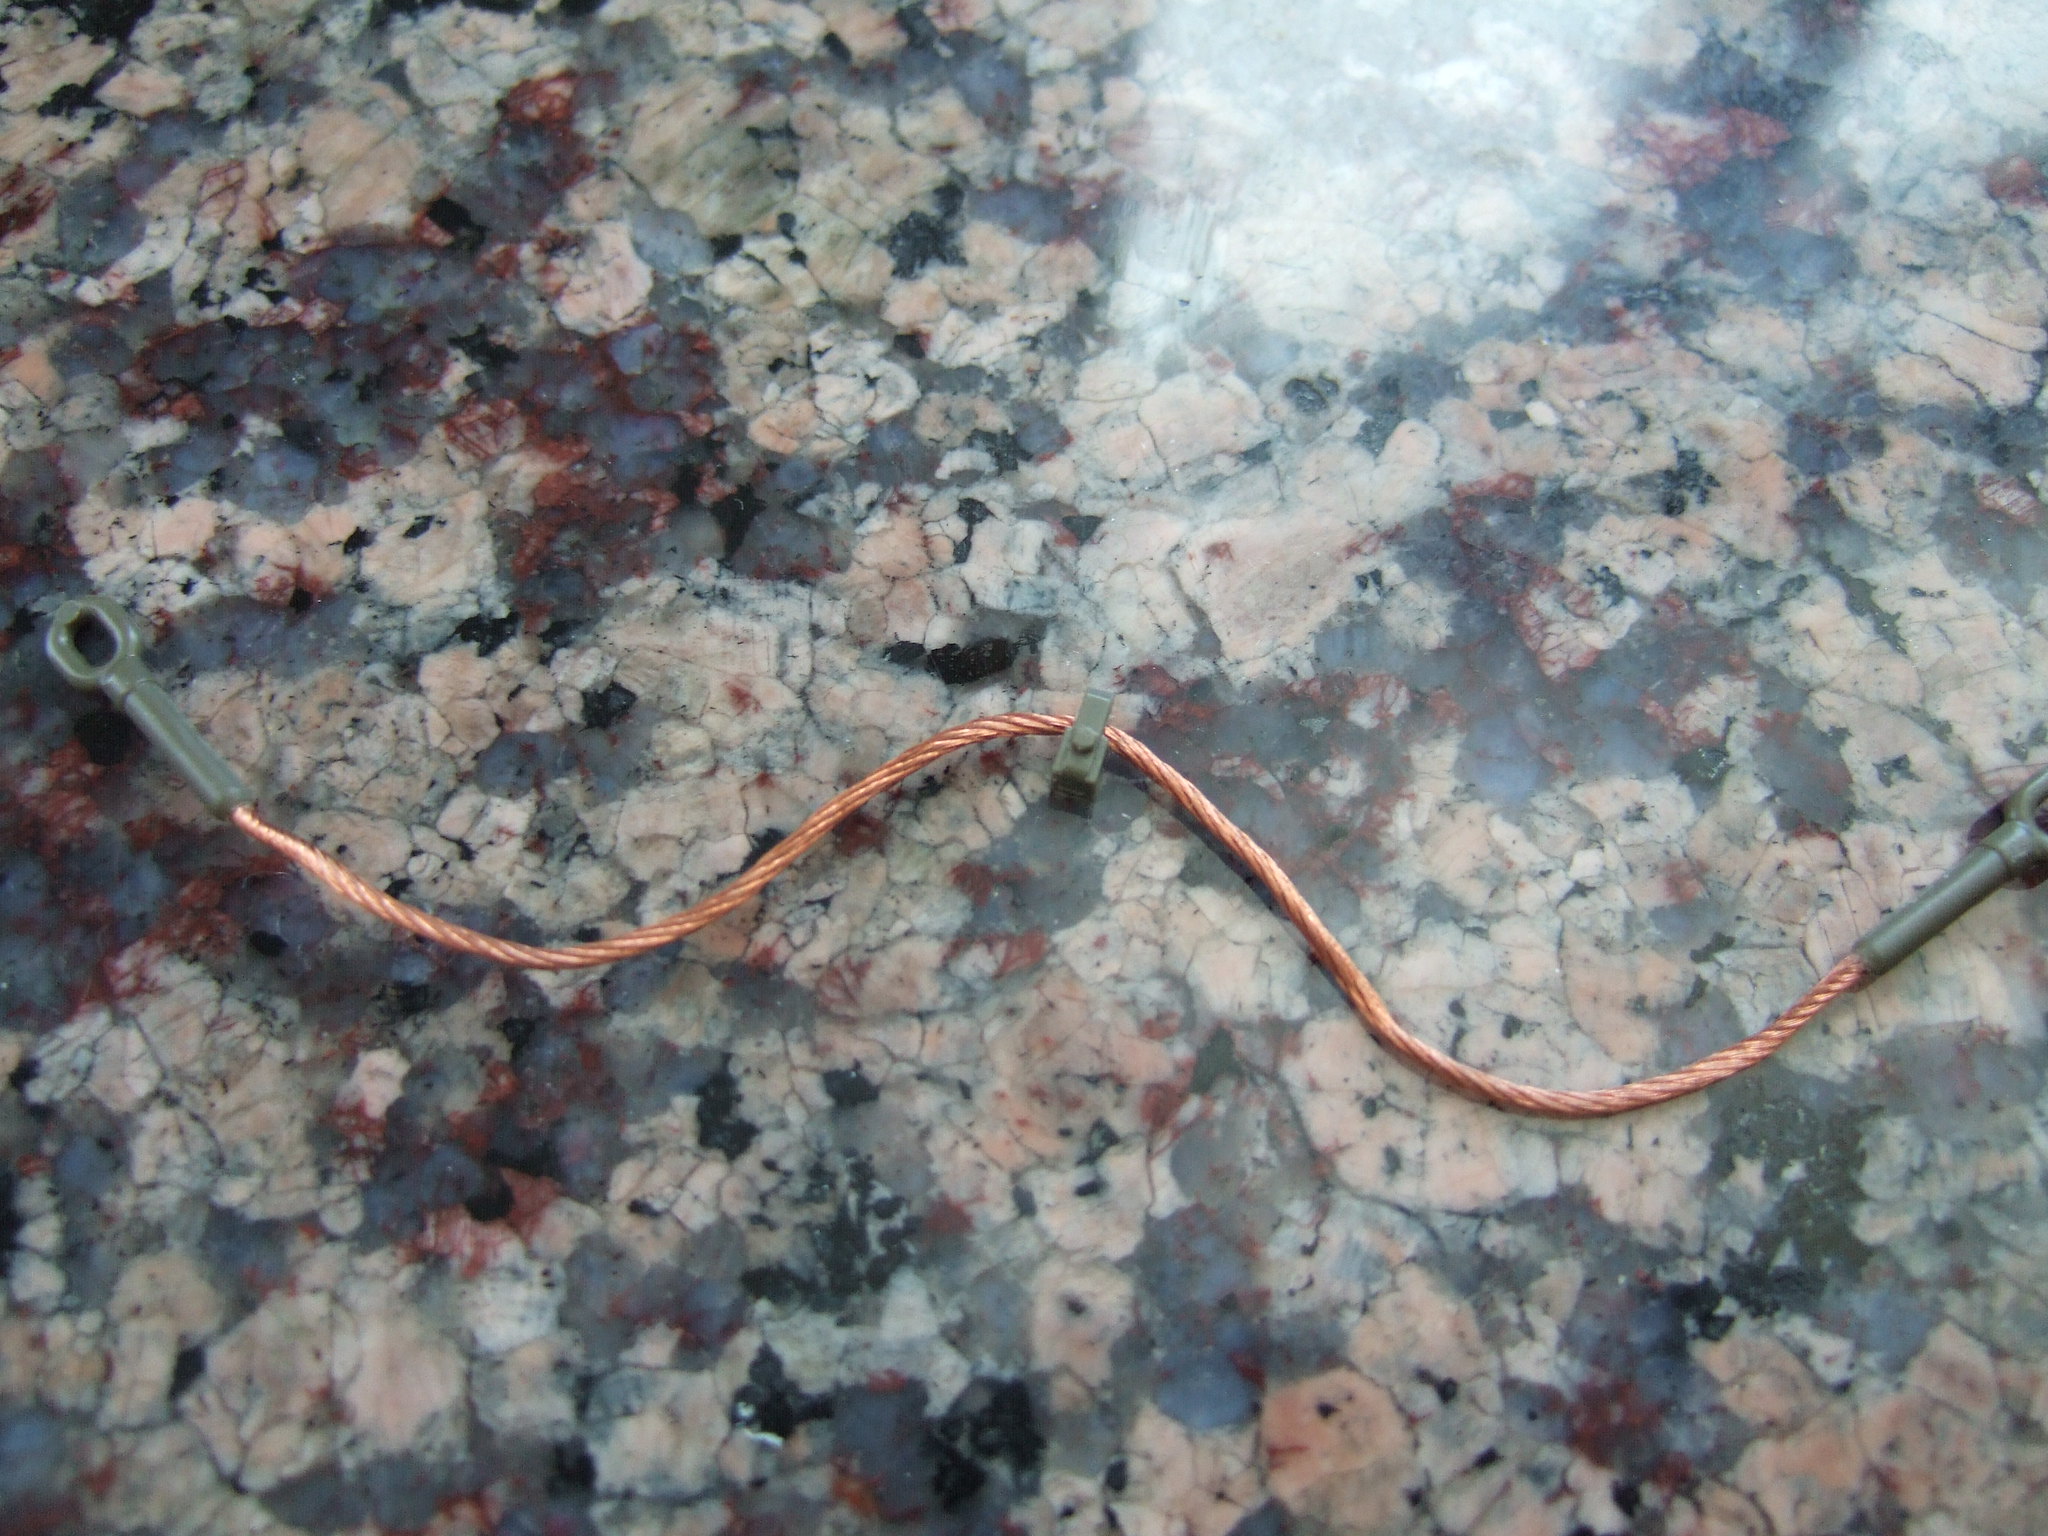
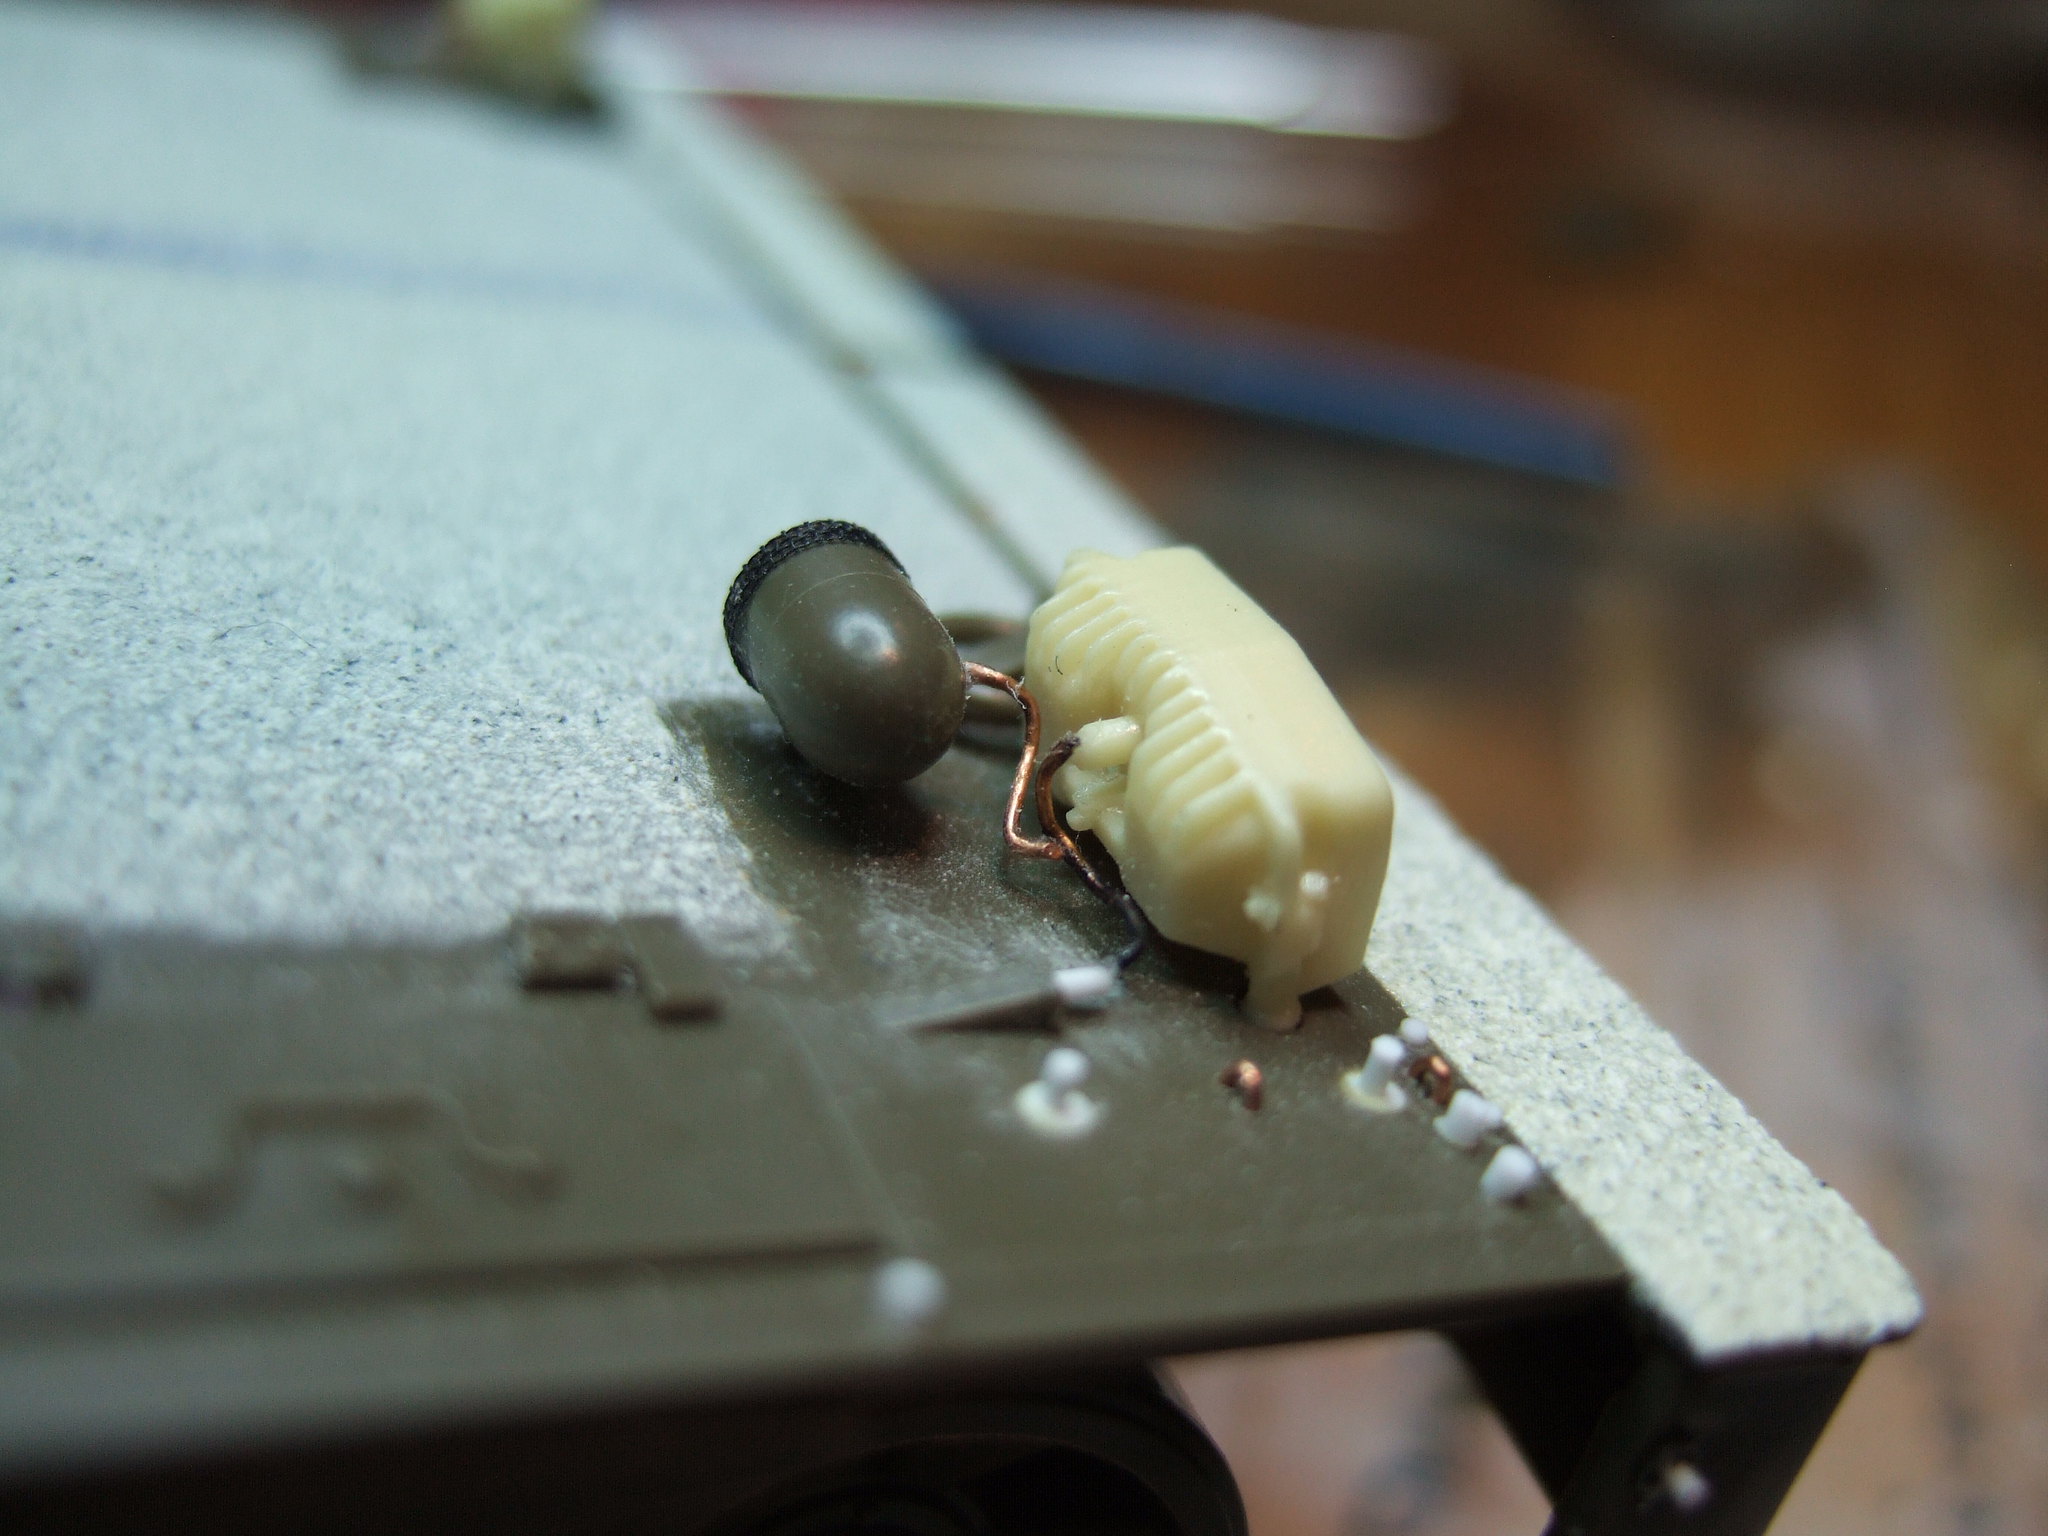
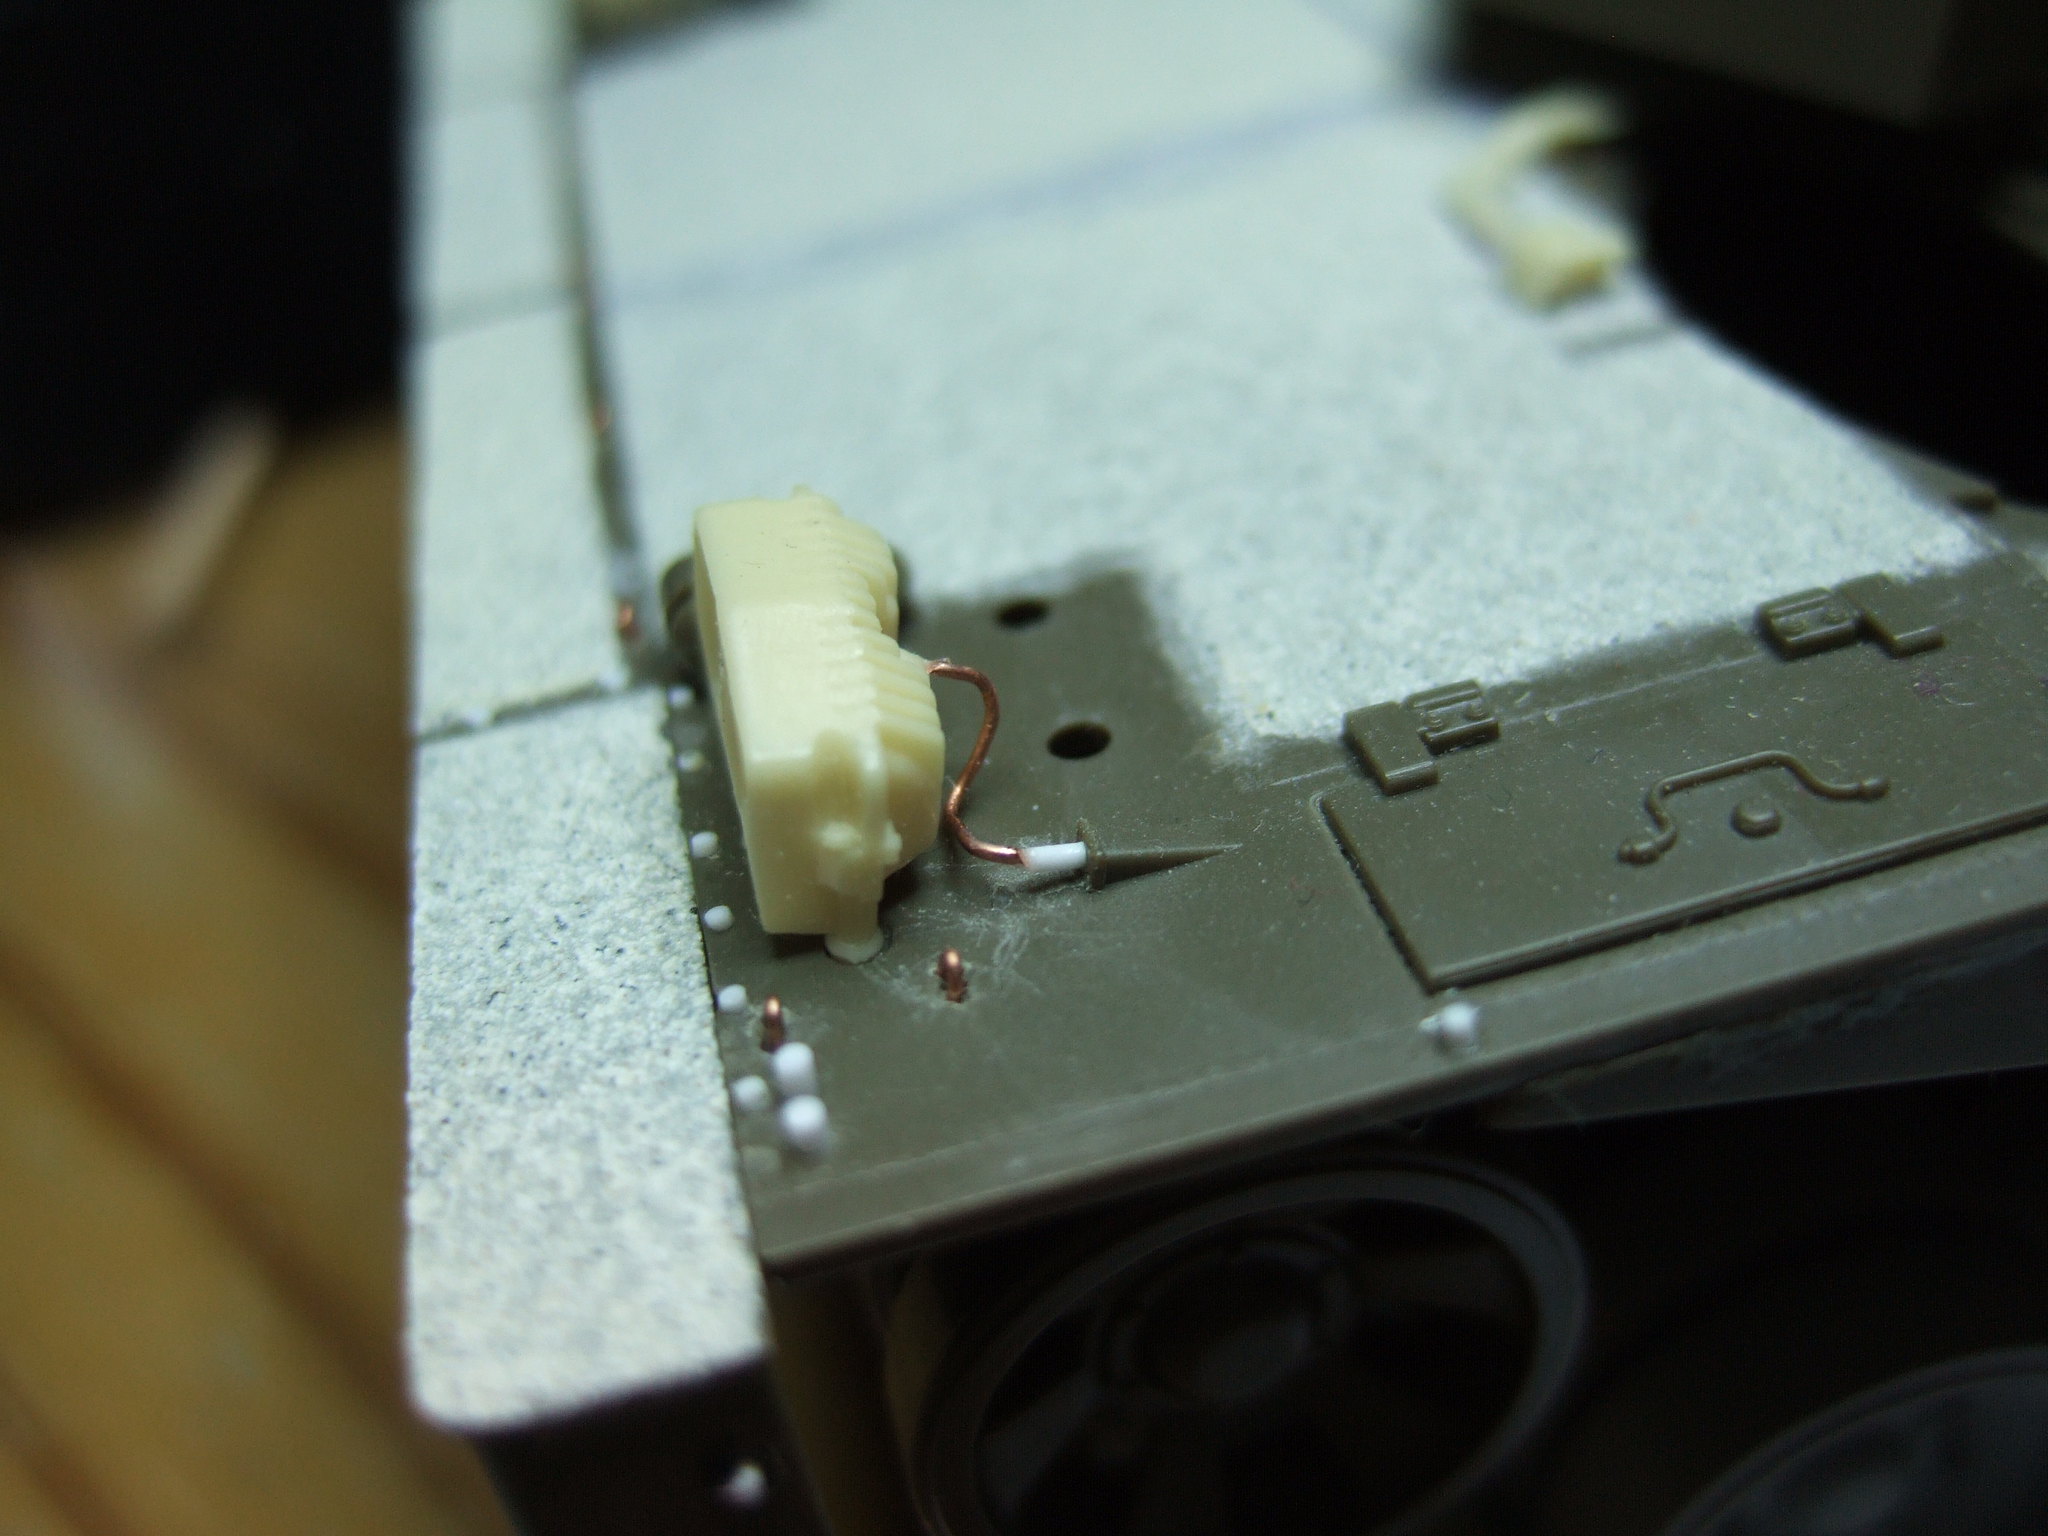
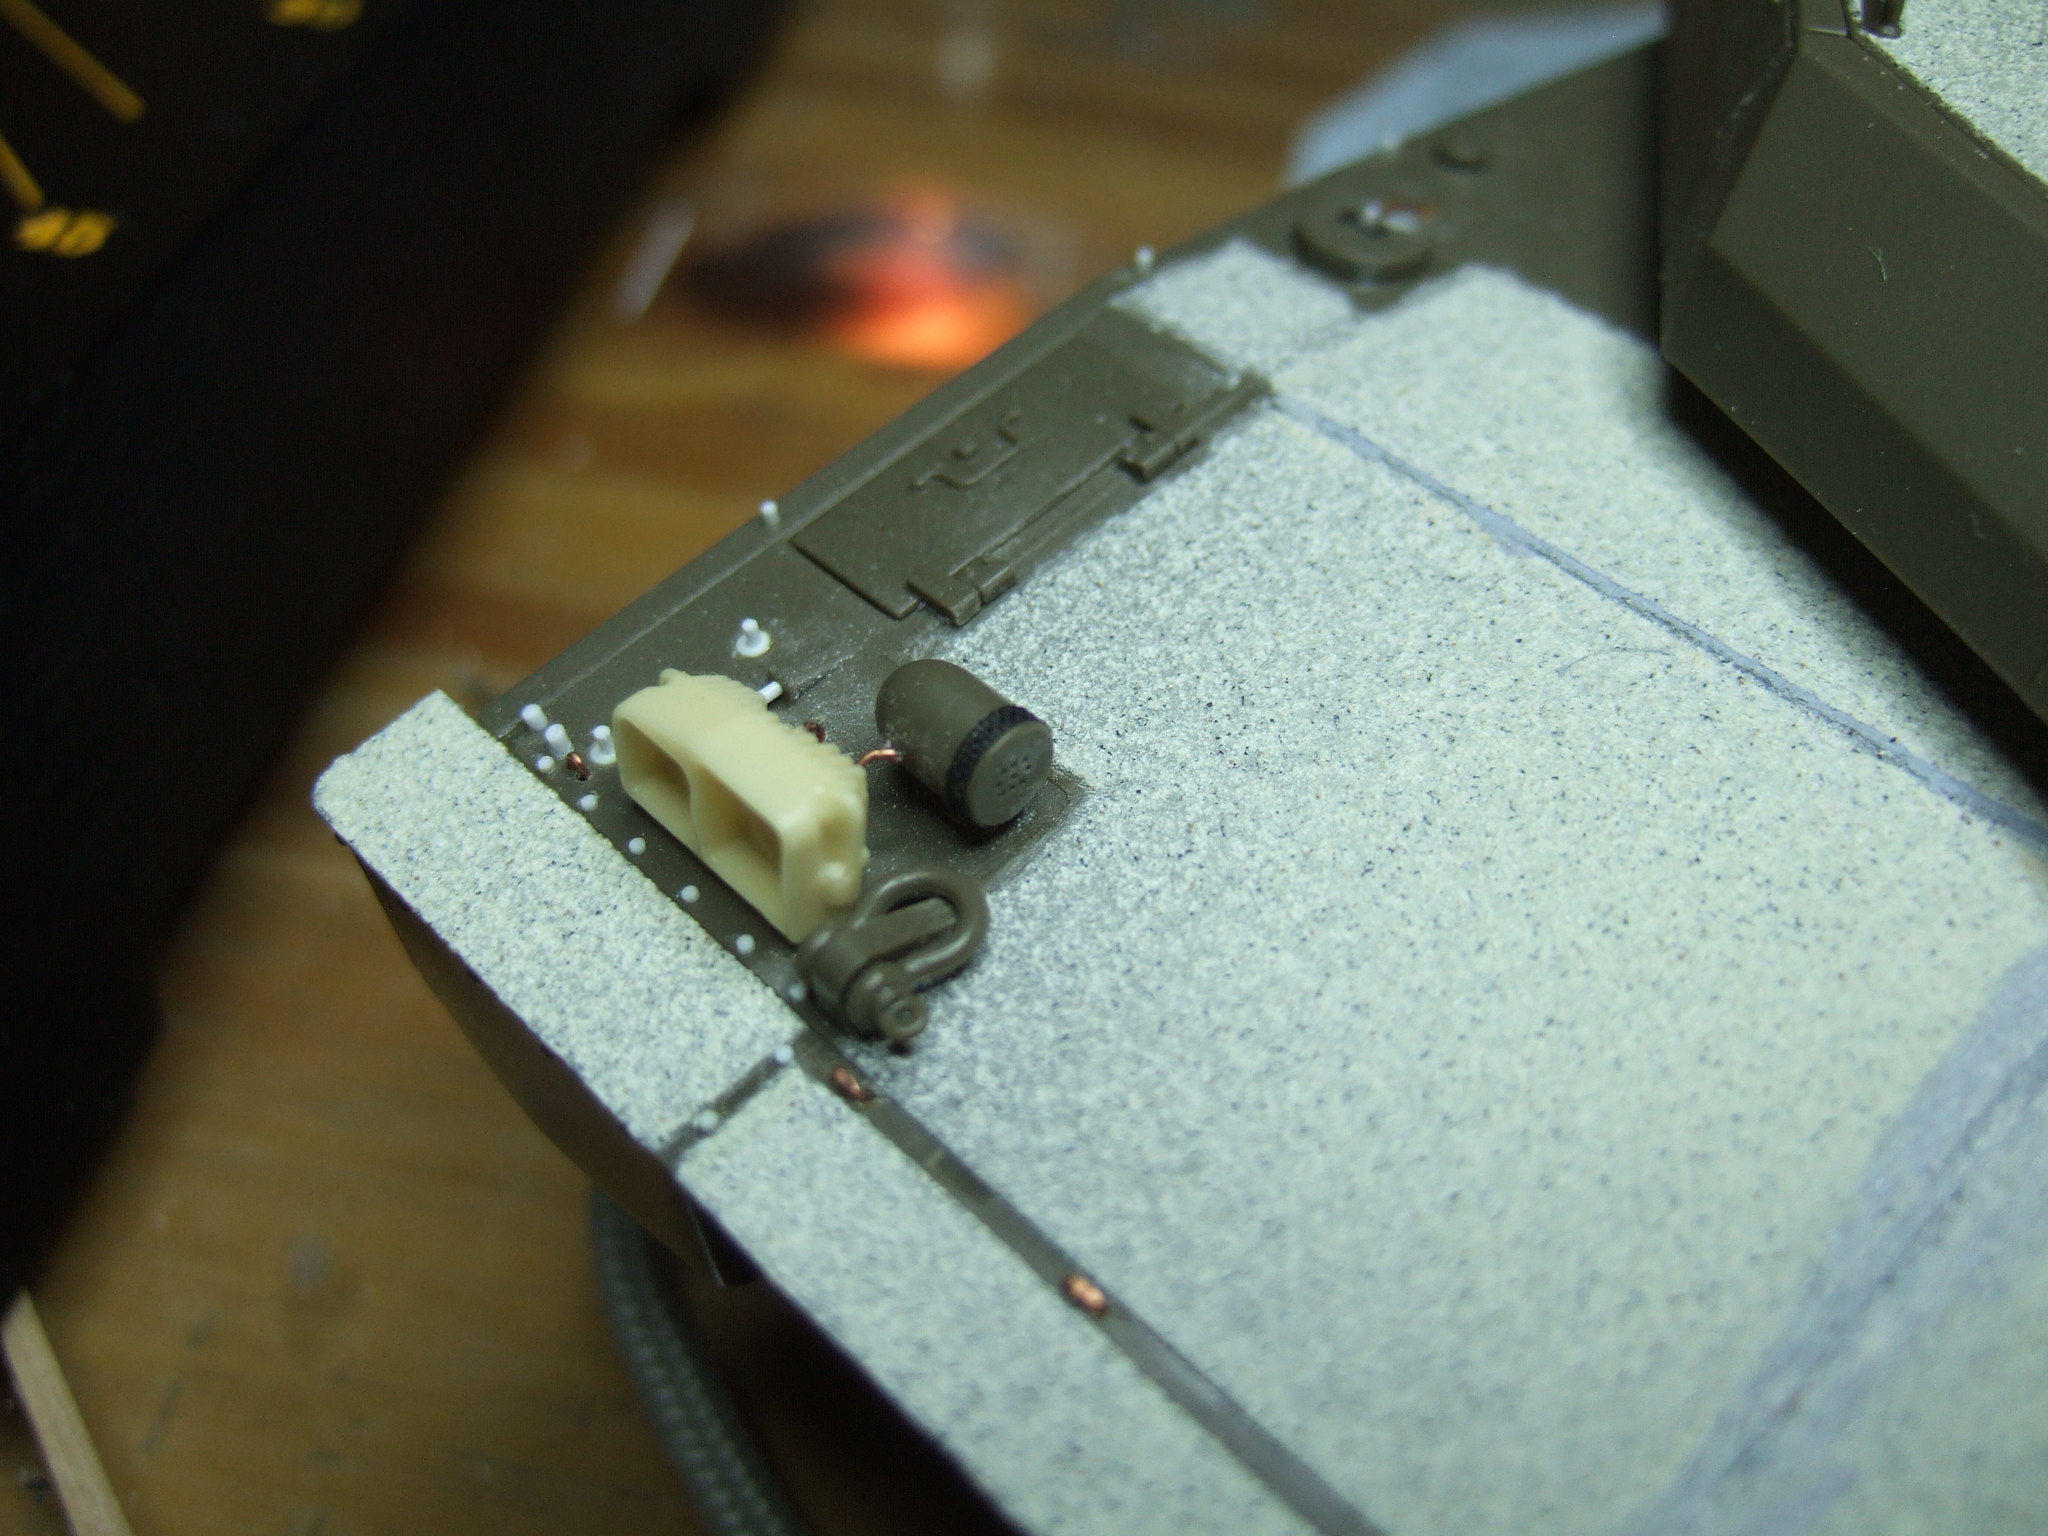
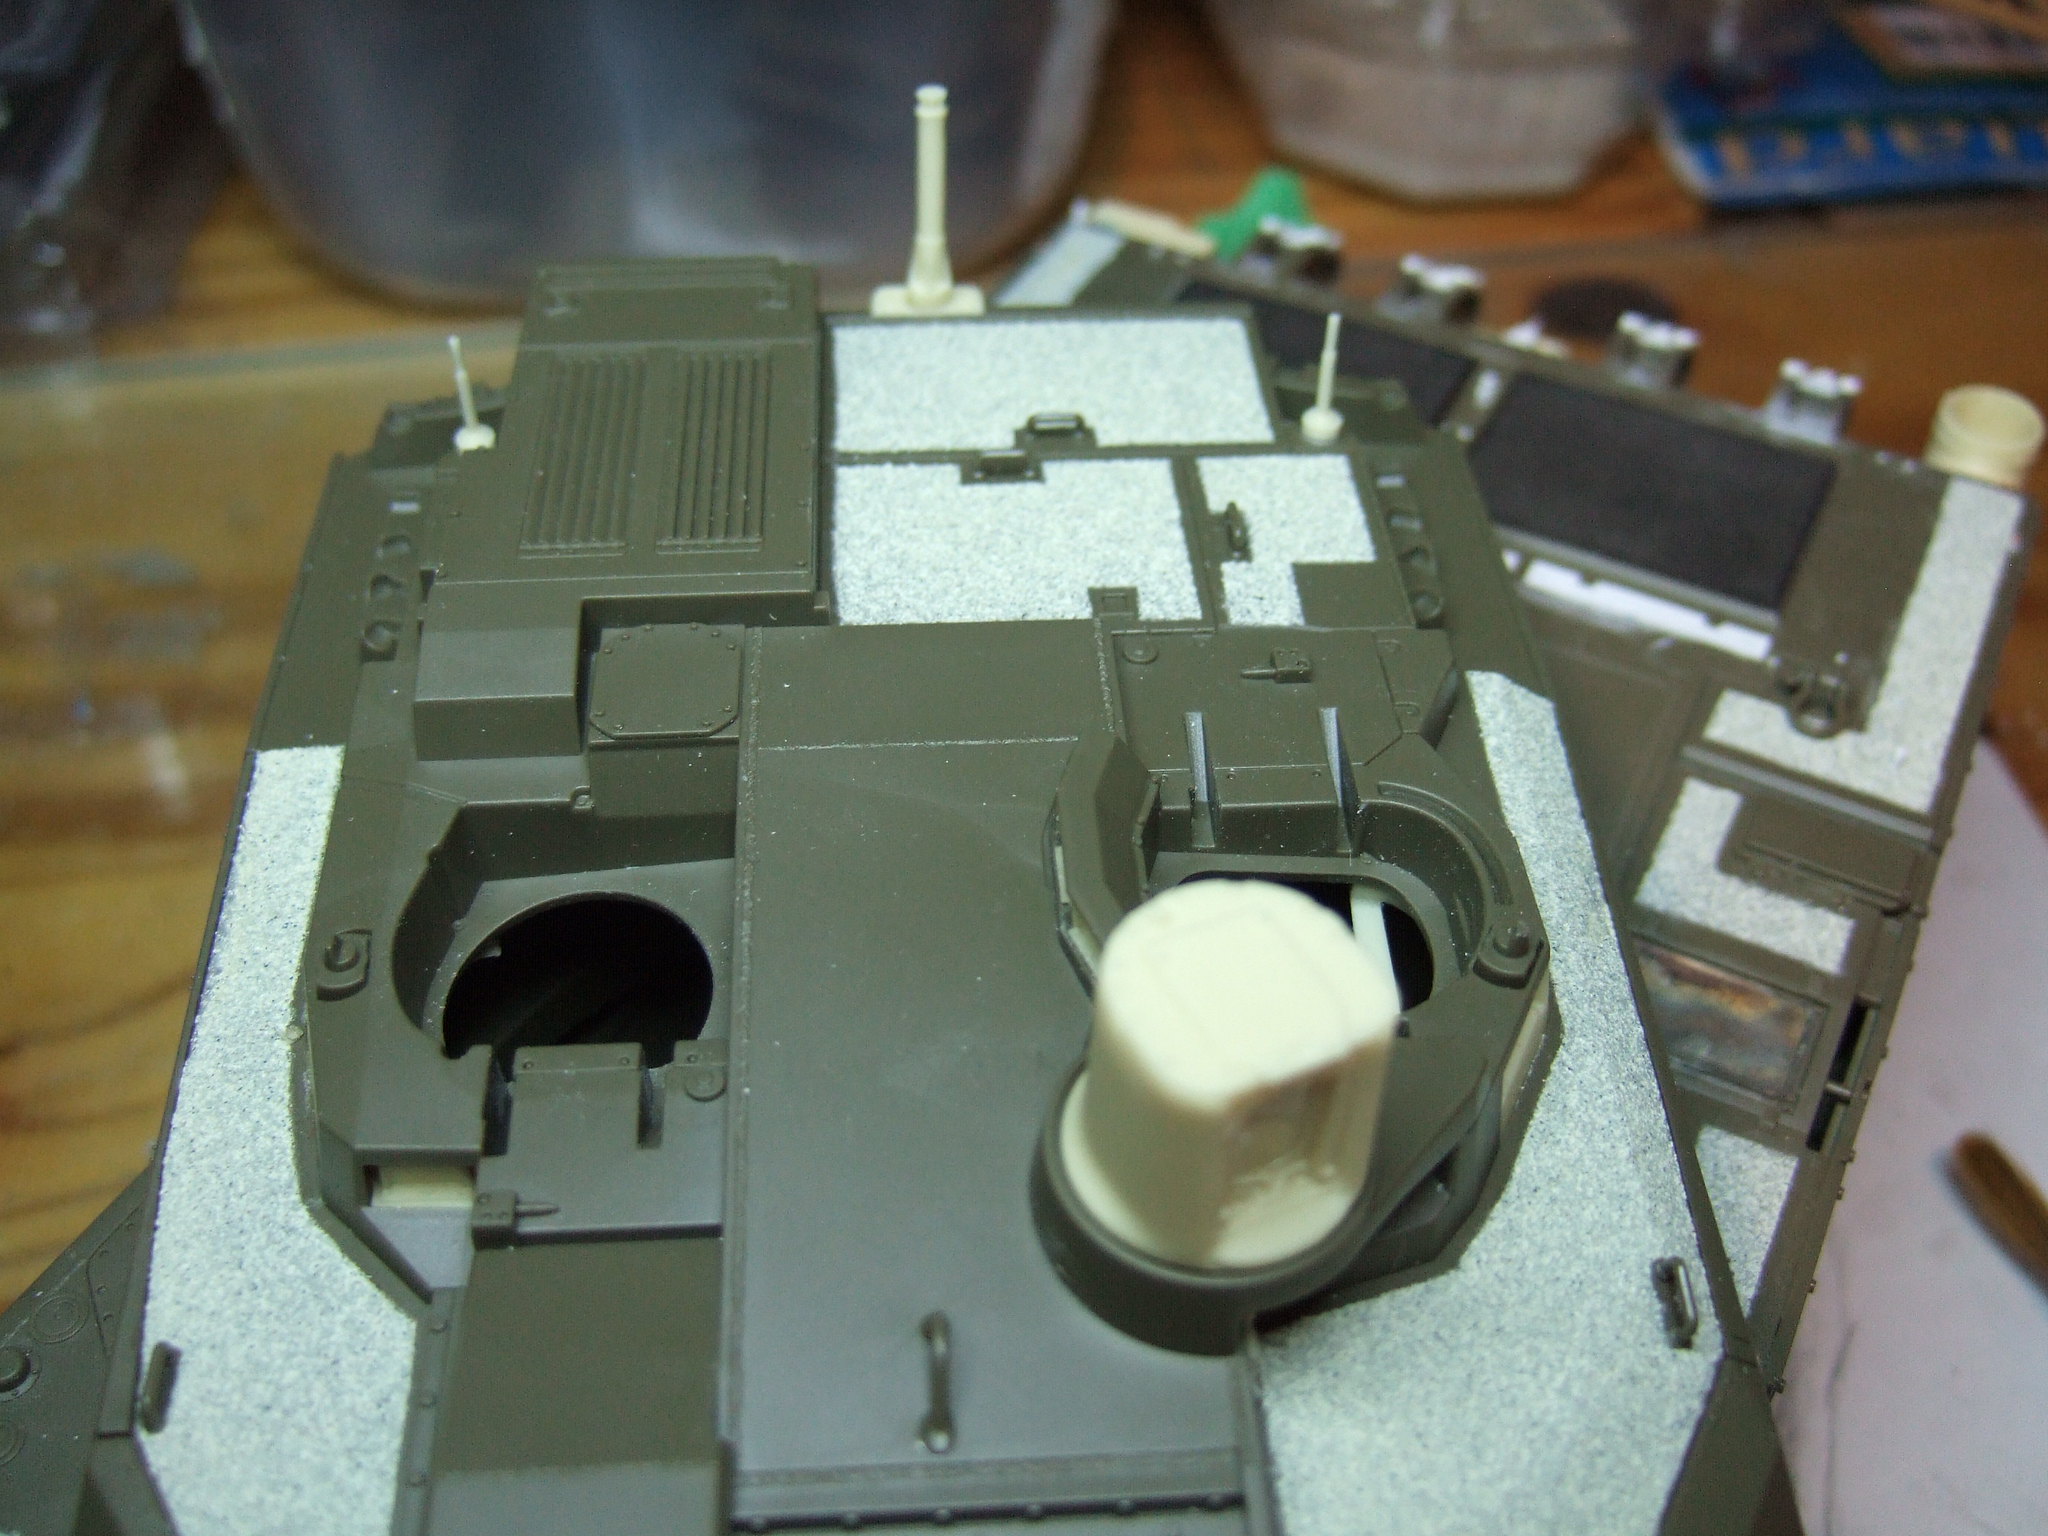
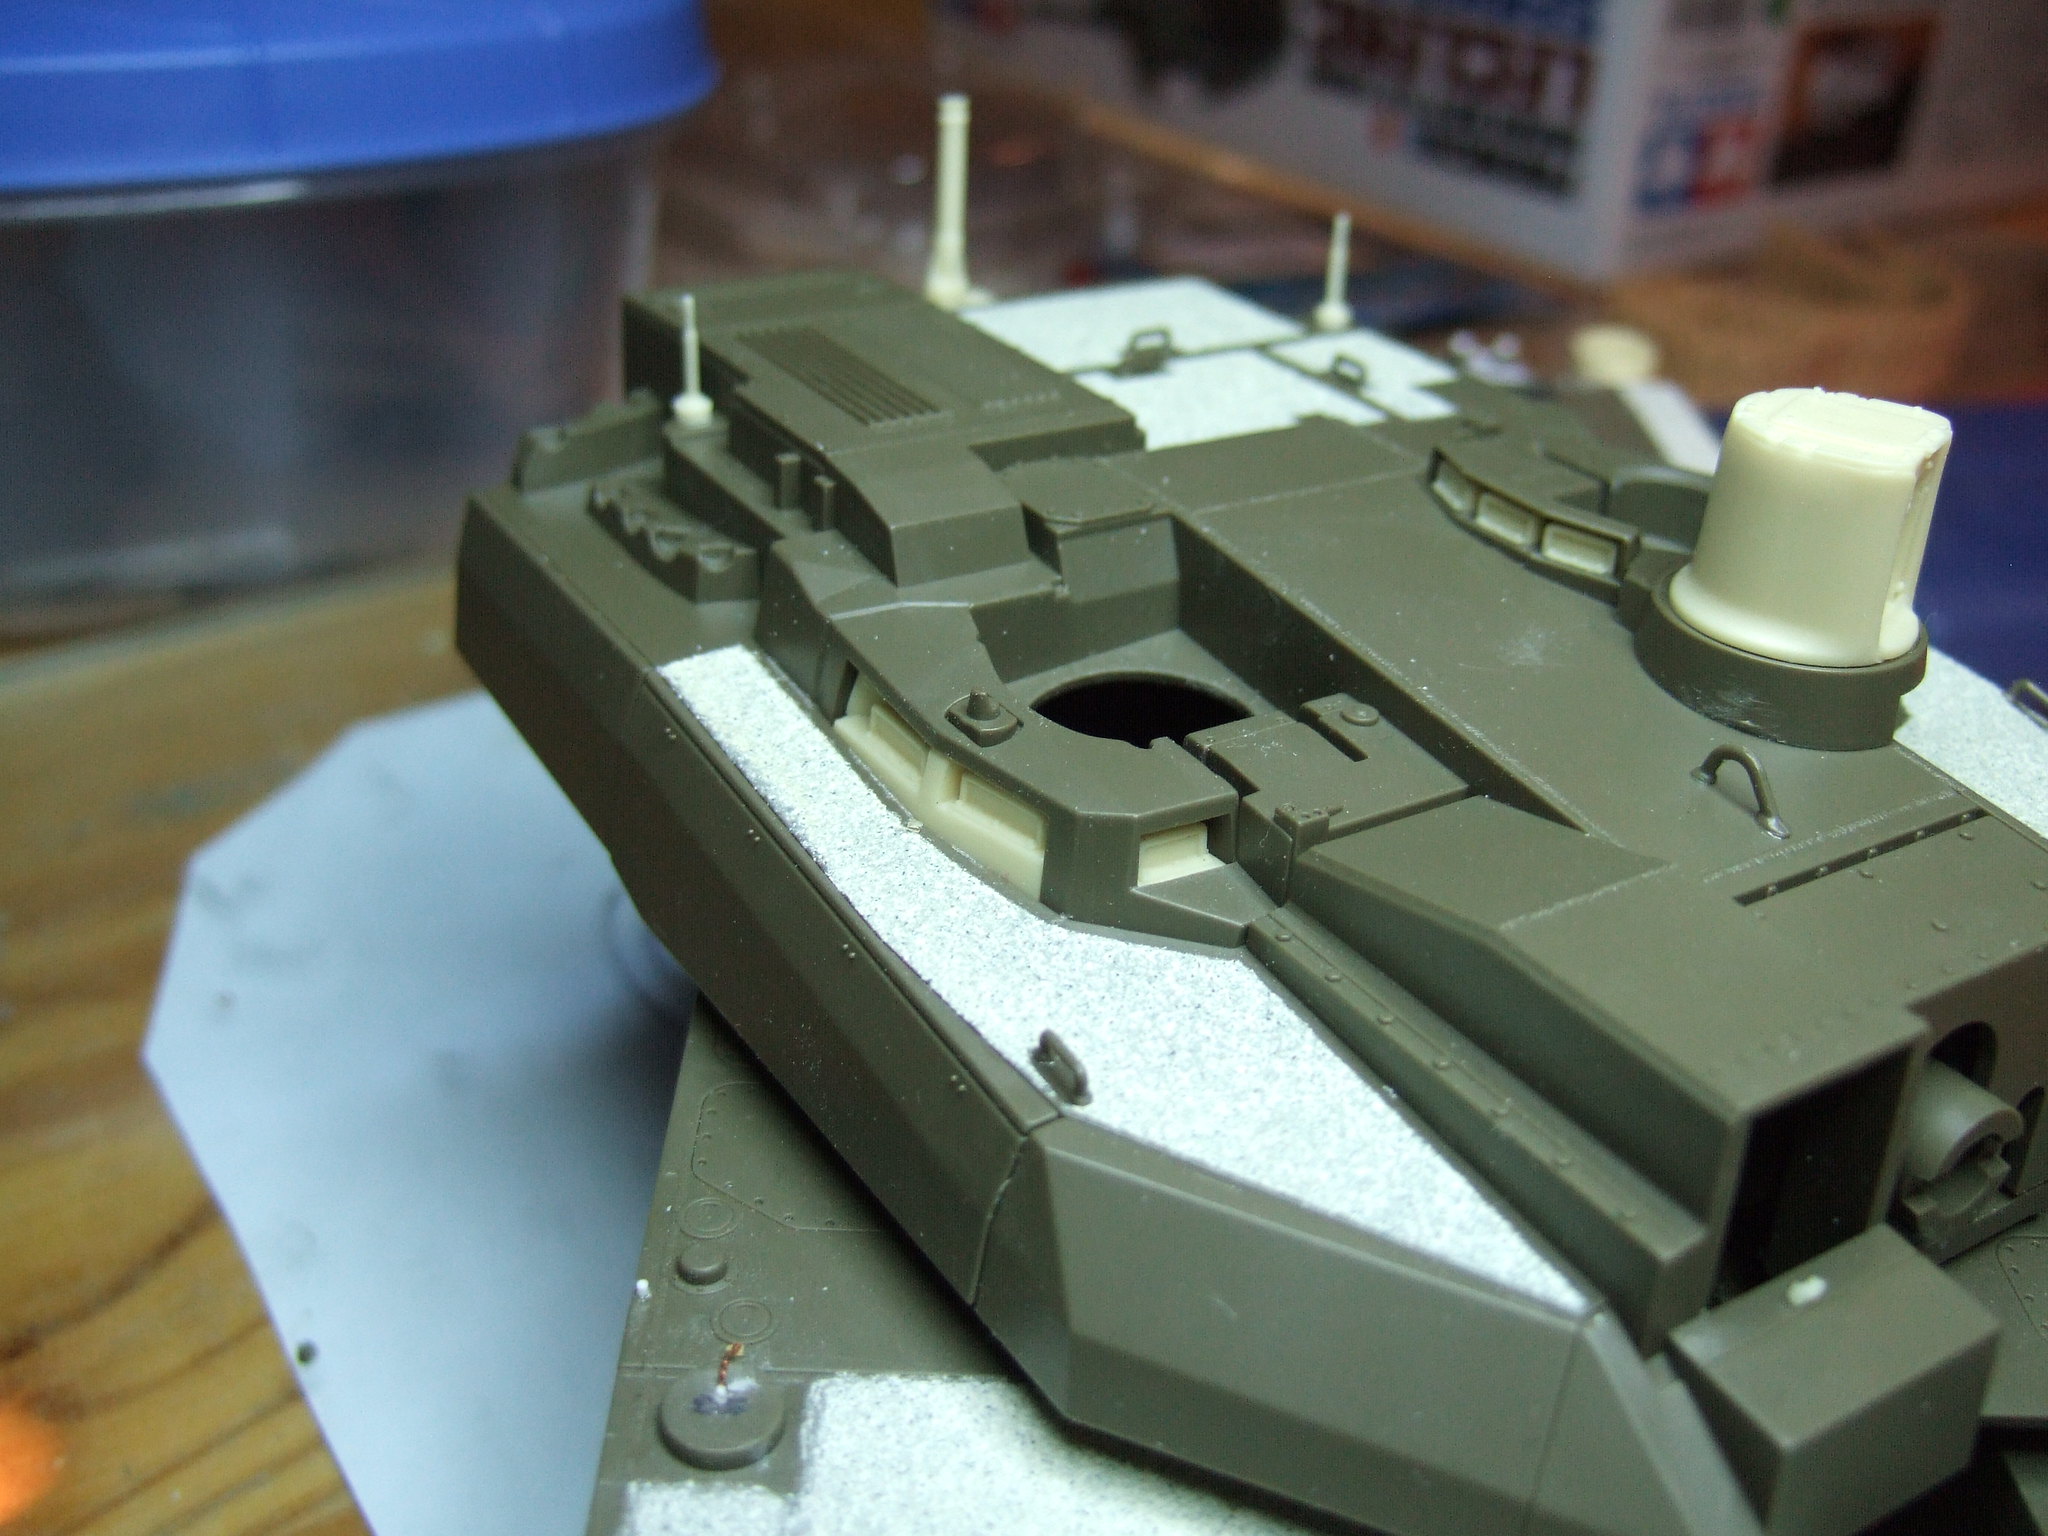
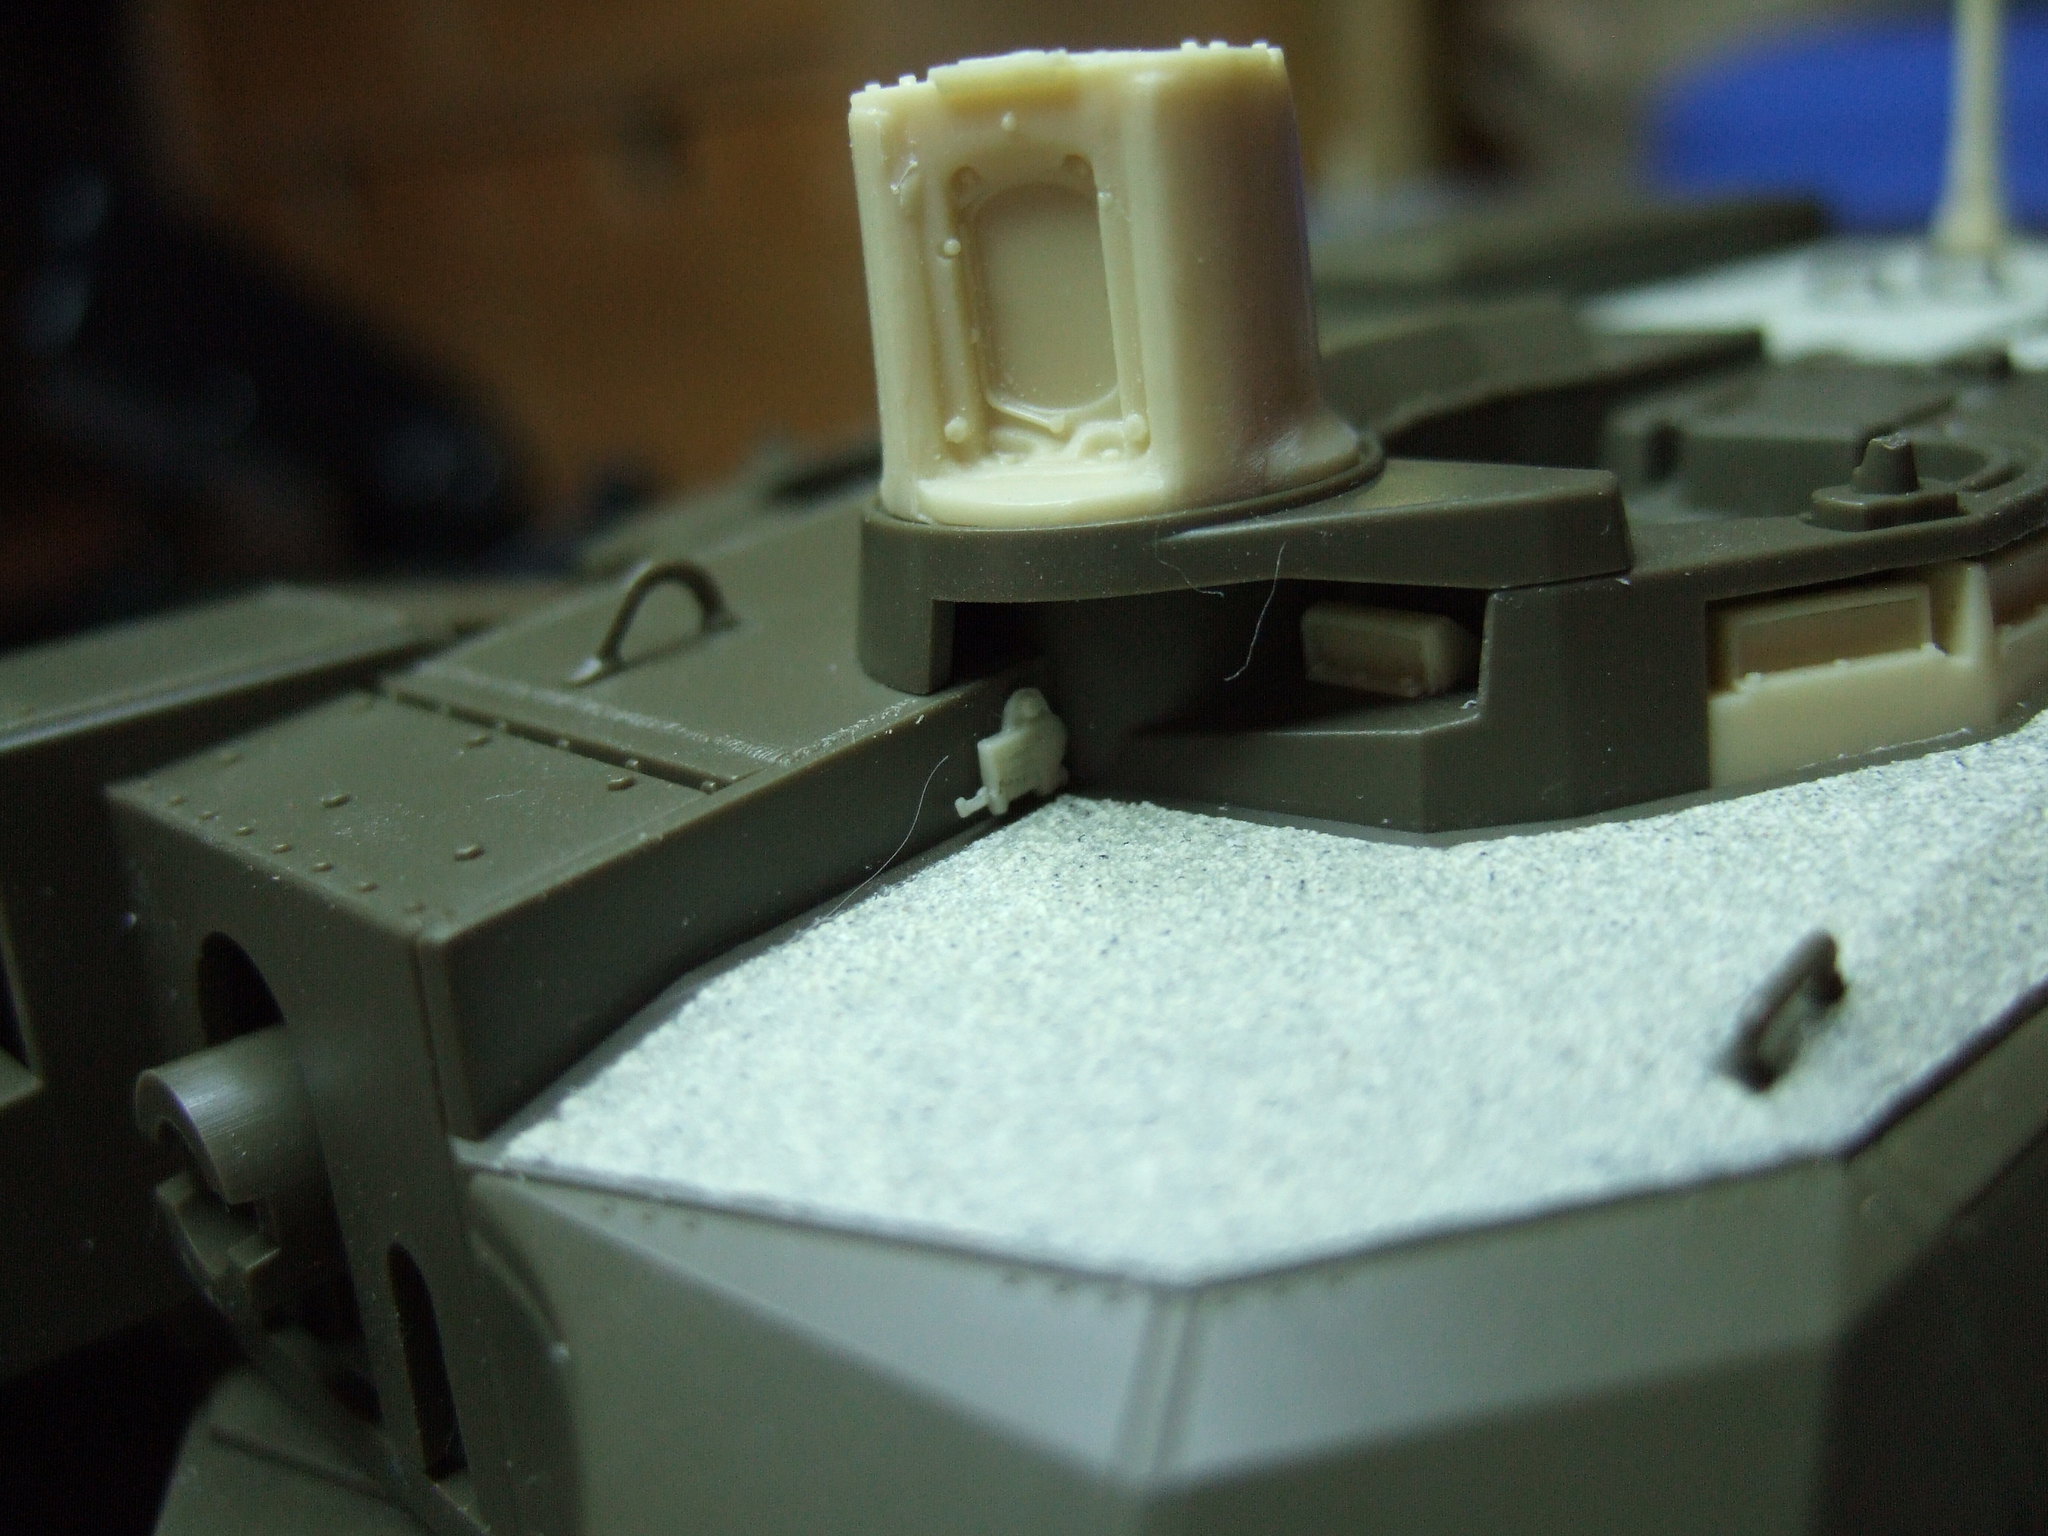
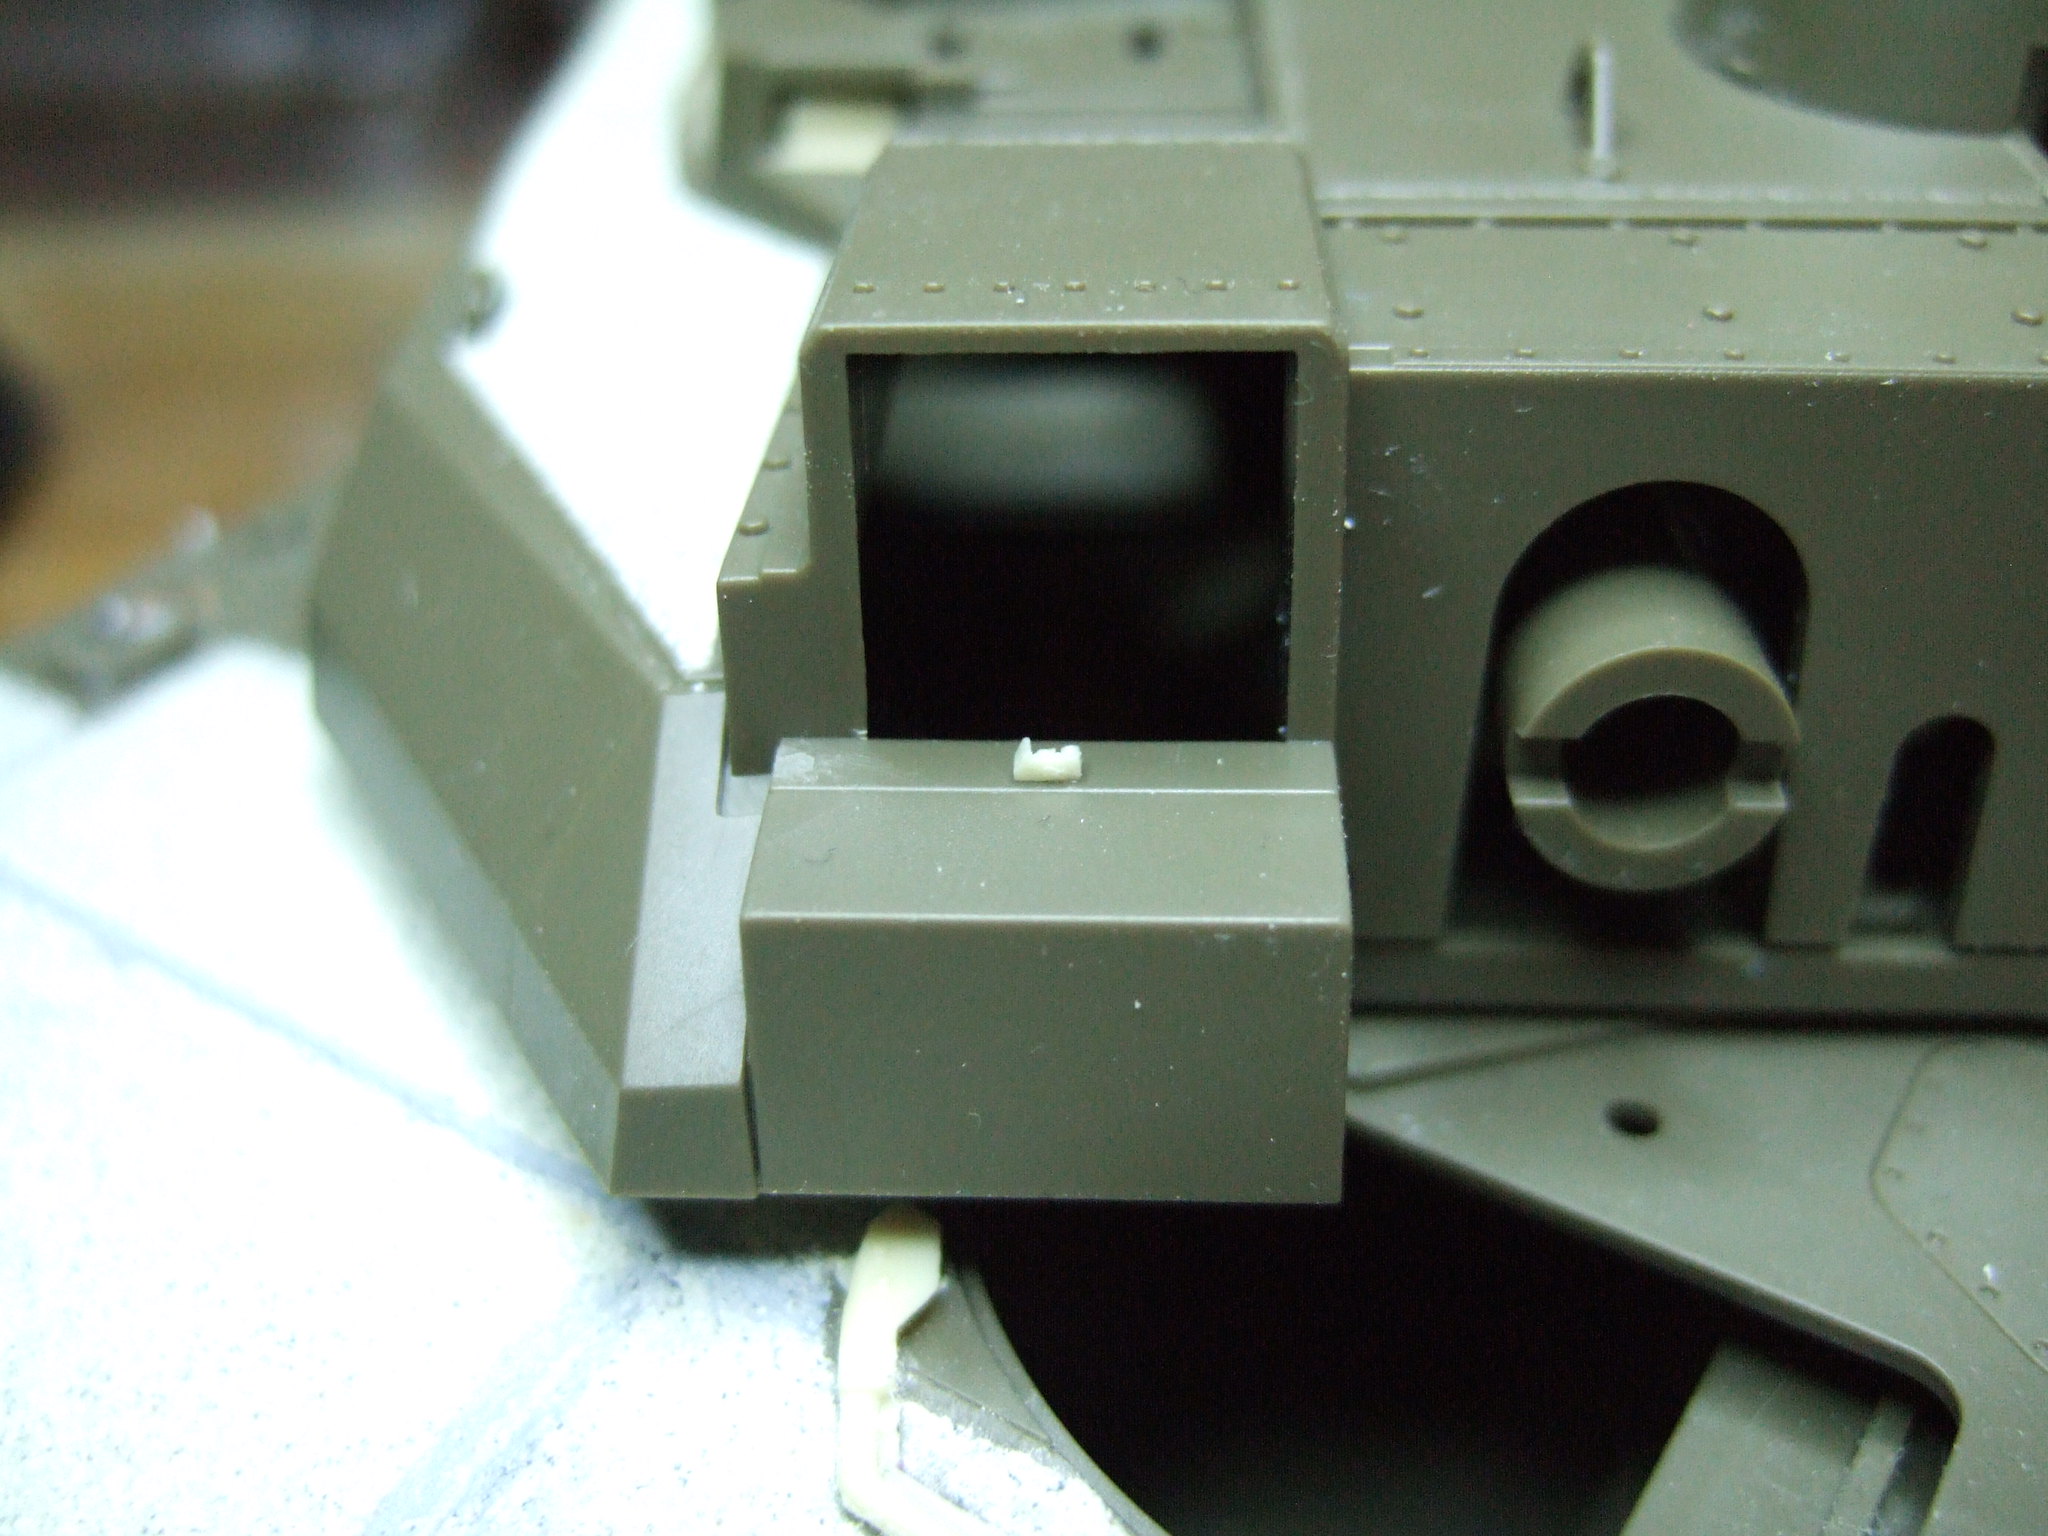
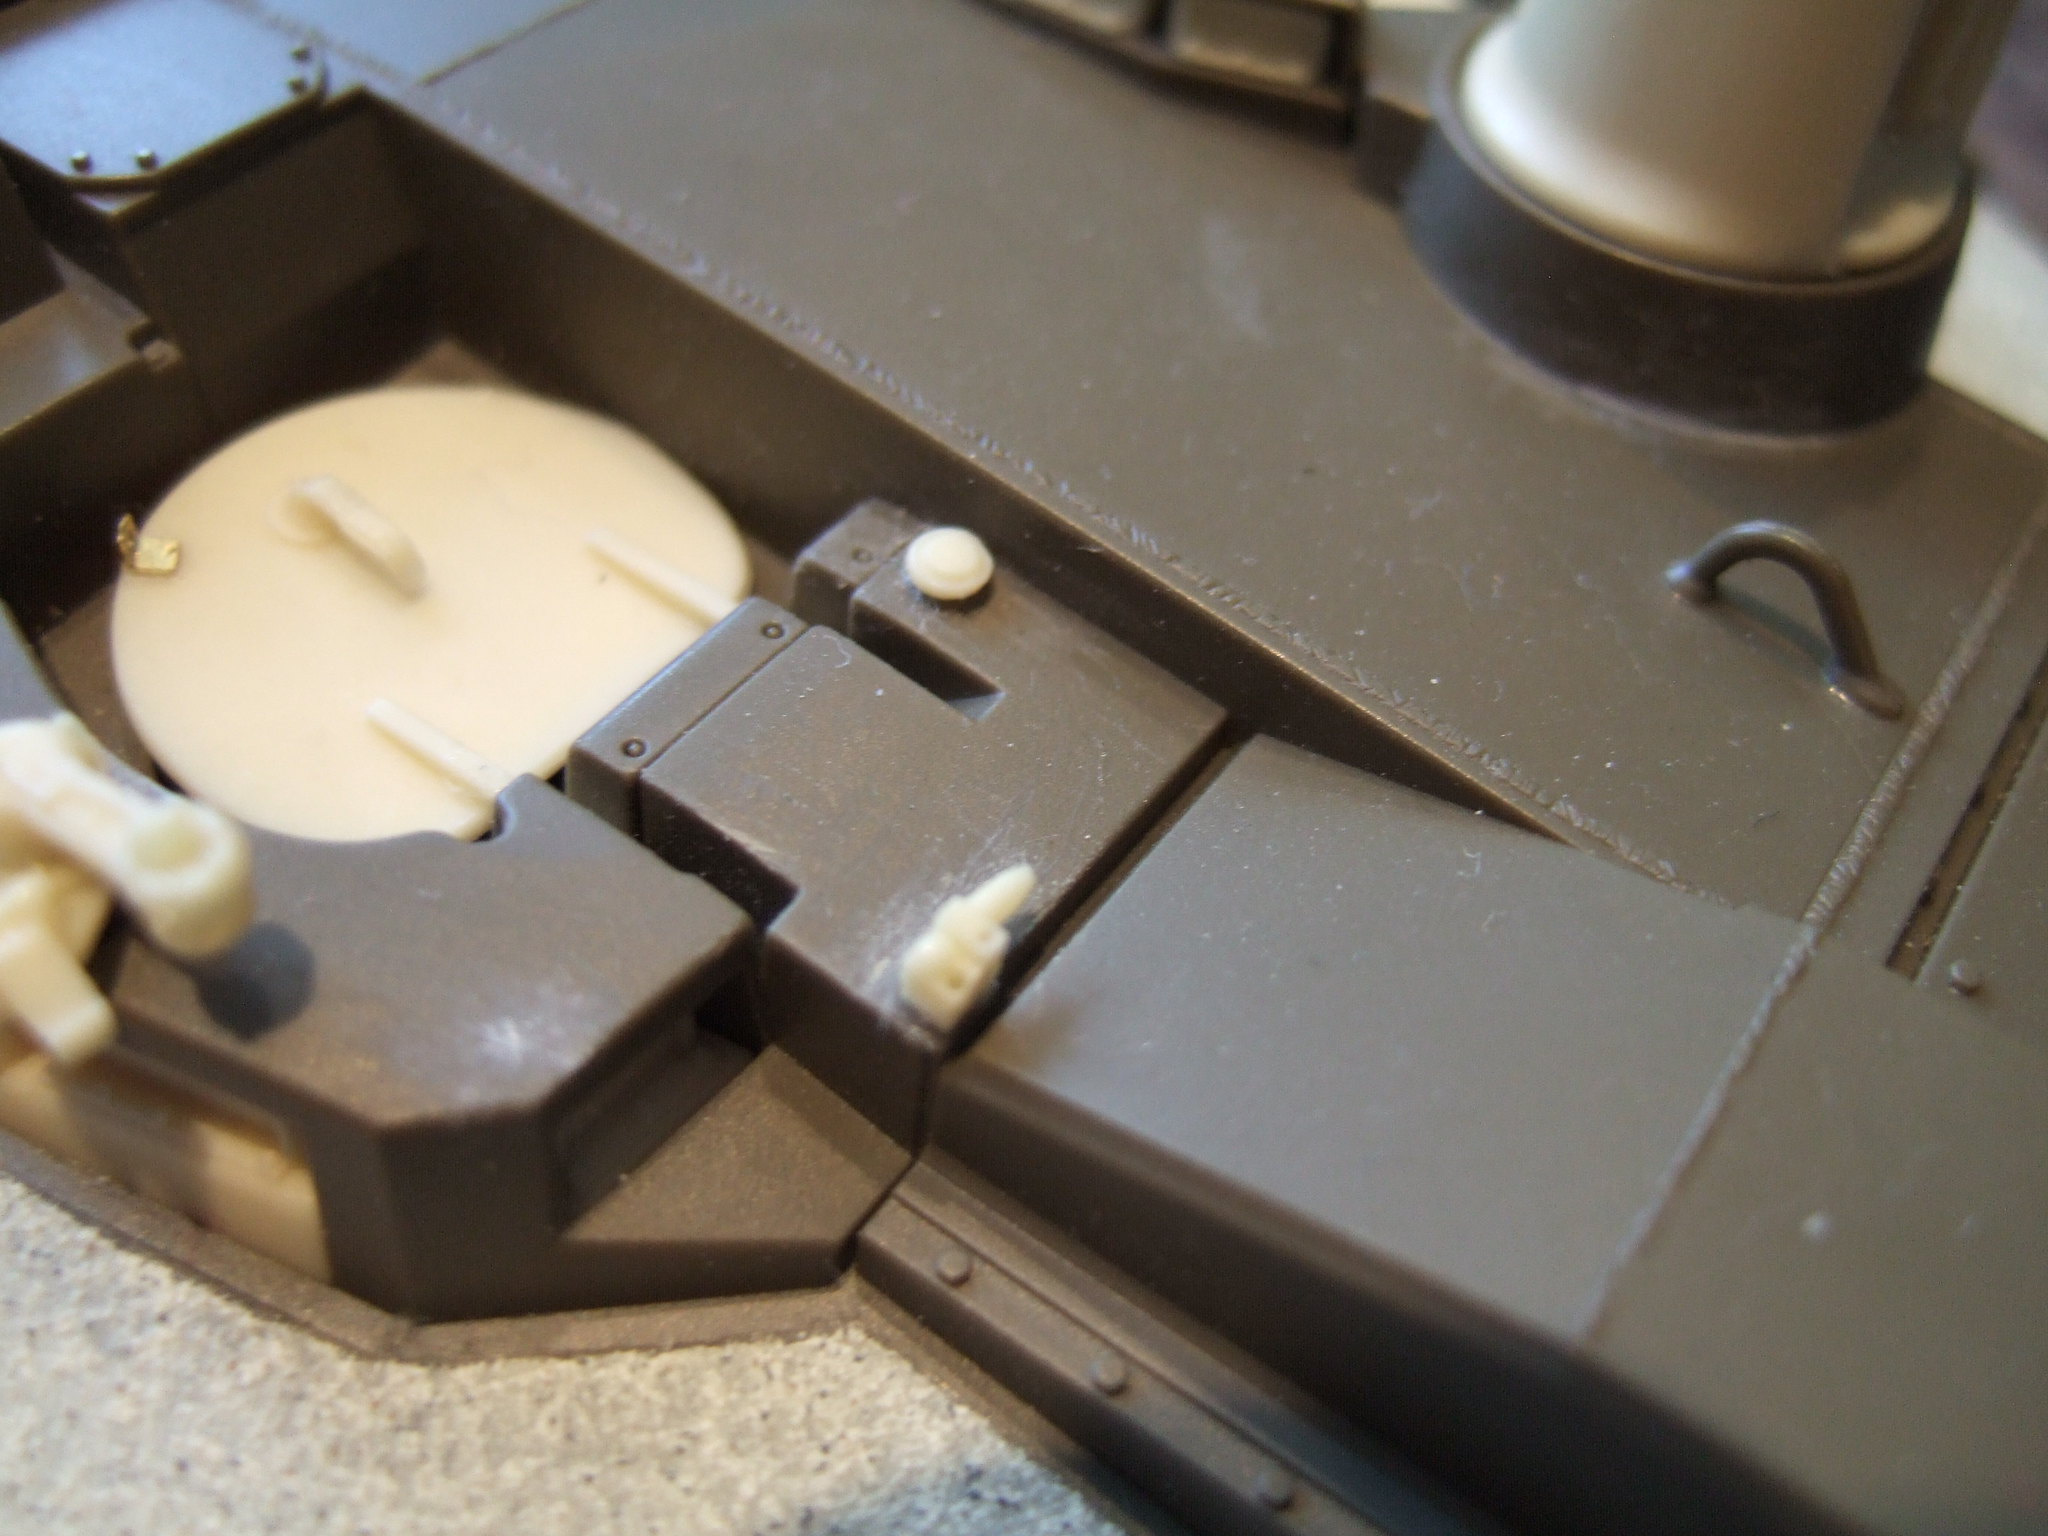
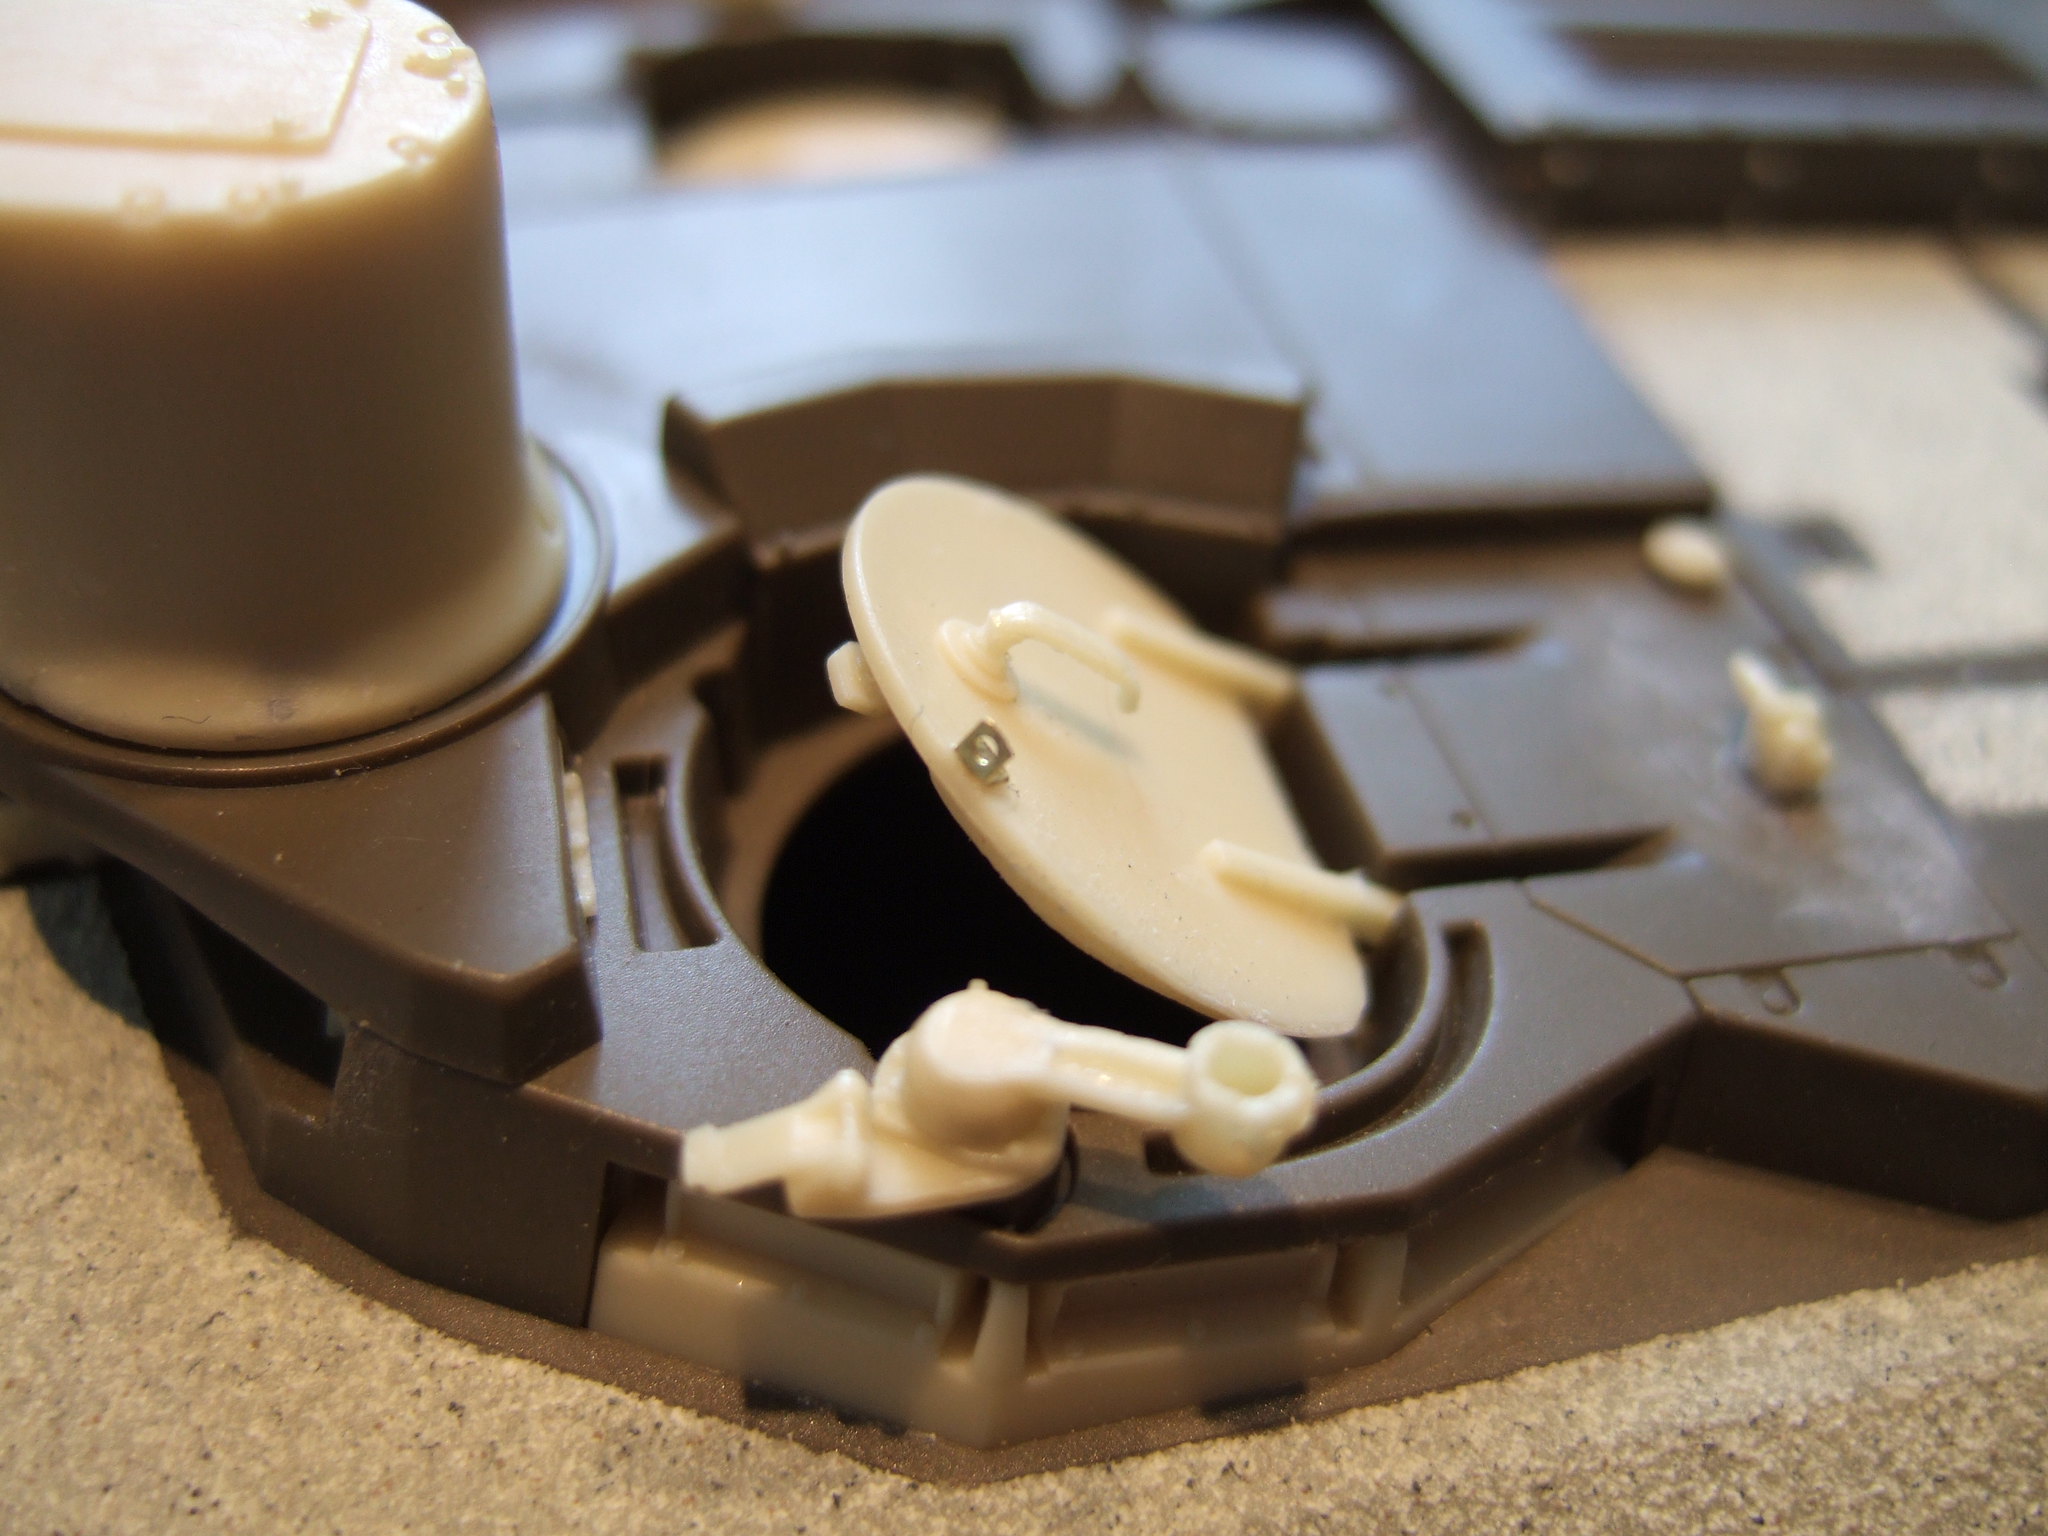
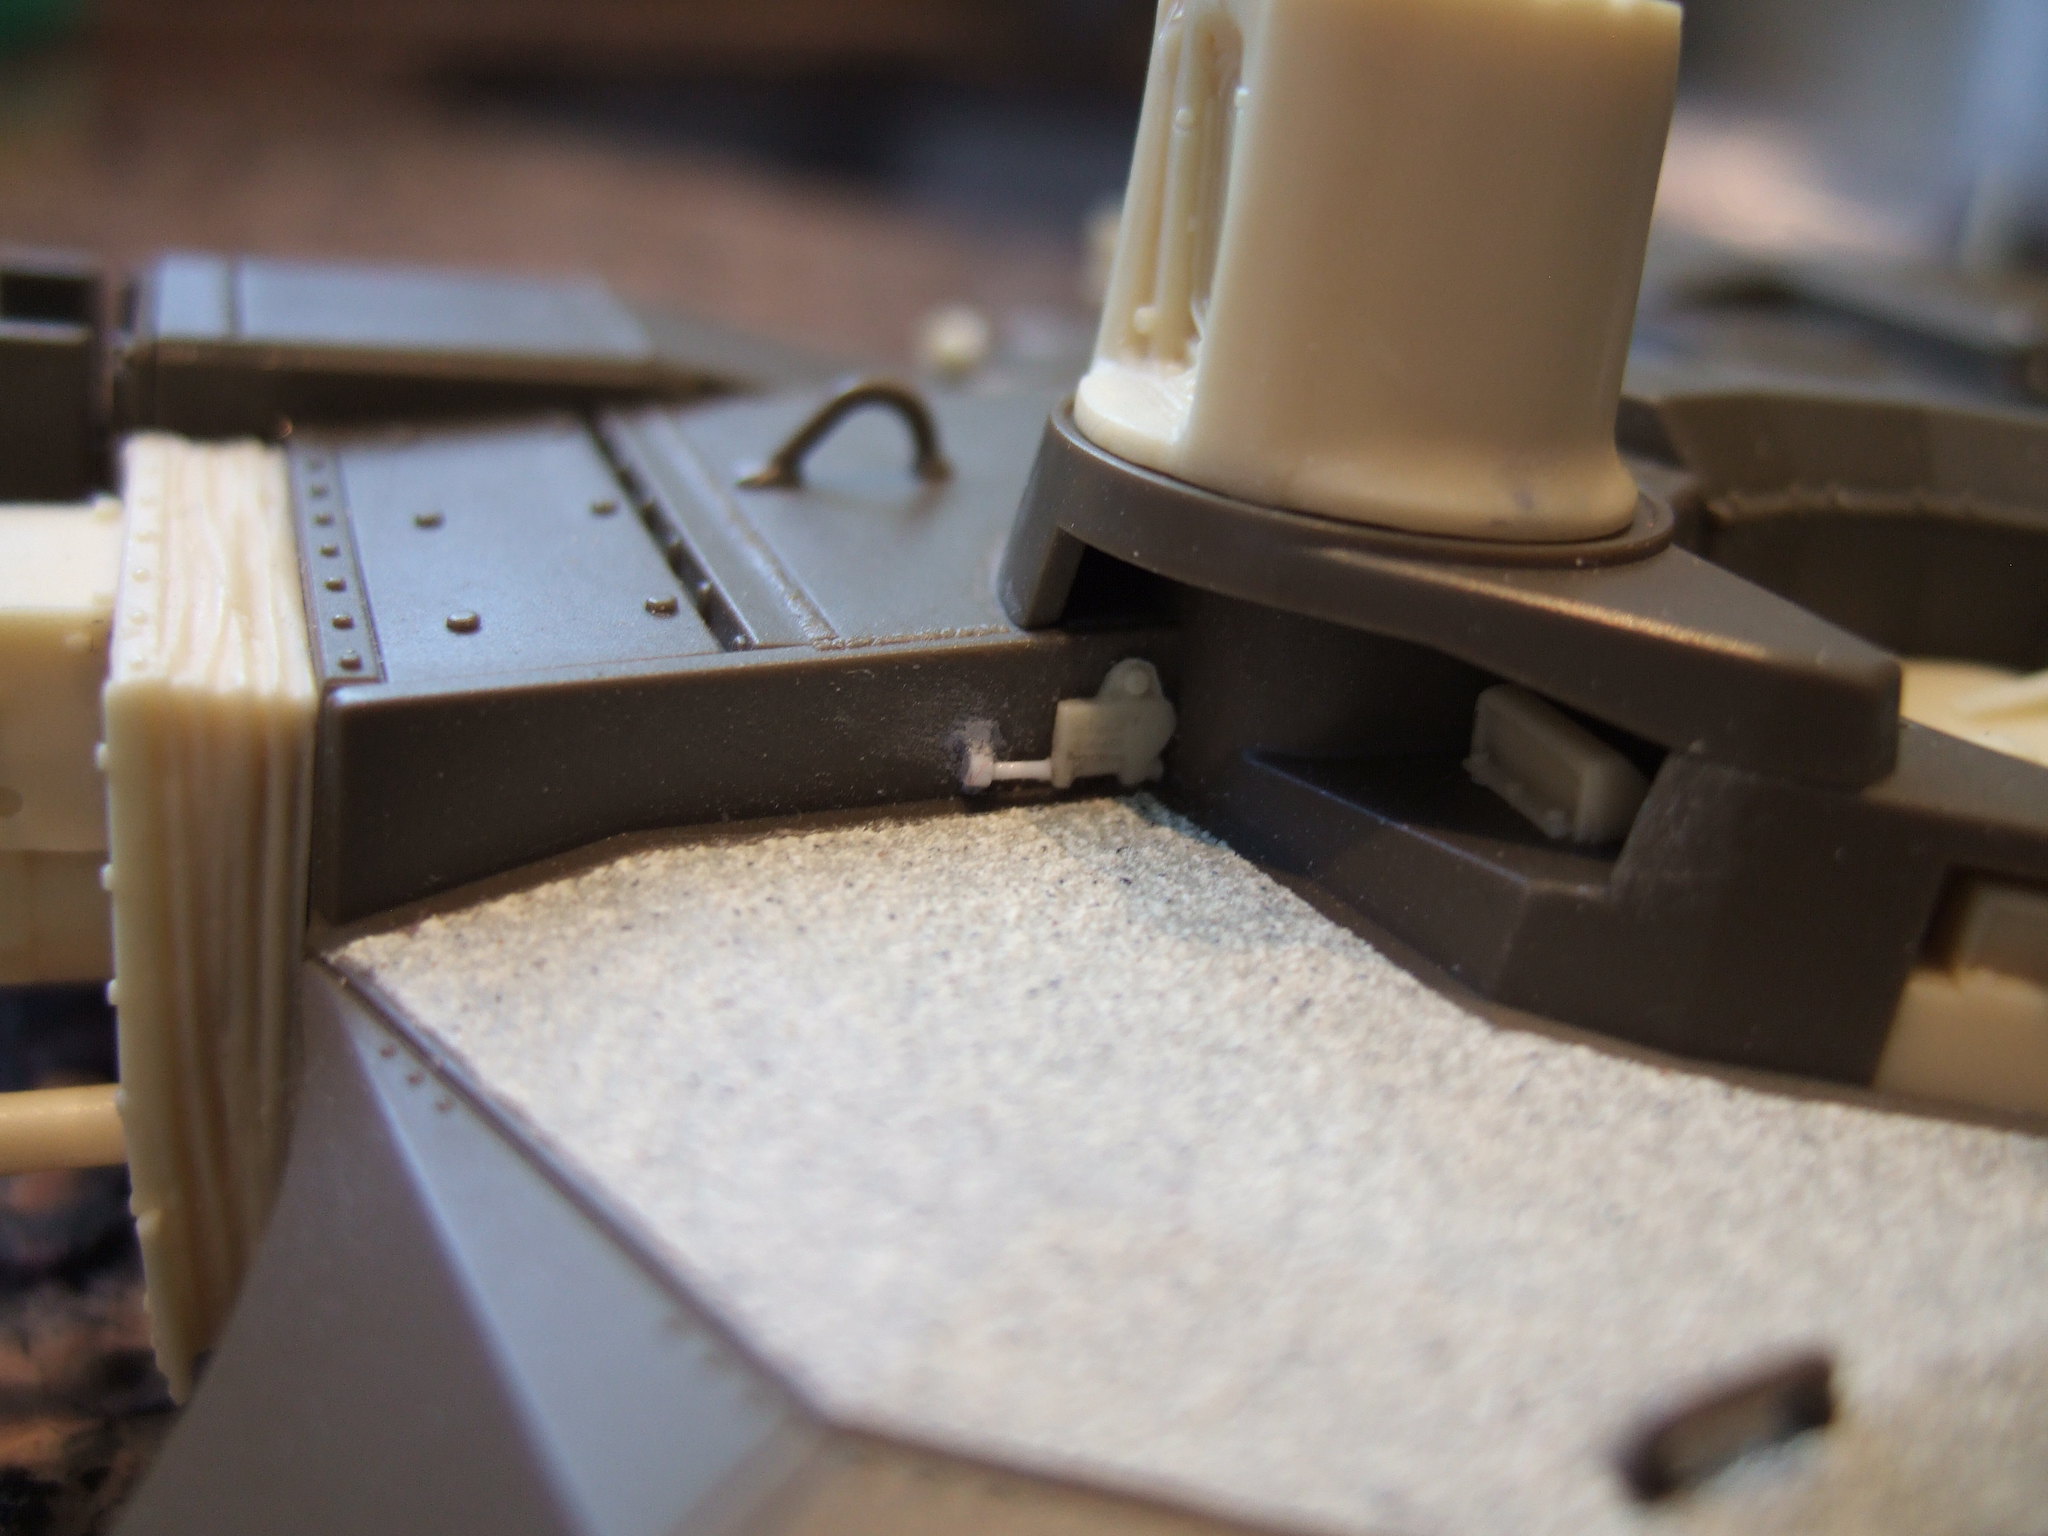
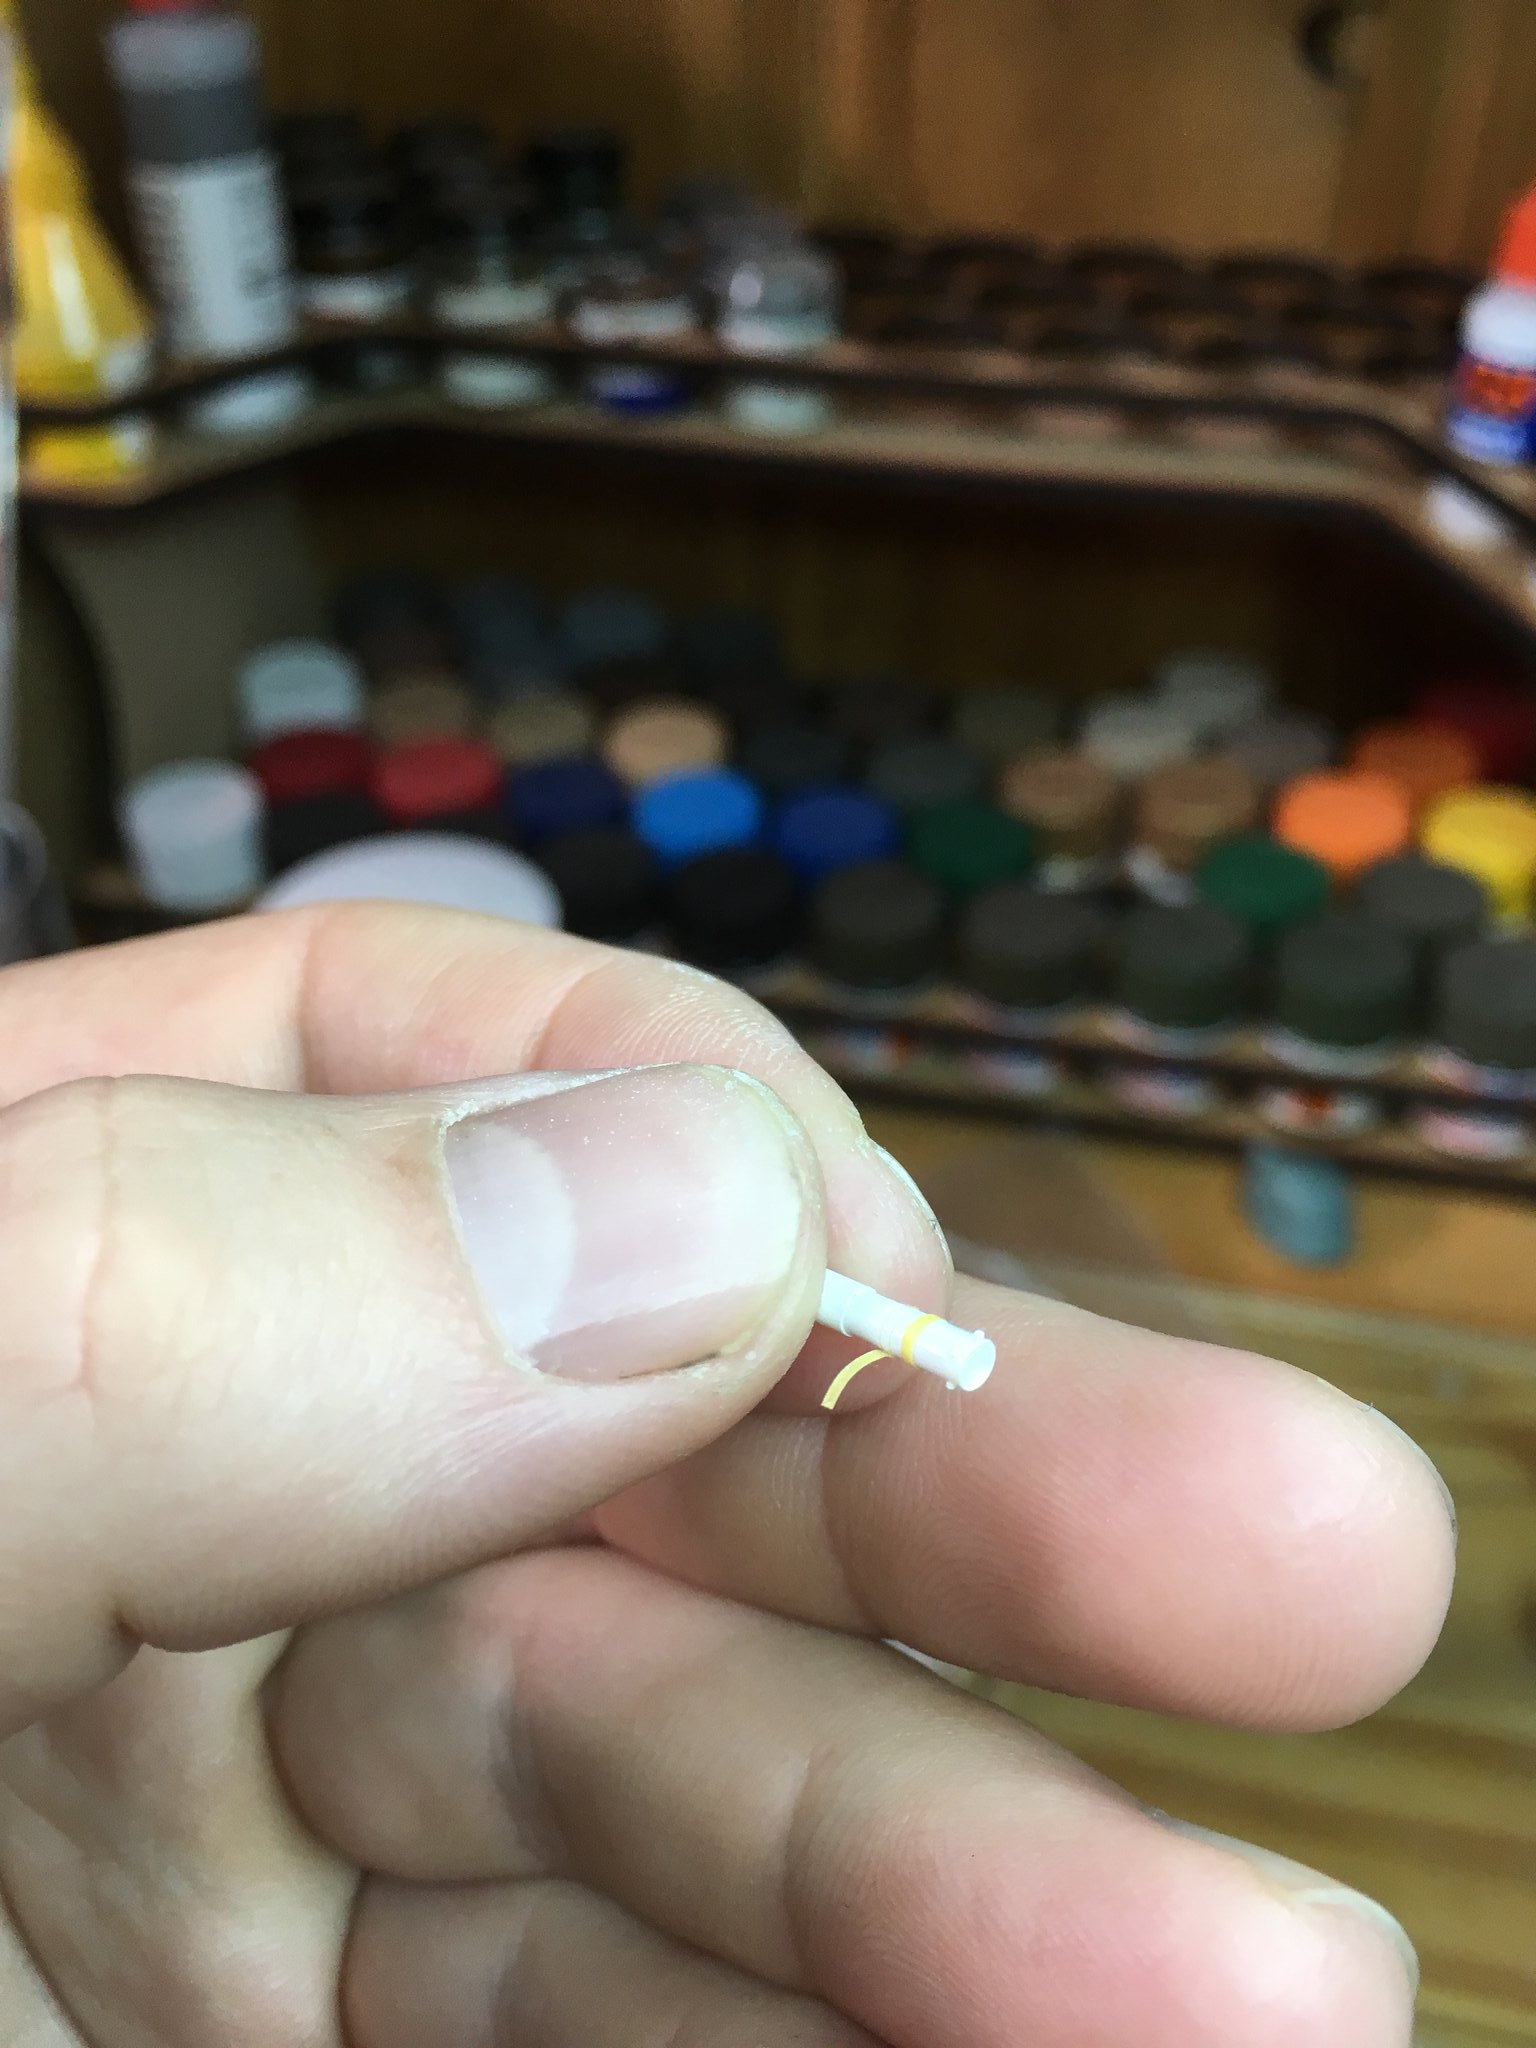
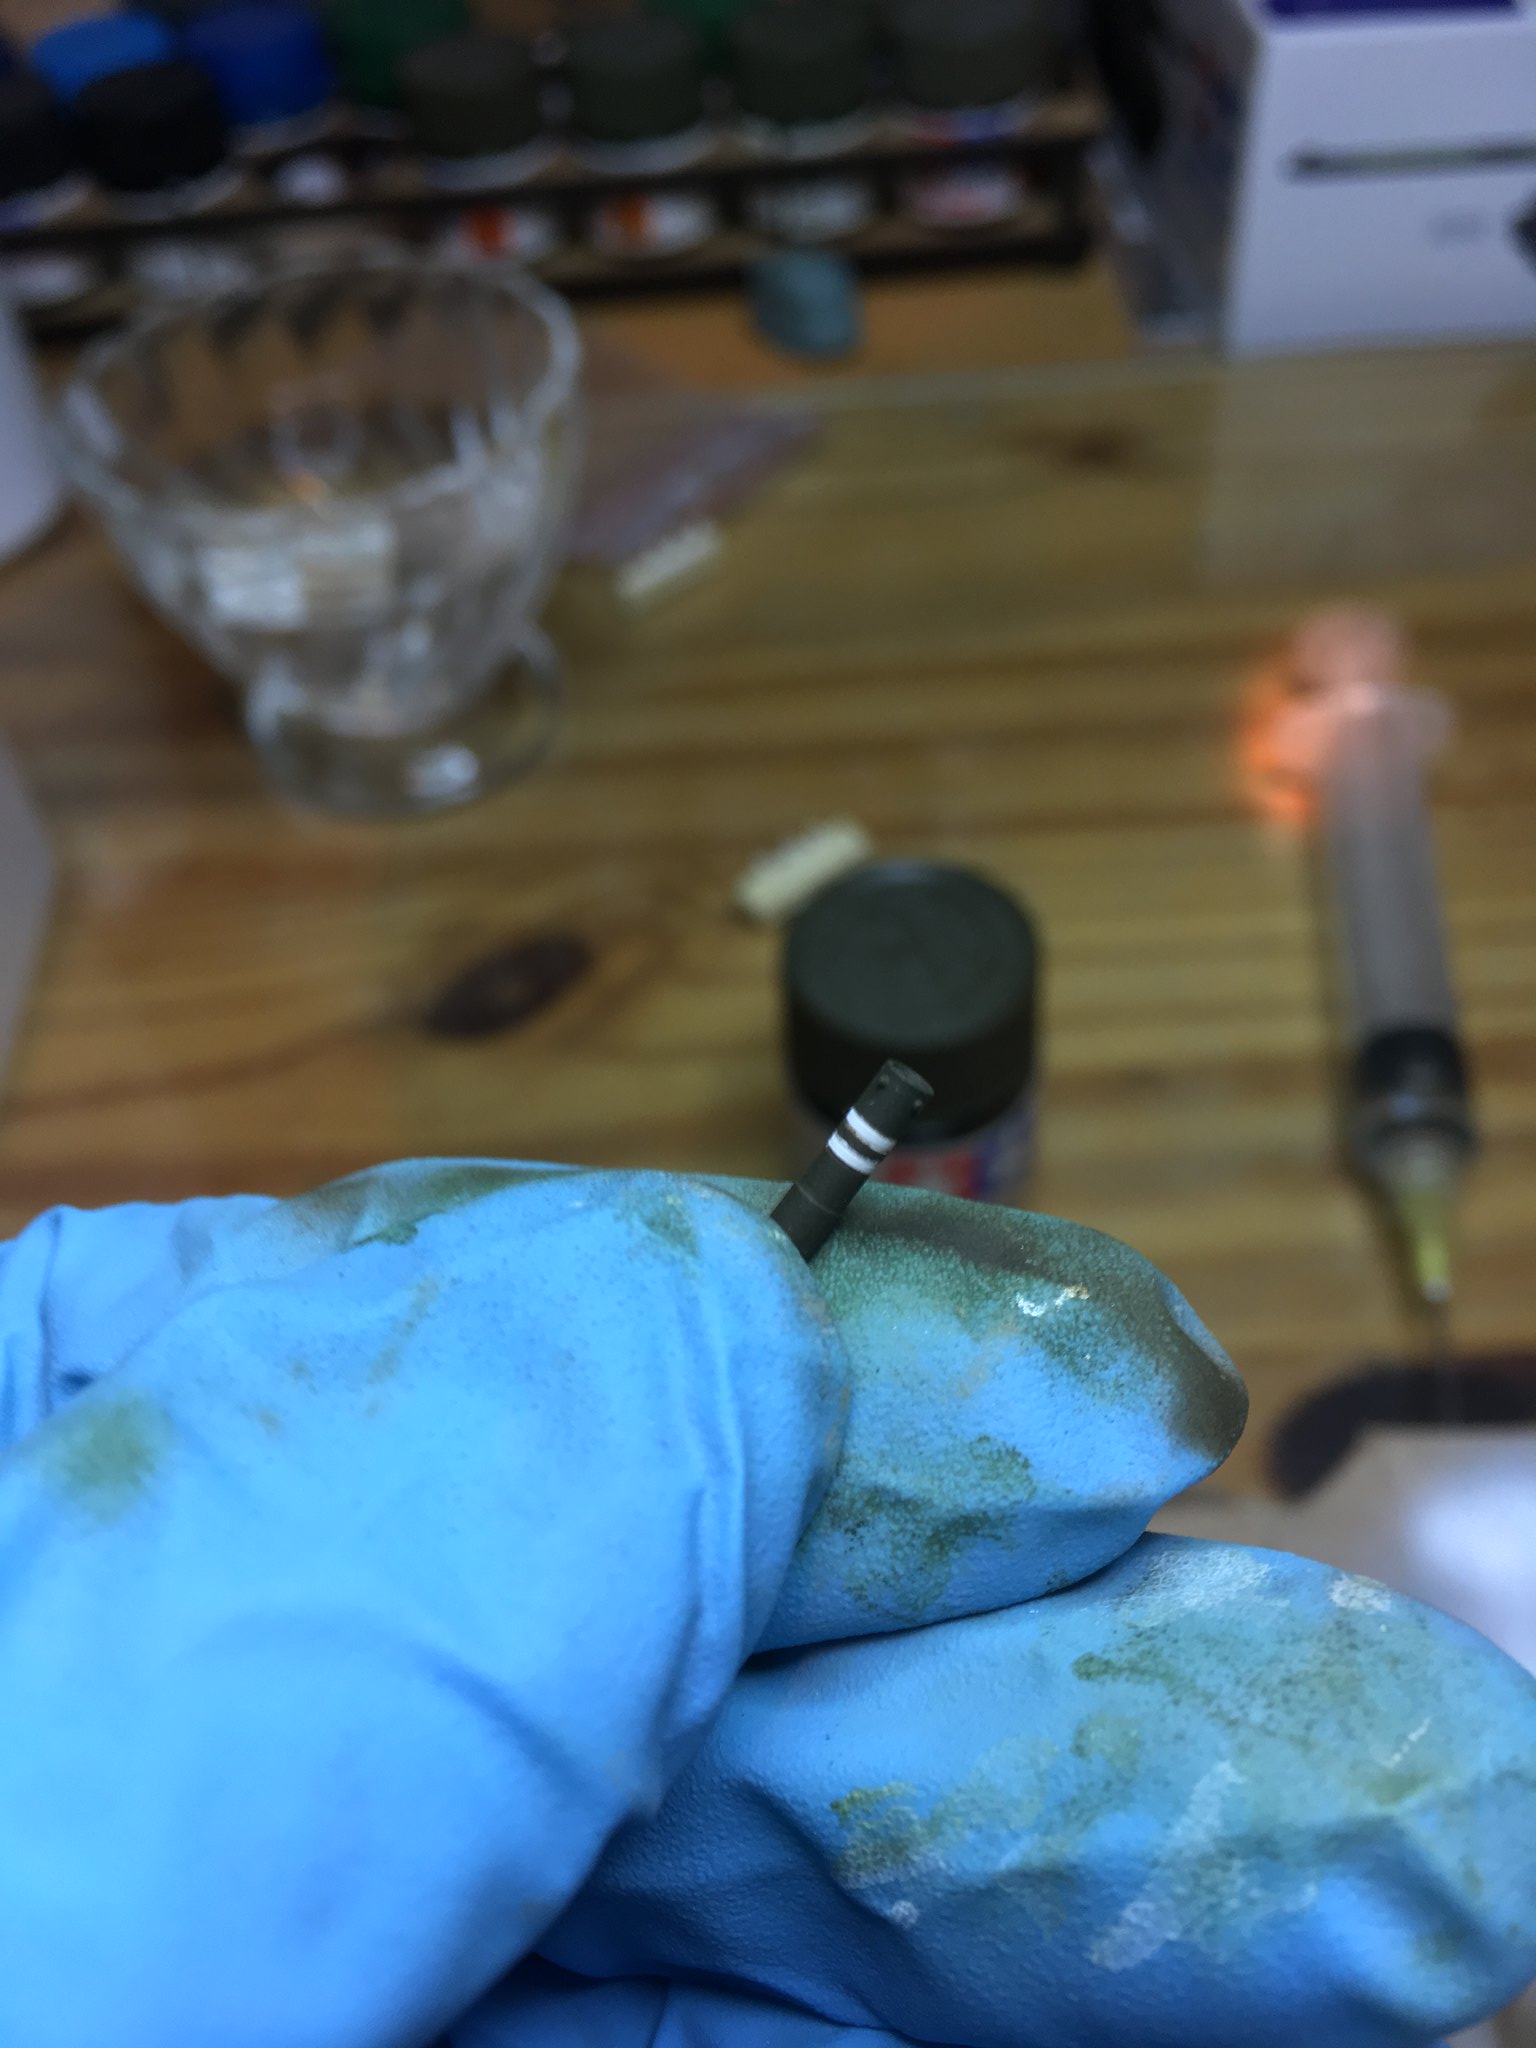
The handle for the infantry-tank crew intercom was made using eduard pe part, and then trimmed to right length and shape (the tip of the handle is flat, while eduard made it rounded ) I did the weldings that goes all around the handle using miliput :


That's it for now ! I'm building it really slowly, but I'll try to keep this thread updated.

Thanks for watching !
bison126
Visit this Community
Correze, France
Joined: June 10, 2004
KitMaker: 5,329 posts
Armorama: 5,204 posts
Posted: Sunday, August 11, 2013 - 08:07 PM UTC
Thanks for your appreciation about my "guide"

Im'0 happy you find it useful. Djiti's RT5 is a great build too.
You've done a great job so far combining Eduard parts and your scratchbuilt details.

Good luck for the following steps.
Olivier
flugwuzzi
Visit this Community
Lower Austria, Austria
Joined: November 02, 2007
KitMaker: 633 posts
Armorama: 599 posts
Posted: Sunday, August 11, 2013 - 11:32 PM UTC
Excellent start, Tom.

Your chosen ressources and aftermarket parts are a great improvement to make the good tamiya kit even better.

Have fun and keep up the good work.

cheers
Walter
blacksad
Visit this Community
Quebec, Canada
Joined: September 07, 2009
KitMaker: 198 posts
Armorama: 192 posts
Posted: Saturday, November 09, 2013 - 07:18 AM UTC
Hello ! It's been quite a long time since I've posted an update. I did some progress; it's often hard to find some time to model I finally received my voyager pe set ordered in june (lol). Took quite a long time but the quality and price/value is excellent. The aluminium barrel and resin pieces are really nice. Bronco's tracks are on the way too. I put a lot of $ in this model but I really like this tank. Aesthetically it's one of my favorite tank. Enough talking, here is what I've been doing in the past few weeks :

The road wheels are installed and the sprockets were detailed :


The anti-slip surface was re-done with some rustoleum textured paint. My first anti slip attempt was too thick for my tastes. I'm statisfied with the results. I applied some putty using masking tape guides to reproduce the welding lines. I then covered the putty a little bit with extra textured paint, as it looks like on the real ones the anti-slip is applied over the welding lines. Installed the nbc decontaminor and the extinguisher. Blast's did a really good job on those pieces and I think it's more interesting than replacing them with only the pe holding brackets.


A lot of bolts were installed, some are not visible on the pictures because of the styrene colour on the bright anti slip paint colour. The schnorkel holders were made using eduard pe as reference for size.


The driver's hatch was detailed with voyager and eduard pe, as well as a scratch handle :


Re-did the detailing on the skirts. Though it's only a beginnig, I used home-made brackets to have more surface to glue the mud flaps on. Instead of eduard flat pe brackets I used some styrene rod in addition of some pe that mimicks the pin that secure the rod.


I might add blast model's loading crew + reload system and put the model on a diorama I have an idea similar to this one in my head (very nice model) :

http://blast-models.fr/BLAST-MODELS-IMAGE-GALLERY/Kits%20and%20figures/Leclerc%20Serie%202%20Olivet%202005%20Rodolphe%20Uguen%20Laithier/index.html

I want to make the turret's basket movable, by drilling holes in the hinges and inserting small pieces of electrical wire to make it rotate:


Some work needs to be done on the hull before moving on to the turret. I'm still wondering about a bolted plate that is mentioned in Olivier's guide, located near the engine grills. The plates were missing on RT5 and series 2 tanks,I only saw it on a SXXI tank :

http://data3.primeportal.net/tanks/jean_thomas_rembert/leclerc_xxi/images/leclerc_xxi_054_of_168.jpg

the plates layout looks different than what is pictured in Olivier's guide. Does anybody knows what those plates are for and if there is more reference pictures available ?

That's it for now, hope you'll like it ! Cheers !
bison126
Visit this Community
Correze, France
Joined: June 10, 2004
KitMaker: 5,329 posts
Armorama: 5,204 posts
Posted: Saturday, November 09, 2013 - 08:57 PM UTC
Excellent job so far ! Why did you use the Blast sprocket hubs instead of the multipart ones of the Voyager set? I guess the answer is in the question

I will check my references about the plates but at the time I wrote the guide, I pretty sure the SXXI was not yet in service. You're right though, the reference pictures are not so numerous.

Keep on the good work
Olivier
blacksad
Visit this Community
Quebec, Canada
Joined: September 07, 2009
KitMaker: 198 posts
Armorama: 192 posts
Posted: Saturday, November 23, 2013 - 04:54 PM UTC
Hey !

Thanks for the kind words olivier; I didn't used voyager's set because it took too long (4 months) to arrive and I was already having blast's one on hand.. plus I'm not a big fan of this multi-parts set-up even if the details are crispier.

Here is a small update of what I've been doing these days, it's still not very much but I'm adding one piece at a time.. Next in my build will be the glacis area and the fuel drums mounts and piping system; I screwed up with the blast ones and decided to use tamiya parts, the fit was far from being good; I didn't like how the mounts were "sitting" on the hull.

Ok so these brackets are from the eduard set; be cautious about those because eduard instructions tells you to mount the brackets the other way round (facing different directions). The correct position is to have each bracket facing each other.


Stops were added; when the front skirts panels are lifted up they can rest on those; the last two stops on the left of the tank (shown here) are slightly longer than the other ones.


Made the chain from scratch instead of using voyager's one. Took small enough copper wire snapped into my xacto handle, twisted it and hammered it on a flat metal surface to give the impression of chain links.


Did the plates too; they are not perfect. Had a bit of trouble to have a sraight cut with my "chopper II" tool. Don't know if it's the blade that moves when cutting into the styrene or just the slightly loose handle that is causing the results I'm having. At least the added detail is there.


Began working on the tracks from bronco models; While it's quite long to assemble when you're used to mount a link the following ones are pretty straight foward.I only managed to assemble a few of them just to see how it looks.

That's it for now, see you next time for another update, thanks for watching !

Cheers
blacksad
Visit this Community
Quebec, Canada
Joined: September 07, 2009
KitMaker: 198 posts
Armorama: 192 posts
Posted: Monday, March 03, 2014 - 02:59 AM UTC
Hi !

I've put a bit of time on my Leclerc; I'm basically done with the back of the model. Here is what I've added :

As mentioned earlier in this thread I got badlucked with the external fuel drum racks (warpage and misalignment while gluing) so I used the tamiya ones. I began by placing a base of .25mm plastic card, and then mount the three "shoes" where the drums are sitting on with .50mm plastic card. I then did all the holes, added bolts in them and use an xacto to cut the shoe into small ribs (the rubber is texturized this way on the real thing). I then added a gazillion bolts on them and voilà !


I made from scatch the fuel-pipes connectors as the one depicted from tamiya AND blast corresponds to series 1 connectors. Added the fuel pipes and the small connecting piece that make the two pipes become one bigger pipe at the far right of the tank.


Added the electrical wiring, additionnal welding lines (replaced the older one with tamiya putty), re-did from scratch the two brackets on the side of the model which are visible when the last panel of the skirts are not mounted, and re-did the fenders; the purple thing on the copper wire is maskol. I used this to depict the spliting of the main cable and the extension that goes under each fuel drum rack. Added the 4 ground straps using medical tape, as adviced earlier on another thread, thanks for the idea !


Did the towing cable with the supplied piece from the voyager set :


Hope you like it !

Cheers !
bison126
Visit this Community
Correze, France
Joined: June 10, 2004
KitMaker: 5,329 posts
Armorama: 5,204 posts
Posted: Monday, March 03, 2014 - 03:17 AM UTC
Hello Tom,
that's what I call superdetailing ! Good job on the fuel drum brackets
blacksad
Visit this Community
Quebec, Canada
Joined: September 07, 2009
KitMaker: 198 posts
Armorama: 192 posts
Posted: Monday, March 03, 2014 - 05:48 AM UTC
Thank you Olivier !
sauceman
Visit this Community
Ontario, Canada
Joined: September 28, 2006
KitMaker: 2,672 posts
Armorama: 2,475 posts
Posted: Monday, March 03, 2014 - 07:01 AM UTC
Nice looking so far, love the details.


cheers
flugwuzzi
Visit this Community
Lower Austria, Austria
Joined: November 02, 2007
KitMaker: 633 posts
Armorama: 599 posts
Posted: Tuesday, March 04, 2014 - 09:02 AM UTC
Hi Tom,
excellent detailwork on your leclerc. Great build so far.

Cheers
Walter
blacksad
Visit this Community
Quebec, Canada
Joined: September 07, 2009
KitMaker: 198 posts
Armorama: 192 posts
Posted: Saturday, May 24, 2014 - 01:15 PM UTC
Hello ! Thanks for your comments guys ! Here is my latest update regarding my leclerc :

The hull is now finished (the skirts as well as the tracks needs to be finalized). I added some strap buckles and bolts. I filled the holes for the decontaminator with some plastruct rods. I've then used smaller plastruct rods to make the supports for the deconaminator that needs to be longer than the ones represented on the blast part. I've also made the wiring for the headlights and the horn.


I added some kind of nylon strap that is attached with velcros on the horn :


Also did the fastening system used on the side skirts but for the front mud guards :


I started the turret aswell; I put rustoleum textured paint to have the same antislip surface effect. I've glued some blast parts; There is an error one of the hatches though. The arms on the are slightly offset on the gunner's hatch
and blast only made 2 copied of the commander's hatch. So the one for the gunner doesn't fit quite well and will need to be in a semi-opened position.


Difference between the tam gunner's hatch the the blast one; the hinges are offset on one of the hatch, but blast made the two hatches the same :

It starts to look more and more like a tank !
Crox77
#354
Visit this Community
England - West Midlands, United Kingdom
Joined: January 06, 2013
KitMaker: 184 posts
Armorama: 178 posts
Posted: Saturday, May 24, 2014 - 06:34 PM UTC
Really nice start, great work on the the anti-slip paint
bison126
Visit this Community
Correze, France
Joined: June 10, 2004
KitMaker: 5,329 posts
Armorama: 5,204 posts
Posted: Saturday, May 24, 2014 - 10:16 PM UTC
It is better and better at each update !
Keep on this excellent job
sgtsauer
#065
Visit this Community
Missouri, United States
Joined: March 30, 2002
KitMaker: 2,605 posts
Armorama: 1,814 posts
Posted: Sunday, May 25, 2014 - 04:06 AM UTC
Tom, your doing amazing work!! I look forward to the next update.
flugwuzzi
Visit this Community
Lower Austria, Austria
Joined: November 02, 2007
KitMaker: 633 posts
Armorama: 599 posts
Posted: Sunday, May 25, 2014 - 04:48 AM UTC
Great work on your leclerc.
Can´t wait to see the next update.

cheers
Walter
blacksad
Visit this Community
Quebec, Canada
Joined: September 07, 2009
KitMaker: 198 posts
Armorama: 192 posts
Posted: Monday, July 14, 2014 - 03:07 AM UTC
Hi everyone ! Thank you all for your nice comments Here is a small update regarding my leclerc :

The left sideskirt is done, dry fitted it to see how it looks


I've installed the majority of the remaining resin pieces from blast's set; the galix launchers and the remaining of the turret neck will follow later on. I've started to add the gazillion missing bolts on the turret as well; I've done the air conditioning unit for now.


I've did the holes under the main gun, but some of them are not aligned properly, I didn't use the most effective method to align the holes.. At least it won't be very visible and the added detail adds a plus to the model.
I began painting the resin pieces consisting of the autoloader system, however while paintbrushing smaller areas, the black coat of paint and the primer were diluted by the white coat of tamiya paint I was trying to apply in certain areas.. weird..


Getting closer to the end of the assembly and detailling
choko-panda
Visit this Community
Moscow, Russia
Joined: January 24, 2012
KitMaker: 177 posts
Armorama: 177 posts
Posted: Monday, July 14, 2014 - 03:20 AM UTC
Exelent building! I like this model.
What resin set you use?
blacksad
Visit this Community
Quebec, Canada
Joined: September 07, 2009
KitMaker: 198 posts
Armorama: 192 posts
Posted: Monday, July 14, 2014 - 03:37 AM UTC
Thanks ! I used blast models resin set (update set, galix set, reloading system) along with the resin parts supplied in voyagers pe set.
blacksad
Visit this Community
Quebec, Canada
Joined: September 07, 2009
KitMaker: 198 posts
Armorama: 192 posts
Posted: Wednesday, October 19, 2016 - 12:15 AM UTC
Hello !

It's been quite a long time since I last touched my project but here it is ! Pretty happy about how it's going to look so far. I'm applying the base coat for now. Not much was added since my last post except for the back panel of the turret where I added workable hinges for both the turret basket and the ammunition loading bay door. The locking system for the turret basket was added too, and fits neatly onto the basket when fully closed.


zedhol
Visit this Community
Ohio, United States
Joined: December 01, 2009
KitMaker: 244 posts
Armorama: 160 posts
Posted: Wednesday, October 19, 2016 - 05:06 AM UTC
Nice job, love the added details. I have this kit and will use yours as a reference as well as Olivier's

What paint are you using?
blacksad
Visit this Community
Quebec, Canada
Joined: September 07, 2009
KitMaker: 198 posts
Armorama: 192 posts
Posted: Wednesday, October 19, 2016 - 06:06 AM UTC
I used the same paints Olivier suggested for this build ! They are the same as per the tamiya instructions except for the green; XF-5 in lieue of NATO green.
bison126
Visit this Community
Correze, France
Joined: June 10, 2004
KitMaker: 5,329 posts
Armorama: 5,204 posts
Posted: Wednesday, October 19, 2016 - 10:16 PM UTC
Nice to see you back on the workbench Tom

Olivier
blacksad
Visit this Community
Quebec, Canada
Joined: September 07, 2009
KitMaker: 198 posts
Armorama: 192 posts
Posted: Friday, November 04, 2016 - 08:33 PM UTC
Hello !

This is what I've been doing so far : prepping the galix tubes. In my version of the leclerc I used the launchers fitted with the galix system. Most of the times the launcher tubes are closed with the cap on it. They are composed of a mix of long galix (smoke) and short ones (HE). The set is done by blast models and represent live ammo, as the ones used for traning (blue) are different in aspect. The short ones are painted in Olive drab and the long ones have two white bands on them. I used small pieces of masking tape and voilà ! I did have some problems spraying with tamiya x-2 white; it leaves a varnished result upon drying, and it was a pain to find the correct pressure and amount of thinner to be used as it wasn't entirely like spraying other tamiya colours.


blacksad
Visit this Community
Quebec, Canada
Joined: September 07, 2009
KitMaker: 198 posts
Armorama: 192 posts
Posted: Monday, August 27, 2018 - 10:46 AM UTC
Hey !

It's been a while since I've last updated my blog, my leclerc remained untouched as my life was pretty occupied. It's funny how a plastic model can follow you through various periods of your life and how you always go back to it ! I'm nearly done with the painting process, it just needs some adjustment on certain areas and some details have yet to be added. I'm waiting on an orange hobby antenna set, and need to do the ratchet straps.


 _GOTOTOP