_GOTOBOTTOM
Armor/AFV: Allied - WWII
Armor and ground forces of the Allied forces during World War II.
Hosted by Darren Baker
1/35 Dragon - M16 Multiple Gun Motor Carriage
Viroxken
Visit this Community
West-Vlaaderen, Belgium
Joined: October 05, 2007
KitMaker: 41 posts
Armorama: 5 posts
Posted: Monday, August 18, 2014 - 07:02 AM UTC
Hi Everyone

After finally finishing my Avro Lancaster after 5 years, I've started with a new project.

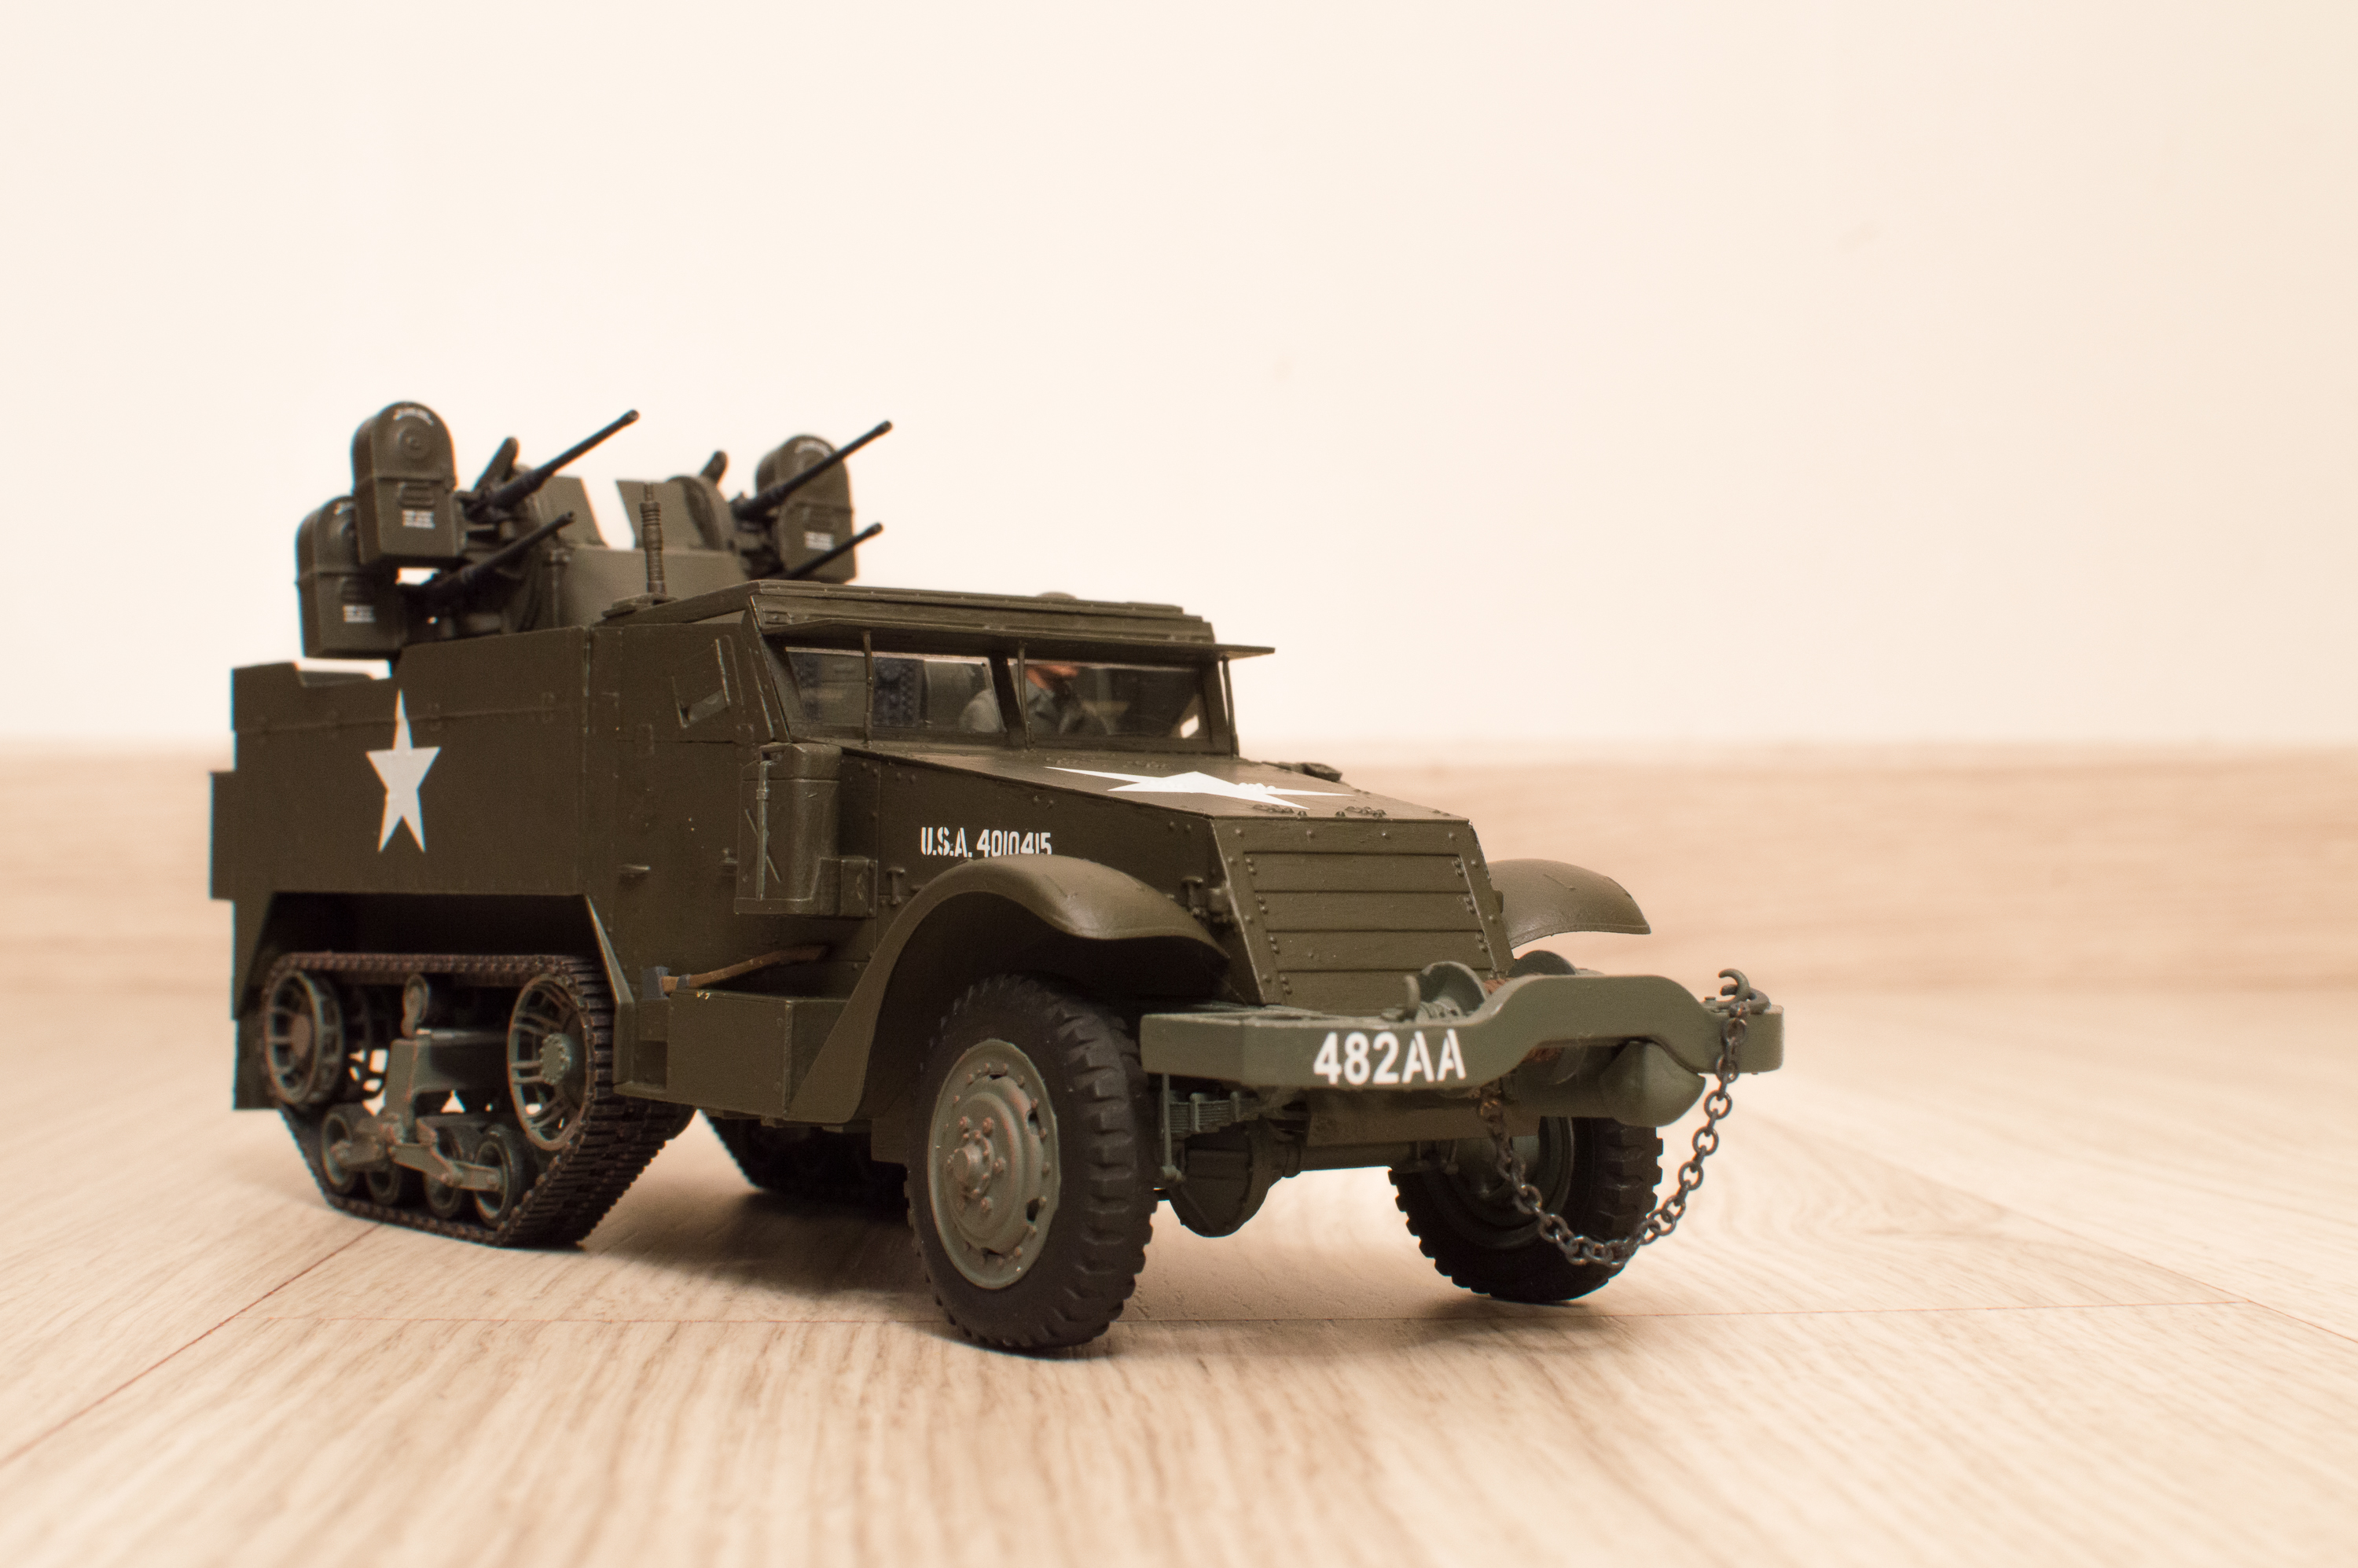
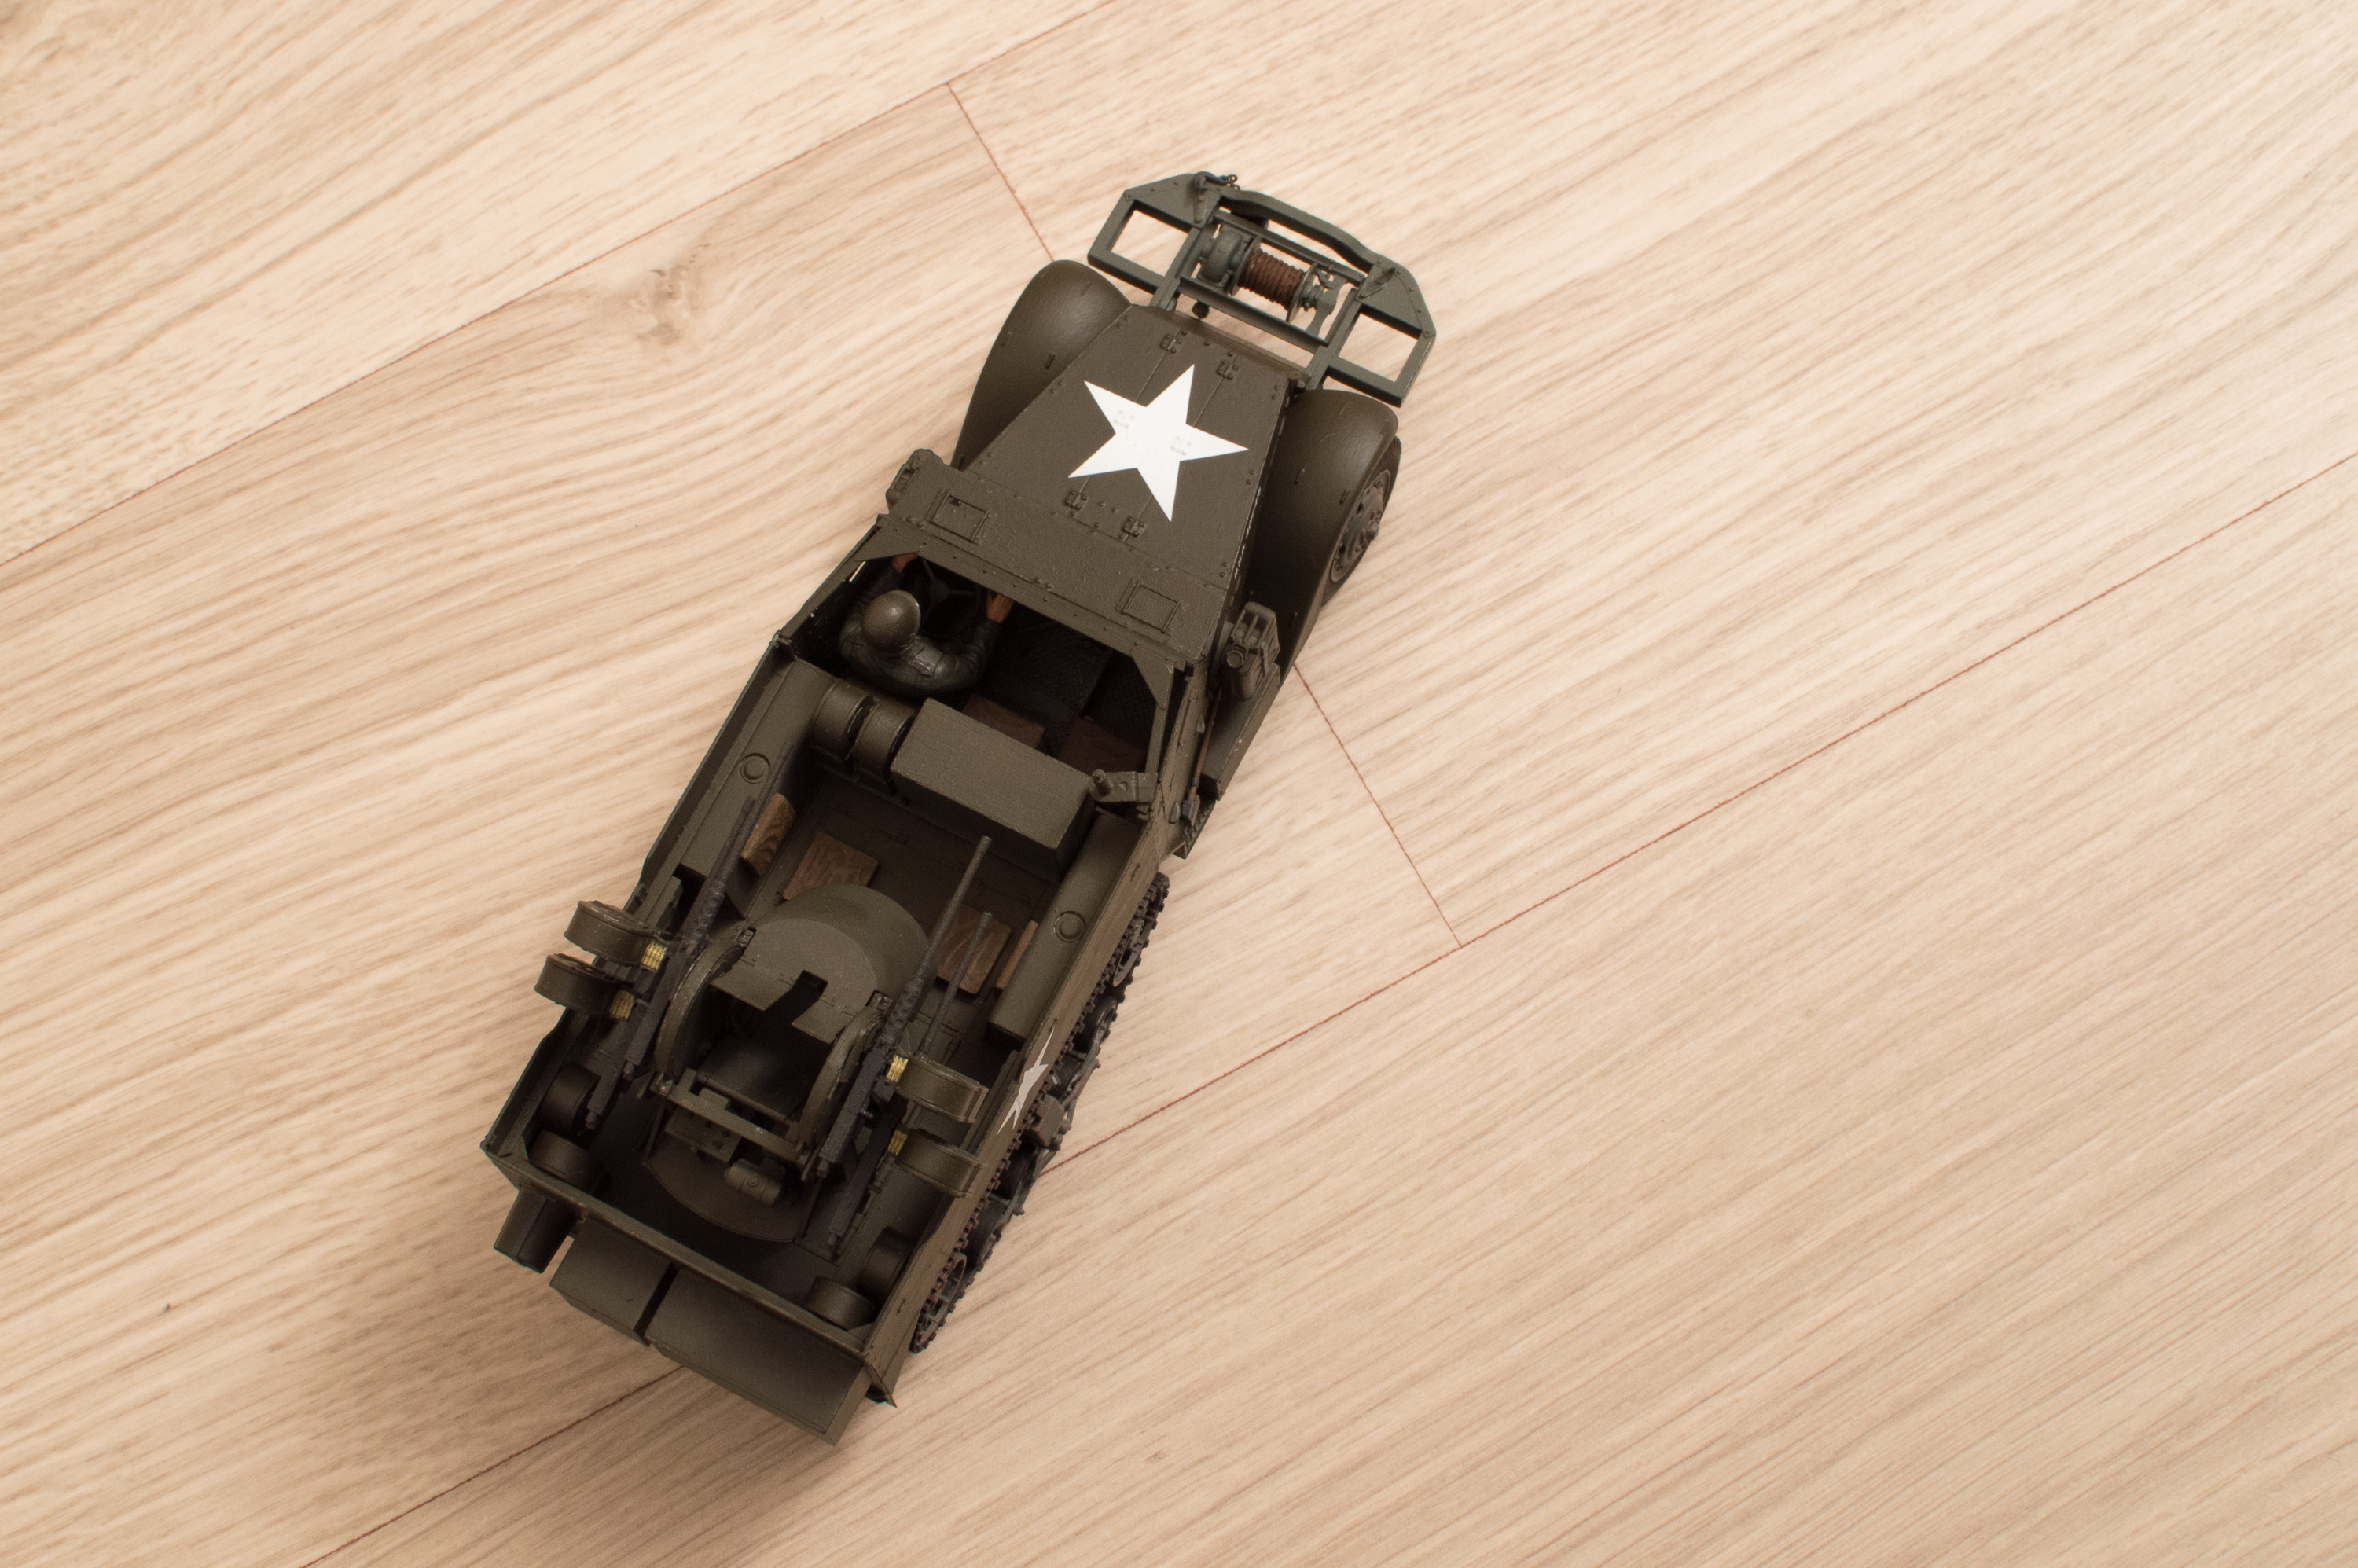
This time a Halftrack, the model is already resting on a shelf for almost 5 years screaming to be build.
Although I've been building since my childhood (29yrs now), I haven't made more than six models (and only the last 3 have survived till now ) So I'm still learning a lot, so feedback is more than welcome.


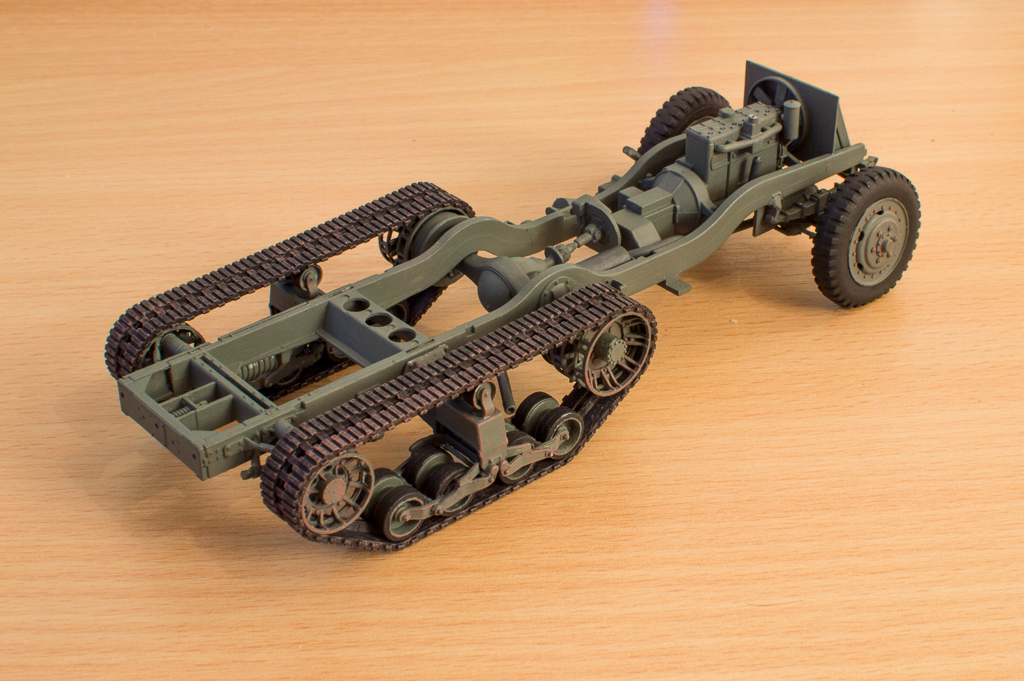
At the moment the chassis is almost completed:


See you in my next update!
Thomas
ivanhoe6
Visit this Community
Wisconsin, United States
Joined: April 05, 2007
KitMaker: 2,023 posts
Armorama: 1,234 posts
Posted: Monday, August 18, 2014 - 07:23 AM UTC
Nice and clean so far. Are you going to add any after market parts ? Keep at it Tom. I will be following your build closely. I have the same kit screaming at me too !
Tom
flmlm7
Visit this Community
United States
Joined: August 15, 2014
KitMaker: 12 posts
Armorama: 12 posts
Posted: Wednesday, August 20, 2014 - 12:57 PM UTC
Looking good Thomas keep up the good work and thanks for sharing, I built the Tamiya M16 Quad a couple of years ago nothing fancy just right out of the box but it is a nice looking model. Look forward to future posts. I've seen this model at the hobby shop and it looks like a good one.

Regards
mike
Tojo72
Visit this Community
North Carolina, United States
Joined: June 06, 2006
KitMaker: 4,691 posts
Armorama: 3,509 posts
Posted: Wednesday, August 20, 2014 - 01:15 PM UTC
Looking good, I'm doing the one with the 10 mm gun right now.
DocEvan
Visit this Community
California, United States
Joined: August 09, 2014
KitMaker: 180 posts
Armorama: 180 posts
Posted: Wednesday, August 20, 2014 - 01:49 PM UTC
We like! I have to say that both Tamiya, Merit, Trumpeter and Mirror Models have spoiled me with the detailing they've done on engines. The White 6 cyl engine in the Dragon kit seems very primitive by comparison!
Viroxken
Visit this Community
West-Vlaaderen, Belgium
Joined: October 05, 2007
KitMaker: 41 posts
Armorama: 5 posts
Posted: Monday, August 25, 2014 - 06:06 AM UTC
Hi, thanks all for the comments.

A small update of my progress. The chassis is now finished by adding the front winch. ( The cable will be installed later)
I've also started working on the interior which I'll be showing in the next update, but as a sneak peak here are the seats


Quoted Text

Nice and clean so far. Are you going to add any after market parts ? Keep at it Tom. I will be following your build closely. I have the same kit screaming at me too !
Tom


No, it will be build OOB. However the kit contains some PE-parts, but it will be my first experience with PE. So let's first see if I enjoy working with PE before buying a separate set.
ericadeane
Visit this Community
Michigan, United States
Joined: October 28, 2002
KitMaker: 4,021 posts
Armorama: 3,947 posts
Posted: Monday, August 25, 2014 - 10:21 PM UTC
Thomas: Can I share 3 things?

1) To let you know, the pad on the back seat rest was affixed to a metal panel. The back should be painted olive drab.

2) Regarding the PE work: One of my essential tools is a narrow jaw, non-serrated locking hemostat. You can find these at your local hobby shop (for example, google "Squadron 10502" for a picture).

It's useful in the following way:

Once I cut the PE part from its runner, I clamp the part in the hemostat jaws parallel with the edge that has the nub to be filed off. Then I run my file along the edge and the nub comes off quickly and cleanly (never file perpendicular b/c you'd bend the part by mistake).

Once the nub is cleaned up, I adjust the PE part in the jaws so that any part that needs to be bent is right at the edge. I'll then bend the part using a small screwdriver, my exacto or tweezers-- whatever is called for. I can bend and manipulate the part again quickly for subsequent bends, if needed.

I can fly through many small PE parts now -- also know that you don't have to use all the PE. Often, its benefit does not outweigh the work nor is it even an improvement sometimes. Plan judiciously. I use medium viscosity super glue. I squirt a small puddle onto a small bit of aluminum foil and apply it with an old knife blade or toothpick.

And I can't stress good vision magnification & illumination -- it just enhances your dexterity with small & fine & fragile parts. Good luck

In the case with the DML M16 MGMC, I would NOT use the PE door window ports. I used sheet styrene instead.

3) if you plan in advance, try to not paint over areas will need to glue to other parts. I see you sprayed over the front wheel drums and other areas where you will need to scrape off the paint or else no glue will stick. Often, I'll just put some white glue (PVA) or bits of masking tape.
Viroxken
Visit this Community
West-Vlaaderen, Belgium
Joined: October 05, 2007
KitMaker: 41 posts
Armorama: 5 posts
Posted: Sunday, October 26, 2014 - 12:11 AM UTC
Thanks Roy for sharing the tips, in the mean time I've glued my first PE-parts and it went rather well Pictures will follow later.But I do have an update of the dashboard/interior of the halftrack:

Viroxken
Visit this Community
West-Vlaaderen, Belgium
Joined: October 05, 2007
KitMaker: 41 posts
Armorama: 5 posts
Posted: Saturday, March 26, 2016 - 03:20 PM UTC
Hi everyone

Digging up an old thread because I finished this model a few weeks ago. And I have a couple of pictures of the end result I would like to share with you all:


 _GOTOTOP