_GOTOBOTTOM
Armor/AFV: Allied - WWII
Armor and ground forces of the Allied forces during World War II.
Hosted by Darren Baker
HB Super Pershing WIP
rfbaer
Visit this Community
Texas, United States
Joined: June 12, 2007
KitMaker: 1,866 posts
Armorama: 1,696 posts
Posted: Wednesday, October 01, 2014 - 03:20 AM UTC
In the interest of not screwing anything up on this one, and of course contributing to the forum, this is my shot at HobbyBoss' Super Pershing. I picked up the kit at a show for a very fair price, and it had the Eduard etch to Tamiya's M-26 in the box as well. I've always wanted to do a "maintenance" type dio with the "Super" as the centerpiece, so after picking up a set of Friuls at another show, I had all I thought I needed, more on this later.
I've built three of Tamiya's M-26's, and have a parts kit as well, which I'll be dipping into occasionally as needed. I'll also (because I can) compare the HB and T kits where appropriate.
I've already had some very good help here, and would ask that anyone with anything to offer, good, bad or ugly, please sing out. I can use all the help I can get folks.
So here we go.
First off was the basics, lower hull with the distinctive nose-down "rake", makes me think of a street rod in the good old '70's. HB's suspension is fully workable, and fairly easy to get the proper rake with. I'm using Tamiya road wheels, seems like the detail in the rim area is sharper than HB, pic below of both, T's in green, HB in gray.
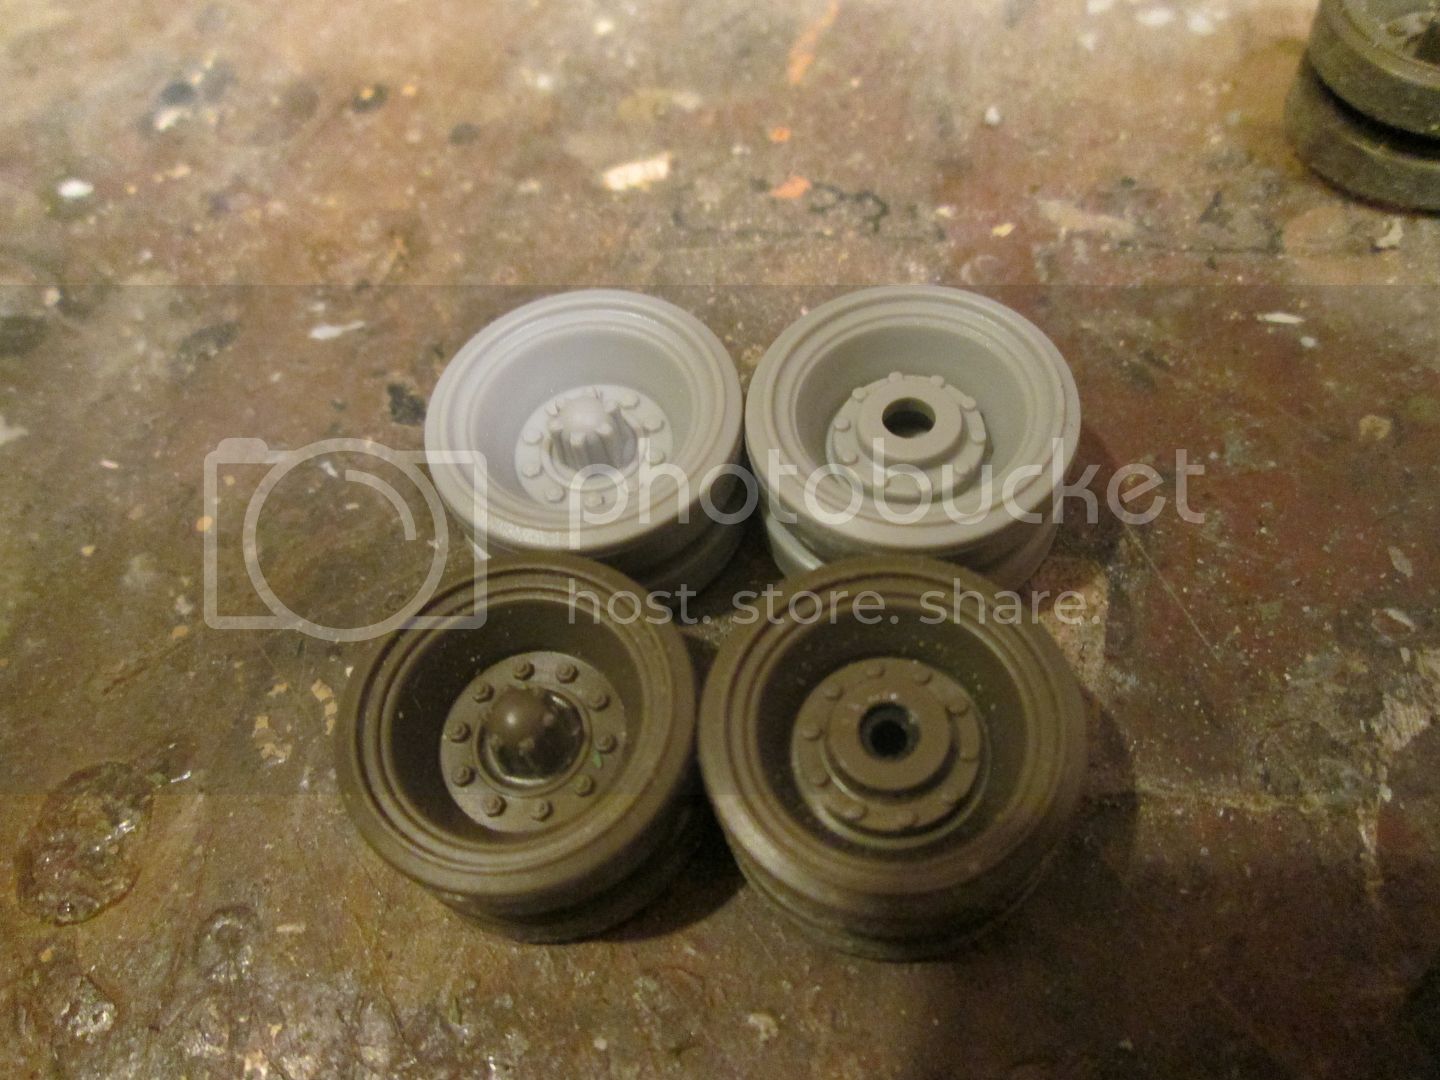
Wheels were temporarily installed to set rake and make sure the four front and rear, left and right, all were on the ground. The welds on the lower rear hull that both HB and MrT missed were added from textured plastic .025" rod stock.
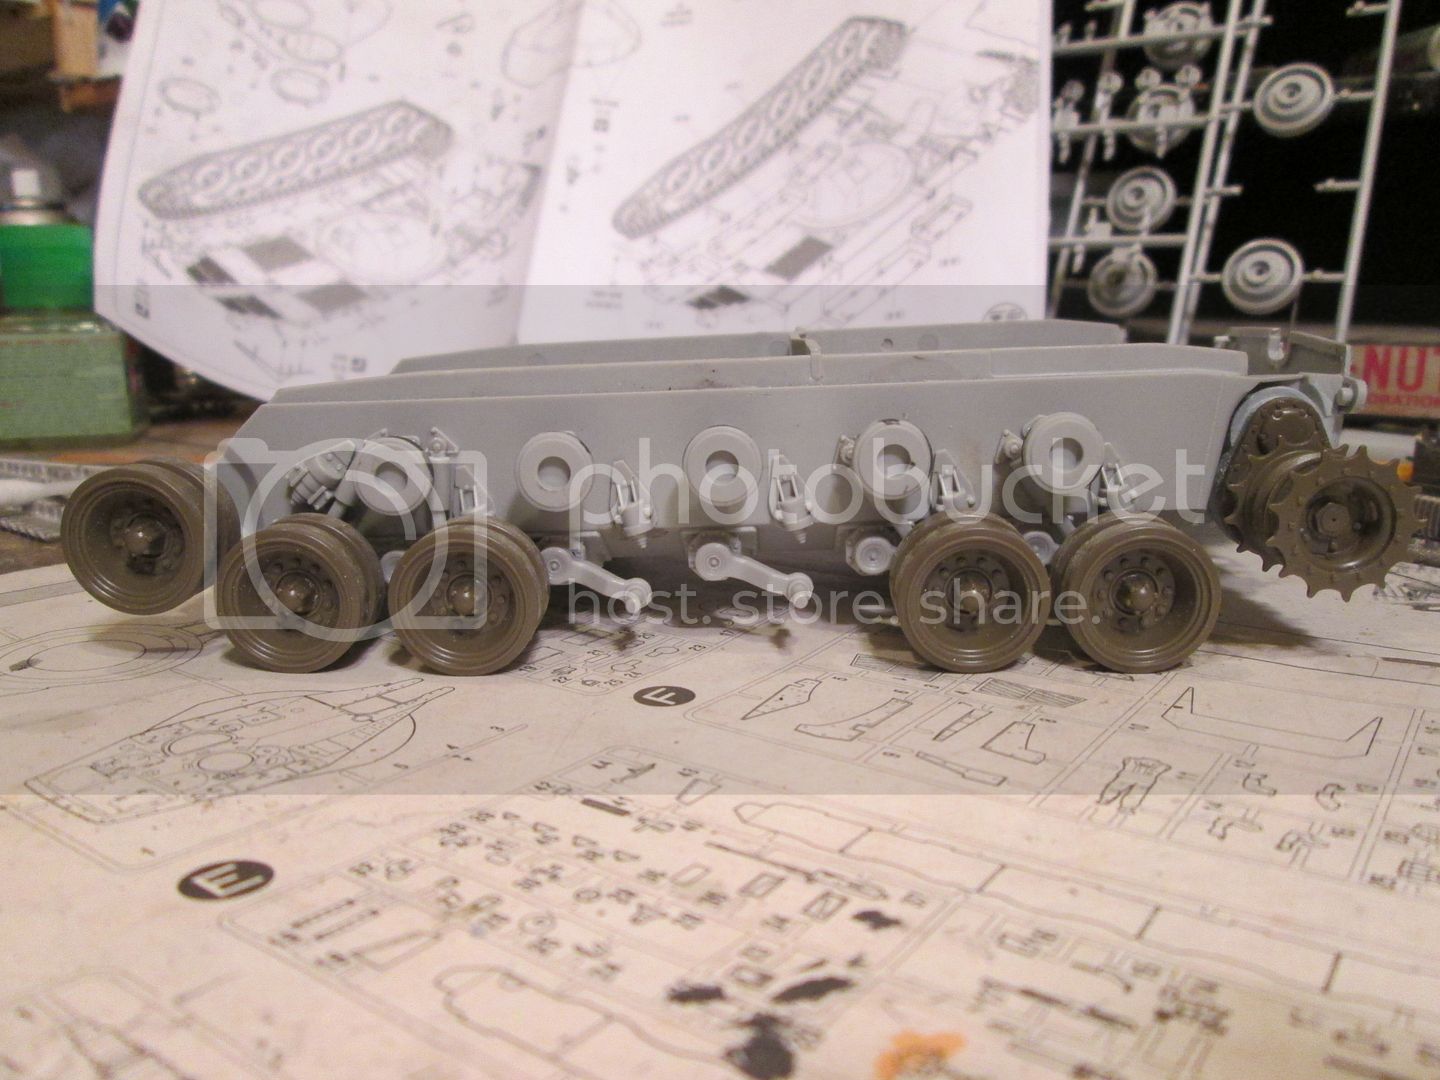
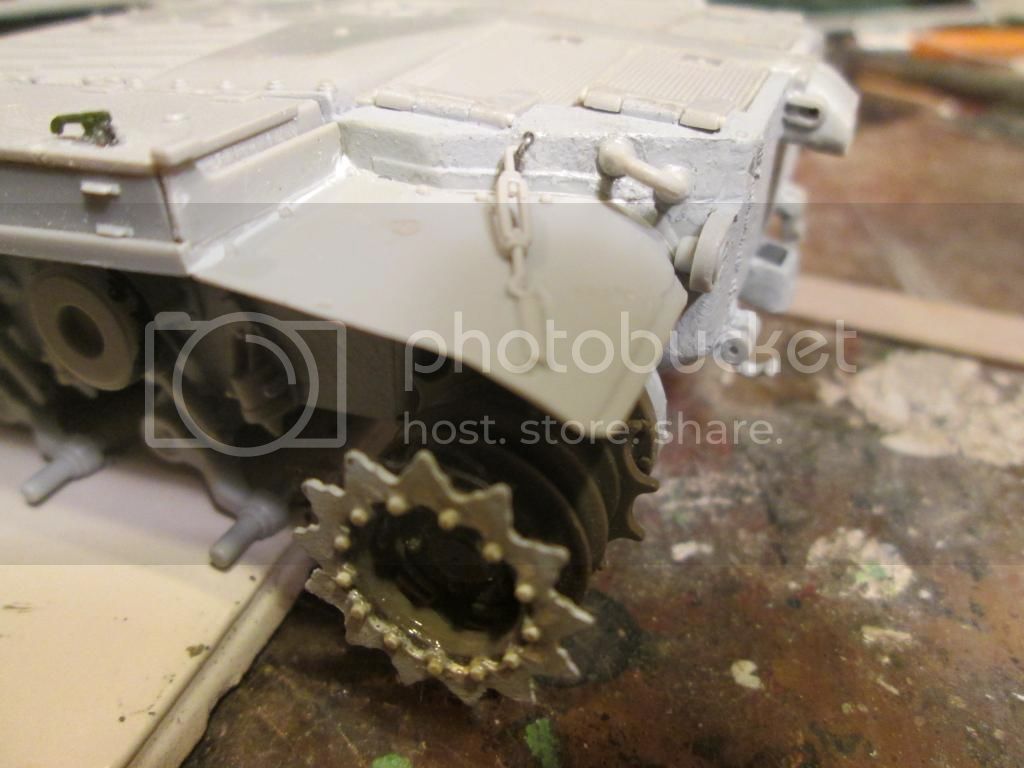
In the above, you'll also notice one Tamiya drive sprocket. I was unsure on whose to use, since neither HB or MrT got it right. After a lot of noodling and experimenting with one of the HB parts, this is what I came up with:
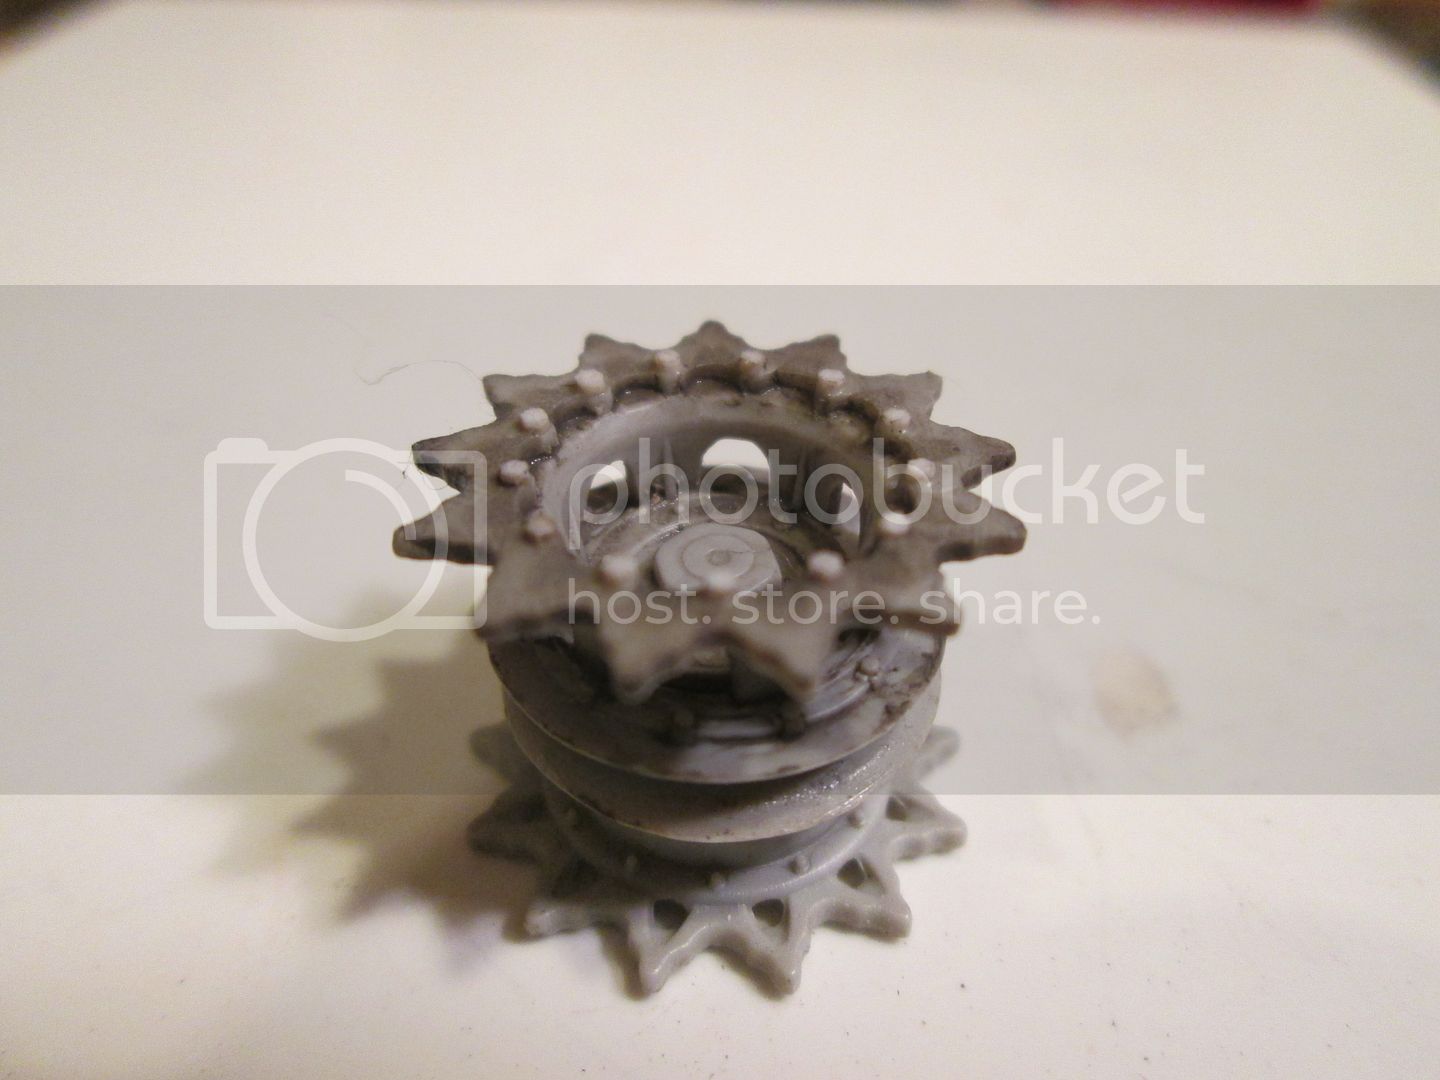
Gaps in the HB "fancy cast" drive ring were filled with putty, inside circumferences were shaped with the shank of a drill bit, then all was sanded flush. Bolts were replaces with slices of hex rod. The same was done for the other side, but using a Tamiya drive hub, with the drive ring sanded off and the HB part in it's place.
In the interest of not losing anyone to absolute boredom, here's where I am now:
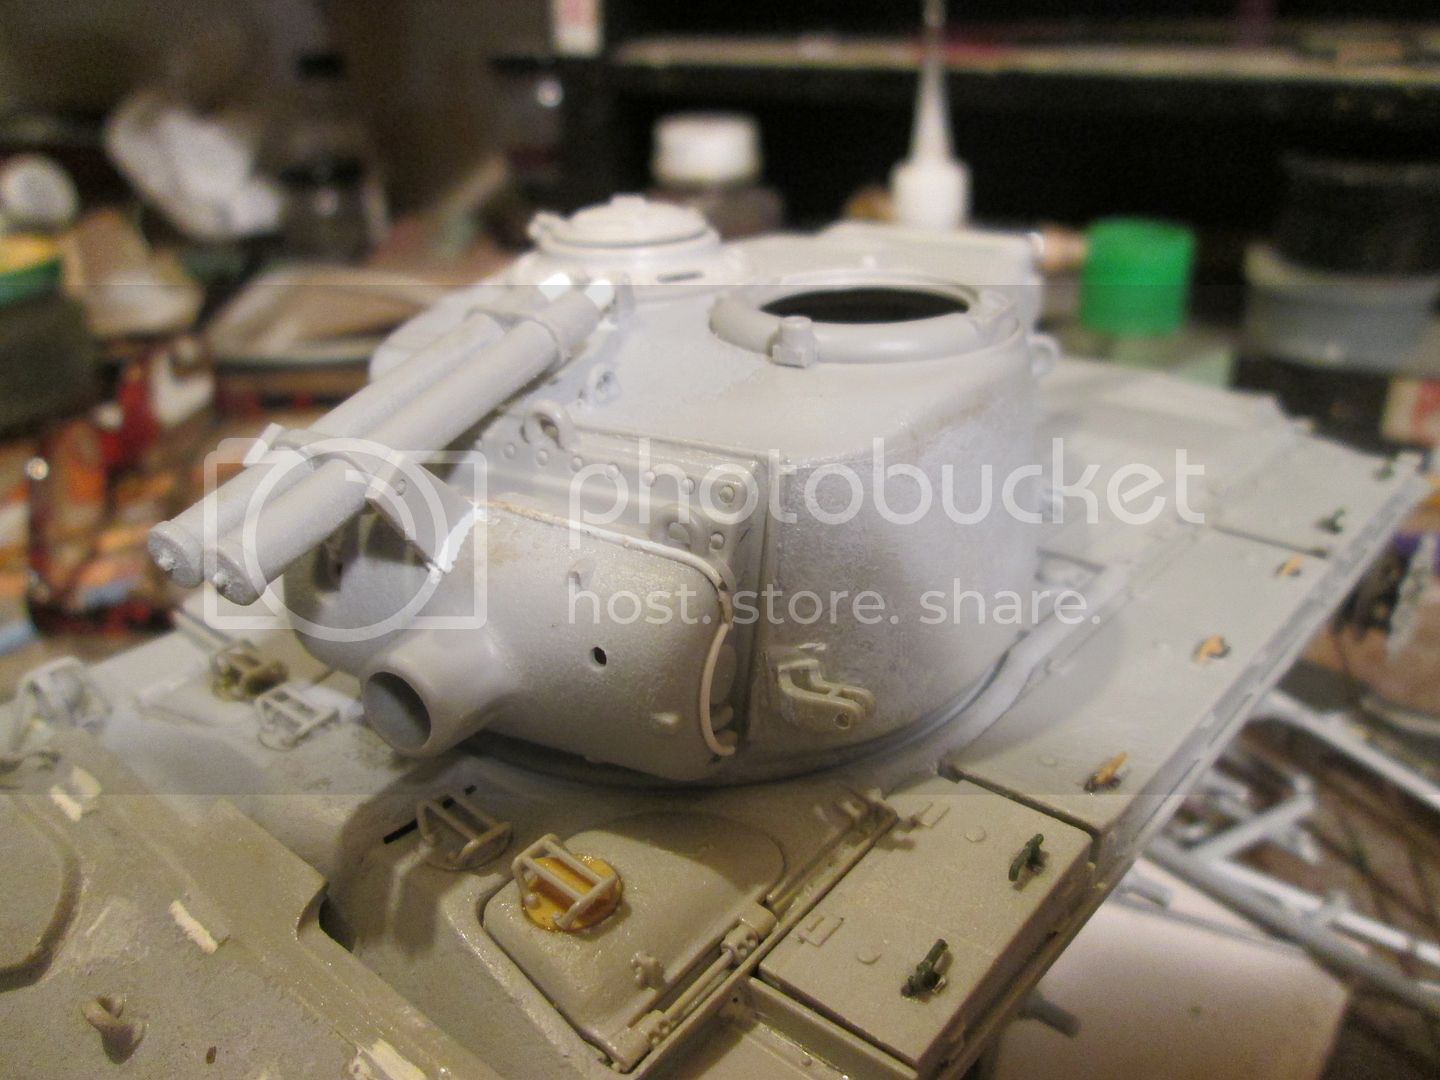
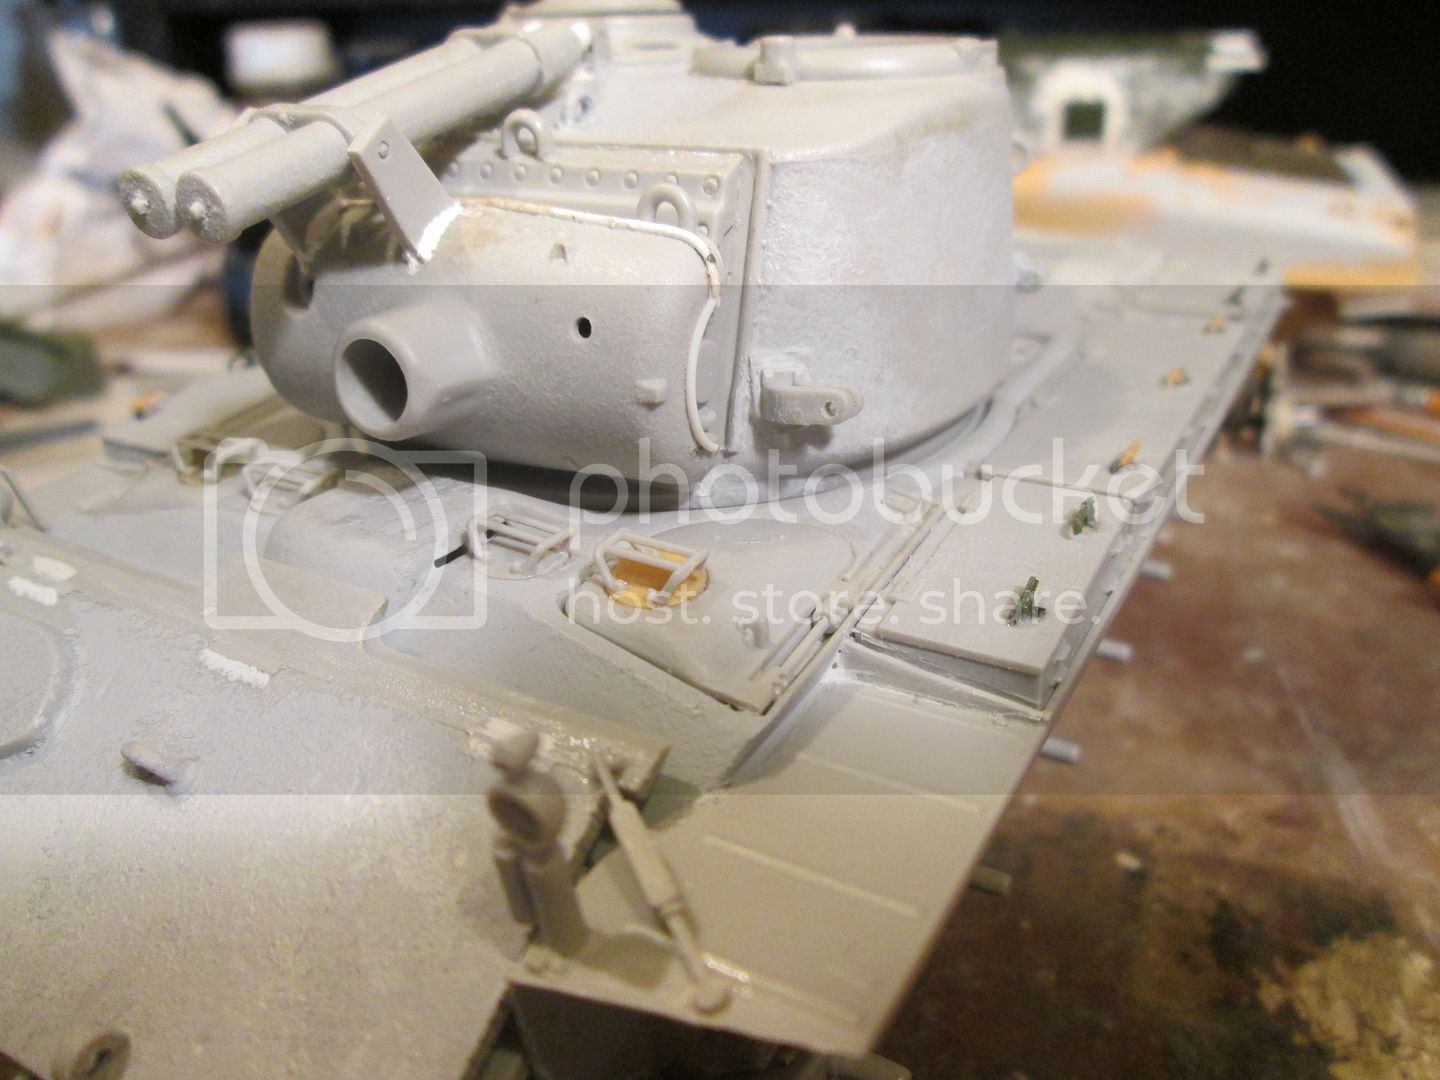
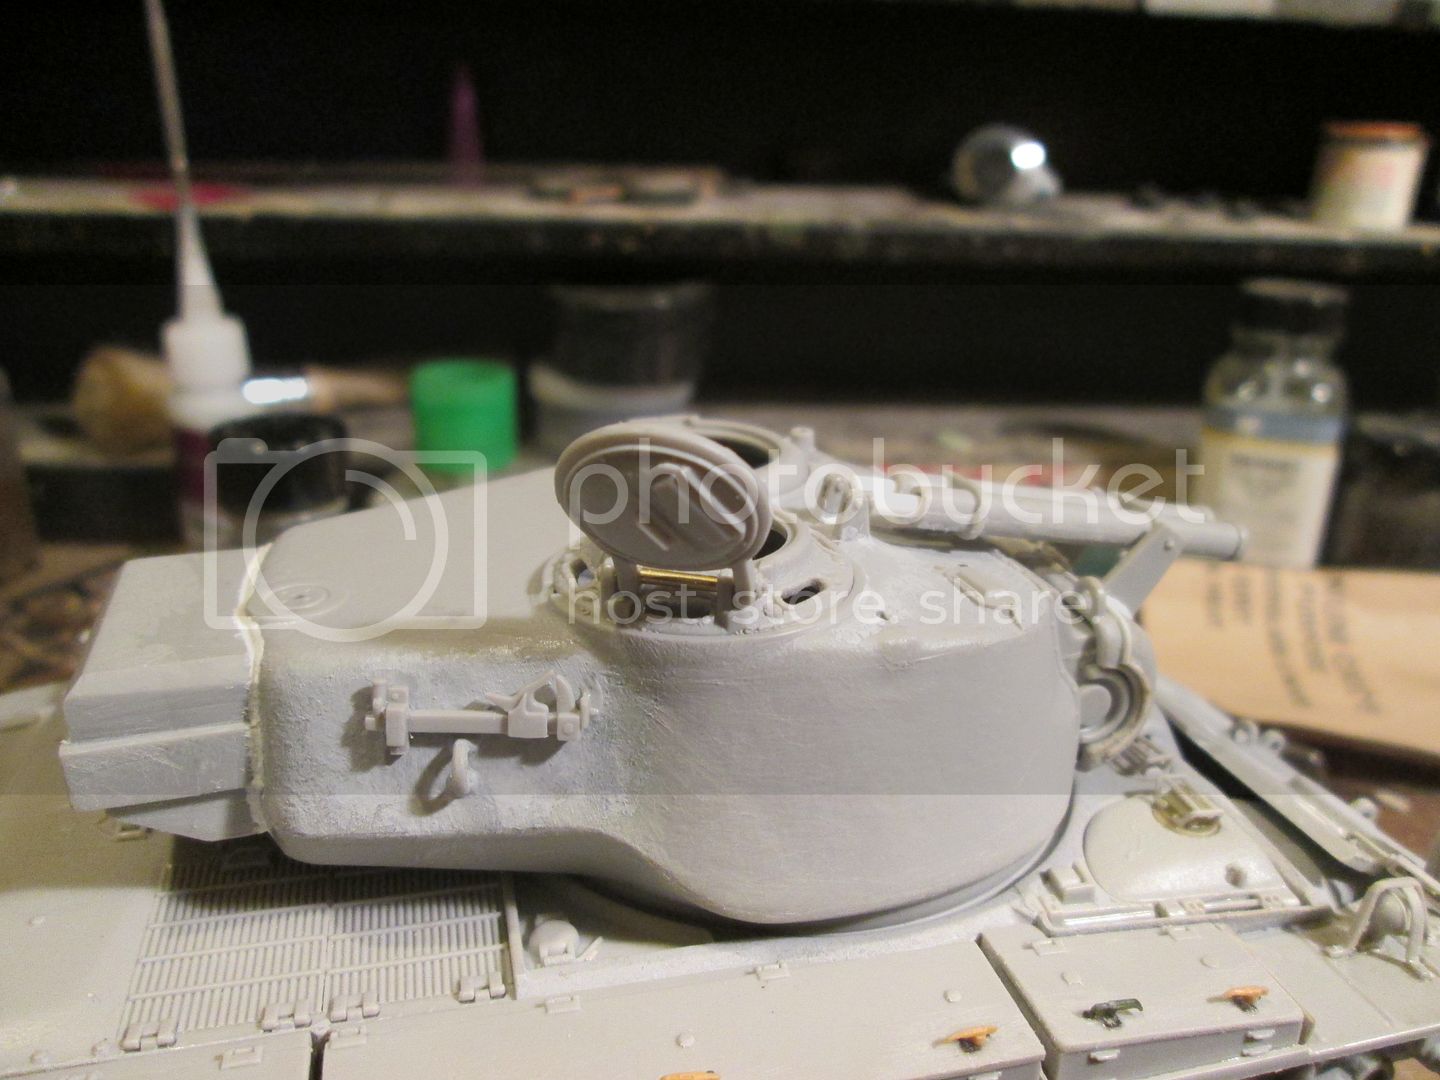
The basic turret is together, assist cylinders are cleaned up and on, welds on brackets, TC's cupola on with vision blocks drilled out, loader's hatch ring in and some other bits added. Hull is pretty much together. I initially used the Eduard stowage bin lid latches but thought they were way too big, and two-dimensional to boot, so off they came and a bunch of M-60 parts kits were raided for the same thing in plastic, which I like a lot better. Next time it'll be resin parts from TMD, I hope....
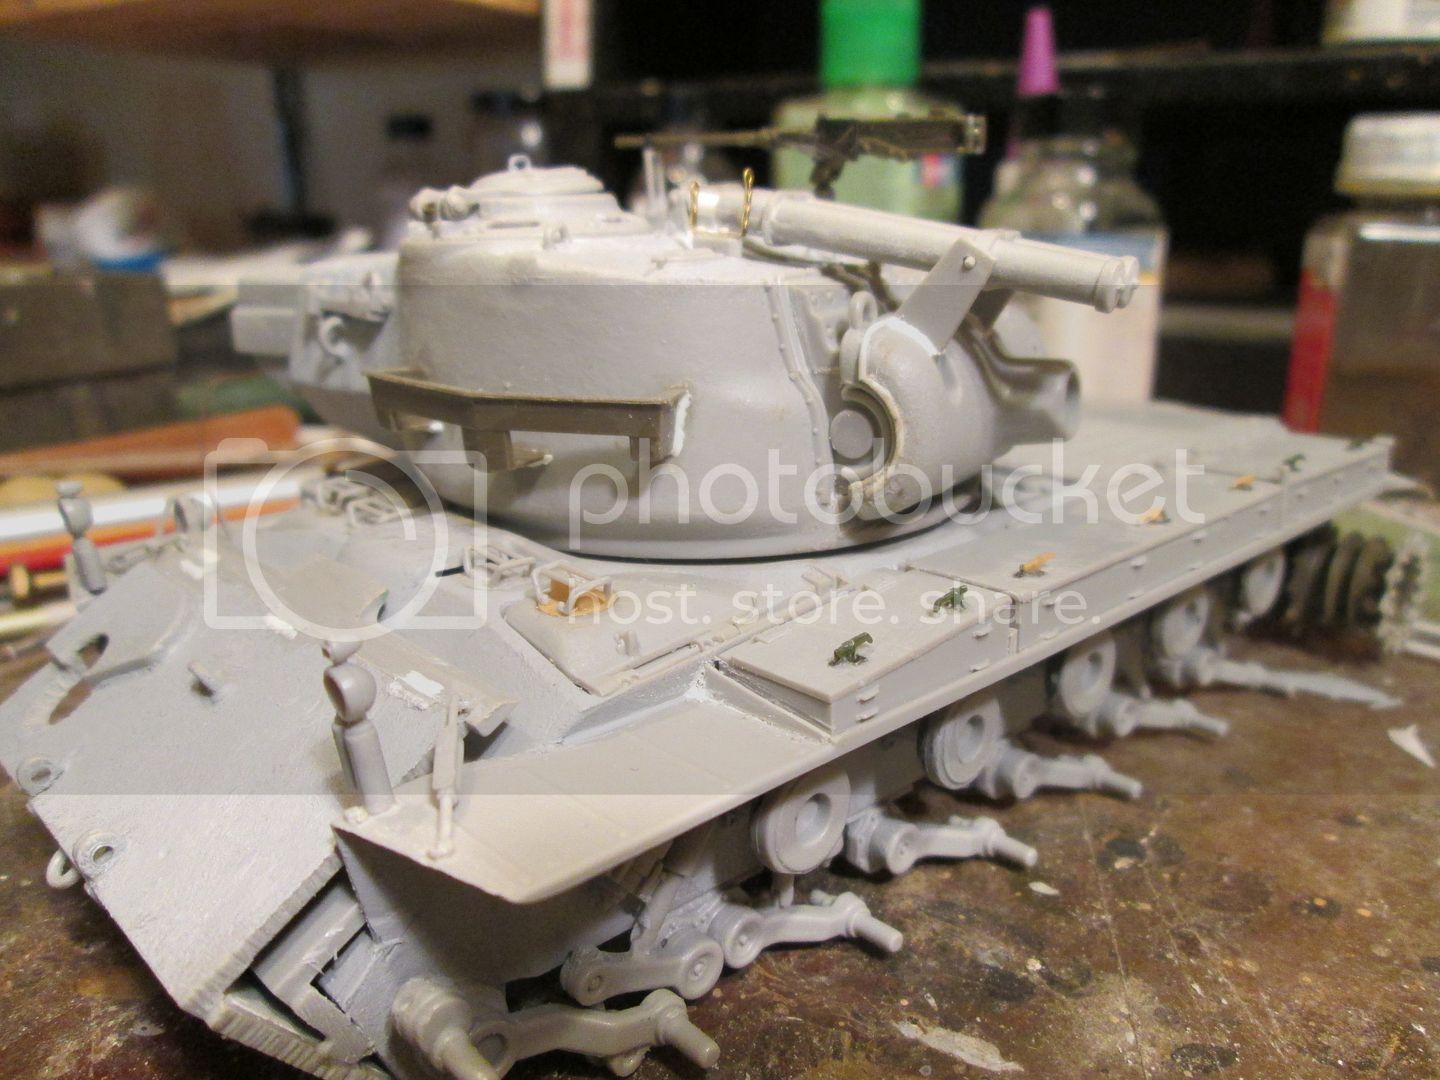
Bow armor is on, HB's turnbuckle fender supports on (same thing vs. etch here, I'd rather have a 3-D part than something flat) fender edges are thinned to look like sheet metal and not armor plate, and front hatches on. I subbed a couple of old Verlinden open periscopes in the drivers' hatches, just cuz.....
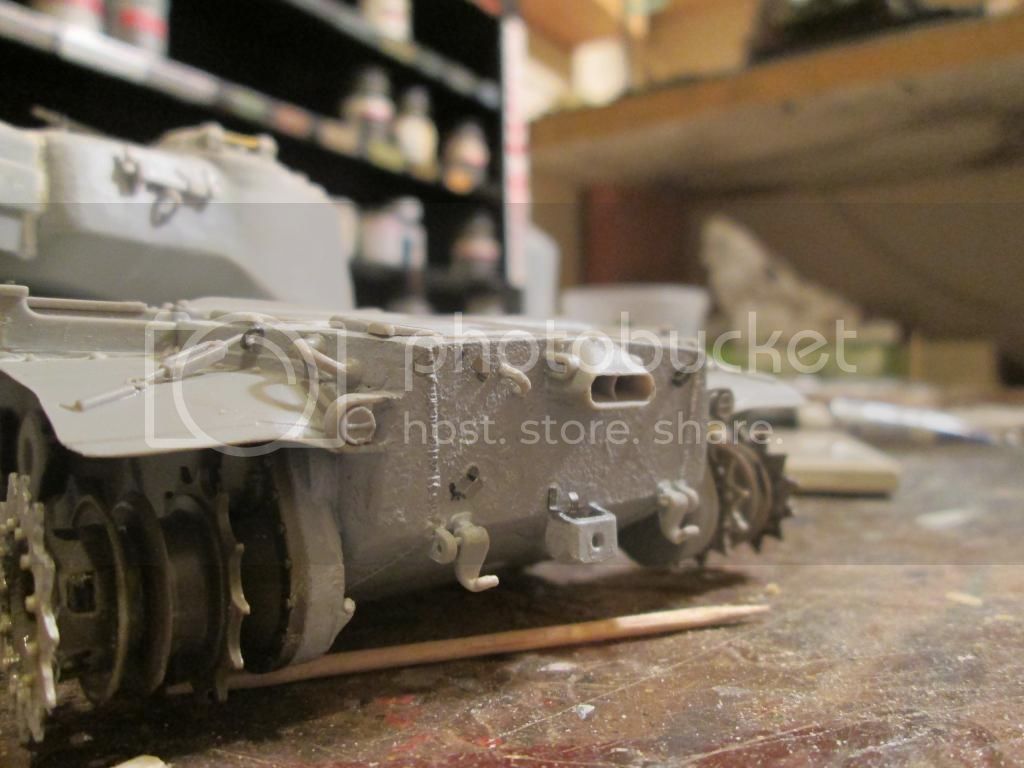
I've also removed the stiffeners from the inside of the final drive housings, filled the back sides with Aves putty and smoother and textured them.
Observation: The Tamiya outer parts are an exact fit, once the locating pins are removed, to the HB inners. Did both get them exactly right? One does wonder....
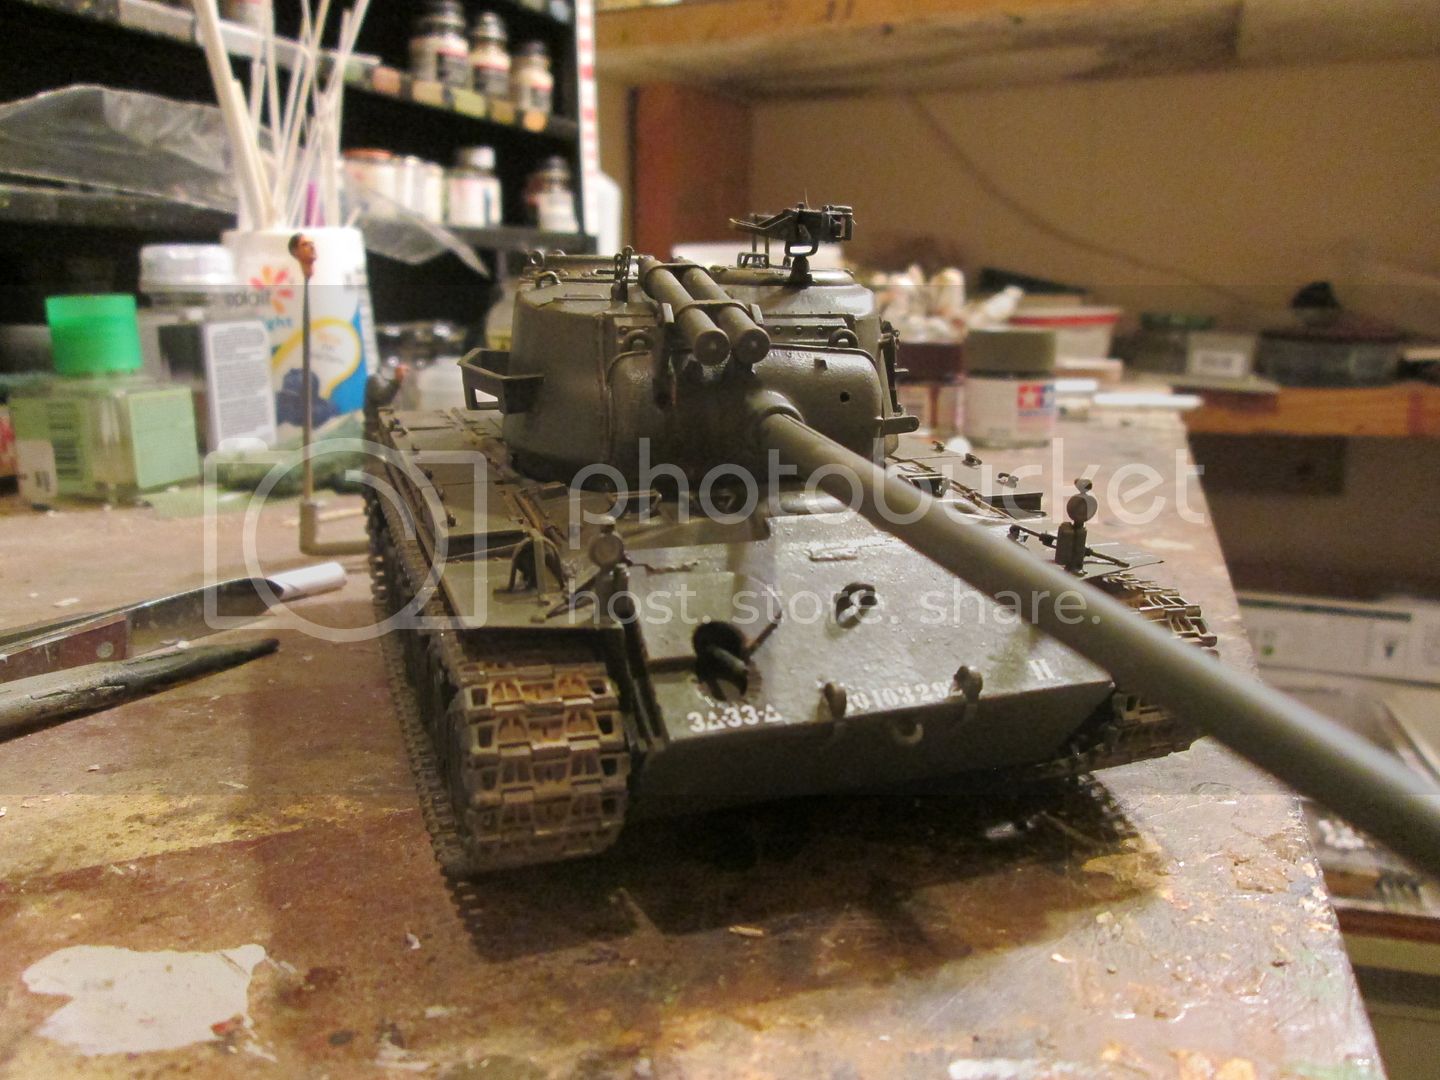
About that gun barrel: It was evident to me rather quickly that my HB kit's gun tube parts were badly warped, and missing the prominent groove that runs along the top of the base of the tube, so I began looking for an aftermarket replacement. All I found was the RB Models part, which at the moment is on Inter-Galactic Super Secret Back Order. Hmmm... Just in case, I've begun the attempt to save the HB part, but I seriously hope my AM tube arrives before I come the point of having to do something here..
A couple more pics and then I'll leave you alone, but because I started this a month or so ago, this first post is rather lengthy.
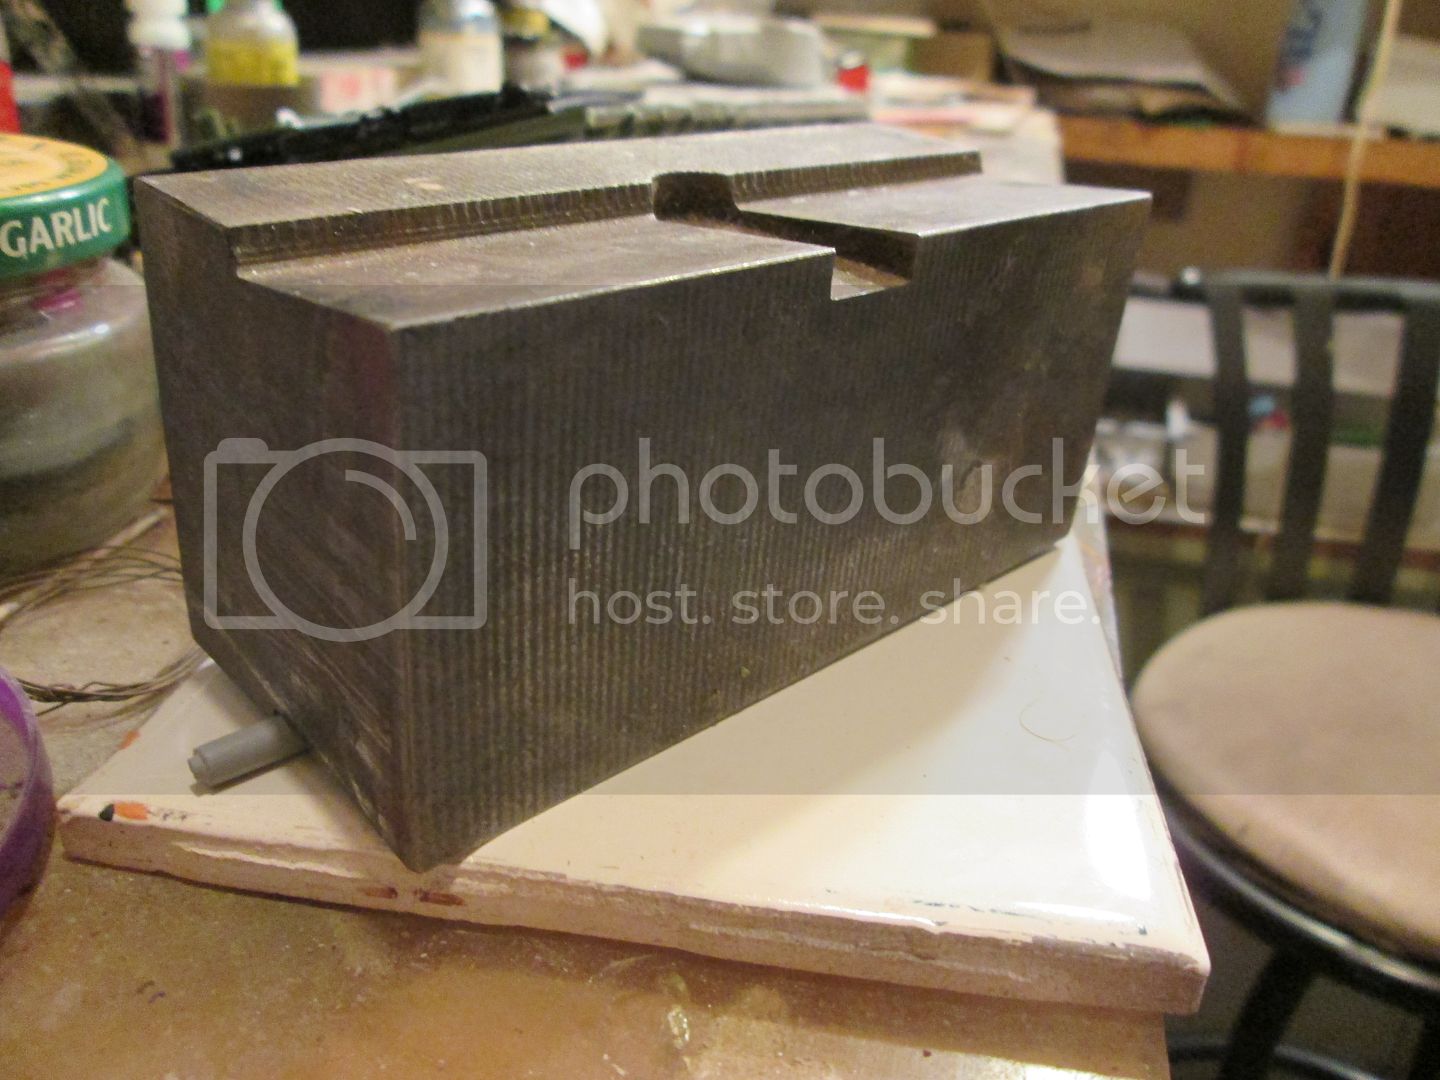
And just for laughs, my barrel-straightener:
Once again, please forgive the lengthy post and my rambling, and thanks for looking, as always.
rfbaer
Visit this Community
Texas, United States
Joined: June 12, 2007
KitMaker: 1,866 posts
Armorama: 1,696 posts
Posted: Monday, October 06, 2014 - 03:15 AM UTC
Small update, acting on very helpful info from Roy, I trimmed the front fender braces and shaved all the vents on the fender box lids. A Sherman kind of snuck onto my bench, but
I'm still poking along....
rfbaer
Visit this Community
Texas, United States
Joined: June 12, 2007
KitMaker: 1,866 posts
Armorama: 1,696 posts
Posted: Monday, October 27, 2014 - 05:39 AM UTC
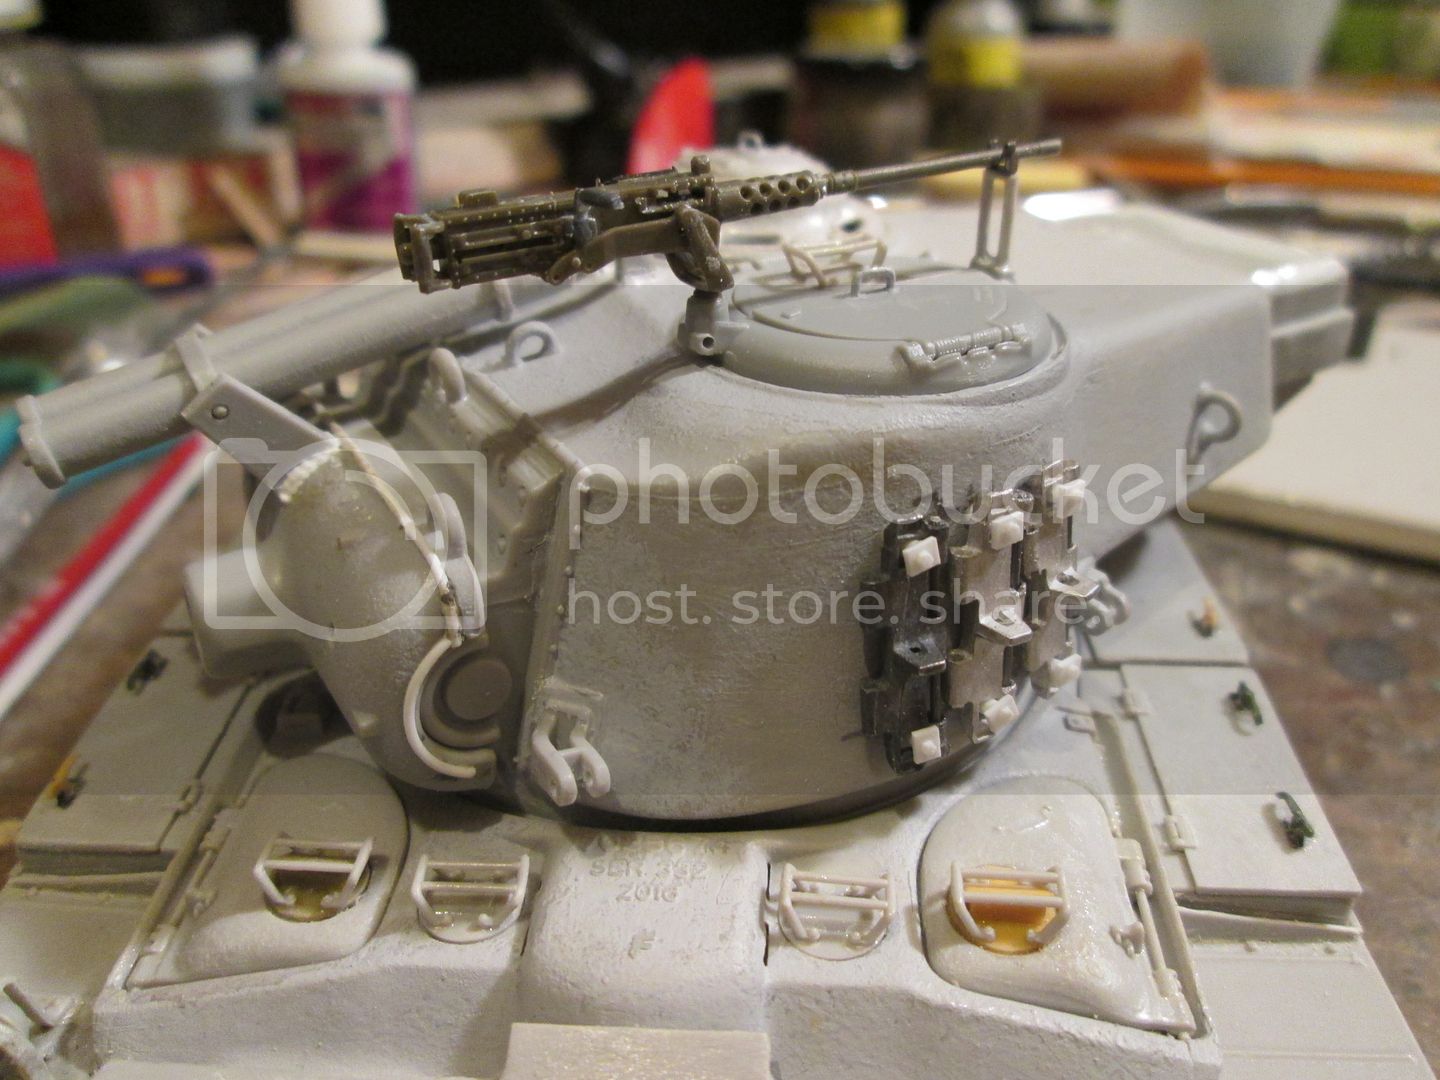
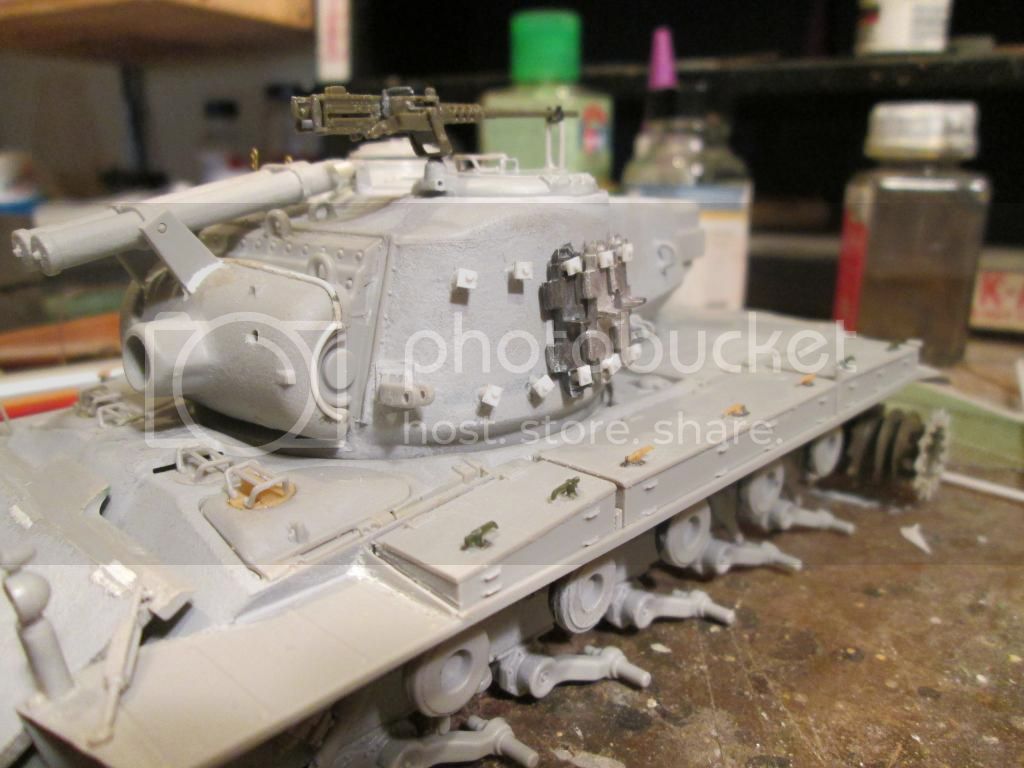
I was waiting for paint to dry the other night and decided to piddle with this one a bit. I did the loader's hatch and turret track stowage, added tow cable brackets to the rear hull. Still waiting on the RB barrel.....


ivanhoe6
Visit this Community
Wisconsin, United States
Joined: April 05, 2007
KitMaker: 2,023 posts
Armorama: 1,234 posts
Posted: Monday, October 27, 2014 - 07:26 AM UTC
Nice work so far Russel. Please keep sharing with us your labor of love. AND, you're not rambling !
americanpanzer
Visit this Community
Iowa, United States
Joined: May 12, 2014
KitMaker: 542 posts
Armorama: 539 posts
Posted: Monday, October 27, 2014 - 09:09 AM UTC
a wing thing!? I do those once in a while too
rfbaer
Visit this Community
Texas, United States
Joined: June 12, 2007
KitMaker: 1,866 posts
Armorama: 1,696 posts
Posted: Monday, October 27, 2014 - 09:22 AM UTC

Quoted Text

Nice work so far Russel. Please keep sharing with us your labor of love. AND, you're not rambling !


Thanks, and will do.
Brian, no wings on the horizon for me......
rfbaer
Visit this Community
Texas, United States
Joined: June 12, 2007
KitMaker: 1,866 posts
Armorama: 1,696 posts
Posted: Wednesday, October 29, 2014 - 03:38 AM UTC
Funny thing about baseball: I can tell when to come out of the model room to actually watch, just from listening to my wife, a Royals fan. Excellent.
So, I did the rest of the spare track mounts, and added the drivers' hood basket to the right side of the turret, based on a pic of the T-26E1 the Super was created from, which has the basket still mounted. I don't have any pics of that side of the turret before the "wing armor" was added, but do have that one pic of the pilot before the Super was made from it, so I put a Tamiya part on, after thinning it considerably. About all I know I need to do is the extended gun travel rest, and I think I can knock one together from a Tamiya part and the -E4 style that's in the HB kit.
Pics so far:


ACW, as always!
PantherF
Visit this Community
Indiana, United States
Joined: June 10, 2005
KitMaker: 6,188 posts
Armorama: 5,960 posts
Posted: Wednesday, October 29, 2014 - 07:29 AM UTC
No wonder you have no extra time! An IDF Sherman and this Super Pershing?!!

Any other builds I am not aware of?


Looking good BTW... I want one now.


Jeff
rfbaer
Visit this Community
Texas, United States
Joined: June 12, 2007
KitMaker: 1,866 posts
Armorama: 1,696 posts
Posted: Wednesday, October 29, 2014 - 09:35 AM UTC

Other than a bunch of shelf queens, these are all that are currently being worked on..... I think.
alchemymike
Visit this Community
Texas, United States
Joined: December 14, 2011
KitMaker: 208 posts
Armorama: 192 posts
Posted: Wednesday, October 29, 2014 - 03:08 PM UTC
great looking build
rfbaer
Visit this Community
Texas, United States
Joined: June 12, 2007
KitMaker: 1,866 posts
Armorama: 1,696 posts
Posted: Thursday, October 30, 2014 - 03:01 AM UTC
Thank you Mike.
rfbaer
Visit this Community
Texas, United States
Joined: June 12, 2007
KitMaker: 1,866 posts
Armorama: 1,696 posts
Posted: Monday, November 03, 2014 - 04:18 AM UTC
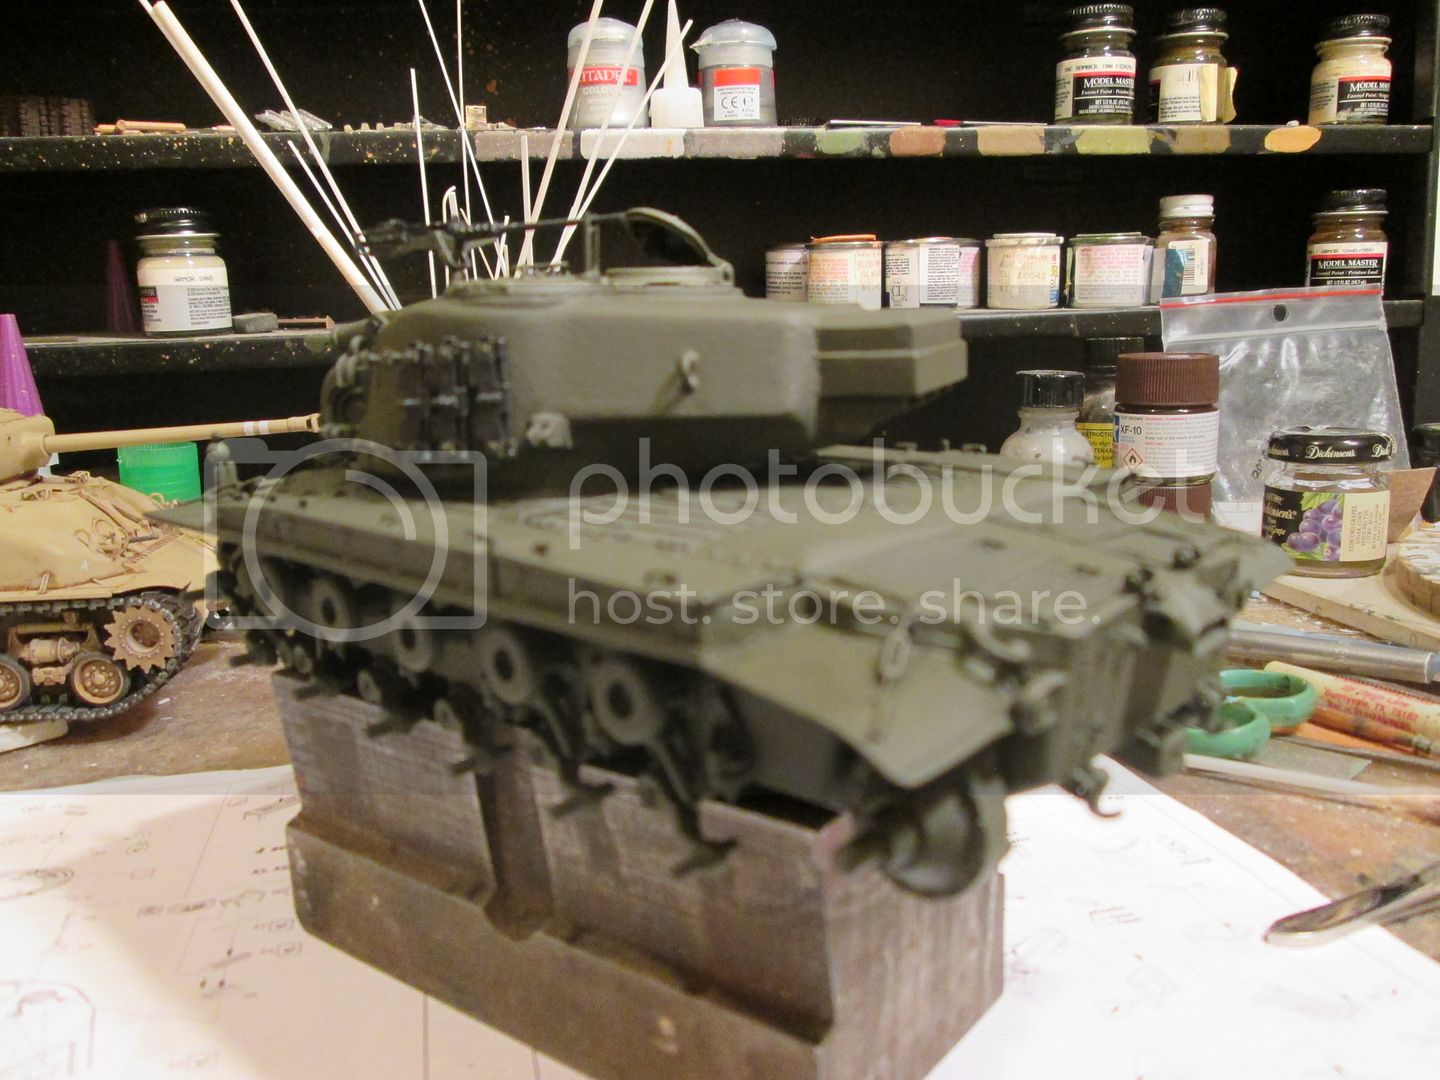
Color:


I have the mantlet armor still set aside, painted the back-side of it and waiting to attach it until after I get the first washes on.
Edit: Looks like I was a little shaky this morning when I took the pics.
rfbaer
Visit this Community
Texas, United States
Joined: June 12, 2007
KitMaker: 1,866 posts
Armorama: 1,696 posts
Posted: Sunday, November 23, 2014 - 09:14 PM UTC
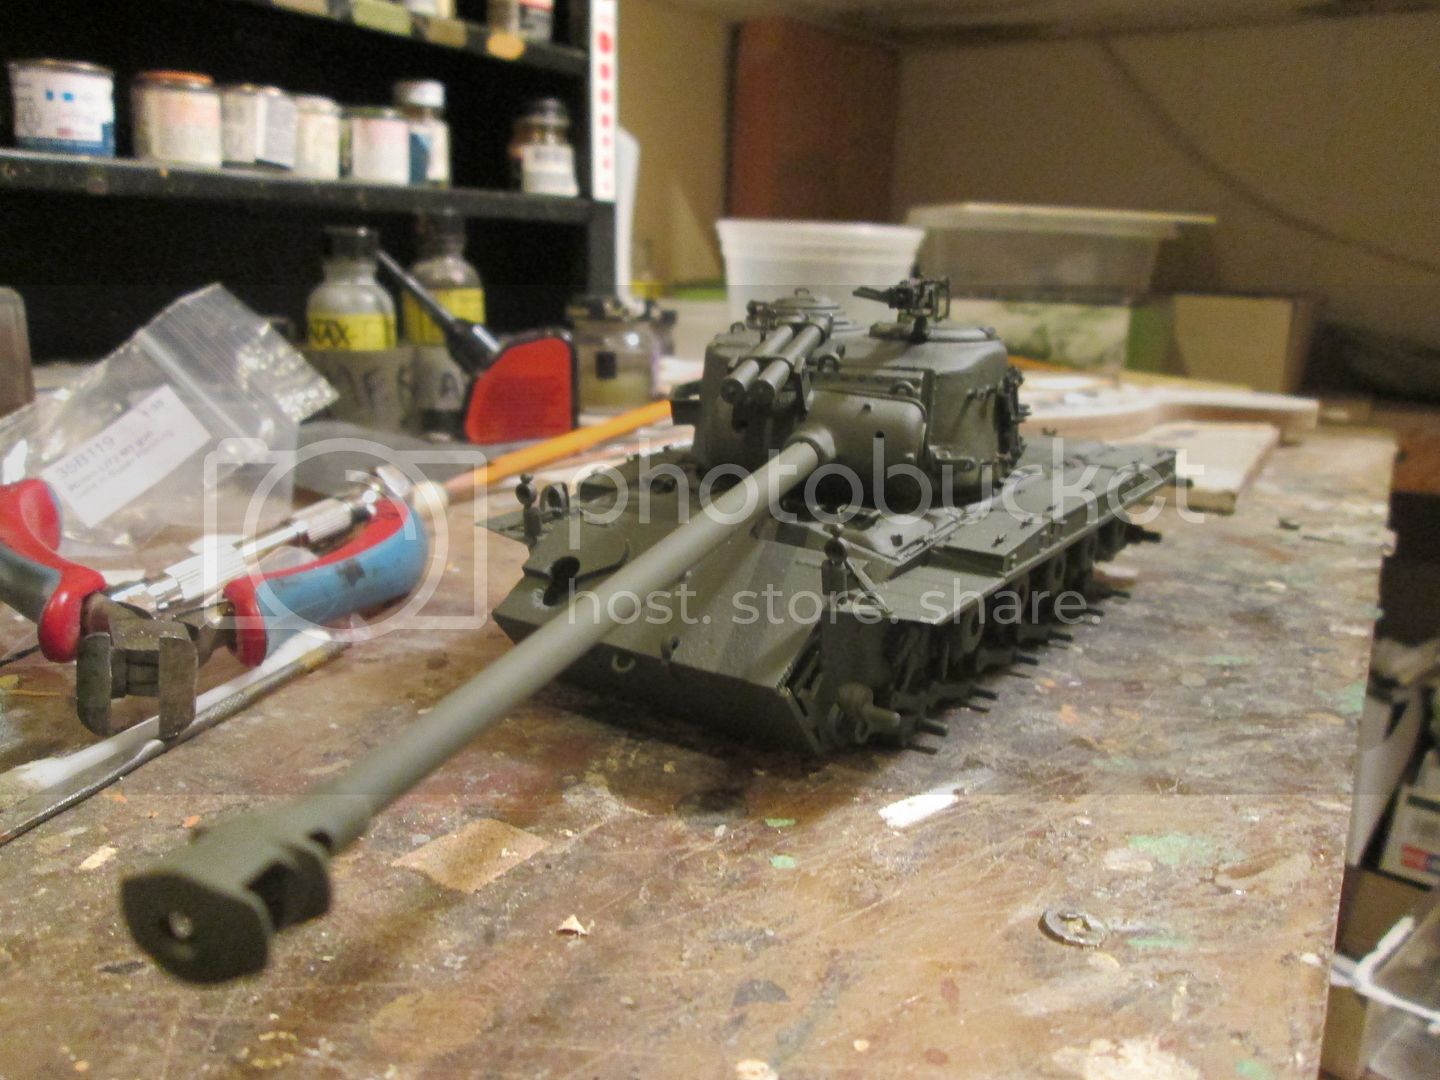
With the RB barrel, groove cut with a razor saw (very carefully):

Next is clear gloss, markings, then weathering can begin.
rfbaer
Visit this Community
Texas, United States
Joined: June 12, 2007
KitMaker: 1,866 posts
Armorama: 1,696 posts
Posted: Monday, December 15, 2014 - 03:11 AM UTC
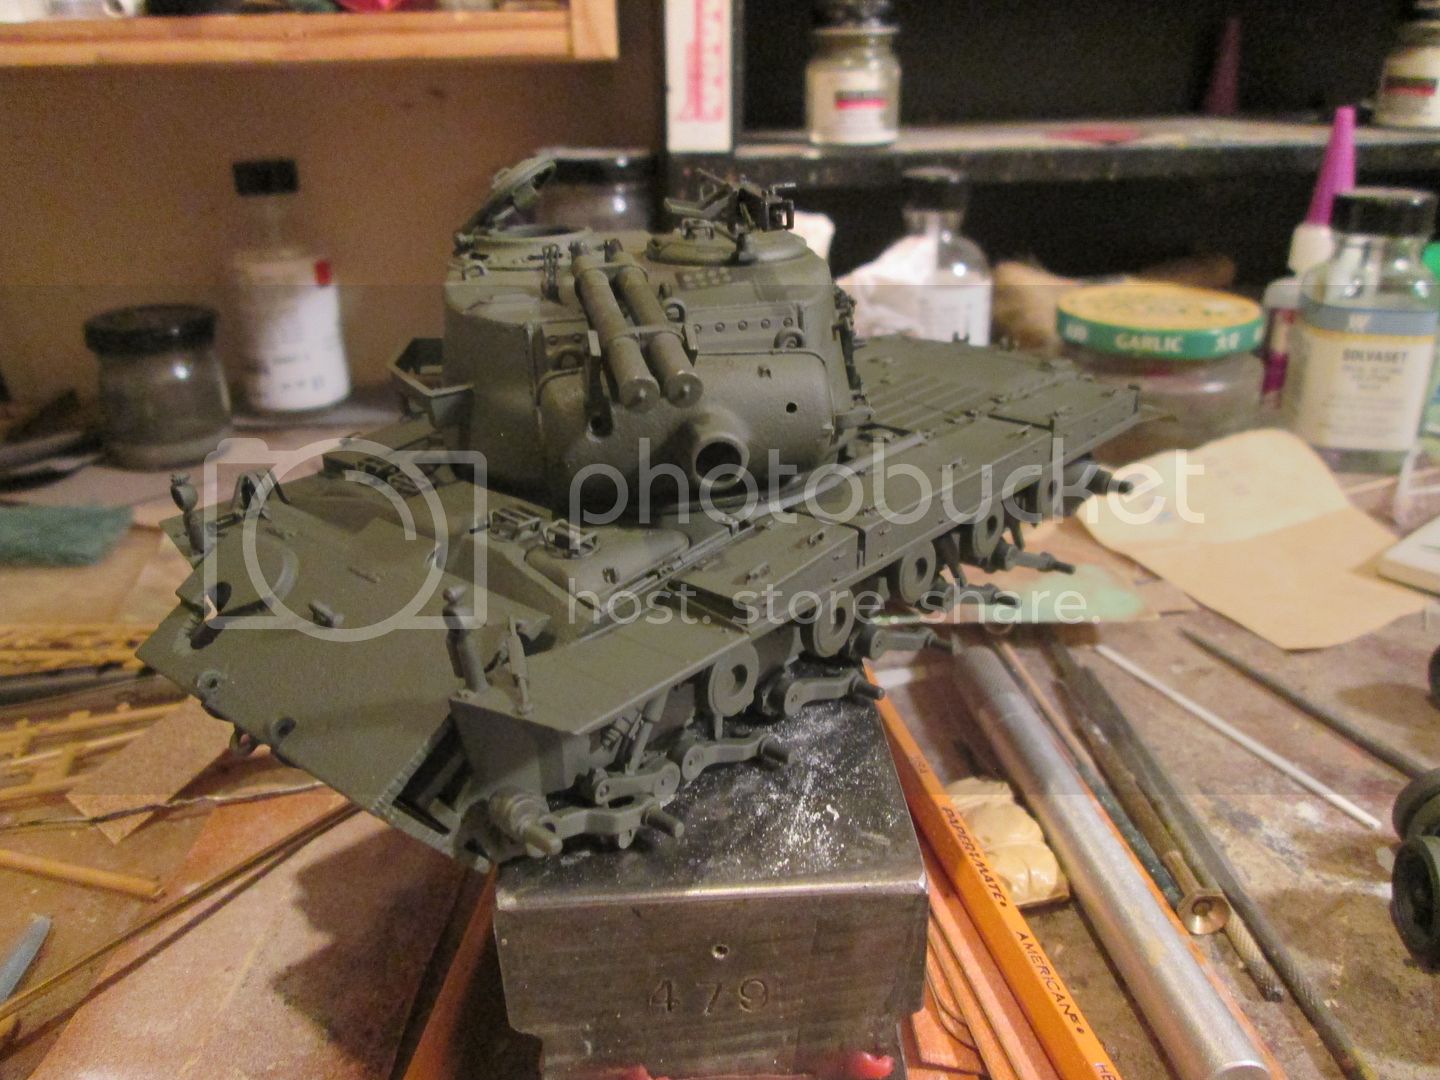
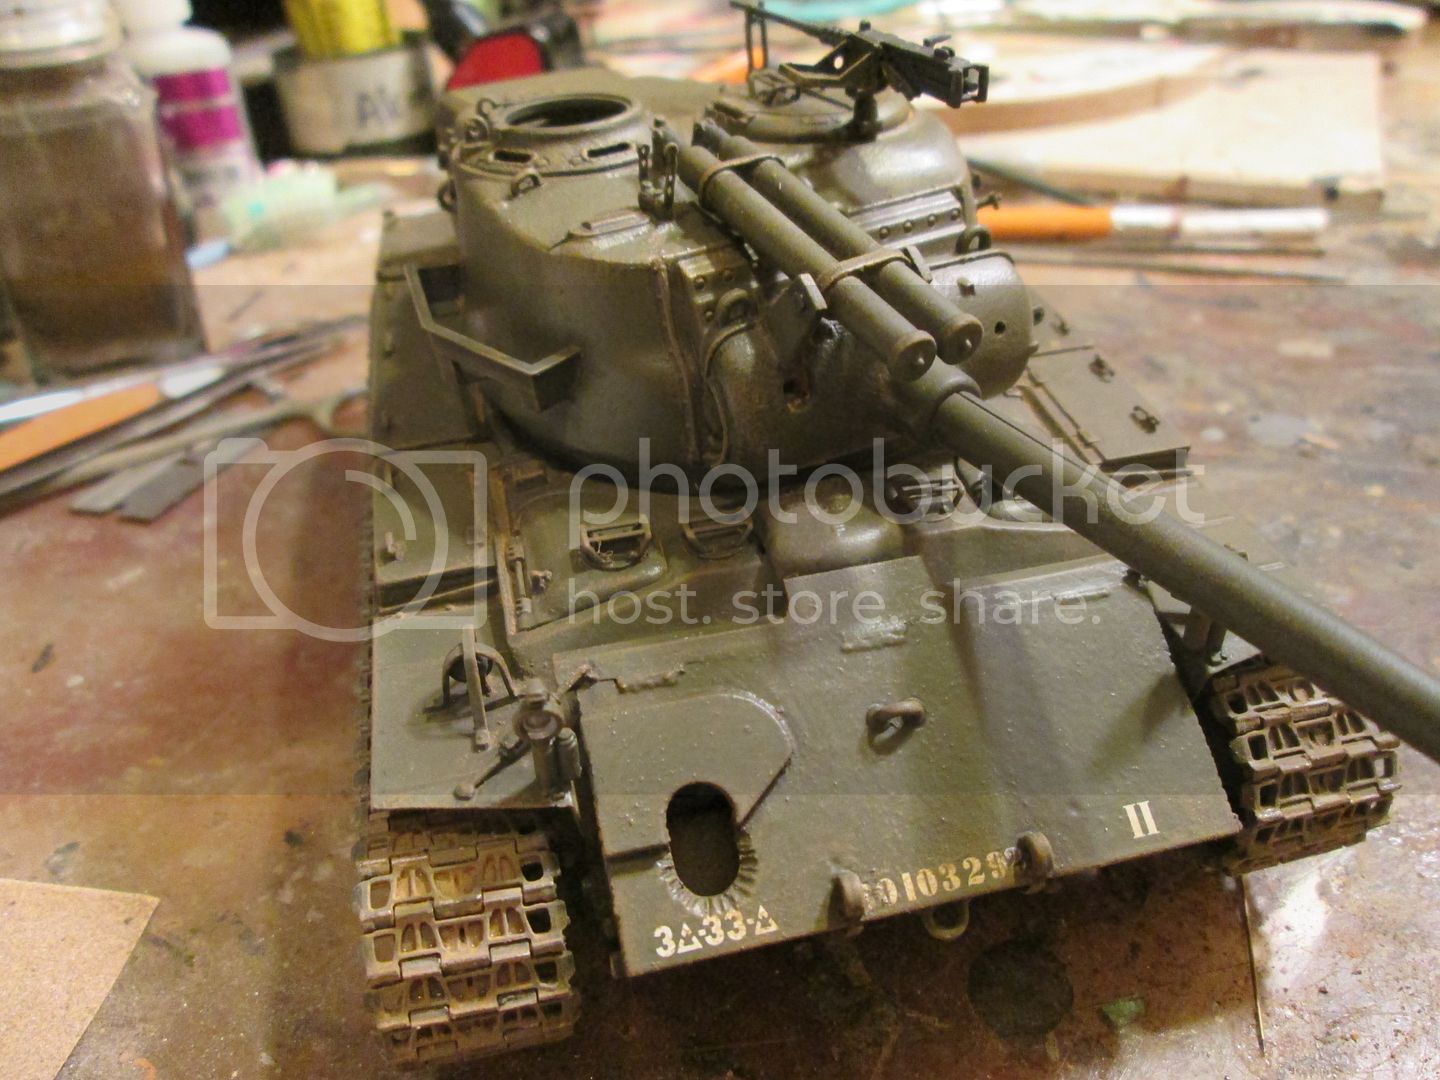
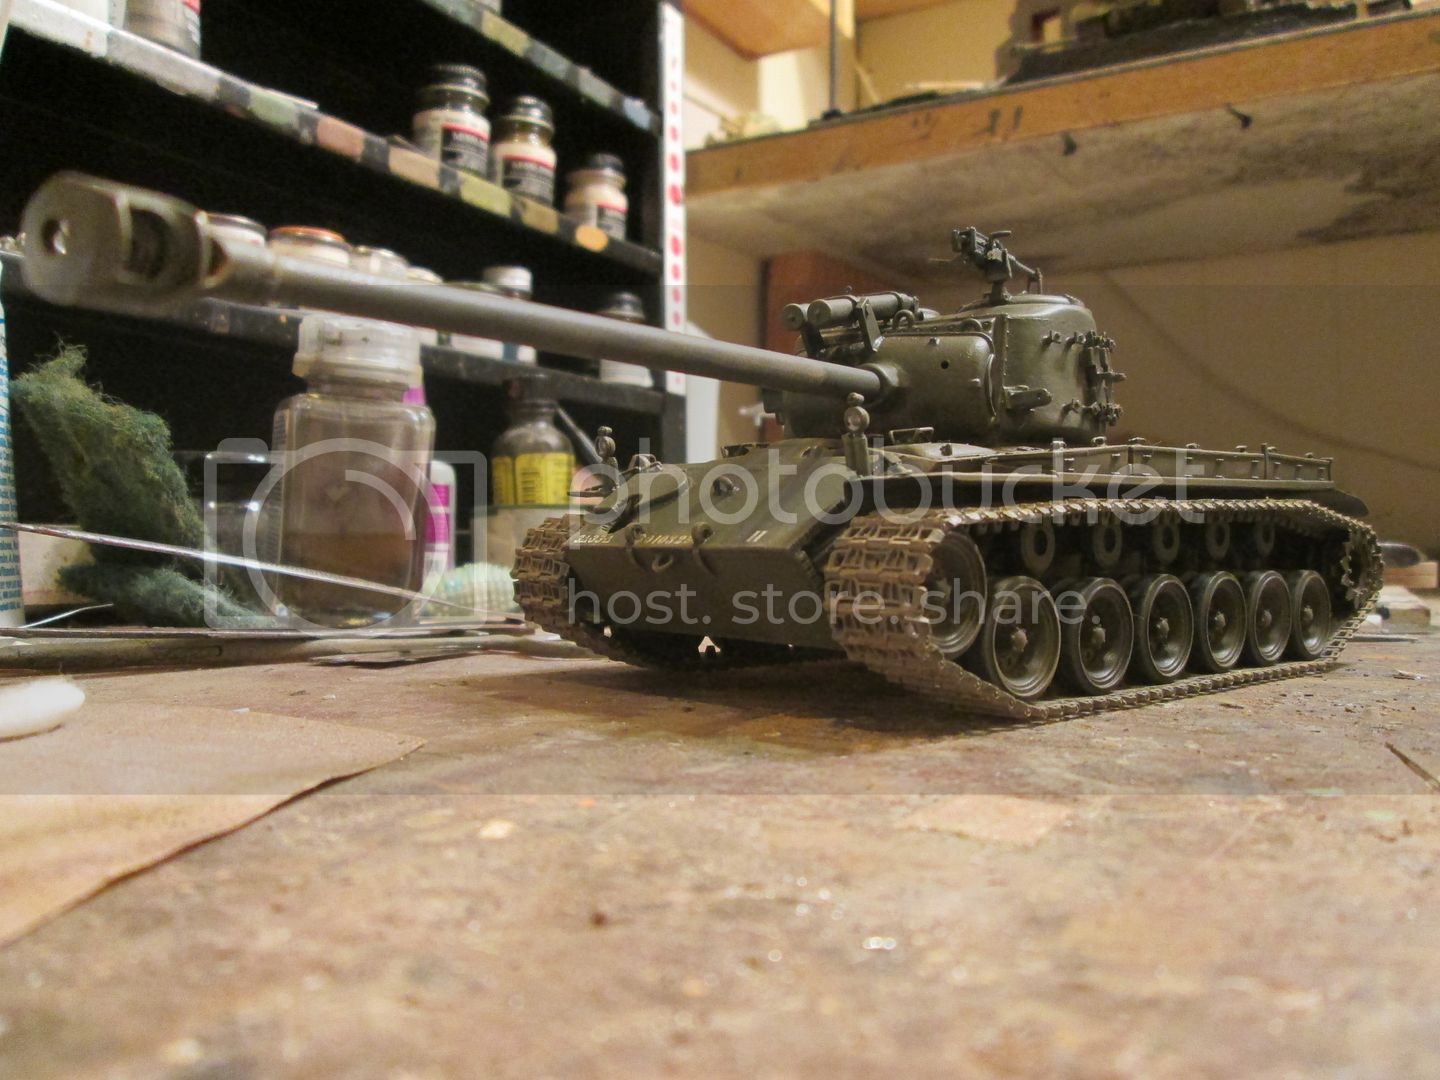
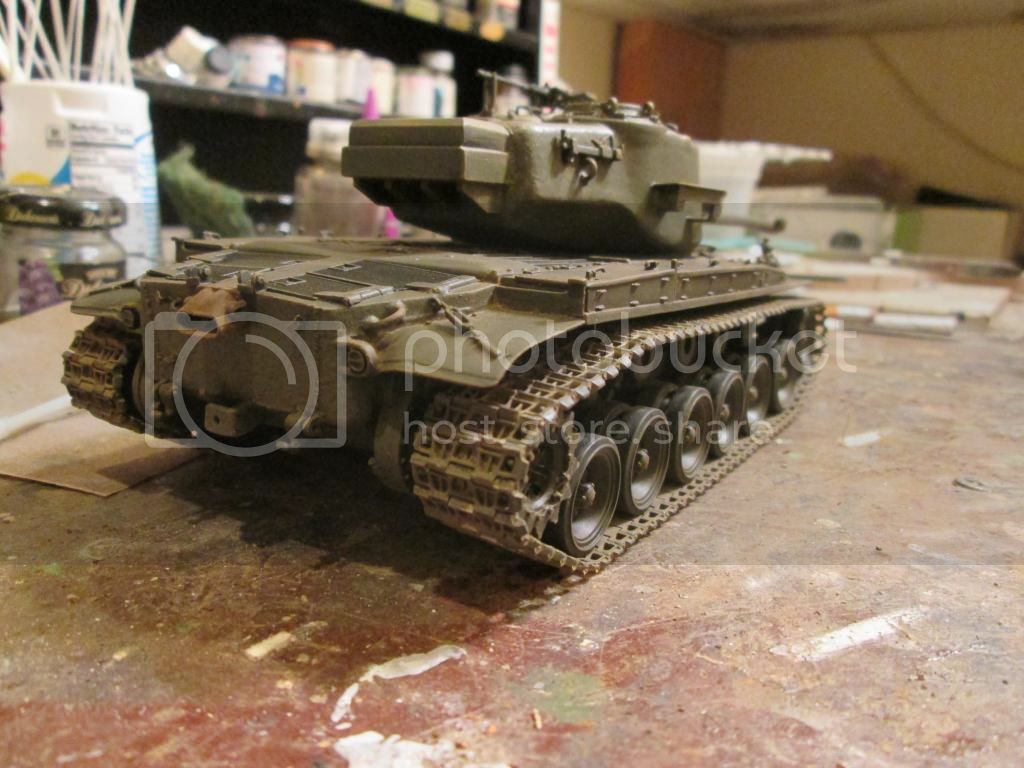
I actually got some time in on this over this past weekend, starting to come together. Wash is done, first layer of dust on and sealed, next is dust with no sealer. I'm deliberately keeping this one clean, the idea is to display it during the modification process by the 3rd AD, as described in Belton Cooper's book.


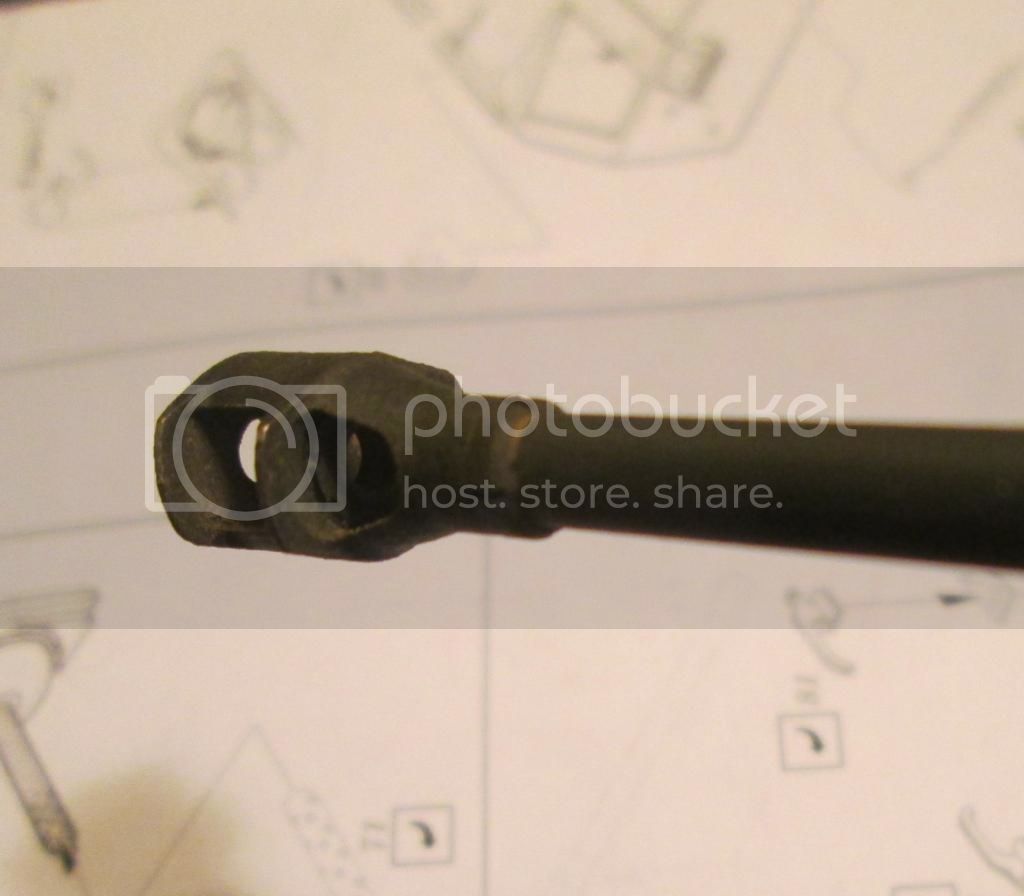
Some detail in the RB muzzle brake that I thought was pretty nice:
bat-213
Visit this Community
Canada
Joined: December 30, 2011
KitMaker: 902 posts
Armorama: 788 posts
Posted: Monday, December 15, 2014 - 05:28 AM UTC
very nice build, great work.
rfbaer
Visit this Community
Texas, United States
Joined: June 12, 2007
KitMaker: 1,866 posts
Armorama: 1,696 posts
Posted: Monday, December 15, 2014 - 09:10 PM UTC
Thanks Roy.
rfbaer
Visit this Community
Texas, United States
Joined: June 12, 2007
KitMaker: 1,866 posts
Armorama: 1,696 posts
Posted: Monday, December 22, 2014 - 09:41 PM UTC
Gun travel lock on, hull MG in, headlight lenses done, return roller outers on..... getting close.


The travel lock, cradle, whatever the proper term is, was a bit of a pain to modify, and it's a bit thick where I had to brace the spliced-in sections, but I think it looks the part.
Cookiescool2
Visit this Community
Georgia, United States
Joined: May 09, 2014
KitMaker: 273 posts
Armorama: 270 posts
Posted: Monday, December 22, 2014 - 10:13 PM UTC
It's looking great! Happy Holidays!
rfbaer
Visit this Community
Texas, United States
Joined: June 12, 2007
KitMaker: 1,866 posts
Armorama: 1,696 posts
Posted: Monday, December 22, 2014 - 10:26 PM UTC
Thank you, and Merry Christmas!
rfbaer
Visit this Community
Texas, United States
Joined: June 12, 2007
KitMaker: 1,866 posts
Armorama: 1,696 posts
Posted: Sunday, December 28, 2014 - 10:52 PM UTC
Where I am now, still thinking on how I'm going to display the yet-to-be-installed mantlet armor:

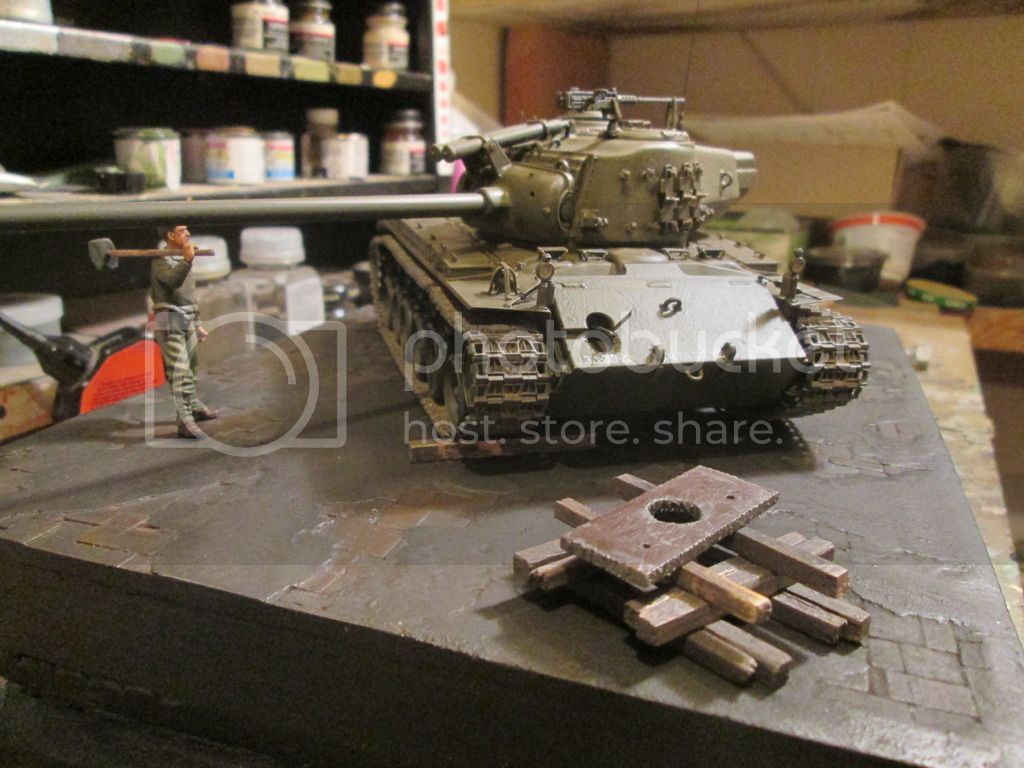
I had fun making the hammer, and yes, it's more of a caricature than a scale hammer, but hey, call it artistic license.
Happy New Year!
rfbaer
Visit this Community
Texas, United States
Joined: June 12, 2007
KitMaker: 1,866 posts
Armorama: 1,696 posts
Posted: Sunday, April 26, 2015 - 08:47 PM UTC
I got pretty seriously sidetracked a while ago, but needed something simple after recently doing ball and chain armor on an Academy Merk4, and this was the perfect project to pick back up.
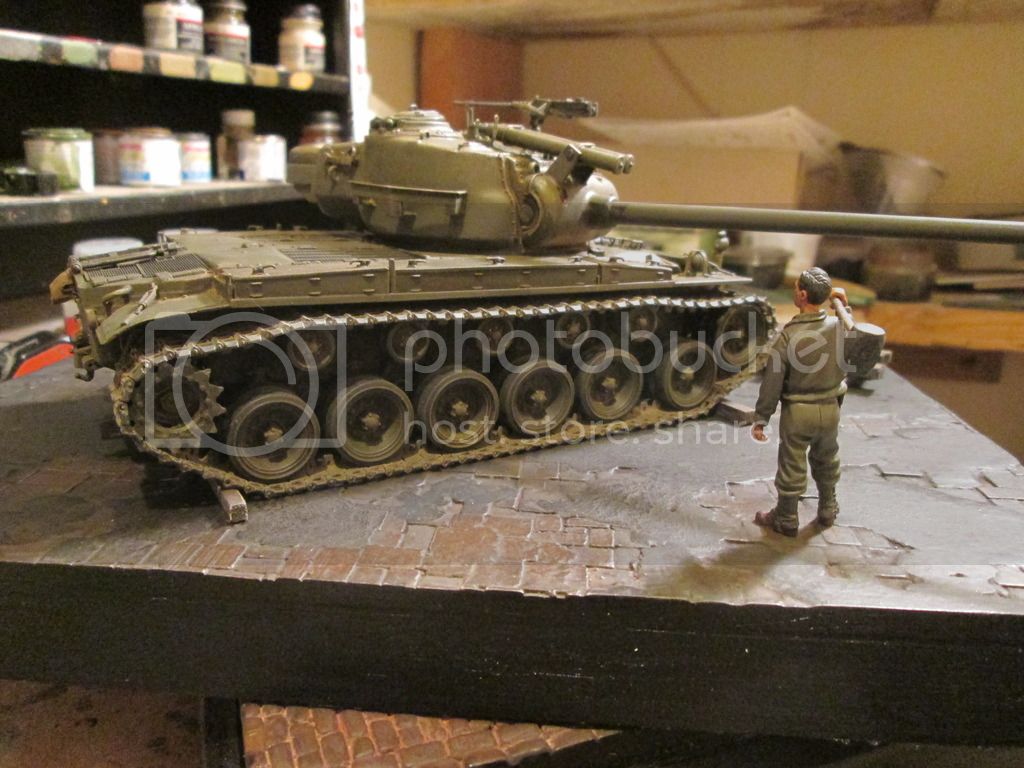
Not long ago I bought a "Tarmacadam" base from Squadron, but left it sit for a while since it was so warped, with the corners raised as well. After mounting it to a piece of 5/8" plywood and sanding a LOT of resin from the corners, I fixed the lost asphalt with Squadron Green putty and painted. After a dusting of several different pigments, I made up a stand for the chunk of not-yet-mounted mantlet armor from balsa, mounted "Belton" and added some balsa chocks. I need to finish painting the mantlet armor on the stand, and maybe add something around it to look like slag, then get some clean pics, but it's very close to being done.
Pics:


Any and all comments welcomed.
barra733
Visit this Community
England - South West, United Kingdom
Joined: January 03, 2015
KitMaker: 282 posts
Armorama: 255 posts
Posted: Sunday, April 26, 2015 - 09:04 PM UTC
Love this - got one in my 'man' cupboard at the moment - want to do it getting the mantlet fitted and the engine open. The only comment I would have is the chocks - more often than not crewmen place the chocks inside the tracks (on top of the lower run) between the wheels. If this beast started to roll it would be over those beams in seconds.
rfbaer
Visit this Community
Texas, United States
Joined: June 12, 2007
KitMaker: 1,866 posts
Armorama: 1,696 posts
Posted: Sunday, April 26, 2015 - 09:38 PM UTC
Ian, thanks. I can add or move the chocks easily enough at this point. I guess I over-thought the position of the chocks, but come to think of it, I've seen wedges placed as you describe. Would you think it odd to see both types placed (the existing beams, AND something inside) or would that be too much?
barra733
Visit this Community
England - South West, United Kingdom
Joined: January 03, 2015
KitMaker: 282 posts
Armorama: 255 posts
Posted: Sunday, April 26, 2015 - 09:52 PM UTC

Quoted Text

Ian, thanks. I can add or move the chocks easily enough at this point. I guess I over-thought the position of the chocks, but come to think of it, I've seen wedges placed as you describe. Would you think it odd to see both types placed (the existing beams, AND something inside) or would that be too much?


The more the merrier I would think considering the extra weight on this one.
rfbaer
Visit this Community
Texas, United States
Joined: June 12, 2007
KitMaker: 1,866 posts
Armorama: 1,696 posts
Posted: Monday, April 27, 2015 - 04:36 AM UTC
Schweet, can do!
 _GOTOTOP