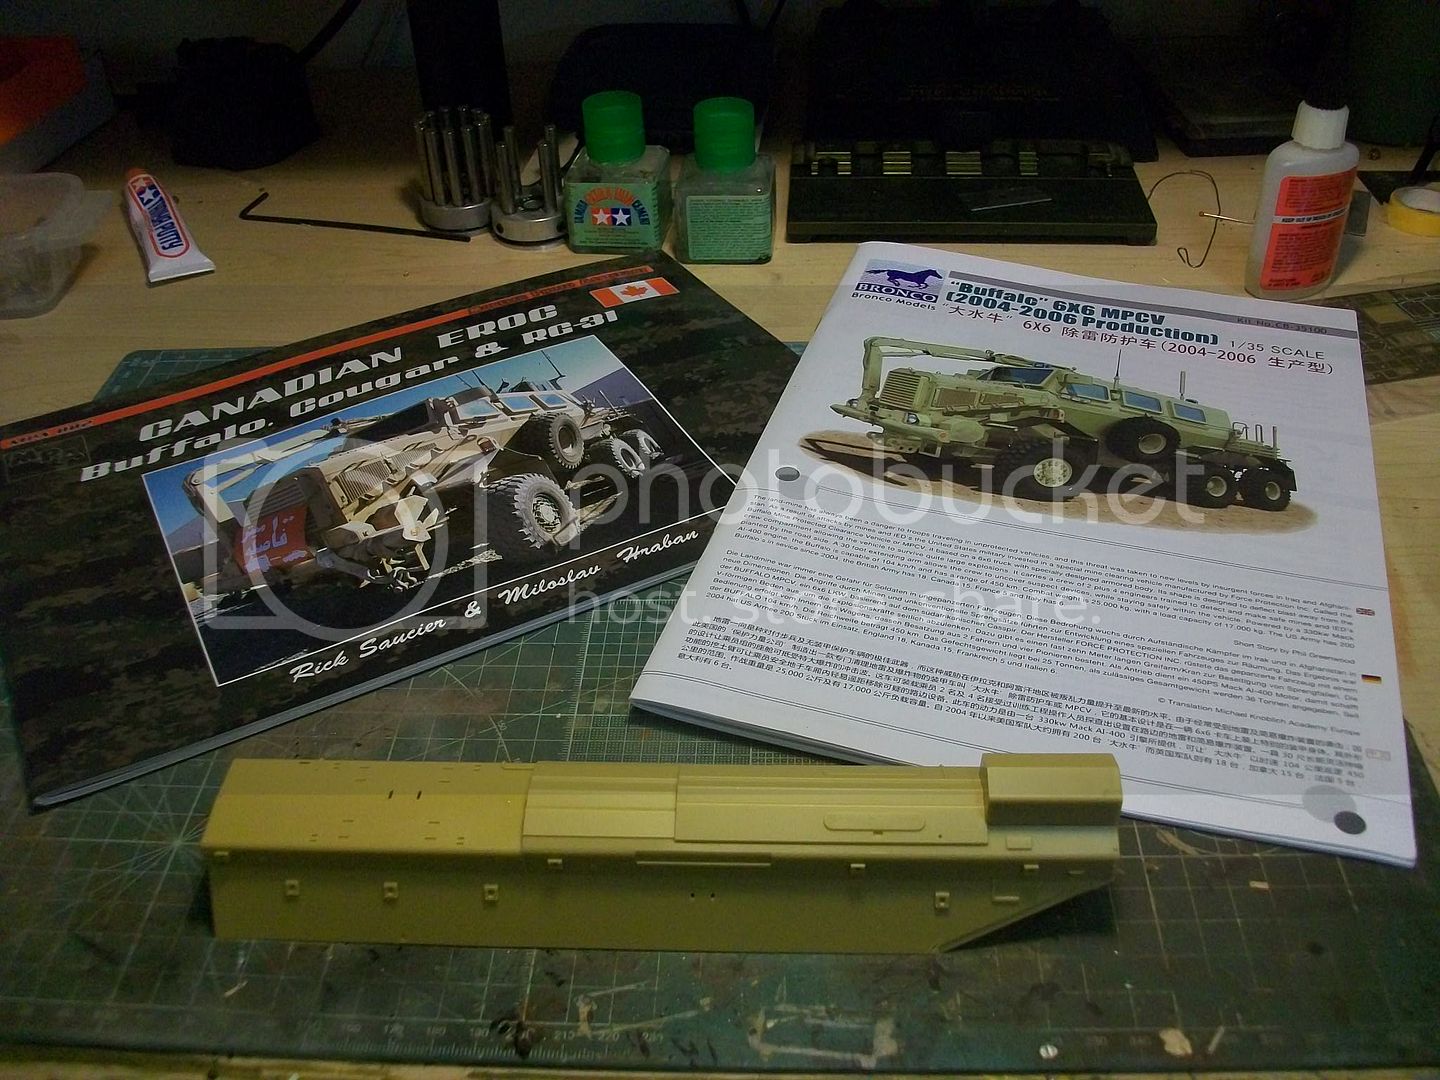
Canadian EROC Buffalo build
Ontario, Canada
Joined: September 28, 2006
KitMaker: 2,672 posts
Armorama: 2,475 posts
Posted: Wednesday, January 28, 2015 - 06:28 AM UTC
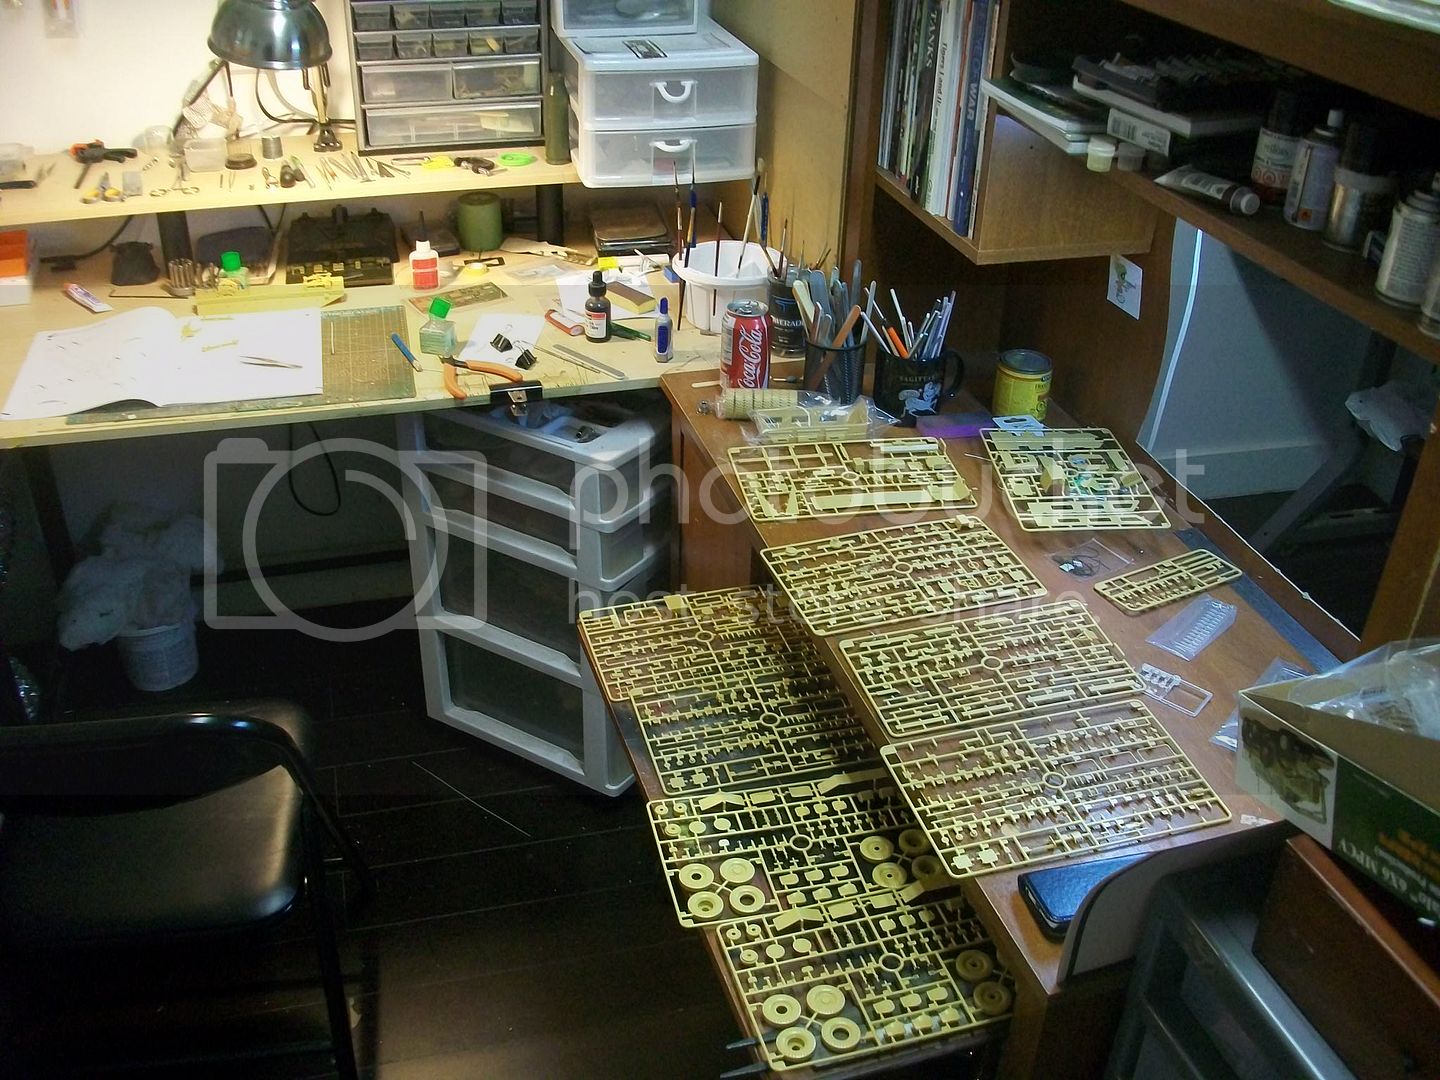
Just started this one tonight, lets see where this takes us...
cheers
One of the serious problems in planning against Canadian doctrine is that the Canadians do not read their manuals, nor do they feel any obligations to follow their doctrine.
---From a Russian document
------------------------------------------------
Alberta, Canada
Joined: January 19, 2005
KitMaker: 4,085 posts
Armorama: 3,917 posts
Posted: Wednesday, January 28, 2015 - 11:48 AM UTC
Should be a great looking beast!
"We're not the public service of Canada, we're not just another department. We are the Canadian Forces, and our job is to be able to kill people."
July 2005- General R.J. Hillier (Retired), Former Chief of the Defence Staff
Washington, United States
Joined: January 16, 2015
KitMaker: 40 posts
Armorama: 20 posts
Posted: Wednesday, January 28, 2015 - 12:06 PM UTC
Funny... im halfway through that same build!
Ontario, Canada
Joined: September 28, 2006
KitMaker: 2,672 posts
Armorama: 2,475 posts
Posted: Wednesday, January 28, 2015 - 07:26 PM UTC
Quoted Text
Funny... im halfway through that same build!
How much extra detailing, like hydraulic hoses and such, did you add?
cheers
One of the serious problems in planning against Canadian doctrine is that the Canadians do not read their manuals, nor do they feel any obligations to follow their doctrine.
---From a Russian document
------------------------------------------------
Västra Götaland, Sweden
Joined: November 12, 2010
KitMaker: 950 posts
Armorama: 905 posts
Posted: Thursday, January 29, 2015 - 02:16 AM UTC
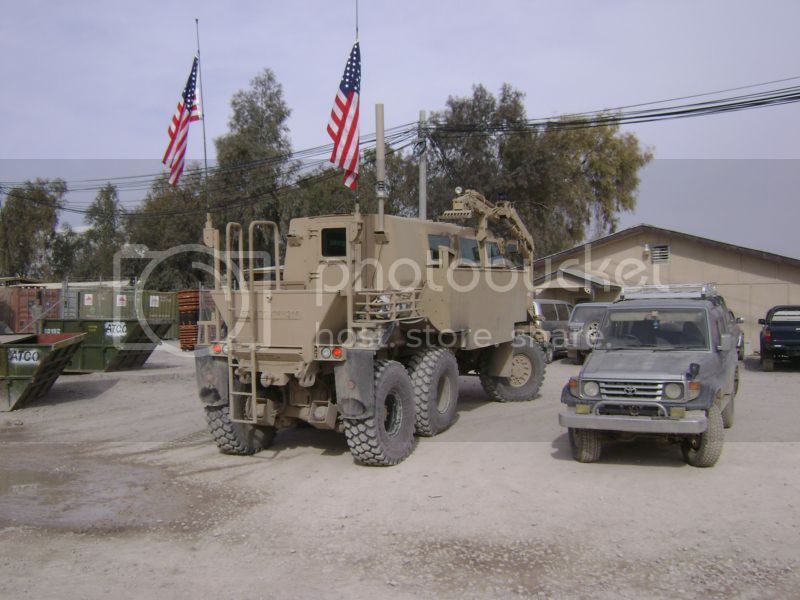
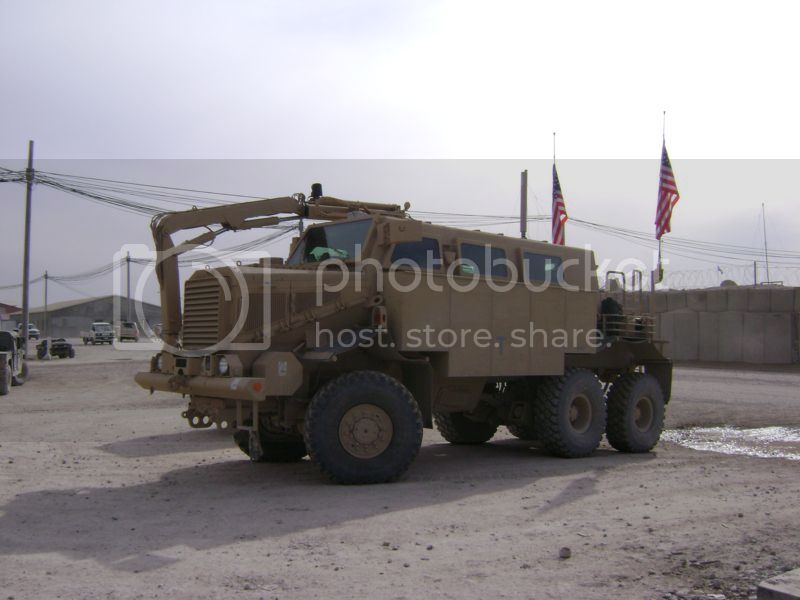
Will follow this build... Is it any difference between the Canadian version and US version? Does the Canadian forces use the slat armour version also?

Ontario, Canada
Joined: November 10, 2010
KitMaker: 587 posts
Armorama: 550 posts
Posted: Thursday, January 29, 2015 - 02:36 AM UTC
Quoted Text
Will follow this build... Is it any difference between the Canadian version and US version? Does the Canadian forces use the slat armour version also?
The difference between the Canadian and US A1 version is the inclusion of Canadian T-Antenna mounts and radios on the inside. That's it.
Canada does have the Buffalo A2 with Slat Armour, but I'm not sure it was ever used in Afghanistan.
Rick, I have been working on one myself I was going to build it as an American one, but recently bought the T-Mounts and placed them. Have a little more work to do. I may go back and add more wiring as all I did is what was included in the kit..
Washington, United States
Joined: January 16, 2015
KitMaker: 40 posts
Armorama: 20 posts
Posted: Thursday, January 29, 2015 - 04:59 AM UTC
I have the bronco kit us version... have most of interior done... all the lower suspension etc done... wont do tires until later. I still need to find the t mounts and attennas.
The canadians paint theres different I beleive. Two coler brown camo scheme.
Ontario, Canada
Joined: September 28, 2006
KitMaker: 2,672 posts
Armorama: 2,475 posts
Posted: Thursday, January 29, 2015 - 06:32 AM UTC
Quoted Text
I have the bronco kit us version... have most of interior done... all the lower suspension etc done... wont do tires until later. I still need to find the t mounts and attennas.
The canadians paint theres different I beleive. Two coler brown camo scheme.
If you need some Canadian T-mounts let me know, I might have a few to spare.
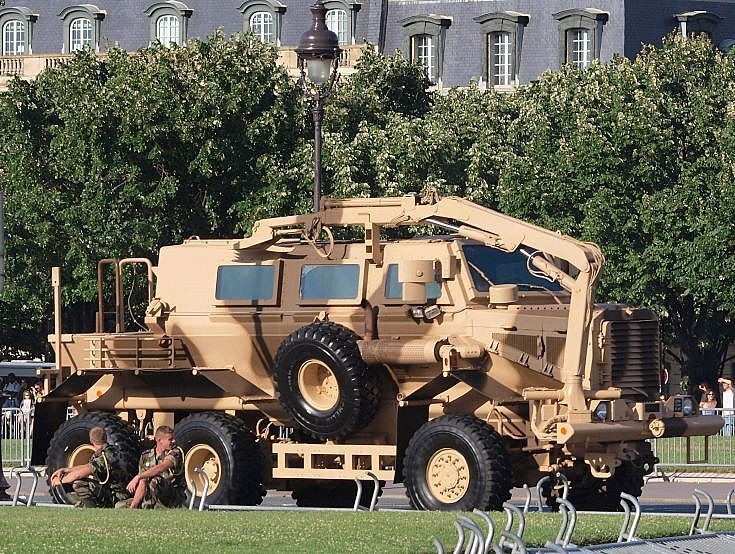
I think it was the French ones with the brown/tan camo.
Canadian;


US, I guess the flags kinda give it way LOL!
cheers
One of the serious problems in planning against Canadian doctrine is that the Canadians do not read their manuals, nor do they feel any obligations to follow their doctrine.
---From a Russian document
------------------------------------------------
Washington, United States
Joined: January 16, 2015
KitMaker: 40 posts
Armorama: 20 posts
Posted: Thursday, January 29, 2015 - 07:46 AM UTC
Idk... sorta liked the camo on em though.. where did u get ur mounts from? [quote]put quote text here.
Ontario, Canada
Joined: November 10, 2010
KitMaker: 587 posts
Armorama: 550 posts
Posted: Thursday, January 29, 2015 - 09:51 AM UTC
Quoted Text
Idk... sorta liked the camo on em though.. where did u get ur mounts from?
I got mine here
http://www.trackjam.com/orderform.htm
Alberta, Canada
Joined: February 18, 2003
KitMaker: 1,728 posts
Armorama: 1,629 posts
Posted: Thursday, January 29, 2015 - 01:45 PM UTC
I'll be watching too, same kit ready to go in the short list of what to build next. Hey, did you get the author to sign your reference book?


Cheers,
Jim
"Fire all weapons and open a hailing frequency for my victory yodel" - Zapp Brannigan
Ontario, Canada
Joined: September 28, 2006
KitMaker: 2,672 posts
Armorama: 2,475 posts
Posted: Thursday, January 29, 2015 - 07:04 PM UTC
Quoted Text
Idk... sorta liked the camo on em though.. where did u get ur mounts from?
I got mine from Real Models.
T-Mounts French Buffalo;
cheers
One of the serious problems in planning against Canadian doctrine is that the Canadians do not read their manuals, nor do they feel any obligations to follow their doctrine.
---From a Russian document
------------------------------------------------
Ontario, Canada
Joined: September 28, 2006
KitMaker: 2,672 posts
Armorama: 2,475 posts
Posted: Thursday, January 29, 2015 - 07:06 PM UTC
Quoted Text
I'll be watching too, same kit ready to go in the short list of what to build next. Hey, did you get the author to sign your reference book?
Cheers,
Jim
It's a good kit, very fiddly though.
And I have an 'in' with the author, so if anybody does want their copy signed...

cheers
One of the serious problems in planning against Canadian doctrine is that the Canadians do not read their manuals, nor do they feel any obligations to follow their doctrine.
---From a Russian document
------------------------------------------------
Ontario, Canada
Joined: September 28, 2006
KitMaker: 2,672 posts
Armorama: 2,475 posts
Posted: Friday, January 30, 2015 - 09:22 AM UTC
There are a few sprues full of tiny little pieces LOL!
Getting ready to finalize the suspension. I had to thin down the mount brackets for the rear brake chambers as they did not fit through the PE shields.
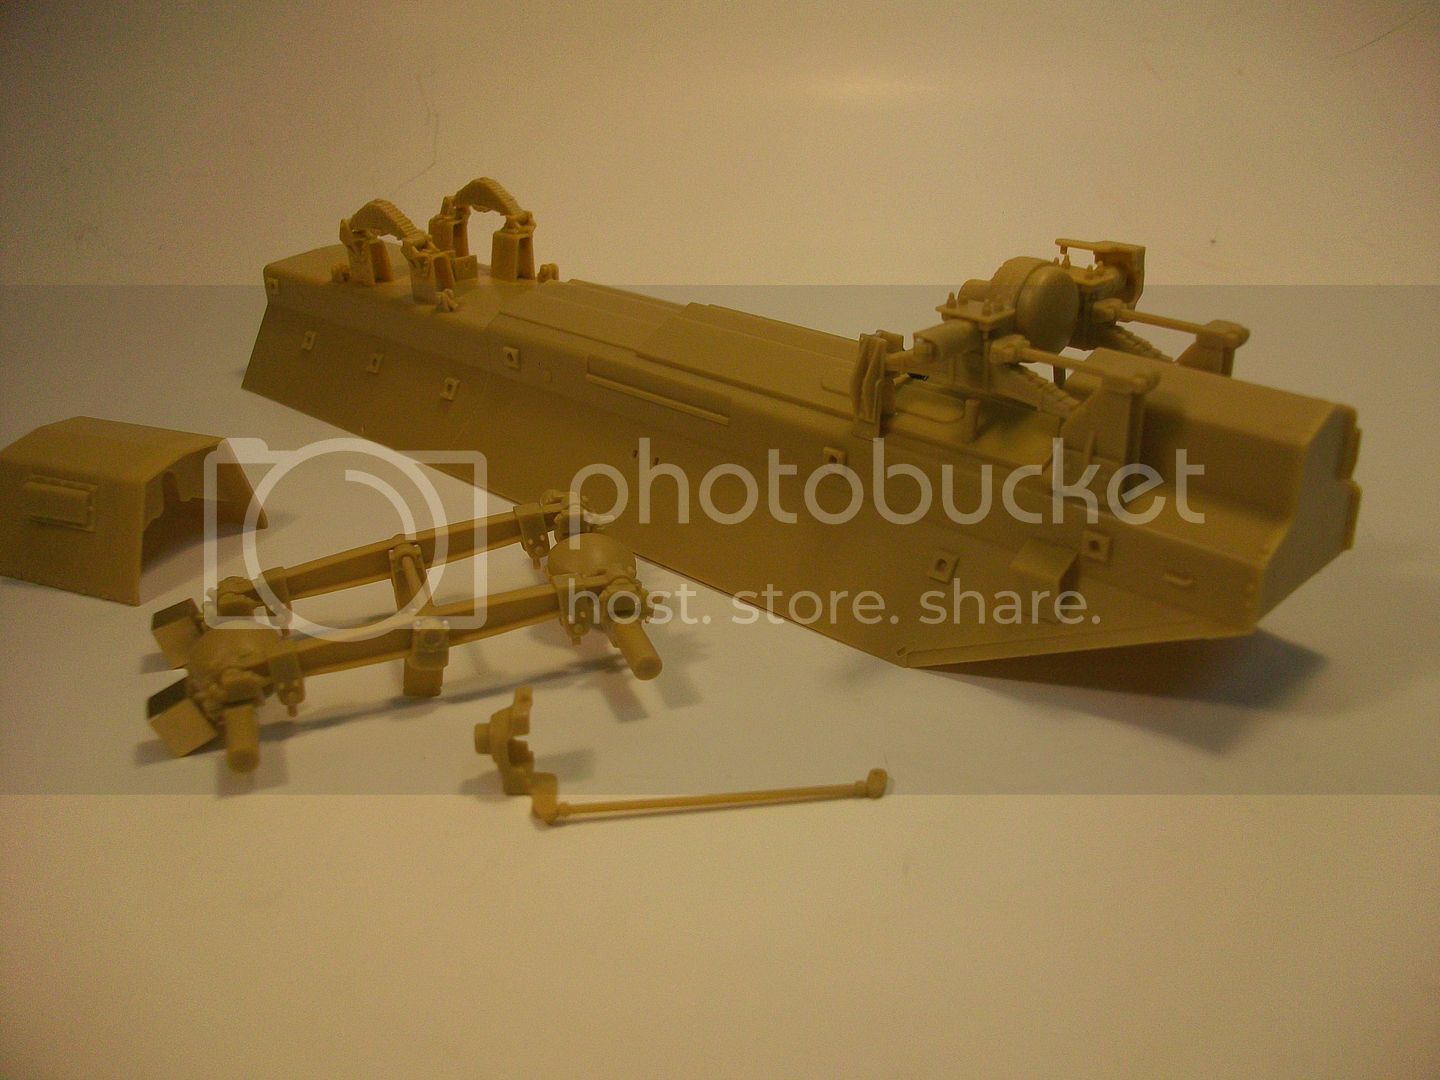
Added some missing detail to the front suspension like missing bolts and gussets.
Filled in the rear suspension mounts as well.
Also replaced the little steering 'nub' at the end of the front axle with some larger .030 rod, this should make the front end a little more stable and still keep the front wheels steerable.
cheers
One of the serious problems in planning against Canadian doctrine is that the Canadians do not read their manuals, nor do they feel any obligations to follow their doctrine.
---From a Russian document
------------------------------------------------
Ontario, Canada
Joined: September 28, 2006
KitMaker: 2,672 posts
Armorama: 2,475 posts
Posted: Thursday, February 12, 2015 - 06:40 AM UTC
One of the serious problems in planning against Canadian doctrine is that the Canadians do not read their manuals, nor do they feel any obligations to follow their doctrine.
---From a Russian document
------------------------------------------------
Australia
Joined: August 12, 2009
KitMaker: 93 posts
Armorama: 91 posts
Posted: Thursday, February 12, 2015 - 06:45 AM UTC
WoW this is looking nice, very niiiiiice. Keep the pics coming as you progress. Interior looks great
Ontario, Canada
Joined: November 10, 2010
KitMaker: 587 posts
Armorama: 550 posts
Posted: Thursday, February 12, 2015 - 07:10 AM UTC
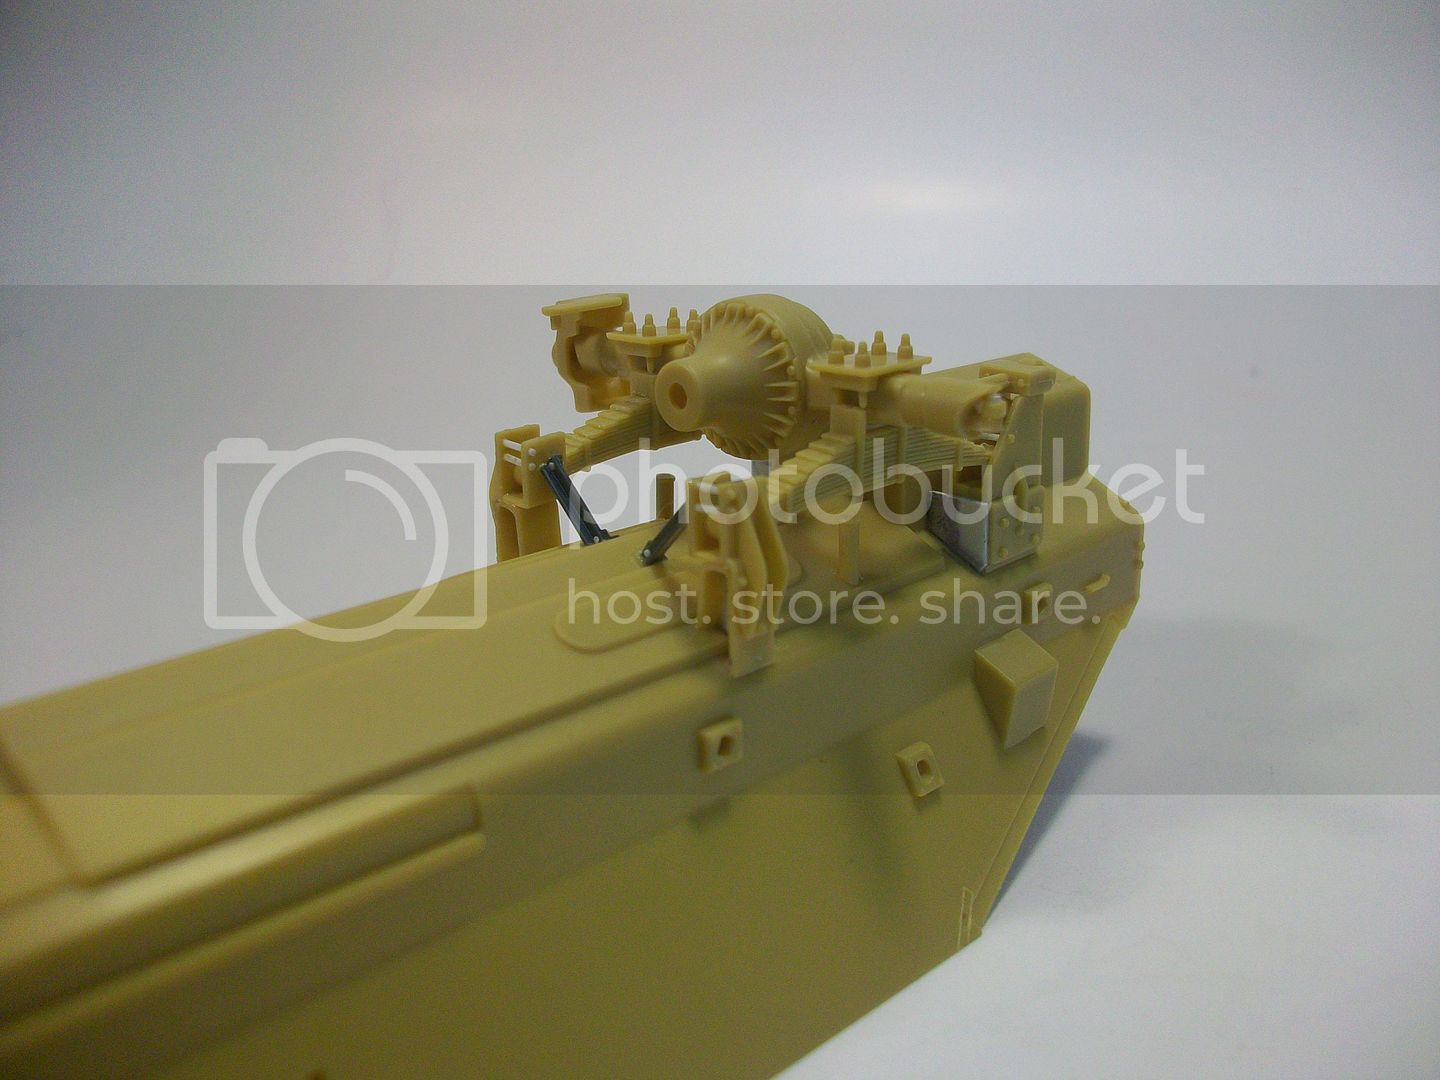
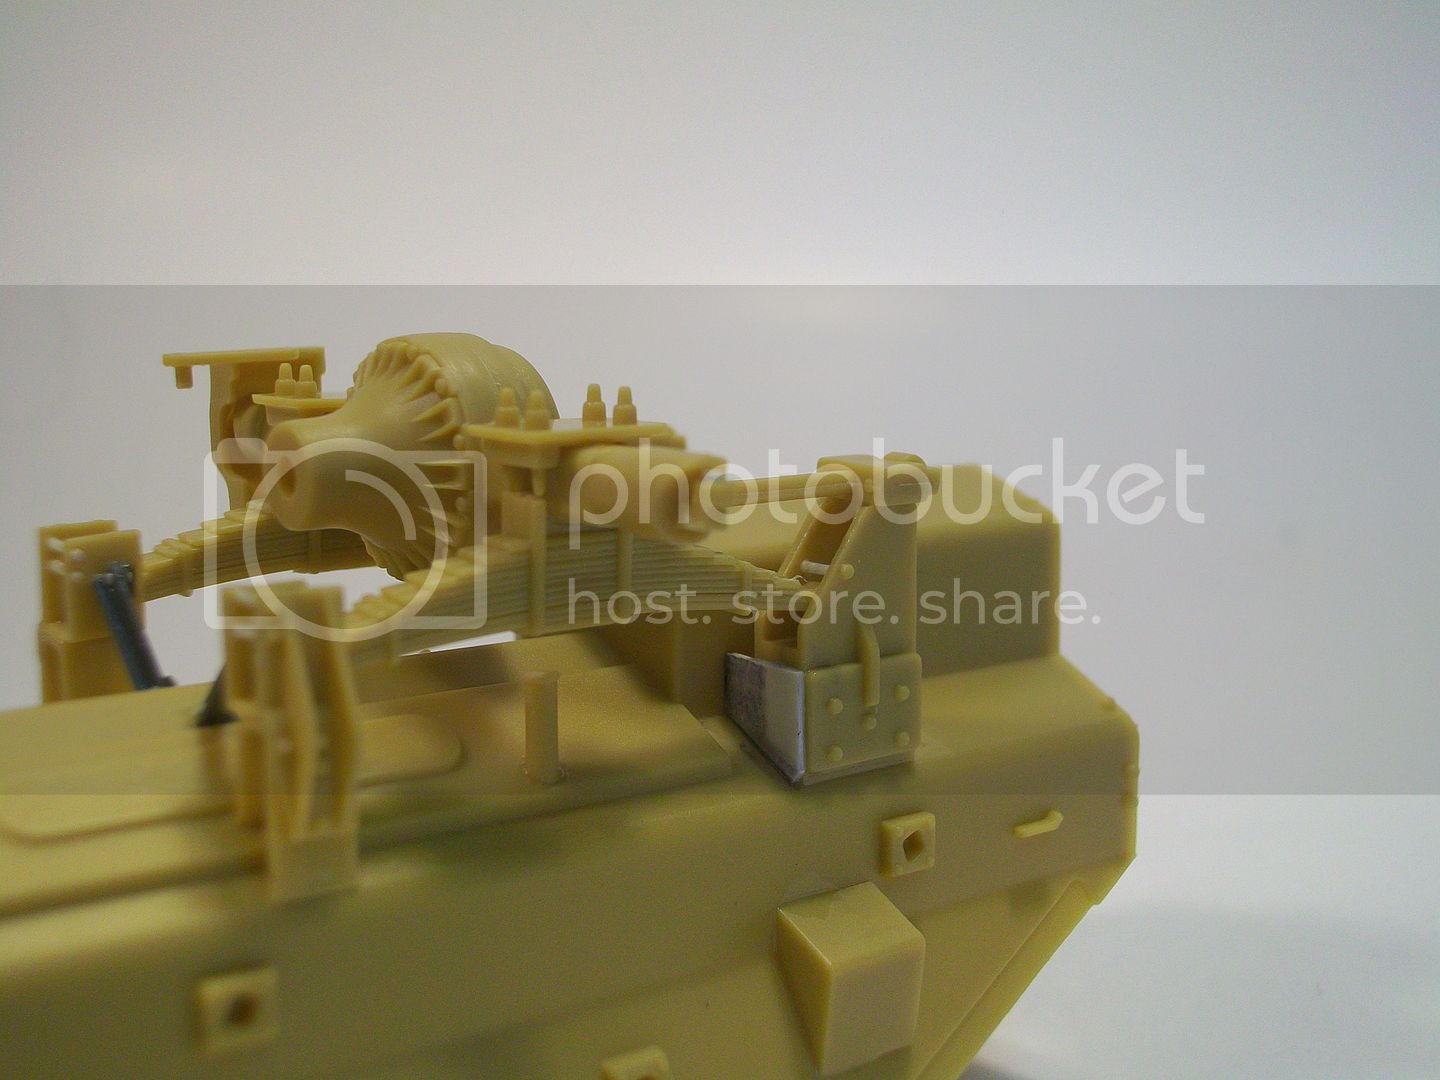
Rick what is he green rack on the left side?
Alberta, Canada
Joined: January 19, 2005
KitMaker: 4,085 posts
Armorama: 3,917 posts
Posted: Thursday, February 12, 2015 - 07:29 AM UTC
Nice work Rick...the braided brake lines look sharp.
"We're not the public service of Canada, we're not just another department. We are the Canadian Forces, and our job is to be able to kill people."
July 2005- General R.J. Hillier (Retired), Former Chief of the Defence Staff
Ontario, Canada
Joined: September 28, 2006
KitMaker: 2,672 posts
Armorama: 2,475 posts
Posted: Thursday, February 12, 2015 - 07:58 AM UTC
Thanks fellas!
Quoted Text
Rick what is he green rack on the left side?
It's like a storage rack for the crew to stack gear behind.
The brake lines are made from thin wire wrapped in 0.50 inch masking tape.
cheers
One of the serious problems in planning against Canadian doctrine is that the Canadians do not read their manuals, nor do they feel any obligations to follow their doctrine.
---From a Russian document
------------------------------------------------
Ontario, Canada
Joined: September 28, 2006
KitMaker: 2,672 posts
Armorama: 2,475 posts
Posted: Wednesday, February 25, 2015 - 06:55 AM UTC
One of the serious problems in planning against Canadian doctrine is that the Canadians do not read their manuals, nor do they feel any obligations to follow their doctrine.
---From a Russian document
------------------------------------------------
Ontario, Canada
Joined: November 10, 2010
KitMaker: 587 posts
Armorama: 550 posts
Posted: Wednesday, February 25, 2015 - 07:23 AM UTC
Ontario, Canada
Joined: September 28, 2006
KitMaker: 2,672 posts
Armorama: 2,475 posts
Posted: Wednesday, February 25, 2015 - 06:42 PM UTC
Thanks Alex,
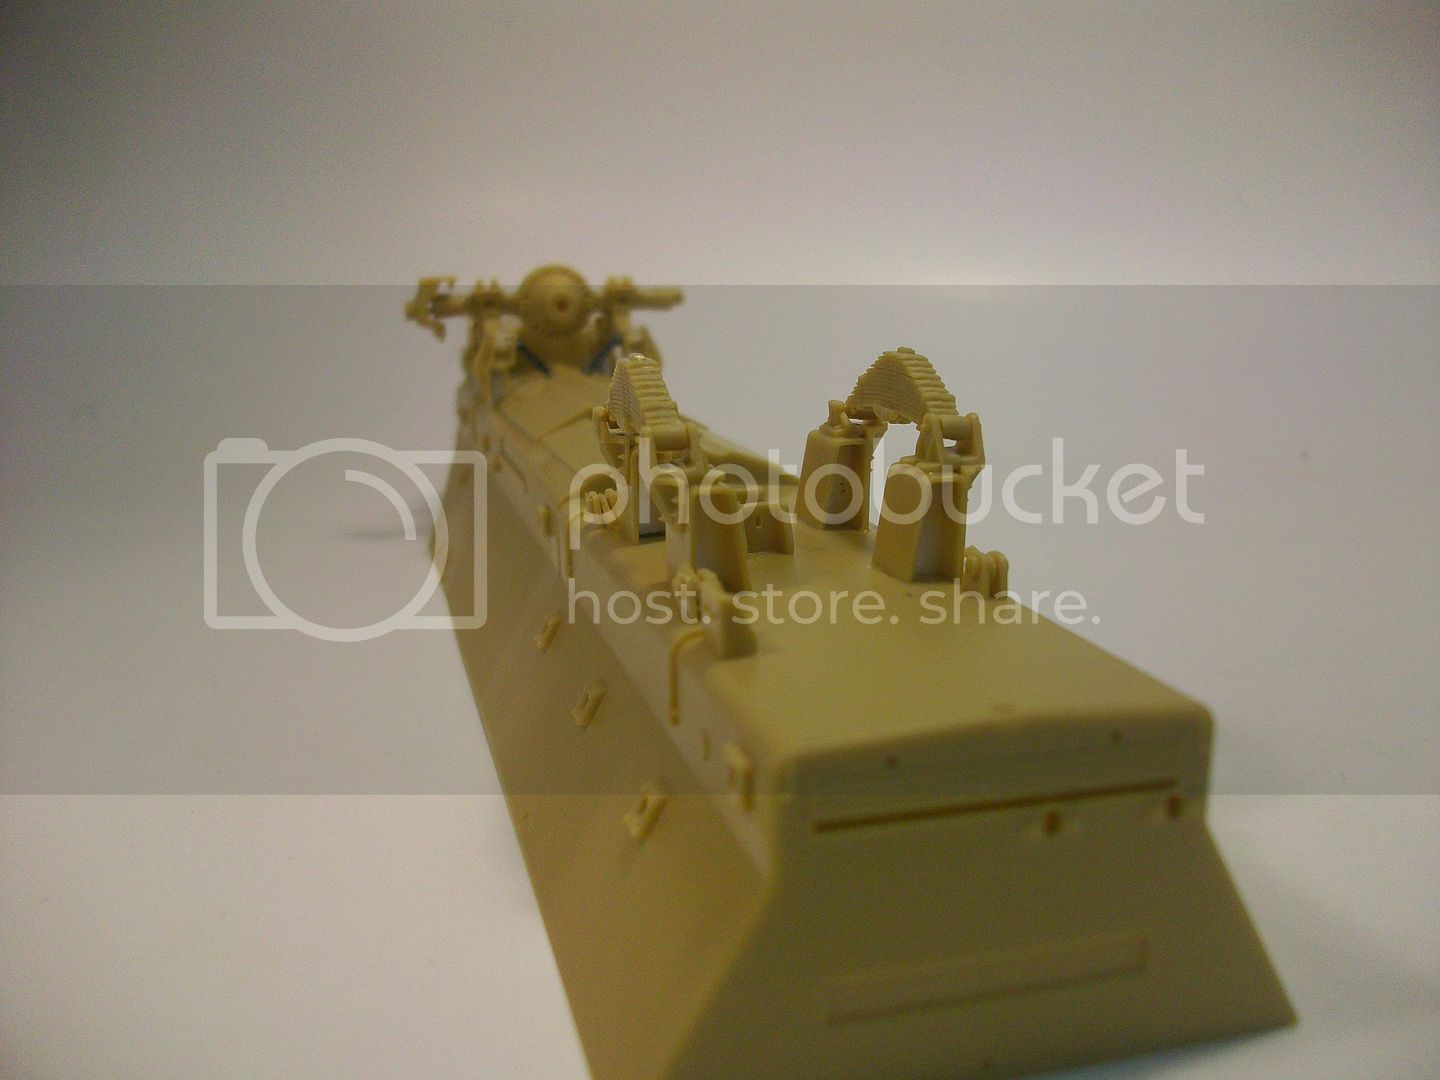
A couple of points, if mounting the spare tires you have to shave off the 4 bolts on the mount so that the tire will sit properly. Also you need to angle cut the bottom corners of the mount or you'll really have a time installing the tire assembly.
I also added the horizontal weld seam that runs between the upper and lower hull. And the directional pulley is missing from the kit that helps lift the spare tire, not a big deal but without it the cable sits wrong.
cheers
One of the serious problems in planning against Canadian doctrine is that the Canadians do not read their manuals, nor do they feel any obligations to follow their doctrine.
---From a Russian document
------------------------------------------------
Ontario, Canada
Joined: August 05, 2003
KitMaker: 1,698 posts
Armorama: 1,563 posts
Posted: Wednesday, February 25, 2015 - 09:08 PM UTC
what are the mud flappy things made from?
Also, ditto JaBo's comment..lurve the sheathed brake lines.
Why plan when you can react?
Ontario, Canada
Joined: September 28, 2006
KitMaker: 2,672 posts
Armorama: 2,475 posts
Posted: Wednesday, February 25, 2015 - 09:35 PM UTC
Quoted Text
what are the mud flappy things made from?
Also, ditto JaBo's comment..lurve the sheathed brake lines.
Thanks!
The mud flappy things are the kit parts OOB.
cheers
One of the serious problems in planning against Canadian doctrine is that the Canadians do not read their manuals, nor do they feel any obligations to follow their doctrine.
---From a Russian document
------------------------------------------------


