_GOTOBOTTOM
Armor/AFV: Allied - WWII
Armor and ground forces of the Allied forces during World War II.
Hosted by Darren Baker
Fury
landshark4
Visit this Community
Alabama, United States
Joined: June 04, 2012
KitMaker: 103 posts
Armorama: 88 posts
Posted: Monday, May 11, 2015 - 09:06 AM UTC
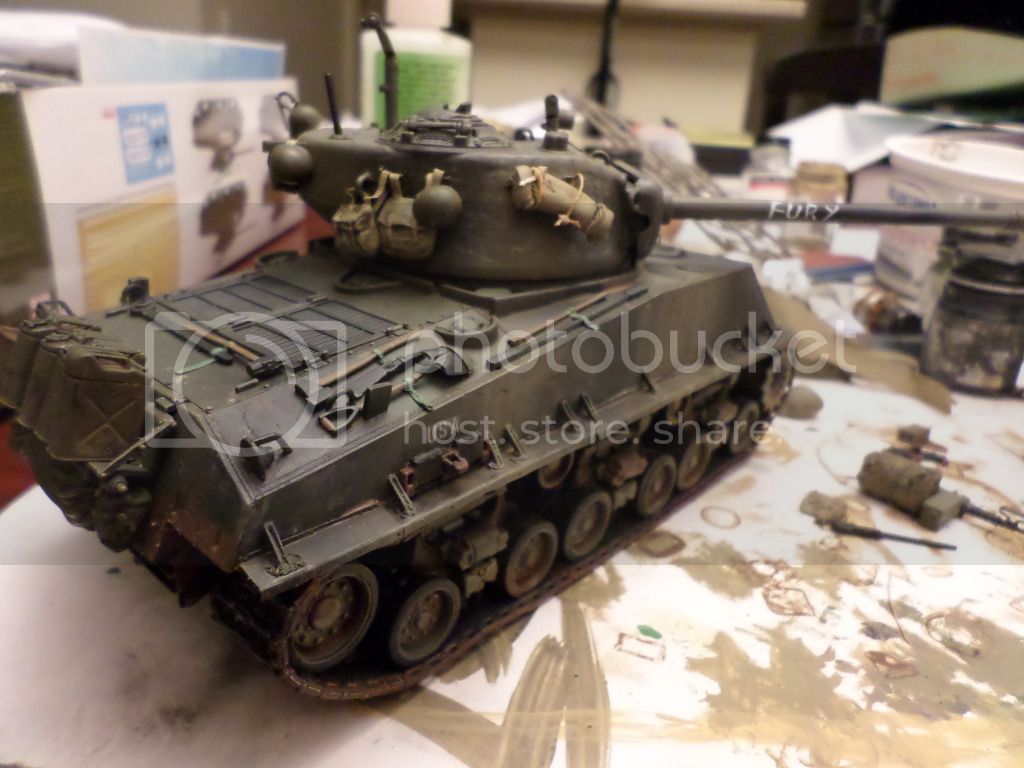
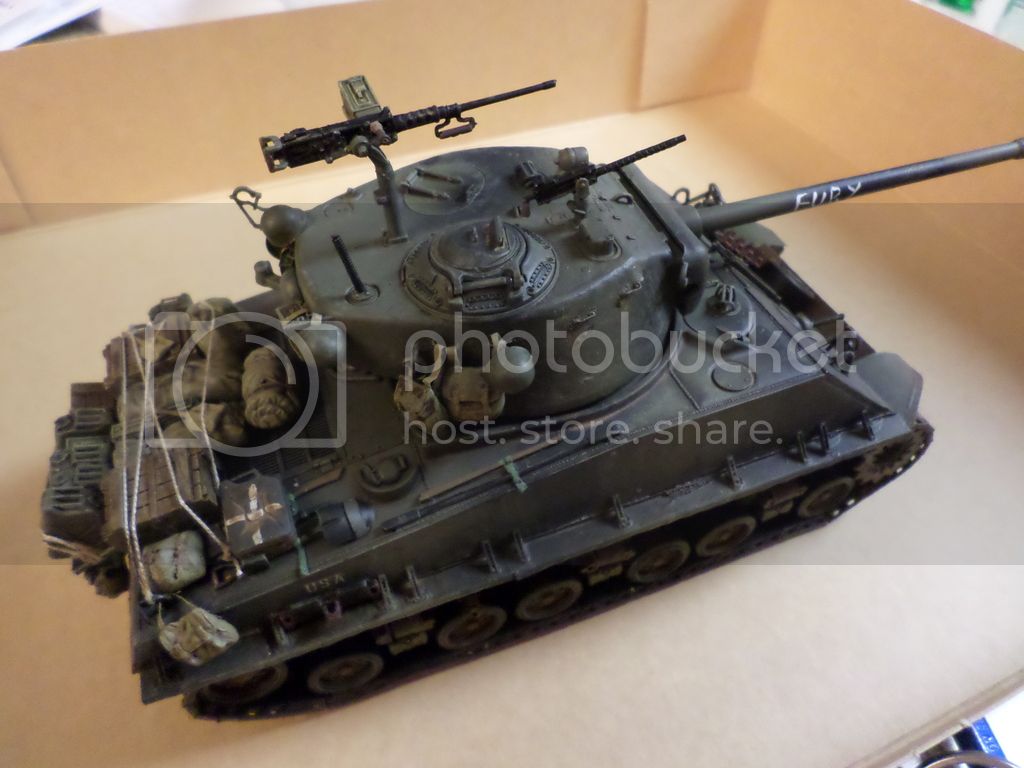
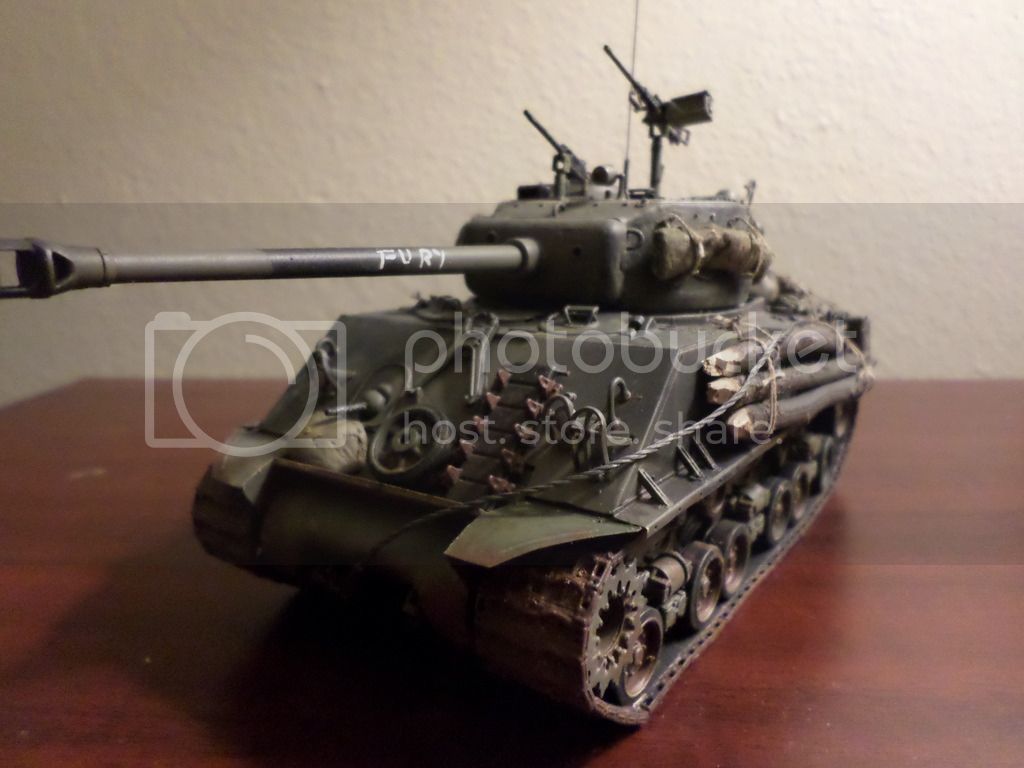
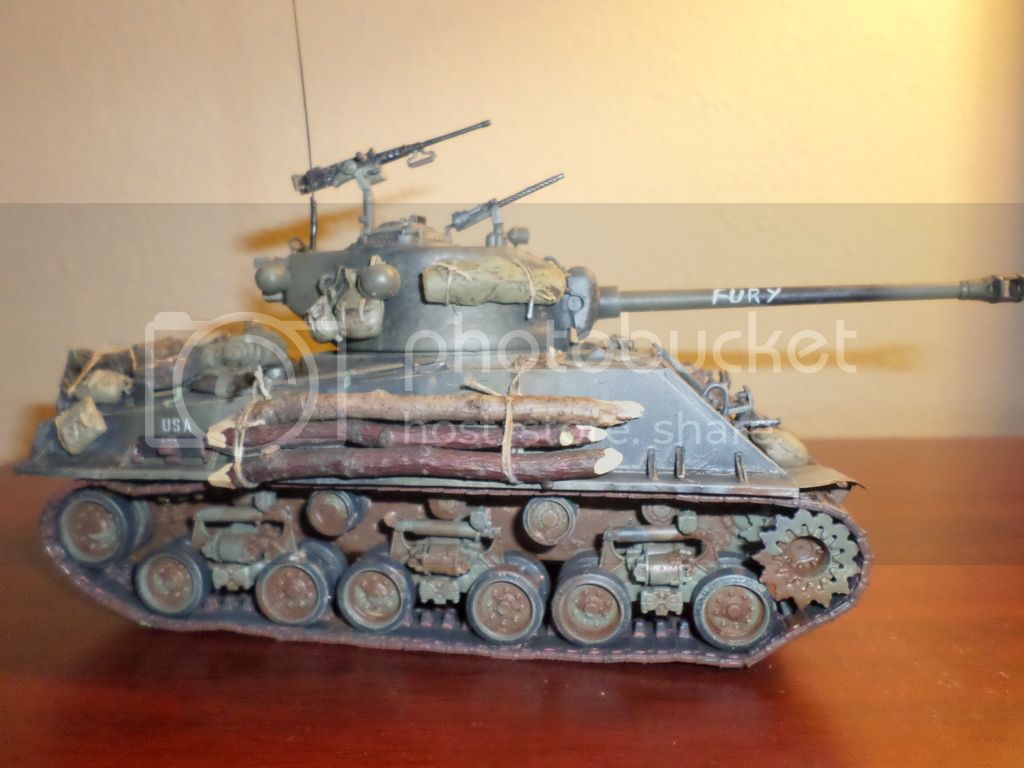
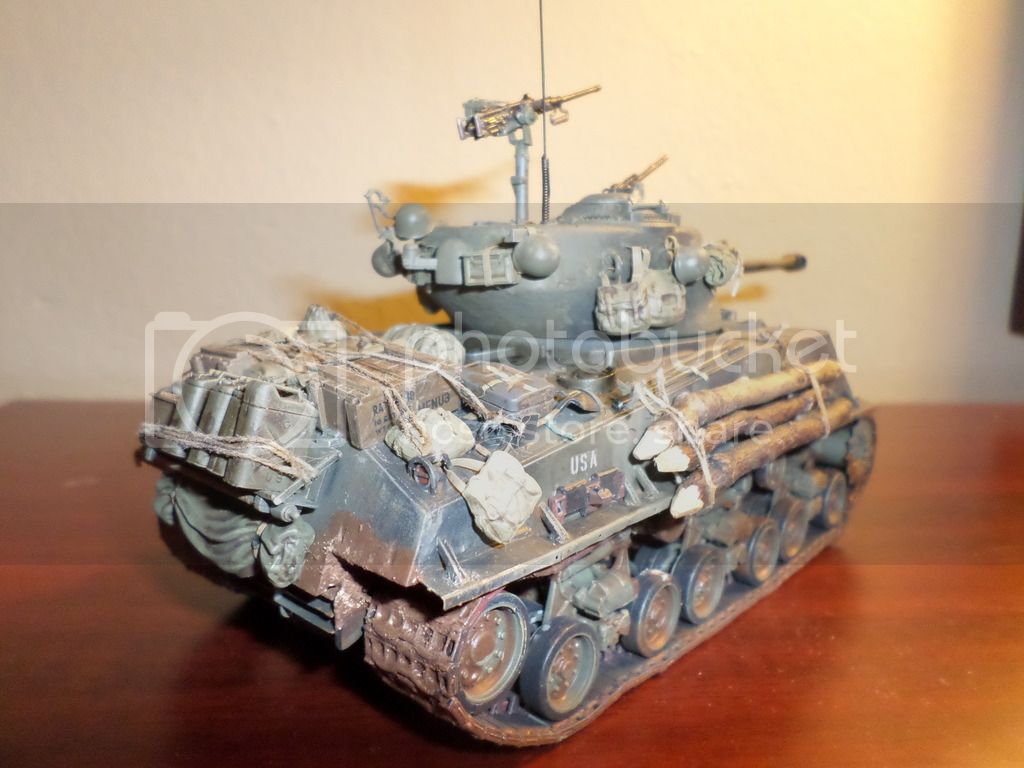
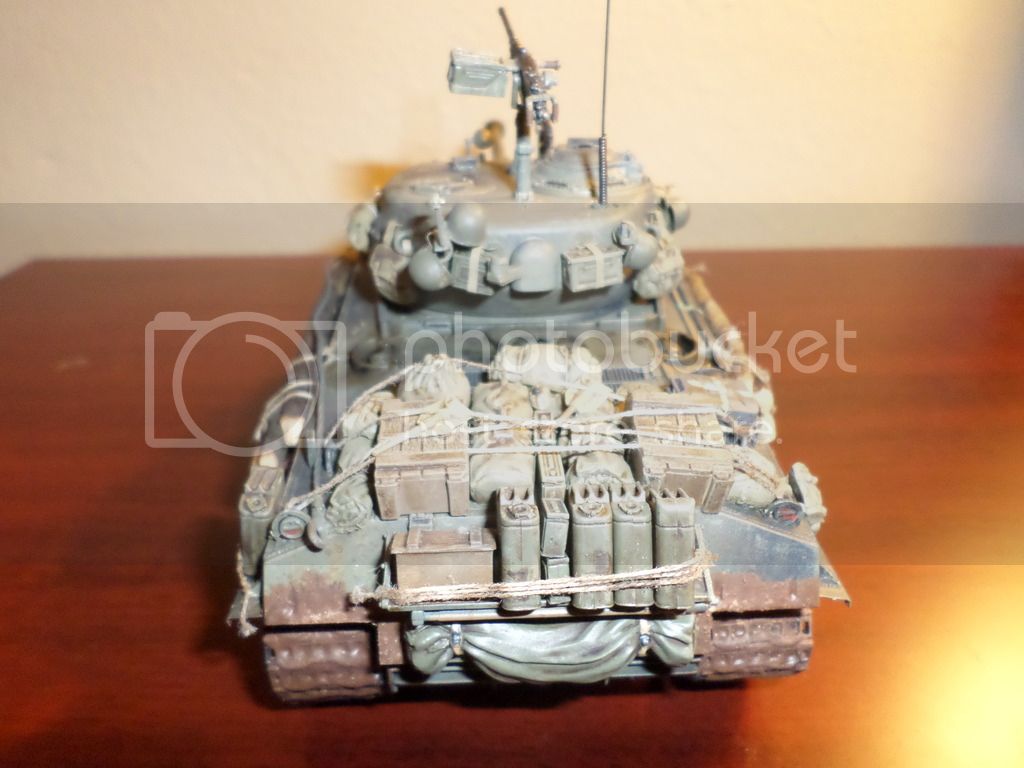
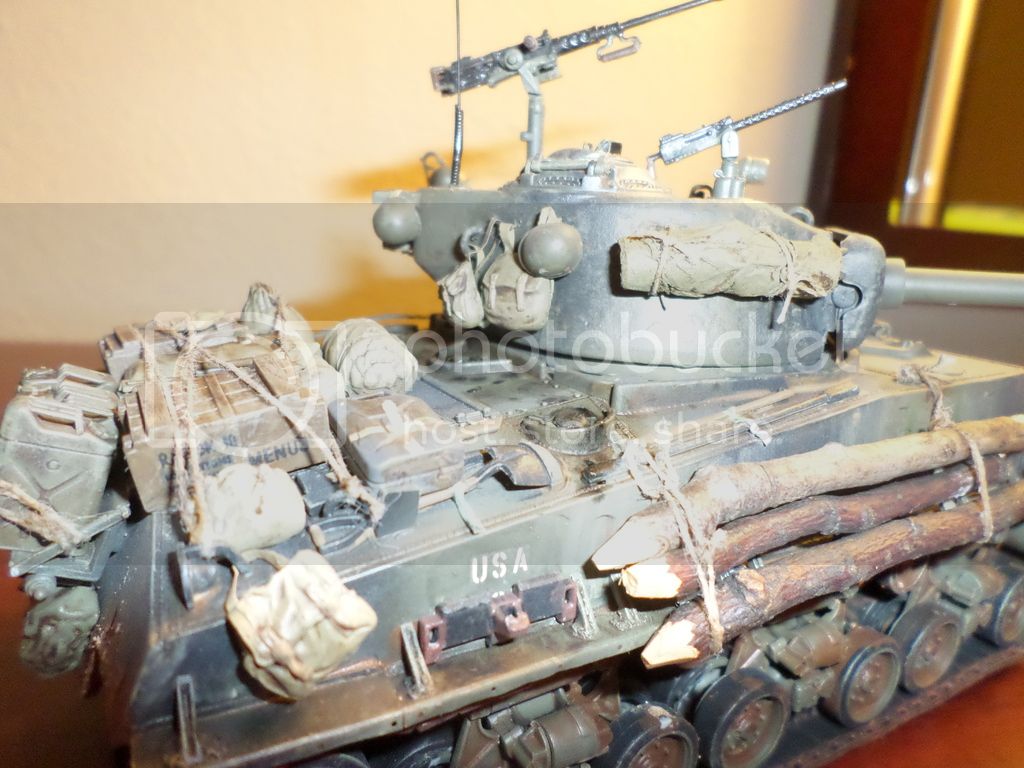
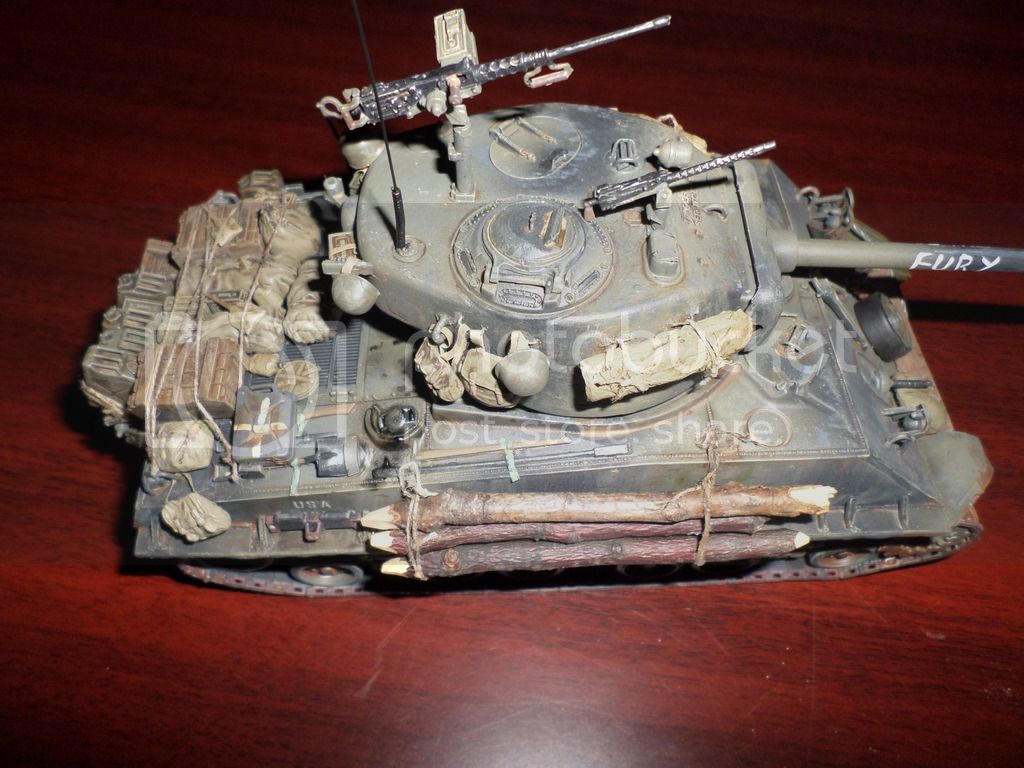
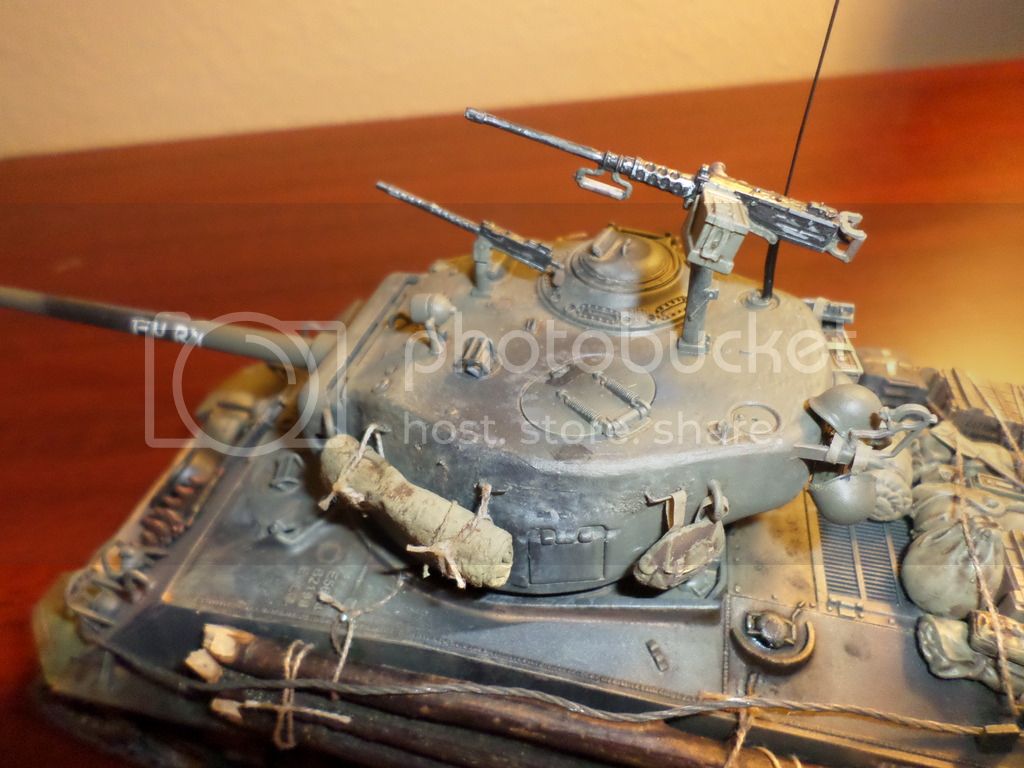
Kind of sort of Fury. Stowage is different as is the track from the actual movie. But I guess it's close enough.


ericadeane
Visit this Community
Michigan, United States
Joined: October 28, 2002
KitMaker: 4,021 posts
Armorama: 3,947 posts
Posted: Monday, May 11, 2015 - 03:21 PM UTC
It looks nice Wayne. Thanks for posting! May i offer some observations that jump out at me?

1) tail lights: only the top left oval has a red lens. The lower left and both right lenses were black in appearance. Both lower lenses were rectangular slits within the oval. http://i45.photobucket.com/albums/f74/ericadeane/leftlight.jpg http://i45.photobucket.com/albums/f74/ericadeane/rightlight.jpg

2) try to even out your mud application. the liquidy mess would cover everything. Perhaps use a thinned version of what you previously used and cover everything else below the sponsons. I'd add some splattering effects too. Cut down the bristles of an old brush and load it up with your mud paint. YOu can shoot it with air from your airbrush -- notice the irregular splatter that occurs. This would be great for your hull sides. Alternatively, you can simply flick the mud splatter with the tip of your finger across the bristles. Practice on some paper -- I think you'll like the effect.

3) Also, the tarp on the lower rear panel is oddly clean; muck it up too?

4) the charging handle on your .50cal MG is too far forward. Google for pictures on where it belongs

5) DML's instructions forget to tell you to fill in those four vertical slots on the corners of the rear bulkhead: they're leftovers from the M4A3 VVS kit where track stowage was located. For you, just fill in with mud. http://www.toadmanstankpictures.com/m4a3105_12.jpg In this pic, those two indentations aren't there.

6) your antenna base appears to be guitar string or a spring? I've got plenty of spares if you'd like one. LMK

Hope these help! Keep up the great work!
landshark4
Visit this Community
Alabama, United States
Joined: June 04, 2012
KitMaker: 103 posts
Armorama: 88 posts
Posted: Monday, May 11, 2015 - 04:09 PM UTC
Thanks for the tips. I will make adjustments.
qcarr1
Visit this Community
Vermont, United States
Joined: March 16, 2015
KitMaker: 67 posts
Armorama: 67 posts
Posted: Thursday, May 14, 2015 - 12:22 AM UTC
Hi Wayne - which Easy 8 kit did you use? Thanks.
landshark4
Visit this Community
Alabama, United States
Joined: June 04, 2012
KitMaker: 103 posts
Armorama: 88 posts
Posted: Thursday, May 14, 2015 - 01:16 AM UTC

Quoted Text

Hi Wayne - which Easy 8 kit did you use? Thanks.


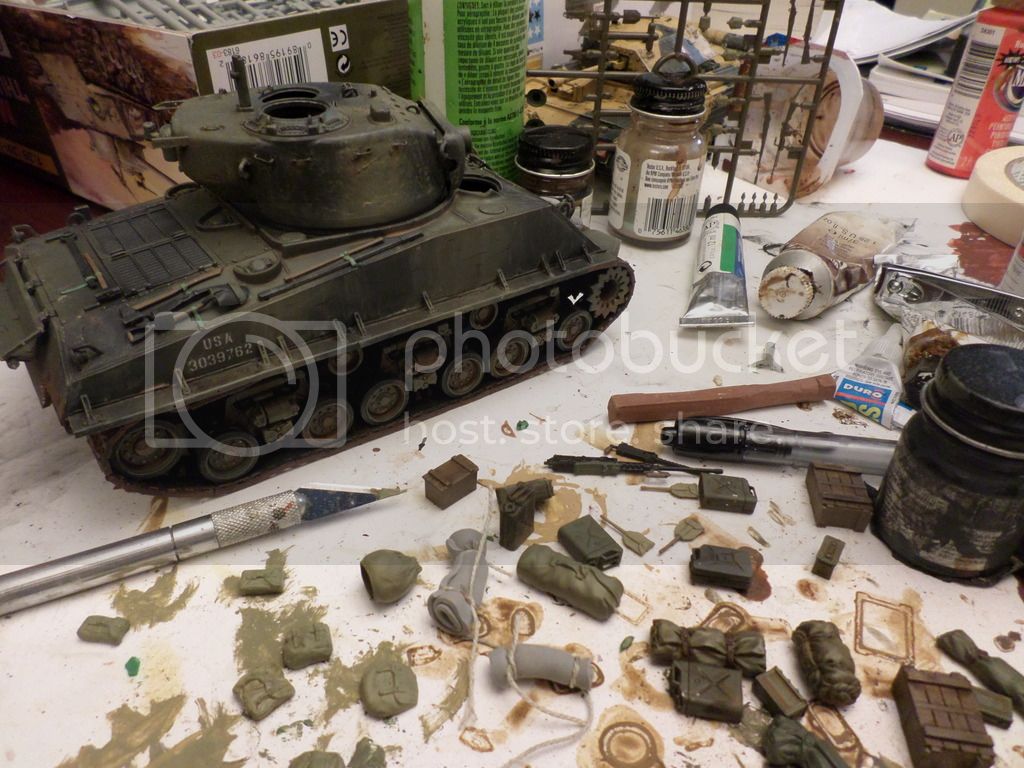
That's the Dragon M4A3E8 Thunderbolt. The suspension and track were a real pain. There were some gaps in the hull. Track is the wrong type for the movie Fury. The .50 cal mount should probably be lower but I couldn't really tell how much on the movie photos. Crew gear is miscellaneous Italeri, Testors and tissue paper. The extra tie-downs along the turret and hull are new ones from wire.
qcarr1
Visit this Community
Vermont, United States
Joined: March 16, 2015
KitMaker: 67 posts
Armorama: 67 posts
Posted: Thursday, May 14, 2015 - 09:53 PM UTC
Thanks, good to know about Dragon's Thunderbolt. I was agonizing over whether to buy that kit, but got a good deal on the hard-to-find Academy Easy 8 kit on eBay. Glad I did.

Your work is great inspiration, but I'm going to do my Easy 8 as a Korean War tank instead of Fury.

Thanks again!
 _GOTOTOP