_GOTOBOTTOM
Armor/AFV: Allied - WWII
Armor and ground forces of the Allied forces during World War II.
Hosted by Darren Baker
P.S.P./Scale-Link 20 ton US Low Bed Trailer
165thspc
#521
Visit this Community
Kentucky, United States
Joined: April 13, 2011
KitMaker: 9,465 posts
Armorama: 8,695 posts
Posted: Tuesday, July 07, 2015 - 07:22 PM UTC
Trailer: Model 20T with 20TD dolly from P.S.P. and Scale-Link in the UK.

The mailman cometh!
It has arrived!


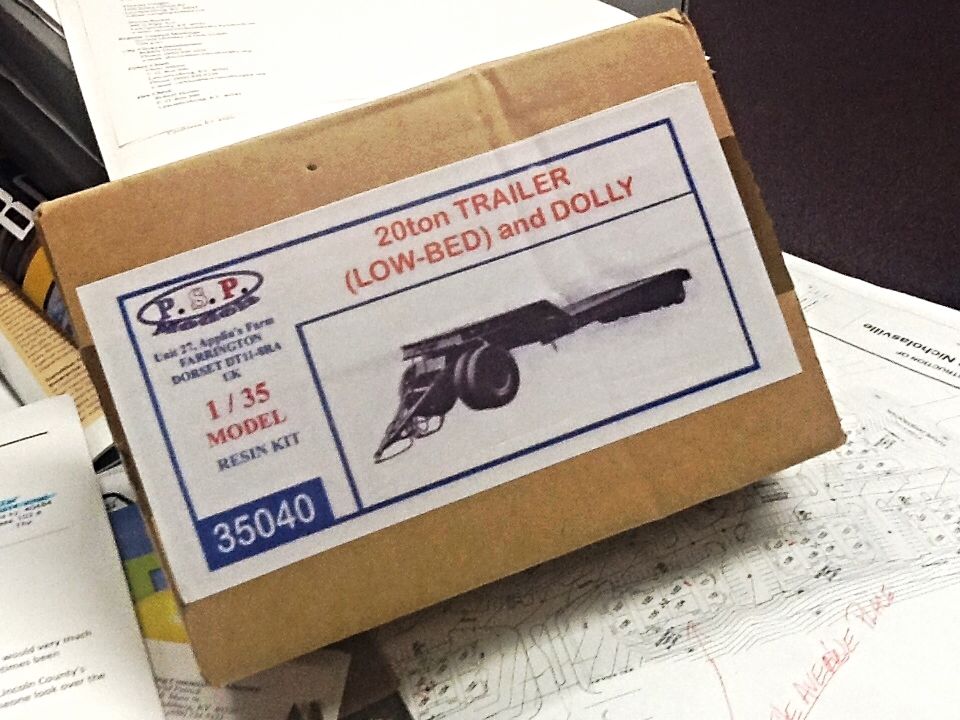
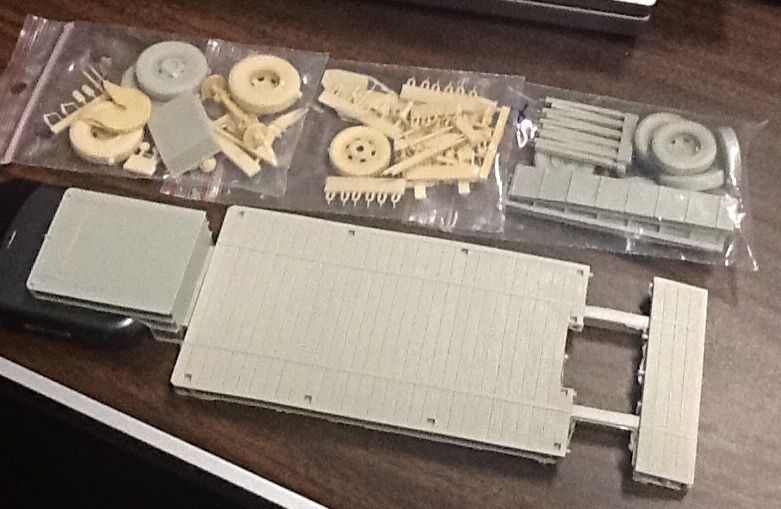
Highly satisfied. Well done Scale-Link!

__________________________________________________________________________________________

I am currently in the process of converting the White 666 truck recently introduced by Hobby Boss into a semi-tractor and have had my eye on this trailer to couple with the tractor for some time now.

I do not intend to use the dolly offered in this kit but rather I want to hitch the trailer directly to the truck as in the photo below. Actually this is the very photo that started this whole scale model journey. I already have the Mirror Models bulldozer in my stash and I want to eventually recreate this photo in 1/35 scale.


Current progress on the conversion of the White tractor:


The thread covering the conversion of the White truck to a semi-tractor can be viewed at:

http://armorama.kitmaker.net/forums/236169&ord=&page=1
165thspc
#521
Visit this Community
Kentucky, United States
Joined: April 13, 2011
KitMaker: 9,465 posts
Armorama: 8,695 posts
Posted: Tuesday, July 07, 2015 - 07:24 PM UTC
A start on the 20 ton trailer; July 6,2015

Flash and molding line clean-up is now complete.

Assembled the main load bed and forward bulkhead, then attached the goose neck to it. Also added some additional reinforcements to the underbody of the trailer using Evergreen plastic strips.


Those longitudinal strips that I added to the main beams on the underside serve to reenforce the union between the trailer bed casting and the goose neck casting. They also turn those big square frame beams into "I"-beams which is what they are supposed to be in the first place.
____________________________________________________________________________________________

Was more than a bit concerned about the forward vertical bulkhead on the model. The resin piece that comes in the kit was so thin, delicate and flimsy I felt sure once it was sandwiched forever between the trailer deck and the goose neck those delicate ears on each side were bound to end up cracked and broken off.

It occurred to me it would be easy enough to use the resin piece as a flat pattern and make a more durable substitute bulkhead from plastic sheet.


There are two very nicely molded safety reflectors on the kit part that I am going to loose but I figure I can somehow make up for them later on down the line.


The completed new bulkhead installed.
165thspc
#521
Visit this Community
Kentucky, United States
Joined: April 13, 2011
KitMaker: 9,465 posts
Armorama: 8,695 posts
Posted: Tuesday, July 07, 2015 - 07:29 PM UTC

Spare tire stowed under the front deck - - - - - - - - - - - Rear axle wheel mounts installed. Now need to add bolt head details.
165thspc
#521
Visit this Community
Kentucky, United States
Joined: April 13, 2011
KitMaker: 9,465 posts
Armorama: 8,695 posts
Posted: Tuesday, July 07, 2015 - 07:31 PM UTC
Tonight's production: July 7, 2015


Finished up the I-beams to the rear of the main axle and got a start on the brake rigging.
165thspc
#521
Visit this Community
Kentucky, United States
Joined: April 13, 2011
KitMaker: 9,465 posts
Armorama: 8,695 posts
Posted: Tuesday, July 07, 2015 - 07:34 PM UTC
Close up of brake rigging:


That forward most large lever is for the manual brake. I put it together as per the instructions but it seems to me to be on the wrong side of the trailer as the manual brake wheel is located on the front right corner.

This will require some more research to answer the question. I have the TM so I will see what I can figure out.
vettejack
Visit this Community
Florida, United States
Joined: November 23, 2012
KitMaker: 1,277 posts
Armorama: 1,254 posts
Posted: Tuesday, July 07, 2015 - 08:38 PM UTC
This trailer also has my interest ever since the M19 by Merit was released. Observing your build had me noticing how much detail is lost (resin mold limitations) underneath the trailer where the wooden planks on top would show. That trailer screams to have real wood applications...and would finally get me to use the real wood scale planks I have in the aftermarket stash. Great build so far...I will be following this!
165thspc
#521
Visit this Community
Kentucky, United States
Joined: April 13, 2011
KitMaker: 9,465 posts
Armorama: 8,695 posts
Posted: Tuesday, July 07, 2015 - 09:48 PM UTC
I tend to agree with John. If I could have seen this model earlier (or had access to a good set of plan drawings,) I think I would have opted to build it from scratch instead, using left over Deuce and a Half tires from my spares box!

Not to say the model is bad. It has excellent qualities and it is going to look great behind my White 666 tractor! All in all it is a very imposing model and larger than I would have thought! I just think I would have maybe rather saved the $$$'s and had the fun of scratch building it.

I also thought of milling out all the "flow fillets" on the underside of the casting and then adding some scribed wood veneer to the bottom to represent the wood flooring but in the end I decided just to add some detail, do what I can to tone down all the "flow" on the underside and leave it at that.

We will see what happens.

LIGHT BULB: Last night I was struck with the idea of really giving the underside a dose of heavy caked mud. That would affectively cover up the resin molded "fillets" and I could also work in some hints of the wood planking as it would be seen on the underside of the trailer! Interesting, No?
165thspc
#521
Visit this Community
Kentucky, United States
Joined: April 13, 2011
KitMaker: 9,465 posts
Armorama: 8,695 posts
Posted: Tuesday, July 07, 2015 - 09:49 PM UTC

Quoted Text


That forward most large lever is for the manual brake. I put it together as per the instructions but it seems to me to be on the wrong side of the trailer as the manual brake wheel is located on the front right corner.

This will require some more research to answer the question. I have the TM so I will see what I can figure out.


Well here we go . . .


Clearly the long end of that brake lever should point to the right side of the trailer.


I think where PSP went wrong was that they did not realize the photo above is being viewed right side up - we are looking down from above with the wood decking removed. They thought the photo was being viewed from below, therefore putting the manual brake lever and linkage on the left side of the trailer when it should be pointing towards the right side.
namengr
Visit this Community
Illinois, United States
Joined: September 01, 2014
KitMaker: 332 posts
Armorama: 328 posts
Posted: Tuesday, July 07, 2015 - 09:50 PM UTC
Wish someone would come out with a M172 trailer to go behind my M123 TWS tractor. These were what we used to haul our equipment around.
165thspc
#521
Visit this Community
Kentucky, United States
Joined: April 13, 2011
KitMaker: 9,465 posts
Armorama: 8,695 posts
Posted: Tuesday, July 07, 2015 - 10:17 PM UTC
165thspc
#521
Visit this Community
Kentucky, United States
Joined: April 13, 2011
KitMaker: 9,465 posts
Armorama: 8,695 posts
Posted: Wednesday, July 08, 2015 - 03:31 AM UTC
Wheels and tires:

Casting of these civilian pattern tires is nice and sharp. They look good.

HOWEVER . . . . .

Assembly of tires:
The alignment pin on the inside tire is too large to insert into the mating (i.e. doesn't mate) outside tire. It makes keeping each pair of tires properly centered to each other very difficult while the glue dries.

Center bearing of wheel hub is a separate cast piece but again the alignment pin is too large to insert into the hole in the wheel rim casting???


Finished wheel pair.
165thspc
#521
Visit this Community
Kentucky, United States
Joined: April 13, 2011
KitMaker: 9,465 posts
Armorama: 8,695 posts
Posted: Wednesday, July 08, 2015 - 07:14 PM UTC
Sorry, I should have included these TM photos earlier on.


Note manual handbrake wheel on front RIGHT corner of trailer.

165thspc
#521
Visit this Community
Kentucky, United States
Joined: April 13, 2011
KitMaker: 9,465 posts
Armorama: 8,695 posts
Posted: Wednesday, July 08, 2015 - 07:30 PM UTC
LIGHT BULB:

Last night I was struck with the idea of really giving the underside a dose of heavy caked mud. That would affectively cover up the resin molded "fillets" and I could also work in some hint of the underside of the wood deck planking to be seen through the mud when viewed from the below! Interesting, Yes?
165thspc
#521
Visit this Community
Kentucky, United States
Joined: April 13, 2011
KitMaker: 9,465 posts
Armorama: 8,695 posts
Posted: Wednesday, July 08, 2015 - 07:32 PM UTC
F.Y.I. - Here is the latest progress on the White tractor to pull this 20 ton trailer:


Much work yet to do on the cab interior and the fifth wheel.
____________________________________________________________________________

Construction thread on the White 666 semi-tractor can be found at:

http://armorama.com/forums/236169&ord=&page=1
pgb3476
Visit this Community
Texas, United States
Joined: March 11, 2007
KitMaker: 977 posts
Armorama: 976 posts
Posted: Wednesday, July 08, 2015 - 07:36 PM UTC
The White is looking good.
165thspc
#521
Visit this Community
Kentucky, United States
Joined: April 13, 2011
KitMaker: 9,465 posts
Armorama: 8,695 posts
Posted: Wednesday, July 08, 2015 - 07:47 PM UTC
Another missing detail I found recently that, given my kooky brain, I will just have to add. The Brake Reservoir Air Tank!


165thspc
#521
Visit this Community
Kentucky, United States
Joined: April 13, 2011
KitMaker: 9,465 posts
Armorama: 8,695 posts
Posted: Wednesday, July 08, 2015 - 08:43 PM UTC
BigfootV
Visit this Community
Colorado, United States
Joined: December 24, 2005
KitMaker: 1,624 posts
Armorama: 994 posts
Posted: Wednesday, July 08, 2015 - 11:05 PM UTC
Hello Michael,

If you look at the diagram it gives you the service and emergency line placements. The Emergency line, which is red, is placed on the left hand side of the trailer. This would be shown as Ref. "U" on the diagram. The service line, which is blue, is on the right. This is shown as Ref. "T" on the diagram. This is an overhead view, minus floor boards, of the airline placement. Tank should be on left side based on the diagram. Red line is always left side, blue is always right side. I hate working upside, ass half backwards.

HTH

See ya in the funnies..............
165thspc
#521
Visit this Community
Kentucky, United States
Joined: April 13, 2011
KitMaker: 9,465 posts
Armorama: 8,695 posts
Posted: Wednesday, July 08, 2015 - 11:26 PM UTC
Thanks Brian. You're right of course. I fussed about the original model maker getting the mechanical brake rigging running down the wrong side of the trailer because they were looking at a photo they thought was upside down (it wasn't) and then I go and make the same rooky mistake! Yes the air tank would be on the left side of the trailer and not the right. From the diagrams I have the electrical lines run down the right side and the air lines down the left!

CORRECTED PHOTO:
165thspc
#521
Visit this Community
Kentucky, United States
Joined: April 13, 2011
KitMaker: 9,465 posts
Armorama: 8,695 posts
Posted: Thursday, July 09, 2015 - 01:19 AM UTC
Hey Bigfoot, a question: I have seen some WWII Army trucks with the gladhands painted red-(Left) and yellow-(Right). This was on a restored vehicle so did the owner just make a mistake or can yellow substitute for blue?
165thspc
#521
Visit this Community
Kentucky, United States
Joined: April 13, 2011
KitMaker: 9,465 posts
Armorama: 8,695 posts
Posted: Thursday, July 09, 2015 - 02:00 AM UTC
Two White tractor photos, both of them shown pulling the 20T trailer.

(Both photos from the collection of Henri-Pierre)


French Army White tractor used postwar in the Sahara desert.


Korean War era.
165thspc
#521
Visit this Community
Kentucky, United States
Joined: April 13, 2011
KitMaker: 9,465 posts
Armorama: 8,695 posts
Posted: Thursday, July 09, 2015 - 03:45 AM UTC

Two post war, re-shopped White tractors with larger wheels and tires plus a front mounted winch.


DocEvan
Visit this Community
California, United States
Joined: August 09, 2014
KitMaker: 180 posts
Armorama: 180 posts
Posted: Thursday, July 09, 2015 - 06:18 AM UTC
Lookin' great, Mike! And you're 100% correct, weathering can hide a multitude of sins.
165thspc
#521
Visit this Community
Kentucky, United States
Joined: April 13, 2011
KitMaker: 9,465 posts
Armorama: 8,695 posts
Posted: Thursday, July 09, 2015 - 07:07 AM UTC

Quoted Text

Lookin' great, Mike! And you're 100% correct, weathering can hide a multitude of sins.


Yes, but in this case it is going to take some thick mud!

One thing of beauty is that in the center of many of those mud puddles the wood from the underside of the decking will be showing through.

I just hope my artistic abilities on this score can live up to what I see in my imagination!

Cheers
Mike
BigfootV
Visit this Community
Colorado, United States
Joined: December 24, 2005
KitMaker: 1,624 posts
Armorama: 994 posts
Posted: Thursday, July 09, 2015 - 07:22 AM UTC
Hello Michael,

It's been my experience that the glad hands have been red/blue, however that does not mean yellow wasn't used a some point in the evolution of military heavy hauling. I think yellow was for Europe.

Here's a thread link that might help also:

http://www.network54.com/Forum/47208/thread/1361087623/Color+Code+for+WWII++area++M4+HST+-155mm+Gun+M1+Break+Line+%C2%93Glad+Hands%C2%94

HTH

See ya in the funnies.............
 _GOTOTOP