_GOTOBOTTOM
Armor/AFV: Early Armor
WWI and other early tanks and armored cars.
Hosted by Darren Baker
Takom 1/16 FT-17 Renault
catdude01
Visit this Community
Puerto Rico
Joined: December 05, 2013
KitMaker: 314 posts
Armorama: 253 posts
Posted: Thursday, April 14, 2016 - 10:12 PM UTC
Hi all!

This month I started a new challenge, my very first kit in 1/16 scale and on top of that from World War One, the Takom 1/16 FT-17 Renault! At first I was reluctant to choose this kit, since I have no experience on that scale and I have read about WWI in the past, but never work a kit from that era, so I'm on uncharted waters in many ways. I order the kit with a book reference which I receive from Spruebrothers in just 4 days! (consider that I’m out of the States in the Caribbean, Puerto Rico).

Started right away to look at the parts and get familiarized and also look at the information and pictures of the reference book. So I started now calling this a Char, not a panzer, not a tank, that’s the word for tank in French. Also found that this tank was call during WWI just as FT! The FT-17 name was later after the war due to the amount of variants and other French’s projects related. This Char was considered the first tank ! and was used in many conflicts and many countries, so I found a lot of references for the colors.

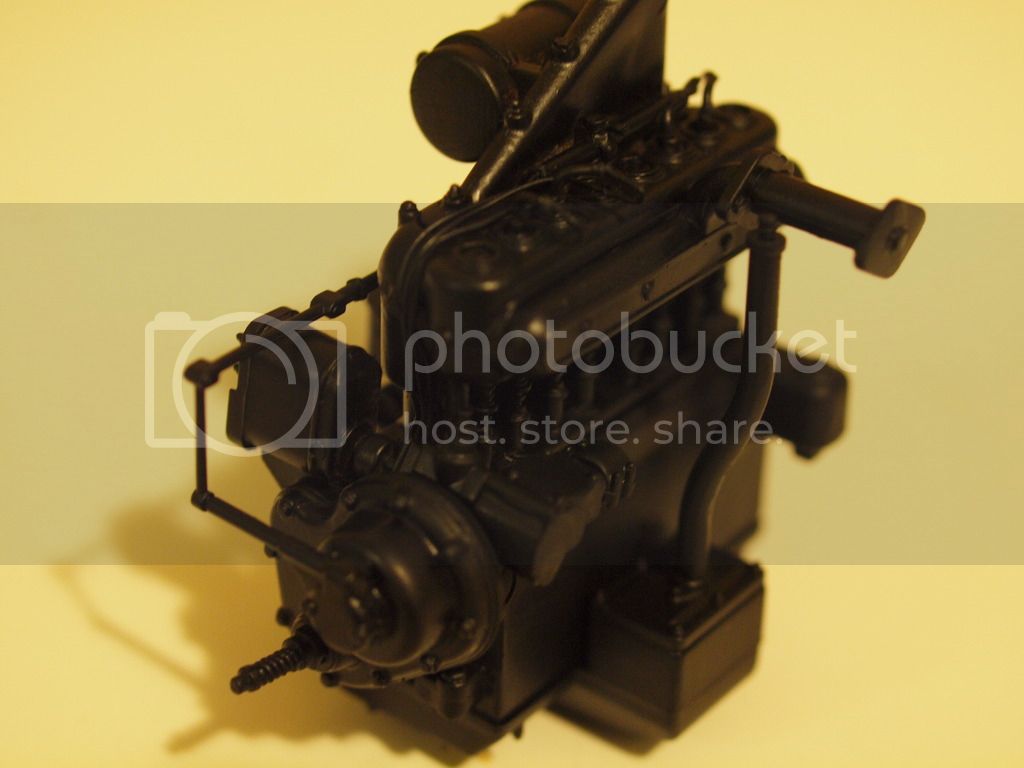
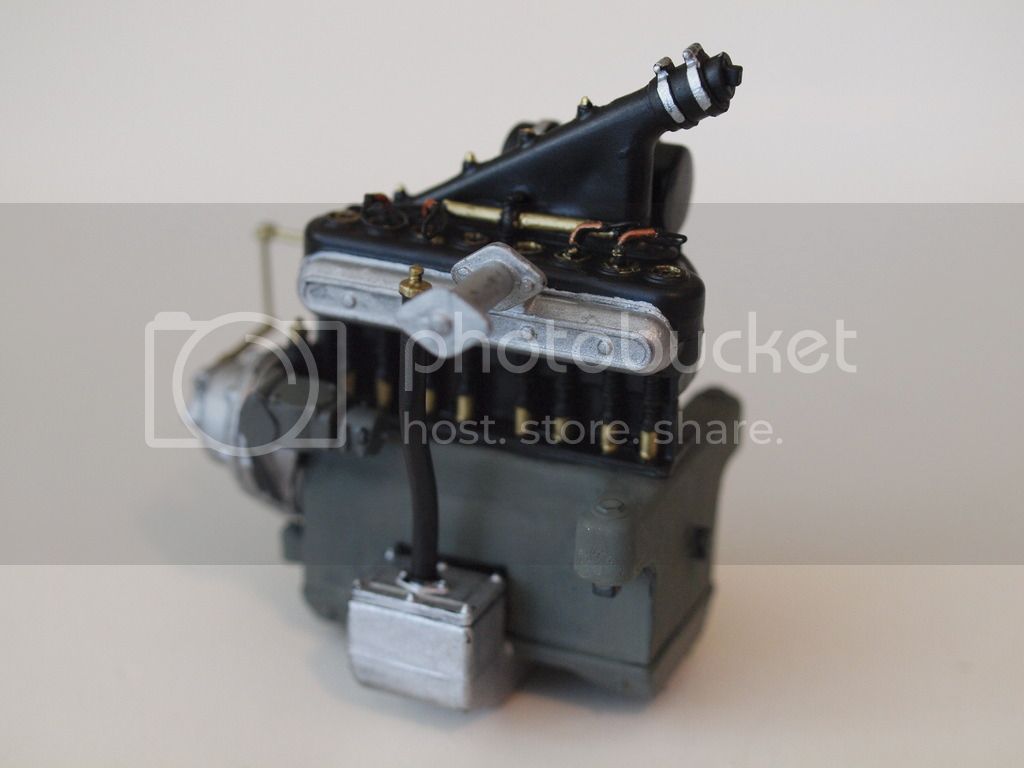
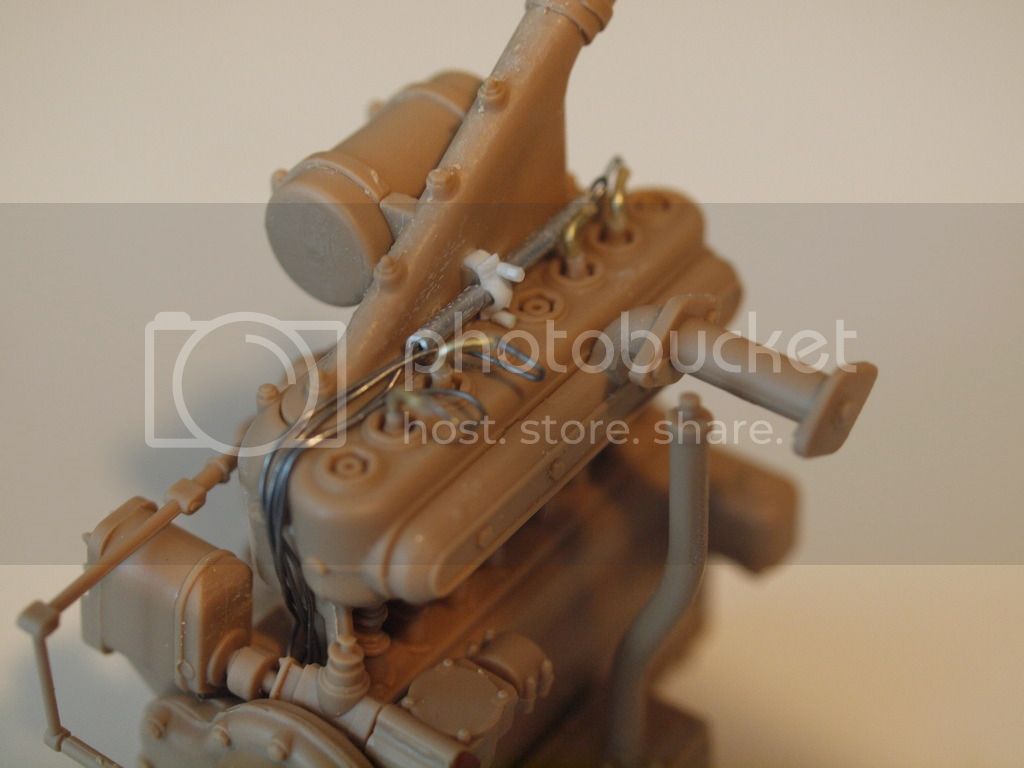
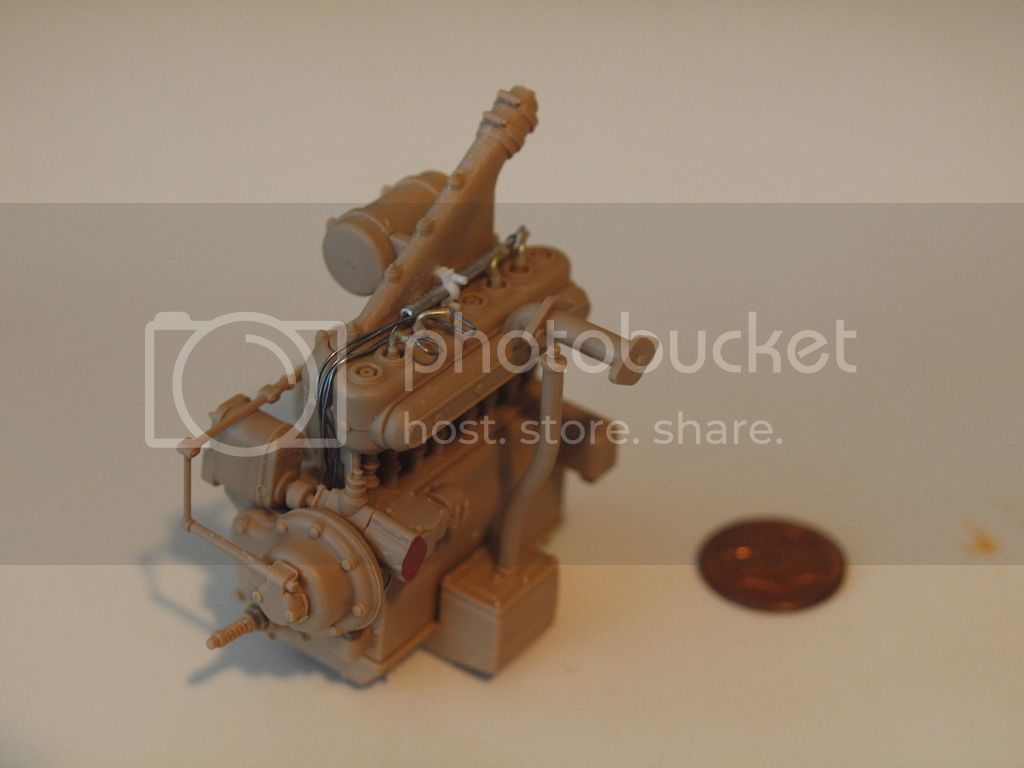
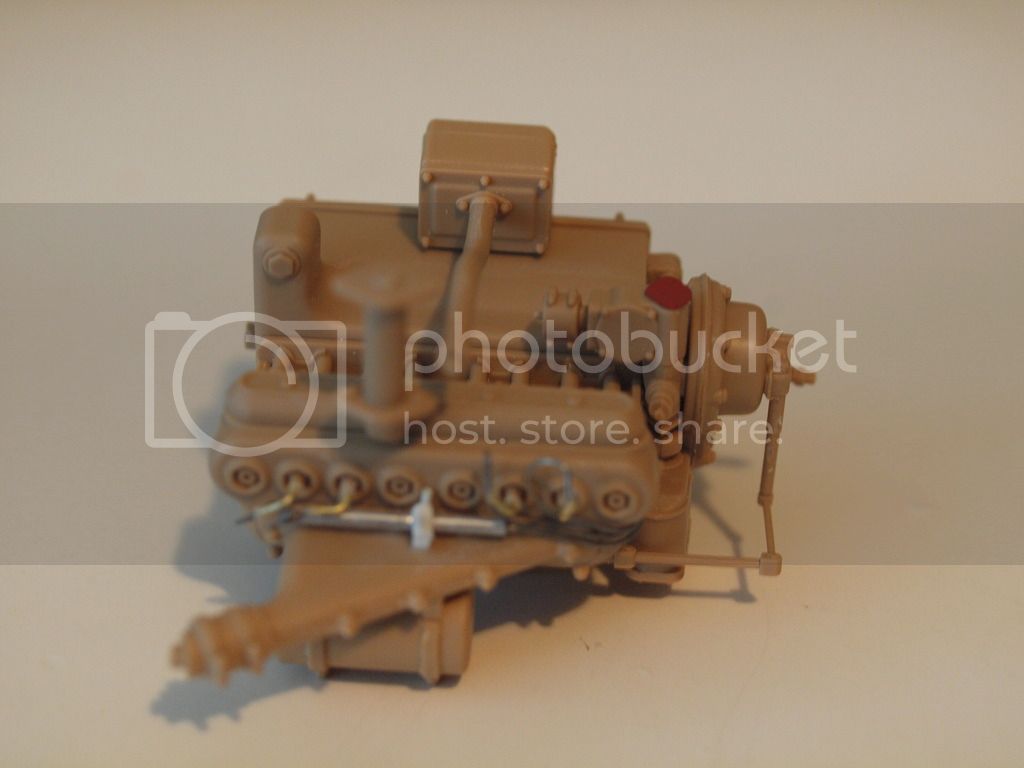
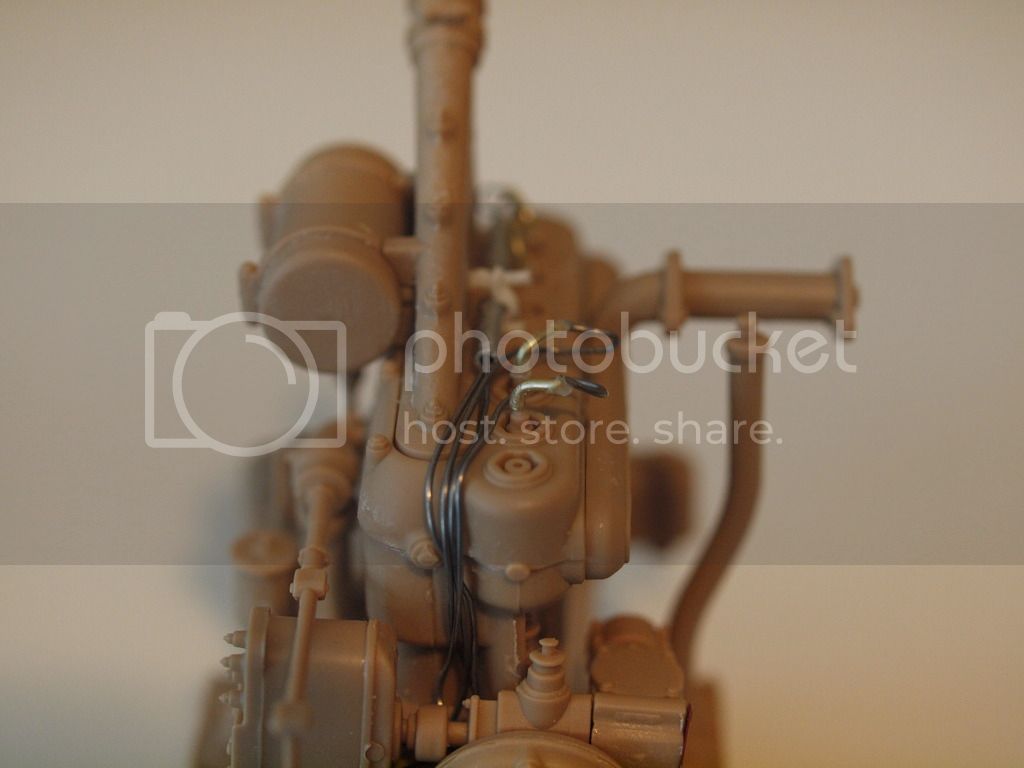
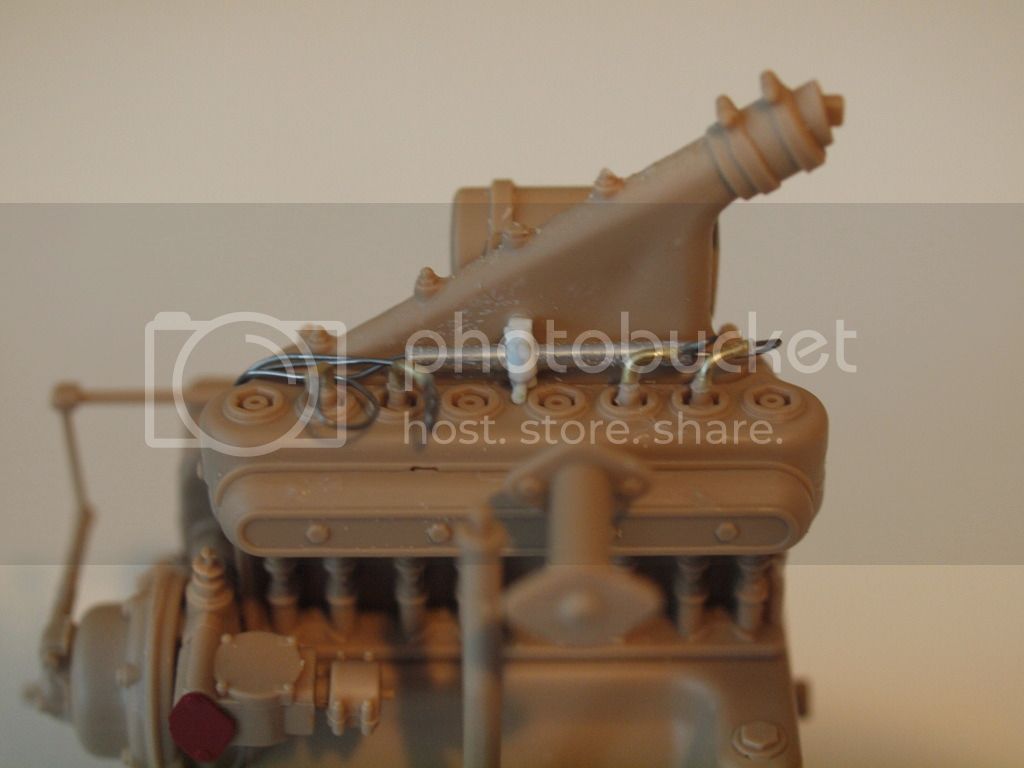
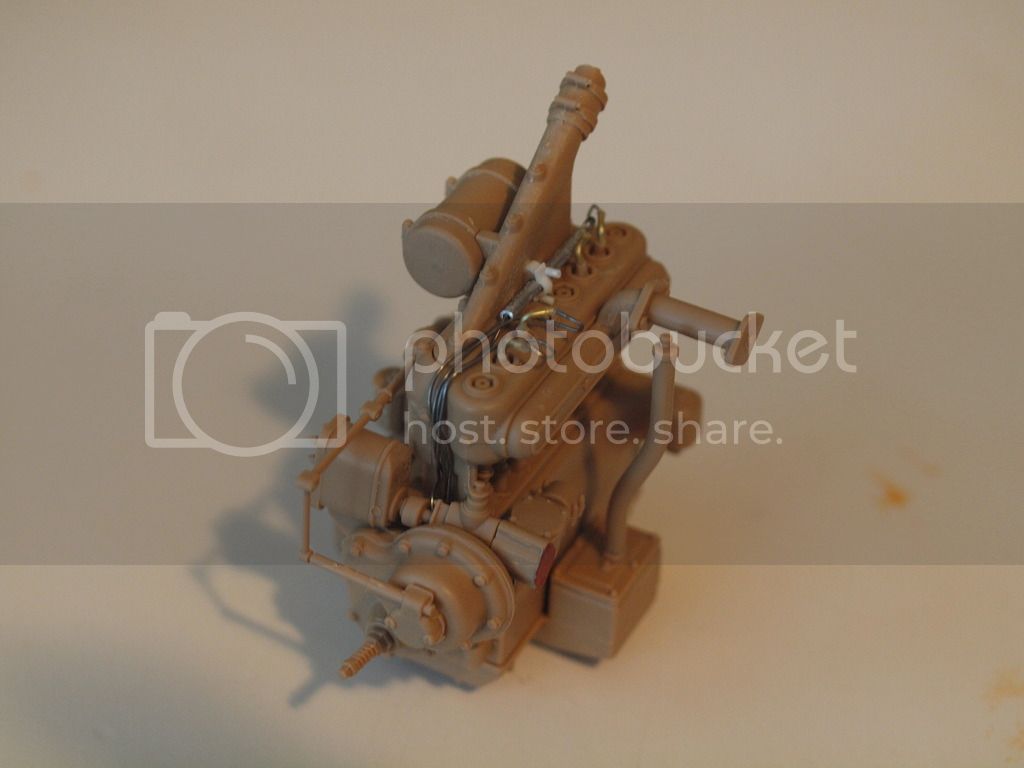
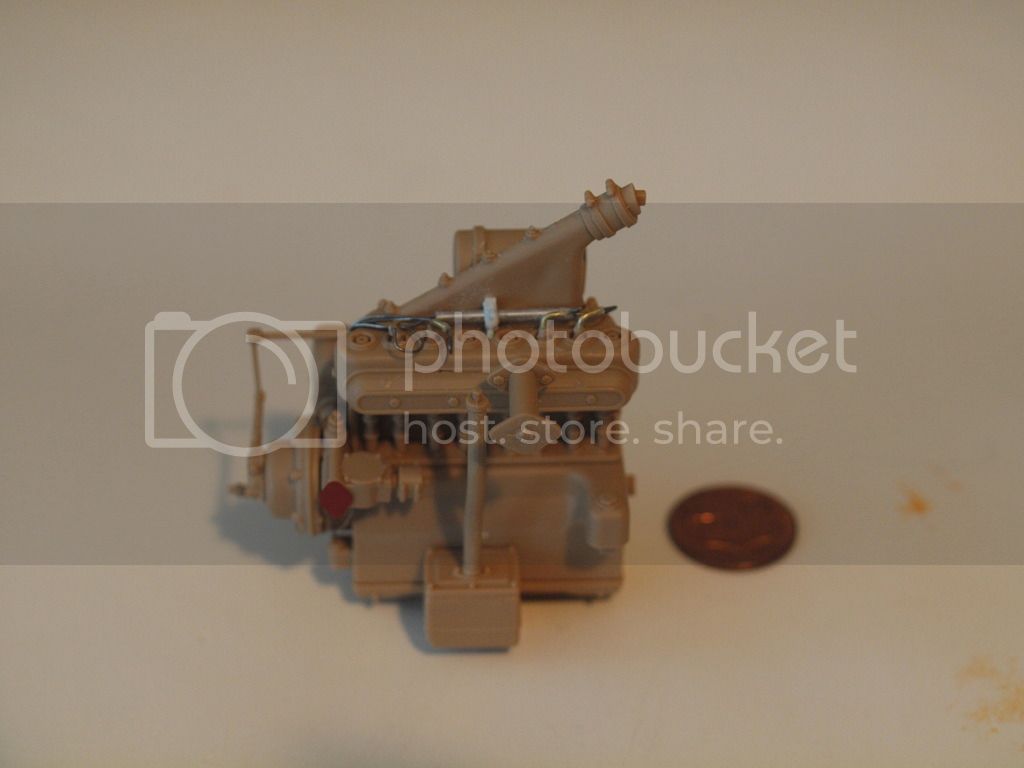
I started right away with the engine, at first the pictures were difficult to find, and even I confuse the American version with the french one.

The engine its just called 4 HP Renault engine, the American one is the BUDA HU engine.

The building its very straight forward, some cleaning is needed, but is minimal, the fitting is perfect. I added the cabling, the sparks plugs and some metal tubing to represent it as much real as possible.
catdude01
Visit this Community
Puerto Rico
Joined: December 05, 2013
KitMaker: 314 posts
Armorama: 253 posts
Posted: Thursday, April 14, 2016 - 10:13 PM UTC
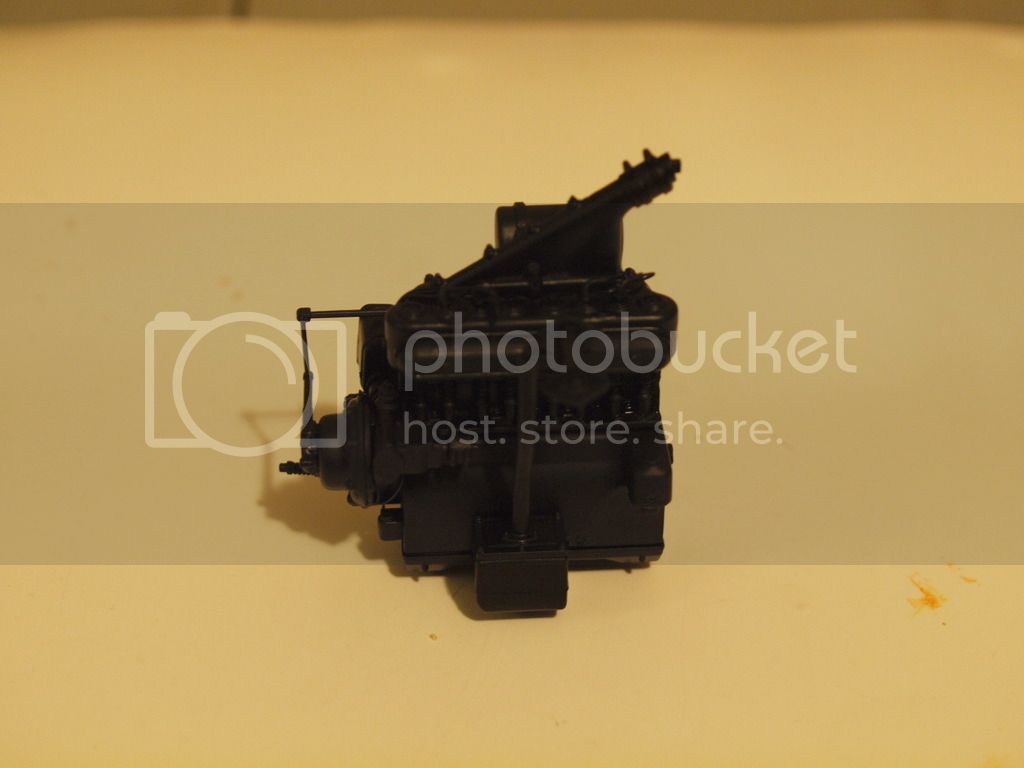
Primer was next in black and for that task I used Krylon black color in a can. The cover is great and its dries in 15-20 minutes. (sorry for the bad pictures)


catdude01
Visit this Community
Puerto Rico
Joined: December 05, 2013
KitMaker: 314 posts
Armorama: 253 posts
Posted: Thursday, April 14, 2016 - 10:14 PM UTC
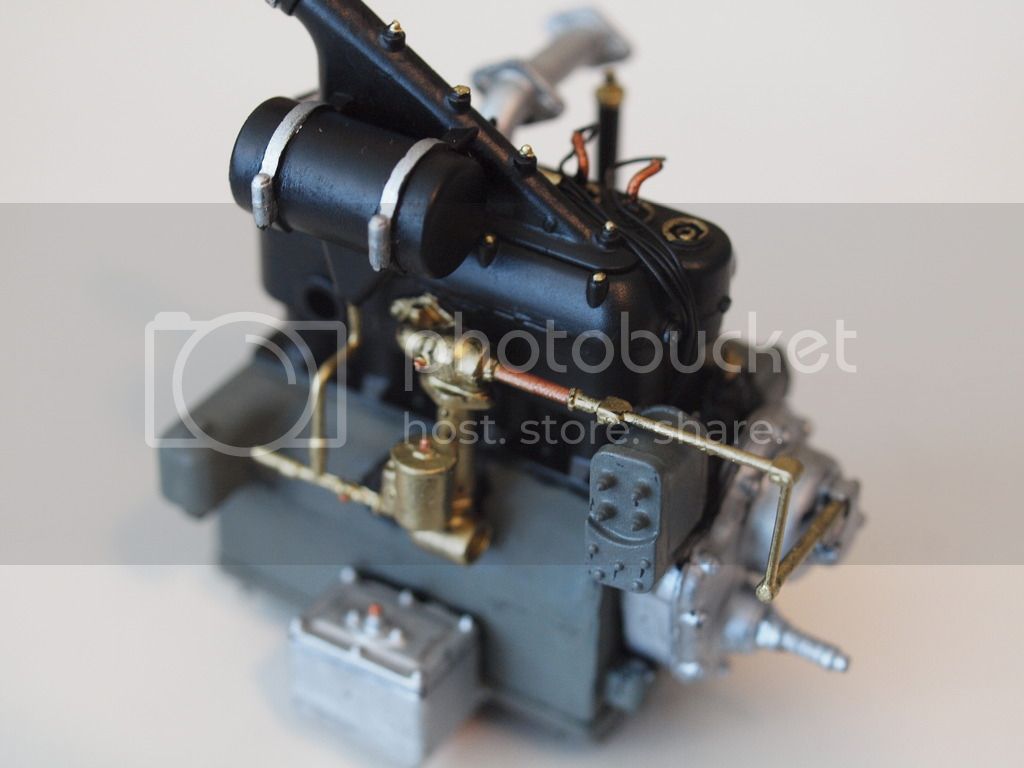
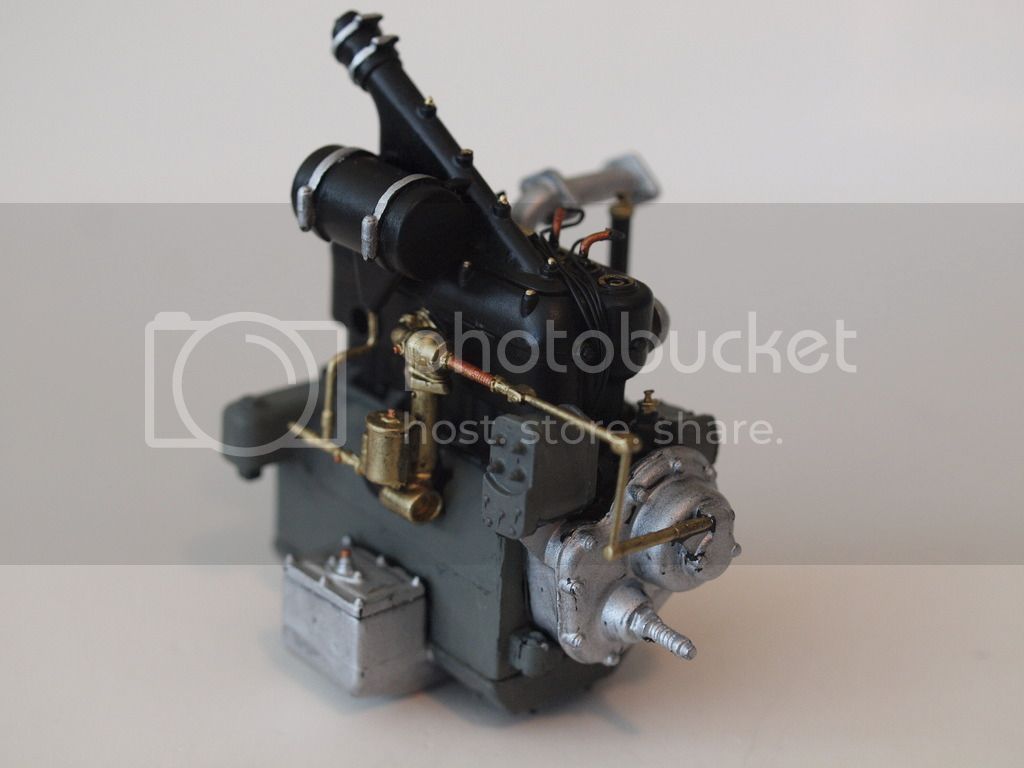
The instructions give you a guide of color for the engine, but I used instead the pictures of the reference book.

catdude01
Visit this Community
Puerto Rico
Joined: December 05, 2013
KitMaker: 314 posts
Armorama: 253 posts
Posted: Thursday, April 14, 2016 - 10:15 PM UTC
Weathering of the engine started with a wash of black, then another with burnt umber.

catdude01
Visit this Community
Puerto Rico
Joined: December 05, 2013
KitMaker: 314 posts
Armorama: 253 posts
Posted: Thursday, April 14, 2016 - 10:16 PM UTC
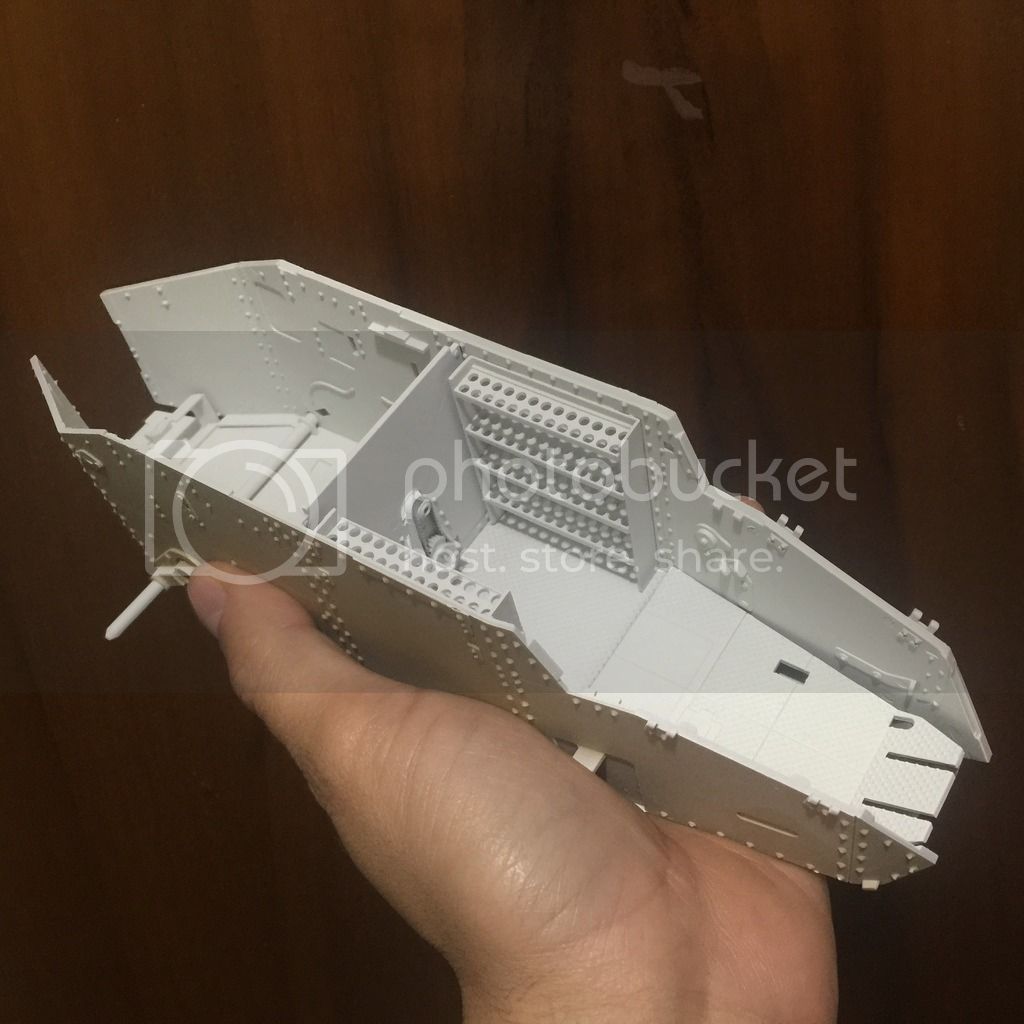
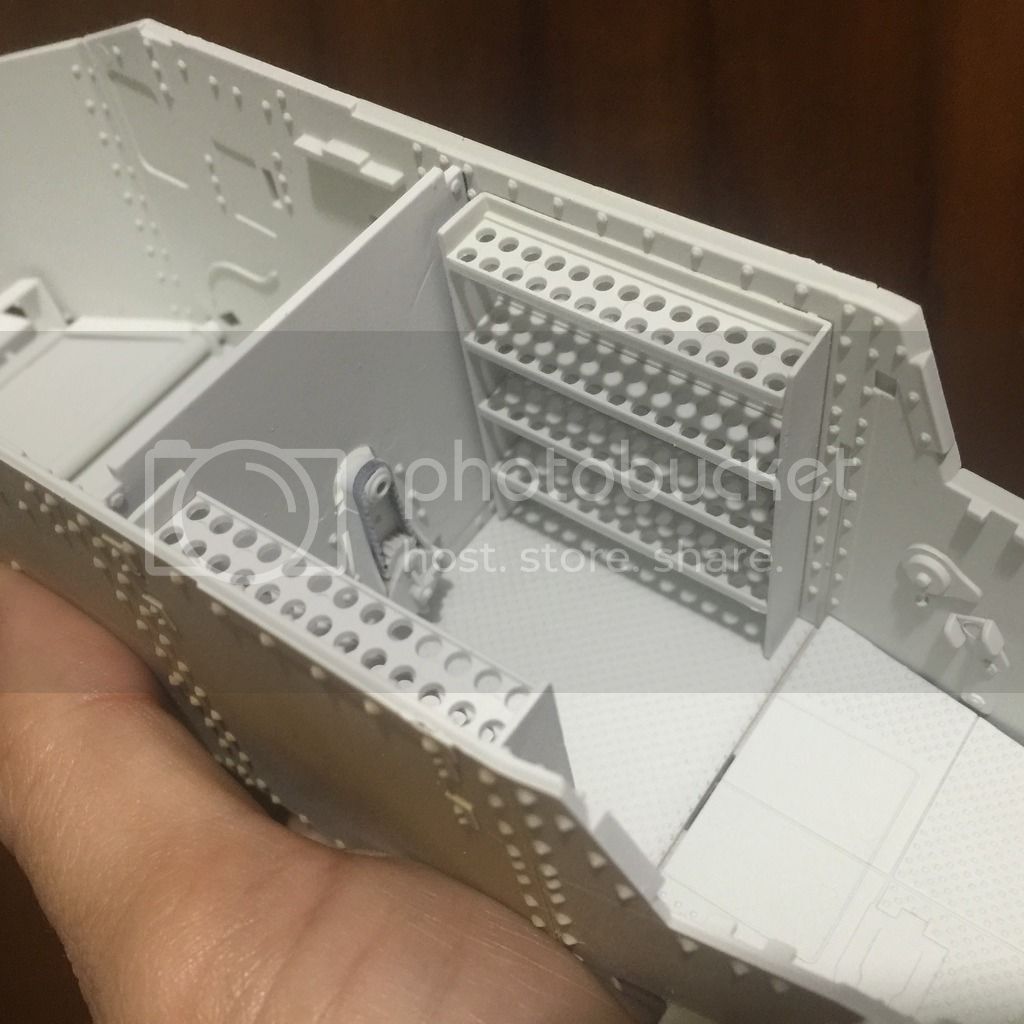
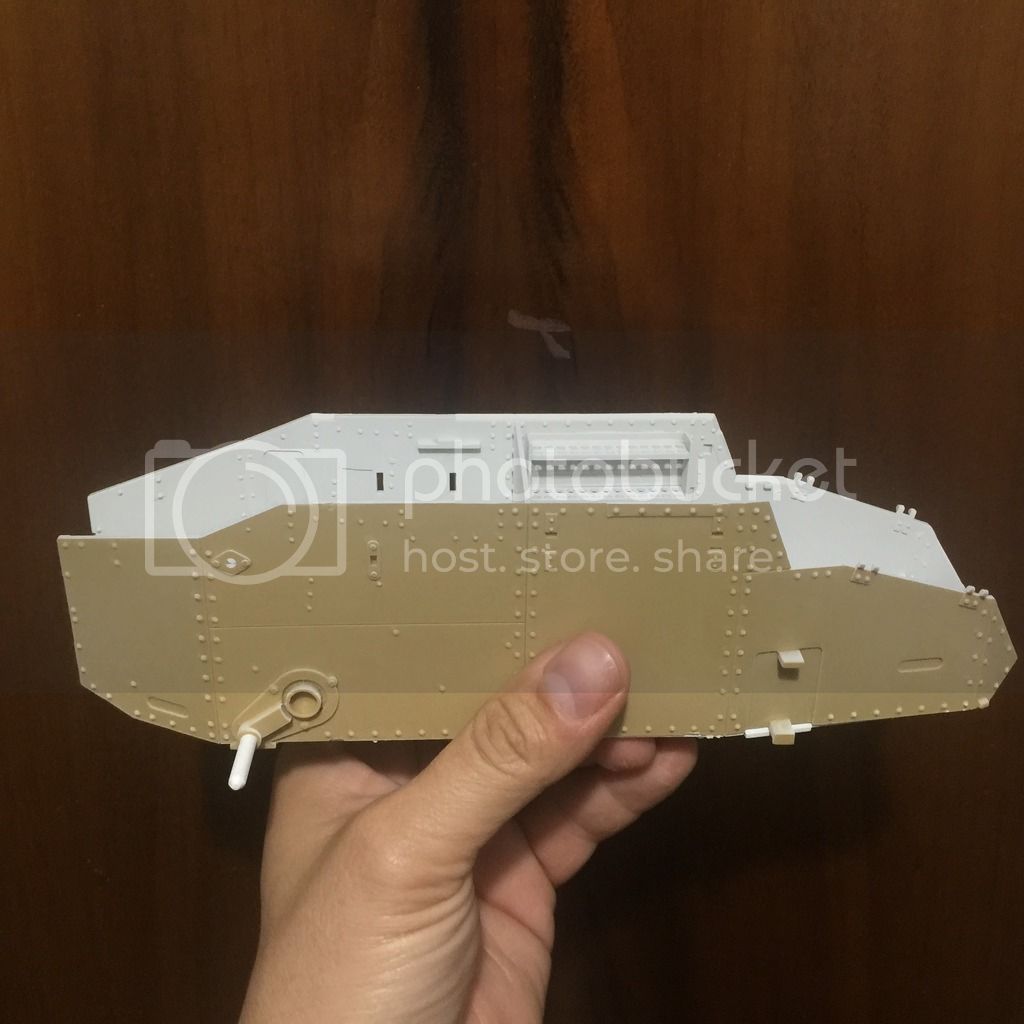
Test fitting of the hull, always do this from time to time to detect any issue before you get to a more complicated stage.

Beautiful fitting, like a glove, and look at the size! okay is smaller than almost all the tanks but still is a great one.

catdude01
Visit this Community
Puerto Rico
Joined: December 05, 2013
KitMaker: 314 posts
Armorama: 253 posts
Posted: Thursday, April 14, 2016 - 10:17 PM UTC
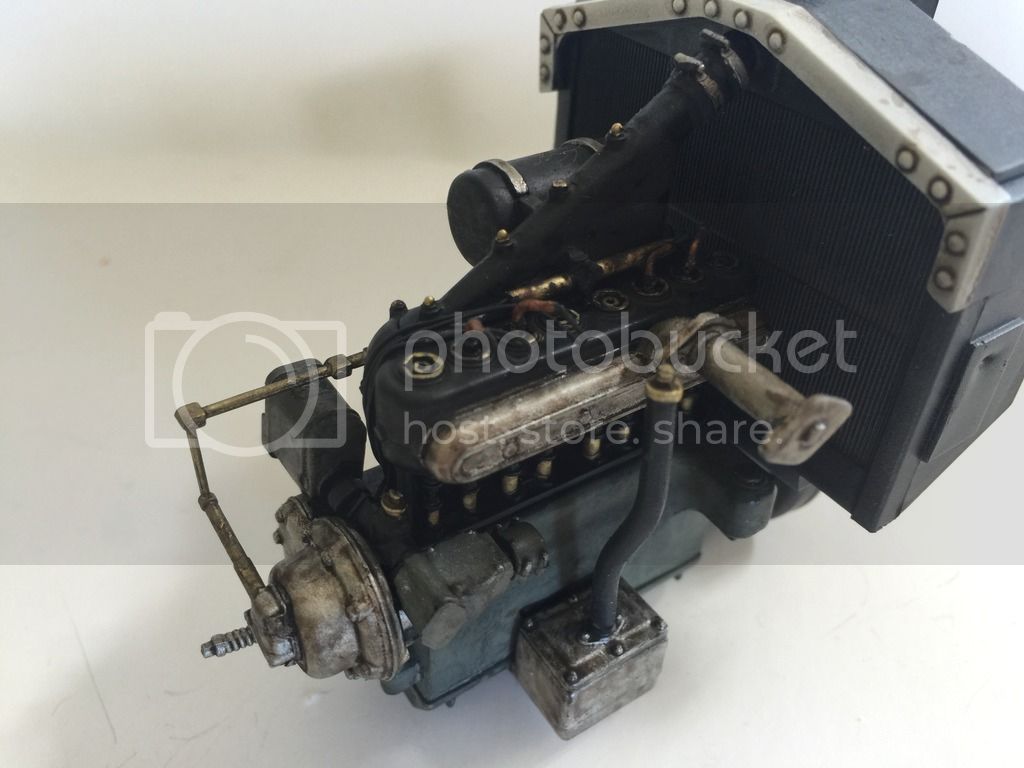
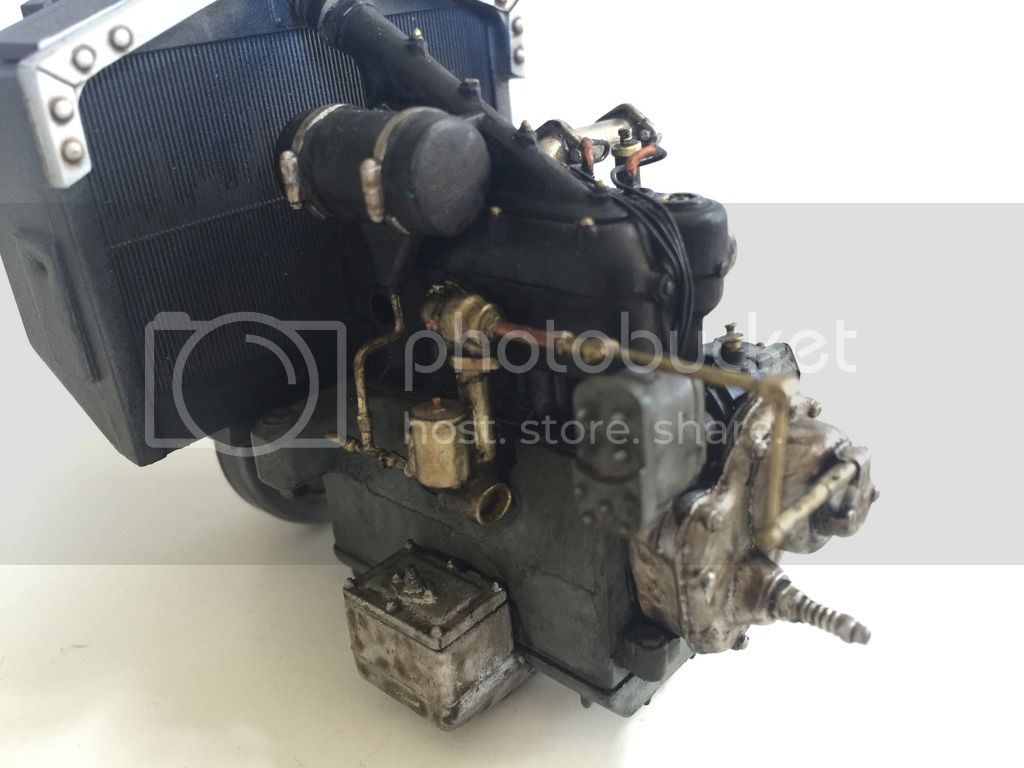
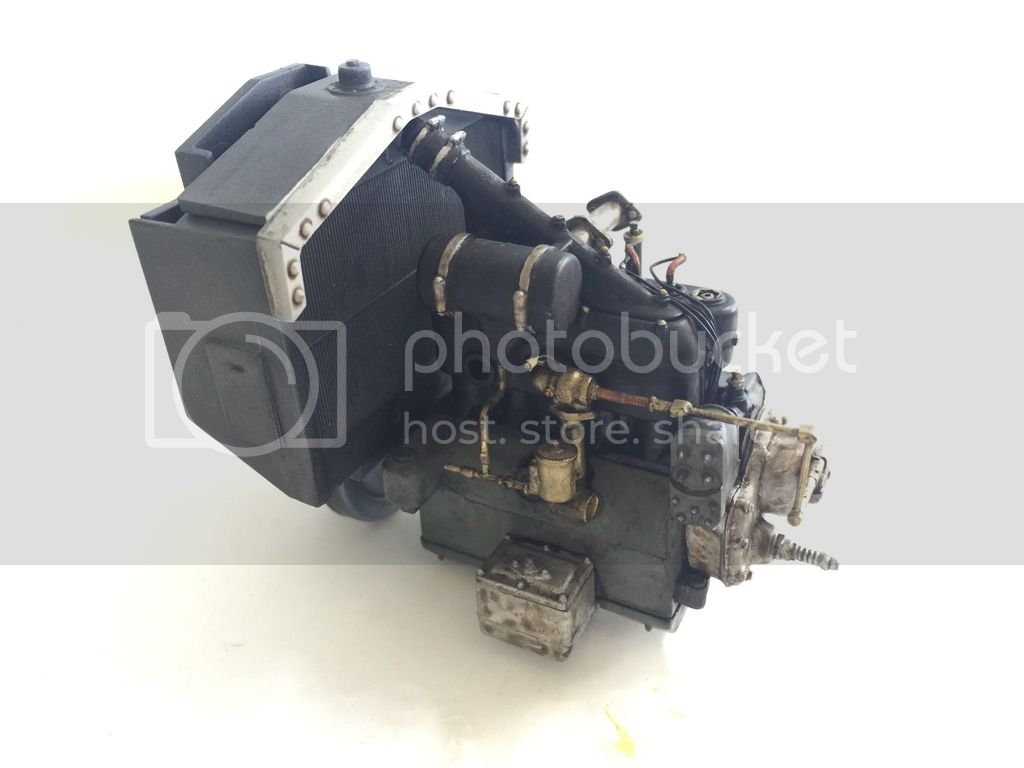
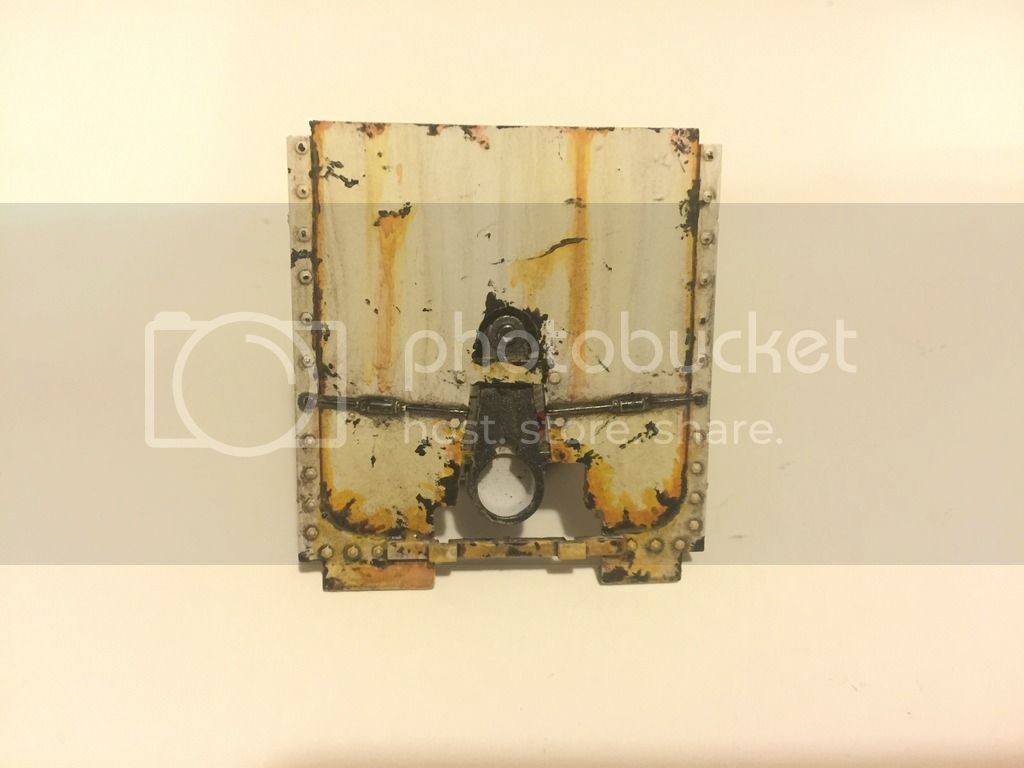
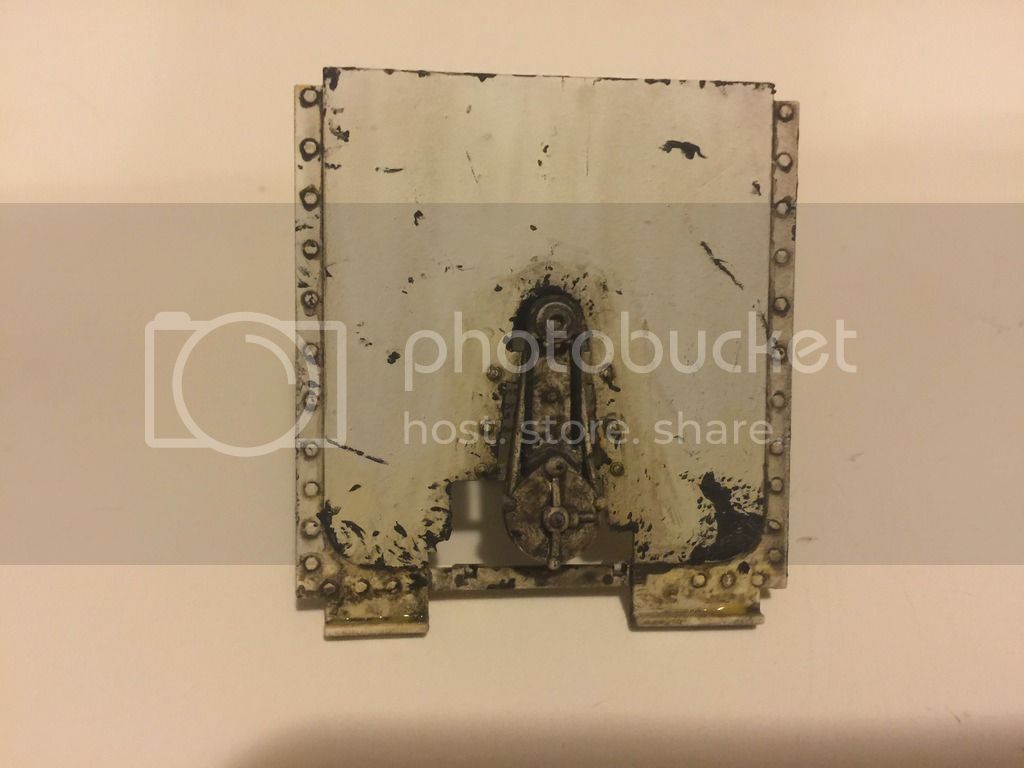
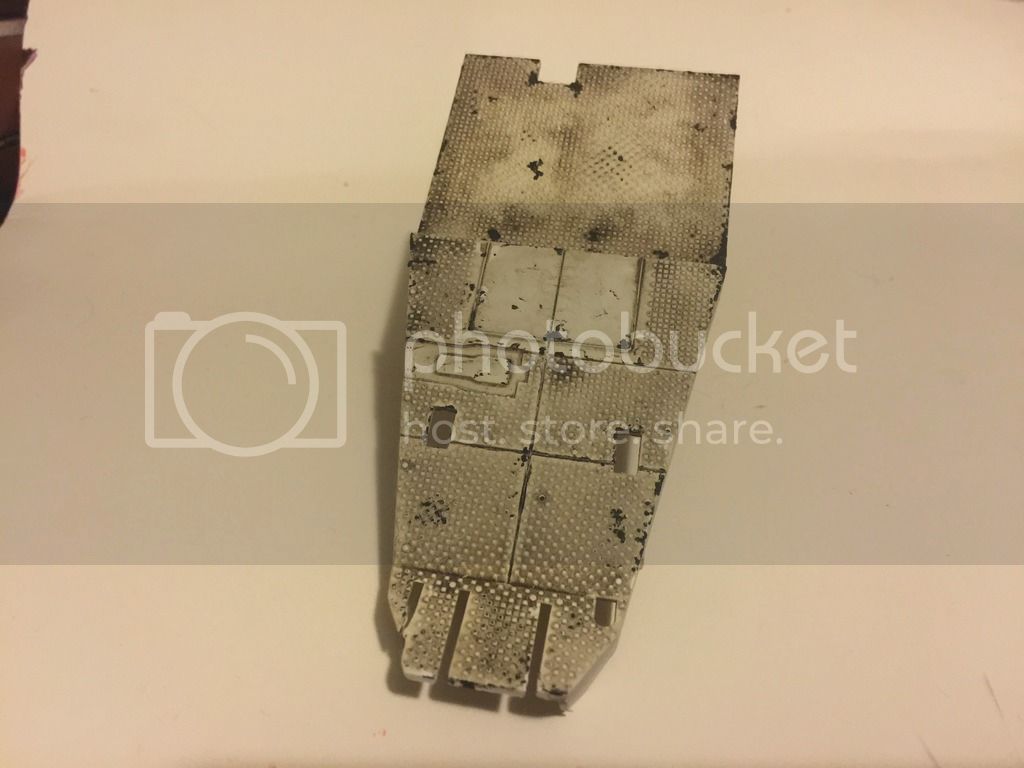
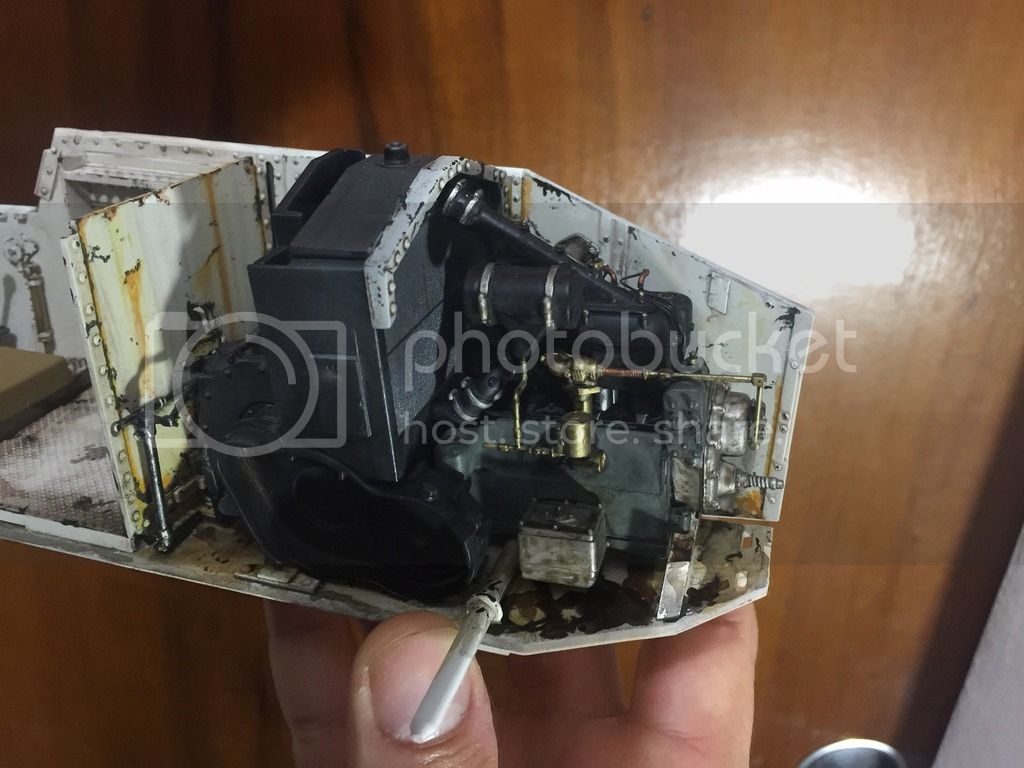
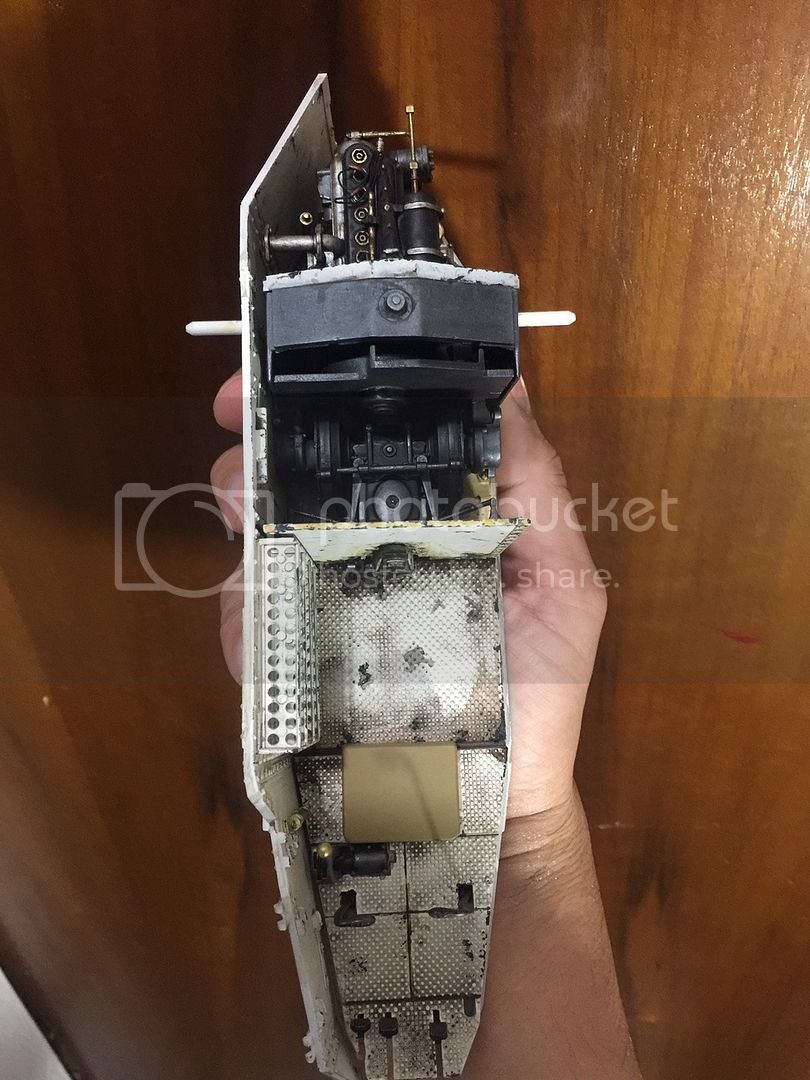
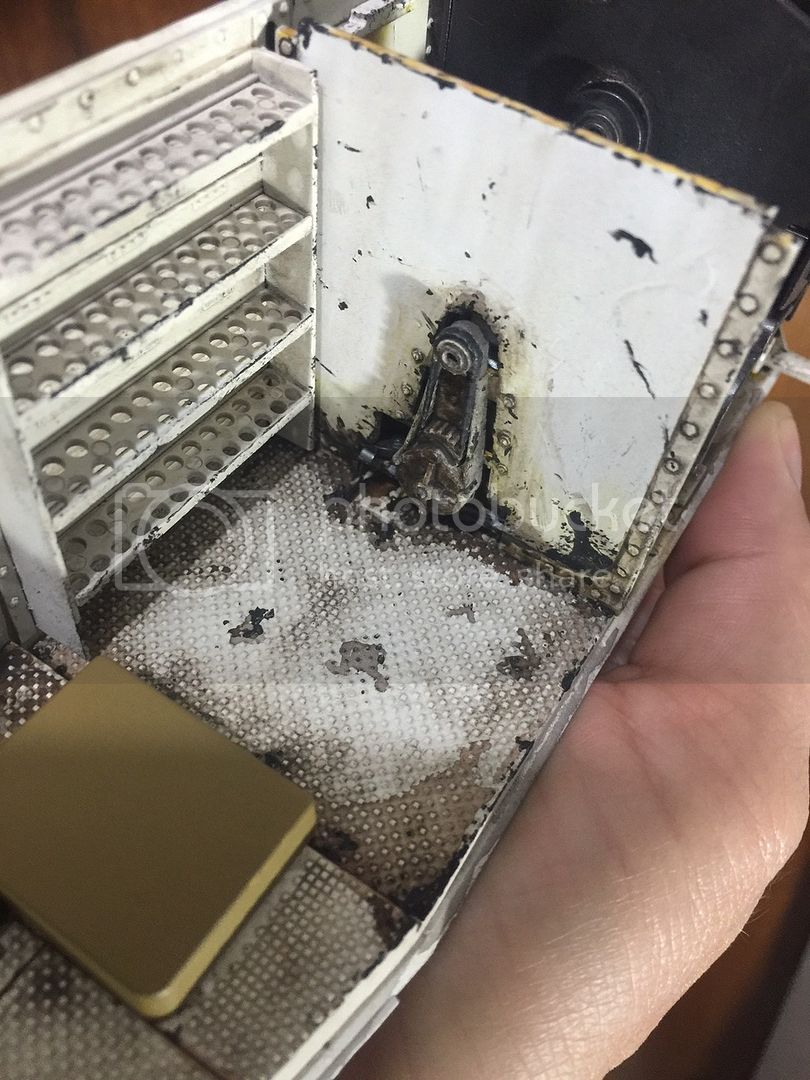
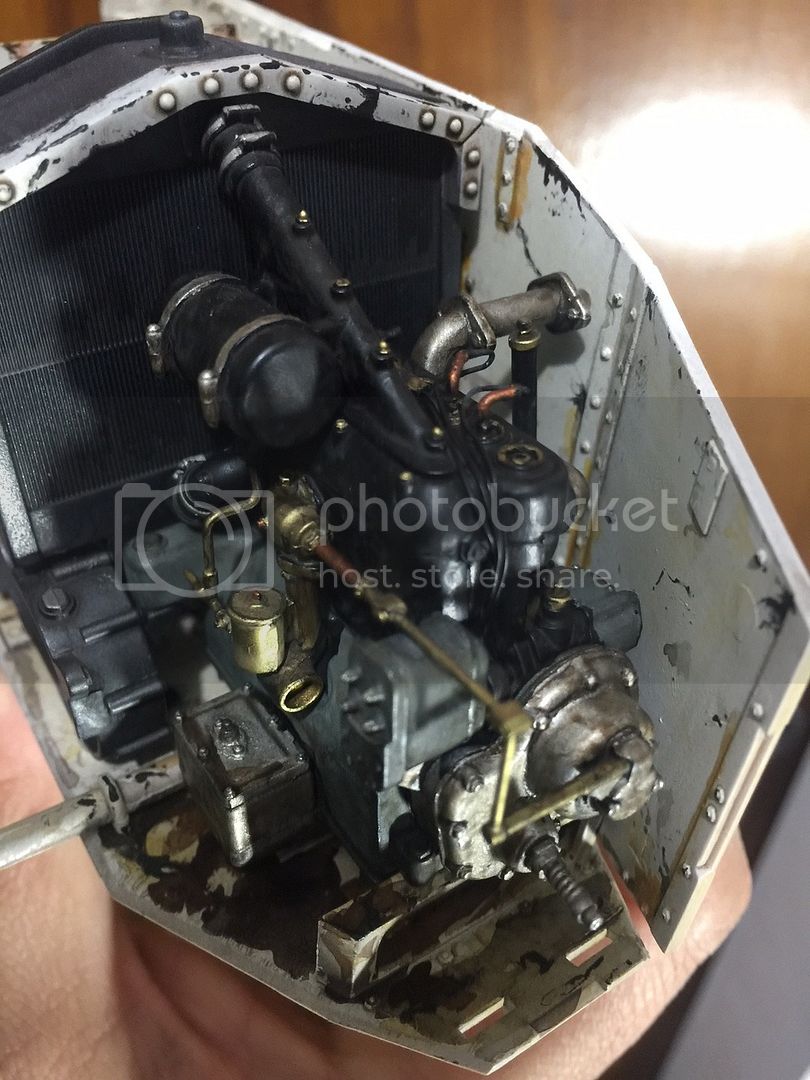
For the next part I started weathering the engine compartment, I wanted to show a lot of everything but not in a exagerated way, so with that in mine I used a very fine wash of burnt umber to tone down the white, chipping and scratch marks using a mix of black and burnt umber applied with a toothpick, a fine brush and a sponge. Later I added stains and some 3 tones of rust due to water exposure, etc.


On the other side, that reside inside the tank's belly, the story is a different one. The rust is not present, only stains, scratches and grime.


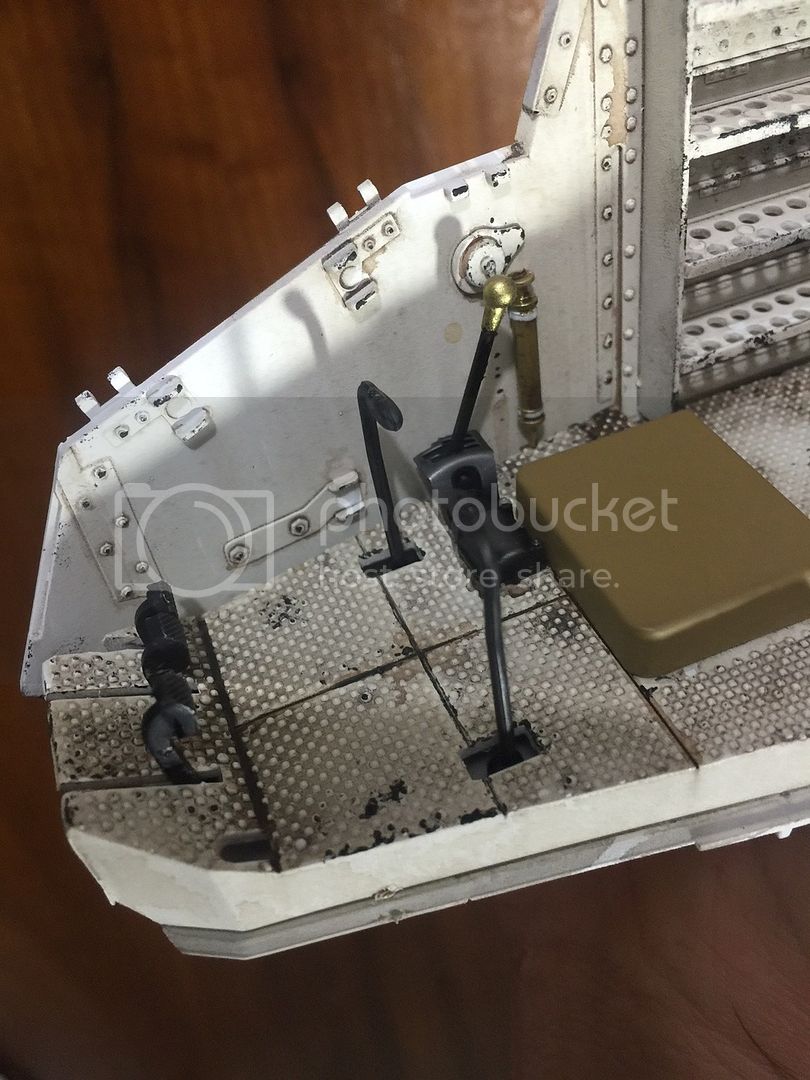
The driver floor also receive a similar treatment as the previous parts, except for the rust.

catdude01
Visit this Community
Puerto Rico
Joined: December 05, 2013
KitMaker: 314 posts
Armorama: 253 posts
Posted: Thursday, April 14, 2016 - 10:19 PM UTC
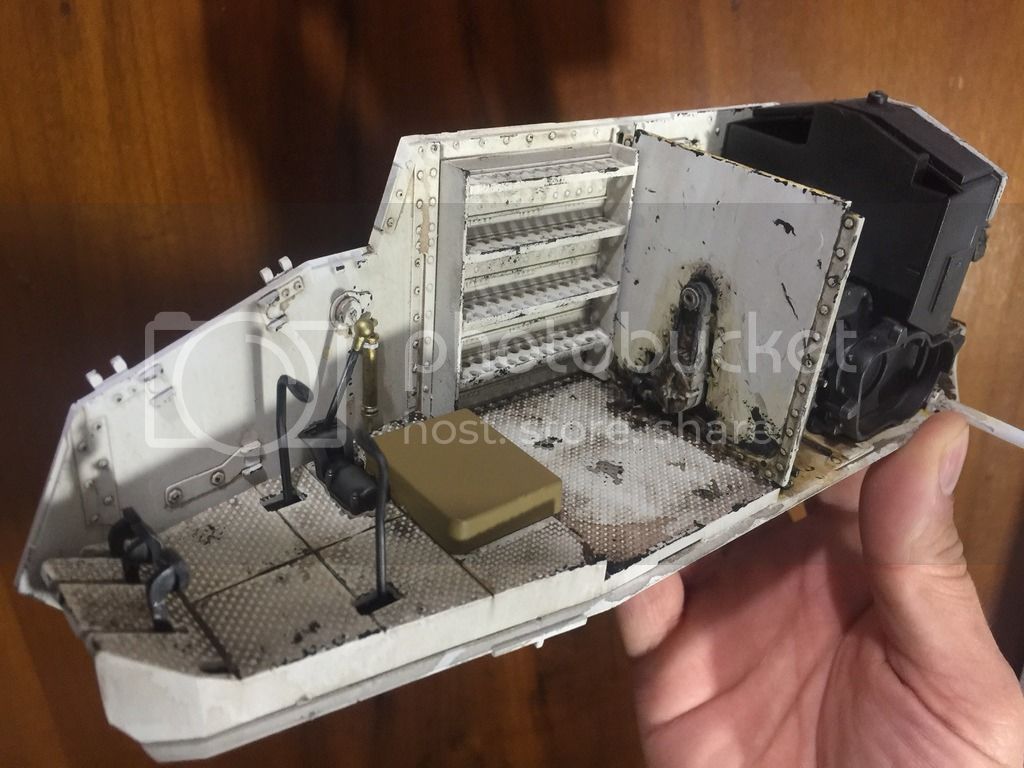
This recipe is repeated to the interior walls of the tank, then I added the pedals, the seat, and all the small details on the driver's area, and glued in place the complete engine. Here I put one side to test again the fitting, and still perfect. A lot of retouches were done overall to match the tones between the parts.


PantherF
Visit this Community
Indiana, United States
Joined: June 10, 2005
KitMaker: 6,188 posts
Armorama: 5,960 posts
Posted: Thursday, April 14, 2016 - 10:40 PM UTC
Awesome work there Pedro!

I don't know how long I have had my kit but between you and Todd's it should give me some incentive for sure! Your engine and the floor chipping is eye popping.

Now, if only Takom would also come out with a 1/16 Mark IV WWI tank I think I would be in heaven... you know what I mean?


Keep us up to date!


Jeff
catdude01
Visit this Community
Puerto Rico
Joined: December 05, 2013
KitMaker: 314 posts
Armorama: 253 posts
Posted: Thursday, April 14, 2016 - 11:26 PM UTC

Quoted Text

Awesome work there Pedro!

I don't know how long I have had my kit but between you and Todd's it should give me some incentive for sure! Your engine and the floor chipping is eye popping.

Now, if only Takom would also come out with a 1/16 Mark IV WWI tank I think I would be in heaven... you know what I mean?


Keep us up to date!


Jeff


that would be great, but in that scale will be costly and huge! What I hope is to see more stuff from WWI related, figures and aftermarkets too.
TRM5150
Visit this Community
Massachusetts, United States
Joined: January 03, 2010
KitMaker: 2,159 posts
Armorama: 707 posts
Posted: Friday, April 15, 2016 - 01:59 AM UTC
Bring it on Jeff!!

Fine job there Pedro!! Love the interior weathering....and that engine is sweet!! Keep it going!!
catdude01
Visit this Community
Puerto Rico
Joined: December 05, 2013
KitMaker: 314 posts
Armorama: 253 posts
Posted: Monday, April 18, 2016 - 05:53 PM UTC
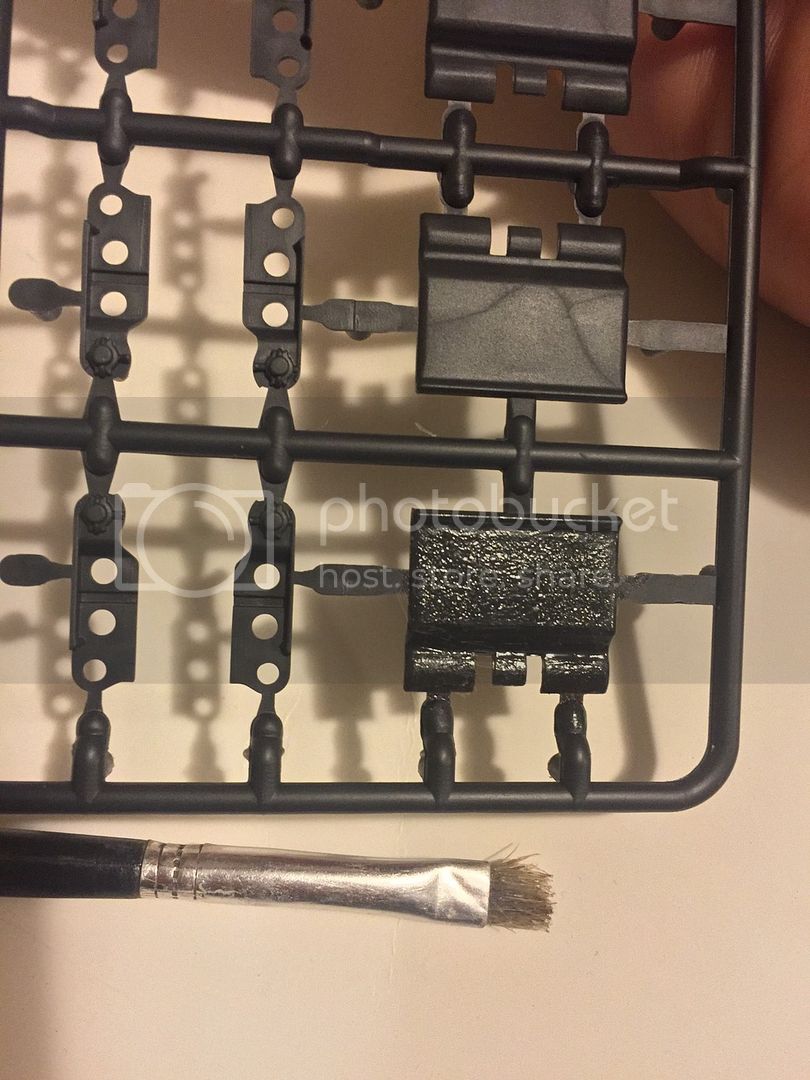
After inspecting the tracks vs the reference I found that they were casted and the textured was missing in my plastic kit. So for this task I used the Tamiya Thin glue and cover the whole track, then I used a stiff brush to tap all the track, showing the following result. ( I think I overdo this one, but the next ones are ok)


165thspc
#521
Visit this Community
Kentucky, United States
Joined: April 13, 2011
KitMaker: 9,465 posts
Armorama: 8,695 posts
Posted: Monday, April 18, 2016 - 06:10 PM UTC
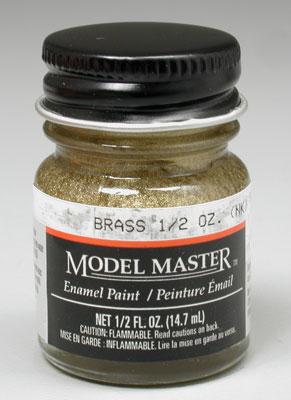
Sir, what paint are you using for your brass work on the engine? I hate the affect I get with many of the "gold" paints out there. Yours is perfection!
catdude01
Visit this Community
Puerto Rico
Joined: December 05, 2013
KitMaker: 314 posts
Armorama: 253 posts
Posted: Monday, April 18, 2016 - 07:00 PM UTC

Quoted Text

Sir, what paint are you using for your brass work on the engine? I hate the affect I get with many of the "gold" paints out there. Yours is perfection!


Michael: I used Model Master very diluted applied in coats.

PantherF
Visit this Community
Indiana, United States
Joined: June 10, 2005
KitMaker: 6,188 posts
Armorama: 5,960 posts
Posted: Monday, April 18, 2016 - 08:15 PM UTC

Quoted Text

After inspecting the tracks vs the reference I found that they were casted and the textured was missing in my plastic kit. So for this task I used the Tamiya Thin glue and cover the whole track, then I used a stiff brush to tap all the track, showing the following result. ( I think I overdo this one, but the next ones are ok)


No, I don't think you over did it. Just remember the REAL THING has seen some wear N tear so maybe if you hit yours with some 800 grit wet paper it'll come back?

I have decided NOT to RC my kit but set aside an area that I can slowly work on building mine. All of the interior work I have seen so far on here has changed my direction.

Who knows... maybe I'll post my first ever build thread?


(nice work)


Jeff
165thspc
#521
Visit this Community
Kentucky, United States
Joined: April 13, 2011
KitMaker: 9,465 posts
Armorama: 8,695 posts
Posted: Tuesday, April 19, 2016 - 04:12 AM UTC
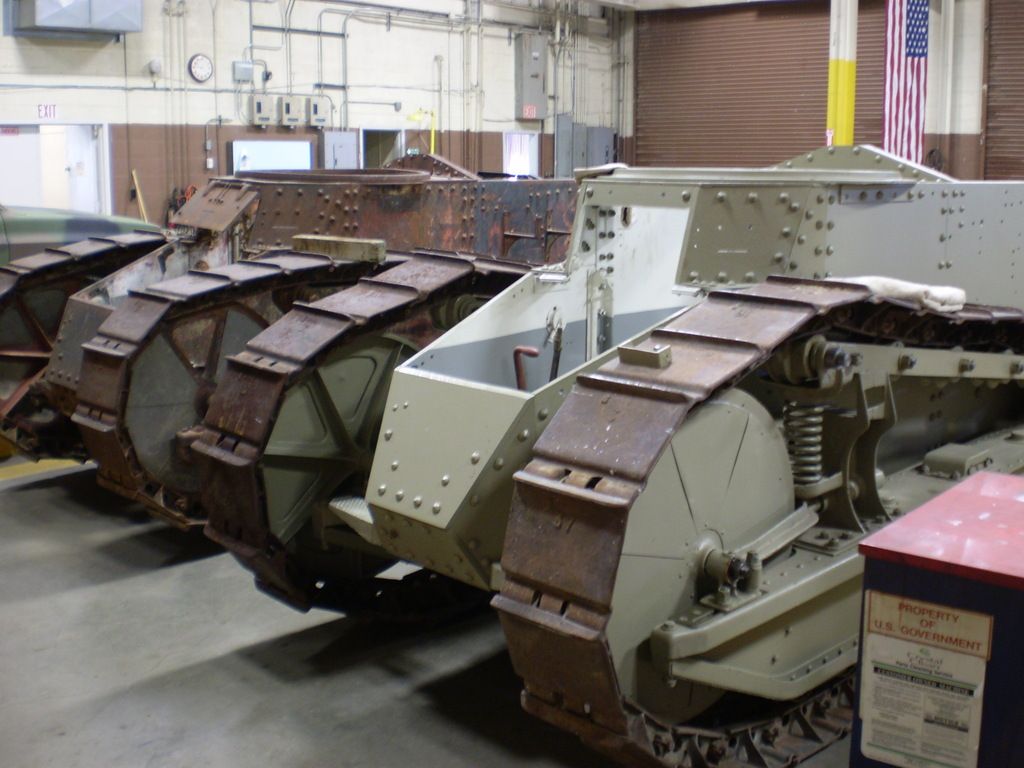
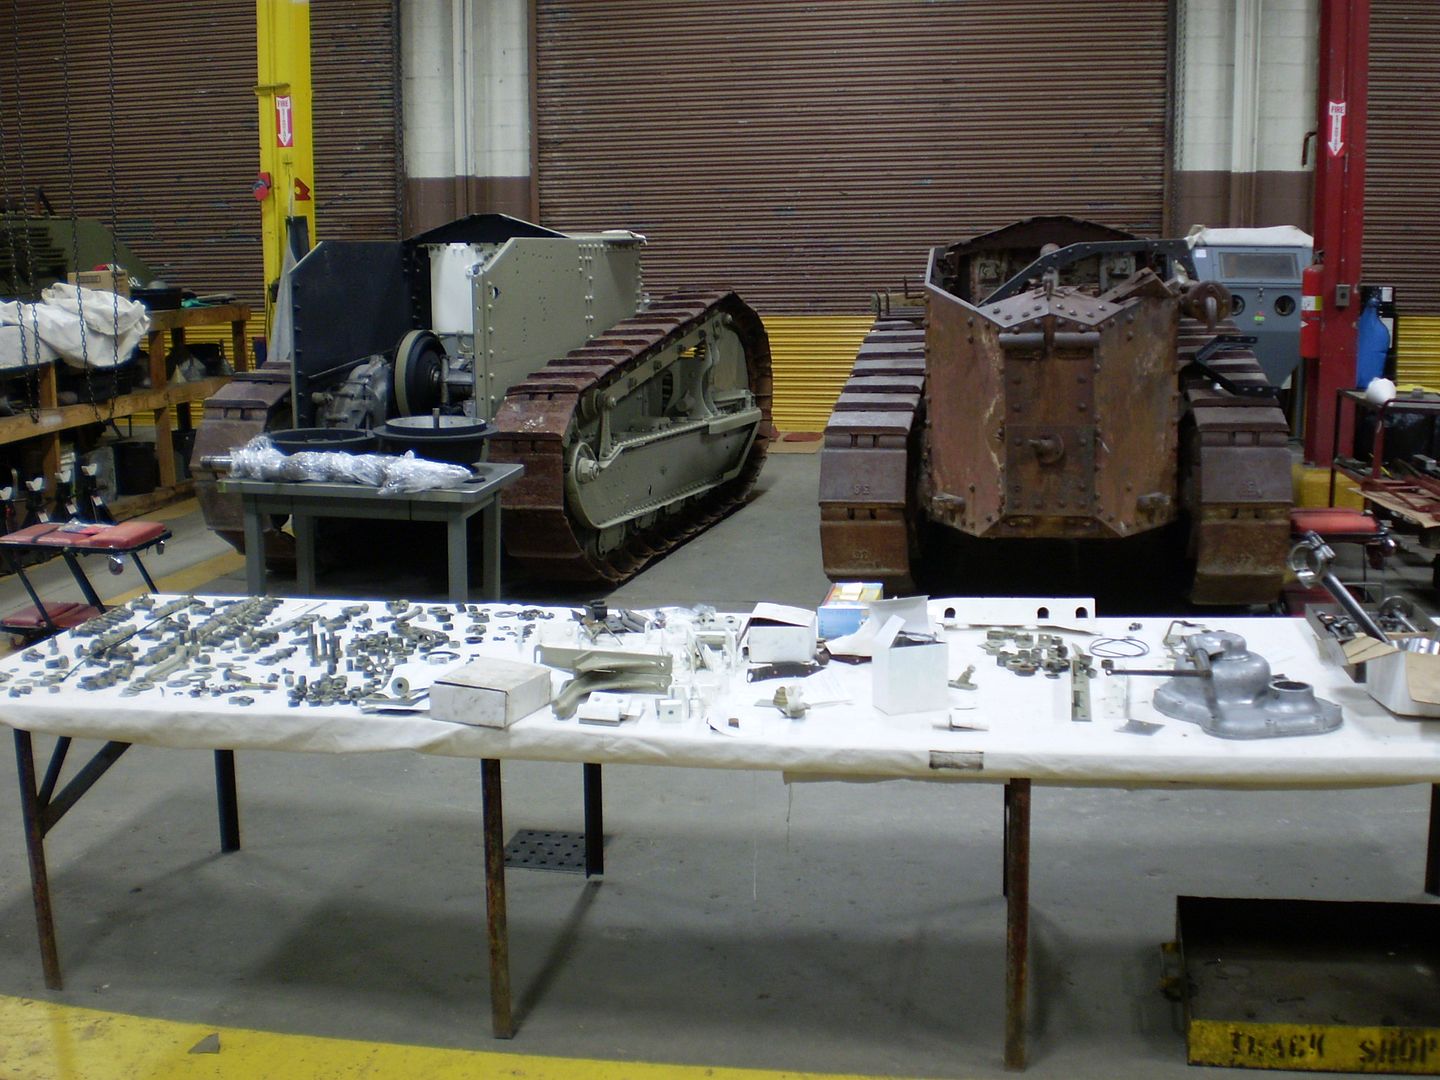
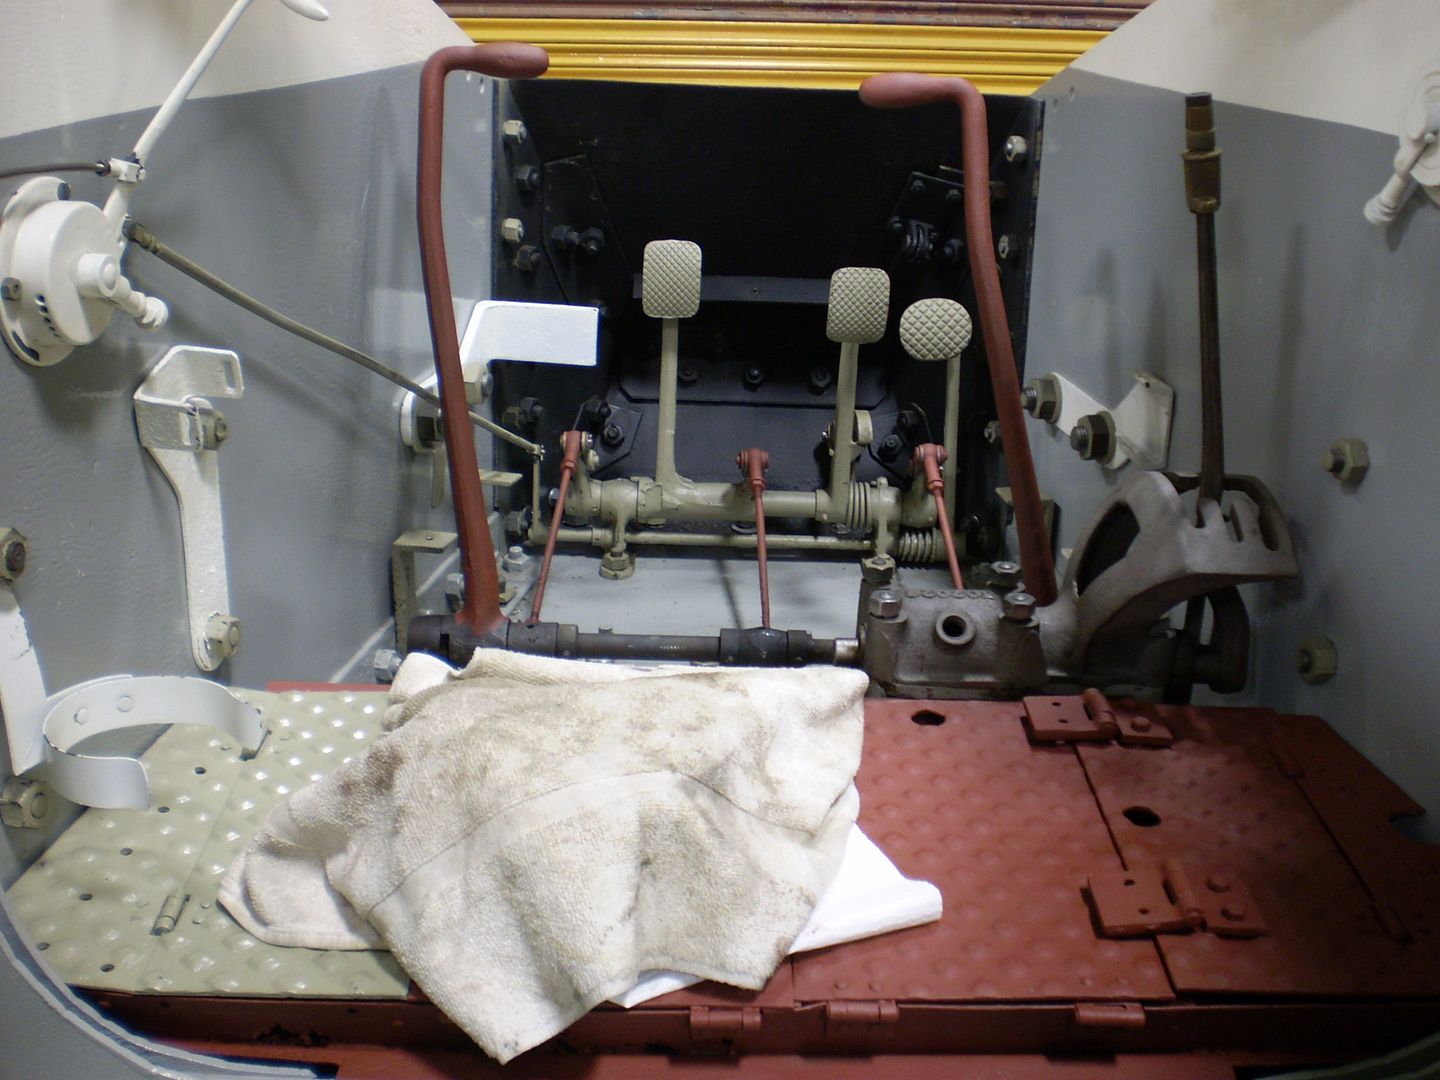
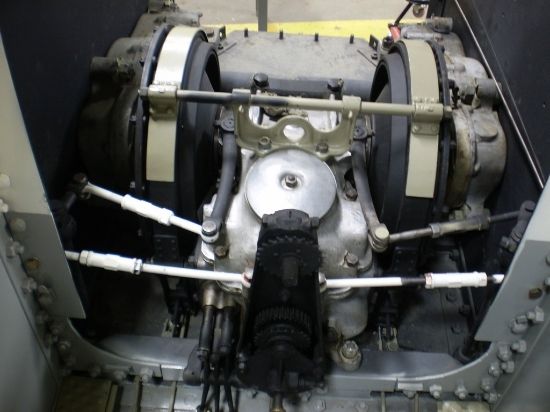
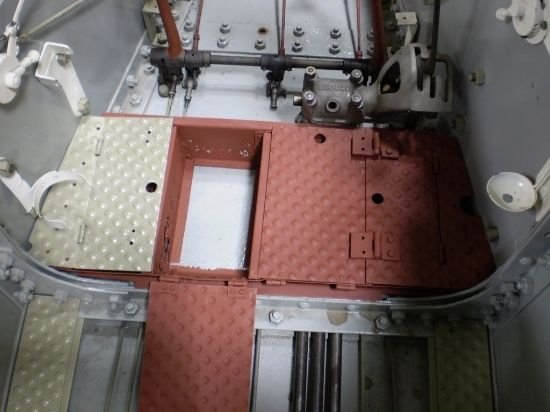
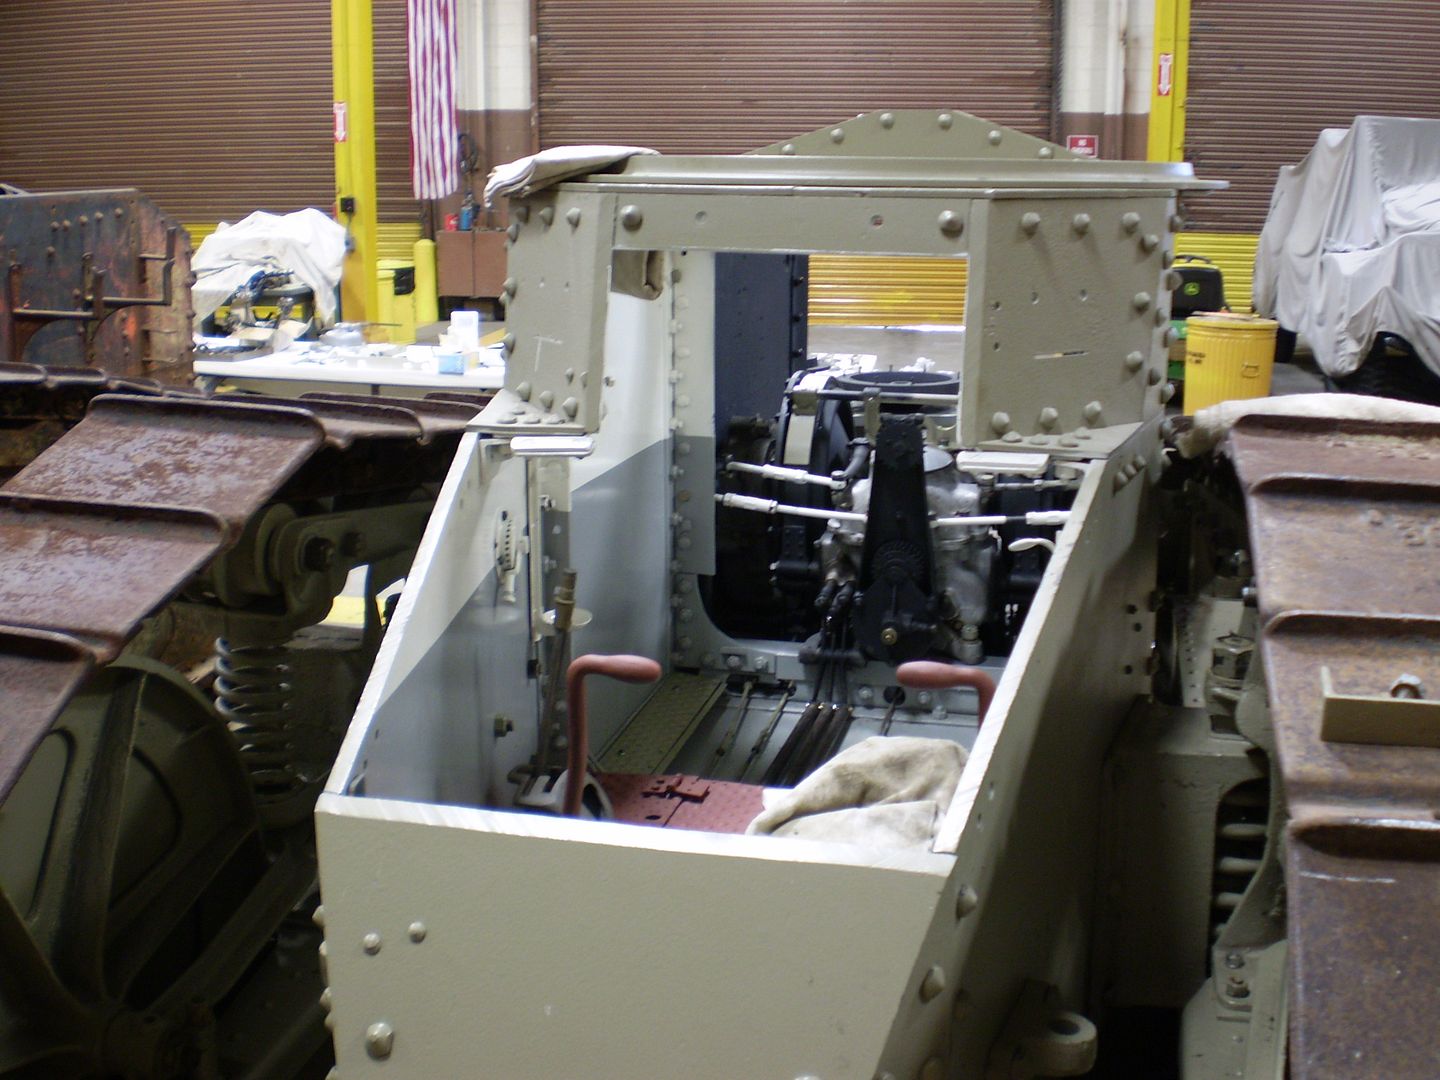
I hope you don't mind; just sharing a few photos of the FT-17 being restored at the Patton Museum a few years back. Perhaps the photos might help with some minor detail.

All photos copyright Michael Koenig. Feel free to reproduce for any non-profit usage but please credit the photographer.


panamadan
Visit this Community
Minnesota, United States
Joined: July 20, 2004
KitMaker: 1,513 posts
Armorama: 1,449 posts
Posted: Tuesday, April 19, 2016 - 05:03 AM UTC
Great job Pedro!
Dan
catdude01
Visit this Community
Puerto Rico
Joined: December 05, 2013
KitMaker: 314 posts
Armorama: 253 posts
Posted: Tuesday, April 19, 2016 - 09:50 PM UTC

Quoted Text

I hope you don't mind; just sharing a few photos of the FT-17 being restored at the Patton Museum a few years back. Perhaps the photos might help with some minor detail.

All photos copyright Michael Koenig. Feel free to reproduce for any non-profit usage but please credit the photographer.


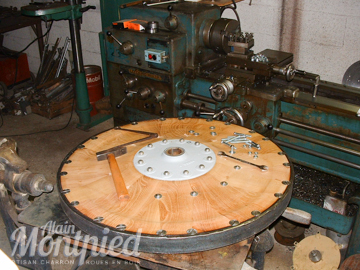
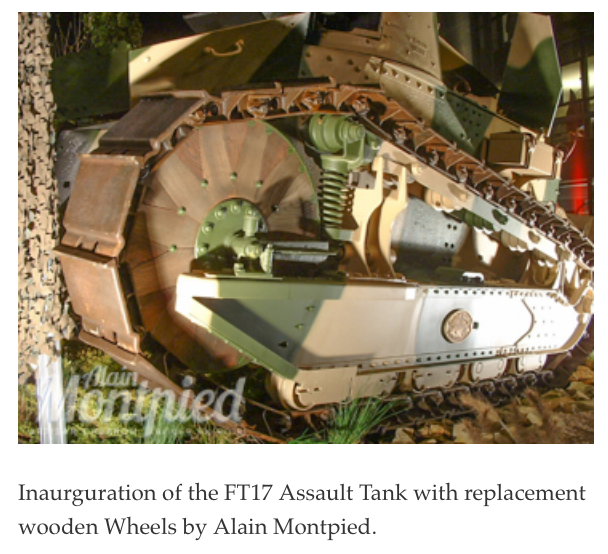
Wuao, thank you for sharing that fantastic pictures! they look really great. Here you can see the wheels are more late versions in different types of patterns. I wanted to show mine in wood like this one.


I found pictures from factory showing the wheels in bare wood at initial stage, don't know if later they painted it or not with the initial ones, later we can see the wooden wheels were painted in a more standard way.

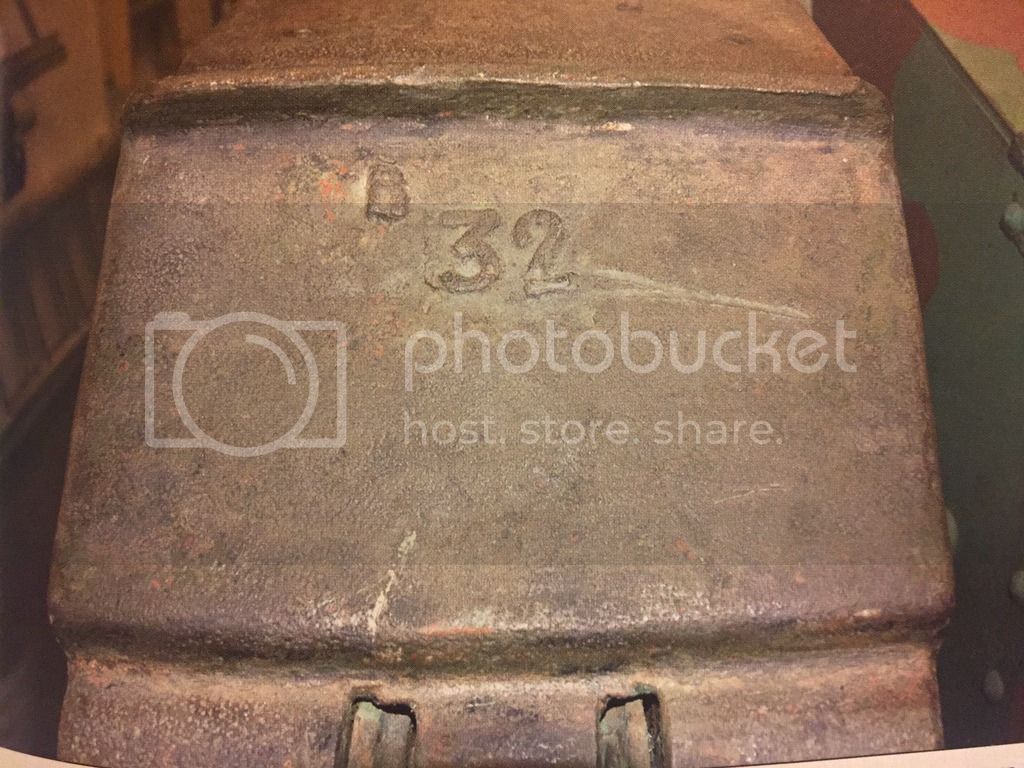
Also check on the track numbering, "37" . Thanks to Michael Koening for the collaboration!

catdude01
Visit this Community
Puerto Rico
Joined: December 05, 2013
KitMaker: 314 posts
Armorama: 253 posts
Posted: Tuesday, April 19, 2016 - 10:10 PM UTC
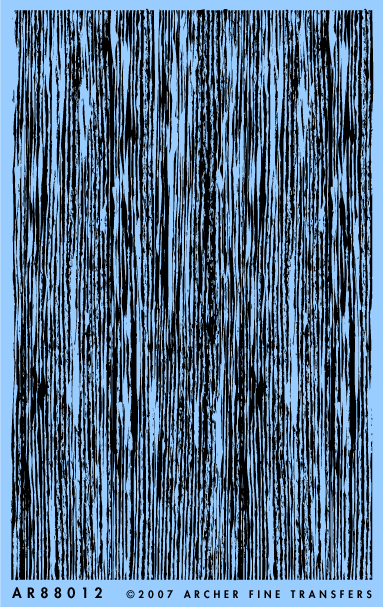
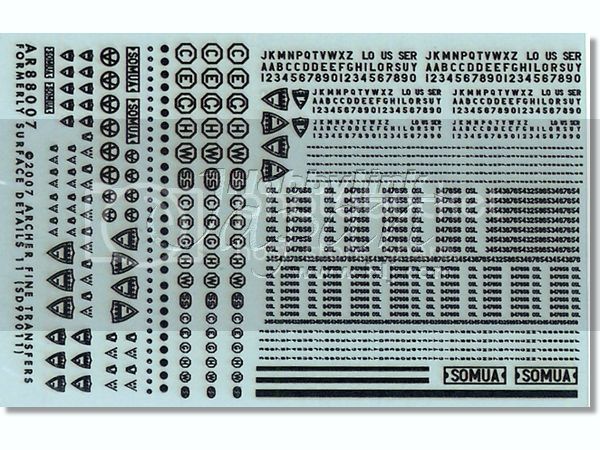
For the wood grain effect I'm exploring alternatives, like using the Archer Wood Surface transfer.

165thspc
#521
Visit this Community
Kentucky, United States
Joined: April 13, 2011
KitMaker: 9,465 posts
Armorama: 8,695 posts
Posted: Tuesday, April 19, 2016 - 10:27 PM UTC
I want to say I have seen photos of FT-17's with unpainted wooden wheels but I cannot prove it!

After a brief search I found one image of a museum restored FT where a French wheelwright had built excellent new reproduction wooden wheels and they had left them natural.
165thspc
#521
Visit this Community
Kentucky, United States
Joined: April 13, 2011
KitMaker: 9,465 posts
Armorama: 8,695 posts
Posted: Wednesday, April 20, 2016 - 06:06 AM UTC
Pedro, the photo you posted of the new wheel; that is one of the reproduction wheels I spoke of built by the French wheelwright; Alain Montpied for a museum restoration.


catdude01
Visit this Community
Puerto Rico
Joined: December 05, 2013
KitMaker: 314 posts
Armorama: 253 posts
Posted: Wednesday, April 20, 2016 - 06:26 PM UTC

Quoted Text

Pedro, the photo you posted of the new wheel; that is one of the reproduction wheels I spoke of built by the French wheelwright; Alain Montpied for a museum restoration.


wow the looks on that wooden wheel is stunning!
catdude01
Visit this Community
Puerto Rico
Joined: December 05, 2013
KitMaker: 314 posts
Armorama: 253 posts
Posted: Thursday, April 21, 2016 - 04:59 PM UTC
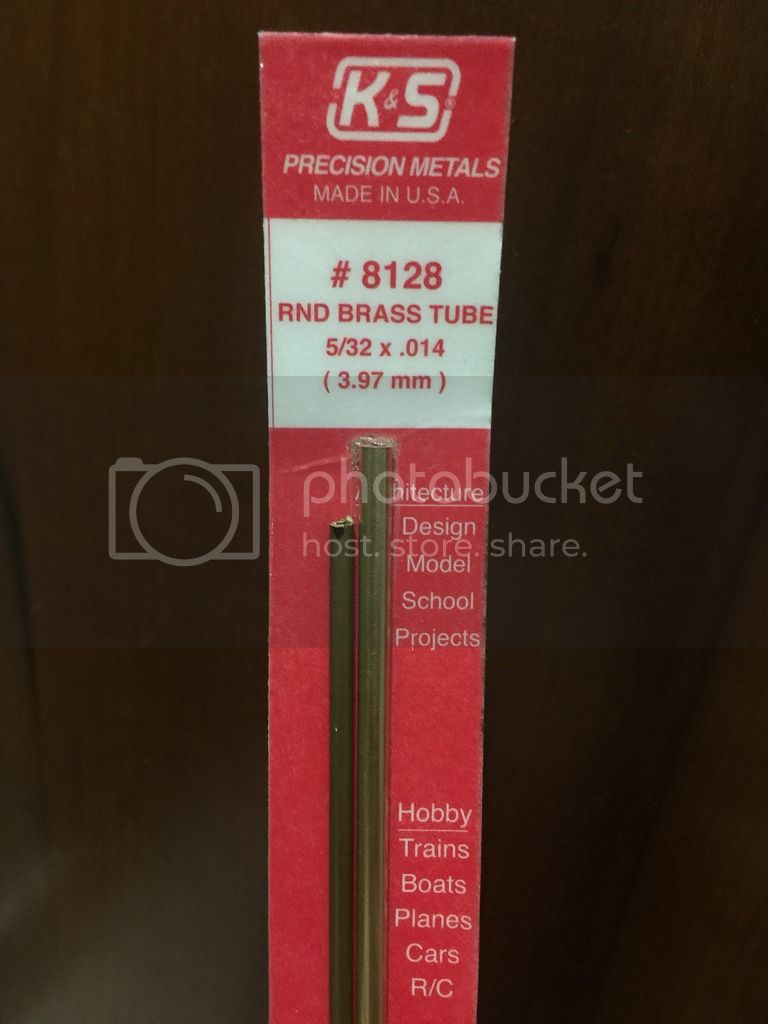
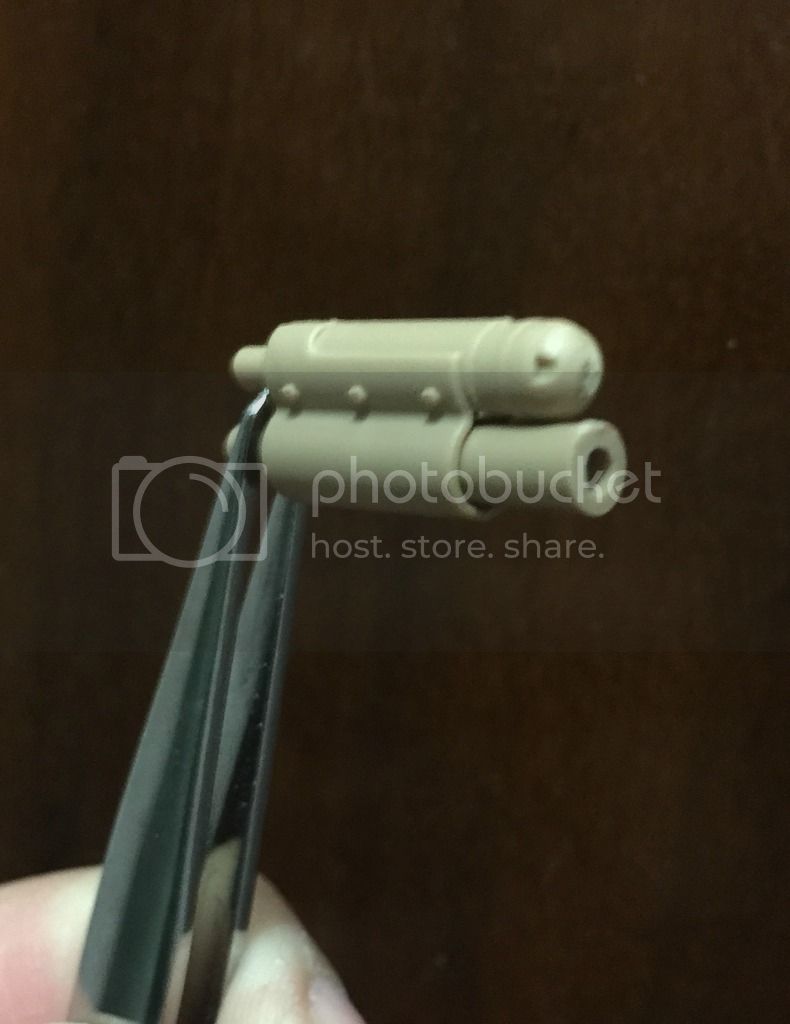
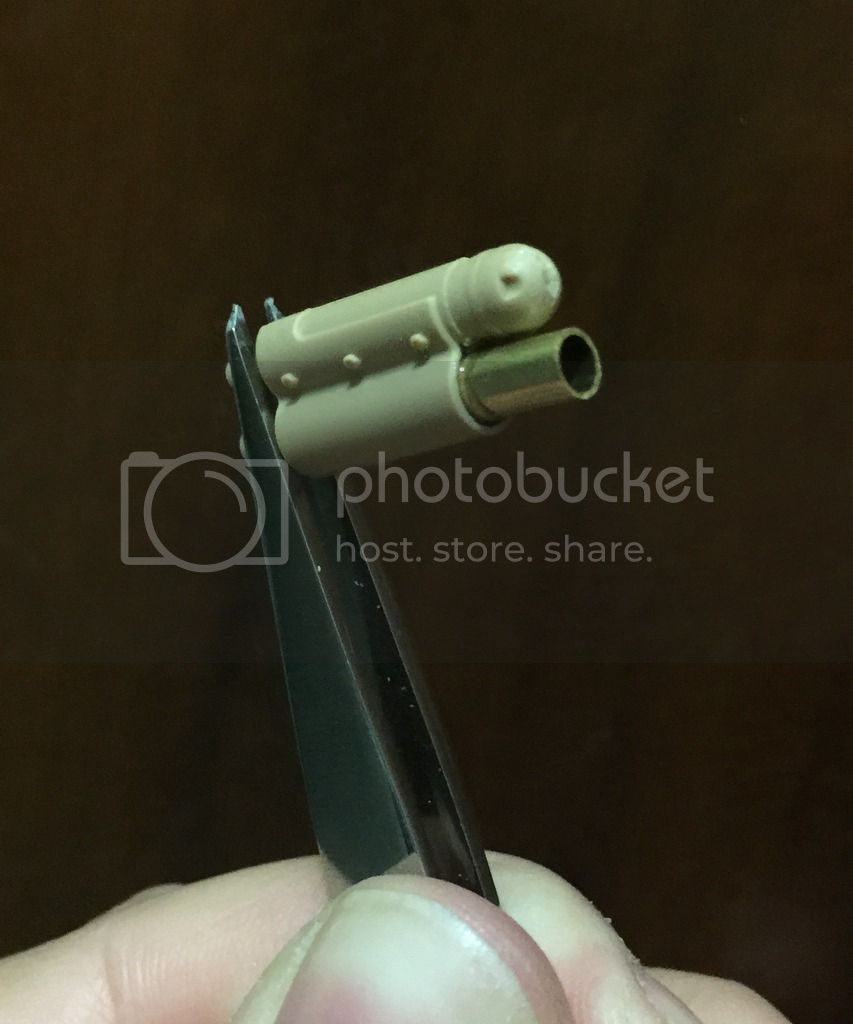
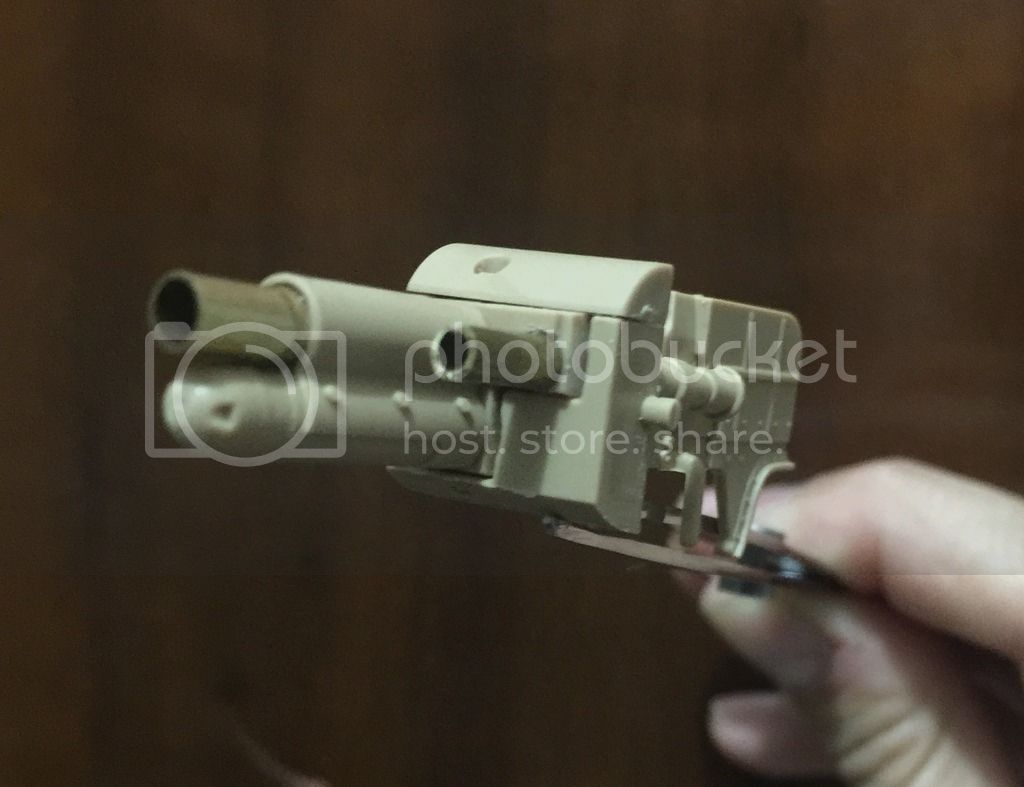
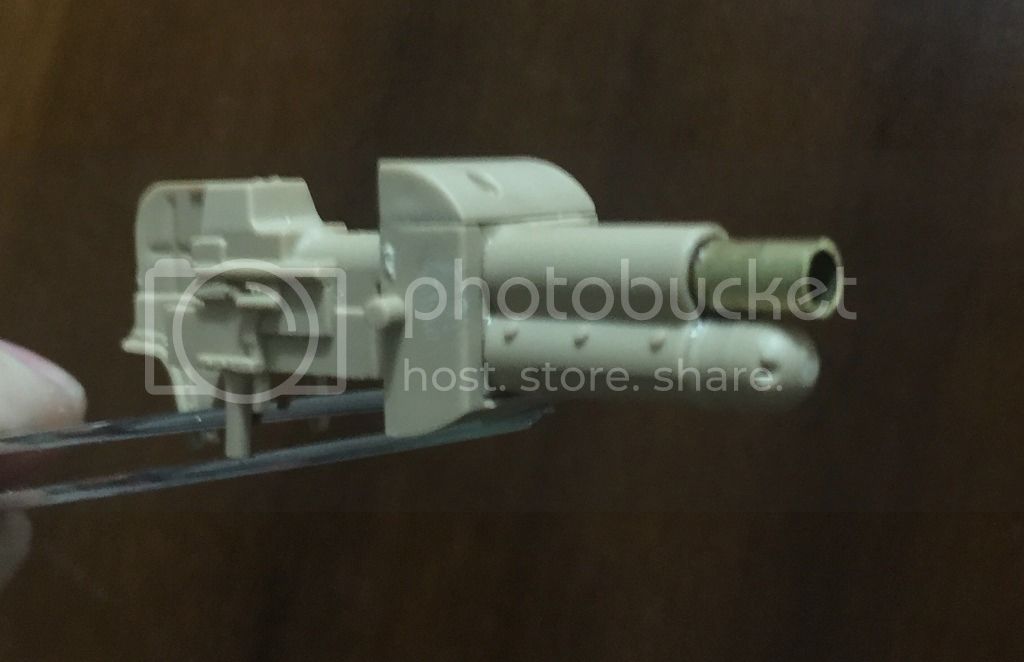
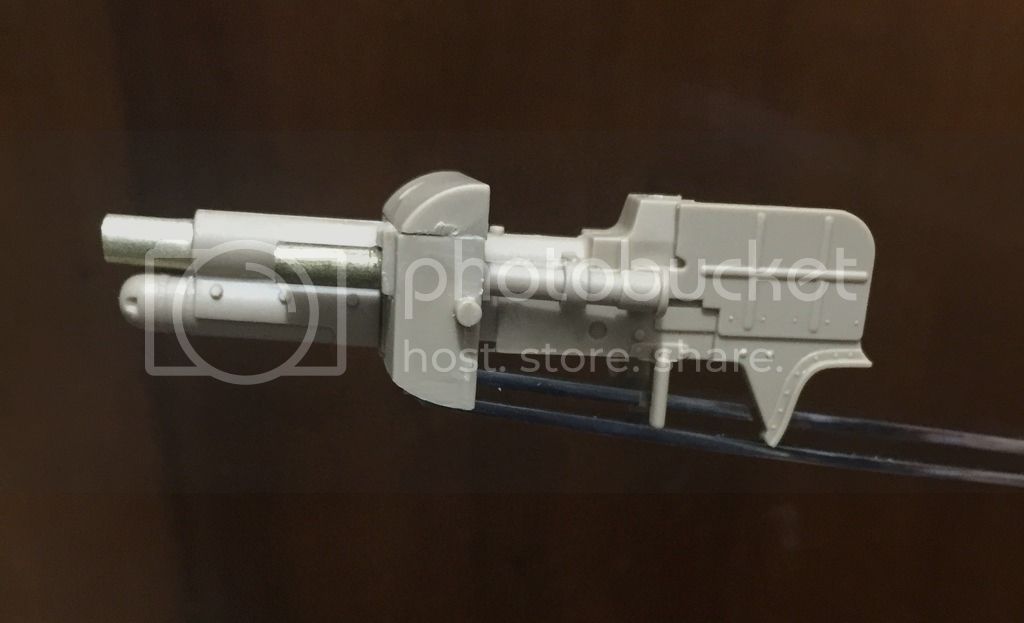
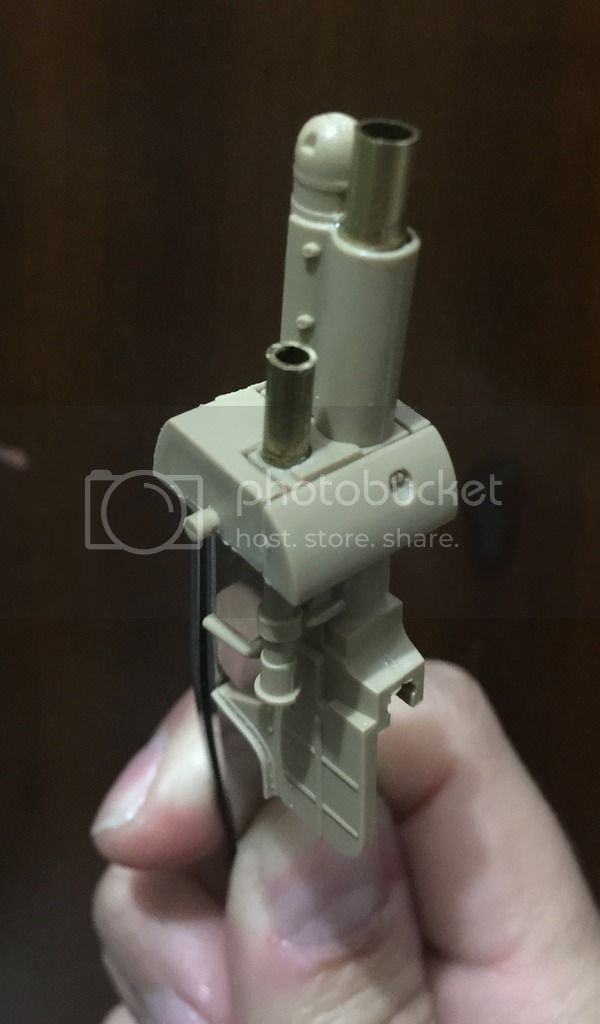
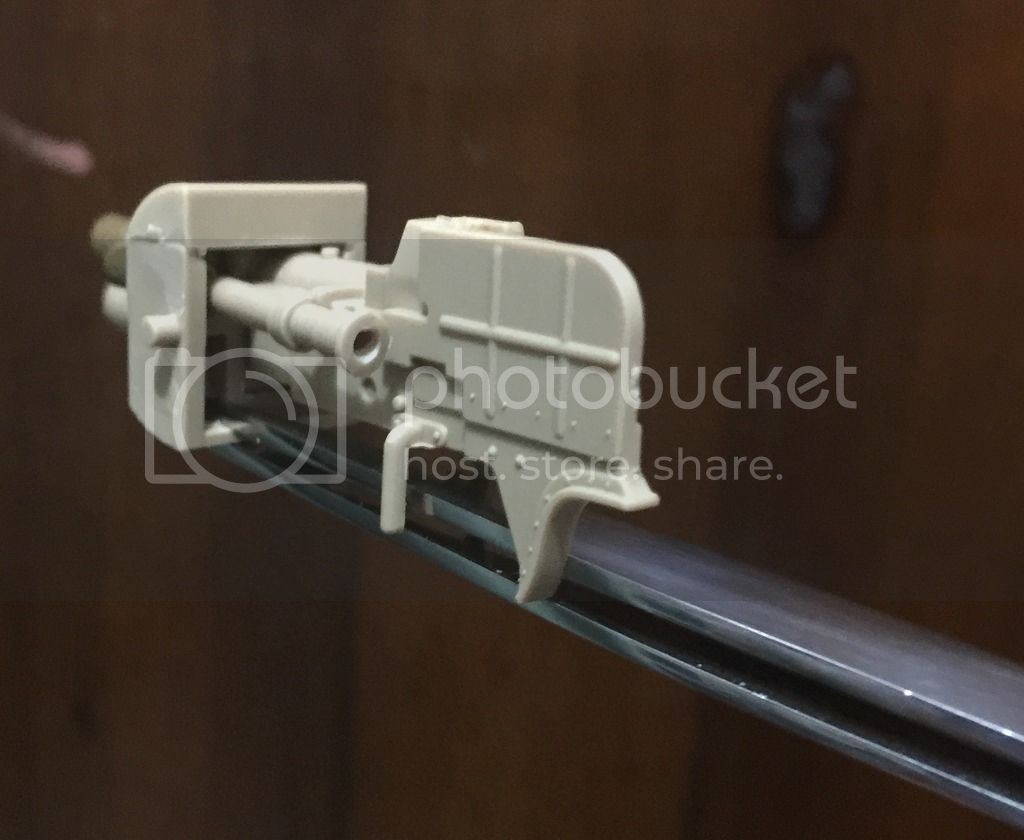
FT-17: gun barrel. I decide to switch to brass tube for the gun and for the sight. Also drill the hole for the periscope too, still need a flat ring to make a better look on it. Here you can see the results, I think they look much better. Next the turret!


165thspc
#521
Visit this Community
Kentucky, United States
Joined: April 13, 2011
KitMaker: 9,465 posts
Armorama: 8,695 posts
Posted: Thursday, April 21, 2016 - 05:51 PM UTC
Given the large scale of this model I wonder if you couldn't form the raised numbers on some of the track pads using small diameter Evergreen plastic rod? Shape it, glue it down, let it harden, lightly sand the numbers to flatten them then torcher the whole track pad with the glue treatment like you are doing to give the track pad that cast metal look.
catdude01
Visit this Community
Puerto Rico
Joined: December 05, 2013
KitMaker: 314 posts
Armorama: 253 posts
Posted: Thursday, April 21, 2016 - 06:56 PM UTC

Quoted Text

Given the large scale of this model I wonder if you couldn't form the raised numbers on some of the track pads using small diameter Evergreen plastic rod? Shape it, glue it down, let it harden, lightly sand the numbers to flatten them then torcher the whole track pad with the glue treatment like you are doing to give the track pad that cast metal look.


I have that in mind since day one, two solutions are in my head or use the Archer surface decal numberings (numbers are in resin over a decal film) or to cut and trim the numbers from the sprue.

165thspc
#521
Visit this Community
Kentucky, United States
Joined: April 13, 2011
KitMaker: 9,465 posts
Armorama: 8,695 posts
Posted: Thursday, April 21, 2016 - 07:59 PM UTC
I forgot that Archer also makes generic resin alphabets. I have used their raised resin Sherman casting marks. They work like a charm!!!!!
 _GOTOTOP