_GOTOBOTTOM
Armor/AFV: Allied - WWII
Armor and ground forces of the Allied forces during World War II.
Hosted by Darren Baker
Kiwi Sherman beaten down
panzerconor
Visit this Community
Massachusetts, United States
Joined: February 08, 2012
KitMaker: 1,271 posts
Armorama: 1,253 posts
Posted: Thursday, September 29, 2016 - 06:24 AM UTC
I haven't built a Sherman in years- not since before I seriously got back into modelling. I picked up this Sherman III DV over the summer and...well, I swear the ease of American engineering carries over into the models. After years of Panthers and Panzers, this was wonderful- except for the PE, which is why this tank has such a beaten up look

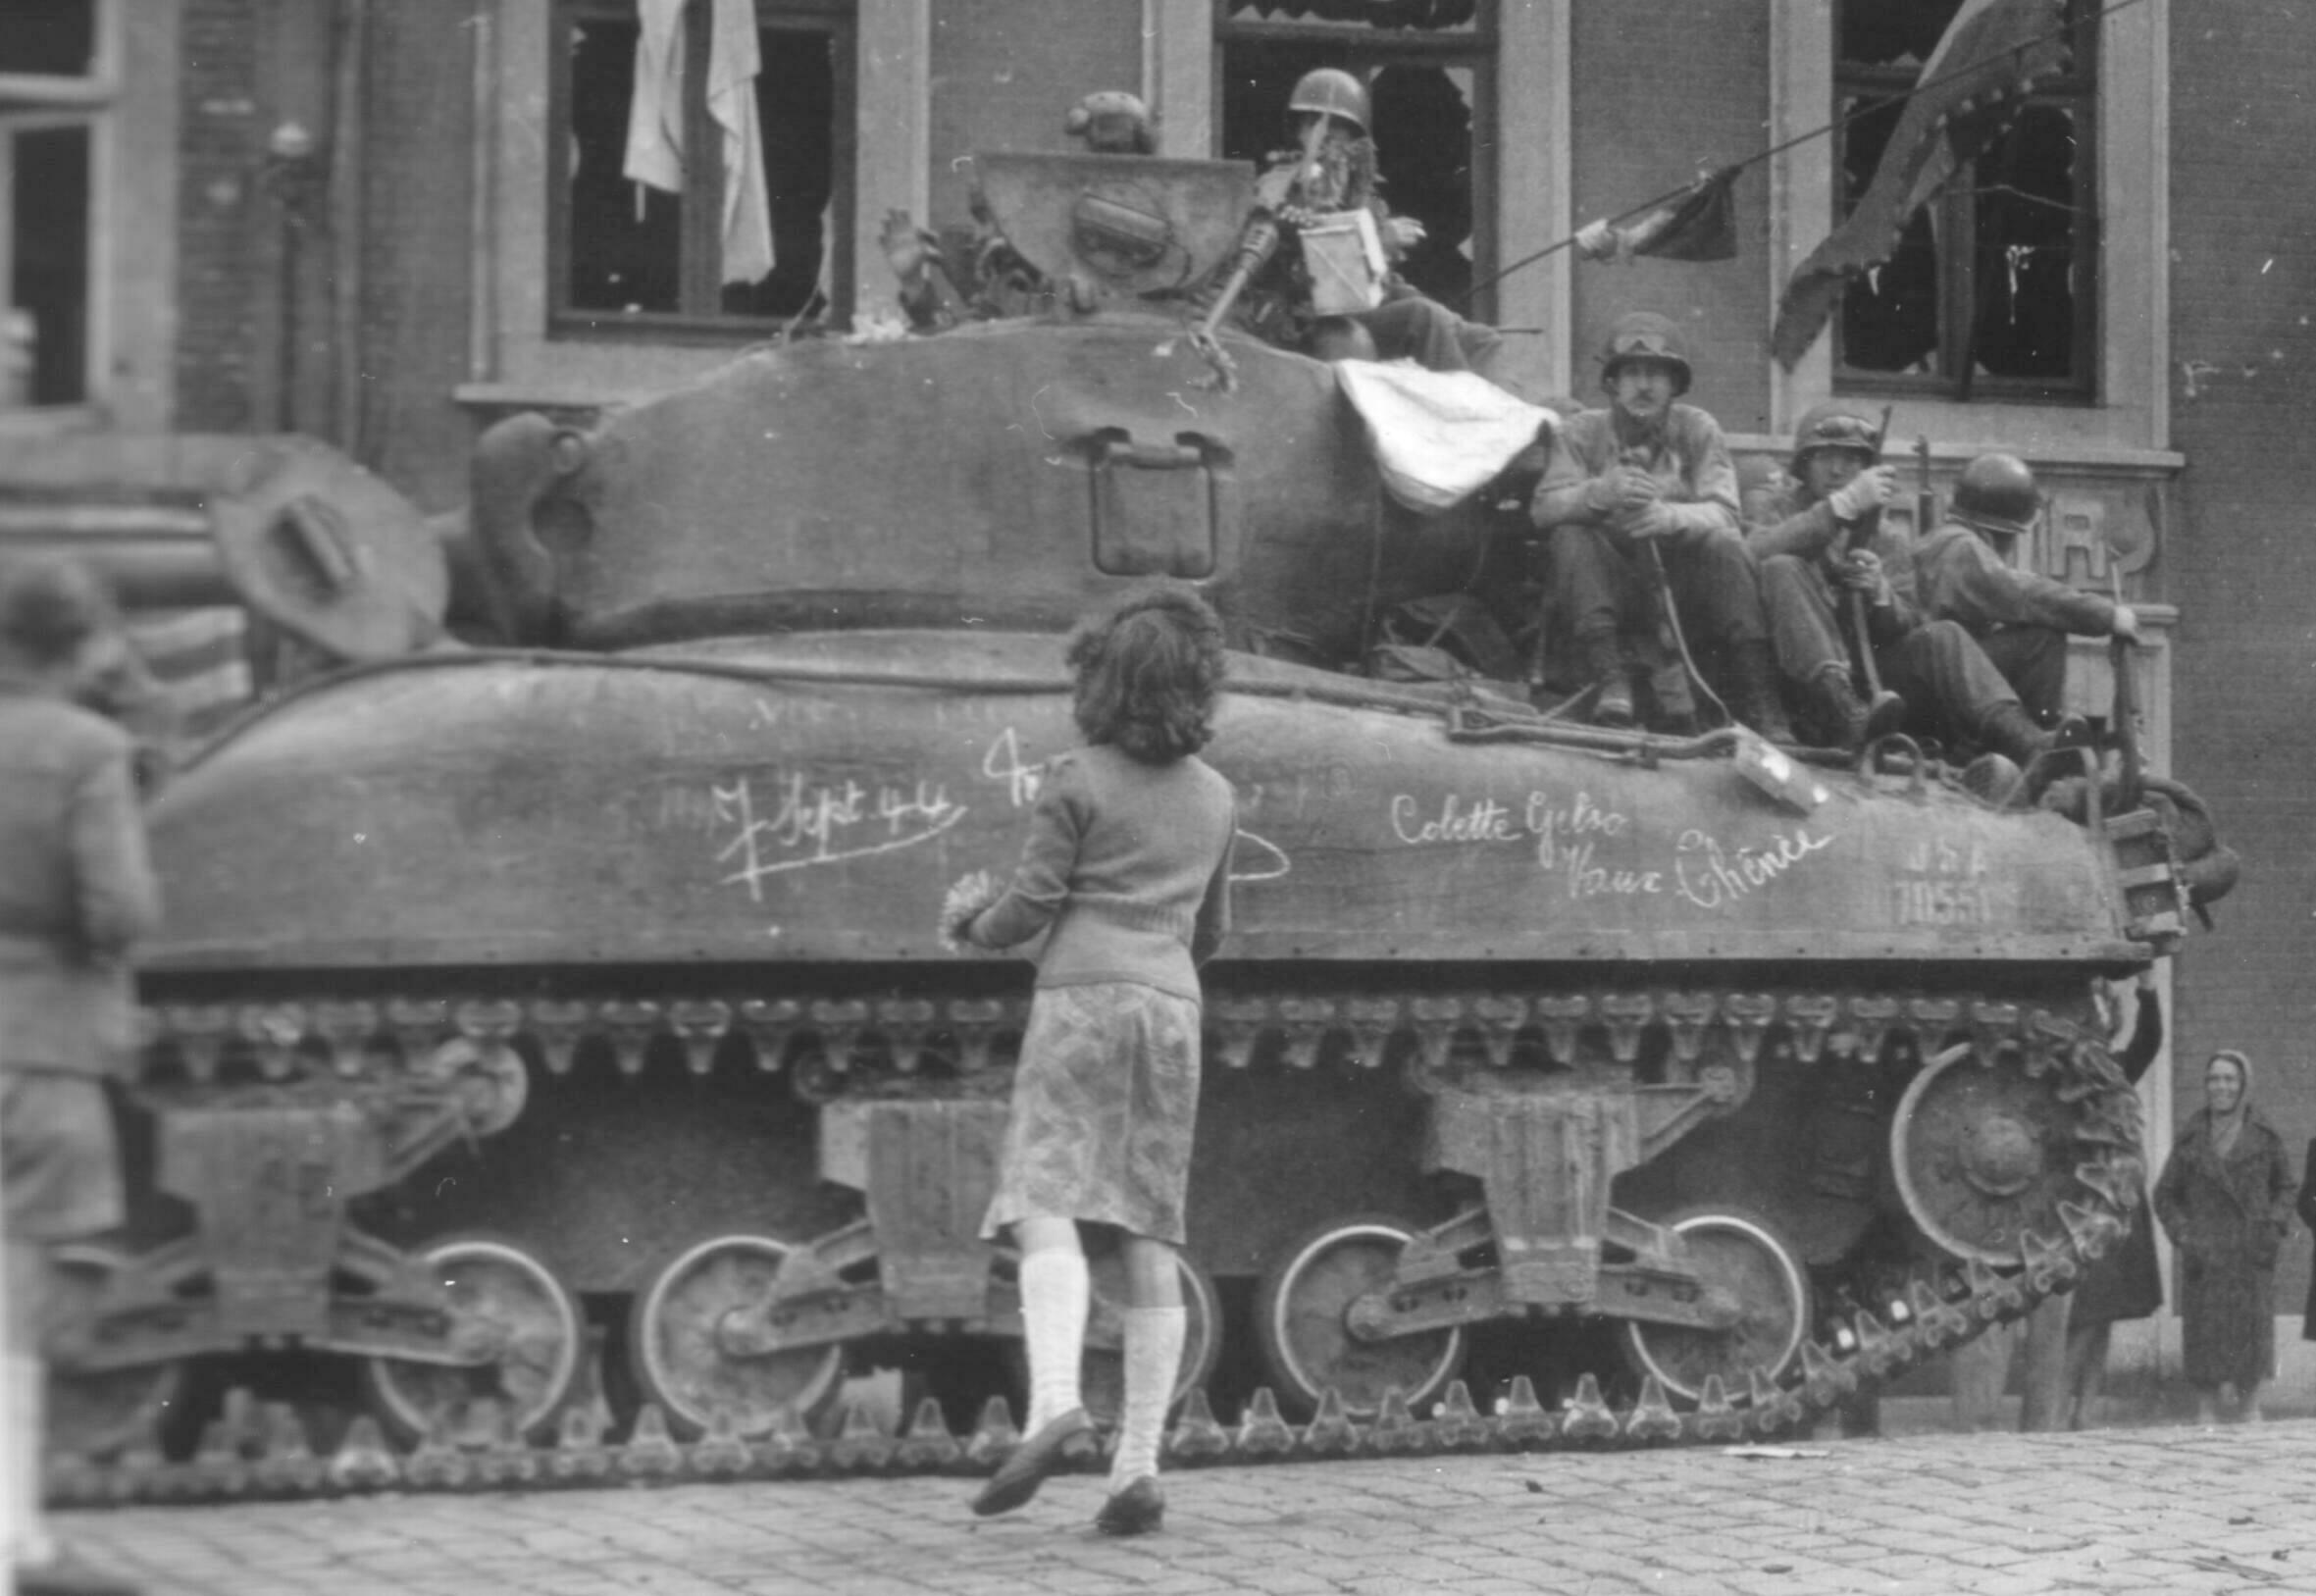
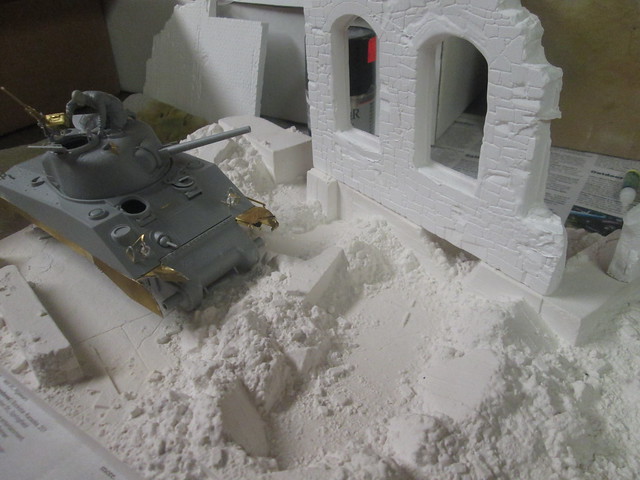
The idea is that it's a New Zealander (The Kiwis) Sherman that outran it's infantry support in Cassino town, and was promptly beaten to a standstill by the Fallschirmjager.

90% finished with basic construction:

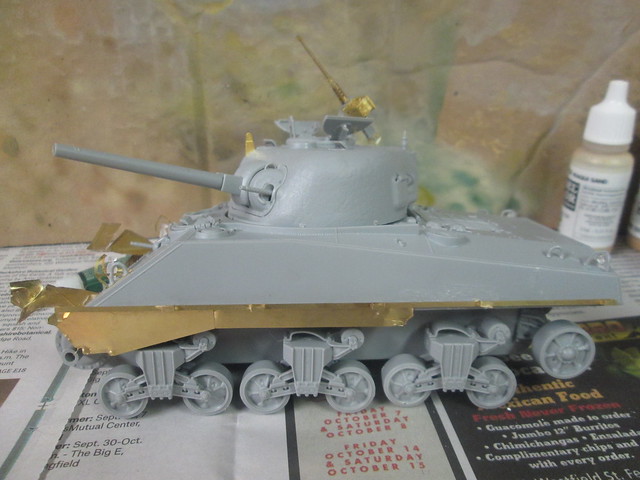
IMG_4024 by mullinator7, on Flickr

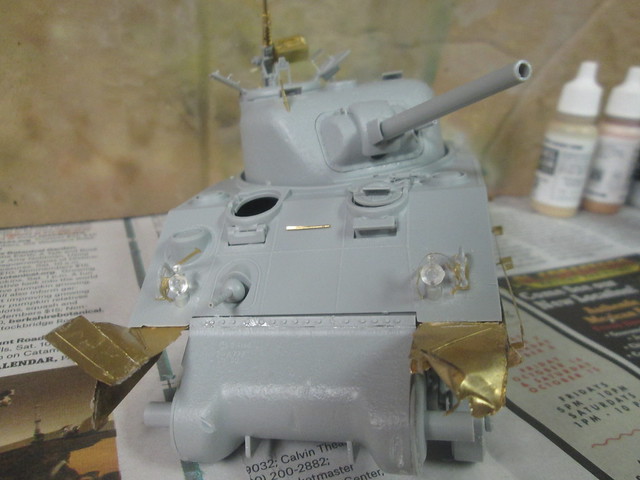
IMG_4025 by mullinator7, on Flickr

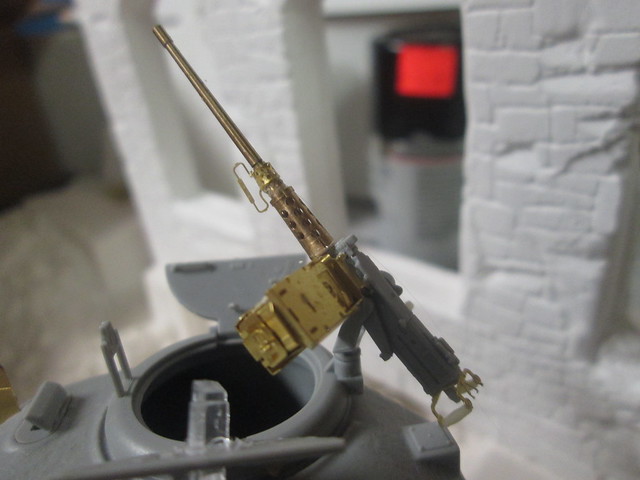
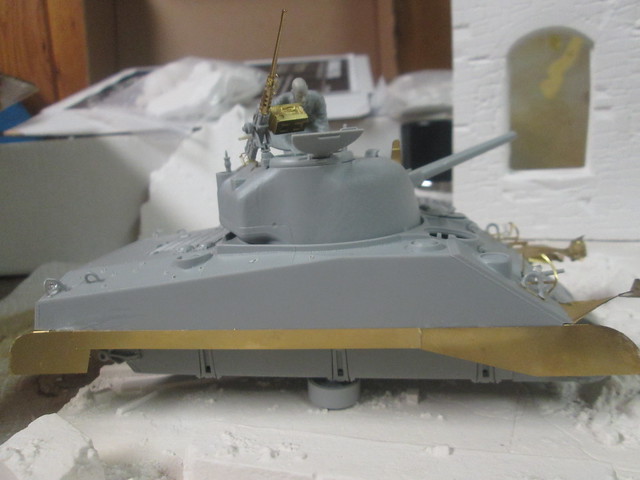
IMG_4029 by mullinator7, on Flickr

.50 cal is half OOB, half aftermarket (Eduard I believe?)

IMG_4027 by mullinator7, on Flickr

And the eventual setting for the beast

IMG_4028 by mullinator7, on Flickr

My Badger Airbrush should arrive this weekend, and I hope to get started on the two tone scheme next week!

Would love to know any tips and suggestions out there, since allied armor is a new playing field for me.

-Conor
ericadeane
Visit this Community
Michigan, United States
Joined: October 28, 2002
KitMaker: 4,021 posts
Armorama: 3,947 posts
Posted: Thursday, September 29, 2016 - 06:43 AM UTC
Looks good Conor. May I make a suggestion? The lifting lugs on the engine corner decks -- yours are perpendicular with the slanted deck. They should be completely vertical. Perhaps detach and re-glue?
wedgetail53
Visit this Community
Queensland, Australia
Joined: October 02, 2008
KitMaker: 658 posts
Armorama: 629 posts
Posted: Thursday, September 29, 2016 - 11:35 AM UTC
G'day Conor

Looking good. However, that seam visible in the third photo (4029) at the bottom rear of the turret has to go.

Regards

Rob
panzerconor
Visit this Community
Massachusetts, United States
Joined: February 08, 2012
KitMaker: 1,271 posts
Armorama: 1,253 posts
Posted: Thursday, September 29, 2016 - 05:35 PM UTC
Thanks guys


Quoted Text

that seam visible in the third photo (4029) at the bottom rear of the turret has to go.


Weird that I never noticed that before, I'll check that out.

I wonder though if that mark is the supposed to be the same one visible along the bottom of the turret in this photo?


-Conor
AgentG
Visit this Community
Nevada, United States
Joined: December 21, 2008
KitMaker: 1,109 posts
Armorama: 1,095 posts
Posted: Thursday, September 29, 2016 - 10:14 PM UTC
No, that is a completely different turret in your photo.

DML actually assisted modelers with their molding of the turret halves. The seam and smooth area around it is designed to be textured by the builder. The curved area on the lower part is depicting the correct "parting line" which was created in the sand casting casting process of the real turret. It is not a weld seam.

Mask the underside of the turret overhang, then use your favorite method to add texturing to the area above. Mark the spot where the lifting lugs attach and your good.

G
panzerconor
Visit this Community
Massachusetts, United States
Joined: February 08, 2012
KitMaker: 1,271 posts
Armorama: 1,253 posts
Posted: Friday, September 30, 2016 - 12:25 AM UTC

Quoted Text


Mask the underside of the turret overhang, then use your favorite method to add texturing to the area above. Mark the spot where the lifting lugs attach and your good.

G


Thanks G, only problem is I've never done that before. What do you think the best method is for a newcomer?

-Conor
AgentG
Visit this Community
Nevada, United States
Joined: December 21, 2008
KitMaker: 1,109 posts
Armorama: 1,095 posts
Posted: Friday, September 30, 2016 - 12:26 AM UTC
Go here, scroll down. Paul explains it perfectly.

http://paulbudzik.com/tools-techniques/Sherman%20Construction/sherman-construction-page4.html

It's a bit different than my method, but the results speak for themselves.

G
 _GOTOTOP