_GOTOBOTTOM
Armor/AFV: Allied - WWII
Armor and ground forces of the Allied forces during World War II.
Hosted by Darren Baker
Dragons 1/35 M7 Priest (mid production)
SiStorey
Visit this Community
England - North East, United Kingdom
Joined: March 14, 2014
KitMaker: 242 posts
Armorama: 161 posts
Posted: Thursday, December 29, 2016 - 11:05 PM UTC
Hi everyone one, like I said on my other build I have on the go I hope everyone has had a very Festive week or two and are all set for the New Years chaos tomorrow.

So as well as cracking on with my little MX5 for my mate:
http://armorama.com/forums/254191#bottom
I've also dug this beauty of a kit out of the loft. I got it last Christmas but with new jobs etc I haven't had a good chance to get my teeth into this one, and it's one I've been crying out to do since I got it.

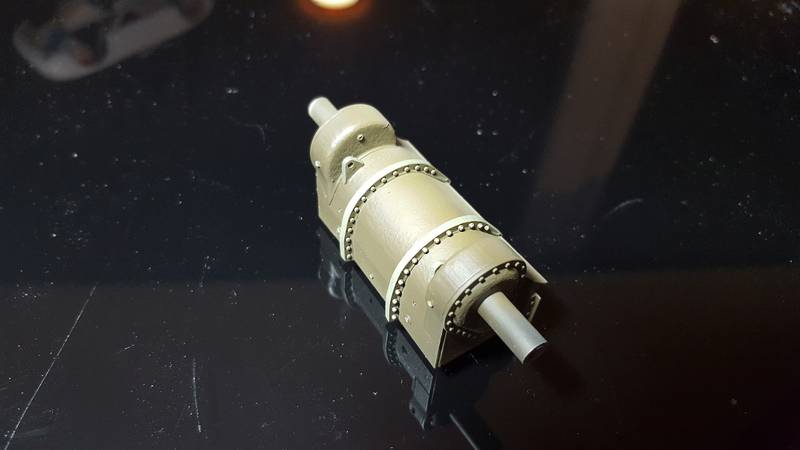
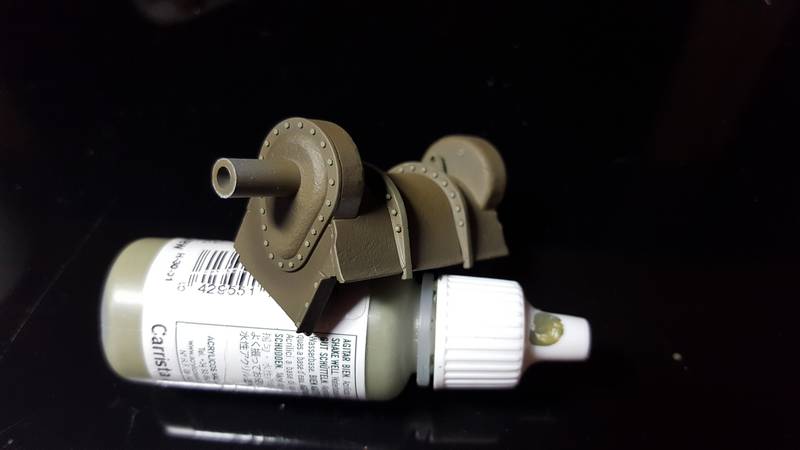
So here is Dragons 1/35 M7 Priest (mid production).


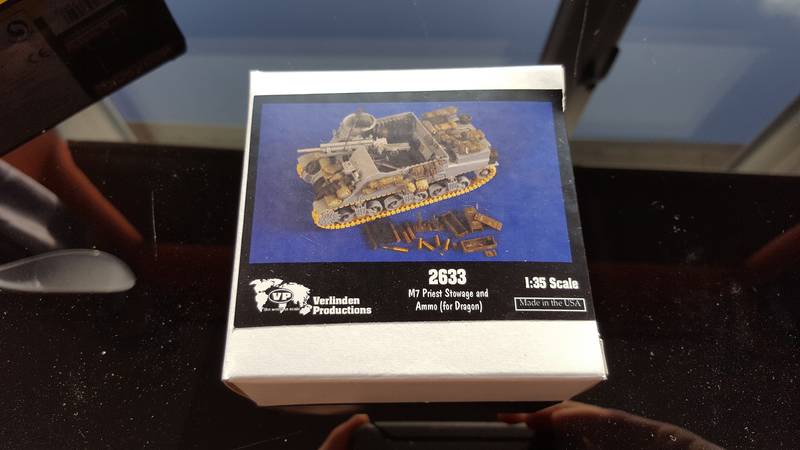
Along with this kit I was also gifted with the Verlinden Productions Storage and Ammo upgrade. Nice little add on but by God there is so much excess resin that needs taking off the kits lol.


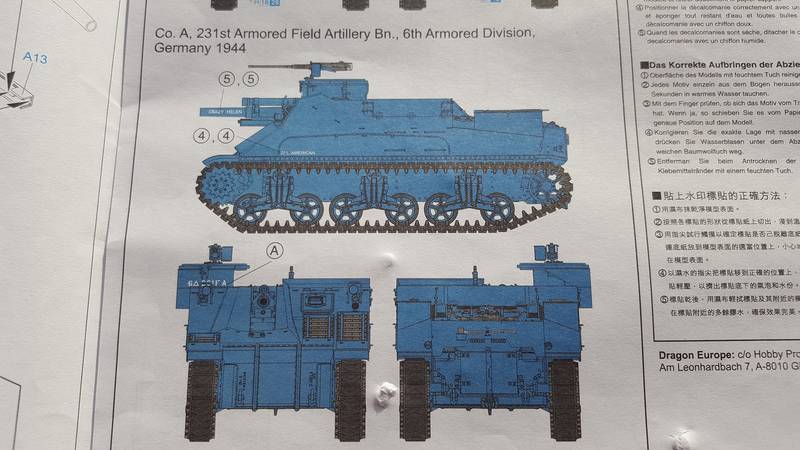
Now looking at the destruction's I have decided that I am going to go for the Co A. 231st Armoured Field Battalion, 6th Armoured Division. Now the reason I chose this, and the only reason is that I like the Crazy Helen on the barrel lol


So for some reason my phone has decided not to save the bulk of my photos. However the two it has kept will have to do.

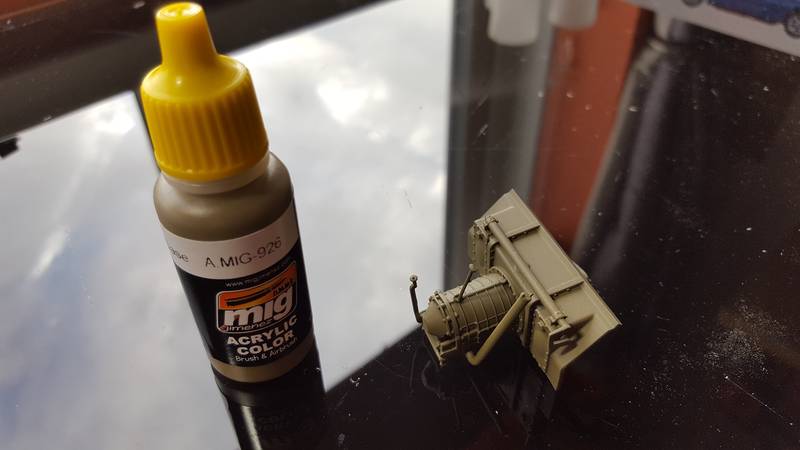
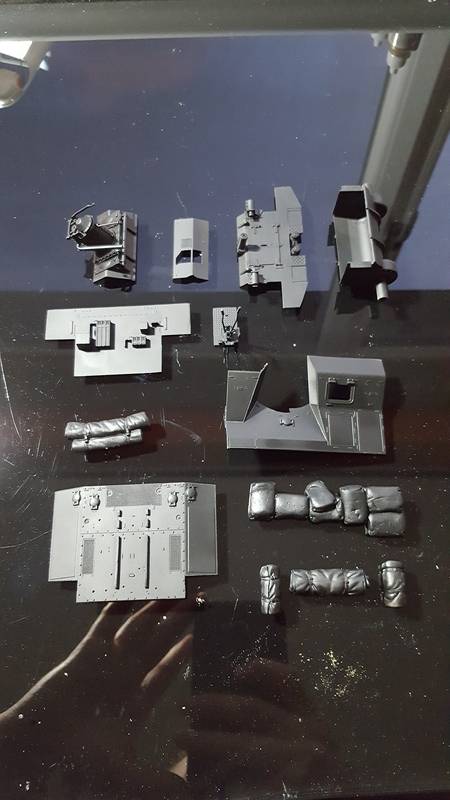
Firstly I sorted out some of the new accessory parts with the little electric sander I have. So much mess but it has to be done lol


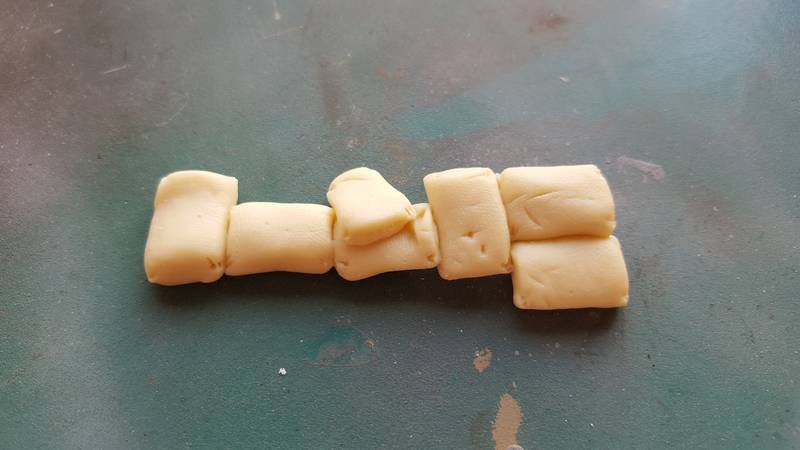
I also did some of the blankets in bundles as well.

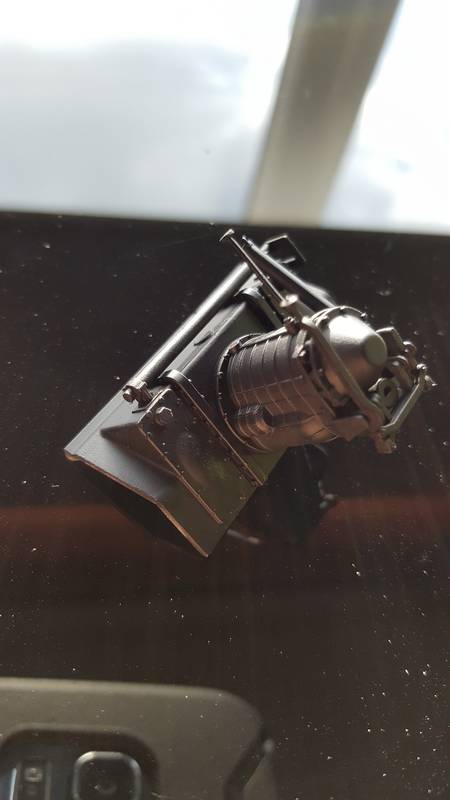
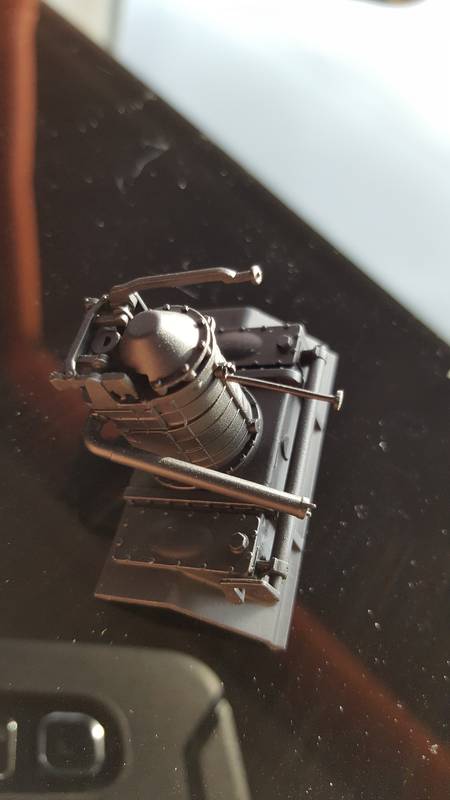
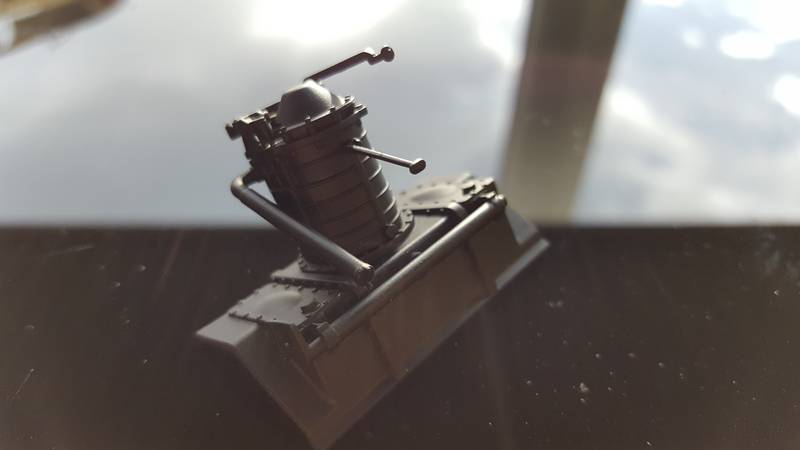
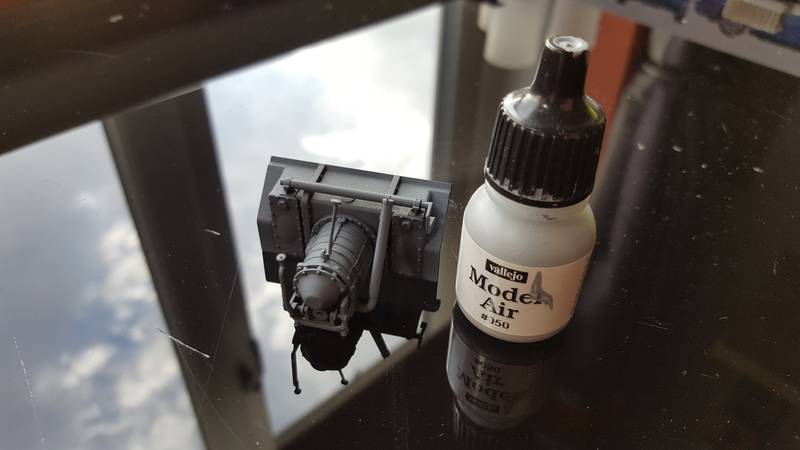
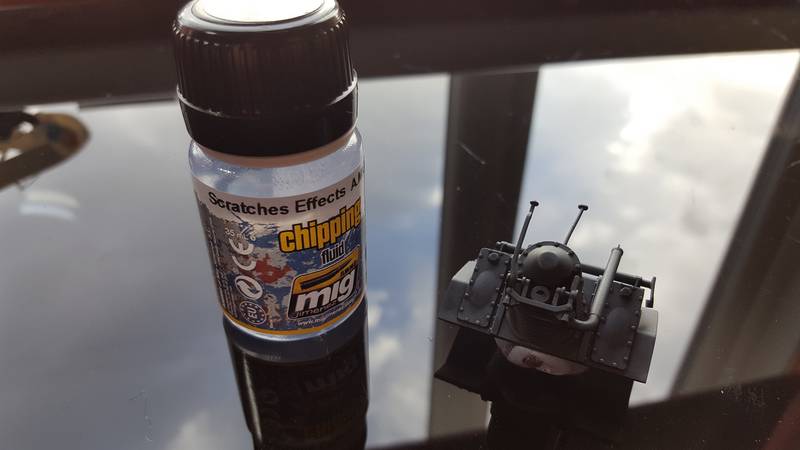
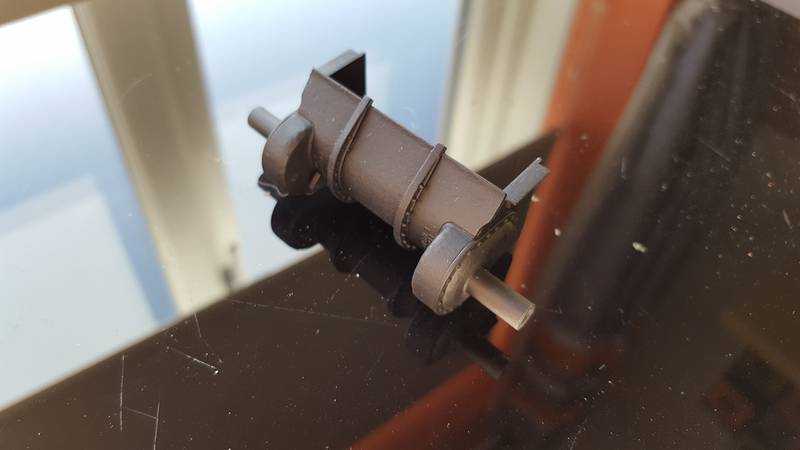
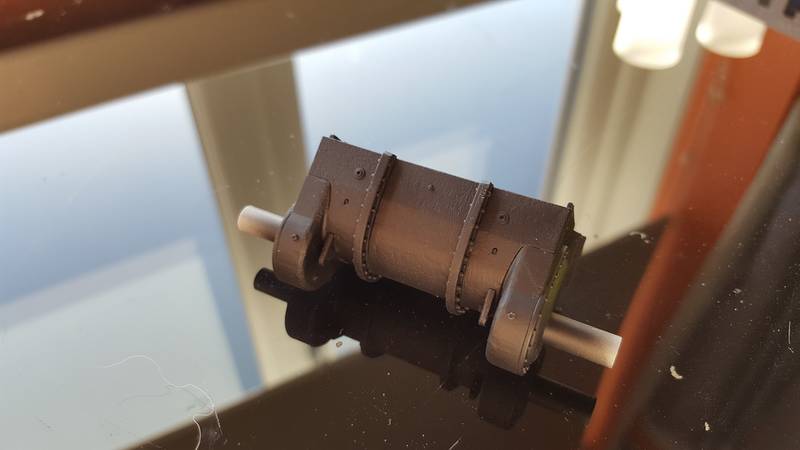
So after that I started cracking on with the model. Made quiet allot of the bigger panels and got them all sprayed with black primer.


Sorry for the lack of photos, you can thank my phone for that. However I'll be cracking on with more tomorrow whilst shes at work, I know right, working on New Years Eve. This should be criminal lol

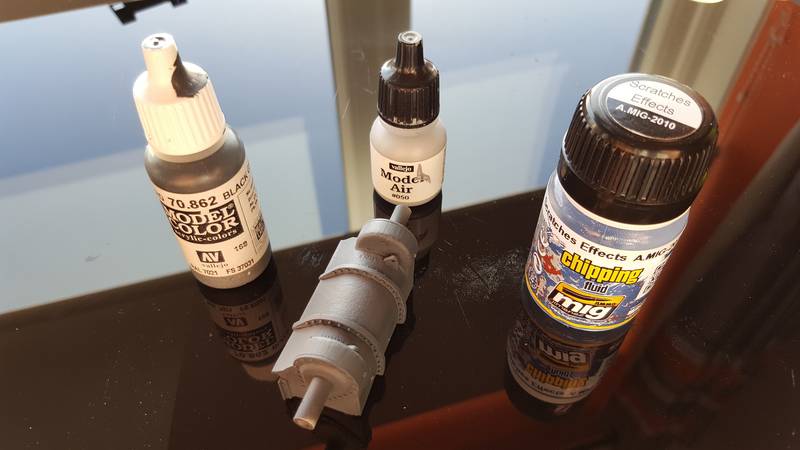
Now I have a question for everyone. What is the primer colour for a Priest/Sherman/Grant etc?? I know the German tanks had the red coat colour but I'm not sure of the Allied colours.

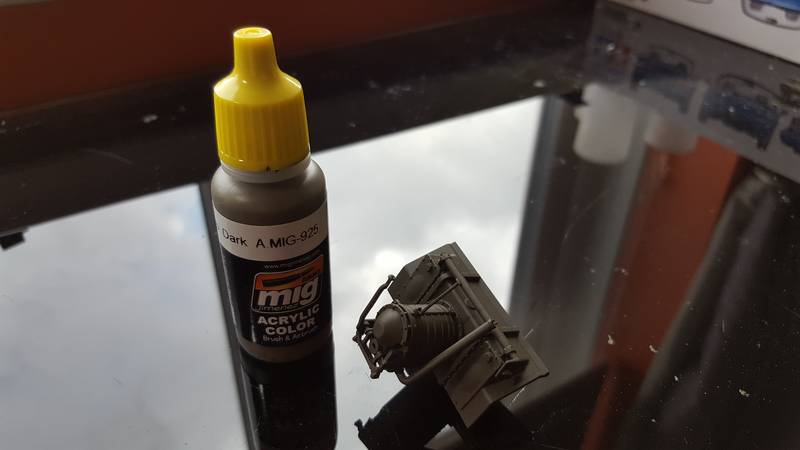
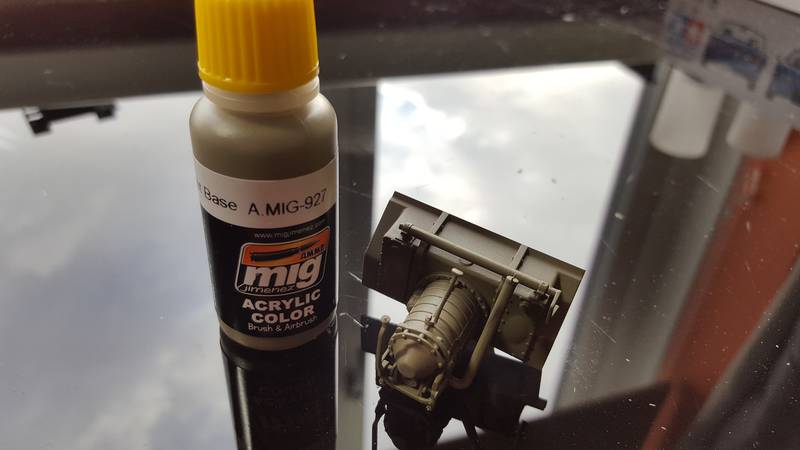
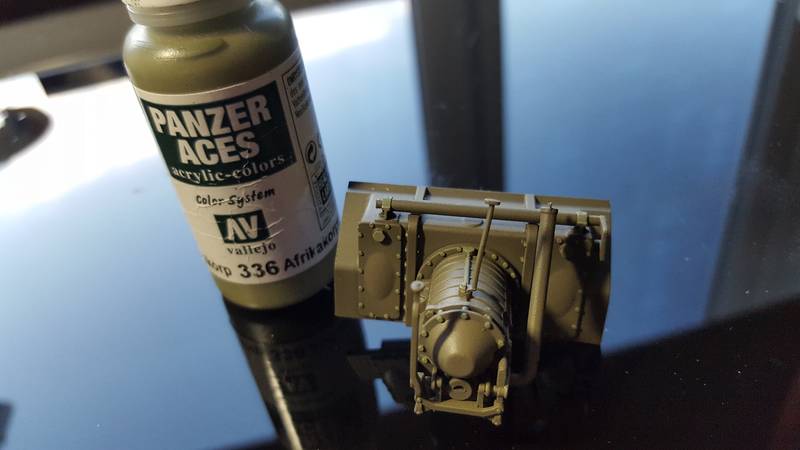
Also what is the colour of the transmission in the front of the vehicle?

Anyways enjoy you evening everyone and welcome to suggestions, hints and tips!!

ericadeane
Visit this Community
Michigan, United States
Joined: October 28, 2002
KitMaker: 4,021 posts
Armorama: 3,947 posts
Posted: Thursday, December 29, 2016 - 11:33 PM UTC
Depending on the part, red oxide or grey primer. However DO NOT do the faddish chipping thing on US vehicles. The OD was sprayed or dipped to the parts and everything was baked on. US olive drab was VERY tough.

Everything in the drivers compartment was OD since it was visible from the air
SiStorey
Visit this Community
England - North East, United Kingdom
Joined: March 14, 2014
KitMaker: 242 posts
Armorama: 161 posts
Posted: Thursday, December 29, 2016 - 11:43 PM UTC
So you'd be looking at more along the lines of a few scratches here or there abd a little wear under the feet marks etc rather than actual chipping
RobinNilsson
Staff MemberTOS Moderator
KITMAKER NETWORK
Visit this Community
Stockholm, Sweden
Joined: November 29, 2006
KitMaker: 6,693 posts
Armorama: 5,562 posts
Posted: Thursday, December 29, 2016 - 11:47 PM UTC
Some walk around images can be found here:
http://www.primeportal.net/apc/m7_priest.htm
Do NOT thank me, not my images
and
I'm adding them here simply to make your build more
challenging

/ Robin
SiStorey
Visit this Community
England - North East, United Kingdom
Joined: March 14, 2014
KitMaker: 242 posts
Armorama: 161 posts
Posted: Friday, December 30, 2016 - 12:02 AM UTC
That's brilliant. Thank you but no thank you lol
SiStorey
Visit this Community
England - North East, United Kingdom
Joined: March 14, 2014
KitMaker: 242 posts
Armorama: 161 posts
Posted: Saturday, December 31, 2016 - 02:16 PM UTC
Well Happy New Year everyone, I hope everyone enjoyed seeing in the New Year, or if you were like me, had a good nights sleep haha

Now I didn't get a chance to get my pictures uploaded yesterday however I cracked on a little more with the M7. I got a lot more of the model black primed so now I'm starting to work through each part piece by piece getting it all sprayed up. So the first bit I started with was the transmission, well I think its the transmission, its the big block thing at the front besides the drivers compartment. Let me know if I'm wrong lol.

So firstly it got the black primer on Friday and left to dry over night.


Now I have to say I like the level of detail and it's easiness to put together. So the base colour, after some advise and guidance from Roy and Robin I went for a Grey base coat, followed by an Olive Drab top colour. Even though not very much of the base coat will be visible I still gave it a Dark Grey base and then a Light Grey highlight.


Once this had dried I gave it a coat of Mig Scratching solution.


After this had dried I moved on to the Olive Drab Modulation Set from Mig to give it a bit of depth.

Firstly the Dark Base


Then the main colour


Then the lighter tones


Then finally once this had all dried it got a touch up with a light green to make the bolts etc stand out.


So today, to start the new year I am going to give it a few little scratches and a little bit of dirt, then its onto the front of the hull and the process starts all over again.

I hope everyone has a brilliant 2017 and everyone takes their modelling to the next level!!

RobinNilsson
Staff MemberTOS Moderator
KITMAKER NETWORK
Visit this Community
Stockholm, Sweden
Joined: November 29, 2006
KitMaker: 6,693 posts
Armorama: 5,562 posts
Posted: Saturday, December 31, 2016 - 02:42 PM UTC
For your entertainment:
Article by Steve Zaloga on wartime OD and how to represent it on a model:
http://www.militarymodelling.com/news/article/olive-drab/4536/
It's a lot of text about the history and bureaucracy so you may skip to the last section about model paints.

/ Robin
SiStorey
Visit this Community
England - North East, United Kingdom
Joined: March 14, 2014
KitMaker: 242 posts
Armorama: 161 posts
Posted: Saturday, December 31, 2016 - 02:57 PM UTC
Cheers Robin, that's not a bad little read. Never realised how many variations there can be.
wedgetail53
Visit this Community
Queensland, Australia
Joined: October 02, 2008
KitMaker: 658 posts
Armorama: 629 posts
Posted: Sunday, January 01, 2017 - 05:22 AM UTC
G'day Si

Take a tip from one who has learned the hard way - put the sides on BEFORE installing the ammunition bins, otherwise you will find the sides almost impossible to get straight. You may need to shave off the locating ridges for the bins (on the floor).

Regards

Rob
SiStorey
Visit this Community
England - North East, United Kingdom
Joined: March 14, 2014
KitMaker: 242 posts
Armorama: 161 posts
Posted: Sunday, January 01, 2017 - 11:48 AM UTC
G'day to you to Rob

I'm guessing you've made this kit before. When you say ammunition bins do my mean the two boxs that hold the artillery shells?

Cheers for the heads up. Anything else i should be worried about?
wedgetail53
Visit this Community
Queensland, Australia
Joined: October 02, 2008
KitMaker: 658 posts
Armorama: 629 posts
Posted: Sunday, January 01, 2017 - 11:58 AM UTC

Quoted Text

G'day to you to Rob

I'm guessing you've made this kit before. When you say ammunition bins do my mean the two boxs that hold the artillery shells?

Cheers for the heads up. Anything else i should be worried about?


G'day Si

Yes, those are the boxes I mean. I've made three of these beasts and it wasn't until the third I worked out what I was doing wrong!!

Regards

Rob
SiStorey
Visit this Community
England - North East, United Kingdom
Joined: March 14, 2014
KitMaker: 242 posts
Armorama: 161 posts
Posted: Sunday, January 01, 2017 - 01:23 PM UTC
Brilliant. I'll bare that in mind. Question for you as you have built a few of these, is there any figures for this kit. I've found some Masterbox focus but they are not what I'm after
SiStorey
Visit this Community
England - North East, United Kingdom
Joined: March 14, 2014
KitMaker: 242 posts
Armorama: 161 posts
Posted: Monday, January 02, 2017 - 01:49 AM UTC
Evening everyone,well here's highlights of today's graft. Nothing big and fantastic just another little part of the kit.

So today was the front part of the hull. Followed the same process as the transmission.


The Olive Drab on the front I went a little subtle, dark underneath and light on the top. Also followed by the usual touch up with the high light greens on the rivets etc


Like I said before if anyone knows of any figures for the M7 that would be great cheers!!

CJ3B
Visit this Community
Puerto Rico
Joined: April 11, 2006
KitMaker: 245 posts
Armorama: 235 posts
Posted: Monday, January 02, 2017 - 02:55 AM UTC
Great work!!!
SiStorey
Visit this Community
England - North East, United Kingdom
Joined: March 14, 2014
KitMaker: 242 posts
Armorama: 161 posts
Posted: Monday, January 02, 2017 - 11:48 PM UTC
Thanks Jorge!!
wedgetail53
Visit this Community
Queensland, Australia
Joined: October 02, 2008
KitMaker: 658 posts
Armorama: 629 posts
Posted: Tuesday, January 03, 2017 - 12:29 PM UTC

Quoted Text

Brilliant. I'll bare that in mind. Question for you as you have built a few of these, is there any figures for this kit. I've found some Masterbox focus but they are not what I'm after


G'day Si

I don't recall any particular sets of figures. I recall using a mix of figures from DML and Miniart primarily. You might like to look at some of the kits for 105mm howitzers which have crews and adapt those. I think there's also a few old Verlinden figures as well.

Regards

Rob
SiStorey
Visit this Community
England - North East, United Kingdom
Joined: March 14, 2014
KitMaker: 242 posts
Armorama: 161 posts
Posted: Tuesday, January 03, 2017 - 09:48 PM UTC
I did see the Verlinden figures but I'll a have a look for at the Miniart stuff. Would have thought though that there would be a bigger collection out there of figures.

Cheers though mate!!
dioman13
Visit this Community
Indiana, United States
Joined: August 19, 2007
KitMaker: 2,184 posts
Armorama: 1,468 posts
Posted: Wednesday, January 04, 2017 - 11:07 AM UTC
Hello Si. The figures from dragon are the 101 airborne division infantry set(battle of the buldge) with new arms that do not work very well for the 105 let alone any type of artillery. Actually, for artillery figures, they suck as they were originally set in infantry posses. The biggest problem is that they all have web gear suspenders on them. No artillery crew, especially on S.P.G.s would wear them because of the possibility of being caught or hung up on gear wheels, levers etc. I believe that Miniart or Masterbox, not sure which, does an artillery set for crewing a 155 Long Tom, though they have some short sleeves and not usable for a cold weather scene. It is possible to Frankenstein together an artillery crew if you have enough figure kit parts left over from other builds. P.M. me if you have a problem with the figures, I might have enough torsos to help you Frankenstein a crew together which I would donate to your build if you need. Looking forward to your build as this is a kit I would like to do in the future myself.
Vicious
Visit this Community
Queensland, Australia
Joined: September 04, 2015
KitMaker: 1,517 posts
Armorama: 1,109 posts
Posted: Wednesday, January 04, 2017 - 11:35 AM UTC
The Crew for the Tamiya U.S. Self-Propelled 155mm Gun M40 i think is suitable but i dont know if you can buy separately

http://www.tamiya.com/english/products/35351/index.htm

or maybe these?...

http://www.hobbyfan.com.tw/product/product_detailshowP.asp?no=20091210001
SiStorey
Visit this Community
England - North East, United Kingdom
Joined: March 14, 2014
KitMaker: 242 posts
Armorama: 161 posts
Posted: Thursday, January 05, 2017 - 03:01 AM UTC
I guess with a little bit of bastardisation I could make them work.
Iraqiwildman
Visit this Community
Missouri, United States
Joined: November 24, 2008
KitMaker: 93 posts
Armorama: 81 posts
Posted: Thursday, January 05, 2017 - 09:14 PM UTC
I built this kit about 5 years ago and also used the same Verlinden add-ons. I do not remember any major fit problems. The transmission is barely visible on the completed kit. I added hoses to mine and can only see it with a flashlight shining directly on it.
But I am wondering why you are painting the parts before you glue them together?

dhines
Visit this Community
Nova Scotia, Canada
Joined: November 17, 2015
KitMaker: 407 posts
Armorama: 373 posts
Posted: Wednesday, January 11, 2017 - 12:16 AM UTC
Hello Si, nice job so far with your build. I have one of these kits myself so I will be following your build with much interest. If you build this as a British or Canadian Priest, there are a couple of figure sets by Bronco that look pretty good. Keep up the good work Si,I will be looking forward to your next update
 _GOTOTOP