_GOTOBOTTOM
Armor/AFV: Canadian Armor
Discuss all types of Canadian Armor of all eras.
Hosted by Darren Baker
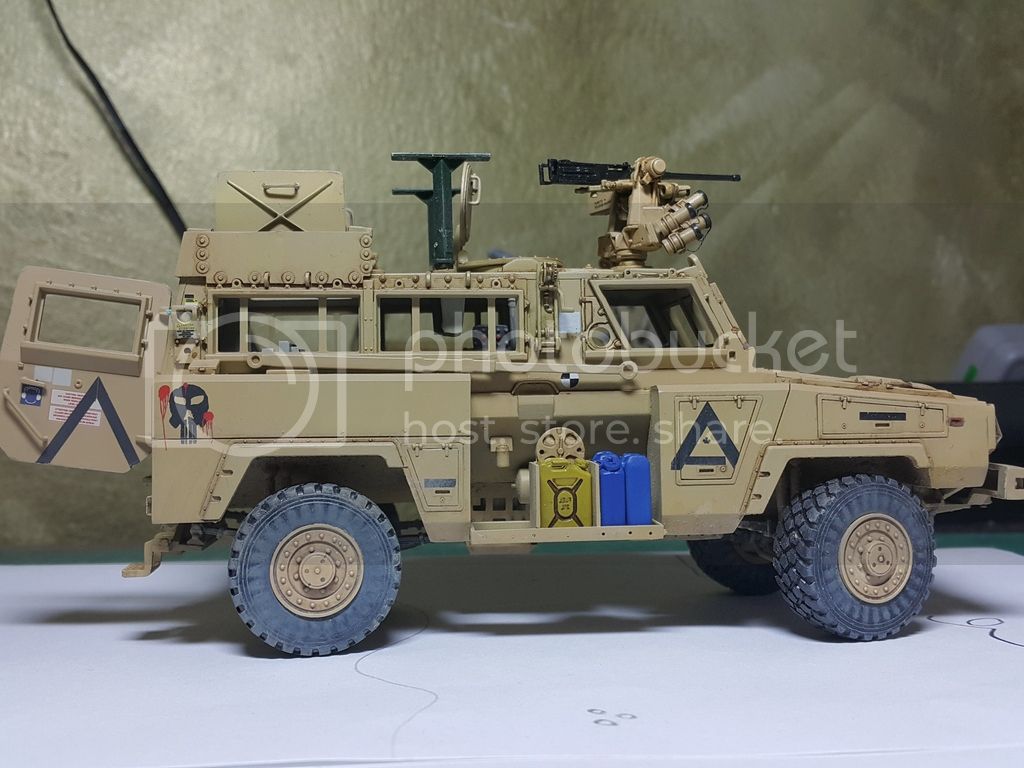
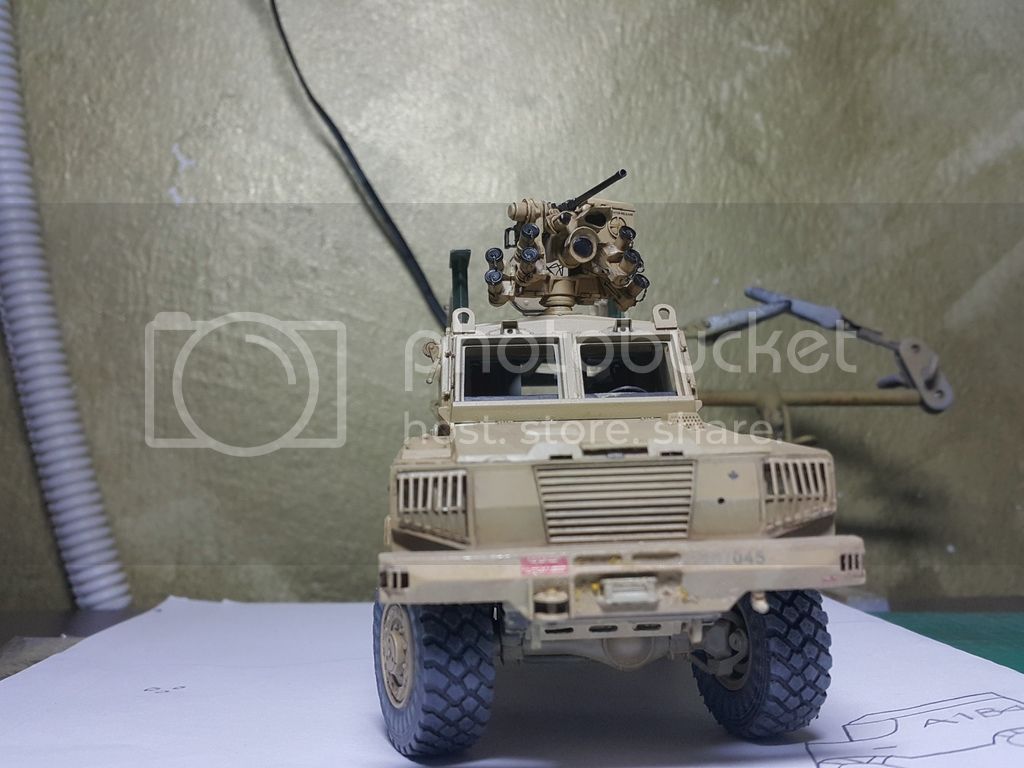
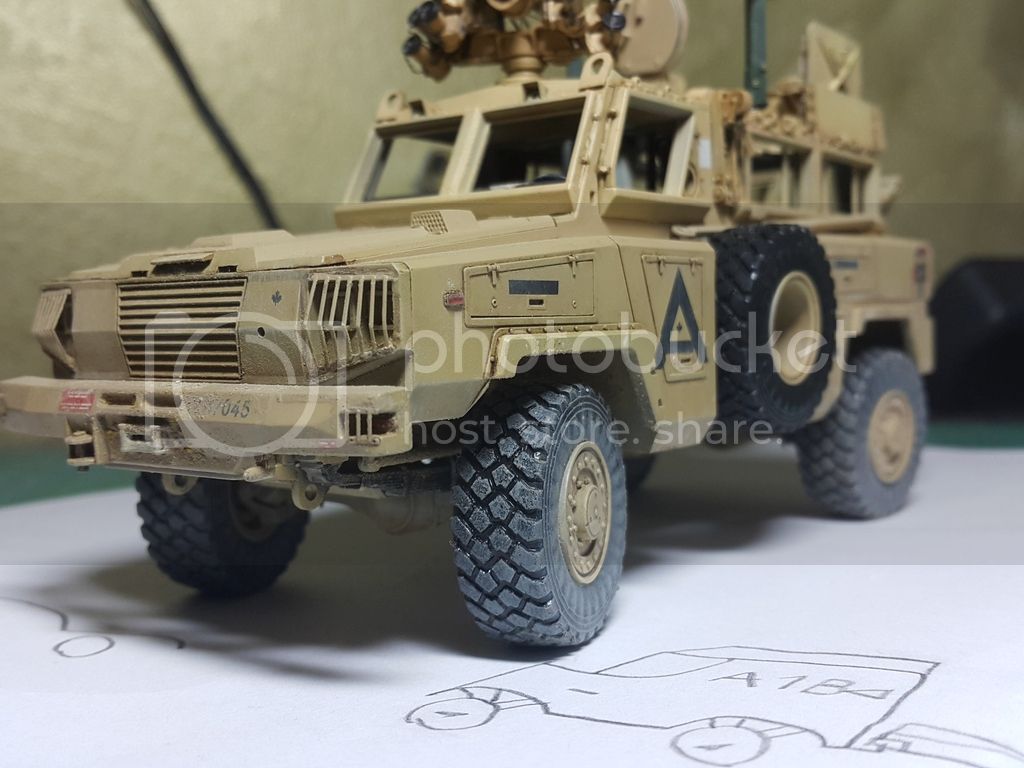
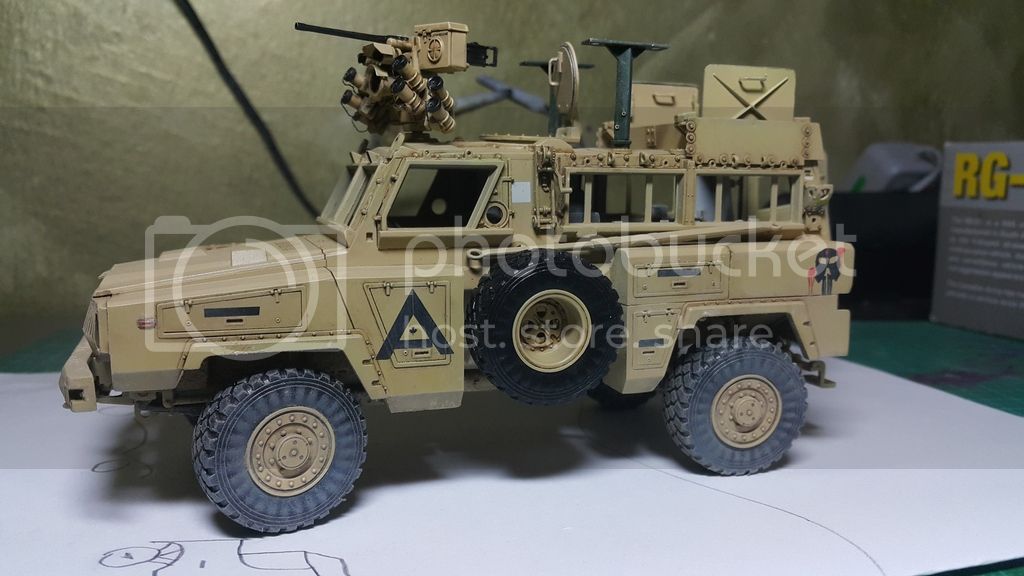
Canadian RG-31 Mk.3 build log
Silantra
Visit this Community
Putrajaya, Malaysia
Joined: March 04, 2004
KitMaker: 2,511 posts
Armorama: 913 posts
Posted: Wednesday, January 04, 2017 - 06:59 AM UTC
Hi guys

Happy New Year....

i started on this build 3 weeks ago. This is Kinetic Rg-31 Mk3.


This would be another OOB for me (but will add some small details) to this kit. The build is for local Kinetic group build.
I never build any kinetic kit before and this is also my first time doing modern wheeled vehicles. I never knew about this vehicle before. Since LHS threw 50% discount on all kinetic kits, and this is the only land vehicle that available so i would like to give it a try.
Build started 3 weeks ago with some frustation involved. Since this is my first kinetic kit, i found out that the manual and instructions are really confusing. They dont simply pin point where exactly the part goes...just an arrow showing in (and worst from the other side..) The way some parts attached to the sprue is also bothers me.Big join stub on a small fragile window frame! I almost destroy a few. Maybe i'm not careful. Extra cleaning is required.The only things that keep me going is the excellent fitting of the parts.

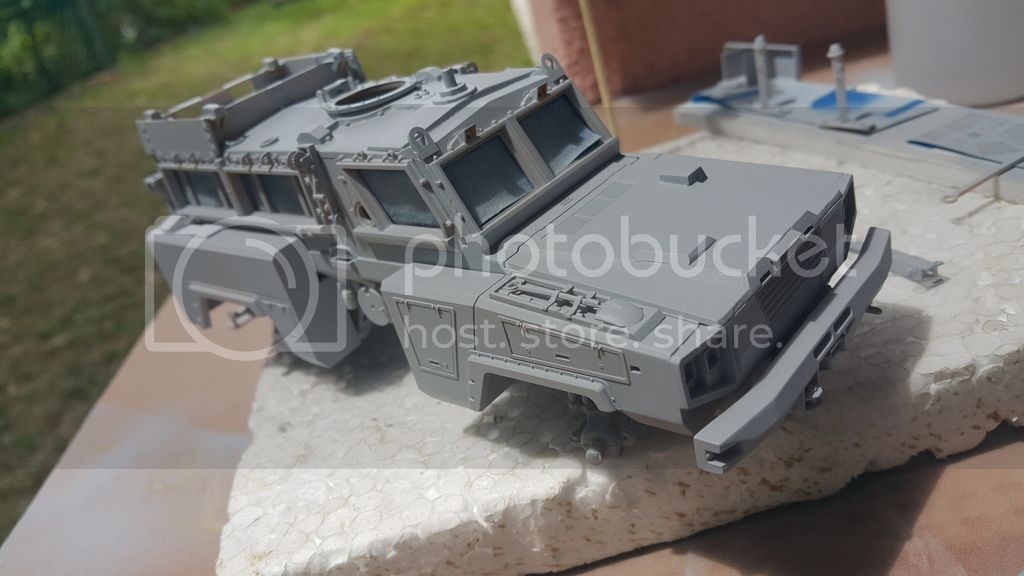
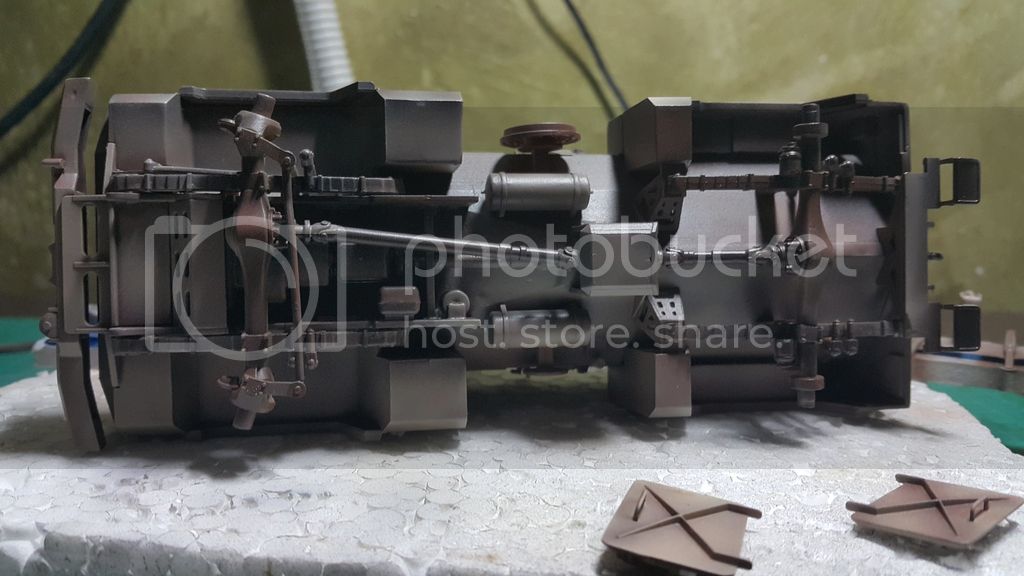
I follow the step in the manuals, which started with the front wheel suspension. Then the hull. I attached most part here and then move on to the interior.
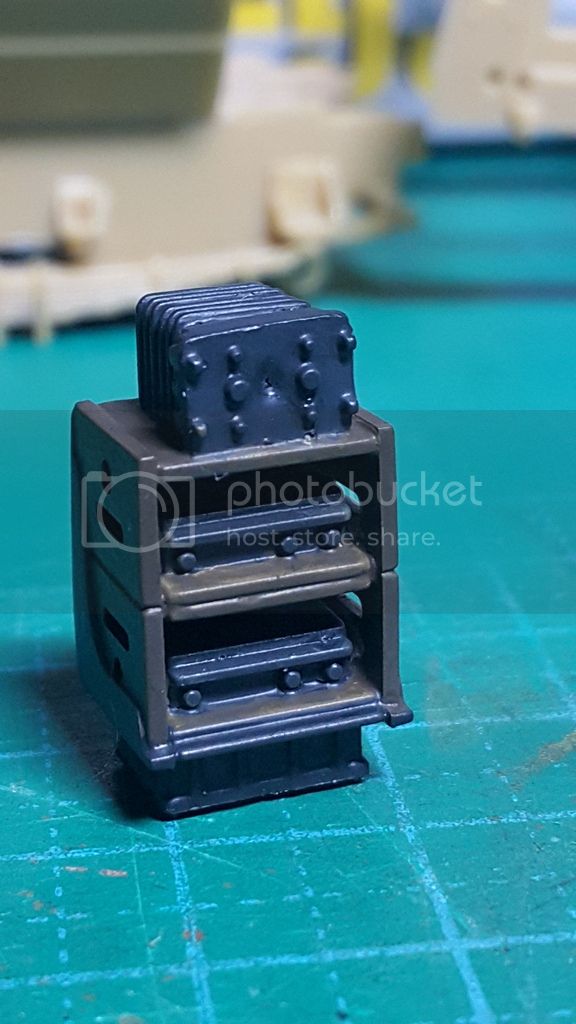
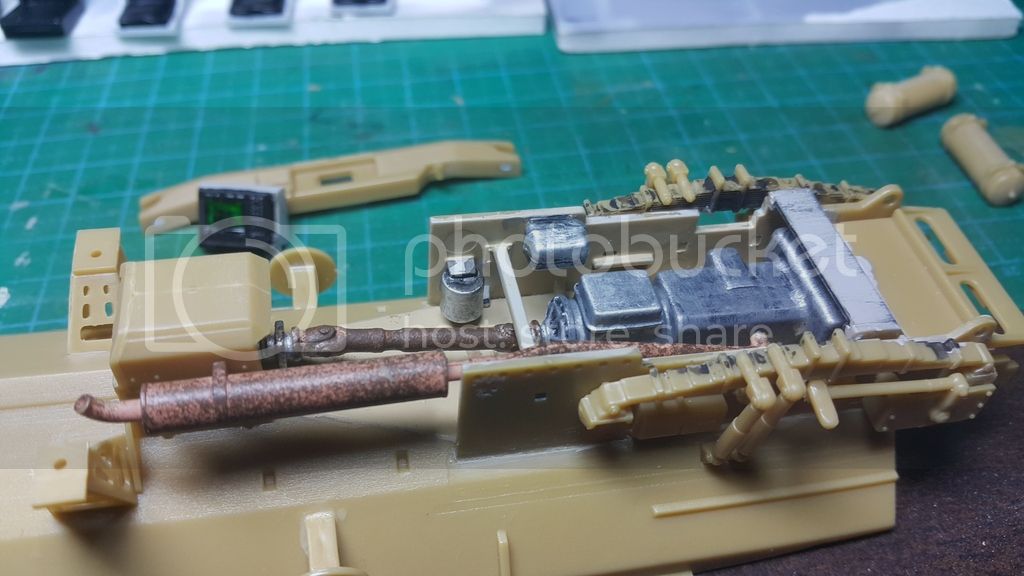
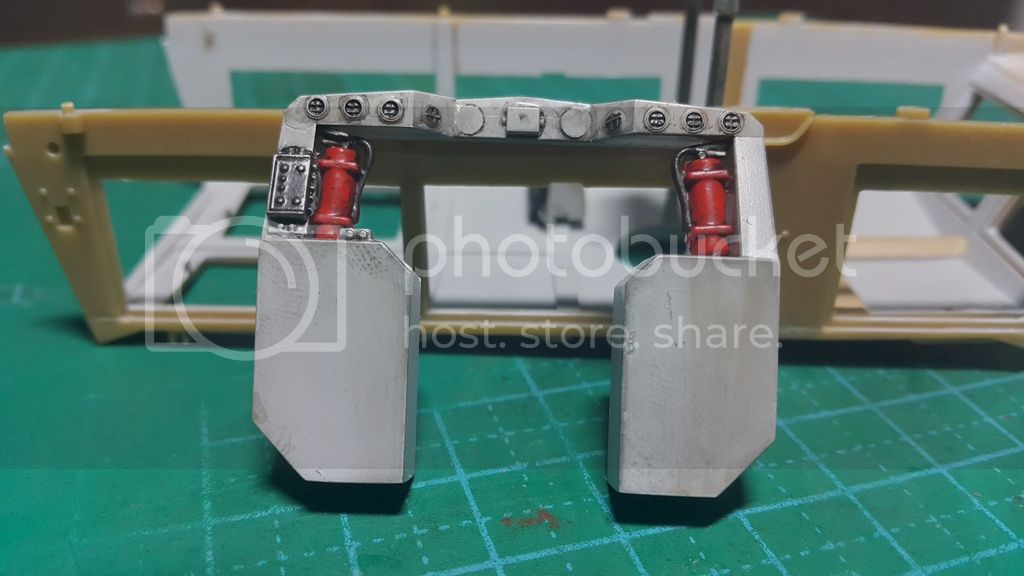
I assembled and painted the gearbox and exhaust but will further detail them after final color is painted.
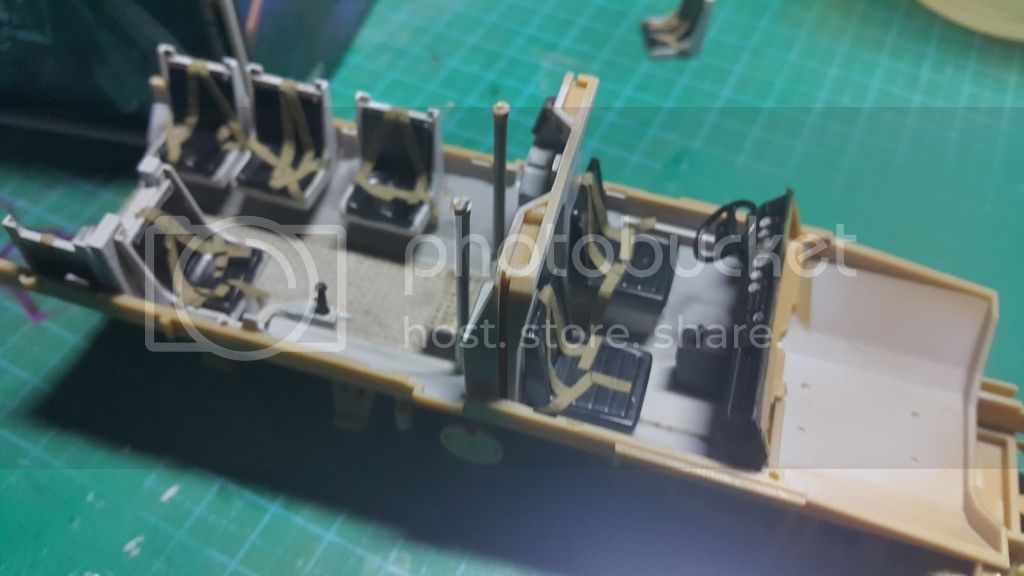
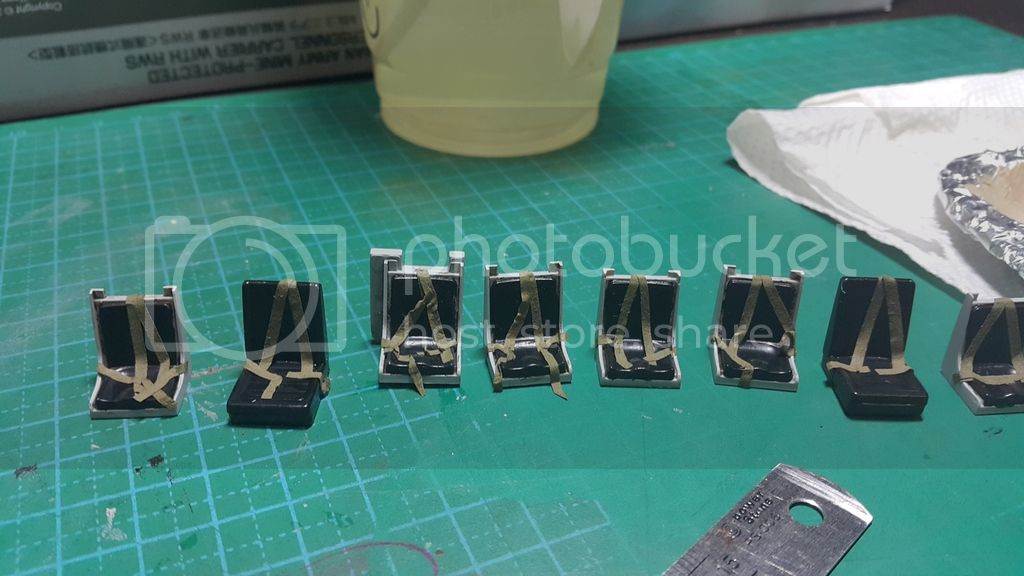
Next is the interior. I painted them with light grey and then detail up the seat using tape and painted with vallejo grey green.

Put them in place
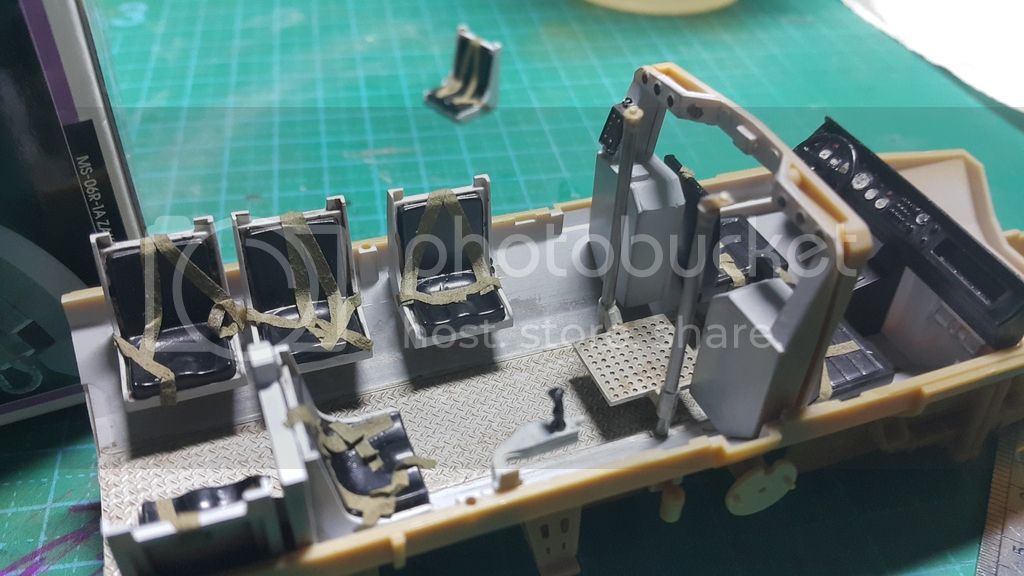

The deck was weathered with oil n pastel.
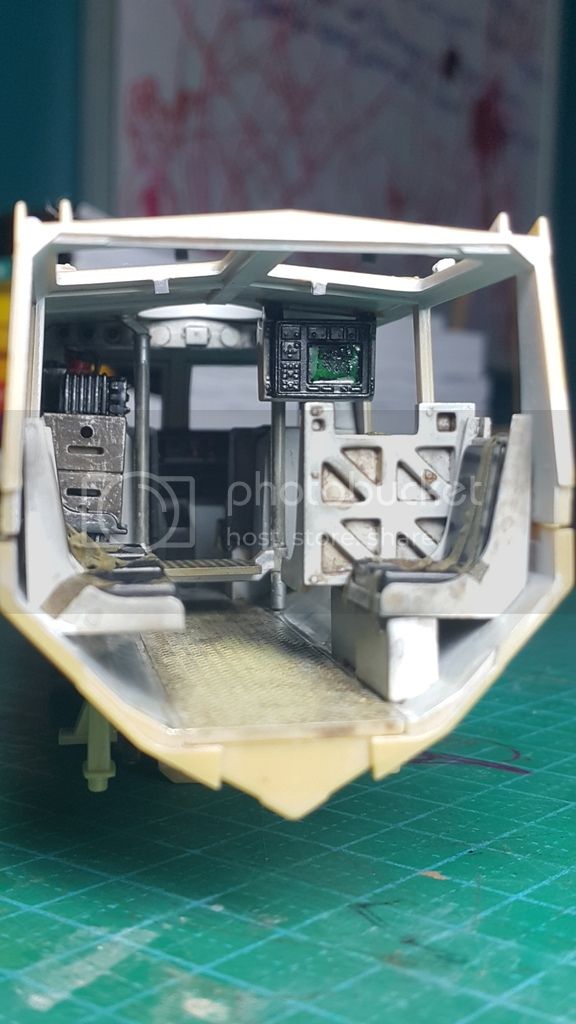
Then i painted all the details in the interior


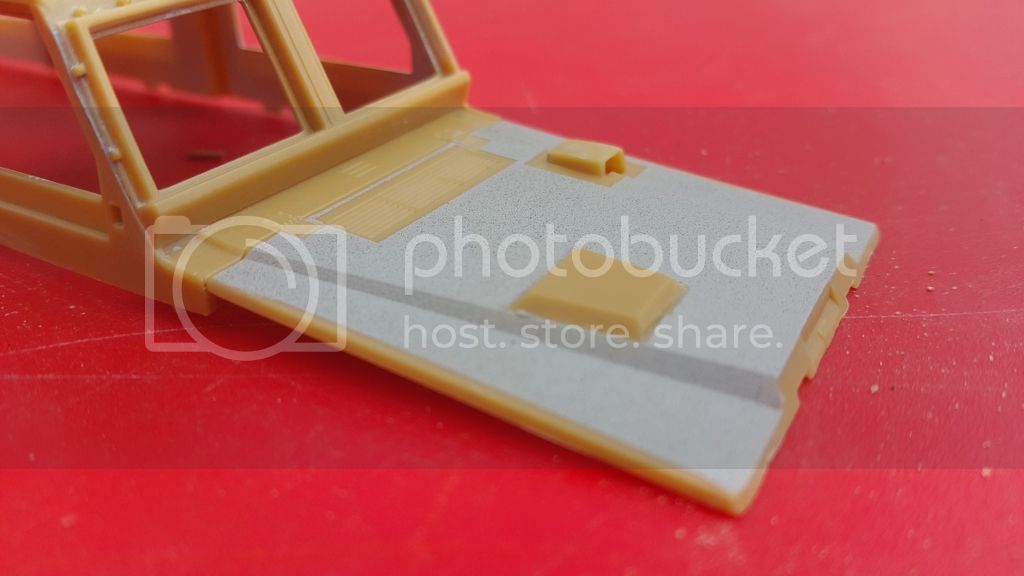
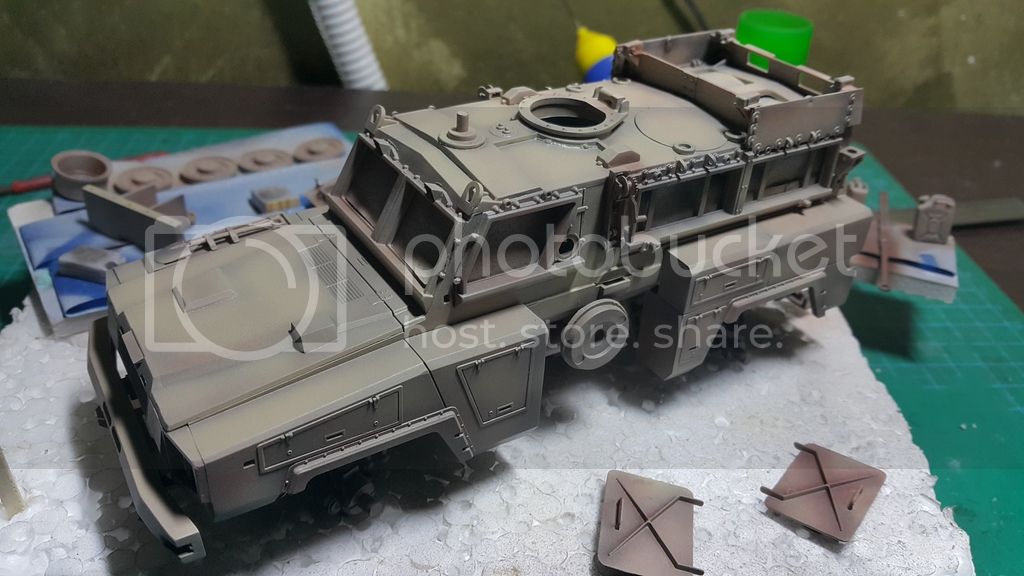
Before i glue the hull, i replicate the non-skid coating. After reading the tips in armorama, i try to follow the tip by using mr.surfacer. After masking, i spray with mr.color 500 mix with 1200 and thinner 5% and then spray at 50psig and about 15inches away. The results are ok as this is my first time ever attempt this kind of coating.
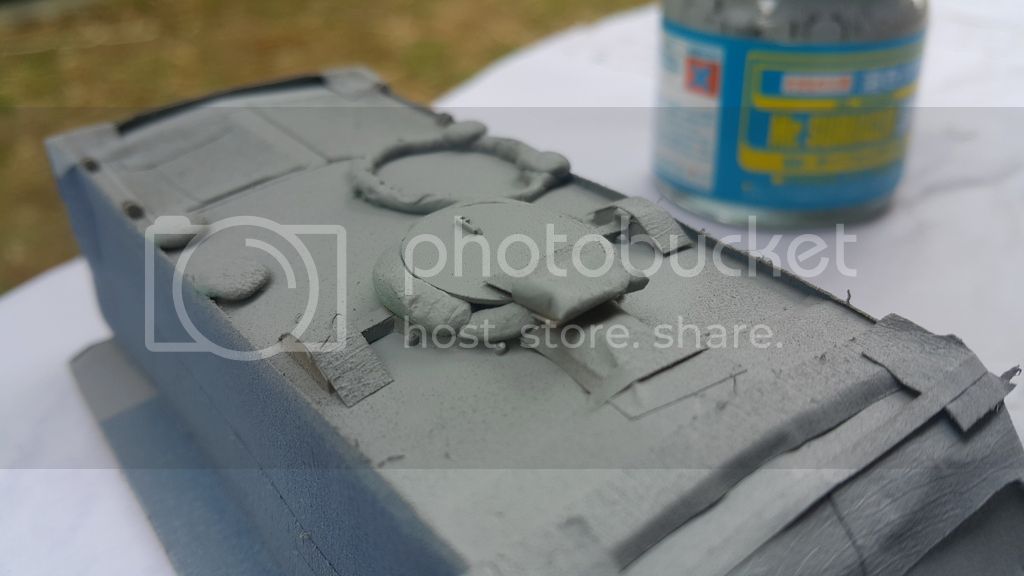
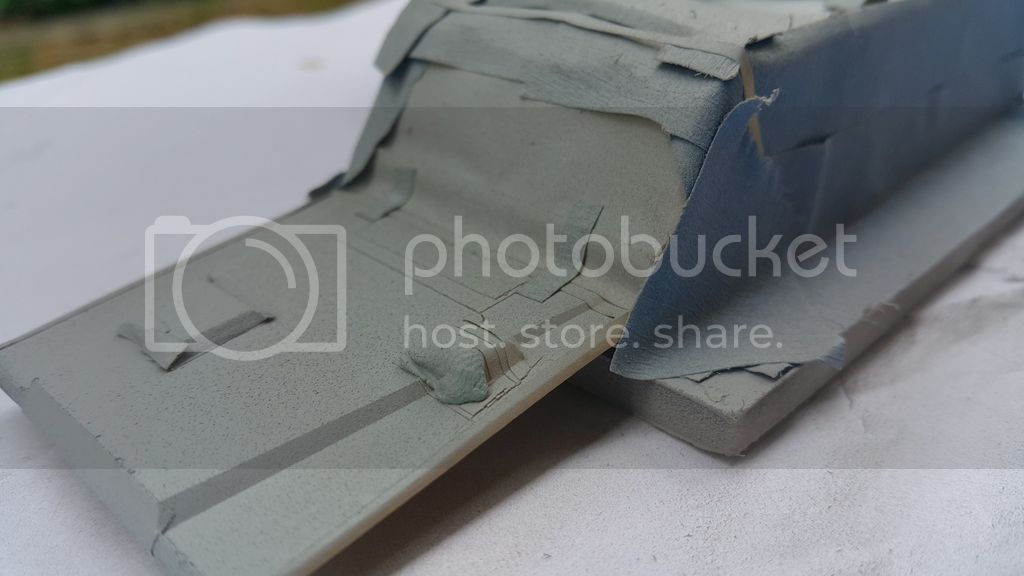
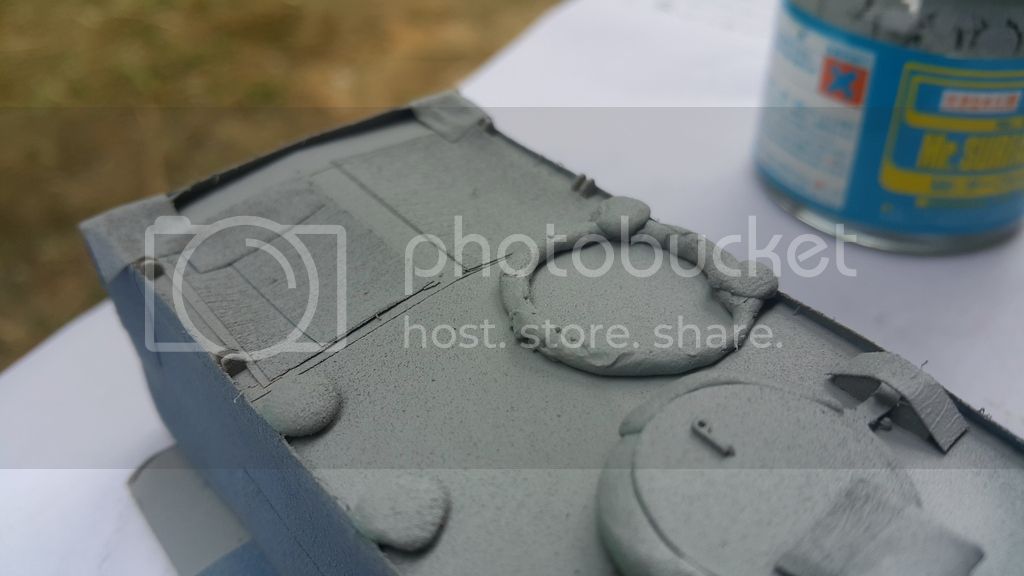
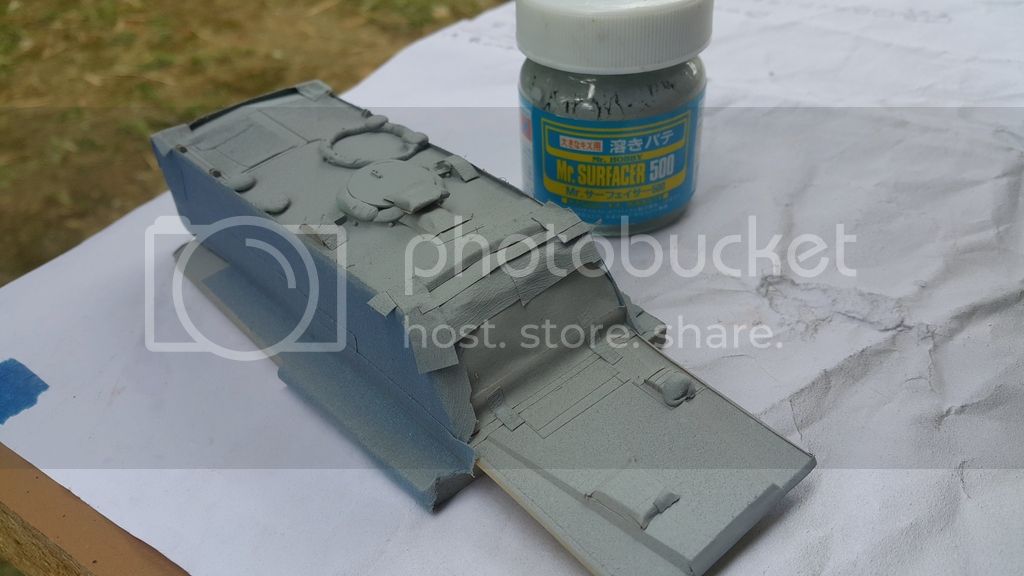

on closer look after unmasked:
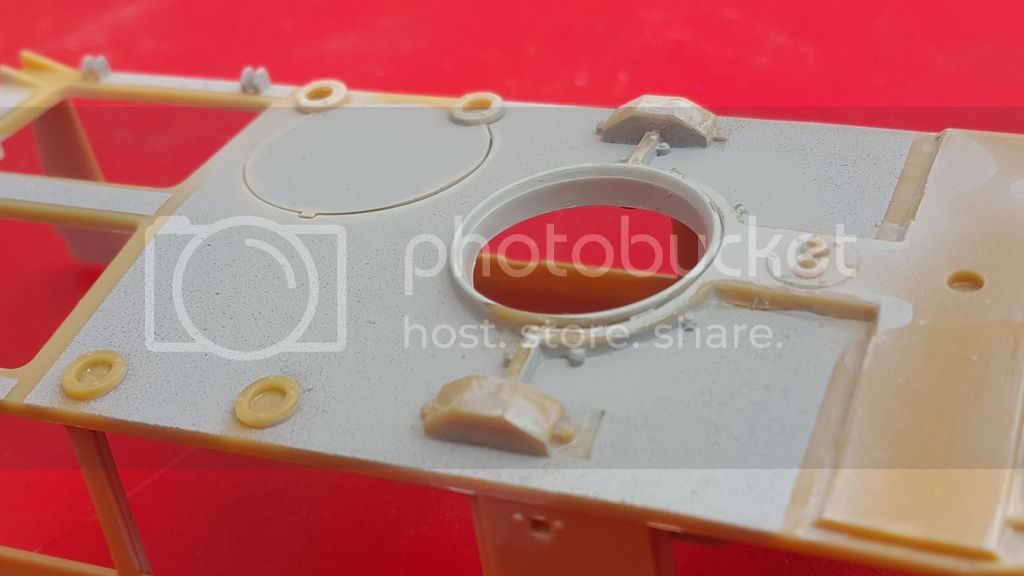


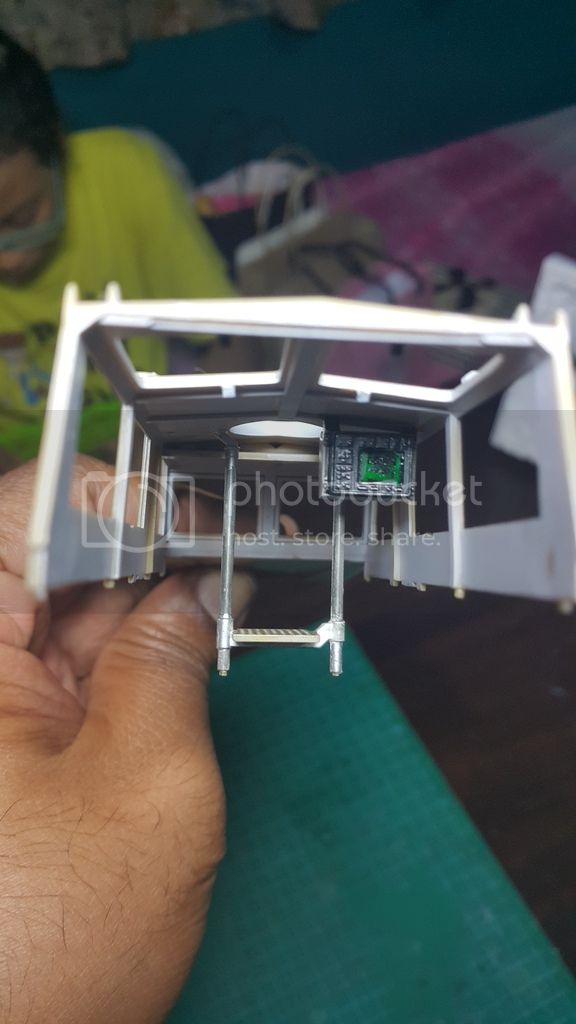
The instructions also doesnt tell clearly where exactly am i supposed to attached the radio. I try putting them on the square dent which i believe to be the mount but the join was too small. so i added a strip styrene underneath the join and then glue the radio.
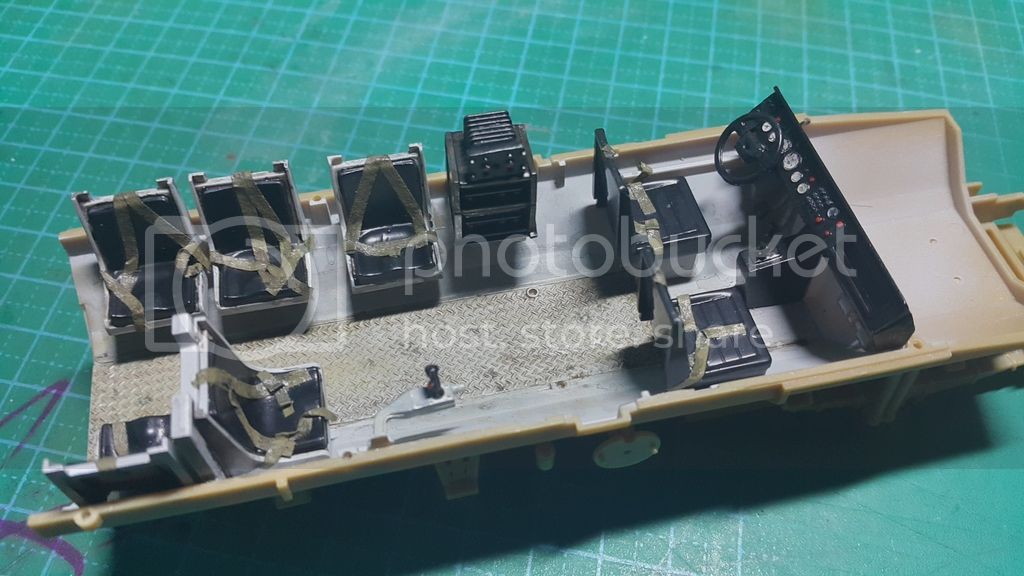


when this is done it's time to join both hull.
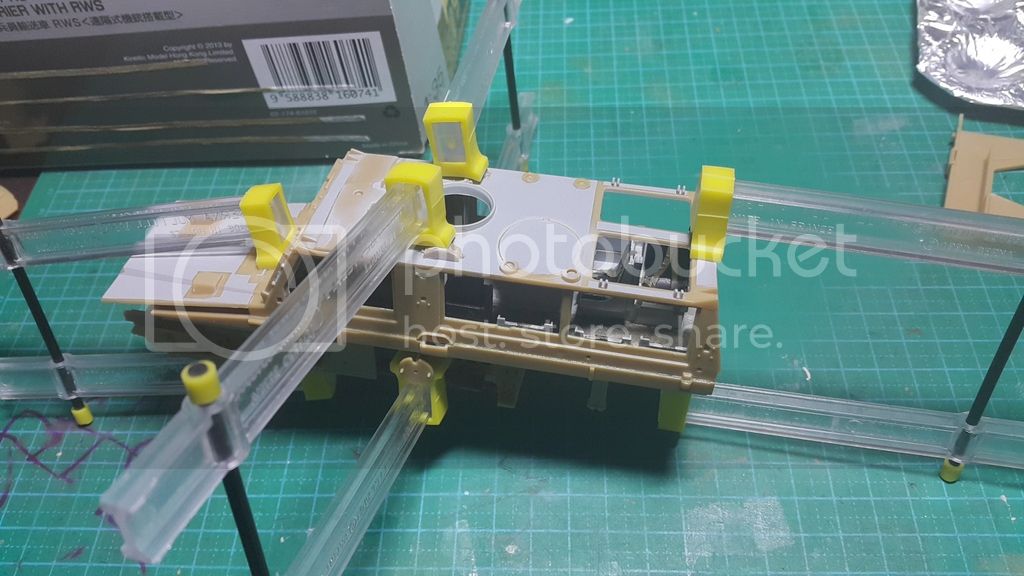


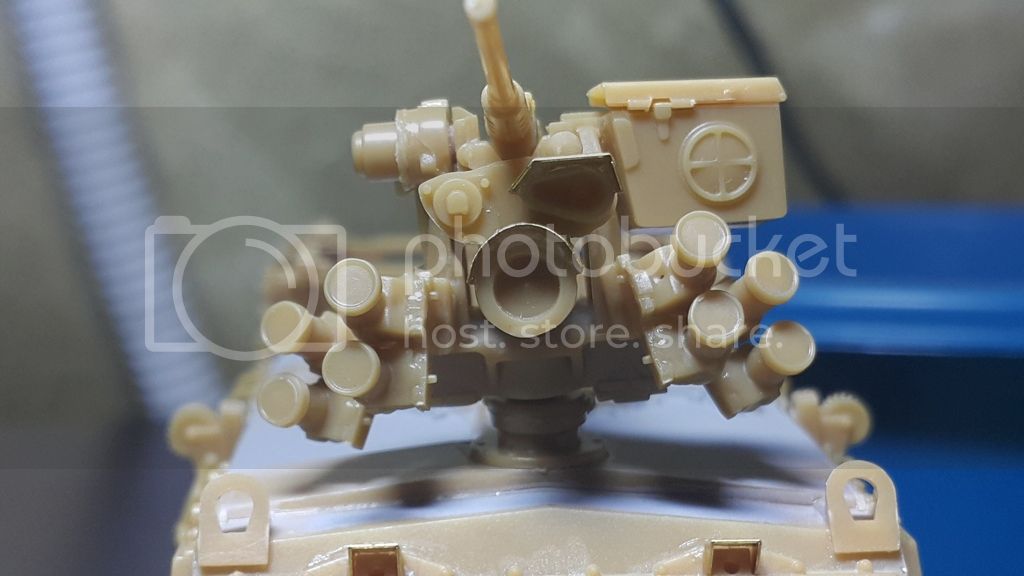
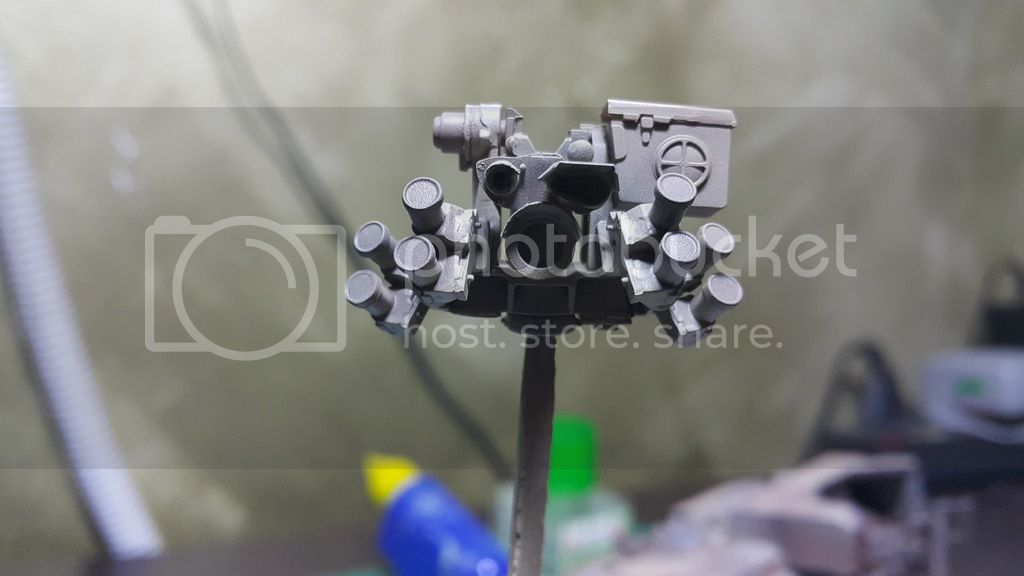
In the meantime, i assembled the remote weapon station. Most small parts goes here..i think the rws has more than 70 parts. the smoke grenade alone consist of 3 parts each.
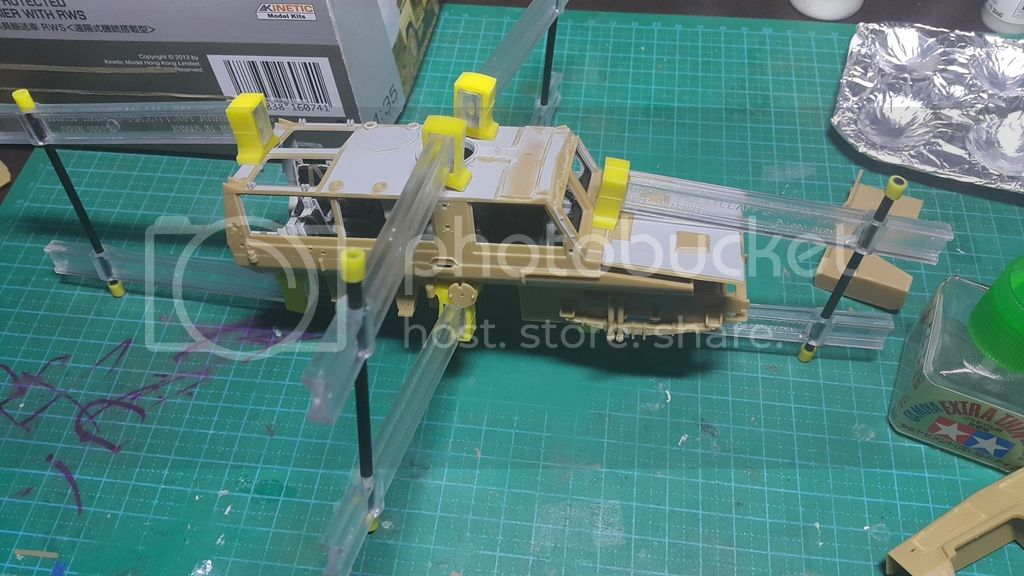
Test fitting and temporary attached with greentac
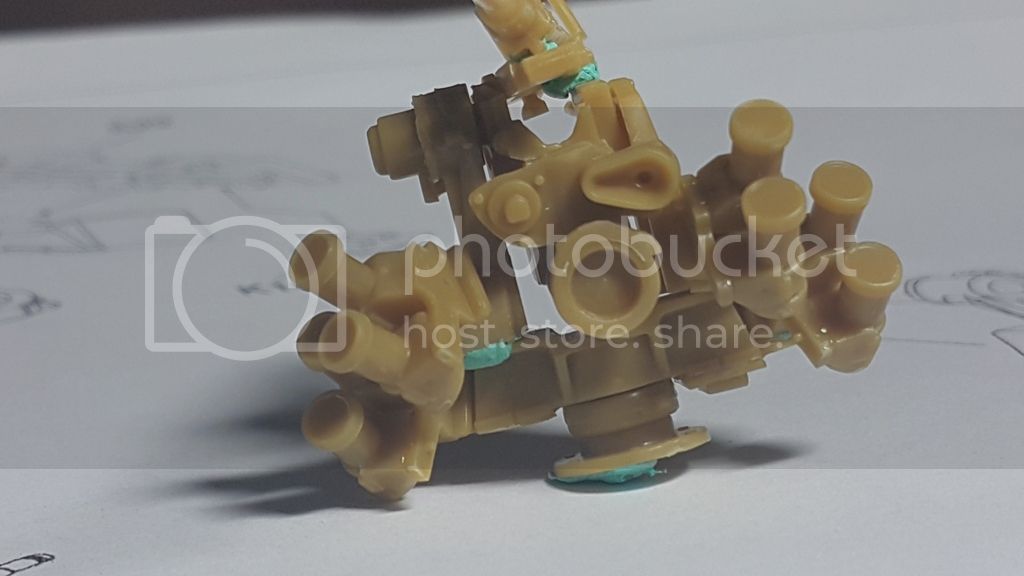
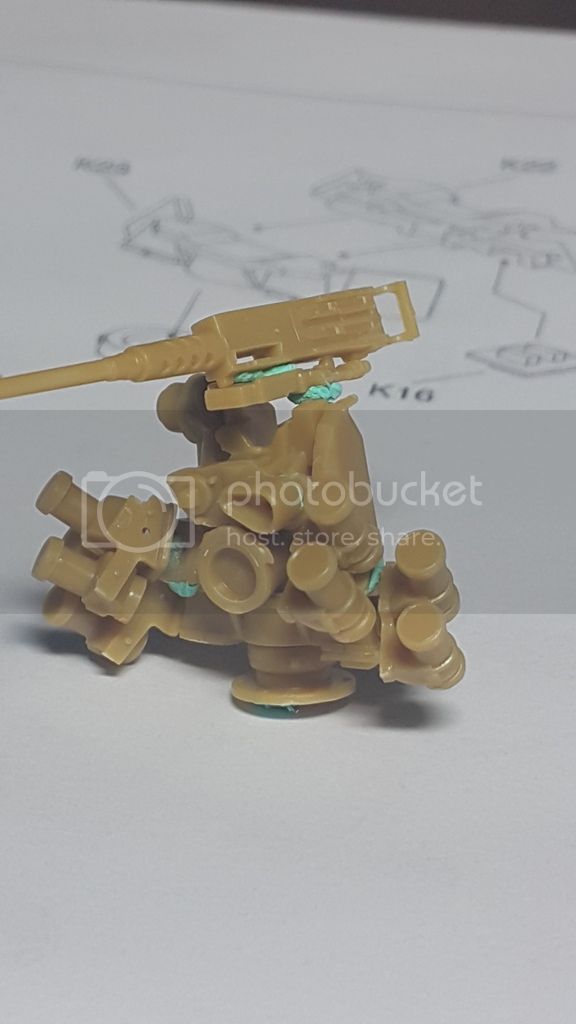

last night i dry fitted the side panel and hatches. This maybe the final configuration. I will add details to the top hatch later.Thanks to Mr.Bob Read from Canada who provide me close up photos of the top hatches.
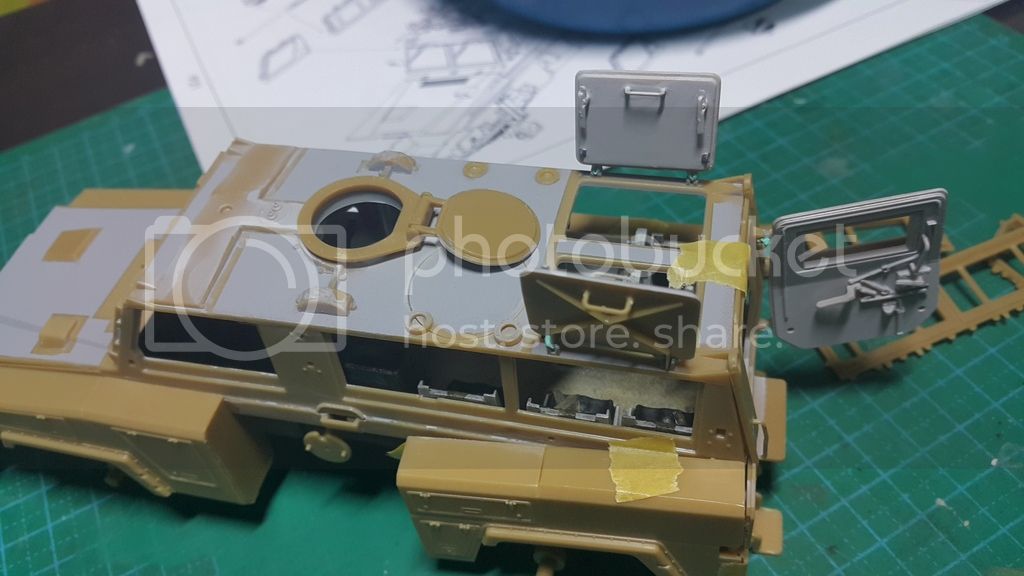
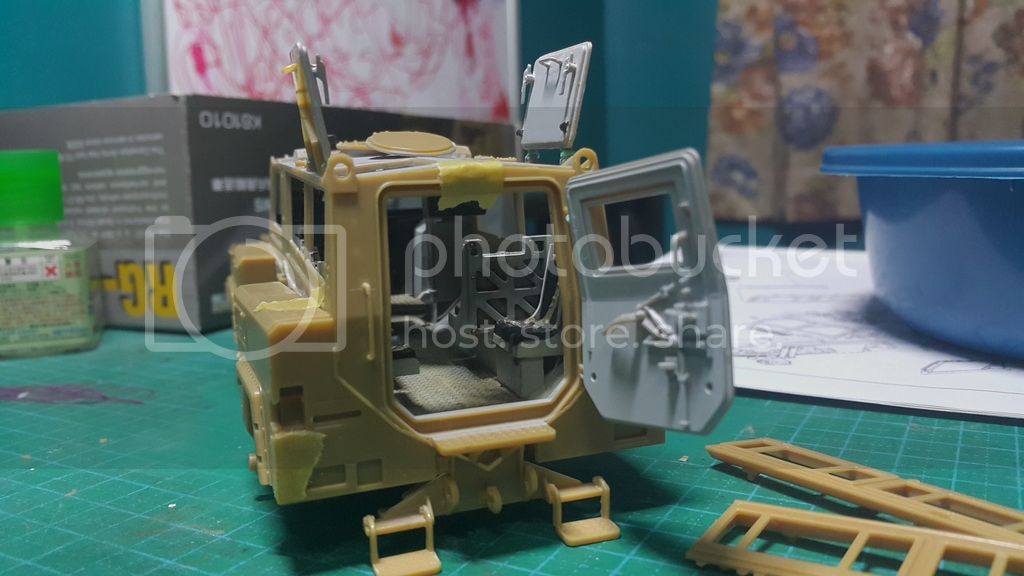
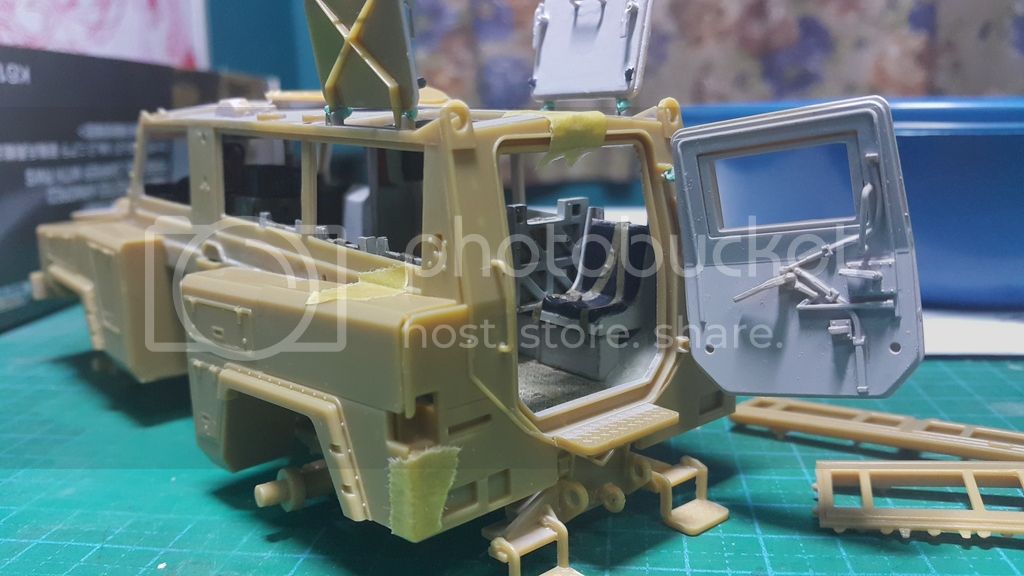


That's for now. Thanks for veiwing

Zaidi
WXerock
#450
Visit this Community
California, United States
Joined: July 19, 2015
KitMaker: 672 posts
Armorama: 668 posts
Posted: Wednesday, January 04, 2017 - 09:21 AM UTC
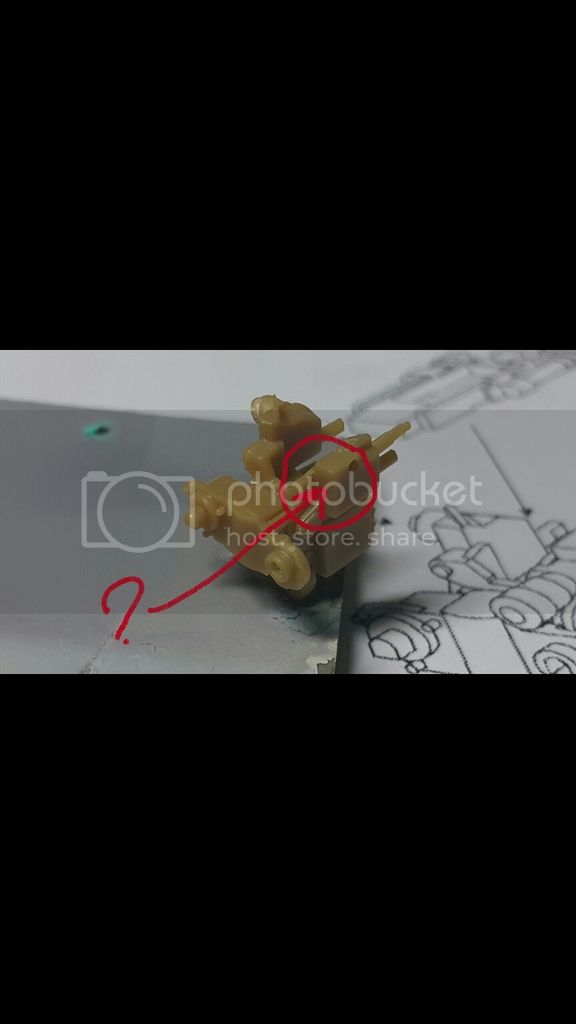
Zaidi, looks good do far. Hopefully Kinetic has sharpened some of that soft detail on the new Mk 5. Before you glue the RWS together you should flip your 50 cal. You can tell it is upside down. The feed slot should be on the top. The two nubs you have on the bottom are actually the weapon's sights. I look forward to seeing this done.

Regards,

Eric
Silantra
Visit this Community
Putrajaya, Malaysia
Joined: March 04, 2004
KitMaker: 2,511 posts
Armorama: 913 posts
Posted: Wednesday, January 04, 2017 - 12:13 PM UTC

Quoted Text

Zaidi, looks good do far. Hopefully Kinetic has sharpened some of that soft detail on the new Mk 5. Before you glue the RWS together you should flip your 50 cal. You can tell it is upside down. The feed slot should be on the top. The two nubs you have on the bottom are actually the weapon's sights. I look forward to seeing this done.

Regards,

Eric


Eric,

thanks for your input. Yeah..i messed up during dry fitting. Too small for my eyes...i will make sure everything is align properly before gluing. This part of the manuals doesnt say clearly where to put it.
SO the thing name is gunsight... phew... i never knew that.. thanks buddy..

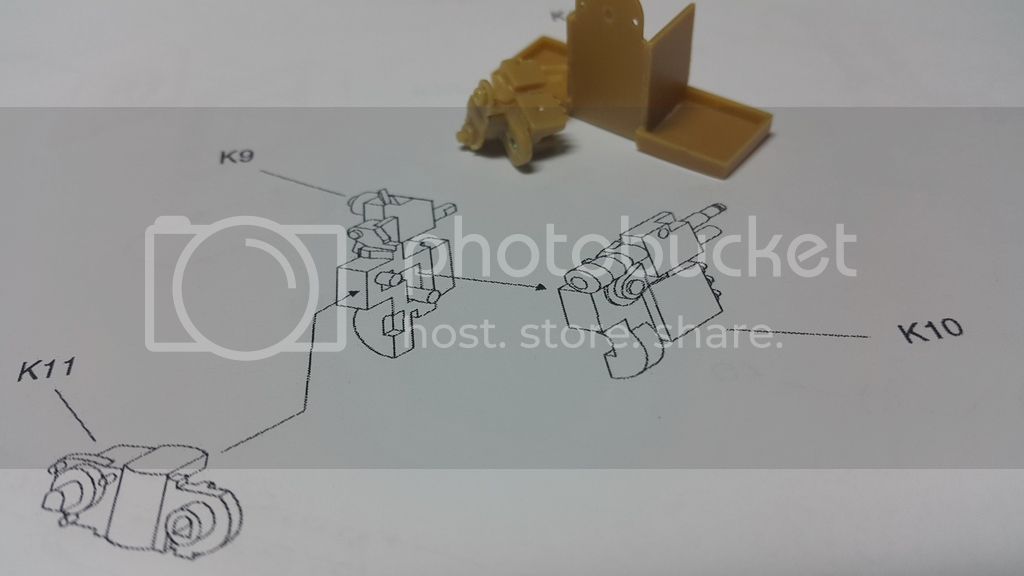
i also noticed that the part below the gunsight (the gun mount, maybe) has different shape than that of the illustration in the instructions. I will add photo tonight to show what i meant.

Thanks once again

Zaidi
Silantra
Visit this Community
Putrajaya, Malaysia
Joined: March 04, 2004
KitMaker: 2,511 posts
Armorama: 913 posts
Posted: Wednesday, January 04, 2017 - 08:42 PM UTC
Back to another slow update.
Still regarding the rws..

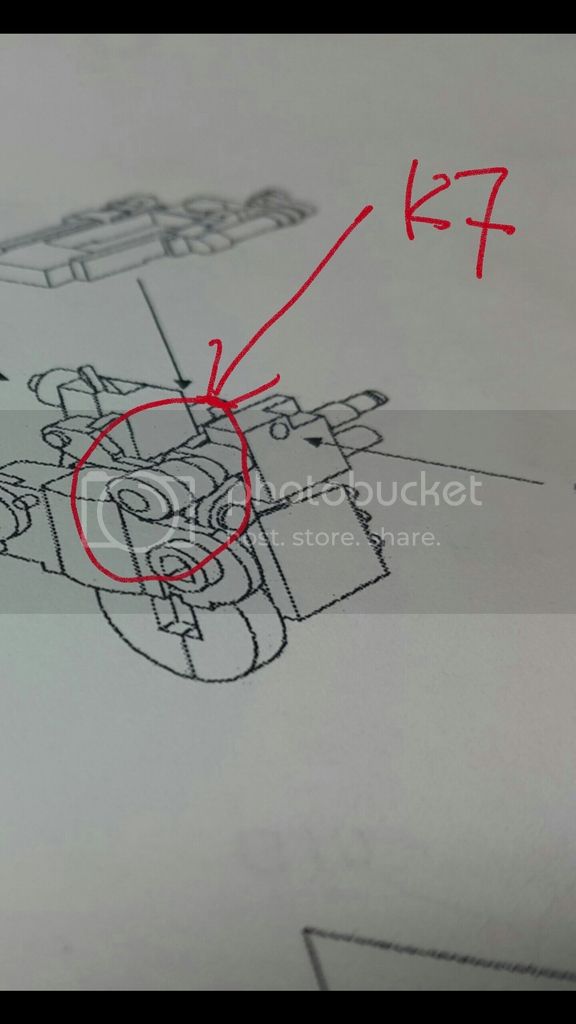
This is weird part of the construction. Like i said earlier, there was a protuding parts for the gun mount as illustrated.

But not on the part k10.
Comparing actual parts n drawing. So i look onto sprue K and found part k7 which looks like the one illustrated but not mentioned in the manuals.

Part k7 is supposed to be glued here


And this is never mentioned in any build or review on the net.

Ok now back to the kit...


Zaidi
Silantra
Visit this Community
Putrajaya, Malaysia
Joined: March 04, 2004
KitMaker: 2,511 posts
Armorama: 913 posts
Posted: Saturday, January 28, 2017 - 10:32 PM UTC
Wow..it has been a while since my last update...

So once again ..a slow build

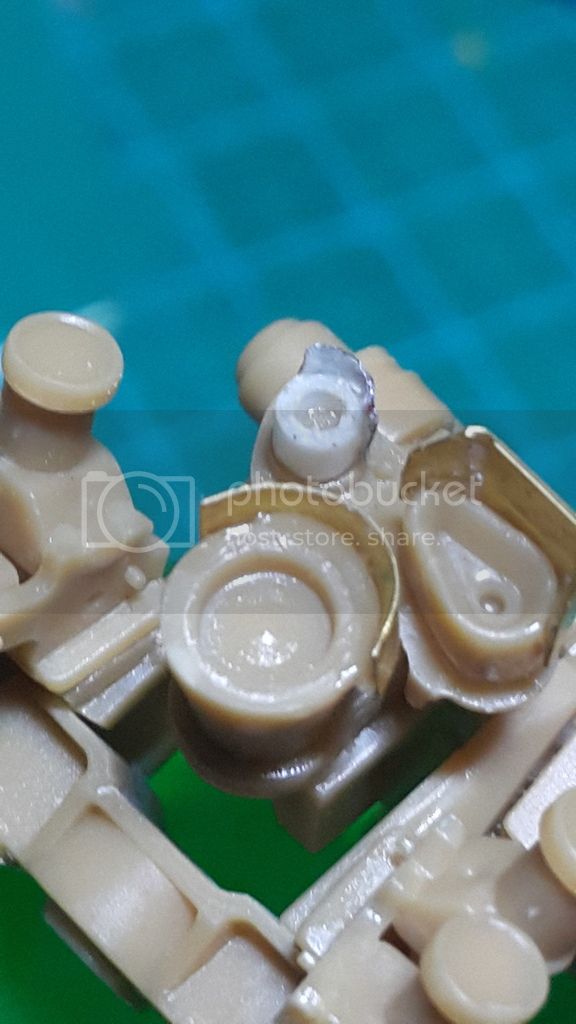
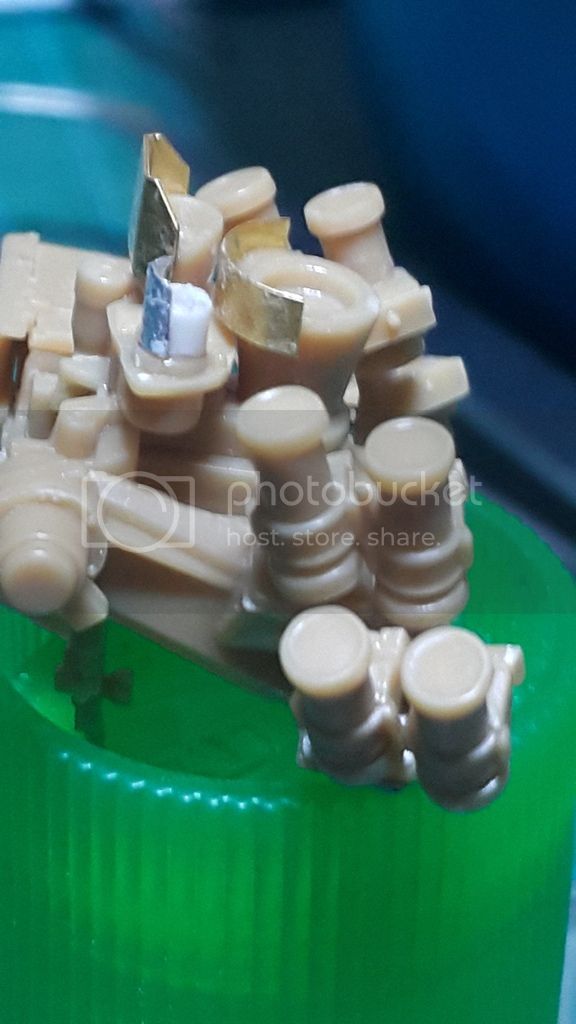
Disaster struck me as i lost a part for the RWS. I dont know what it is called.

It is the left probably sensor part.
So i scratchbuild a replacement using plastic tubing and added metal foil.


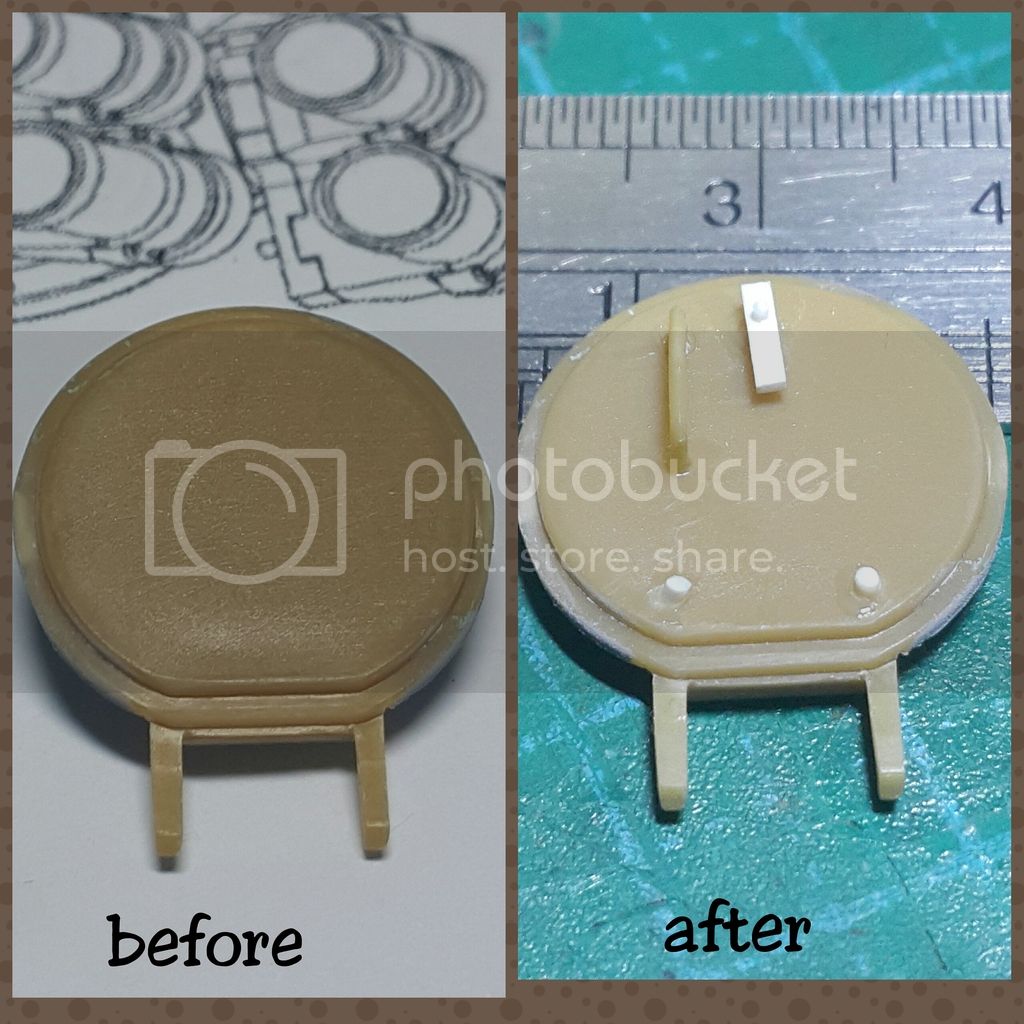
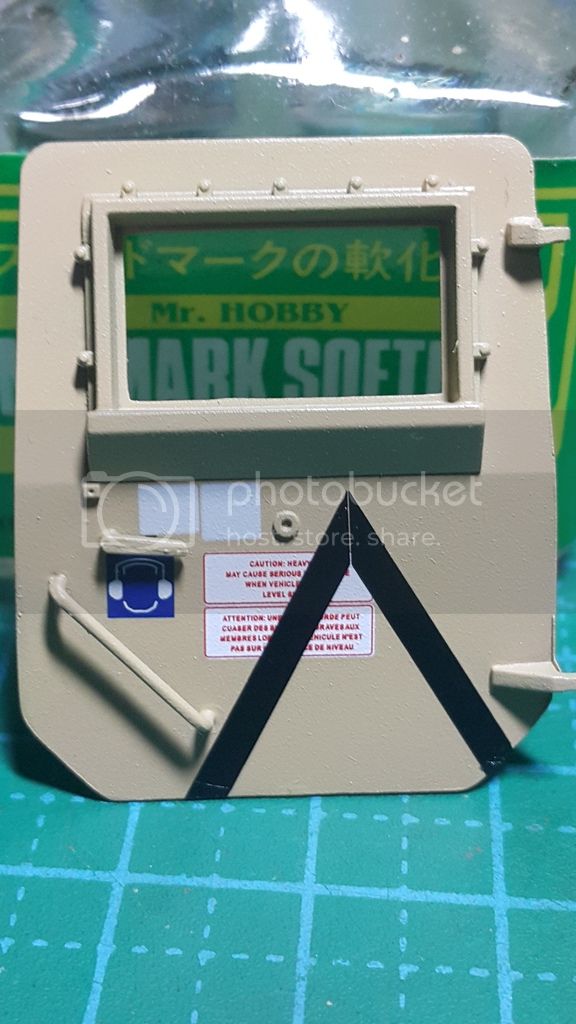
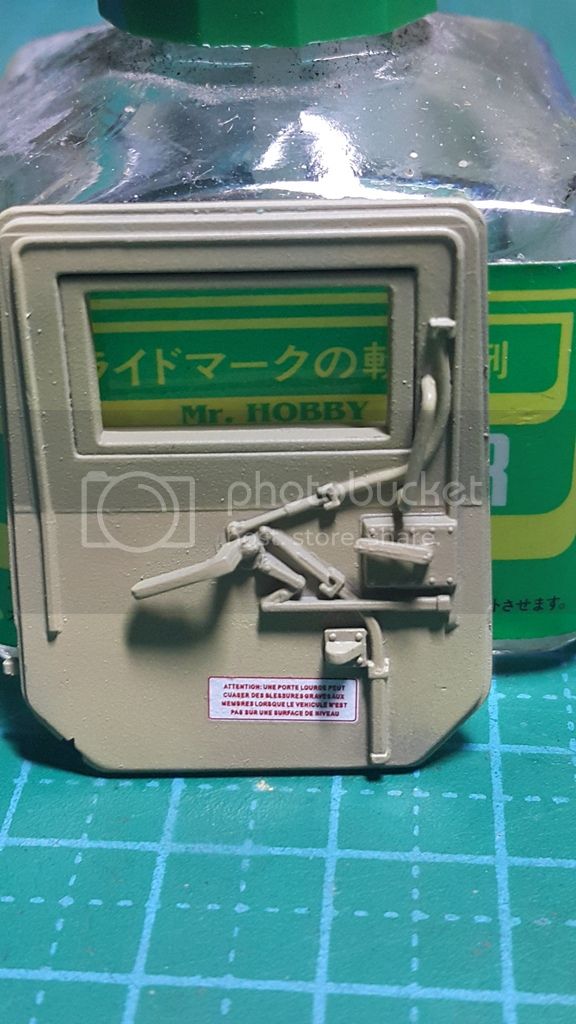
Next, i detailed the interior part of the hatch. Added grab handle from spare and the latch using styrene stock.


Next, i primed with mr.surfacer.


And then prehare with black n brown.


Next i give a light coat of tan color to random area


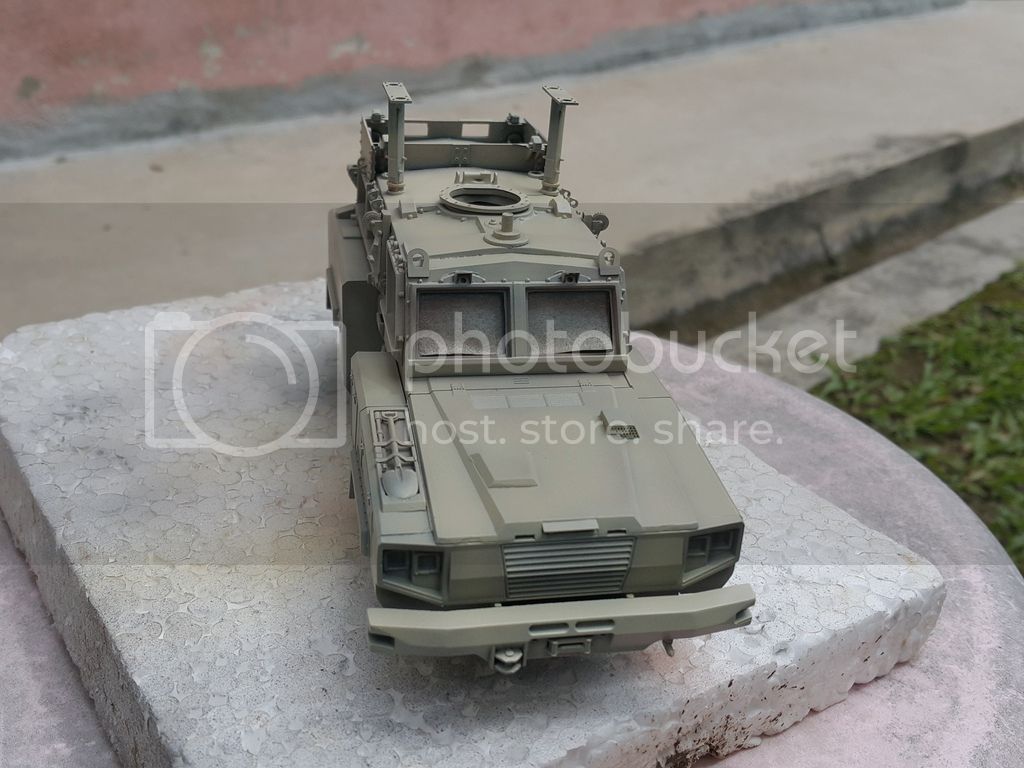
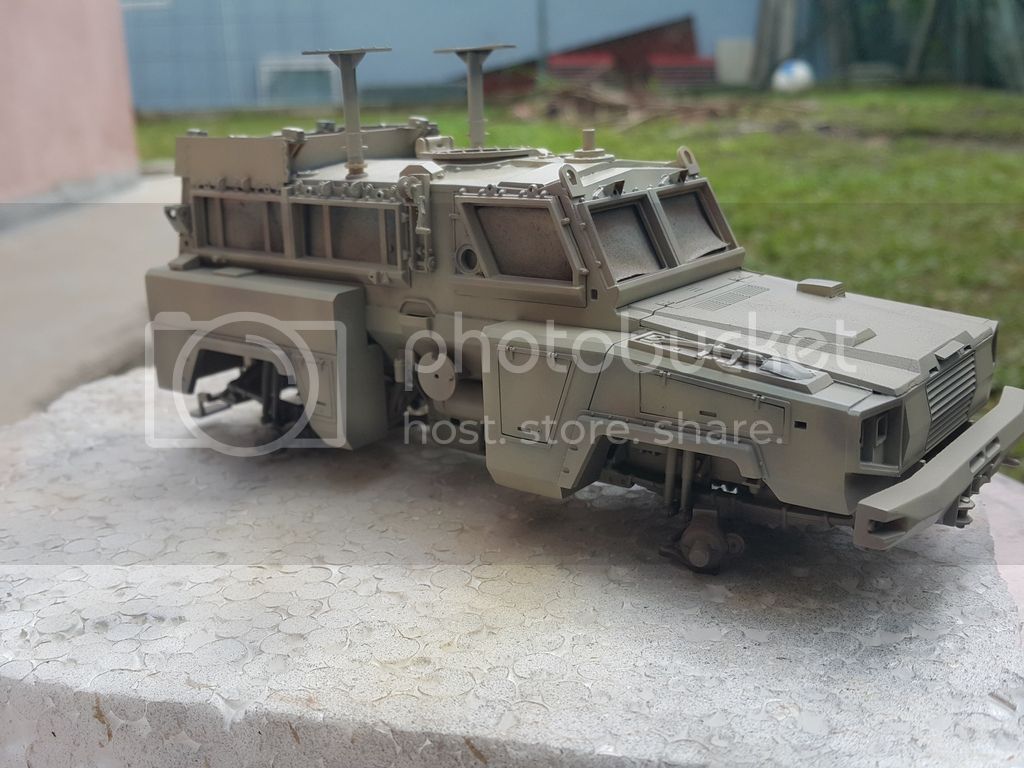
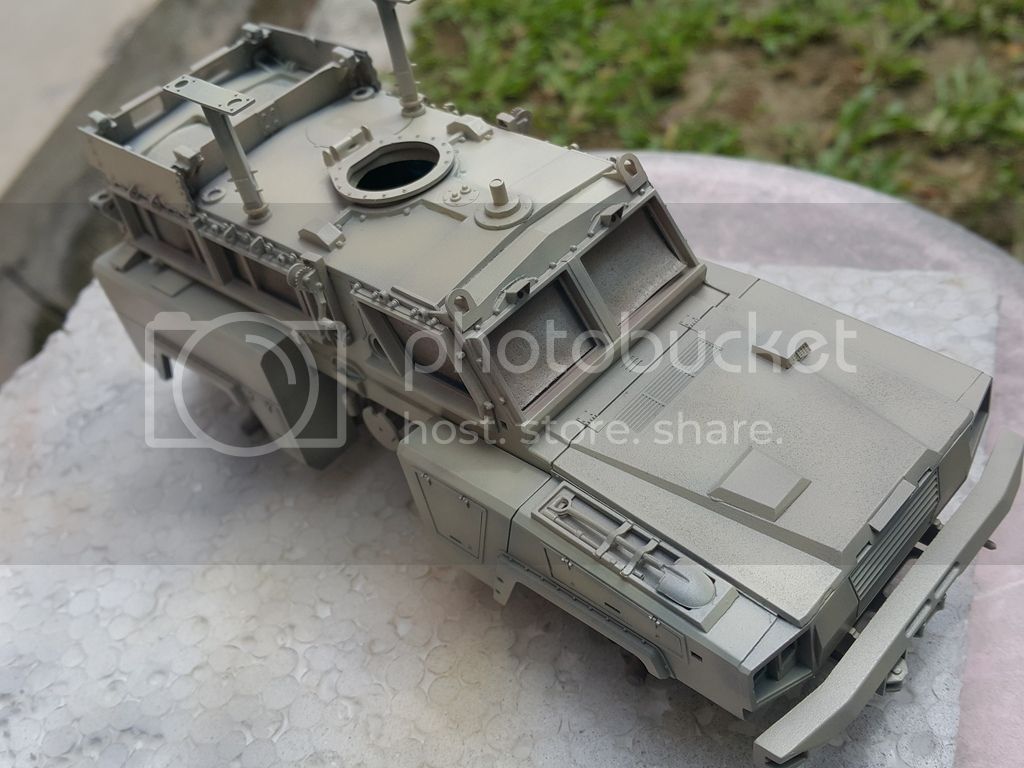
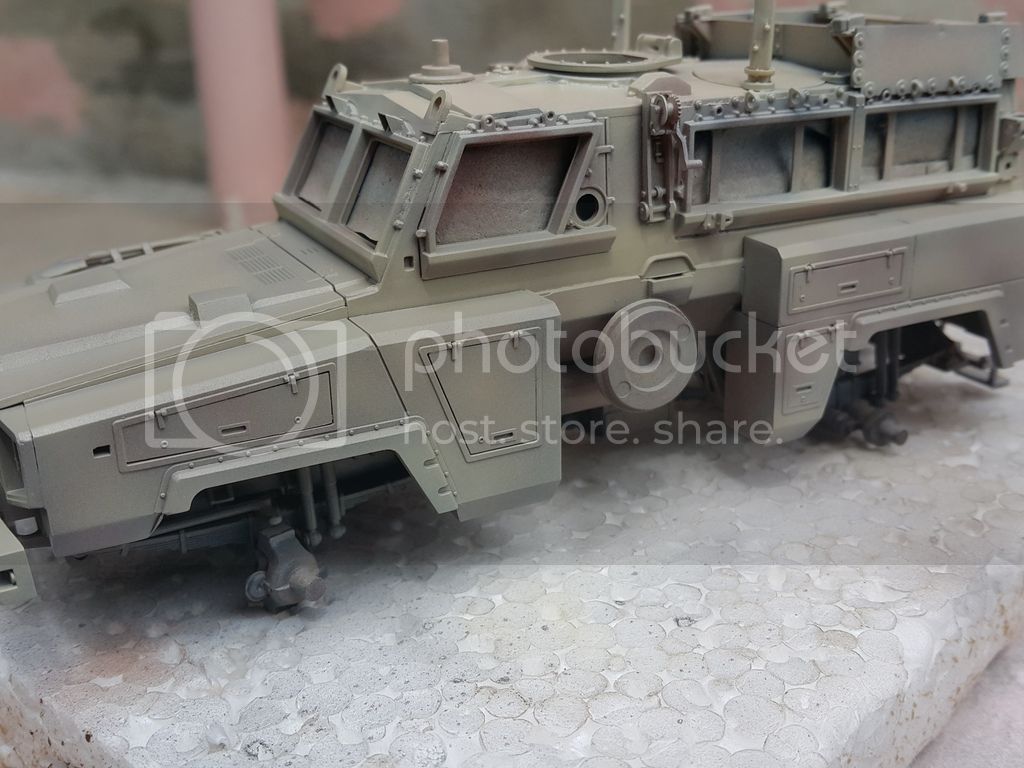
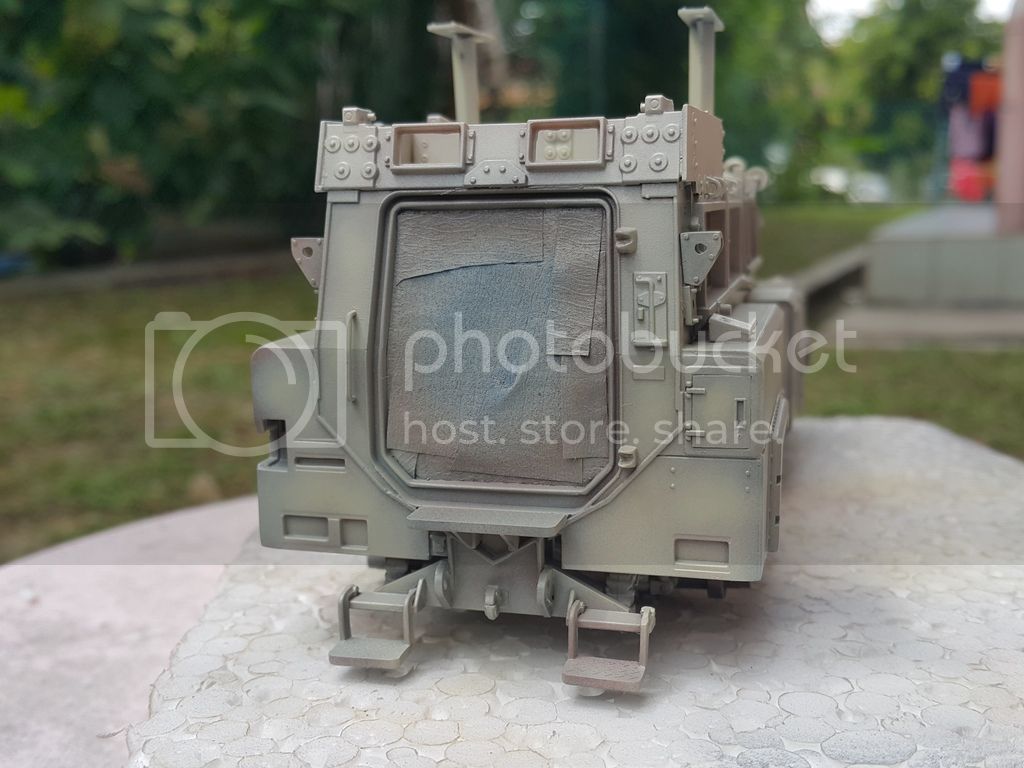
Then the final color. I used mr.color 313.


Personally i dint like the color. Since it hard to get all the spanish acrylics overhere, the closest match i could googled is mr.color 313.
What do you guys think about the color??

I have in mind to put a thin layer of light brown above it.

Comments are most welcome


Zaidi
zliu013
Visit this Community
New Zealand
Joined: January 28, 2017
KitMaker: 11 posts
Armorama: 11 posts
Posted: Sunday, January 29, 2017 - 02:39 AM UTC
It doesn't matter too much at all for the outcome of the base color, since upcoming weathering stages will change the hue of the whole thing and make it look completely defferent. But I do recommand you to spray a couple of more layers to brighten the vehicle before you staring the weathering processes.
Silantra
Visit this Community
Putrajaya, Malaysia
Joined: March 04, 2004
KitMaker: 2,511 posts
Armorama: 913 posts
Posted: Sunday, January 29, 2017 - 01:07 PM UTC
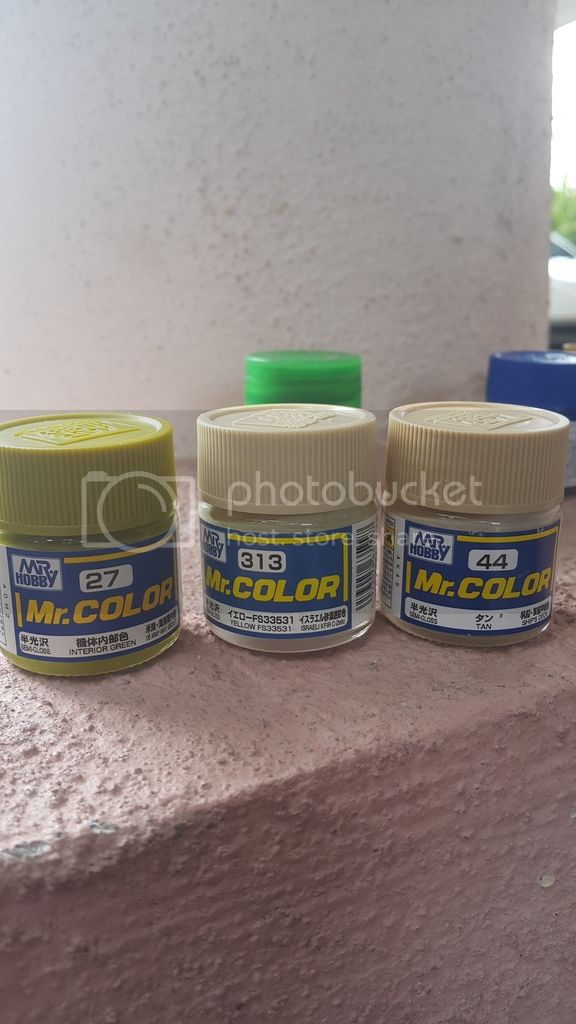
Ok..i corrected the color hue.
Using 3 paints


It turn out pretty good and i like the result


Will update soon....

Thanks


Zaidi
easyco69
Visit this Community
Ontario, Canada
Joined: November 03, 2012
KitMaker: 2,275 posts
Armorama: 2,233 posts
Posted: Sunday, January 29, 2017 - 04:26 PM UTC
replace the .50 with a dragon or live resin with a metal barrel?
Silantra
Visit this Community
Putrajaya, Malaysia
Joined: March 04, 2004
KitMaker: 2,511 posts
Armorama: 913 posts
Posted: Sunday, January 29, 2017 - 05:54 PM UTC

Quoted Text

replace the .50 with a dragon or live resin with a metal barrel?


Probably not...will used the kit gun.
Just curious..whats wrong with thr kit gun?? The only thing i hate is the barrel was bend. But already corrected...

I have a set from afv club...


If this set ok to go??
Silantra
Visit this Community
Putrajaya, Malaysia
Joined: March 04, 2004
KitMaker: 2,511 posts
Armorama: 913 posts
Posted: Sunday, January 29, 2017 - 09:53 PM UTC
Another update...
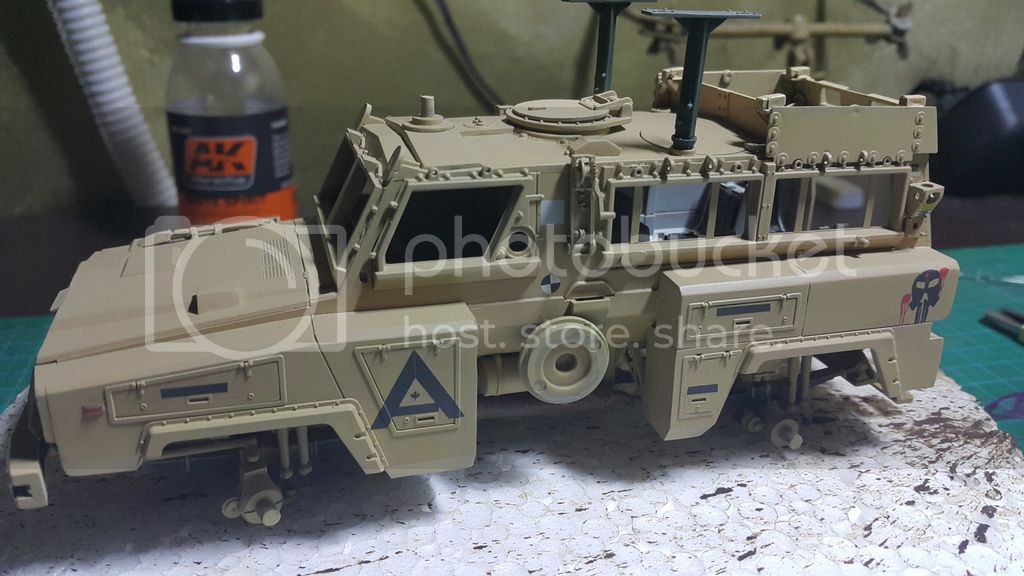
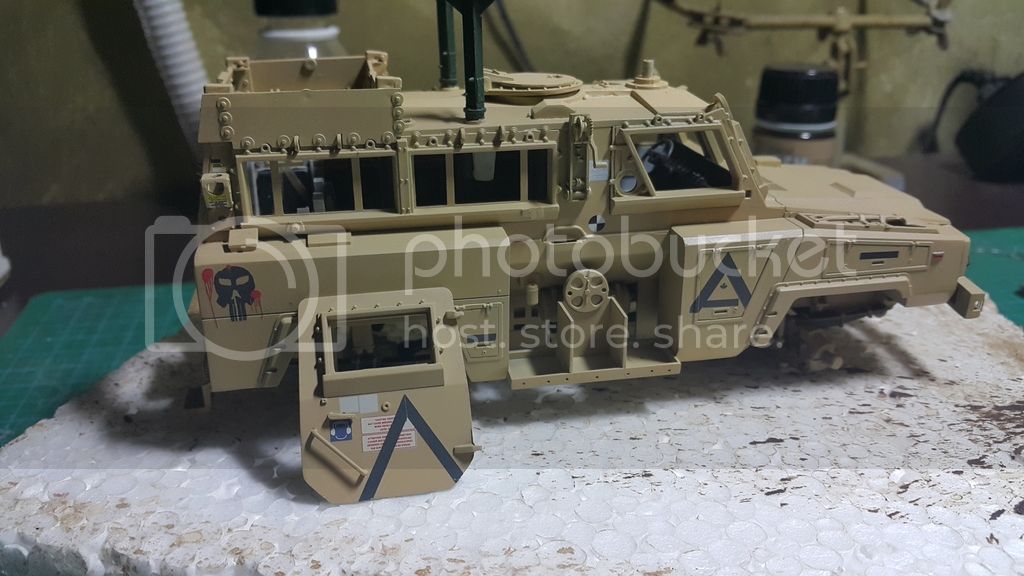
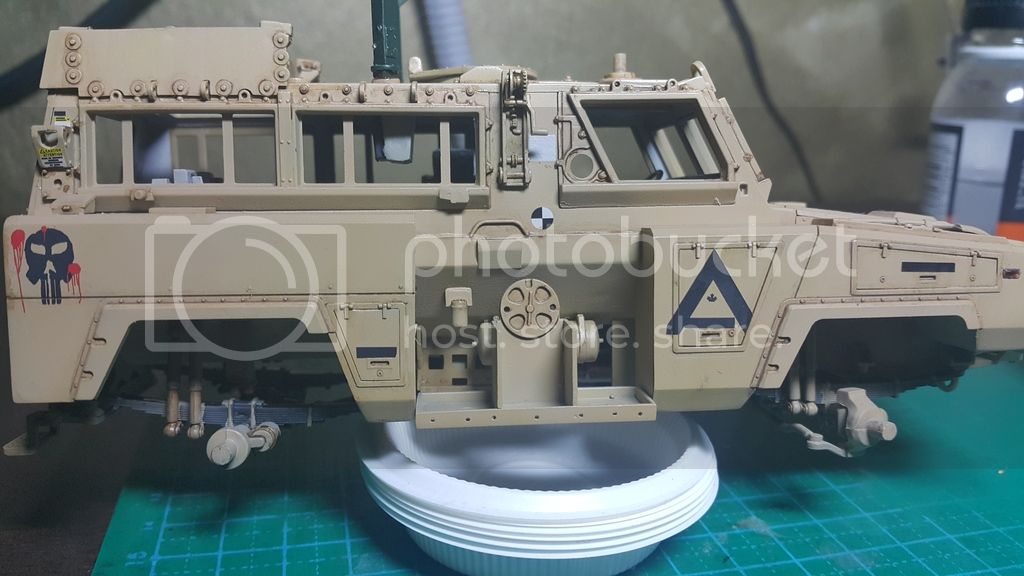
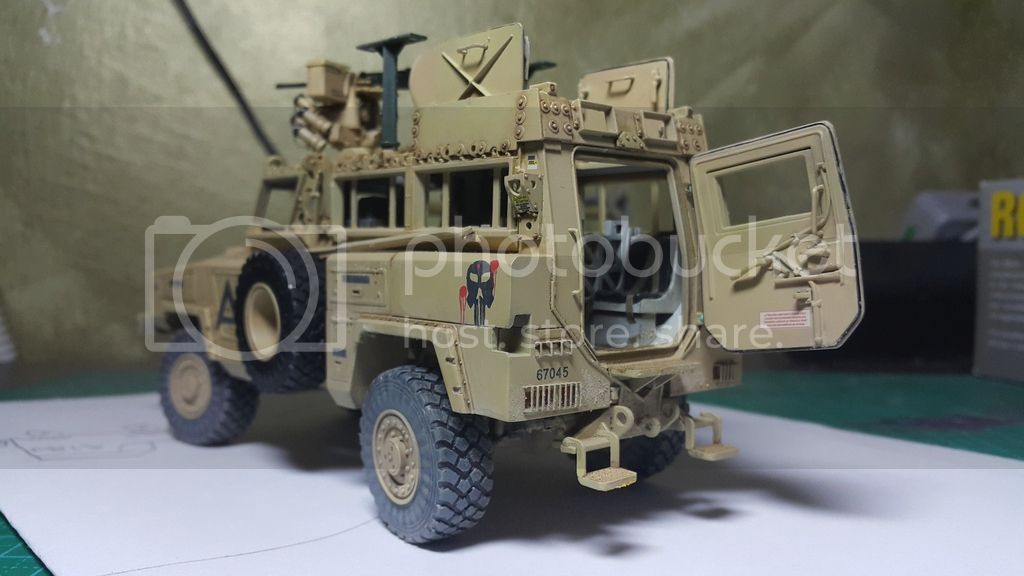
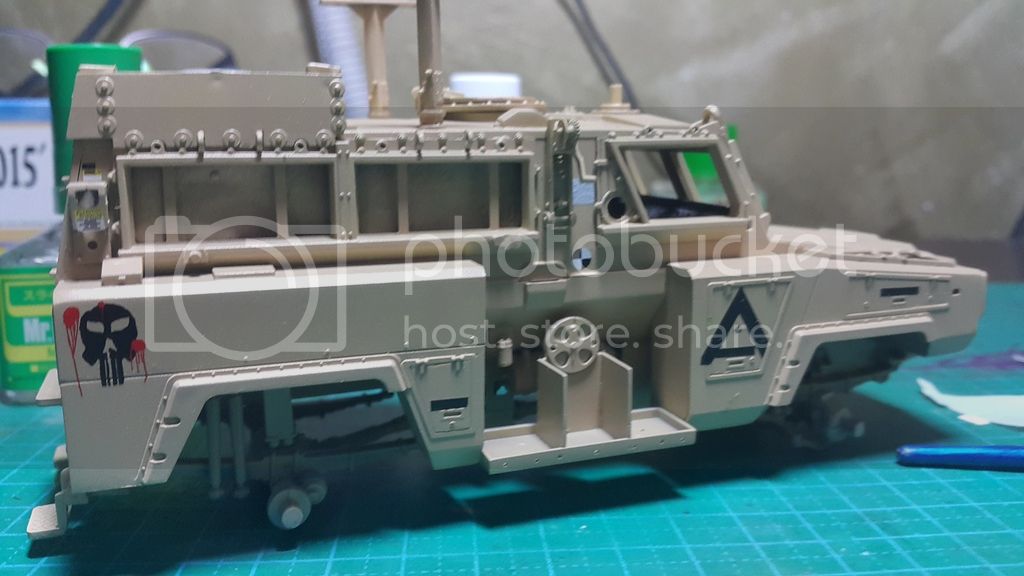
I applied the decals. I chosed the punisher decal even they were oversized. The airborne wing however was to large to apply, so i skipped it.
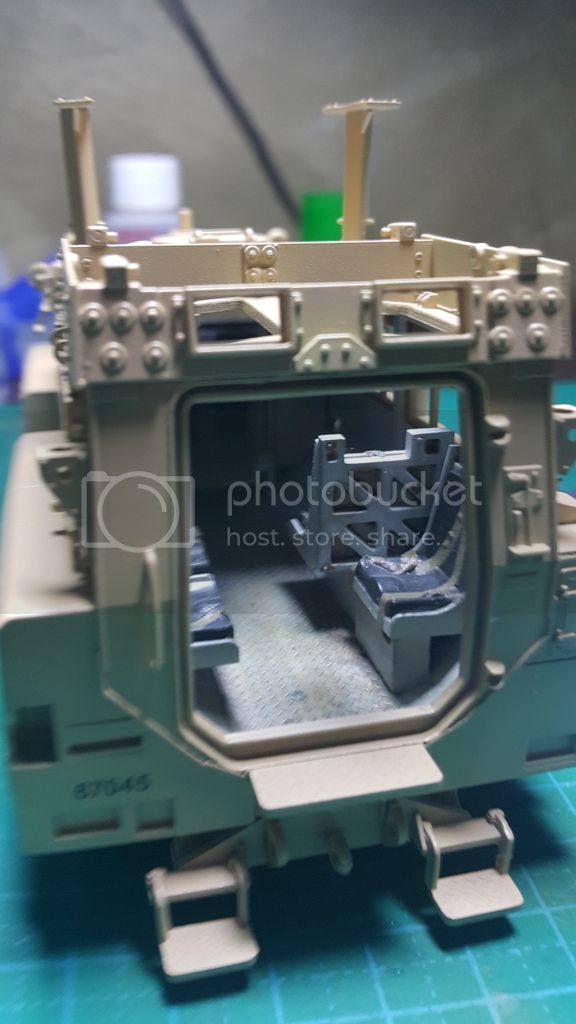
Then unmasking the interior. Nothing beats the feeling of unmasking...
Here are some of the pics...


Thats for now

Zaidi
Silantra
Visit this Community
Putrajaya, Malaysia
Joined: March 04, 2004
KitMaker: 2,511 posts
Armorama: 913 posts
Posted: Monday, January 30, 2017 - 11:39 AM UTC
guys, wanna ask a quick question


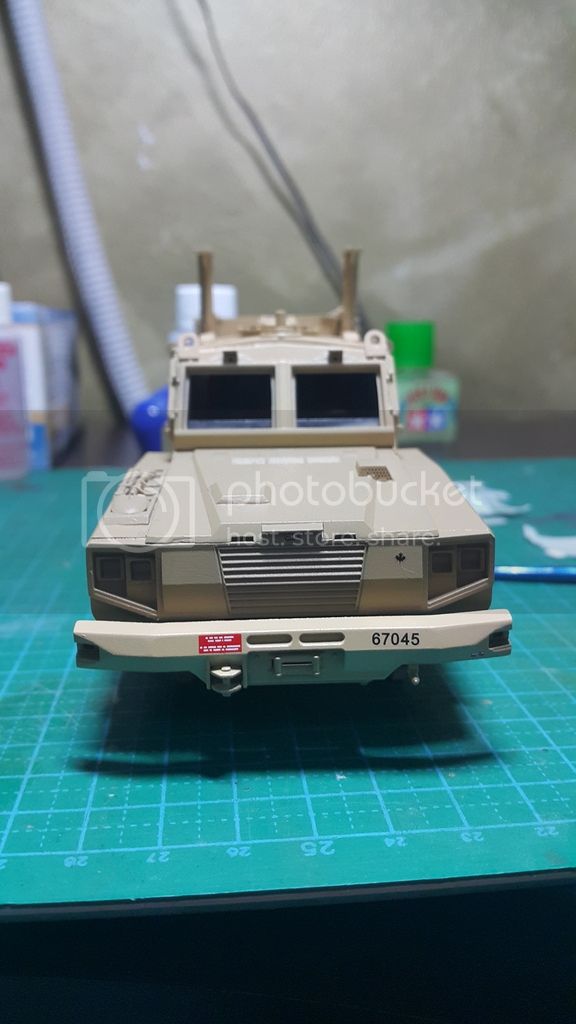
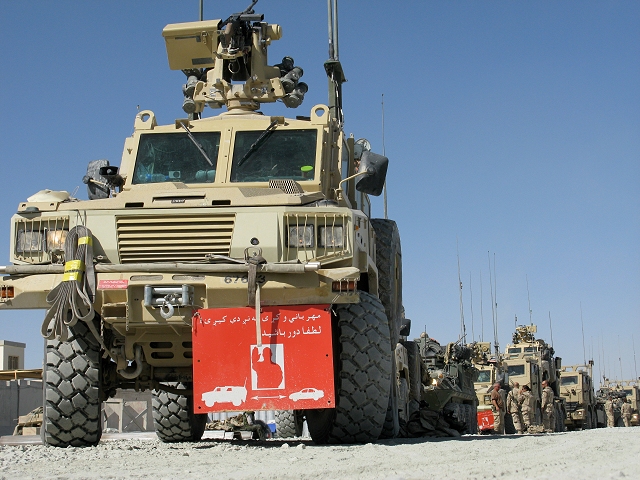
i'm now in the process of printing the ISAF warning sign.
I only see photos with the sign placed on the front bumper.
My question is, is the sign is only place on the front??

thanks

Zaidi
Silantra
Visit this Community
Putrajaya, Malaysia
Joined: March 04, 2004
KitMaker: 2,511 posts
Armorama: 913 posts
Posted: Wednesday, February 01, 2017 - 07:02 PM UTC
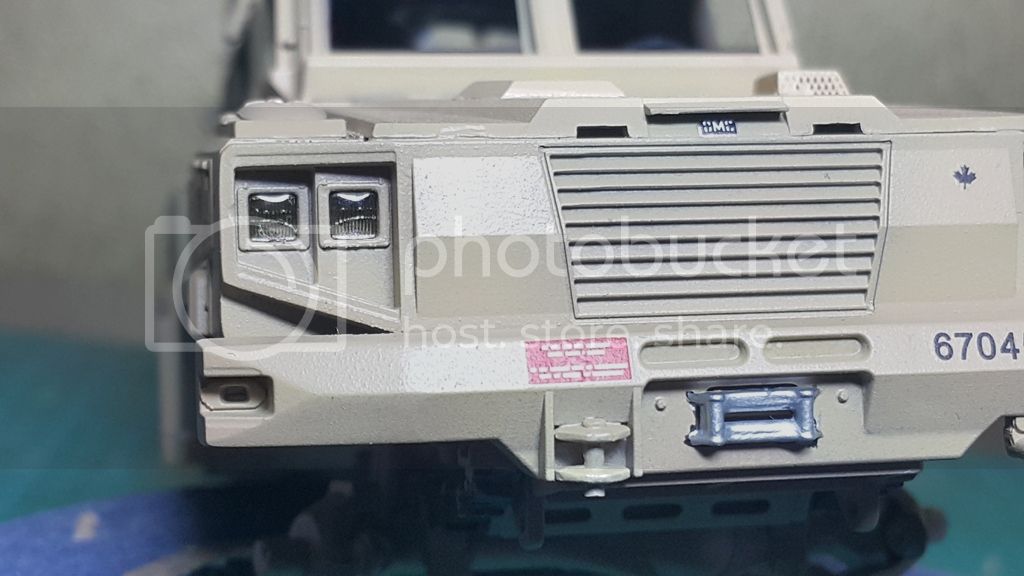
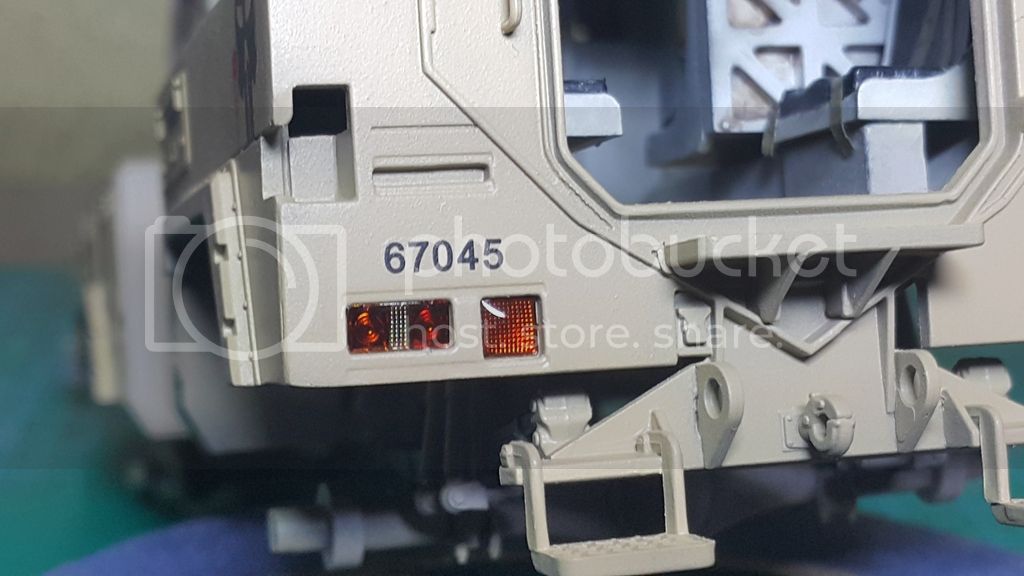
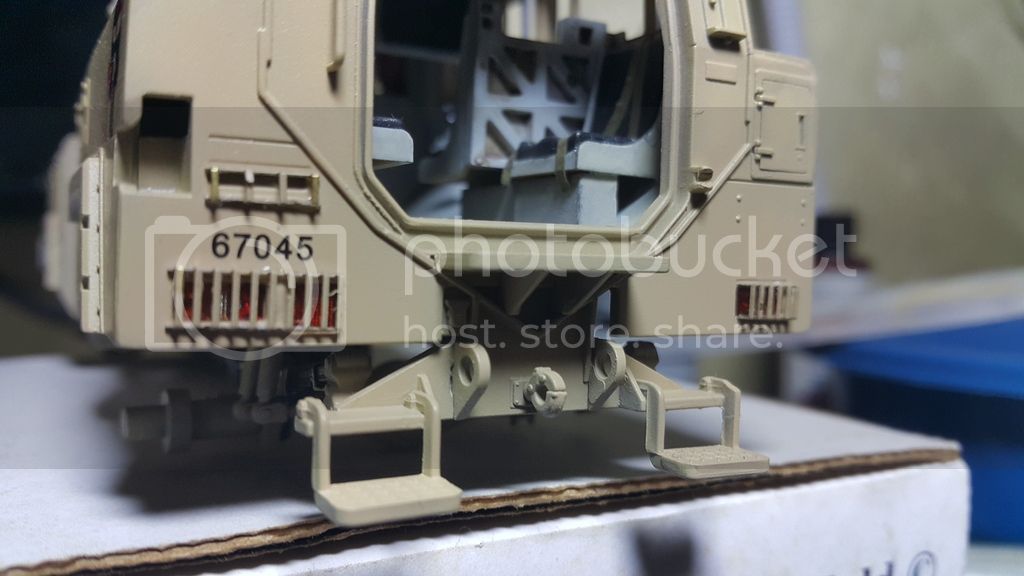
So while waiting for my question above getting the answer, i installed the headlights and the tail lights from SKP Models. I can say that these tiny products realy change the look. Worth every penny.


Thats for now. Thanks for stopping by.


Zaidi
Silantra
Visit this Community
Putrajaya, Malaysia
Joined: March 04, 2004
KitMaker: 2,511 posts
Armorama: 913 posts
Posted: Thursday, February 02, 2017 - 07:42 AM UTC
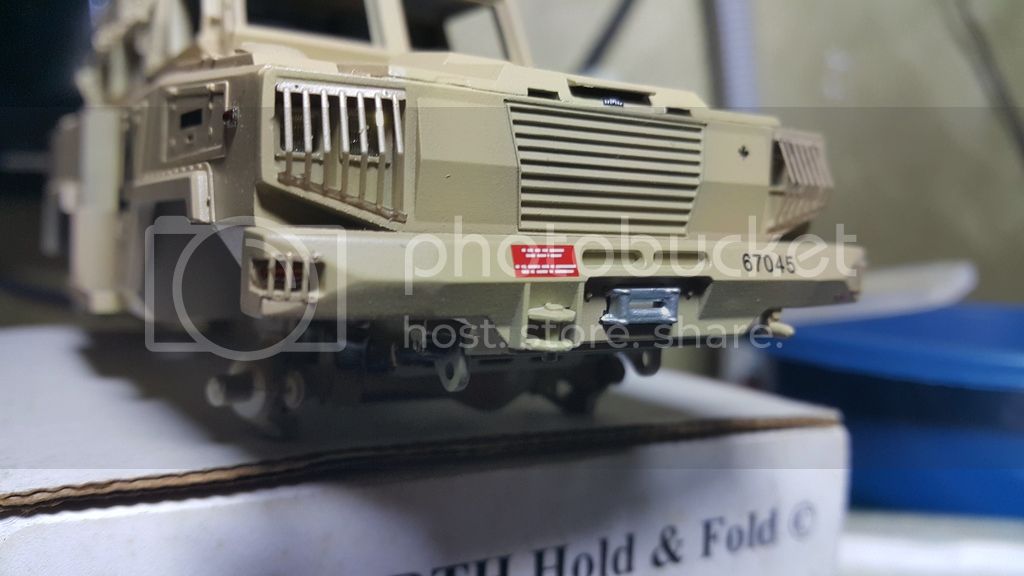
PE for the light protector were installed. They are from the kit.


Thanks for dropping by


Zaidi
recceboy
Visit this Community
Alberta, Canada
Joined: July 20, 2006
KitMaker: 706 posts
Armorama: 665 posts
Posted: Thursday, February 02, 2017 - 08:54 AM UTC
Great work so far, the stay back sign were also seen on the right rear of the Rg's from my tours in the sandbox, mostly beaten up....

Anthony
Silantra
Visit this Community
Putrajaya, Malaysia
Joined: March 04, 2004
KitMaker: 2,511 posts
Armorama: 913 posts
Posted: Thursday, February 02, 2017 - 09:12 AM UTC

Quoted Text

Great work so far, the stay back sign were also seen on the right rear of the Rg's from my tours in the sandbox, mostly beaten up....

Anthony


Dear Anthony,

Thanks for the explanation... so i will print 2 set of sign...thanks once again...


Zaidi
bison126
Visit this Community
Correze, France
Joined: June 10, 2004
KitMaker: 5,329 posts
Armorama: 5,204 posts
Posted: Thursday, February 02, 2017 - 03:21 PM UTC
Very good job Silantra. It's nearly a shame to hide the SKP lenses with those PE protections.

Olivier
MadModeler
Visit this Community
Nova Scotia, Canada
Joined: July 26, 2012
KitMaker: 454 posts
Armorama: 281 posts
Posted: Thursday, February 02, 2017 - 07:34 PM UTC

Quoted Text

Great work so far, the stay back sign were also seen on the right rear of the Rg's from my tours in the sandbox, mostly beaten up....

Anthony


Beaten up is an understatement. Just like the missing oil pans or drip pad.
Silantra
Visit this Community
Putrajaya, Malaysia
Joined: March 04, 2004
KitMaker: 2,511 posts
Armorama: 913 posts
Posted: Thursday, February 02, 2017 - 08:22 PM UTC

Quoted Text

Very good job Silantra. It's nearly a shame to hide the SKP lenses with those PE protections.

Olivier


Oliver, thanks...
I will try to tweak n bend the grill to keep the shame to the minimal..
Silantra
Visit this Community
Putrajaya, Malaysia
Joined: March 04, 2004
KitMaker: 2,511 posts
Armorama: 913 posts
Posted: Saturday, February 04, 2017 - 09:17 AM UTC
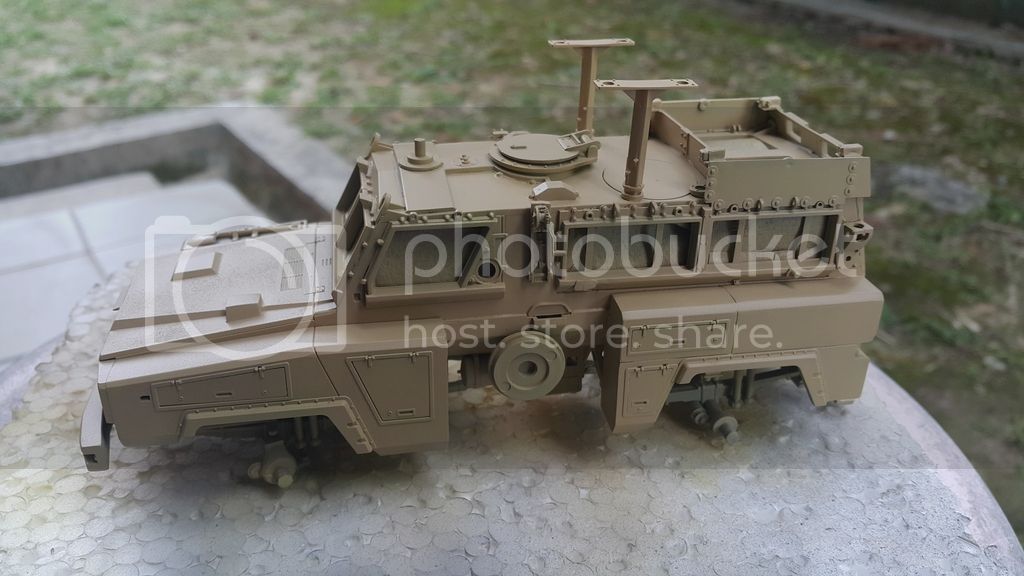
Another small update

Soften down the color n decals... with tamiya buff


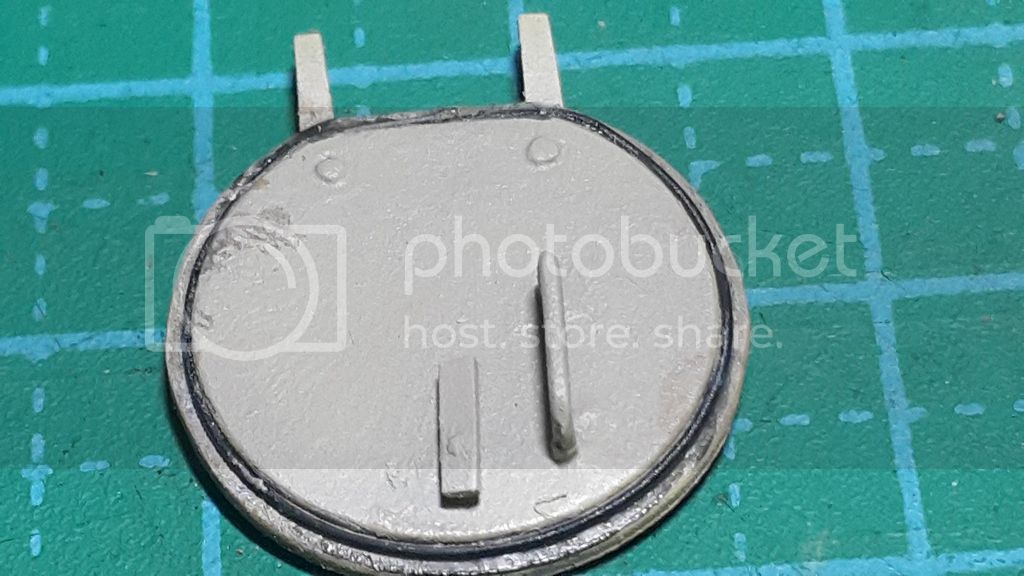
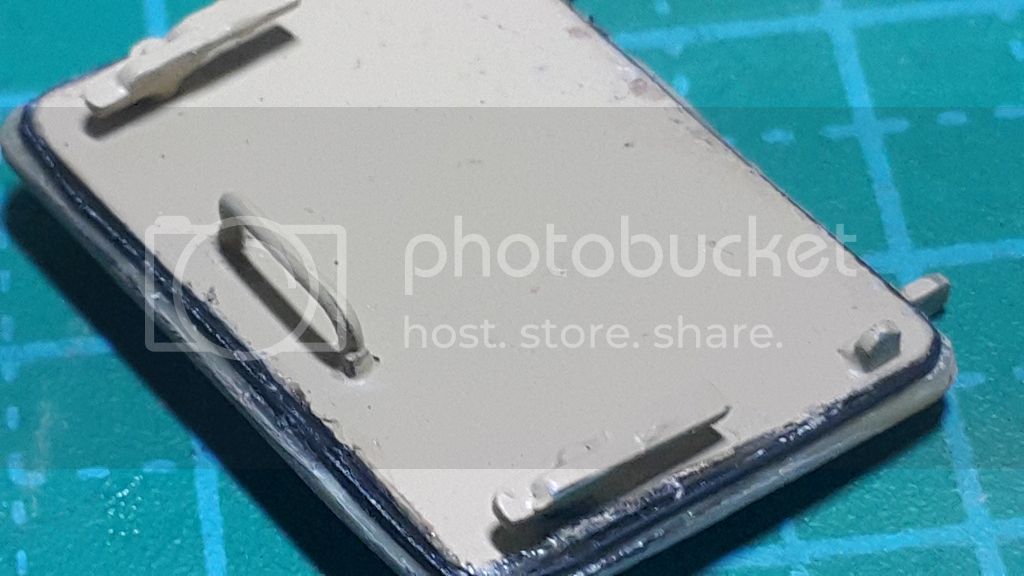
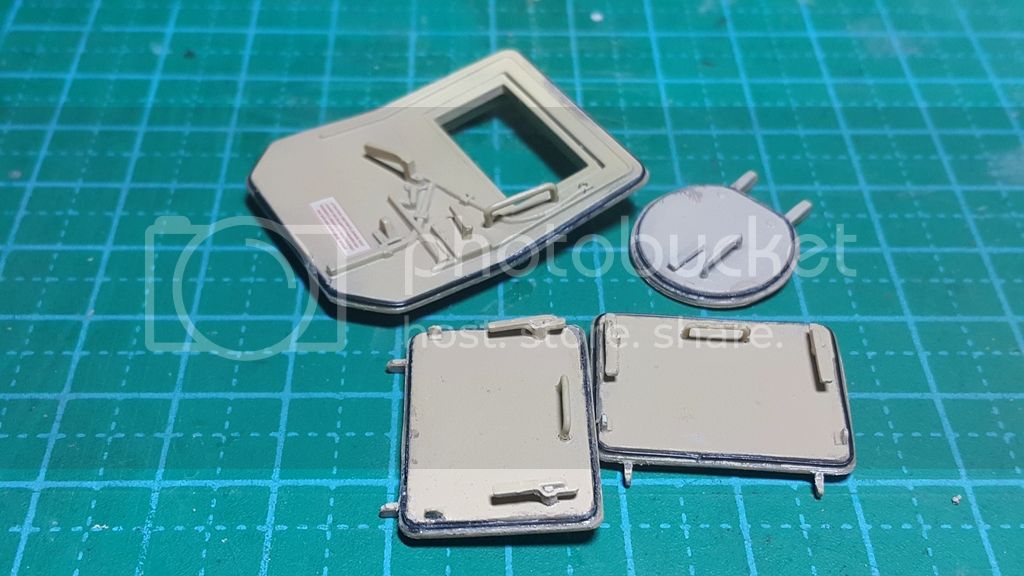
My attempt to replicate the rubber seal around the hatches..
By using strecthed black sprue .. this is my first try this method found in armorama. Very messy job but i have to touch up the paint job.


Thats for now...
Thanks for viewing

Zaidi
bat-213
Visit this Community
Canada
Joined: December 30, 2011
KitMaker: 902 posts
Armorama: 788 posts
Posted: Saturday, February 04, 2017 - 11:09 AM UTC
that is a very cool build,well done.
Silantra
Visit this Community
Putrajaya, Malaysia
Joined: March 04, 2004
KitMaker: 2,511 posts
Armorama: 913 posts
Posted: Saturday, February 04, 2017 - 11:20 AM UTC

Quoted Text

that is a very cool build,well done.


Thanks matey....

Cheers

Zaidi
Silantra
Visit this Community
Putrajaya, Malaysia
Joined: March 04, 2004
KitMaker: 2,511 posts
Armorama: 913 posts
Posted: Tuesday, February 07, 2017 - 10:22 PM UTC
Another updates...

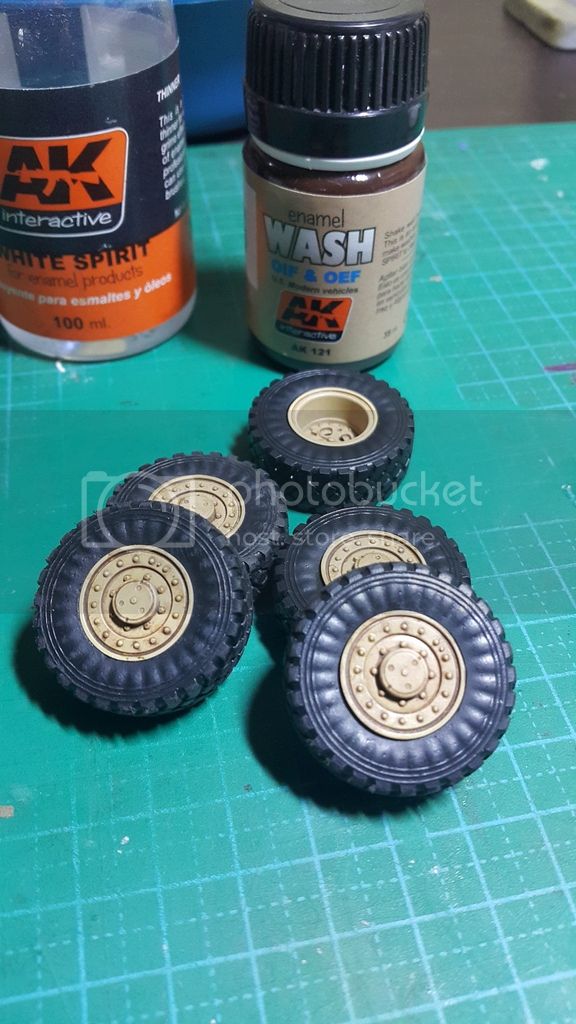
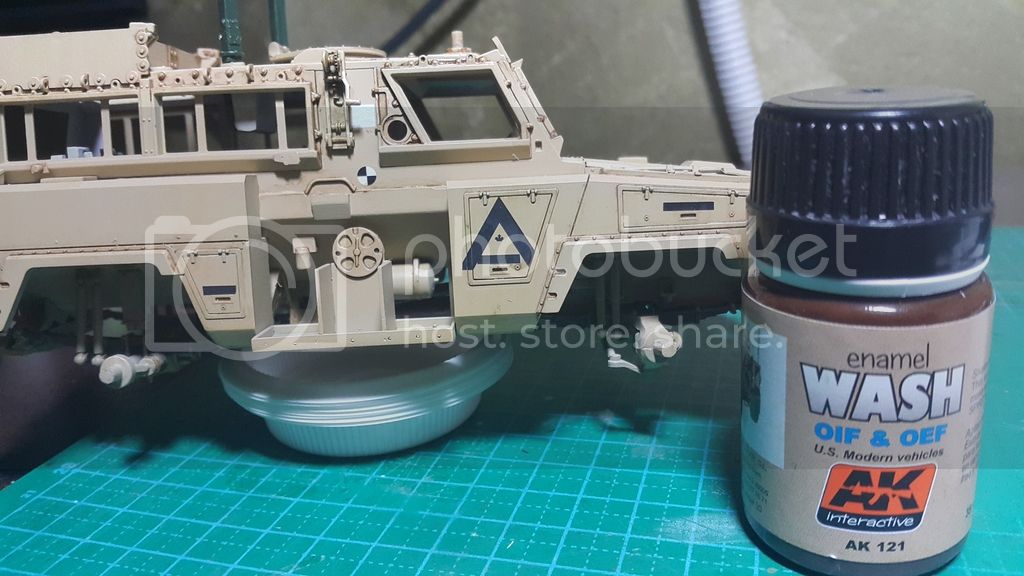
Washes were done using AK interactive oif/oef wash.


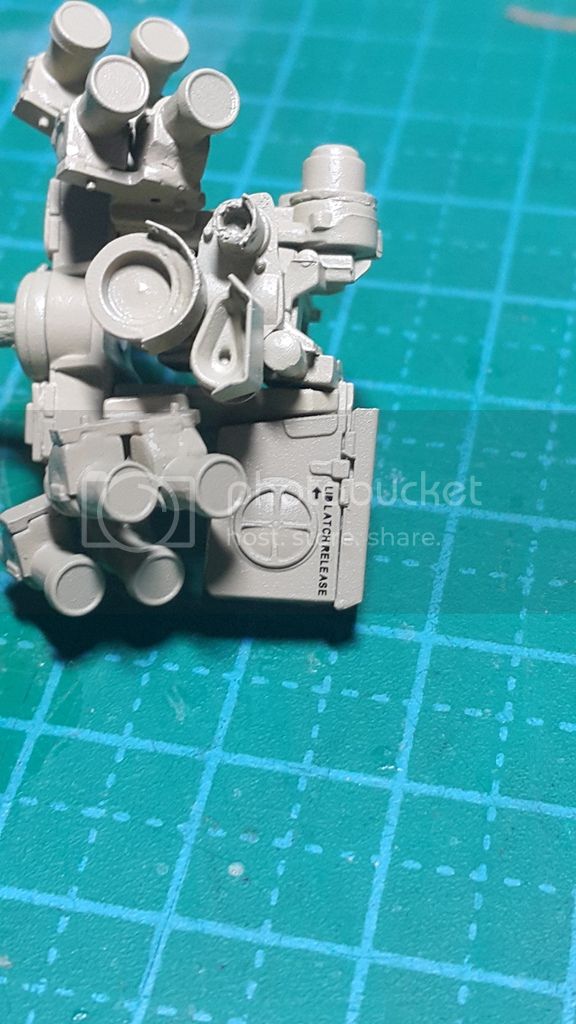
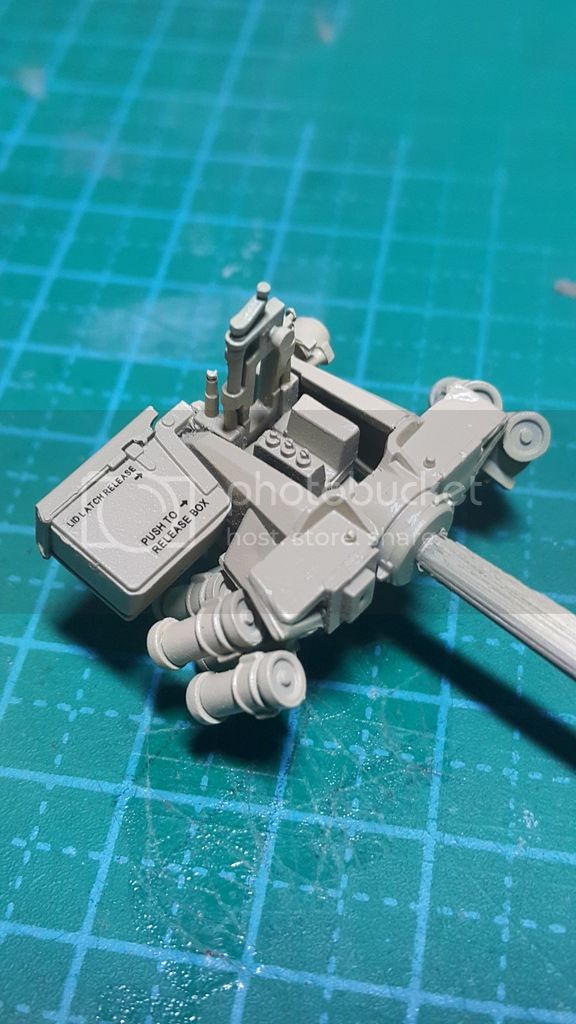
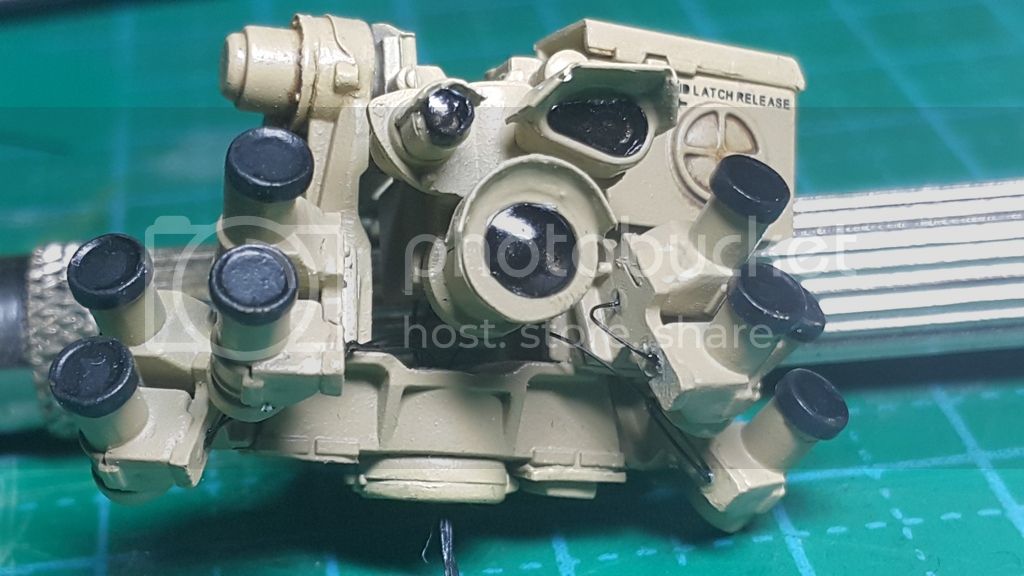
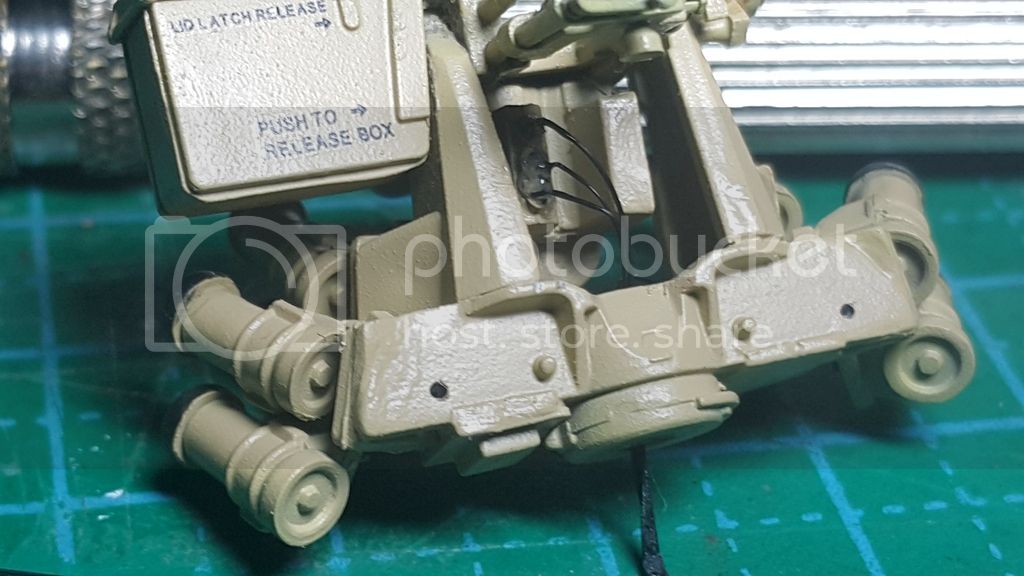
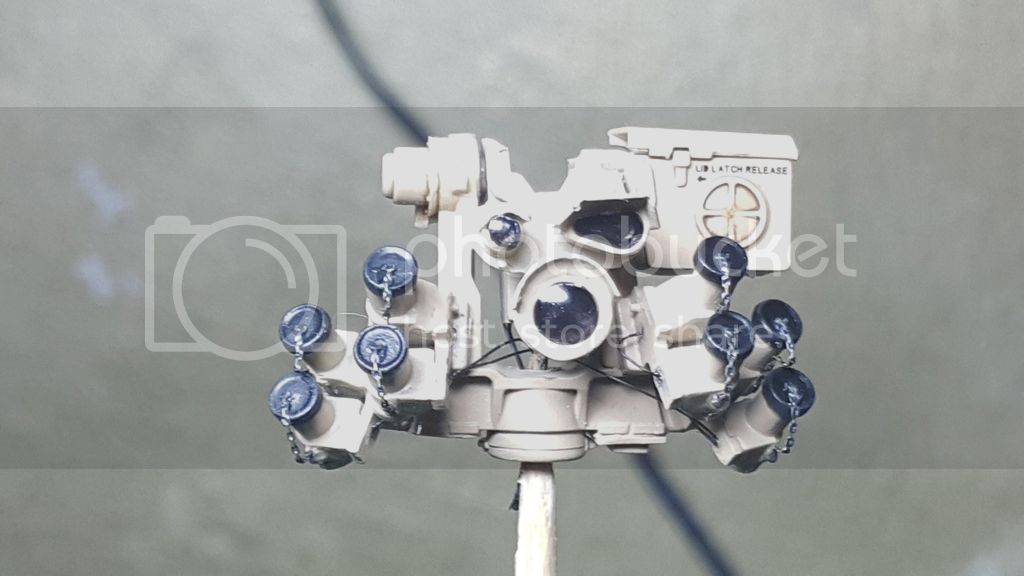
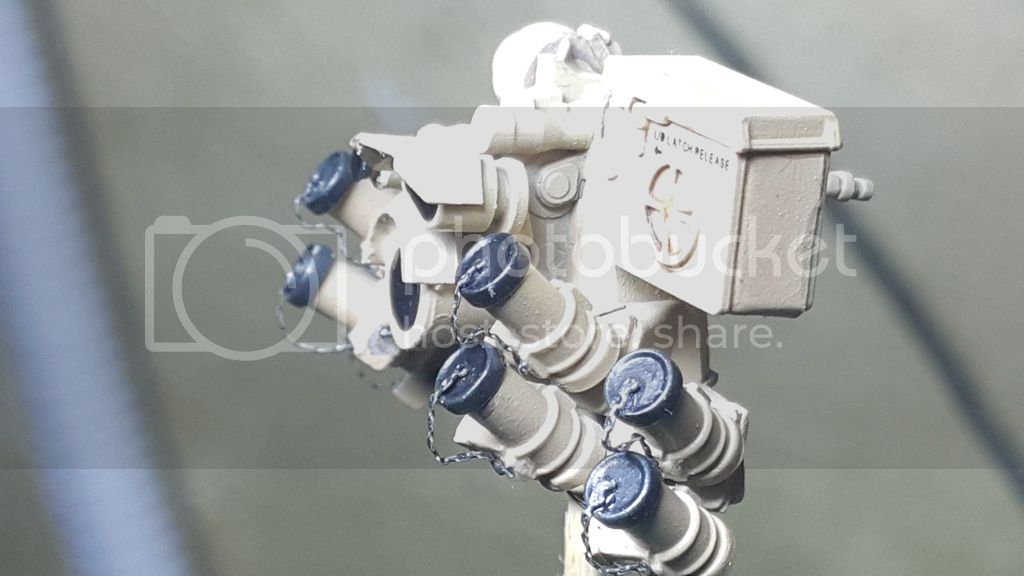
Next i detailed the rws... i added wiring from streched black sprue.
Kinda messy ehh


Next i added the chain for the smoke grenades. The pe chains are from a spare pe set..


Thats for now.
Thanks for stopping by.

Zaidi
Silantra
Visit this Community
Putrajaya, Malaysia
Joined: March 04, 2004
KitMaker: 2,511 posts
Armorama: 913 posts
Posted: Wednesday, February 08, 2017 - 08:52 PM UTC
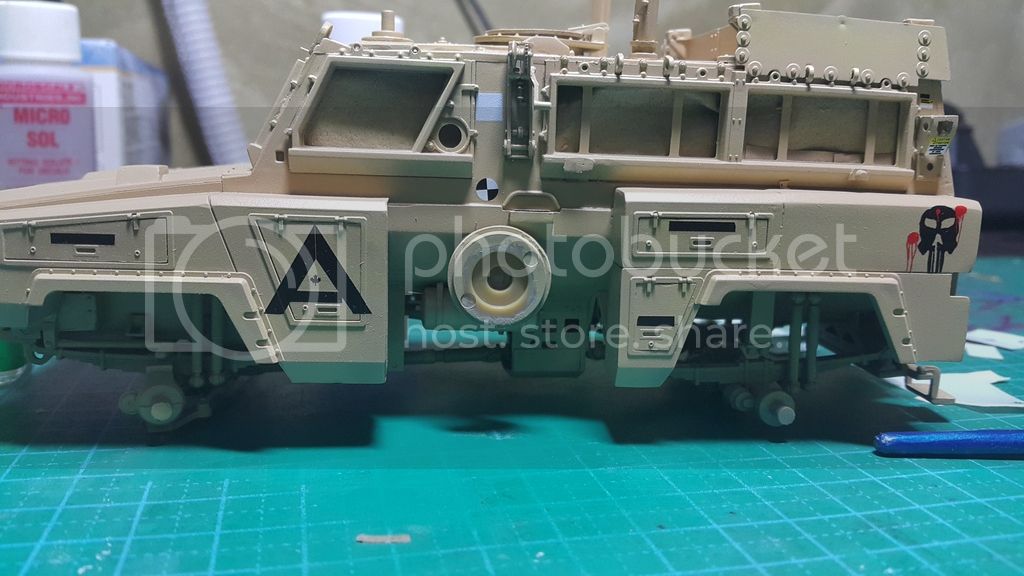
Today is holiday here..so i got some time to play with this buuld

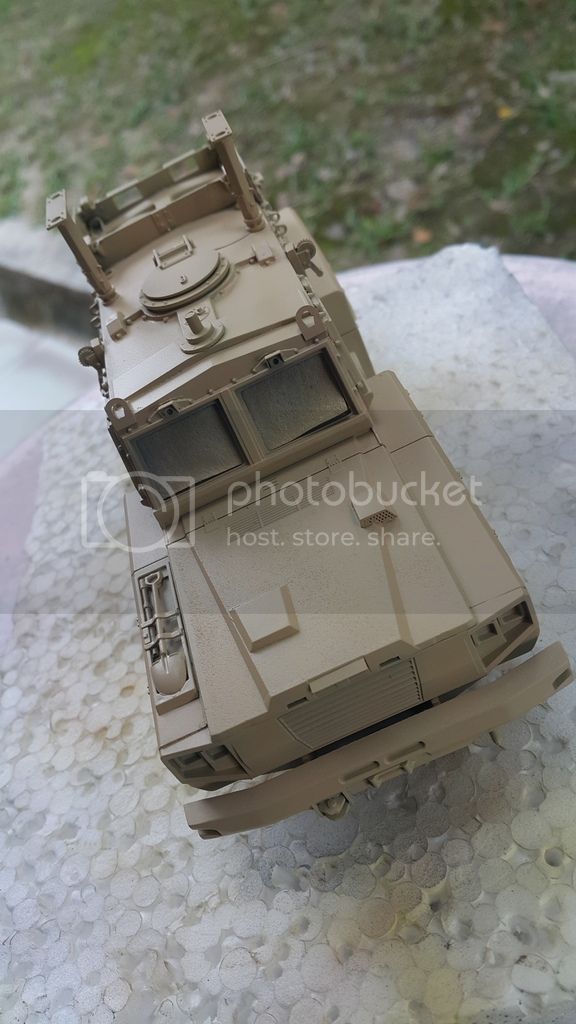
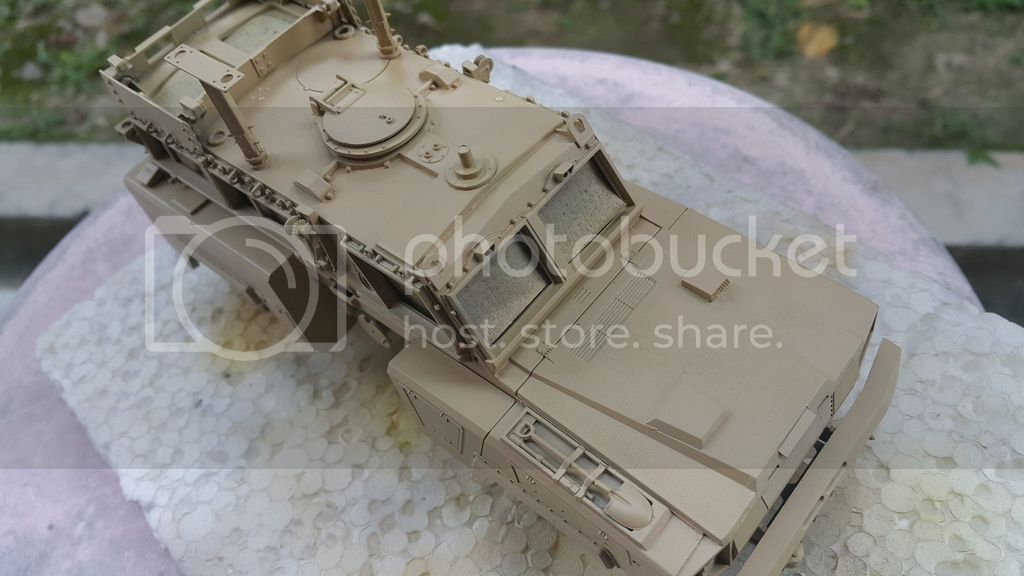
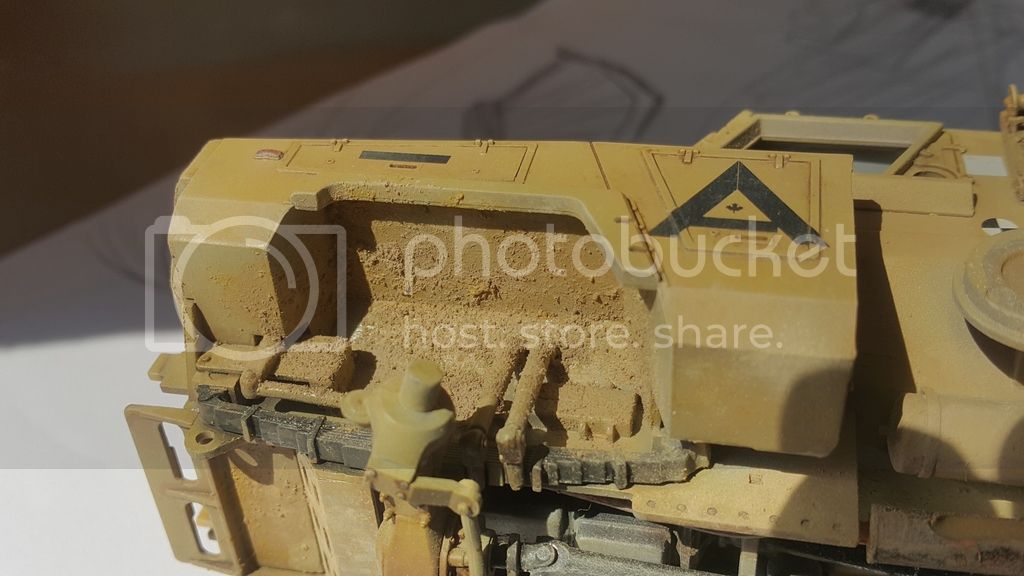
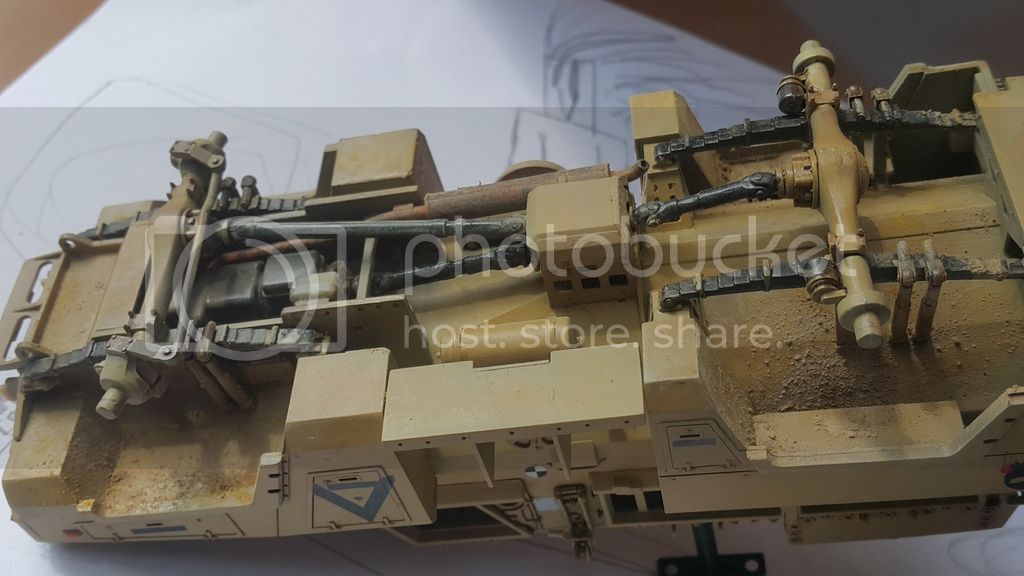
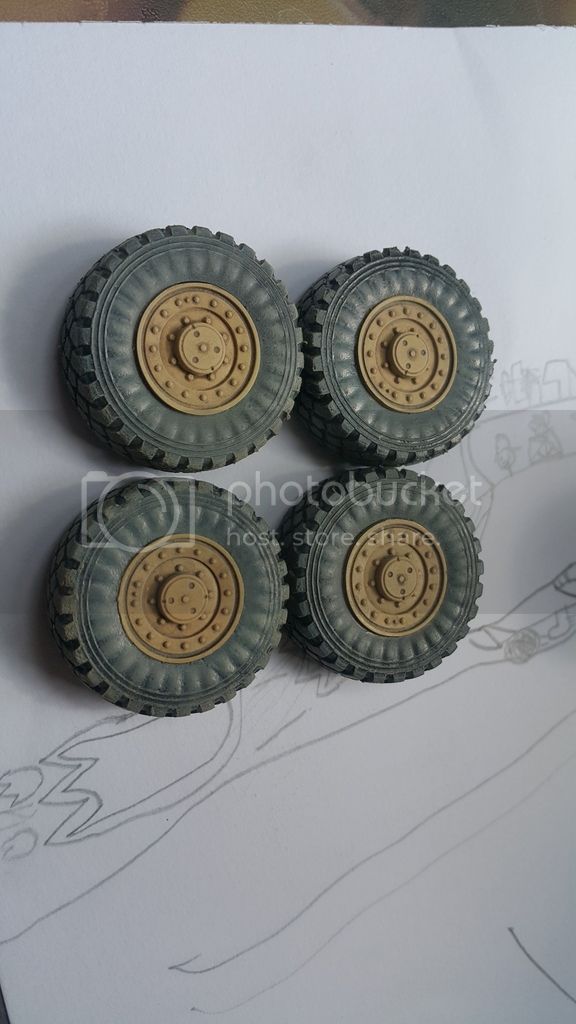
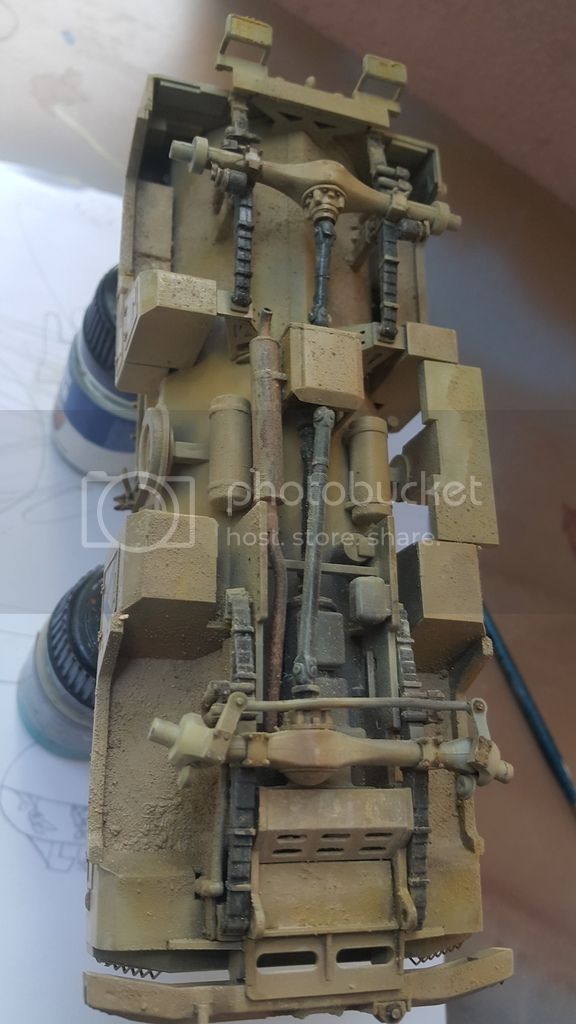
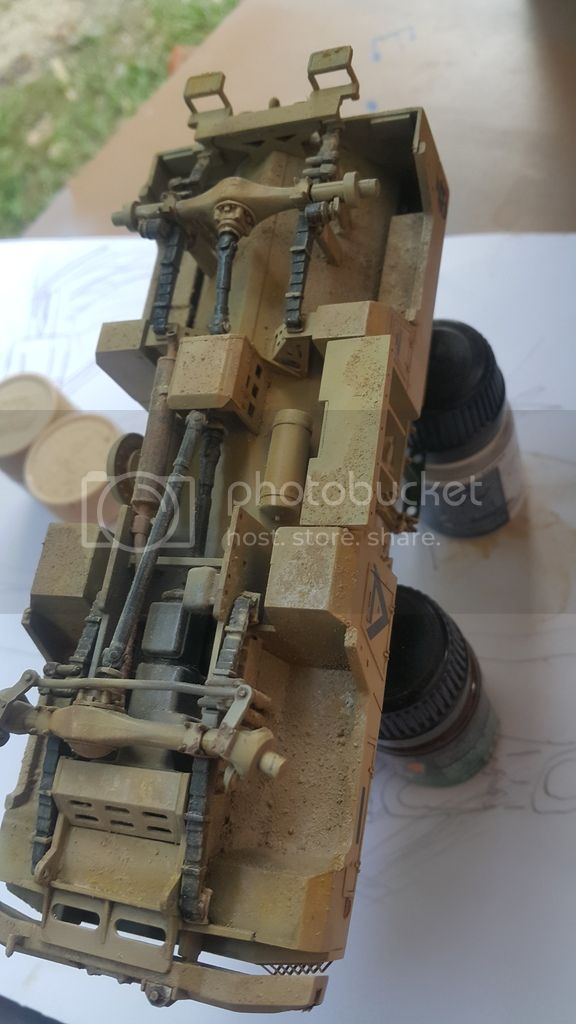
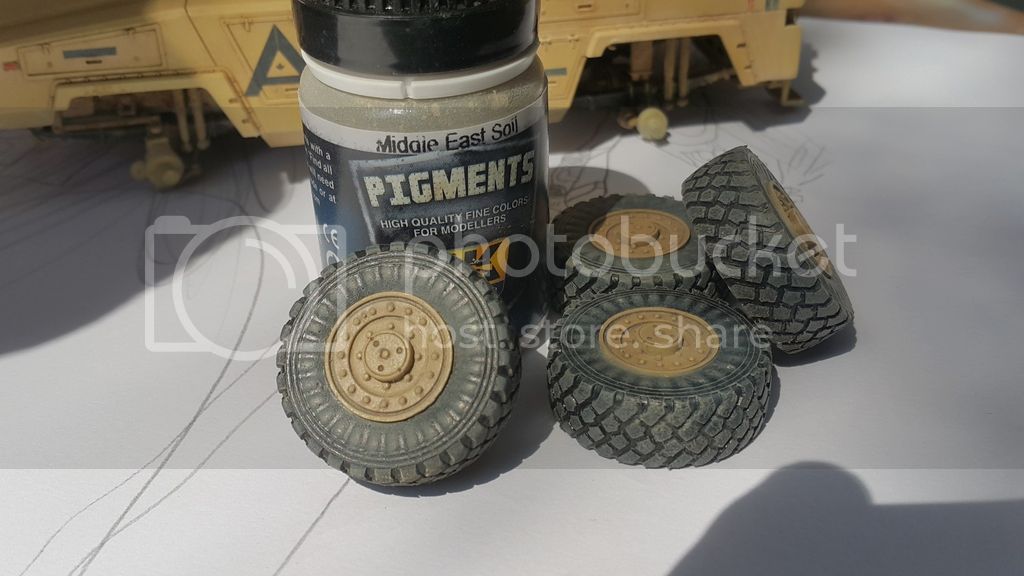
I added dust n soil by using pastel and also ak interactive pigments...


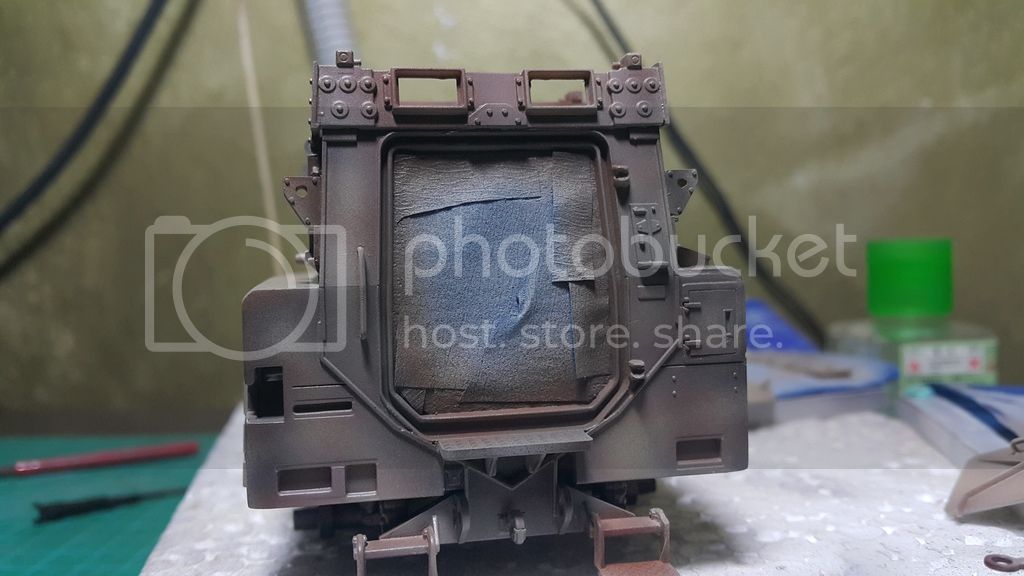
Then do a fit try..without the temperred glass..


Thats for now...

Thanks


Zaidi
bison126
Visit this Community
Correze, France
Joined: June 10, 2004
KitMaker: 5,329 posts
Armorama: 5,204 posts
Posted: Wednesday, February 08, 2017 - 09:13 PM UTC
Instead of using black sprue, try to get black metal wire. You can some in arts and crafts stores.

Olivier
Silantra
Visit this Community
Putrajaya, Malaysia
Joined: March 04, 2004
KitMaker: 2,511 posts
Armorama: 913 posts
Posted: Thursday, February 09, 2017 - 06:34 AM UTC

Quoted Text

Instead of using black sprue, try to get black metal wire. You can some in arts and crafts stores.

Olivier


Thanks Oliver... personally i didnt like the way this sprue turn out.. will fix it...

Zaidi
 _GOTOTOP