_GOTOBOTTOM
Armor/AFV: Techniques
From Weathering to making tent rolls, discuss it here.
Hosted by Darren Baker
Boxes, cartons and cans, oh my!
Bravo36
Visit this Community
Arizona, United States
Joined: January 11, 2002
KitMaker: 247 posts
Armorama: 229 posts
Posted: Sunday, May 21, 2017 - 06:27 AM UTC
Greetings,
I’ve seen many beautiful vehicles and dioramas on this site, other sites and at various live displays and competitions with one (in my humble opinion) annoying flaw.

The issue centers on military logistics.

As an X-Infantry officer, I fully understand the challenges faced by the military supply chain. The supply organization must deal with millions of tons of beans and bullets, all packed in boxes, cartons and (ammo) cans, of various sizes shapes and colors.

Those supply officers who can actually read, tend to rely on the various stenciled markings placed on each box to identify contents and allow an organized inventory and delivery system.

A Google search will show you what I mean, here are a couple of links:

https://www.google.com/search?hl=en&site=imghp&tbm=isch&source=hp&biw=980&bih=1184&q=militery+crates&oq=militery+crates&gs_l=img.3...4775.11087.0.12295.17.17.0.0.0.0.150.1691.6j9.15.0....0...1.1.64.img..2.11.1332.0..0j35i39k1j0i10k1j0i10i24k1.hJnPVePI7Wo#hl=en&tbm=isch&q=ammo+can&imgrc=rV32lGFIS1hw2M:&spf=1495412898696

https://www.google.com/search?hl=en&site=imghp&tbm=isch&source=hp&biw=980&bih=1184&q=militery+crates&oq=militery+crates&gs_l=img.3...4775.11087.0.12295.17.17.0.0.0.0.150.1691.6j9.15.0....0...1.1.64.img..2.11.1332.0..0j35i39k1j0i10k1j0i10i24k1.hJnPVePI7Wo#imgdii=OdtWuYUqsJhb0M:&imgrc=PXVaBmjSgbCPEM:&spf=1495412974787

And that’s the crux of the issue I all too often have with our models.

A beautifully constructed and painted Sherman or Stug, will have their rear decks loaded down with 300 lbs. of bedrolls, bags and boxes, but with not one bit of stenciling in sight.

Not only is this unrealistic, it is also a missed opportunity to include some eye-catching and attractive detail. The contrasting stenciling (usually white or yellow on dark boxes and black on lighter unpainted wood), draws the eye to the tiny bit of detail that helps make the kit come alive.

So here are two methods I’ve used to achieve this. Keep in mind that at 1/35 scale the print would not be readable. It just needs to look like appropriately sized text.

1) I’ve painted them by hand, as a series of uneven dashes and dots. The lines must be parallel. And the dashes, random (to look like words of varying lengths).

2) As a lover of dry-transfer decals, I’ve found some perfect sets produced by Verlinden (unfortunately these are hard to find, these days), that included hundreds of real, but unreadable in scale, military stencils. These come in individual sheets of red, white, yellow and black and contain enough sizes and shapes to last a lifetime.

Here are a couple of pics of some of my work:
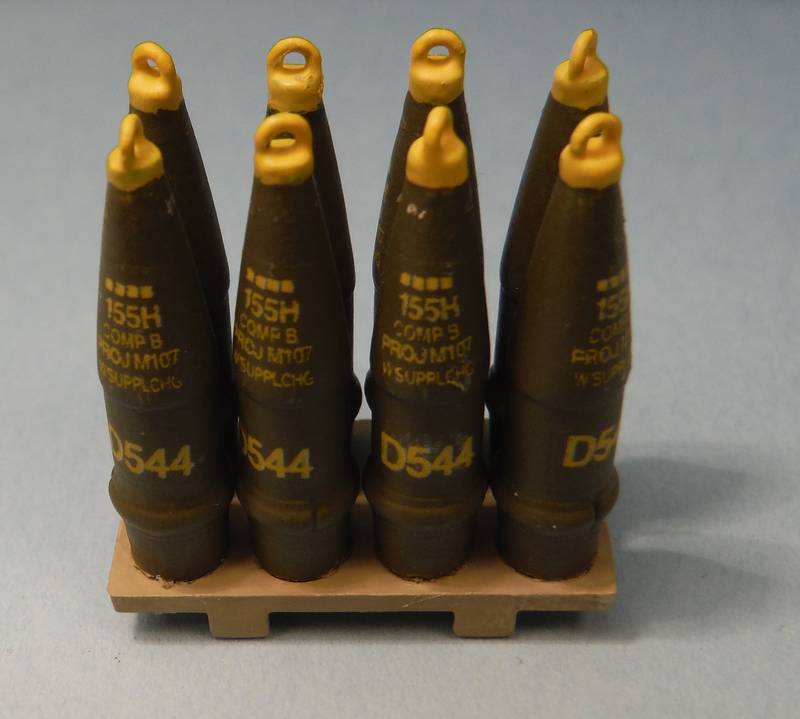
Hand Painted -


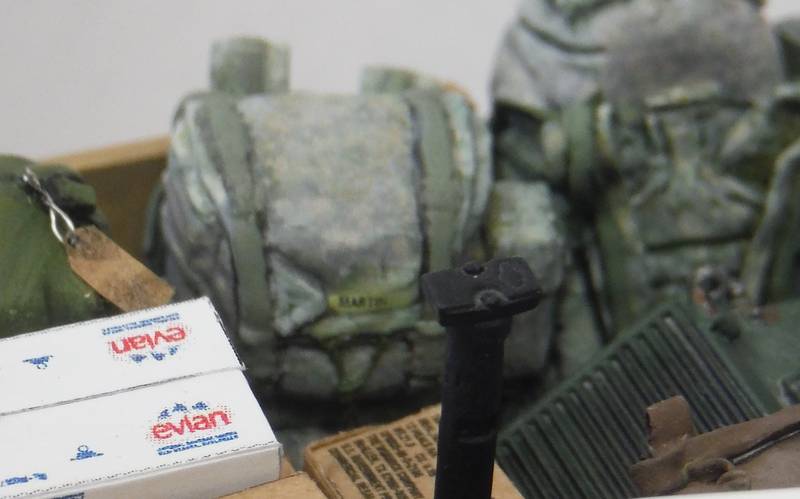
Truck load of misc boxes (dry transfers)


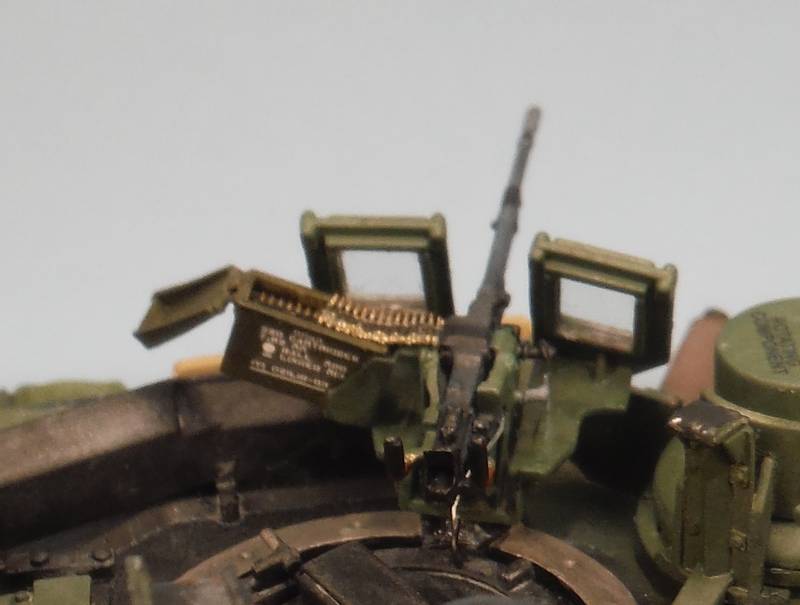
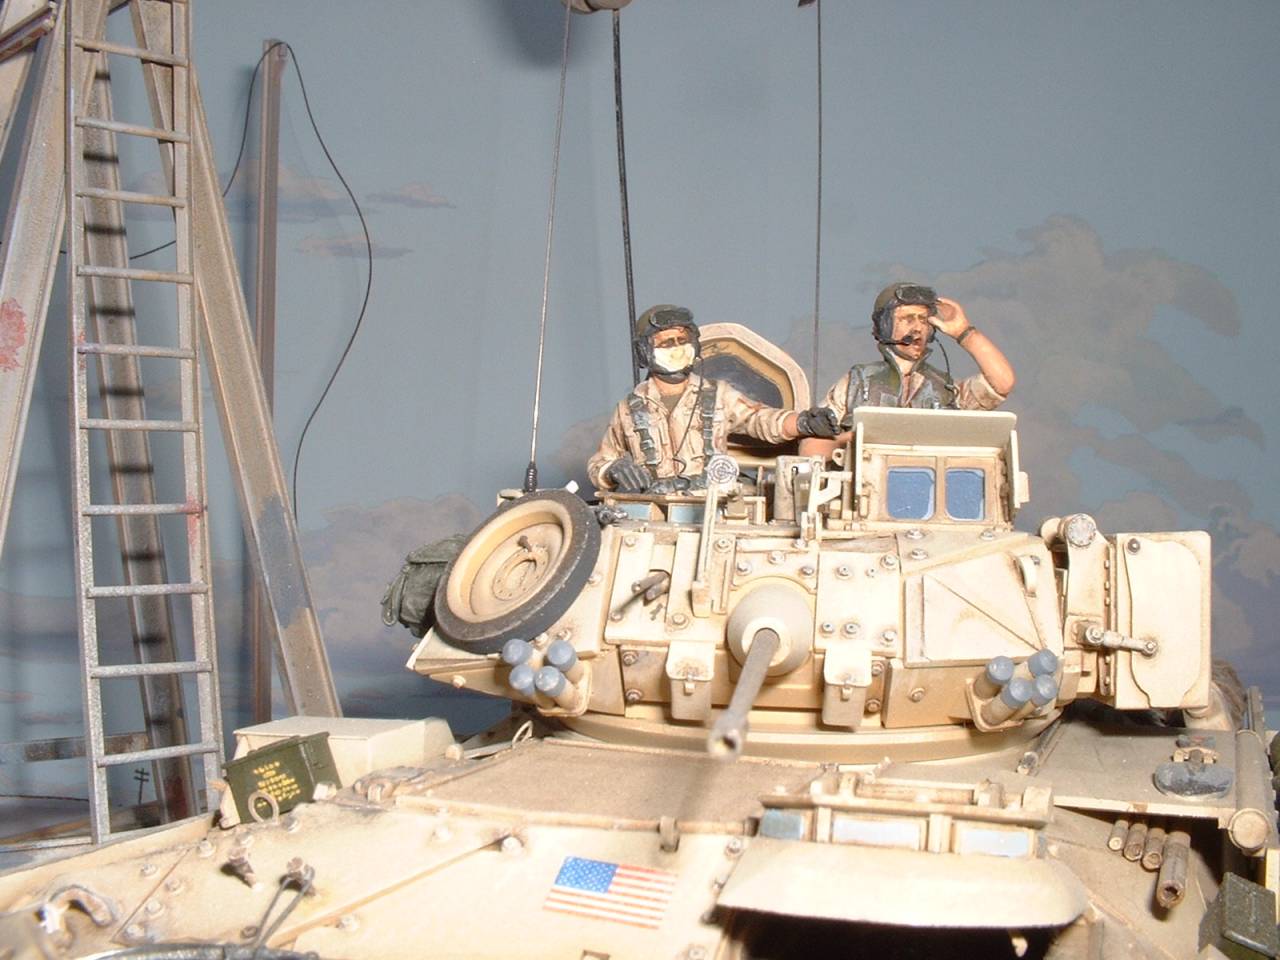
Ammo box on Bradley (dry transfer)


This is my first post - I hope it all works...
Das_Abteilung
Visit this Community
United Kingdom
Joined: August 31, 2010
KitMaker: 365 posts
Armorama: 351 posts
Posted: Sunday, May 21, 2017 - 07:17 AM UTC
Agree entirely about the lack of markings on stowage. Archer do a range of assorted stencils and markings for ammo boxes and some other stowage types. I think they do some in both wet and dry transfers.

Echelon do ammo box and fuel can markings, including hazard diamonds for the health and safety conscious modern armies (!). DEF do some ammo box markings. Sabinga Martin do some IDF-specific.

Printed paper and card boxes from J's Work, Verlinden, Printed Kits, Quicksand etc usually come printed with their appropriate contents markings.
tankmodeler
#417
Visit this Community
Ontario, Canada
Joined: March 01, 2004
KitMaker: 3,123 posts
Armorama: 2,539 posts
Posted: Tuesday, May 23, 2017 - 10:31 PM UTC
While I agree that it is certainly a missed opportunity, there are more and more models. modellers and aftermarket companies putting not just markings, but the right markings on models.

A growing number of aftermarket decals have been available for more than 10 years for those wanting to find and use them and, like the use of PE details, they do add a much greater level of visual detail to a finished model.
j76lr
Visit this Community
New Jersey, United States
Joined: September 22, 2006
KitMaker: 1,081 posts
Armorama: 1,066 posts
Posted: Friday, September 07, 2018 - 07:18 AM UTC
nice job looks great
BruceJ8365
Visit this Community
Kansas, United States
Joined: December 25, 2012
KitMaker: 441 posts
Armorama: 441 posts
Posted: Friday, September 07, 2018 - 07:52 AM UTC
Those look great!

I found, like you, in 1/35th, typical 1 inch stencils and markings aren't legible.


Although there's quite a few aftermarket providers for dry transfers, I've found at the local hobby shops, they typically stock a lot of dry transfers for use on model railroads.

You can find all sorts of stencils used on model rail road box cars that you can use portions of to represent stenciling on military equipment.
amoz02t
#192
Visit this Community
Kentucky, United States
Joined: November 25, 2009
KitMaker: 1,383 posts
Armorama: 1,281 posts
Posted: Friday, September 07, 2018 - 08:37 AM UTC
Yes the Archer stuff is great

Also name tapes on gear is nice...


...and how about vendors offering more stenciling for ordinance

Chillidragon
Joined: September 20, 2012
KitMaker: 104 posts
Armorama: 70 posts
Posted: Friday, September 07, 2018 - 10:32 AM UTC
Very good point; I would rather like to see more stowage available in 1/76. Since BW Models ceased trading, even such things as modern ammunition boxes are too thin on the ground, and I miss their FN SLRs.

A tip from Model Railway Journal, from an article about 0 Gauge (1/43) goods, though this method is unsuitable for plastics or enamel paint; I have no idea if it might work with acrylics. The author uses wood to make miniature crates and boxes.
First compose your stencils on a PC to size; reverse, repeat and print on a LASER printer. Cut out your label, place face down onto the work, and gently (but rapidly!) brush on some acetone. Press smartly and without lateral movement. Lift the paper and admire the now transferred stencil!

(Caveat: I don't work in wood, so have not tried this myself - but the photographed results in MRJ looked good.)
 _GOTOTOP