_GOTOBOTTOM
Armor/AFV: Allied - WWII
Armor and ground forces of the Allied forces during World War II.
Hosted by Darren Baker
Bronco A10 Mk II Build
CMOT
Staff MemberEditor-in-Chief
ARMORAMA
Visit this Community
England - South West, United Kingdom
Joined: May 14, 2006
KitMaker: 10,954 posts
Armorama: 8,571 posts
Posted: Wednesday, December 06, 2017 - 05:31 PM UTC
In this blog I will be building the Bronco offering of the Cruiser Tank Mk IIA/IIA CS; There is a much longer title as is usual with Bronco offerings, but kit number CB35151 is the one tackled here.

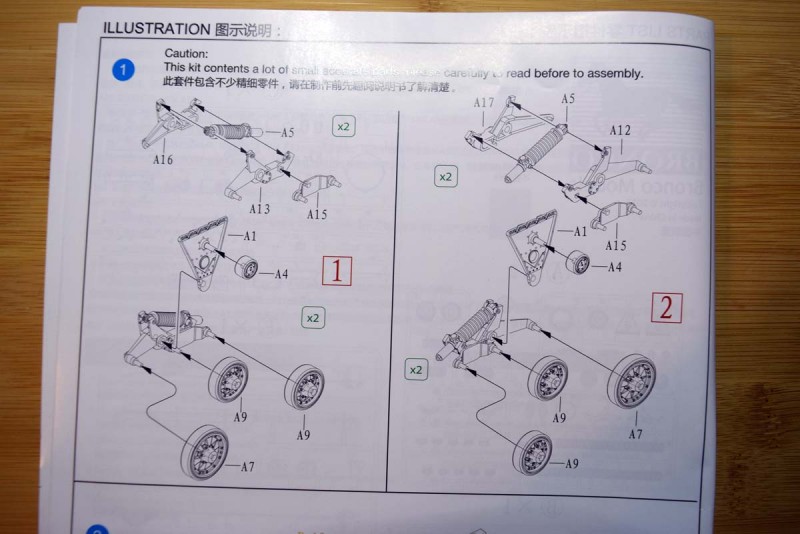
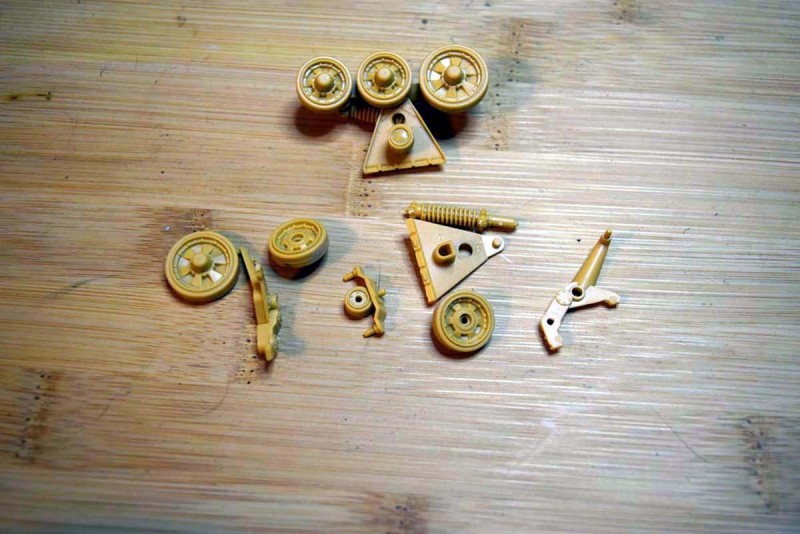
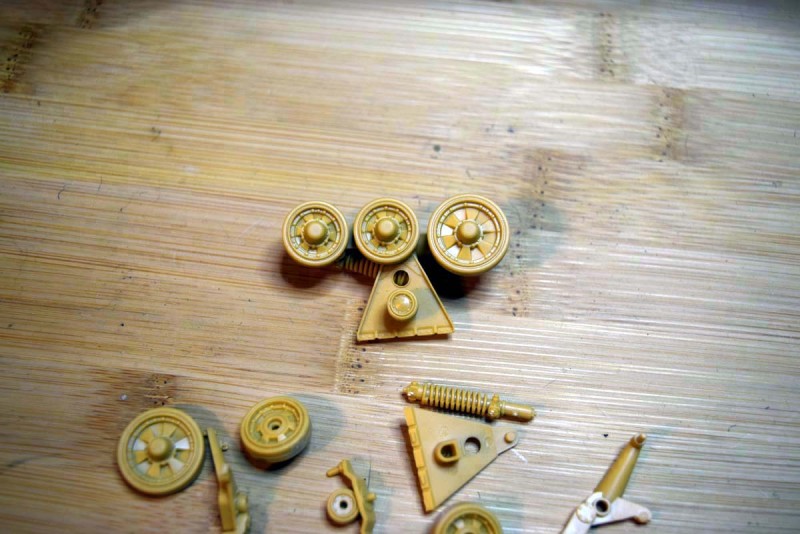
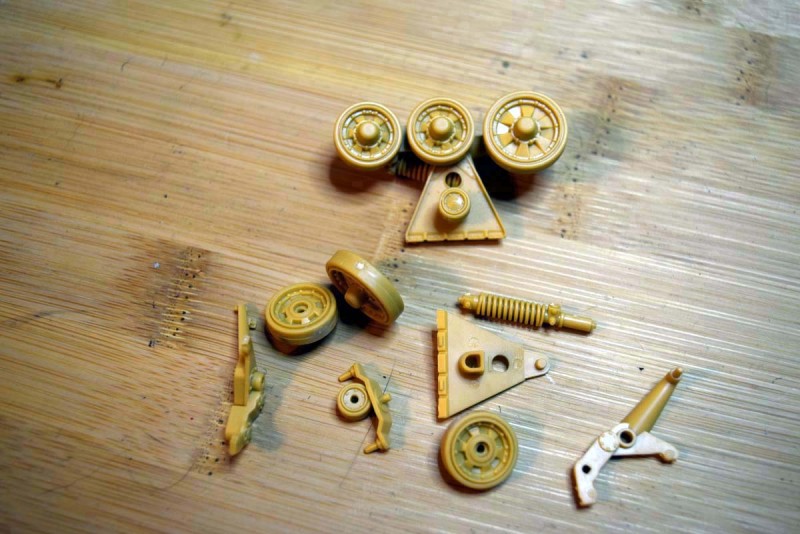
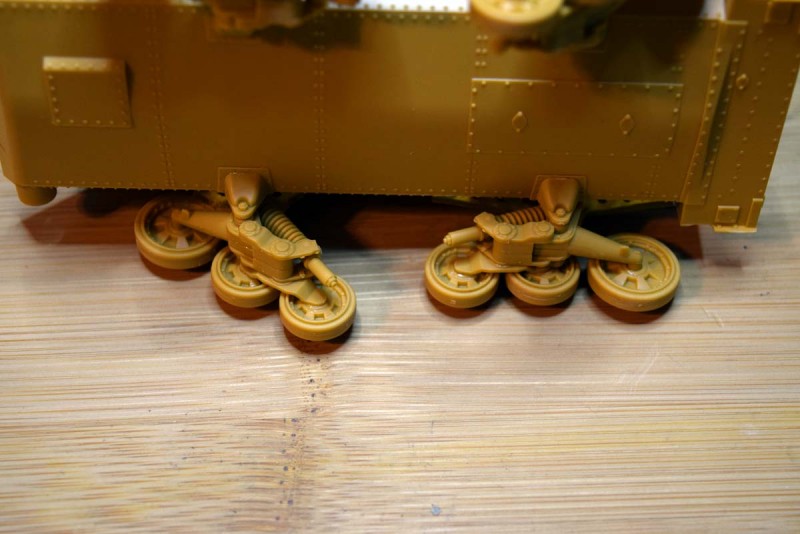
The model starts with the wheel bogies which are easily assembled, but there are a couple of hiccups to be aware of. Firstly the wheels themselves are a sloppy fit and it needs to be pointed out that in the photographs they are only secured with PVA glue. The difficulty here will be in getting the wheels correctly aligned when permanently secured, not overly difficult but an unwelcome hill to climb. The second issue is that part A15 is a shaped fit connecting point which is again loose and could result with the road wheels not all touching the ground.


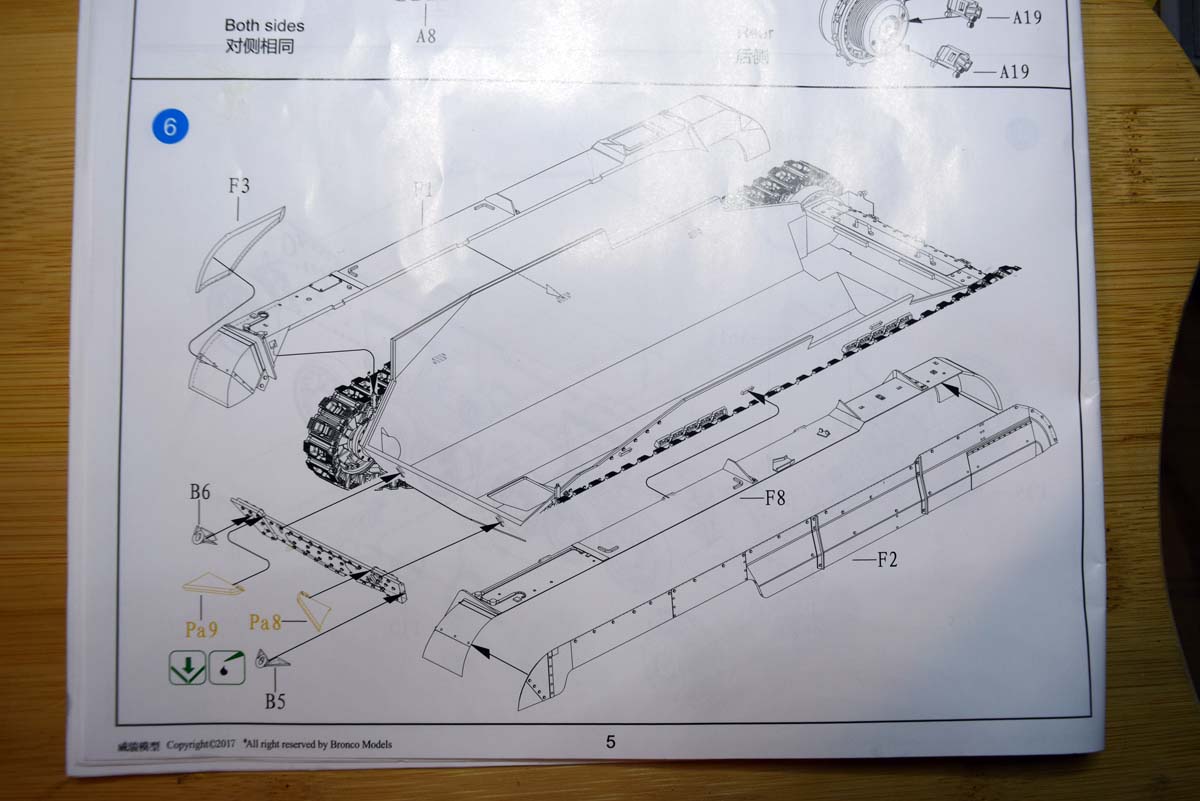
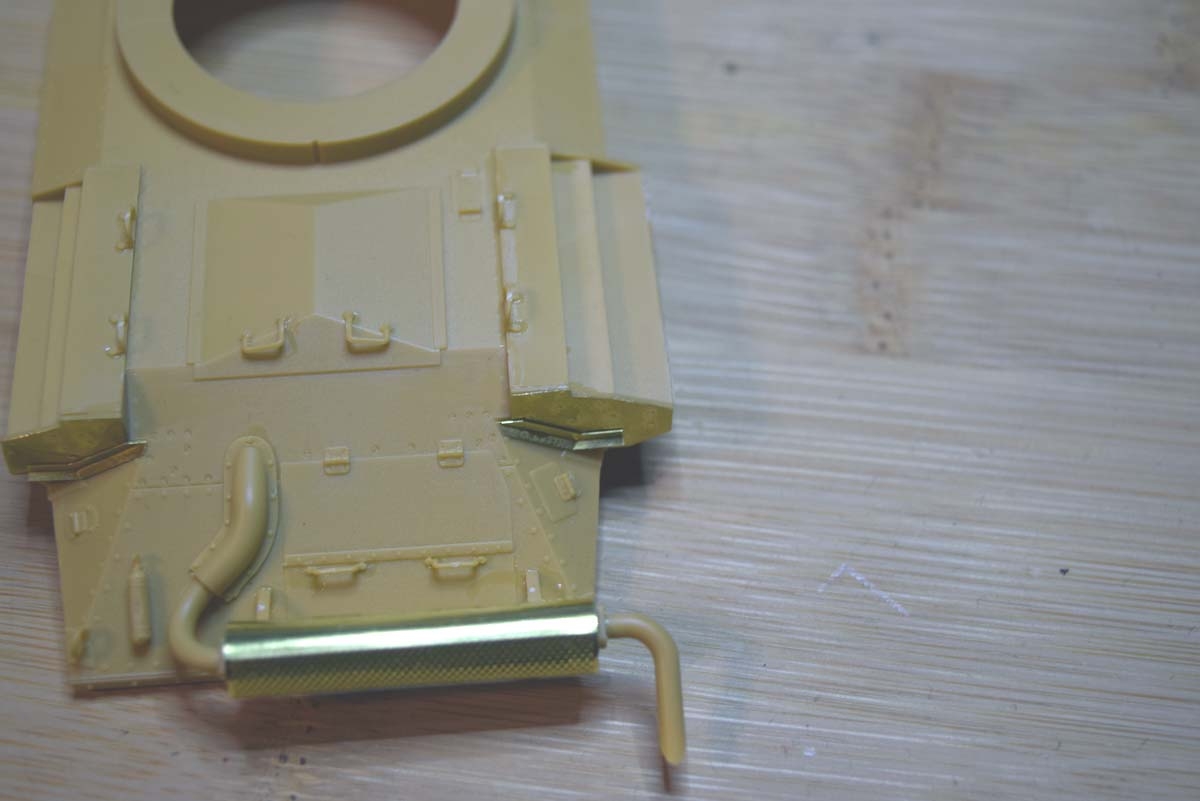
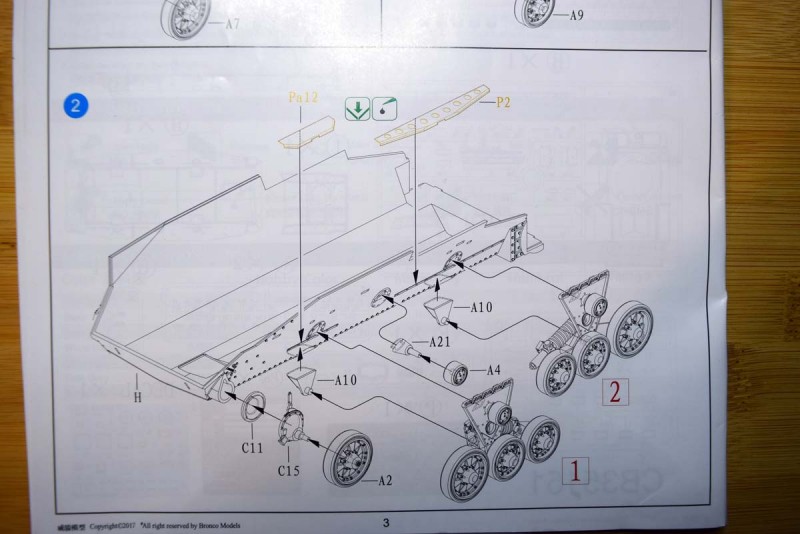
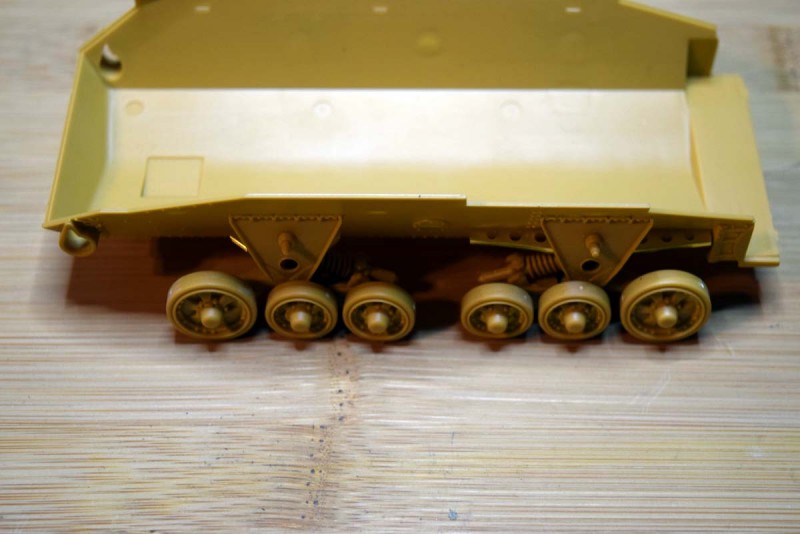
Moving on to attaching the bogies to the model, and I am very pleased with this aspect of the model as the connection points are good. The photo etch does not have the clearest directions possible and the bending point is very wide. The two smallest photo etch guards for the suspension springs are not correctly numbered in the instructions and should be numbered as parts 9 and 14, however it is an easy error to resolve due to the shape of the parts.


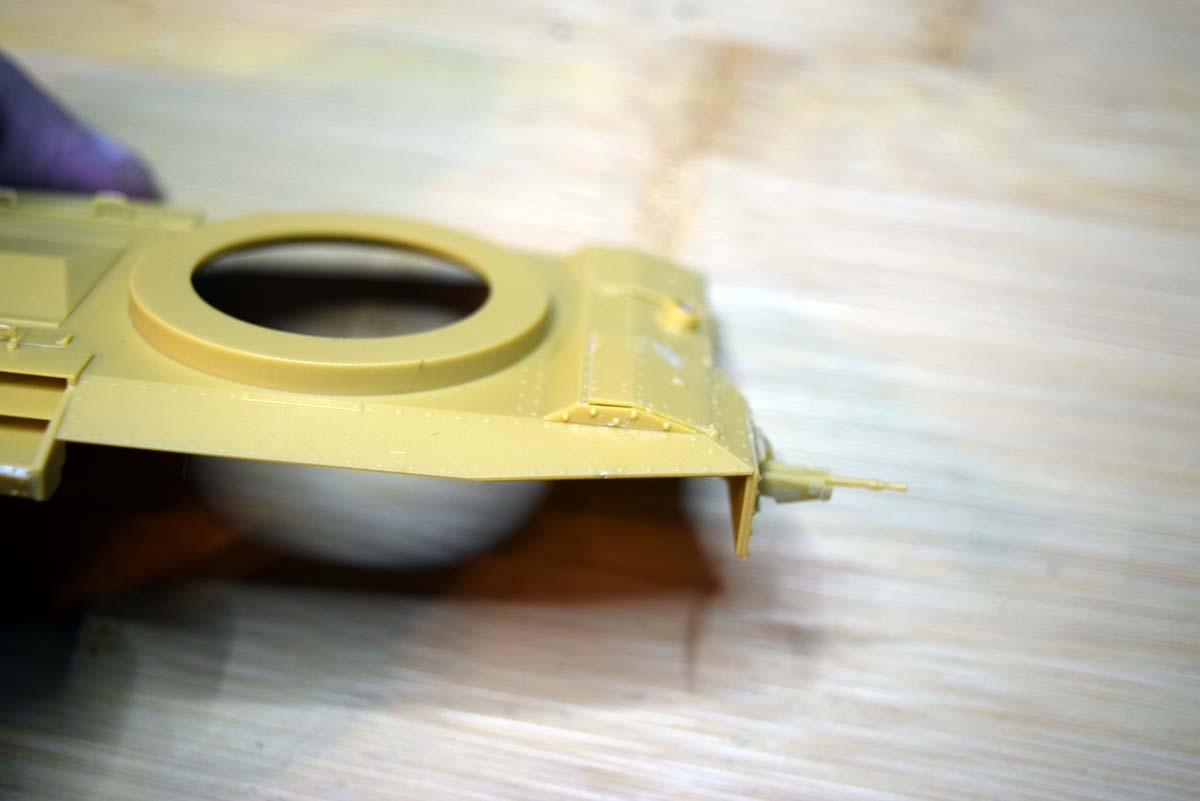
The rear gearbox housing that is next up is a really nice fit on the model and very well detailed. The front bell housings are also fitted and these are also a very nice fit; however the wheels to this area are again sloppy and so will require careful placement when securing them.


The drive wheels themselves are next and these are very nicely detailed but not without issue. The centre portion of the wheel is attached via four of the teeth, I removed them with a scalpel and then cleaned the teeth with a sanding stick. Regardless of how you intend to tackle this take care as access is tight. Also on the centre wheel portion there are three large plastic spurs that need to be removed and here I used a micro chisel to avoid damaging the detail on the raised portion.


Kaktusas
Visit this Community
Vilnius, Lithuania
Joined: April 12, 2017
KitMaker: 196 posts
Armorama: 196 posts
Posted: Wednesday, December 06, 2017 - 06:16 PM UTC
Looking good so far!
CMOT
Staff MemberEditor-in-Chief
ARMORAMA
Visit this Community
England - South West, United Kingdom
Joined: May 14, 2006
KitMaker: 10,954 posts
Armorama: 8,571 posts
Posted: Wednesday, December 06, 2017 - 06:53 PM UTC
Thank you for looking.
Can anyone suggest workable or alternate tracks for this tank?
Das_Abteilung
Visit this Community
United Kingdom
Joined: August 31, 2010
KitMaker: 365 posts
Armorama: 351 posts
Posted: Thursday, December 07, 2017 - 06:03 AM UTC
AFAIK, apart from some experimental vehicles the tracks of A9 and A10 were unique and not used on anything else. They didn't provide much traction. Valentine, although basically the same suspension setup, initially had a wider version of the same tracks and then completely different tracks.

So until or unless Friul or one of the other after market people put something out or Gecko release theirs as a separate set - which may not be any better anyway - I think we're stuck with the kit tracks.

Although, a second A10 kit with all the desert mods is rumoured. Bearing in mind the change Bronco made to the tracks on the later A13 kits after criticism of those in the Mk1 we might yet see an improvement and a separate new track set if we complain enough! Certainly more chance of that than ever seeing a Gecko kit........

I noted that BNA Modelworld were listing the Bronco A9 this week. First listing I've seen for it.

LATE NOTE:

The drawings in David Fletcher's book The Great Tank Scandal show both A9 and A10 fitted with the same wider tracks as early Valentines, which Bronco sell as a separate set. But looking at my walkaround A10 photos from Bovington their extra width would not have cleared the sand shields and may not have cleared the hull. And a quick surf of the web didn't turn up any A10s with Valentine tracks.
CMOT
Staff MemberEditor-in-Chief
ARMORAMA
Visit this Community
England - South West, United Kingdom
Joined: May 14, 2006
KitMaker: 10,954 posts
Armorama: 8,571 posts
Posted: Thursday, December 07, 2017 - 06:42 AM UTC
I have the A9 version to build as well and the tracks and suspension are identical parts, it is the rest of the sprues that are different.
CMOT
Staff MemberEditor-in-Chief
ARMORAMA
Visit this Community
England - South West, United Kingdom
Joined: May 14, 2006
KitMaker: 10,954 posts
Armorama: 8,571 posts
Posted: Thursday, December 07, 2017 - 09:29 PM UTC
Next up are the tracks and due to the information provided in this build log I have started with the supplied tracks. I found the clean up of these tracks very easy and other than very minimal flash on some of the pins that needed to be removed they went together very easily. As I will need to paint these before adding them to the model proper I have assembled them as the top run and front wheel plus the lower run and drive wheel sections. I must say I am surprisingly pleased with the final look of the parts.


barkingdigger
Staff MemberAssociate Editor
ARMORAMA
#013
Visit this Community
England - East Anglia, United Kingdom
Joined: June 20, 2008
KitMaker: 3,981 posts
Armorama: 3,403 posts
Posted: Thursday, December 07, 2017 - 10:39 PM UTC
Hi Darren,

Good start on that ugly duckling! Gotta say, as I get older I find link&length plastic tracks more attractive than indy-link or rubber bands. Maybe I'm just getting lazy...
stevieneon
Visit this Community
England - West Midlands, United Kingdom
Joined: January 24, 2009
KitMaker: 144 posts
Armorama: 143 posts
Posted: Thursday, December 07, 2017 - 11:06 PM UTC
Watching with interest and delight. Waiting on my a9 still. On back order. Hopefully not much longer now.
CMOT
Staff MemberEditor-in-Chief
ARMORAMA
Visit this Community
England - South West, United Kingdom
Joined: May 14, 2006
KitMaker: 10,954 posts
Armorama: 8,571 posts
Posted: Friday, December 08, 2017 - 10:51 PM UTC
Despite that I could not fit tracks at this point I started on the track guards as directed by the instructions. You need to be very careful when removing these parts from the sprue as they are particularly thin and are easy to damage. If you look at the photographs I have provided you can see just how thin these parts are and it is that aspect that meant I had to glue the pieces in stages to insure a good and accurate joint. The front armour plate is also added at this point but not numbered in the instructions; it is part B30 and is easy to locate by its shape. The towing points took me several attempts to work out exactly where they belonged due to weak instructions. There are also two photo etched parts that I have not added yet as I intend to go to Bovington Tank Museum and take a lot of reference images of the A10 which I will provide here (I will also cover the A9 Stevie)


Finally I get to move onto the upper deck where I found some very pleasing aspects of this model. The front where the driver and radio operator are located is very well detailed with a nice BESA machine gun that does have a hollowed muzzle, should you prefer you are offered the option of an armoured plate instead of the BESA MG. The viewing hatch in front of the driver can be assembled in a open or closed position but the instructions don’t cover this; take a look at the photos and you can see the nice detail on the interior face. The periscope is another area where Bronco has provided very nice detail inside and out having a clear periscope. The hatches are not supplied with the option of being open, but if you want them open it is not going to take brain surgery to do it.
http://armorama.kitmaker.net/photos/feature/3189/33.jpg" BORDER="0">
http://armorama.kitmaker.net/photos/feature/3189/37.jpg" BORDER="0">
http://armorama.kitmaker.net/photos/feature/3189/38.jpg" BORDER="0">
http://armorama.kitmaker.net/photos/feature/3189/40.jpg" BORDER="0">
http://armorama.kitmaker.net/photos/feature/3189/41.jpg" BORDER="0">
Moving to the rear of the hull and we are provided with a really nicely designed air intake that goes together easily and looks effective. The handles present here are very good and in my opinion do not need to be replaced with wire. The fire extinguisher is also nicely done but no decal is included for it. Please take note of the really well done cross cut screw heads that are numerous on this vehicle.


CMOT
Staff MemberEditor-in-Chief
ARMORAMA
Visit this Community
England - South West, United Kingdom
Joined: May 14, 2006
KitMaker: 10,954 posts
Armorama: 8,571 posts
Posted: Tuesday, December 26, 2017 - 07:49 PM UTC
Sorry it has taken a while to update this, but I had a few upload issues.

Moving onto the other side of the rear and the exhaust. The grab handles and intake is again very well tackled resulting in a nice finish. The exhaust is a mix of highs and lows; starting with the low point and that is the photo etched exhaust guard. This is correctly represented with the mix of solid and grill, but these should be in two separate parts for accuracy (I can forgive that aspect) the down side is that the solid piece should be shorter than the grill portion and the guard should be attached to the exhaust; unfortunately Bronco has secured the exhaust inside the guard and then attached the guard to the vehicle mounts. On the positive the exhaust has been slide moulded and this has resulted in a very nice look to the part. The side fillet added next to the front hatch adds nice detail but shows that the fit of the hatch needs some work.


easyco69
Visit this Community
Ontario, Canada
Joined: November 03, 2012
KitMaker: 2,275 posts
Armorama: 2,233 posts
Posted: Tuesday, December 26, 2017 - 07:55 PM UTC
Darren, I noticed you built a few Bronco kits...do you find them overly engineered? Or..do you find that it takes a long time since theres so many parts? Do you find the detailing on the soft side? What about plastic thickness? Too thin sometimes? Just curious. I've built a few & they are a creature of their own. You get your moneys worth concerning time...but whats your overall opinion on Bronco quality?
Nice job by the way.
CMOT
Staff MemberEditor-in-Chief
ARMORAMA
Visit this Community
England - South West, United Kingdom
Joined: May 14, 2006
KitMaker: 10,954 posts
Armorama: 8,571 posts
Posted: Tuesday, December 26, 2017 - 08:02 PM UTC
I prefer the models Bronco is producing now from the aspect that the parts count is down and so the build is easier. Some parts are on the thin side, but that tends only to be where required for the look of the thing. I would not accuse Bronco of providing soft detail on their kits, but I am for the most part really pleased with this one and every modeller has their own expectations and requirements.
 _GOTOTOP