_GOTOBOTTOM
Armor/AFV
For discussions on tanks, artillery, jeeps, etc.
how would you fill this?
flyers42
Visit this Community
Alabama, United States
Joined: November 23, 2014
KitMaker: 62 posts
Armorama: 60 posts
Posted: Tuesday, October 08, 2019 - 11:05 AM UTC


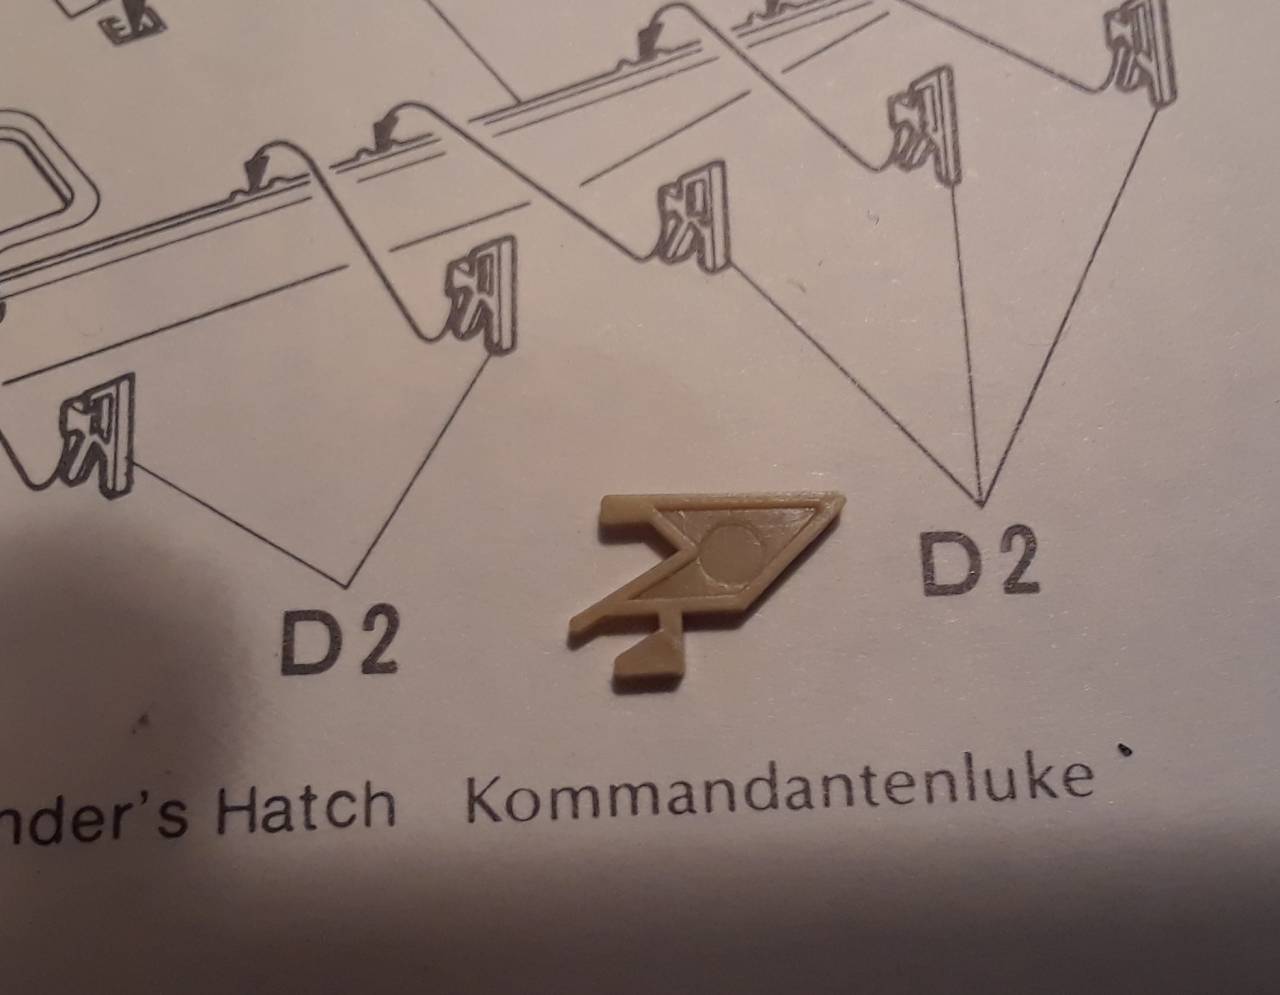
Im running into alot of these mold circles from an old Tamiya kit, how would you fill them?
flyers42
Visit this Community
Alabama, United States
Joined: November 23, 2014
KitMaker: 62 posts
Armorama: 60 posts
Posted: Tuesday, October 08, 2019 - 11:05 AM UTC
my picture didnt work
flyers42
Visit this Community
Alabama, United States
Joined: November 23, 2014
KitMaker: 62 posts
Armorama: 60 posts
Posted: Tuesday, October 08, 2019 - 11:11 AM UTC
flyers42
Visit this Community
Alabama, United States
Joined: November 23, 2014
KitMaker: 62 posts
Armorama: 60 posts
Posted: Tuesday, October 08, 2019 - 11:12 AM UTC
ok there it is
ChurchSTSV
Visit this Community
Arizona, United States
Joined: September 20, 2017
KitMaker: 350 posts
Armorama: 19 posts
Posted: Tuesday, October 08, 2019 - 11:14 AM UTC
Some people on here have these pens filled with fiberglass points that allow you to get into tight places and do some sanding.

Someone will pop up with the name of the tool. I would use that and just sand it away.
Klaus-Adler
Staff MemberCampaigns Administrator
MODELGEEK
Visit this Community
Scotland, United Kingdom
Joined: June 08, 2015
KitMaker: 1,505 posts
Armorama: 840 posts
Posted: Tuesday, October 08, 2019 - 11:26 AM UTC

Quoted Text

Some people on here have these pens filled with fiberglass points that allow you to get into tight places and do some sanding.

Someone will pop up with the name of the tool. I would use that and just sand it away.


I've never heard of those so I hope some one does tell us about them.
Kenaicop
#384
Visit this Community
Nevada, United States
Joined: August 23, 2005
KitMaker: 1,426 posts
Armorama: 1,316 posts
Posted: Tuesday, October 08, 2019 - 11:40 AM UTC
Fiberglass Pens

https://www.amazon.com/s?k=fiberglass+pens&gclid=EAIaIQobChMI37TVkuuN5QIVERx9Ch13uA9vEAAYASAAEgLiE_D_BwE&hvadid=329742114125&hvdev=t&hvlocphy=9030819&hvnetw=g&hvpos=1t1&hvqmt=e&hvrand=11782075229787596989&hvtargid=kwd-301732647584&hydadcr=8431_9886304&tag=googhydr-20&ref=pd_sl_serl0ts3x_e
d6mst0
#453
Visit this Community
Texas, United States
Joined: August 28, 2016
KitMaker: 1,925 posts
Armorama: 601 posts
Posted: Tuesday, October 08, 2019 - 11:42 AM UTC
A set of jeweler files comes in handy for this type of problem.

Mark
KurtLaughlin
Visit this Community
Pennsylvania, United States
Joined: January 18, 2003
KitMaker: 2,402 posts
Armorama: 2,377 posts
Posted: Tuesday, October 08, 2019 - 12:07 PM UTC
I use a punch set to make disks out of .005 or even .010 Evergreen sheet and glue them in place. Not surprisingly punch sizes correspond to the standard ejector pin sizes, so it's usually an excellent fit. These can be sanded down flush without changing the surface contour, unlike filling with putty or sanding them out.

KL
JPTRR
Staff MemberManaging Editor
RAILROAD MODELING
#051
Visit this Community
Tennessee, United States
Joined: December 21, 2002
KitMaker: 7,772 posts
Armorama: 2,447 posts
Posted: Tuesday, October 08, 2019 - 12:54 PM UTC
Some people use gap-filling superglue. With the right touch, the CA gob will fill the ejector circle level with the edge. Some people use Future floor wax s it is self-leveling. Sometimes both products have a wee bit of baking soda mixed in so it doesn't settle in the middle, IIRC.
MLD
Visit this Community
Vermont, United States
Joined: July 21, 2002
KitMaker: 3,569 posts
Armorama: 2,070 posts
Posted: Tuesday, October 08, 2019 - 01:34 PM UTC
Gap filling superglue, or make some sprue goo (old sprues dissolved in liquid glue), or Mr Surfacer 500 (liquid).
Headhunter506
Visit this Community
New York, United States
Joined: December 01, 2007
KitMaker: 1,575 posts
Armorama: 1,509 posts
Posted: Tuesday, October 08, 2019 - 01:46 PM UTC
Using baking soda mixed with CA is a bad idea. First of all, baking soda absorbs moisture; and, second, this combination has been documented to react adversely with the underlying styrene. Do as Kurt suggested or use two-part epoxy putty, such as Magic Sculpt to fill in the ejector pin marks. Magic Sculpt doesn't shrink when cured and can be smoothed with a wet chisel blade so it is level with the surrounding plastic. Here is a link to a thread showing what CA and baking soda can do to a model:

Superglue and Baking soda
Scarred
Visit this Community
Washington, United States
Joined: March 11, 2016
KitMaker: 1,792 posts
Armorama: 1,186 posts
Posted: Tuesday, October 08, 2019 - 02:00 PM UTC
First of all is it gonna be visible when the kit is fully assembled? For one that shallow sprue goo, let it dry for a day then a micro chisel to level it since it's in a small area surrounded with raised detail. Deeper ones gap filling superglue then careful knife and chisel work.
Headhunter506
Visit this Community
New York, United States
Joined: December 01, 2007
KitMaker: 1,575 posts
Armorama: 1,509 posts
Posted: Tuesday, October 08, 2019 - 02:01 PM UTC

Quoted Text

Gap filling superglue, or make some sprue goo (old sprues dissolved in liquid glue), or Mr Surfacer 500 (liquid).


The sprue/glue mixture has its own issues such as it takes an extremely long time for the liquid glue to evaporate. The remaining goop is never as hard as the plastic was in its original, undissolved form.
Paulinsibculo
Visit this Community
Overijssel, Netherlands
Joined: July 01, 2010
KitMaker: 1,322 posts
Armorama: 1,239 posts
Posted: Tuesday, October 08, 2019 - 02:22 PM UTC
You can fill an old injection needle with Tamiya putty.
Just cut off the sharp part and go ahead.
Kevlar06
Visit this Community
Washington, United States
Joined: March 15, 2009
KitMaker: 3,670 posts
Armorama: 2,052 posts
Posted: Tuesday, October 08, 2019 - 02:23 PM UTC
I like to thin Tamiya putty 50:50 with Tamiya thin cement in a small nylon paint pallet dish, then using the supplied brush which comes with the glue (I have a bottle of Tamiya thin just for this purpose), put a drop of this mixture into the ejector pin mark. You can re-apply if necessary, to bring it up to the level of the edge. This mixture usually dries and is ready for sanding in 15-20 minutes. Punching a disk of styrene as mentioned above also works. To smooth the putty-cement mixture out when dry (if necessary) fold a piece of fine grit sandpaper over a wooden skewer or dowel that’s been sanded to a flat edge, and sand it along the edges of the filled area.
VR, Russ
panzerbob01
Visit this Community
Louisiana, United States
Joined: March 06, 2010
KitMaker: 3,128 posts
Armorama: 2,959 posts
Posted: Tuesday, October 08, 2019 - 02:42 PM UTC
Russ. You beat me to it!

Everything much as Russ said: Thin Squadron green putty (or Tamiya putty or...) with a thin cement to make a thin mud, put sufficient mud into the hole or void or "sink" to slightly over-fill it, let it dry (it dries pretty fast... ), and then attack the little hump or bump as needed with a blade, chisel, or sanding stick or... yes, sand paper wrapped across the end of a wooden chop-stick or piece of sprue or whatever to smooth it out and level it. IF you are quick and have a narrow blade (a small screw-driver, or a small square-end chisel blade is good), you may well be able to simply smooth your wet mud into the hole and form and level it from the start, and never actually need to go back and do any further finishing of the patch.

In some cases, I simply cut a little piece of 0.005 styrene sheet and make a "tin-can patch" and glue it over the sink-hole. It's NOT technically "accurate", but (aside from the reality that war-planes, cars, trucks, etc. have had little random metal plates or pieces riveted or welded on to fix holes, patch cracks, etc. for the past 100+ years) VERY FEW viewers will ever even notice, let alone KNOW, that that little square "plate" in that corner wasn't really there on the "real thing"...

Been my go-to fixes for these little visible sink-hole problems for decades!

Bob
nikon1
Visit this Community
Kansas, United States
Joined: April 11, 2005
KitMaker: 622 posts
Armorama: 605 posts
Posted: Tuesday, October 08, 2019 - 03:36 PM UTC
Another option is to use Tamiya surface primer from the bottle and build up in layers and smooth using a cotton ball soaked with Isopropyl alcohol.
Cheers
Charlie
Scarred
Visit this Community
Washington, United States
Joined: March 11, 2016
KitMaker: 1,792 posts
Armorama: 1,186 posts
Posted: Tuesday, October 08, 2019 - 07:20 PM UTC

Quoted Text


Quoted Text

Gap filling superglue, or make some sprue goo (old sprues dissolved in liquid glue), or Mr Surfacer 500 (liquid).


The sprue/glue mixture has its own issues such as it takes an extremely long time for the liquid glue to evaporate. The remaining goop is never as hard as the plastic was in its original, undissolved form.


A lot of puttys never get real hard either. Squadron green and white will remain a bit soft so will bondo glazing putty. 5 minute epoxy and other epoxys get hard, almost too hard to work in small areas. Sprue goo will get as hard as any large area that required gluing but it's easy to make and has decent working life.
pod3105
Visit this Community
Waterford, Ireland
Joined: August 08, 2010
KitMaker: 466 posts
Armorama: 444 posts
Posted: Tuesday, October 08, 2019 - 07:33 PM UTC
Vallejo or Delux plastic putty would also work. Water soluble and a gentle rud with a cotton bud or even finger tip might be enough.
rfbaer
Visit this Community
Texas, United States
Joined: June 12, 2007
KitMaker: 1,866 posts
Armorama: 1,696 posts
Posted: Wednesday, October 09, 2019 - 08:55 AM UTC
I use a very small chisel blade (cheap optical screwdrivers with the blades sharpened work great) and remove material from around the pin mark. No fillers, no drying time, and with a little practice, it's quick. I have a bunch of those tools made up, and with the corners of the blade rounded, they work great in concave and curved areas too, like the inside of hatches.
Tank1812
Visit this Community
North Carolina, United States
Joined: April 29, 2014
KitMaker: 1,112 posts
Armorama: 886 posts
Posted: Wednesday, October 09, 2019 - 09:53 AM UTC
Is it possible that the real part is hollow, so filling the pin hole is no more correct and hollowing out the part would be more correct?

Also depending on the detail you desire, use the part as a template on thick card stock and cut out new brackets. Might easier then fixing the pin mark.
marcb
Visit this Community
Overijssel, Netherlands
Joined: March 25, 2006
KitMaker: 1,244 posts
Armorama: 1,226 posts
Posted: Wednesday, October 09, 2019 - 09:55 AM UTC
I'd scrape it away with a curved x-acto blade.
165thspc
#521
Visit this Community
Kentucky, United States
Joined: April 13, 2011
KitMaker: 9,465 posts
Armorama: 8,695 posts
Posted: Wednesday, October 09, 2019 - 10:46 AM UTC
I like Ryan's idea above.

Also these brackets are in an area that will get splashed with a fair amount of thrown up mud. Just use some small bits of putty to "dirty them up!"
tankmodeler
#417
Visit this Community
Ontario, Canada
Joined: March 01, 2004
KitMaker: 3,123 posts
Armorama: 2,539 posts
Posted: Thursday, October 10, 2019 - 02:19 AM UTC
I usually fill those voids with curse words.
 _GOTOTOP