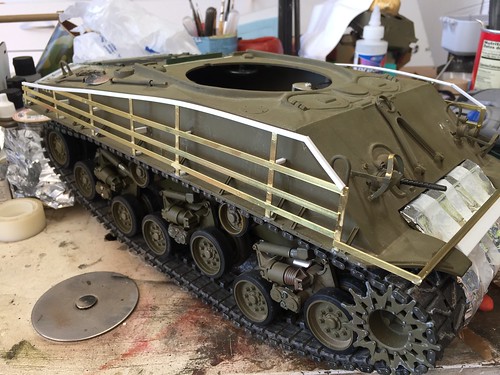
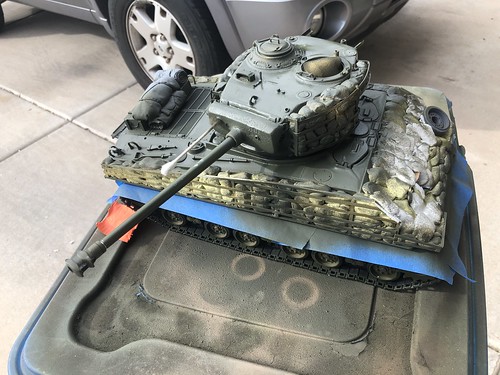
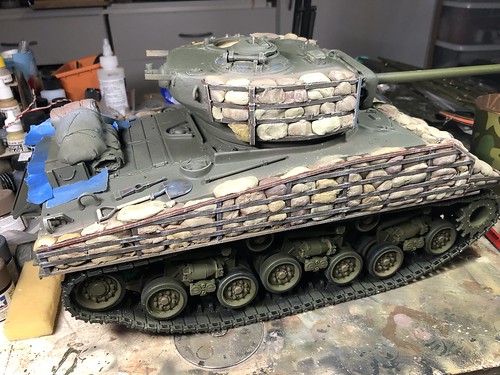
One of the longest suffering shelf queens in my RC Motorpool is the sandbagged Sherman I began as my first RC project in 2005. Several snafus and a combination of material and skill issues made me choose to build a steel plate unarmored kit instead. Two years ago I collected parts to try again and managed to get as far as the brackets on the hull. I had to shelve the project and move along but about three weeks ago I acquired an old parts project from a club member to allow me to really advance the project full speed.
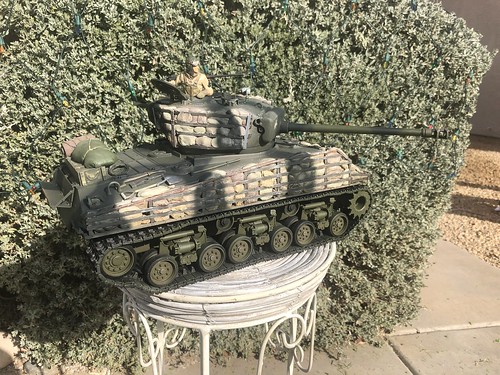
Tamiya HVSS hull. Upper Hull modified to M4A3 with some spare HL Sherman parts. Turret is a Nick Aquilar T-23 set. Brass strip and styrene used to fab the racks.
www.desertarmor.com
edouble
Arizona, United States Joined: January 21, 2006
KitMaker: 126 posts
Armorama: 123 posts
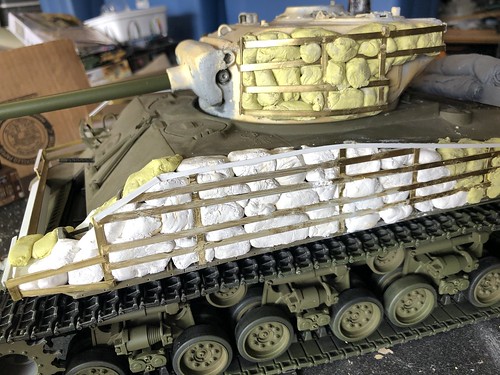
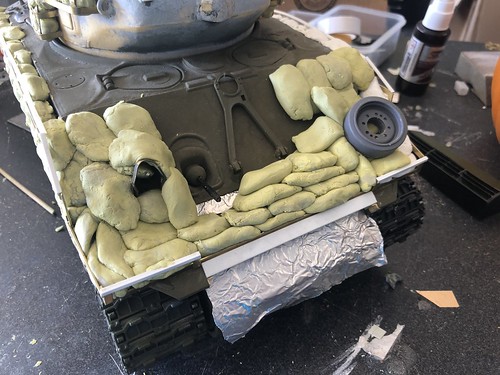
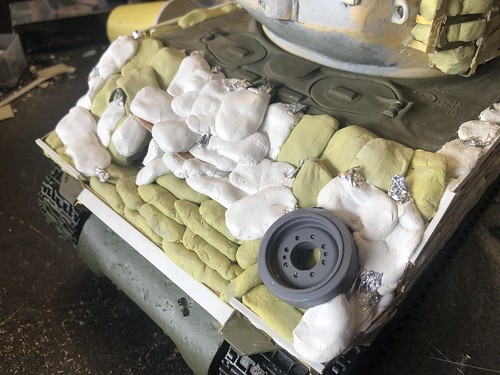
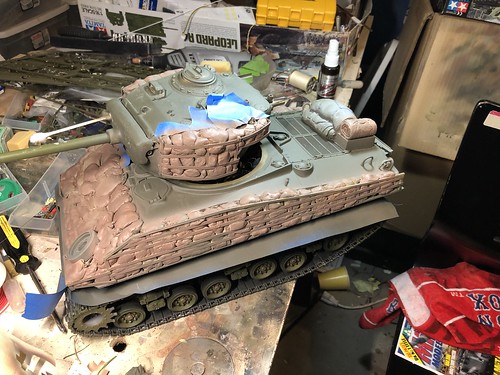
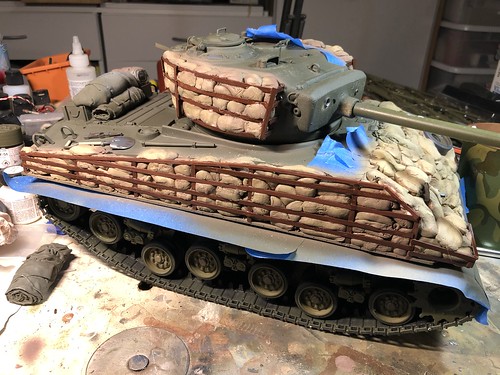
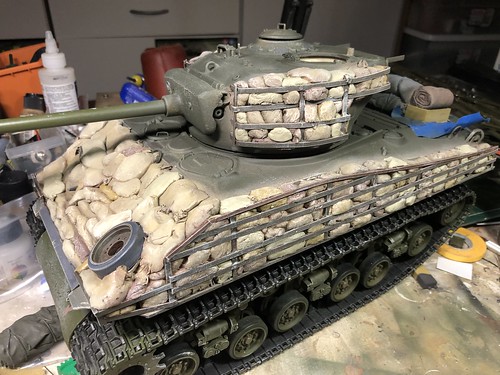
The two year gap was basically my hesitation to dive in the the sandbags. Most methods I knew were for 1/35 scale or so with epoxy putty. I experimented with clay and even small sewn fabric bags but in the end I stocked up on Milliput and started working. Hand rolling and using a old t-shirt for texture. Some lines were etched with various tools to mimic seems etc. Added some aluminum foil to simulate bag openings. 6 boxes used altogether.
www.desertarmor.com
edouble
Arizona, United States Joined: January 21, 2006
KitMaker: 126 posts
Armorama: 123 posts
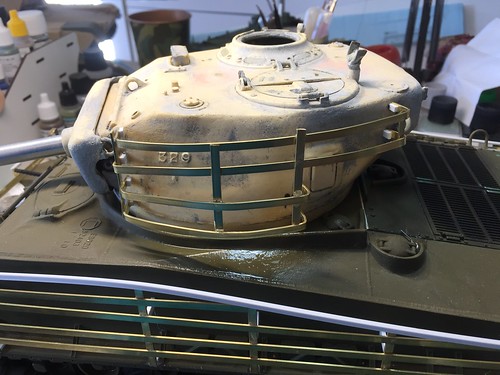
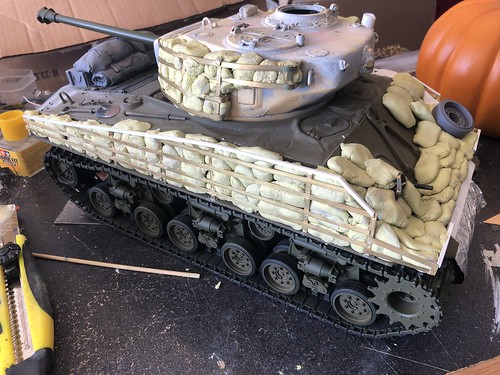
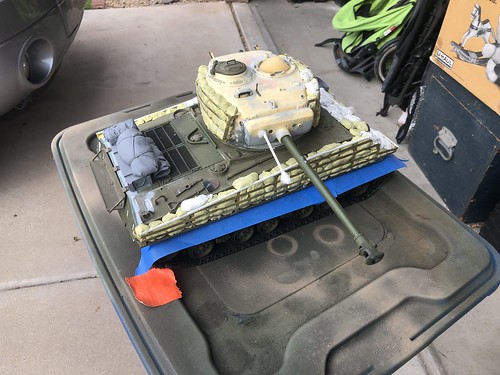
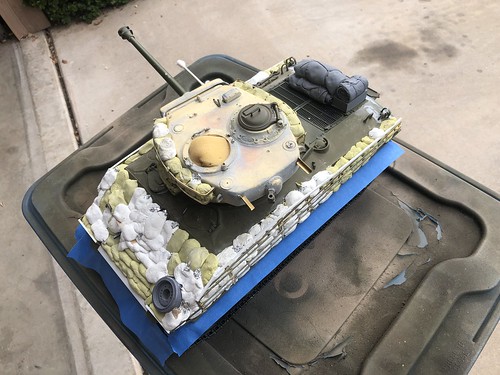
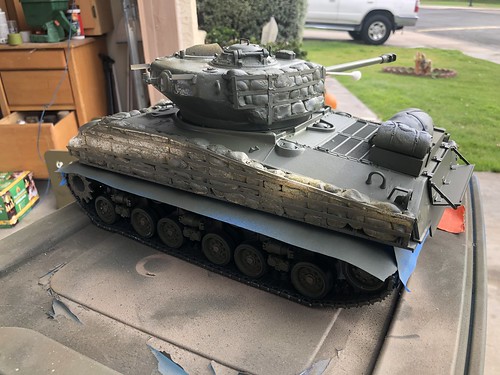
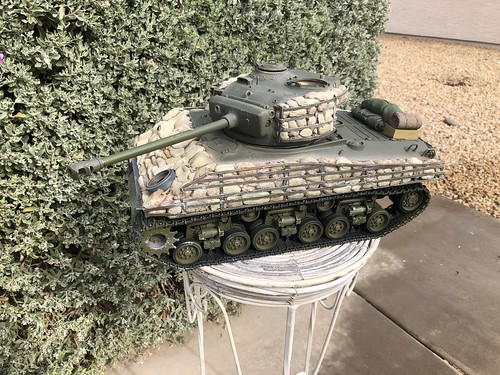
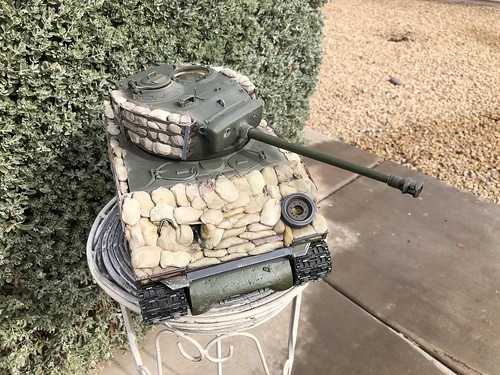
As this is a full option RC tank some of the details may be a bit rough to the discriminating Shermanoholic but the nature of IR combat has made it necessary for me cut a few corners but I am happy with the overall effort so far. Now it is time to start painting. Rustoleum Camo Olive base coat. This is a good overall primer for a resin-brass-epoxy-plastic-metal project. Once that was dry I began painting the sandbags with my Iwata Neo starting with Tamiya Earth Brown. I then air brushed some Tamiya Buff and Deck Tan over some bags. Later, I added Desert Yellow, Dark Yellow and Dark Yellow 2 over individual bags to alter the look. The racks were painted Flat Brown by hand. In some areas I used grey and metallic grey as this was most likely scrap or bar stock and must have been oxidized. Then I confess I fell into some peer pressure and painted them Khaki drab as most models I have see also have the racks green. Finished the step by Dry Brushing Mission models Portland Stone over most areas to conform the look. The lower hull and trans cover were painted previously an will receive natural weathering on our field. I will weather the metal T-66 track but as it is functional it will naturally change later.
www.desertarmor.com
AgentG
Nevada, United States Joined: December 21, 2008
KitMaker: 1,109 posts
Armorama: 1,095 posts