_GOTOBOTTOM
Armor/AFV
For discussions on tanks, artillery, jeeps, etc.
UStar Hobby 1:144 M48H/CM-11 Main Battle Tank
sgtsauer
#065
Visit this Community
Missouri, United States
Joined: March 30, 2002
KitMaker: 2,605 posts
Armorama: 1,814 posts
Posted: Friday, April 10, 2020 - 03:52 PM UTC
2020 brings the industry a new kit manufacturer from Taiwan by the name of UStar Hobby. UStar is a subsidiary of the Yong Sheng Trading Company, LTD. It appears the company is based in Taiwan but the kits are made in China according to the back of the box.

The company's official website, www.ustar-hobby.com.tw, lists two 1:144 scale kit offerings. Those kits are the Peoples Liberation Army T-59 tank and this kit, the M48H/CM-11. The side of the kit box and www.scalemates.com indicates there are five kit offerings by UStar Hobby. Those five kits are 1)China PLA Type-59 2)Soviet T-54 MBT 3)Canada Leopard C2 MEXAS MBT 4)US Army M60 MBT and 5)Taiwan M48H/CM-11 MBT.

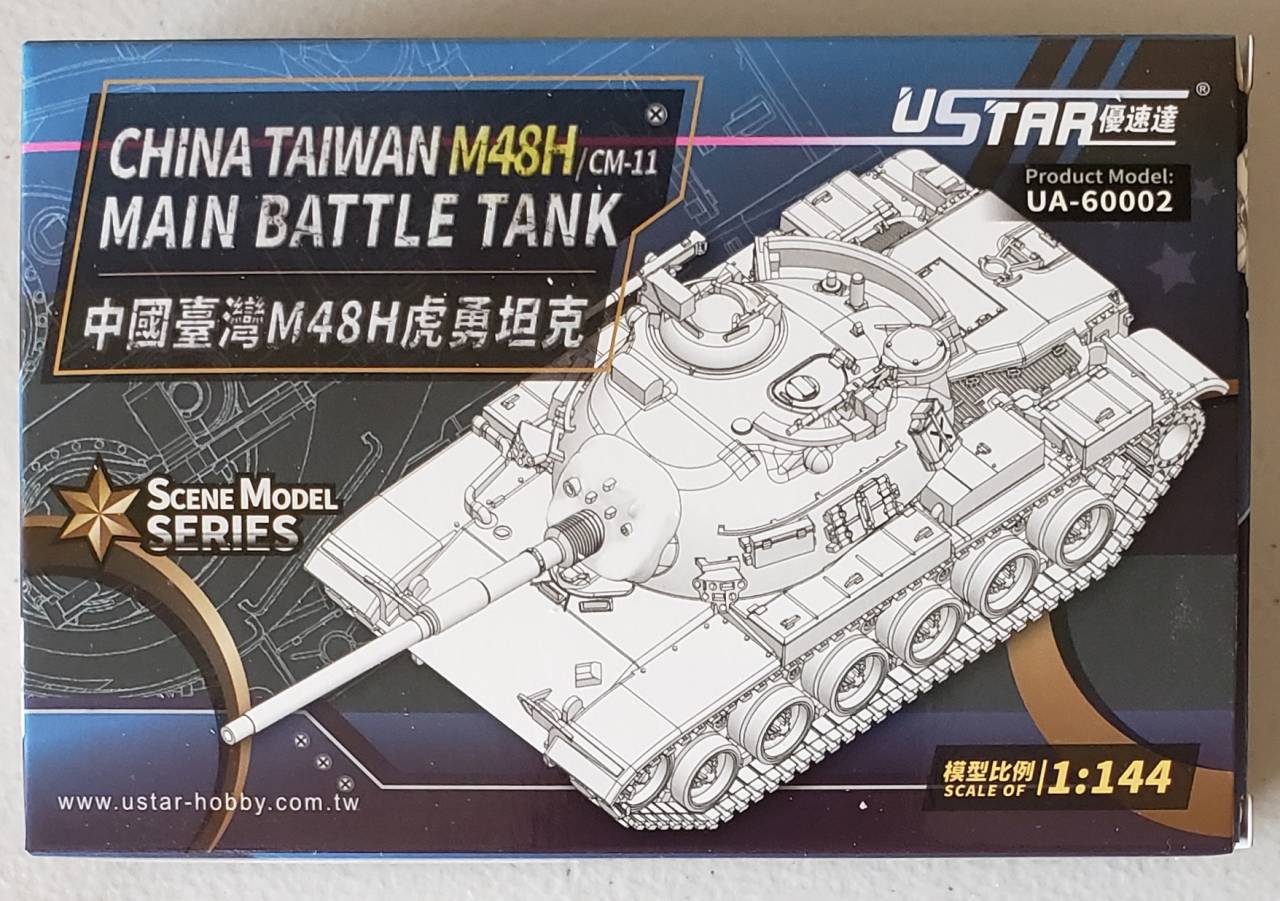
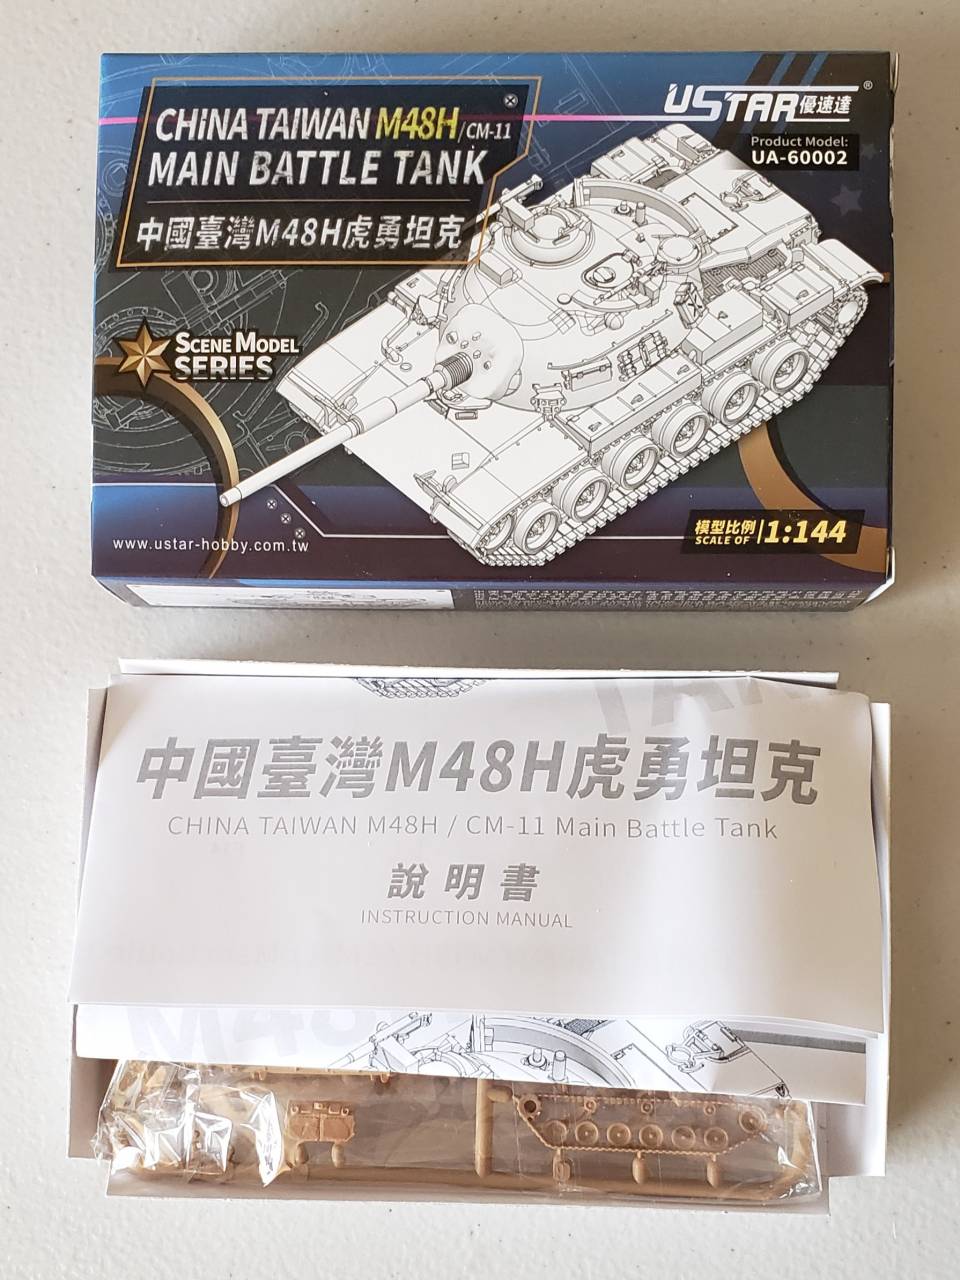
The subject of this blog post is the Taiwan M48H/CM-11 main battle tank kit. The Taiwan CM-11 is a tank design that, in simplistic explanation, combines the hull of the M60A3 main battle tank with the turret of the M48H Patton main battle tank. One of the standout features of the tank also is the T-142 type track that is a feature of the M60A3 hull. The kit box states that the model is part of the 'Scene Model Series' and is product number UA-60002.

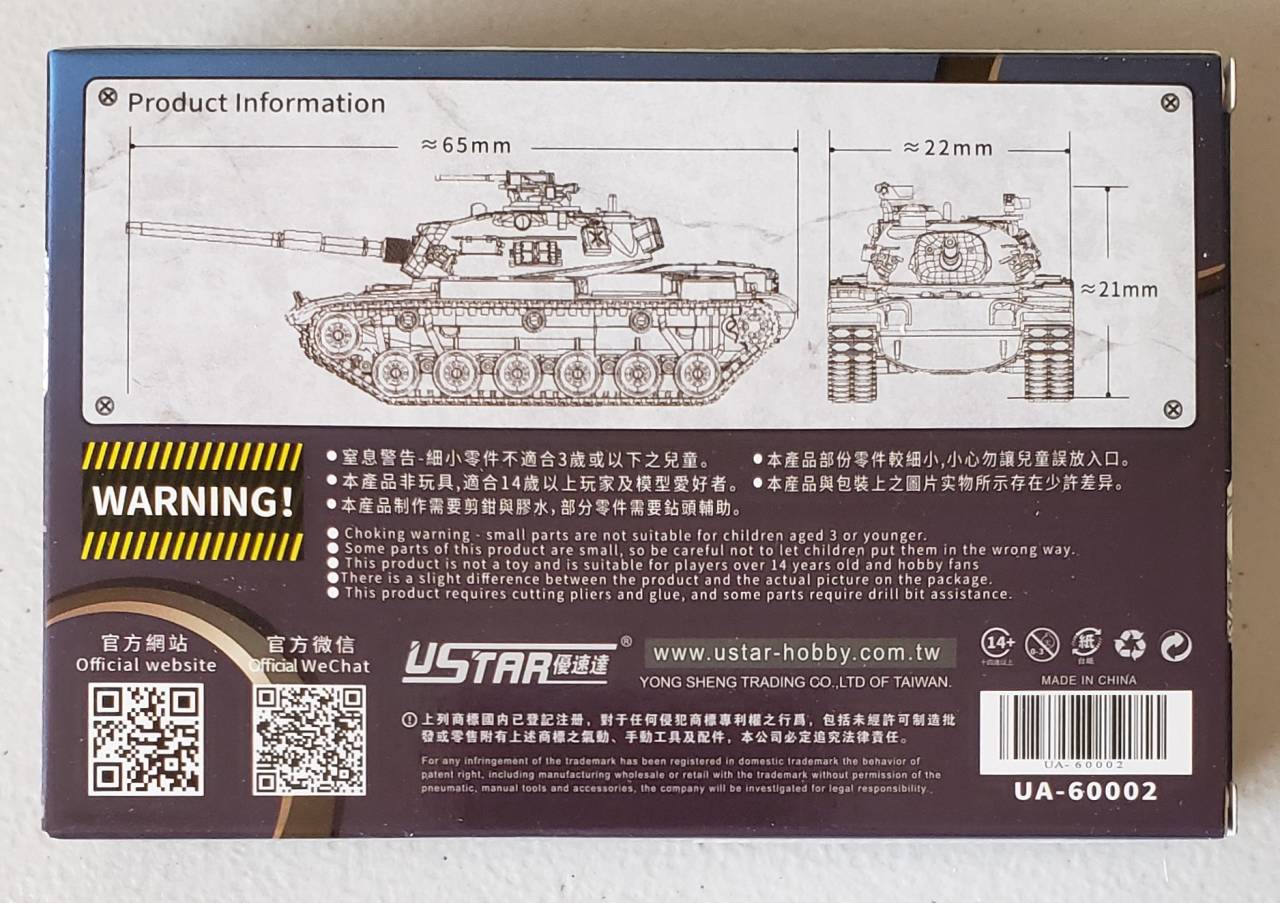
The kit comes packed in a cardboard box that is 5-1/2 inches x 3-3/4 inches x 1-1/4 inches.

Box front

Box back

Box end
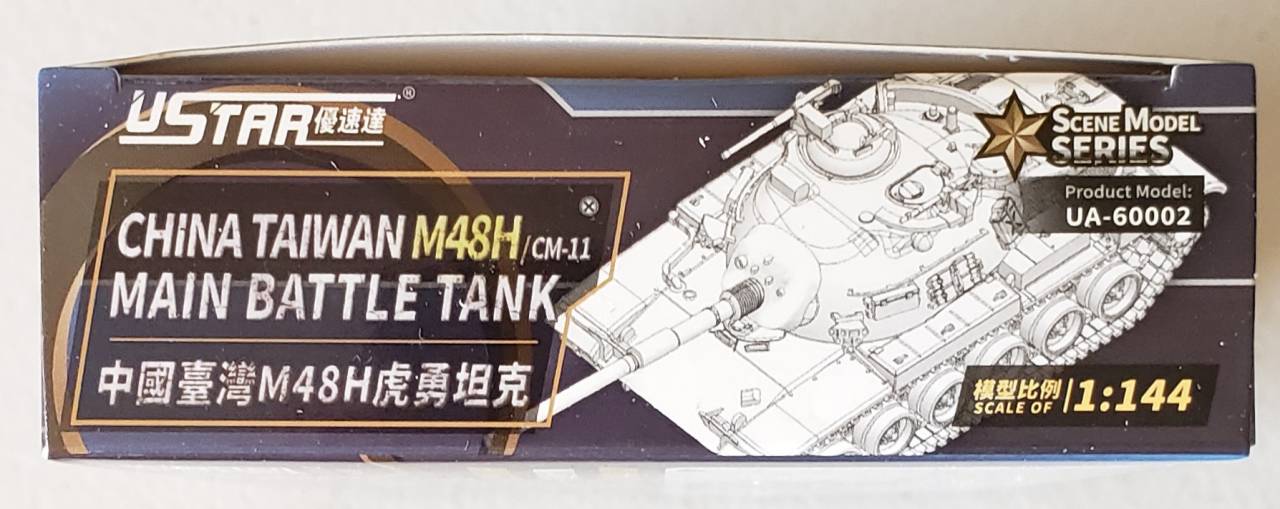

Box side #1


Box side #2


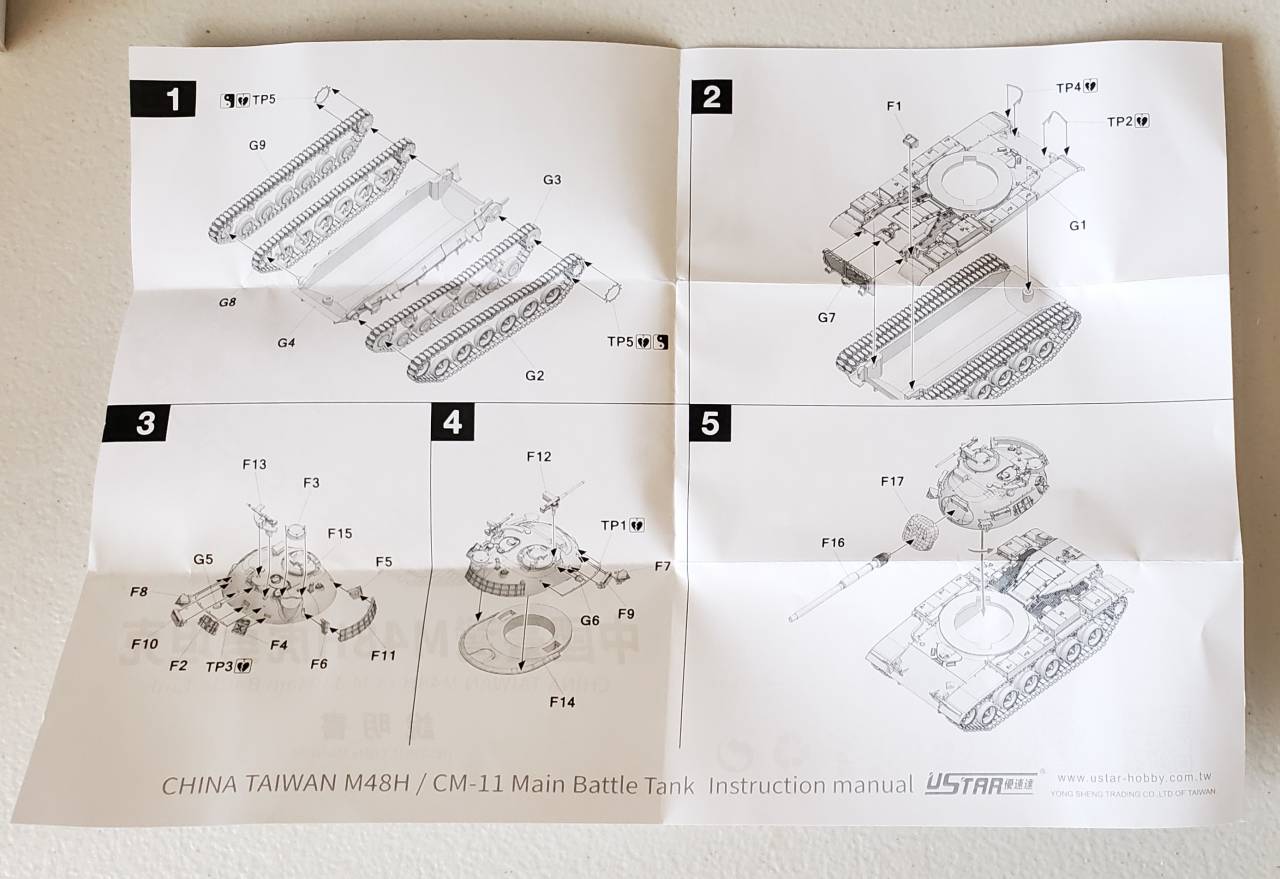
The instructions are printed on a single 11-1/4 inches x 8 inches sheet of glossy paper that has then been folded in half to form four pages with front cover, page 1, page 2 and back cover. There are five assembly steps.

Front cover

Page 1 and page 2

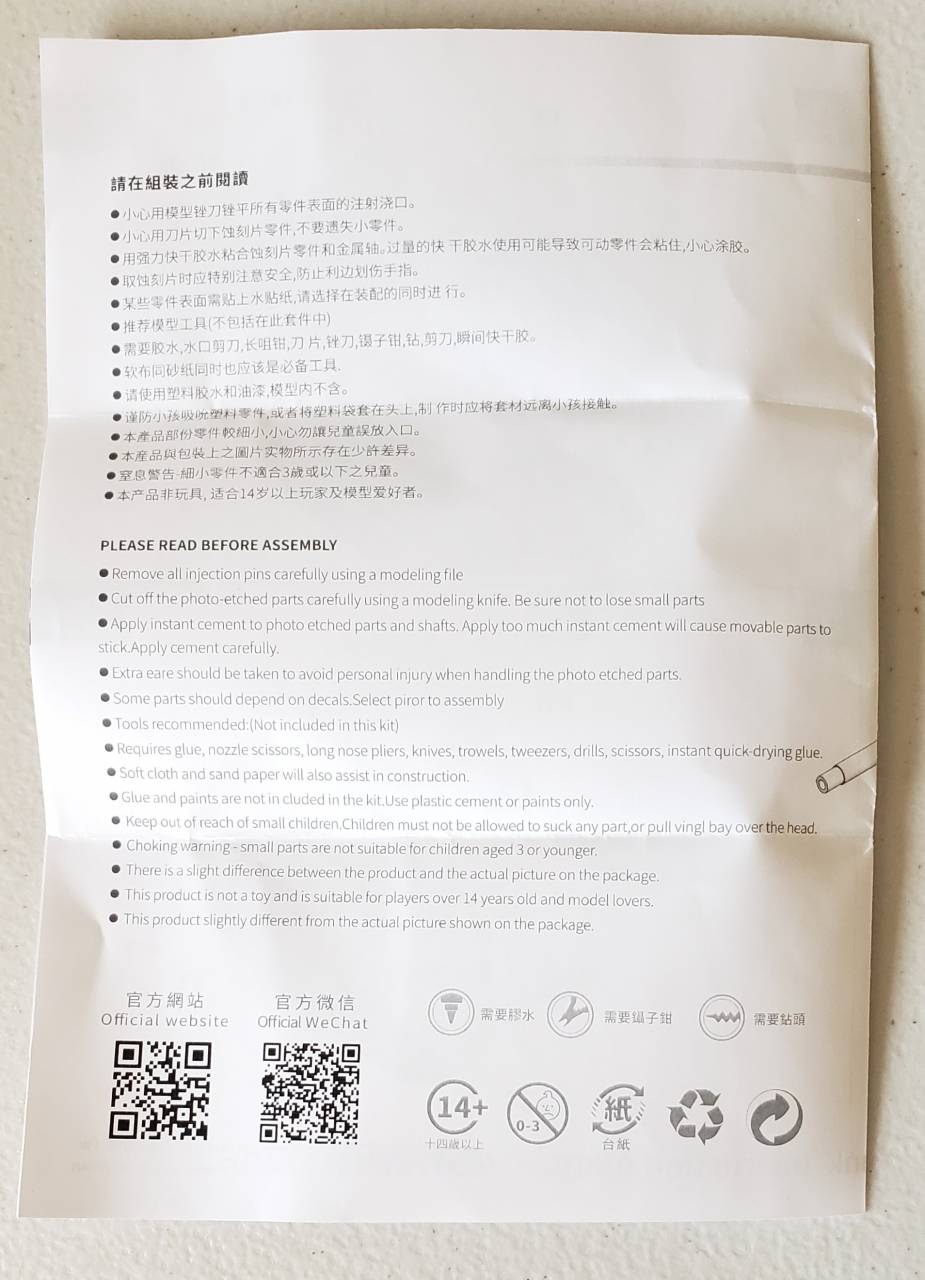
Back cover

When you open the kit box, there is a paperboard tray that slides out of the box which holds one bag with all of the kit parts.
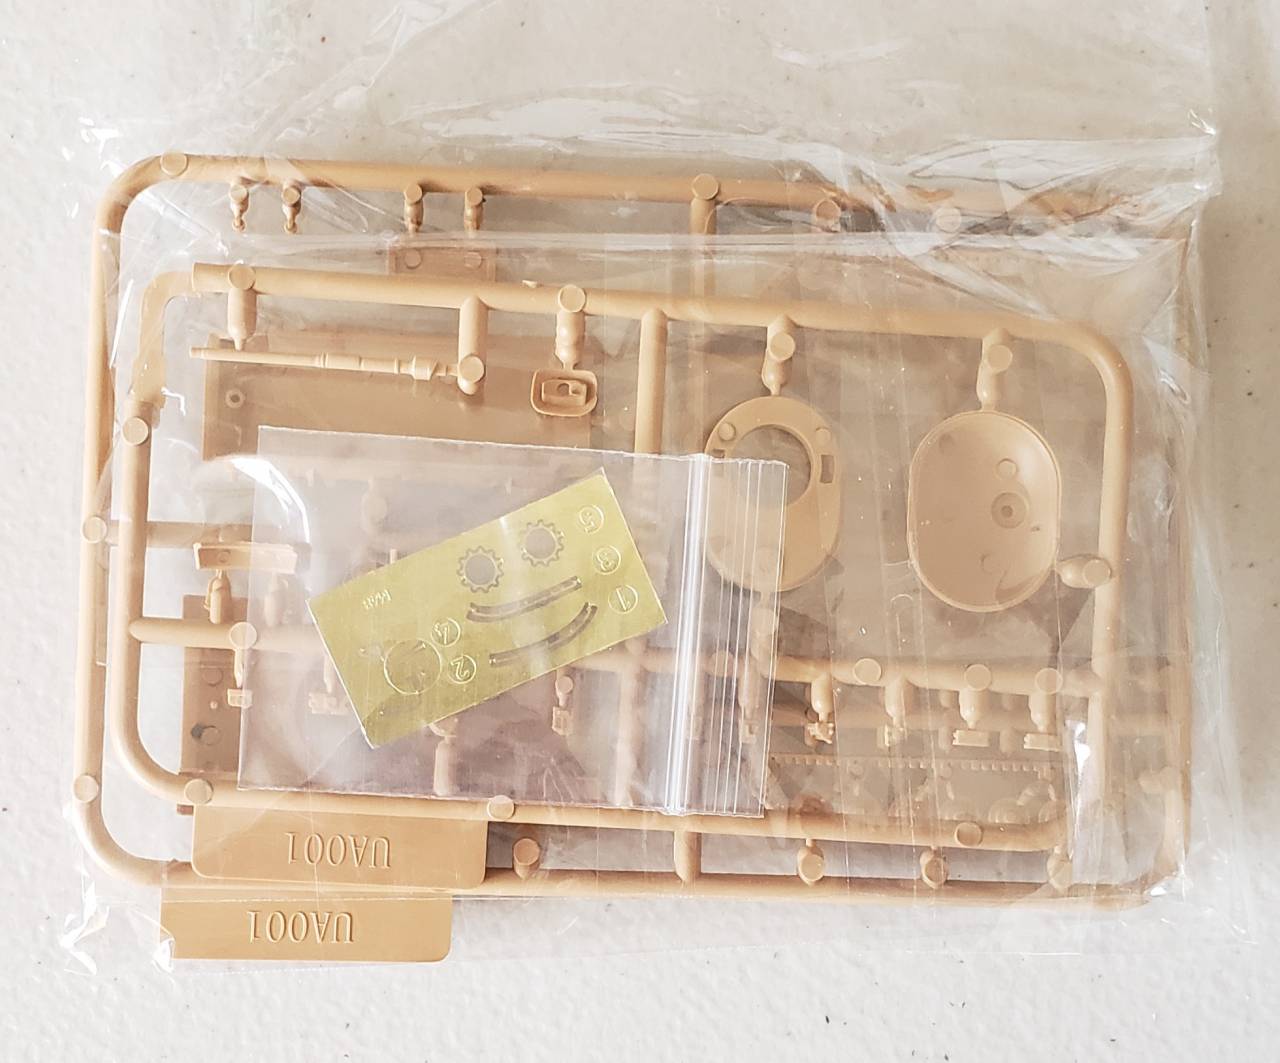
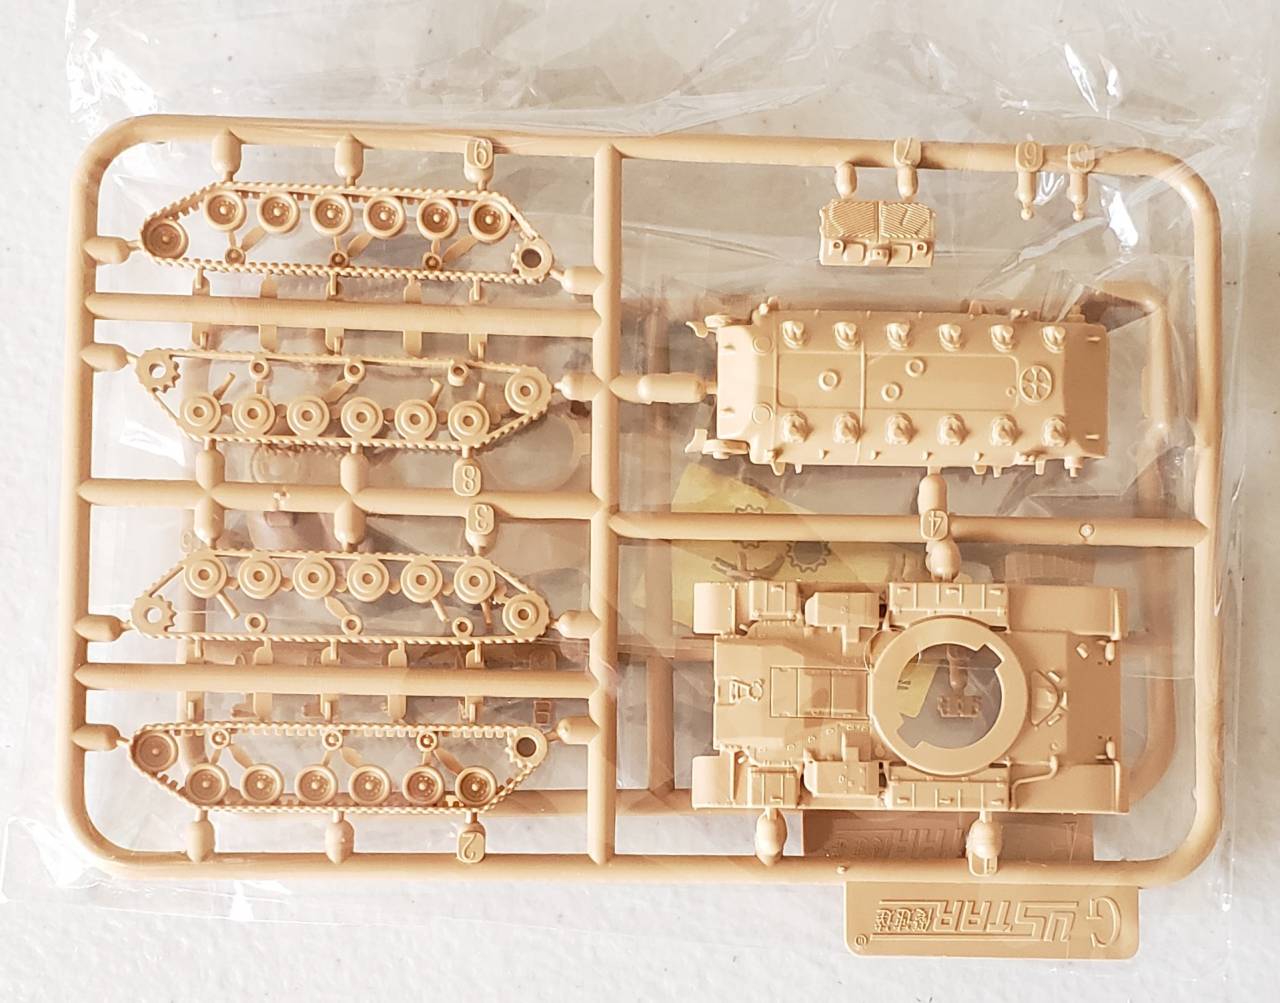
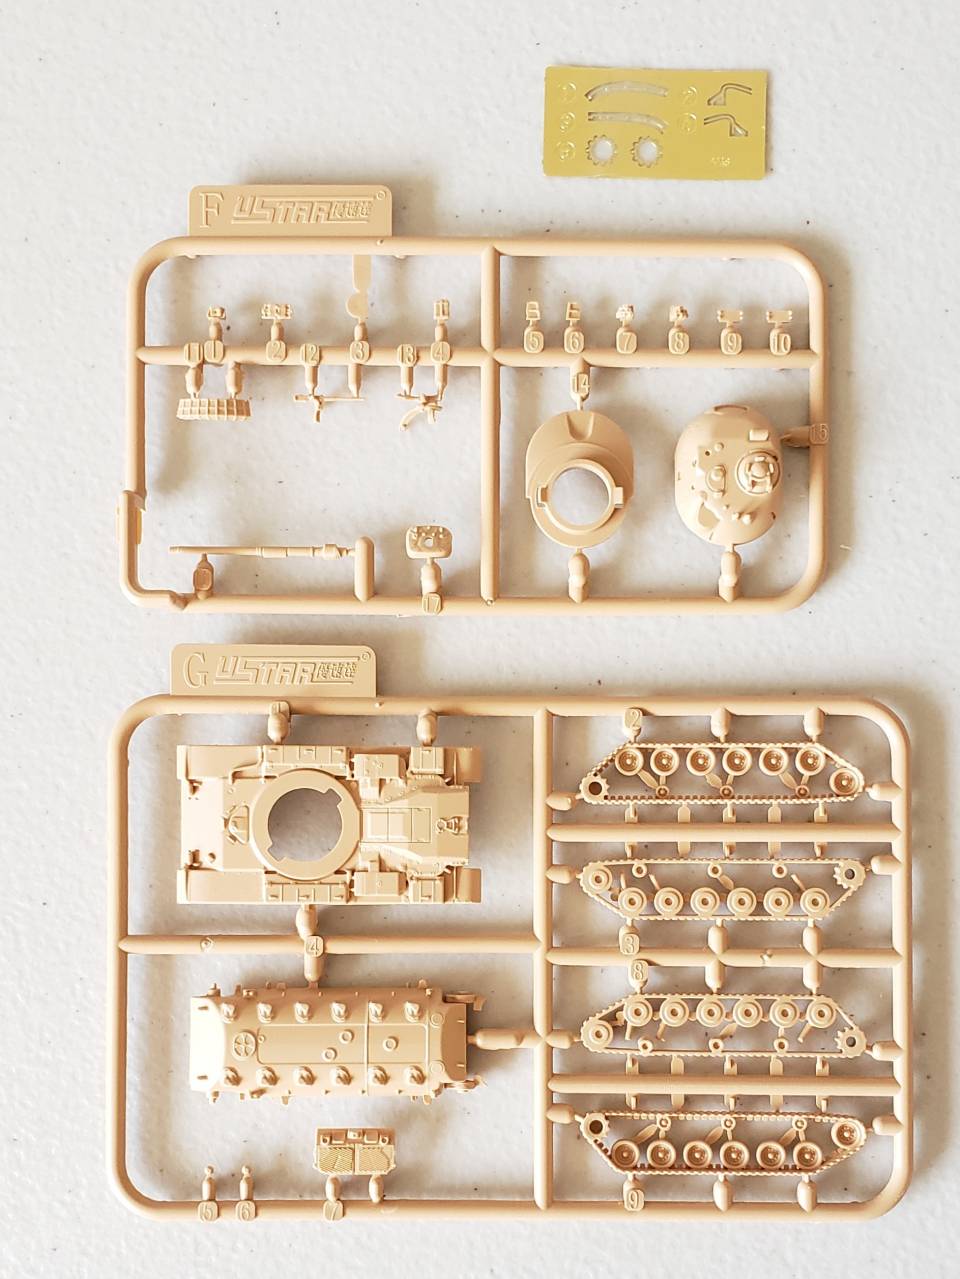


The kit consists of 26 injection molded plastic parts and 6 photo-etch parts that consists of drive sprocket ends, headlight guards and turret grab handles.
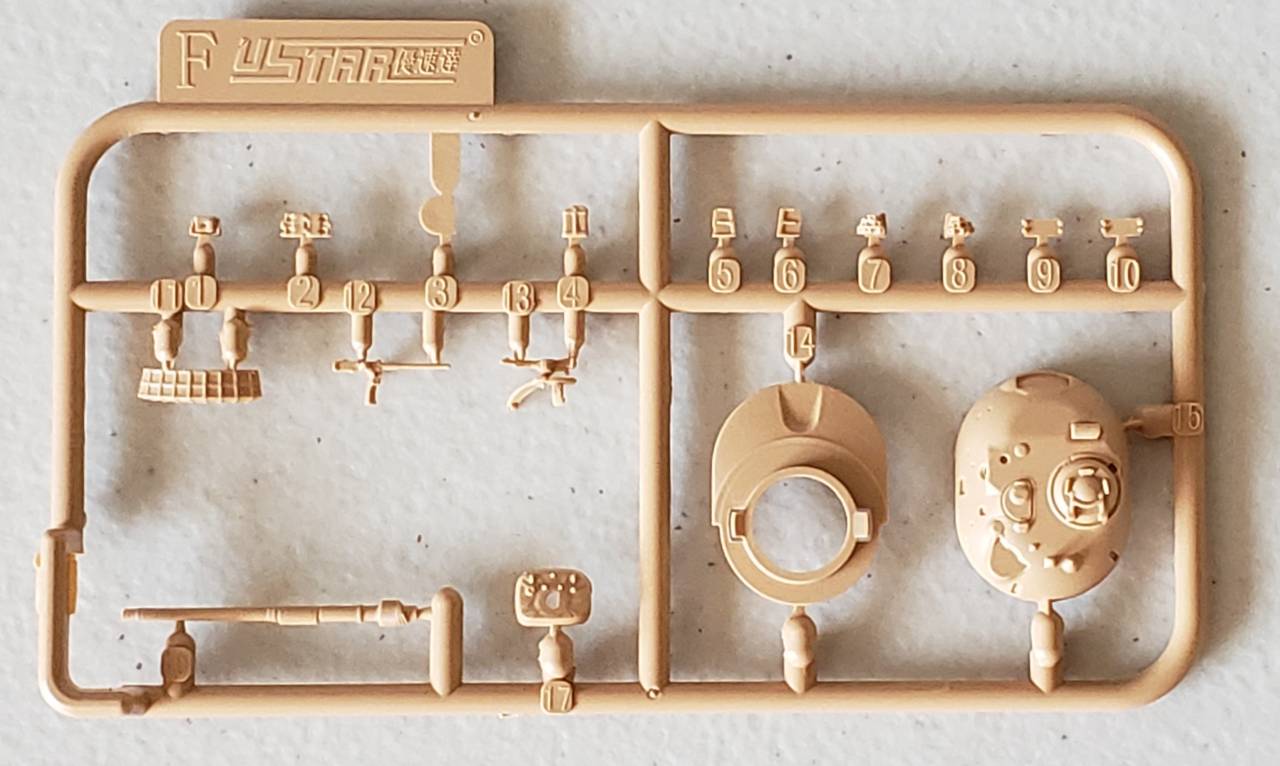
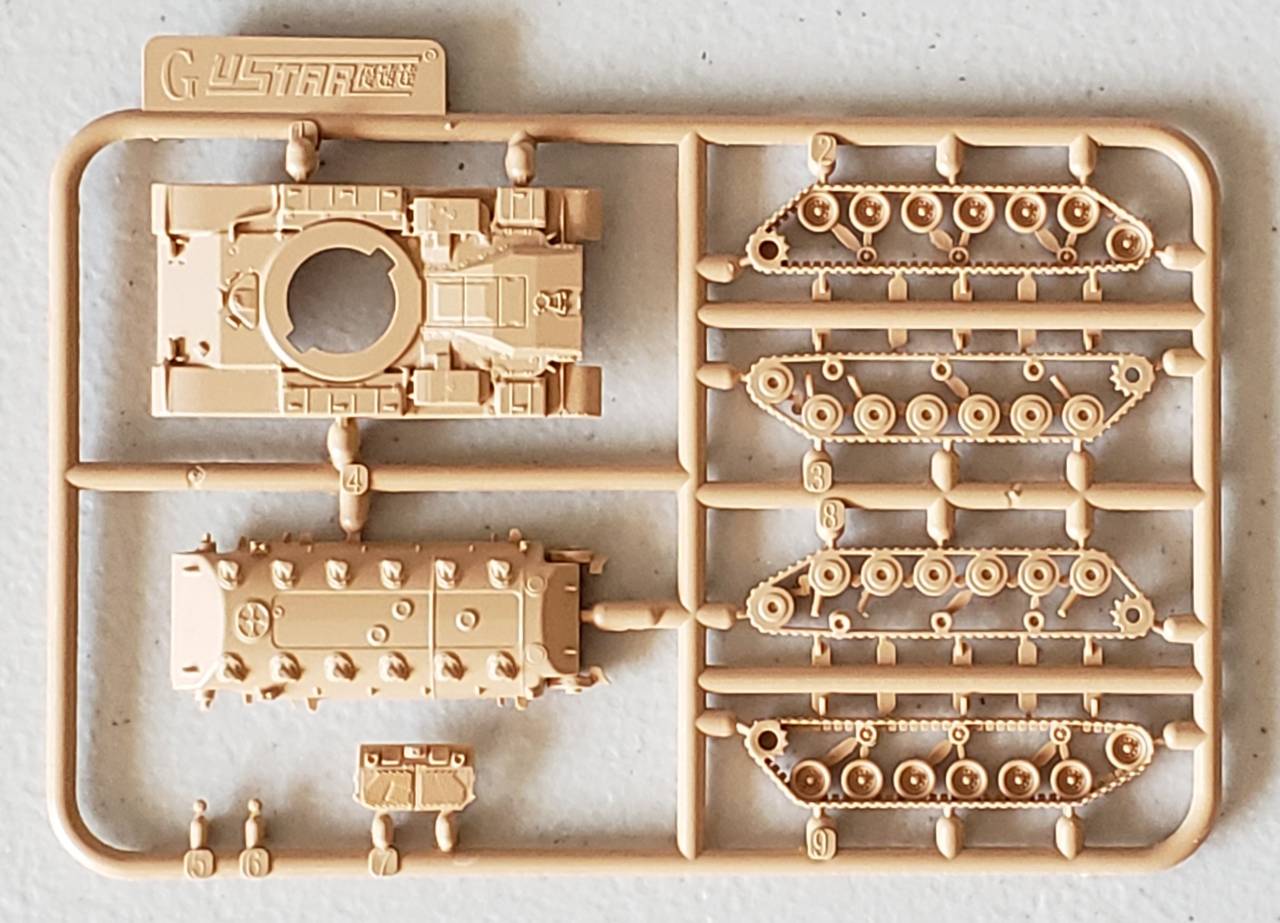
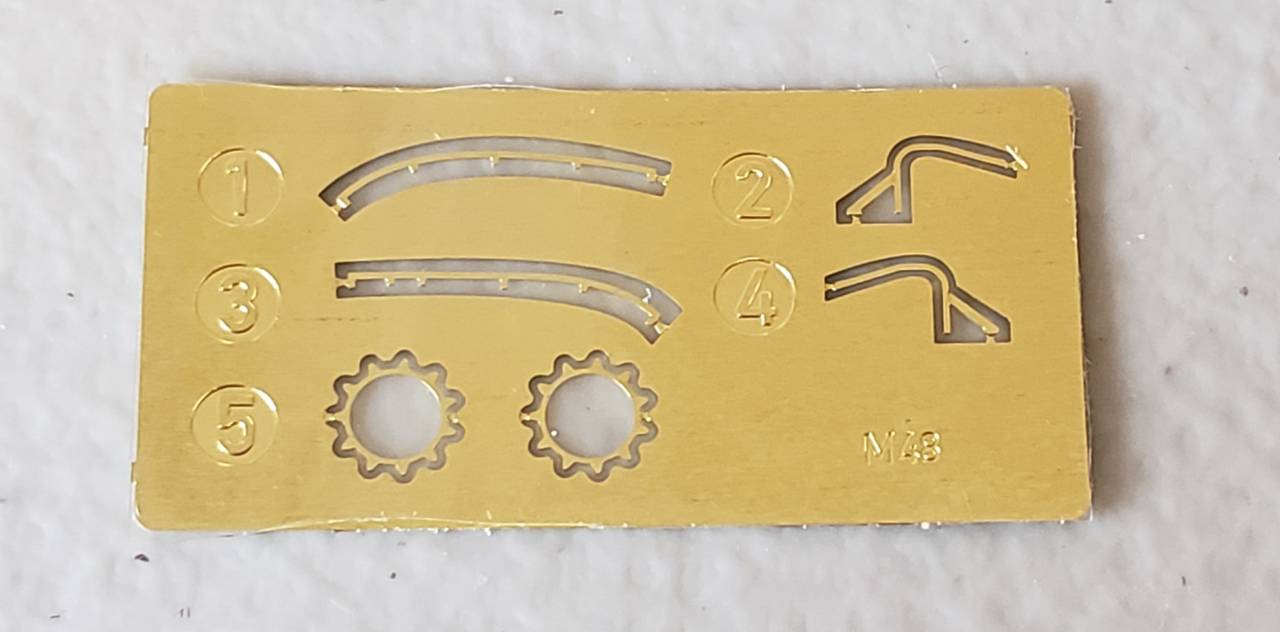


In the next installment, Step 1 of assembly is completed.


rfbaer
Visit this Community
Texas, United States
Joined: June 12, 2007
KitMaker: 1,866 posts
Armorama: 1,696 posts
Posted: Saturday, April 11, 2020 - 03:50 AM UTC
My eyes are already imagining the strain......
barkingdigger
Staff MemberAssociate Editor
ARMORAMA
#013
Visit this Community
England - East Anglia, United Kingdom
Joined: June 20, 2008
KitMaker: 3,981 posts
Armorama: 3,403 posts
Posted: Saturday, April 11, 2020 - 04:57 AM UTC
For such a tiny scale the parts look pretty detailed! I'm curious about a Taiwanese company making kits in "China", implying mainland communist China, since Taiwan considers itself to be the real Chinese government while the mainland considers Taiwan a temporarily broken-away province that will be re-integrated.
Lakota
#123
Visit this Community
New Mexico, United States
Joined: November 17, 2008
KitMaker: 1,202 posts
Armorama: 635 posts
Posted: Saturday, April 11, 2020 - 06:10 AM UTC
1/144 scale PE! I'm not feeling the love...
Take care and stay safe,
Don "Lakota"
mogdude
Visit this Community
United States
Joined: June 18, 2012
KitMaker: 459 posts
Armorama: 195 posts
Posted: Saturday, April 11, 2020 - 09:01 AM UTC
those sp[it tracks look challenging
sgtsauer
#065
Visit this Community
Missouri, United States
Joined: March 30, 2002
KitMaker: 2,605 posts
Armorama: 1,814 posts
Posted: Saturday, April 11, 2020 - 03:44 PM UTC
Rfbaer, my vision with glasses/bifocals is a bit of challenge.

Barkingdigger, a friend of mine and I had the same discussion last night.

Lakota, as you will see the 1/144 scale PE is in progress. I used the drive sprocket ends in Step 1 which you will see below. As I begin step 2, I will be installing the PE headlight guards. Wish me luck.

Mogdude, I am not a fan of the split tracks. However, in this scale, I'm not sure I have a better recommendation for what the manufacturers are trying to accomplish.
sgtsauer
#065
Visit this Community
Missouri, United States
Joined: March 30, 2002
KitMaker: 2,605 posts
Armorama: 1,814 posts
Posted: Saturday, April 11, 2020 - 03:53 PM UTC
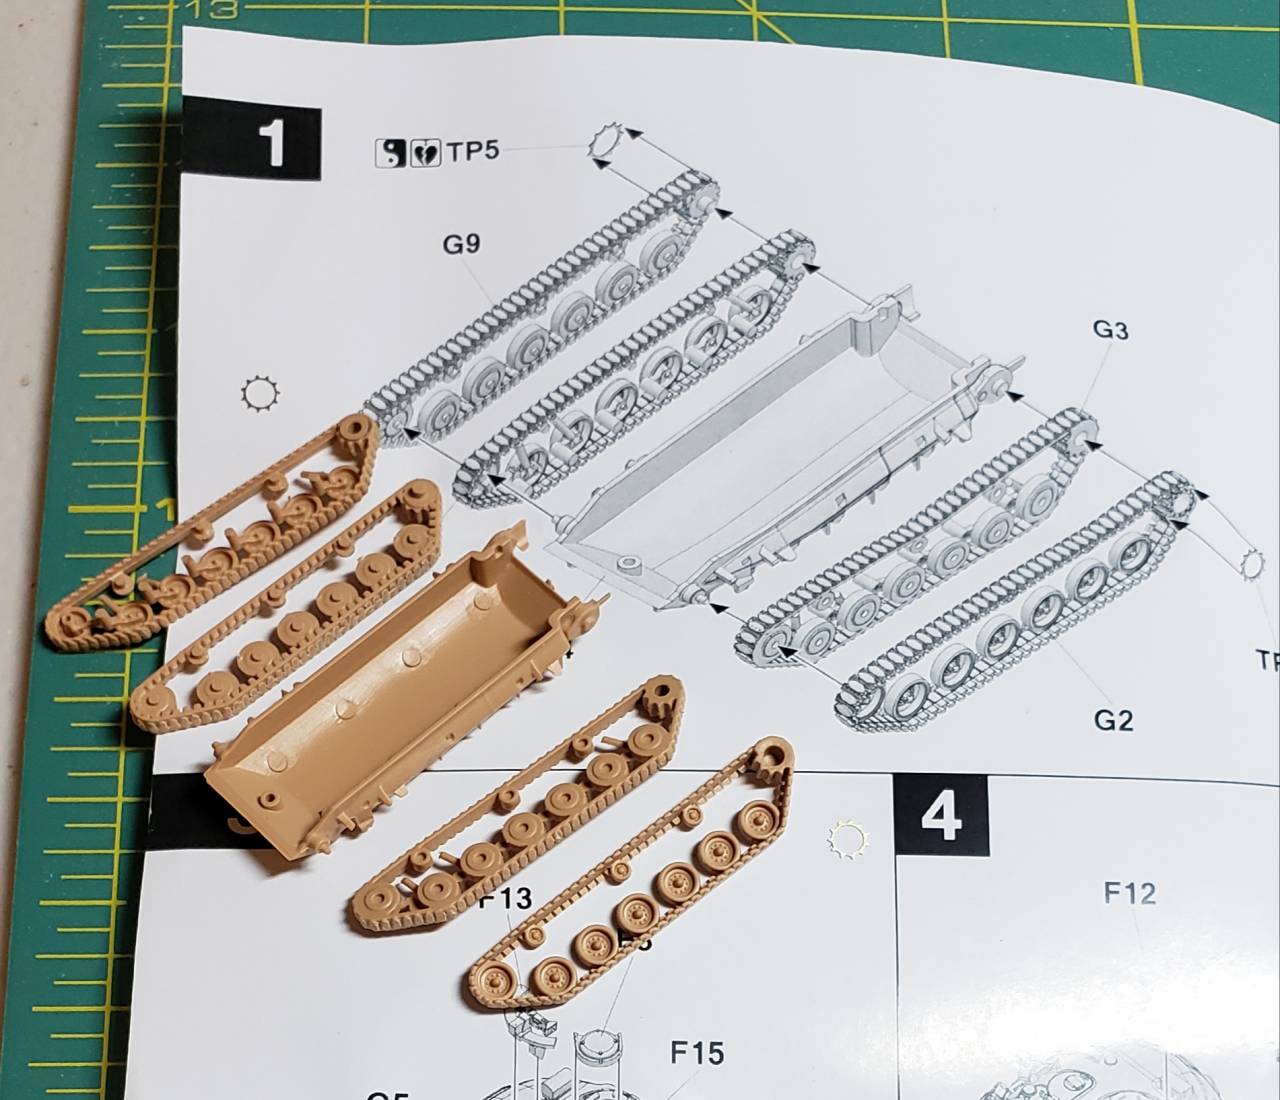
Step 1:

Here we assemble the tracks for each side of the tank and install them on the hull.


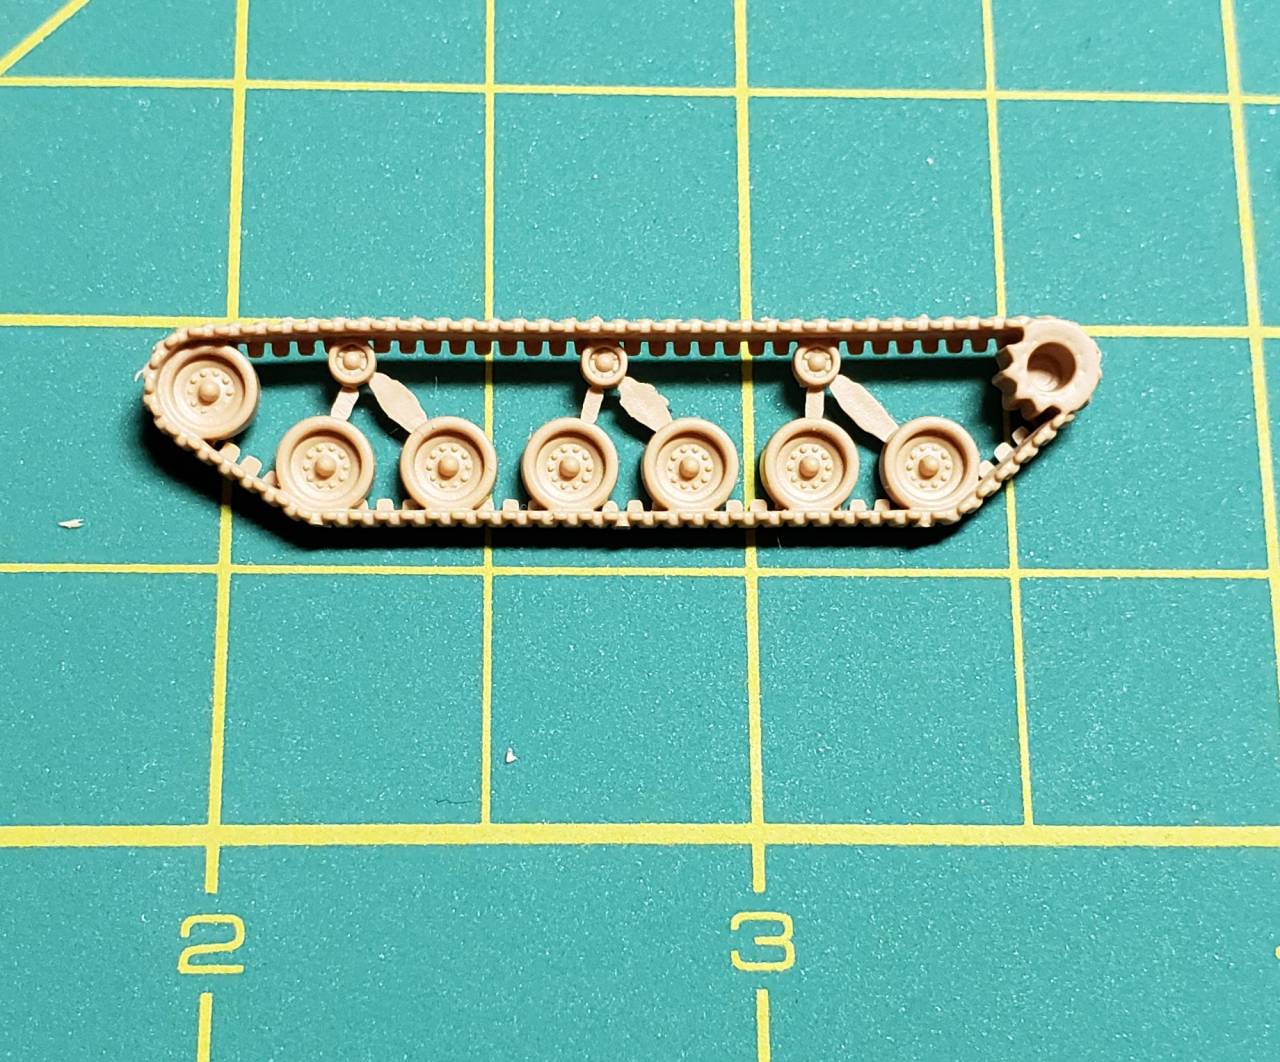
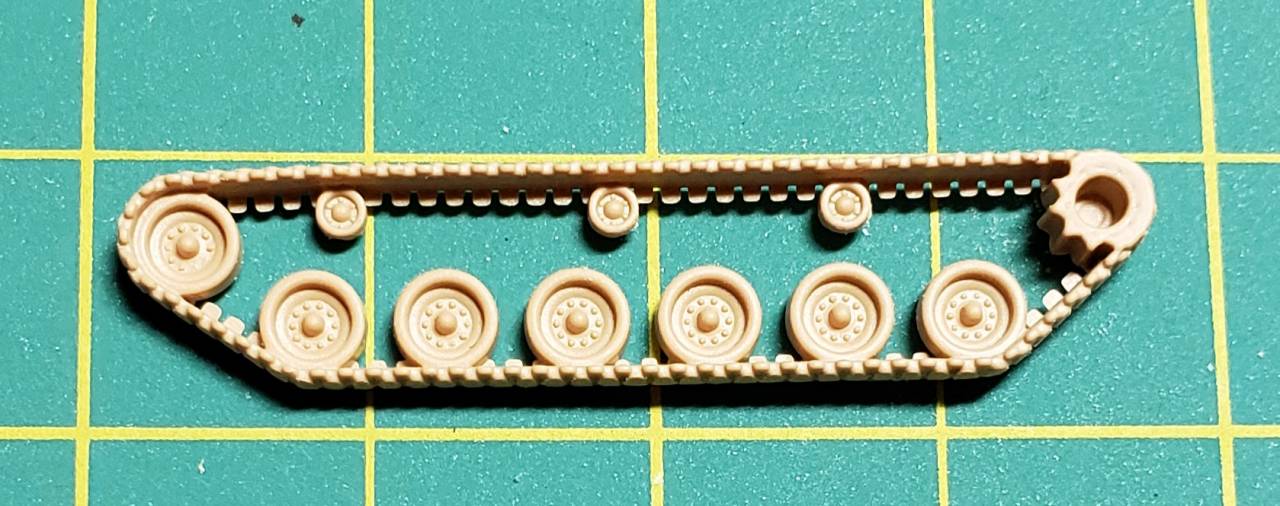
Each split track section contains front/rear road wheels and return rollers. There is also road wheel arms and shock absorbers molded into the pieces.

This photo is of one of the outer track halves. You can see the injection nubs that are between the road wheels and return rollers.


This photo is the same track half that has been cleaned up.


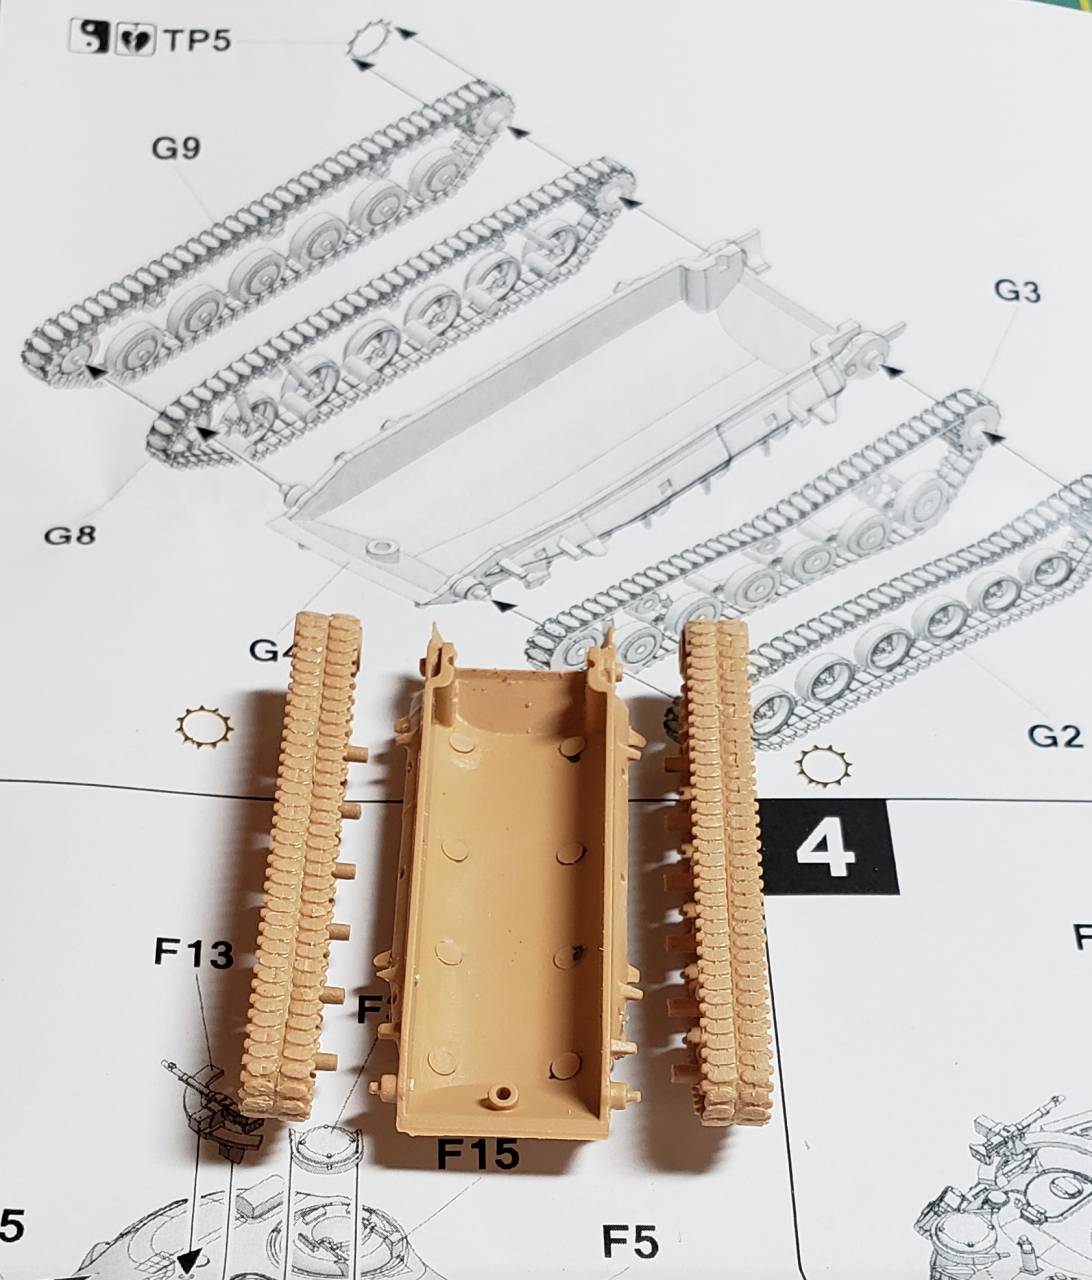
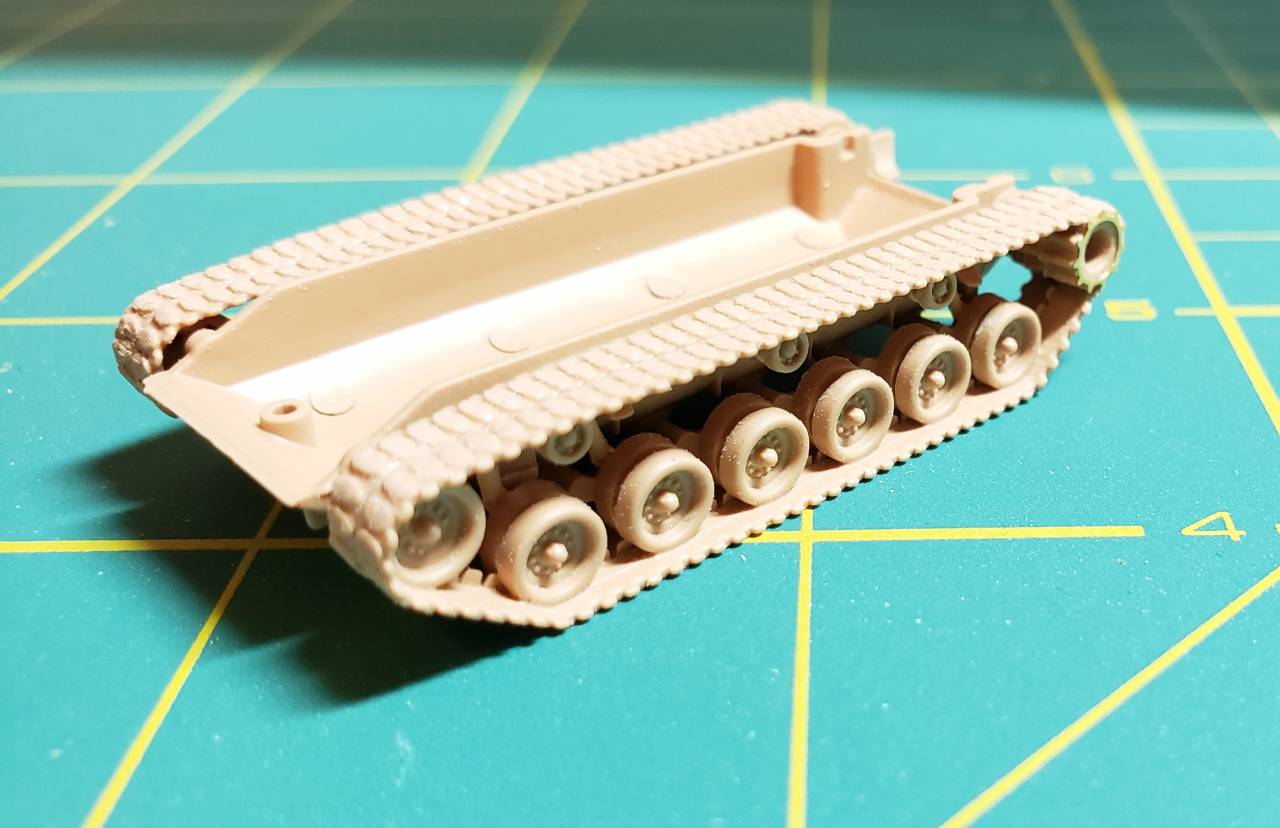
In this photo, the track halves for each side have been assembled. The alignment of each half is a bit rough and as you can see presents some challenges for the model builder. In addition to the seam that runs down the middle of each half, there is a lot of work that needs to be done to clean up the track and make misalignment of molded parts look better.
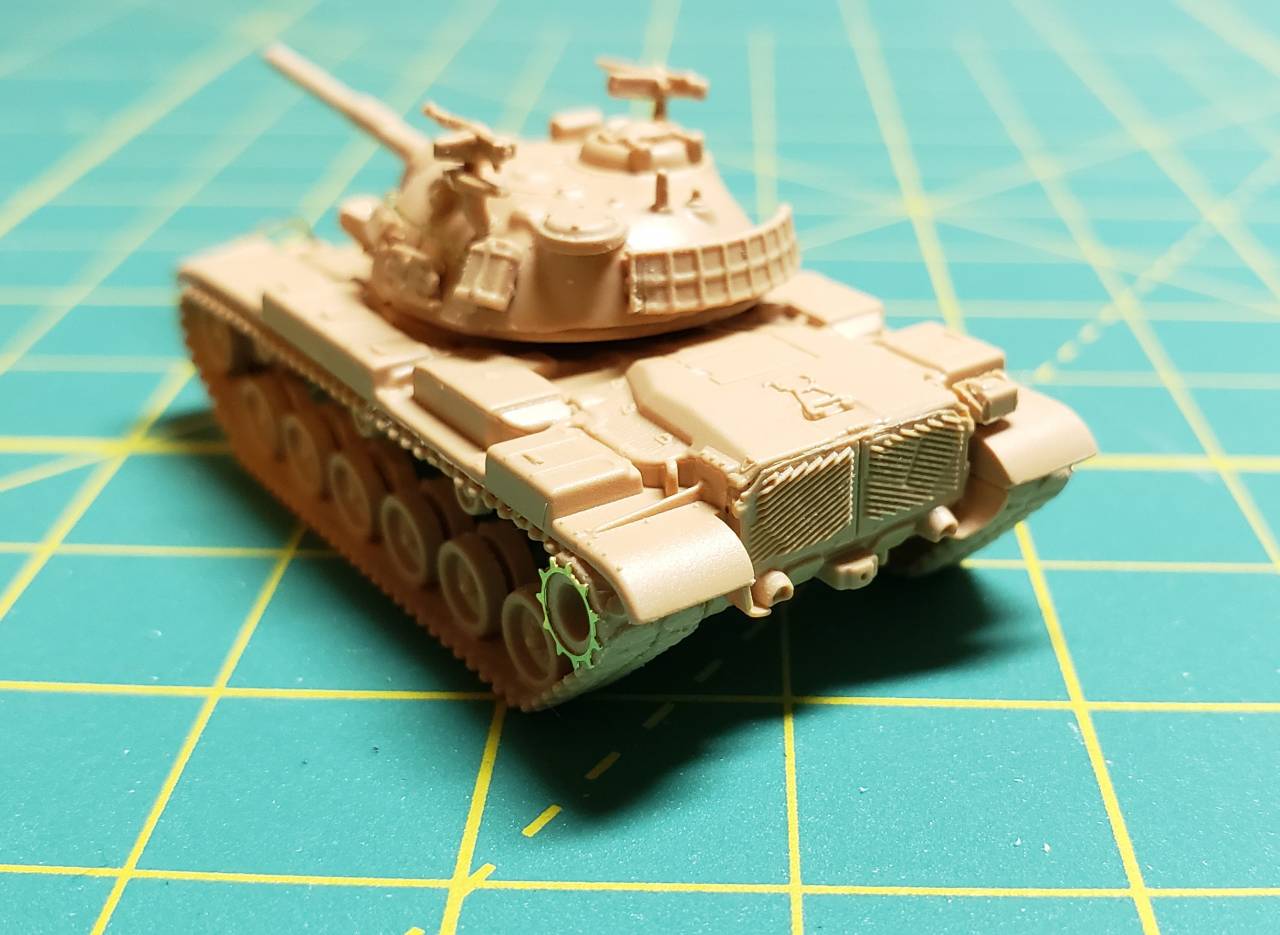
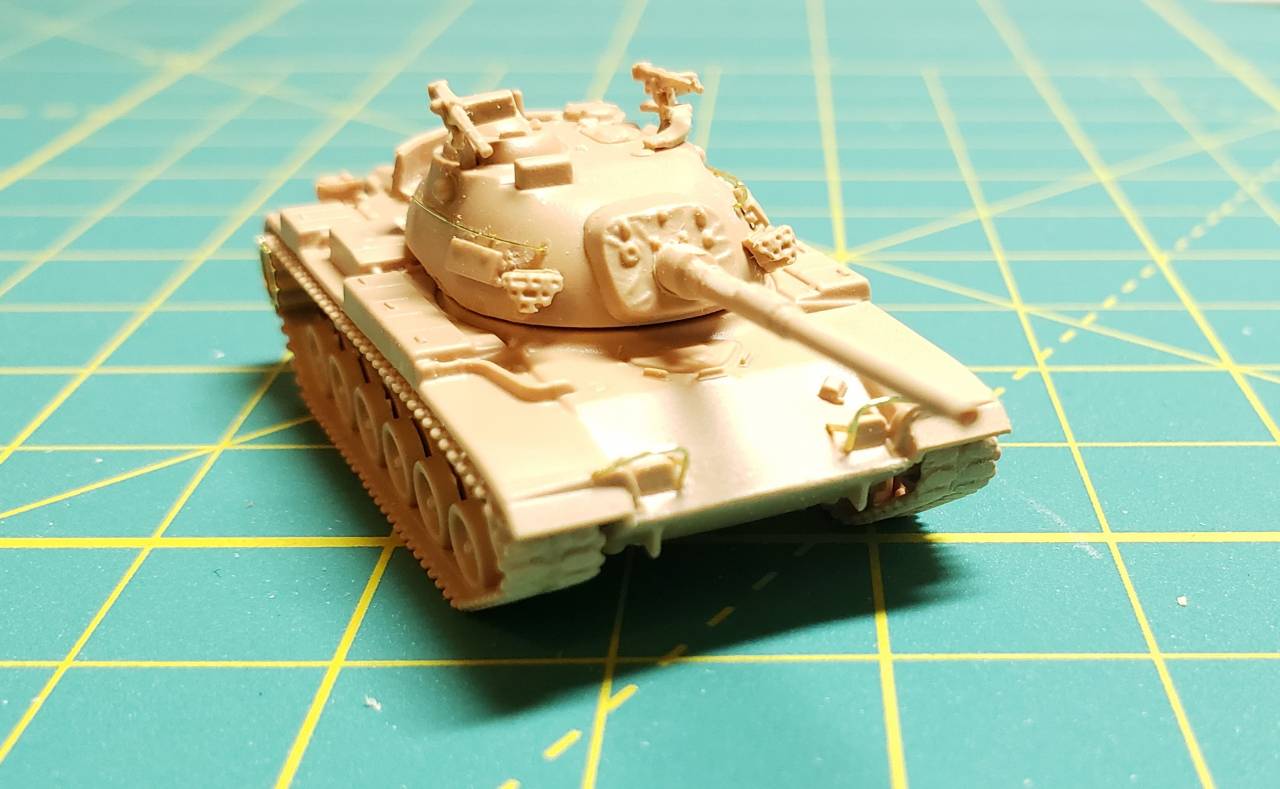


Here I have installed the track assemblies on each side of the hull. I have done a little bit of clean-up work on the tracks.


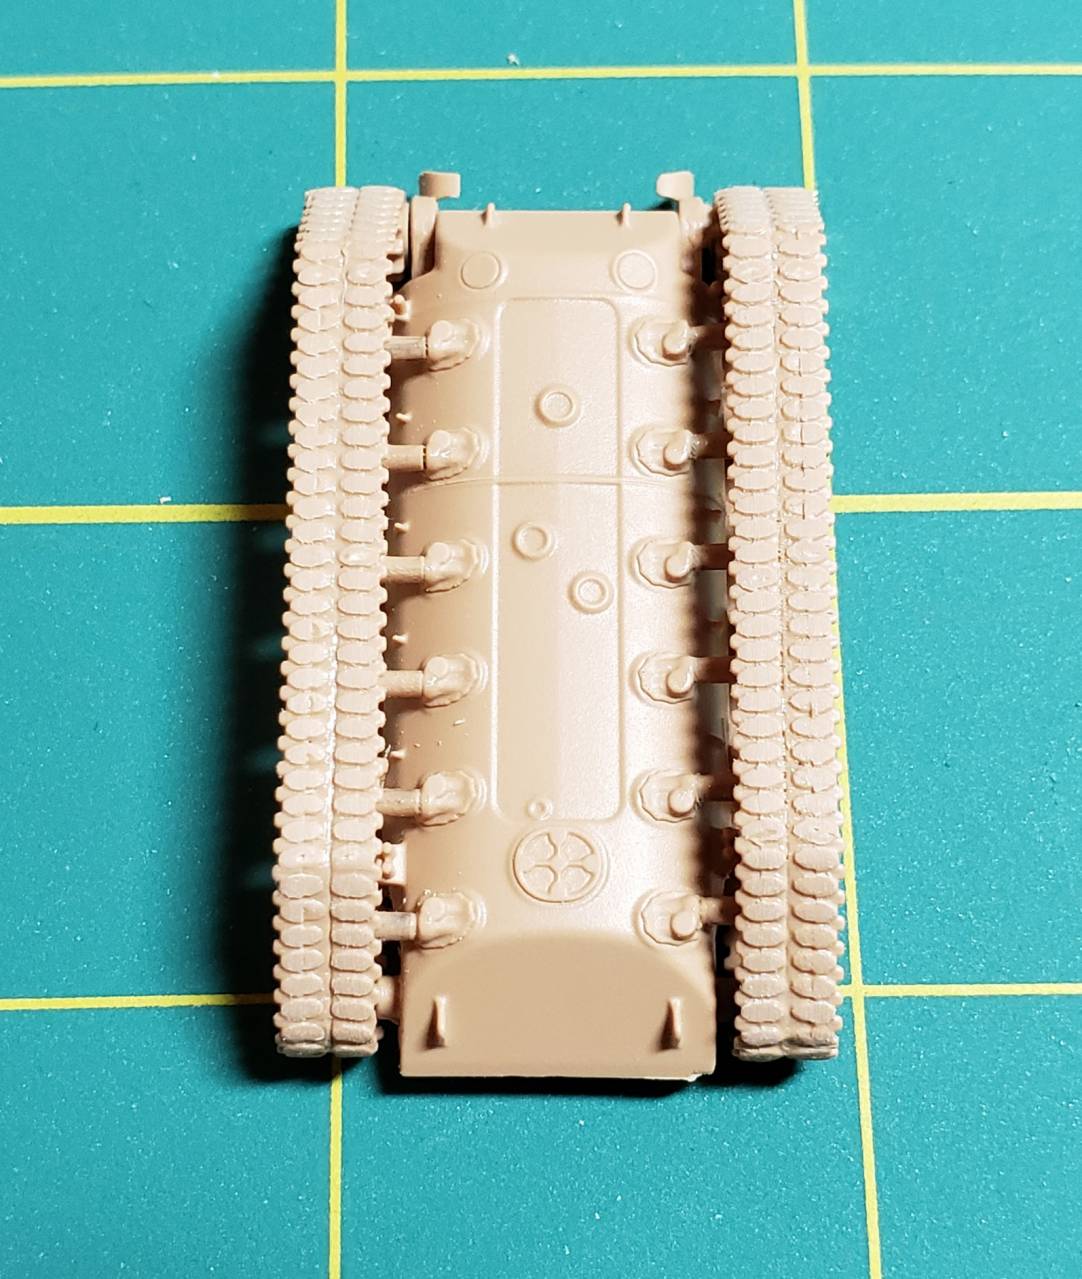
Close-up view of the hull bottom. Note how the road wheel arm housings are a bit short reaching the hull. This can be fixed with your choice of gap filler.


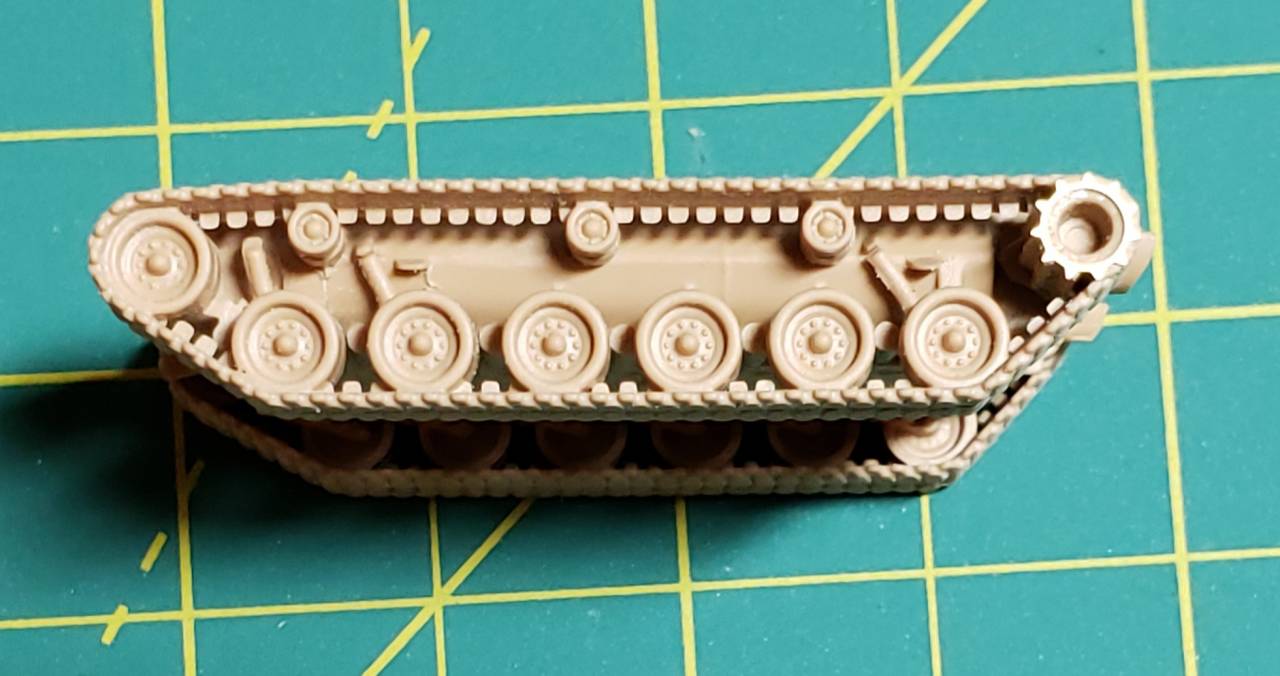
Side view


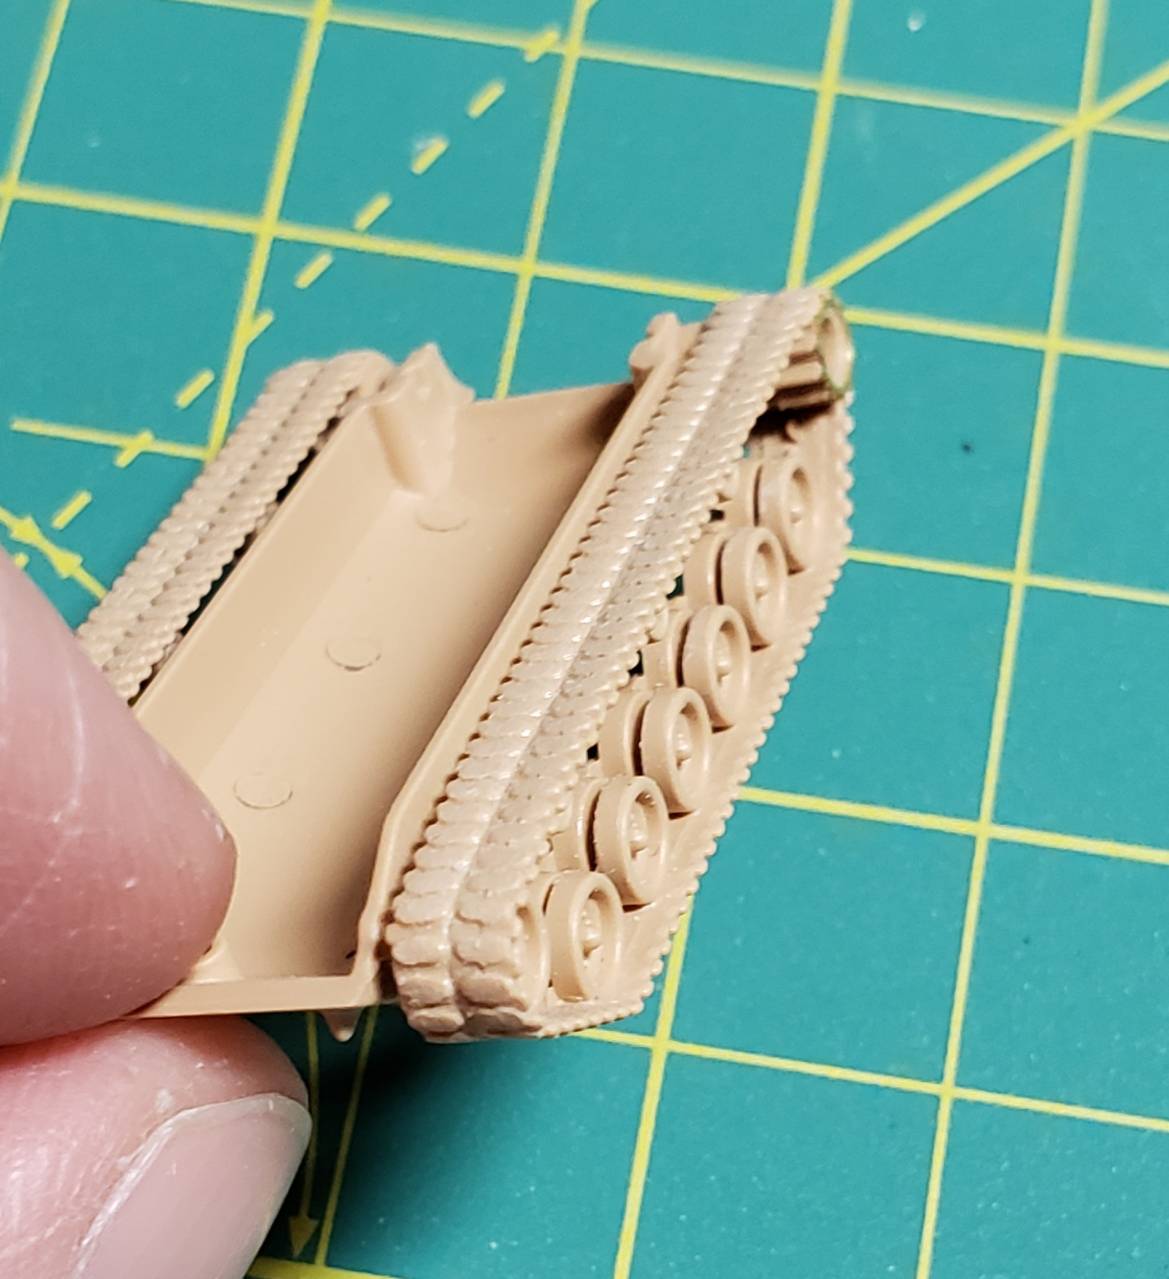
Angle photo so that you can see road wheel spacing and other detail.


Step 2 is coming up next.

sgtsauer
#065
Visit this Community
Missouri, United States
Joined: March 30, 2002
KitMaker: 2,605 posts
Armorama: 1,814 posts
Posted: Sunday, April 12, 2020 - 08:43 AM UTC
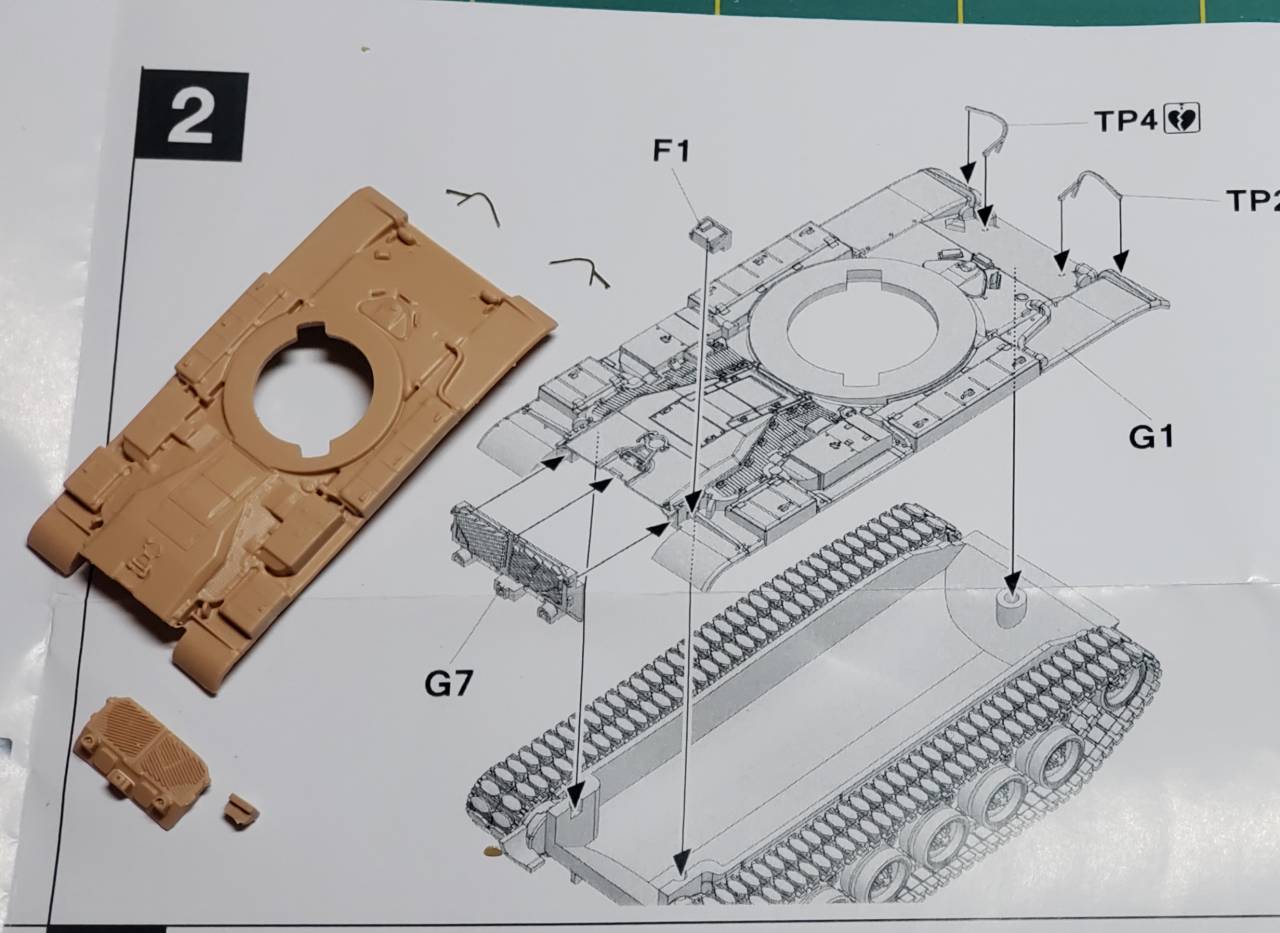
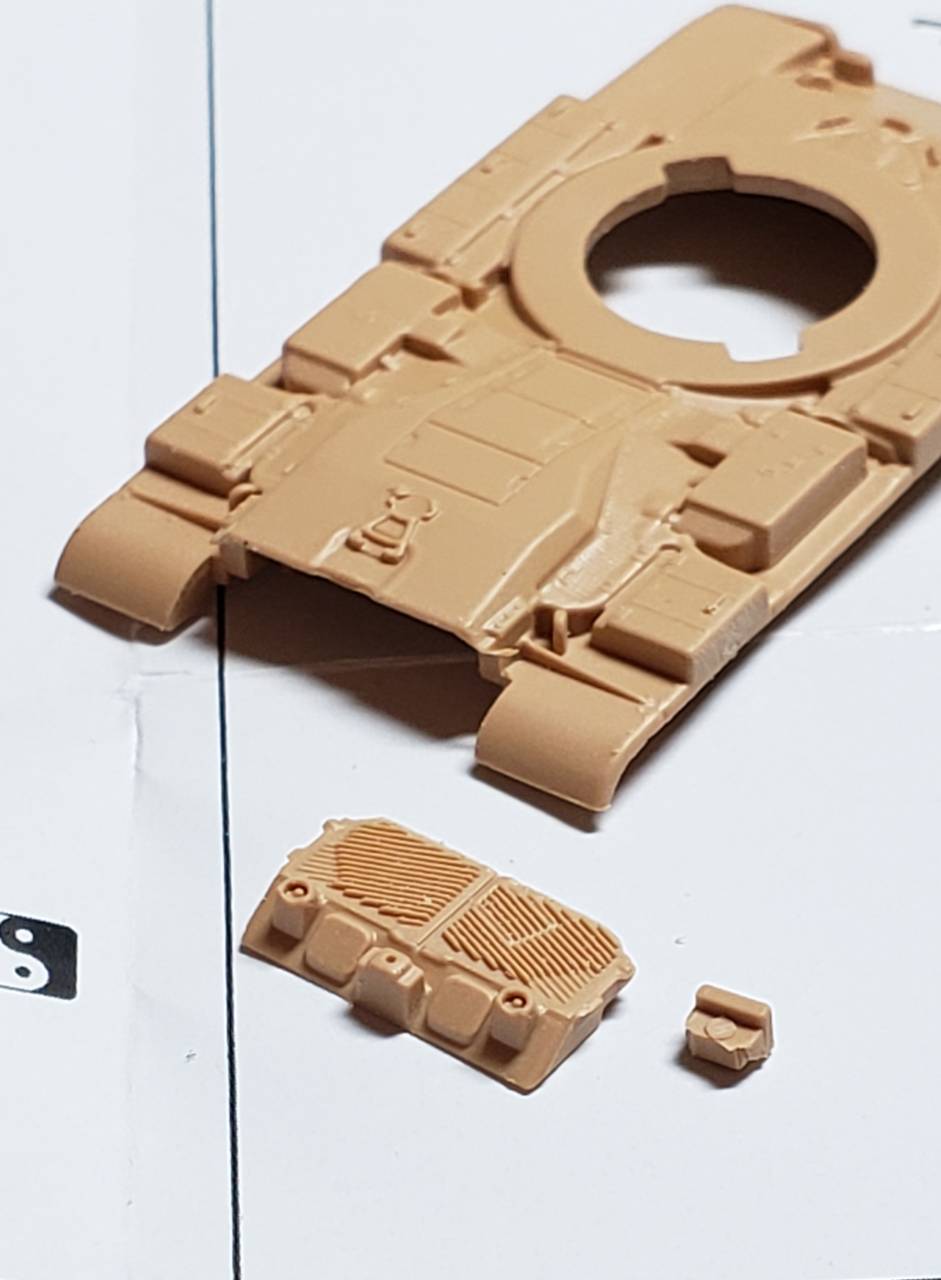
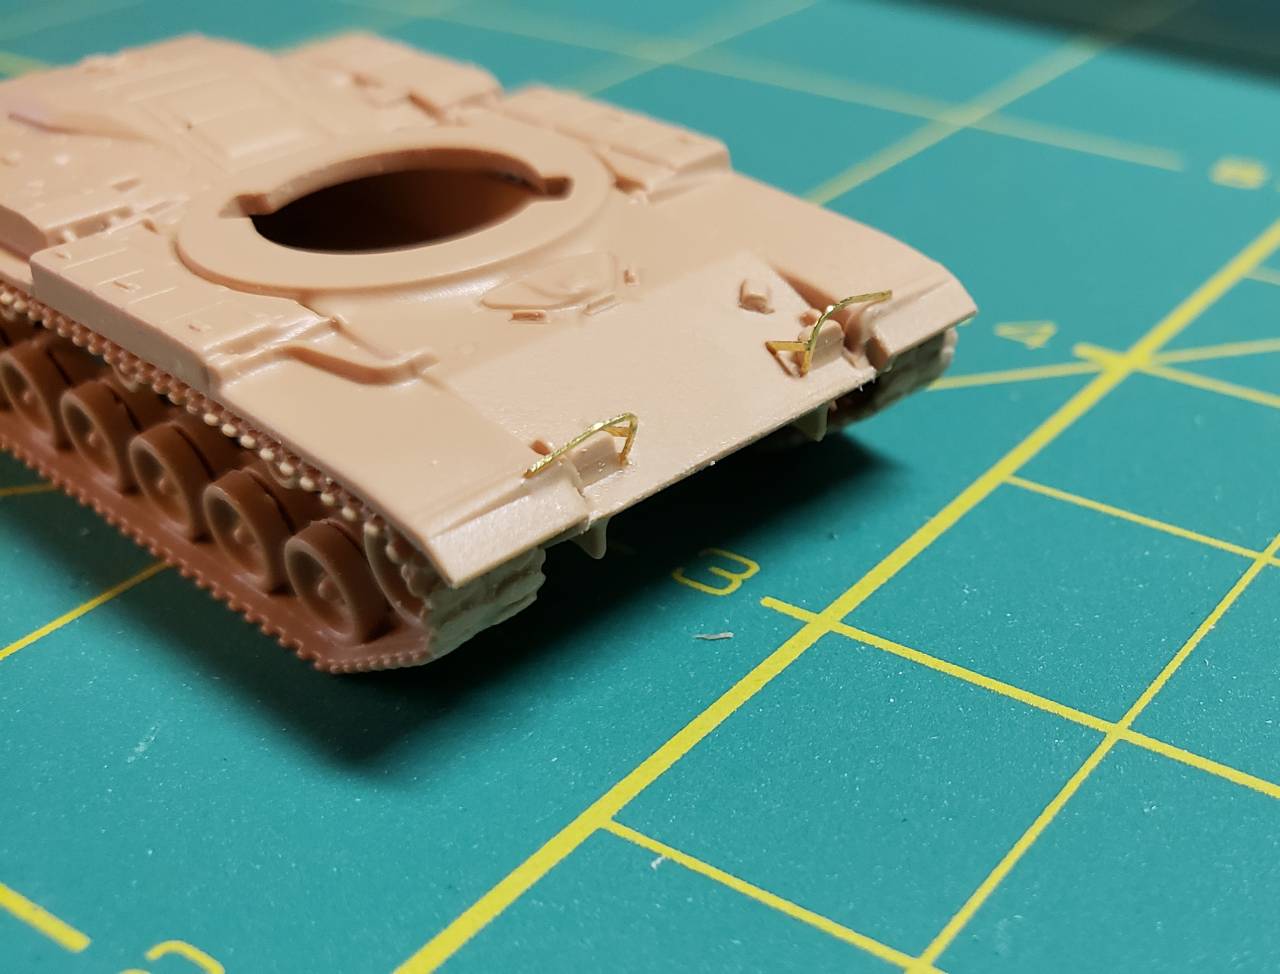
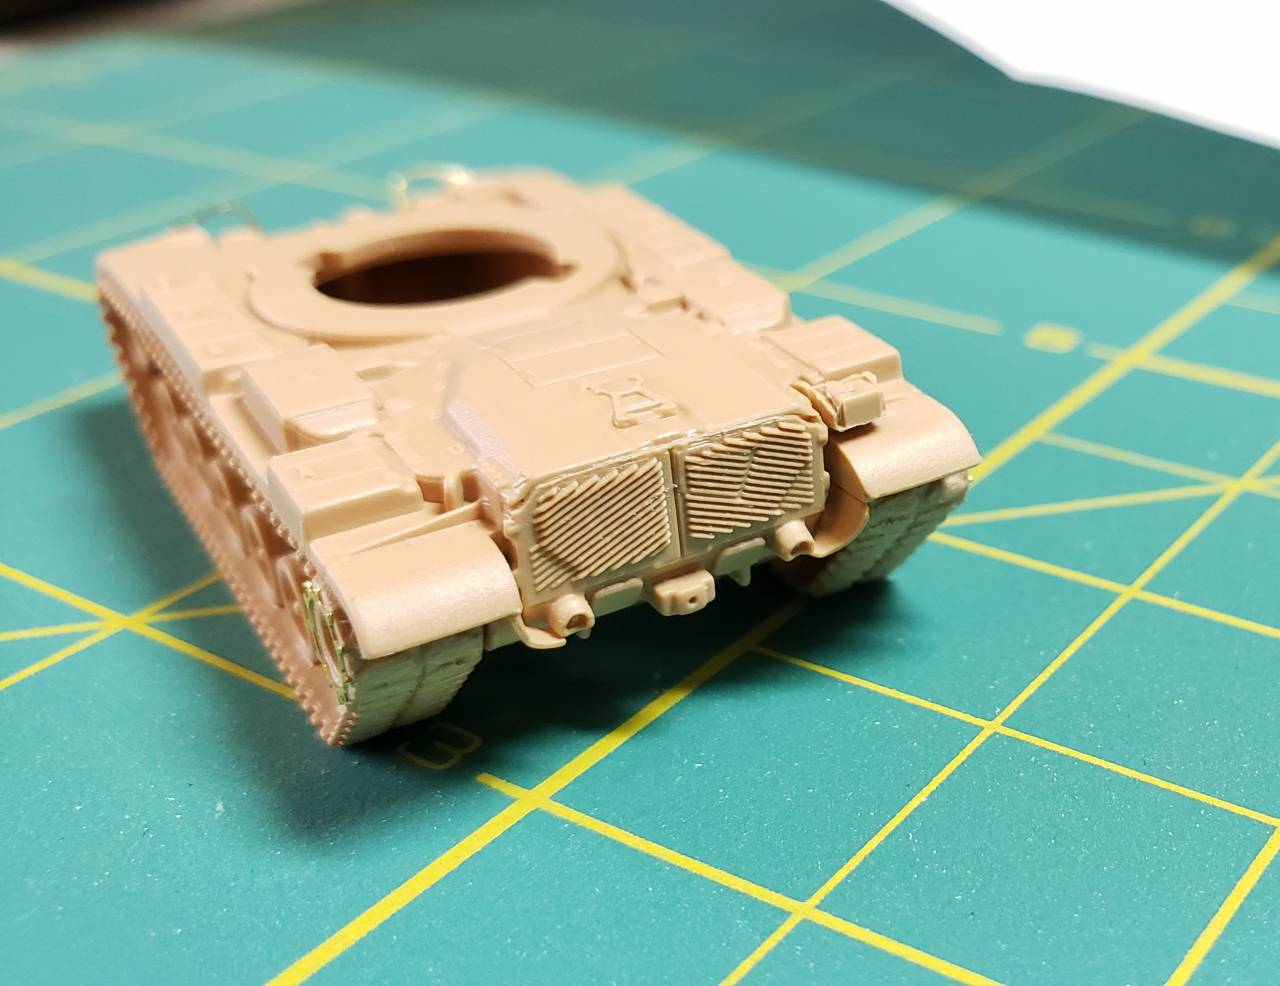
Step 2 has us installing the top of the hull, the rear of the hull, the troop phone box on the rear right fender and the photo-etch headlight guards.


A close-up of the rear of the hull so that you can see some detail.


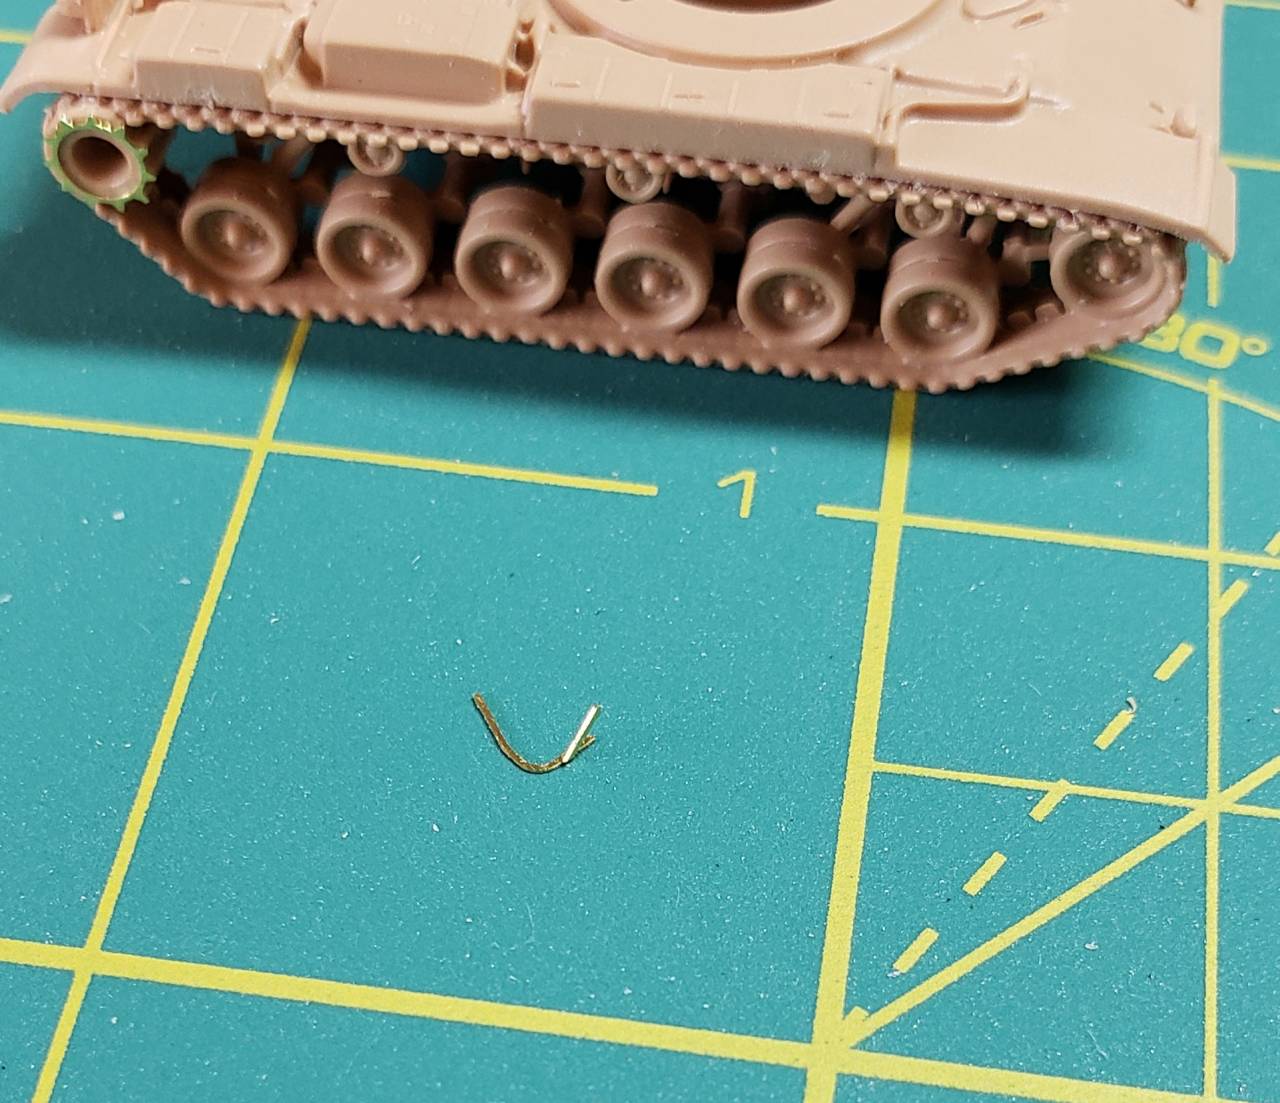
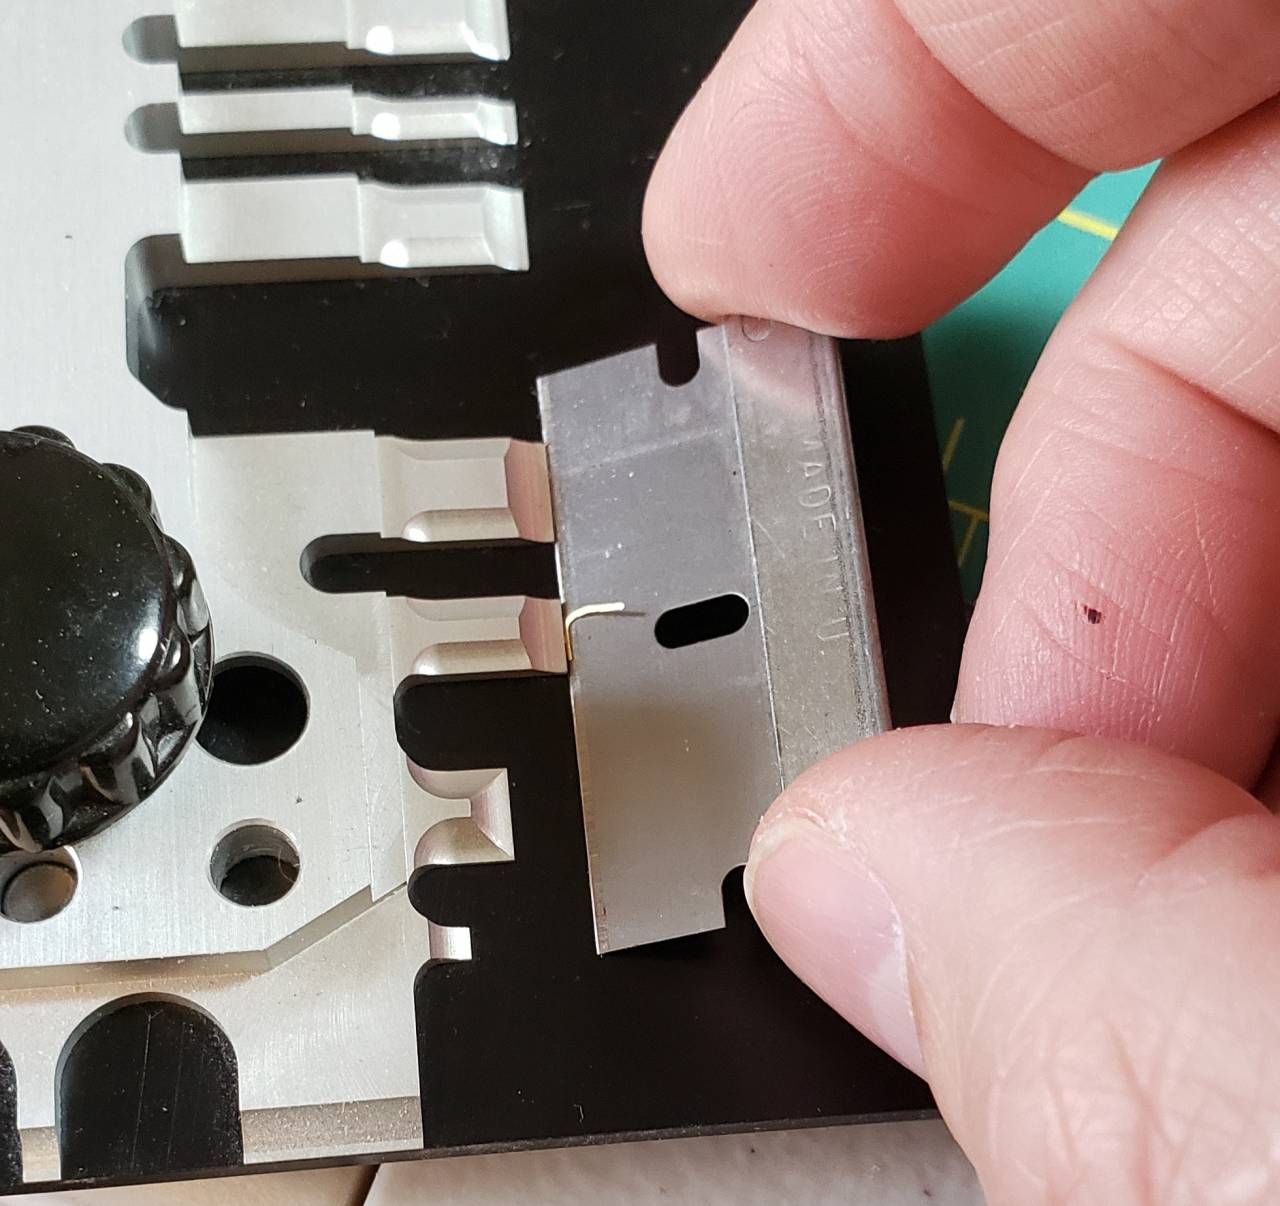
The photo-etch headlight guards are small to say the least and took a couple of attempts to get them on and looking right.


My 'Hold n Fold' tool was critical to my success here.


Front of assembled hull


Rear of assembled hull


Step 3 has us assembling the turret...
sgtsauer
#065
Visit this Community
Missouri, United States
Joined: March 30, 2002
KitMaker: 2,605 posts
Armorama: 1,814 posts
Posted: Sunday, April 12, 2020 - 01:15 PM UTC
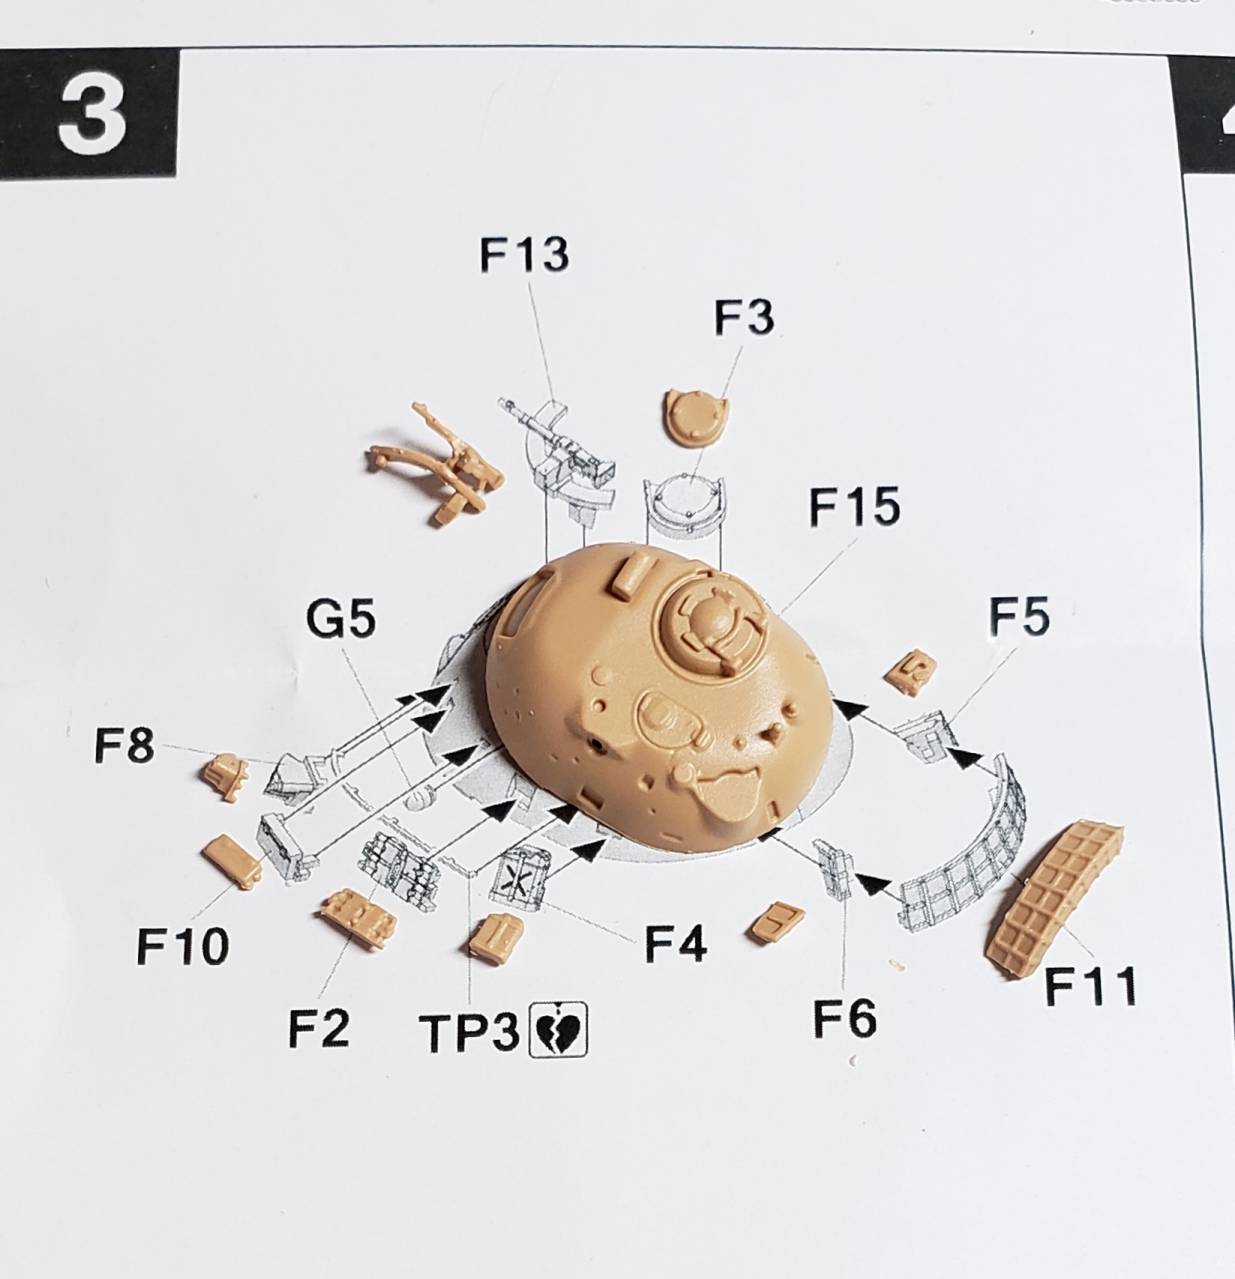
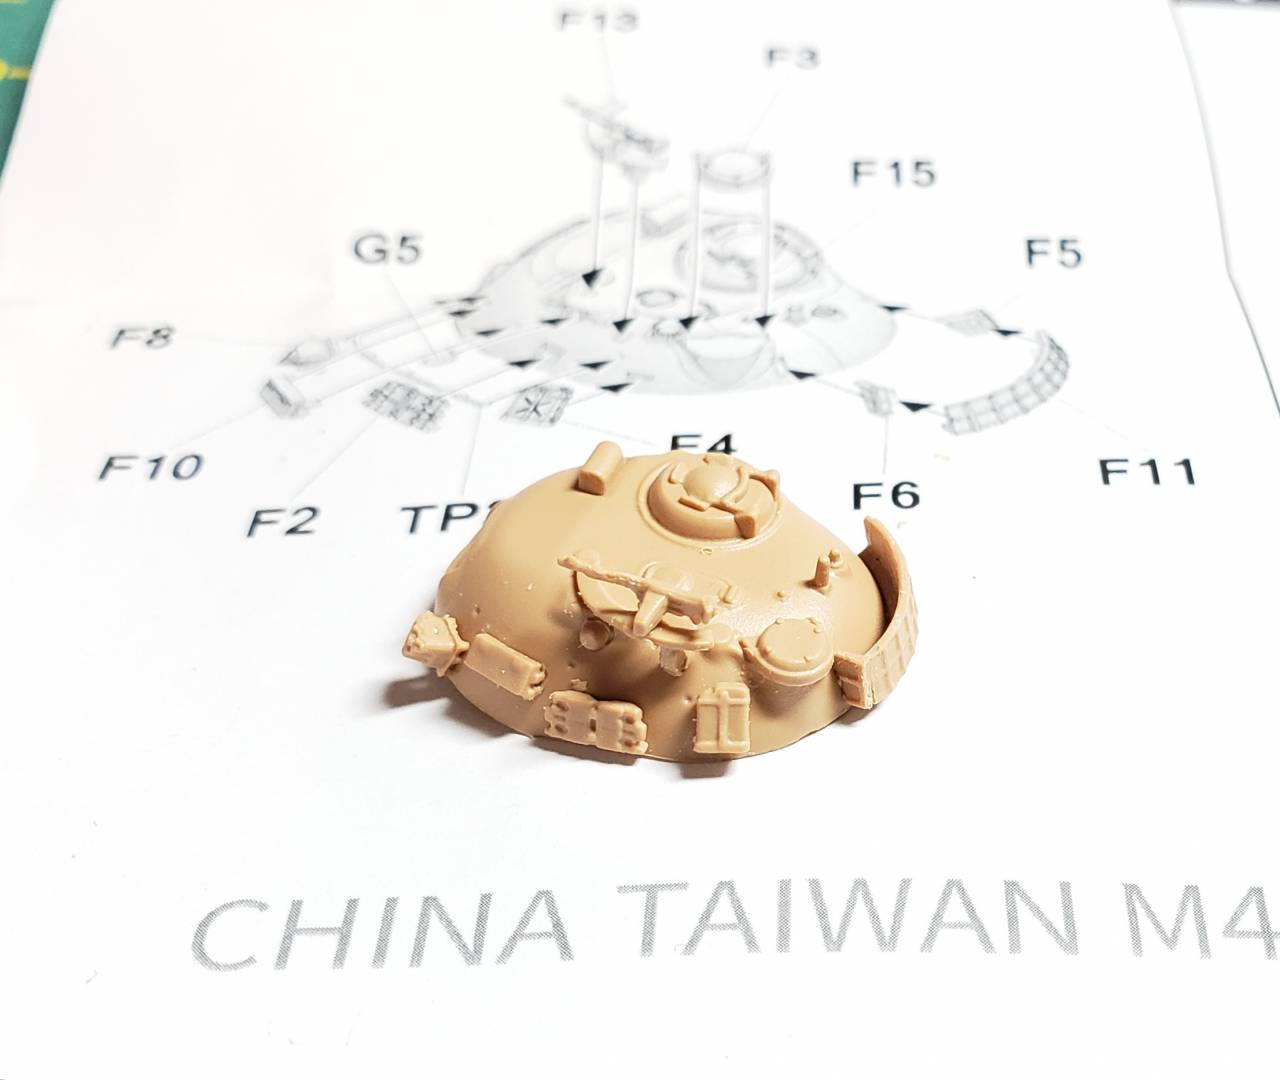
Step 3

Here we begin assembly of the turret. Assembly focuses on the left side of the turret and the turret bustle rack. There are some good details in my opinion even though the parts are very small. I used tweezers to put all of the parts in place.


Here we see the parts for the left side of the turret assembled in place. I had the misfortune of launching the part for the right side of the turret basket (F5) into oblivion when it was held in my tweezers. I tried in vain to locate the part in my hobby room with my hepa filter equipped vacuum but I didn't have any luck.

sgtsauer
#065
Visit this Community
Missouri, United States
Joined: March 30, 2002
KitMaker: 2,605 posts
Armorama: 1,814 posts
Posted: Sunday, April 12, 2020 - 01:17 PM UTC
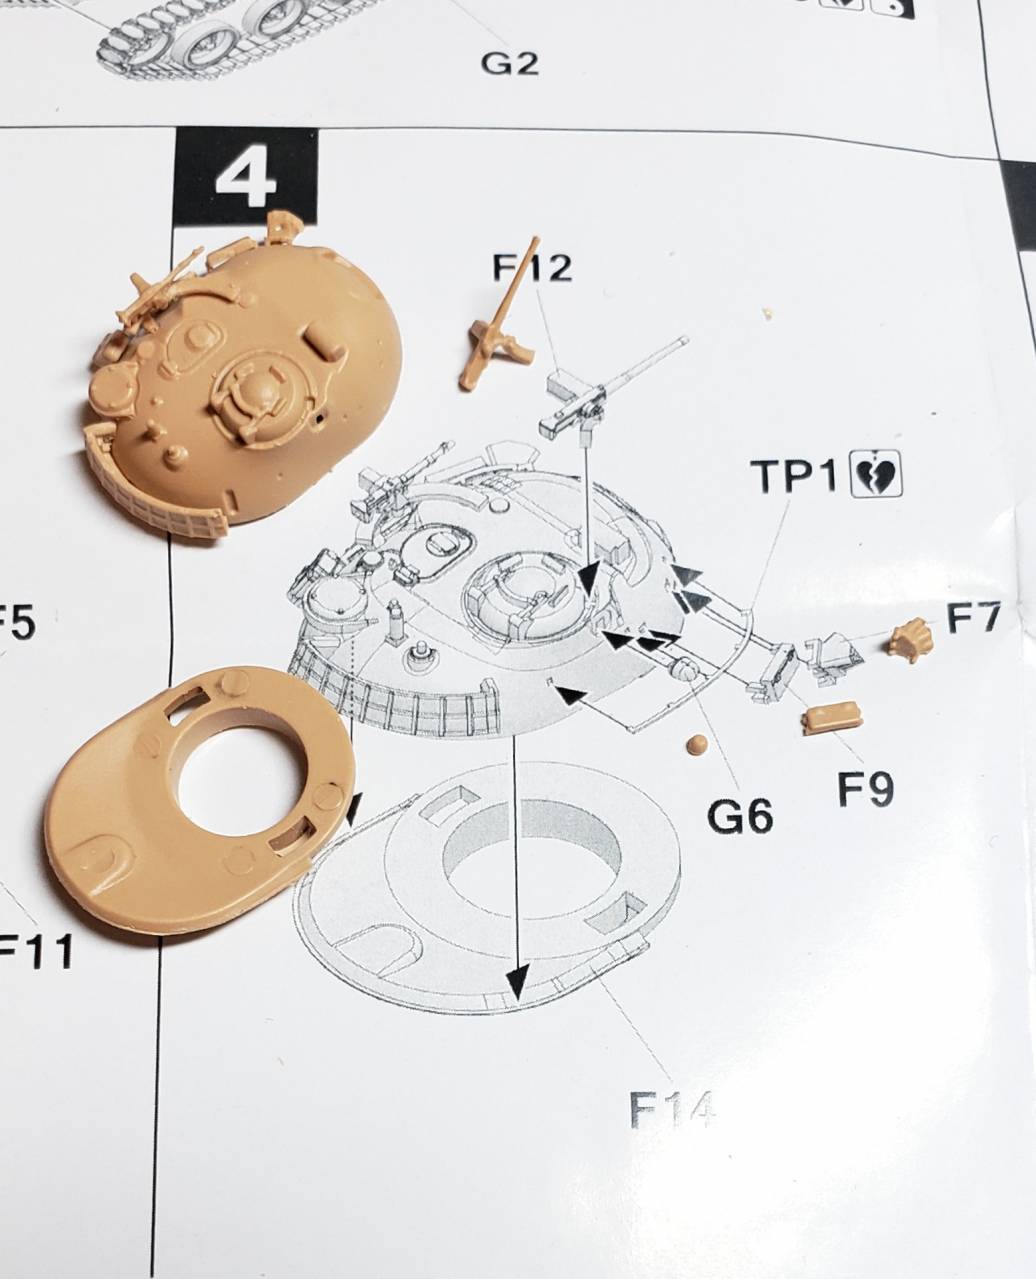
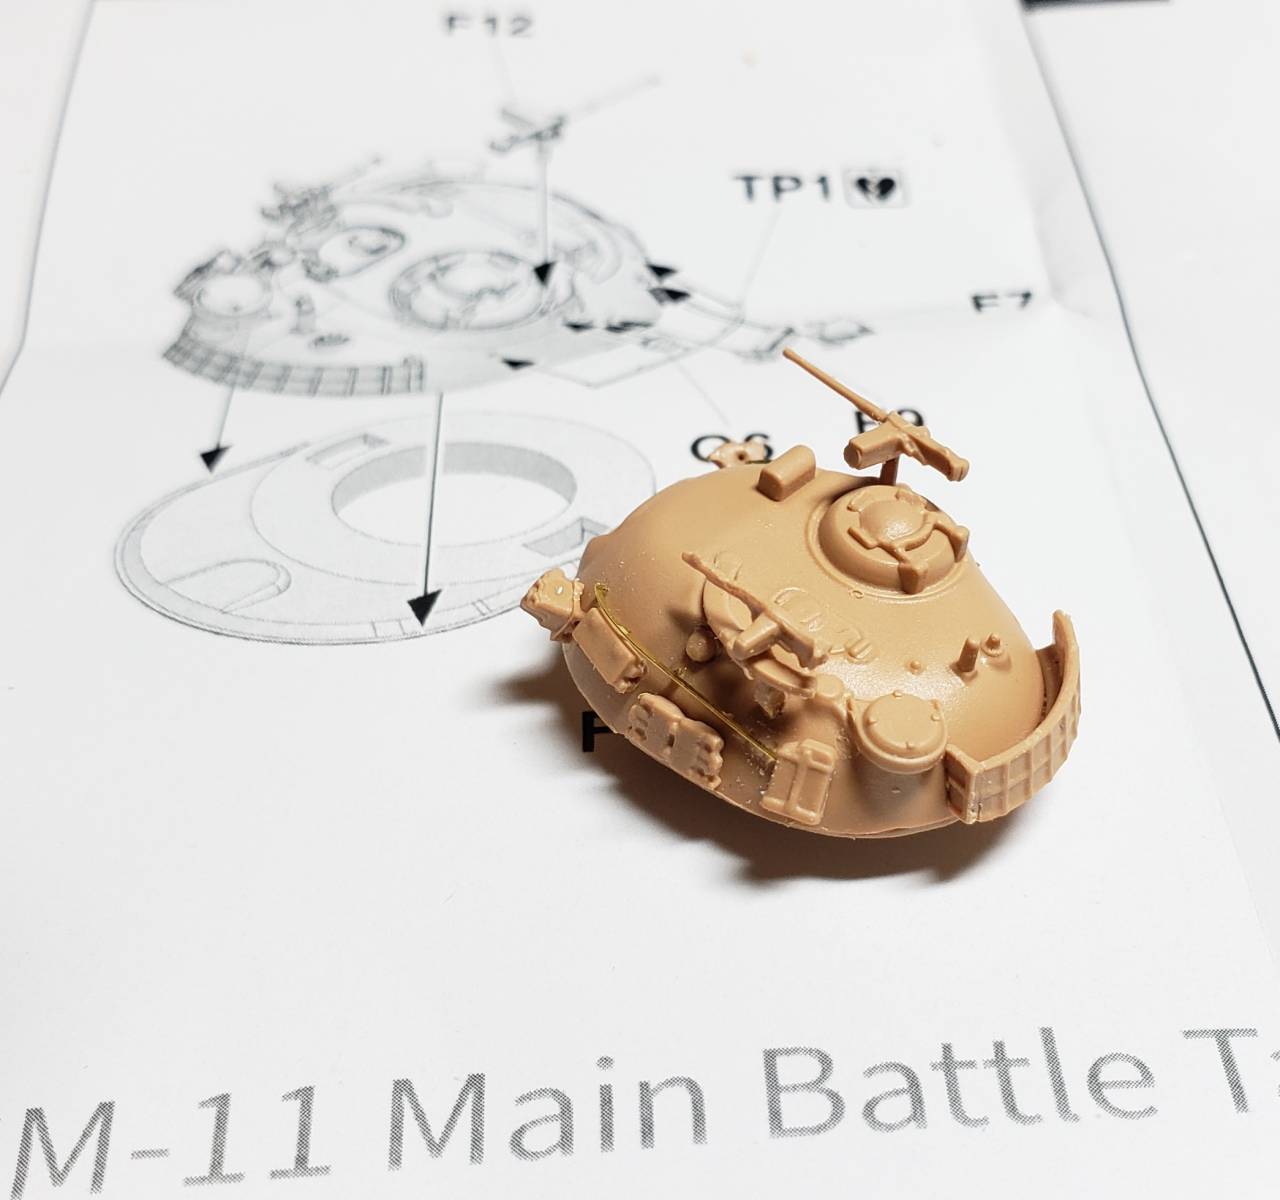
Step 4

The bottom of the turret, the right side turret details and the commanders M2 .50 caliber machine gun get assembled in step 4.


Step 4 complete


sgtsauer
#065
Visit this Community
Missouri, United States
Joined: March 30, 2002
KitMaker: 2,605 posts
Armorama: 1,814 posts
Posted: Sunday, April 12, 2020 - 01:20 PM UTC
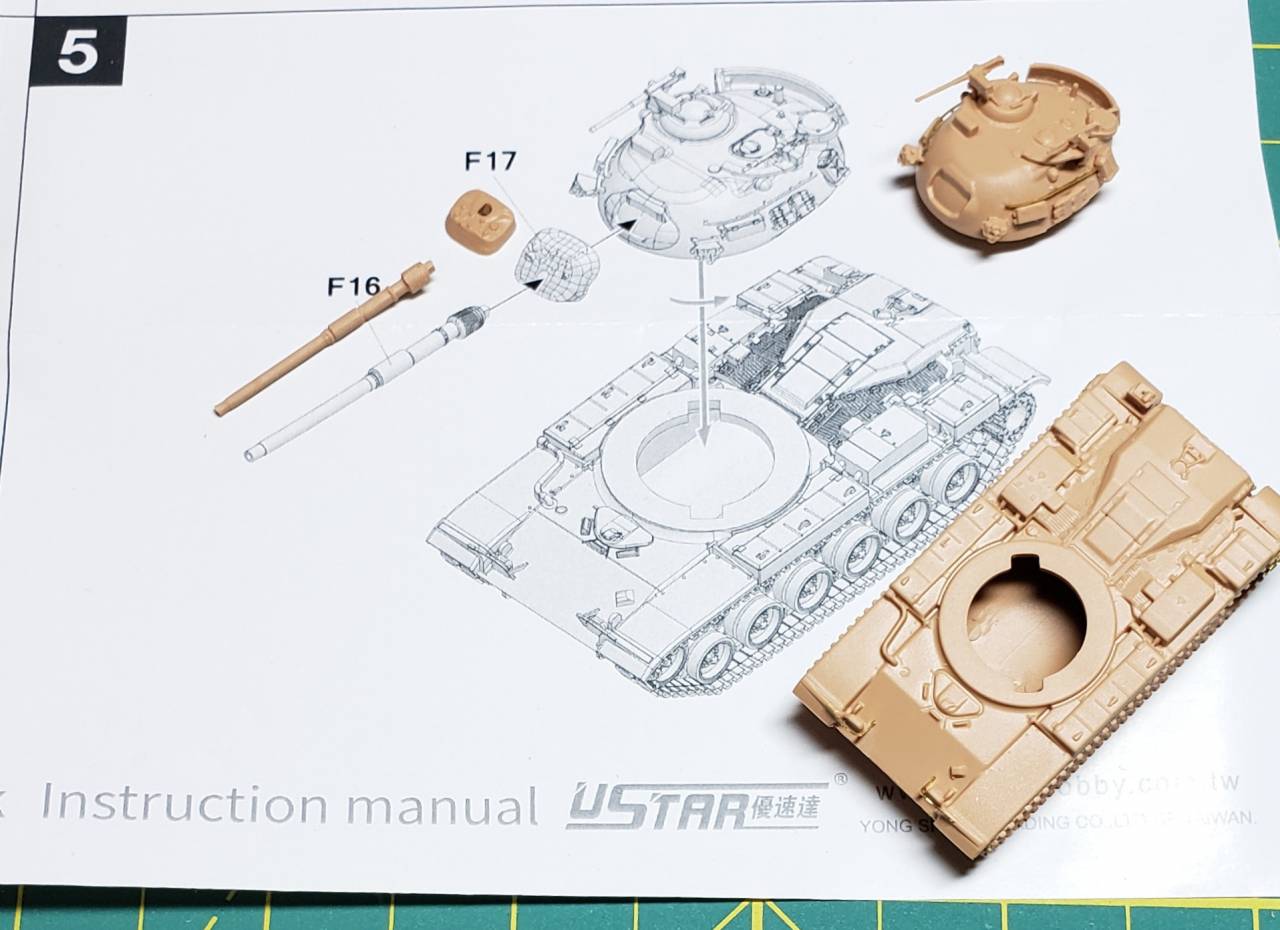
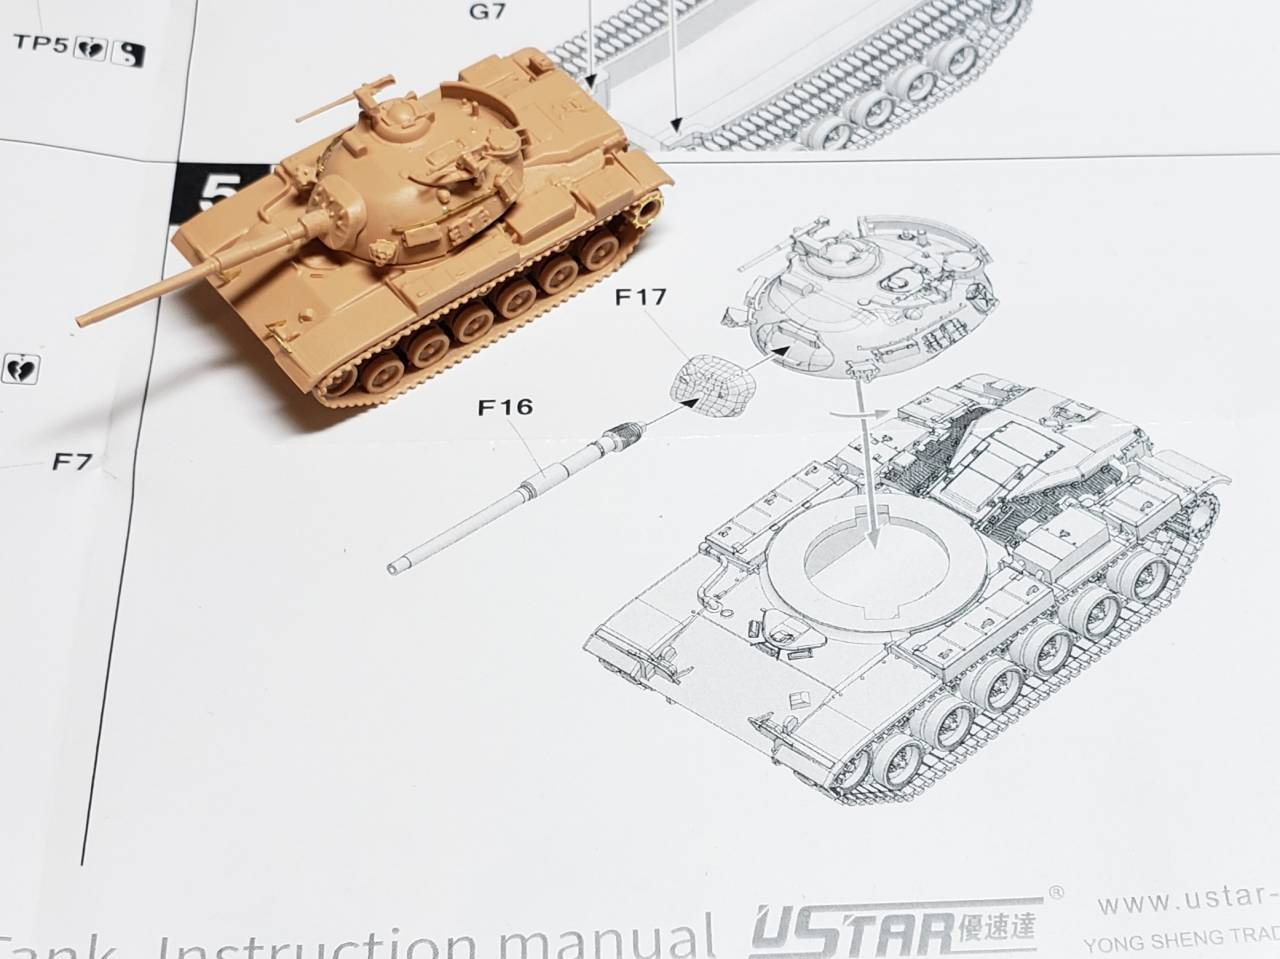
Step 5

In step 5 we are installing the 105mm main gun into the turret mantlet, the mantlet/gun assembly is installed on the turret and the turret is installed on the hull.


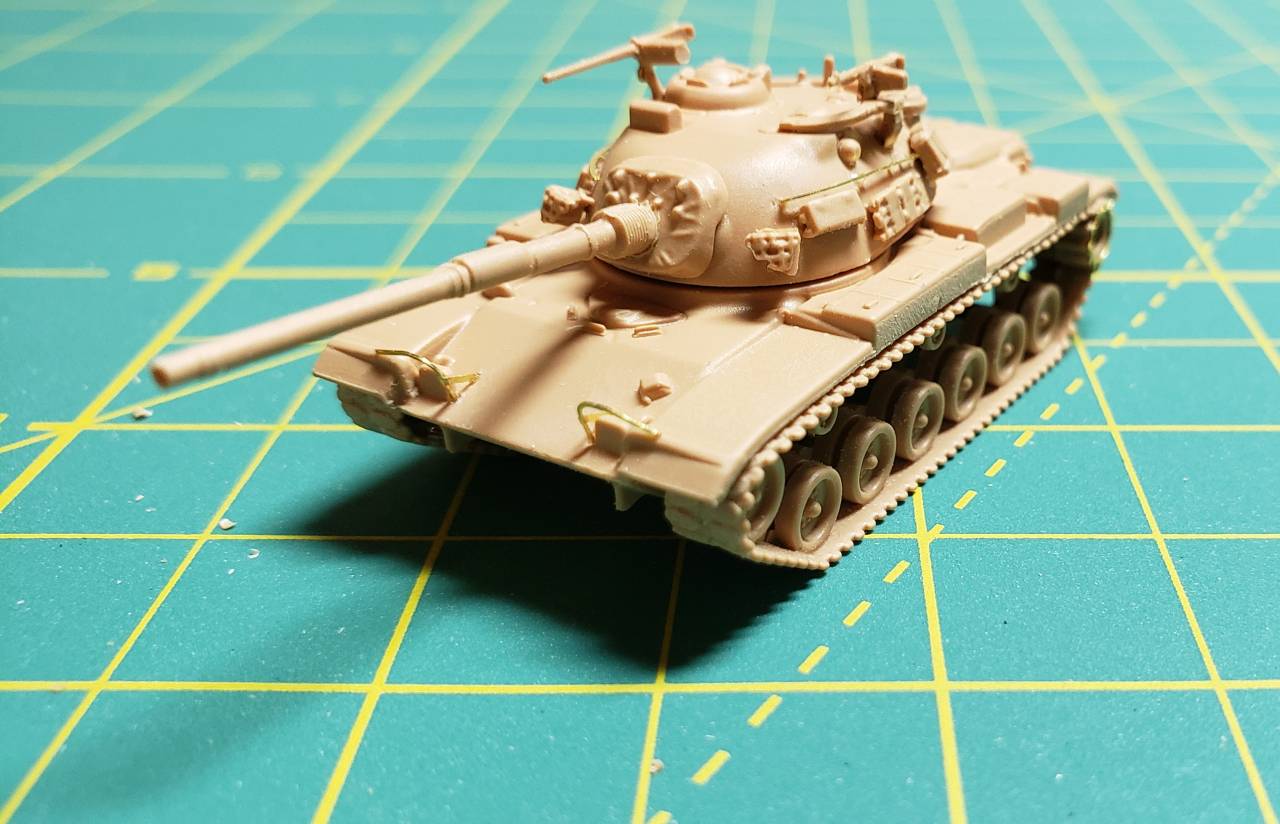
Step 5 and model assembly completion

sgtsauer
#065
Visit this Community
Missouri, United States
Joined: March 30, 2002
KitMaker: 2,605 posts
Armorama: 1,814 posts
Posted: Sunday, April 12, 2020 - 01:28 PM UTC
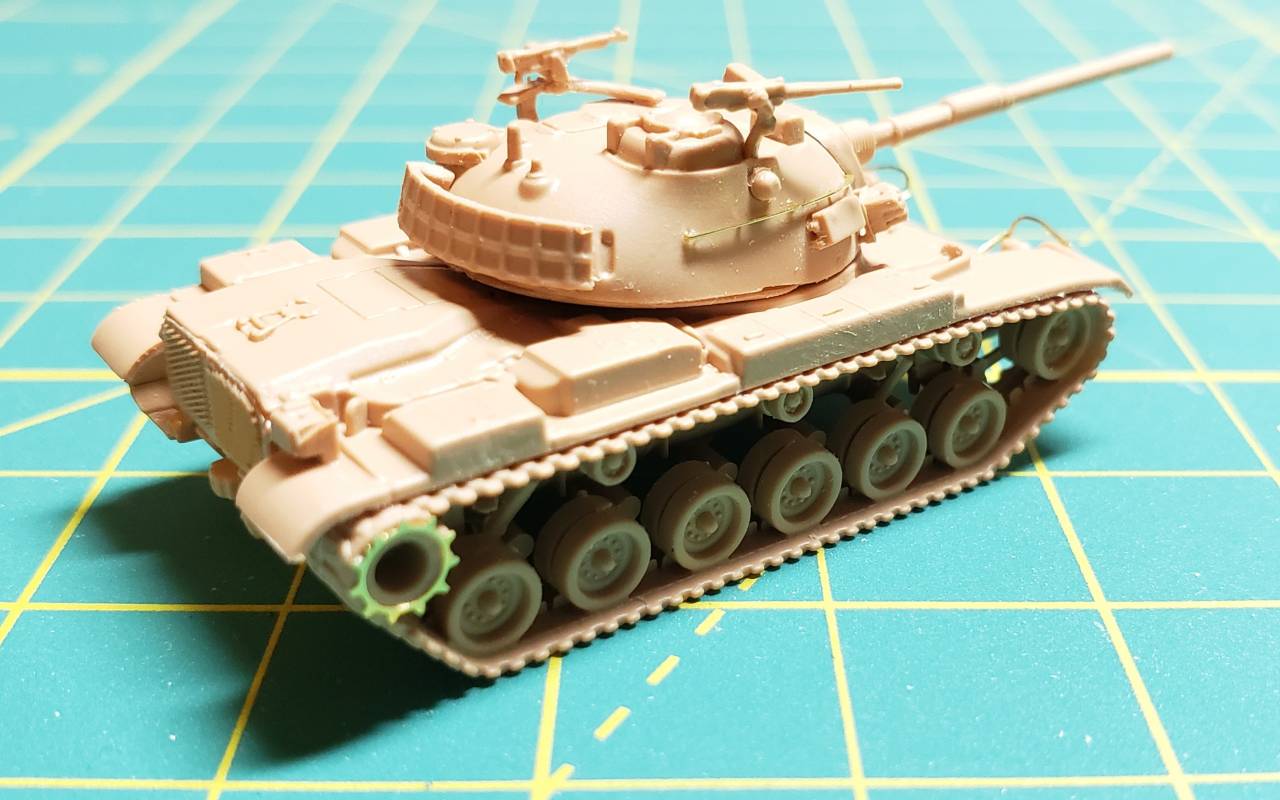
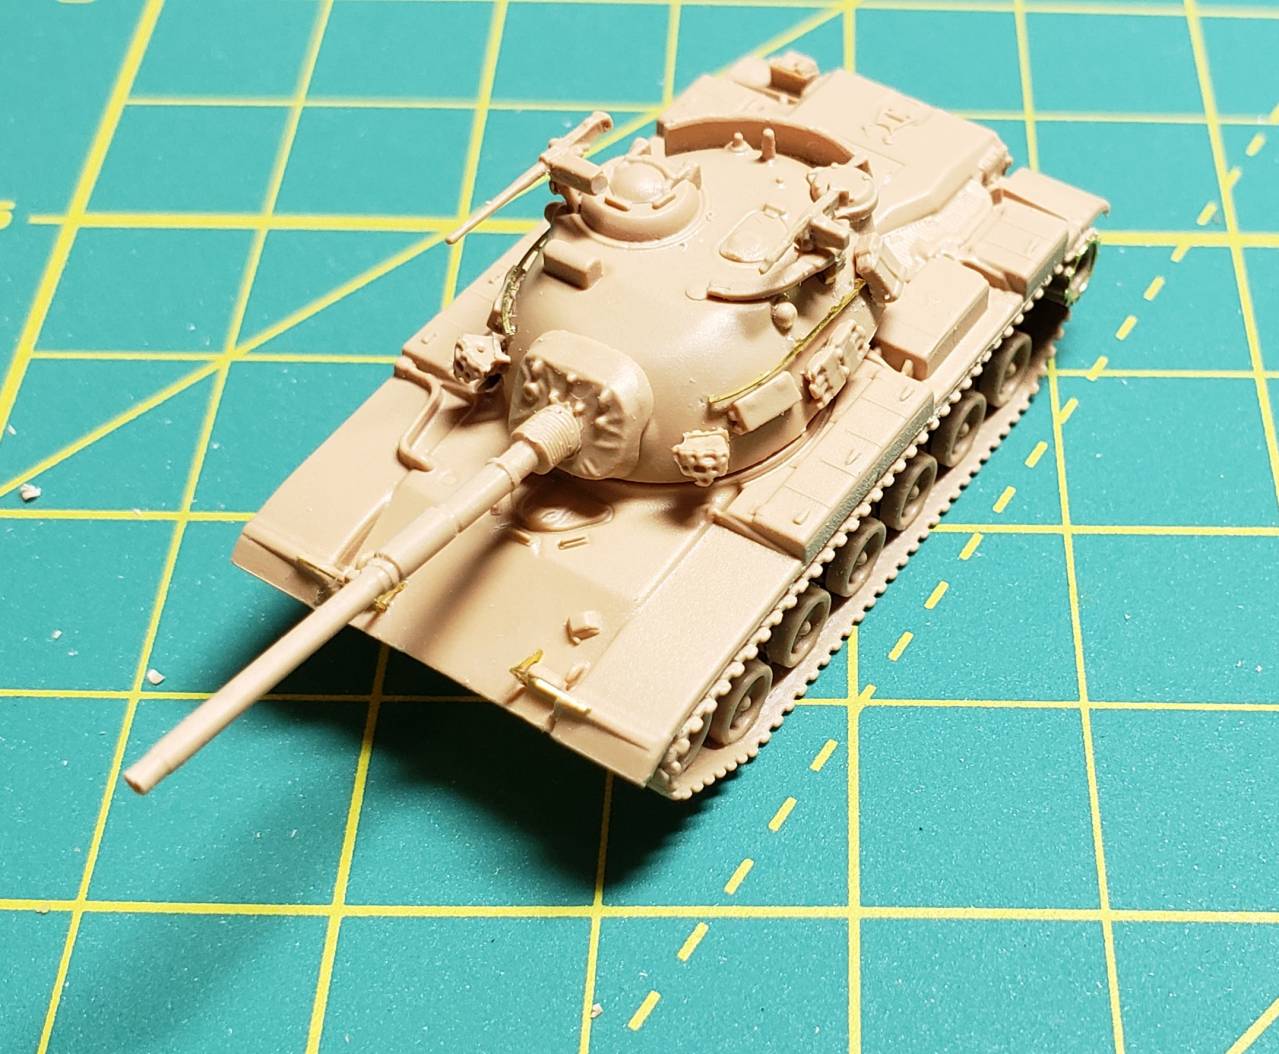
Completed photos and closing thoughts

Being primarily a 1/35th scale model builder, this journey into 1:144 scale was interesting. I think when developing thoughts on the kit it is important to keep the project in perspective. I did not expect 1:35 or 1:72 scale detail out of the kit. My best guess is that the tank kits in this scale are targeted at customers who play wargames or have limited hobby/display space.

Although some of the detail is a bit crude (smoke grenade launchers and machine guns for example) I was impressed with the amount of details in the kit overall. Some of the detail is very well done. The presence of photo-etch I believe pushes this kit into an advanced category.

I probably spent four hours assembling this kit. That time included some parts clean-up and test fitting. IF a person took additional time to fill some gaps and do some additional seam clean-up this kit could actually look pretty nice.

If 1:144 is of interest to you, I think this kit, and the rest of the kits in the series would probably be worth your time and effort.


 _GOTOTOP