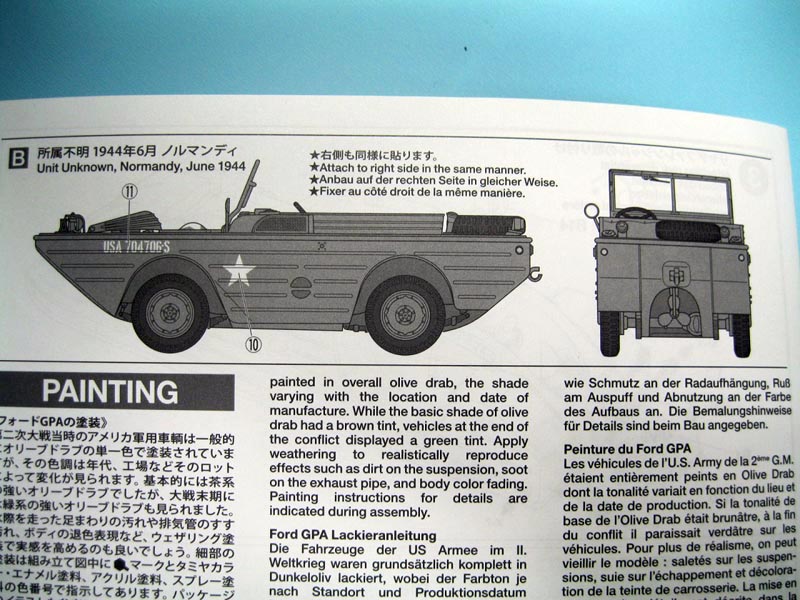
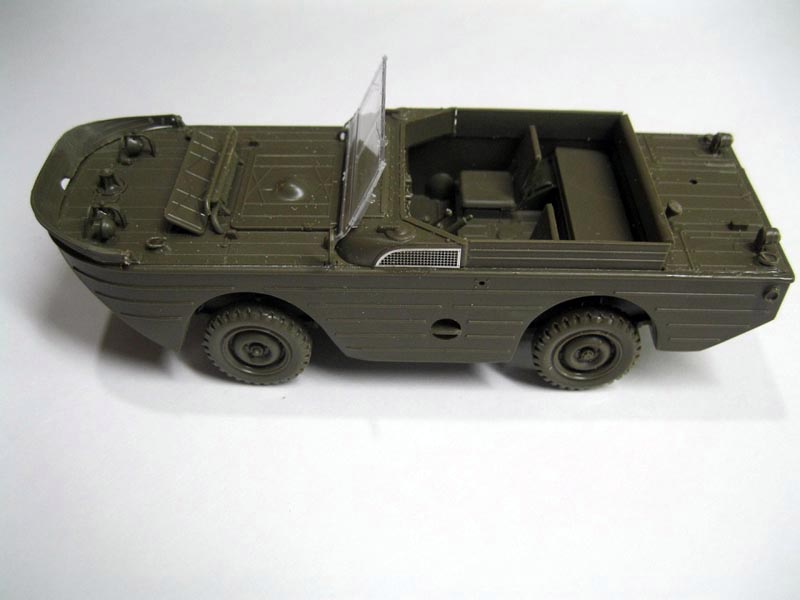
This information is provided by the Tamiya website; The Ford GPA is an amphibious 4-wheel drive vehicle which the US motor giant was commissioned to produce for the US military in April 1942. In addition to the tried and tested GPW engine, its brand new hull-design body was driven through the water by a rear propeller. It took part in a number of landing operations, including the November 1942 invasion of North Africa and the highly significant Normandy landings in June 1944. Production of the GPA had already ceased in June 1943, however, with some 12,800 units manufactured.
The amphibian version of the jeep was hoped to be an all around/all terrain type vehicle but things didn't work as planned. It was much heavier than the Jeep, but with the same engine. It was difficult for the vehicle to get traction on muddy or soft surfaces when climbing out of the water, and the low freeboard made it vulnerable in rough water. It still saw service on all fronts but was discontinued in 1944.
Tamiya has resurrected their old (1975) GPA kit and spruced it up with some new detail and added figures.
The Kit
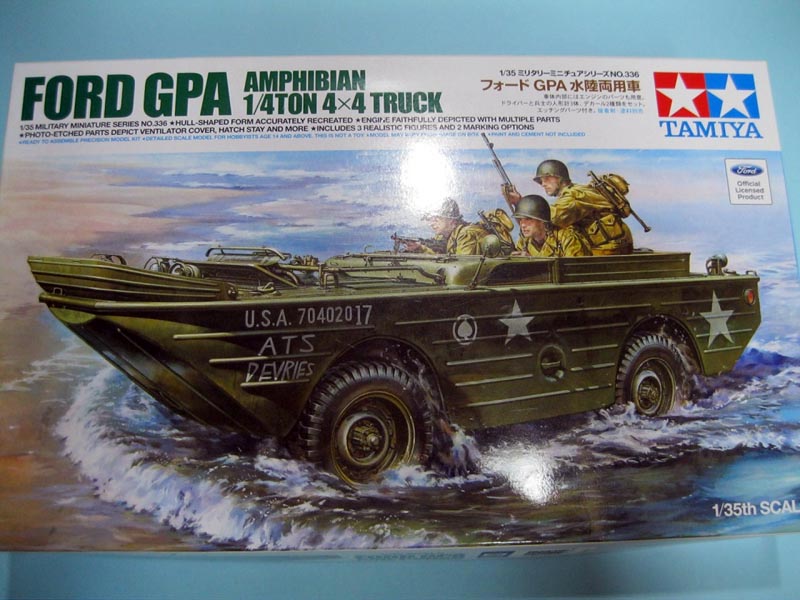
The kit comes in a small, top opening box with artwork depicting a known vehicle from North Africa. Inside the box are the following:
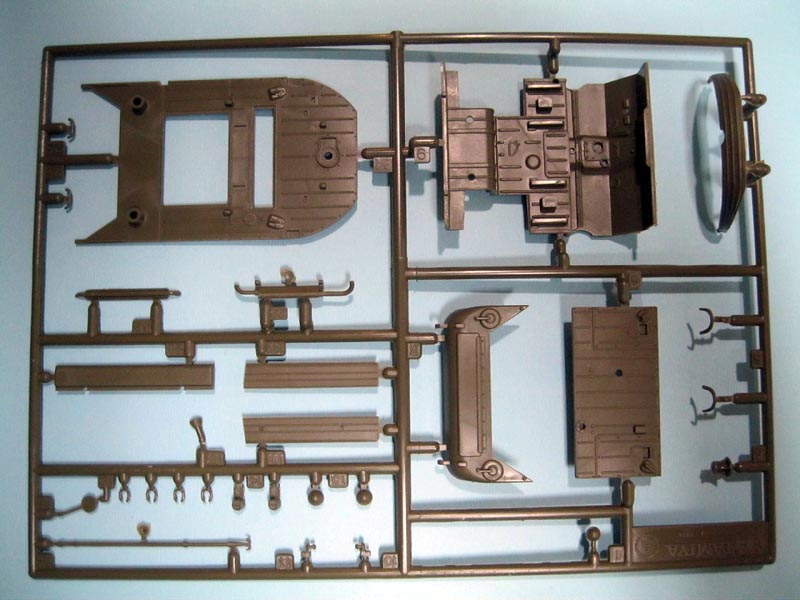
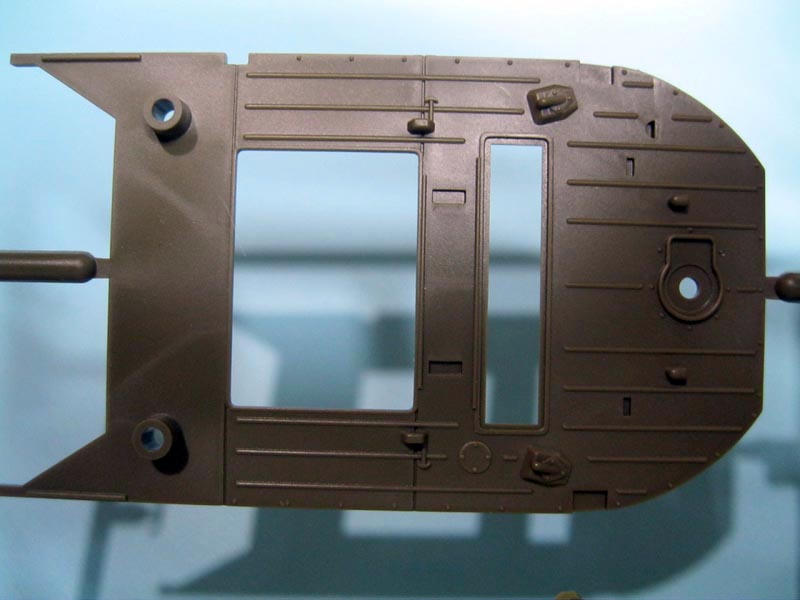
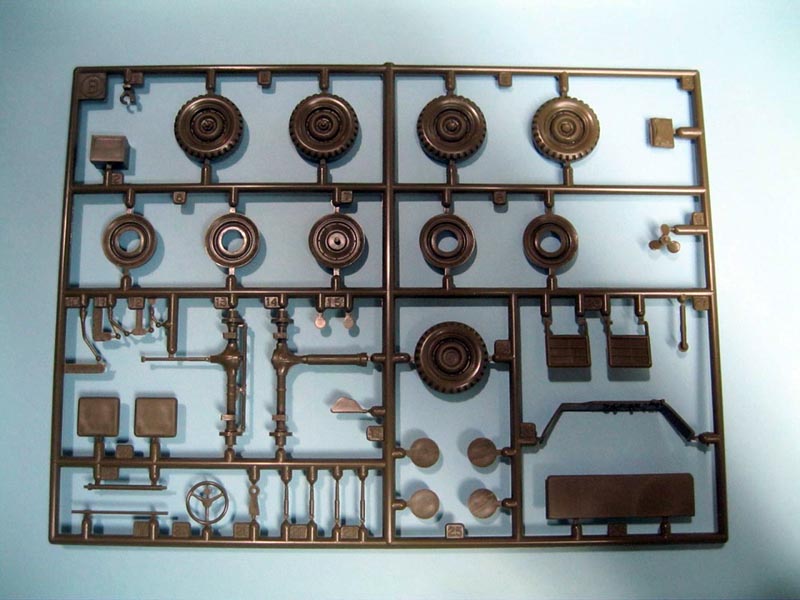
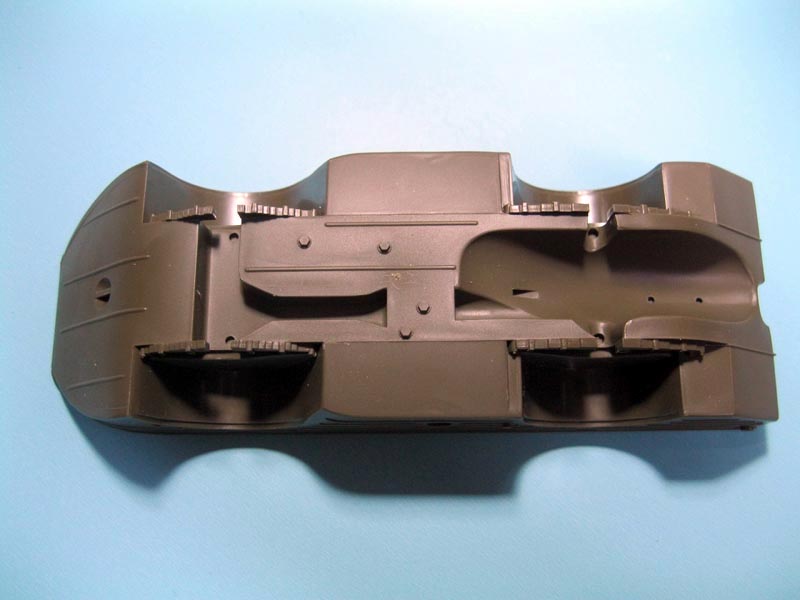
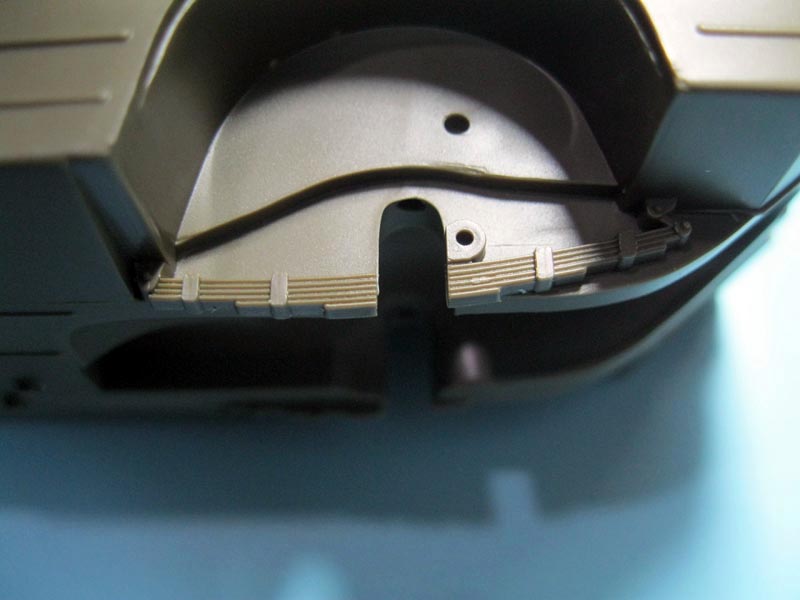
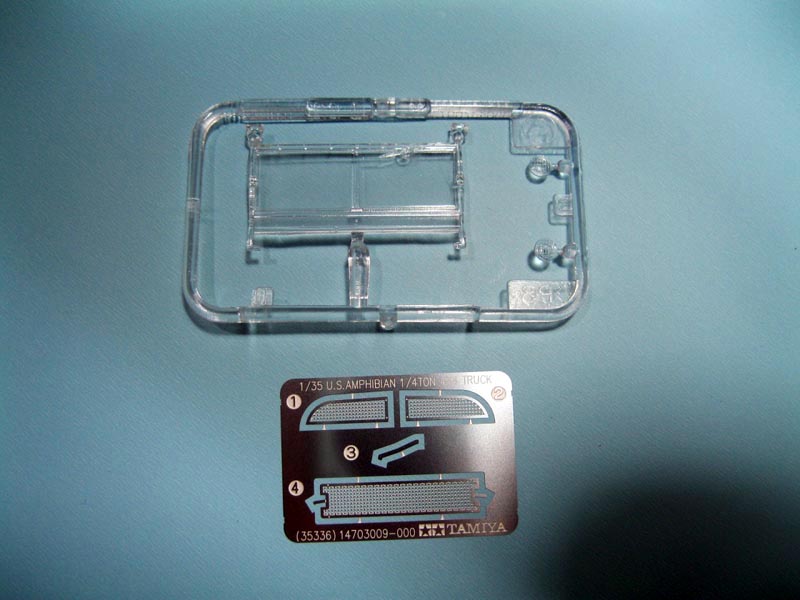
Sprues A and B are from the original boxing, and probably manufactured back in 1975 from the look and feel of the plastic. Seam lines are very heavy, there is some flash present and sprue gates are fairly large. Main body/hull in a one piece mold. Detail on the outside is fair, but the molded on leaf springs lack some detail. Seam lines around the lip of the hull are also heavy. The clear parts sprue has a windshield with the glass and frame as a single solid piece. Headlight lenses are also included.
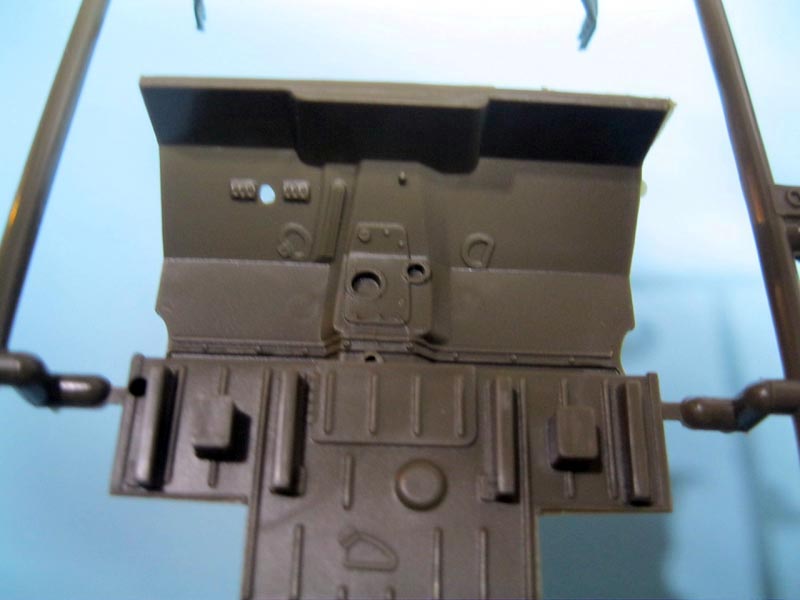
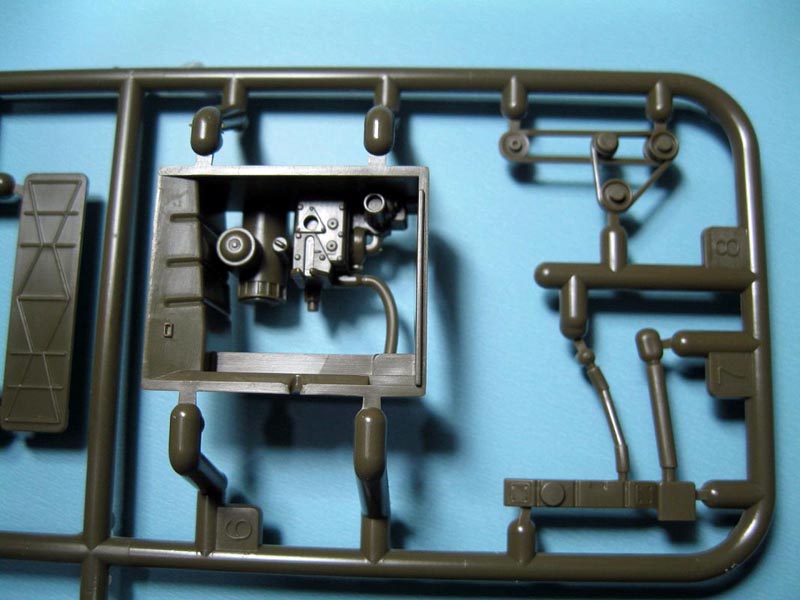
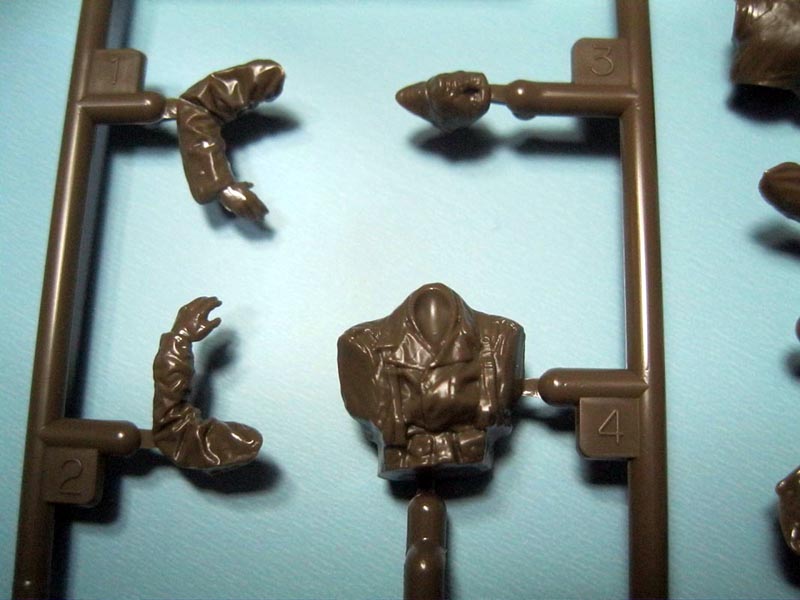
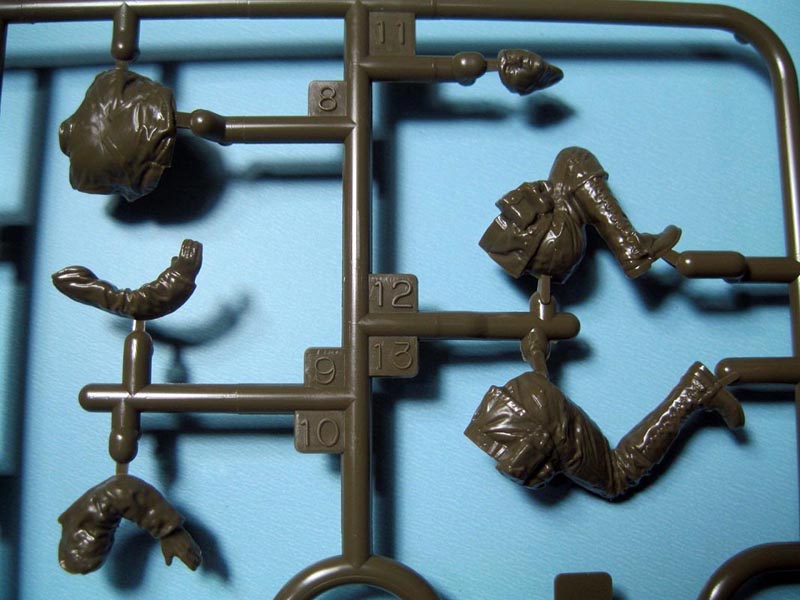
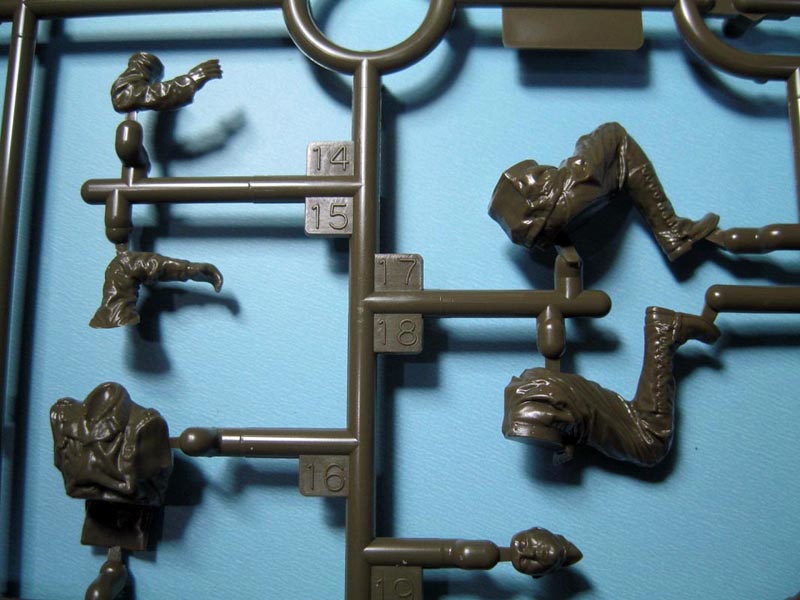
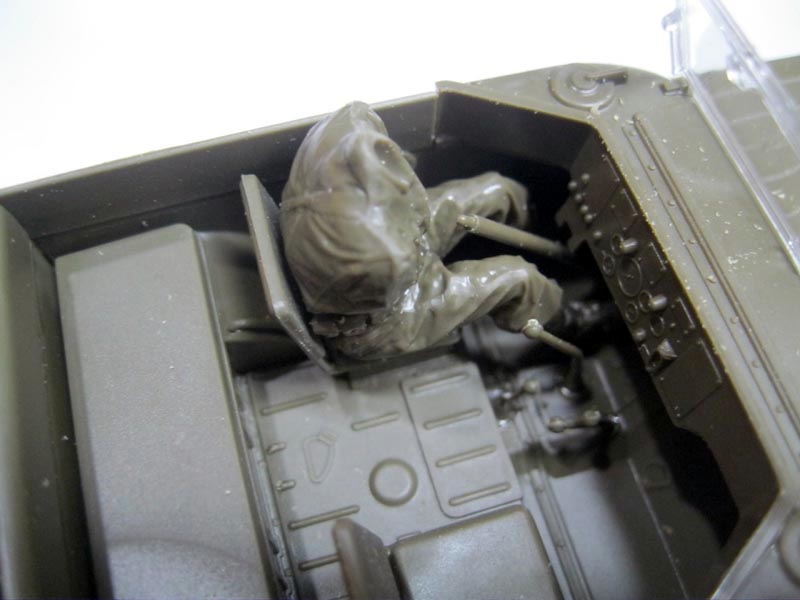
The new parts sprue has an engine in an engine compartment that is quite well molded, with some additional parts to fill the engine out. If the engine access is left open, the detail should look quite good and stand out well. The three figures are new moldings as well, and are typical of the new Tamiya figures with two leg sections, torso, separate arms and head. Detail looks fairly good although it disappears along the seam lines and magazine pouches are molded with the figures rather than as separate items.
The instructions are also typical of Tamiya, clearly written with line drawings showing assembly in 13 steps and figure assembly in one. A nice touch was a detailed history on a separate page written in multiple languages.
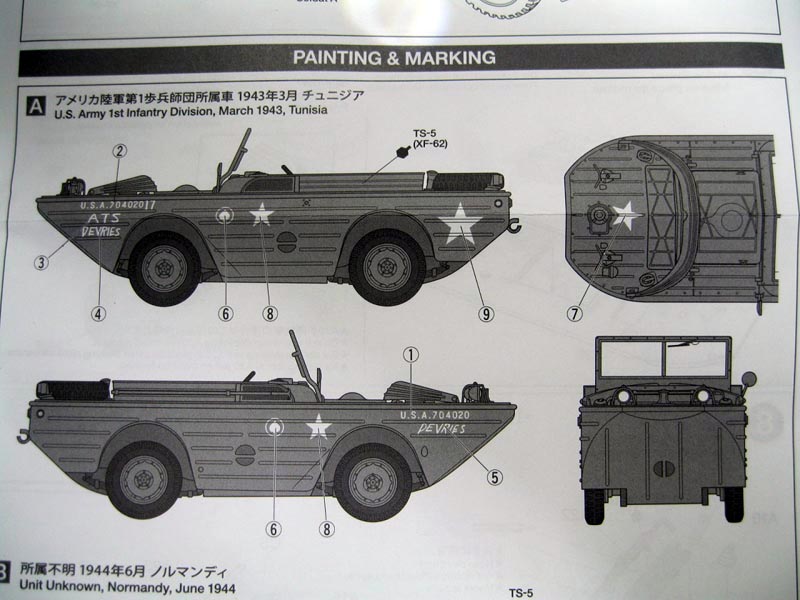
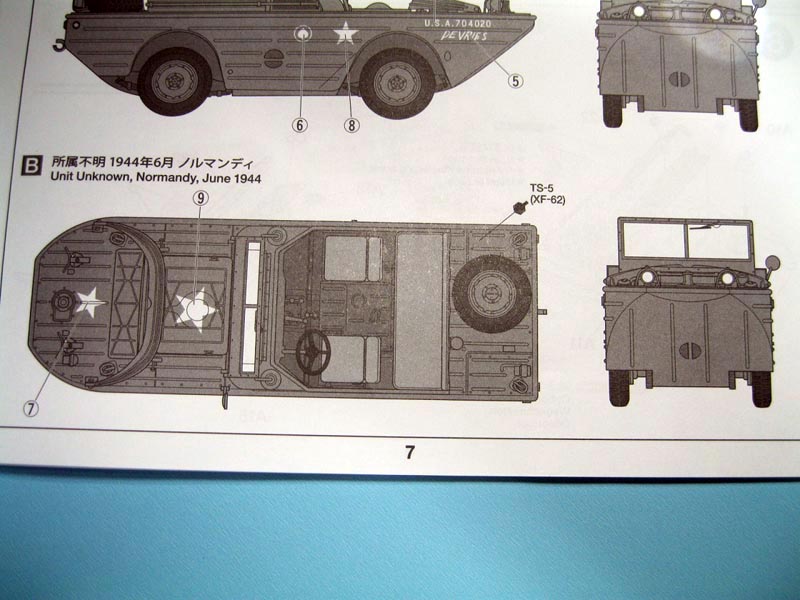
The painting guide is fairly simple-overall olive drab, and decals are provided for two vehicles. First is the GPA pictured on the box top, from the US Army 1st Infantry division, March 1943, Tunisia. This has "Devries" written on the forward hull. The second vehicle is from an unknown unit, Normandy, 1944. The decals appear to be cleanly printed and in register, but are on thickish carrier film. From experience, in spite of the thick film, Tamiya decals tend to settle quite well, and conform nicely over uneven surfaces. Also included in the decals are instrument dials and dash placards.
The Build
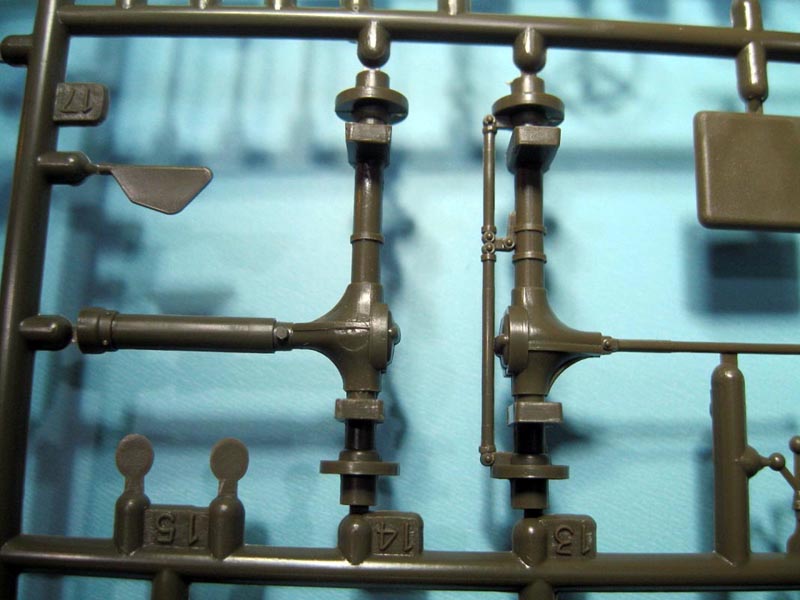
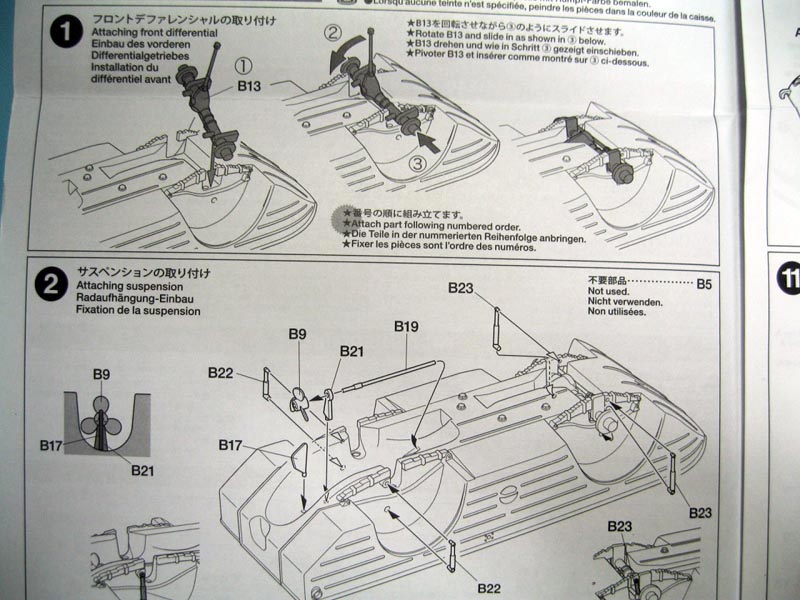
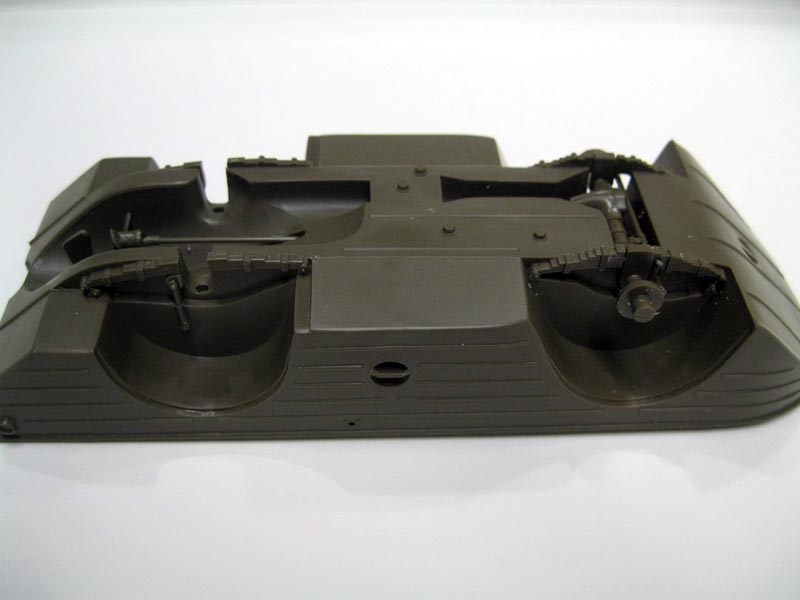
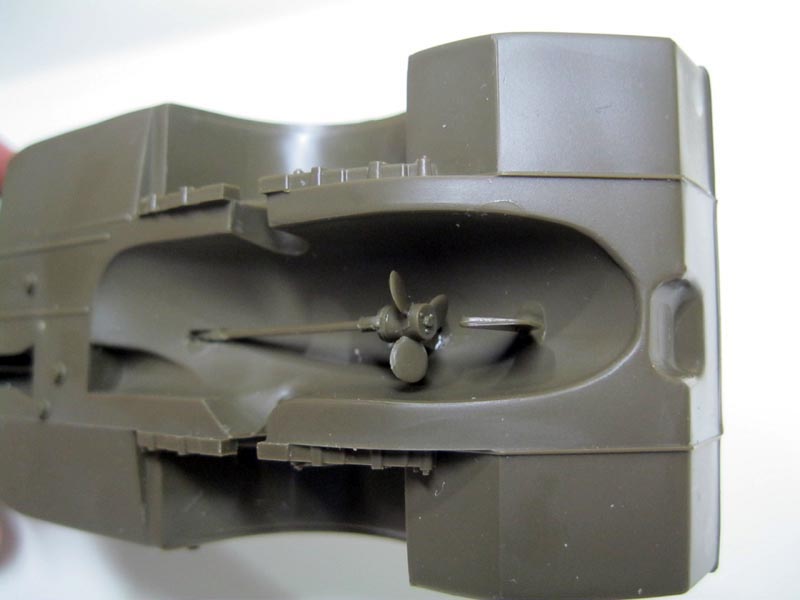
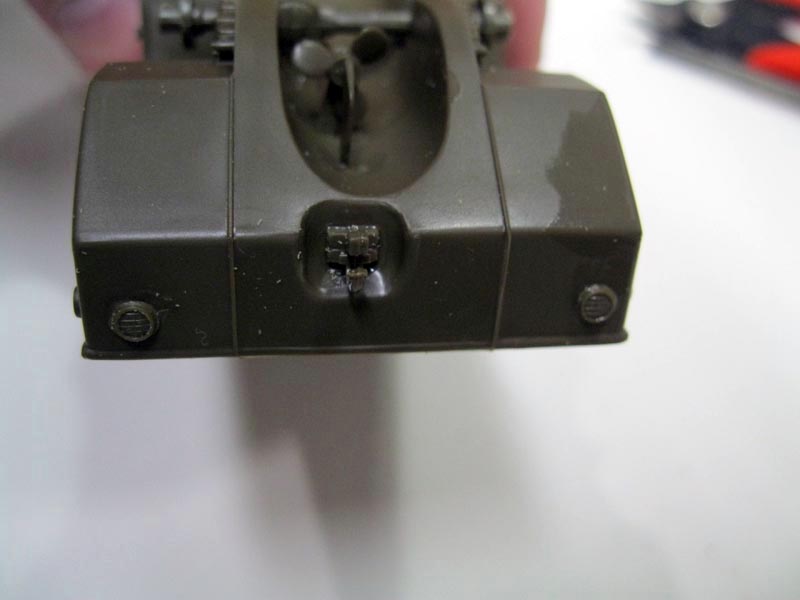
The kit is not high in parts and assembly is simple enough that I jumped on the build. The first thing I noted with the plastic from the original parts is that it is somewhat brittle and prone to breaking. It also didn't take the Tamiya extra thin cement I was using very well. The first three steps are the assembly of the lower body. The axles have a block that slides in to the molded on leaf springs. The front axle must be worked into place. The rear axle is added in step 3. Then the propeller drive shaft is added and set off to one side, note the angle on part B21 to get it to sit right. Shocks are added and then the rear axle is placed. The towing hook and rear lights finish the lower assembly.
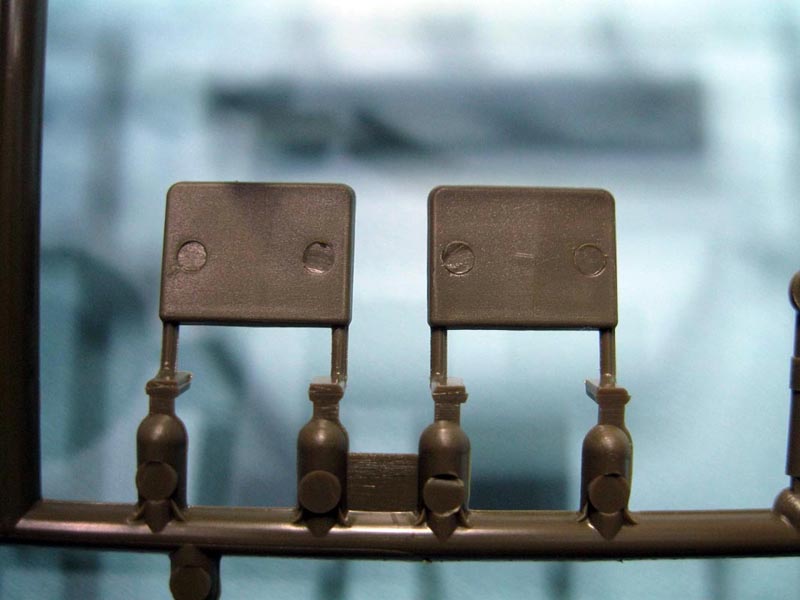
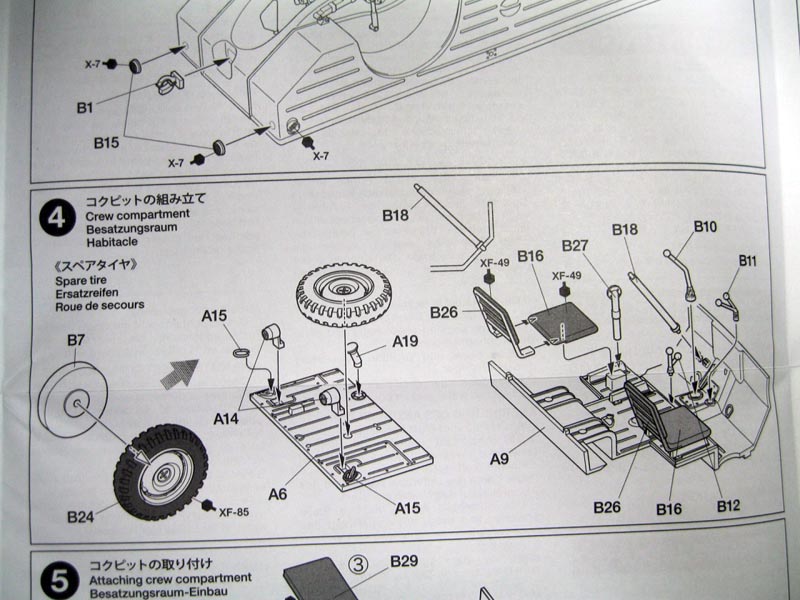
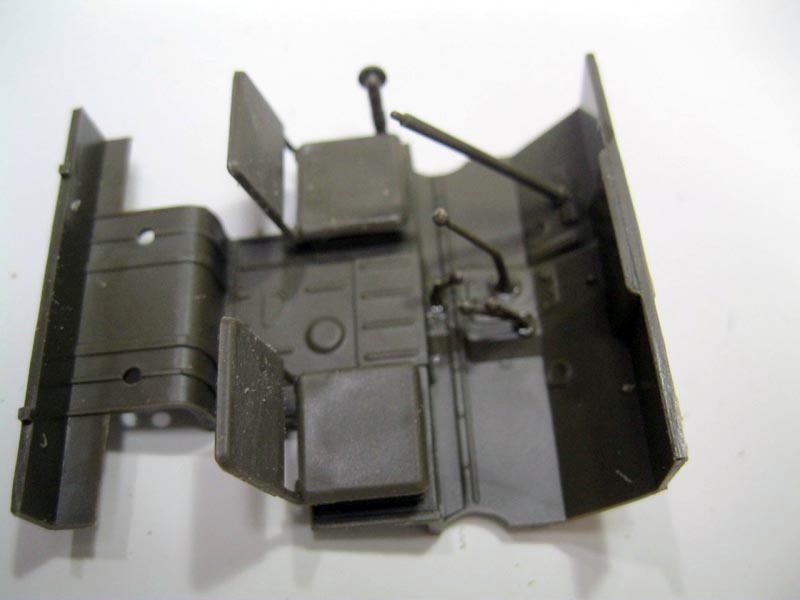
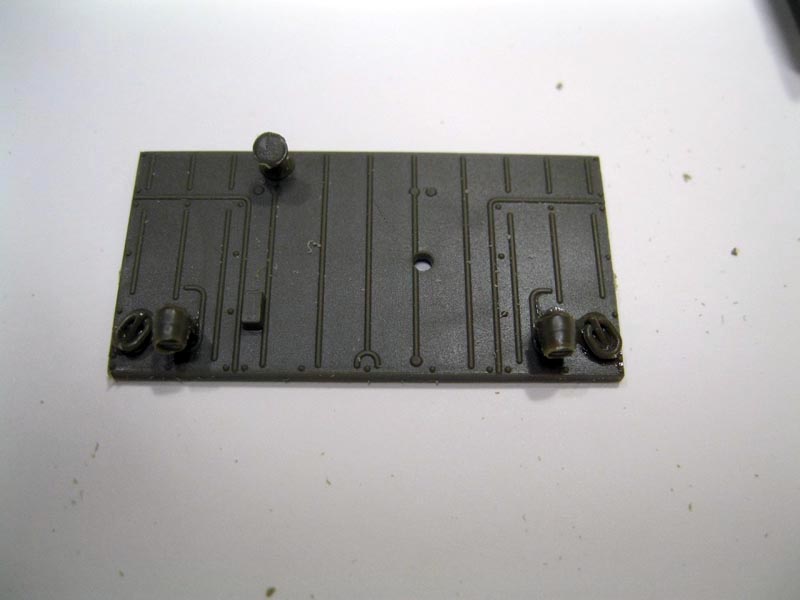
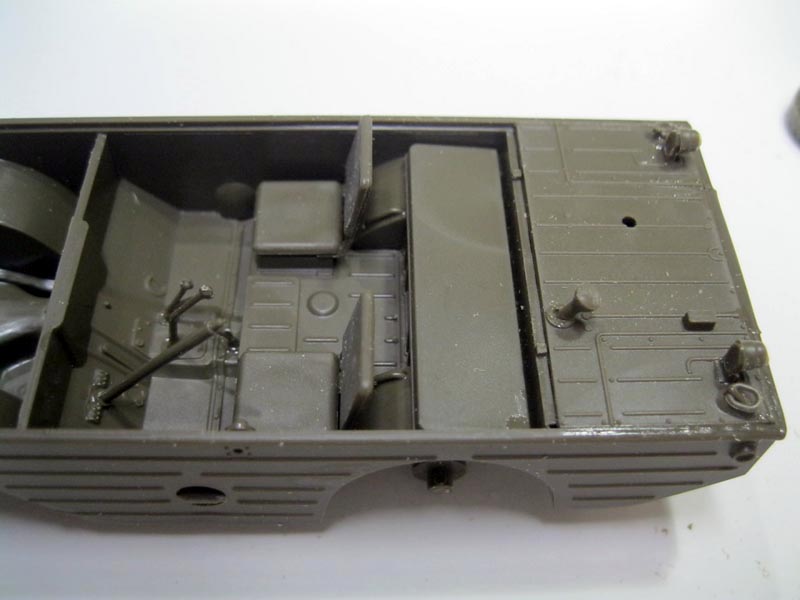
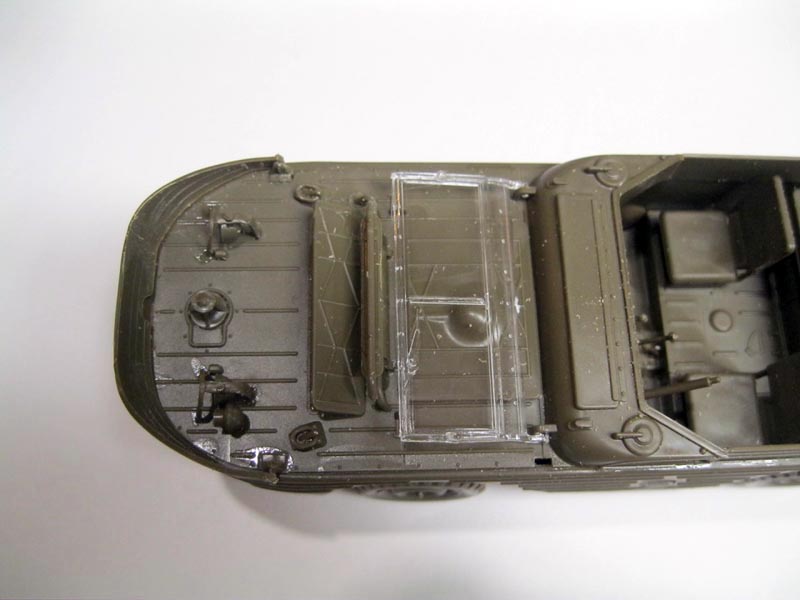
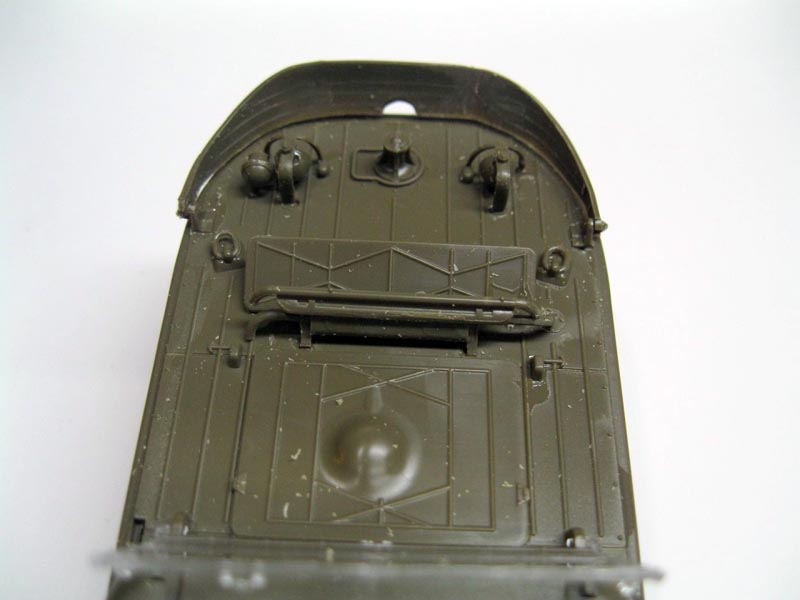
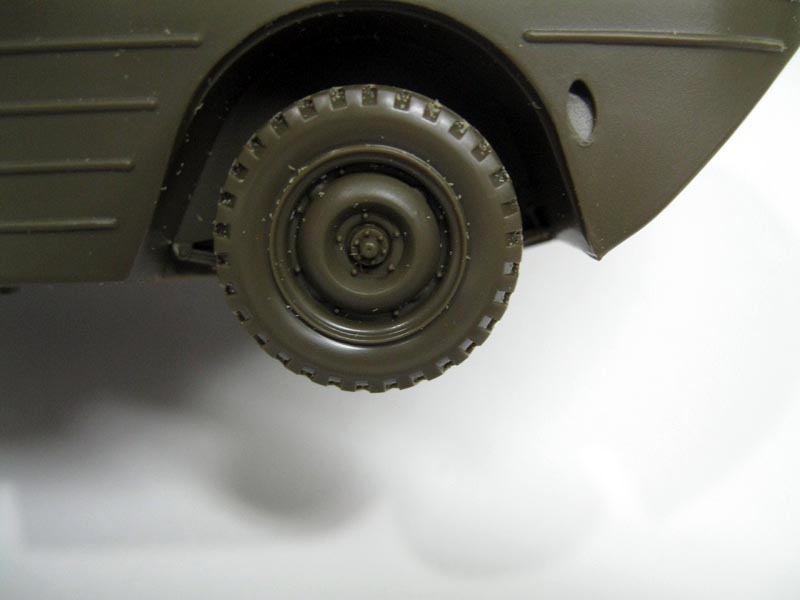
Step 4 is assembly of the upper deck. Tail lights, mooring rings and a fuel filler tube are added, as well as a spare tire. The tires in this kit are all fairly similar-poorly molded tread pattern and they look undersized compared to the tires from the Tamiya and Bronco jeep kits. The hub detail is decent, but again not as crisp or well defined. The interior receives seats, control levers (very brittle plastic that breaks under pressure. I lost one of the knobs) and a steering column. A scale template drawing is provided to show positioning of the steering column. Pedals are molded in place, and only two are shown.
These two assemblies are then placed on the hull, along with two handles inside on the wheel wells. The rear seat bench is also added.
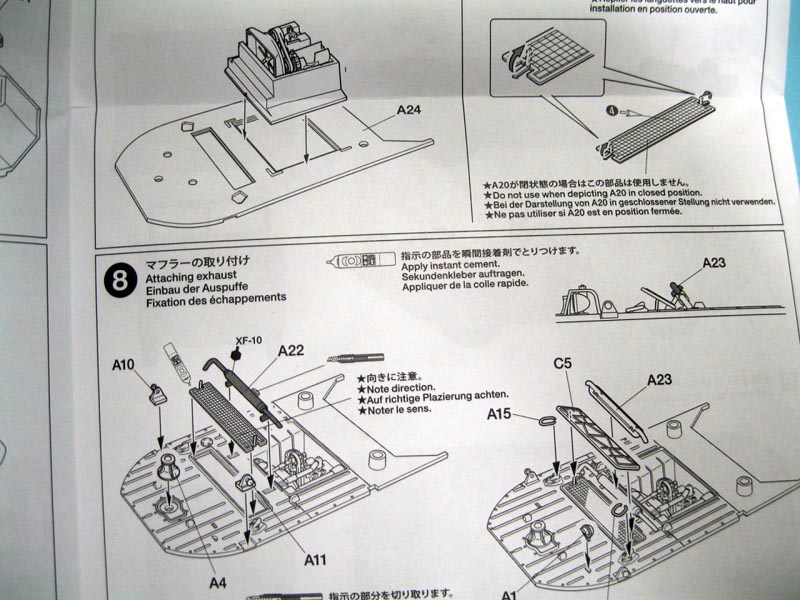
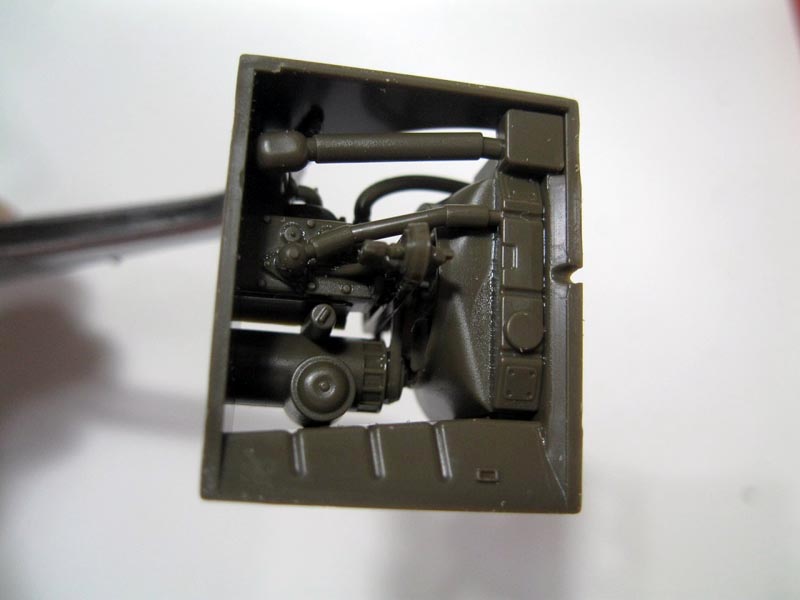
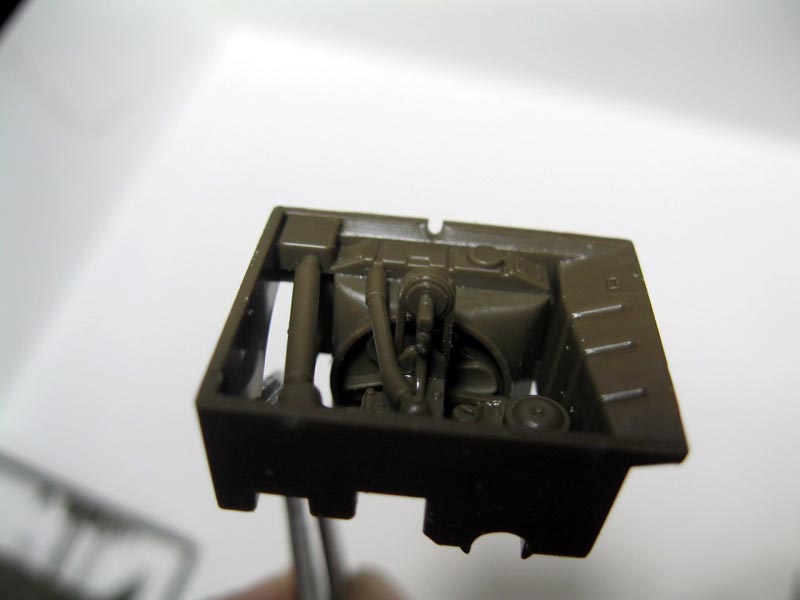
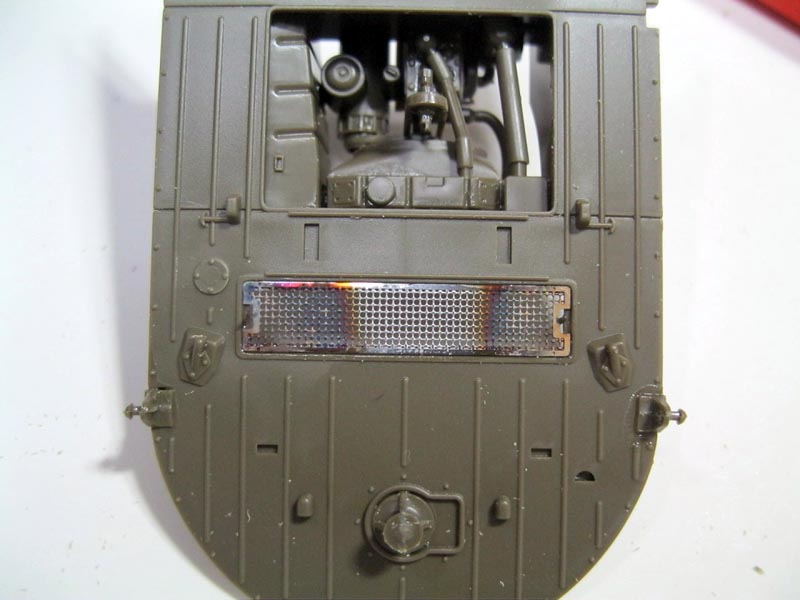
Next is the engine assembly. It is a small space and will be a little challenging to detail as the main engine is inside a small box, but again detail is nice looking. This is attached to the underside of the forward deck and a mesh screen, also new for the kit, is placed over the air intake. Head lights, muffler and bracket for the wave shield are added. The air intake can be covered or left open. I left it open to show off the nice looking screen. Again, a scale template is provided for placement of part A23, attached to the muffler.
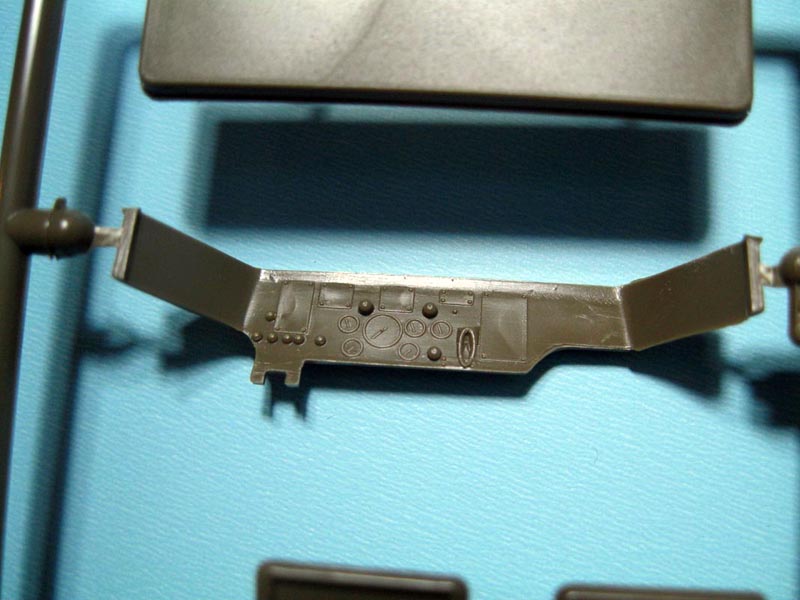
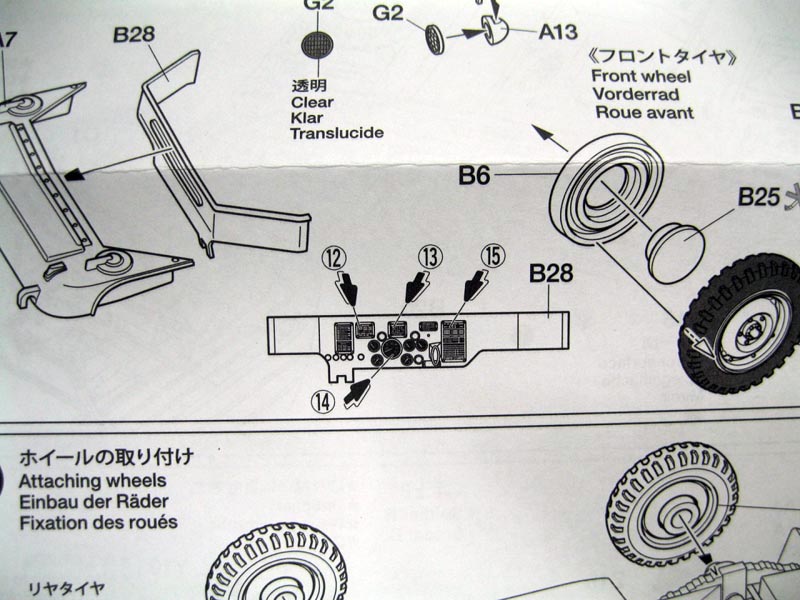
The forward deck is attached to the hull and some care will be needed for fitting because of seam lines running along the edges of the molding. The rear bench seat back is also placed. The dash assembly is built up-there is enough room to work with this after assembly and place decals-and the tires and headlights are built and then added in the next two steps.
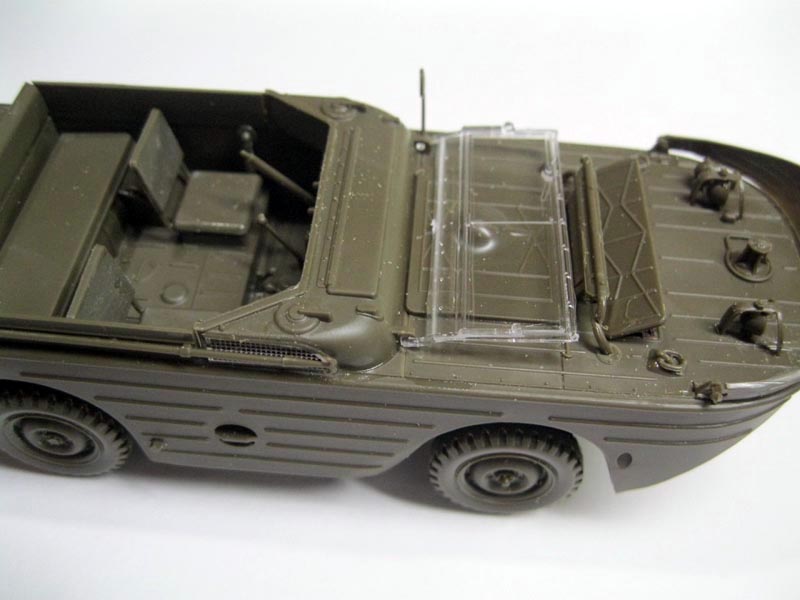
The tires are made to be able to rotate if glue is applied carefully, so you can watch the poor looking tires roll around. The side boards, wave shield, windshield, side mesh screens and gaff are added to complete assembly of the vehicle.
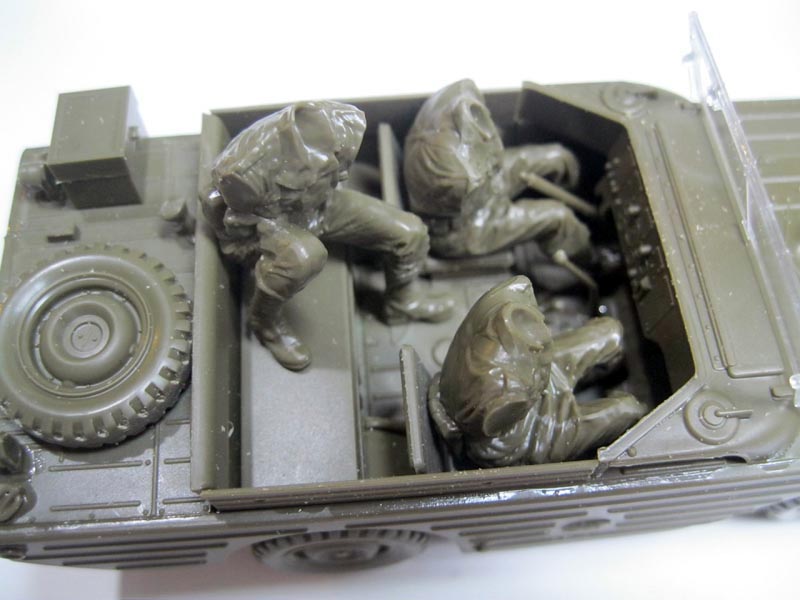
The three figures build up quickly. Legs and torsos match up quite well. If it weren't for the molded on ammo pouches and lost detail on the seam lines, particularly on the shoulders and under the arms, these figures would be ideal. There are no cooling lines, uniform detail is nice and the lacing on the leggings is clean.
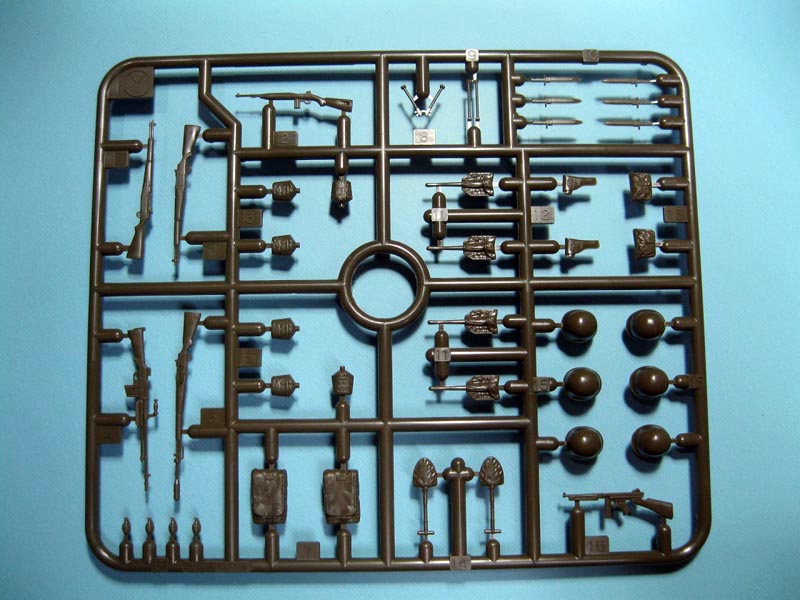
The weapons sprue is the now standard accessory set that has been available for a few years. It includes the BAR automatic rifle, M1 Garand rifle, M1 carbine, helmets, packs, canteens, and other basic equipment. While not as sharply detailed as other manufacturers supplies, the fact that they are included is a nice touch, especially having the backpacks. The three figures consist of a driver, front passenger and rear passenger. The poses are nice and no one is pointing. Unfortunately, no decals are included for uniform insignia; something I really wish would be included. I bring this up because they are present in the recent release of the type 1 tank with Japanese infantry.
The completed kit needs some clean up of seam lines, and a bit of filler here and there. In particular, many of the locator points on the upper deck are oversized. The figures will also need some work to better detail seam, hem, collar and cuff lines. If you have spares from other figures, the molded on magazine pouches could be cut off and replaced with better detailed items.
Conclusion
This kit is an easy build. The figures go together with no hassle and excellent fit. The down side is the age of the molding for the vehicle portion of the kit. I really would have preferred that Tamiya include the wheels from their much improved Jeep kit. Also, while the figures have plenty of accessories, there is nothing for the vehicle other than a blank box and what looks like maybe a map case. Again, hit the spares box for any extra small details. This kit can look very nice, and there are a few after market accessory sets that will help it stand out, which is good because as is, from the box, it can stand some extra care. What is really needed is a newer tooling of the entire kit, but obviously this is the simpler and less expensive way to go. MSRP is $40.00, but I have seen it listed online for much less, and with shipping included can arrive at your door for under $30.00 US. It is up to the individual modeler to decide if new figures on an old GPA are worth that price.
SUMMARY
Highs: Nice figures and the engine detail is good. Easy assembly. Lows: Original parts have heavy seam lines and the tires look bad. No decals are provided for the figures. Many may find the price too high.Verdict: This is a simple kit that just needs some TLC to look right.
Our Thanks to Tamiya USA! This item was provided by them for the purpose of having it reviewed on this KitMaker Network site. If you would like your kit, book, or product reviewed, please contact us.
About Russ Amott (russamotto) FROM: UTAH, UNITED STATES
I got back into the hobby a few years back, and wanted to find ways to improve, which is how I found this site. Since joining Armorama I have improved tremendously by learning from others here, and have actually finished a couple of kits. I model to relax and have fun, but always look to improve. ...
I built this copy of the 1974 original Tamiya release finishing it up about 2 weeks ago for our local AMPS club's intra-club contest.
The theme for the build was "Anything U.S.," so I was looking for an easy OOTB build to participate with.
The Tamiya kit is an oldie-moldy, but with some basic TLC, I thought it whipped into shape fairly nicely.
I painted on most of the markings (the spade unit insignia and "Devries" name are kit decals) using stencils following the color plate located in Zaloga's Osprey book on the Jeep. I also found original WWII photos of each side of the subject vehicle which showed the markings were not perfectly symmetrical, side to side.
I finished this one using Tamiya paints for the airbrushing, Vallejo model colors for the details, and artist oils for the washes.
The hardest finishing tasks are masking off the windscreen (molded as a single part with the wiper, etc detail) and the screens on the sides and front. I think Tamiya's inclusion of the PE screens is a very logical improvement and would simplify the painting (as long as the builder can deal with the PE).
When I get a break between other projects, I'll go back and add a 5 gal fuel can (the kit can is the old "two handle" type) and maybe a driver figure and put it on a base.
Until someone like Bronco or Miniart release a 21st century version of the Ford GPA, the old Tamiya kit is the only 1/35th scale game in town. The new release is, IMO, an improvement, but certainly not the kit that this subject deserves.
Thanks, Mike!
The shading was done with the airbrush and then using a variation of oil color modulation.
I pre-shaded using Tamiya XF-62 Olive Drab straight from the bottle, and then highlighted with the same color mixed with XF-60 Dark Yellow at about 3:1 OD to yellow.
After the markings were done, I used indigo artist oils for the shadow washes followed by yellow ocher for the highlight washes. Each wash color was applied individually and blended out with a brush damp with mineral spirits. I also used ordinary mineral spirits to make the washes.
These indigo shadow washes were applied carefully, more like pin washes, just around or in the details instead of indiscriminately like general washes. The yellow ocher washes were applied across wider areas, like the fields between the ribs, somewhat like filters, as well as to the tops of the ribs, rivets and bolts, etc.
All very "old school" and low-tech.
I followed this with the dirt and dust colors airbrushed on. I used a raw umber oil wash in those areas.
That's really all there is to the basic colors.
The detail painting and chipping were done with Vallejo and Citadel acrylics. The whole thing got a "dust" glaze airbrushed on made with Tamiya Buff, gloss clear and thinners.
I still have some detail painting to do on the seat cushions and to add a 5 gal fuel can. (I couldn't bring myself to use the two-handled can that came with the kit!)
Glad you like, though!
Happy modeling!
Could always add some canvas side curtains as well. They seem to have been very popular (and practical) based on the number of period GPA photos I have found that include them.
Just a suggestion.
As a further upgrade for the GPA (as said earlier;) the relatively recent offering from Tasca of US gas and water cans are EXCELLENT! Correct embossed lettering - even under the handles, correct and very delicate three bar carry handles also seperate gas and water lids/caps.
Thanks for the suggestion, but doing a GPA and giving it the "Full Monty" treatment will have to wait for me. This was just a quick and simple OOTB to support my local AMPS club with one of their group builds. This build-up has satisfied the object of that exercise.
Hopefully one day someone (like Bronco, Miniart, etc) will give us a 21st Century kit of this worthy subject. If and when that happens, I might give the Ford GPA another chance on the workbench adding all the bells and whistles.
The reference photos you've been posting up are very nice and will certainly come in handy.
Cheers!
I forgot about this thread till I got my E.T.Model Jeep weighted road wheels that was mentioned earlier. Not to sure what to say about them, got them on E Bay from China. Two of the wheels got a bad pour on the resin, have to be very careful with them or the hole center of the rim will pop out. I take it they are made to be used on the Dragon Jeep but with a little careful drilling can be used on Tamiya.
I'm glad I remembered this thread. Nice build's Mike R and Mike K impressive looking GPA's It would be interesting to see what Bronco could do with the GPA.
Missed the Tasca US gas and water cans in the news and the review sections. Got to get some of those.
Dave


Comments