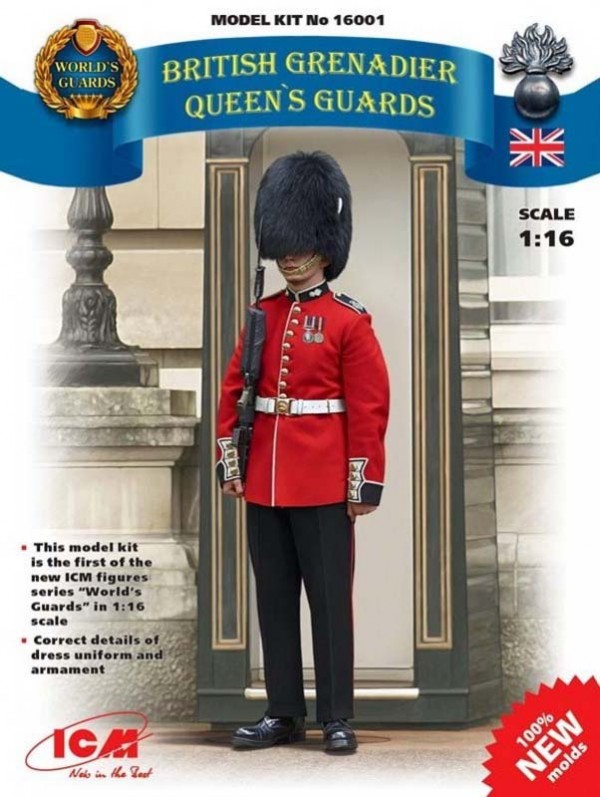
Anyone who has visited London or watched anything to do with Buckingham Palace on the television will be familiar with the red tunics of the various British Guards that protect the queen. Their red tunics have become a very British thing and harp back to the days of Napoleon and the American War of Independence. ICM has chosen one of the British Guards units as the subject of their first 1/16th scale figures, the figure representing a Grenadier Guard on duty at the Queens residence.
Contents
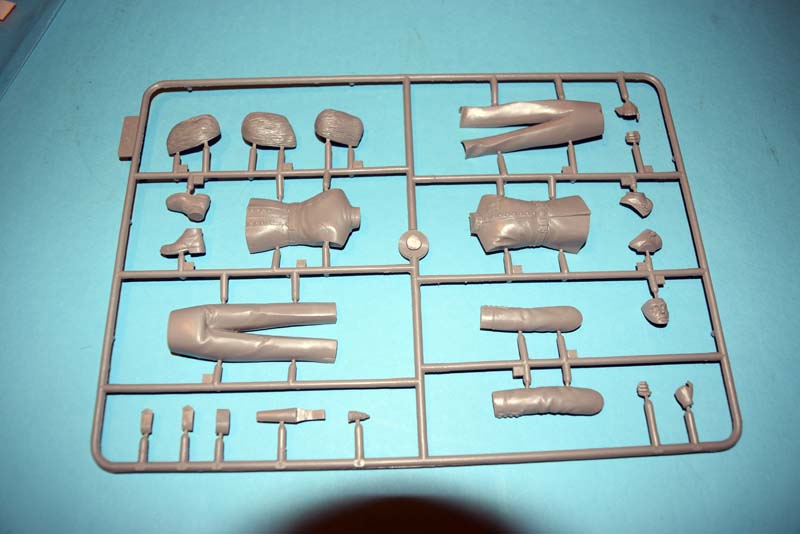
The model is provided in what can now be considered the usual ICM way, a stiff flip top cardboard tray and a separate card header. This packaging will stand up to any normal handling by the worlds postal services. Inside of the box is a single re-sealable plastic bag containing;
2 grey sprues
A black sprue
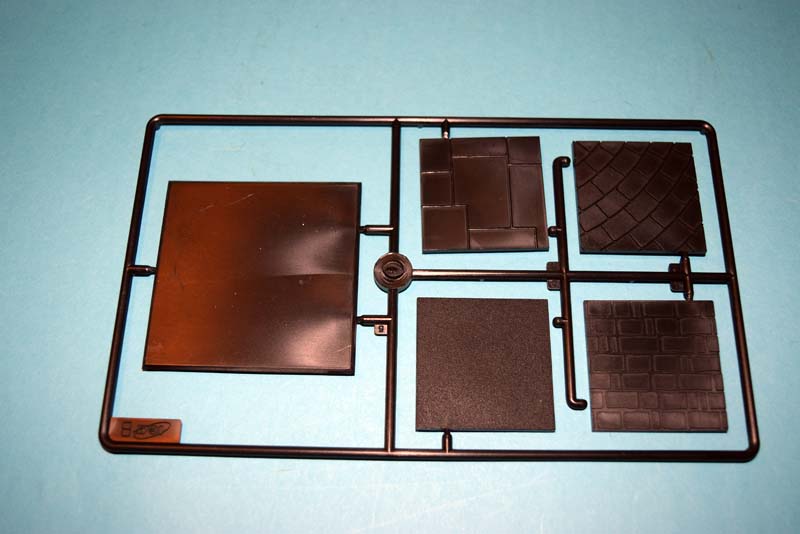
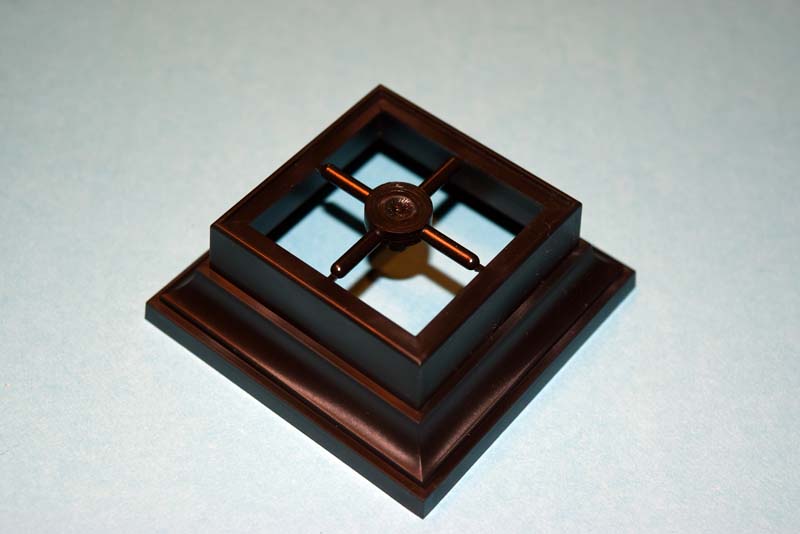
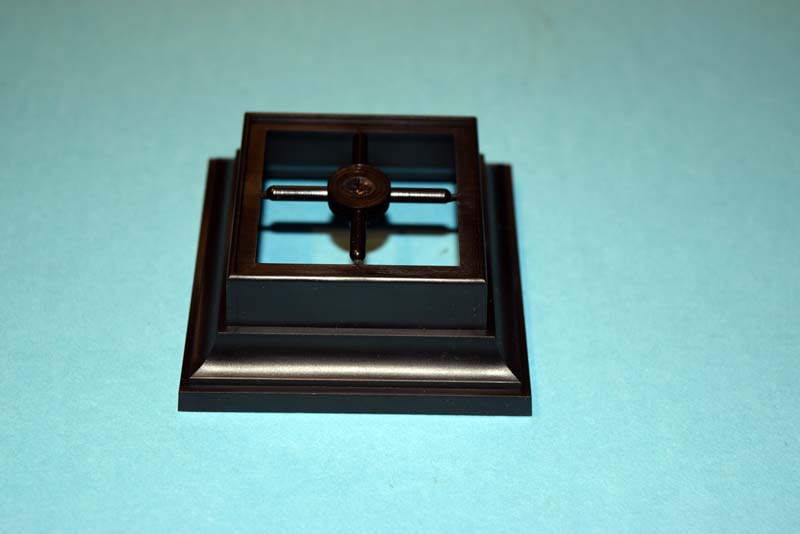
A black base
An assembly and painting guide
A colour poster of the box artwork
Review
This being the first 1/16th scale figure that ICM has released, I was very interested to see how it would turn out. The parts are very cleanly moulded and despite being very thick in some places such as the boots and arms, there are no sink marks present; not as easy to avoid as it sounds I believe. All told I am very positive at this point as the build looks as if it will be a breeze.
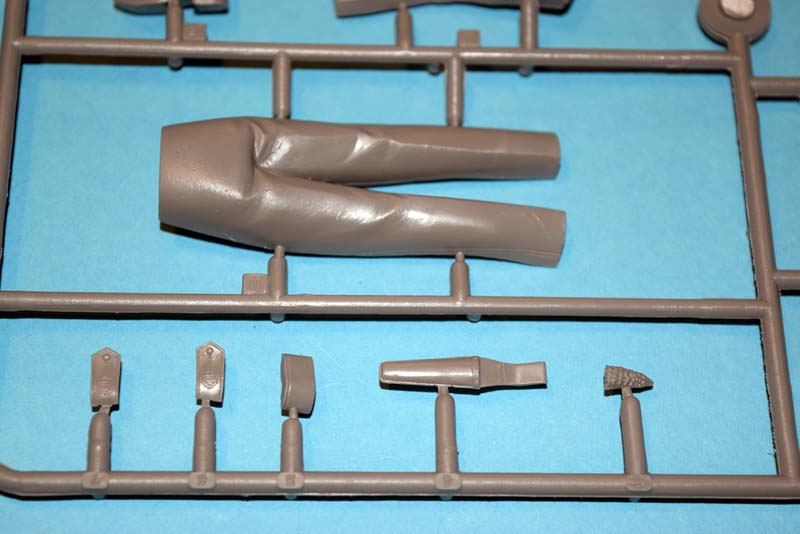
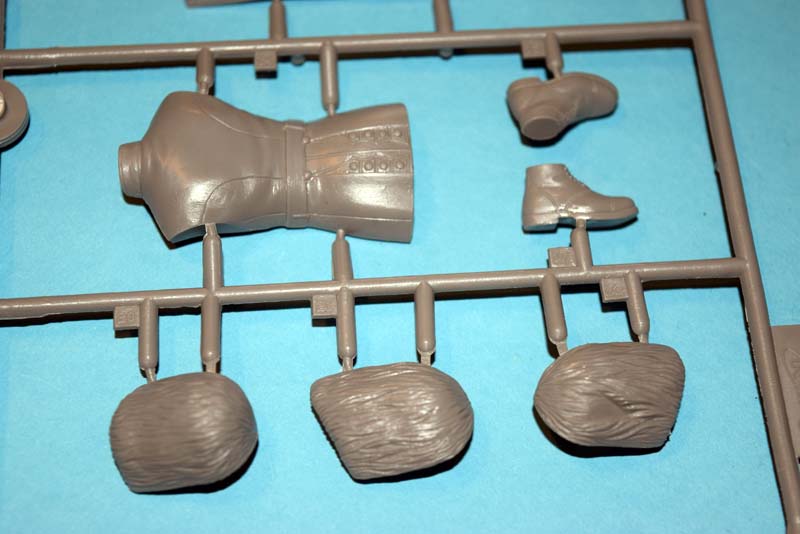
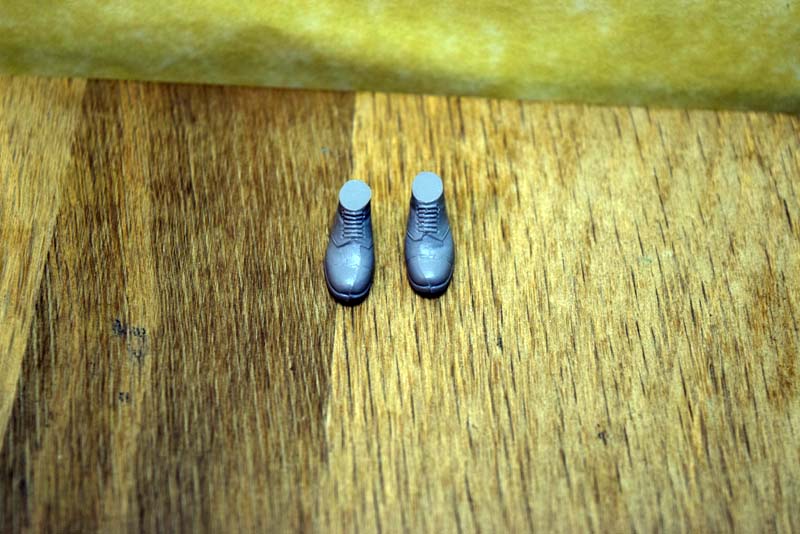
The breakdown of the parts is interesting as it will allow various sub-assemblies to be fully painted before final assembly takes place without fear of damaging that finish. The legs are moulded in two parts, but the joint seam is down the sides of the legs, the same place it would be if moulded as a single piece. Any filler required should be an easy proposition. The trousers can then be painted, including the red stripe, even shading can be done at this point before any further assembly takes place. The boots have good detail moulded including the laces. These can also be painted prior to assembly as they are secured into recesses on the trousers, and so they provide very good undercut detail.
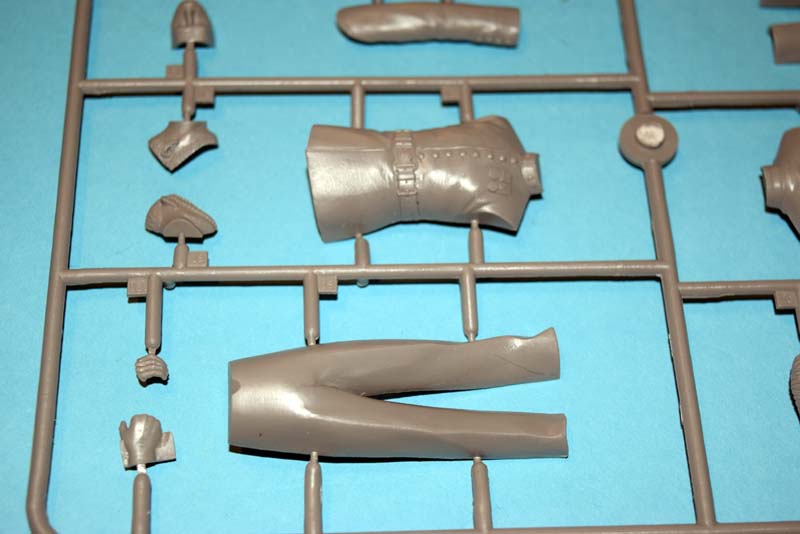
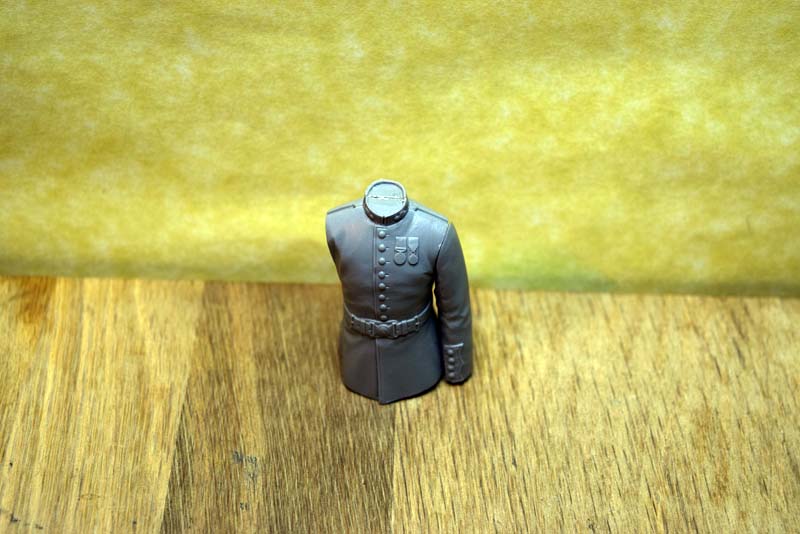
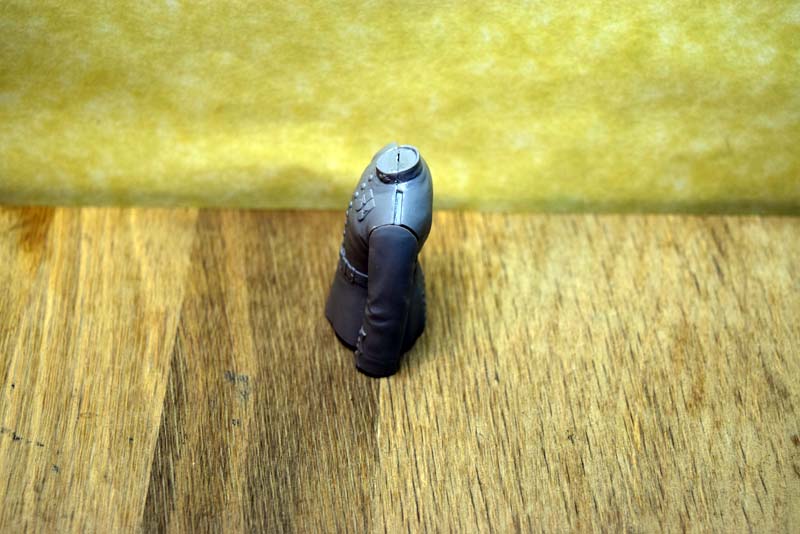
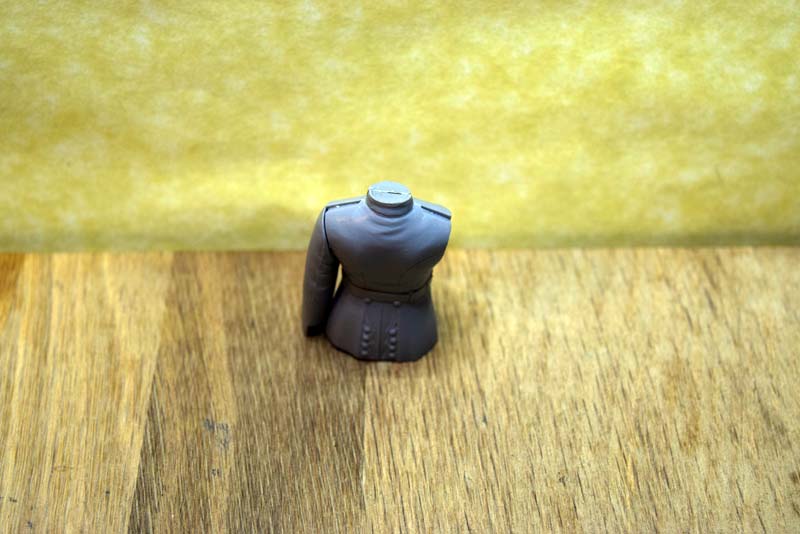
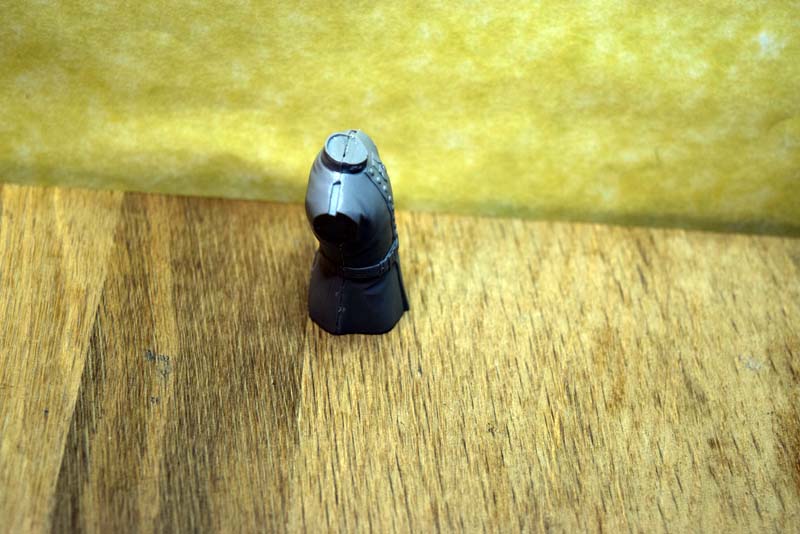
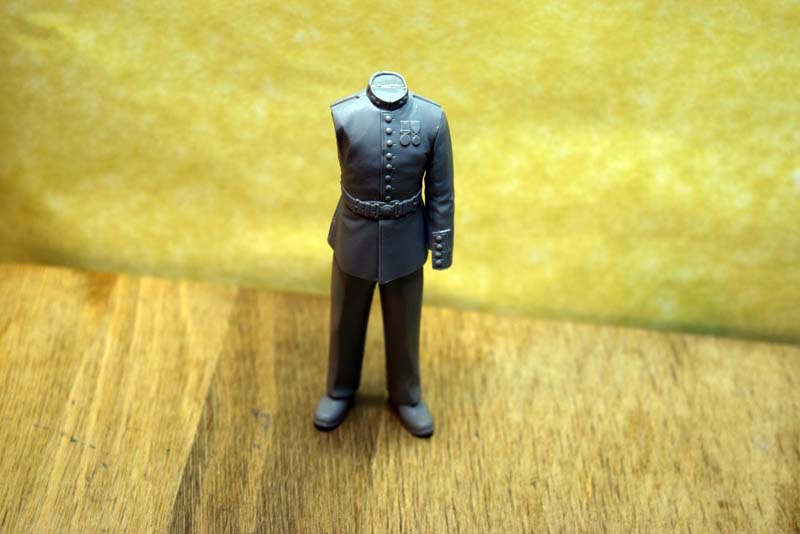
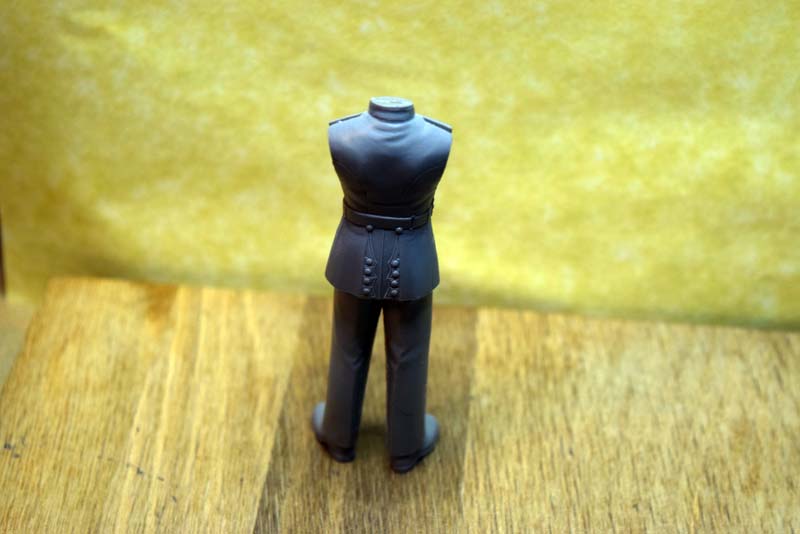
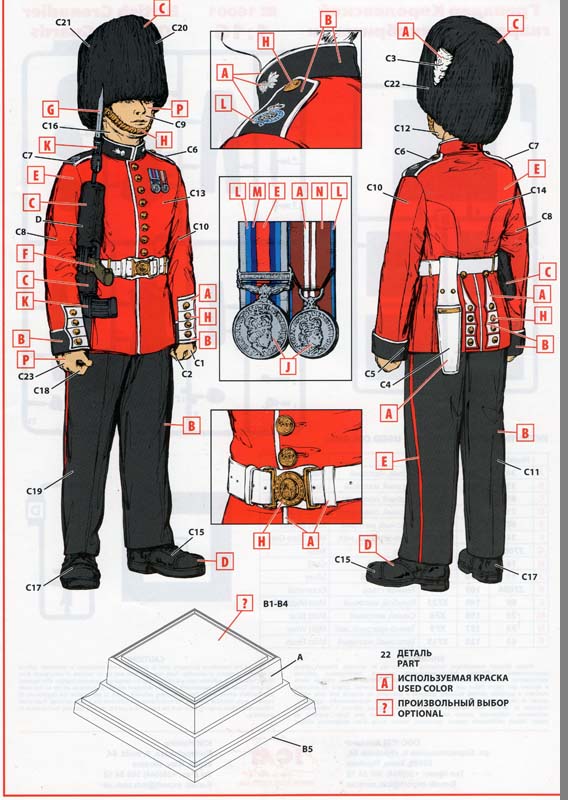
The tunic is provided in two halves; front and rear. The tunic arms are two solid separate offerings with one of the arms requiring an extra cuff piece be added. The shoulder straps for the tunic are also separate pieces and this has allowed for excellent definition to be provided. While not strictly part of the tunic, the scabbard for the bayonet is provided separately, but I do have one concern here, with it being moulded as a single piece there is no obvious opening and I believe there should be one. The entire tunic can also be assembled, painted and shading added prior to final assembly, but I do need to verify that the rifle can be added after this stage and I will address that during the build. The medals represented on this figure are the Operational Service Medal and Queens Diamond Jubilee medal.
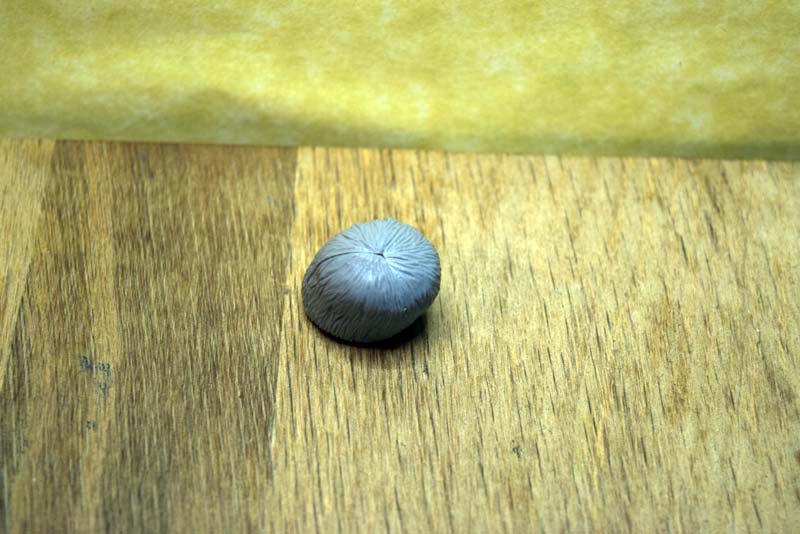
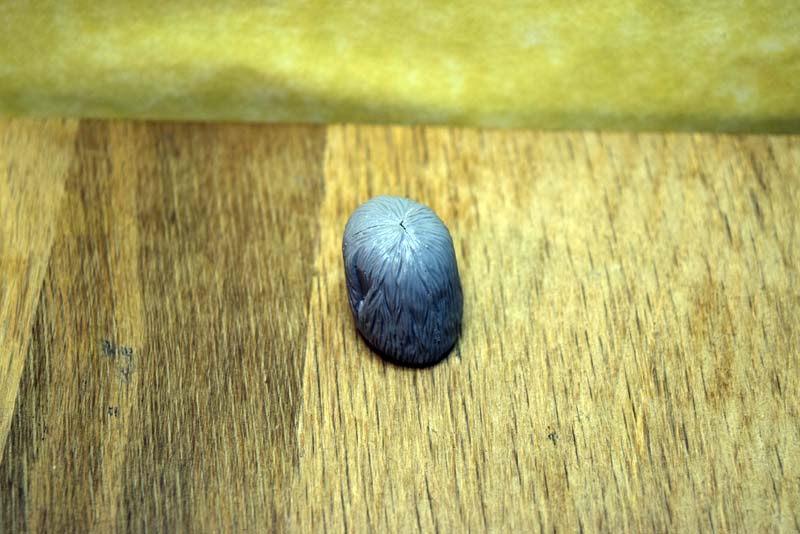
The bearskin hat has been provided in no less than four parts by ICM. The hat itself is made up of three parts and a separate plume provided. This approach has allowed the fur effect to be well represented, but I am concerned about any filler that may be required. This can again be finished completely as a sub-assembly.
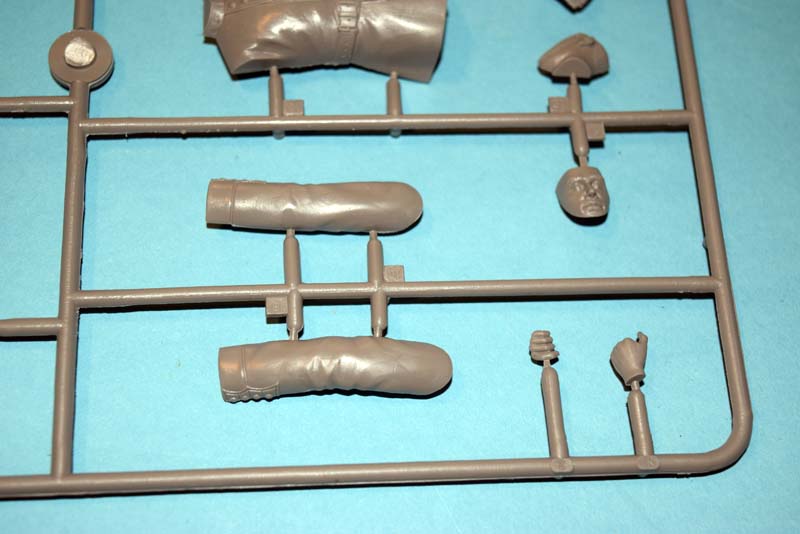
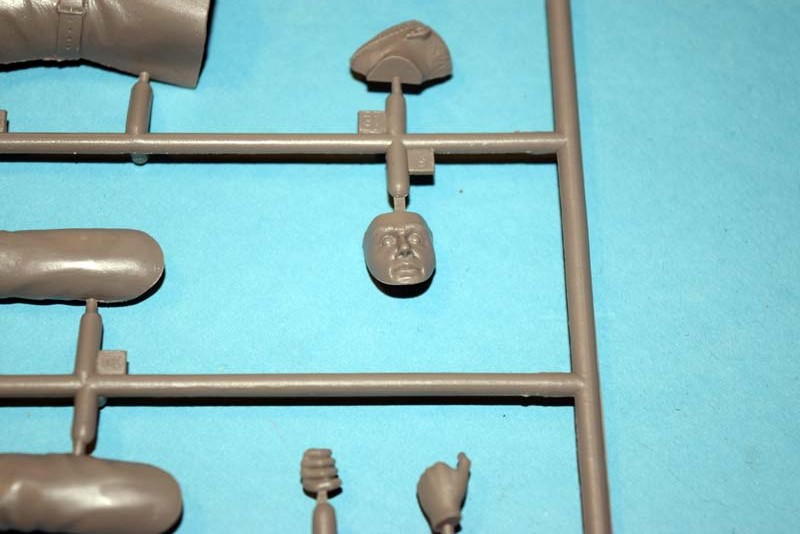
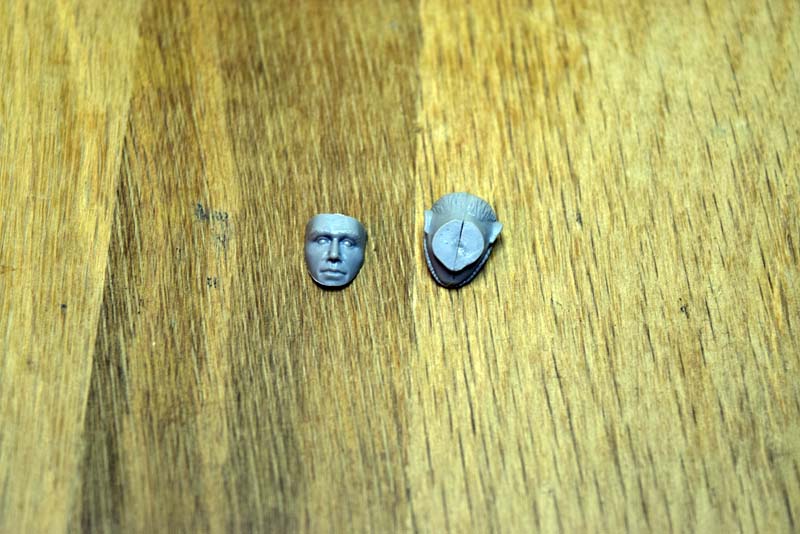
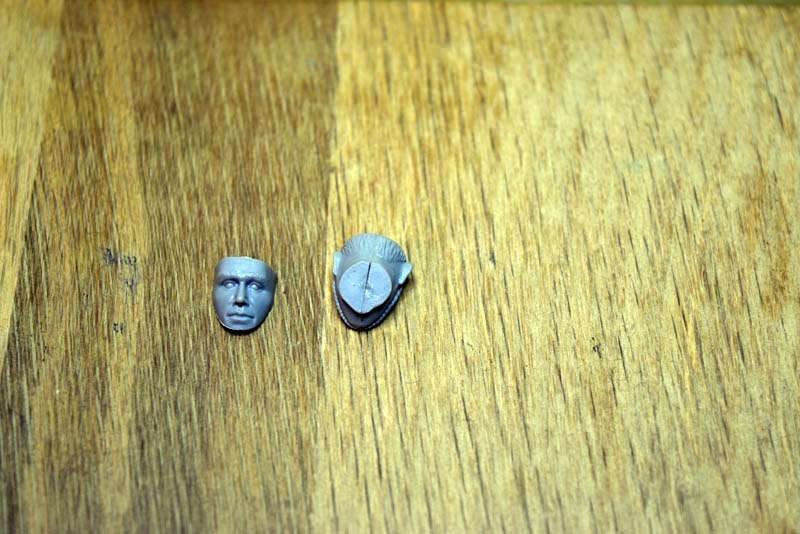
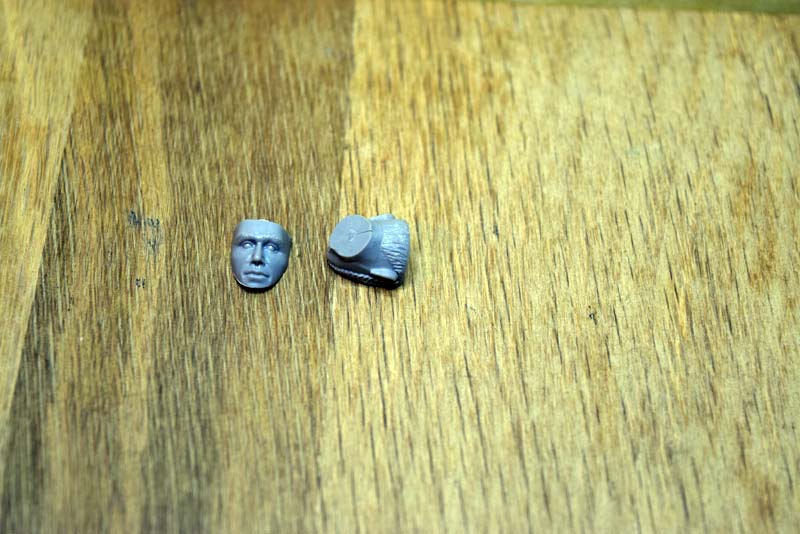
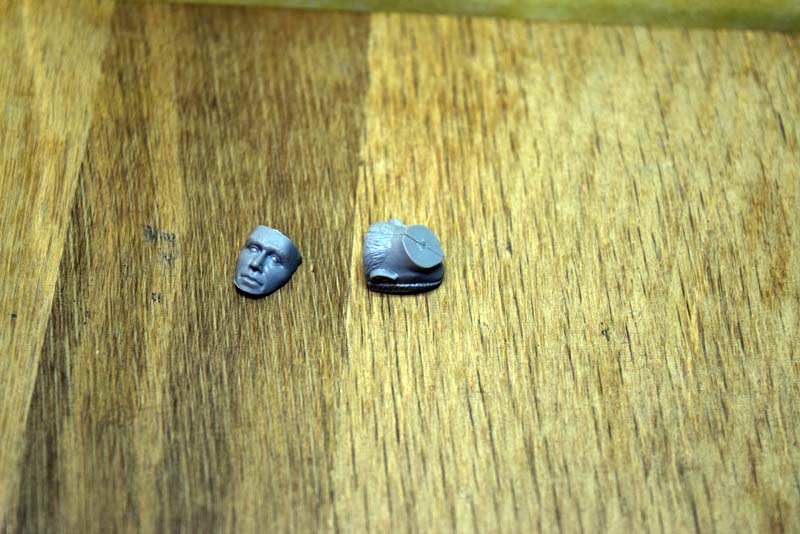
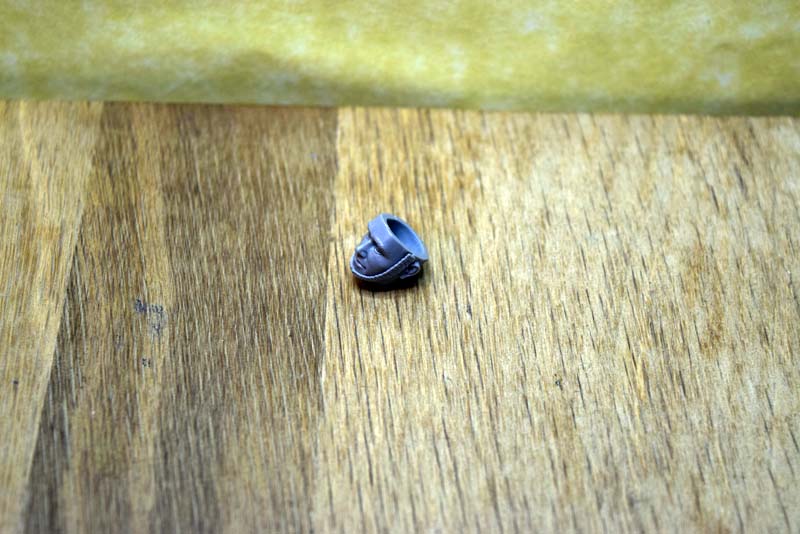
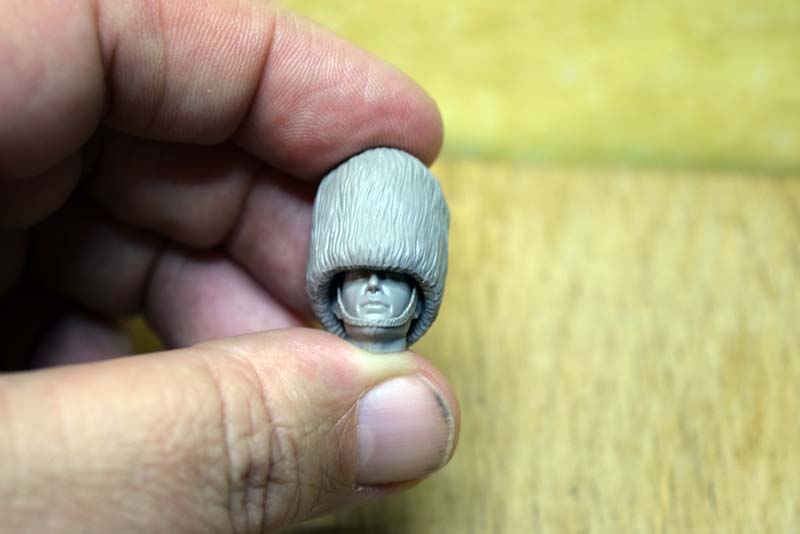
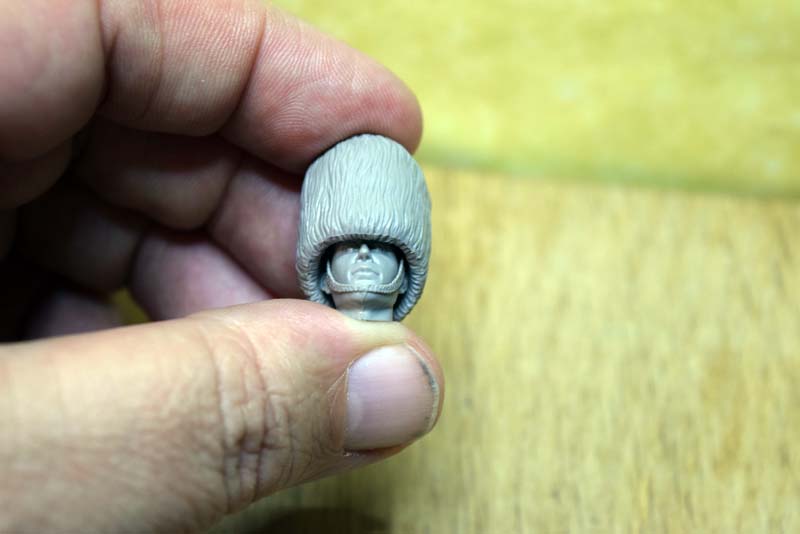
The face of this figure has been moulded in three parts; the chin strap back is in two halves and the face proper as the other part. The chin strap has a recess for attaching the front of the head and so allowing for a very natural looking joint. The rear of the head may require some filler under the chin and down the back of the head, but it should be minimal. The members who do such a good job of face painting will find this a great canvas for their art. The face is neutral in appearance and is appropriate for Guardsman performing this task. The head can again be finished as a sub-assembly as it fits into a recess in the hat and there is also a very light recess where it is attached to the tunic.
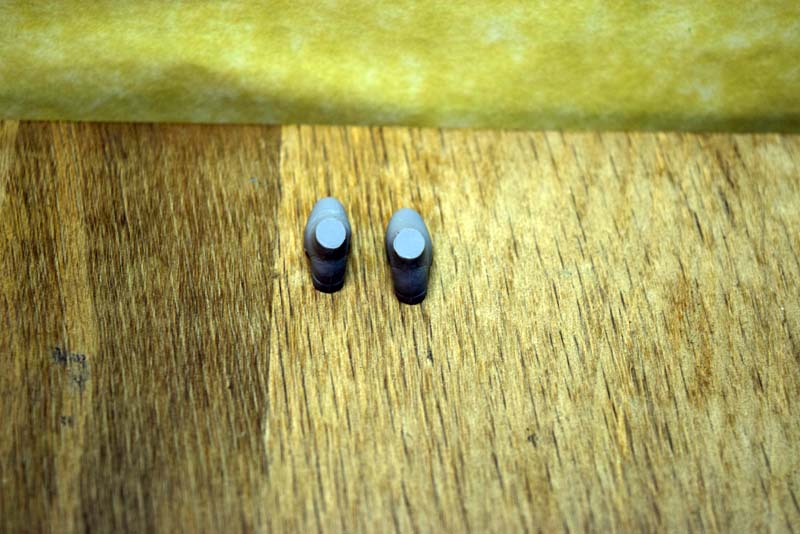
The hands are unusual in that the fingers are separate from the hand, this has allowed ICM to provide excellent finger detail, but some filler may be required. The hands fit into recessed cuffs on the tunic and so again provide some excellent undercut detail. As I have mentioned previously the arm on the right with the rifle is the only area I cannot be sure at this point how much can be done via sub-assembly.
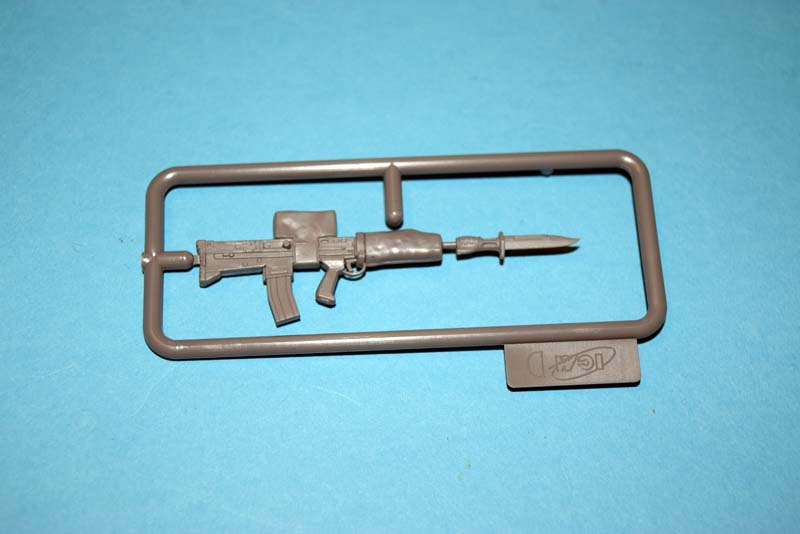
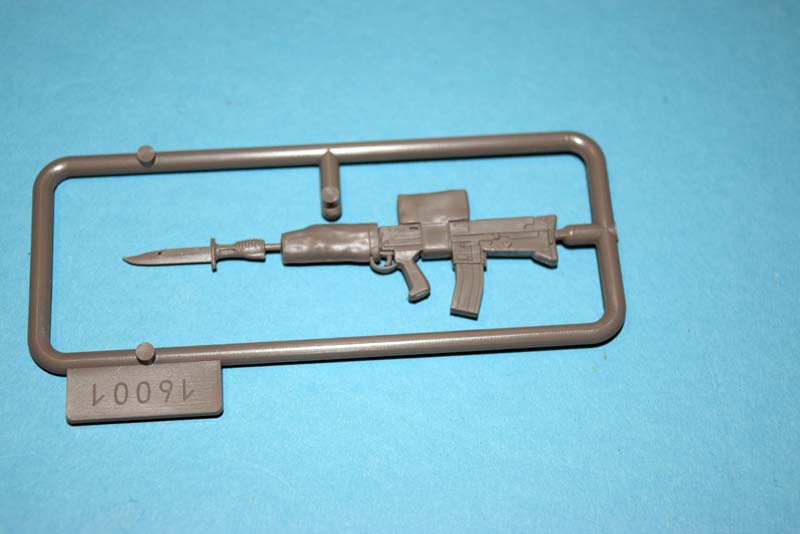
The SA-80 rifle provided looks a very good scale replica of the real thing. The covers over the sight and for grip look well represented as does the detail generally. One thing I believe is wrong is in the painting stage, ICM instruct you to paint the hand grip grey, but every one of the weapons I have seen is a dark olive coloured plastic.
The stand provided by ICM is very nice and should look good once everything comes together. I especially like that ICM has provided a choice of four surfaces for the top of the stand. These surfaces could also be used with a wooden stand if that approach is preferred by the modeller.
The painting and assembly guide is quite good. The painting aspect has been very well tackled by ICM as I really like the effort put into the information on painting the details they have provided. The actual assembly is straight forward, but the instructions for those just entering the hobby could be better.
Construction
I will make clear from the very start that a completed model is not going to be the result of this part of the review, its purpose is purely to gauge the fit of parts and my supposition on building and painting the model in sub-assemblies. I started with the tunic; this was easily removed from the sprue, and it was relatively clean on removal, but the sprue gates have crept around the mating surfaces. The way that the sprue connection points are does mean that care will need to be taken during clean up in order to obtain a clean joint and to avoid unnecessary filling work later. The tunic does not have any connection points present and this does make assembly of the tunic a little tricky. I lined it up from belt to neck and once that was set I glued the lower portion. I did have to manipulate the lower portion as one side was sticking out a little. The seam lines are less of an issue than I thought as the arms hide them fully with the exception of the collar.
The arms are easy to clean up and attach to the tunic. The left arm fits very well to the front half of the tunic, but there is a gap at the rear that will need to be filled. The right arm fits very well in all respects, but you will have to take my word for that as it cannot be attached at this stage. It is my intent to paint the model, add the arm and then do any required remedial action. I had hoped to be able to add the arm and then slip in the rifle at the end, but I now believe that to be impracticable. The boots are a pair rather than being identical, I will be honest I thought if a detail was going to be messed that would be it. The boots can be fully finished before being added to the model.
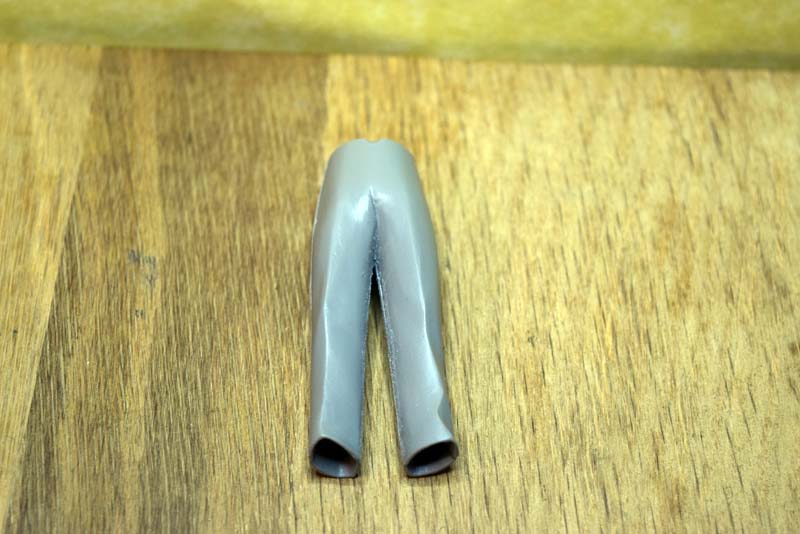
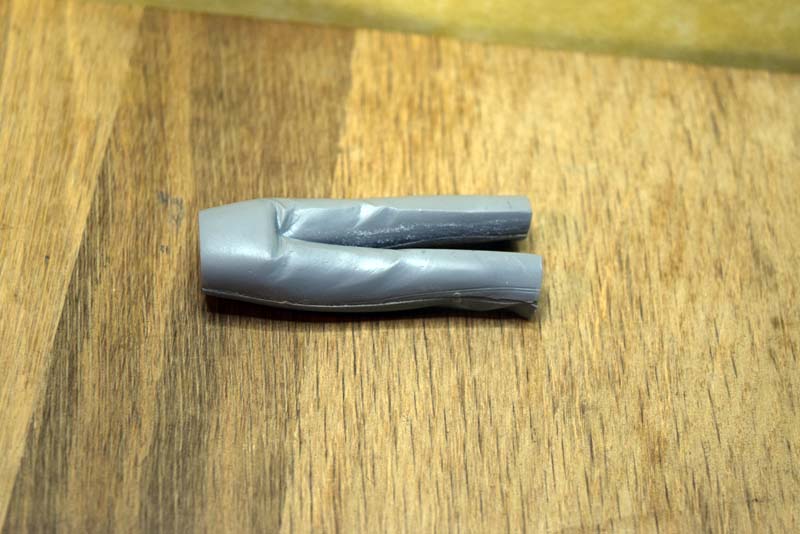
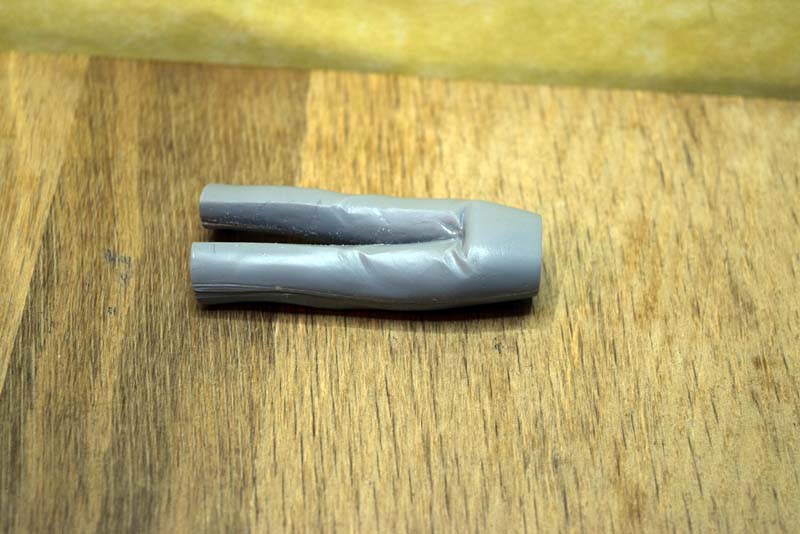
The trousers do have three pegs and receivers present, these are placed in the centre of the waist and the end of each leg. I found that the pegs did not want to go into the receivers and so I opened them up with a drill bit. The waist was secured first; I did this as the leg joints splayed out from the knees down. I waited until the waist joint was fully cured before securing the lower halves of the legs.
The bearskin hat was next. Three main pieces of the hat went together beautifully, the joints being almost invisible on the unpainted parts. I have not attached the hackle as that can be painted and added at the end of the build. The last parts I tackled where for the head of the figure. It is these parts that were of most concern to me, my reason for this is simple, they would be the hardest to fill and hide the joints. The two rear halves of the head fit very well and the face itself then fits perfectly into the recessed joint of the chin strap. This result will make it far easier for the modeller to get a painted face they are happy with.
Conclusion
This being the first sortie of its kind by ICM, I am very impressed with their efforts. The undercut detail is great and I only wish it could be replicated in 1/35th scale figures. The details on the tunic are very well replicated and should provide an excellent canvas for all of us to work with. The way the head has been tackled allows for ease of painting and assembly with very natural joins to boot.
SUMMARY
Highs: Great attention to detail by ICM and ease of assembly has been considered.Lows: Some painting directions look off.Verdict: A great start by ICM in this scale.
Our Thanks to ICM Holding! This item was provided by them for the purpose of having it reviewed on this KitMaker Network site. If you would like your kit, book, or product reviewed, please contact us.
About Darren Baker (CMOT) FROM: ENGLAND - SOUTH WEST, UNITED KINGDOM
I have been building model kits since the early 70s starting with Airfix kits of mostly aircraft, then progressing to the point I am at now building predominantly armour kits from all countries and time periods. Living in the middle of Salisbury plain since the 70s, I have had lots of opportunitie...
this figure represent the "grenadiers-guards". one of the battalions that guard the queen of england.the another battalions are. scots,wales,irish,and the other can no remember at this time.
This looks great. The L85 is a very good rendition of the A1 version which had been replaced by very early 2006 by the L85A2.
I am being picky though
the pose really doesn't show the difference so it wouldn't bother me. Must pick one up.


Comments