The Ford Model T was the first mass produced car and was produced in huge numbers and many different variants, a large number of Ford Model Ts saw service during World War 1 with various forces and this model represents one of them. One of these Ford Model T vehicle types was produced with a small cargo body, a number of these vehicles saw service with the Australian Mounted Division. The vehicles in Australian service were produced by the British Ford production plant and saw active duty in Egypt and Palestine in 1917/18.
Review
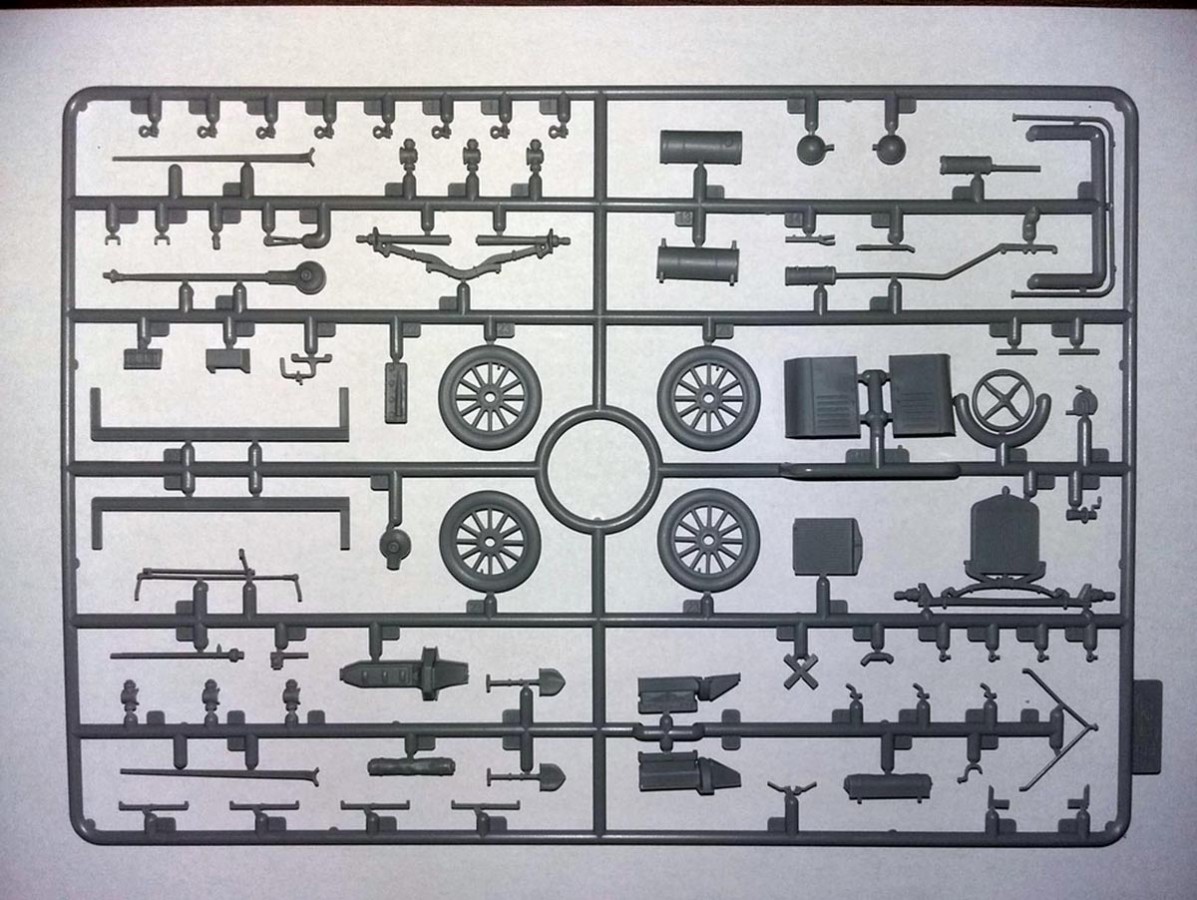
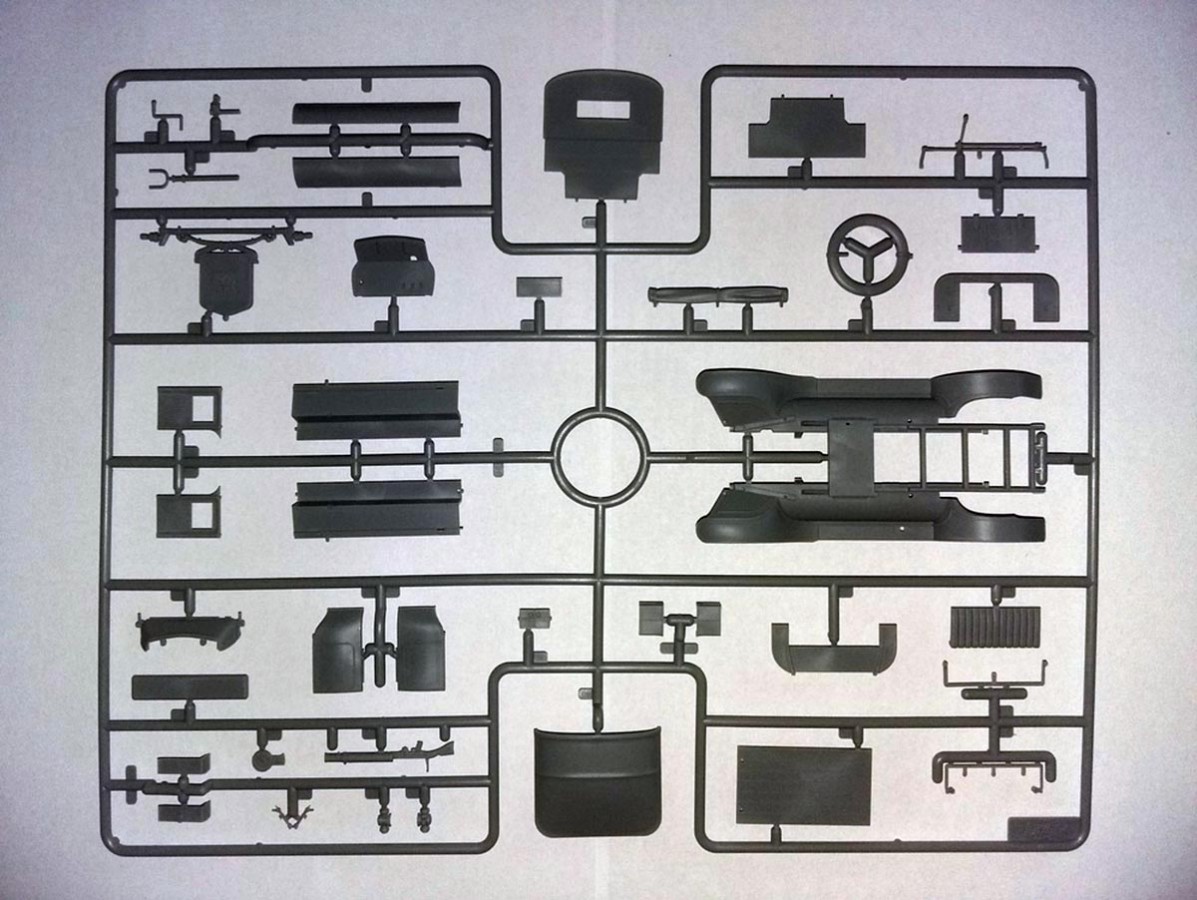
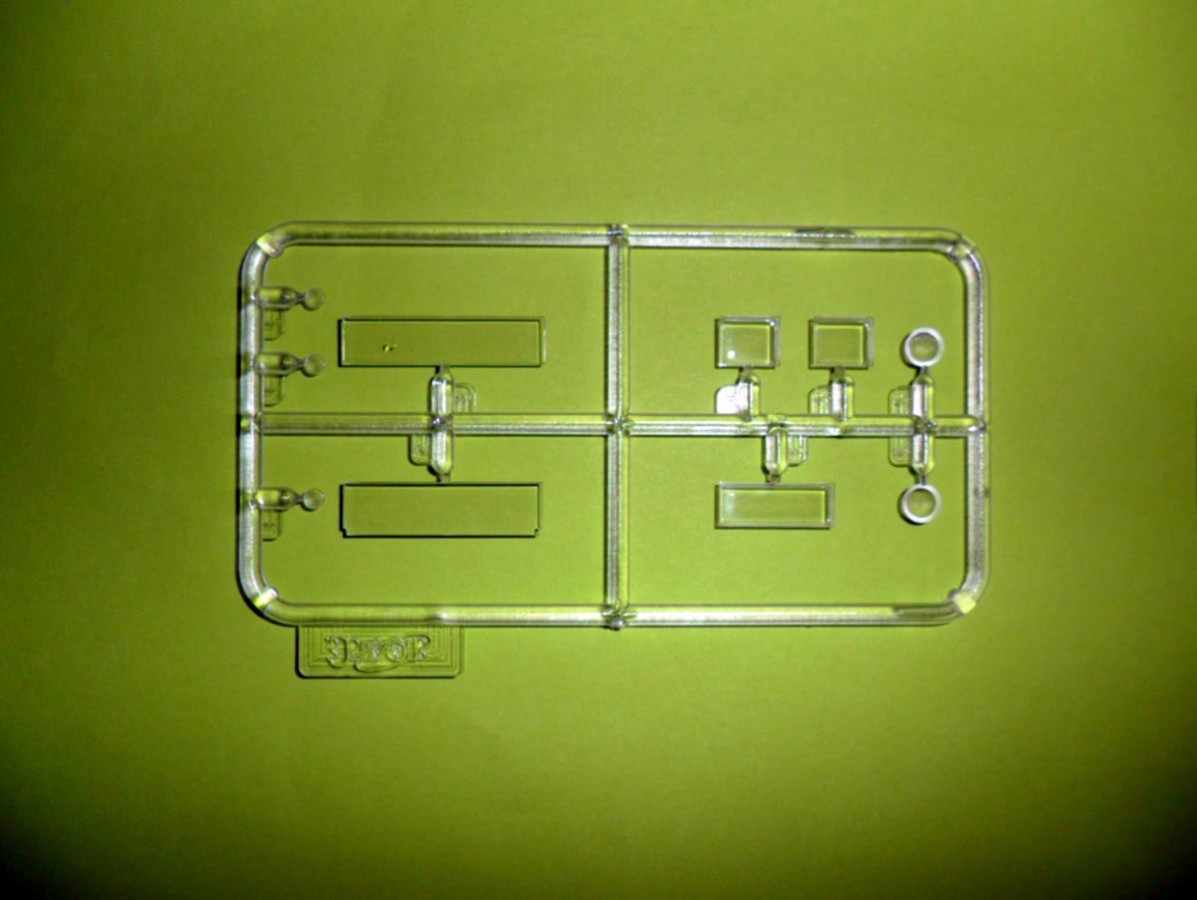
The model is very well packaged in a substantial cardboard box with a separate card lid. Inside there is a single re-sealable plastic bag containing two sprues and another small bag with a clear sprue. The parts are very well moulded, but there is a small amount of flash that needs to be tackled on some parts. The part numbers on the A sprue are very hard to read due to being only very lightly raised. The decals for this offering are protected inside the instruction booklet and are of a good quality.
The Build
As with most kits of this start the build starts with the engine, and a very nice engine it is. Detail and construction should meet the needs of most modellers and with the addition of some wiring detail will lift it to a level that should please the rest. I did not build the engine as I have observed an issue with the installation of the engine after its built; also despite being a very nice attribute of the model it cannot be seen on the finished model.
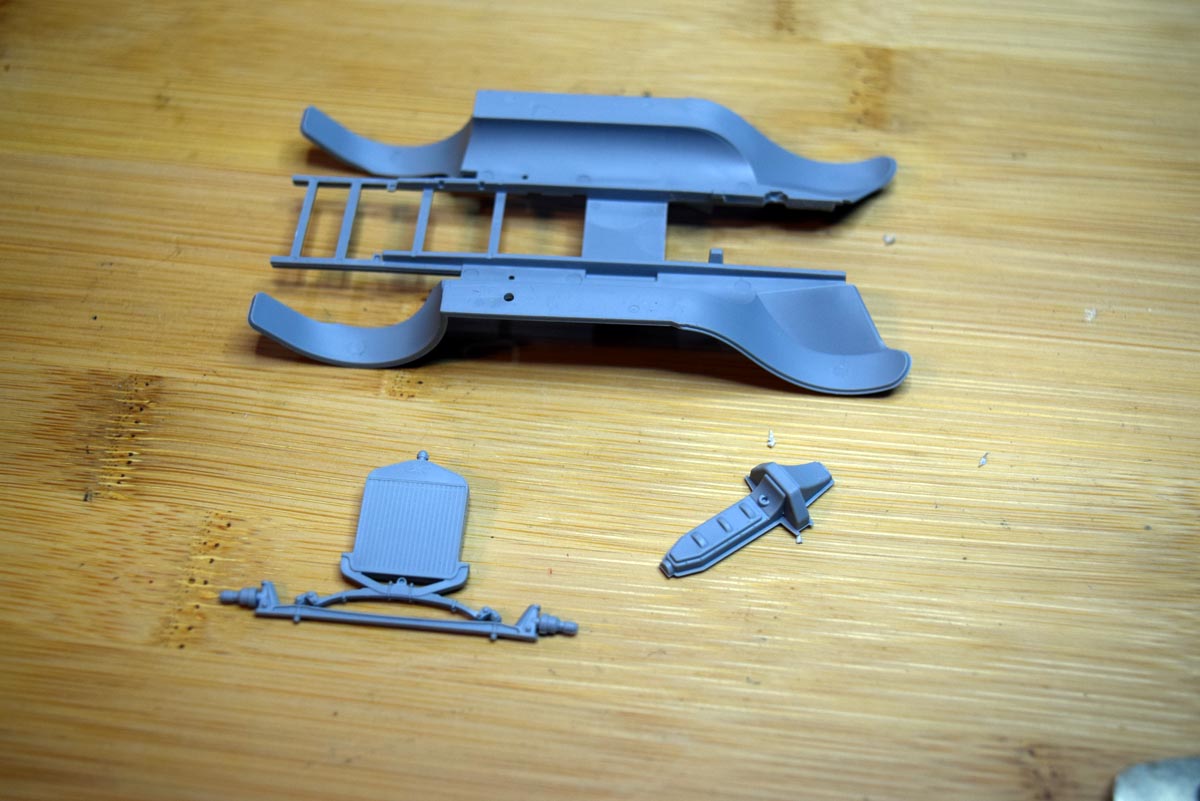
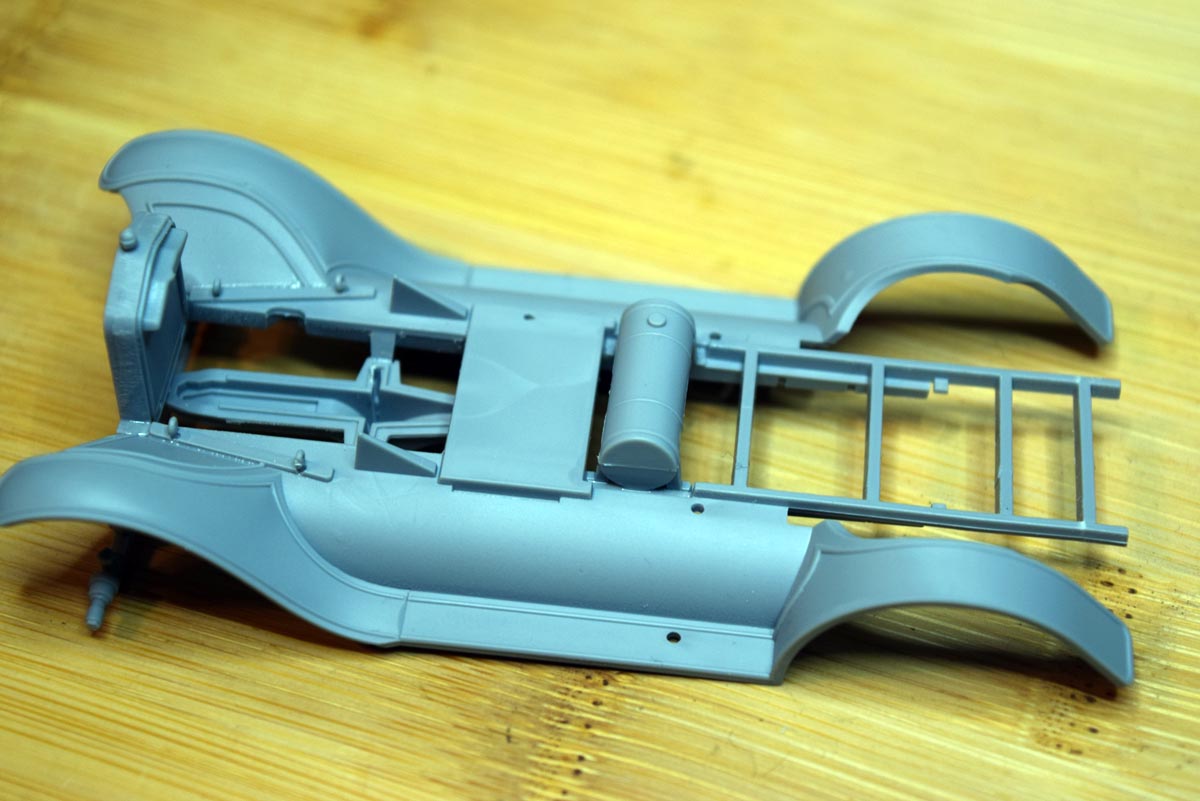
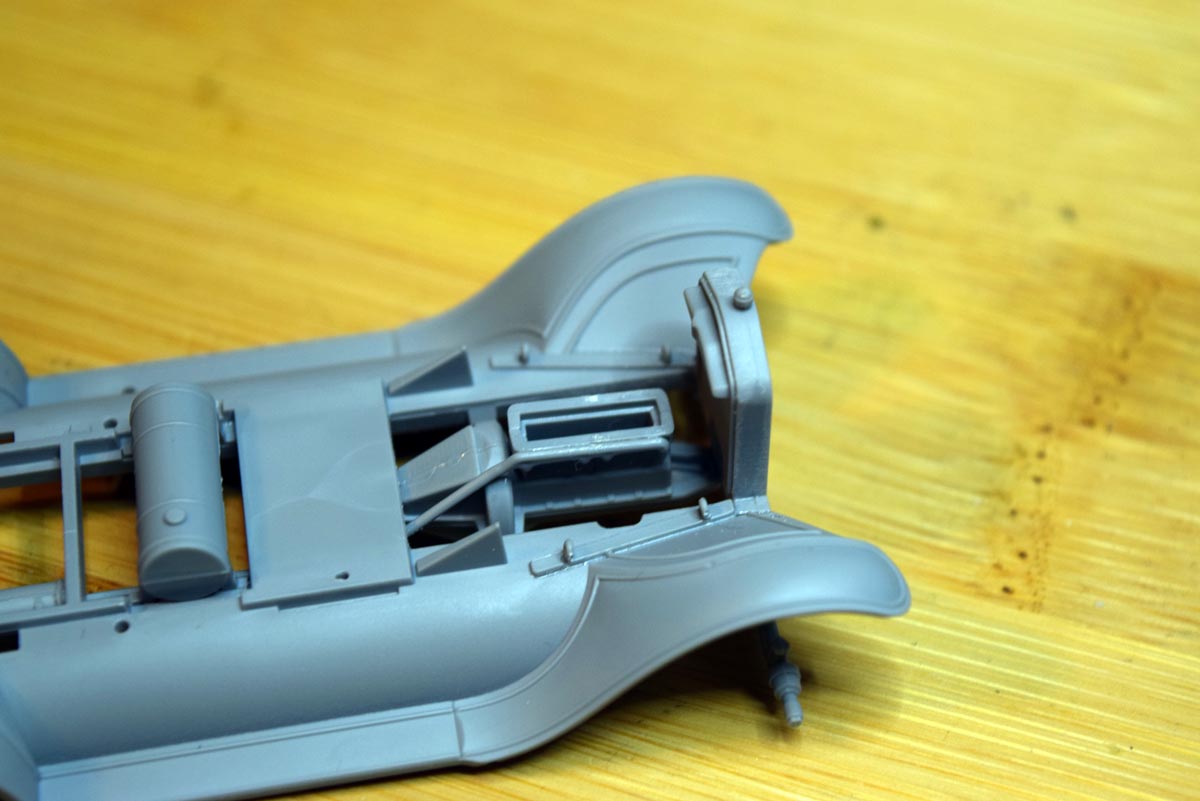
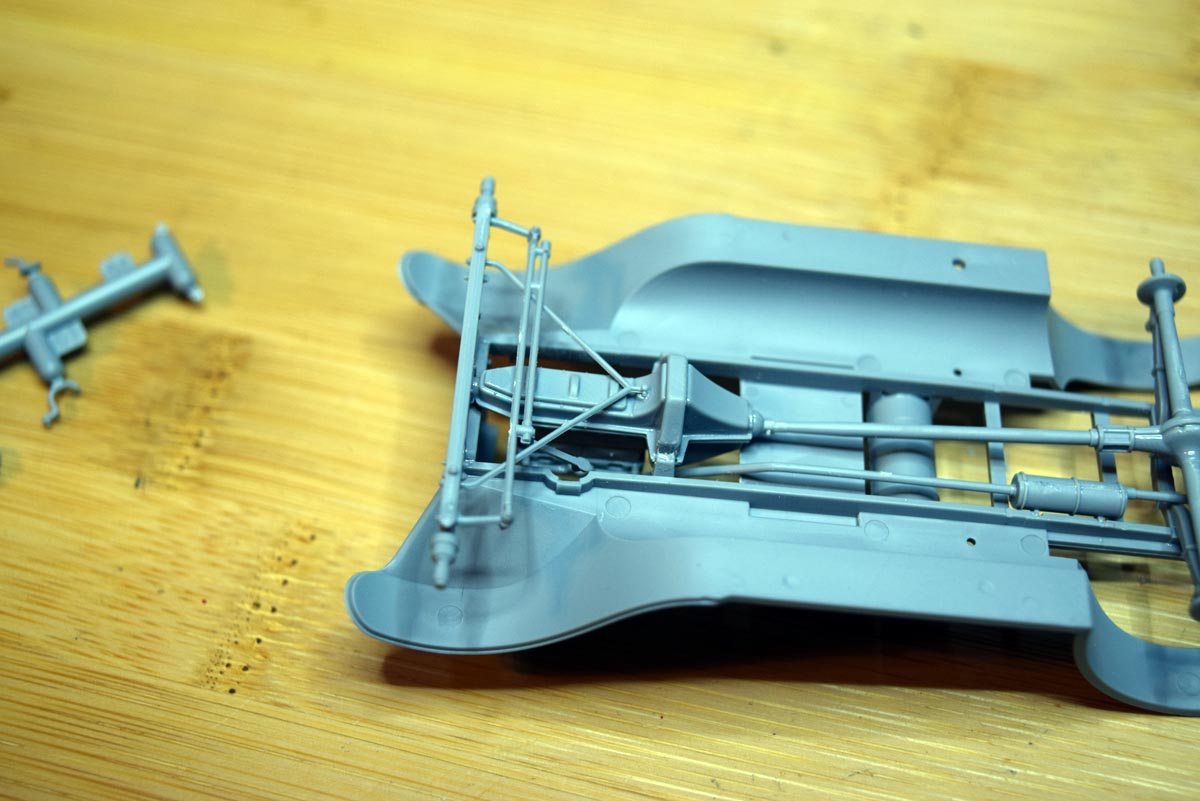
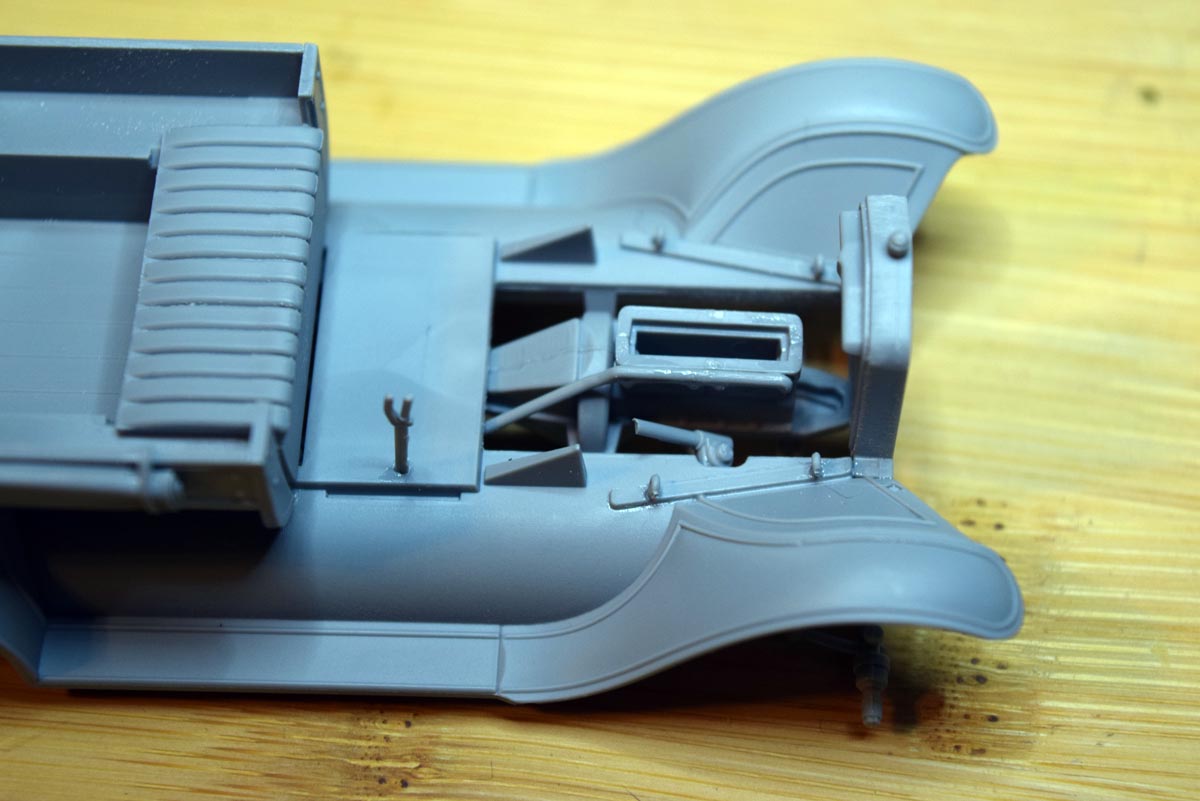
The next area looked at is the addition of the engine to the model proper and this is where you will encounter some issues that can be easily overcome with a little thought. First there are some loops that need adding to either side of the engine bay and this should be tackled first. Next up is the addition of the front axle and radiator to the chassis of the vehicle, make sure you attach the radiator the right way round and so do your best to get the angle of the radiator right. You also make the fuel tank for the vehicle which is an easy aspect.
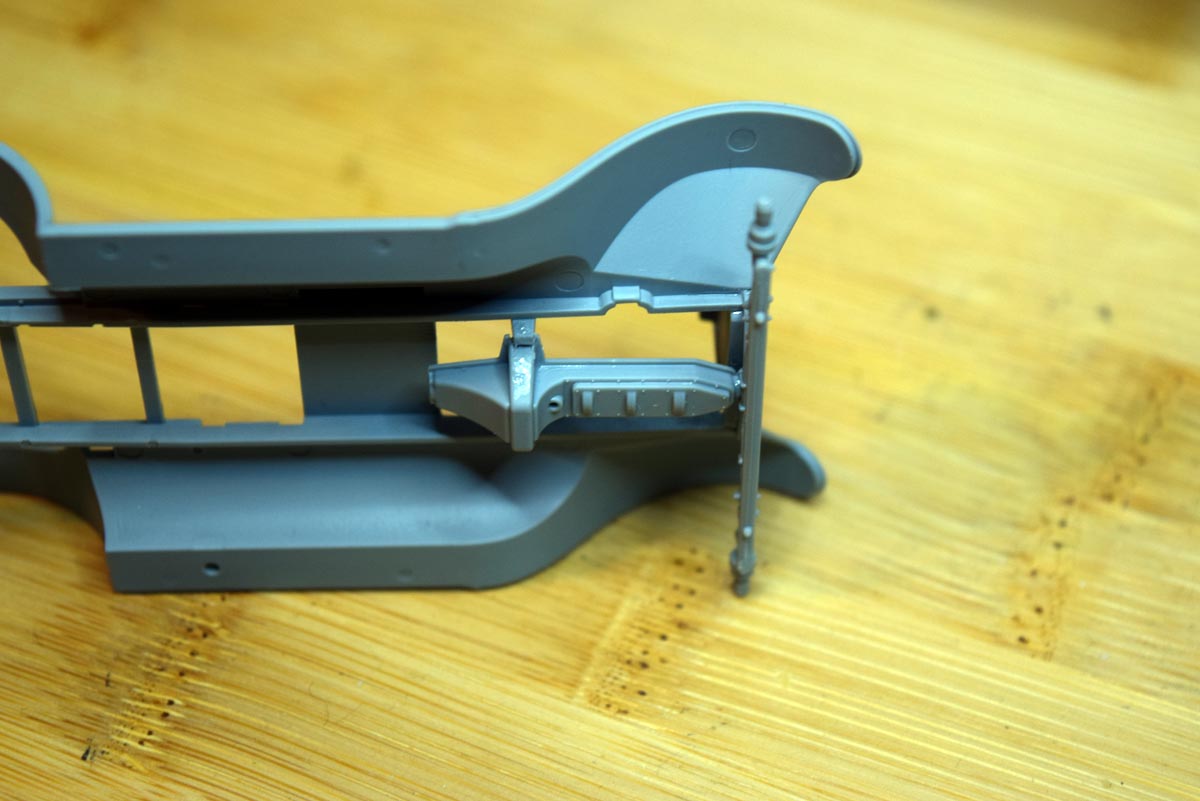
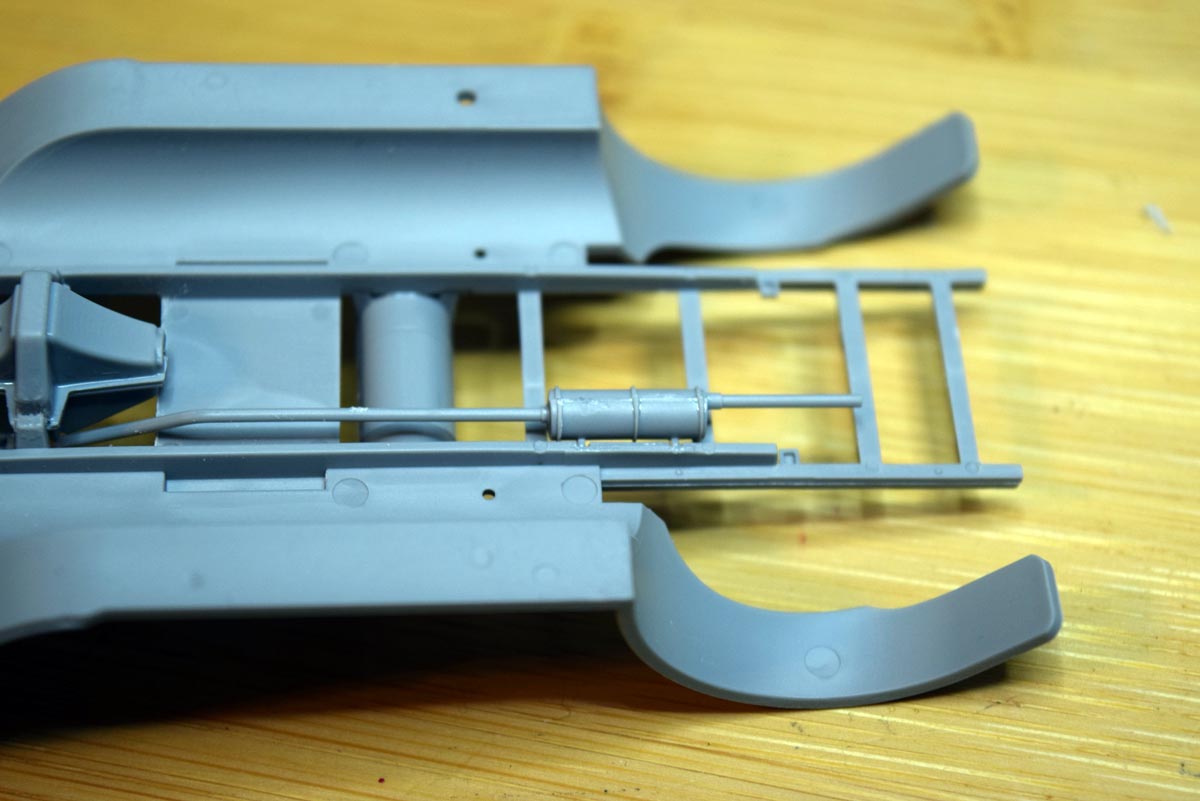
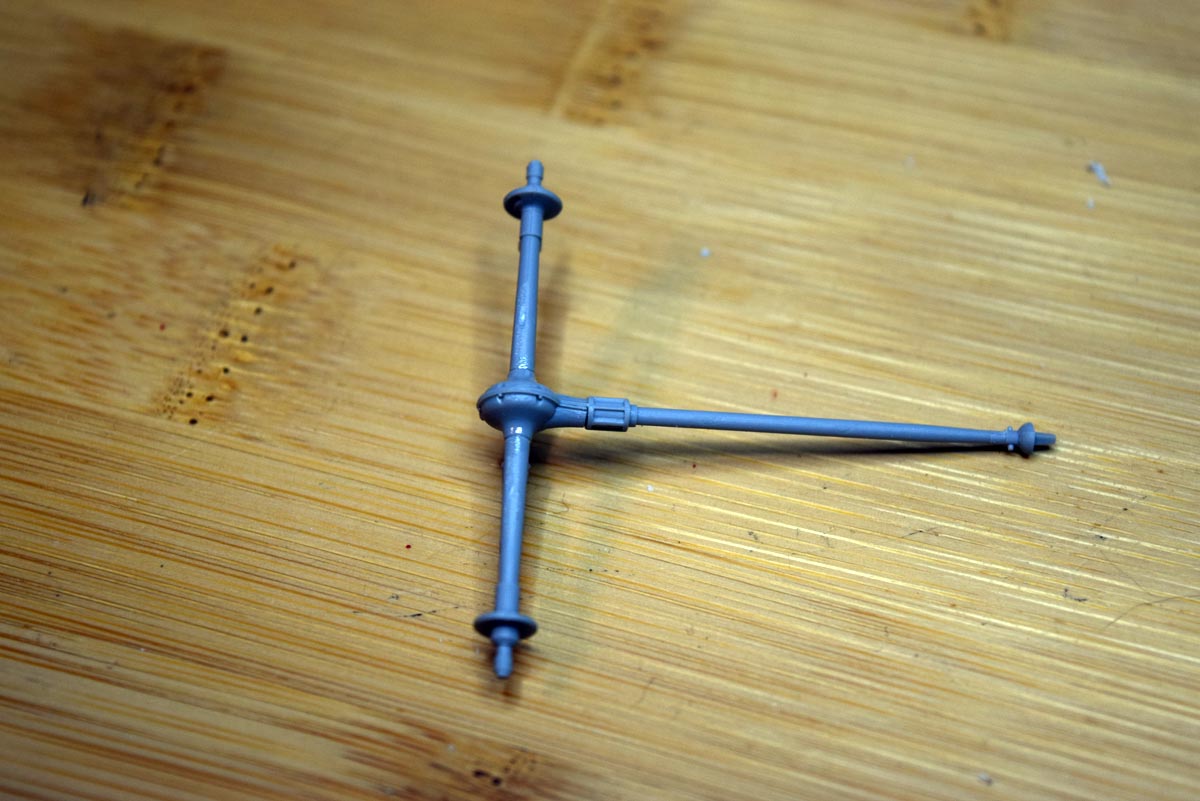
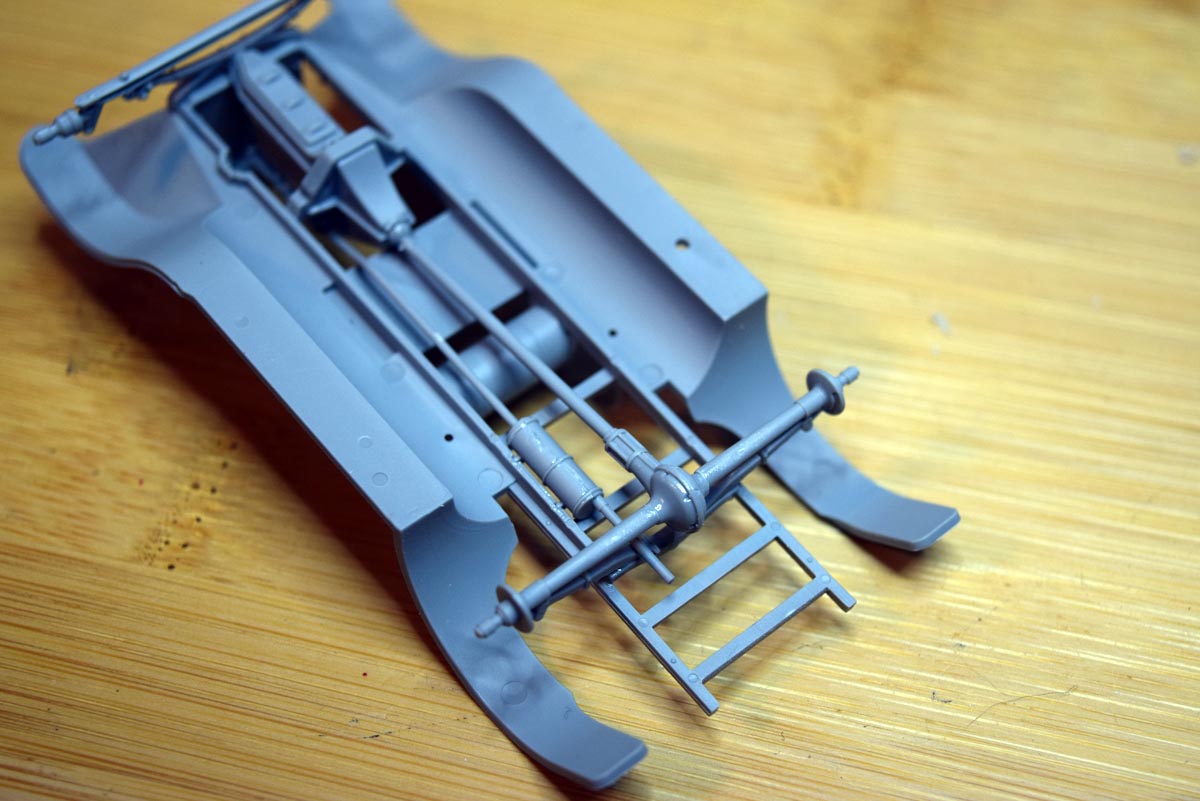
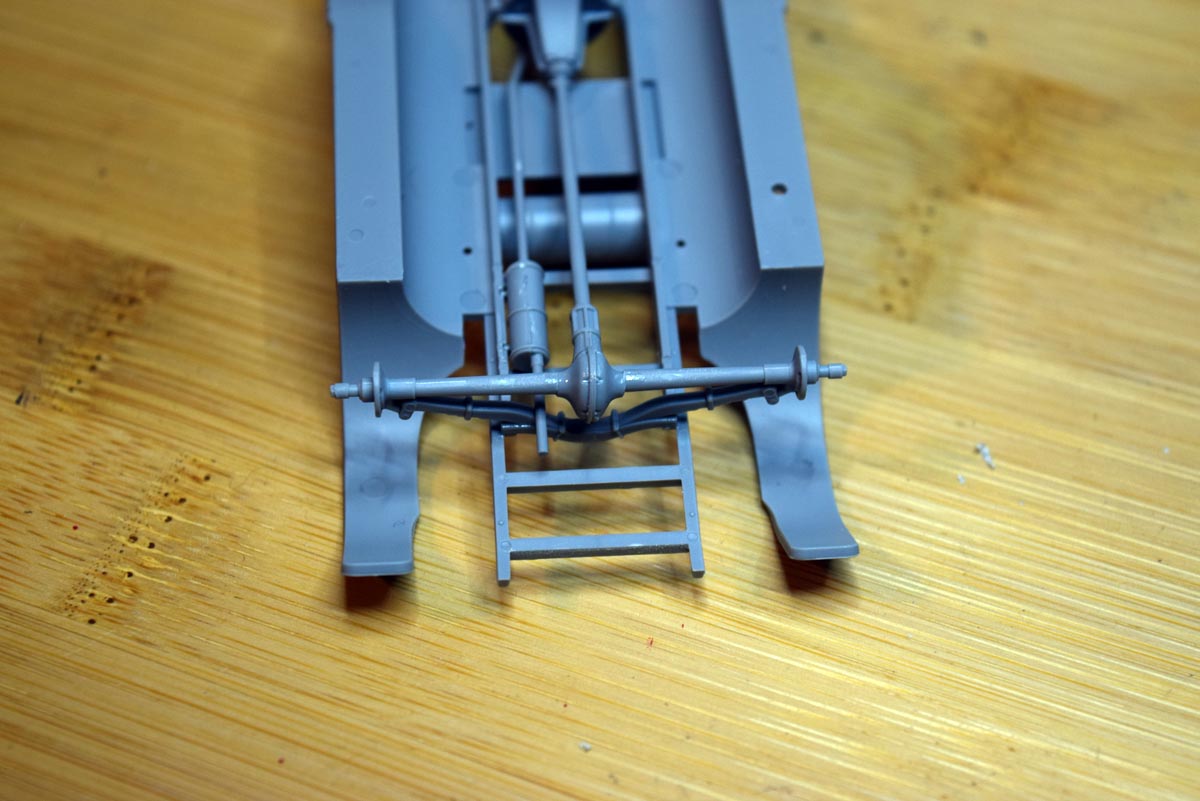
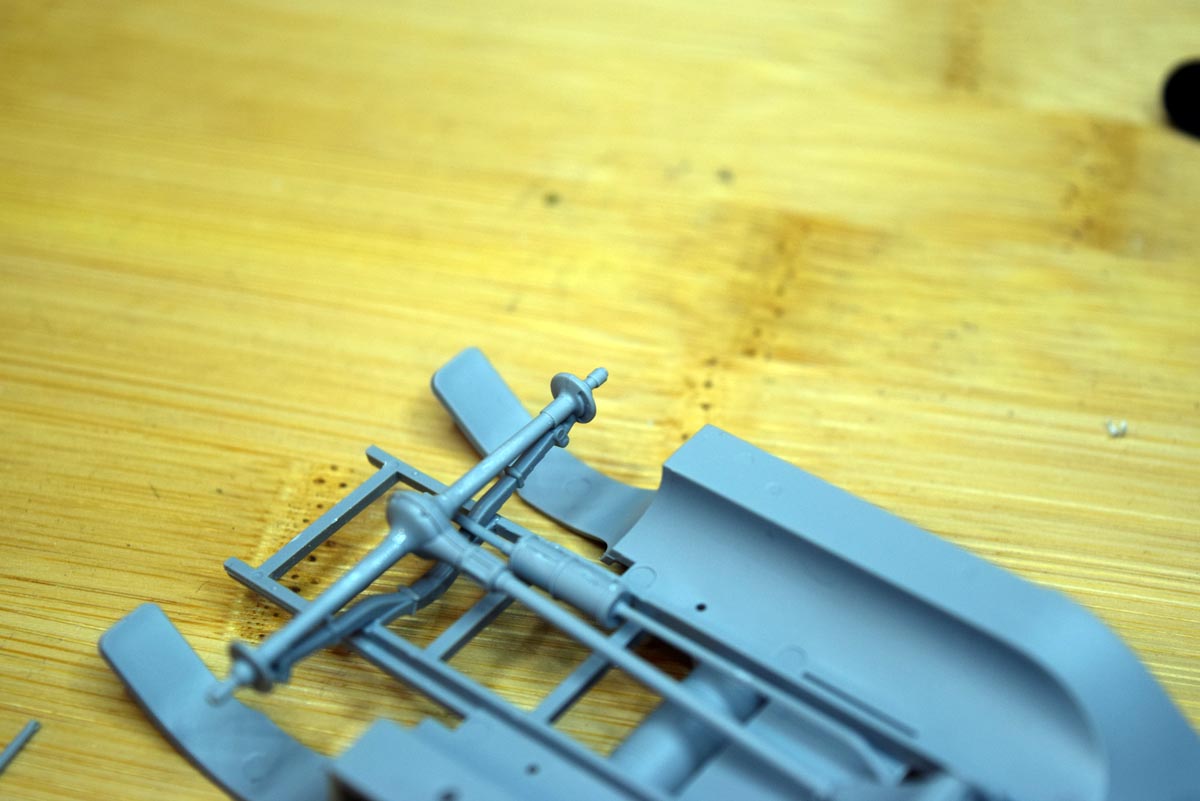
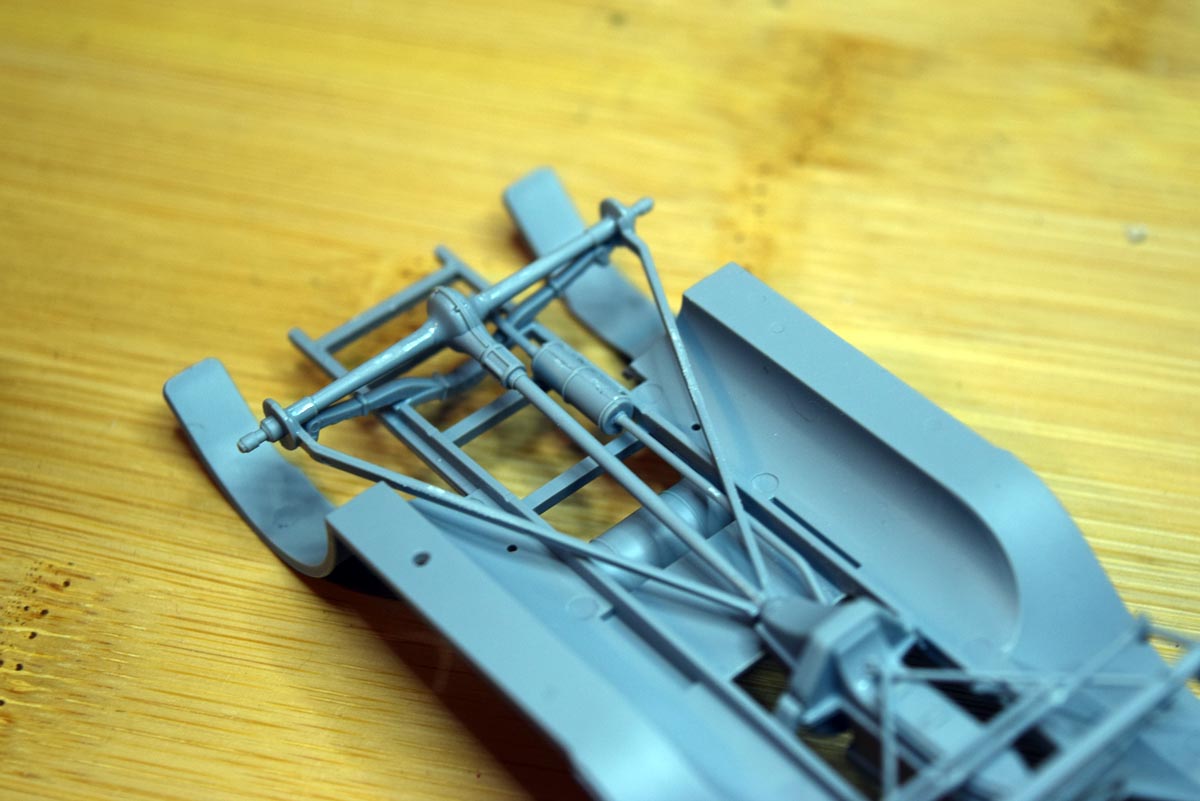
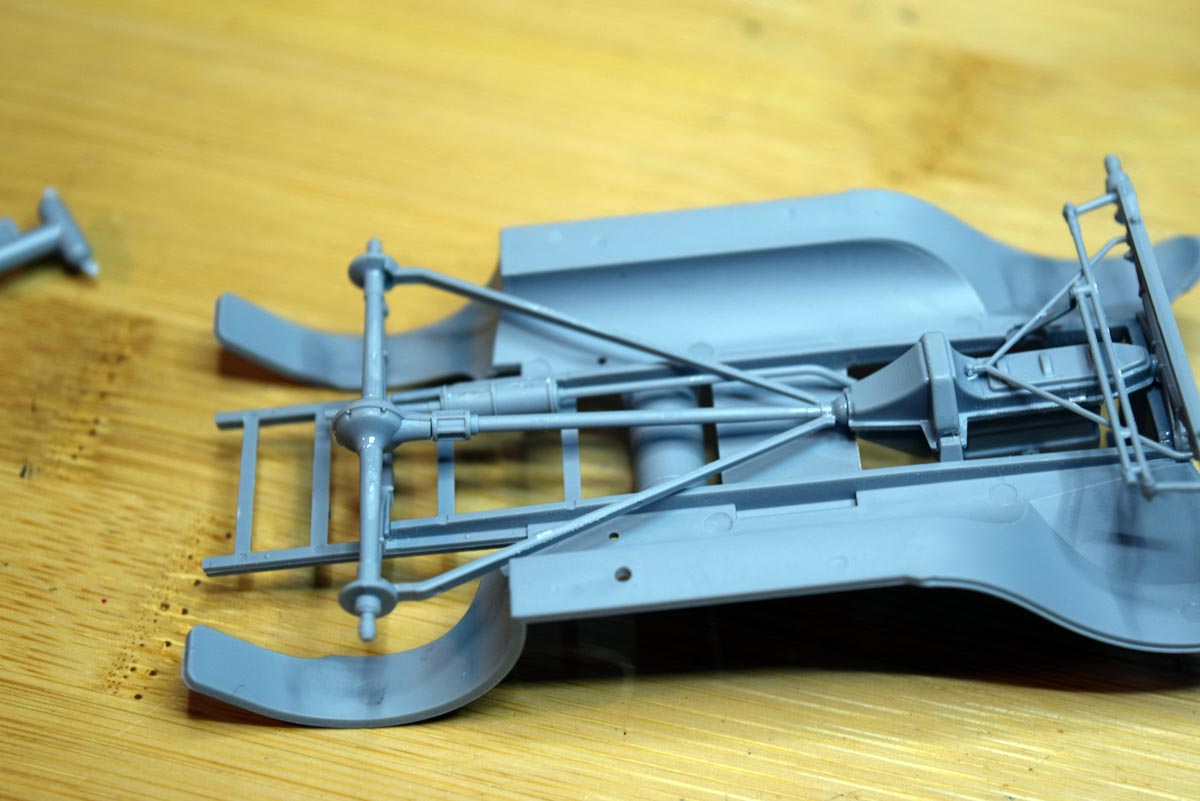
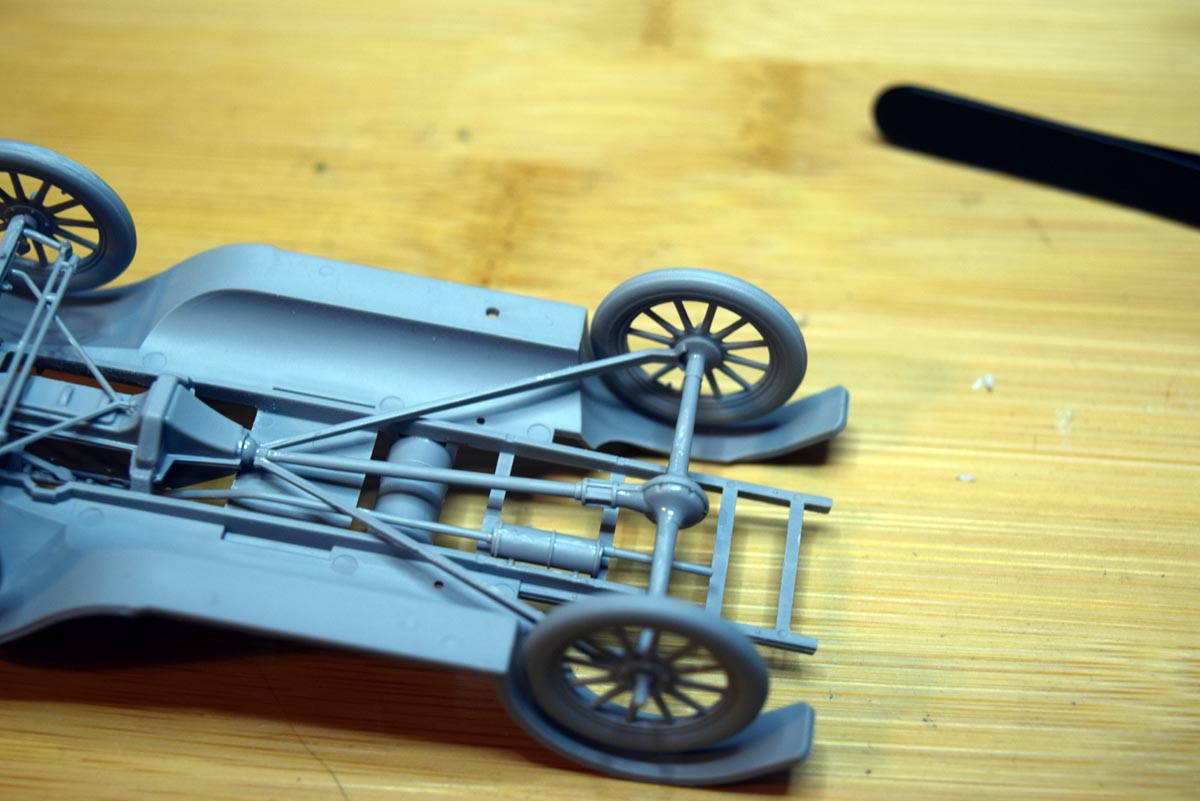
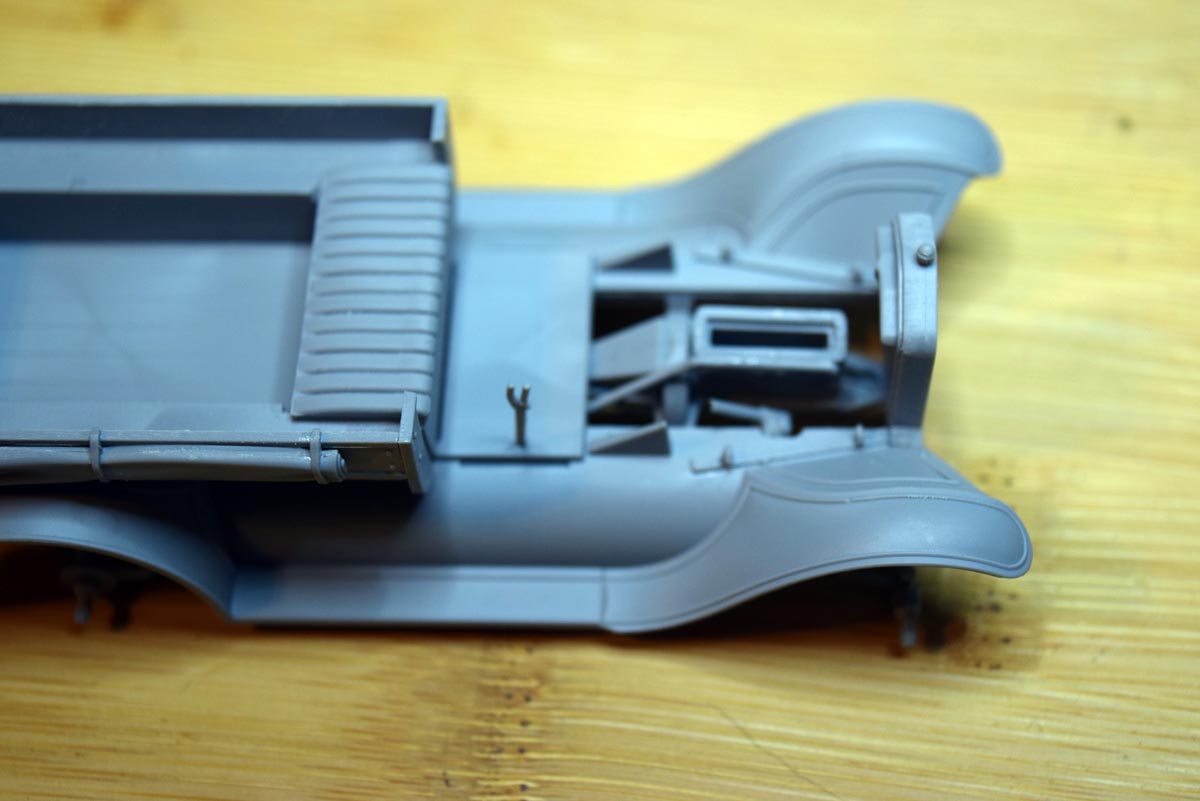
Now for adding the engine and the issue you will encounter if you have assembled it. The centre mounts for the engine want to come in from the top, but the front and back of the engine extend beyond the radiator and floor panel. So what I have done is secured the bottom of the engine in place at the correct point indicated in the instructions, after that you can build the rest of the engine if desired; I only added the engines body due to it not being seen. The exhaust and fuel tank fit well and easily, it is also the addition of the exhaust that caused me to add the engine body. The rear axle and drive shaft are added by this stage and I need to point out that the rear axle needs to be added the correct way around, this can be determined by crescent shape on each end of the axles and this needs to be placed facing forwards. I do wish this aspect was pointed out visually at this stage.
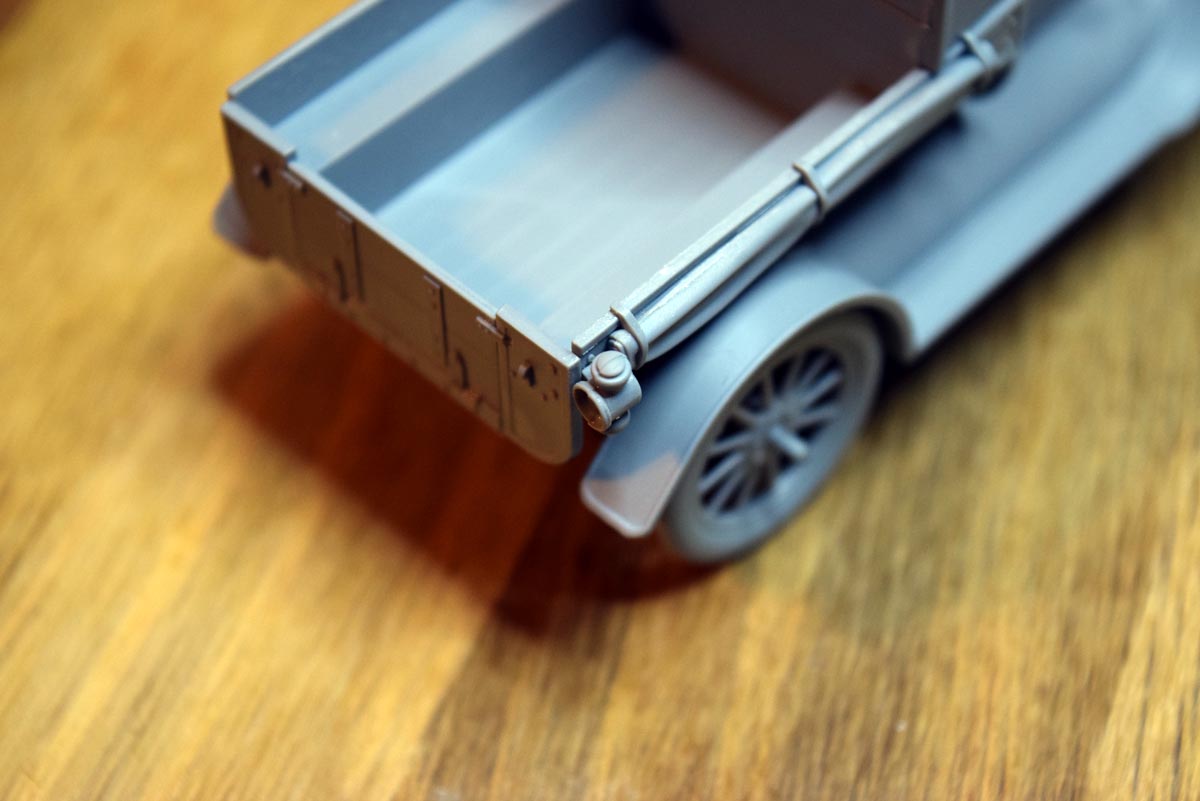
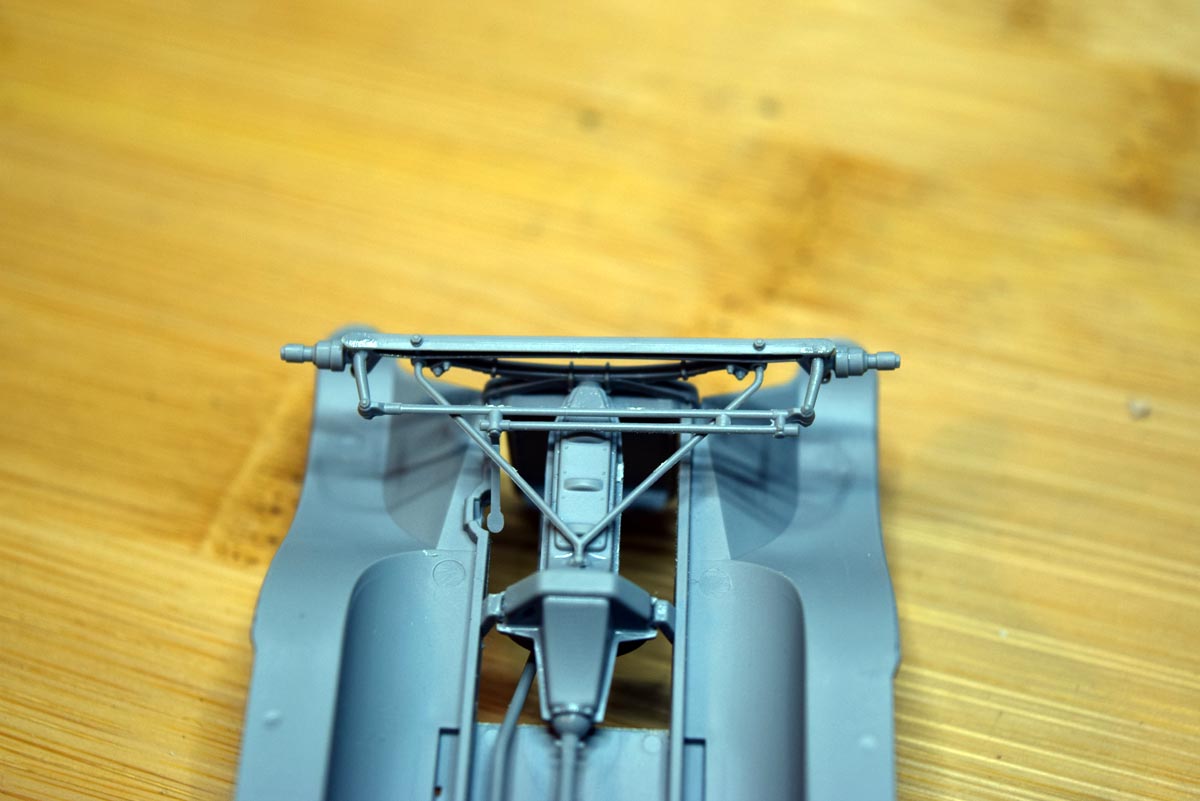
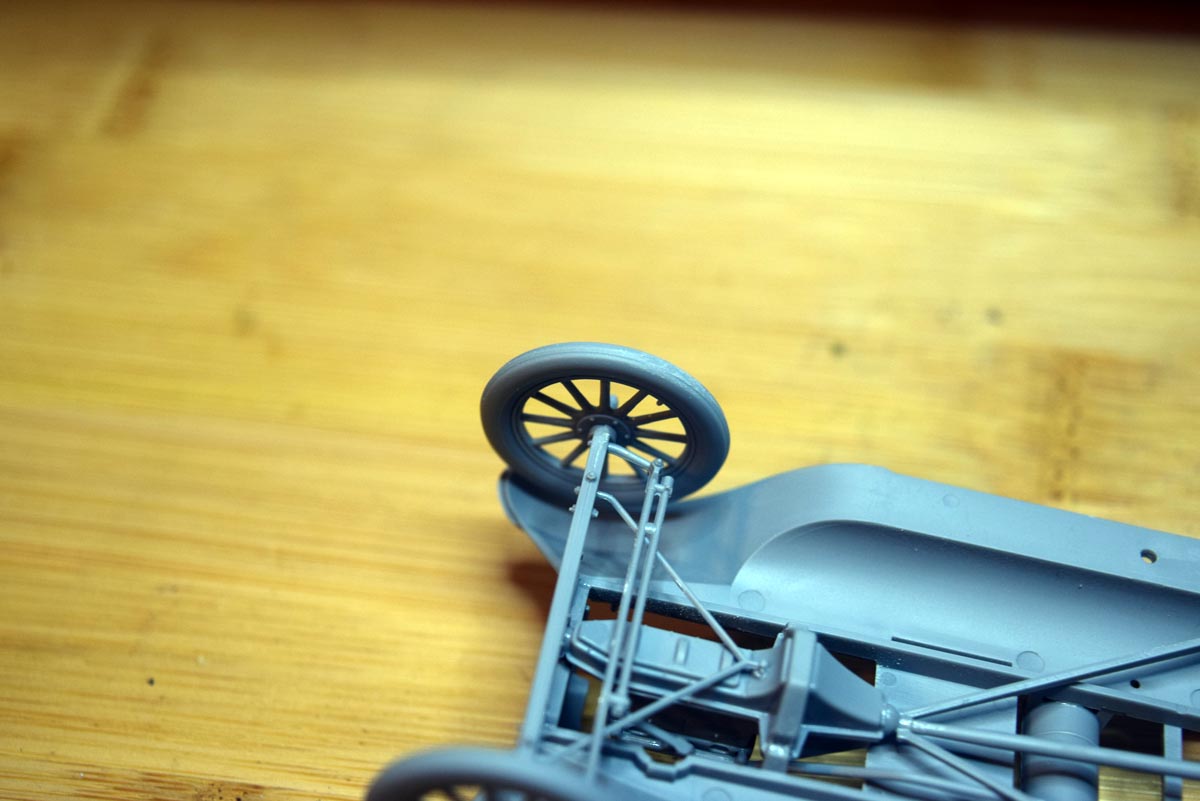
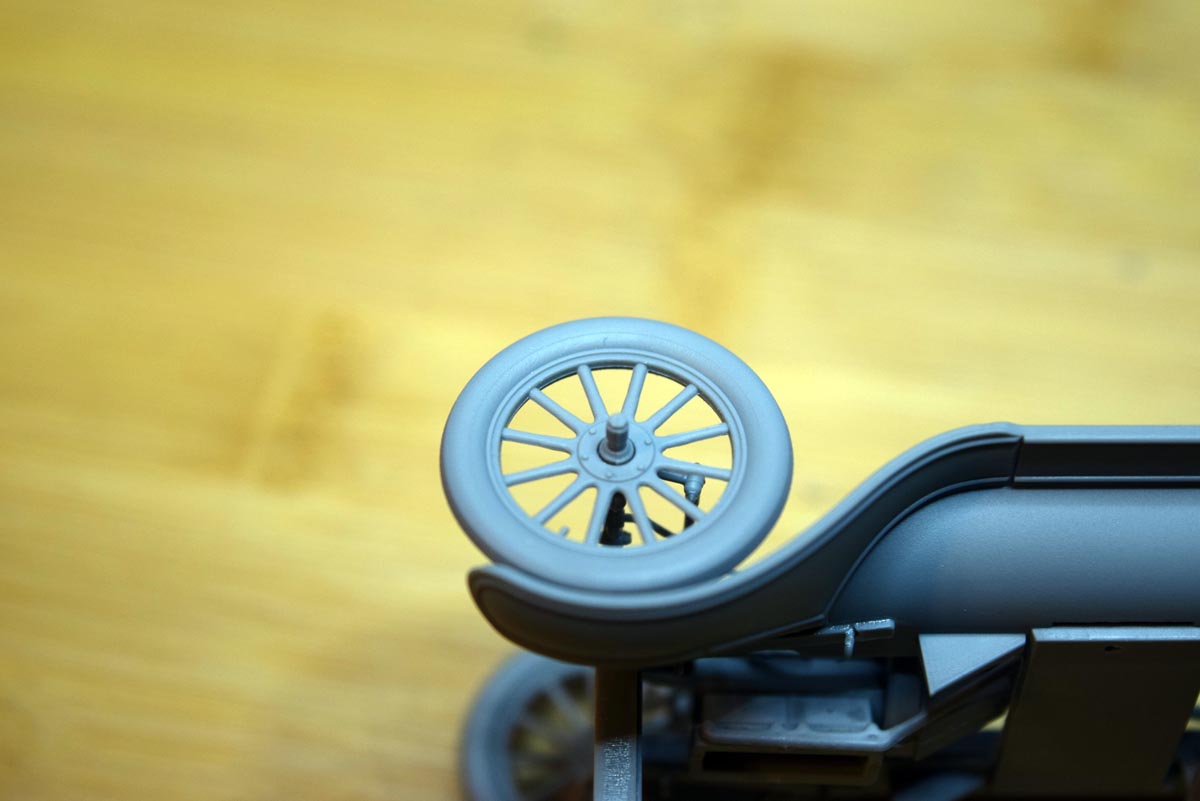
The front and rear axle braces are added next and it is the rear braces that lock into the crescent cut outs in the axle ends and so the reason to make sure it is mounted the correct way round. The front brace fits very well and is secure. The steering rack also fits well, but again the instructions fail to point out that the steering column goes under the brace and not over it. The wheels are now added to the model and they do not need to be cemented in place at this point. Make a point of noting the bolt detail around hubs and that of course they are on the outside.
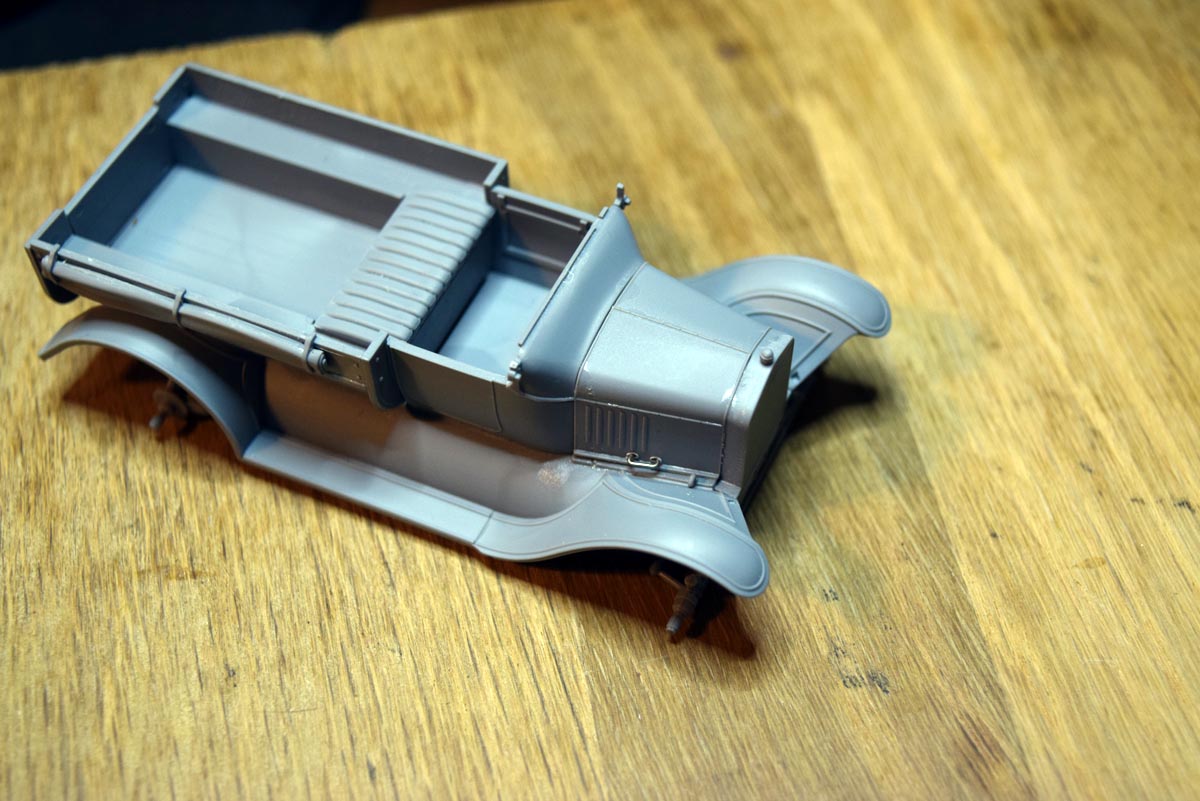
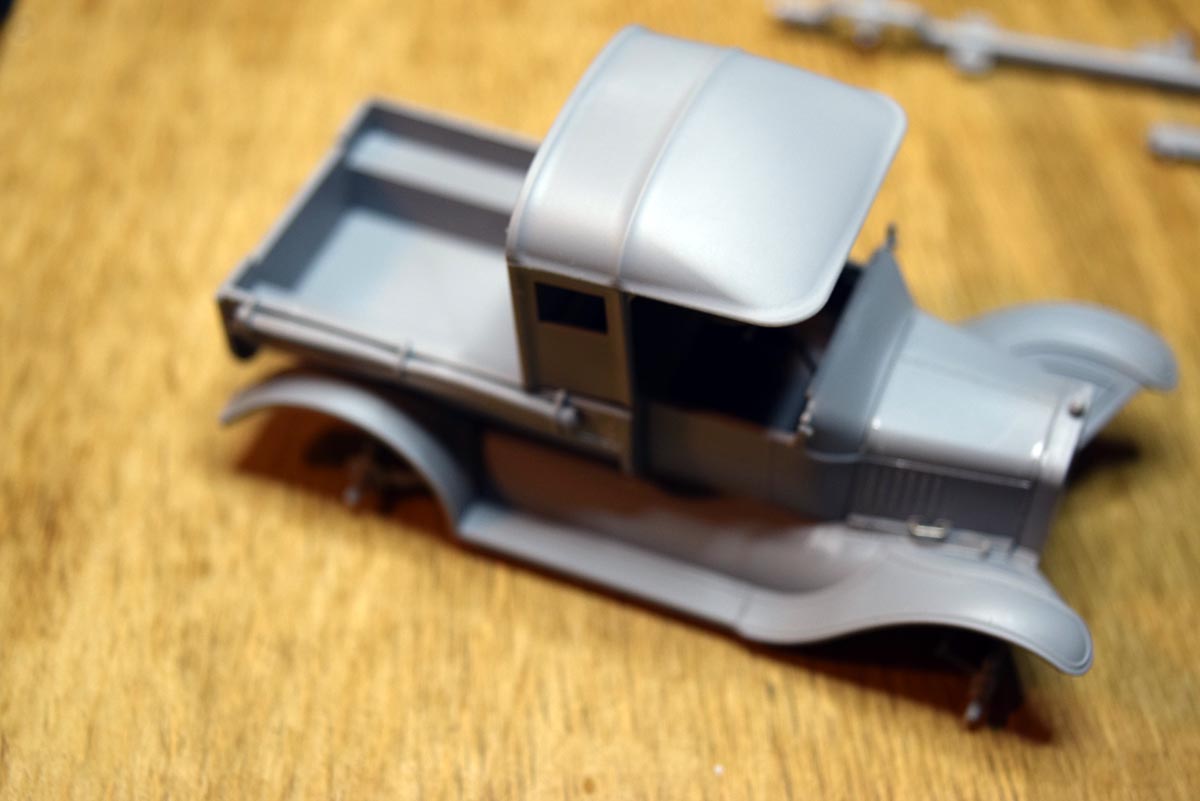
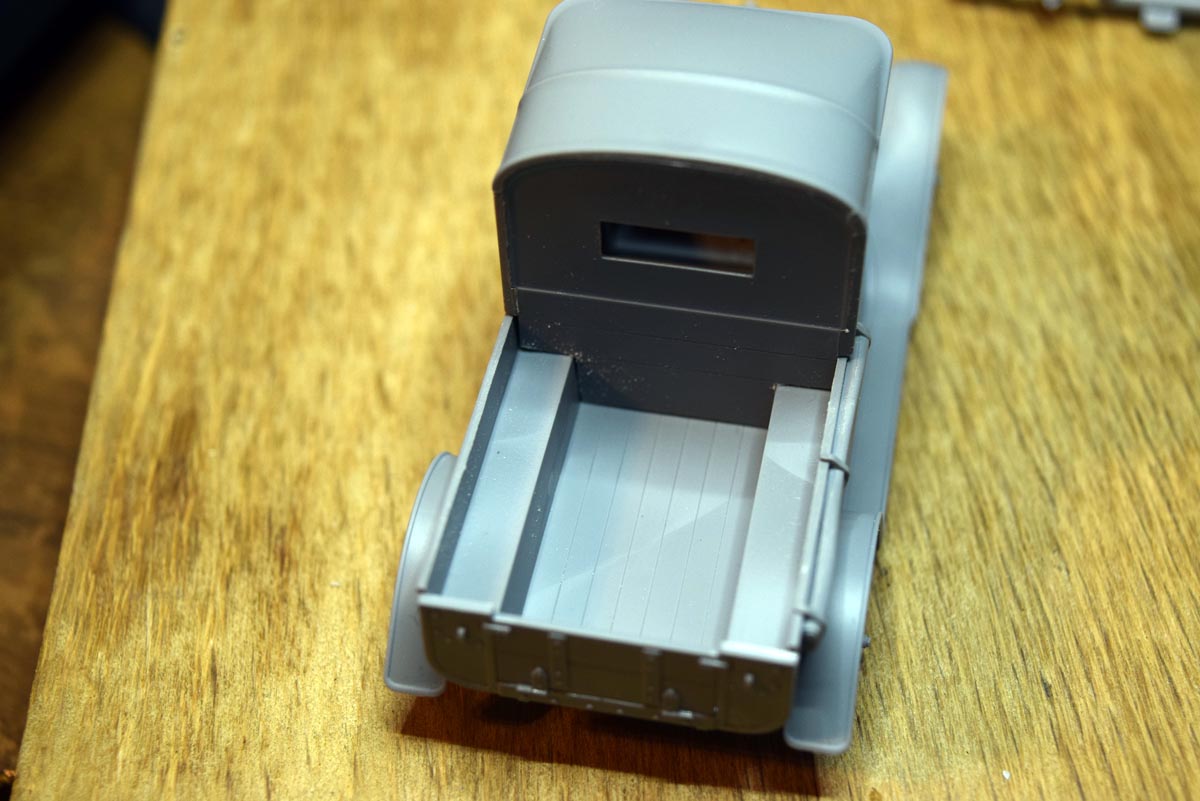
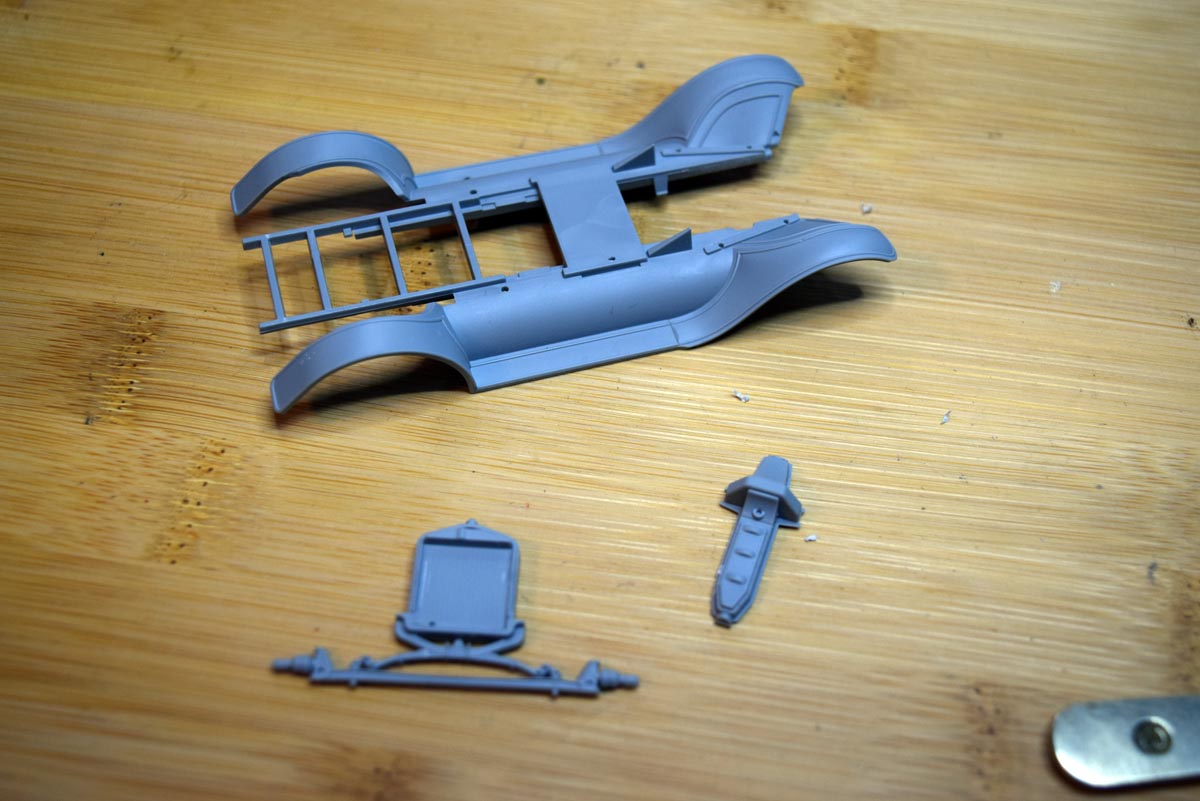
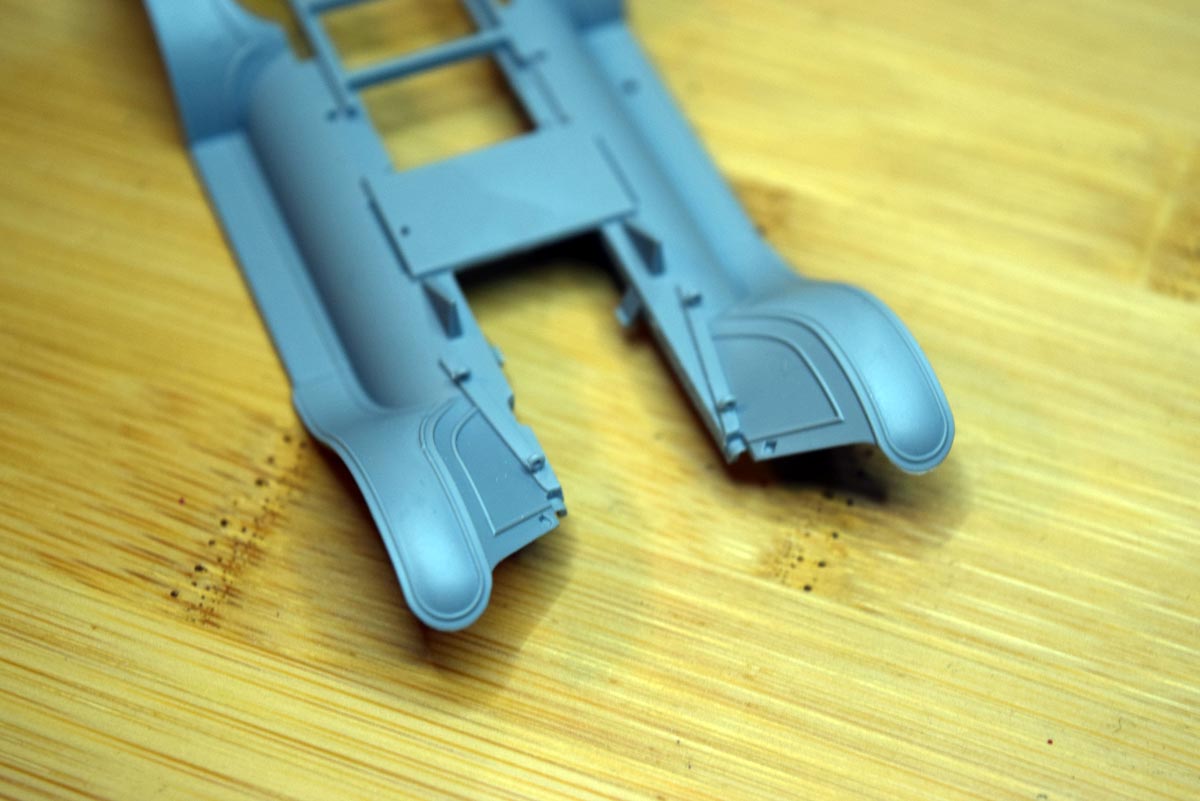
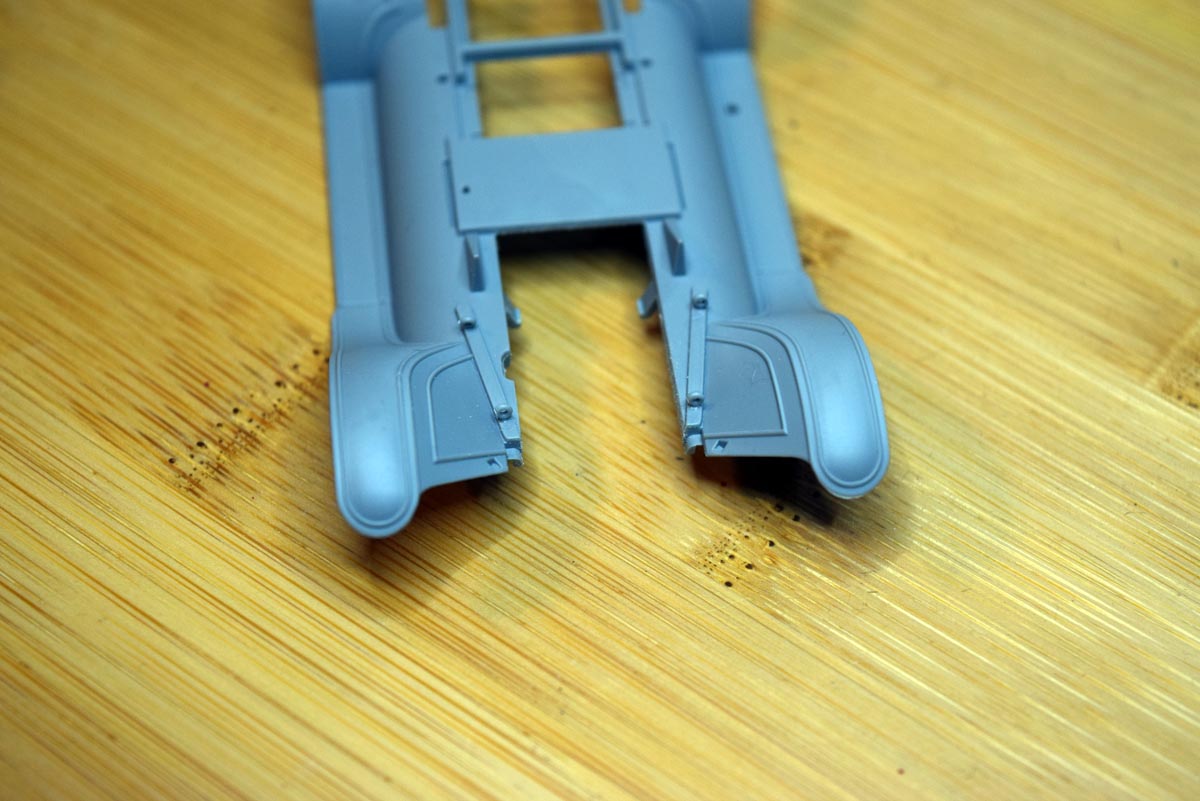
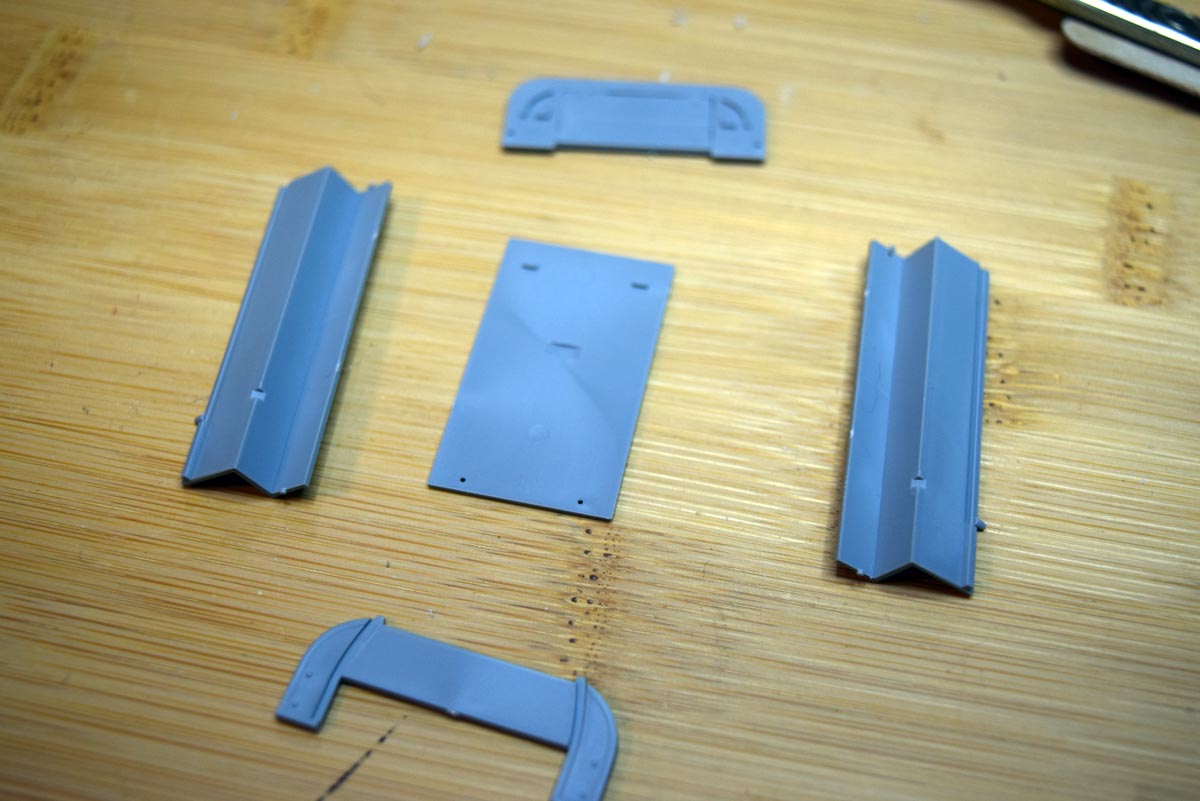
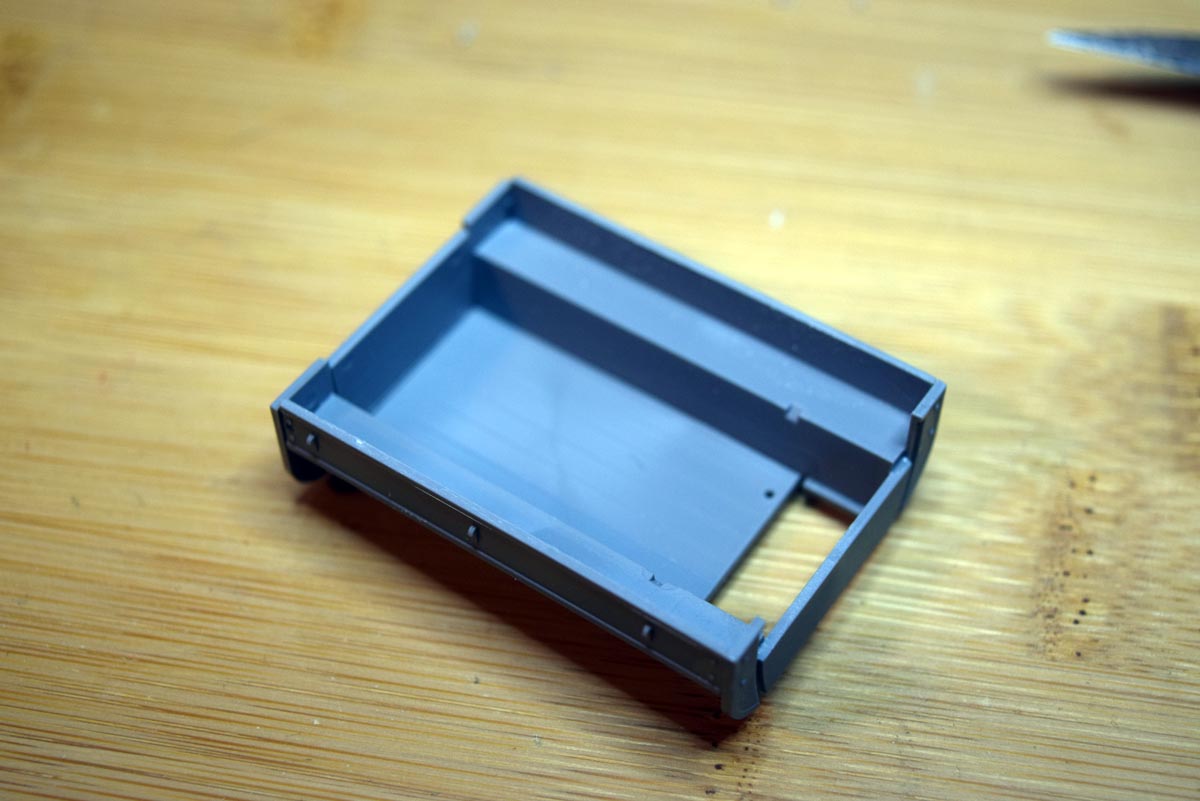
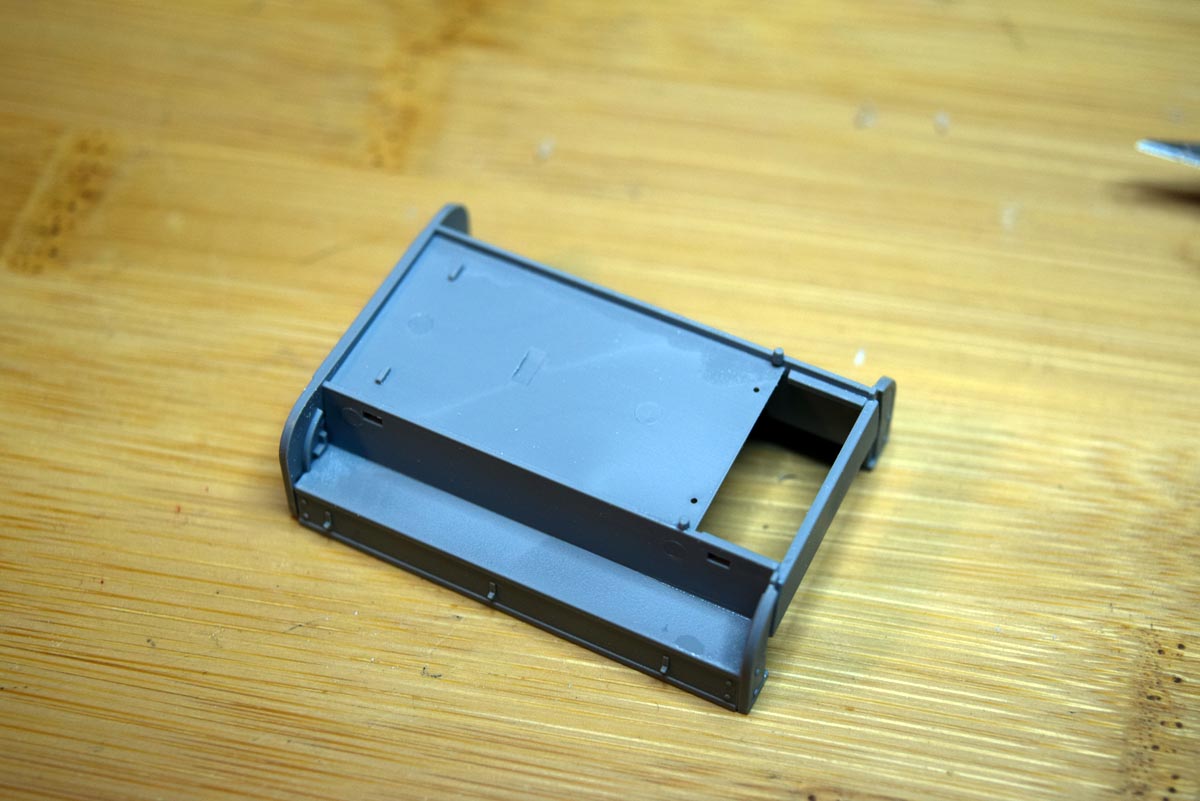
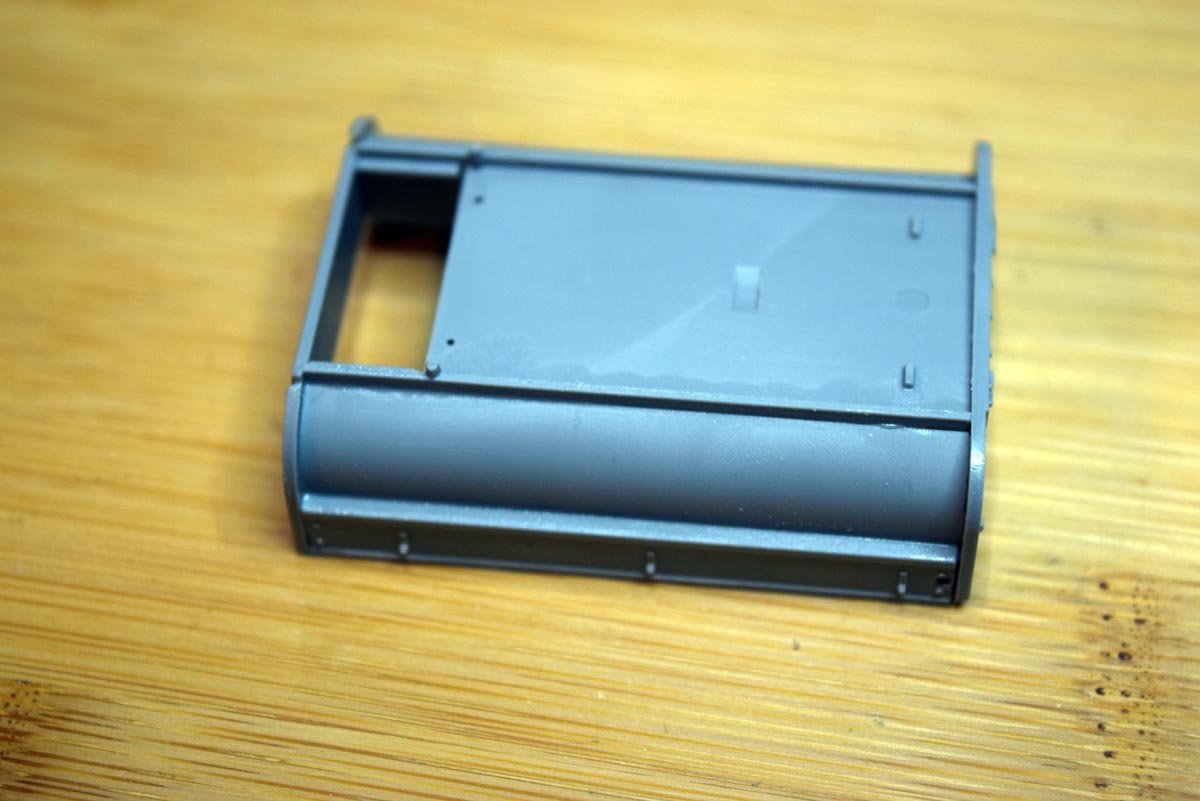
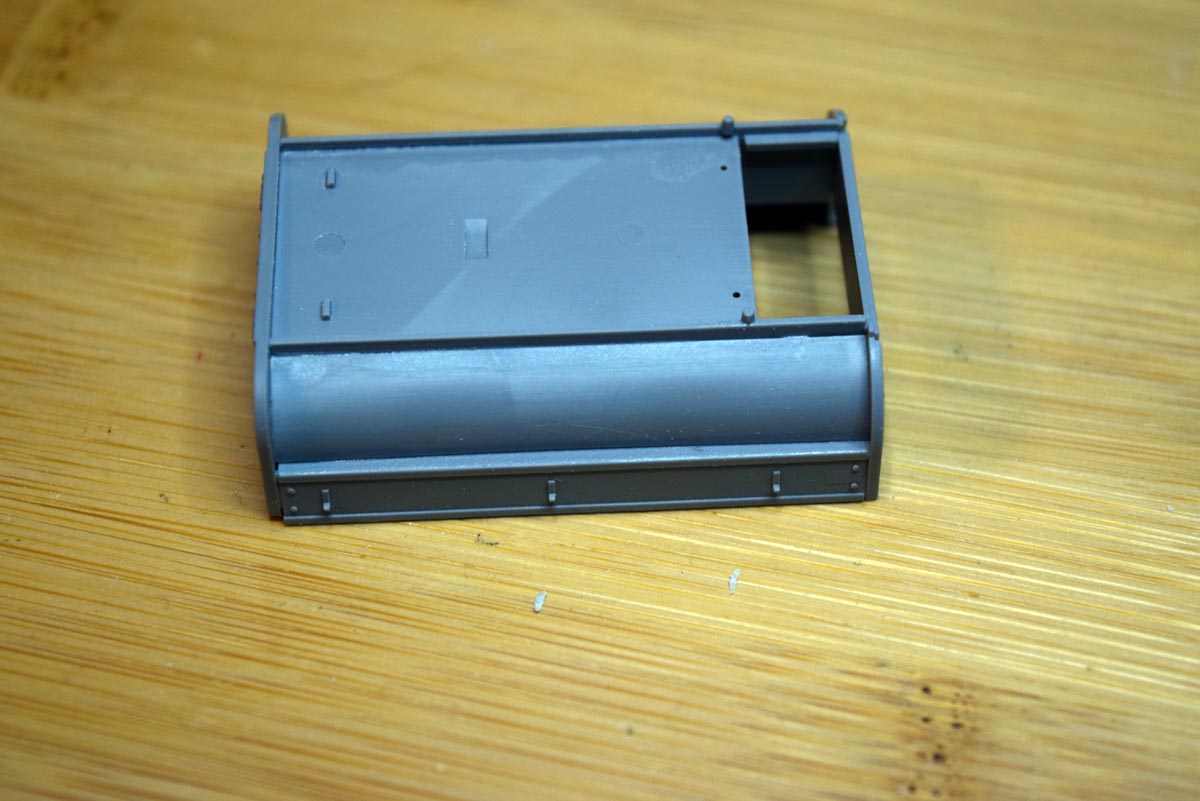
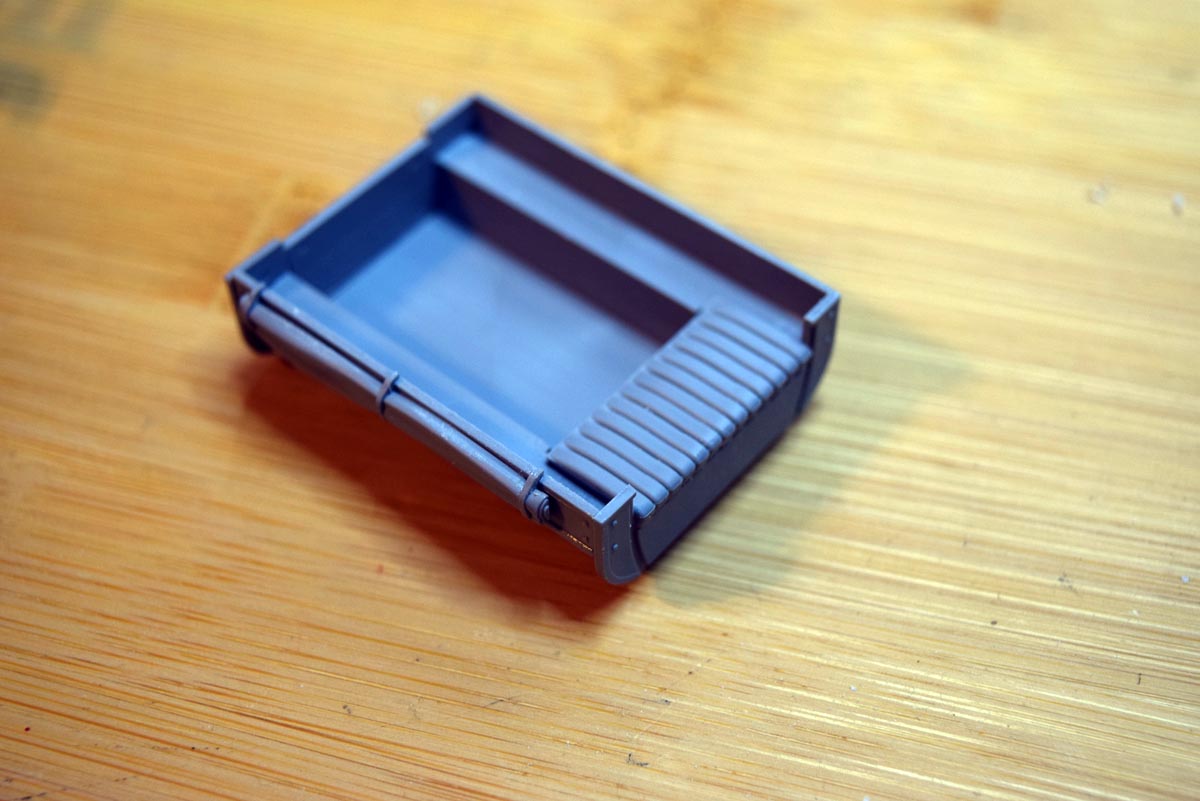
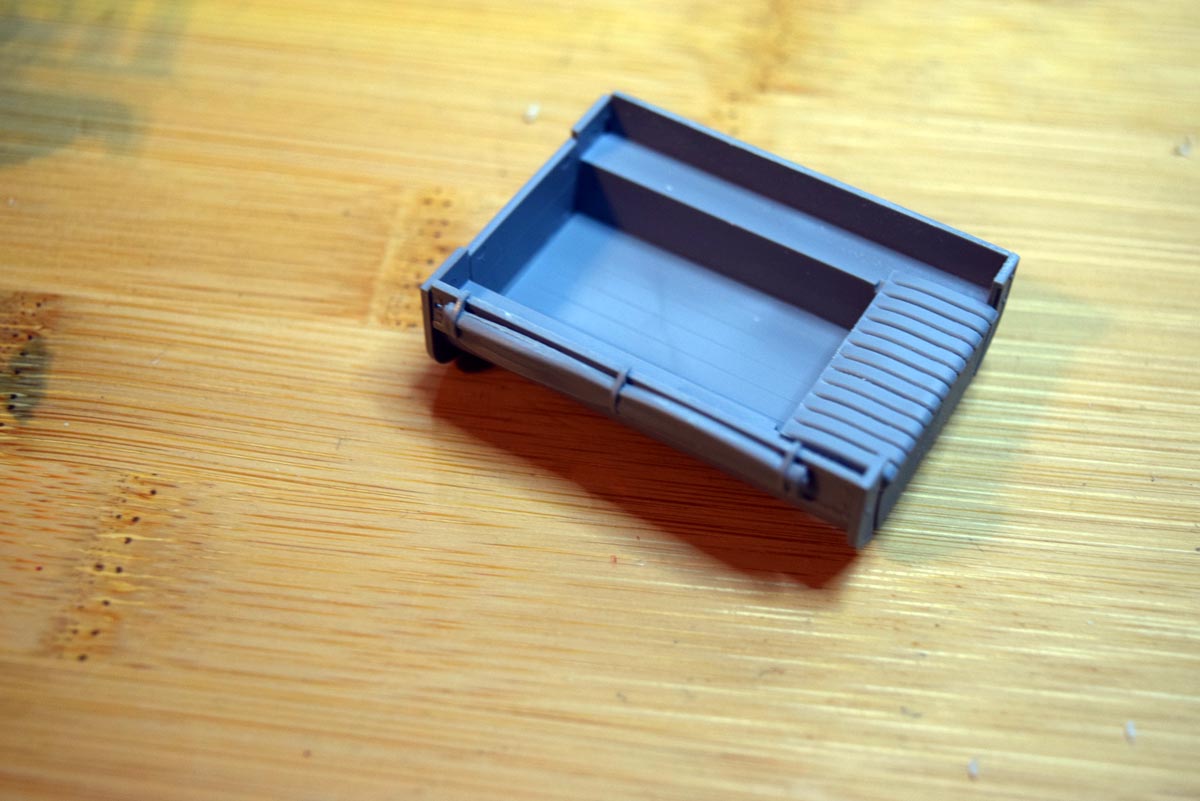
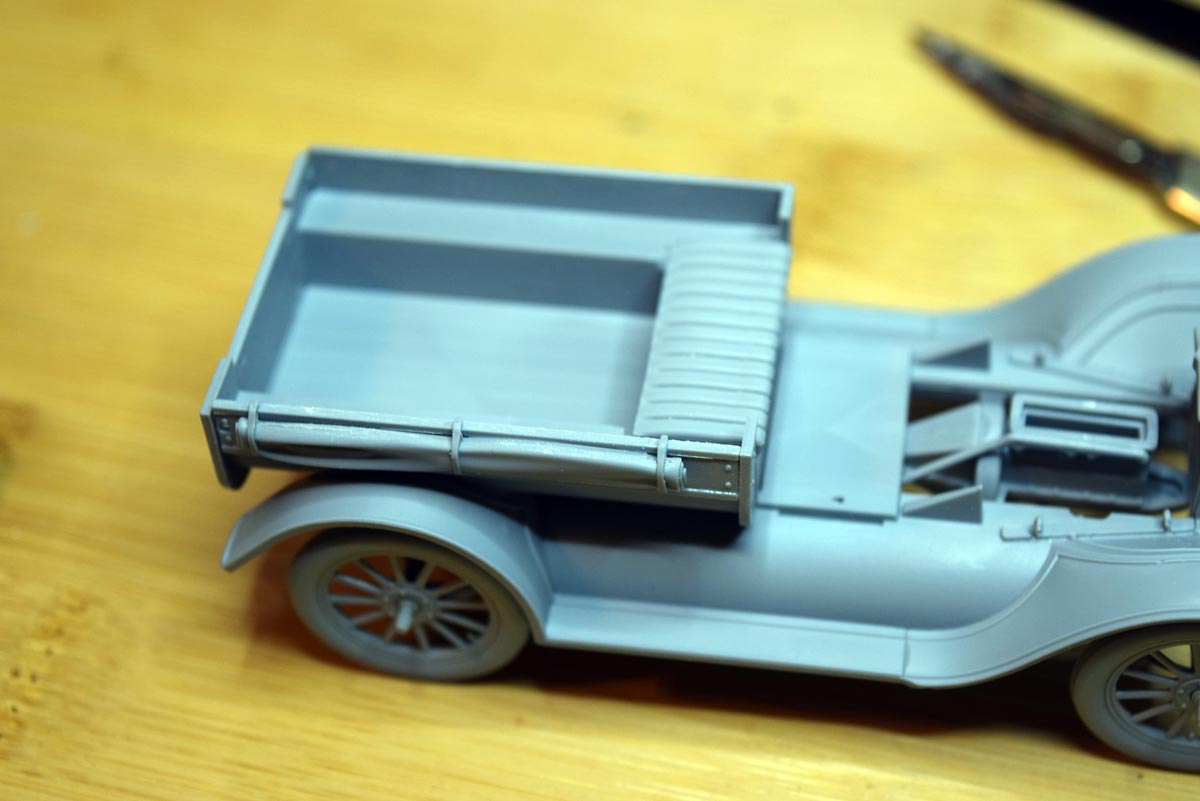
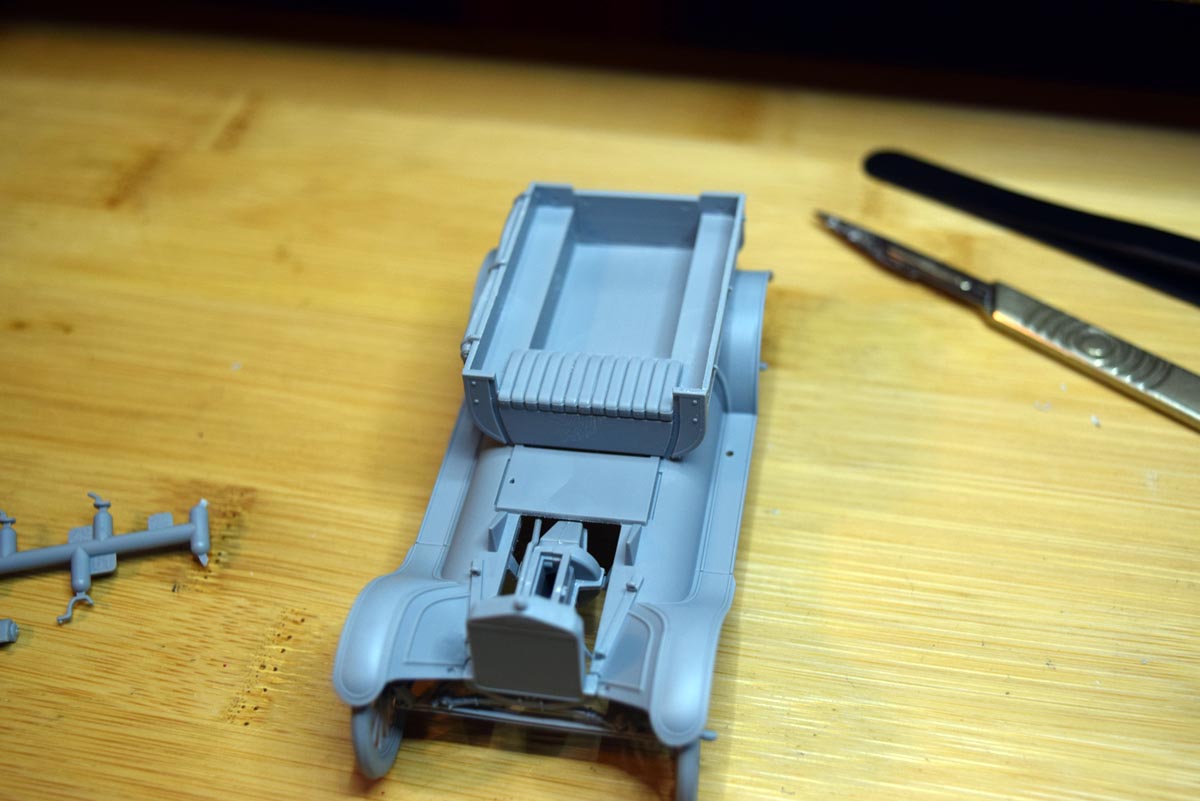
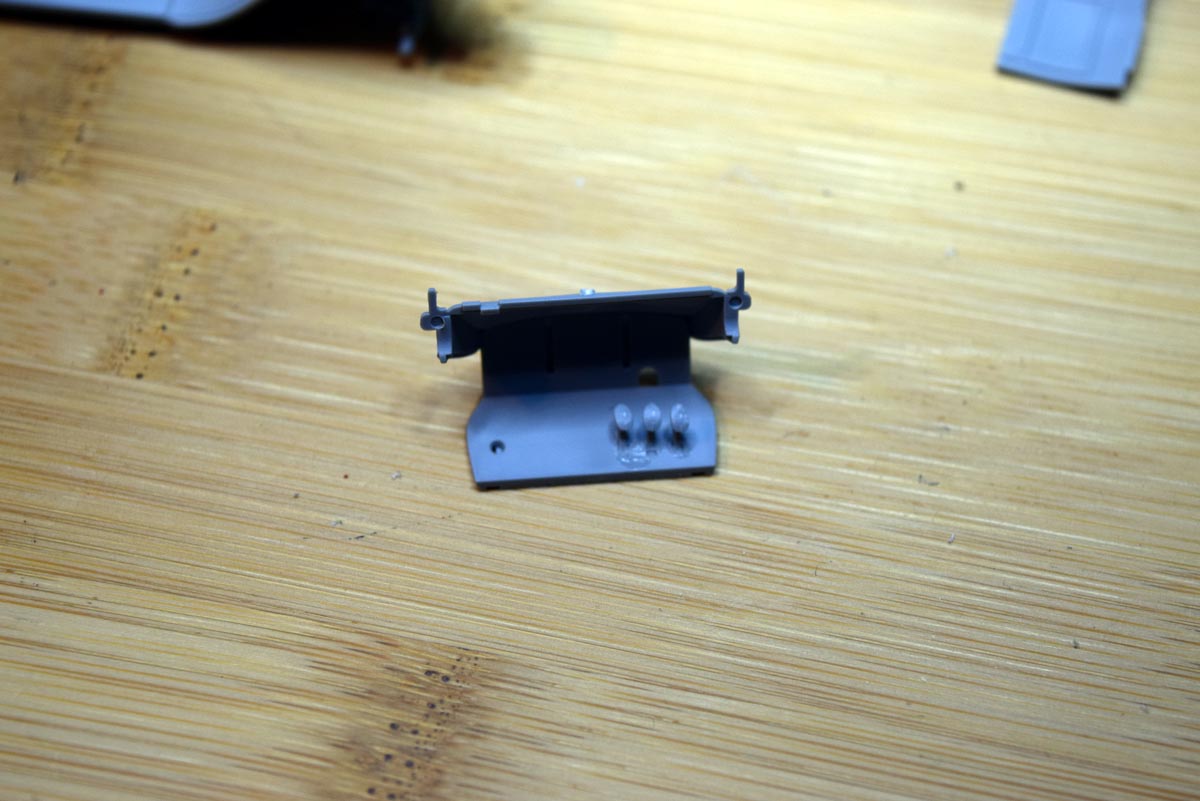
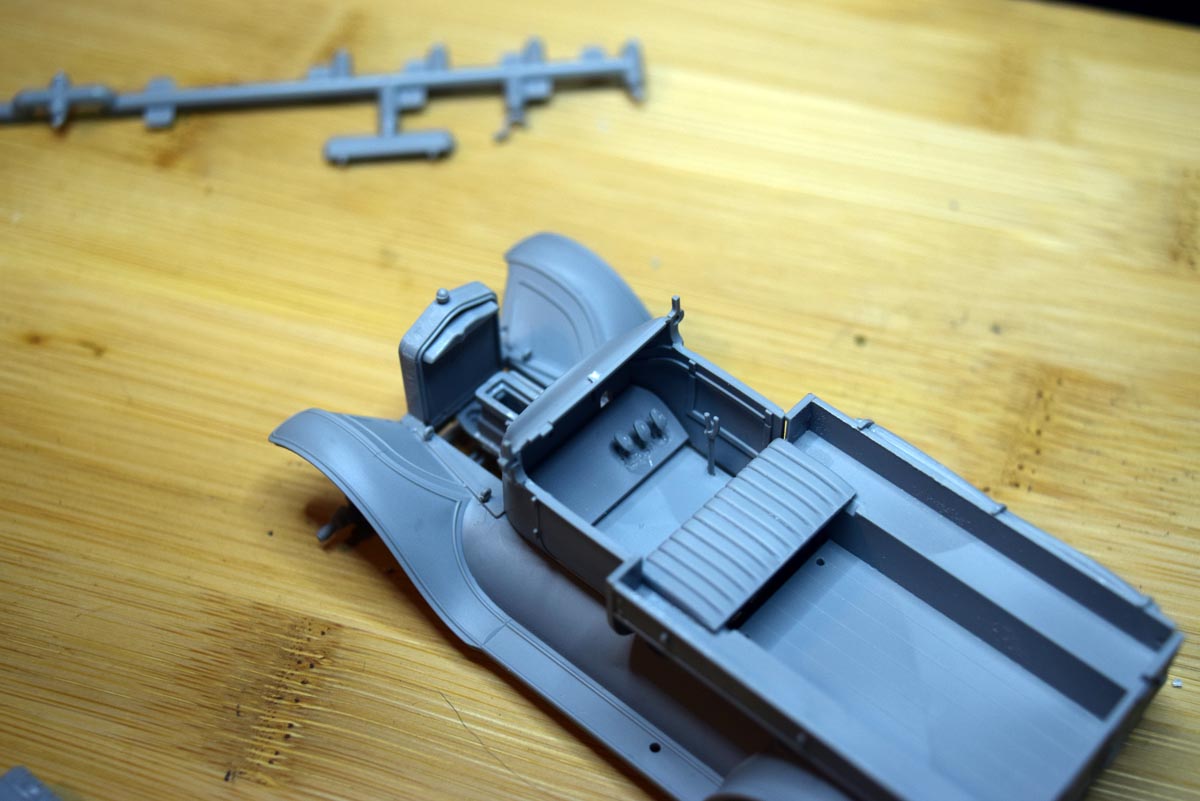
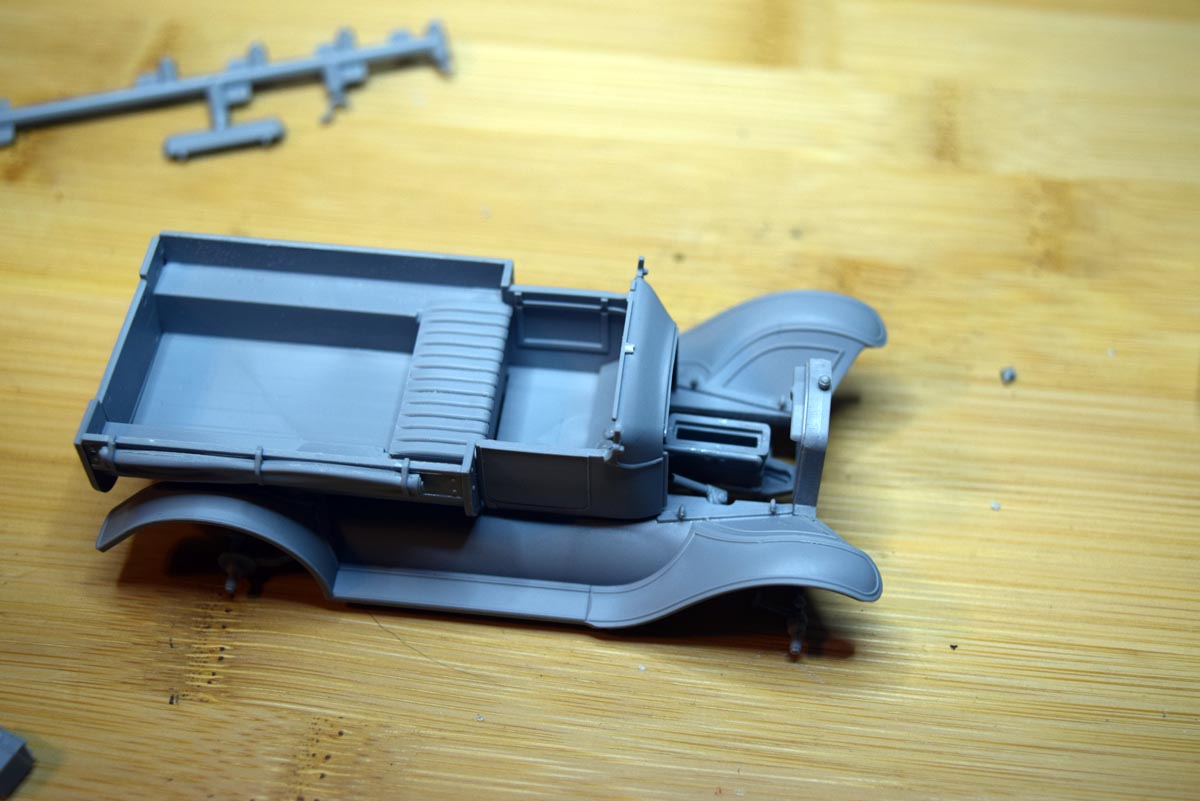
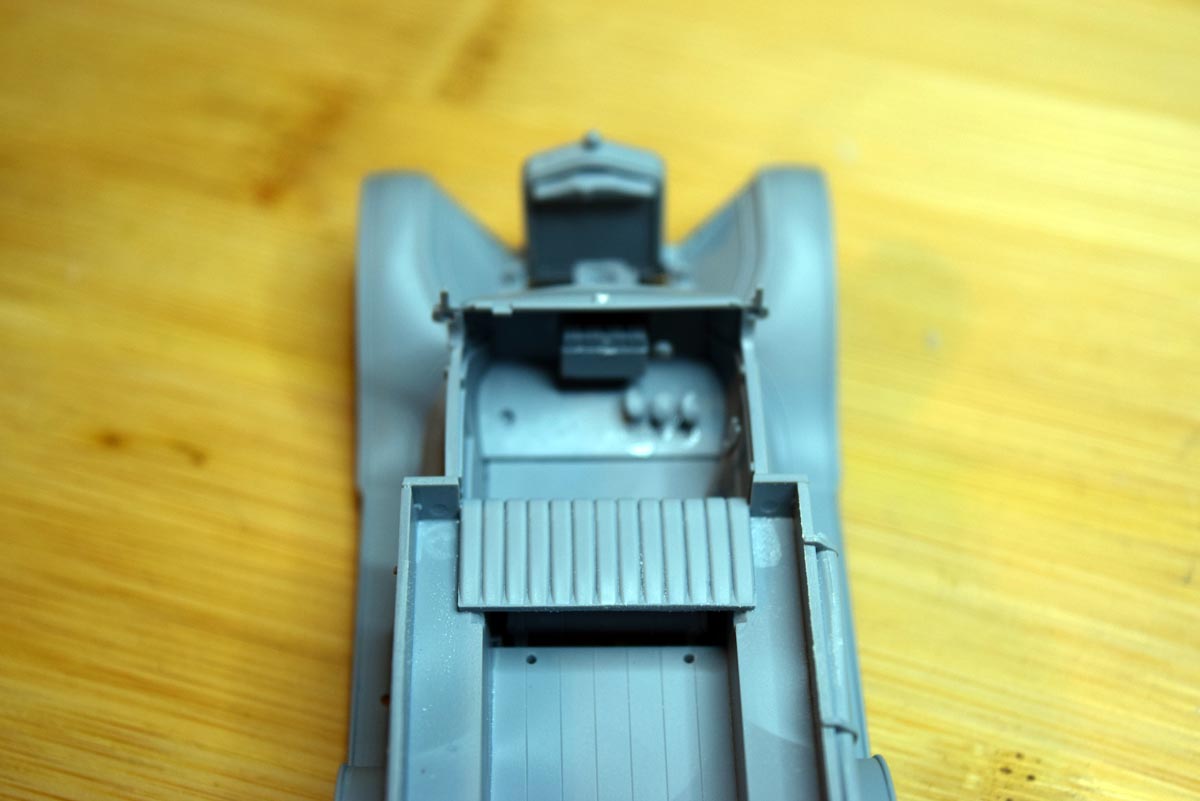
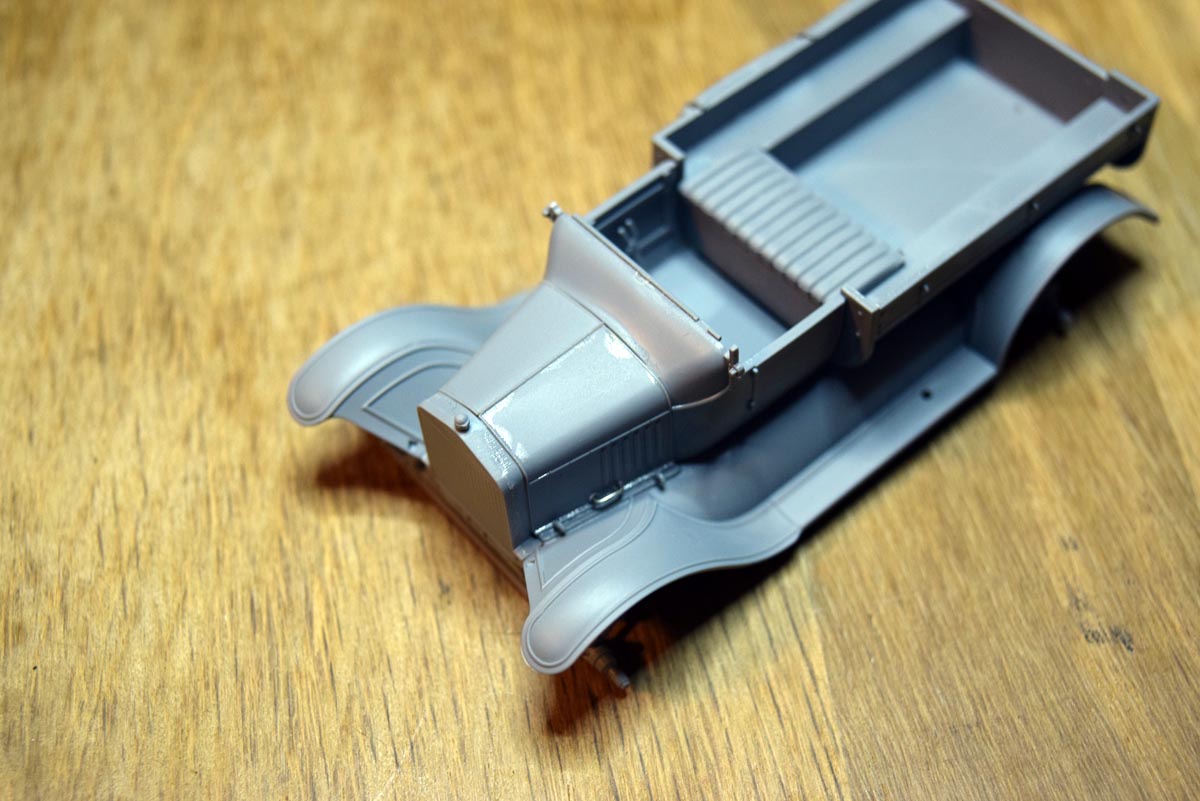
The bed of the vehicle is next and is a very well thought out element in terms of construction. The parts fit very well together and form a rigid bed that fits to the chassis well. The wooden plank detail is well defined, but there is no wood grain there that I can see, with this being 1/35th scale I am not overly concerned about that.
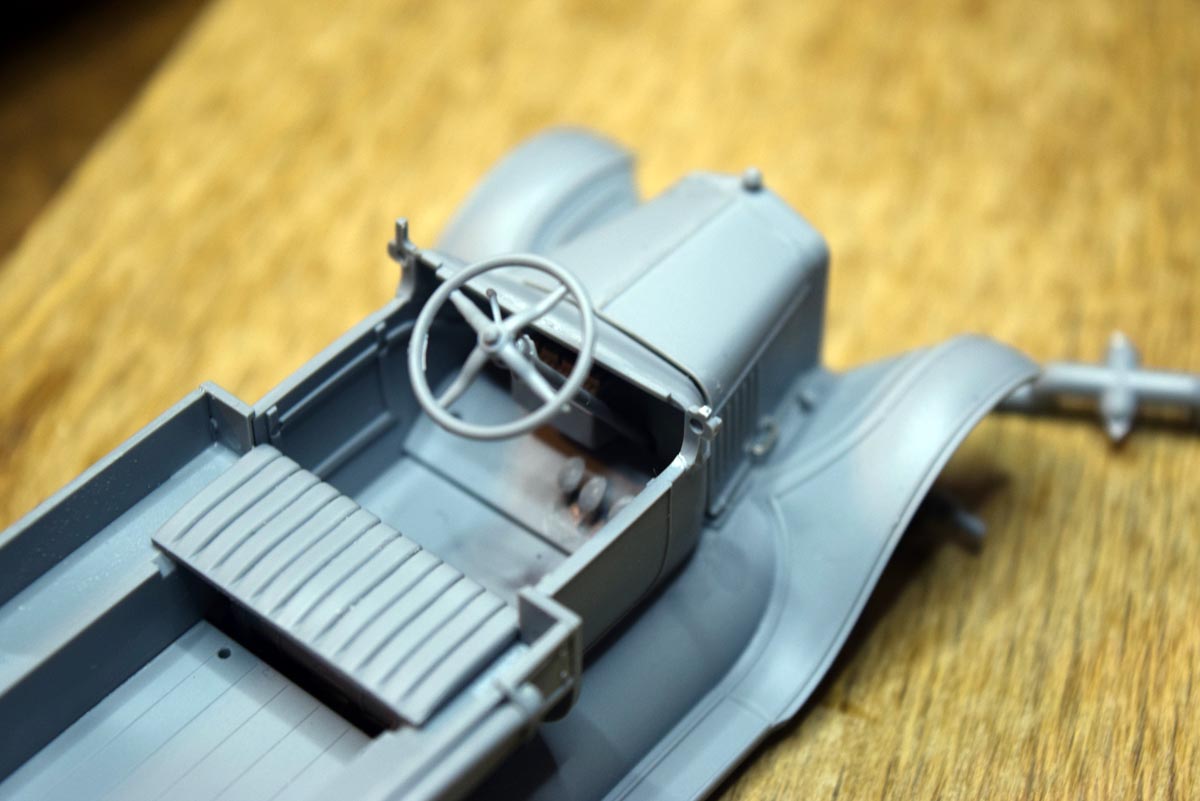
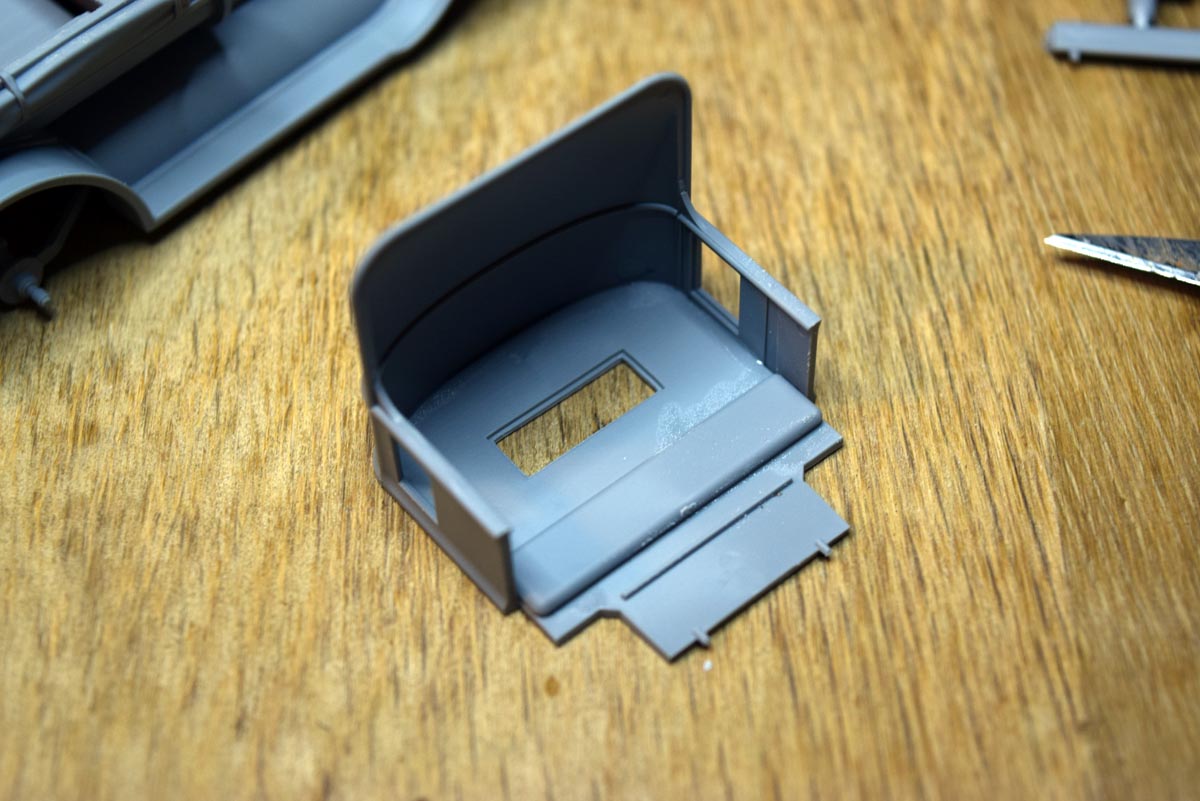
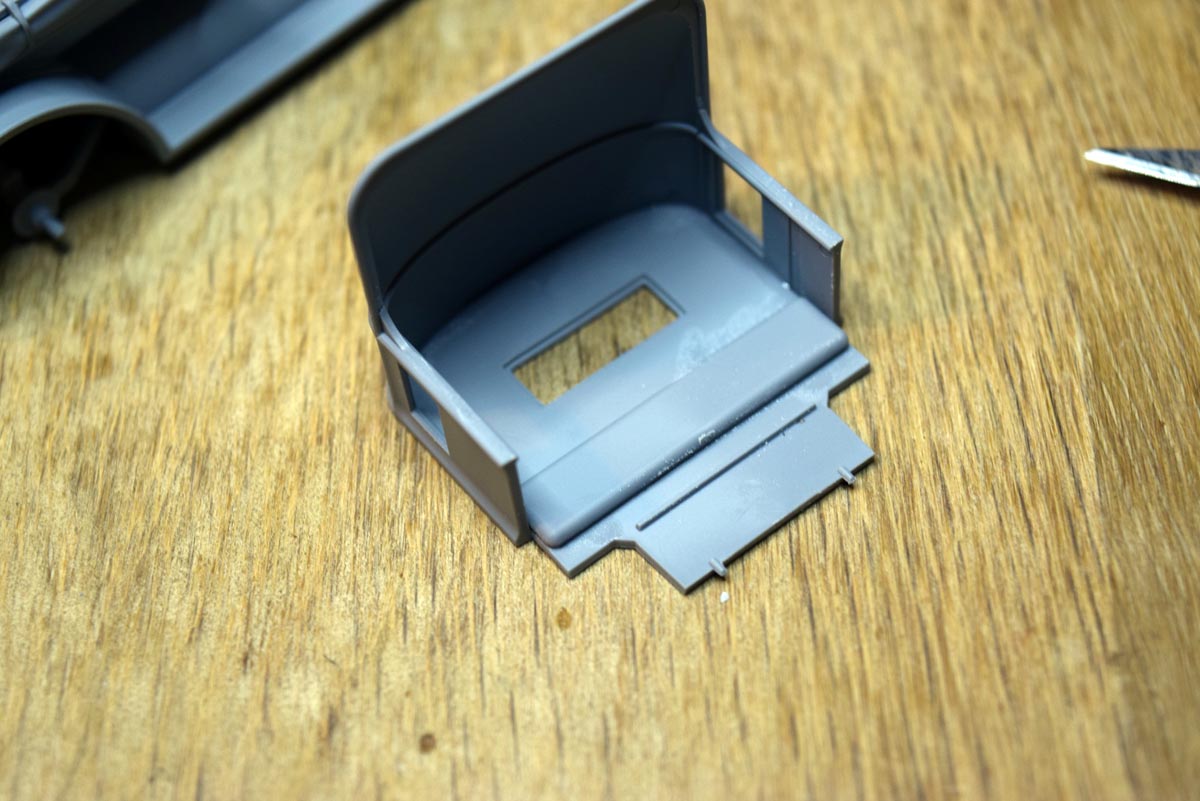
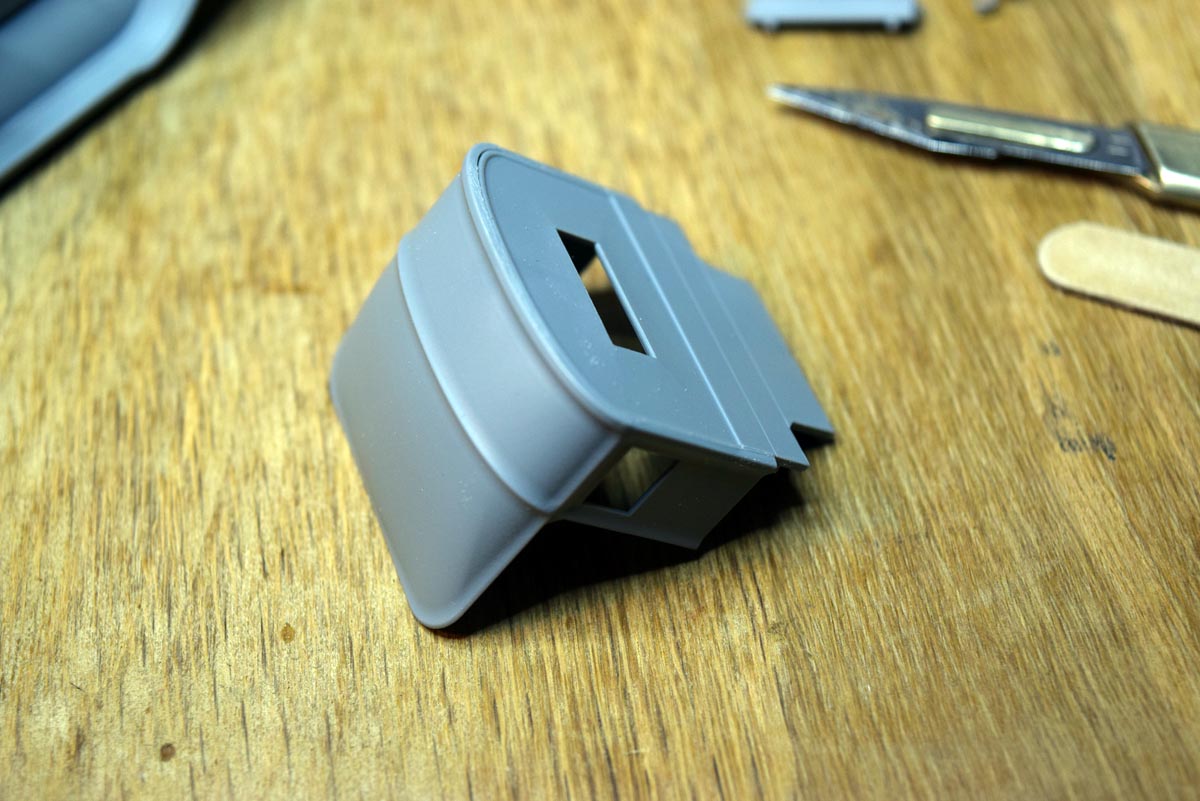
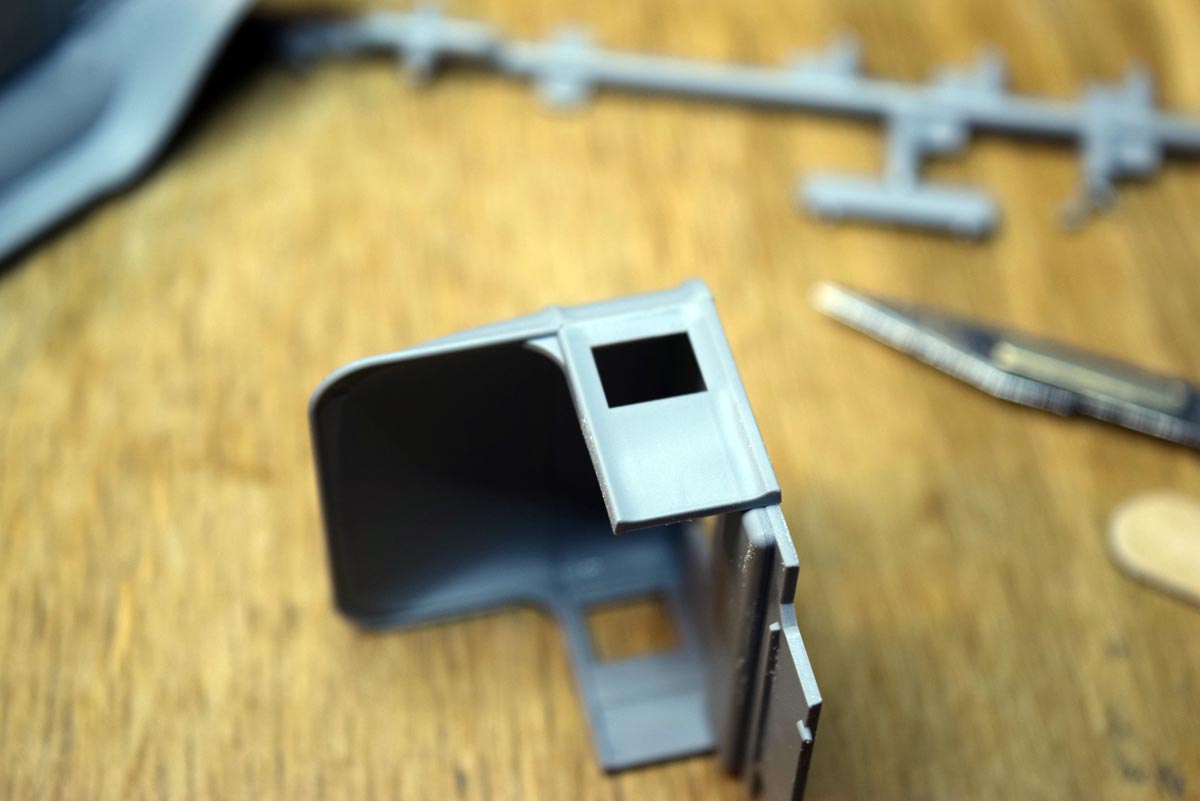
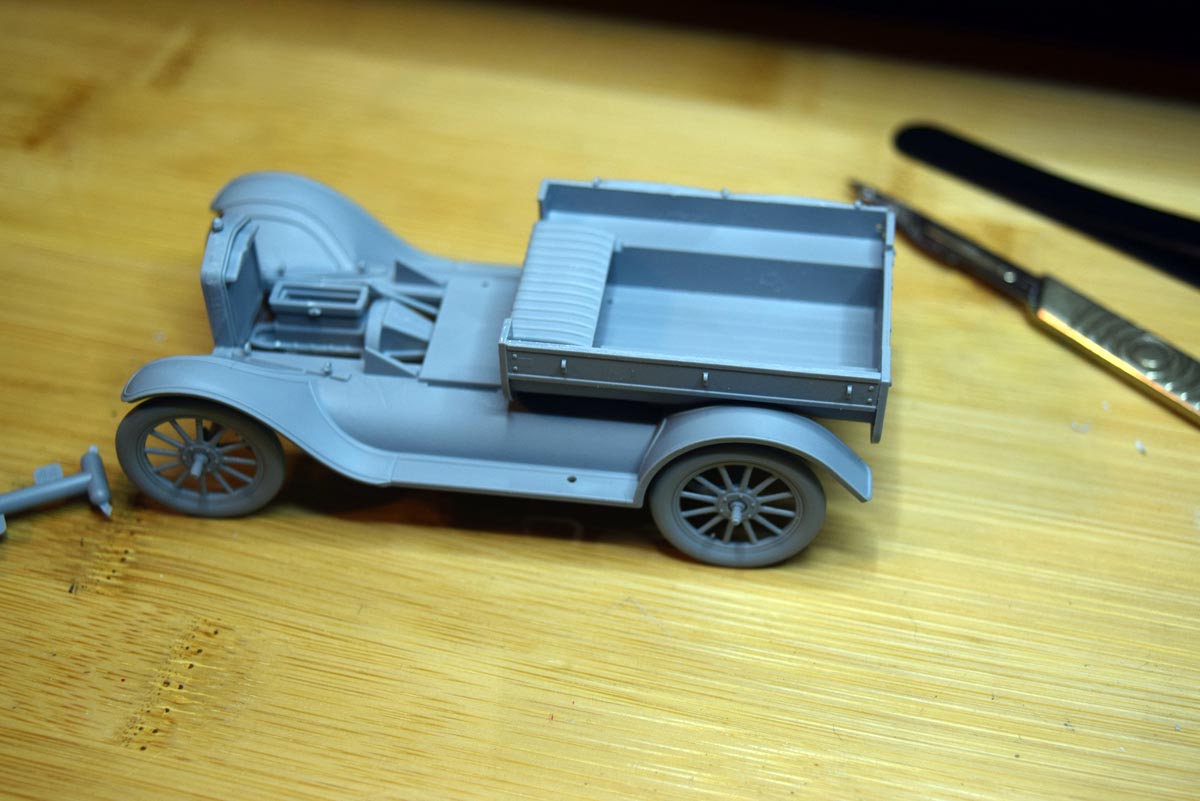
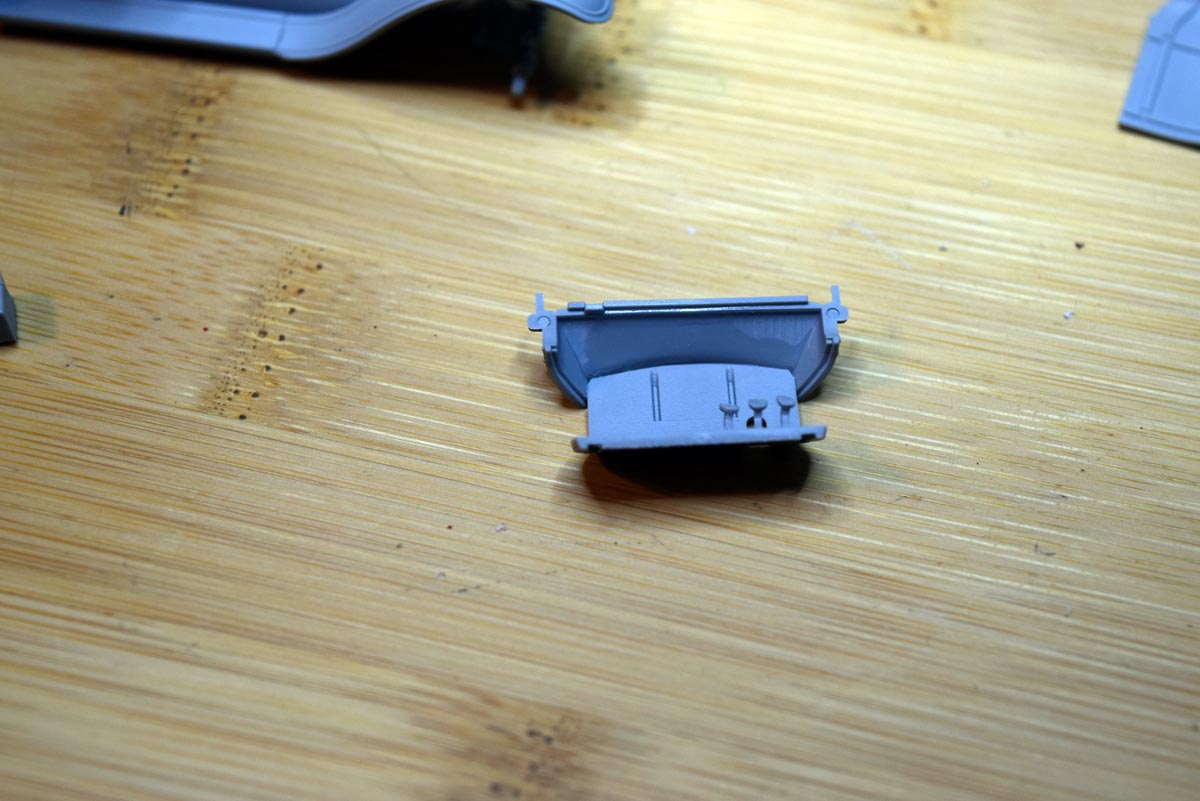
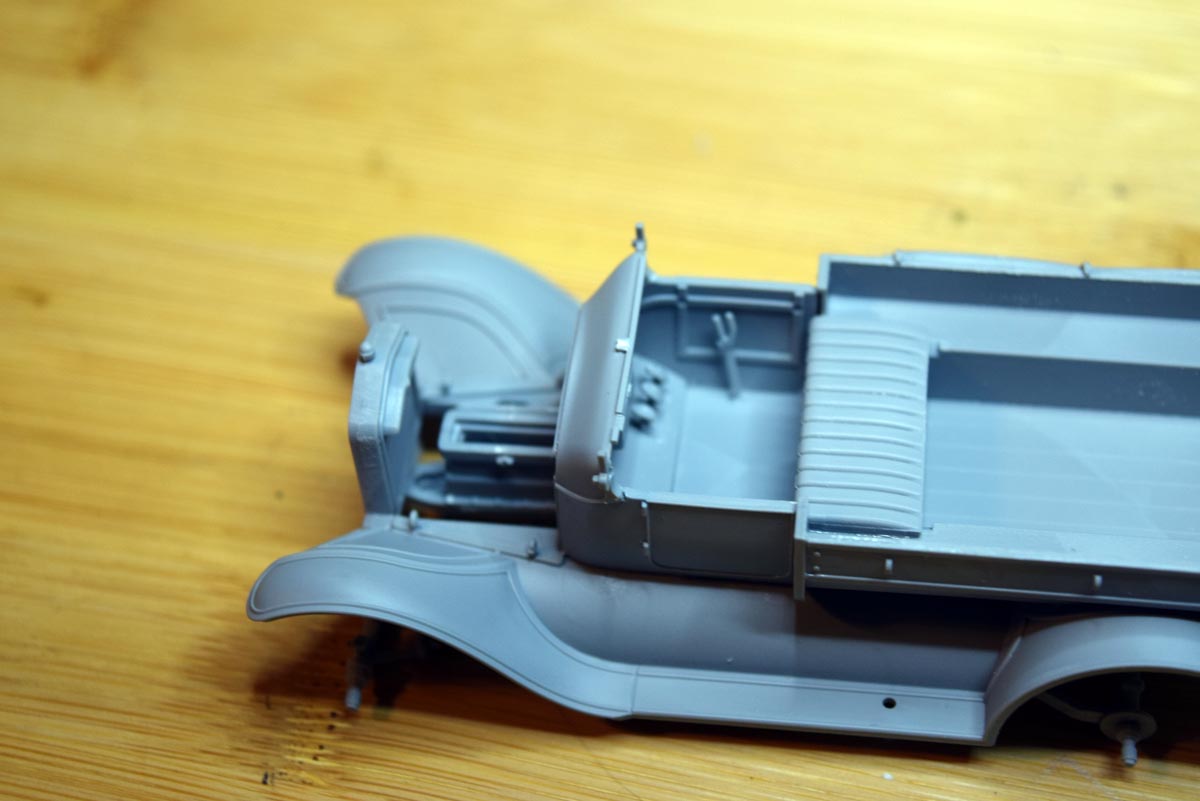
The cab itself is next and is again an easy assembly to work with. The clean up and addition of the cab was an easy task with the finished work looking good. Due to not having painted this model yet I hope you will forgive the fact that the clear parts are not attached at this time. The clear parts are of a reasonable thickness and so should not create any issues.
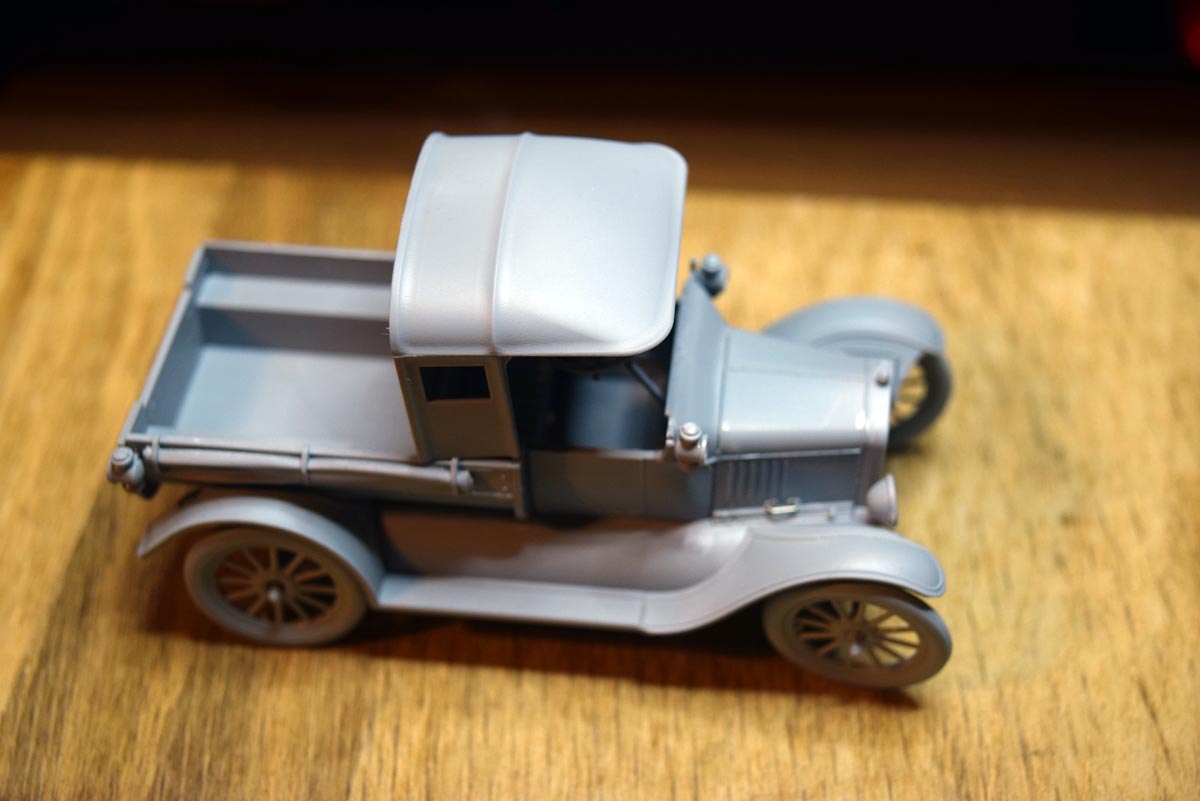
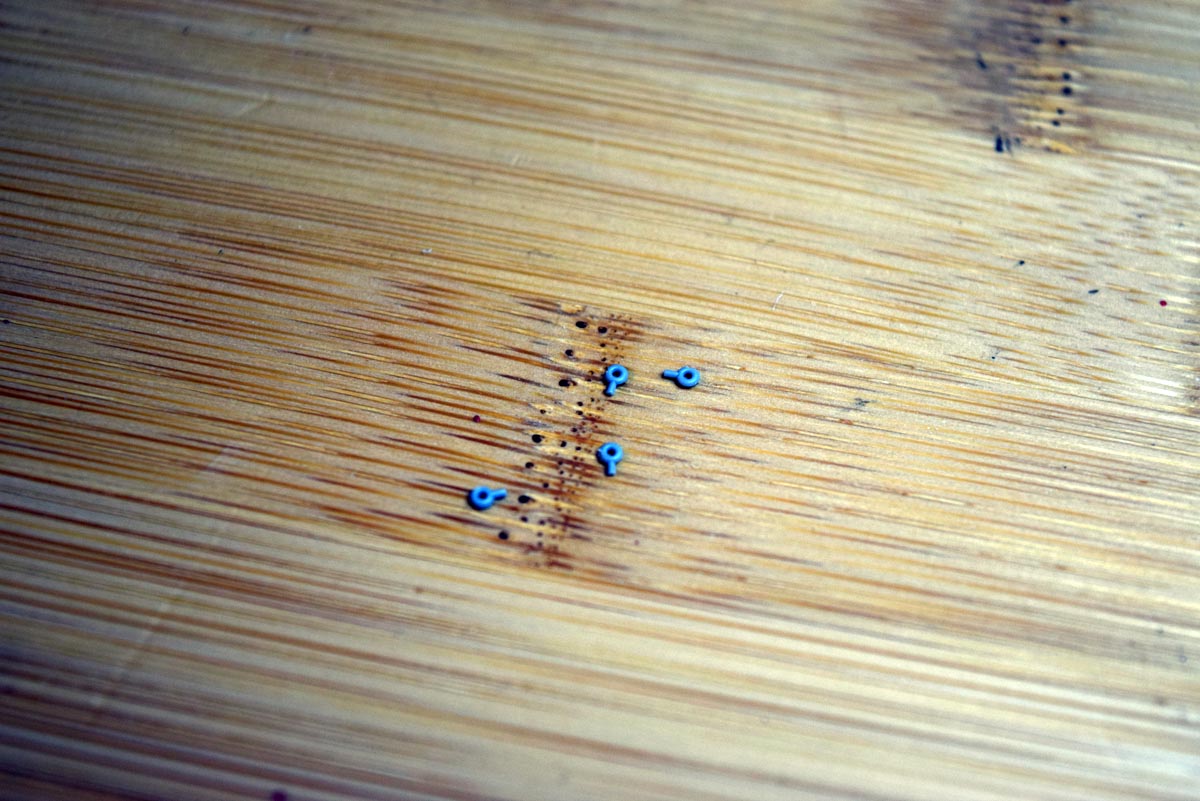
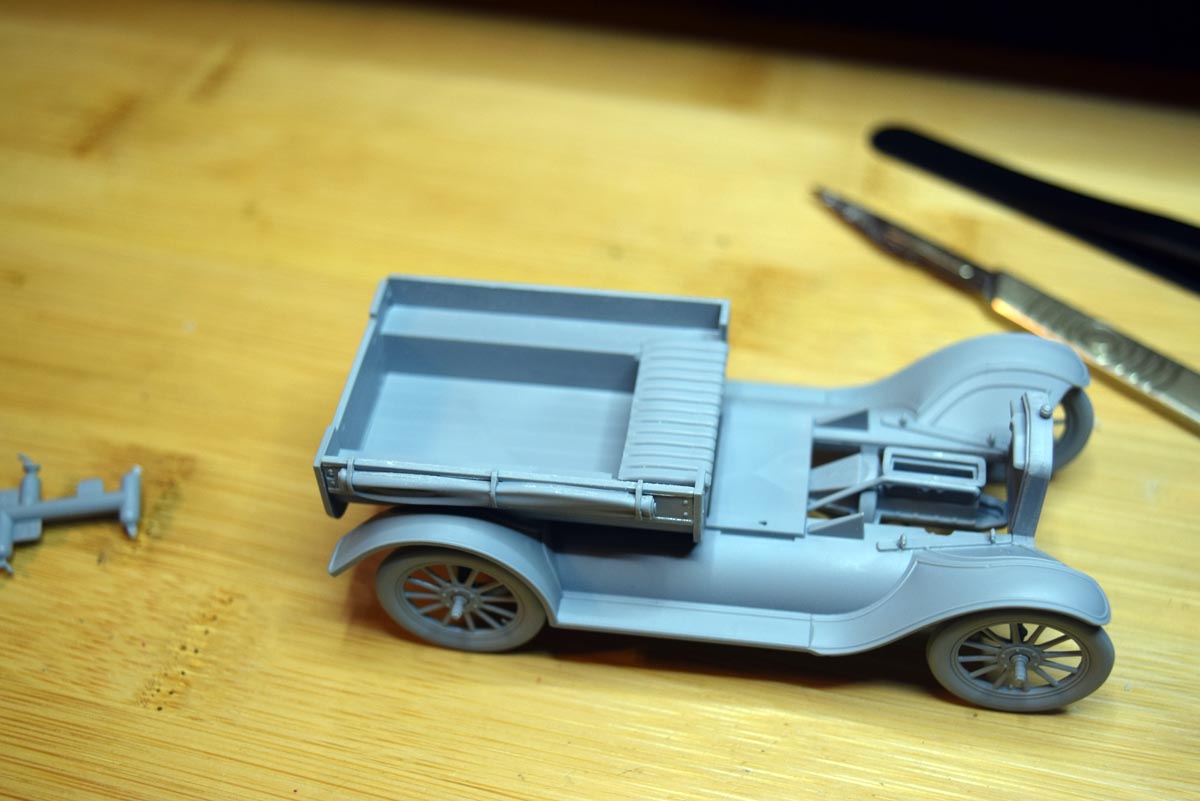
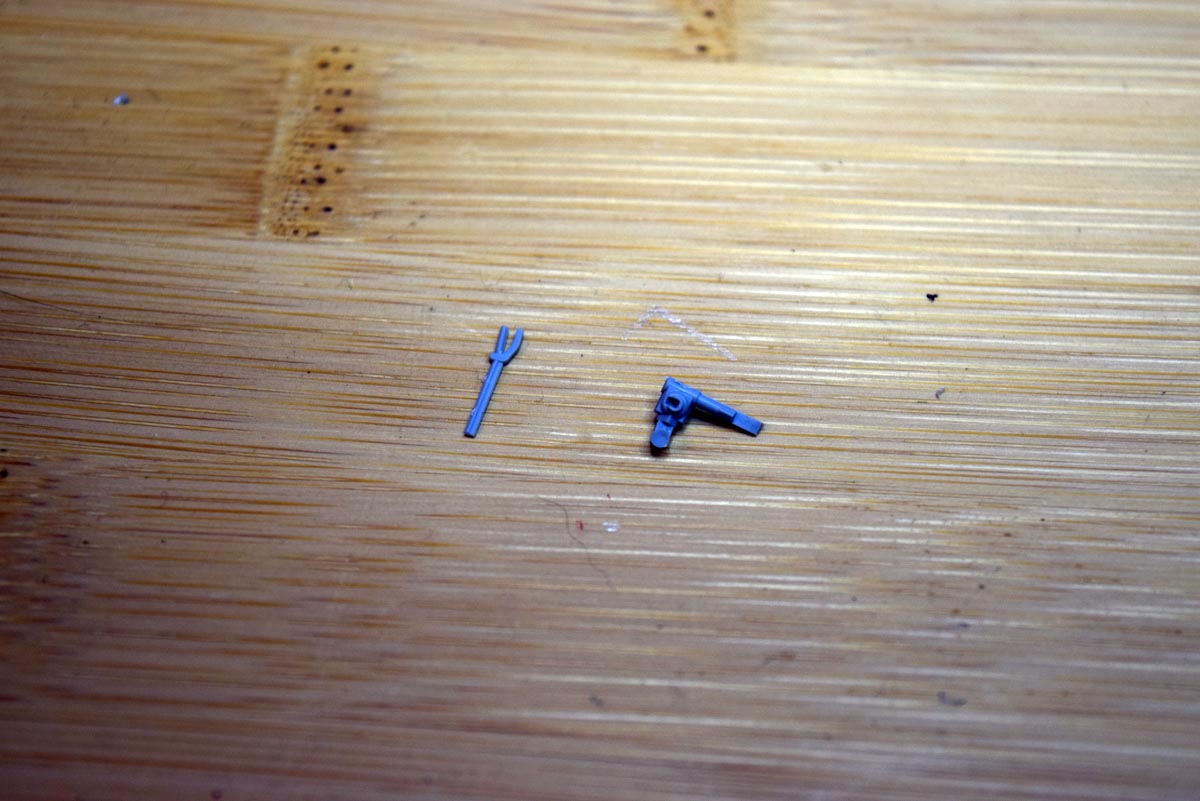
The bonnet or if you prefer hood is now in the sights and it is one of the disappointments to me, dont get me wrong it is suitable for a closed hood but not for an open one and is the reason I did not bother working with the engine. The handles for lifting each side of the bonnet are a little on the heavy side and so I replaced them with wire. The steering column and wheel are straight forward to assemble, but take care when removing the parts from the sprue. Before you add the bonnet to the model make sure you attach the steering column, no prizes for guessing how I found that out.
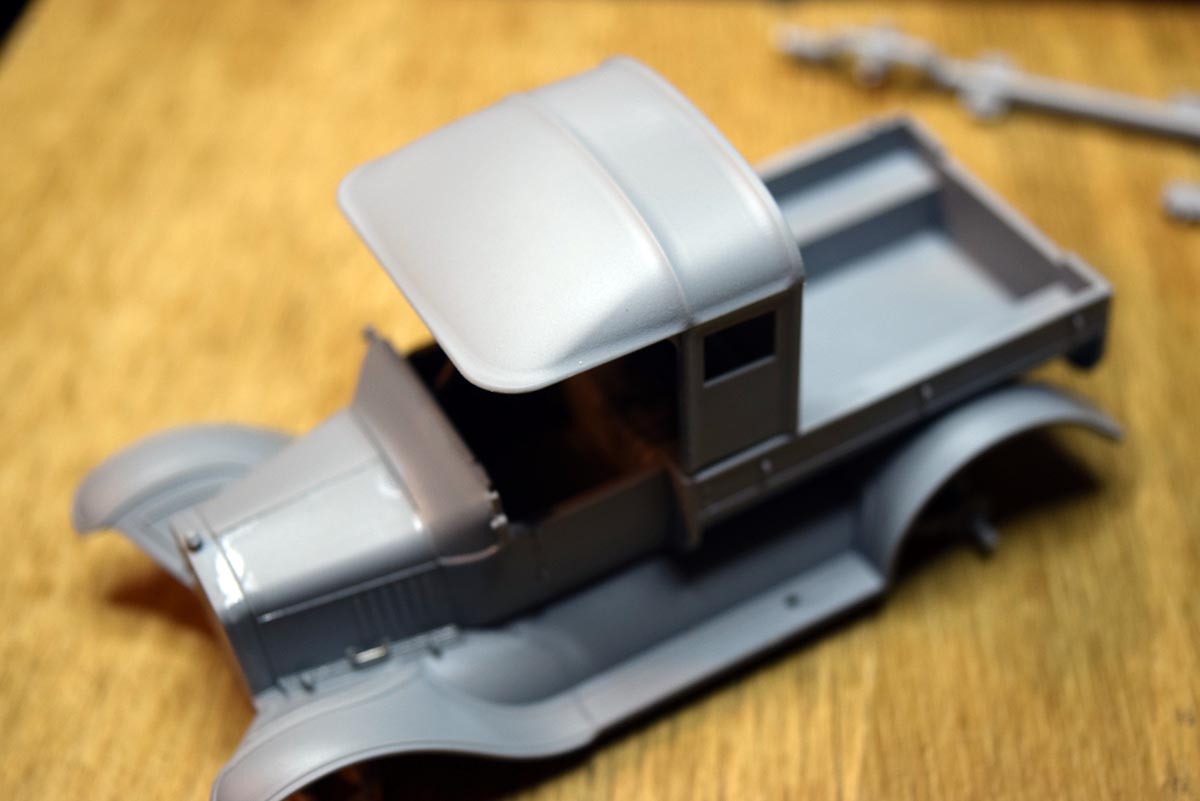
The cab cover fits together very well and has a nice appearance to it. The fit of the cover to the model is very tight, so tight I had to make some alterations and even then it remains a very tight fit. I have not glued this into place or attached the clear parts due to no painting having been done as yet. The last thing I have done is add the lights again minus their lenses. There are a number of stowage items supplied with the model such as a spare tyre, fuel cans and stowage boxes; I will add these as weathering is proceeding.
Conclusion
This is one of the best looking small models I have built, but I do wish that all the effort ICM put into the engine could be easily displayed. A suitable driver will add a lot to the model and I expect to see that in due course from ICM who after all excel at their figures. The fit of some parts will require the modeller to turn to the sanding sticks or knife.
SUMMARY
Highs: A nice model of the Ford Model T in Australian service who rarely get coverage in the model market.Lows: The very nice engine cannot easily be displayed.Verdict: A nice addition to the WW1 vehicle model range.
Our Thanks to ICM Holding! This item was provided by them for the purpose of having it reviewed on this KitMaker Network site. If you would like your kit, book, or product reviewed, please contact us.
About Darren Baker (CMOT) FROM: ENGLAND - SOUTH WEST, UNITED KINGDOM
I have been building model kits since the early 70s starting with Airfix kits of mostly aircraft, then progressing to the point I am at now building predominantly armour kits from all countries and time periods. Living in the middle of Salisbury plain since the 70s, I have had lots of opportunitie...
I made this model a few weeks ago, having made the ICM Model T ambulance last year. It's a little gem of a model, I didn't have any problems with fit at all, I agree about the non-display possibilities of the engine! ICM models are now amongst the best softskins available - I've made a fair few!


Comments