The German military in World War 2 were big users of the half track so much so that I bet when a half track is mentioned most think Hanomag, I know this is not accurate as regards a vehicle. During the build up to World War 2 it would appear that only Germany was looking at half tracks as Armoured Personnel Carriers with the 251 proving to be a successful family of vehicles. There are a great number of 251 models on the market in many scales, but it is my understanding that this offering from ICM is the first Sd.Kfz.251 as an Ausf A and is in the popular scale of 1/35th. The 251 Ausf A was the half track that Germany entered the war with and it proved a successful design with many alterations being made during the war to better protect the vehicle, make it more user friendly and to make production easier, you also need to consider how many variants were produced to fit specific roles.
Contents
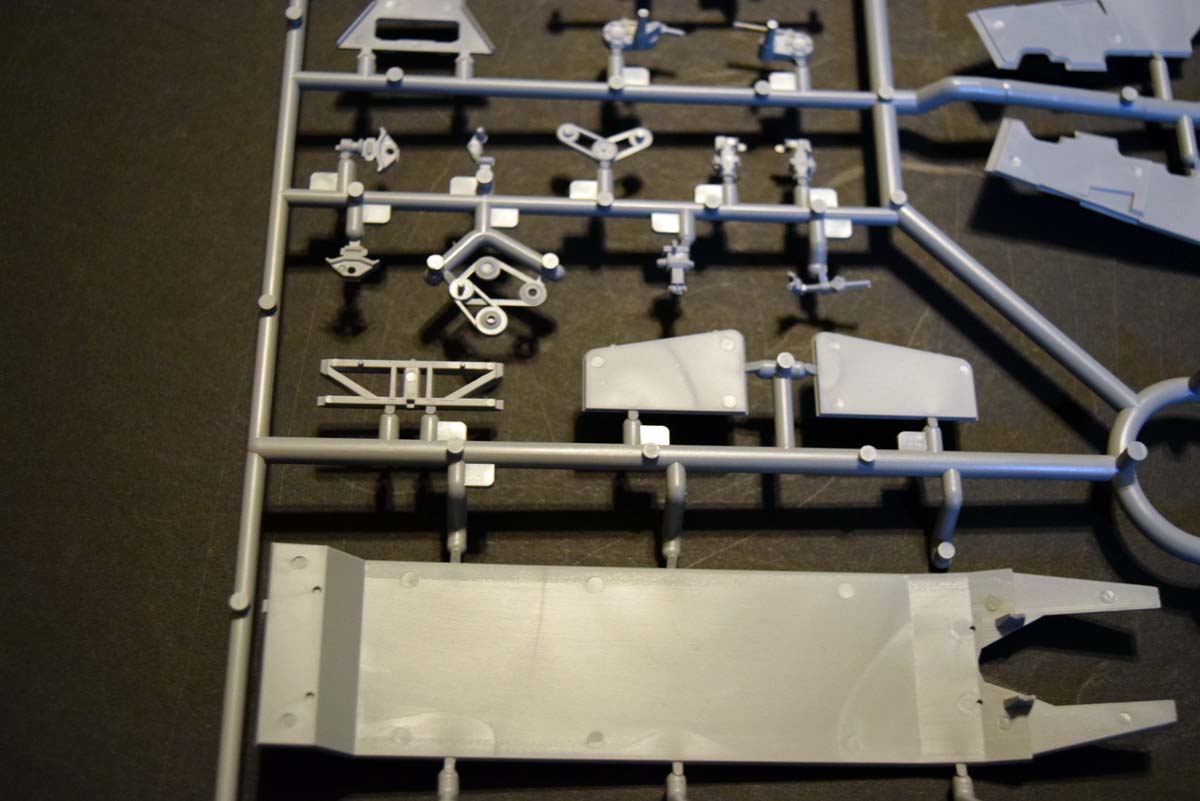
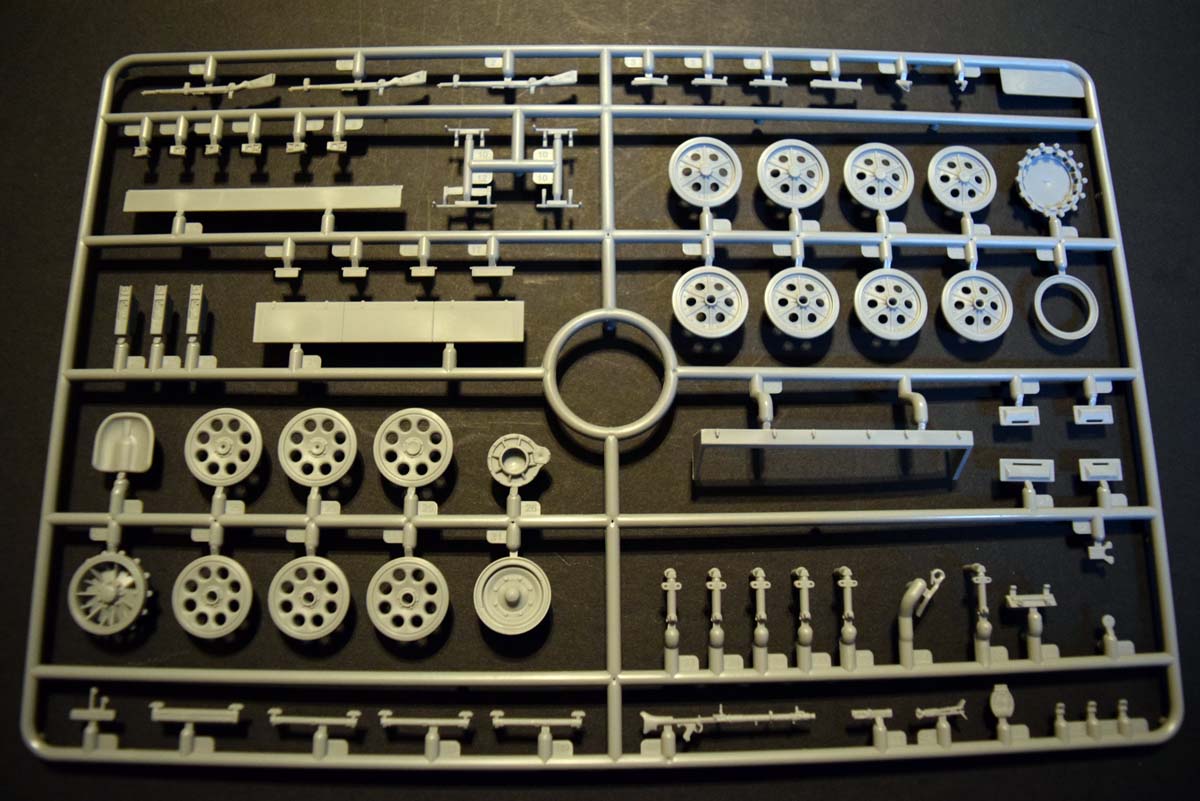
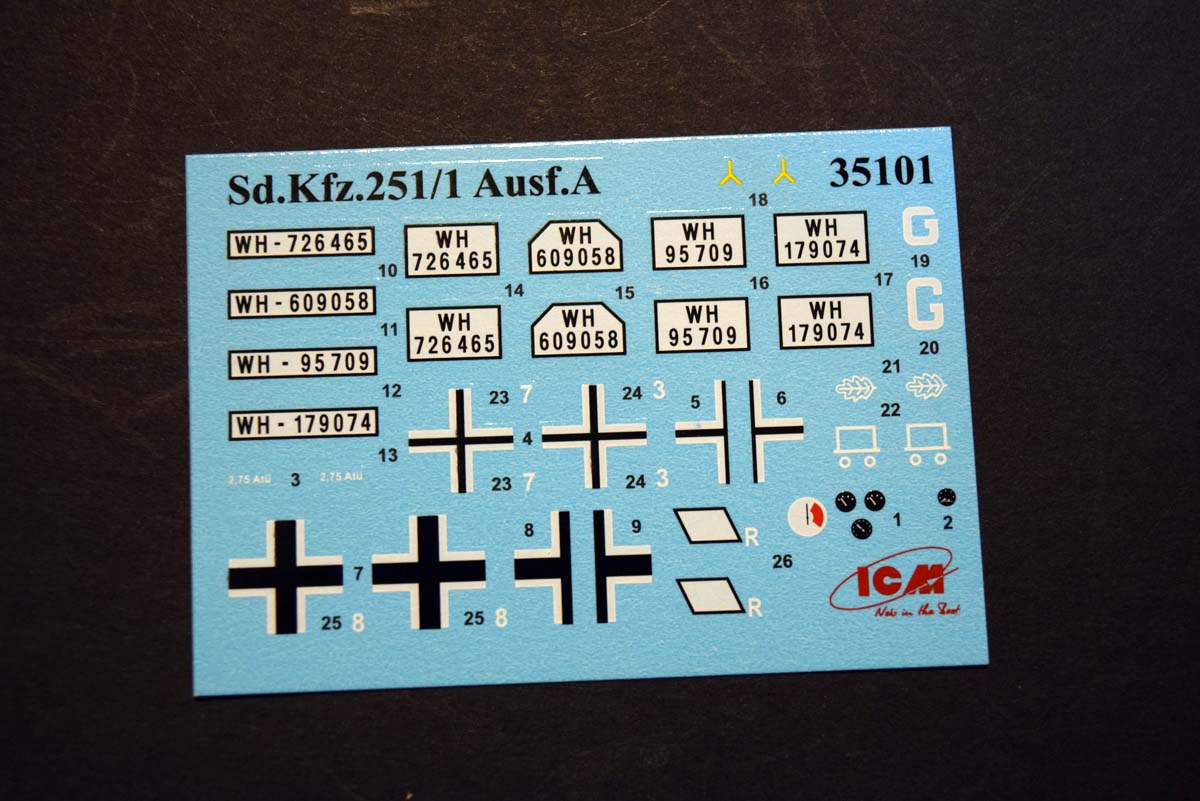
This offering is supplied in the now usual flip top cardboard box favoured by ICM with a second separate card lid with the artwork on it, as a modeller I do appreciate a well packaged offering and I feel ICM is one of the best in this respect. The artwork on the lid is very nicely done and will draw your eye to the box I believe. Inside the box is an instruction booklet with the decals protected between the pages. The sprues and other model elements are packed inside a re-sealable plastic bag with further bags holding the clear and vinyl rubber parts. In my offering one of the wheels had broken loose from the sprue.
Review
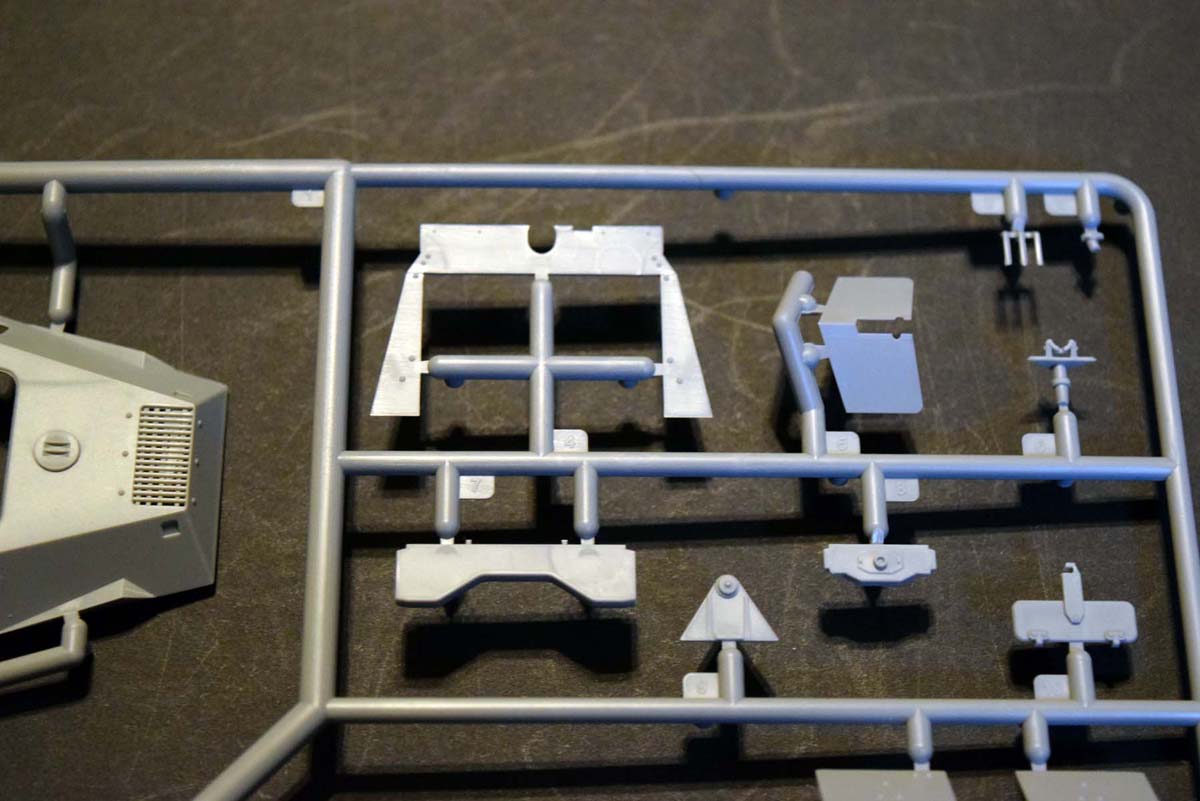
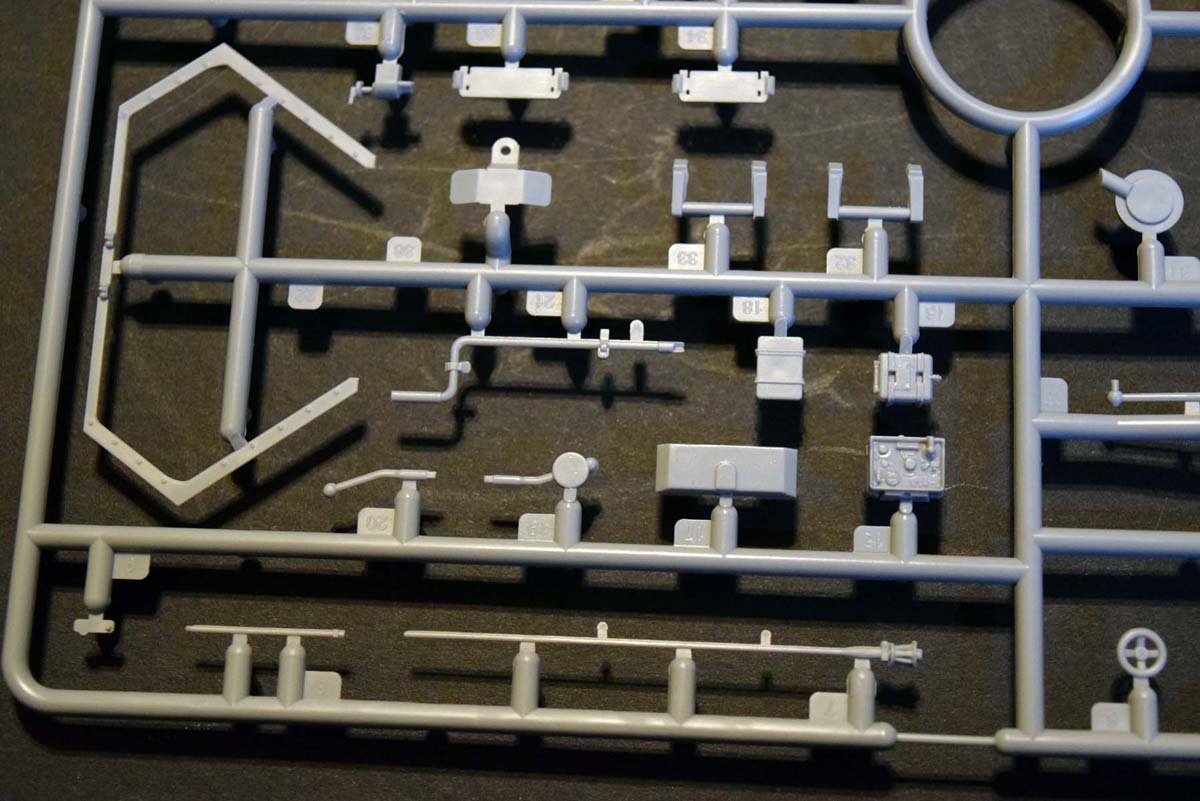
Starting with an examination of the model contents reveals little in the way of concerns. I found a lot of ejector pin marks throughout the model parts, but very few of these should be an issue with the finished model. A look at the larger mouldings reveals a number of flow marks that do not look good, but on the positive examination reveals no issues with it that has affected the surface of the plastic.
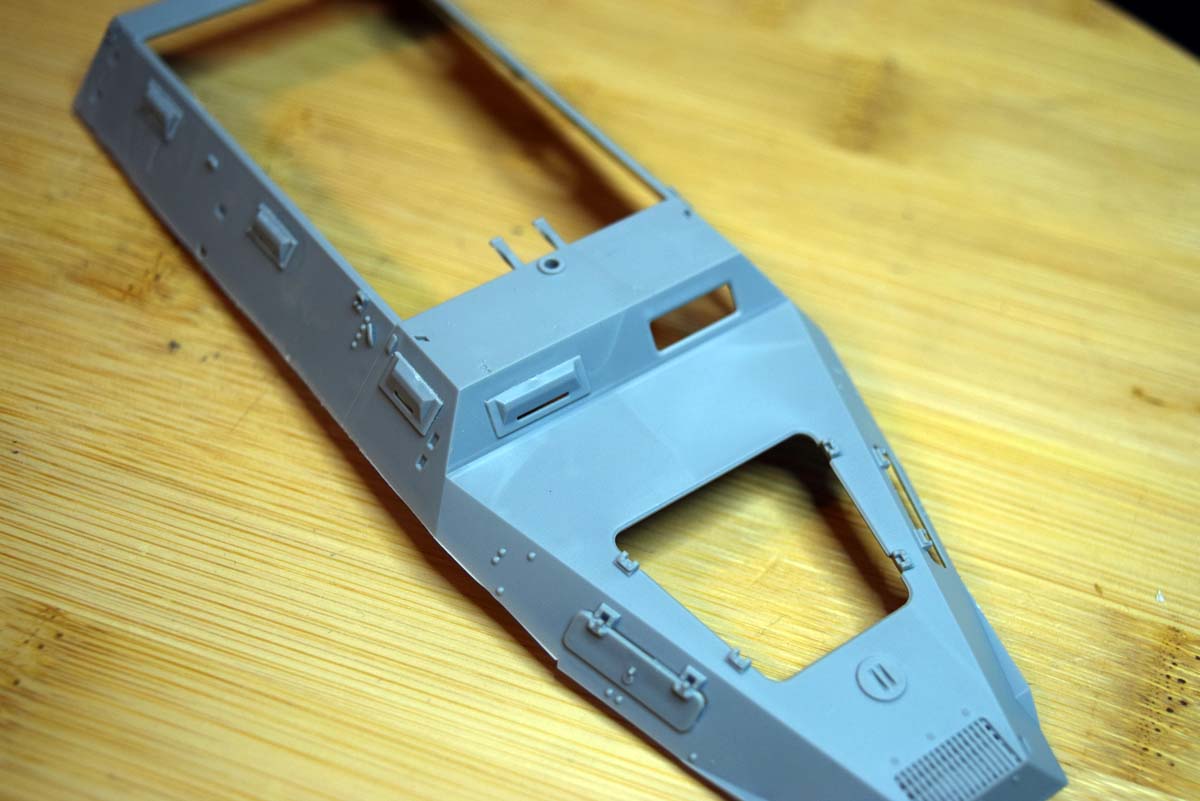
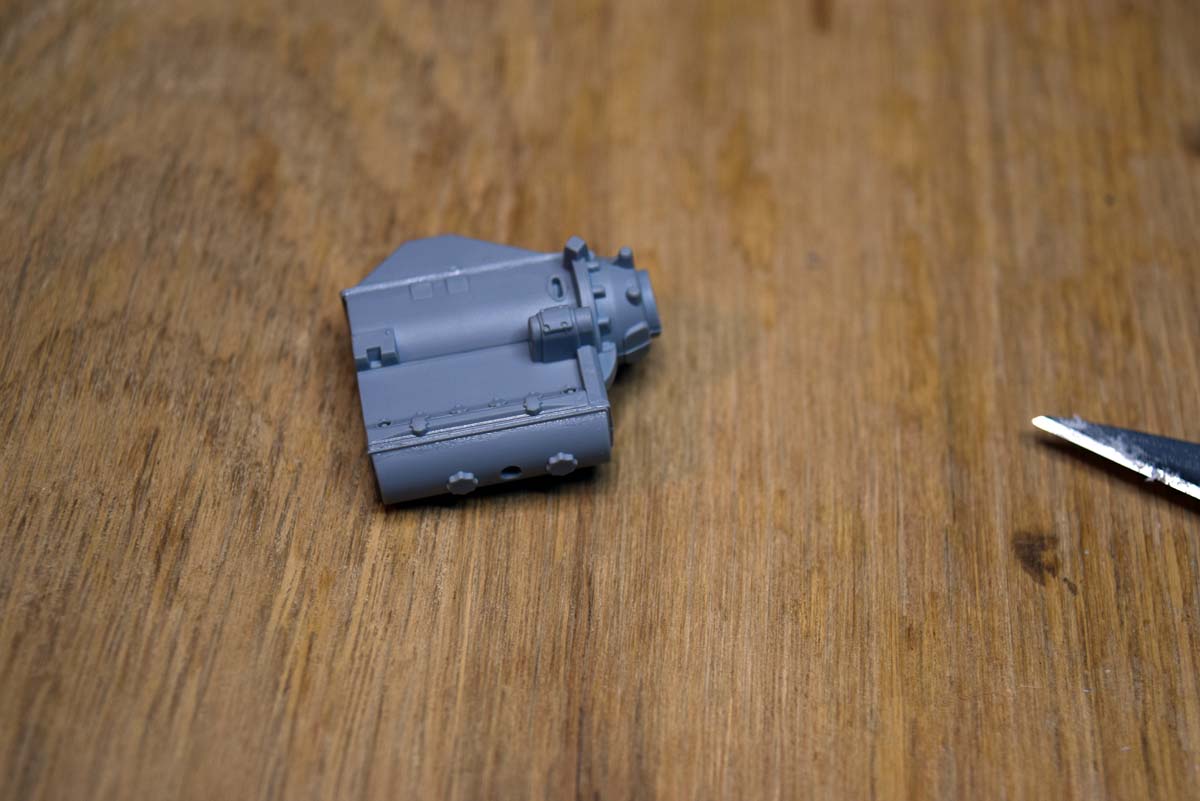
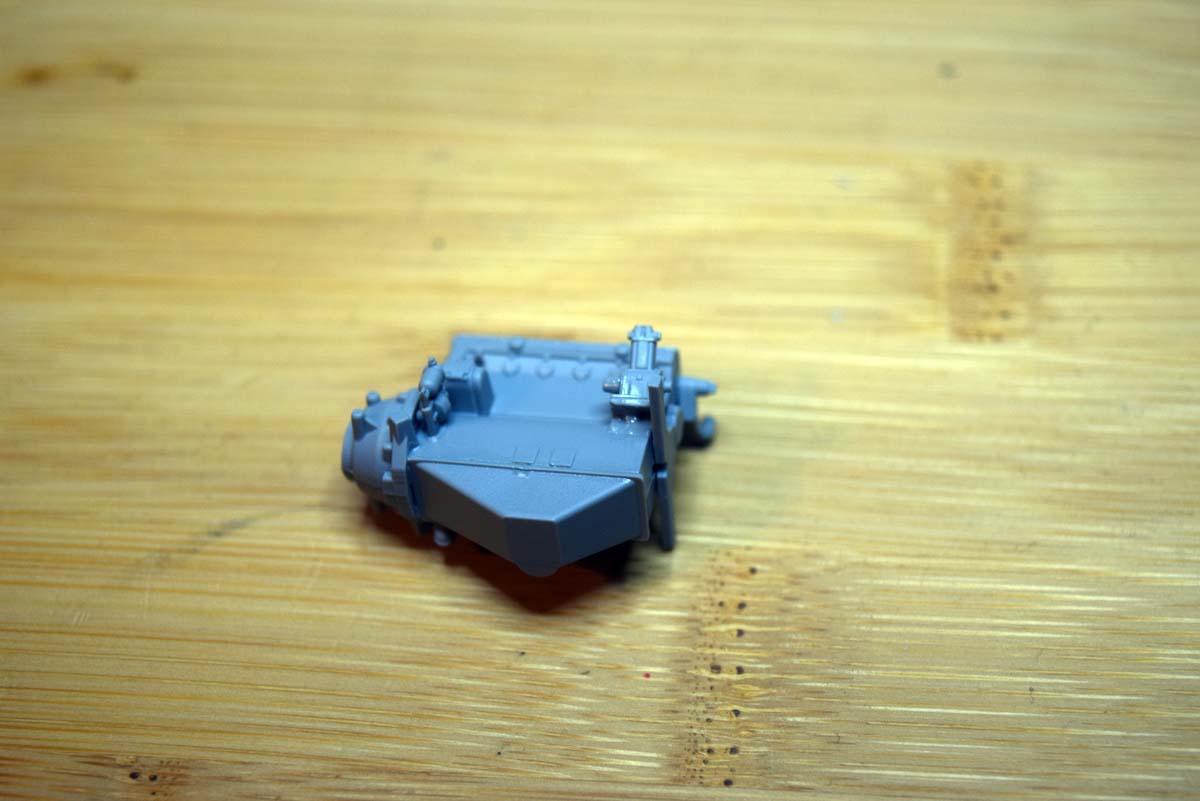
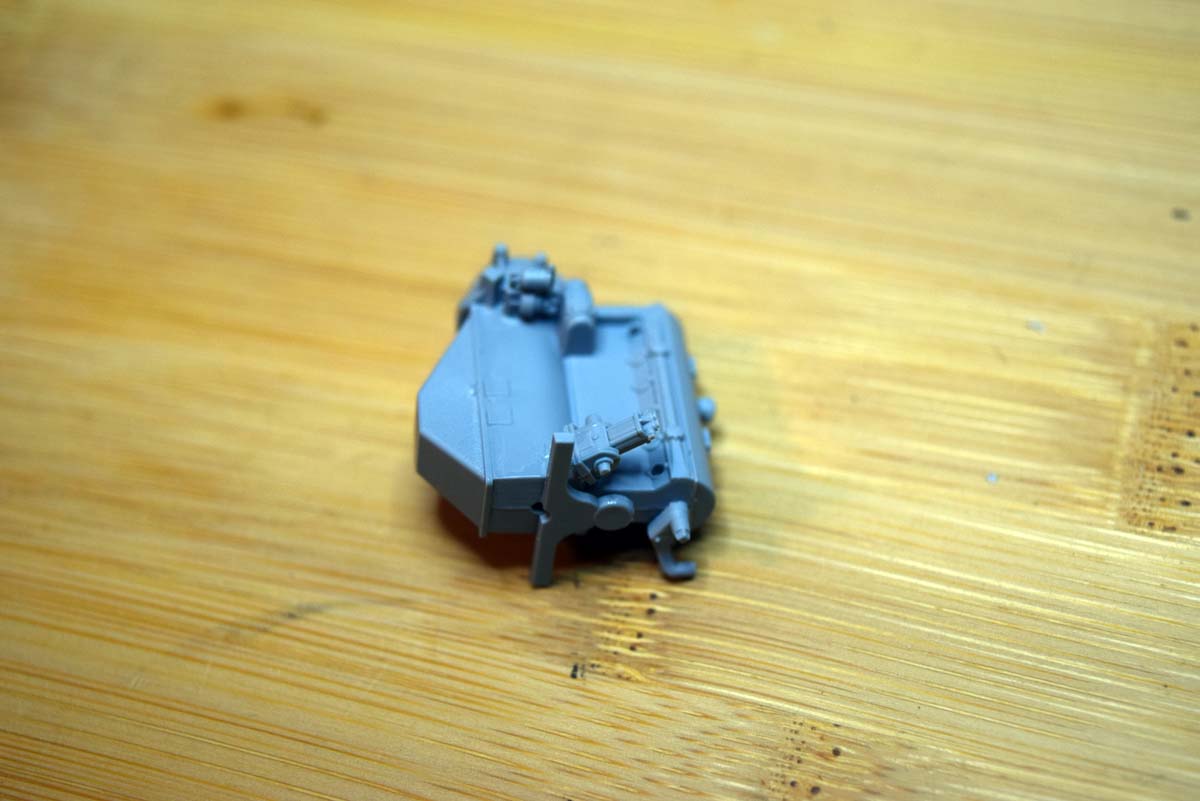
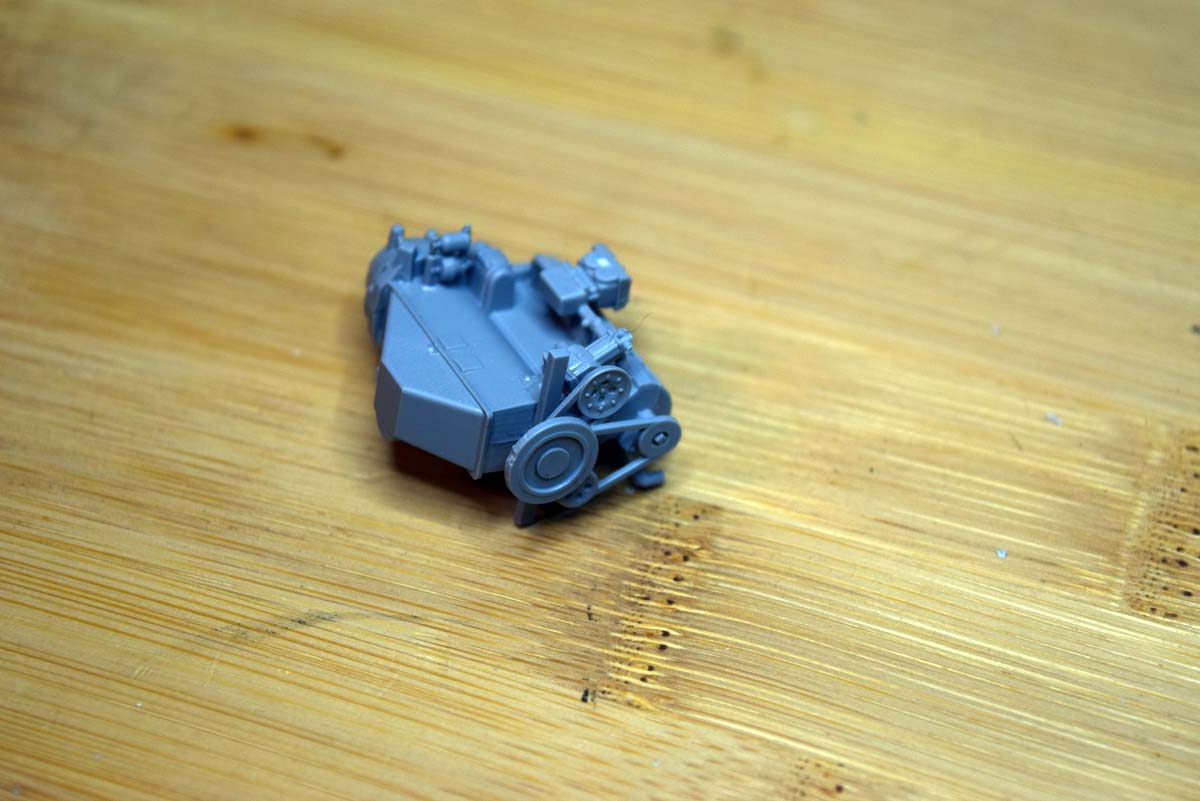
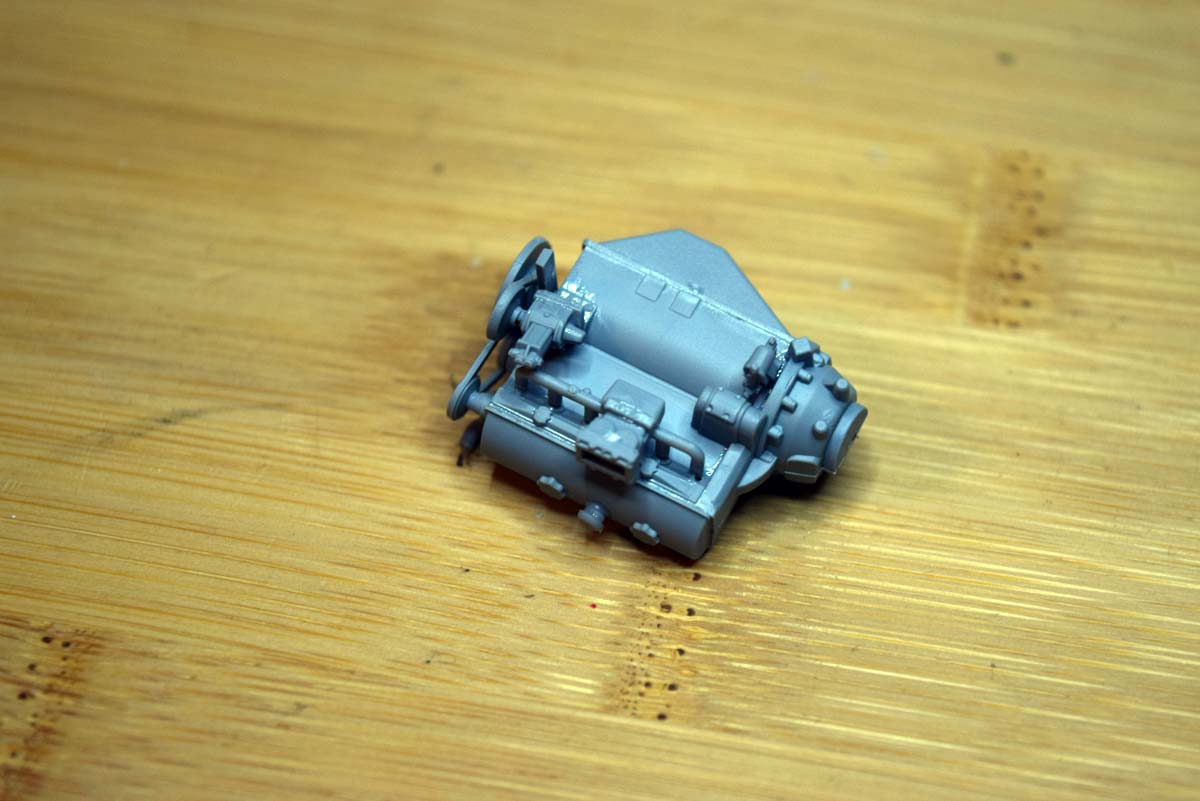
Looking at the detail on the mouldings reveals crisply replicated raised detail that should please most and keeps the model easy to construct while providing a good level of detail. I have done a lot of reference checking for this review and the exterior does appear to be accurate for an Ausf A version of the 251. The view ports or shooting slots depending on how you look at it along each side are correct and while designed to be closed a little effort will enable them to be open. The tools are correctly mounted along the hull sides rather than on the mudguards used in later models. The engine vents are exposed rather than covered which is again correct for version. An engine is included with this offering and that can be exposed if wished due to the access doors being separate parts.
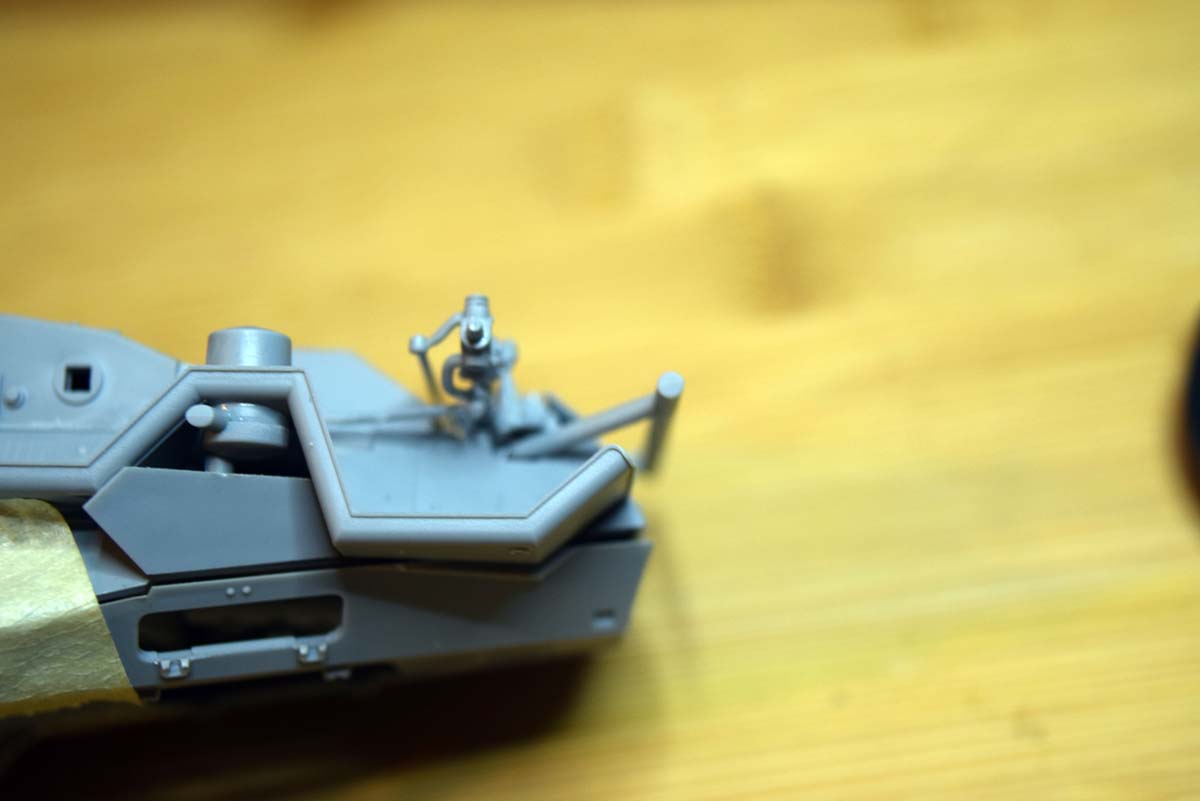
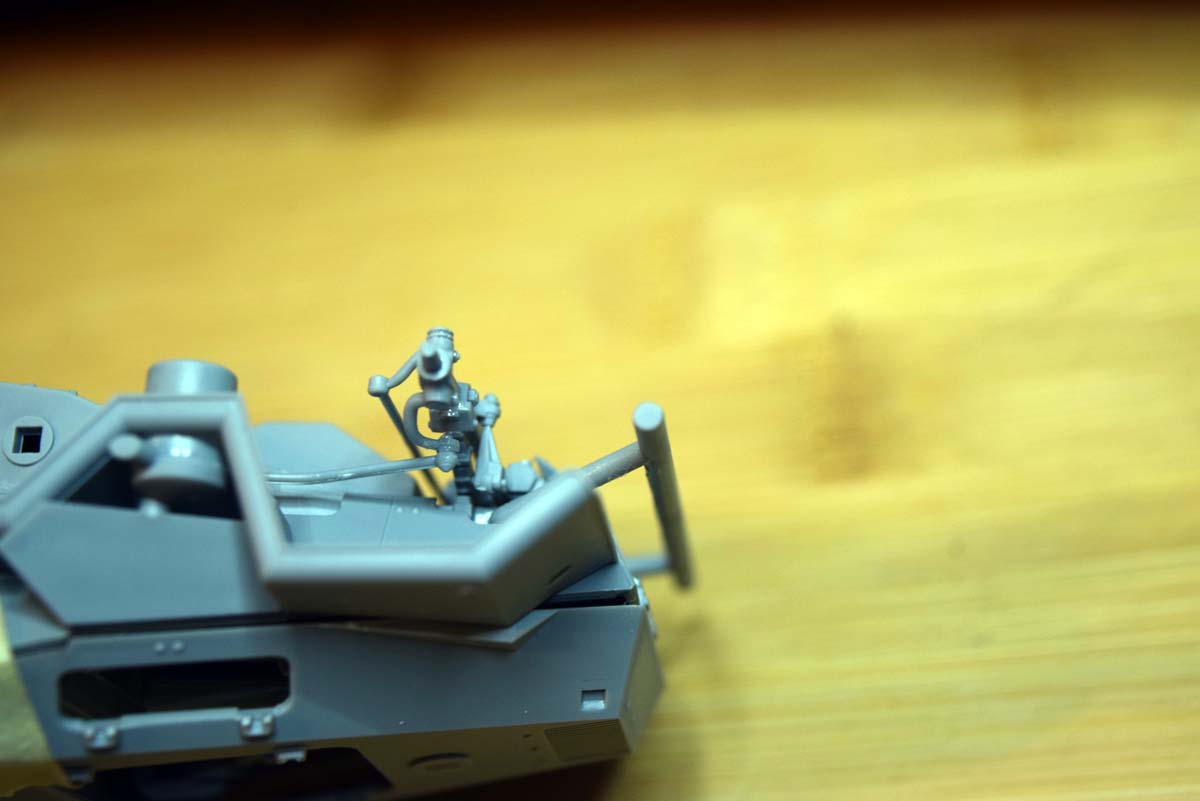
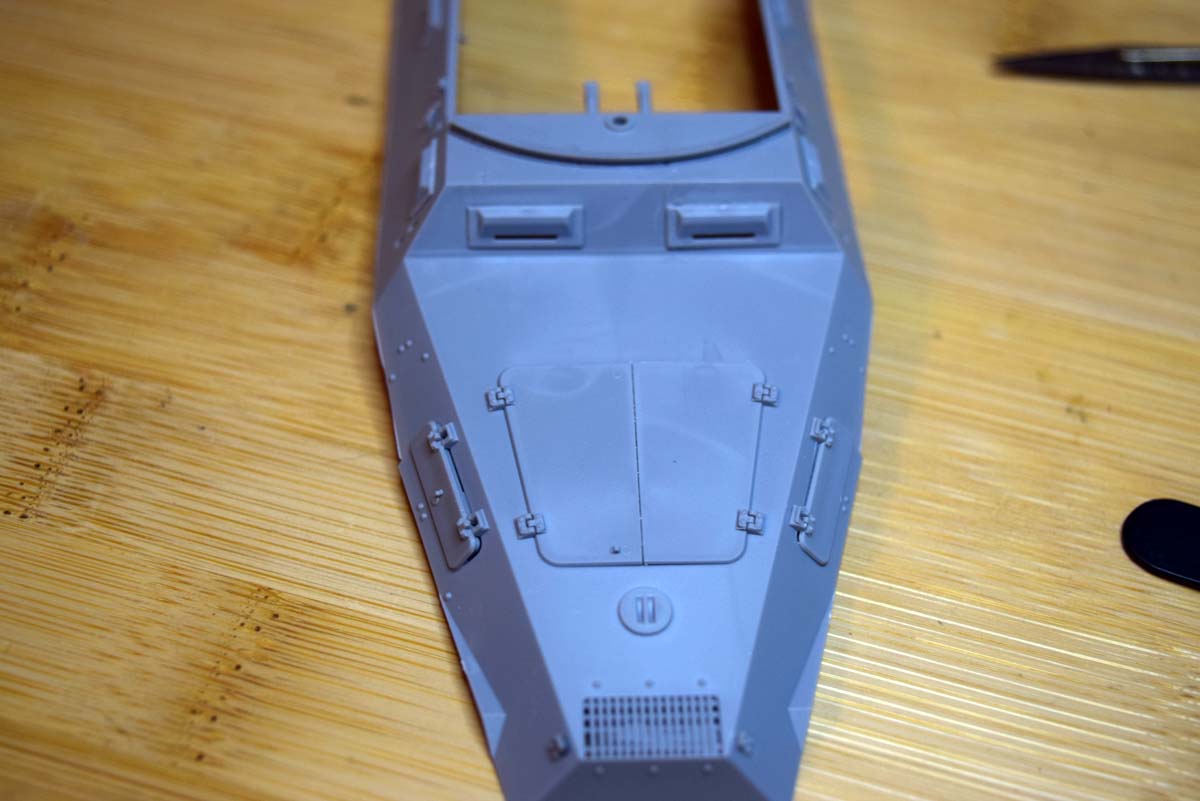
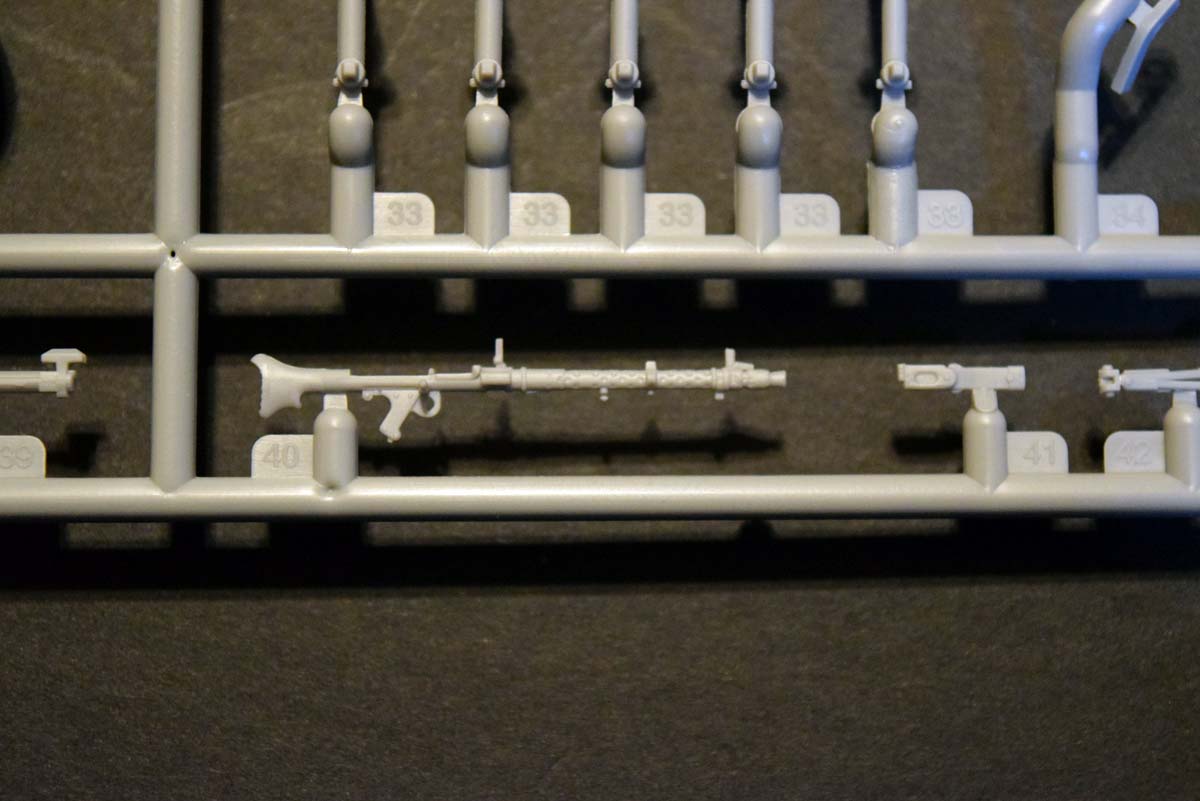
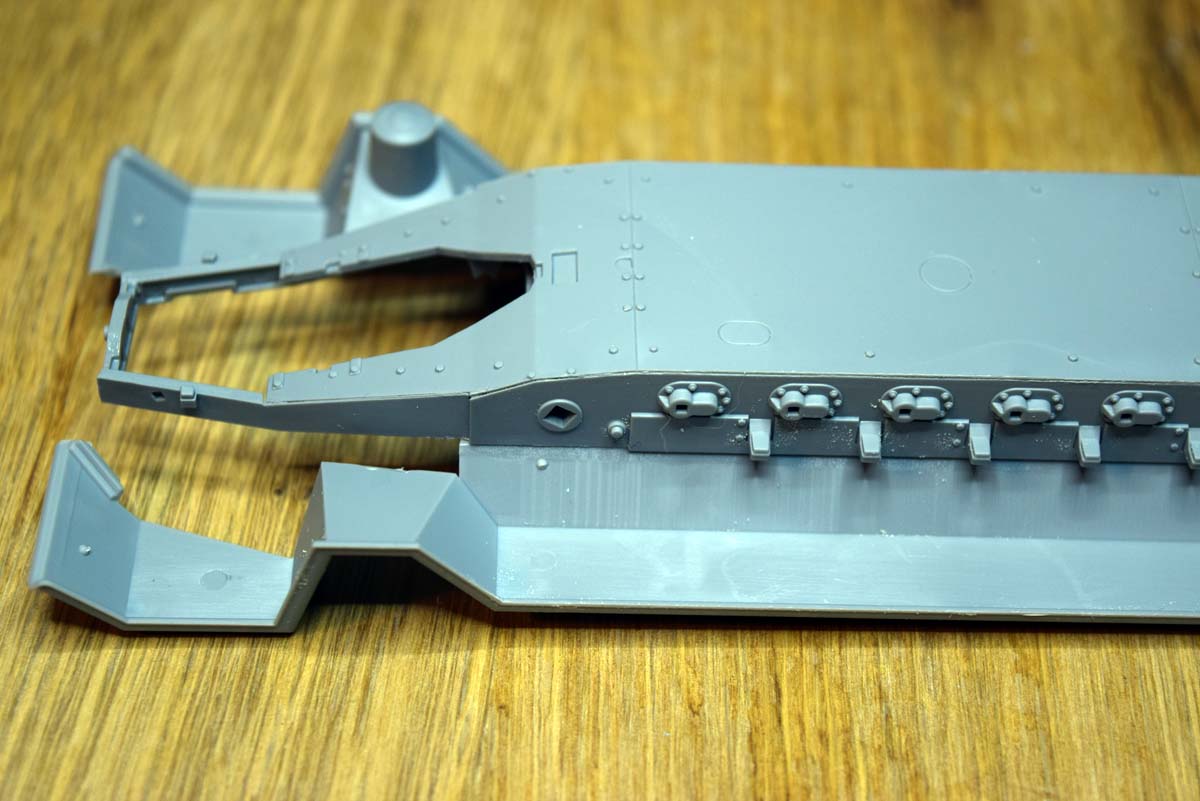
Moving to the rear of the model again reveals nice and accurate details provided by ICM in this release. The machine guns are nicely presented and a guard has been supplied and shown used in some of the finishing options; it needs to be remembered that in early versions no guard was used on the machine guns and sand bag protection was commonly used by troops. While talking about the machine guns I would have liked to see some ammunition boxes or drum magazines as the breech of the MGs are separate parts. The rear of the model and rear doors are correctly angled and so alls good right? Well no there are some issues I found.
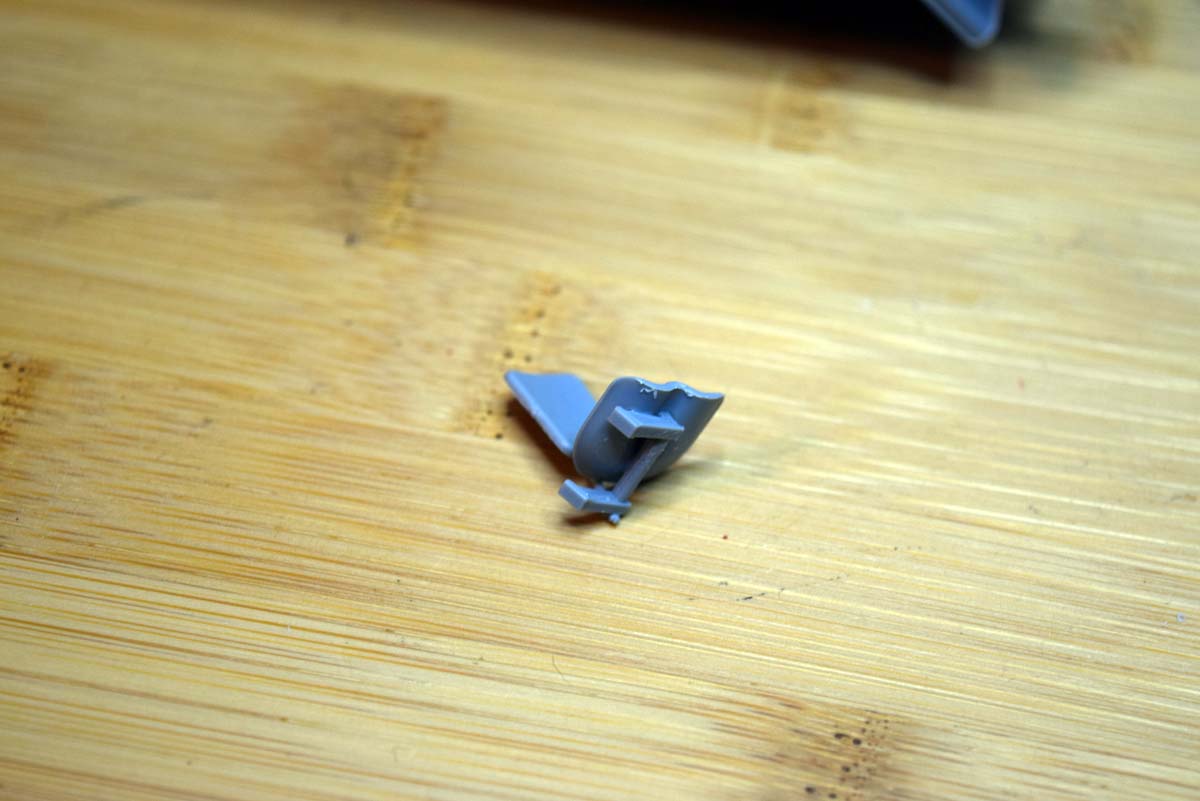
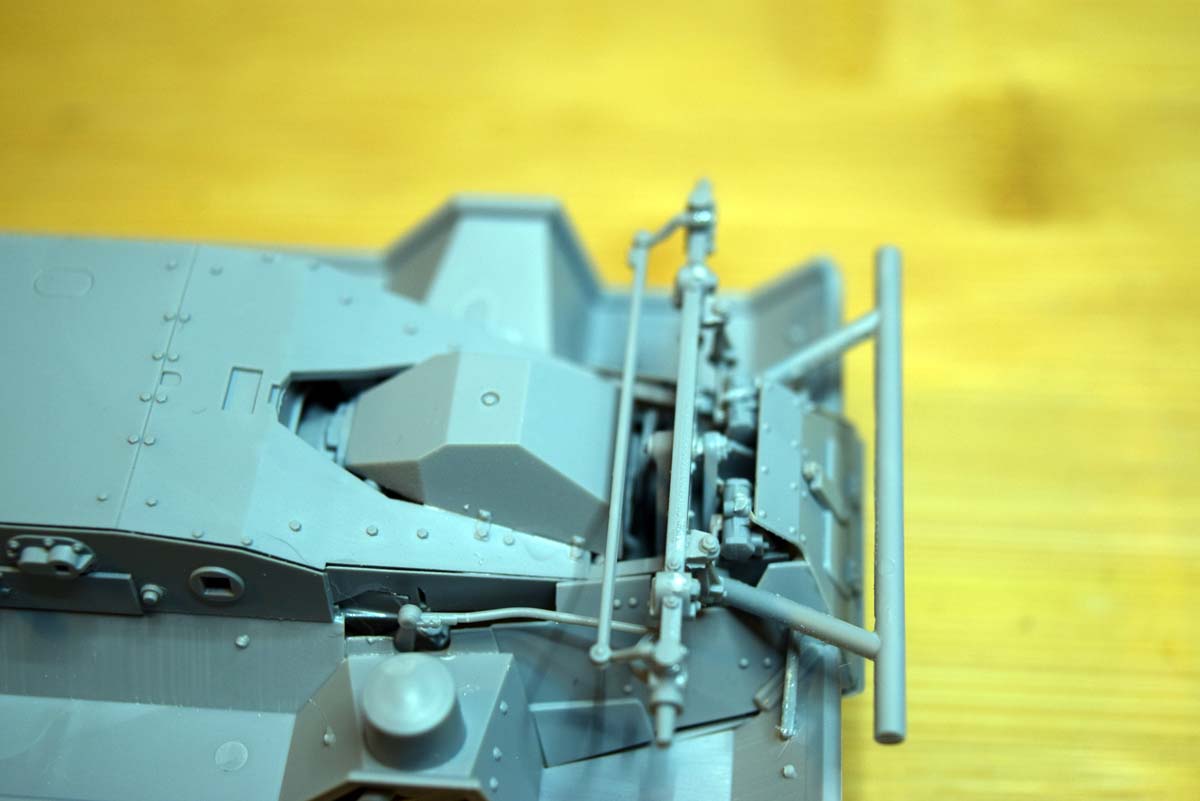
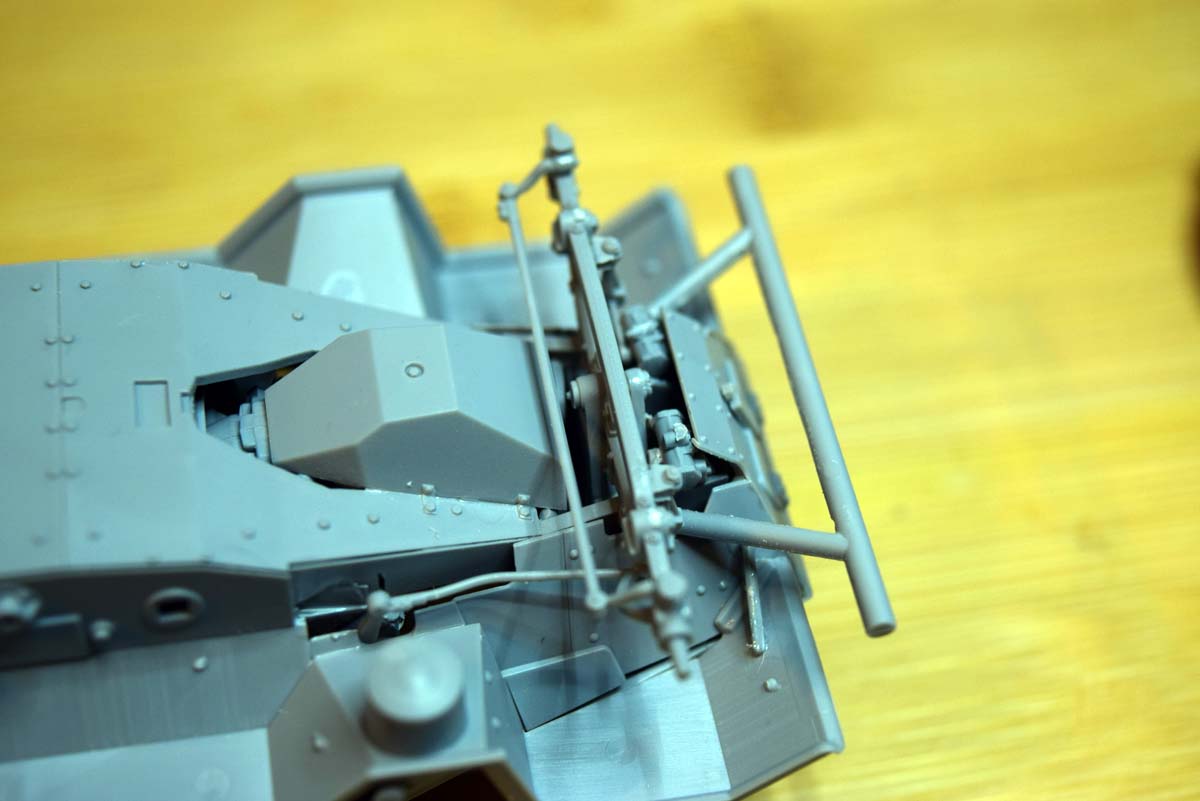
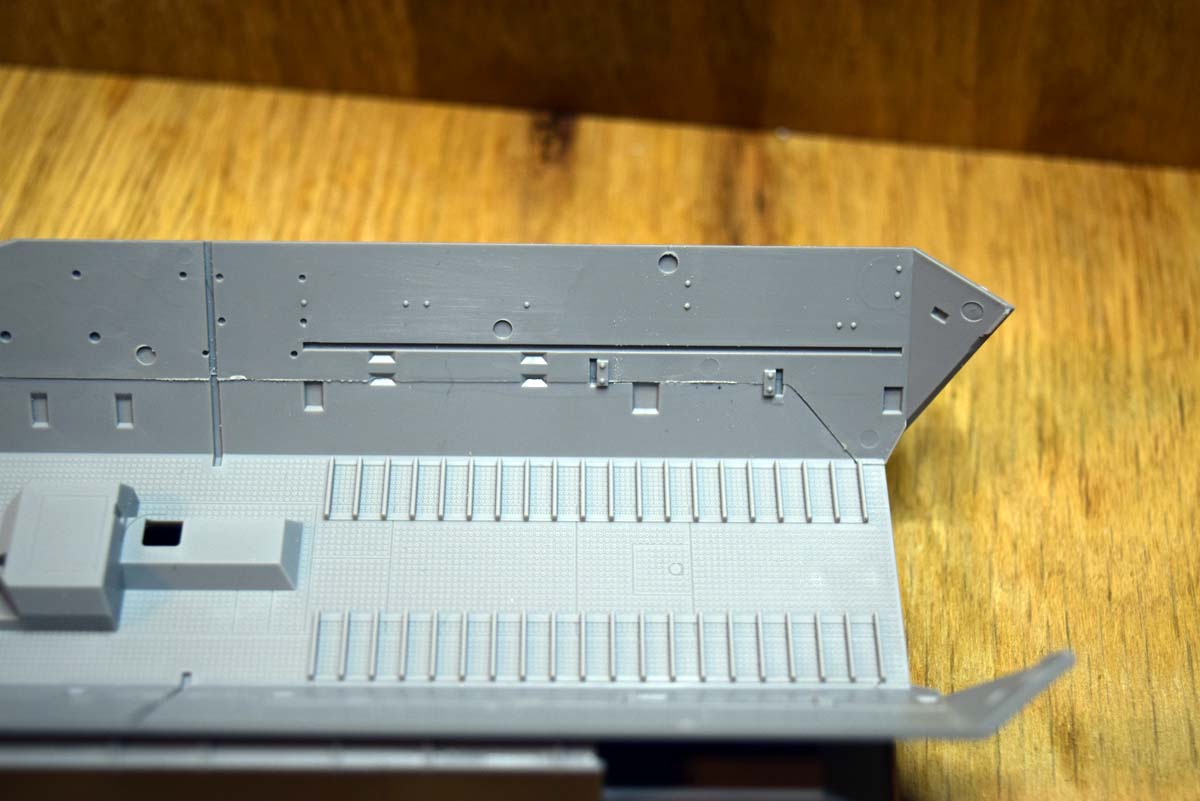
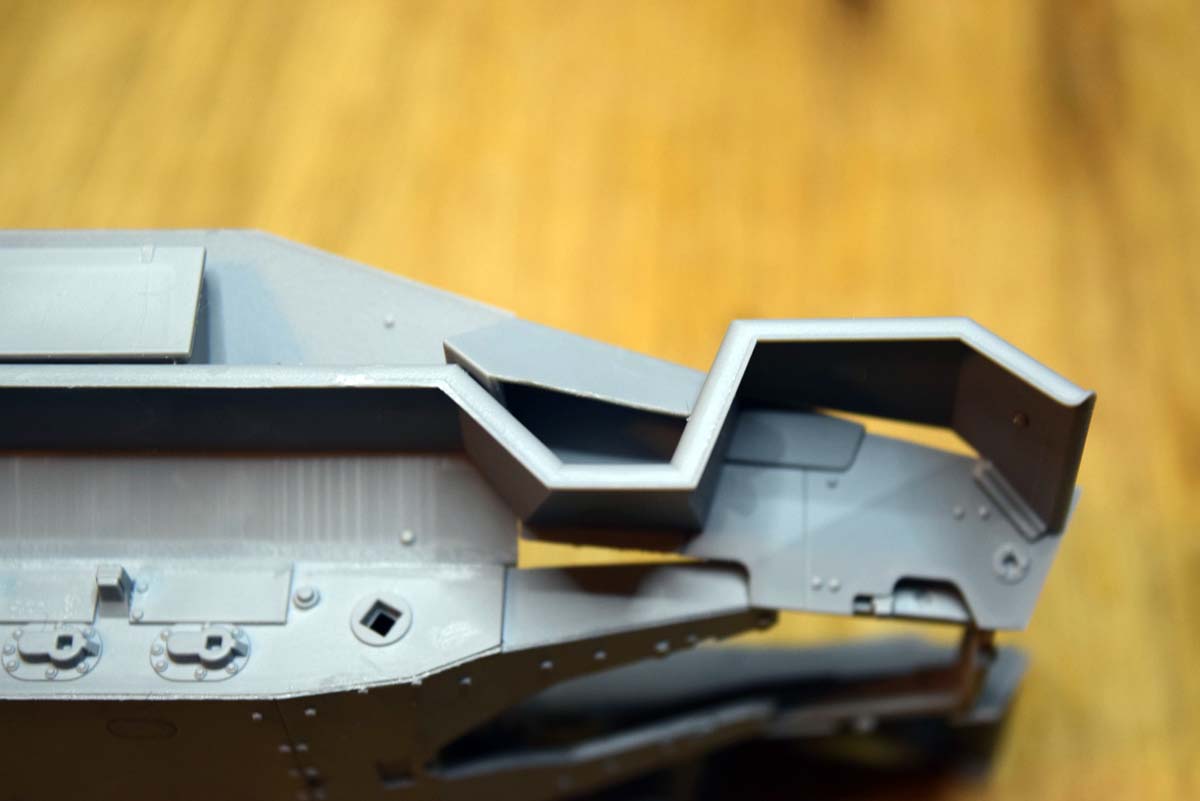
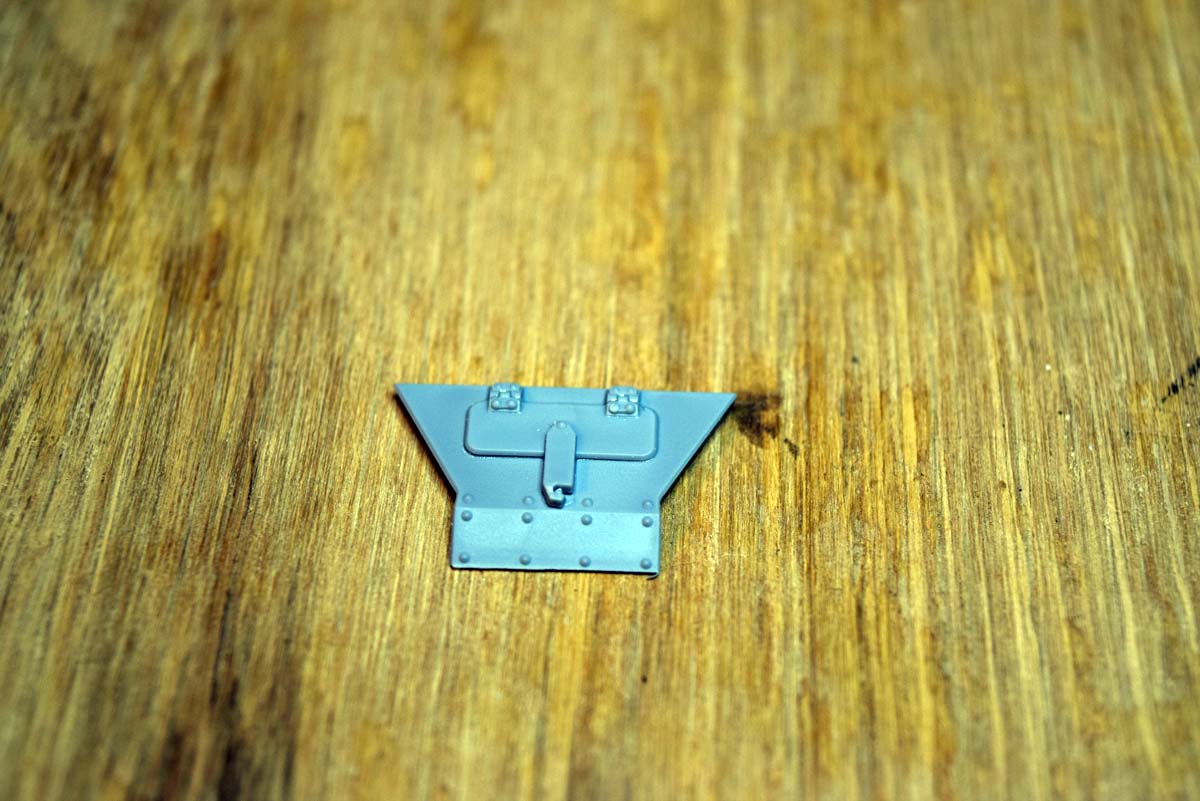
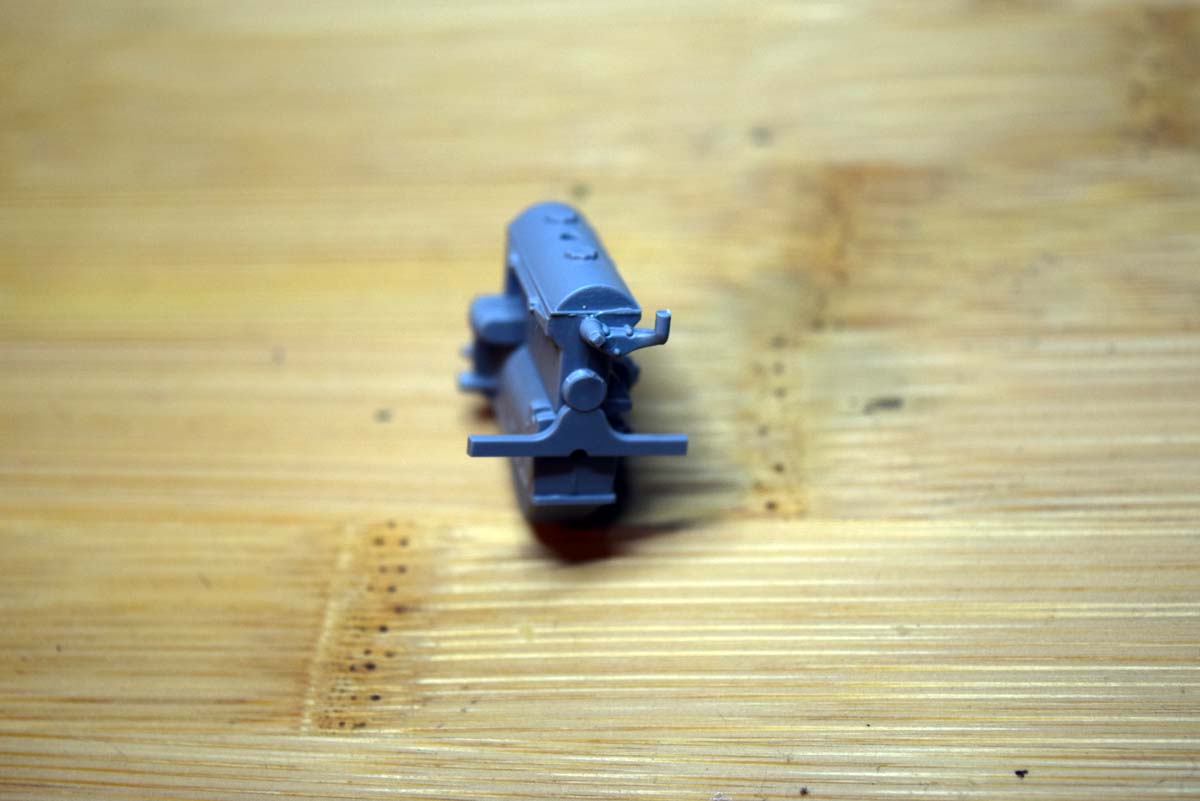
The aerial mount should be on a flat panel on the right side of the vehicle in the space between the track and the wheel, this is not a deal breaker as it is easily corrected; that said the location that the aerial is indicated as being is good for an upgraded vehicle while still being an A version; what disappoints me with the aerial is that it is correctly shown in the box top artwork and the one in the box is more common on the B version. The machine gun guard is also correct for an updated vehicle, so just consider the point of the war you wish to represent your vehicle in before committing any changes.
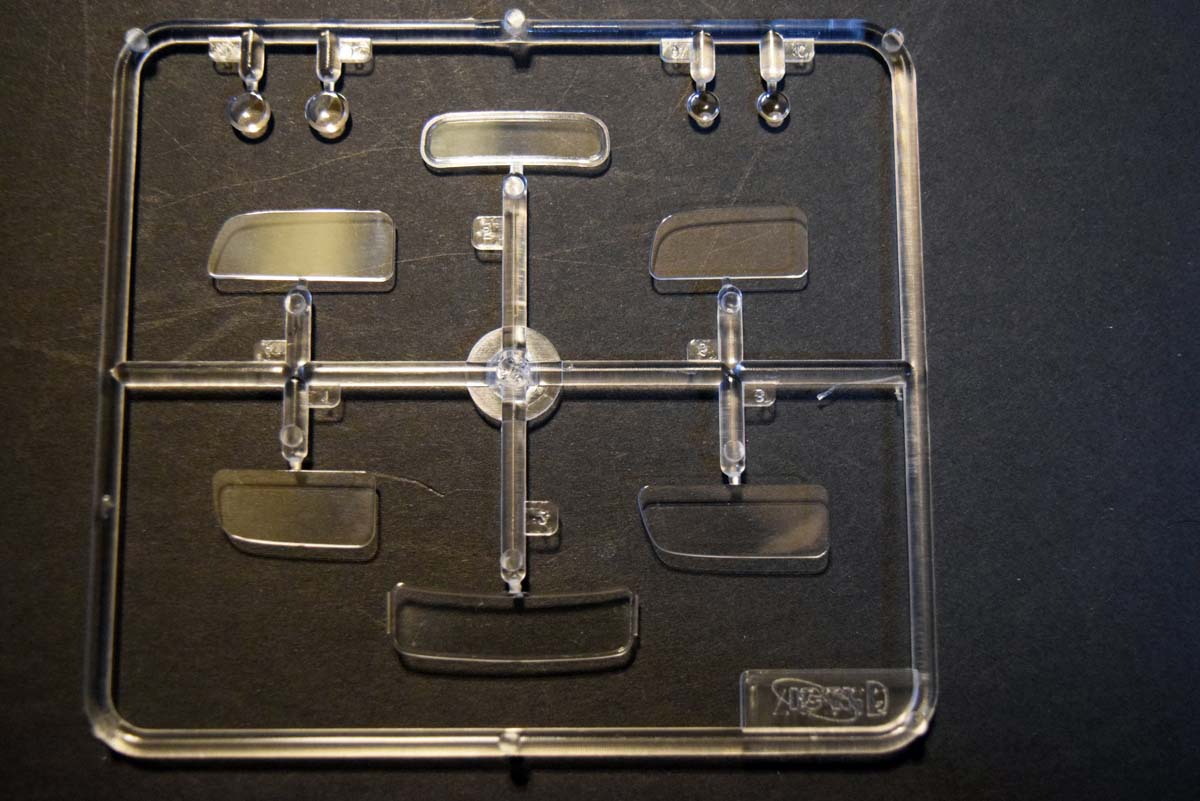
The body work on the 251 Ausf A is made of a front and rear portion that was bolted together just behind the drivers compartment and that has been very nicely replicated by ICM in this release. The clear parts supplied with this model are from a previous ICM release and that is the Type 320 Saloon staff car. The vinyl rubber tracks and tyres are very good from a detail aspect, but I am looking for alternate tracks in plastic or similar.
The Build
The stages of construction for this model have been kept minimal in terms of the number of parts for each stage of the build. I think of this as a smart move as it means that modellers of all skill levels should be able to tackle the build without any major difficulties or being put off looking for parts and where exactly they belong.
Stages 1 to 13 Lower Hull
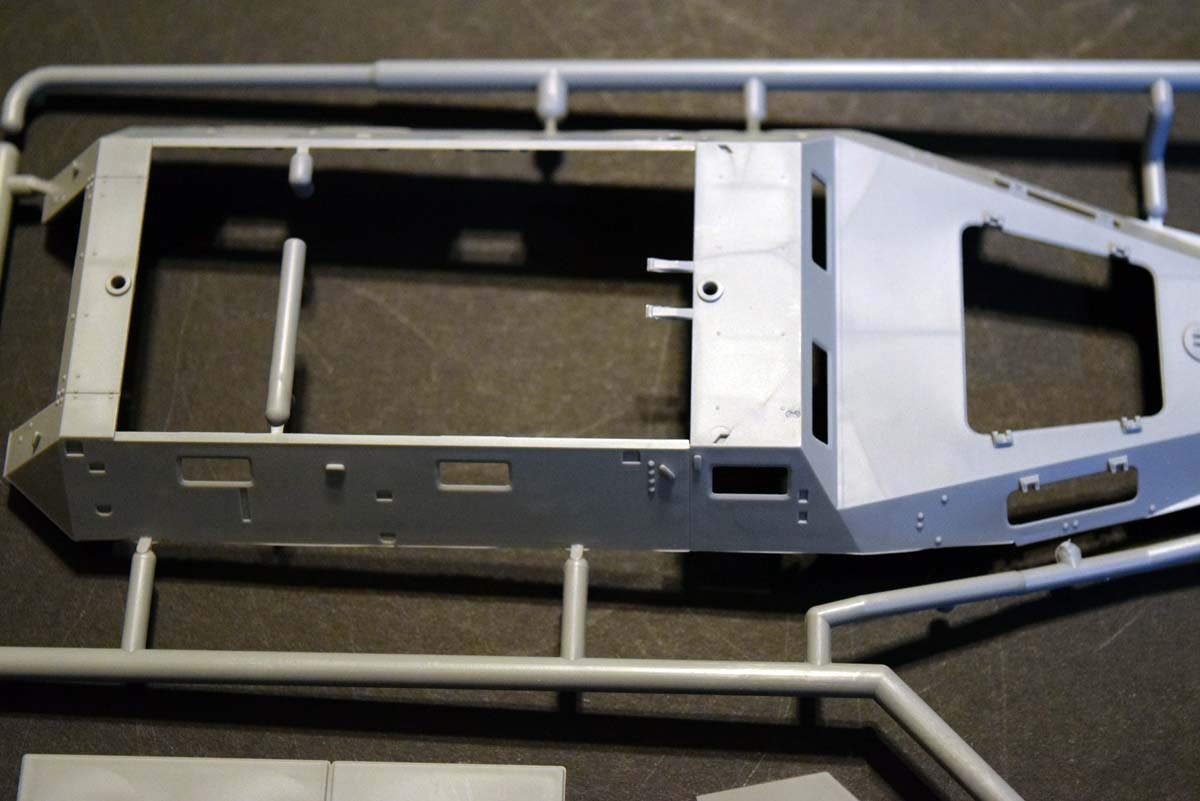
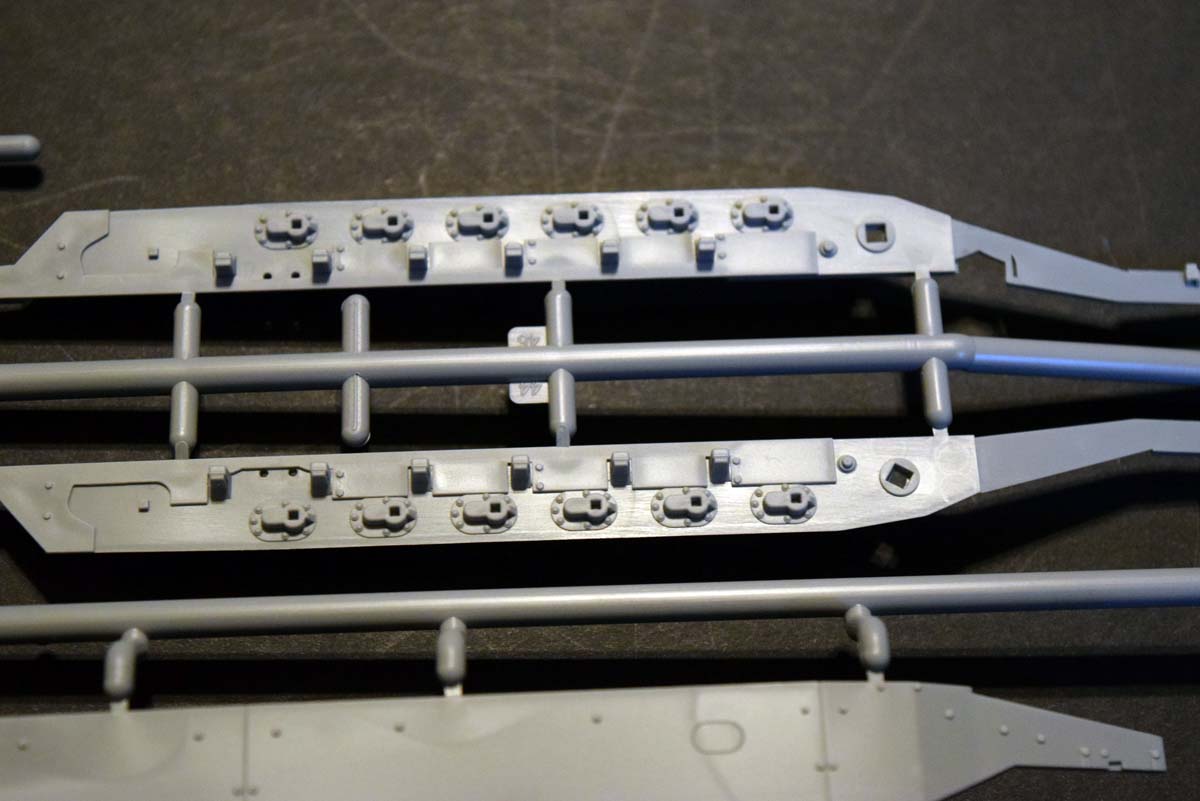
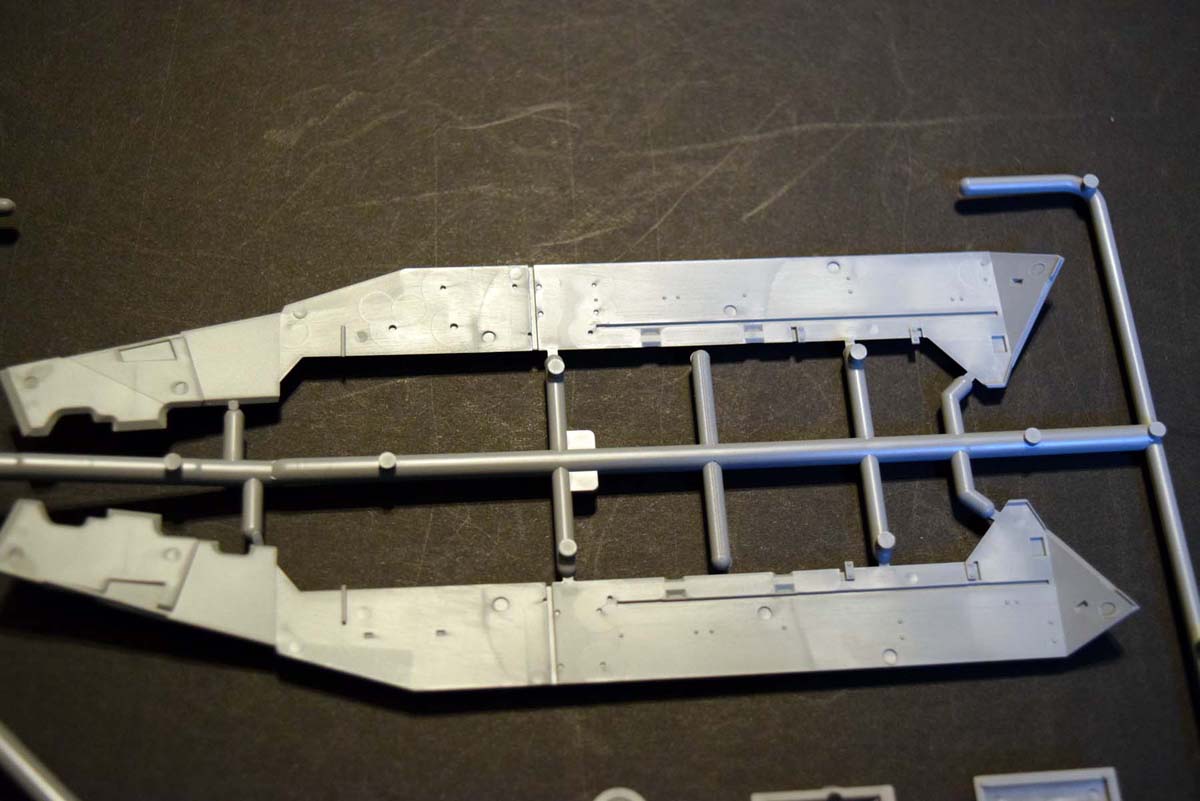
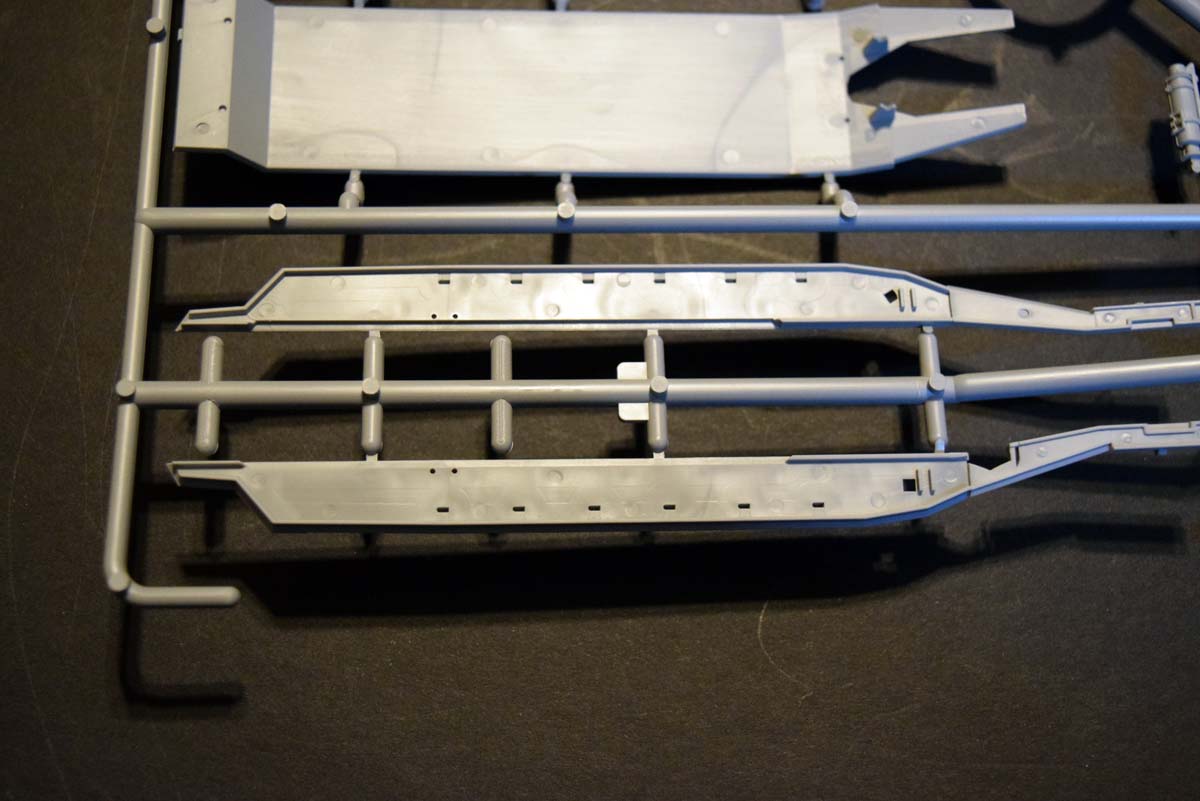
Construction begins with the lower portion of the hull and I have to say I was a little concerned due to angles of items and also the angles on some parts. The first section only covers the area where the torsion bars would be hidden. The only issue here is the angle of the frame listed as (A7), but this issue is easily overcome by having the side panels ready to go on. I did find a little bowing in the side panels over their length, but if secured at one end this is easily corrected. Clean up of the side panels is made a little more difficult due to the sprue gate over lapping an angle and so a sharp knife is needed to correct that.
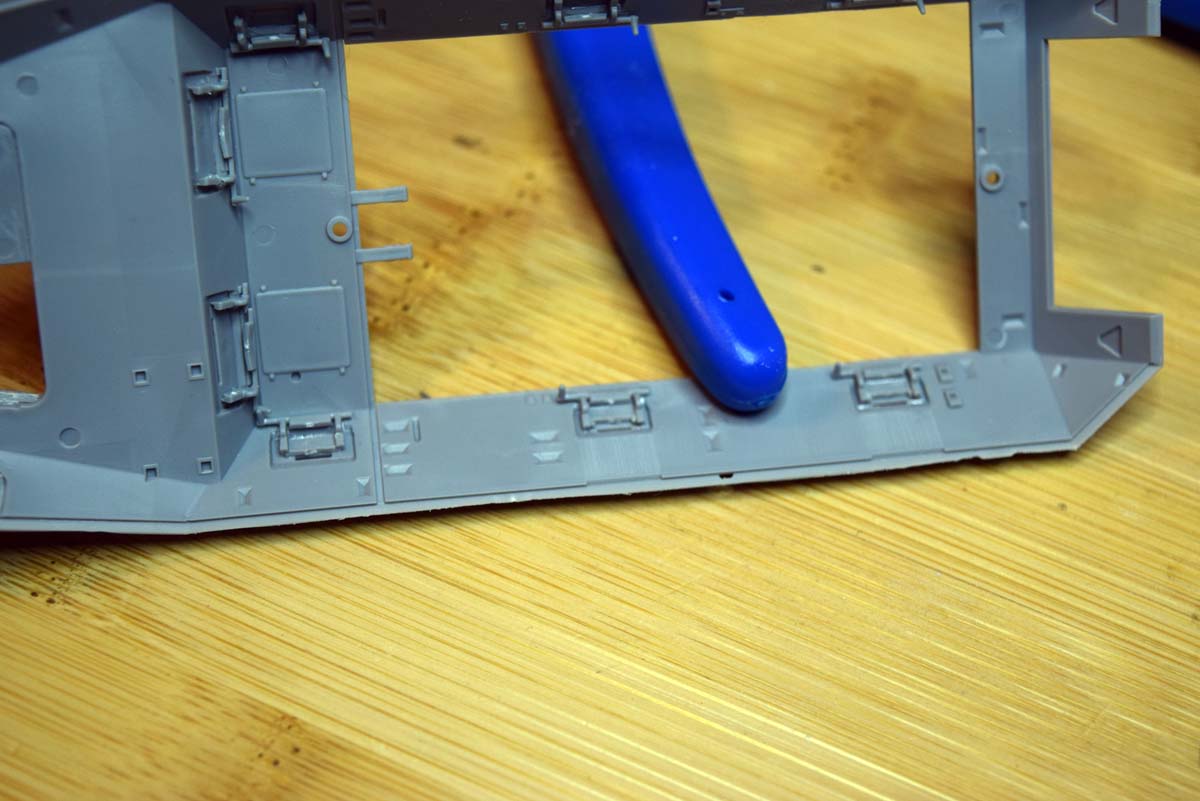
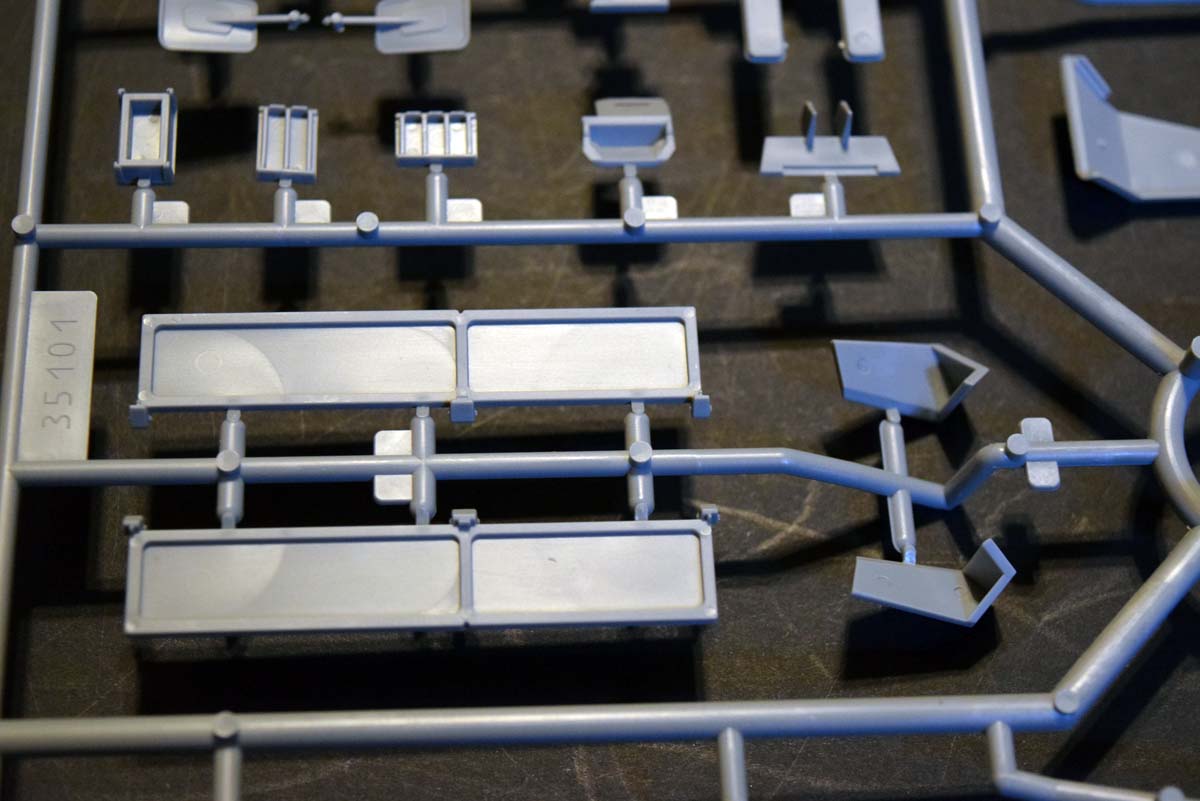
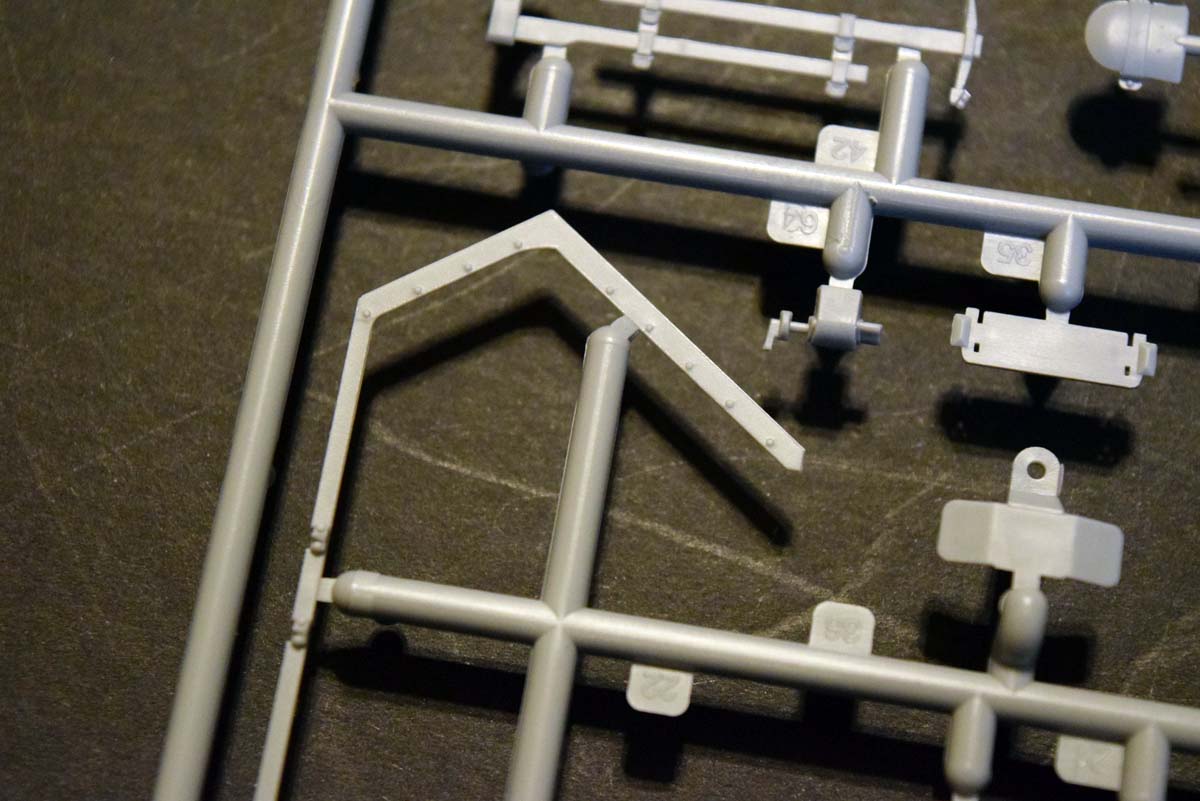
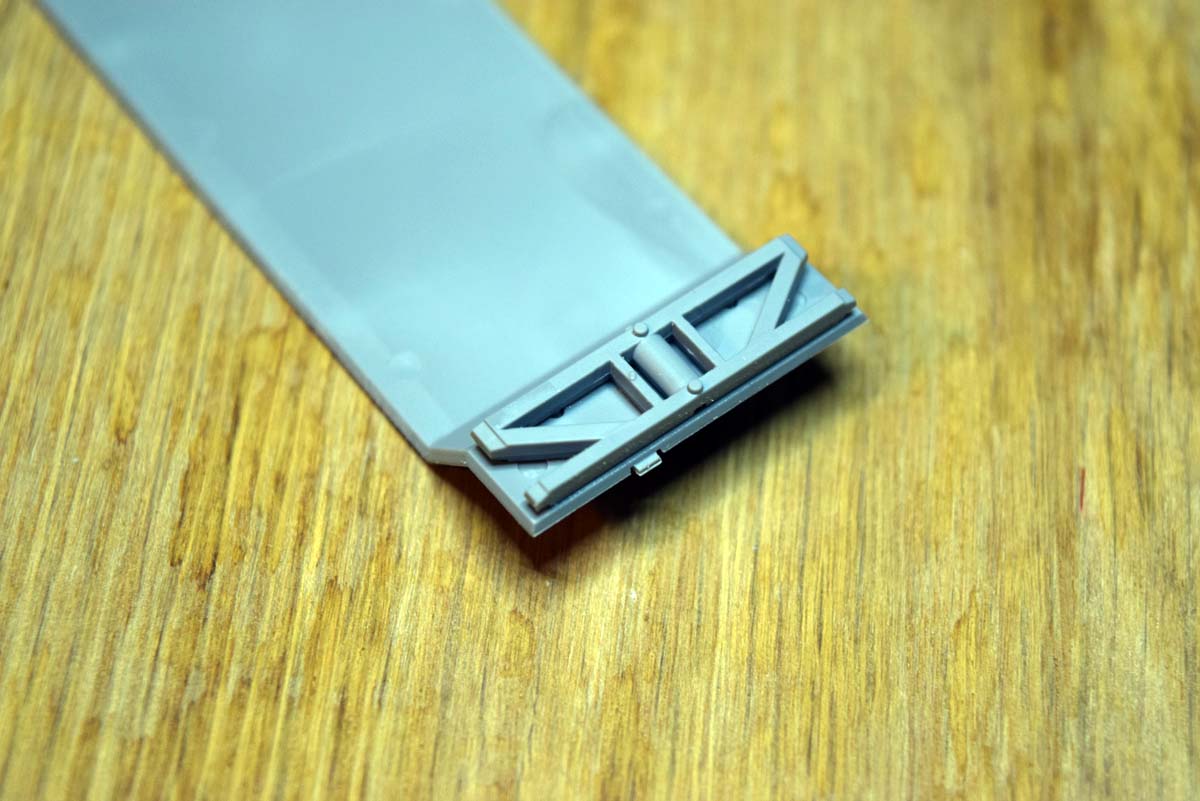
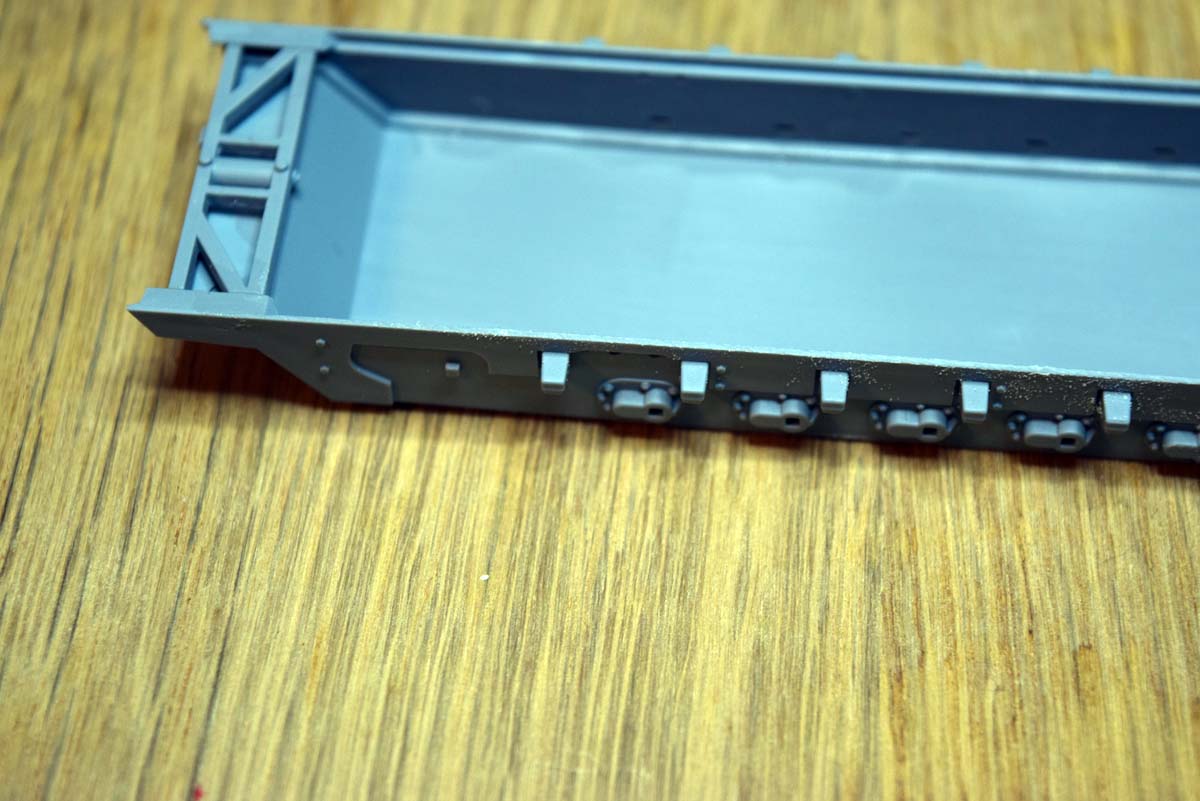
The storage boxes would have been better is supplied with the option of being open but alas not. These parts again suffered from being bowed, but as was the case earlier take your time and work from one end to the other fixes the issue. Attaching the assembled area to the actual floor of the model is easy as the fit is very good. One issue is that the outer face of the mudguards have been used as the sprue connection points and there is a raised lip which has been over lapped by the sprue gate and so again will require great care to clean up.
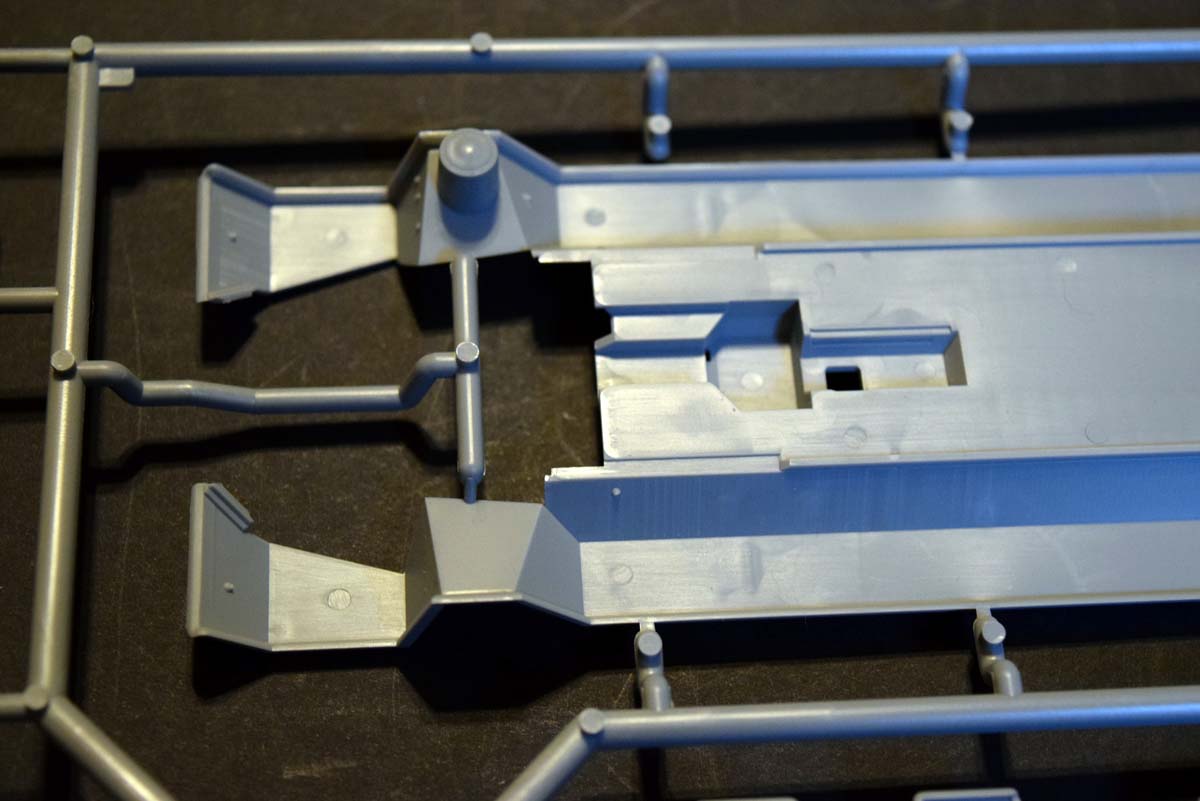
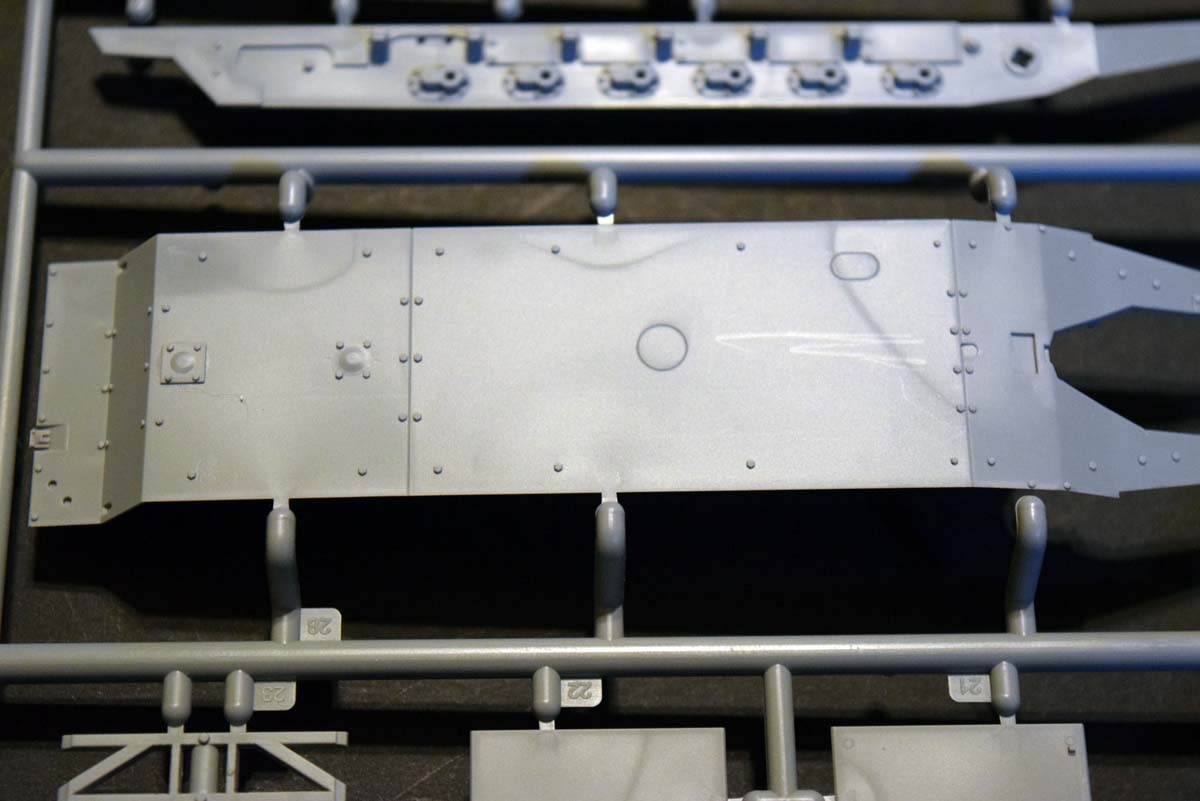
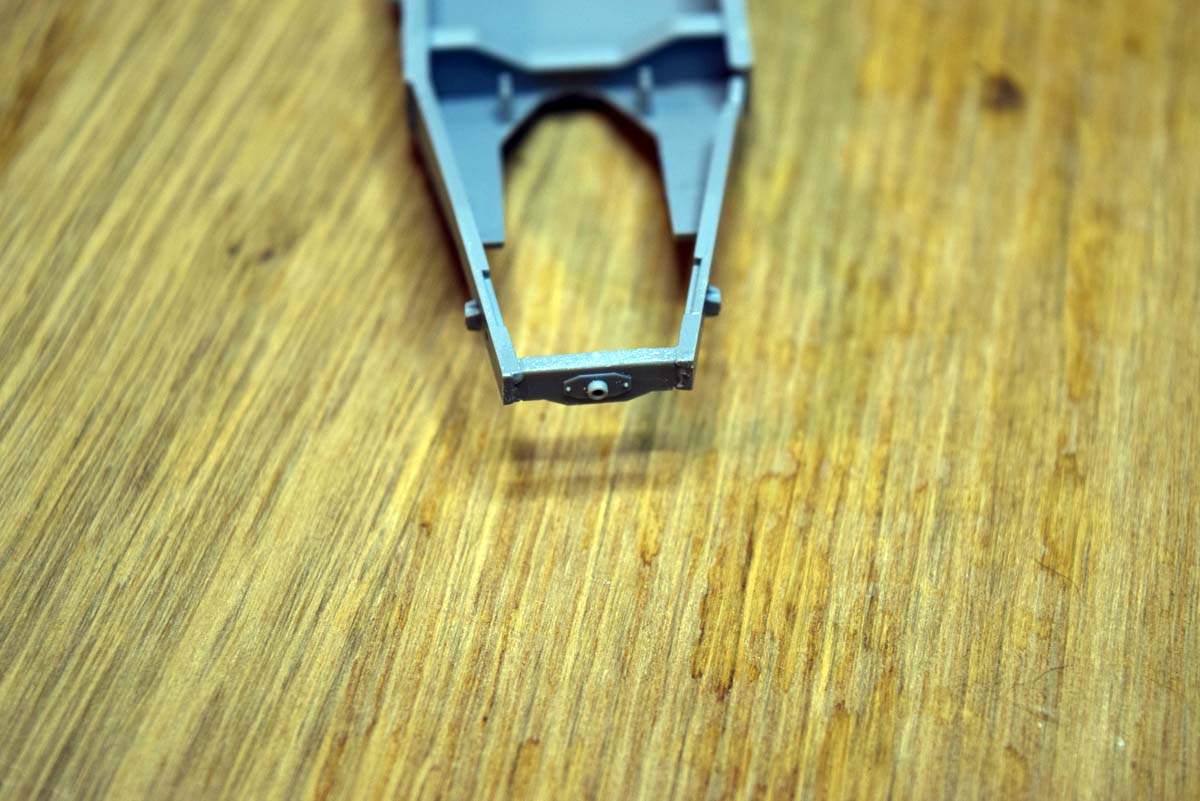
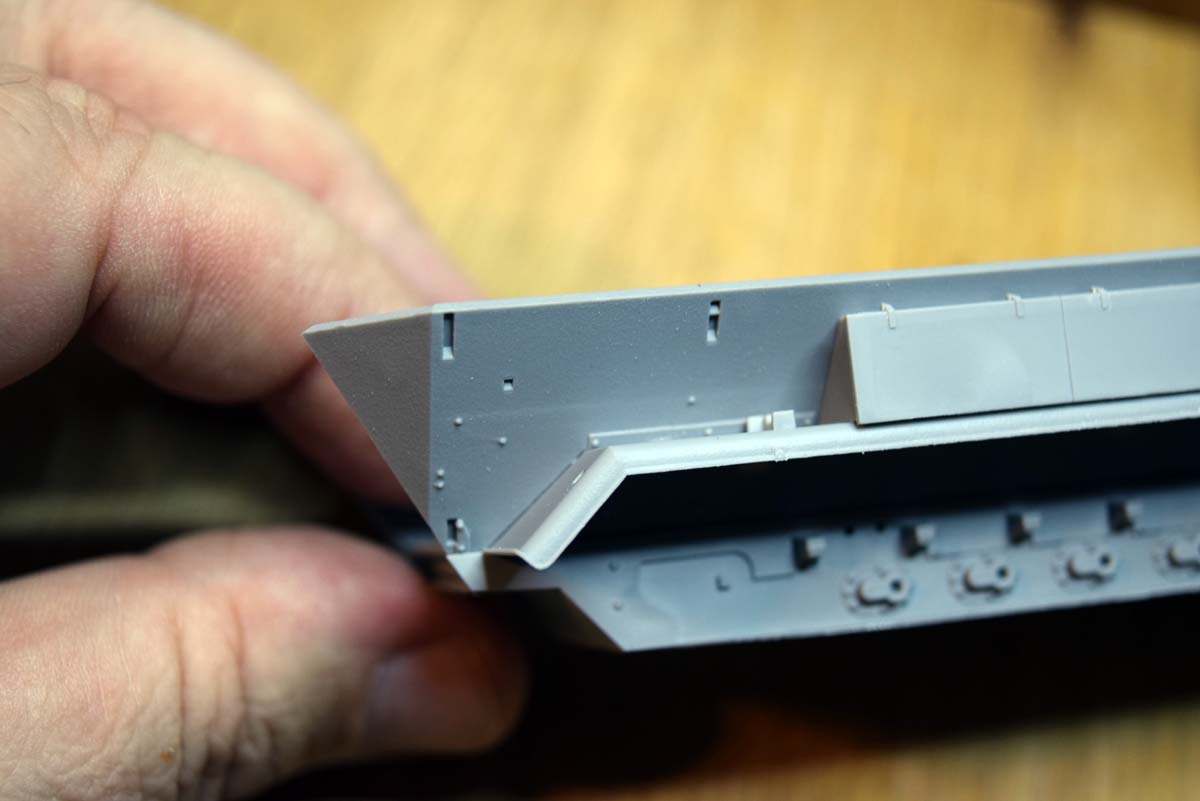
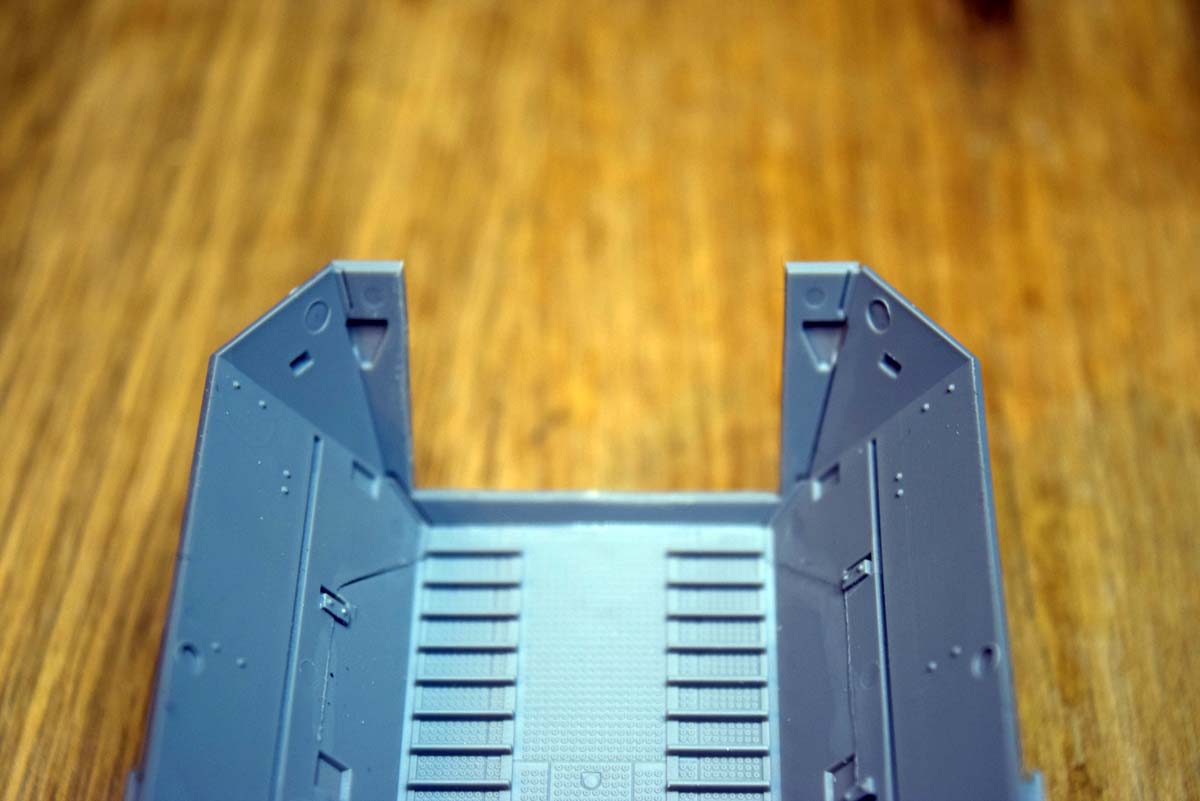
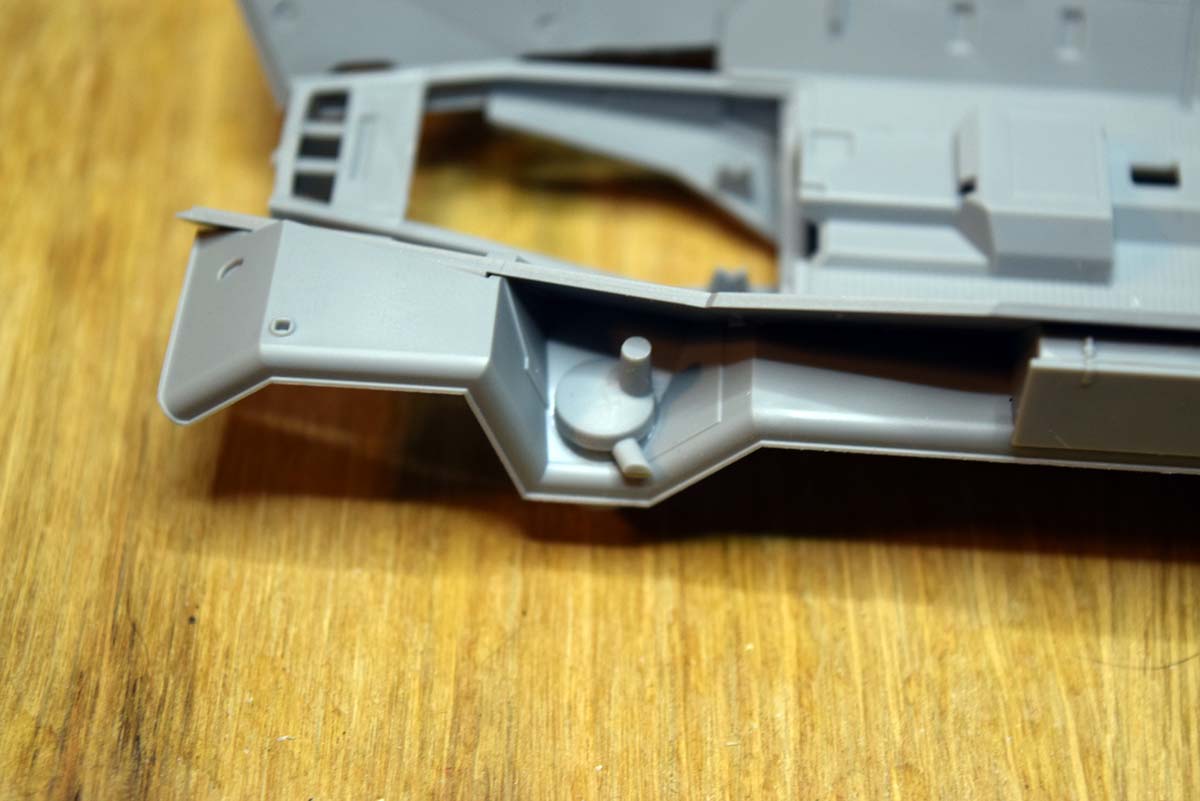
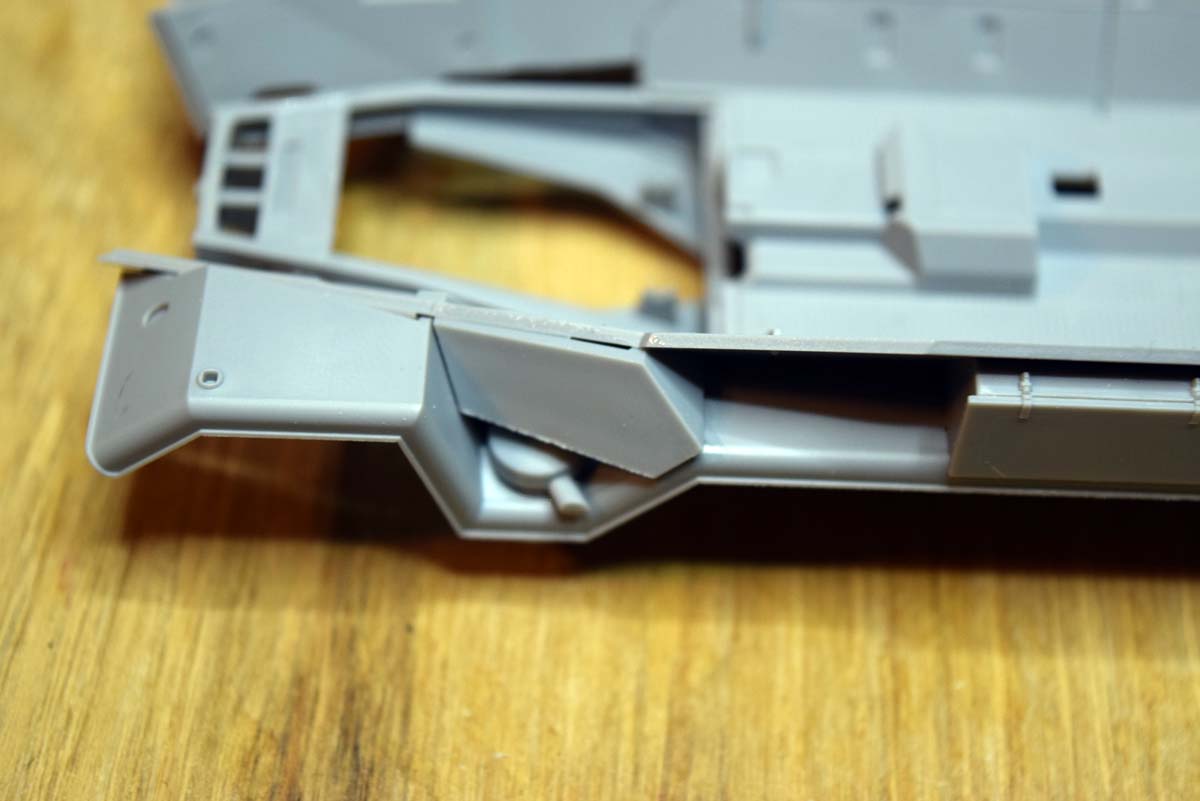
Attachment of the storage boxes to the hull has been made easy via large groove connection locators, which are an important aspect as these set the angle of the hull sides which are added next. The lower hull sides are butt jointed to the model and supported by the storage bins as mentioned. The first thing I noticed was that ICM has incorrectly numbered the parts and are reversed (1 is 2 and 2 is 1). I found the fit of these parts very good and I hope you can see how well they fit by the included photographs. The rear panel fits well with an almost invisible joint. The panel where the aerial should be mounted is also placed here, I have added it as a search for the aerial mount failed, but I suspect it is here and been missed in the instructions and so I hope to find the part as I come to the end of the build. The last elements attached at this point in proceedings are the exhaust top, an engine bracket, the guard over the exhaust and the armoured engine plate. All of the parts fit well except for the engine mounting plate that I struggled with and I am wondering if it would have been better placed before or at the same time as the front chassis member.
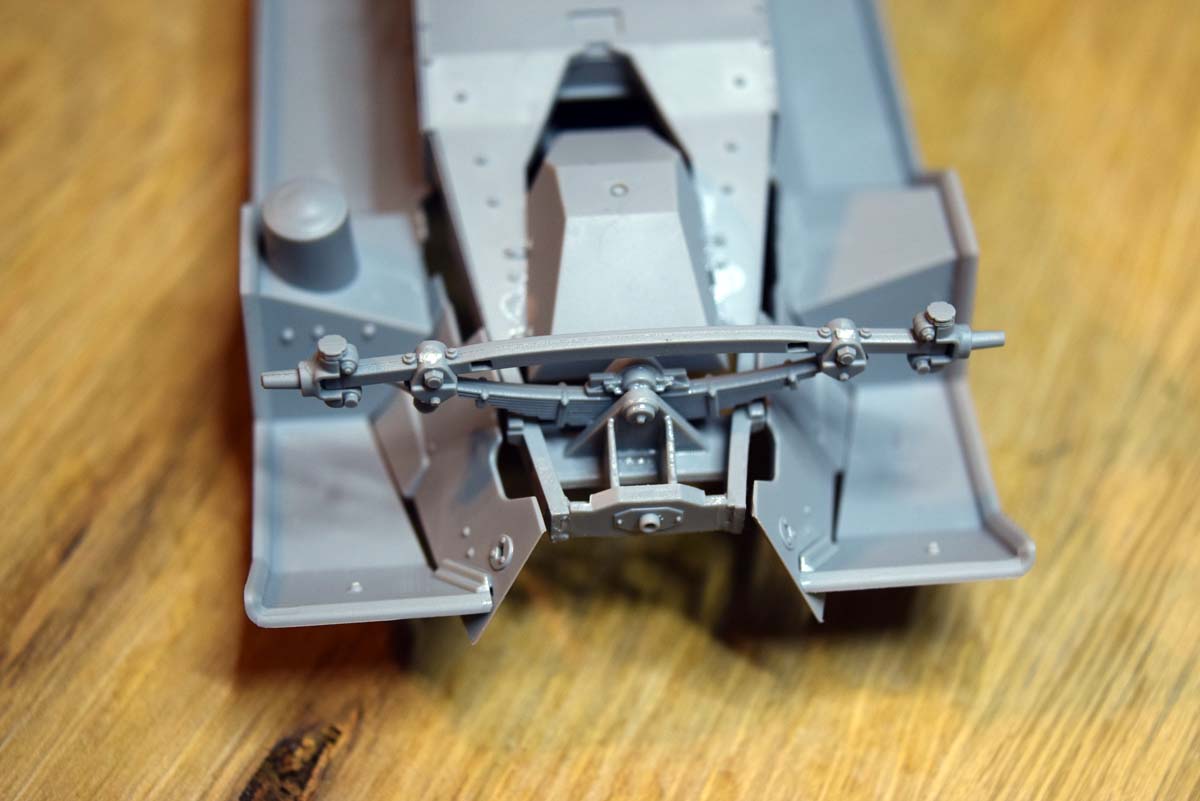
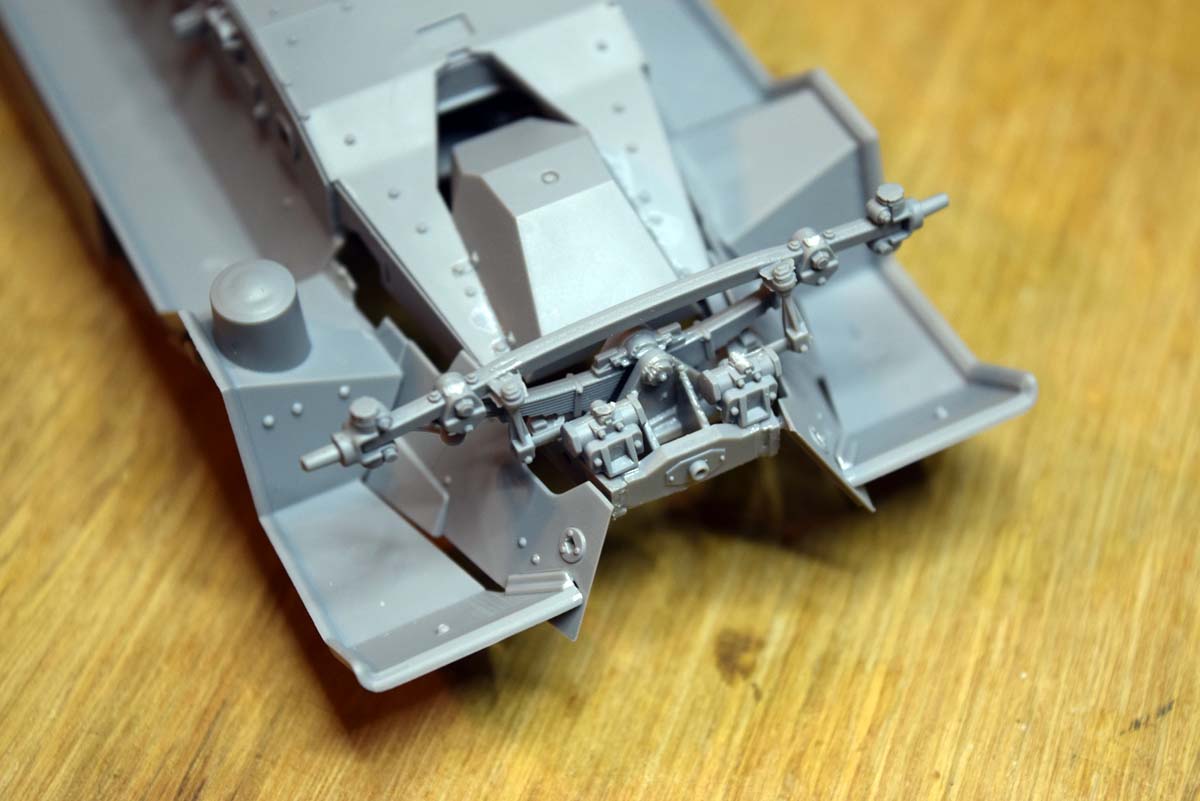
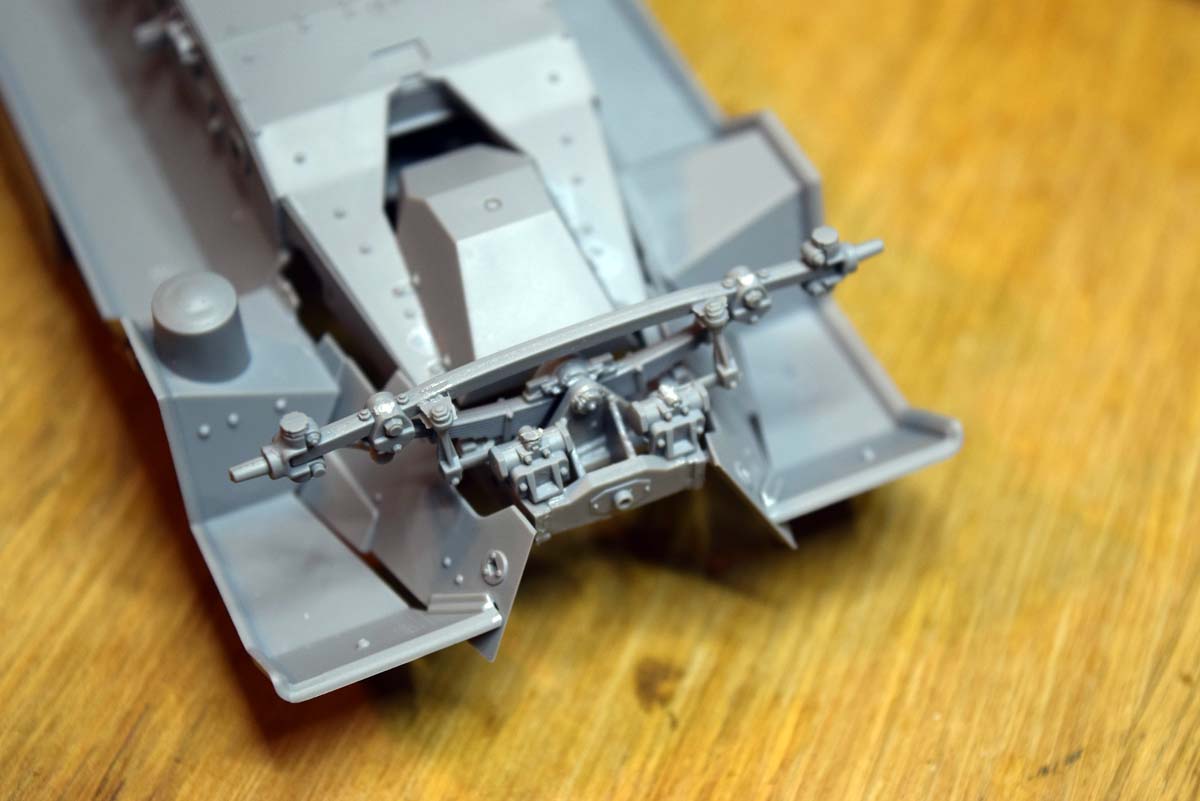
Stages 14 to 21 Front Axle
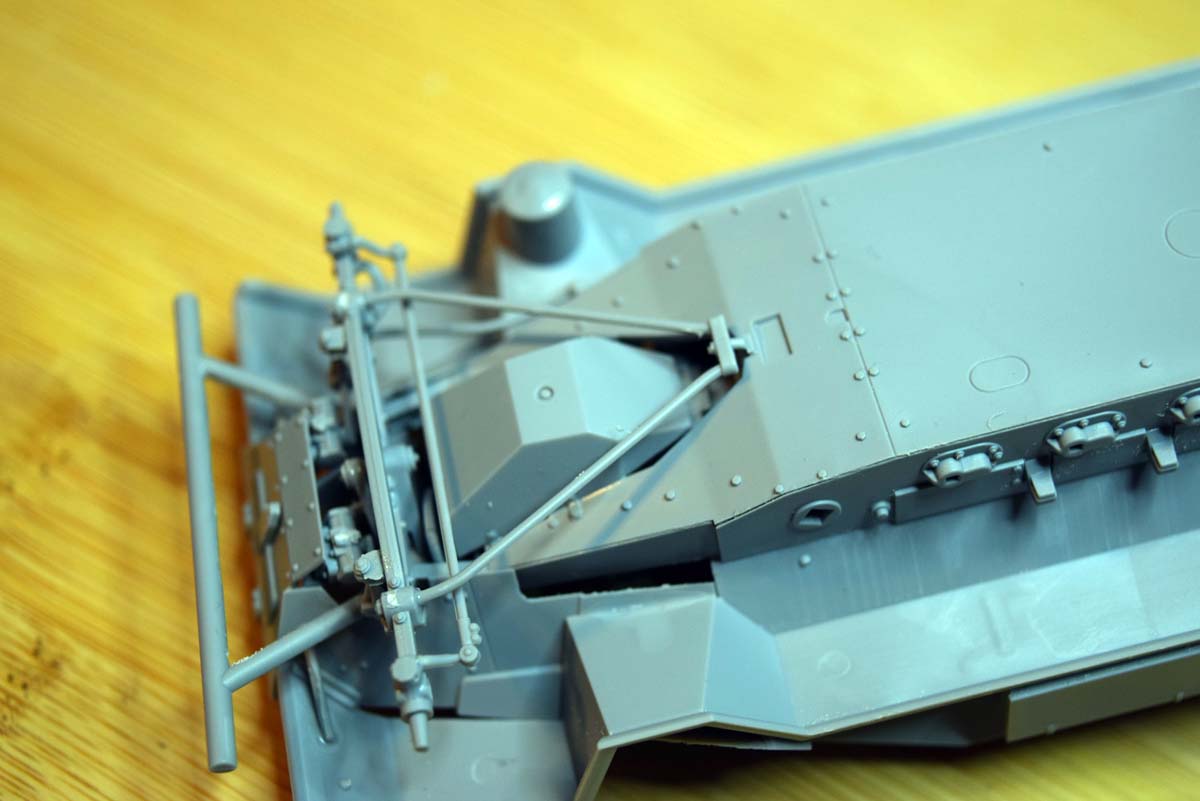
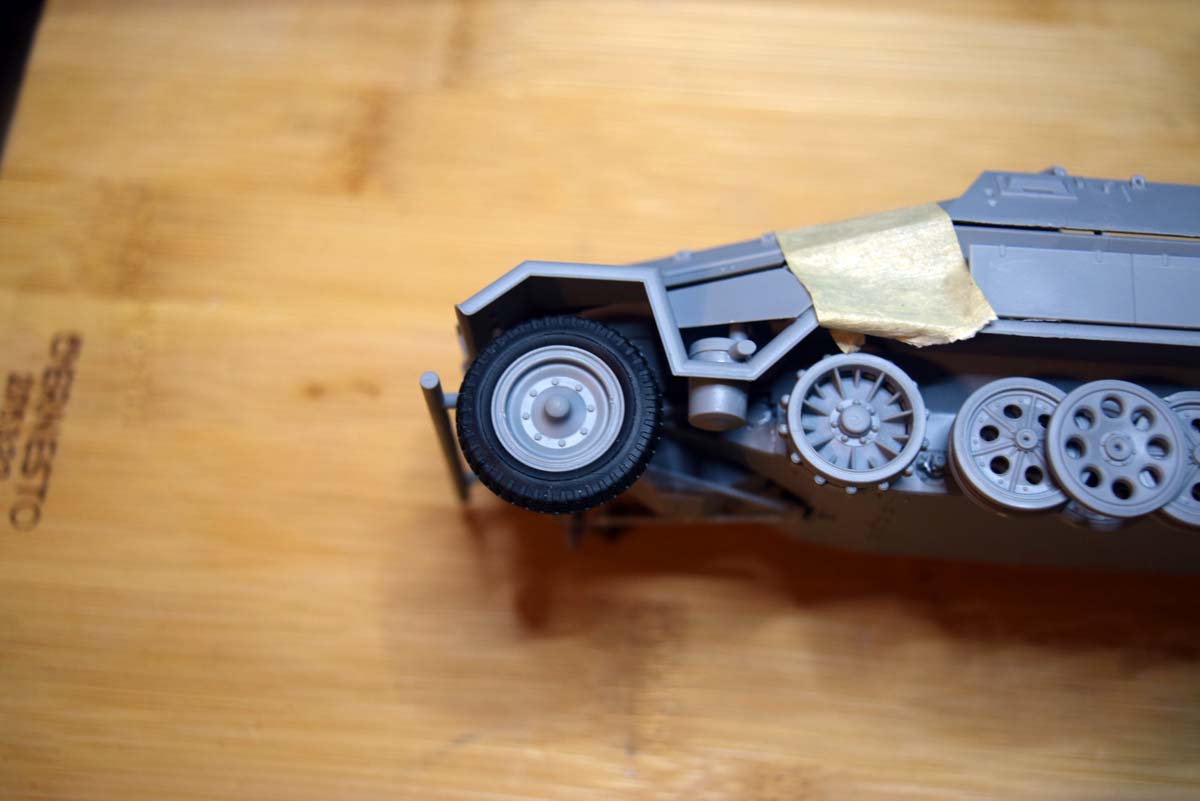
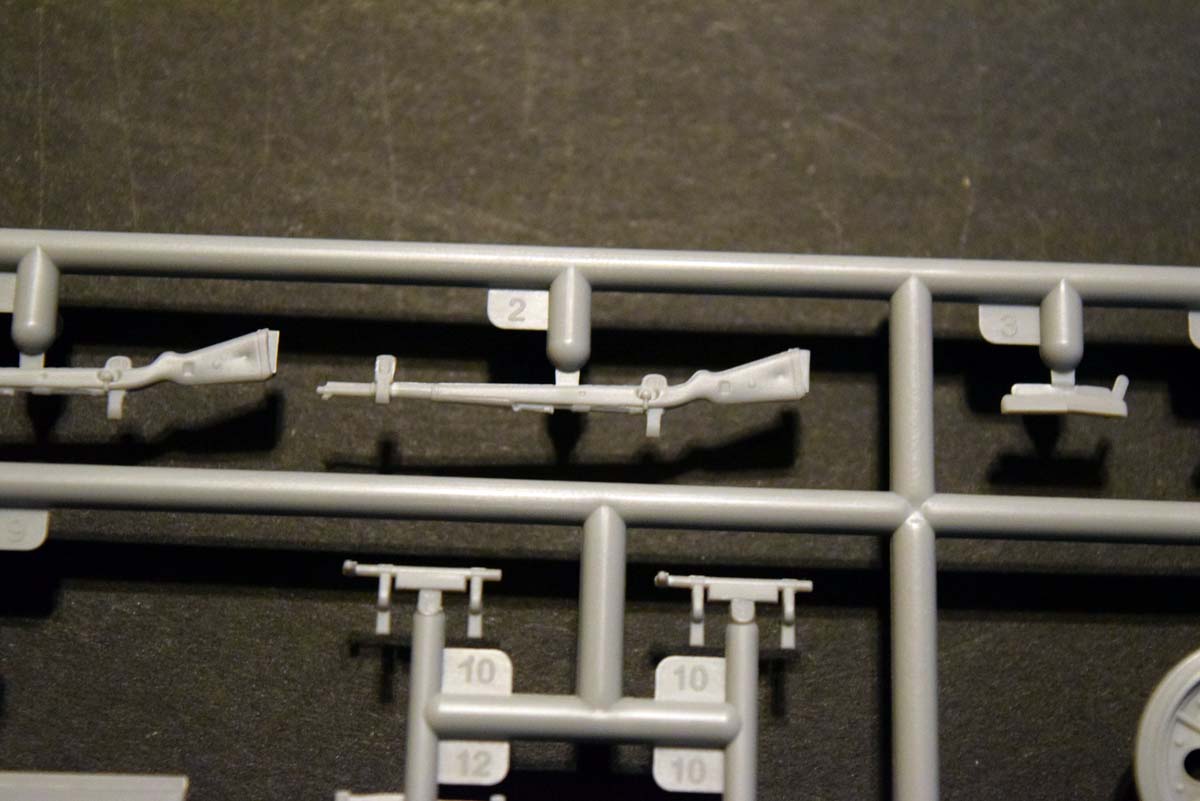
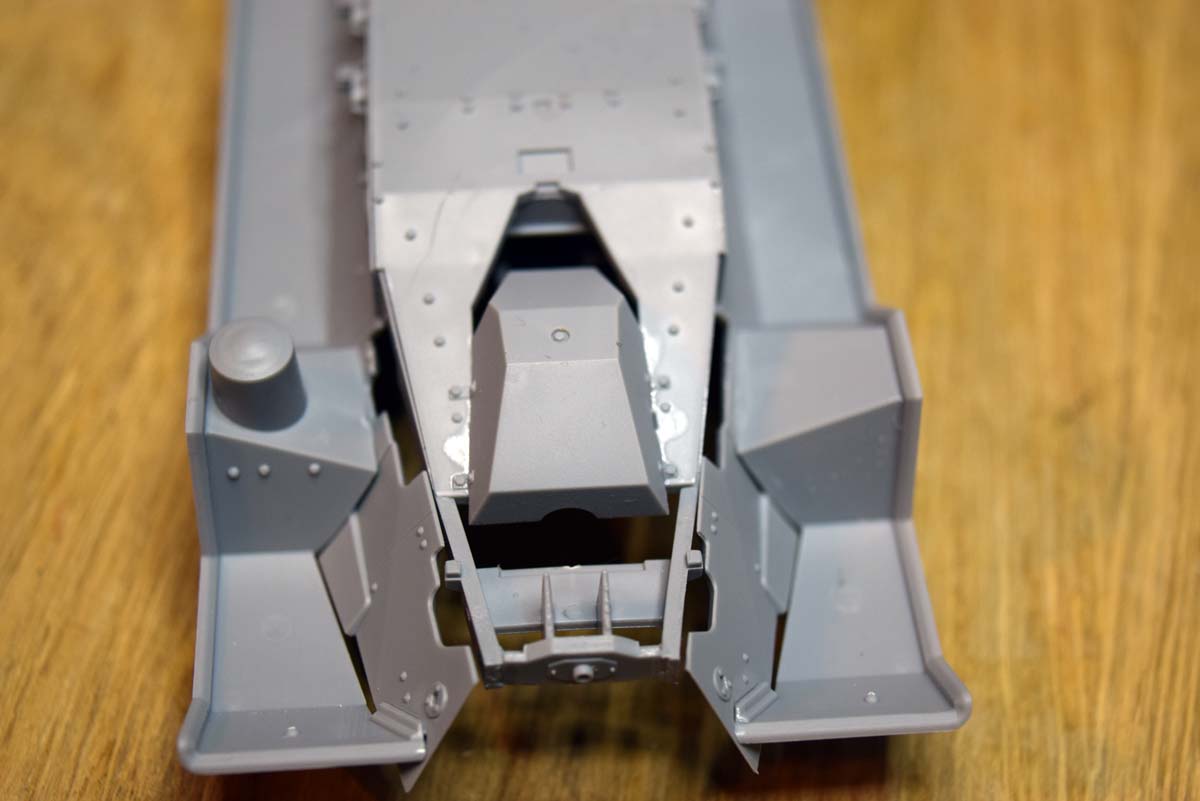
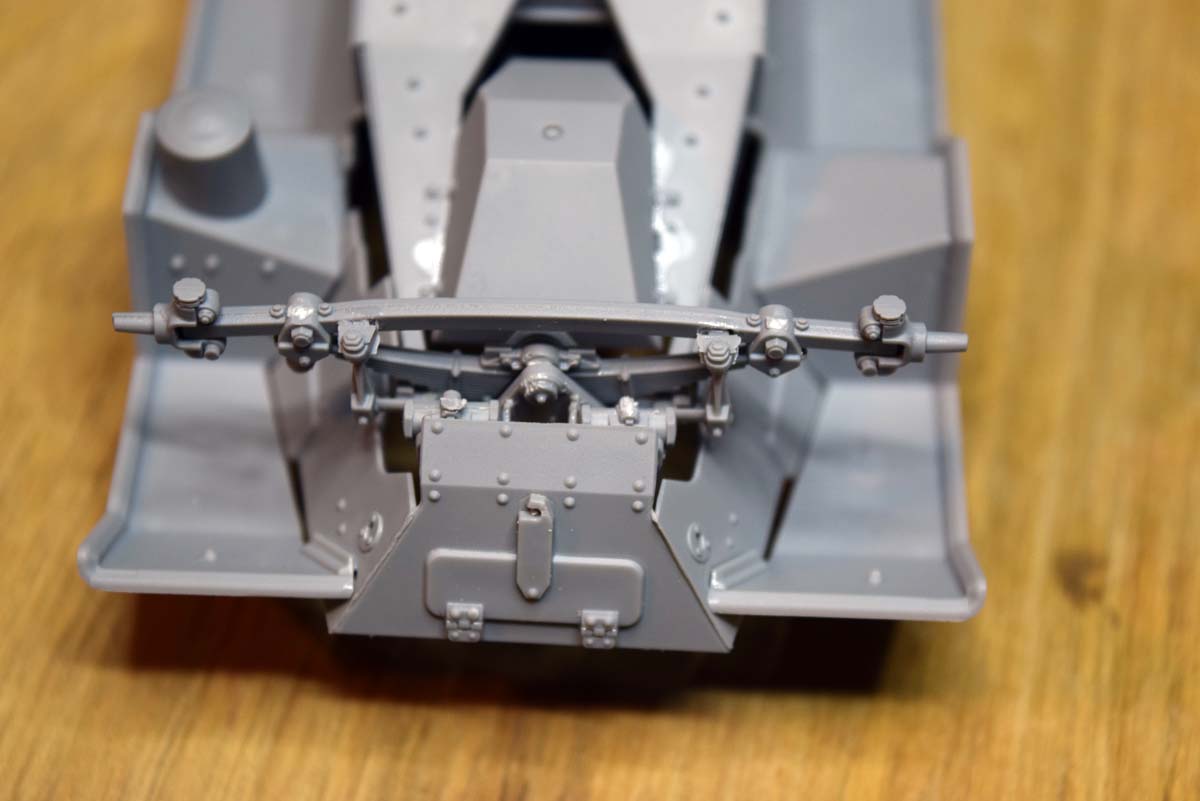
I started to run into issues in this section of the build, the worst being fitment of the actual axle to the hull. The section starts with the few parts that make up the axle that go together easily, but the placement of the steering fitment that is guess work for the most part, this is annoying as its placement is important much later in the build. The difficulty I had with the mounting bracket now came back to haunt me as I struggled to attach the front axle; this result in some cutting of parts to get the fit correct. The front bumper goes on well and the correct angle is easily sorted due to the square attachment lugs. The braces for the front portion of the wheel arch double as the route for the lights electrical power, once you realise this placement becomes obvious. The last part is the front armoured plate and this fits very well without any issues. There is a hatch on this plate that could be assembled in an open position with a little work if so desired.
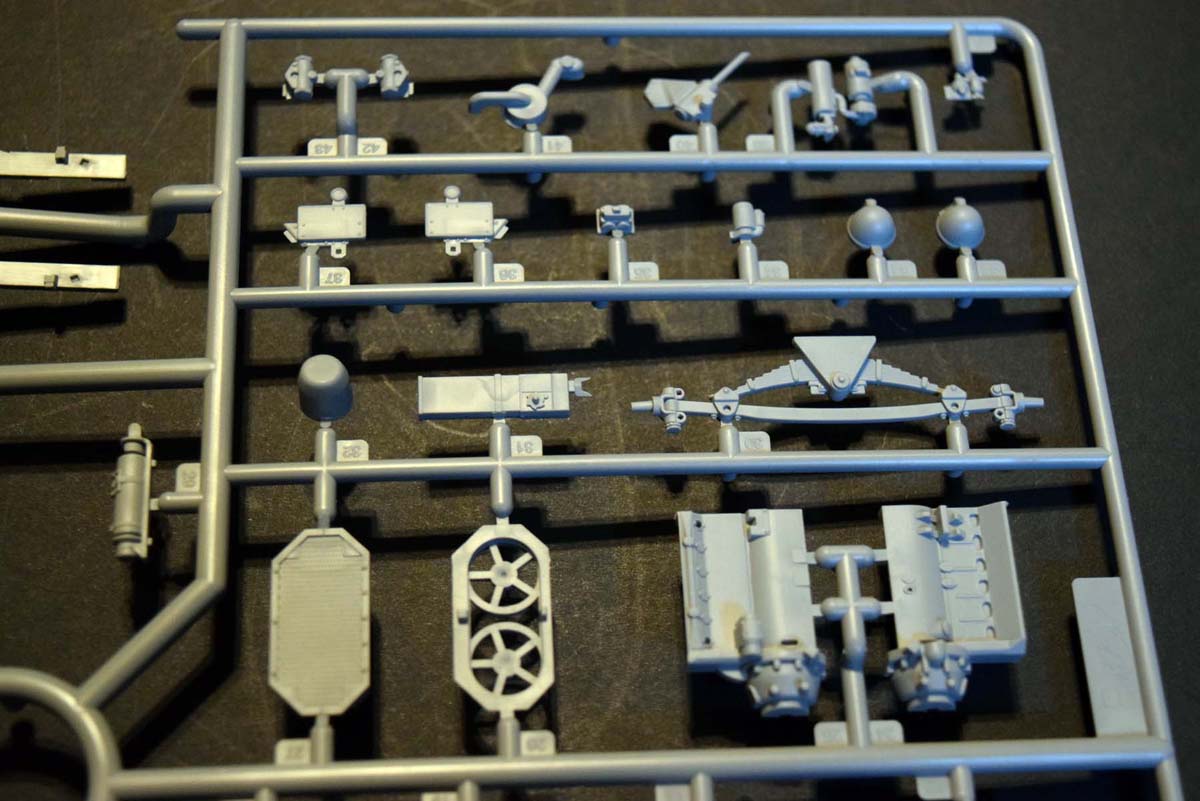
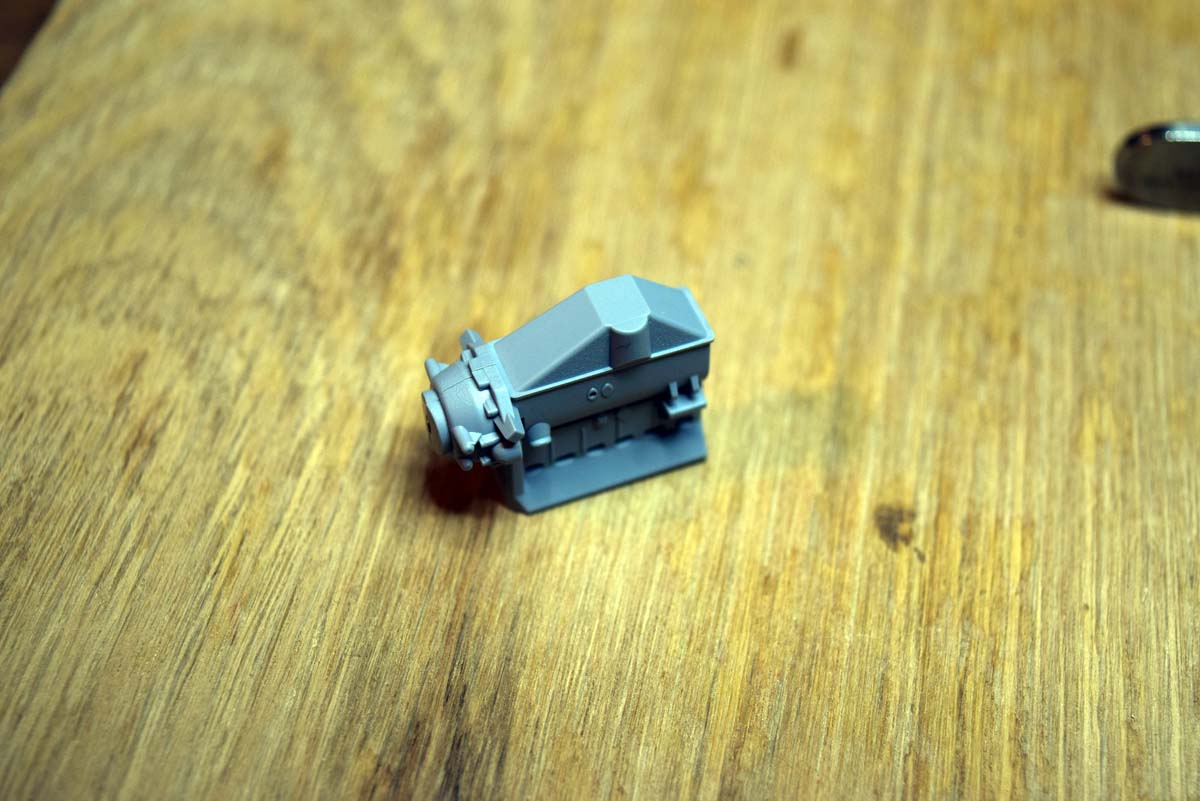
Stages 22 to 31 Engine
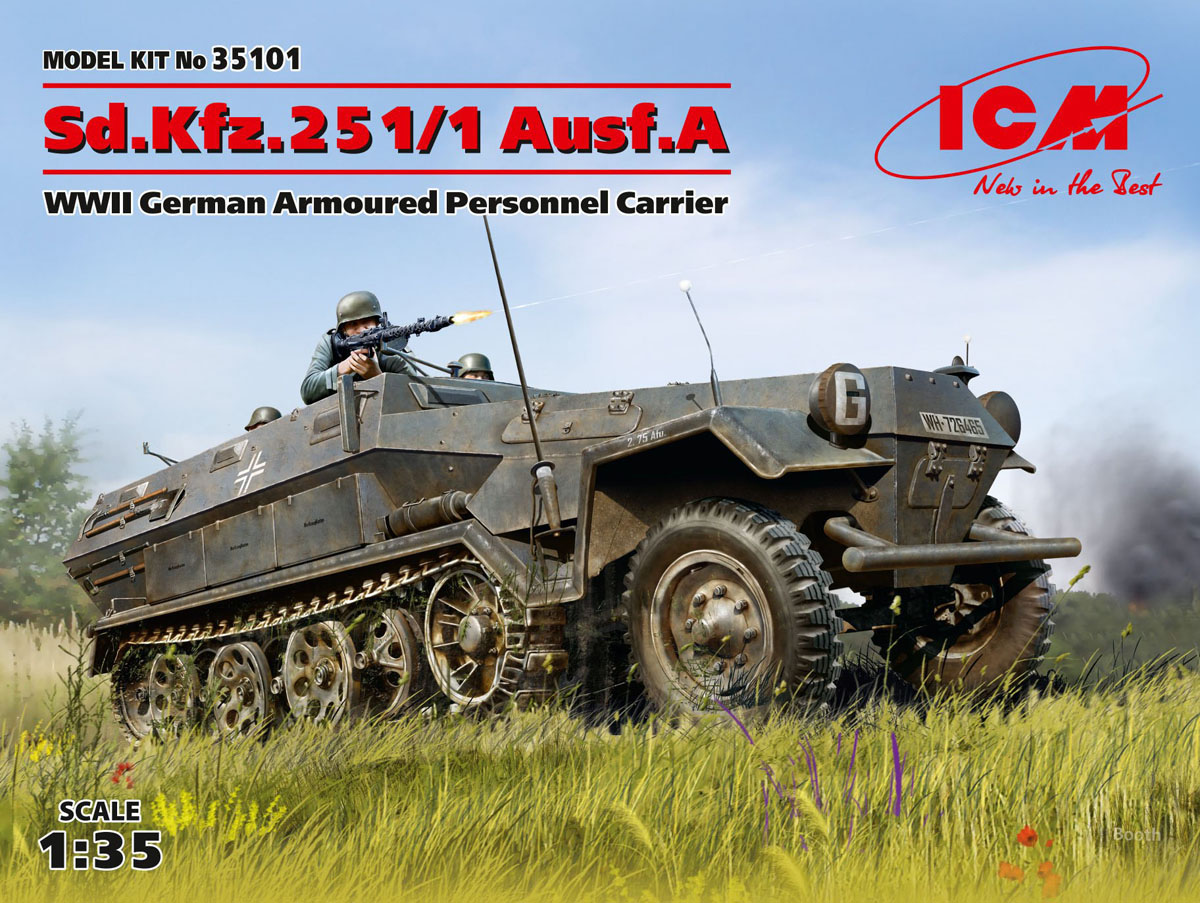
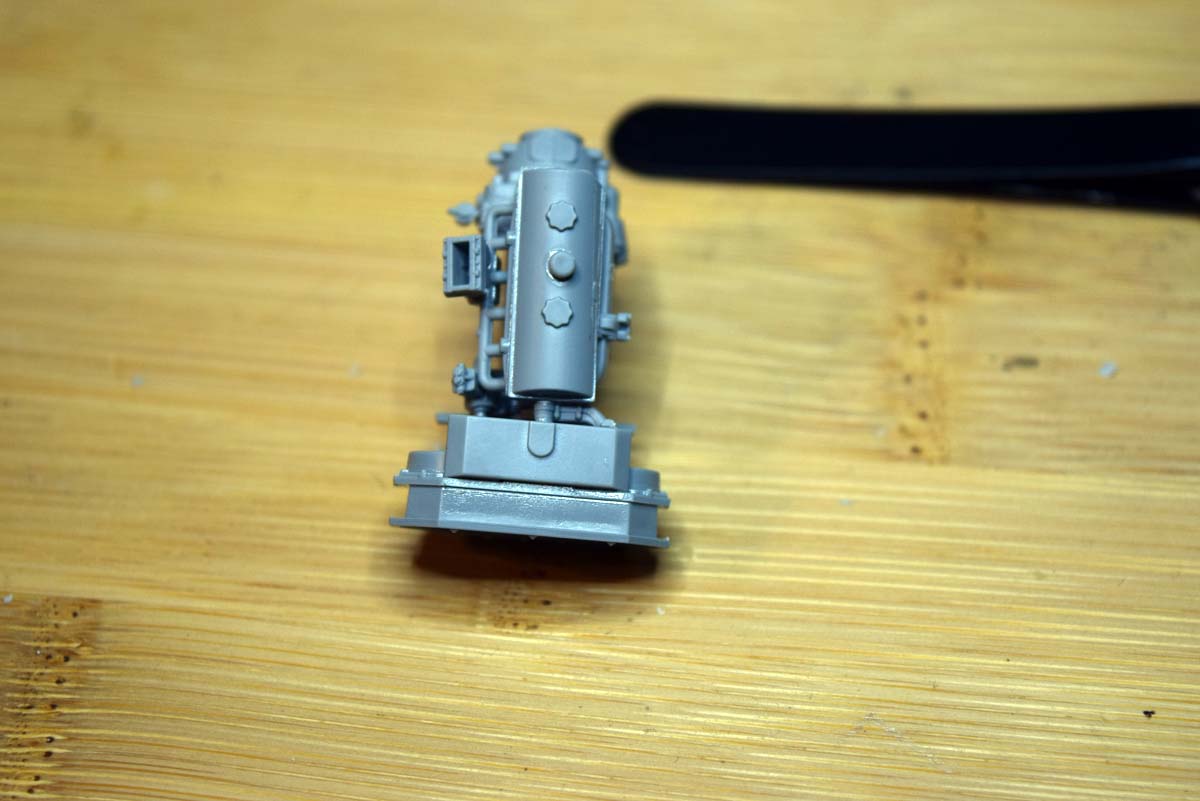
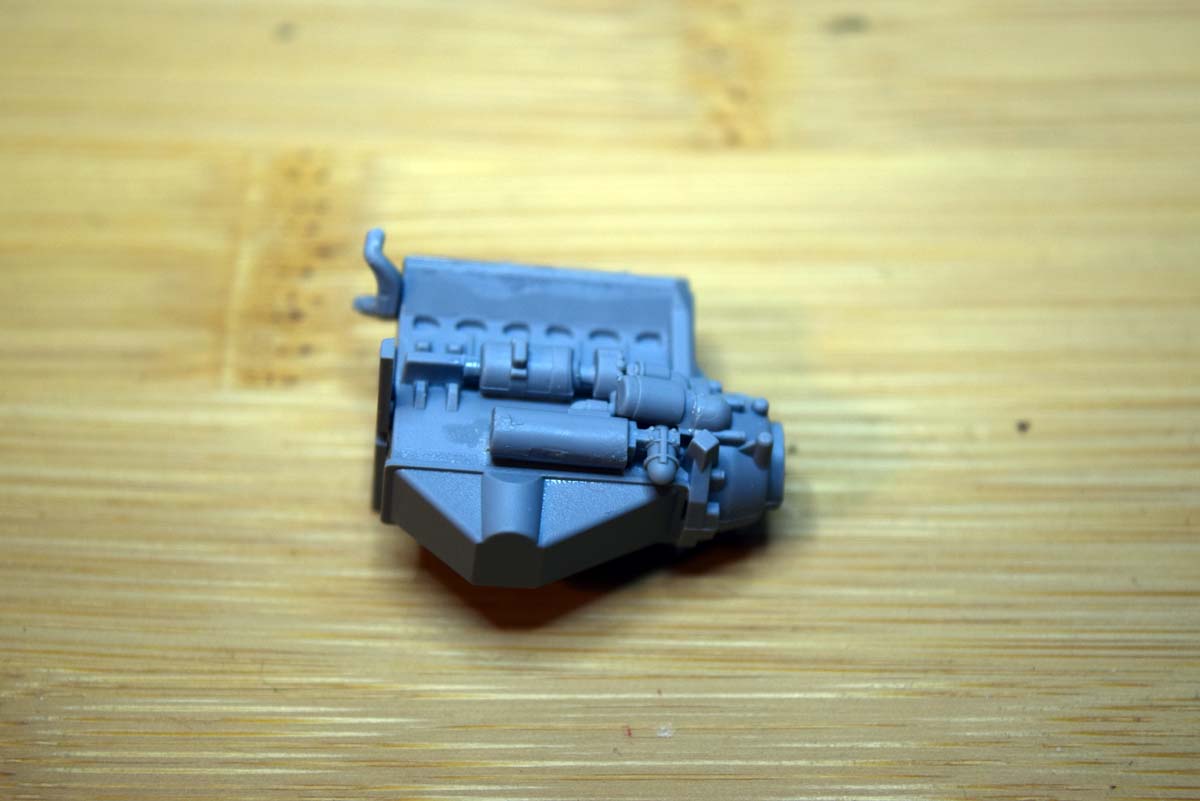
The engine supplied with this offering from ICM is a fantastic starting point for anyone wanting to leave the engine access panels open. The detail and fit of the various elements is good for the most part, but the fit is complicated by the instructions not clearly identifying the correct connection point and angle; part B14 that the fan belts attach too is particularly difficult to get right. I found the easiest way to get the assembly right was to look ahead and use those images as guides to the correct location and orientation. The cooling fans and radiator fit together very well and have a nice level of detail present, but again there is an issue with the instructions; part E11 should read as part E17 as this is the expansion tank for the coolant. Placement of the engine into the bay is easy and very pleasing as the photographs here are of the engine loose in the bay.
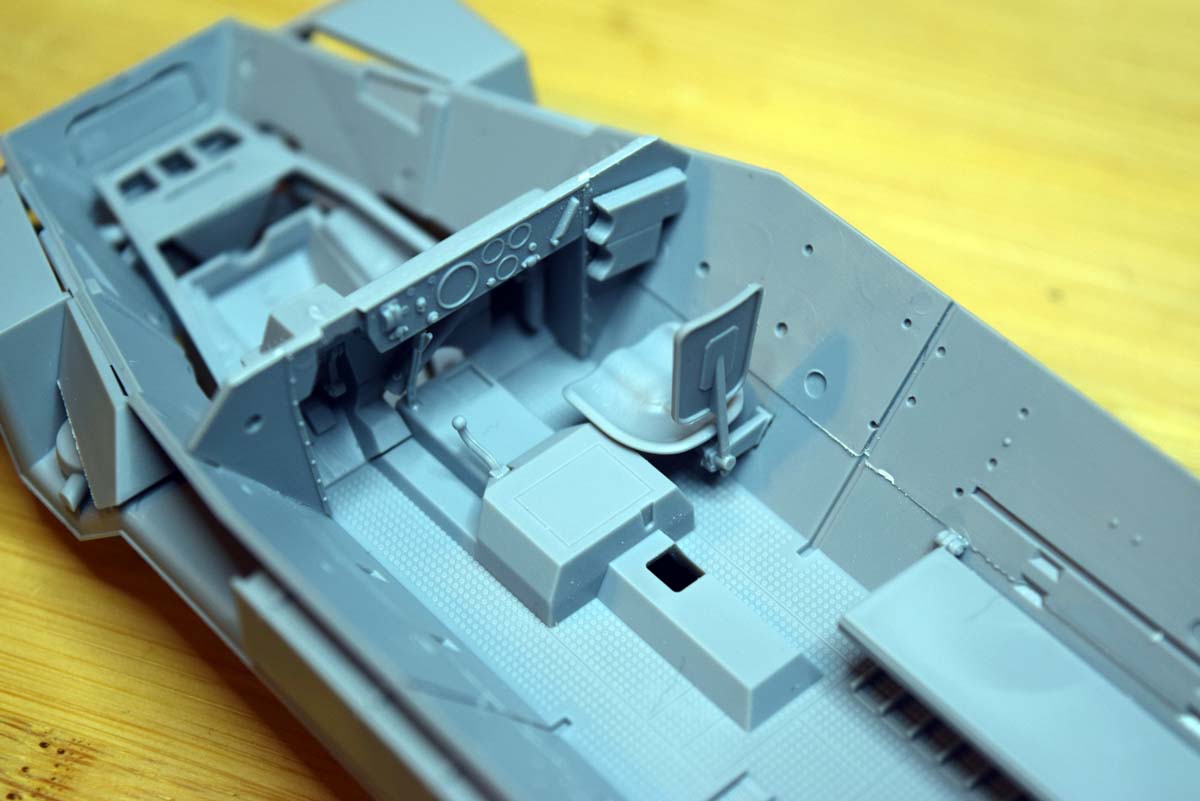
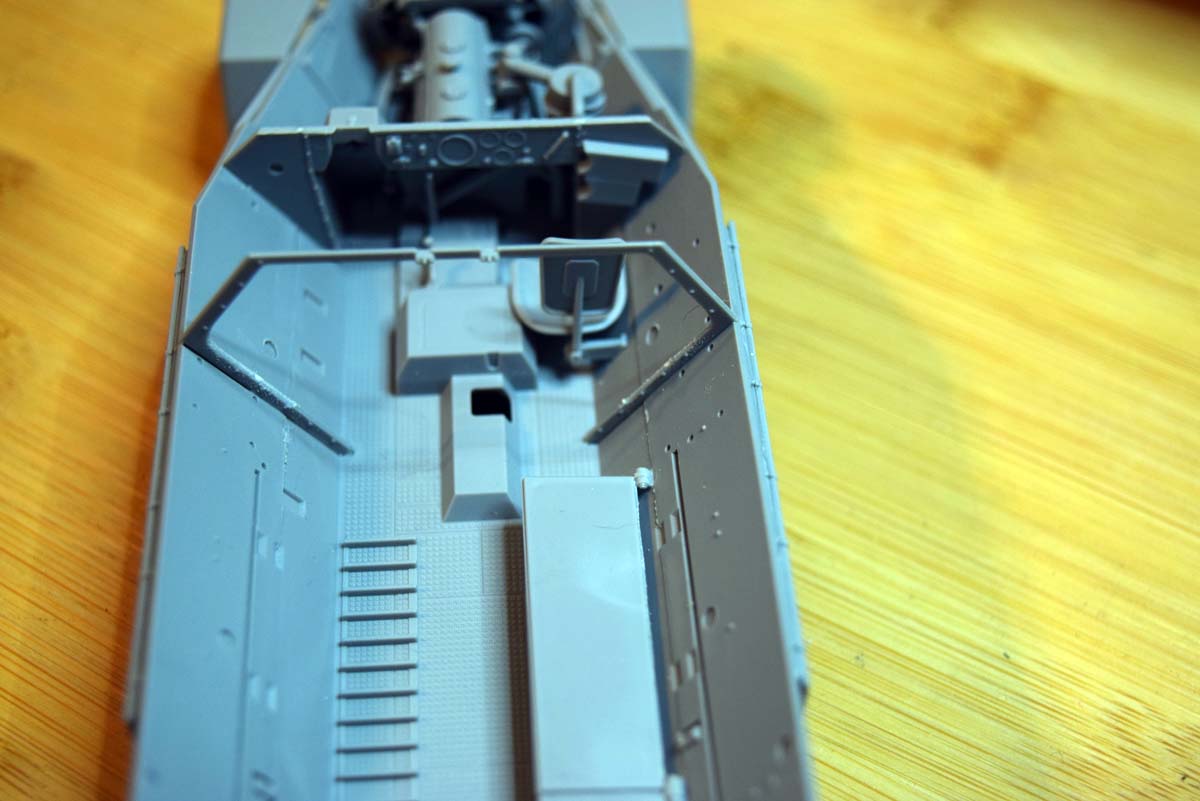
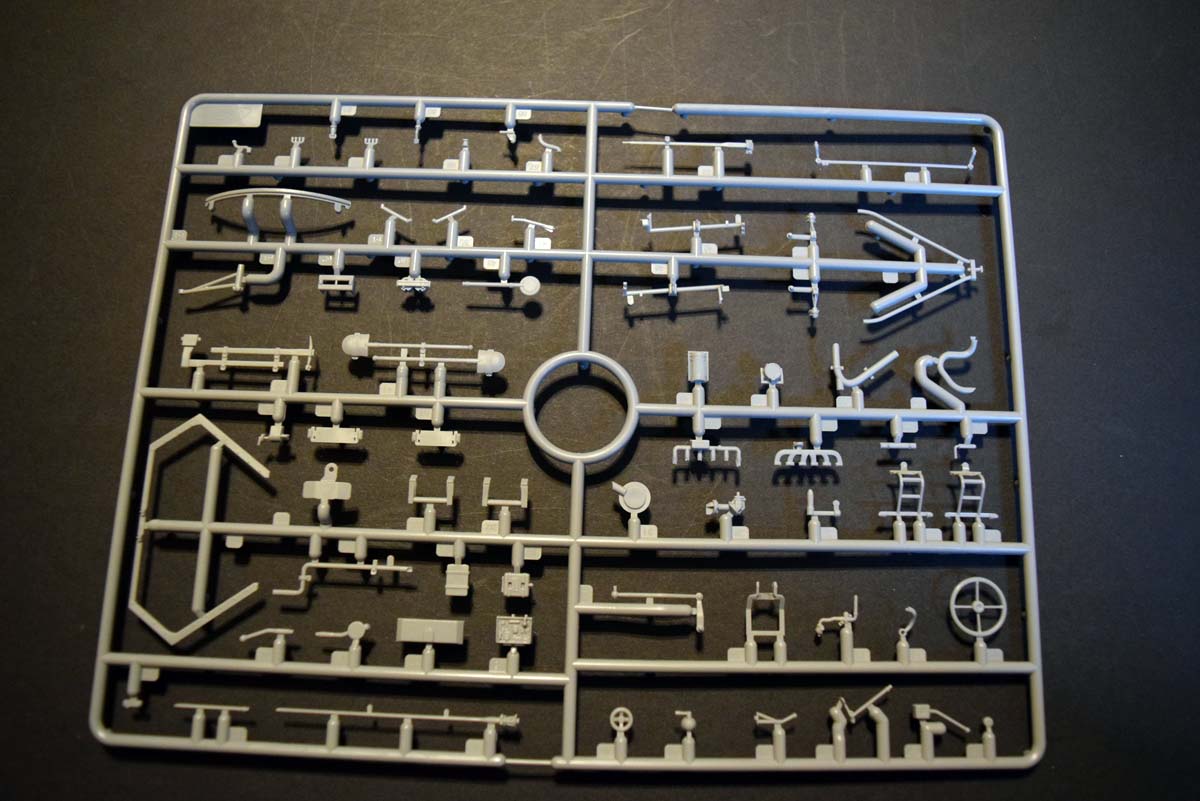
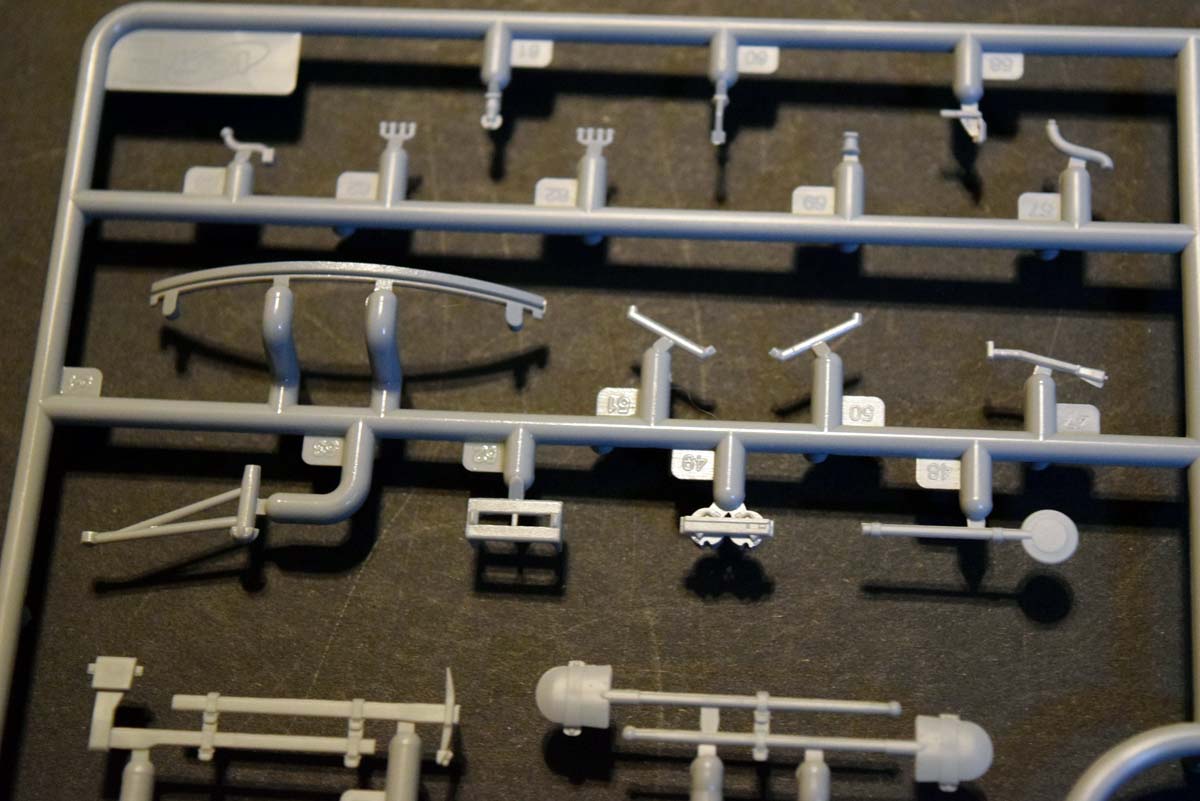
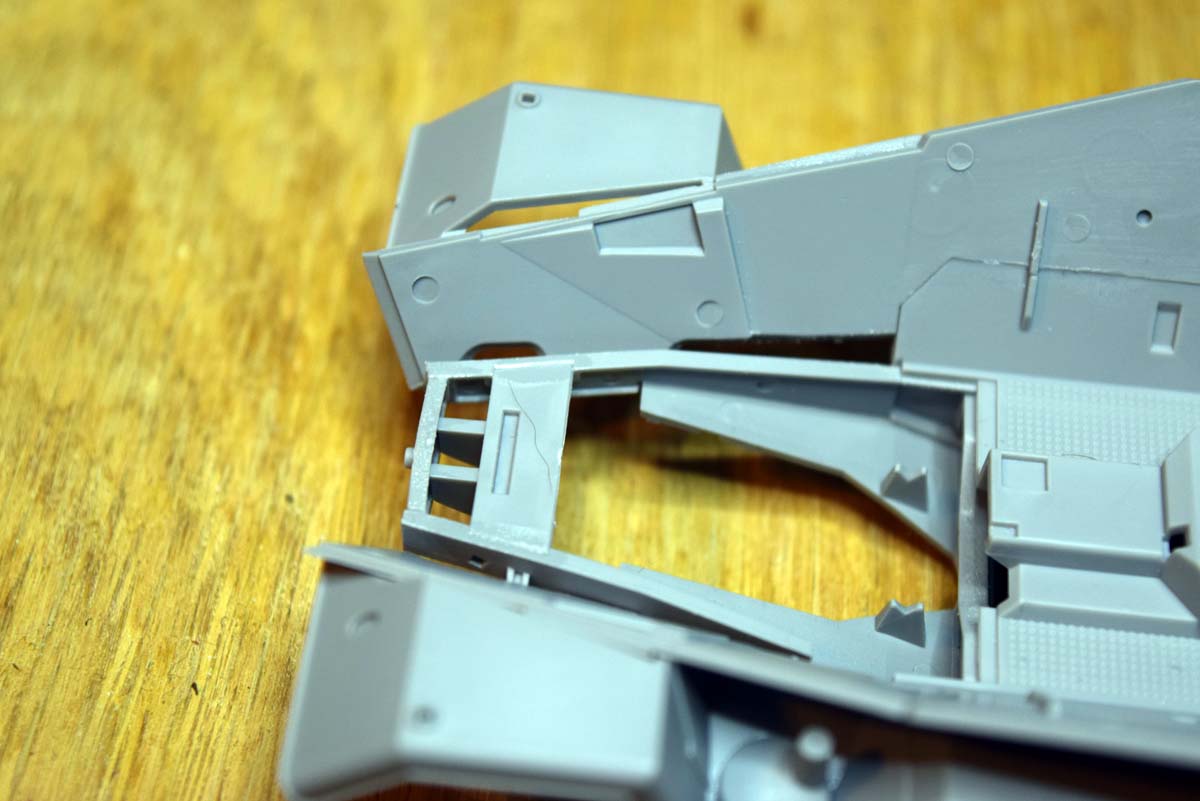
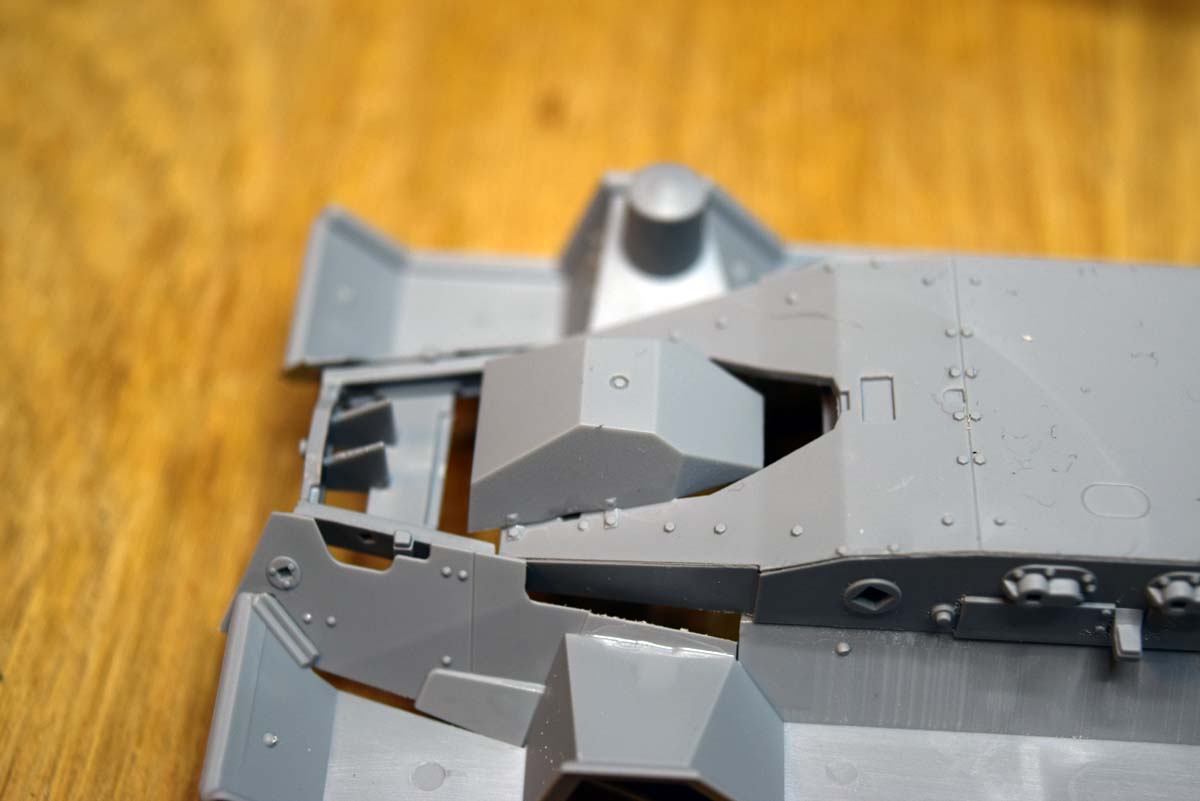
Stages 32 to 53 Interior
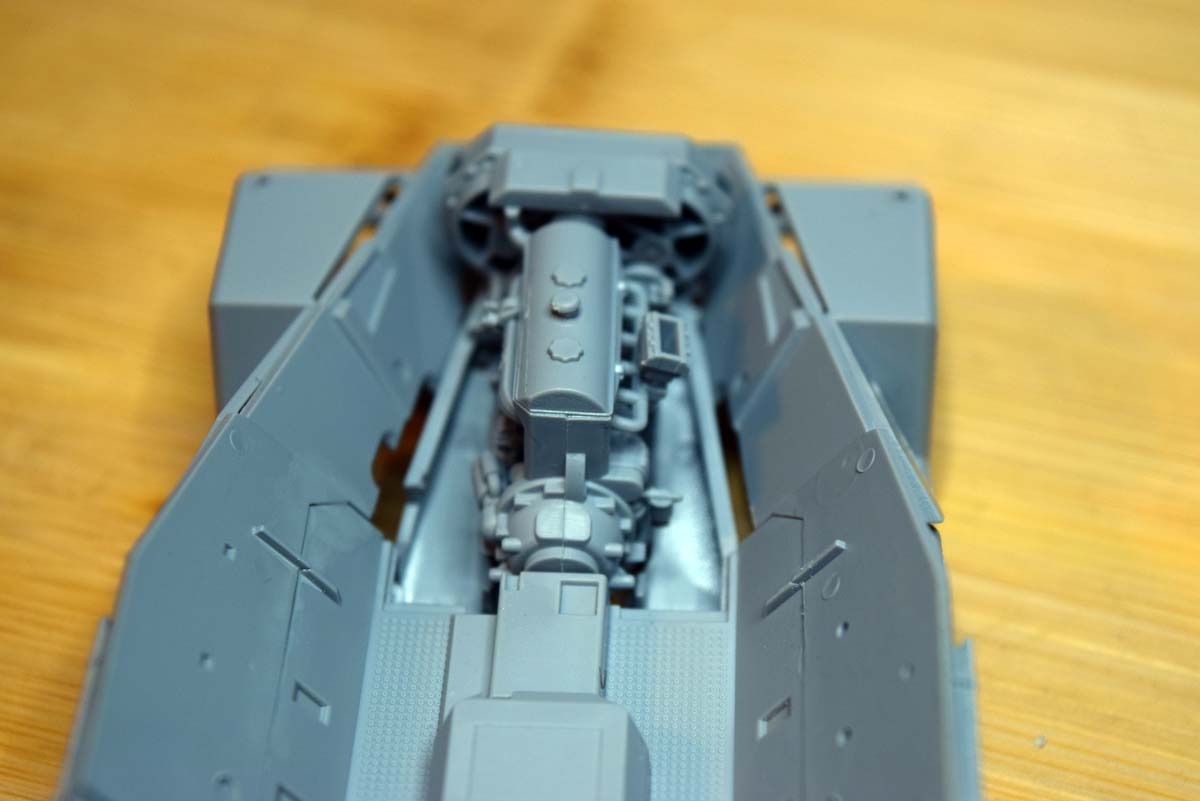
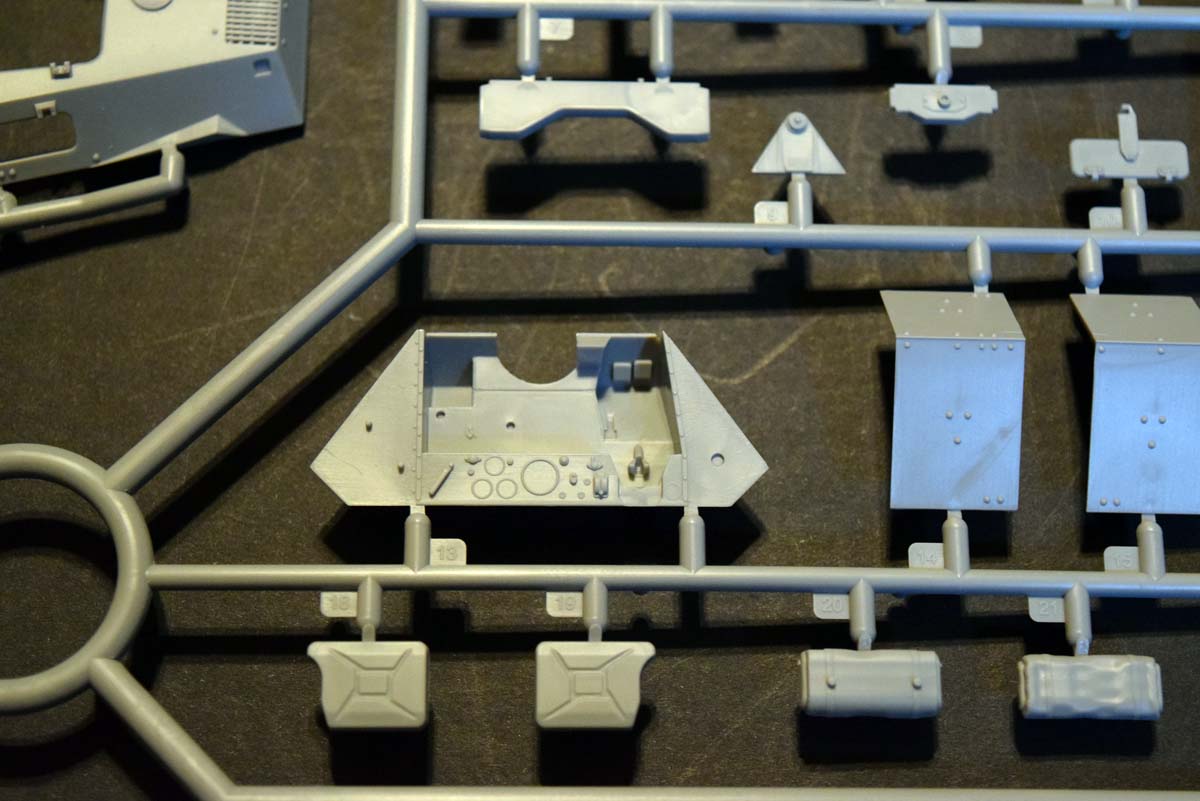
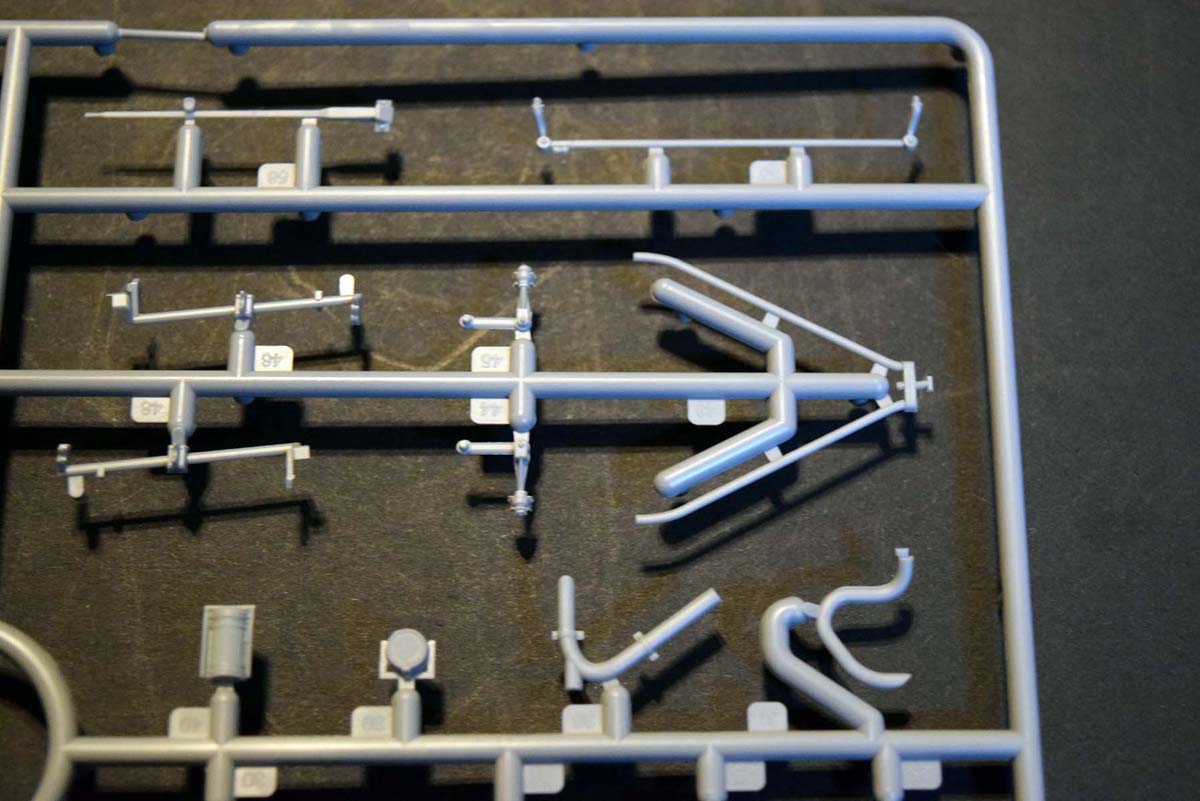
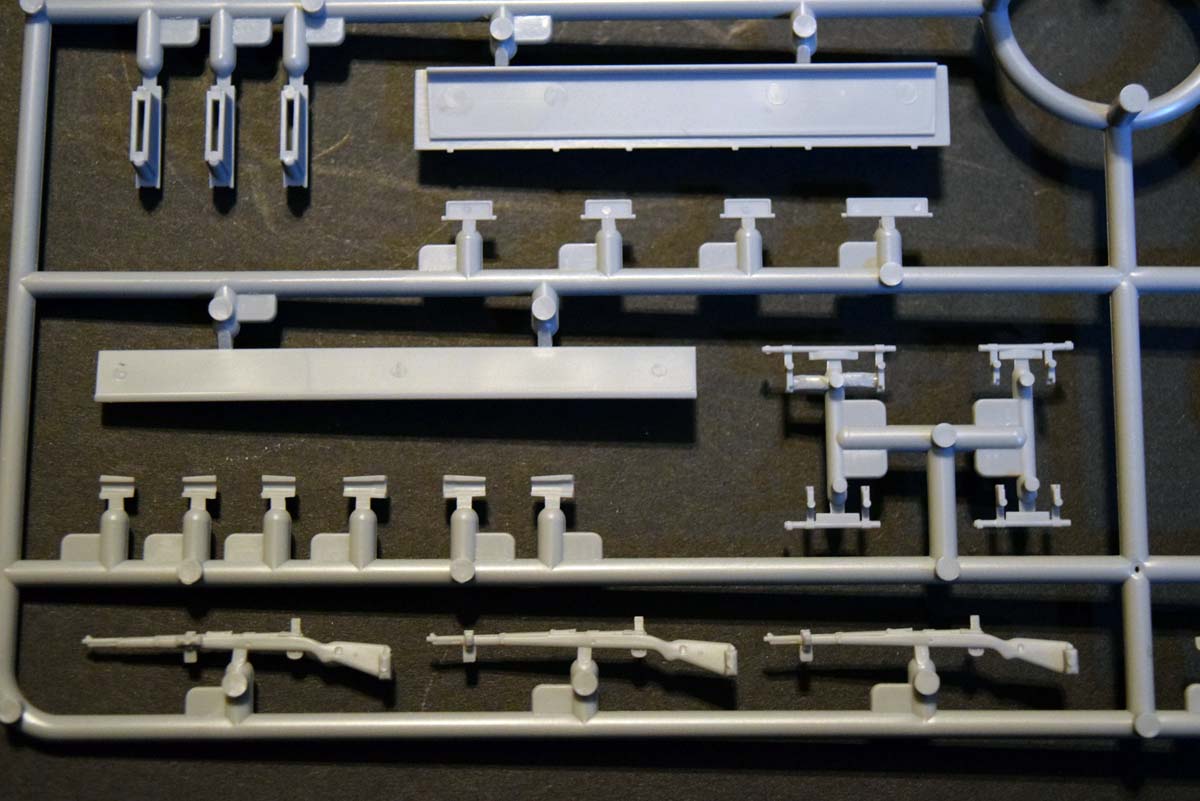
These sections for the most part cover the interior of the model and due to my need to get a product you can judge and the limited information I have of the interior I have skipped most of the steps here at this time. I have added the main console as there are parts in the engine bay that have to attach to its rear, fit is good and the decals provided for the instrument panel give it a pleasing finish. I have added one of the bench seats and the front seats which again fit well. The bolted flange that is particular to the A and B models of the 251 is well represented in plastic and could only be slightly bettered by photo etch.
Stage 54 Steering
This adds the steering parts to the model and other than struggling to locate steering rod everything went well.
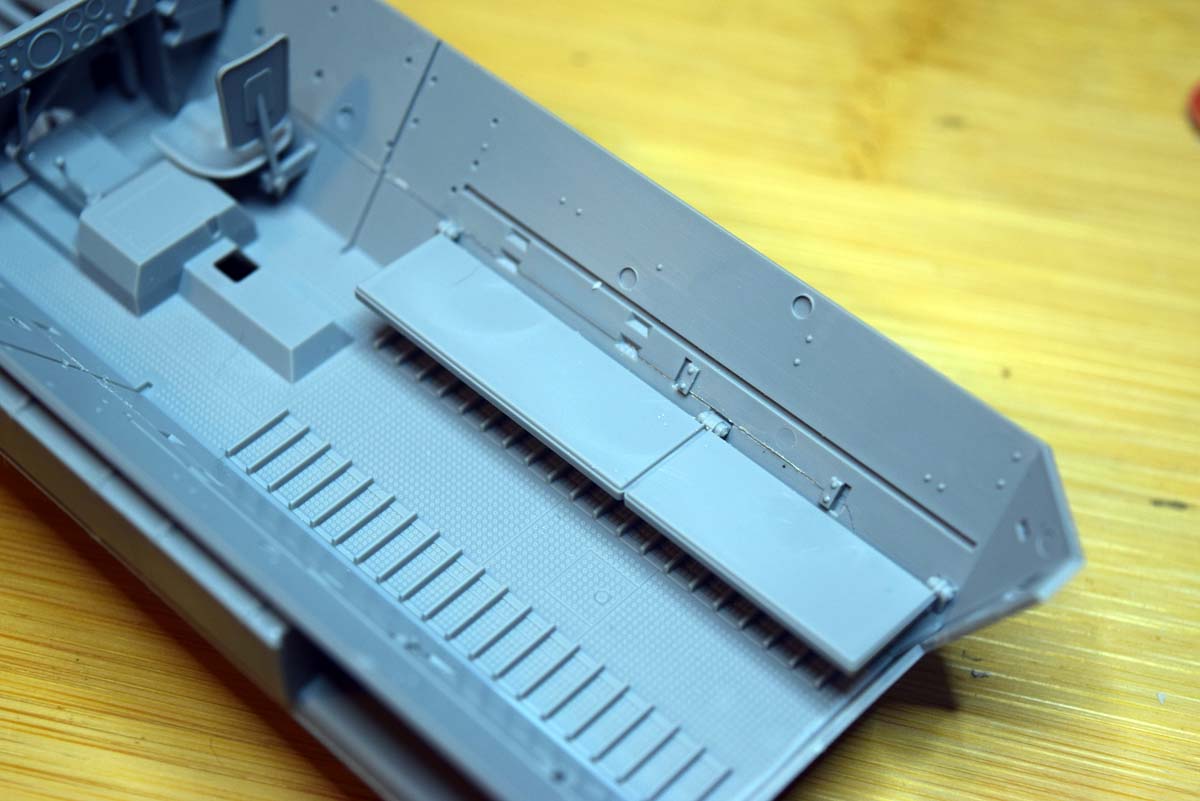
Stage 55 to 74 Upper Hull
With this area of the model I have again restricted myself to the elements that form part of the actual vehicle rather than the parts supplied as storage for the crew, I have done this for the sake of speed in getting the review published.
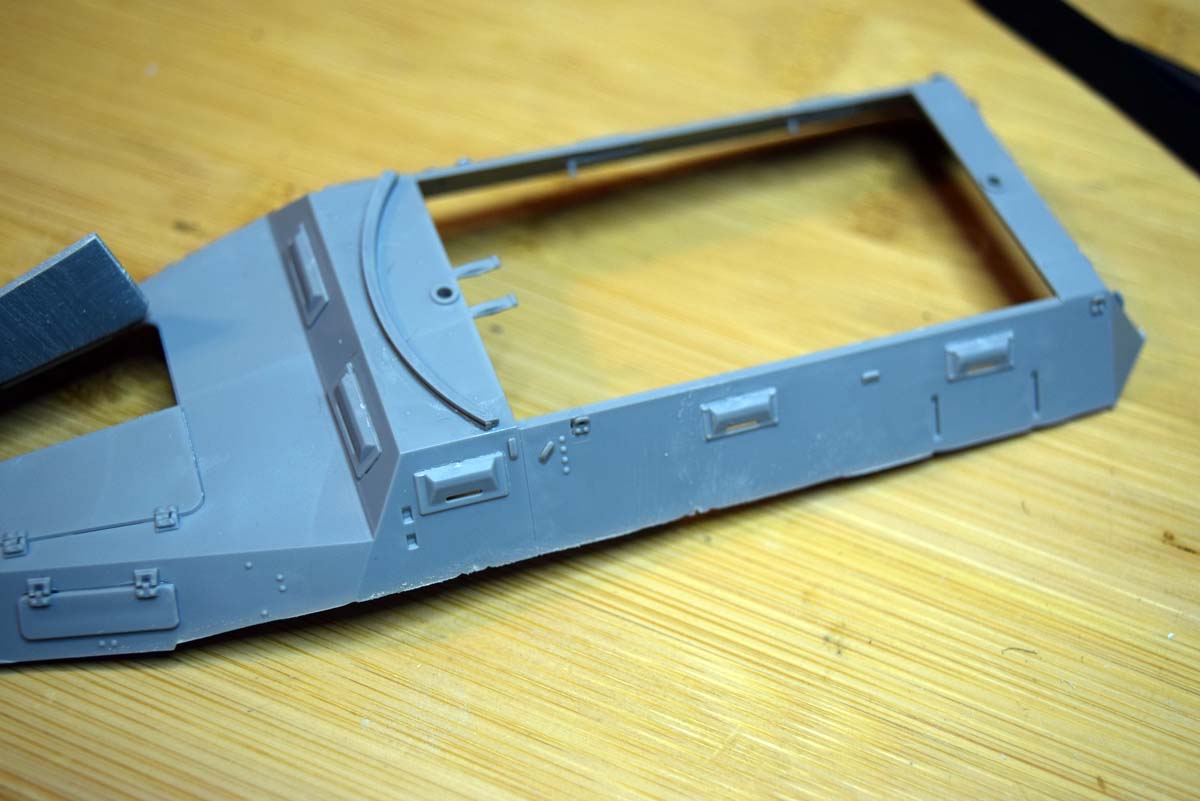
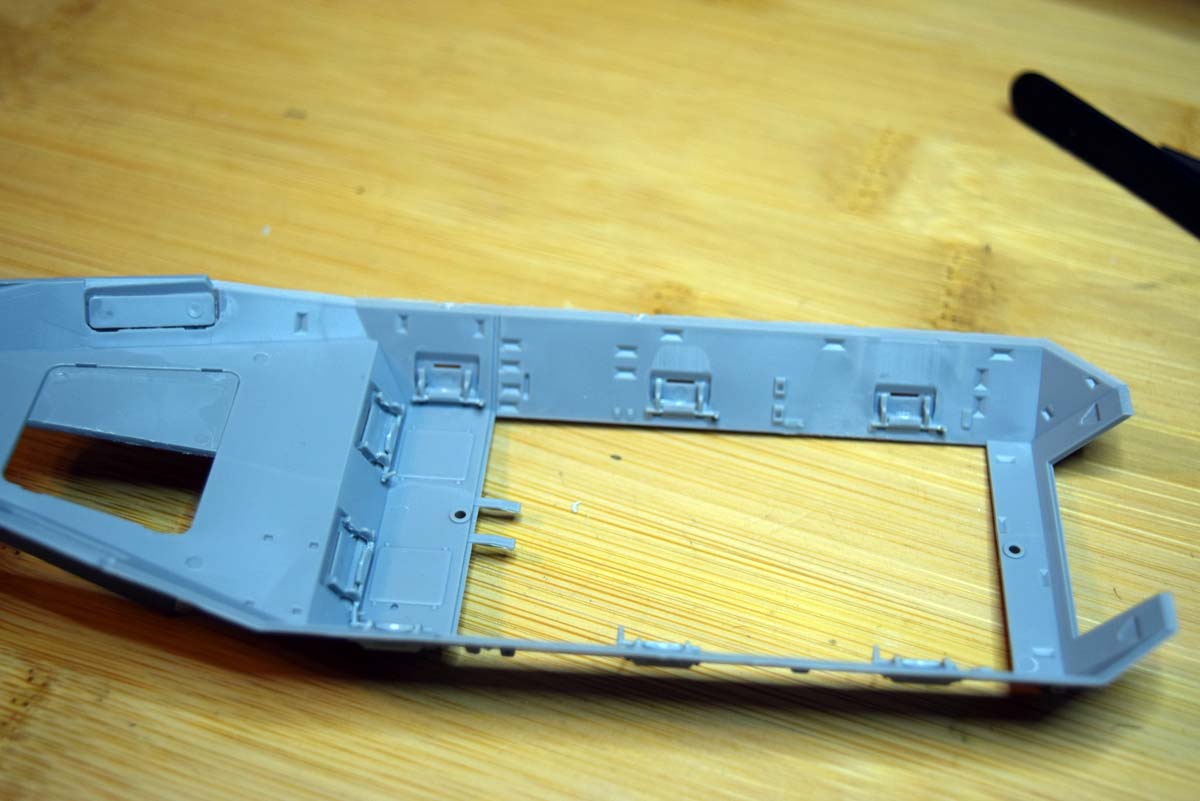
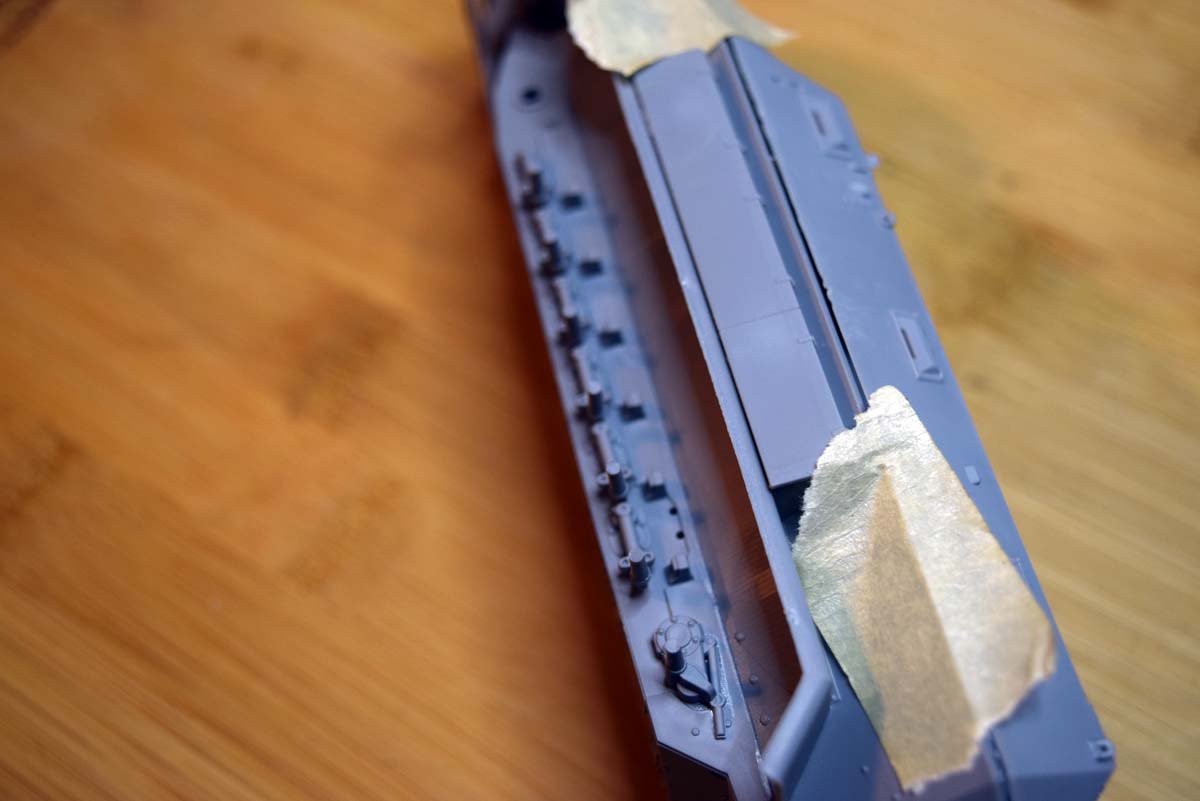
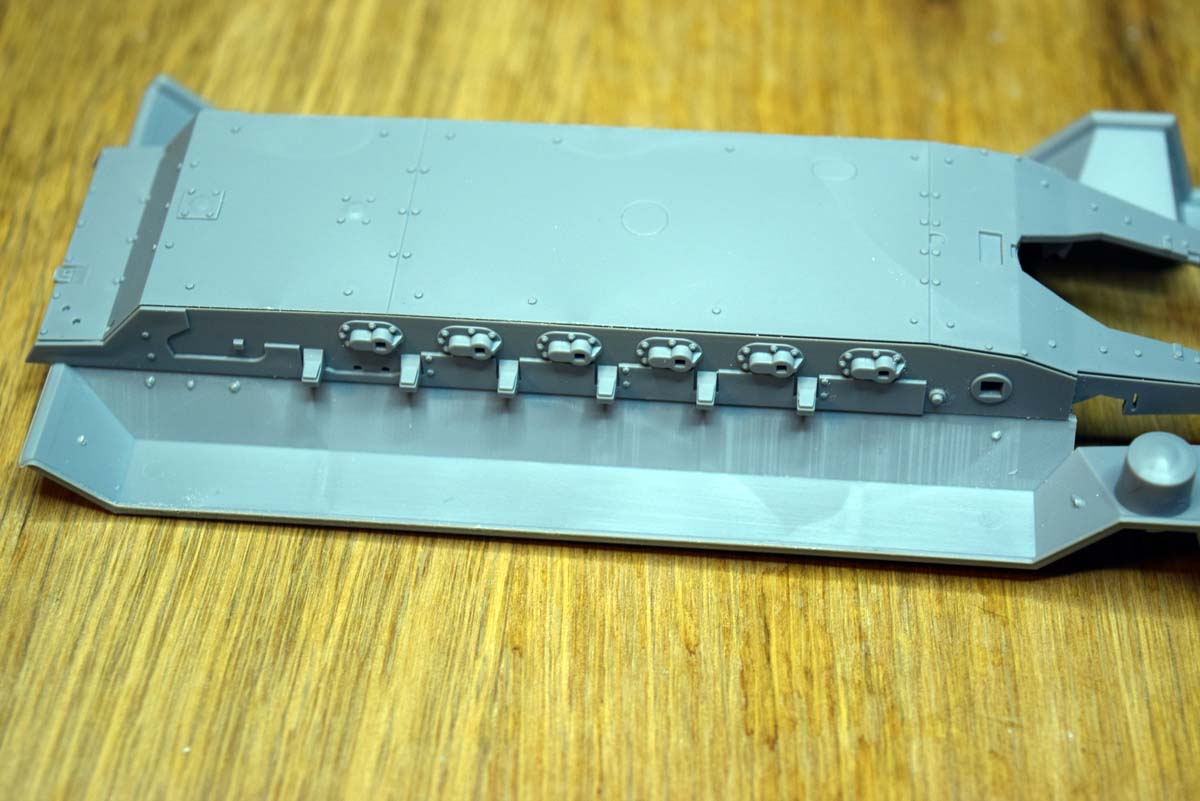
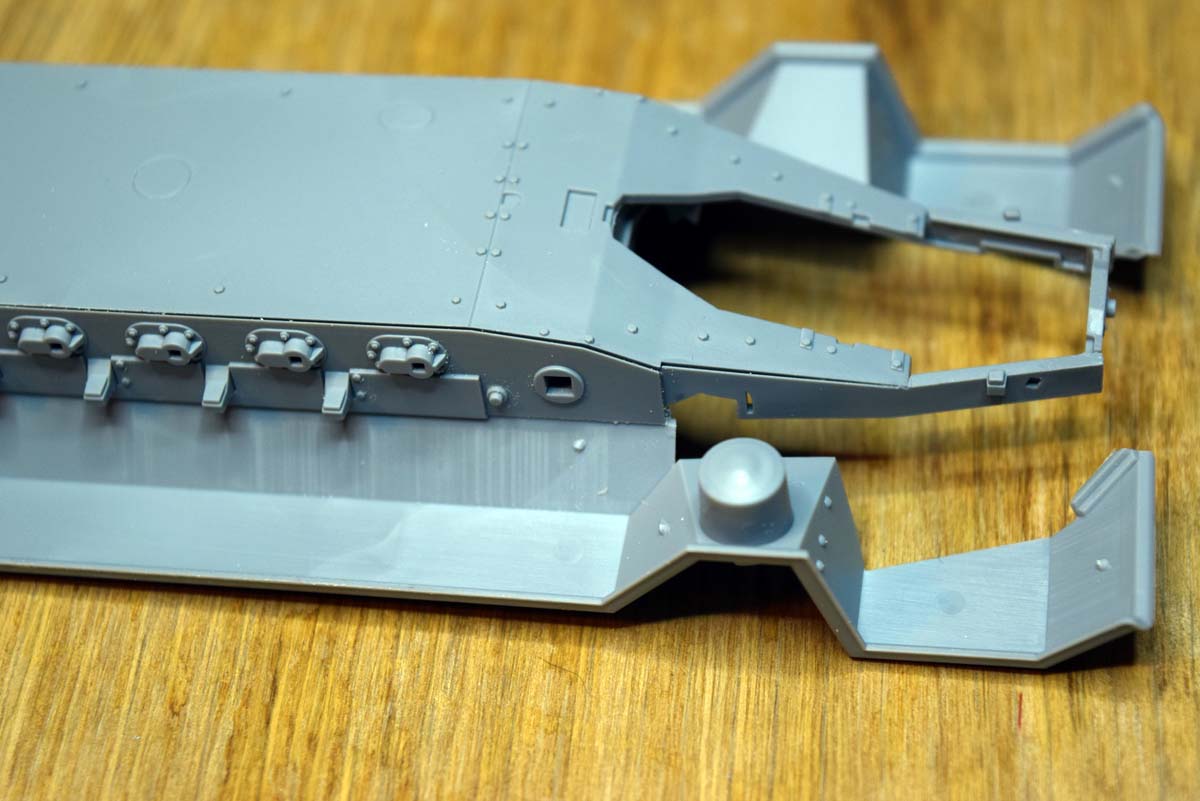
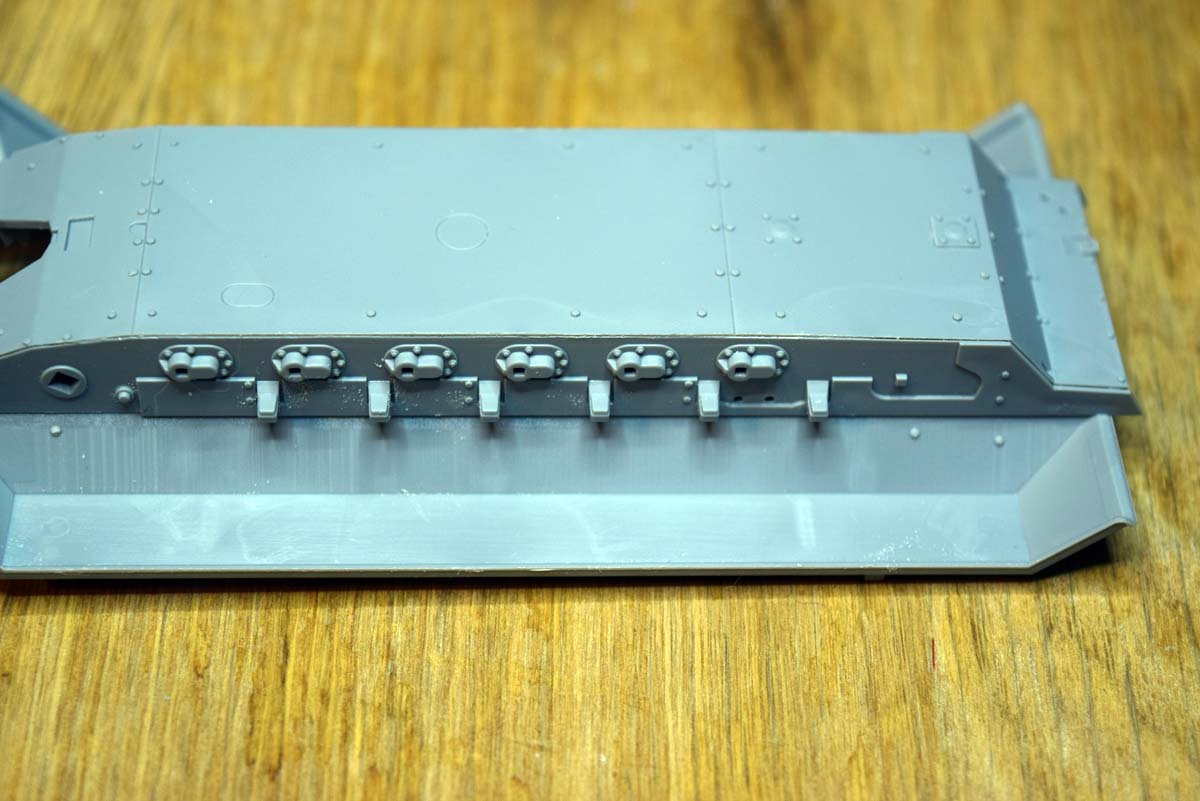
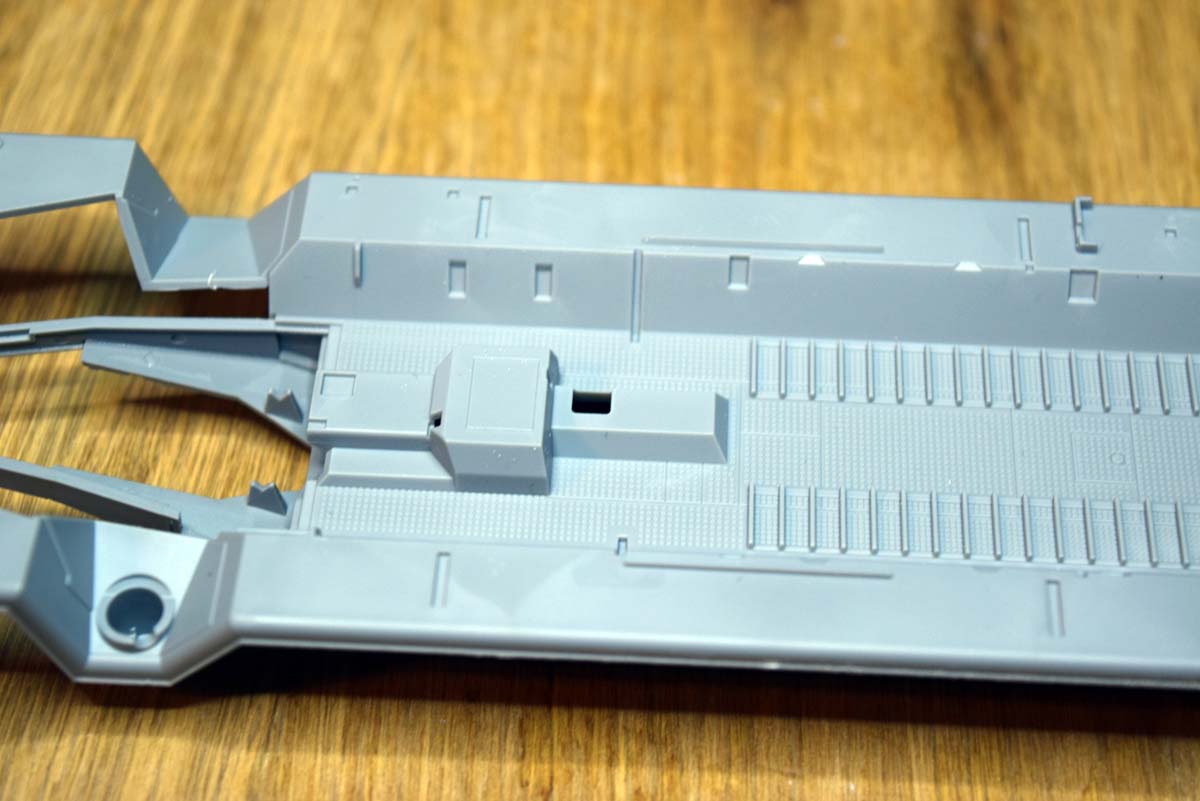
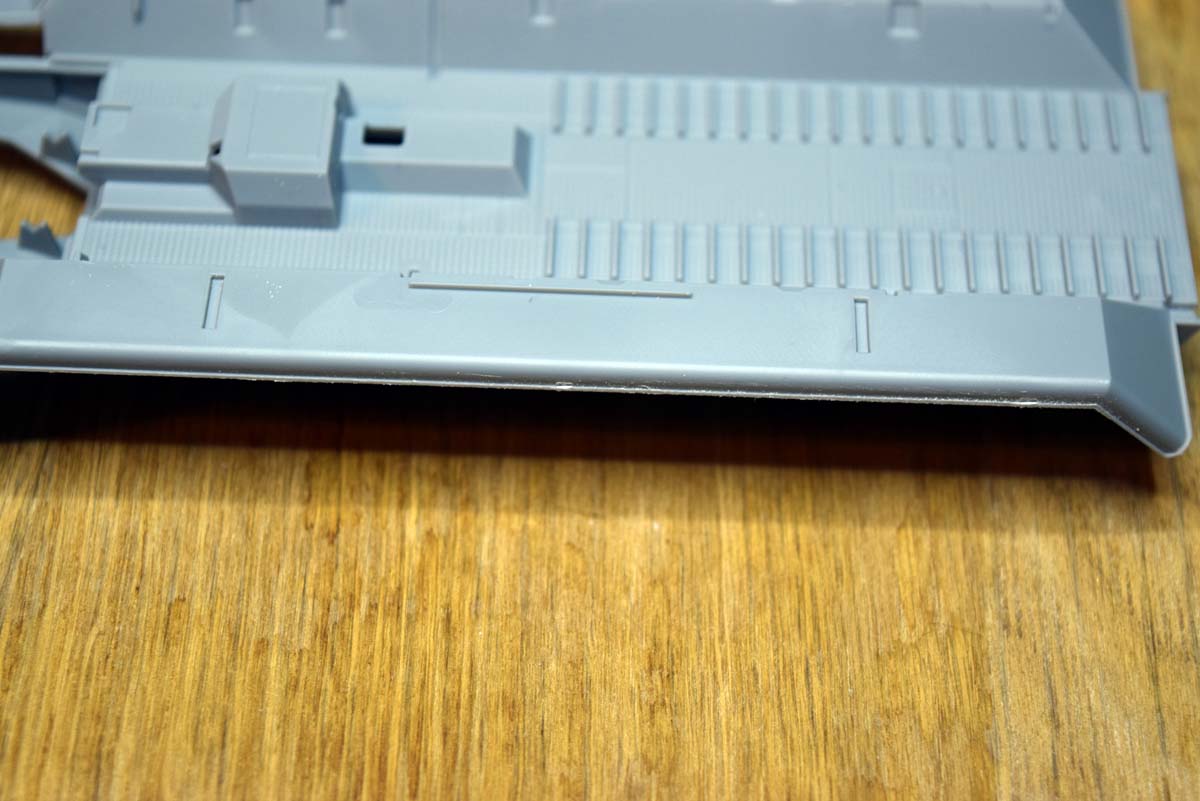
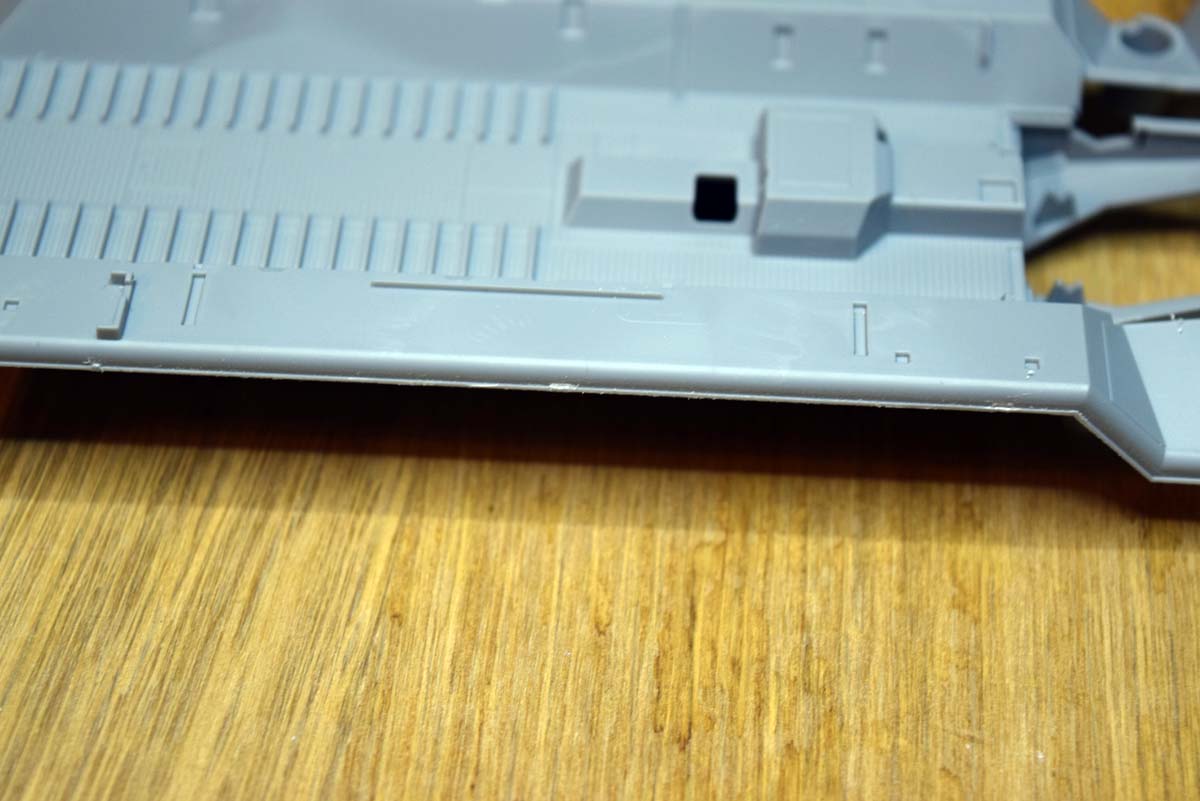
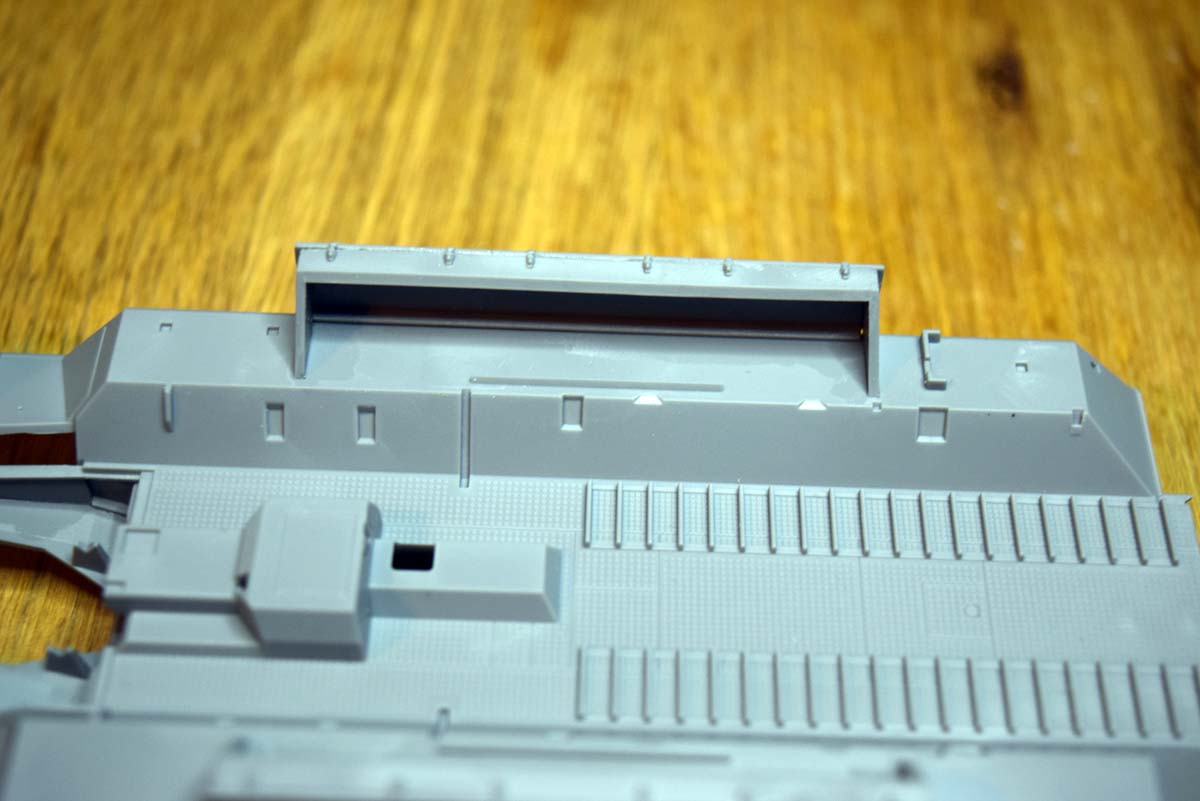
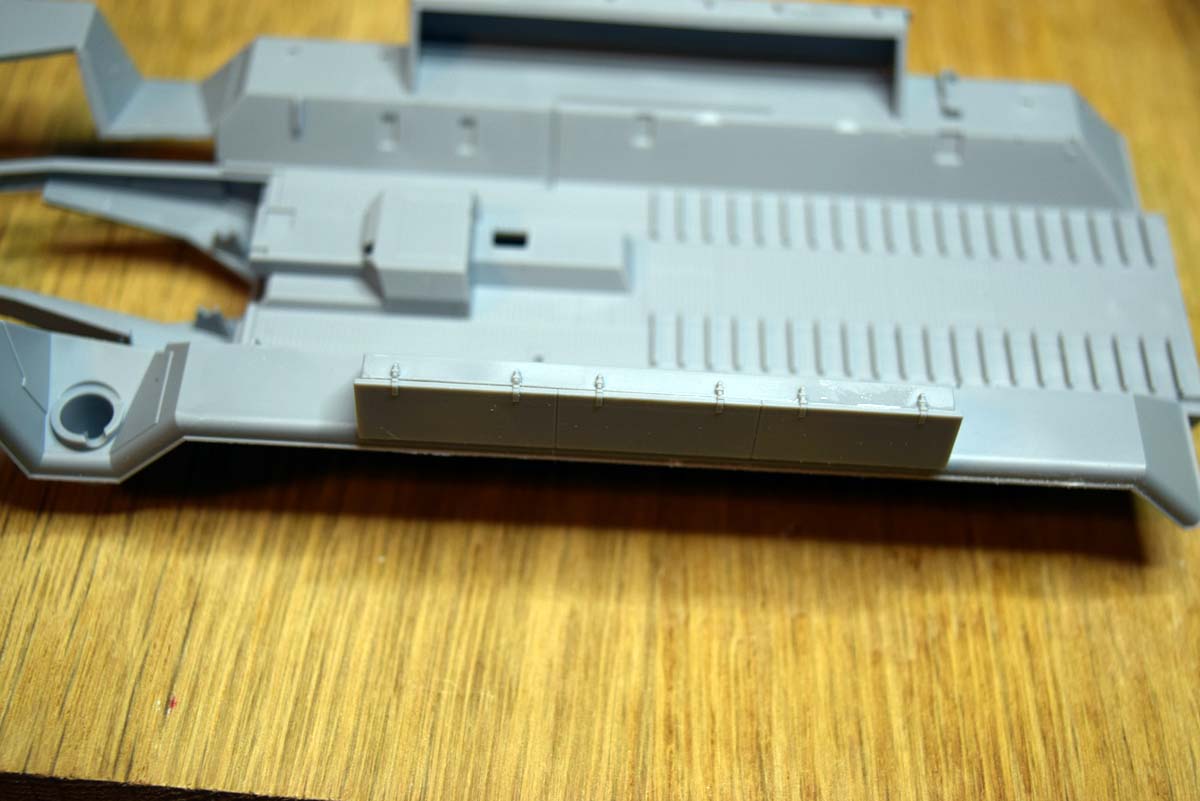
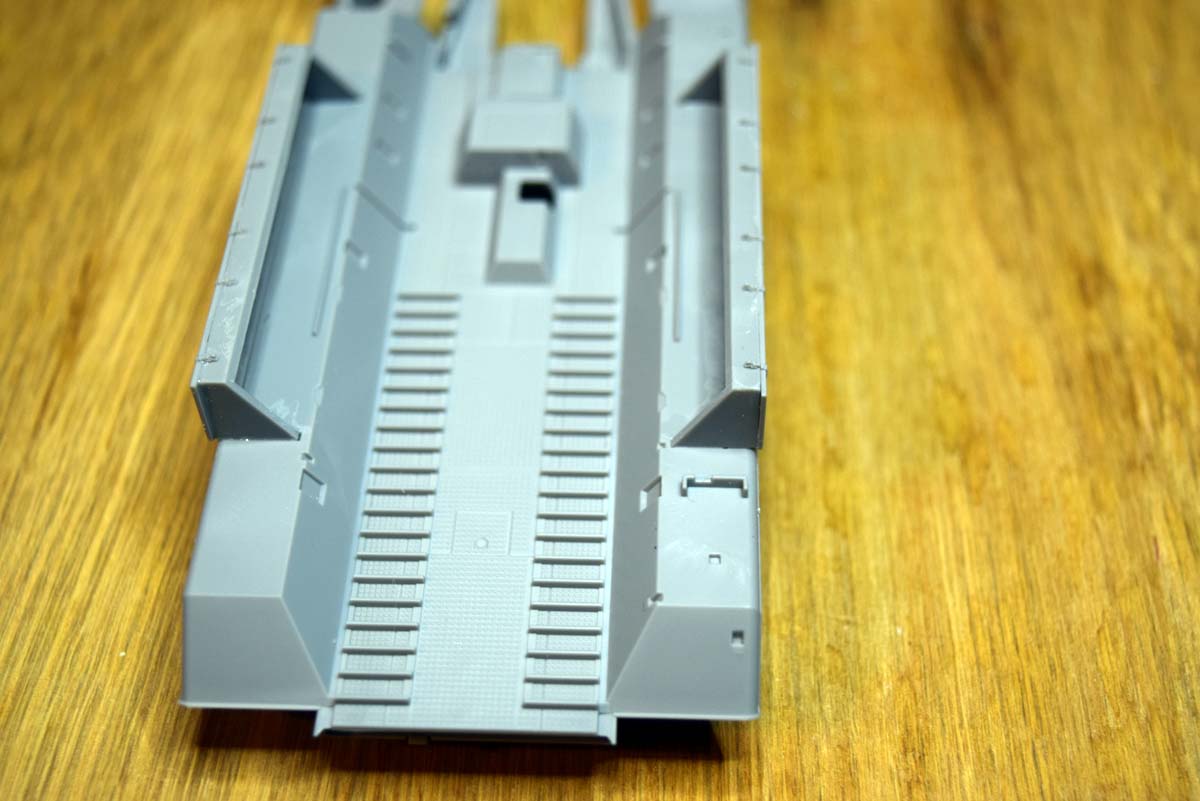
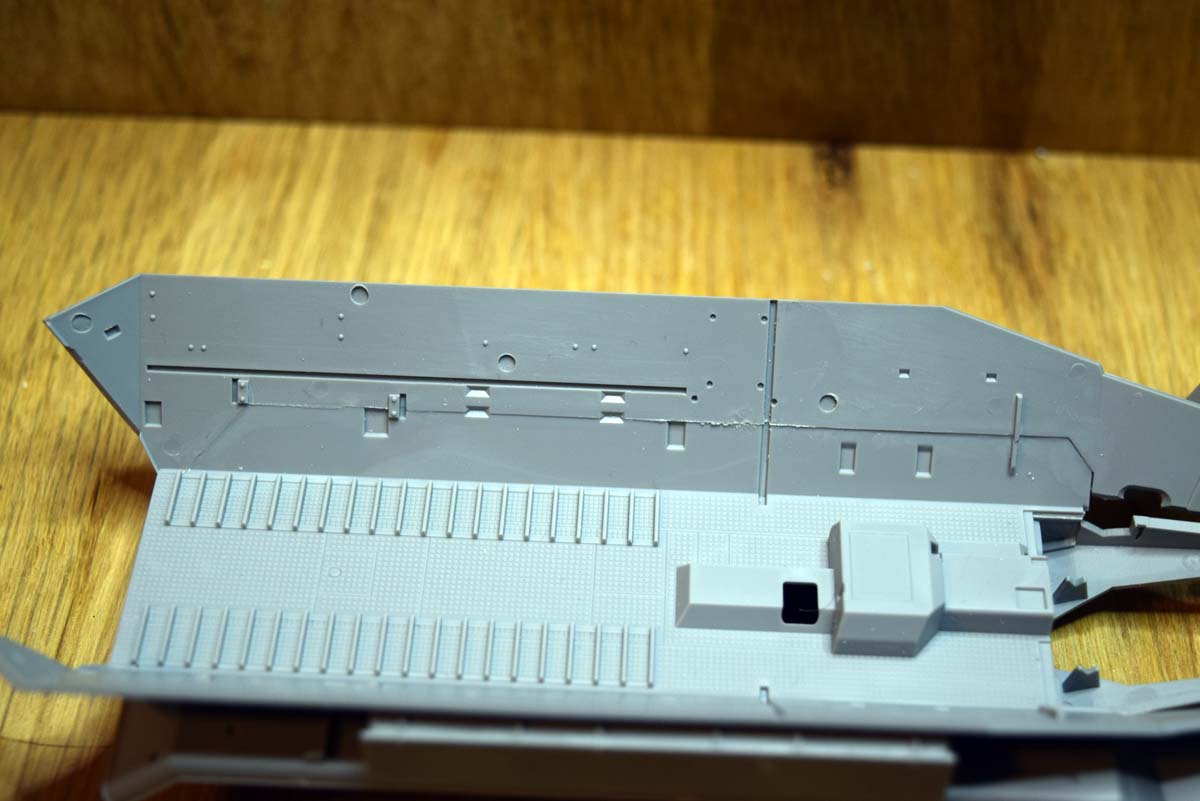
The upper hull fits beautifully to the lower hull and has a nice finesse to its thickness. Details moulded as part of the structure are nicely defined and have a pleasing look to them in my opinion. The opening view ports all have an exceptional level of detail that I do not recall having seen so well replicated previously. The six ports down the sides that are peculiar to the early 351 vehicles are correctly replicated as regards location. Moving to the inner areas of the ports reveals the lovely detail provided by ICM and that has not been bettered; the parts supplied are only shown in one position, but a little digging through the reference will reveal that these can be positioned differently with a little work on the part of the modeller. ICM does instruct that you attach the outer flap before moving to interior parts, but I could not manage a positive location and so I added the inner hinge part to accurately locate the flap.
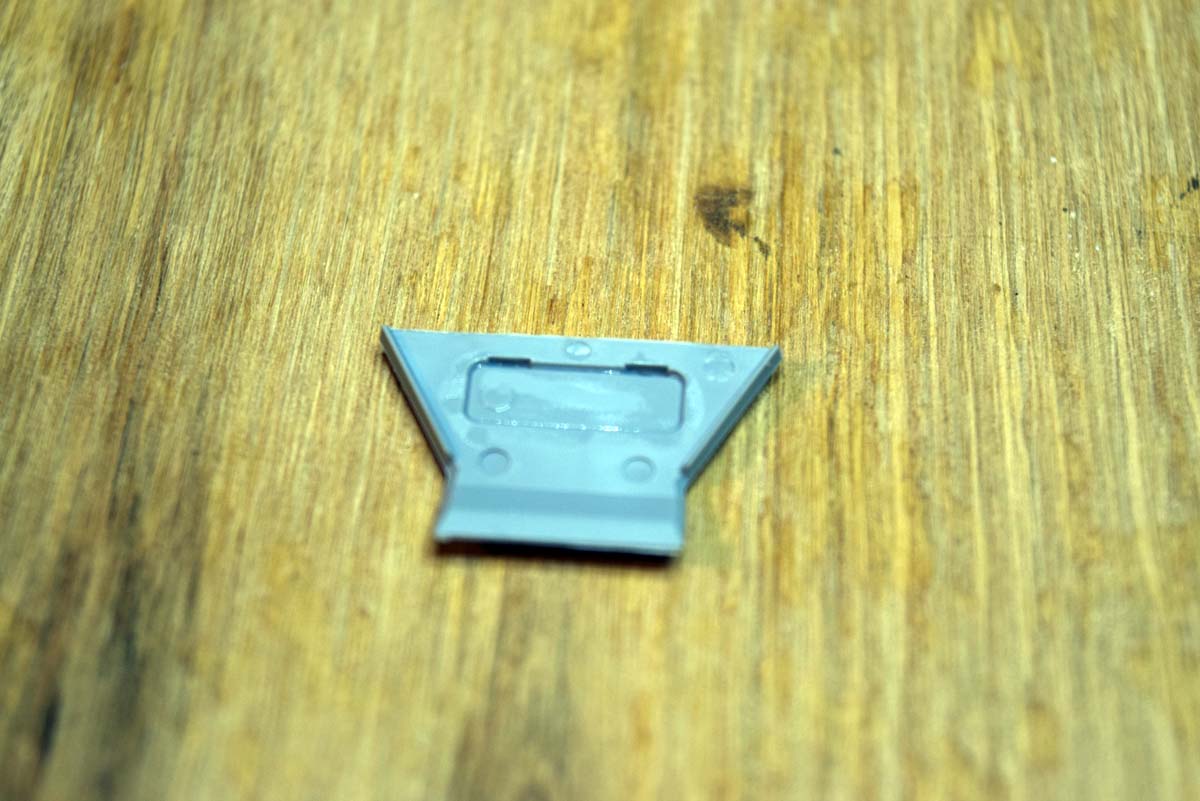
All of the engine access panels can be shown open if desired by the modeller, but this is not covered in the provided instructions. I have done this with one of the largest apertures, but I do recommend that the inner faces are heavily sanded to reduce the thickness of the moulding and it has the benefit of removing the ejector pin marks present on the inner faces. The rail that attaches to the roof above the drivers position is very nicely done with a very delicate recess where required. Because I need to get the model apart to complete it I have not added the rear doors to the model. These doors could again easily be shown open if the modeller desires, but again this is not covered in the instructions.
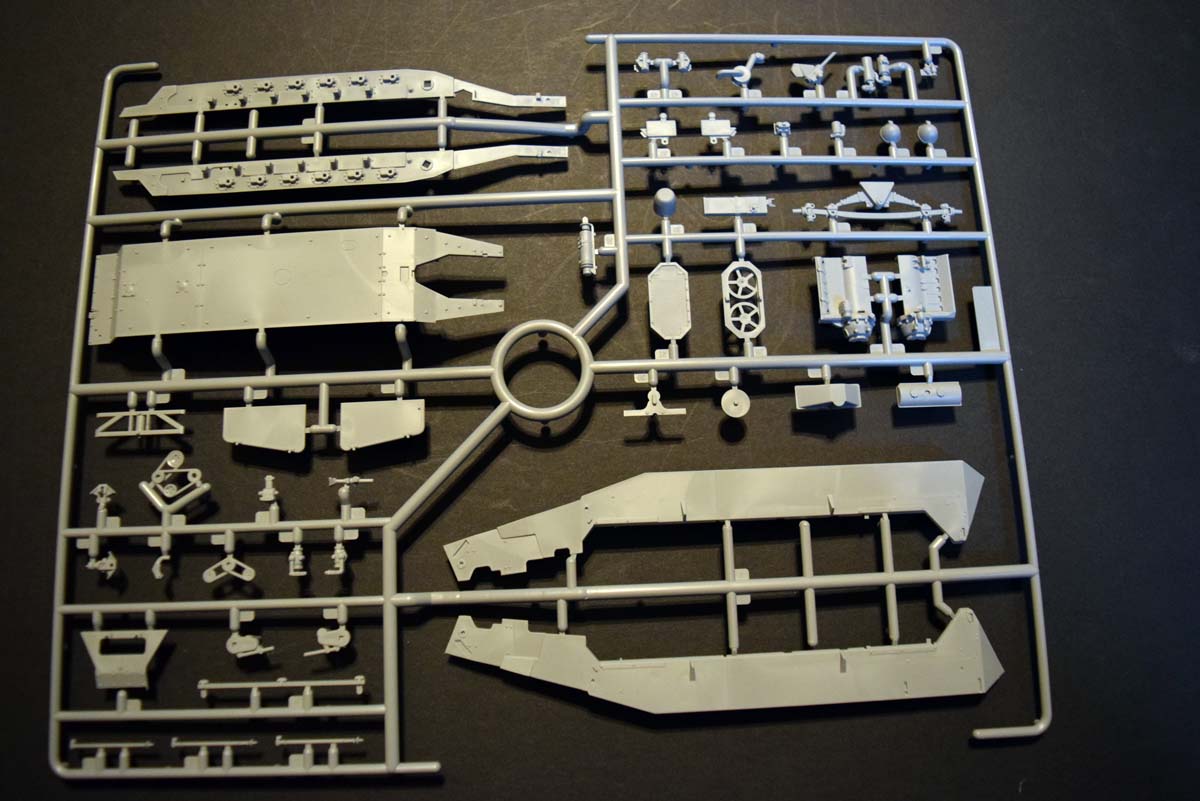
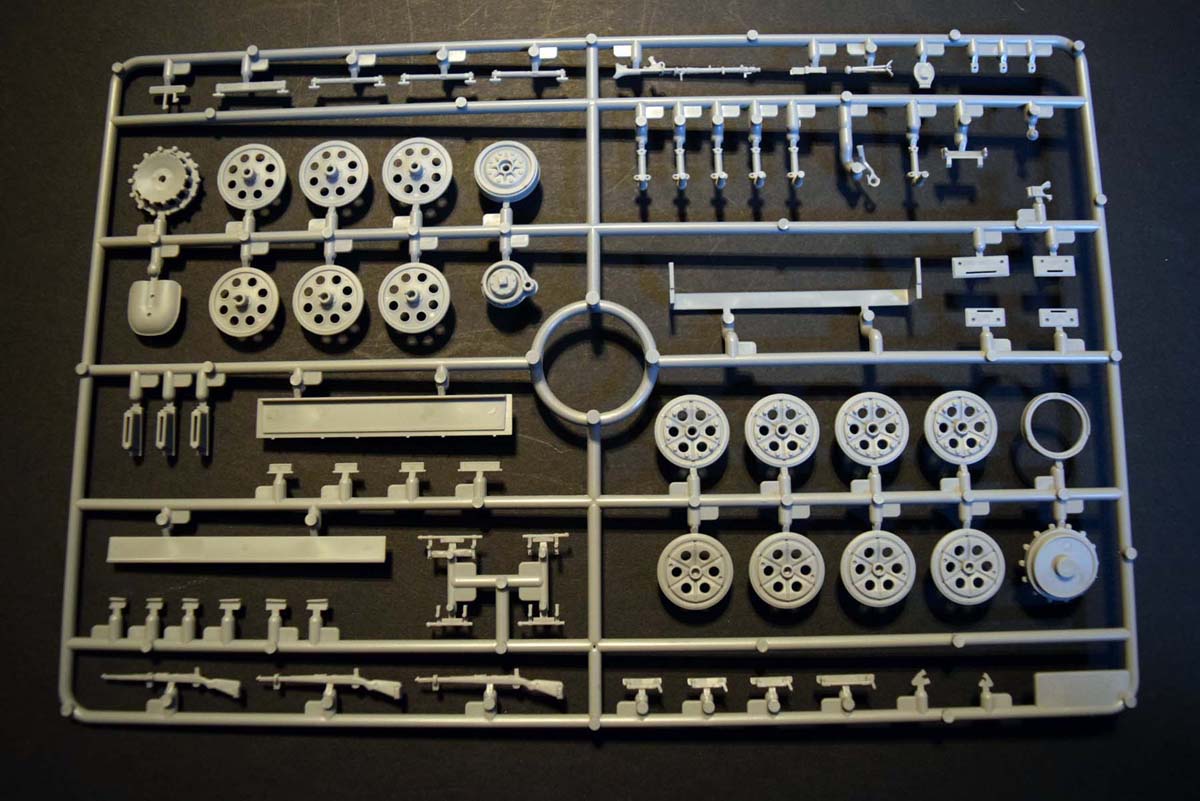
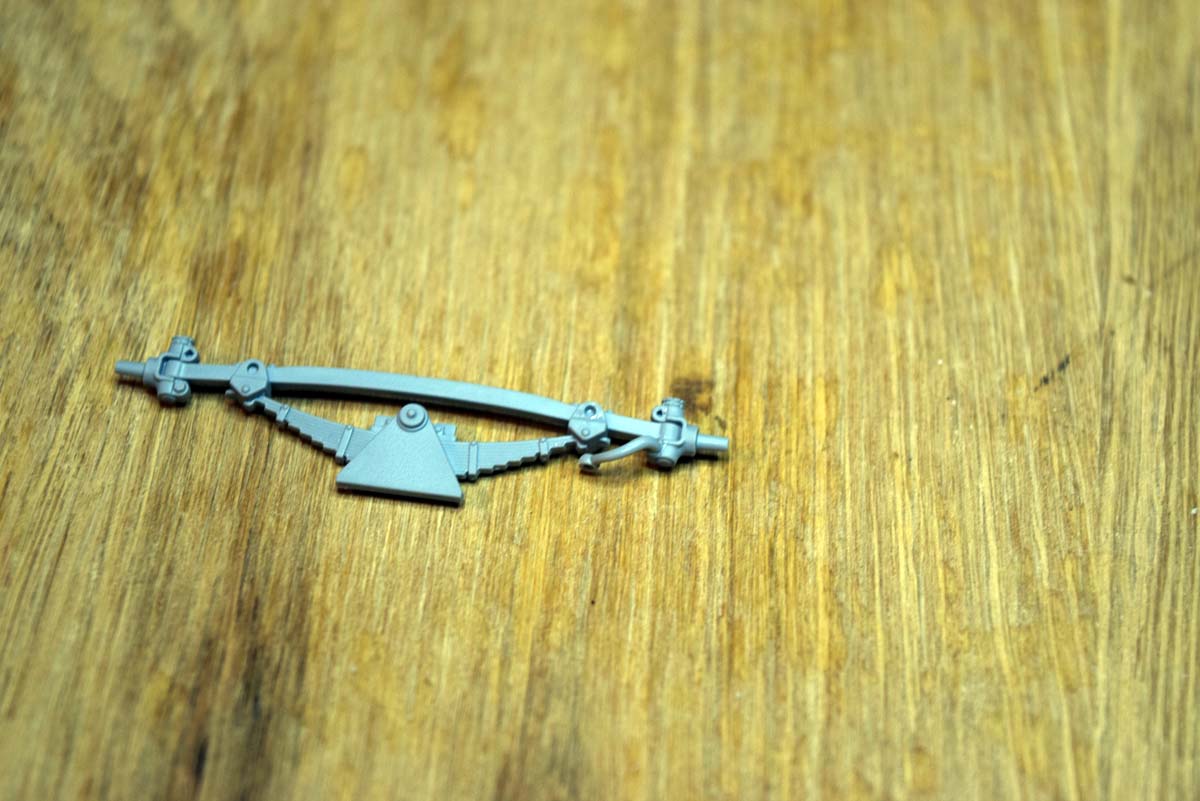
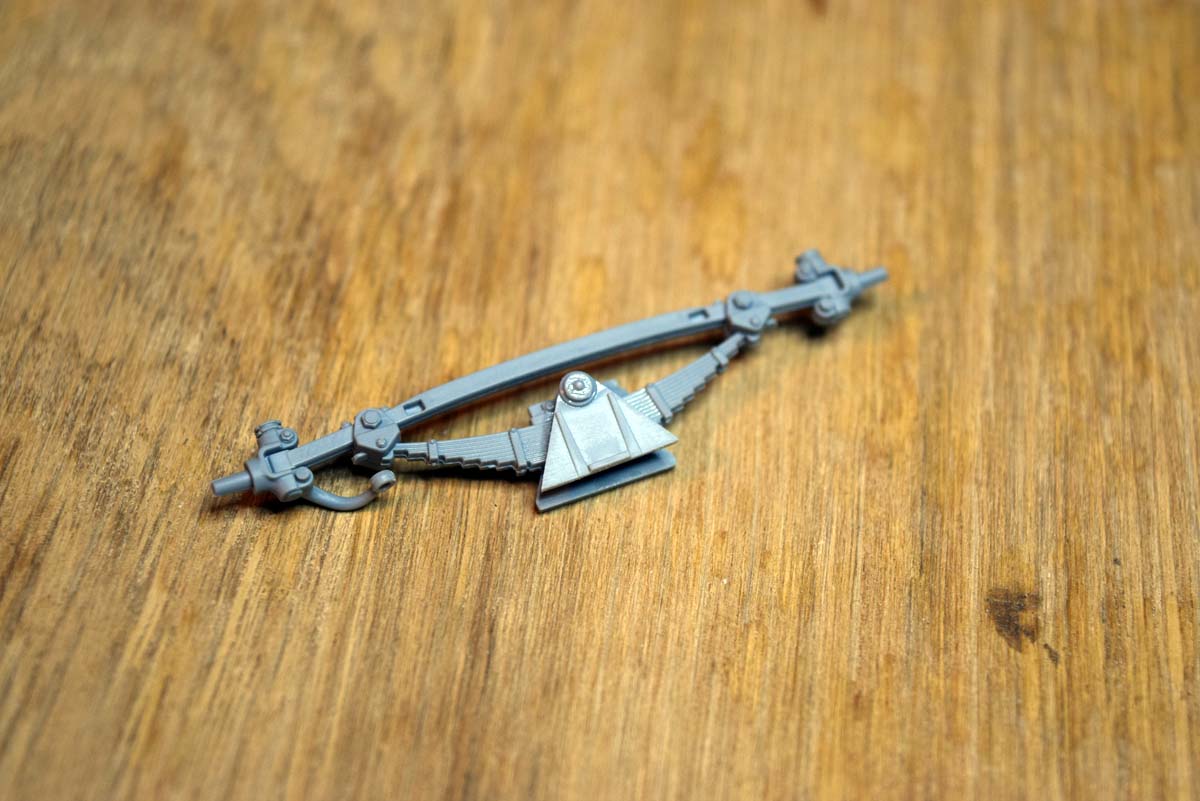
Stages 76 to 90 Axles and Wheels
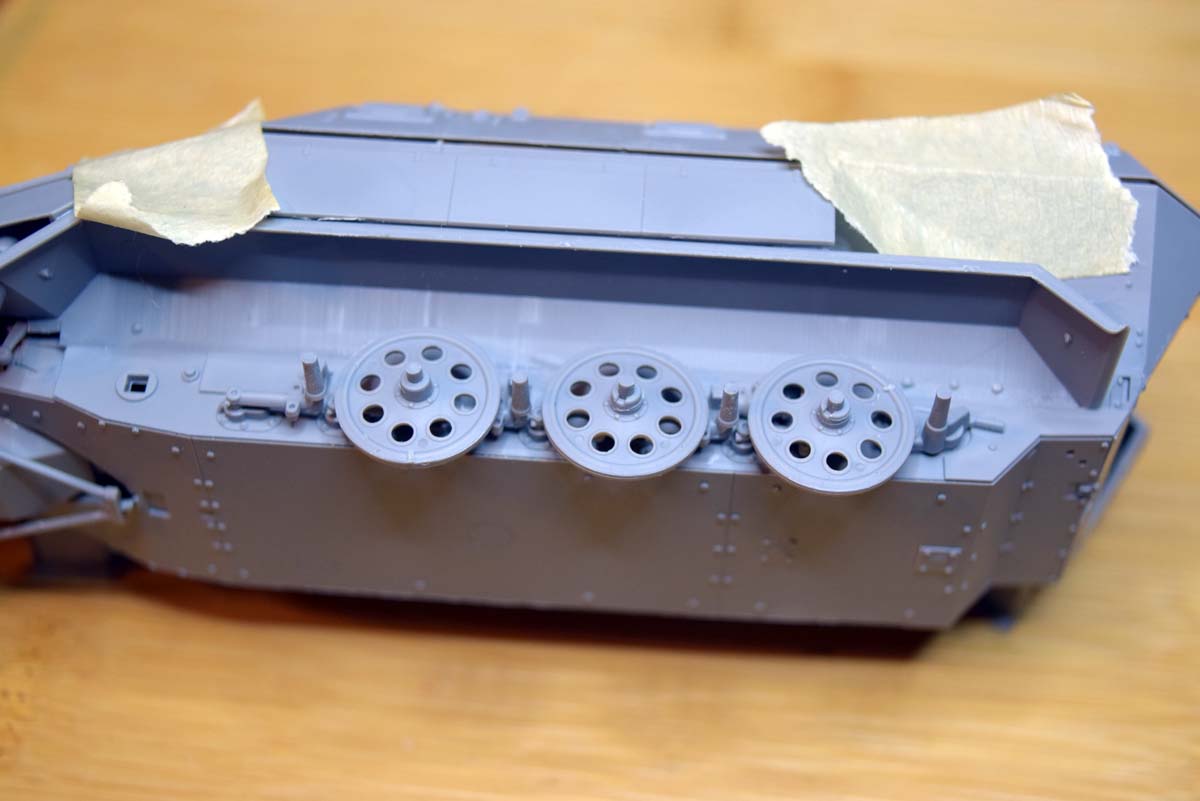
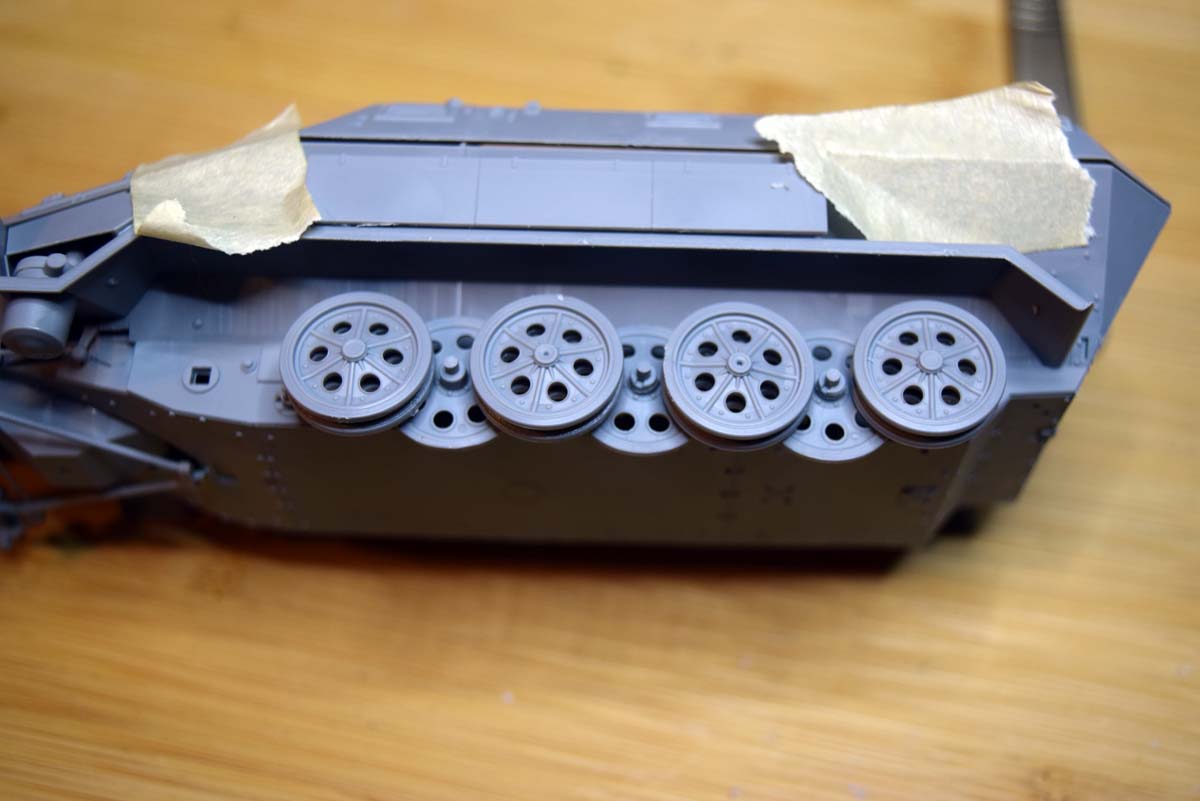
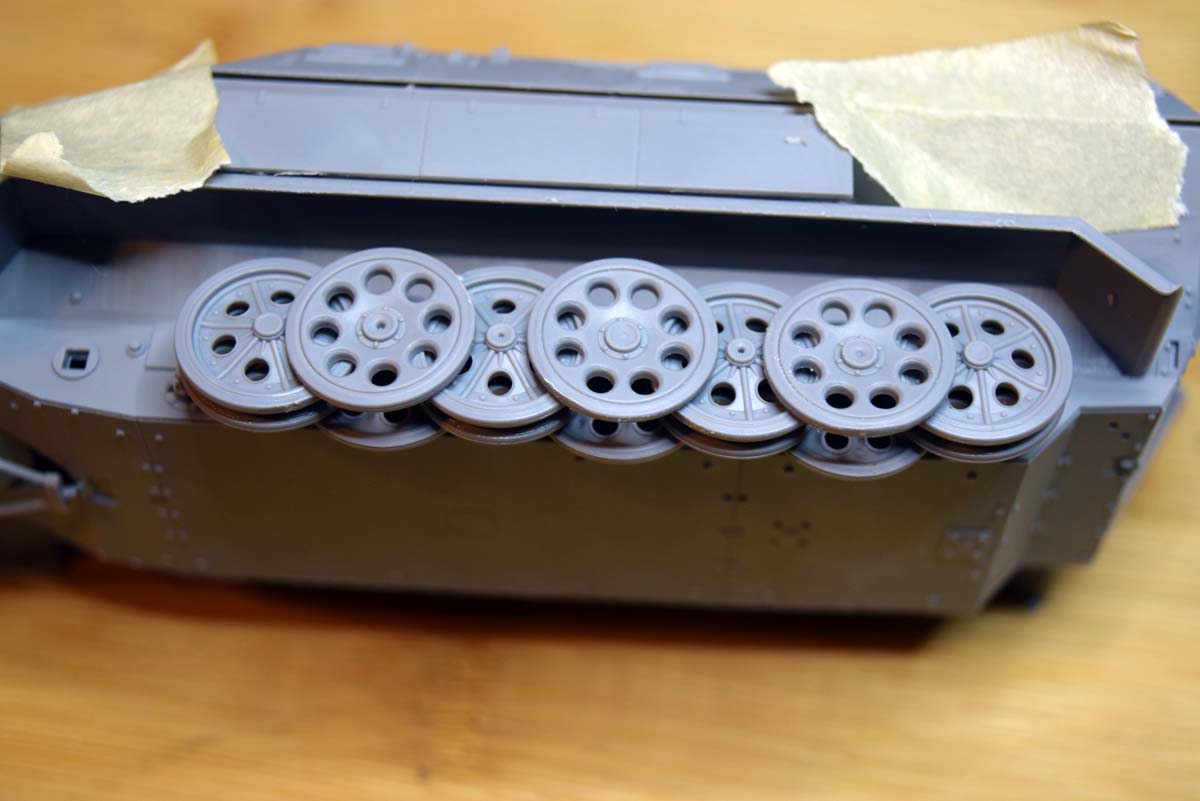
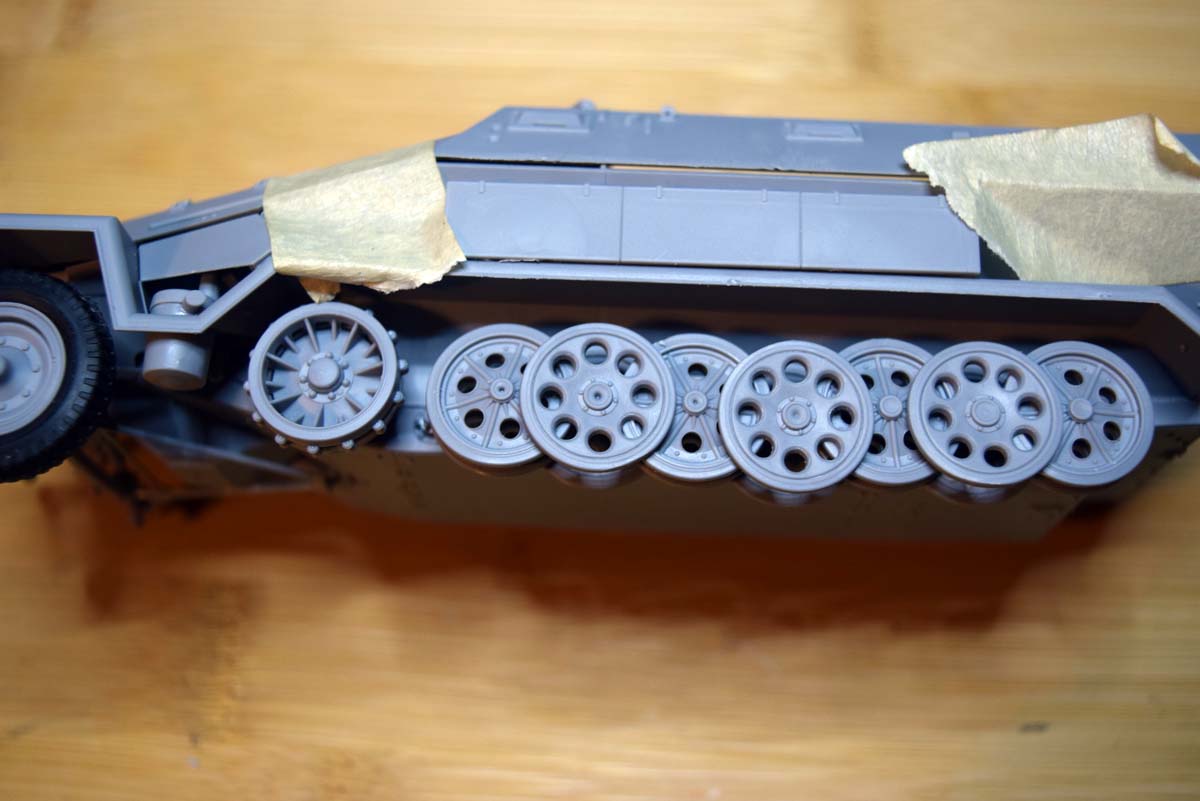
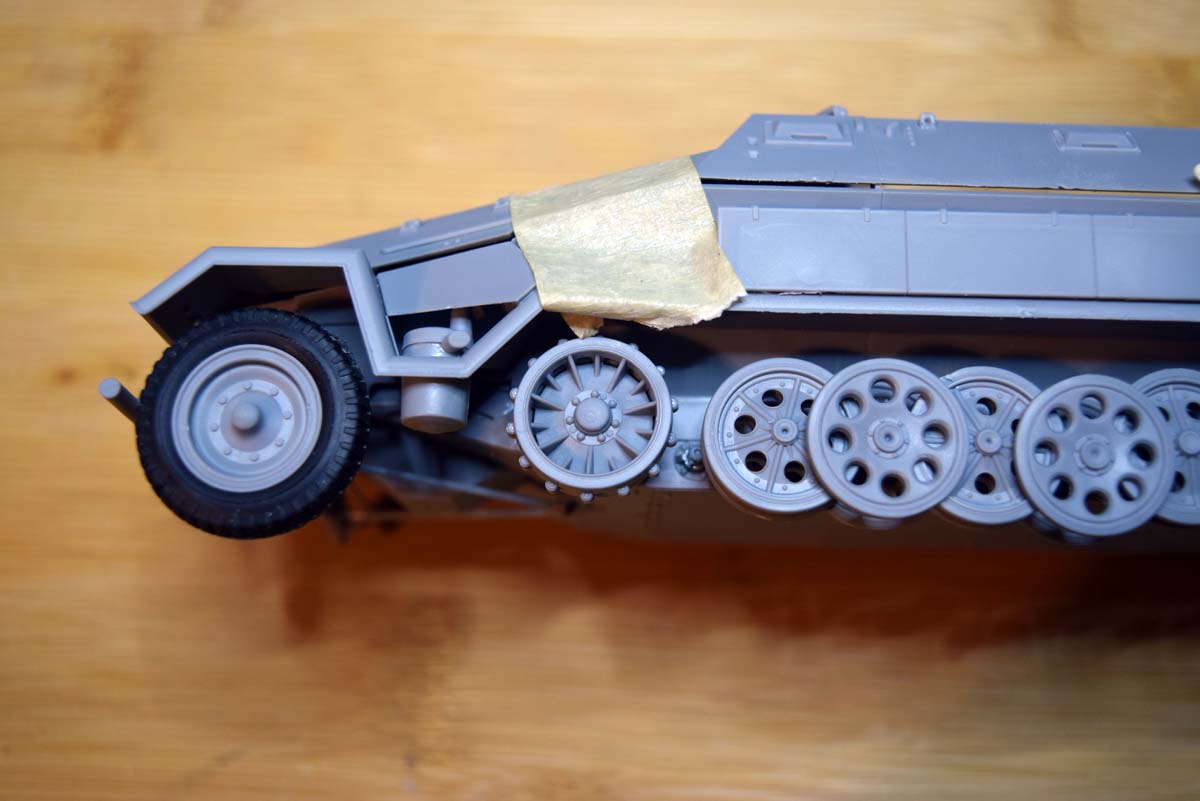
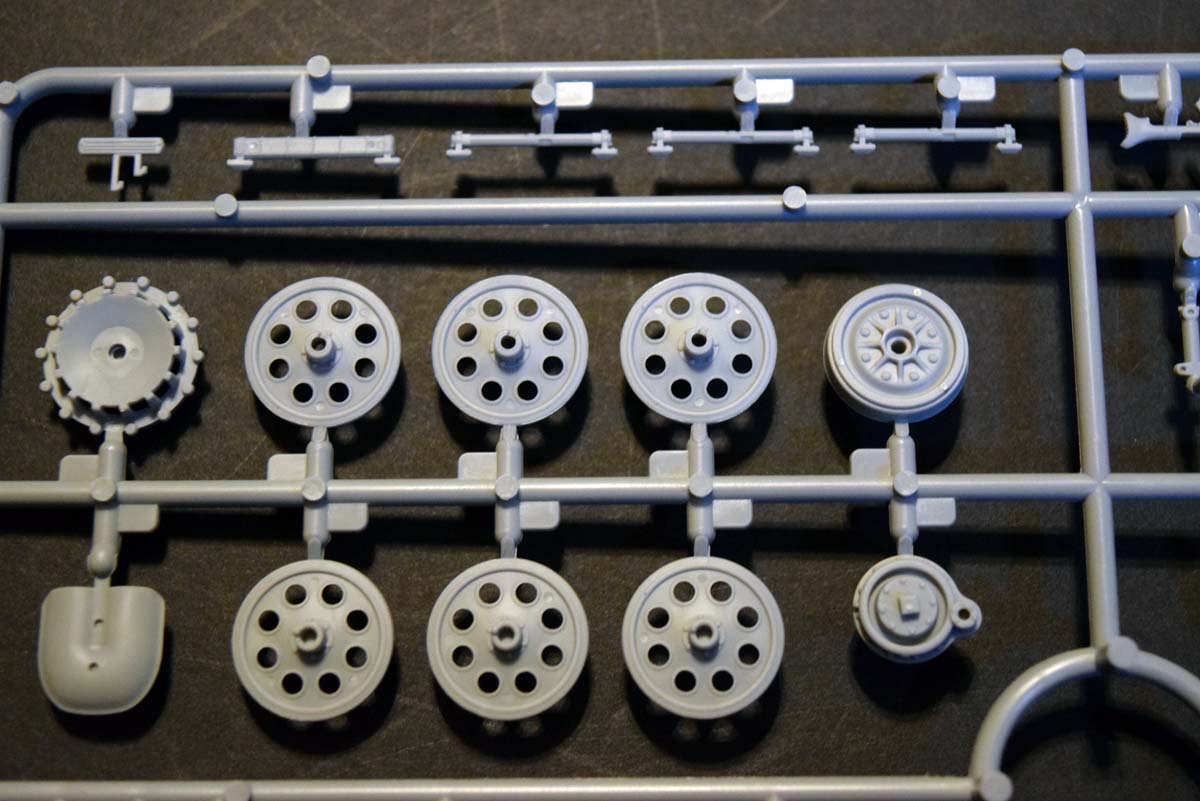
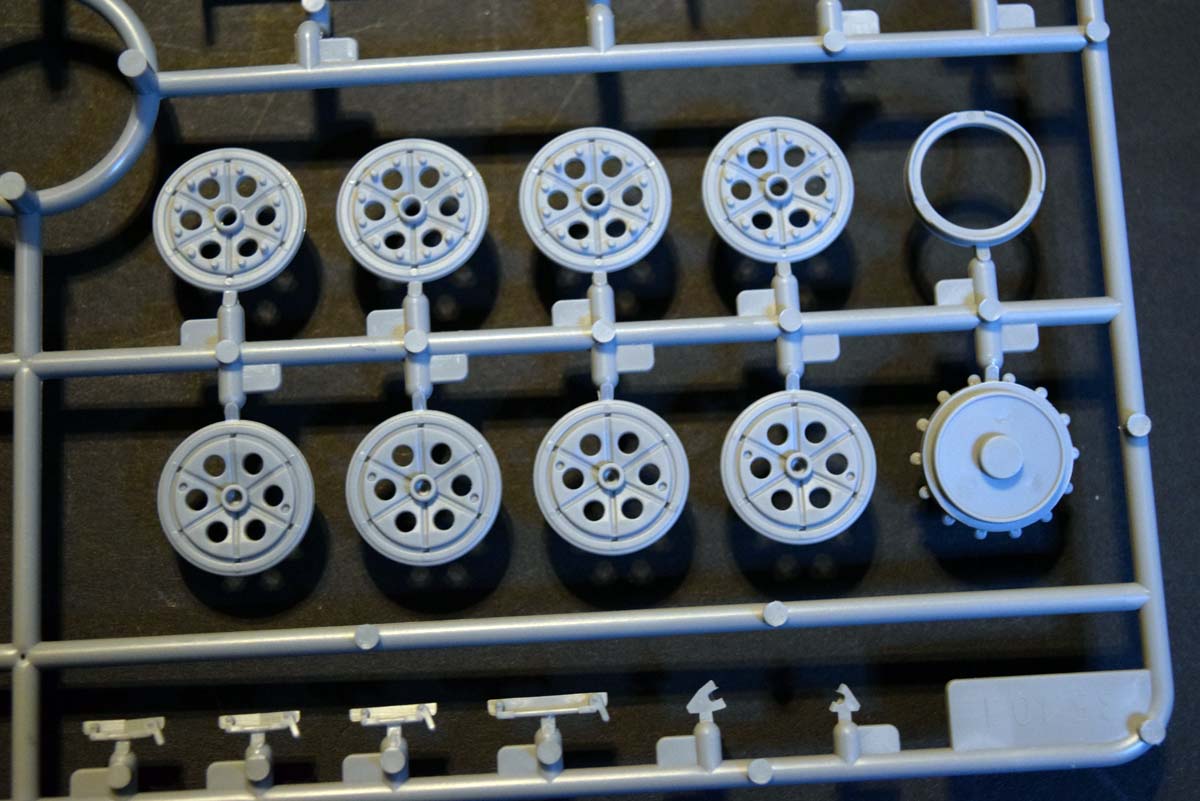
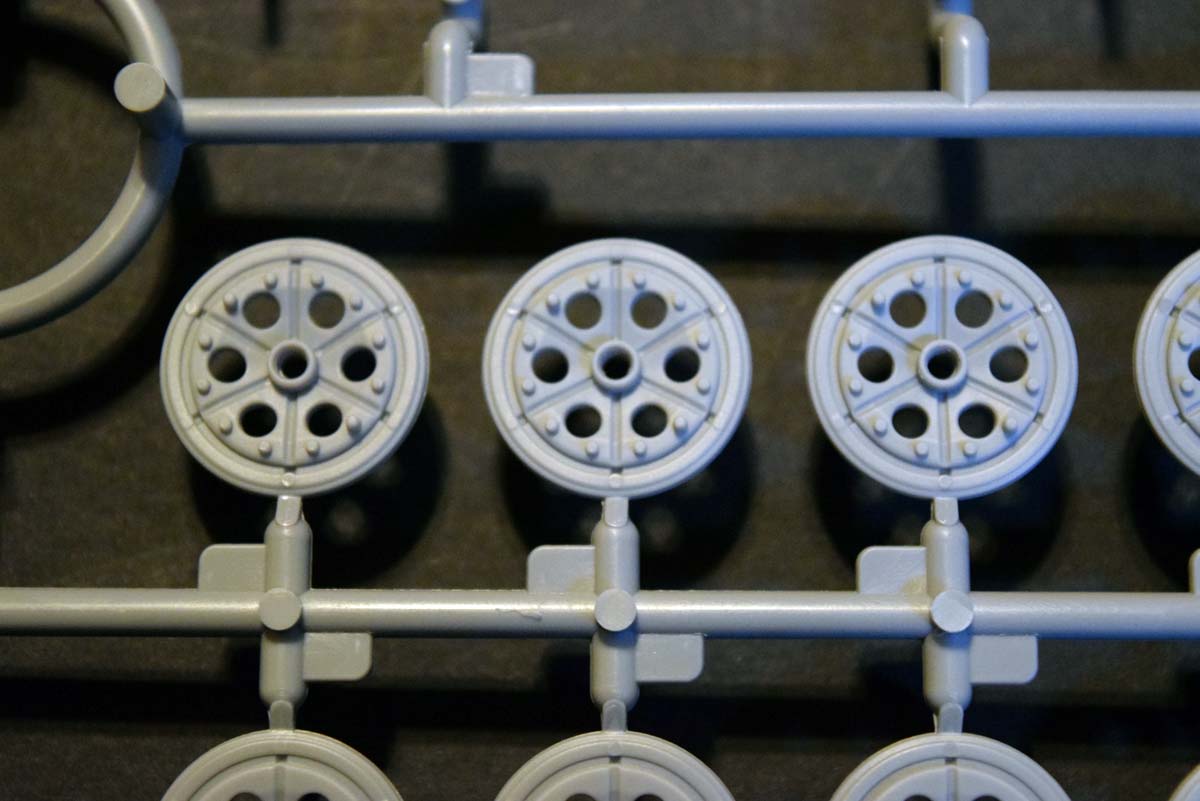
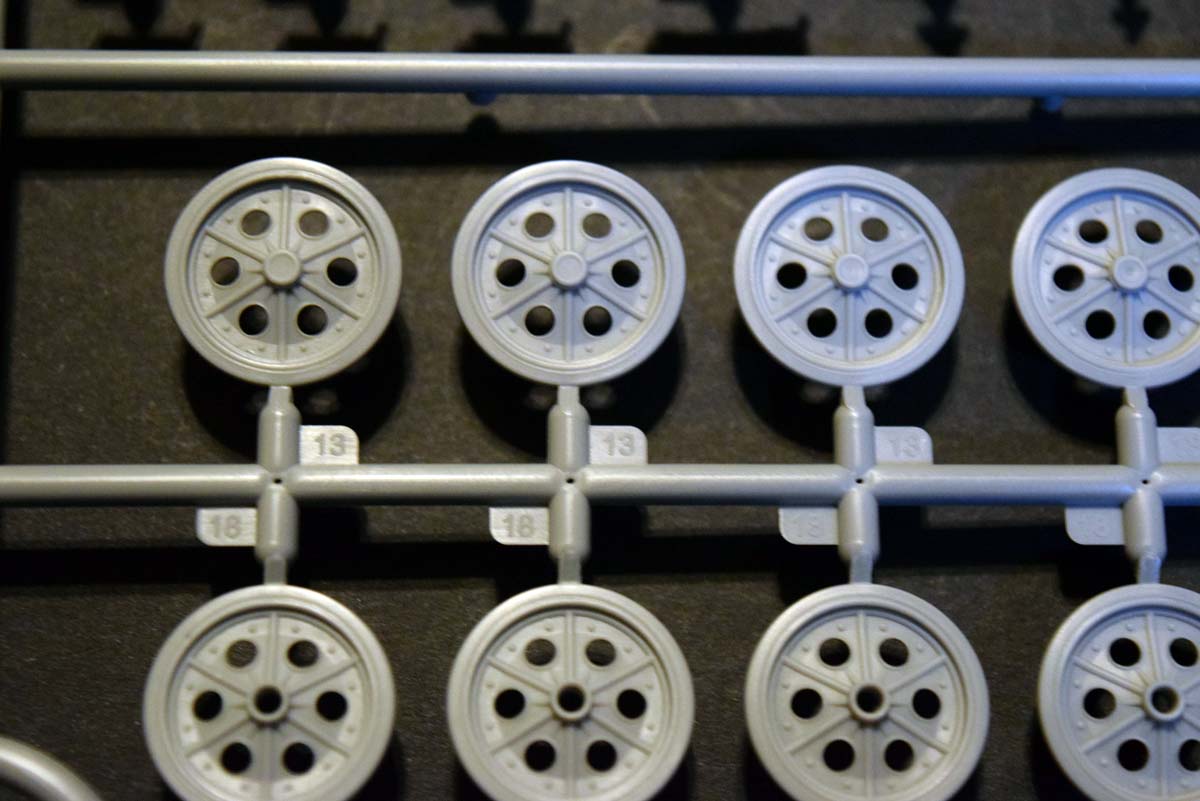
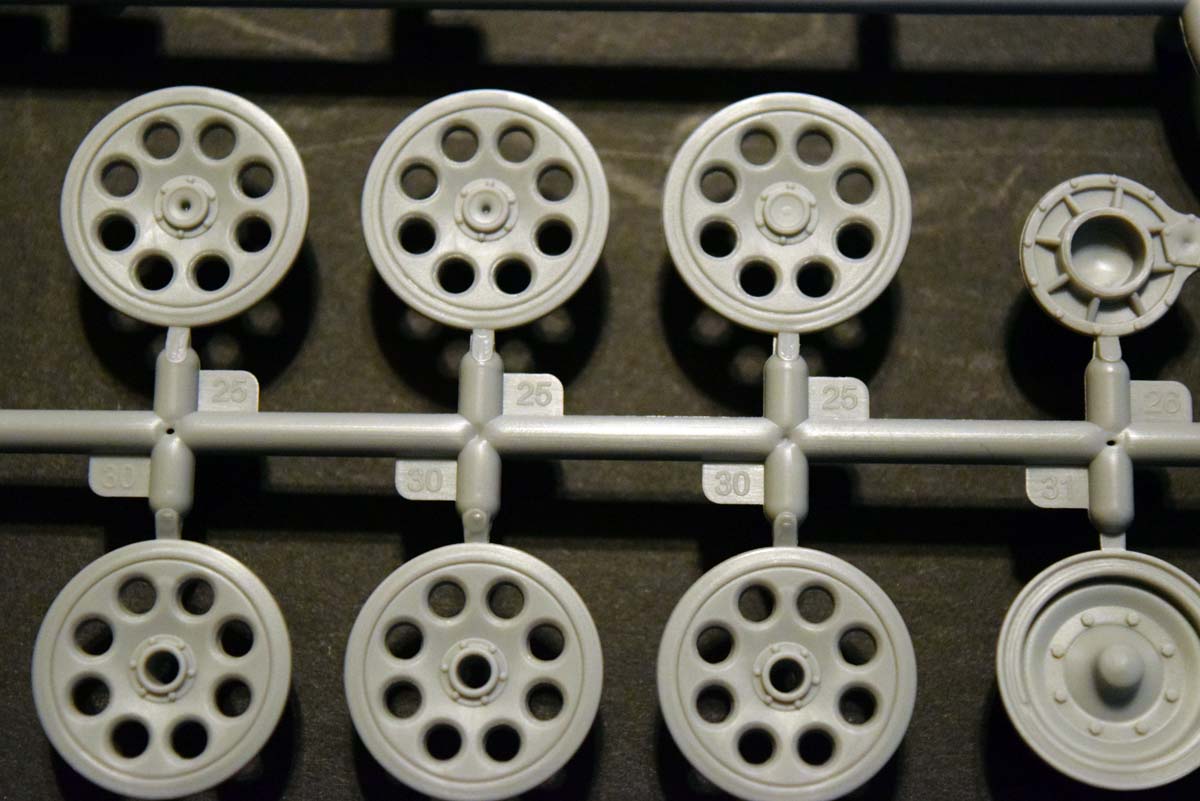
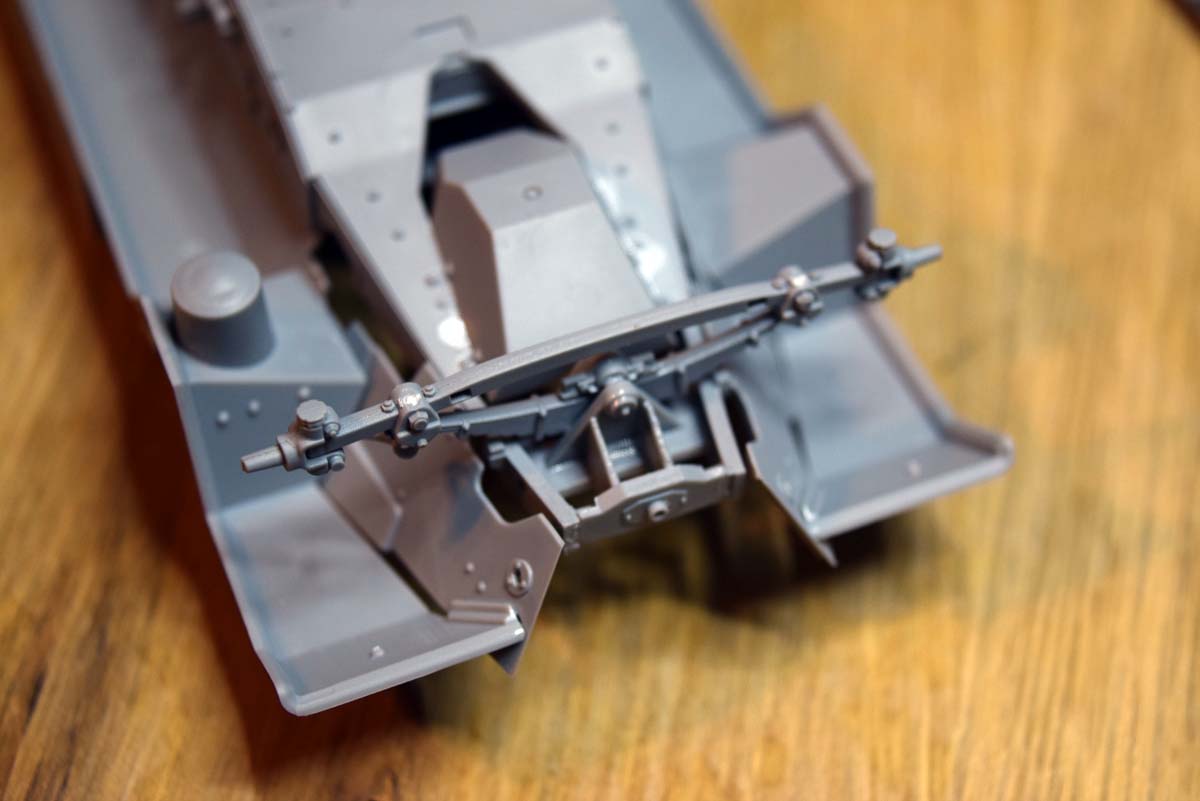
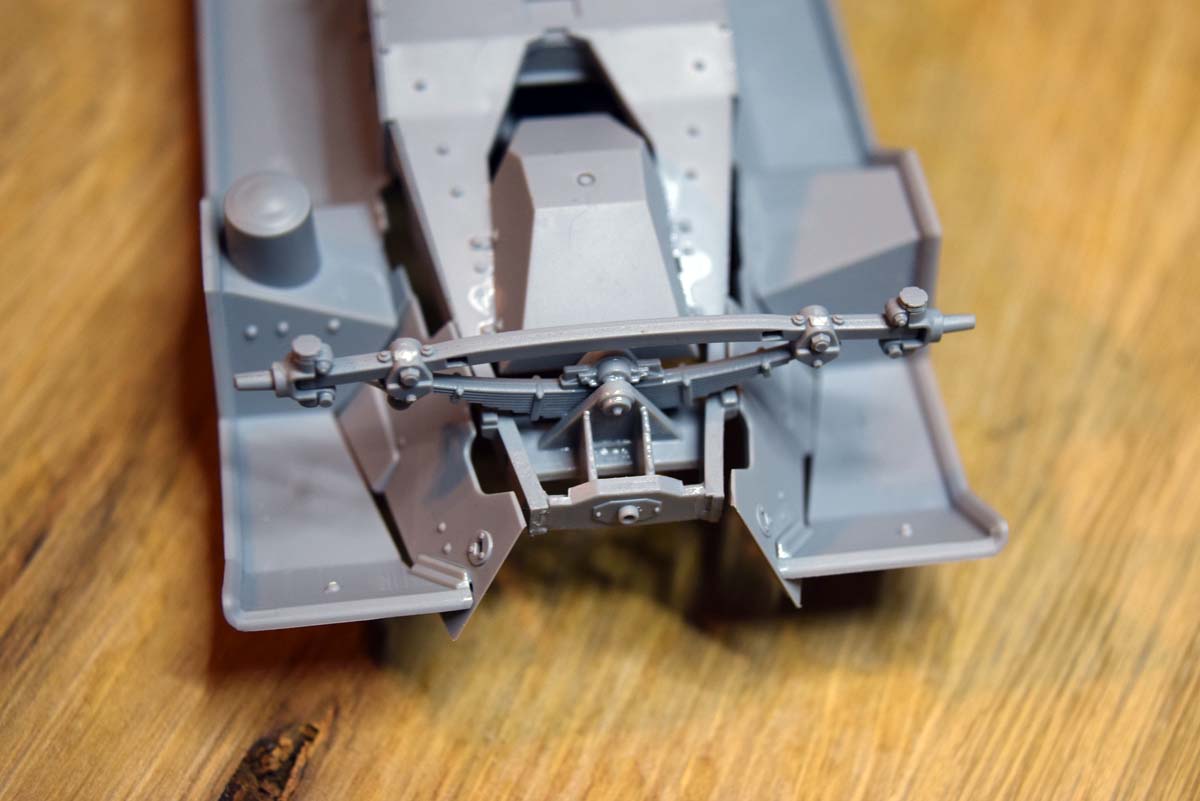
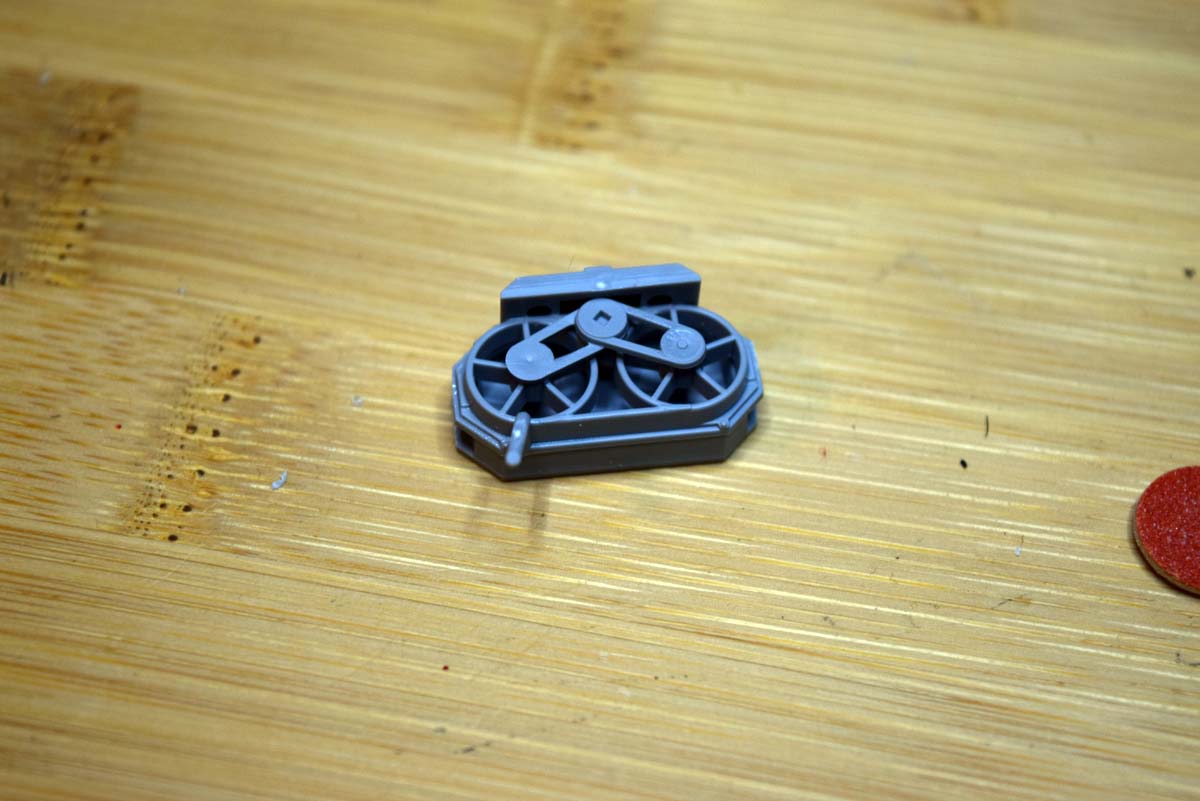
Unusually for models the wheels as an element is left almost until the very end with this being one area where I felt ICM could have been a lot kinder to the modeller and an area where they have made a mistake in my opinion. The suspension uses the torsion bar technology and that means the wheels should be offset on the opposing sides, but these are in line and so wrong I believed. I spent several hours searching for an answer to this question and I have seen that somehow the arms should be inline as supplied. With that out of the way the wheels and suspension elements are accurately replicated and look good. It is slightly challenging to get the suspension arms on the model correctly aligned due to a shallow square recess is all you have to work with, this could have done with being a deeper and so a more positive connection point.
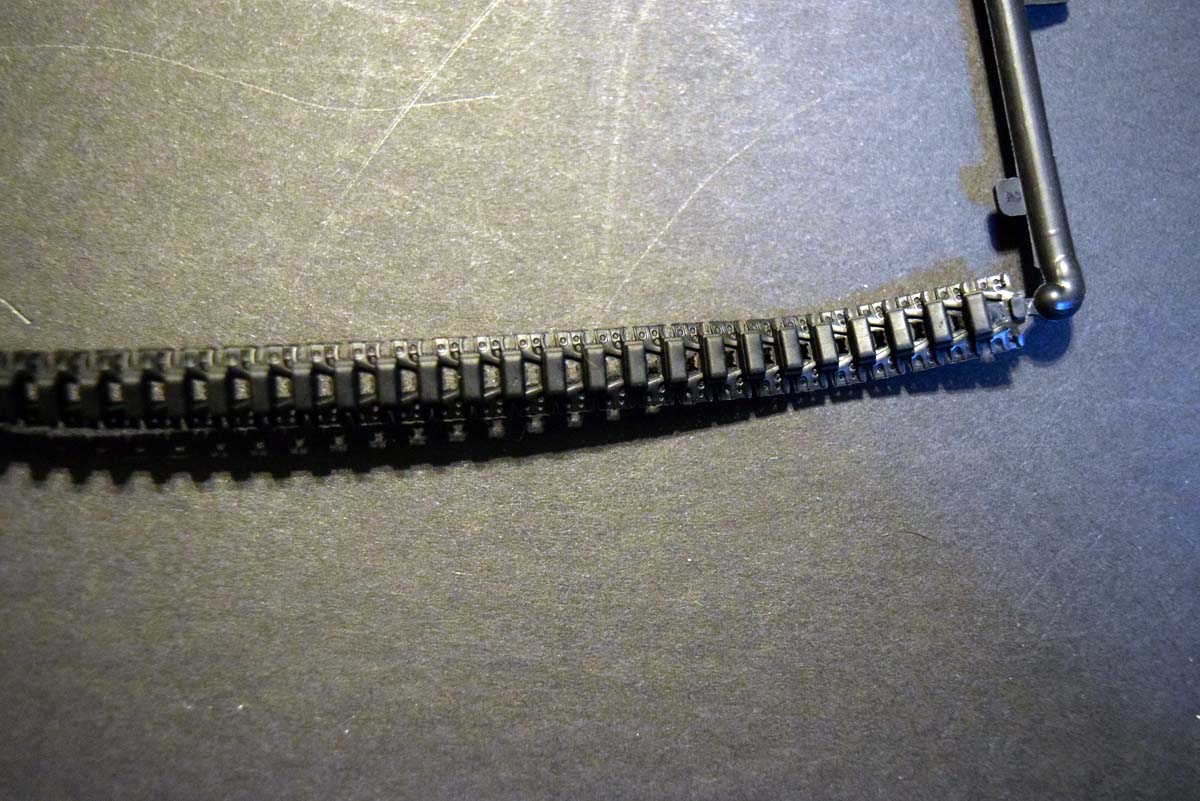
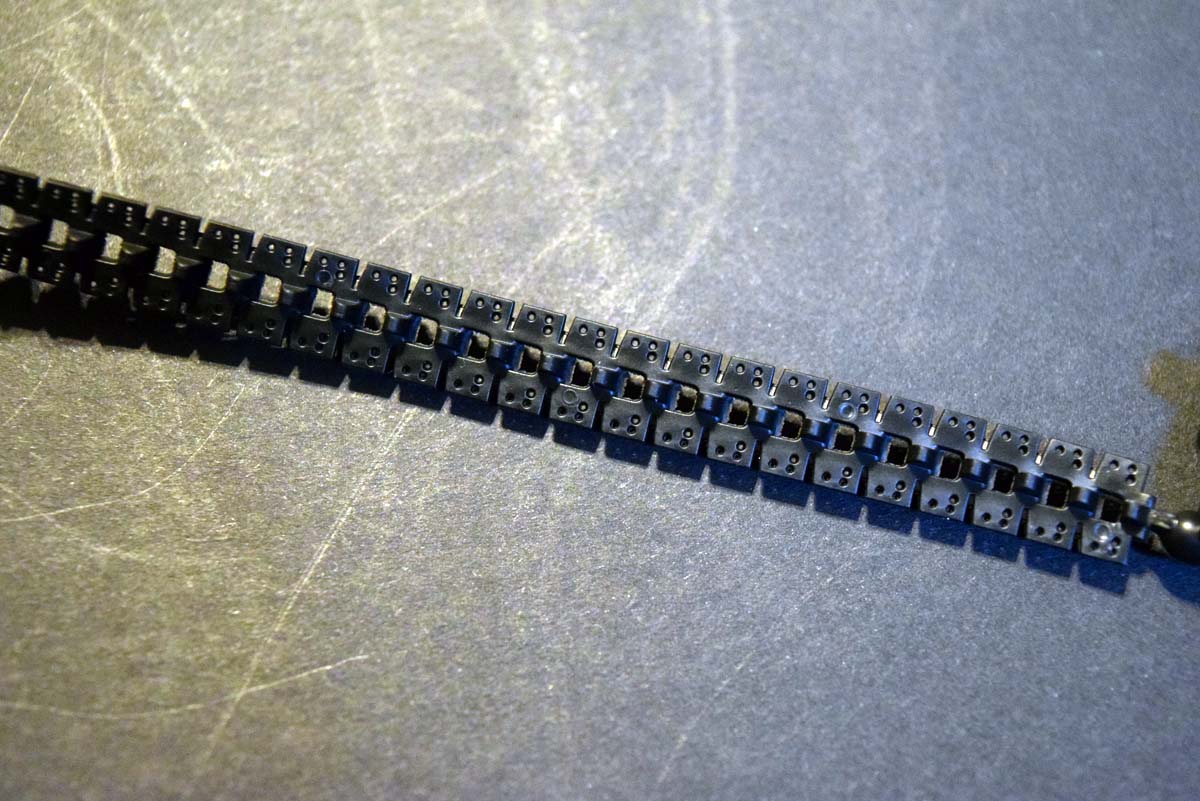
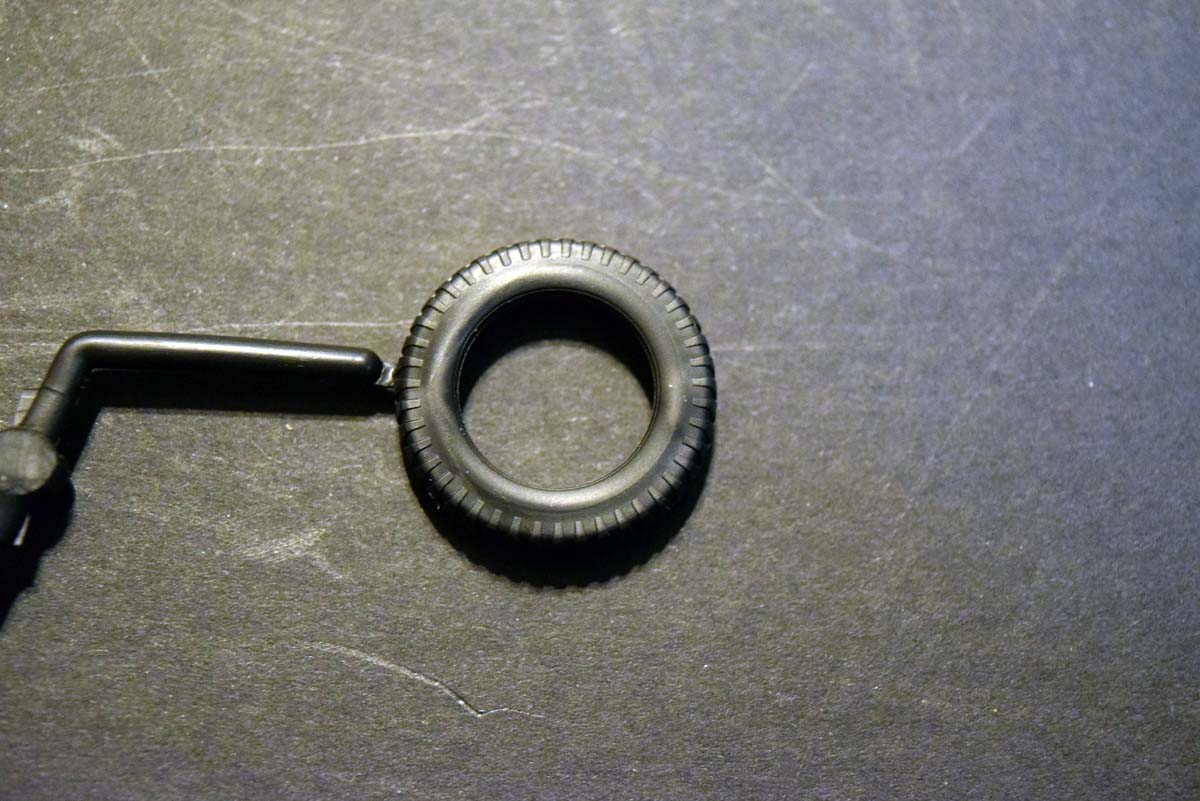
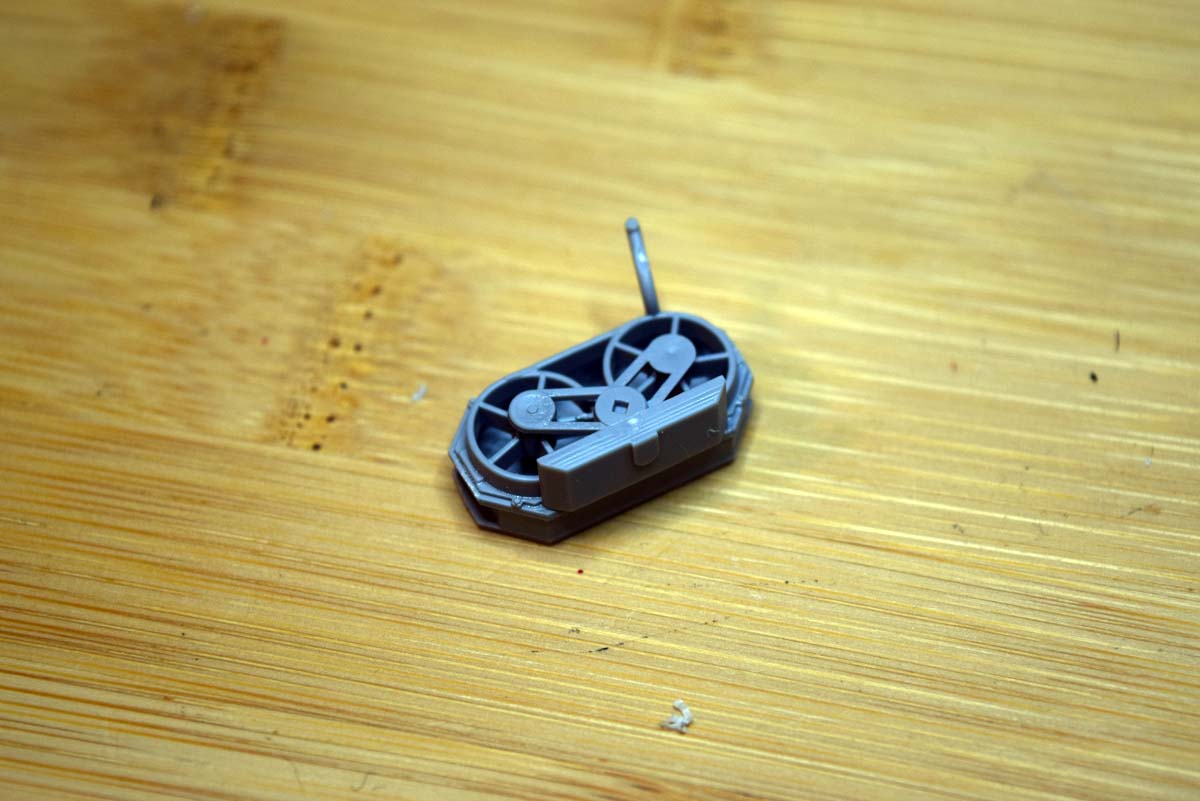
The centre set of wheels have two slightly longer pins that locate in the other wheel half, I found these a little tight and so I located and held the parts together before adding glue into the mix. The fit of the wheels onto the suspension arms is very good and one of the positives in the construction. The drive wheel is very nicely reproduced but an issue is present! If you follow the instructions as laid out by ICM you will have a real issue getting the tracks on the model, no prizes for guessing how I found that out. I will say that the tight fit is correct and was an issue addressed in later versions of the 251. The vinyl tracks are very nice detail wise, but when finally getting them on the model I found them to be overly slack, on the positive side the fit of the guide horns and drive teeth is exceptional. I will be seeking plastic or metal tracks for this model, but plastic will be preferable due to the weight of metal links and the small axle connections. The wheels at the front also have vinyl tyres which have good detail, but I know this will not please many of you reading this.
Finishing the model
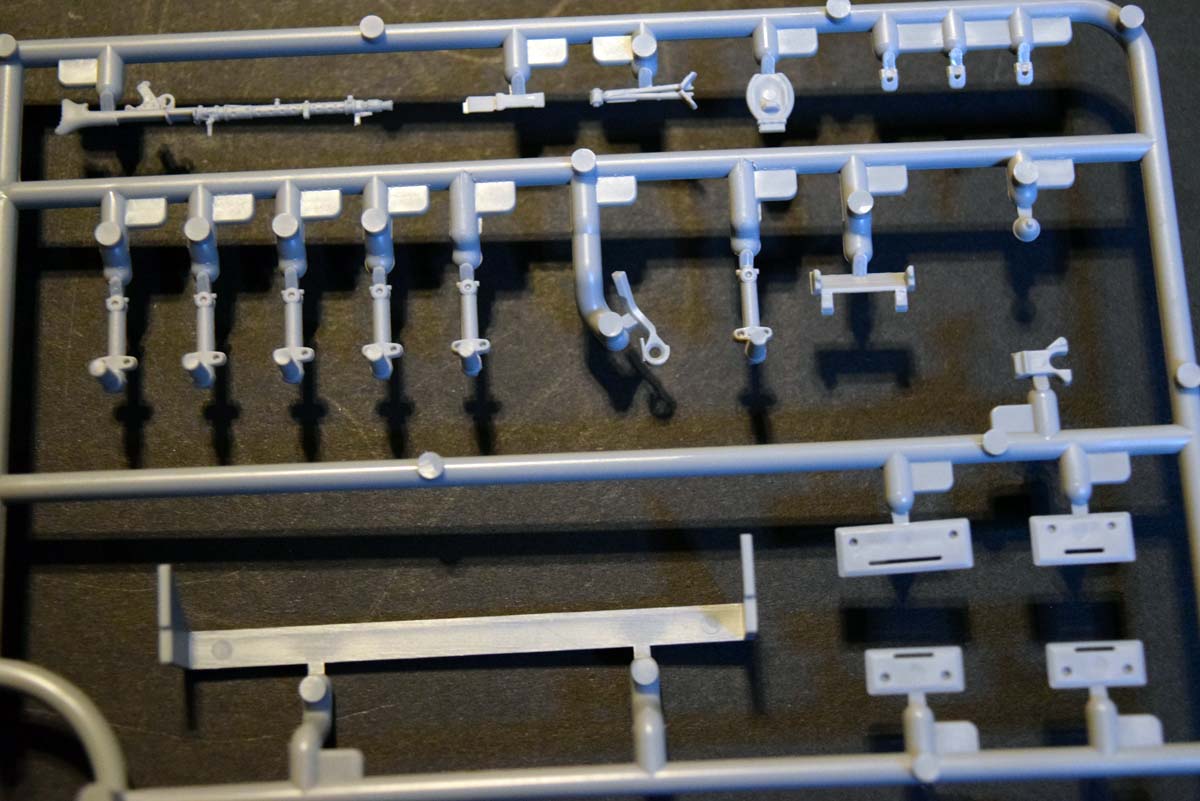
At the end of the instructions there are a number of tools, lights and the like to attach and I have not located any issues here. The instructions tell you to add a gun shield to the front MG location, but this will only be correct for an updated 251 A; I will point out that ICM have supplied some finishing options that show the shield omitted but it is not mentioned in the instructions. The addition of brass barrels for the machine guns and in particular the width posts which are overly heavily moulded would be nice touches for this offering from ICM and I would like to see either a new early model or someone offer the correct aerial mount for an early model.
Conclusions
I hope you will firstly all forgive for not presenting you with a finished model at this time, but time constraints of work, family and working on the site use up huge amounts of my time. The model in my opinion is a very nice offering from ICM and represents an updated 251 A rather than an early vehicle. There are two areas that shout this out to me and the easiest to fix is the front MG shield which could of course just be left off. Not so easily addressed is the aerial location that on an early version should be in the area between the tracks and wheel on the right hand side. This will require some work to correct but is not an impossible task; the real shame here is that it is correctly shown in the very nice artwork on the box lid. I hope that ICM address this aspect with a possible future release. You may think I am being particularly harsh on the model, but I will say I rather enjoyed working on it and looking for answers as I went along. As the first 251 A available or at least in this scale I feel ICM has done a fine job and produced a model that should please most modellers.
SUMMARY
Highs: The inclusion of an engine is a nice touch as are the separate access hatches.Lows: I would have liked to see this represent an early 251 A as shown on the box art.Verdict: A very fine offering overall that could be made stunning with some extra effort on the part of the modeller.
Our Thanks to ICM Holding! This item was provided by them for the purpose of having it reviewed on this KitMaker Network site. If you would like your kit, book, or product reviewed, please contact us.
Thanks for the review.
The tools and small stuff rarely cause any problems, bad alignment of the armour/body parts is another matter so
as long as that is covered I consider a review complete
/ Robin
As to whether this was the first 251 A: I have long wondered what happened to the kit that Dragon announced over a decade ago as DR6227 and never released...
Another problem with the ICM SdKfz 251 series is that most Ausf As did not have the driver and assistant driver's viewports at the same level as the ones to the rear - they were lower. This is shown in all the box-top illustrations. This is not too hard to fix, but it would have been better to have molded them in the lower position, to be raised in the few instances when all level ports were needed.
Each kit has its own irritations: The /6 has markings for Guderian's vehicle but lacks the Omega machine and correct aerial wire conduits and tires, and the /10 has a lesser used gun mount and shield. Nevertheless, these are nice kits and welcomed, as we now have all basic hull variants available.


Comments