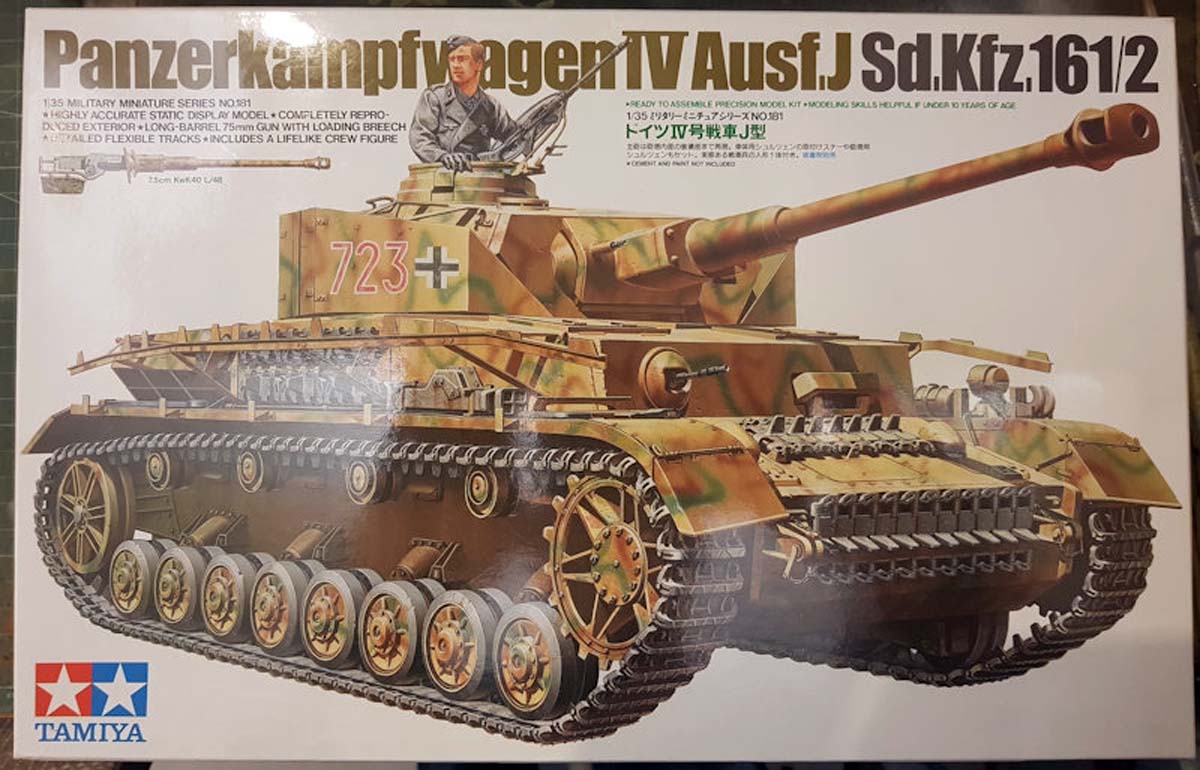
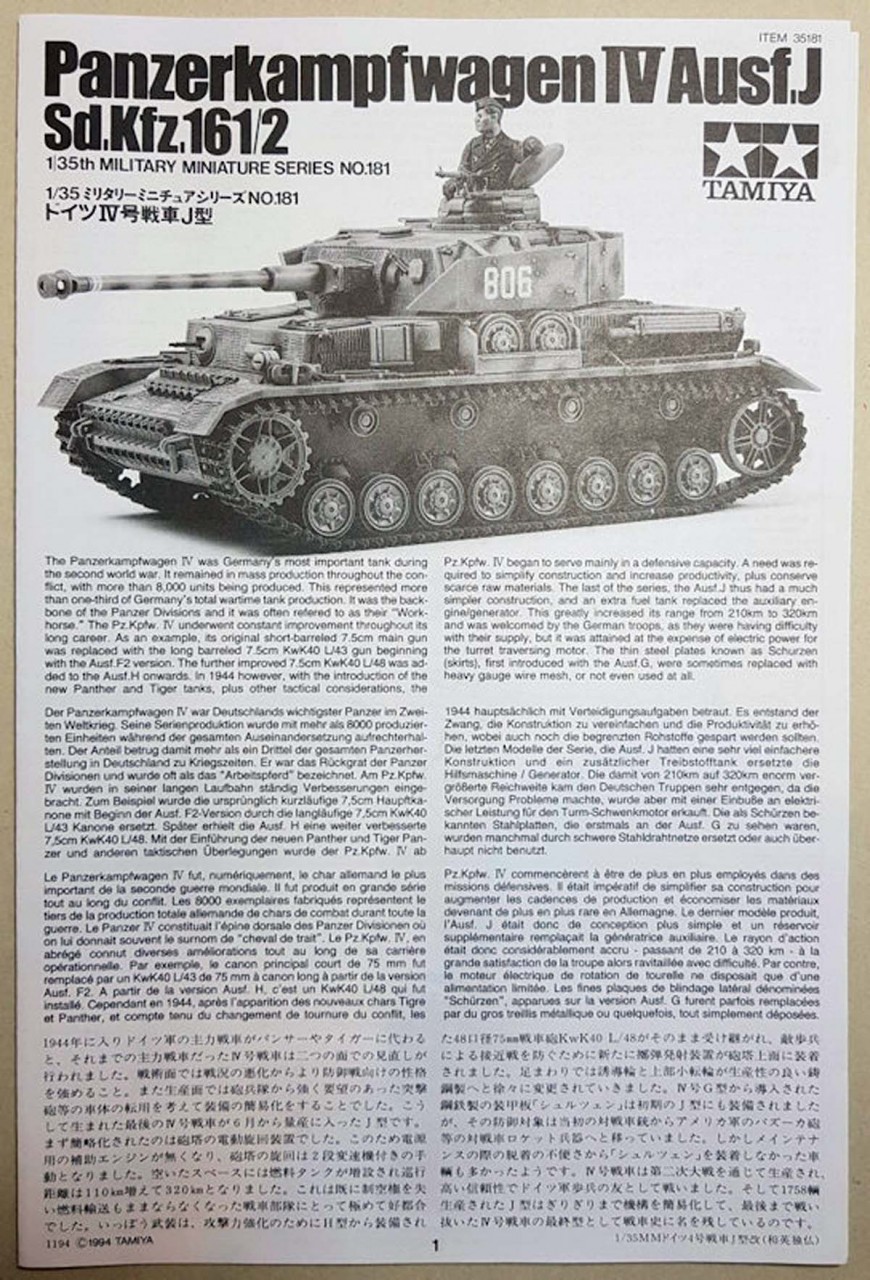
The Ausf. J (Sd.Kfz. 161/2 ) was the final production version of the Panzer IV tank. It was really a downgraded version of the Ausf. H in order to simplify production. The turret motor was removed and eventually replaced with an additional 200 liter gas tank (beginning in July 1944). On early production versions, zimmerit and schurzen panels were still installed at the factory. In September 1944, the zimmerit was deleted and the schurzen was replaced with the Thoma type wire mesh panels. In addition, one return roller was removed in December 1944. Also, the late Pz. IIIs SSG77 transmission was installed. It still used the 75mm KwK 40 L/48 main gun. Over 3000 were produced, 90% of them at the Ni-Werk facility.
Review
Out of the box, the Tamiya kit is a bit confusing on which version of the Ausf. J it wants to represent.
It has the standard four steel support rollers. Making it an early to mid-production version. (pre-Dec 44)
It does not have zimmerit molded on or included in the box. Making it a mid to late production version (post-Sep 44)
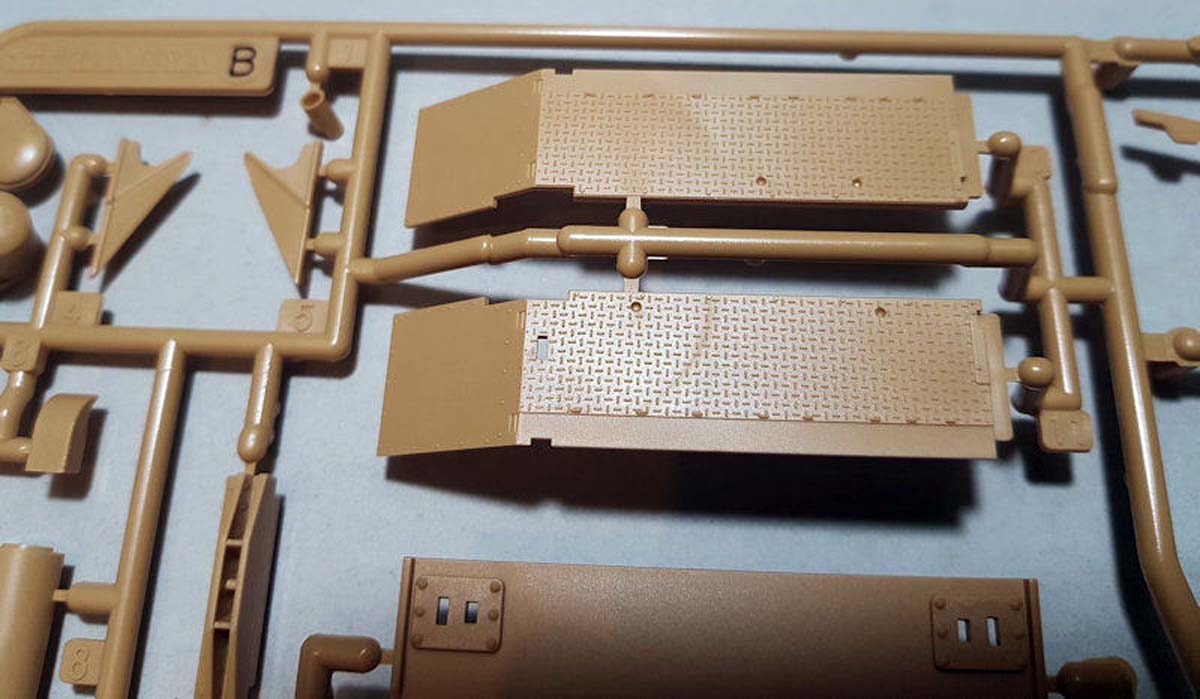
It has the trash can muffler instead of the flammentoeter exhaust mufflers. Making it an early version (pre-Aug 44)
No Schurzen (or Thoma mesh) is included in the box. Representing no official production version. (many in the field had lost these or had them removed)
What version can you build OOB?
Early Version (Feb-Jul 44) Requires zimmerit and schurzen
Mid Version (Aug-Nov 44) Requires zimmerit (till Sep 44), schurzen/Thoma wire mesh (switched Sep 44), and flammentoeter mufflers
Late version (Dec-May 45) Requires Thoma wire mesh, flammentoeter mufflers, and three support rollers
There really is no excuse for Tamiya not including schurzen in this kit. They already have the molds available from kit #35054.
So, additional investment is required to purchase what the kit is missing to make any representative production version.
Whats in the Box
The kit is from Tamiya and was released in 1994. The kit includes just over 280 parts on the sprues. Whats in the box:
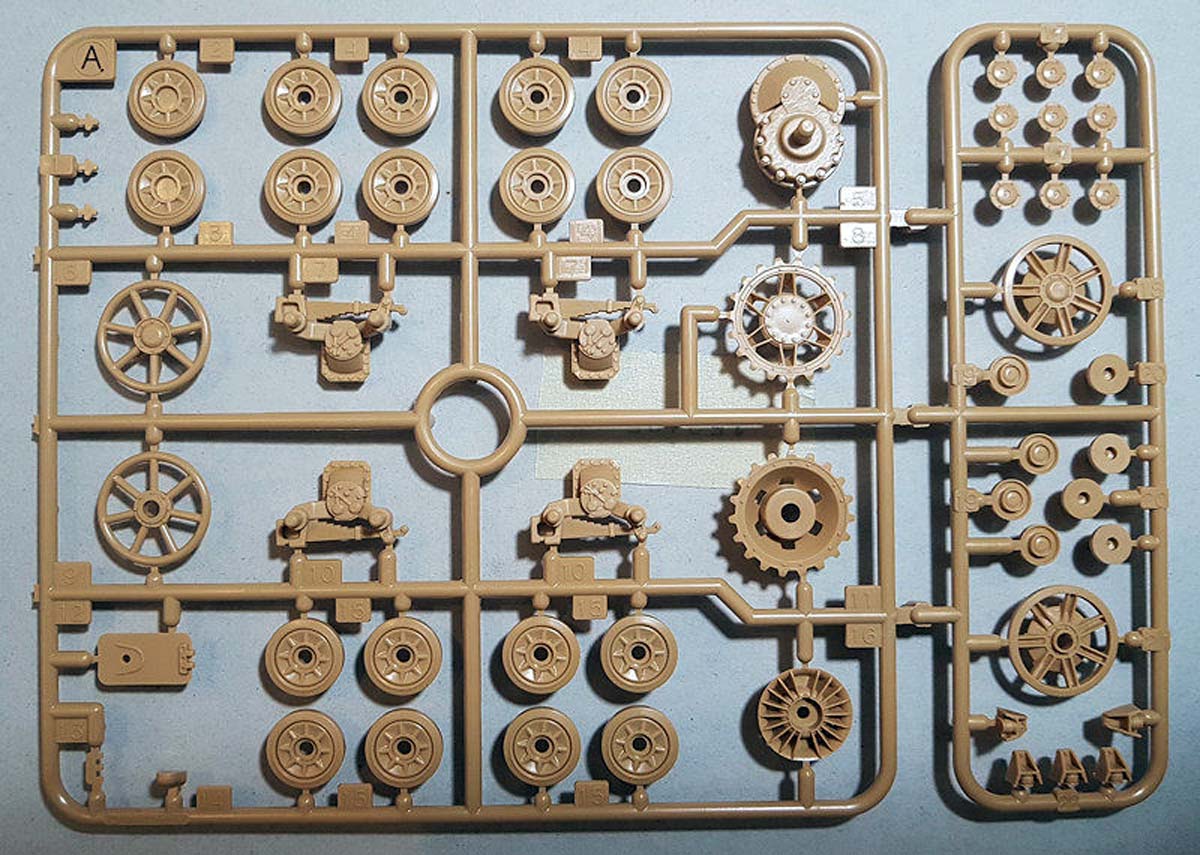
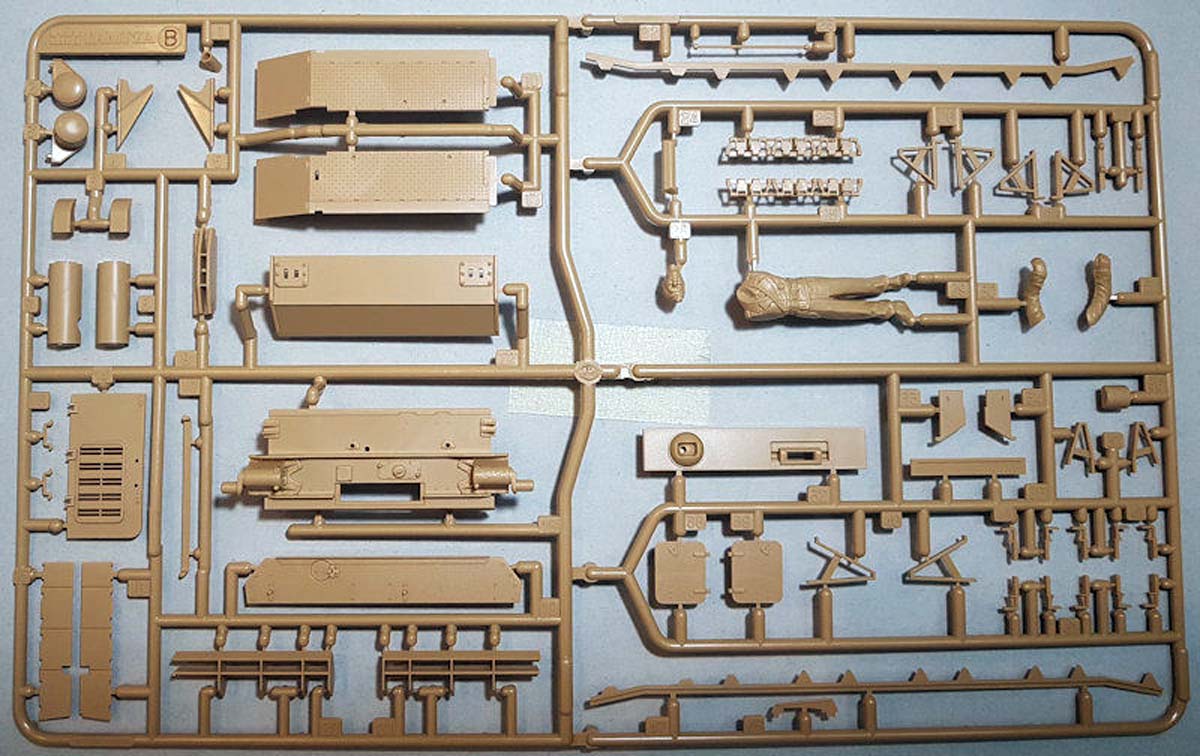
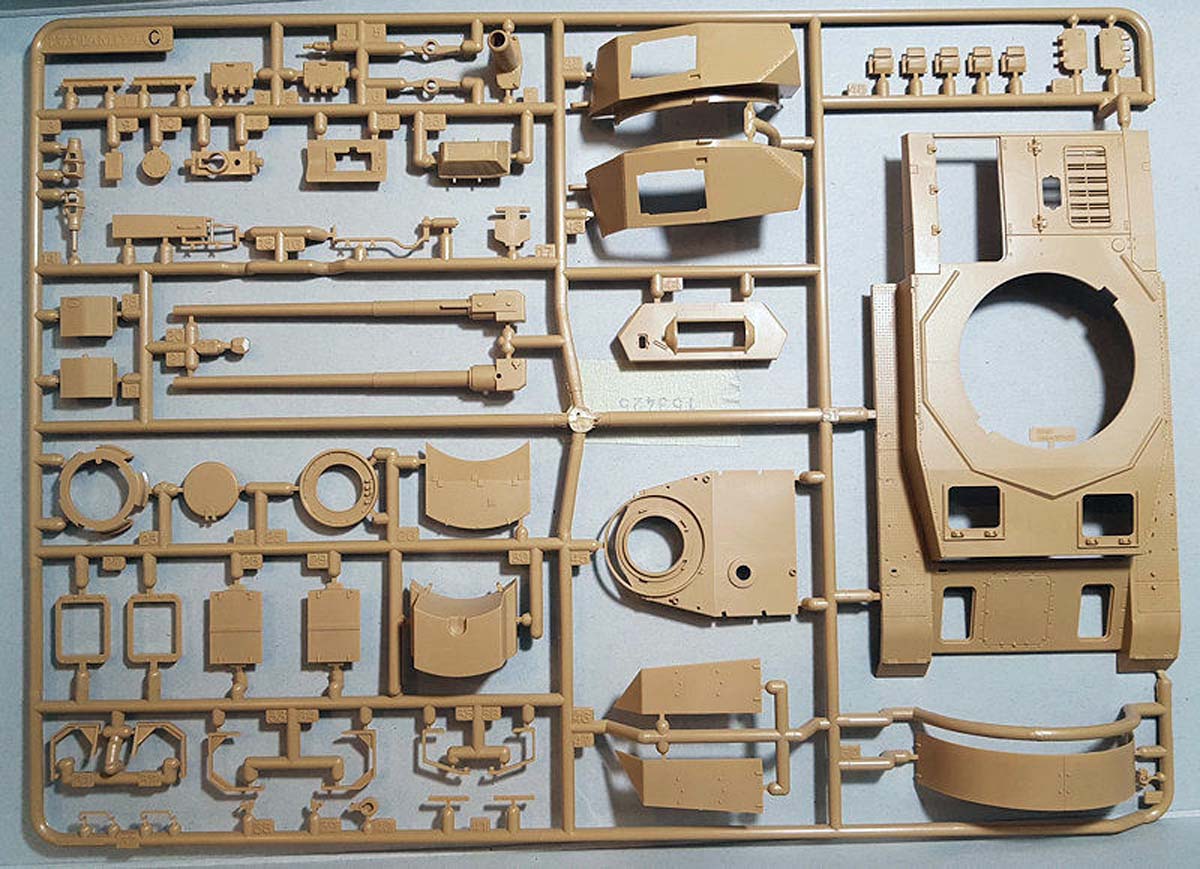
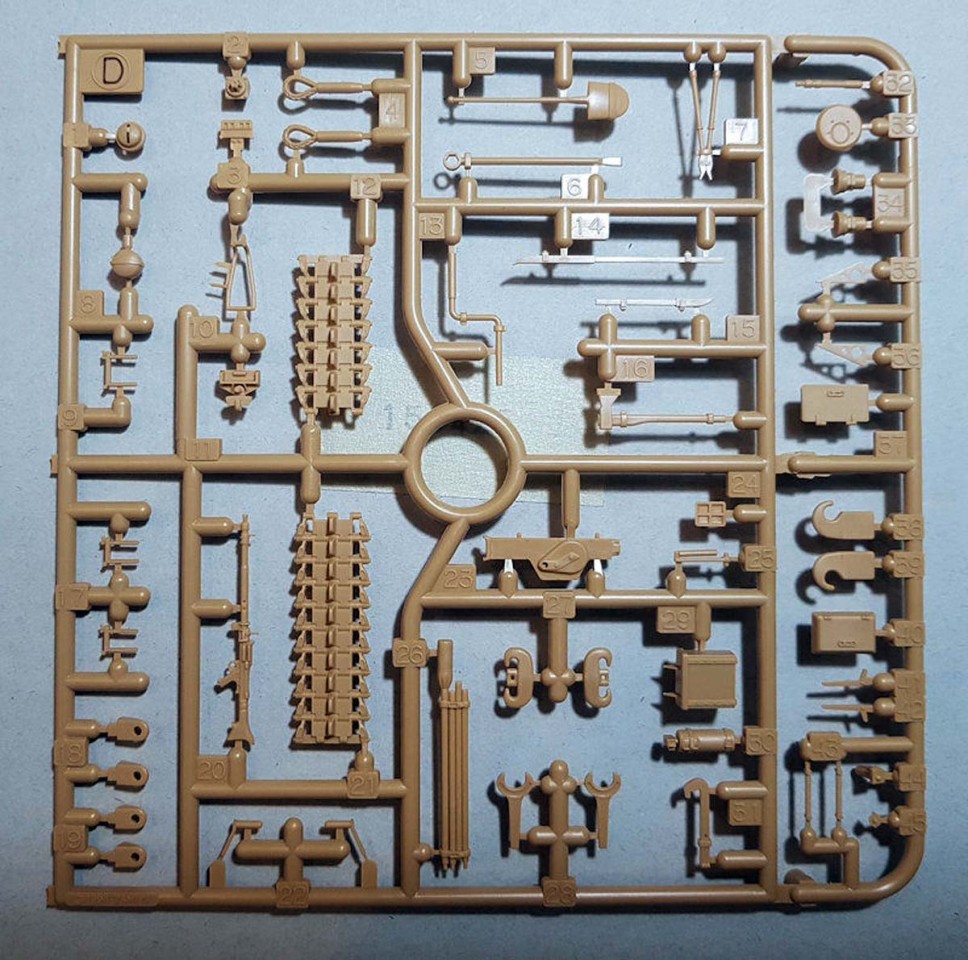
5 sprues molded in beige
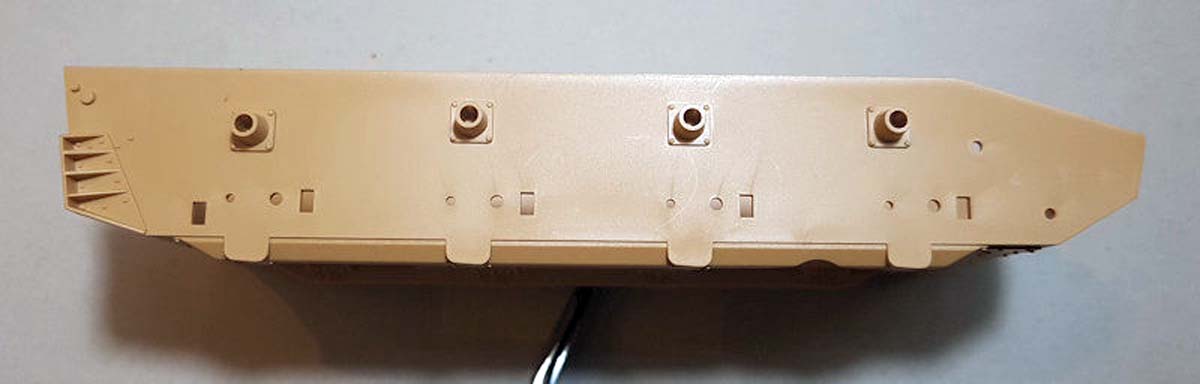
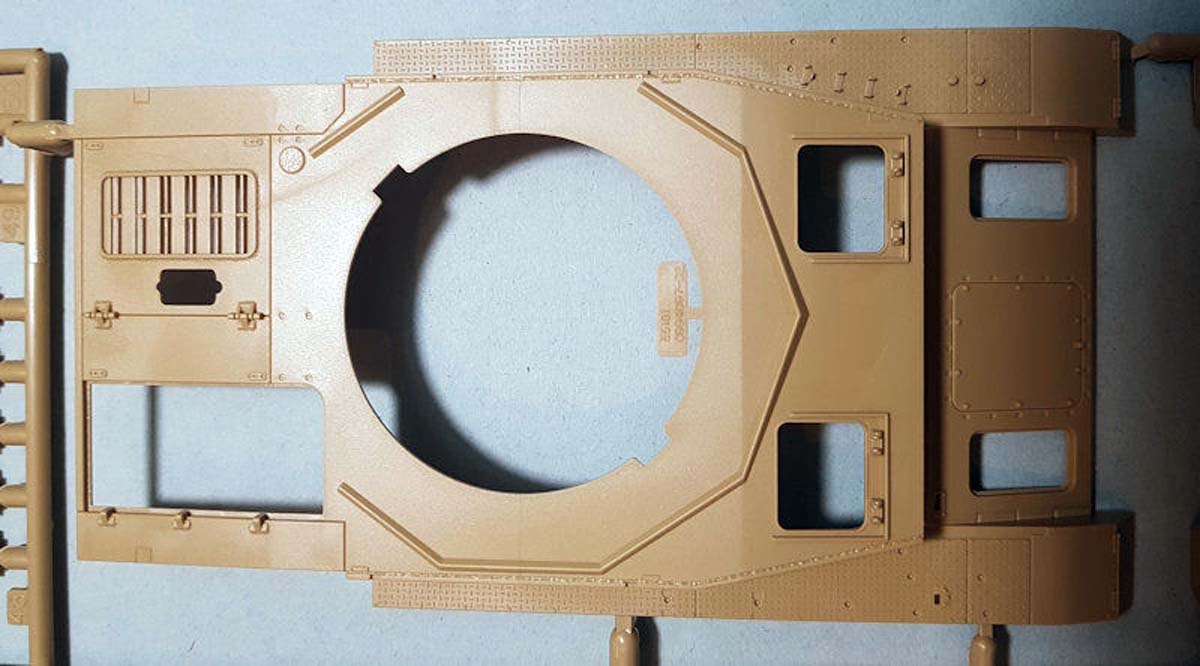
Lower Hull molded in beige
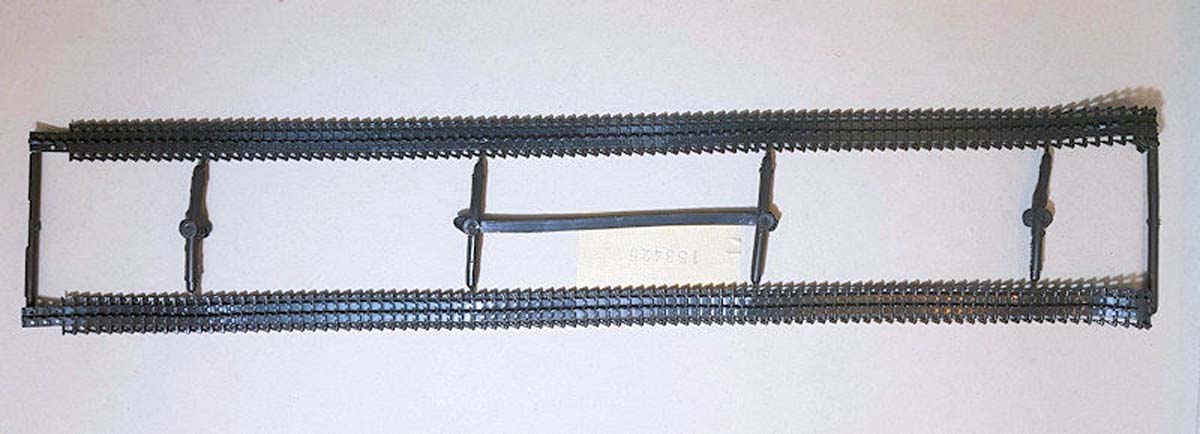
1 set of Rubber-band tracks
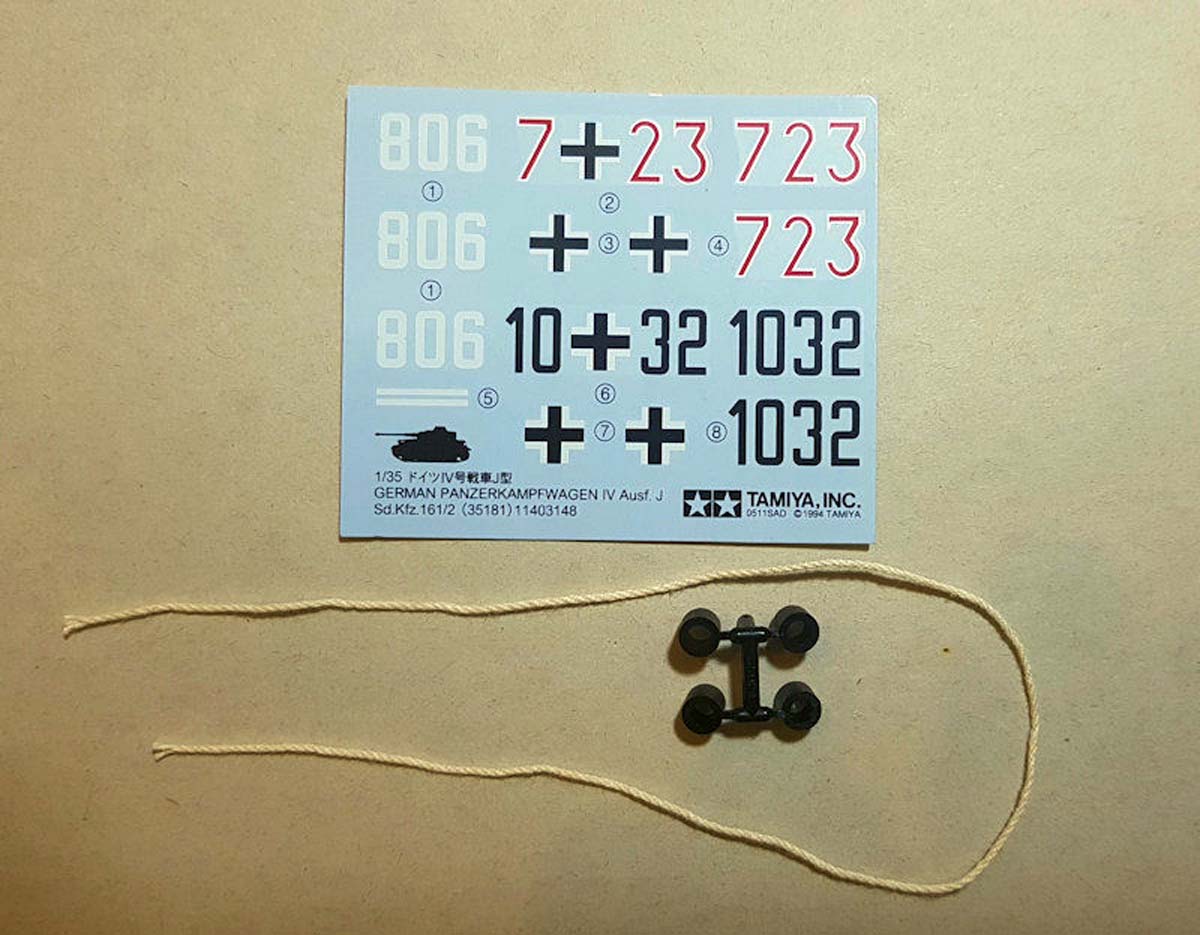
1 Decal sheet
1 12 page Instruction manual
Looking at the Kit
The quality of the styrene is what we expect with a mid-90s kit from Tamiya. There is little or no flash on any of the parts. Most ejector pin marks are located such that they shouldnt be seen once built.
Instructions Standard Tamiya line drawing format, consisting of 12 pages. Assembly is broken down into 20 steps.
Assembly begins with the bath tub hull. You add the front armor, tow hooks, suspension bumpers, and support rollers. Since these are the steel roller configuration, there is no rubber to separately paint. So, these can be installed in this step.
If you want to convert to a late model version, you can carefully cut off the return roller mounts and relocate three of them. There are many pics on the web that show where they should be installed.
Step 2 deals with the rear chassis panel. Assembly and installation of the trash can muffler, again pre-August 44 only configuration. You do need to drill out the holes for the mounting pins of the muffler. For a mid or late version, you will have to scratch build the two individual flammentoeter mufflers. The step finishes with the idler wheel details.
Step 3 installs the rear panel assy, from the previous step. You also add the suspension and final drive.
Step 4 assembles all the running gear. The drive sprocket uses a poly cap for ease of installation. The road wheels are one piece. Therefore, you will need to paint the rubber separately. The kit does include both the early and late style idler wheels. I couldnt find a production date when the idler wheel design was changed. I do have a pic showing the late style idler wheel on a vehicle with four return rollers, zimmerit, and schurzen rails. The pic is from Normandy, dtd. July 44. So, the late style entered production prior to July 44. I would guess that only the very early versions had the wagon wheel style idler. Im sure there is someone in the forum who can shed more light on this.
Step 5 installs the running gear and the rear towing hooks.
Step 6 covers the rear fender sections and the upper structure. The slots for the schurzen hooks need to be cut out, if installing the included brackets. If using a 3rd party set, follow its instructions if the notches need to be cut-out. You also need to drill the holes for the handles of the engine access hatch.
Step 7 covers the headlight, spare road wheels and the jack
Step 8 installs the front fascia armor and the crew hatch covers. The bow MG is only a barrel piece with no internal details. Many will want to drill out the barrel and cooling holes for a more realistic look. The headlight base is installed along with the spare road wheel box. If installing, all the fender brackets for the schurzen are added.
Step 9 covers installing all of the externals on the left fender along with the front maintenance hatches.
Step 10 adds the externals on the right fender.
Step 11 if you are installing, adds the schurzen rails and mount brackets. You also assemble the tow rope. Here it also shows you how to assemble the rubber band tracks.
Step 12 shows the tracks installed and adding the completed super structure to the chassis.
Step 13 complete assembly of the main gun is covered. It is not overly detailed. The barrel is two pieces, so the seam line will need to be removed. It is designed to pivot, so careful gluing of parts C5 and C6 is necessary.
Step 14 simply assemblies the turret basket and the commanders copula. The copula is a pre-Oct 44 configuration.
Step 15 completes assembly of the turret structure. The co-ax MG is only the armored cover and the flash suppressor. No other detail is included. The muzzle brake is added. It is also made from two pieces. The seam line will need to be removed as well.
Step 16 installs the turret roof along with the copula and storage box from step 14. Part D33 is optional. You can check your reference material to see if the vehicle you want to build included it or not.
Step 17 adds the copula hatch, and the left side doors, rain guard, and handle.
Step 18 adds the right side doors, rain guard, and handle. You also add the Commanders MG mount and the optional MG.
Step 19 installs the turret schurzen.
Step 20 installs the completed turret into the chassis. Spare tracks are added to the front structure. Painting guidelines and installing the optional figure are also incorporated in this step.
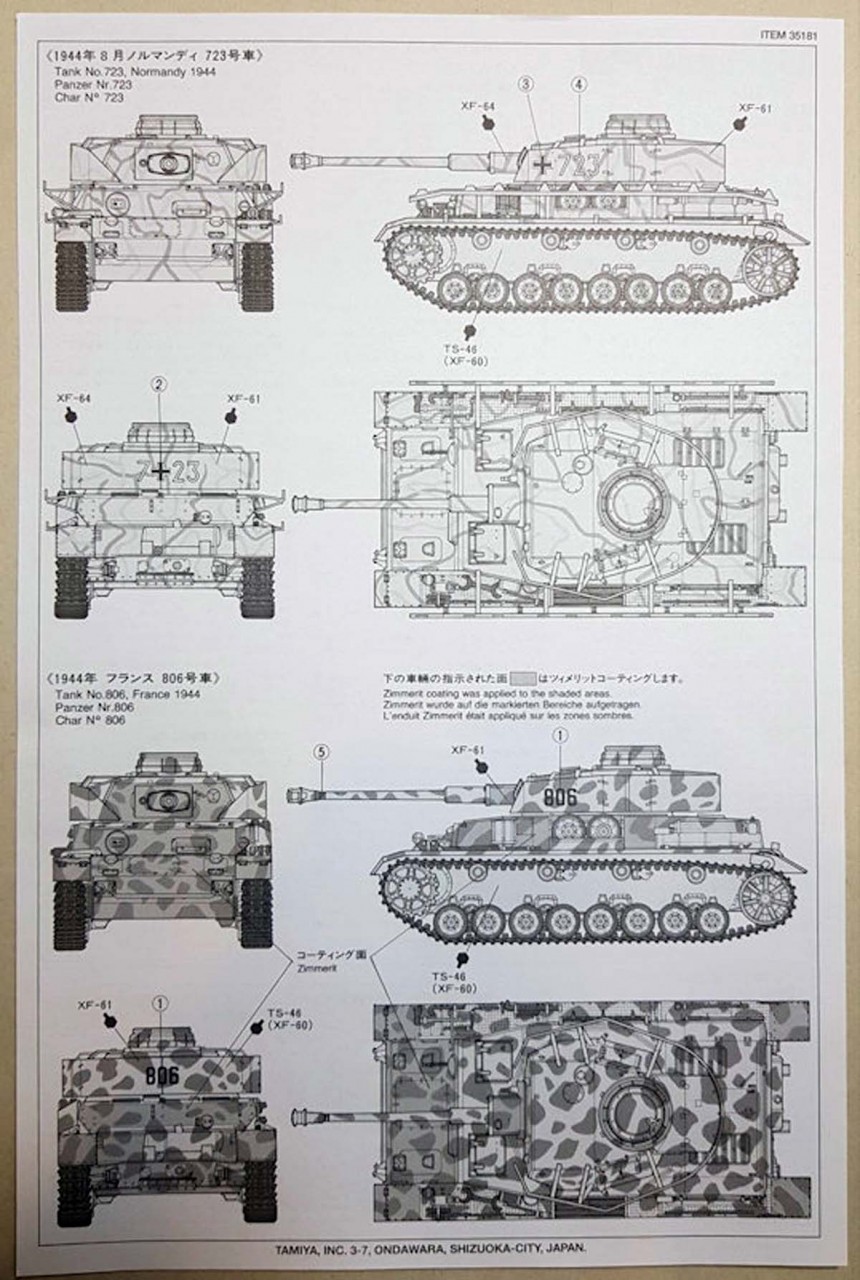
Decals Options are provided for three different vehicles, all for France, mid/late 1944, and would appear to represent early/early-mid production versions only. Each has a different camo scheme. However, no unit identification is provided. In addition, Zimmerit is required for, at least, 2 of the 3 versions in the box, despite what the instructions say.
Tank No. 1032, location not provided (No timeline provided, but most likely a pre-Sep 44 build and would have had zimmerit from the factory)
Tank No. 723, Normandy 1944 (Zimmerit should be applied for this version as well as it is a pre-Sep 44 production vehicle)
Tank No. 806, France 1944 (Zimmerit is identified for this version)
Aftermarket Options
Unless you can scratch build the missing parts, you will have to acquire what is needed from the aftermarket. Ive included a few of the options that I found. Im not endorsing any one brand over another. What you get is down to personal preference and budget.
Zimmerit:
Tamiya TAM12650 Zimmerit Coating Sheet
Eduard 35547 Zimmerit set
Cavalier 0111 Zimmerit set
Schurzen:
Eduard 35342 Standard Panel style
Eduard 35595 Thoma Mesh set
Voyager Model PE352111 Full PE Set
Voyager Model PEA1651 Schurzen Set
SUMMARY
Highs: It is a simple kit that will be an easy build for beginners. Reasonably priced.Lows: The lack of schurzen and zimmerit is a problem. No in-box option to build the later versions with three returns rollers or flammentoeter mufflers. 3rd party options are required to build a representative kit. No Eastern front decal options included.Verdict: For someone that needs a Panzer IV Ausf. J, this kit does a passable job. Dragon provides more correct early and late versions of the Ausf. J, but with the corresponding 2x parts count.
About Mark (d111298pw) FROM: OKLAHOMA, UNITED STATES
I'm from the US, but have lived most of my adult life around the world due to my work.
I started building models when I was 6. Took a 30 break as other priorities took hold (work,family, etc..). Got back into it a number of years back building F1 kits (Ferrari only). When I got to India, the modell...
The skirts are no great loss. The later released Ausf H fruhe based on this kit had them and they were thick and had no detail on the inside. Useless. The ancient Italeri Ausf H had better skirts.
Yes, it's not as if it hasn't been reviewed numerous times since it was released. And considering this site still has many unreviewed new kits in its sample pile, it makes even less sense. What's next, a review of Revell's 1/32 Raiden kit?
Because sadly there are those in the world less fortunate than you who will seek to invest in this kit. It may all that's available or all that they can afford, or the only one within their comfort zone.
Forgive me but you're sounding a bit like an elitist, pretentious cretin.
I'm a know-nothing fool with pretentions of mediocrity myself so I tend to be sensitive to such ramblings.
Nothing personal, but some of us in the trenches are stuck with this kit and will happily build it, zimmerit stickers and all and almost be satisfied because as we all know not everyone can get the Dragon kit and all the aftermarket and spend six years building a piece of plastic that once complete, does nothing but figuratively or literally sit and collect dust.
Why review a 24 year old kit?. Simple really. There was no review on this site for the kit. So, as a service to my fellow members, I have provided one.
Besides, I bought this kit last September, not 24 years ago. So, it's a new kit for me. Many others are buying it as well. Instead of having folks searching other forums, they can stay on this one to get their information.
As a rule, if I'm going to build a kit that does not have a review on the site, then I will try to provide one.
Tamiya or anyone else must lower the prices of these old kits...just a sad case..to be charging the prices they do. I like Tamiya kits but it just seems to be a rip off.
PS-Quote-"all they can afford"- lol..these kits are over priced as it is.
IMO
Although we are used to read reviews of recent models, I often need also information on older ones either in my stash (to see what should I improve) or to buy, to ensure it fits my needs.
So I think it is useful to have this review as well.
Thanks for taking the time and work to share it, Mark.
On the one hand yes : why review a 24 year old kit? But as others say; for some, this might be all they can find, or afford. On the VERY rare occasion I meet someone who's thinking of taking up the hobby, it's exactly models like this I recommend for them to begin on. Yes, maybe Dragon (or some of the newer companies) offer a far more accurate model, but with a far higher part count, price and infamous instructions. I want to attract more people to the hobby, not scare them away.
I don't know about prices in other countries, but being in Japan I can pick up this particular model for between 2 and 3,000 yen, so while it might be overpriced for some, it's a relative bargain for others.


Comments