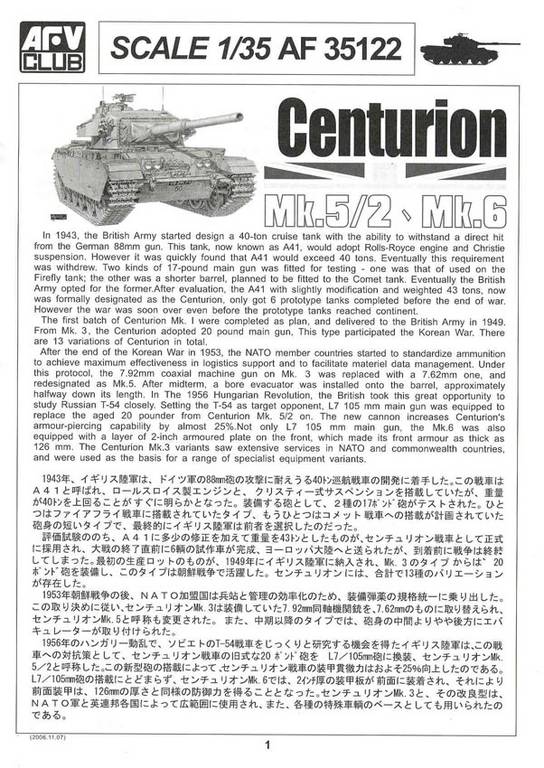
introduction
This is the second Centurion kit from AFV CLUB and is a most welcome addition considering that the Centurion was one of the most important developments in post war Tank design. The main differences between this kit and the earlier Centurion Mk5/1, RAAC kit is the inclusion of the L7 105mm gun and the armoured side skirts.
the kit
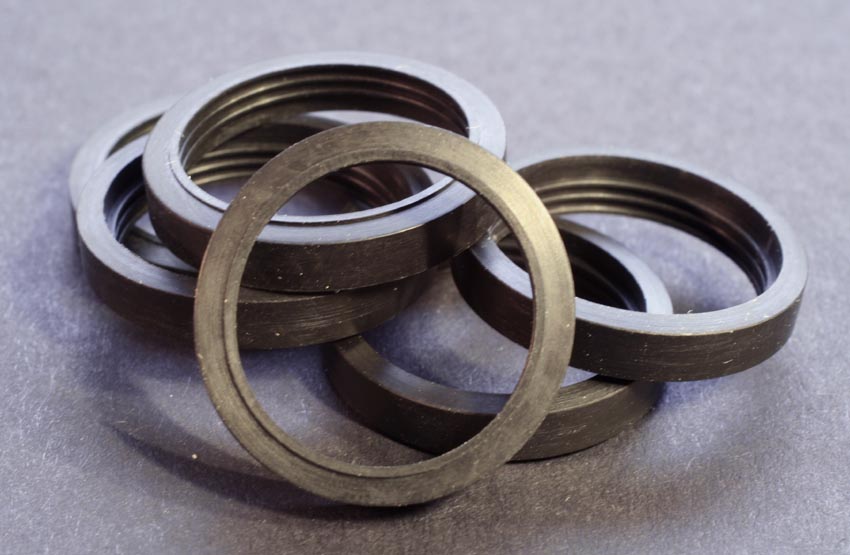
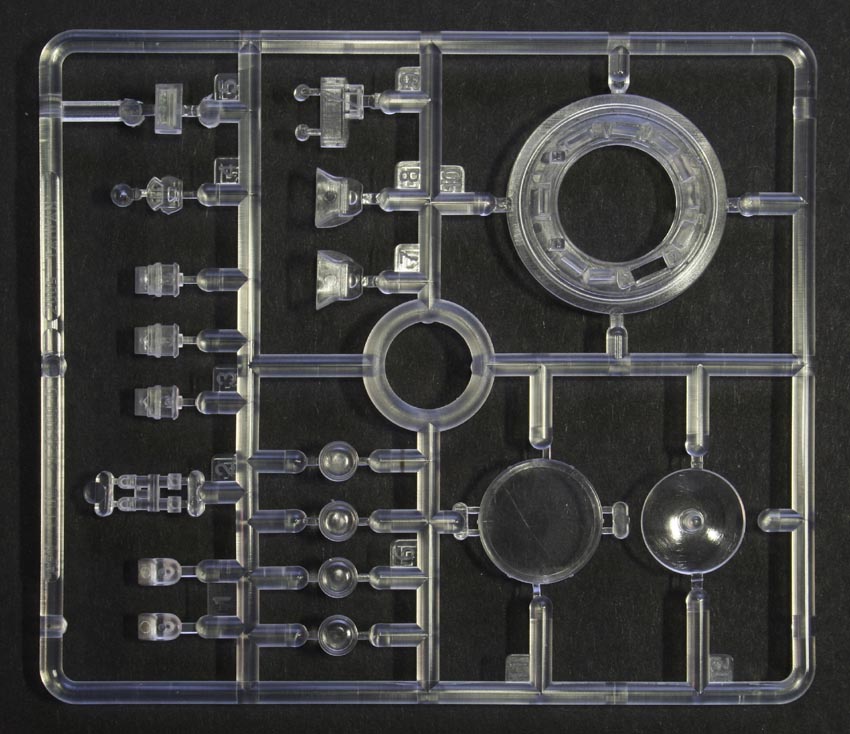
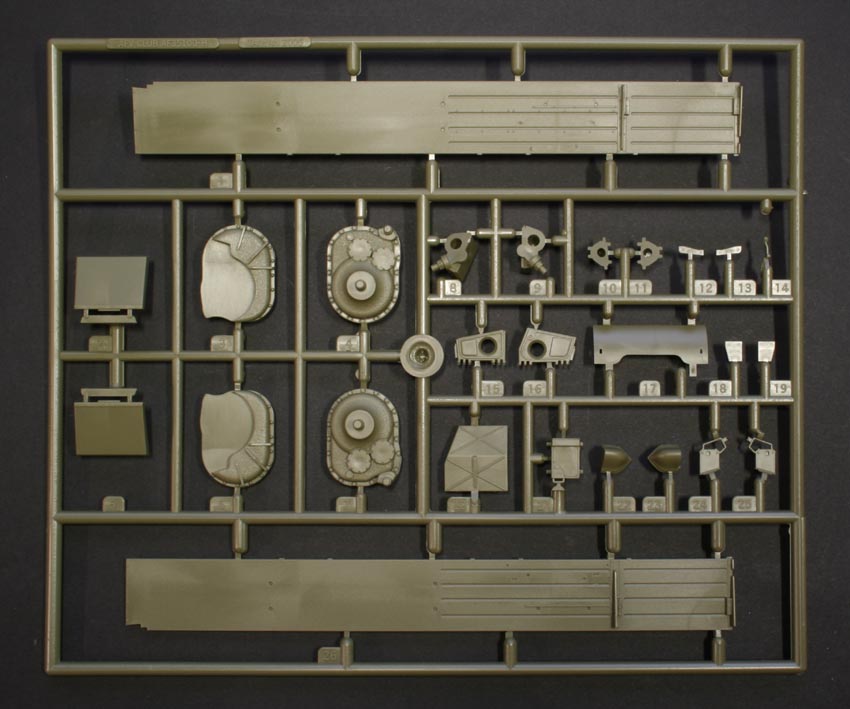
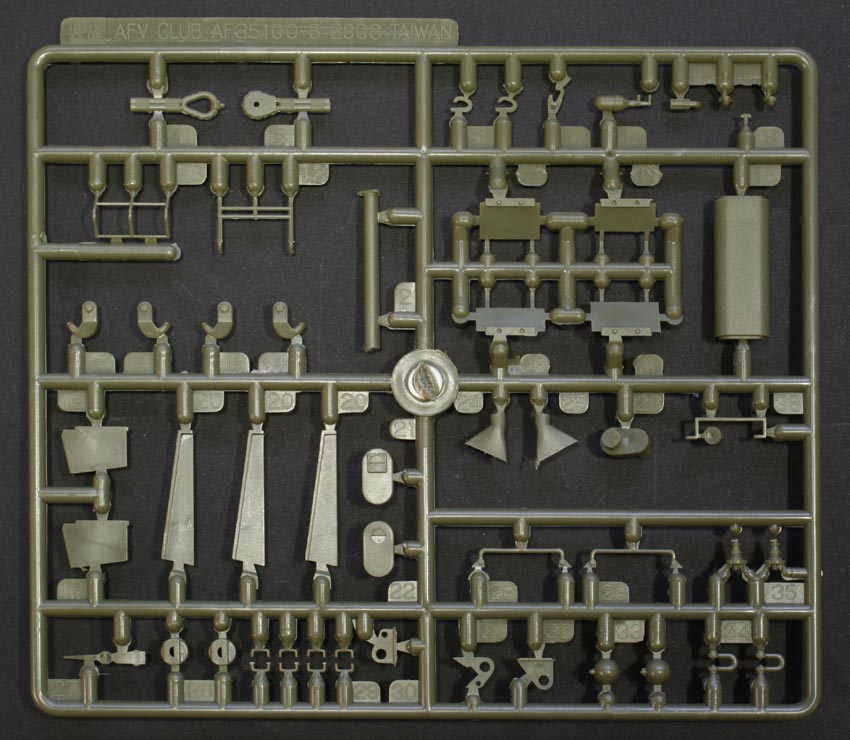
Upon opening the box you are greeted with the usual plethora of green sprues that is typical of AFV Club. There are nine sprues, a small fret of PE parts, an aluminium gun barrel, a sprue of clear parts and one sprue of rubber parts, which includes the tyres and poly caps. This amounts to over 400 parts in total.
The level of detail on the parts is excellent, with some delicate casting texture and weld seams on the turret. There are also some delicate weld seams on the final drive sprockets. The clear parts are well cast and seem to be of a softer nature than is usual in AFV Club kits of the past. This should make them easier to work with and less likely to shatter. Much of the kit is identical to the earlier Australian Centurion, so if you already own that kit you will know what to expect.
Tracks are of the rubber band type and will need some work as they have small pips on a few of the guide horns. Not a real problem to remove, but considering many manufacturers offer both rubber band and individual track links it would have been a boon to have this option included in the kit. However, AFC Club does sell a separate set of individual tracks for the Centurion, so that is an option if you do not want to use the rubber band tracks.
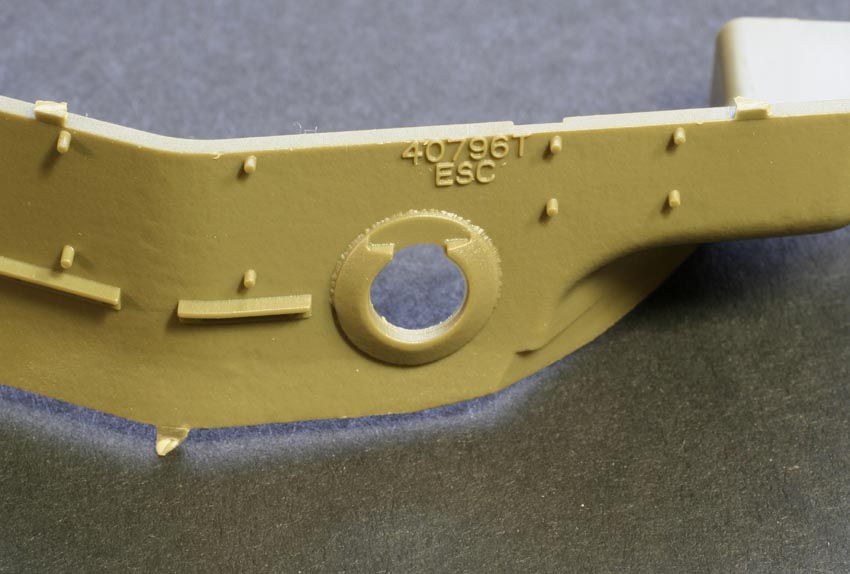
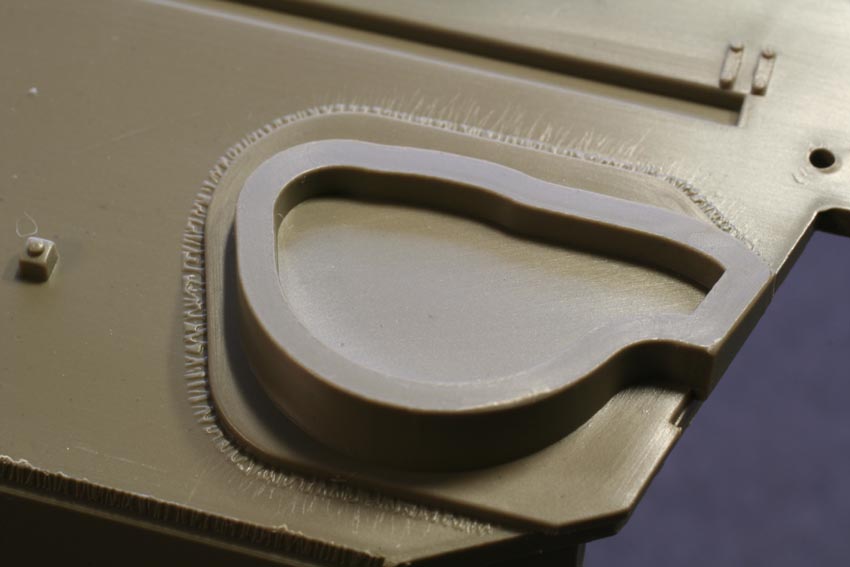
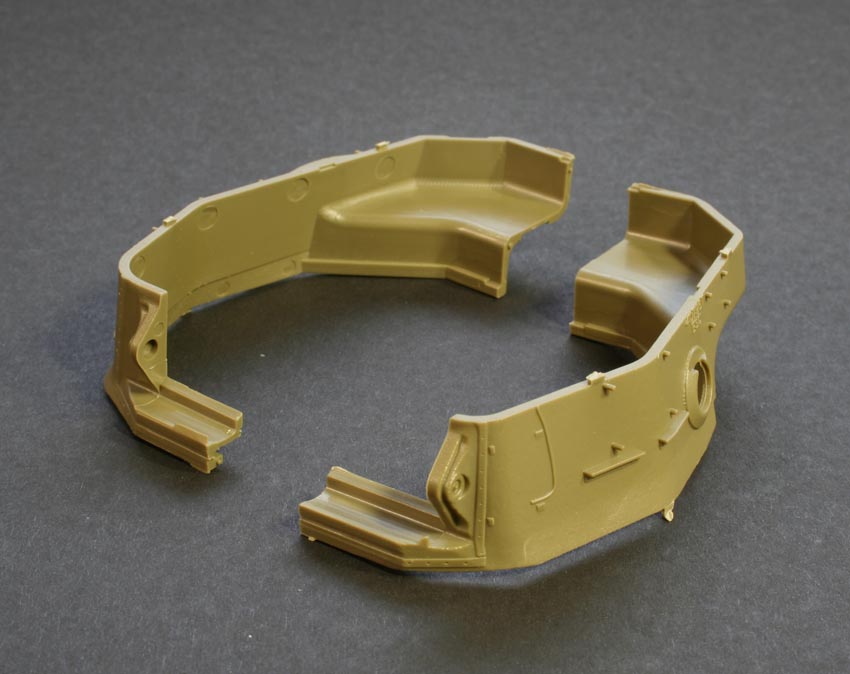
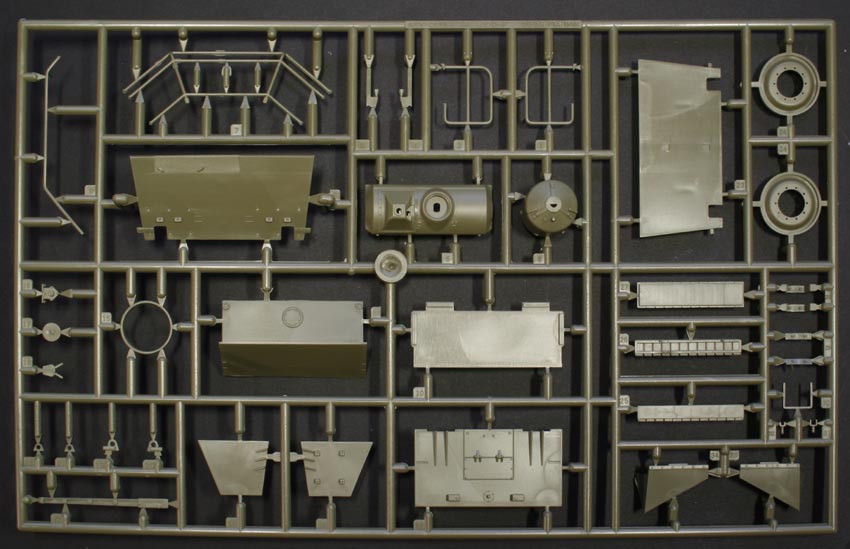
Lower Hull/Suspension UnitsThe lower hull comes in one piece and has the sides angled, which was a distinction of this mark of Centurion. There are some delicate weld seams around the final drive mountings and front plate supports. The lower hull is free of flash or knock out marks and requires no clean up. The rear hull plate uses two pins to help locate it to the lower hull and this should help avoid any misalignment problems. The small bolt detail on this part is very good and there is minimal flash to clean up.
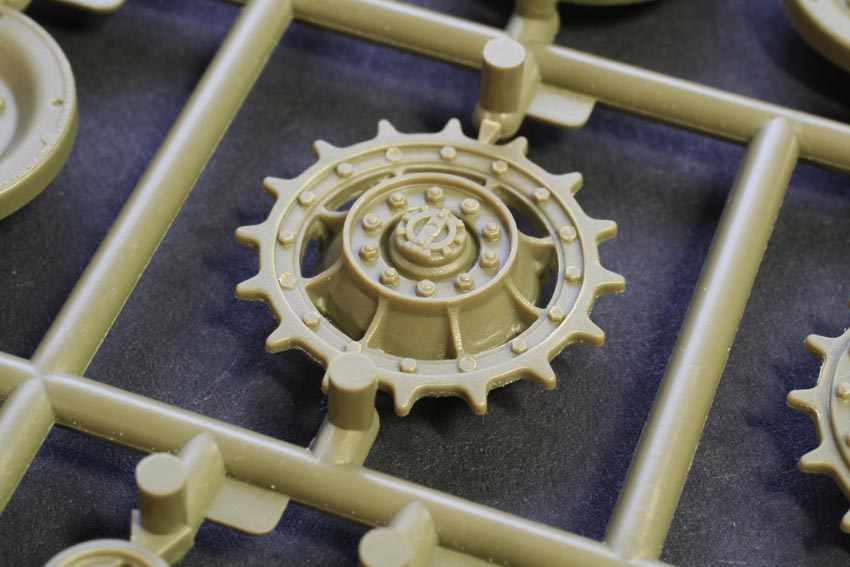
Moving on to the final drive housings, these feature excellent bolt and weld details and have a very nice cast texture in the appropriate areas. They are supplied in two parts with detail on the inner and outer faces, very nice. The drive sprockets have detail on the inner and outer faces and capture the distinctive look of these parts. A poly cap is used to locate these items, but the hole in the poly cap is on the small side and will need opening up slightly to enable a good fit on the axle.
A nice touch is the way the separate idler axle mounting can be set at different angles. This allows them to be fitted without glue and should make fitment of the tracks much easier, especially if the rubber band tracks are used. This can be a weak area on many kits and can cause problems if the tracks are on the short side. A word of warning here concerning the idlers. Centurions featured three different types of idler and you will need to study your references to make sure that the vehicle you are building has the type that is supplied.
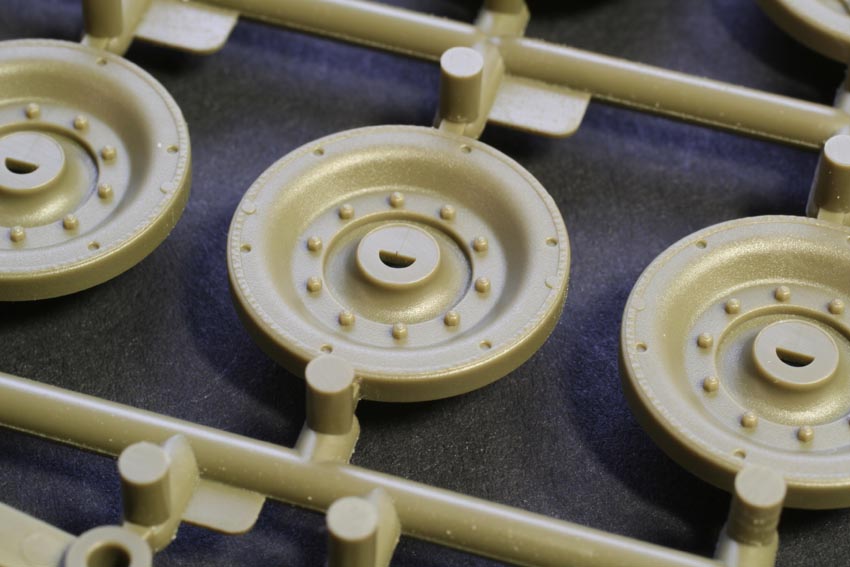
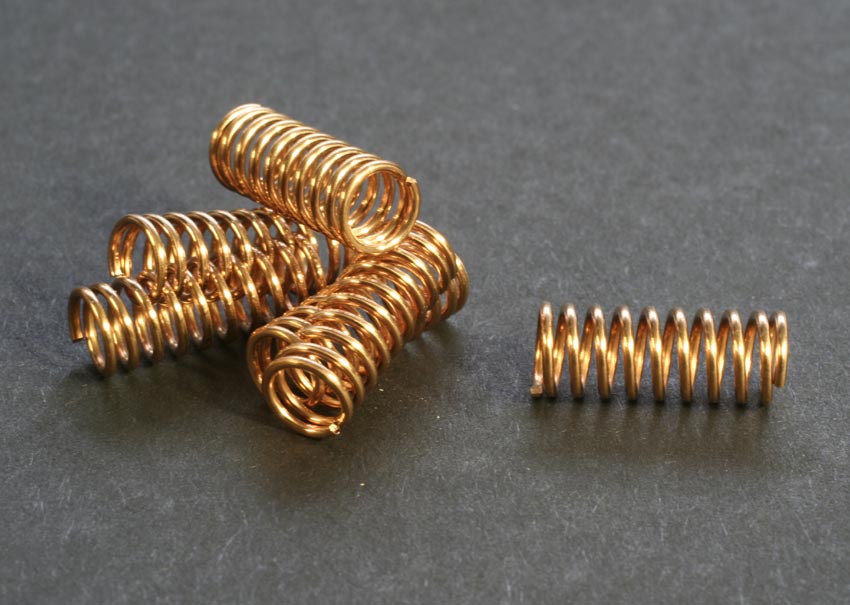
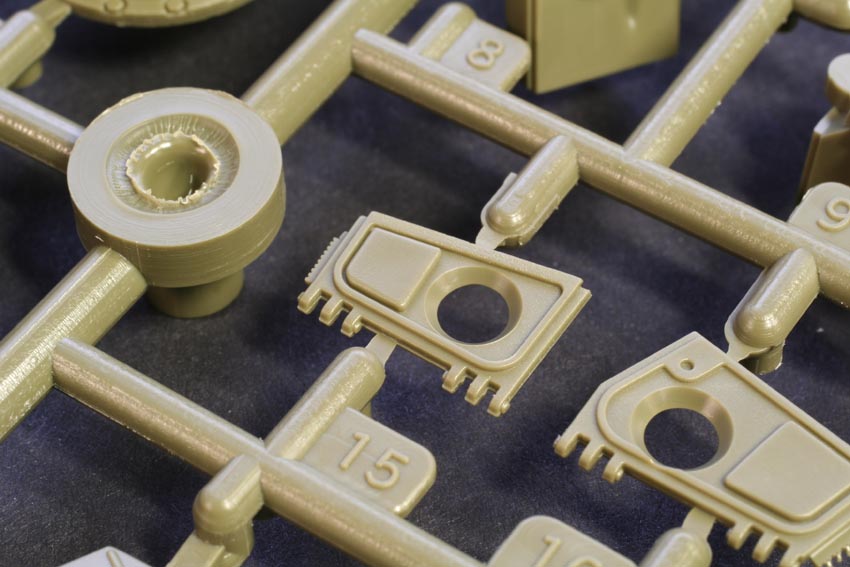
The six large road wheel units have movable main axles with a large brass spring held between the two mounting points, this is just as it is on the real vehicle and should make positioning the wheels on an uneven surface a boon. The springs are hidden when the boogies are complete. The nut holding the wheels to the suspension units comes as a separate part and care should be taken when positioning this to avoid any over spill of glue.
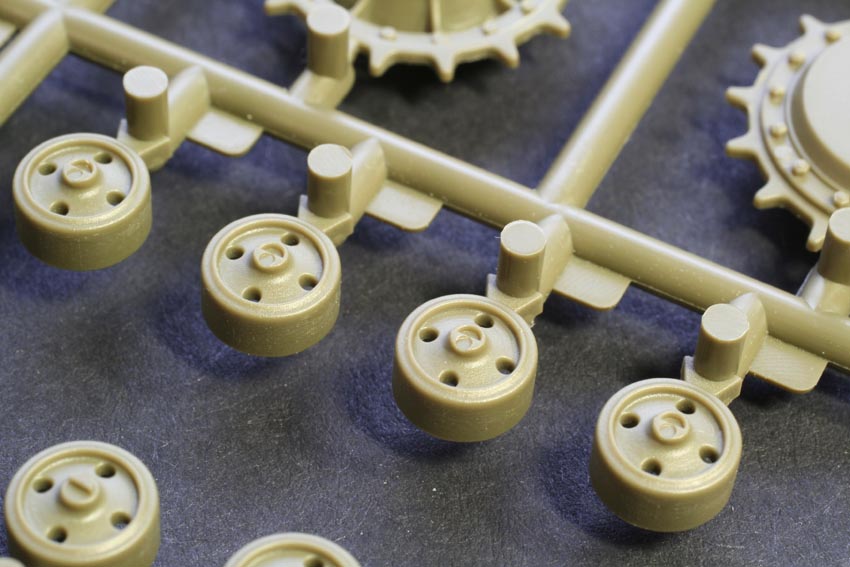
The tyre is made from rubber, a nice detail, but the outer rim of the road wheel is included in this and could lead to problems when painting this part. However the detail is very good and in the past this detail has been missing. The wheels are attached by poly cap and these will need opening out as they are a little under size. Attachment of these units is straightforward and provides a solid mounting to the hull. The return rollers have some very nice bolt detail and the first and last return rollers are the correct steel type, while the four inner return rollers have rubber tyres. The subtle detail on these parts is very good and is indicative of the overall detail level on this kit.
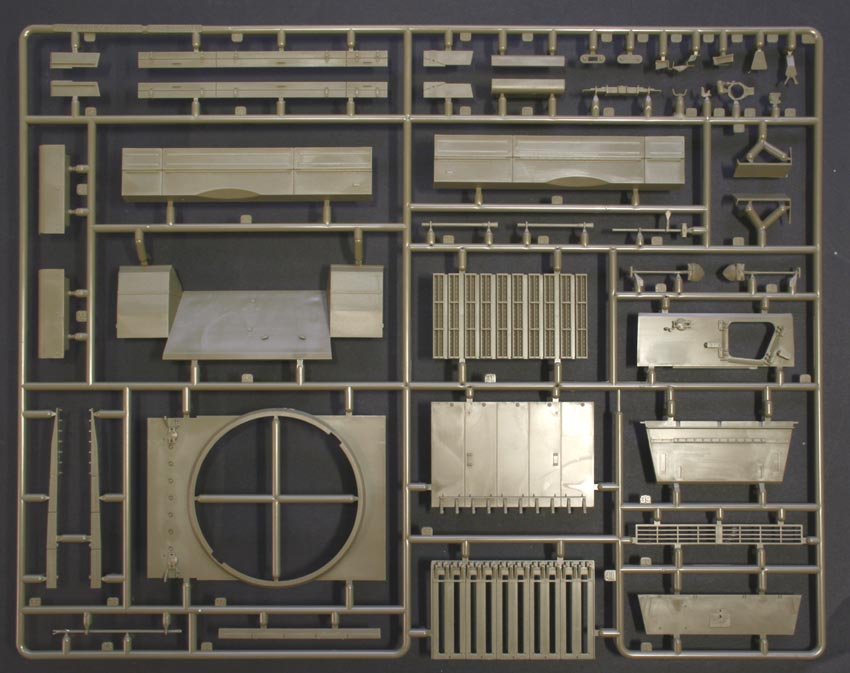
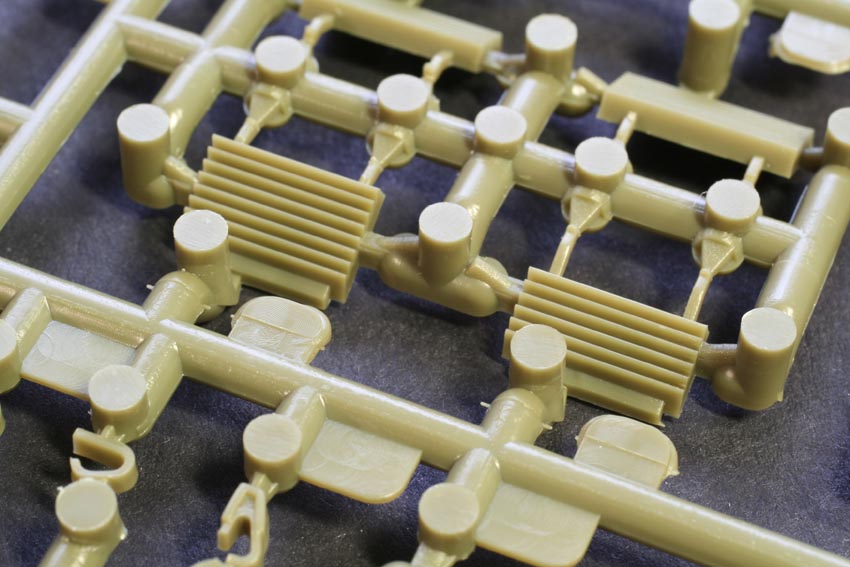
The exhaust deflector has some excellent detail and captures this area of the tank very well Parts B10,11,16 and 17 need care when removing from the sprue to avoid any loss of the mounting points. Once the rear assembly is complete, the elaborate grill assembly should be clearly seen and should add good depth and detail to this area. Construction of these parts looks to be very straightforward
Upper Hull
This comes in seven parts, not the usual one part, and is the better for it allowing for a greater level of detail. At this point you are given the option to build the Mk6 or the Mk5/2, make sure of your references here as we are talking about very small detail changes and it could be easy to mix them up.
The engine hatch grill comes in two parts and is a very good representation of this complicated area and allows for it to be displayed open if you want to add an engine and extra internal detail. The grab handles in this area come as separate parts and will need very careful removal from the sprue, possible replacing them with wire would be a simpler approach.
The drivers hatch is another excellent sub assembly, but there are some [I]knock out[/I] marks on the interior of the hatches which will require filling if the hatches are shown in the open position. The detail here is excellent and features separate inner periscopes and two small PE parts for added detail, very nice. The detailing of the front glacis plate includes some very brittle headlamp guards. Removing parts B18 from the sprue is going to be difficult to avoid breaking them, so take extra care with this.
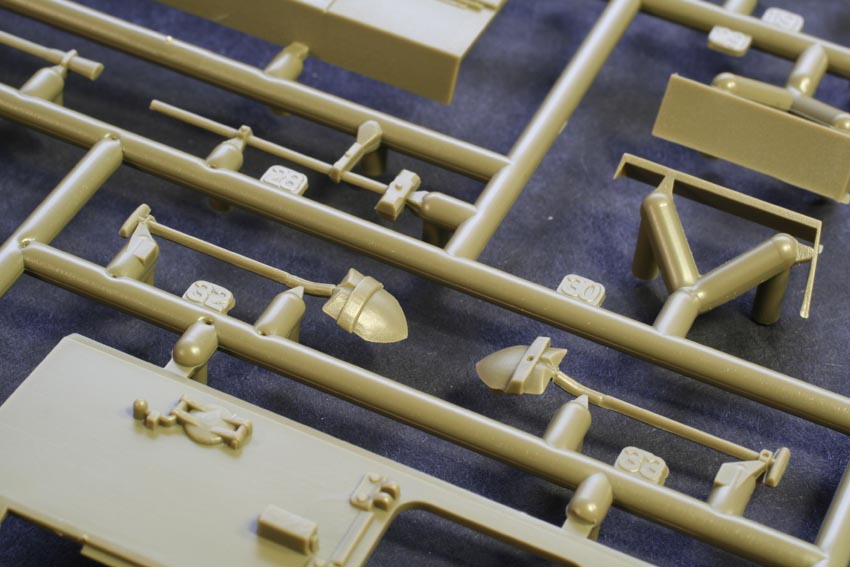
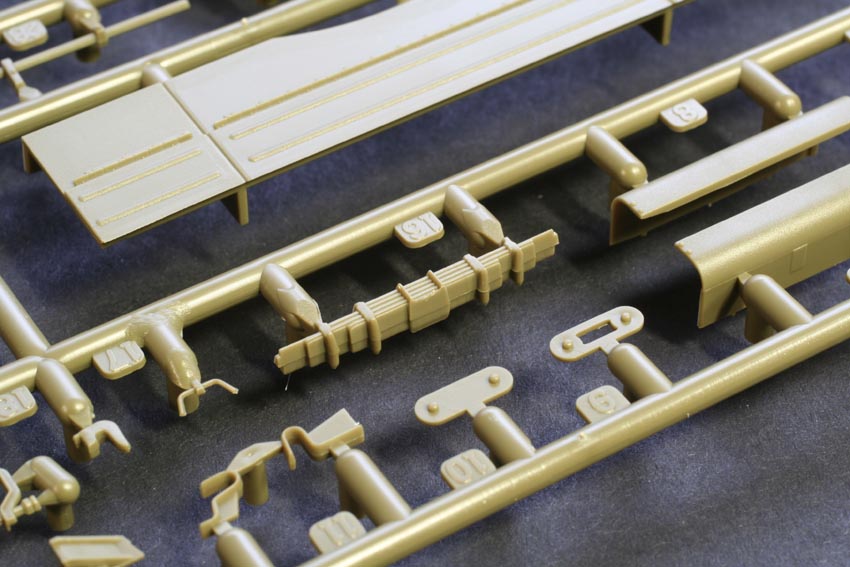
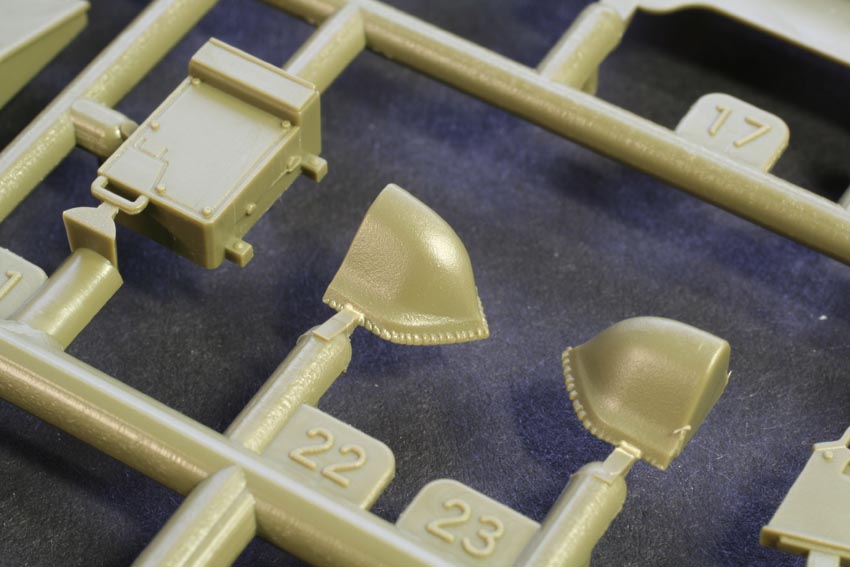
The side fenders feature detail on both sides, including the delicate ribbing on the top. There are some knock out marks on the underneath but when the fenders are in place this should not be seen. The stowage boxes are in four parts, and the detail on this is excellent, especially the latches and hinges. The tools are supplied as separate items and it is unfortunate that AFV Club have not taken a leaf from other manufacturers and supplied these without the moulded on clasps. The detail here looks slightly over scale and could have been better, in their favour though the tools do have the correct appearance and the pick axes are in two parts, which is a nice touch. The exhausts consist of seven parts and capture the appearance of the real thing very well, with the exhaust covers consisting of three parts.
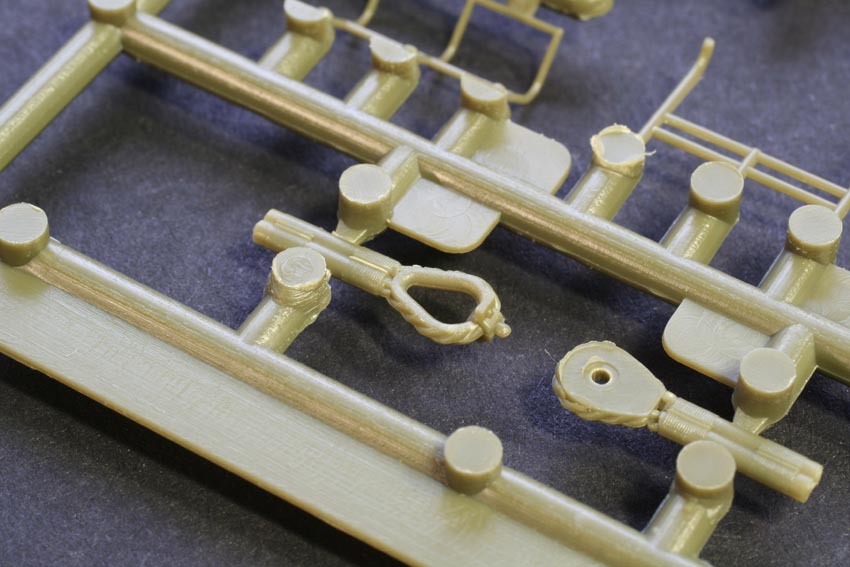
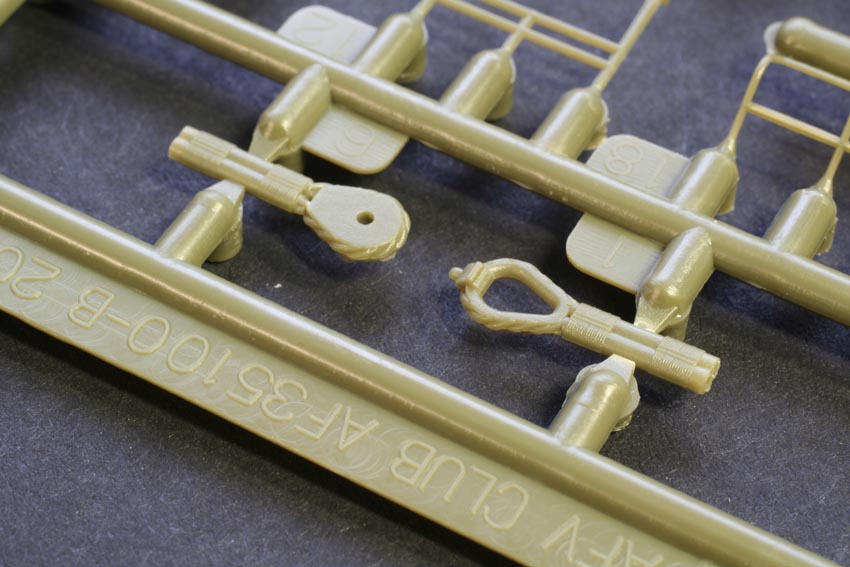
The distinctive tow cables are supplied in thread, instead of the wire that was supplied in the Aussie Centurion. Although this is acceptable, brass would have been my material of choice and you will need to decide whether to use the thread or replace it. The end sections are in plastic and have good detail with predrilled location holes for the cables.
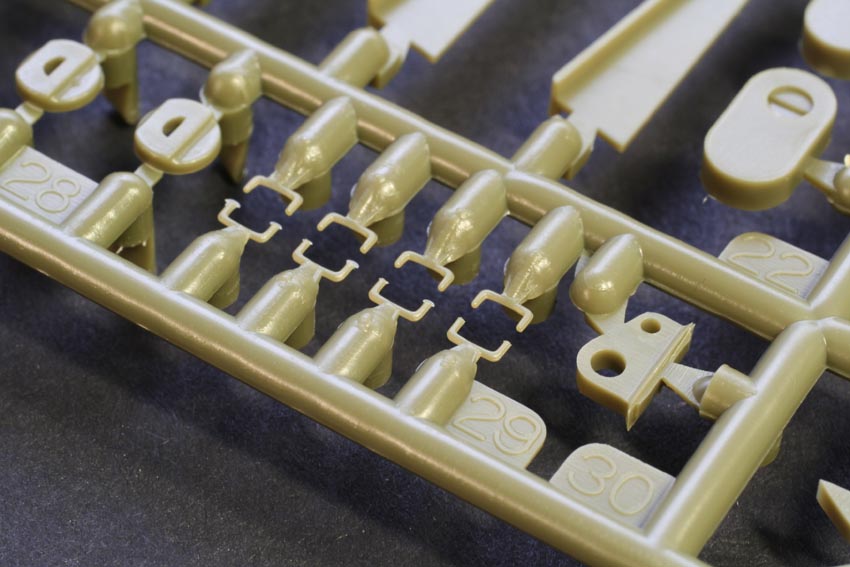
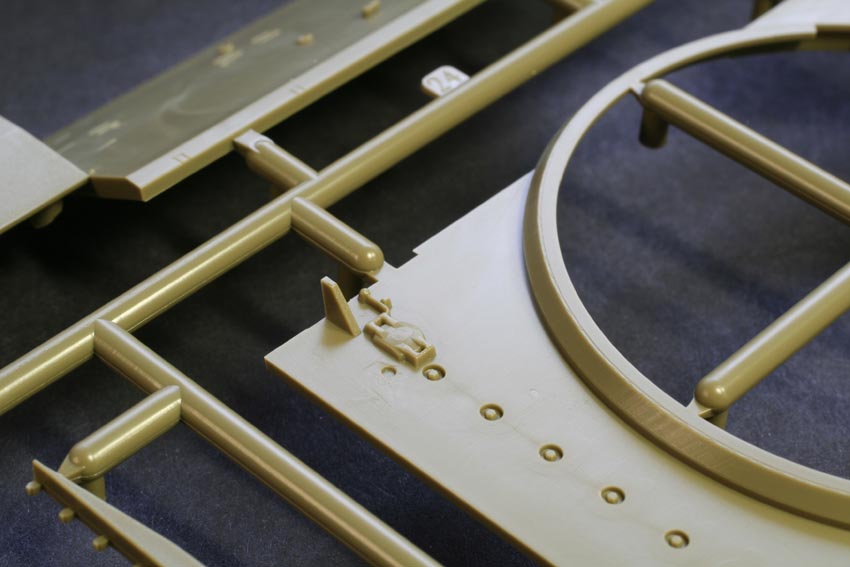
Sections of individual track are supplied and these should be placed on the glacis plate, however there are four knock out marks, on each track link, that will need careful removal.
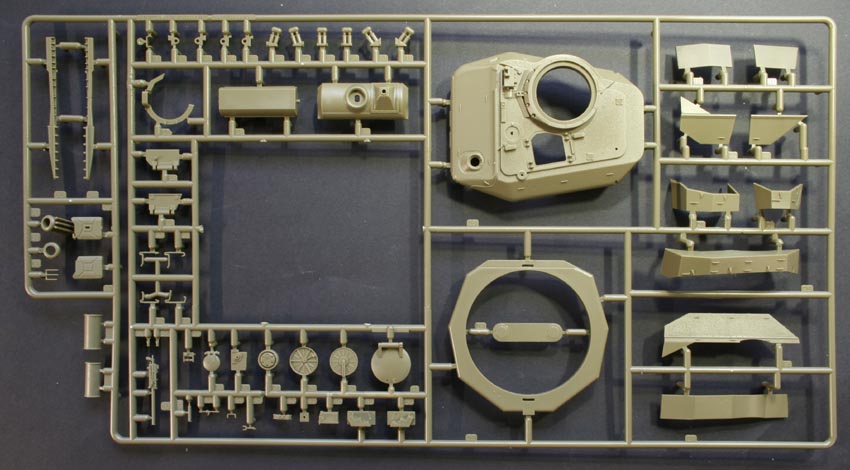
Turret
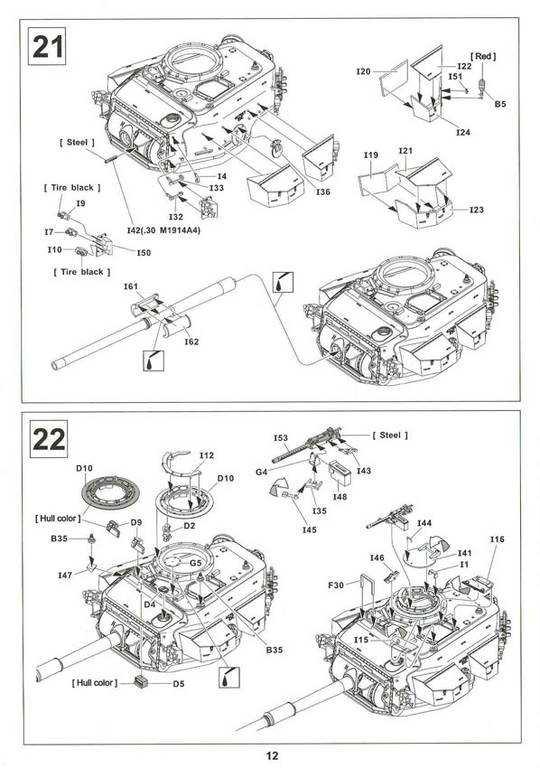
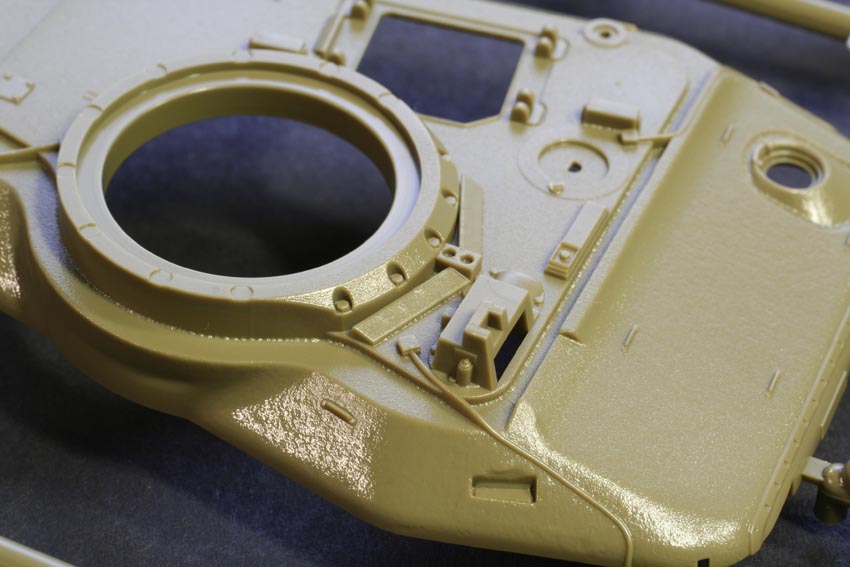
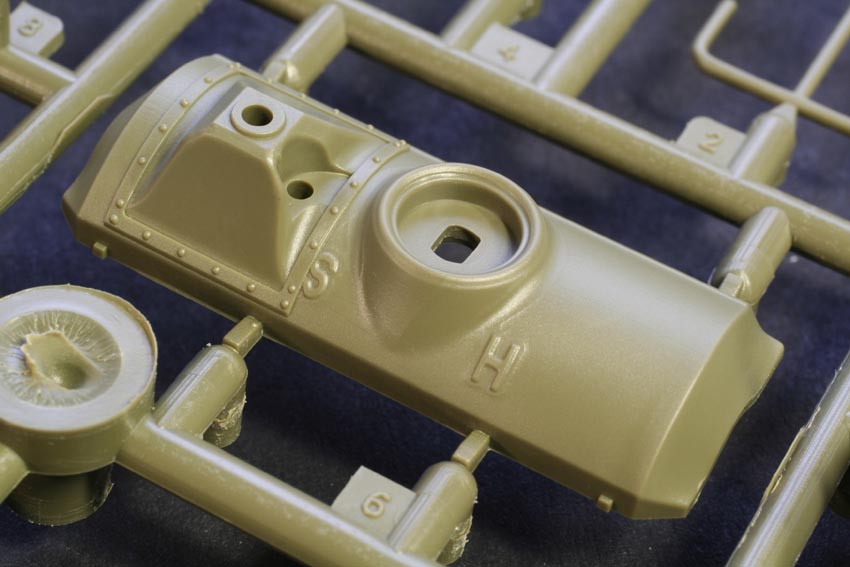
The turret comes in four parts, with another two making up the mantlet. Checking these parts against the Aussie Centurion, there are subtle, improved changes and these add to the overall detail lever. It is on the turret that we come to the one area that AFV Club has not improved over the Aussie Centurion: namely the canvas mantlet cover. It is a shame this is missing, as it was a distinctive feature of the Centurion and one that is not easy to replicate. Make sure you use the correct mantlet, as there are two, the Mk5/2 and the Mk5/1, from the Aussie Centurion. Also included on the mantlet is the delicate casting marks H and S which is correct for this vehicle. However, according to my references, and pictures on
Prime Portal, the strip of retaining bolts around the machine gun housing is incorrect. However this will be hidden if the modeller constructs a canvas mantlet cover. Check your references for this, as it could have been an addition that was seen on certain MK 5/2 Centurions.
There is a small amount of flash that will need careful removal on the turret halves, and a subtle cast to the sides, which is a nice touch. The mantlet is held in place by two poly caps and this will allow for elevation of the main gun. The aluminium gun barrel is a good addition, but the fume extractor is made from plastic and can be tricky to fit. Why this part was not machined from aluminium is a mystery as modern CNC milling machines are more than capable of producing the barrel with this in place.
The turret storage bins, that give the distinctive shape to the Centurion turret, have the correct shape and detail in this area is excellent. However on the review example there is a small amount of flash that needs to be removed. The rear storage bin, used on the Aussie Centurion is replaced with a jerry can, which is held in place by a small PE bracket. The jerry can also has a PE insert and separate handle and is a very good reproduction of this item. The smoke grenade launchers and tubes are very nice, but care will be needed when removing the mounting brackets for these parts, as they are quite delicate.
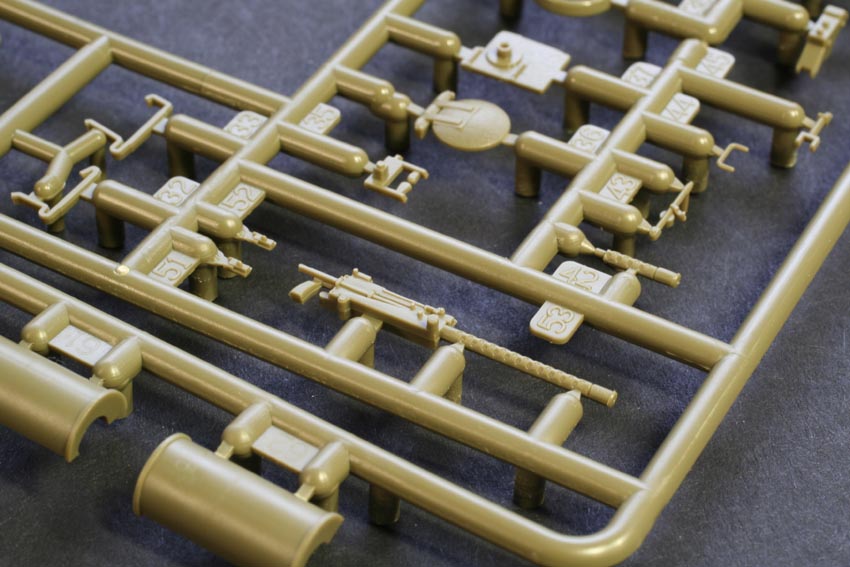
The Commanders cupola is reproduced in clear plastic and the periscopes are separate, clear plastic items. The hatch is separate and has internal details, but there is three pin marks, which will need removing if the hatch is to be displayed in the open position. The Loaders hatch is in two parts and has some delicate internal detail and external details. However there are several pin marks that will need to be removed and on part I16 these will cause problems due to their location. The .30 calibre machine gun is well represented, as are the other smaller details that complete the turret.
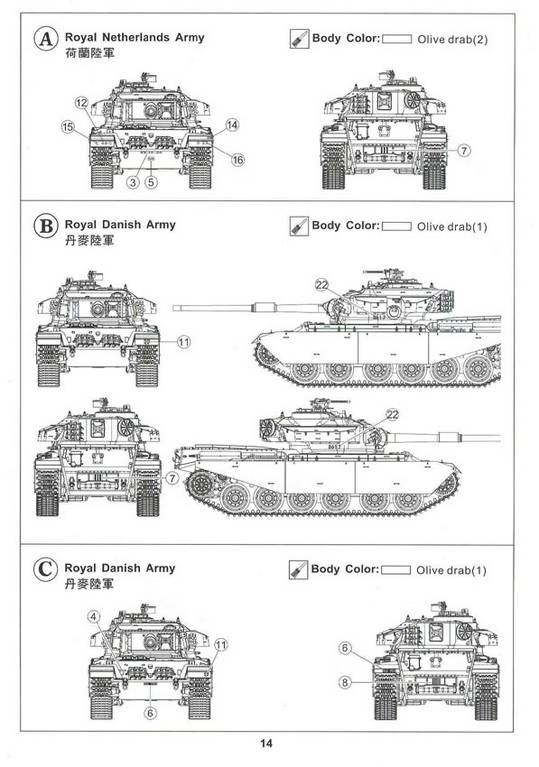
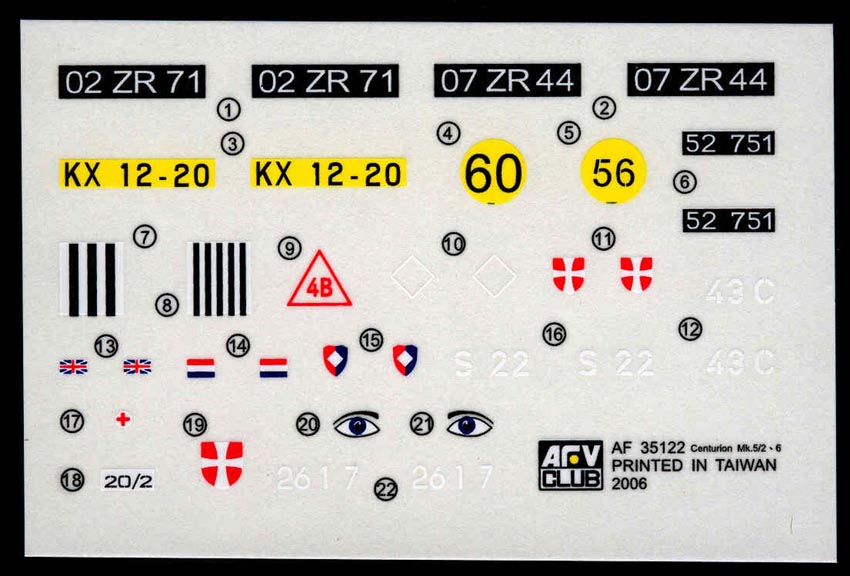
There are five sets of markings, one for the Royal Netherlands Army, two for the Royal Danish Army and two for the British army. The markings are nicely printed but there is no Unit information provided so references will need to be studied.
Conclusion
Overall this is an impressive offering from AFV Club, with some very delicate detailing and is a long over due addition. Two areas that I feel need attention are the canvas mantlet cover and the fume extractor. However, considering the place the Centurion holds in the development of modern tanks, this kit does a very good job of representing a very important AFV and will be a welcome addition to anyone who builds modern AFVs. This is especially true if you consider the only other offering I know of in styrene, which is the 30-year-old Tamiya Centurion and there is no comparison between the two kits. AFV Clubs Centurion is light years ahead of the older Tamiya offering, and is therefore highly recommended.
Centurion Online References
Tanxheaven 1
Tanxheaven 2
Primeportal


Comments